Get ready to create the most adorable and delicious Easter Bunny Cookies this holiday season! This recipe isn’t just a treat for the taste buds; it’s a delightful project perfect for family fun and a beautiful addition to any Easter celebration. With our easy-to-follow, step-by-step instructions, you’ll be baking and decorating these charming cookies like a seasoned pro in no time. Forget store-bought sweets; homemade means extra love in every bite, and these sugar cookies are guaranteed to bring smiles to everyone’s faces.

I find immense joy in preparing easy Easter desserts that bring my family together. This particular recipe for Easter bunny cookies stands out, not only for its irresistibly cute appearance but also for its exceptional flavor. If you’re looking for other festive treats, these Easy Spring Cookies are always a guaranteed hit. The thought of making homemade sugar cookies adorned with delicate royal icing might seem daunting, but rest assured, this recipe is designed to be accessible for bakers of all skill levels. You’ll be amazed at how effortlessly you can create these stunning, bakery-quality cookies.
Every year, our Easter traditions include a spread of festive delights. Alongside these delightful bunny cookies, I love to prepare Easter Egg Fruit Pizza, Mini Easter Cheesecakes, Bunny Butt Cupcakes, and Homemade Easter Bunny Cupcakes. These fun and vibrant recipes are eagerly anticipated by the kids and make our holiday celebrations even more special.
Table of Contents
- Why You’ll Adore These Easter Bunny Cookies
- Essential Ingredients for Perfect Cookies and Icing
- For the Delicious Sugar Cookies
- For the Vibrant Royal Icing
- Creative Variations to Personalize Your Bunnies
- Crafting Your Easter Bunny Cookies: A Step-by-Step Guide
- Mastering the Royal Icing for Decoration
- Storage Tips to Keep Your Cookies Fresh
- Pro Tips and Tricks for Cookie Success
- More Festive Easter Desserts to Explore
Why You’ll Adore These Easter Bunny Cookies
These Easter Bunny Cookies are much more than just a pretty face; they are incredibly simple to make, despite their elaborate appearance. The true charm of this recipe lies in its ability to transform basic sugar cookie dough into works of art with minimal fuss. Your family and friends will be genuinely impressed, believing you’ve spent hours perfecting these bakery-quality treats. They’re not only a fantastic edible craft for kids but also a sophisticated dessert that adults will appreciate.
Beyond their aesthetic appeal, these cookies are a delightful and personal touch for Easter baskets, party favors, or simply as a festive snack. The process of making and decorating them is a joy in itself, creating lasting memories in the kitchen. This recipe makes achieving beautifully decorated cookies remarkably easy, ensuring that your holiday baking is stress-free and full of fun. It’s an opportunity to express creativity and share homemade warmth with loved ones, making the Easter celebration even more memorable.
Essential Ingredients for Perfect Cookies and Icing
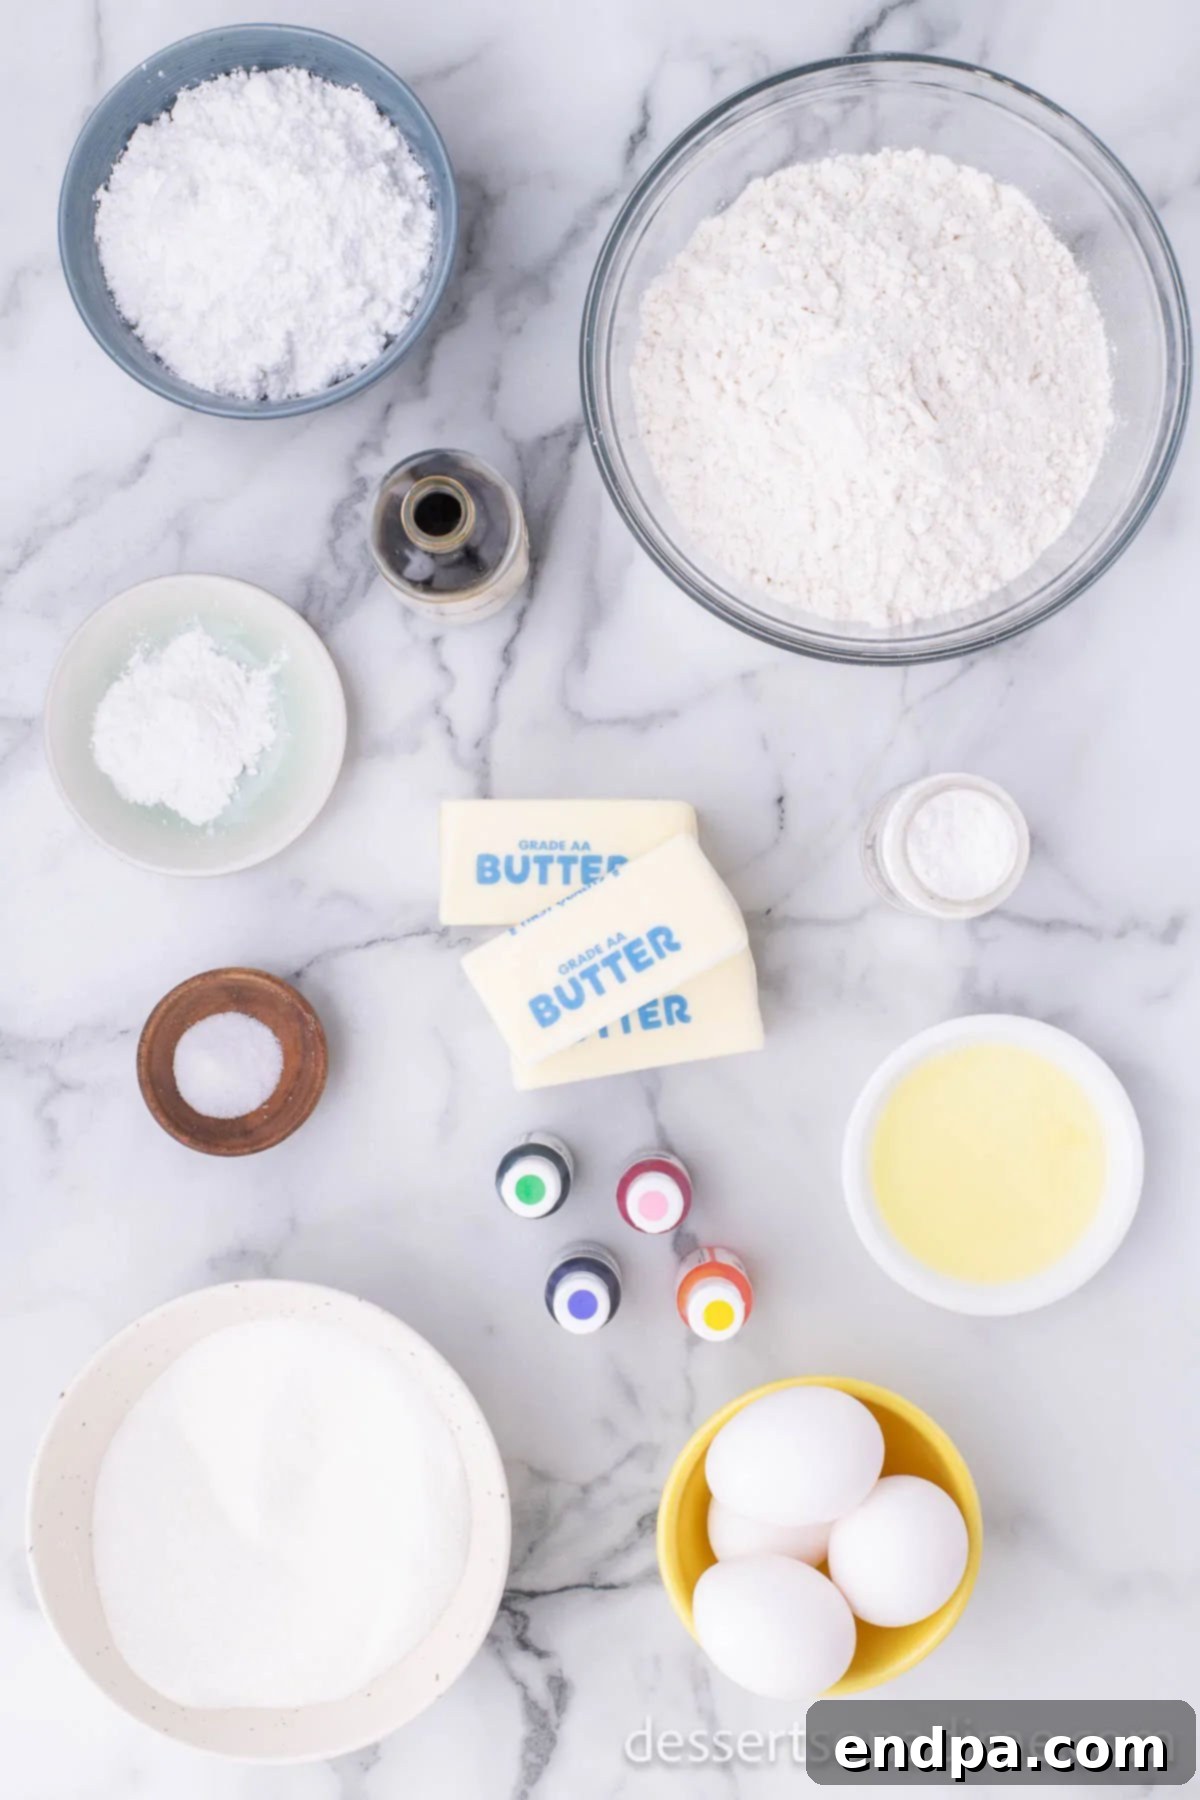
For the Delicious Sugar Cookies
- All-Purpose Flour: The foundation of our tender cookies. Always measure flour accurately by spooning it into your measuring cup and leveling it off, rather than scooping directly from the bag. This prevents compacting the flour, which can lead to dense cookies.
- Baking Powder: Our leavening agent, ensuring your cookies have a slight lift and a perfect, soft texture without spreading too much.
- Salt: Essential for balancing the sweetness and enhancing all the other flavors in the cookie dough.
- Unsalted Butter: Softened to room temperature, unsalted butter allows you to control the salt content. Room temperature butter creams beautifully with sugar, creating a light and airy base for your cookies.
- Granulated Sugar: Provides the classic sweetness and contributes to the crisp edges and soft centers of our sugar cookies.
- Large Eggs: Use large eggs at room temperature. This helps them incorporate more evenly into the butter and sugar mixture, resulting in a smoother, more emulsified dough. Eggs add richness, moisture, and structure to the cookies.
- Vanilla Extract: Pure vanilla extract is highly recommended for the best flavor. For an even whiter cookie dough, especially important if you plan on using light-colored icing, clear vanilla extract can be used.
For the Vibrant Royal Icing
- Egg Whites: The key component for royal icing, providing structure and a smooth, hard finish once dry. When combined with cream of tartar, they create a stable icing that won’t collapse.
- Powdered Sugar: Also known as confectioners’ sugar, this fine sugar is crucial for achieving a smooth, lump-free icing consistency.
- Cream of Tartar: This acts as a stabilizer for the egg whites, helping them whip into firm peaks and preventing the icing from becoming too runny. It contributes to the icing’s stability and ability to hold its shape.
- Gel Food Coloring: I prefer using gel food coloring over liquid dyes because it offers vibrant colors without adding extra liquid to the icing. This helps maintain the perfect consistency for piping and flooding.
The complete, detailed recipe with exact measurements and full instructions can be found in the recipe card at the bottom of this article.
Creative Variations to Personalize Your Bunnies
- Sprinkles Galore: After applying the base layer of royal icing, while it’s still wet, sprinkle your bunny cookies with pastel-colored sprinkles, edible glitter, or nonpareils for an extra touch of festivity and sparkle.
- Candy Accents: Elevate your cookies with various candies. Think small Easter M&M’s for eyes, mini chocolate chips for noses, or tiny edible pearls for a sophisticated look. Small jelly beans or mini eggs can also be placed on the cookie as a decorative element, or even to represent a bunny holding an egg.
- Different Flavors: Experiment with extracts beyond vanilla. Almond extract can add a classic, slightly nutty flavor, while lemon or orange zest in the dough can provide a bright, zesty twist perfect for spring.
- Bunny Tails: For an irresistibly cute touch, add a small, fluffy mini marshmallow on the bunny’s rear end to create a charming bunny tail. You can secure it with a tiny dab of icing.
- Textural Elements: Before the icing fully sets, gently press edible sugar pearls or sanding sugar onto specific areas (like the ears or feet) for added texture and visual interest.
Crafting Your Easter Bunny Cookies: A Step-by-Step Guide
- Step 1: Preheat Your Oven. Begin by preheating your oven to 325 degrees Fahrenheit (160°C). Oven temperatures can vary, so you might need to adjust slightly to 350 degrees Fahrenheit (175°C) based on your oven’s usual performance. Prepare your baking sheets by lining them with parchment paper or silicone baking mats to prevent sticking and ensure even baking.
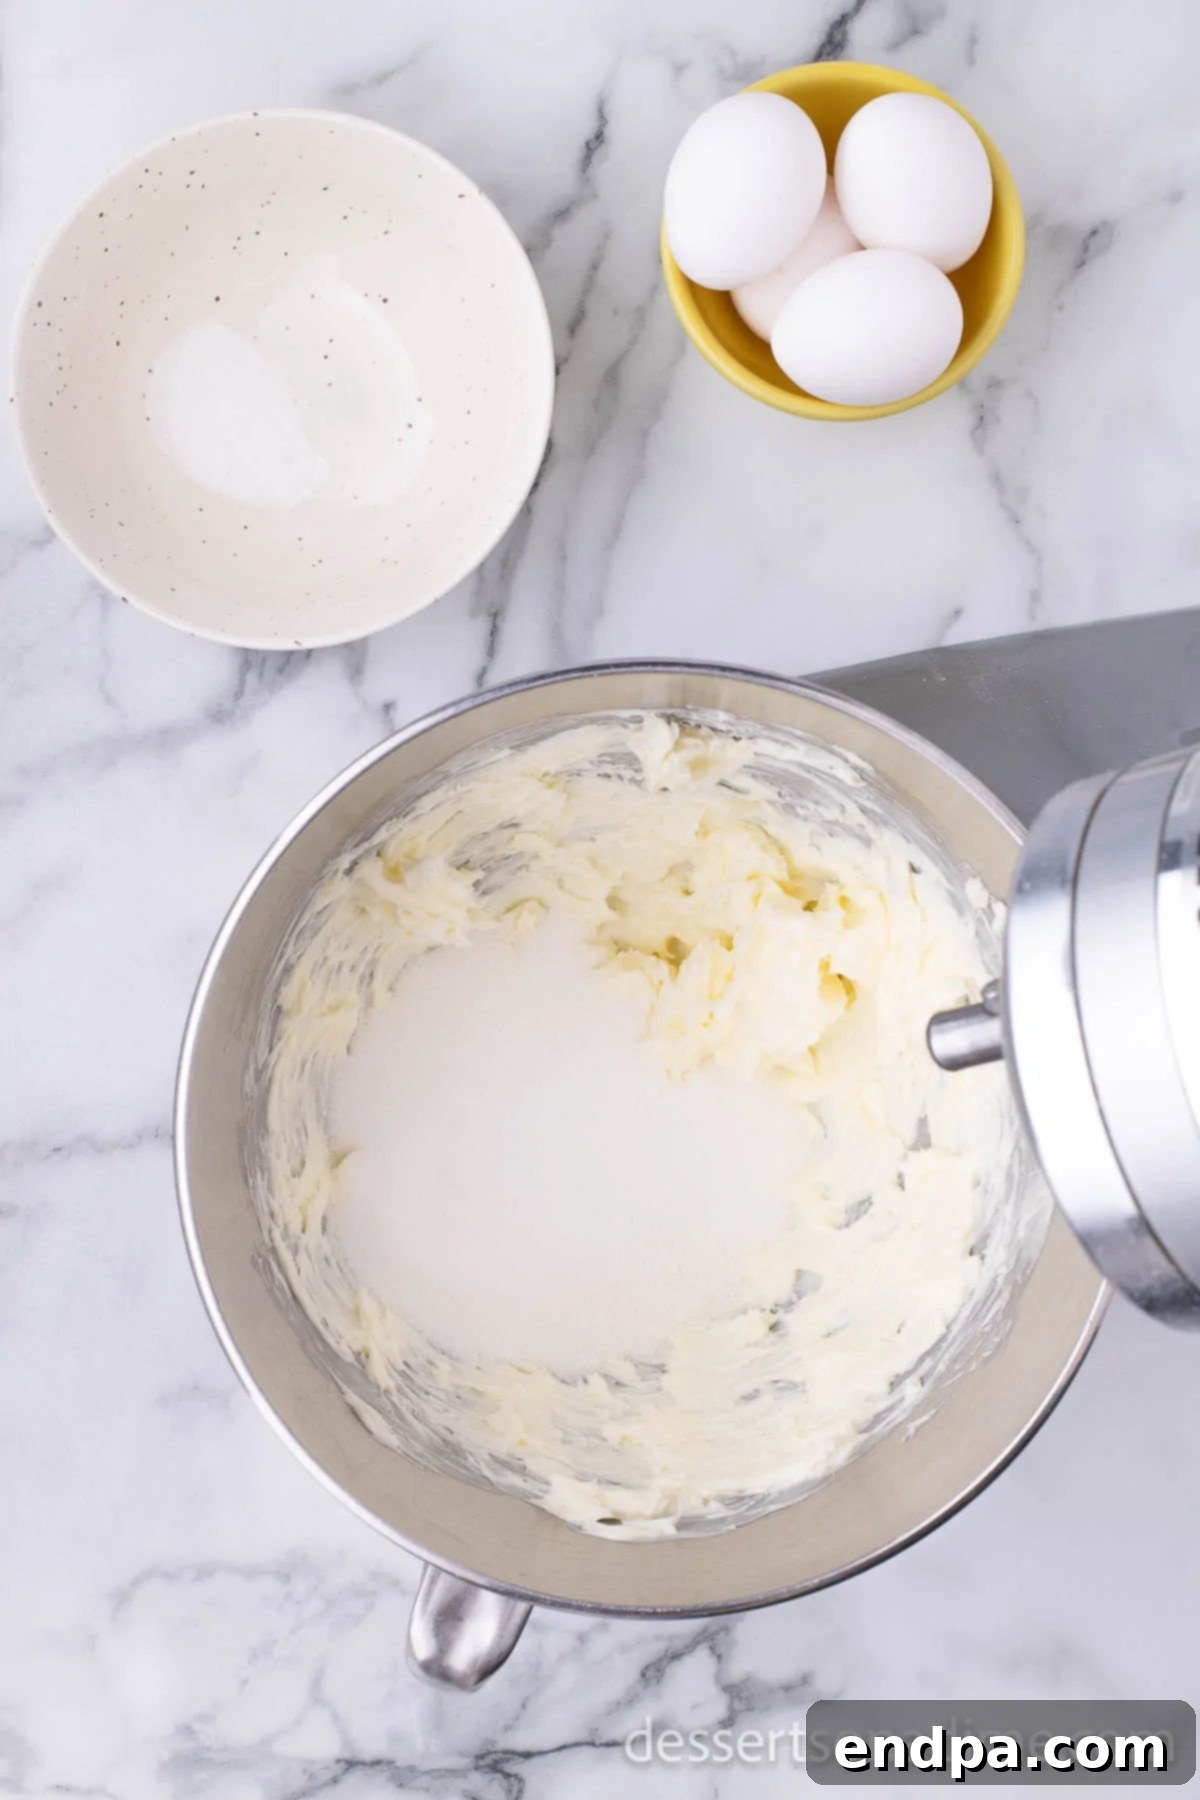
Step 2: Cream Butter and Sugar. In a large mixing bowl, or the bowl of a stand mixer fitted with the paddle attachment, cream together the softened butter and granulated sugar. Beat on medium speed until the mixture becomes light, fluffy, and smooth, with no grainy texture when rubbed between your fingers. This process incorporates air, which contributes to the cookies’ tenderness.
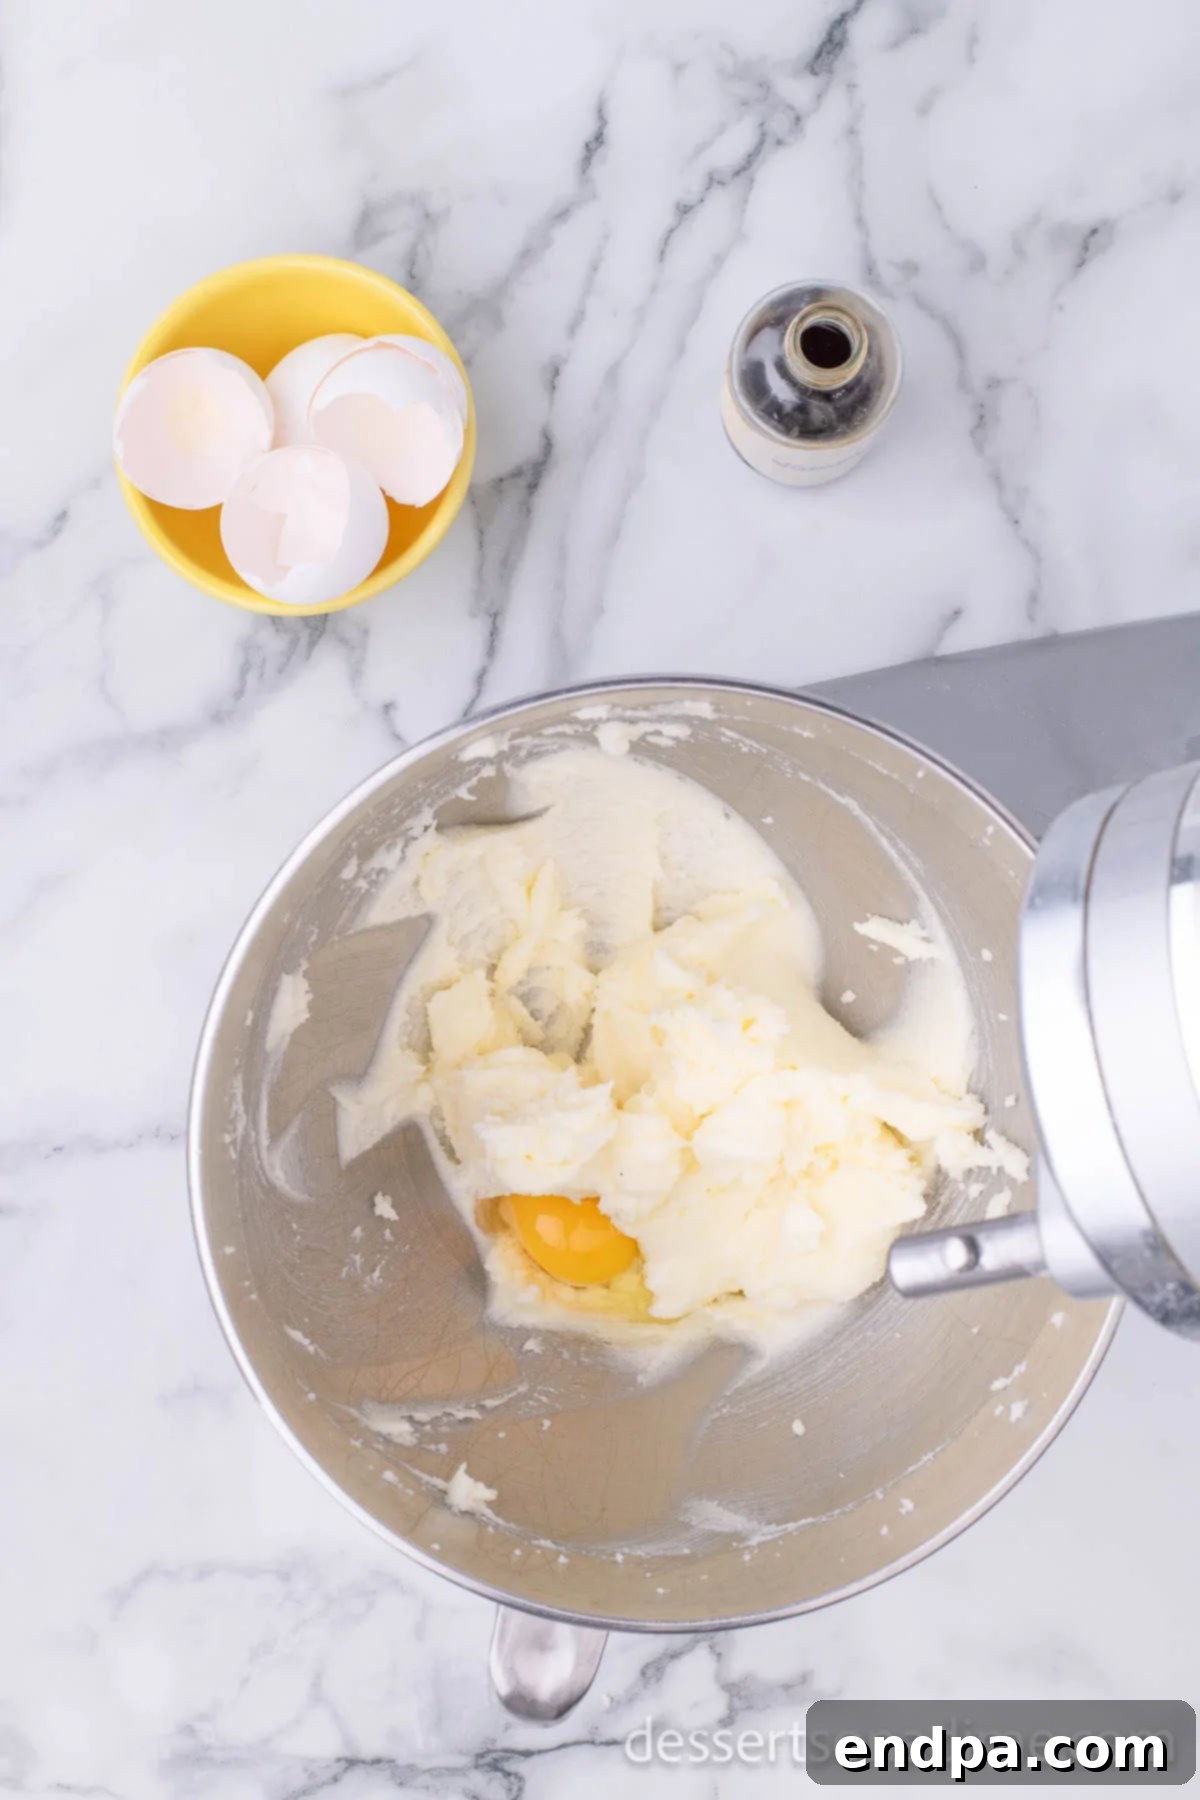
Step 3: Incorporate Eggs. Add all four room-temperature eggs to the creamed butter and sugar mixture simultaneously. Continue mixing on medium speed until the eggs are fully incorporated and the mixture is well combined and homogenous. Scrape down the sides of the bowl as needed to ensure everything is mixed evenly.
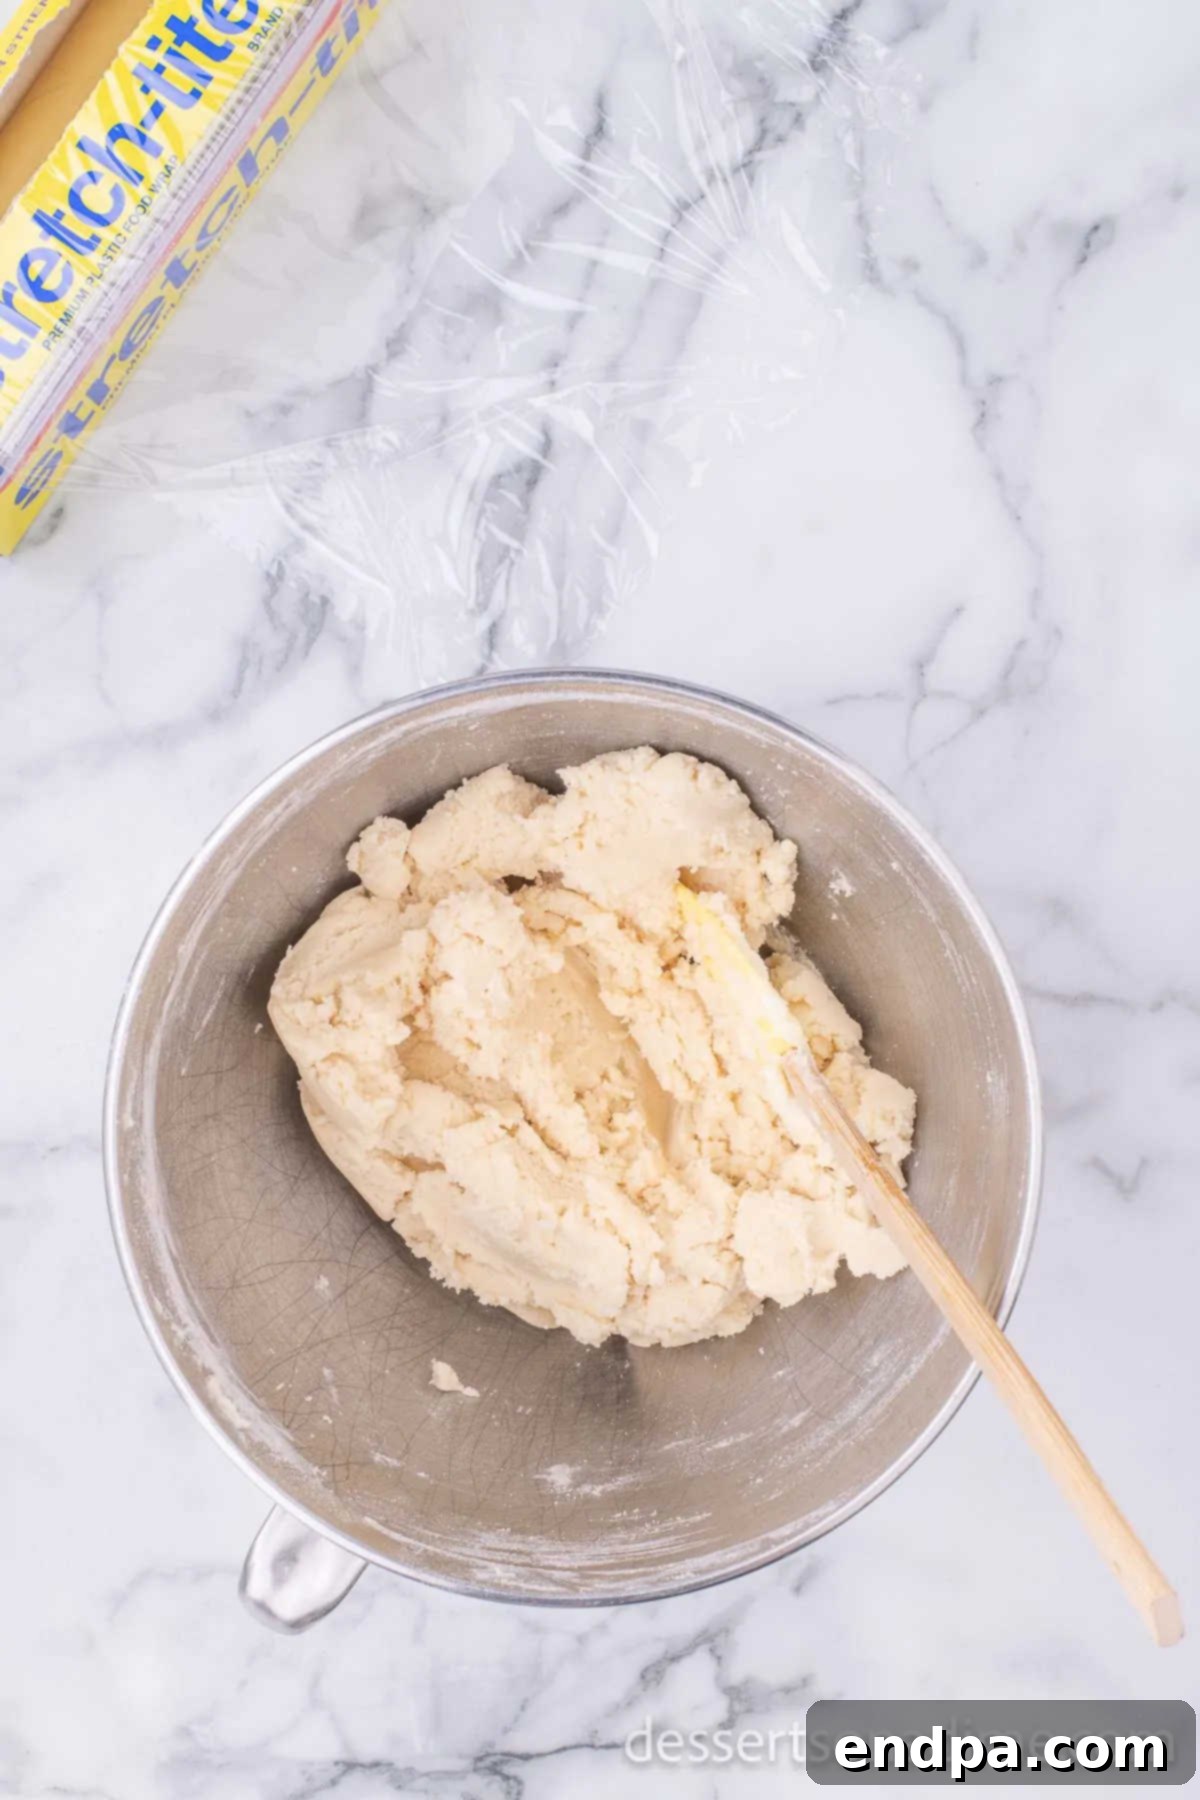
Step 4: Combine Wet and Dry Ingredients. In a separate, medium-sized bowl, sift together the flour, baking powder, and salt. This step is crucial for preventing lumps and ensuring a light cookie texture. Gradually add the sifted dry ingredients to the wet mixture in the large bowl, mixing on low speed until just combined. Be careful not to overmix, as this can lead to tough cookies. Finally, stir in the vanilla extract until it’s evenly distributed throughout the dough.
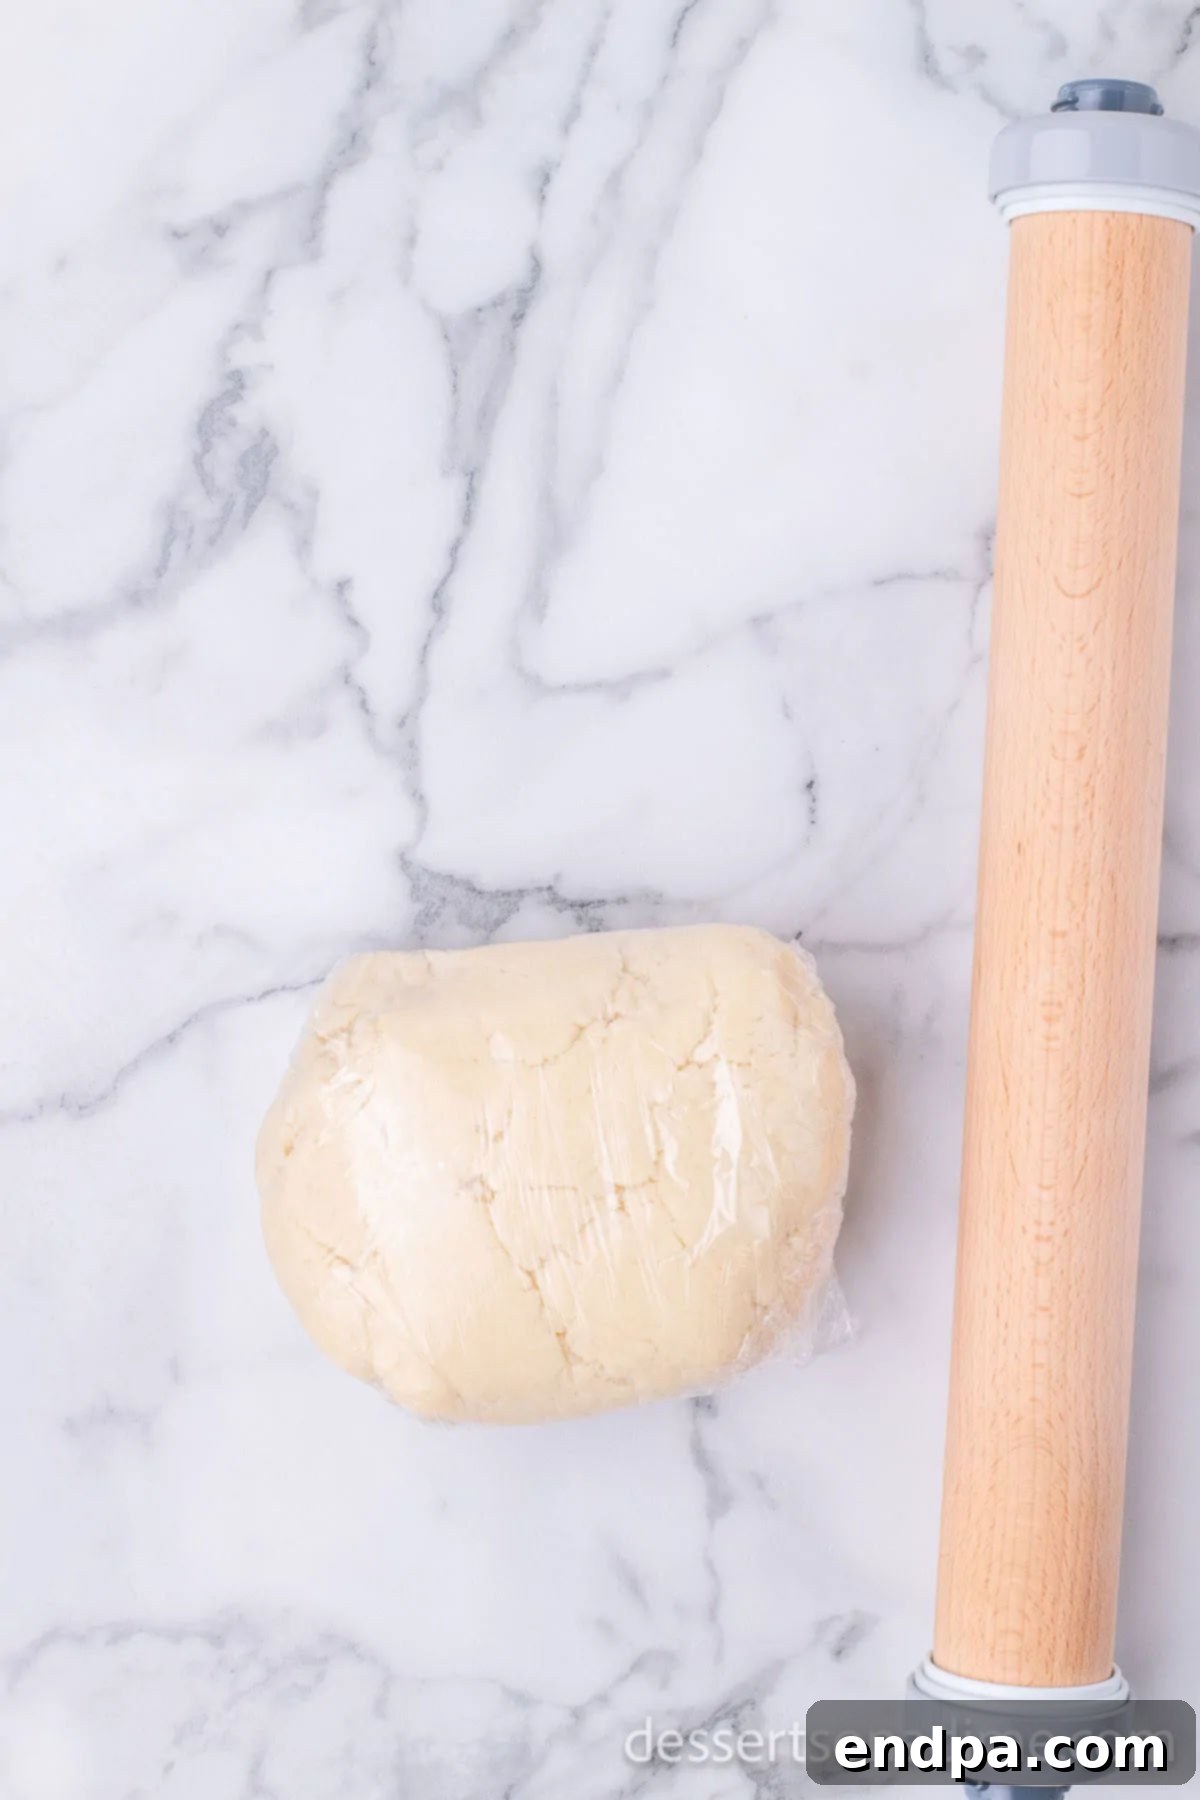
Step 5: Chill the Dough. Gather the sugar cookie dough into a cohesive ball. Wrap the dough tightly in plastic wrap, ensuring it’s completely covered to prevent it from drying out. Place the wrapped dough in the refrigerator to chill overnight, or for a minimum of 6 hours. Chilling is vital as it allows the butter to firm up, making the dough easier to roll and preventing the cookies from spreading too much during baking. Ensure the dough is firm and cold before proceeding.
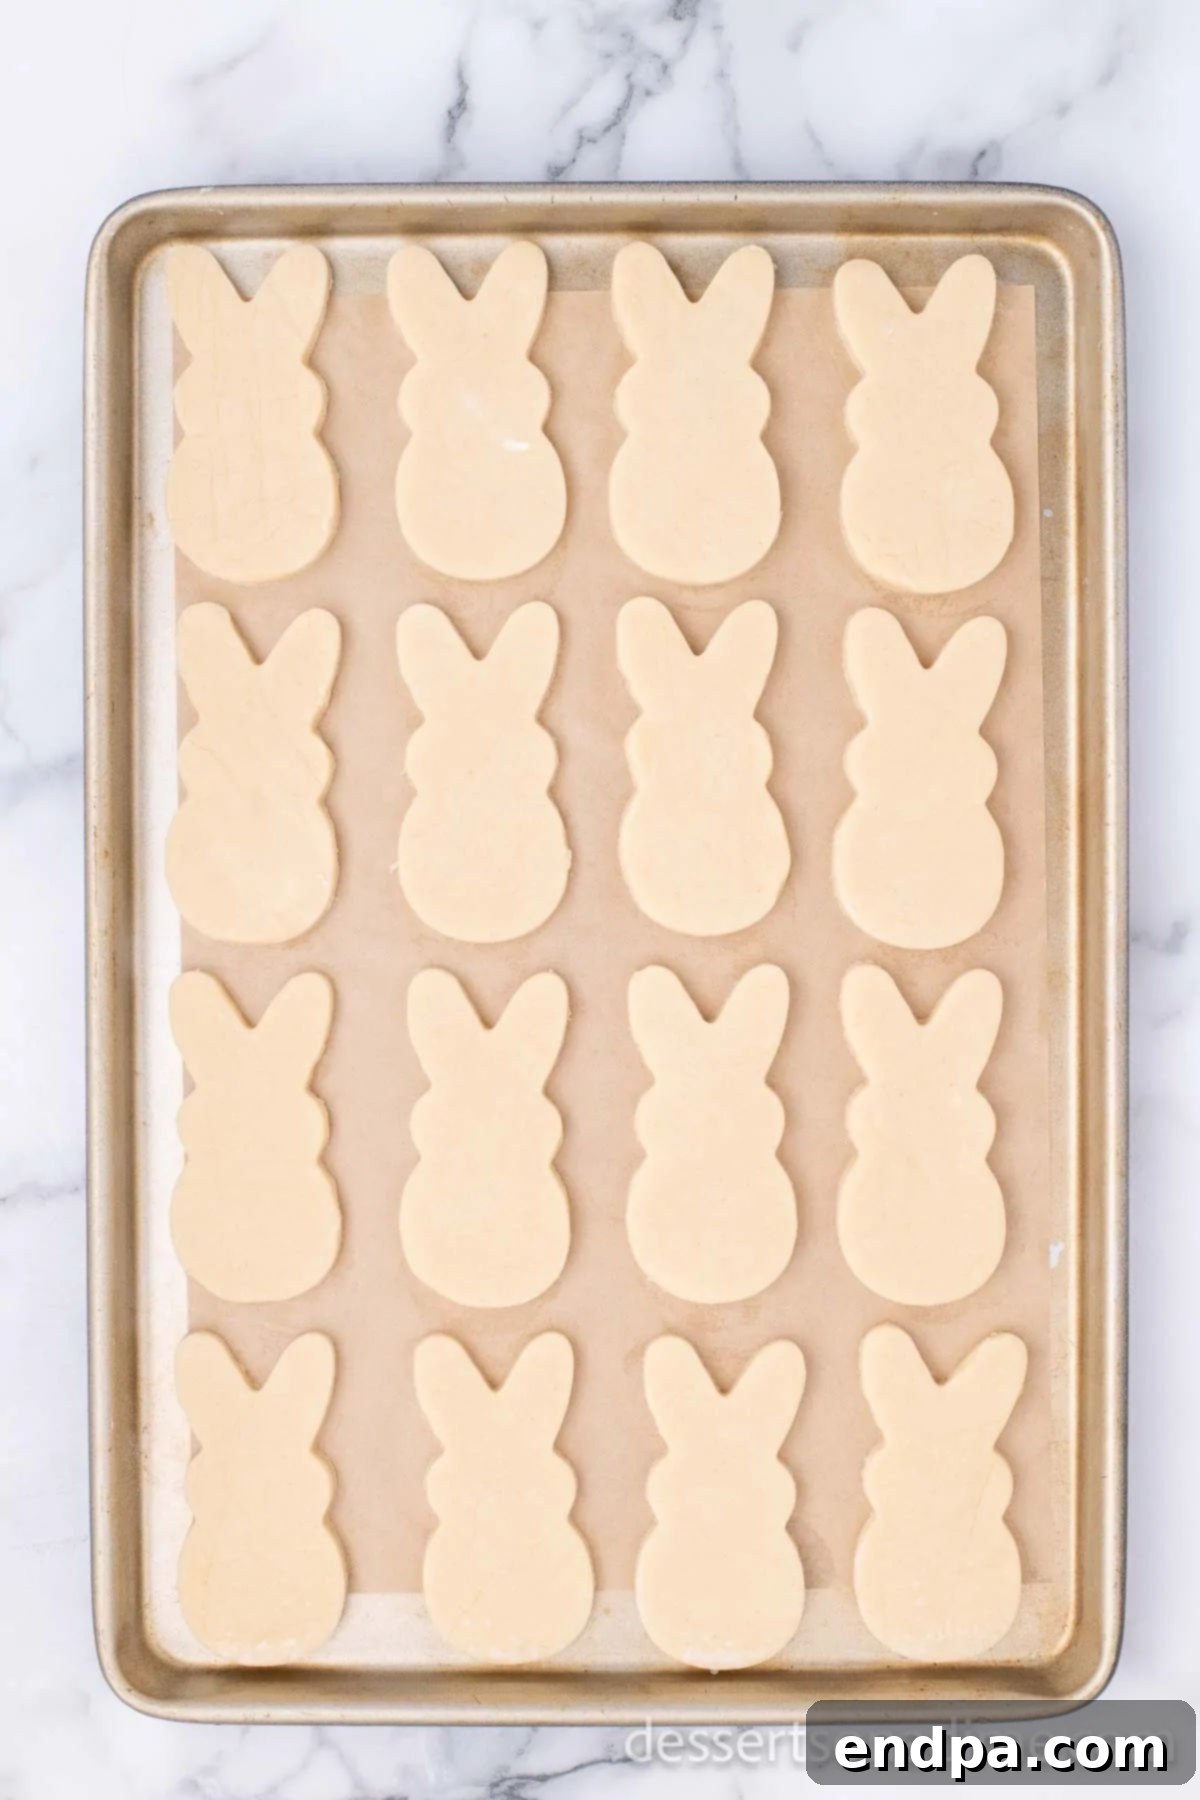
Step 6: Roll and Cut Cookies. Once the dough is thoroughly chilled, remove it from the refrigerator and let it sit at room temperature for about 10-15 minutes to soften slightly, making it easier to roll. Lightly dust a clean work surface or cutting board with flour. Roll the dough out to an even thickness, approximately ¼ inch. Use a bunny-shaped cookie cutter to cut out your festive cookies. Carefully transfer the cut-out bunny shapes to your prepared baking sheets, leaving a little space between each cookie. Re-roll any dough scraps until all dough is used.
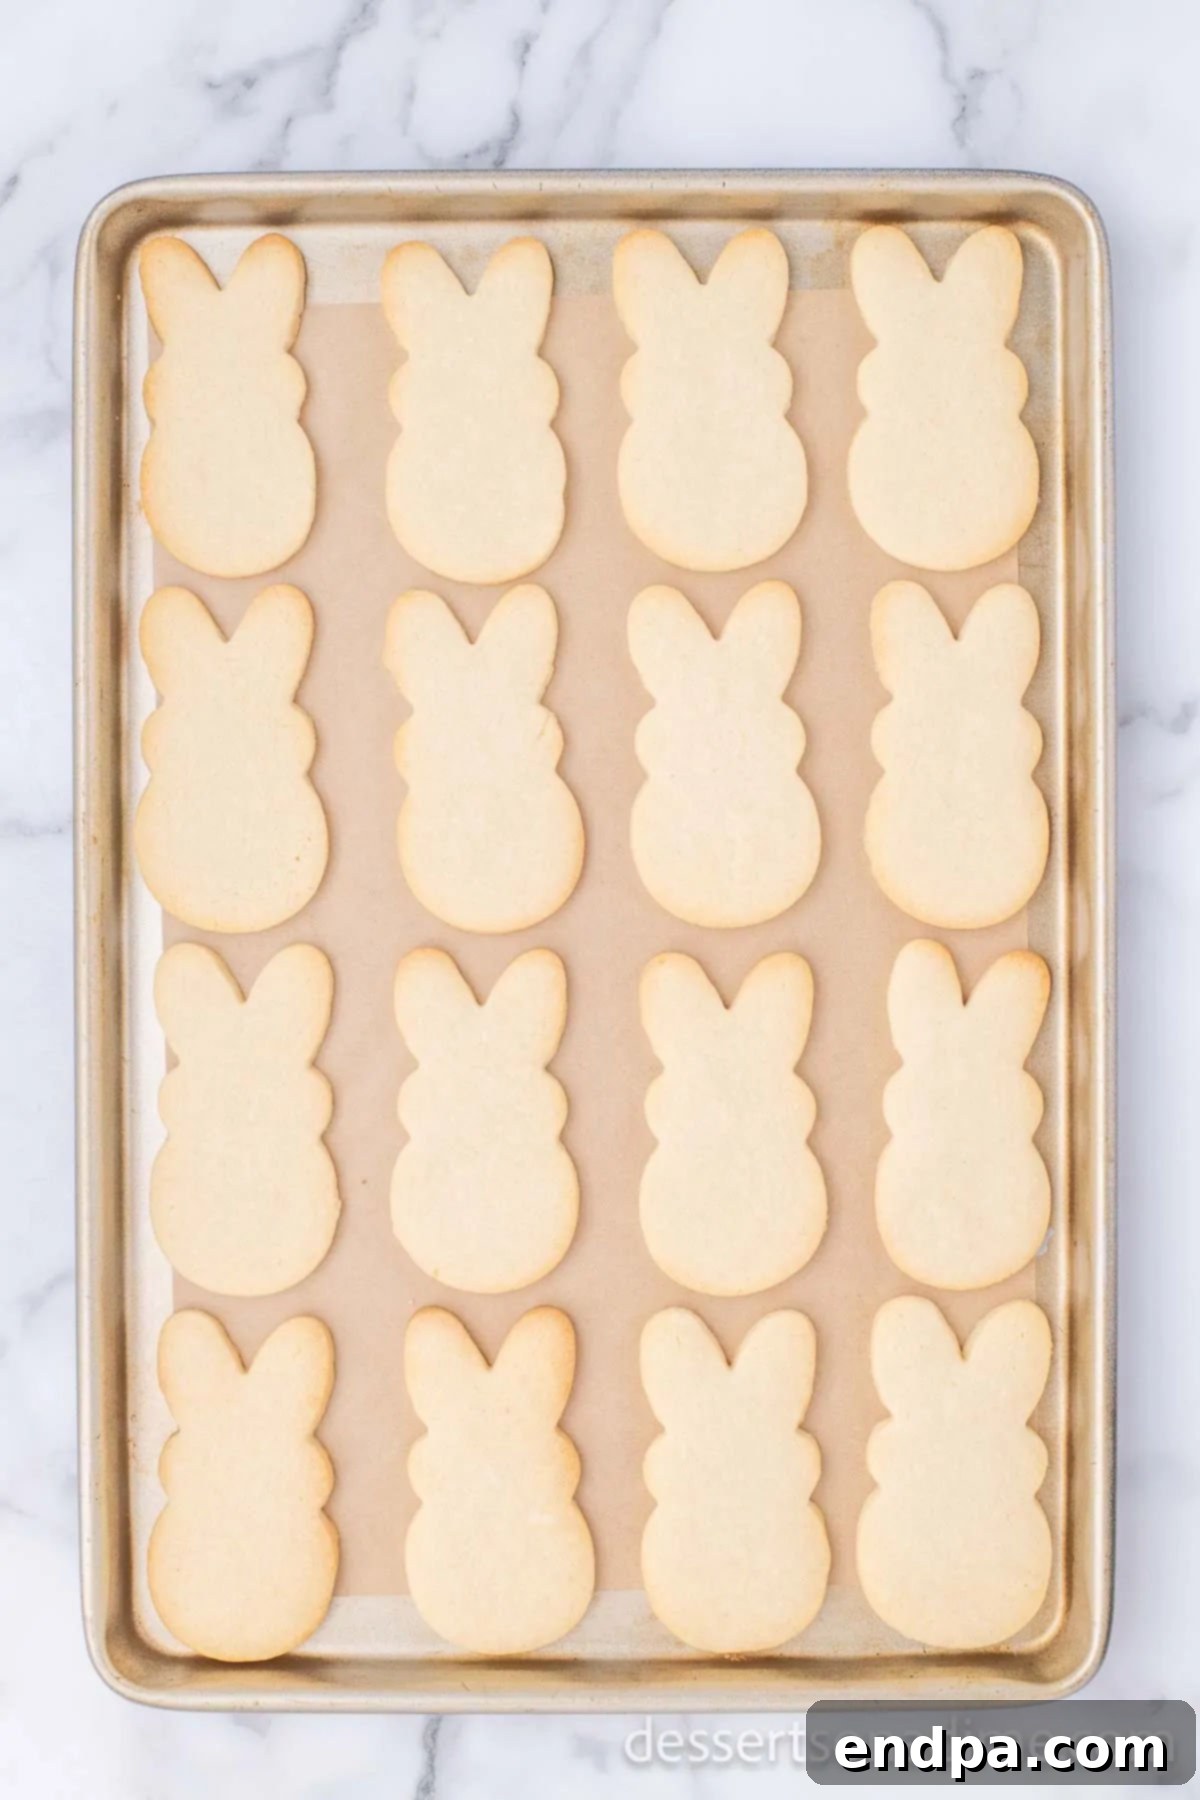
Step 7: Bake and Cool. Bake the cookies in the preheated oven for approximately 8 to 10 minutes. Keep a close eye on them; they are ready when the edges are lightly golden brown and the centers are set. Avoid overbaking, as this will result in a dry cookie. Once baked, remove the cookie sheets from the oven and allow the cookies to cool on the sheets for a few minutes before carefully transferring them to a wire rack to cool completely. It is crucial that the cookies are entirely cool before you begin the icing process; warm cookies will melt the icing.
Mastering the Royal Icing for Decoration
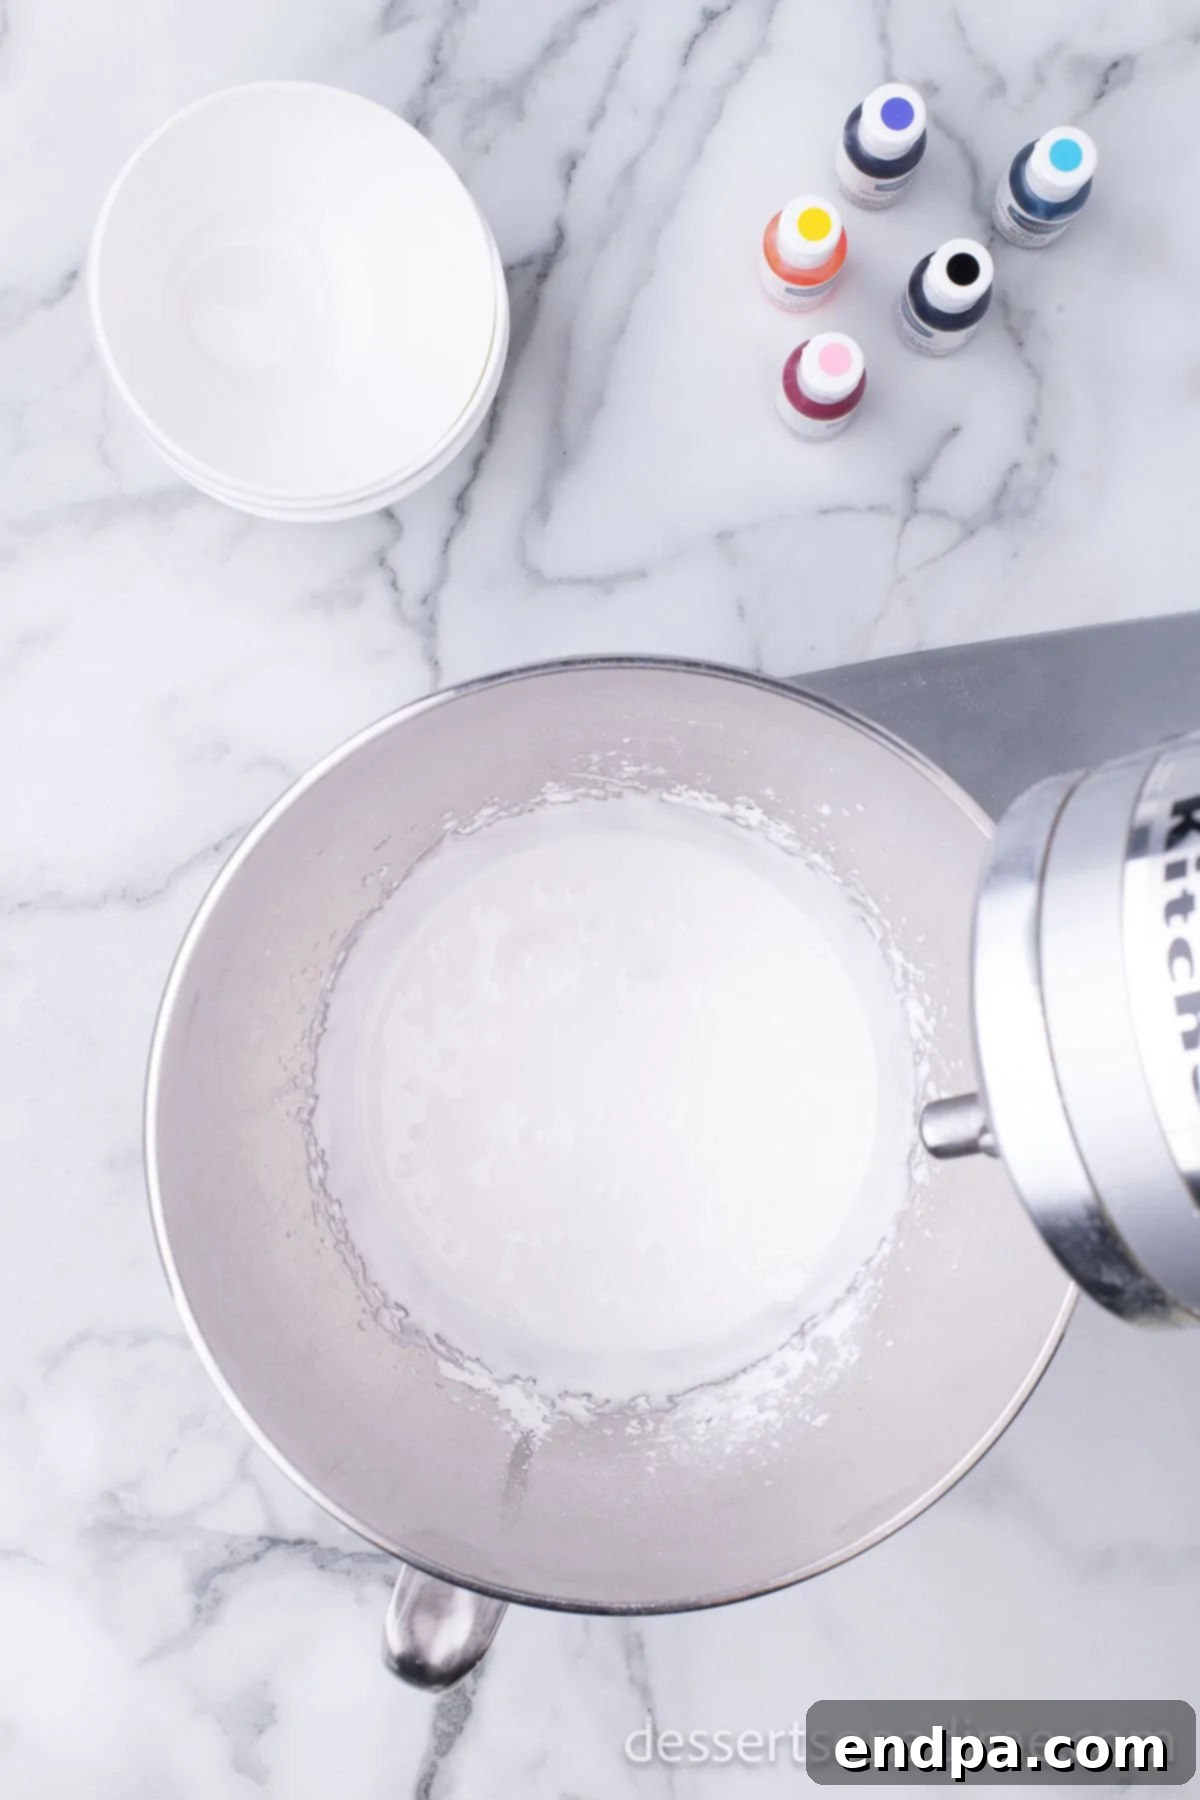
Step 1: Prepare the Icing Base. In a clean mixing bowl, combine the egg whites, powdered sugar, and cream of tartar. Beat on medium speed for approximately 4 minutes until the mixture reaches a smooth, stiff consistency. The icing should be thick enough to hold a soft peak. If it’s not stiff enough, add an additional ¼ cup of powdered sugar at a time, mixing until you achieve a “15-second consistency.” This means that when you draw a line through the icing with a spatula, the line should disappear in about 15 seconds – ideal for both outlining and flooding.
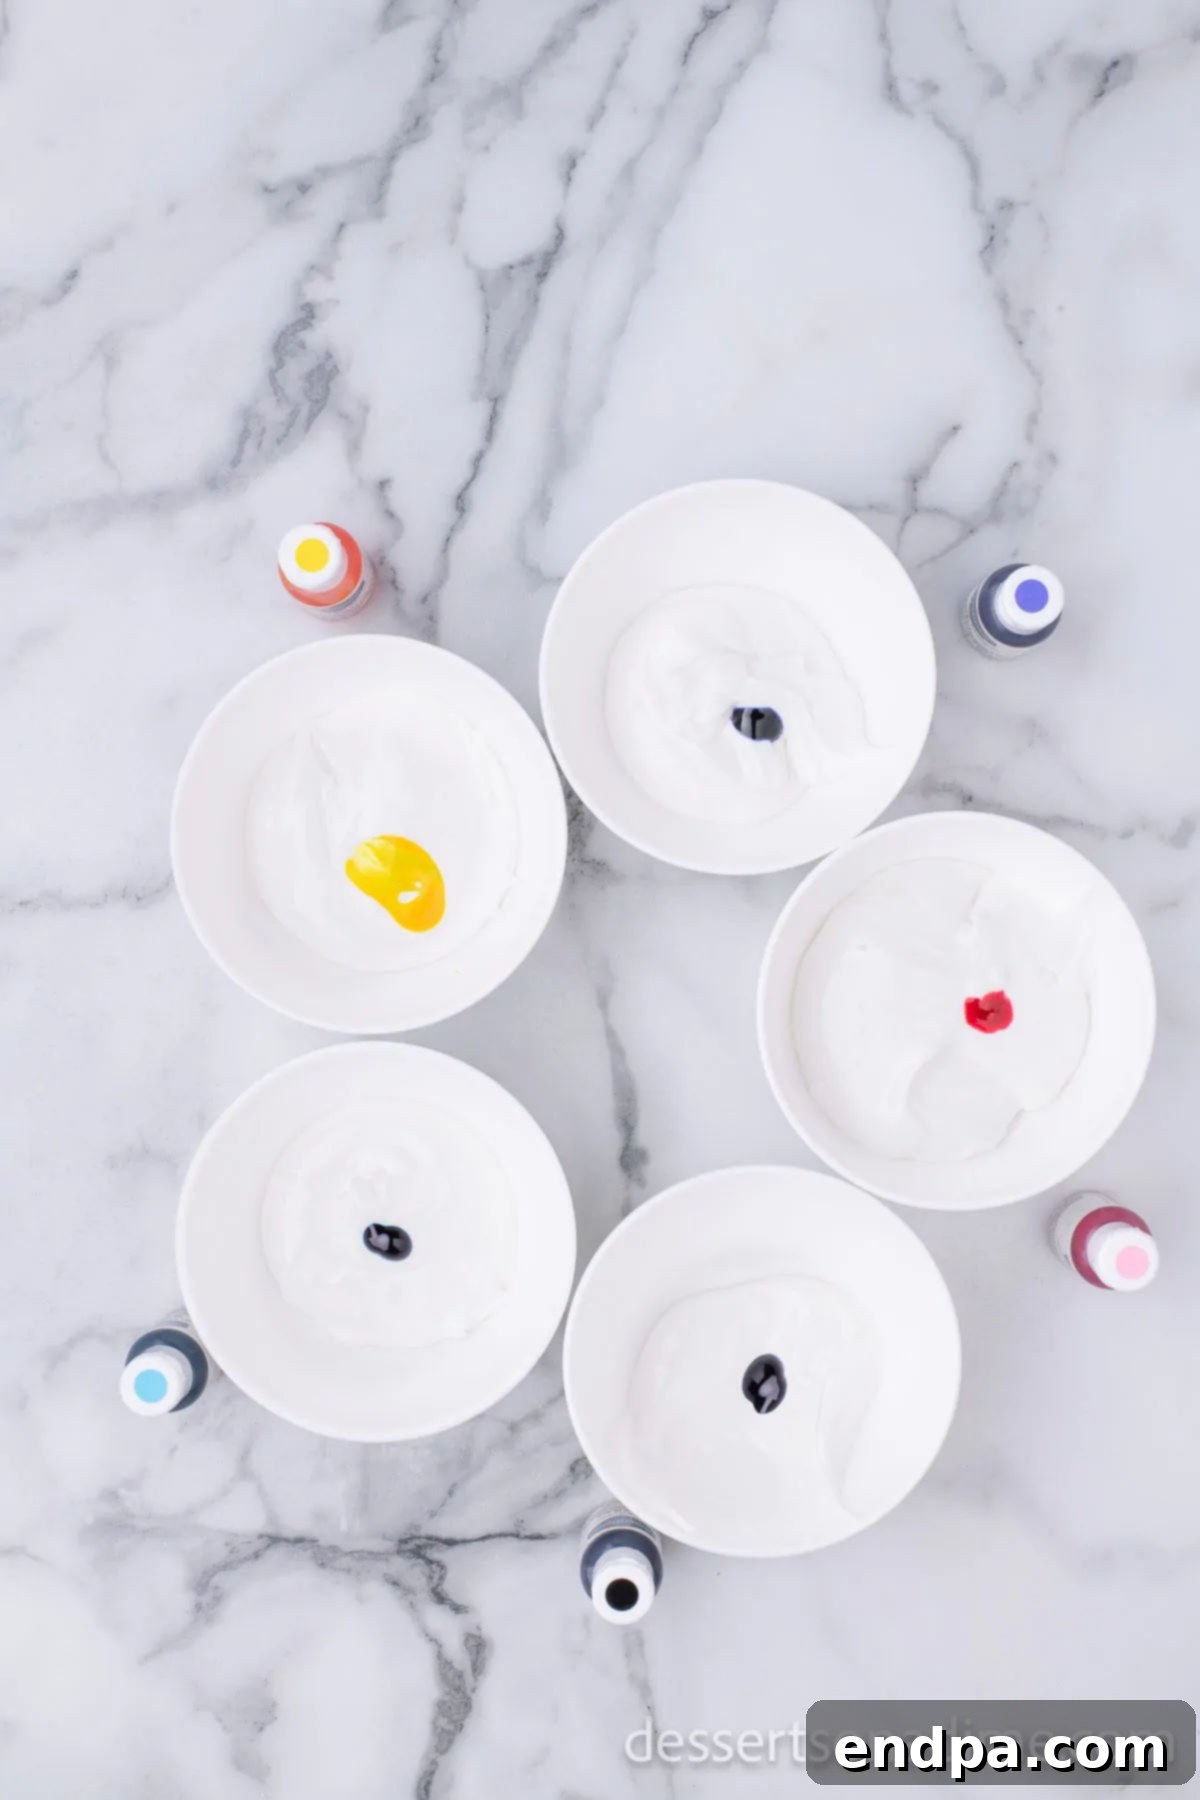
Step 2: Color Your Icing. Divide the prepared royal icing into five small bowls. This allows you to create a variety of colors for your bunny cookies. Add a small amount of gel food coloring to each bowl, mixing thoroughly until you achieve your desired pastel shades (e.g., pink, yellow, purple, blue). Reserve one bowl for black icing, which will be used for the bunny faces. Gel food coloring provides vibrant hues without altering the icing consistency.

Step 3: Apply Base Icing. Transfer each pastel-colored icing to separate piping bags. Begin by outlining the bunny cookies with a slightly thicker consistency of icing, then “flood” or fill in the outlined area with a slightly thinner consistency of the same color. Use a toothpick to gently spread the icing to the edges and pop any air bubbles. Once the base colors are applied, allow the icing to cool and set completely for 2 to 3 hours. This drying time is crucial for preventing colors from bleeding and creating a stable surface for further decoration.
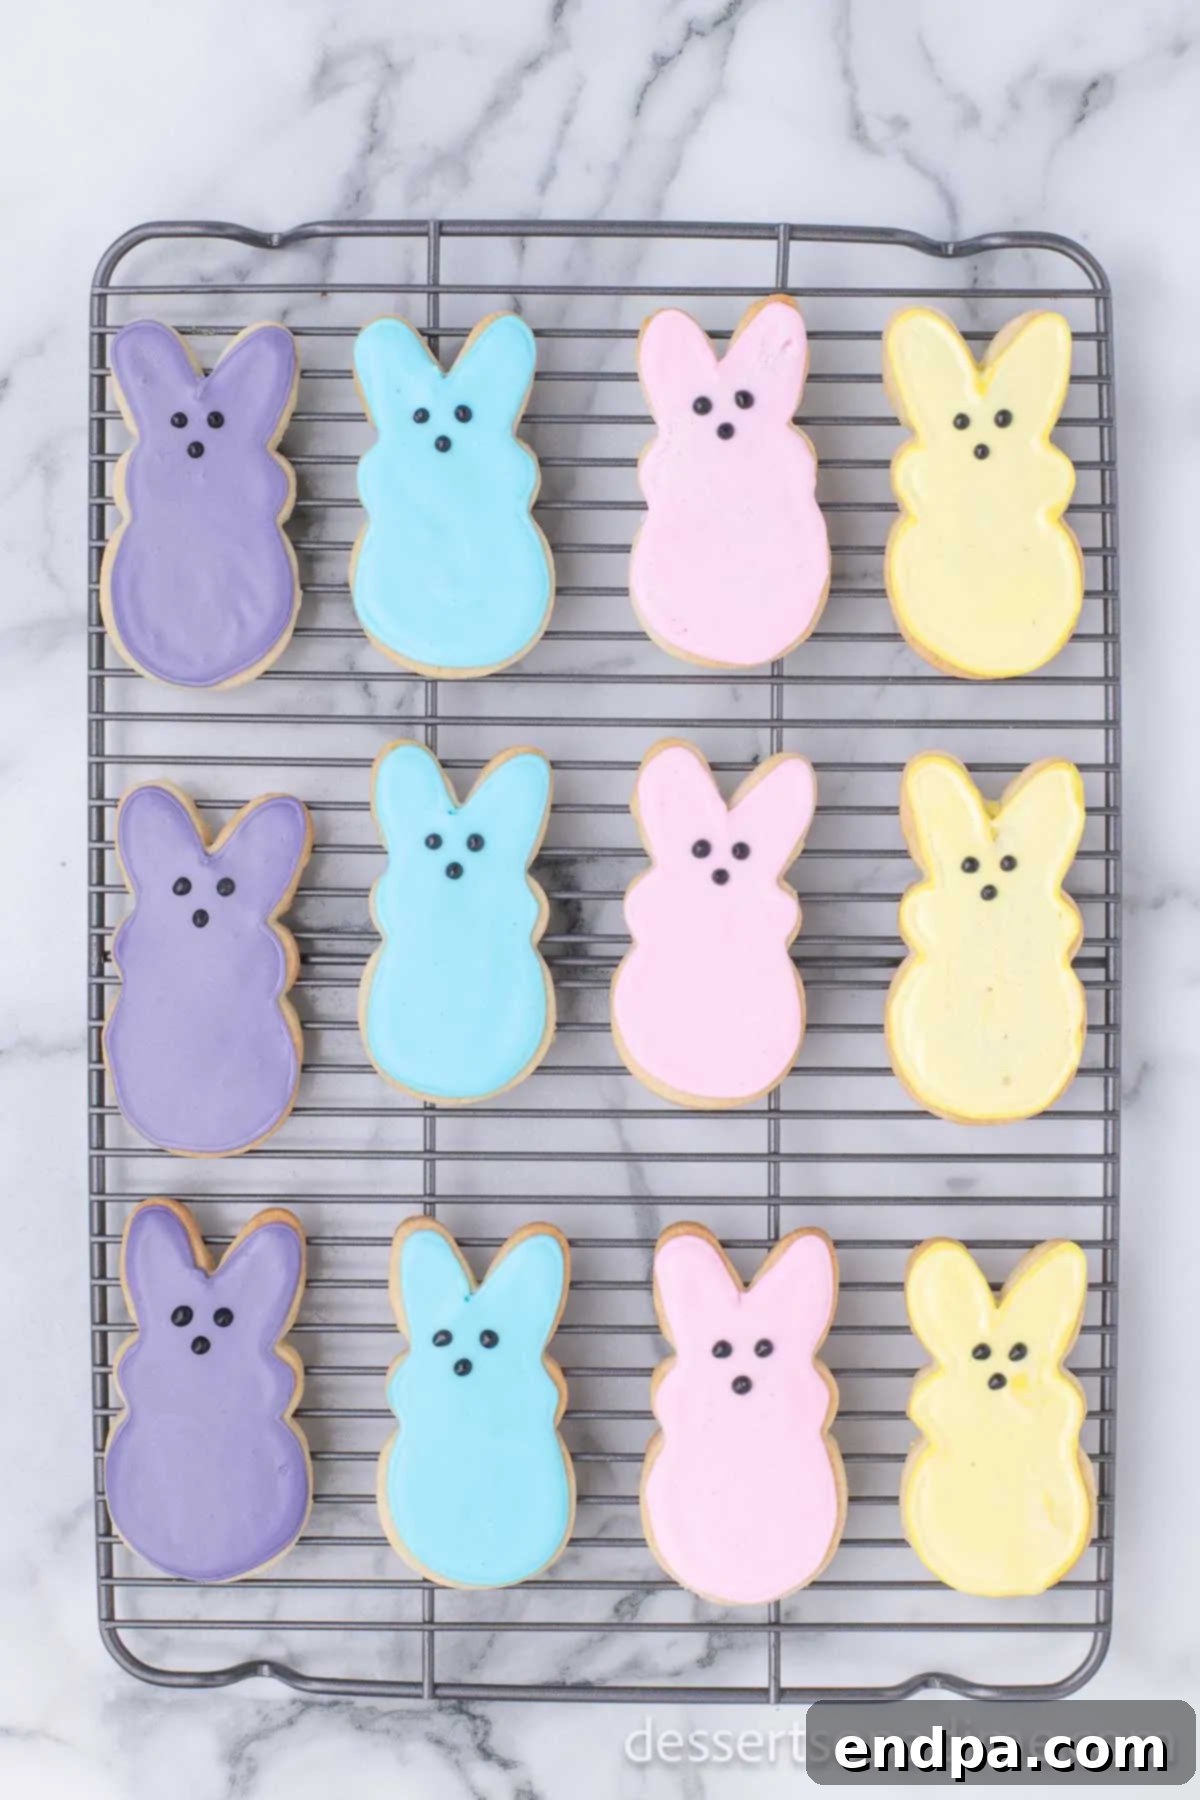
Step 4: Add Bunny Faces. Once the pastel base icing is completely dry and firm to the touch, it’s time to add the charming bunny faces. Place the black icing in a piping bag fitted with a small, fine tip (such as tip #1 or #2). Carefully pipe three small dots on each cookie: two for the eyes and one for the nose, forming a cute bunny face. Alternatively, you can melt a small amount of dark chocolate and use a toothpick to create the facial features. After applying the facial details, allow this final layer of icing to cool and set completely for another 2 to 3 hours. Do not cover the cookies during this drying period, as it can smudge the delicate details.

Storage Tips to Keep Your Cookies Fresh
Proper storage is essential to maintain the freshness and beautiful appearance of your decorated Easter Bunny Cookies. Before storing, it is paramount to ensure that the royal icing has cooled and set completely. This can take several hours, so patience is key. Once fully dry, carefully place the cookies in an airtight container. Store them at room temperature, away from direct sunlight or excessive heat. When stored correctly, these delightful cookies will retain their quality and charm for up to 5 to 7 days, making them perfect for preparing a few days in advance of your Easter festivities.
Pro Tips and Tricks for Cookie Success
- Don’t Skip Chilling the Dough: This is a non-negotiable step! Refrigerating the dough overnight or for at least 6 hours ensures it’s firm and cold, which is crucial for preventing the cookies from spreading excessively in the oven and helps them maintain their shape.
- Avoid Overbaking: Keep a watchful eye on your cookies as baking times can vary between ovens. They are perfectly baked when the edges are lightly golden, but the centers still look soft. Overbaked cookies will be dry and crumbly.
- Complete Cooling is Key: Before even thinking about icing, ensure your cookies are completely cool. Any residual warmth will melt the royal icing, ruining your beautiful decorations.
- Mindful Mixing: When combining the dry ingredients with the wet, mix only until just combined. Overmixing the dough develops gluten, leading to a tough, dense cookie texture instead of a tender one.
- Mastering the Flooding Technique: For a smooth, professional-looking base layer of icing, use the flooding technique. First, outline the cookie with a slightly thicker consistency of icing, creating a dam. Then, fill the interior with a thinner, “flood” consistency icing, spreading it gently to the edges with a toothpick.
- Creative Embellishments: Elevate your bunnies! For an adorable 3D effect, attach a mini marshmallow to the back of each bunny for a fluffy tail using a tiny dot of icing. You can also melt dark chocolate and use a toothpick or a very fine piping tip to create expressive eyes and noses, adding depth to their faces.
- Consistent Rolling: Aim for a consistent dough thickness (about ¼ inch) when rolling out. This ensures all cookies bake evenly and have a uniform texture. Unevenly rolled dough can result in some cookies being underbaked and others overbaked.
- Parchment Paper is Your Friend: Always use parchment paper or silicone baking mats. They prevent sticking, promote even baking, and make transferring delicate cookies much easier.
More Festive Easter Desserts to Explore
- Easter Chocolate Covered Pretzel Rods: A sweet and salty treat, easy to make and customize with festive sprinkles.
- Birds Nest Cookies Recipe: Chewy, chocolatey, and topped with candy eggs, these are another super cute and simple Easter classic.
- Easter Dirt Cups Recipe: Layers of chocolate pudding, crushed Oreos, and gummy worms, perfect for a fun, kid-friendly dessert.
- Adorable Peeps Cupcakes: Classic cupcakes adorned with colorful Peeps marshmallows, adding a whimsical touch.
- Easter Chocolate Covered Oreos: Easy to dip and decorate, these make great gifts or party snacks.
- Easy Easter Puppy Chow: A delightful snack mix with a festive twist, crunchy and sweet.
I am genuinely excited for you to try this delightful Easter Bunny Cookies recipe. It’s a wonderful way to bring a touch of homemade magic to your holiday. Please share your creations and experiences in the comment section below – I’d love to hear how your cookies turned out!

Easter Bunny Cookies
These are the cutest Easter Bunny Cookies and so delicious too. This recipe is a must-try for Easter and so easy with step-by-step instructions.
2 hrs
10 mins
10 mins
2 hrs 20 mins
36
American
Dessert
196
Carrie Barnard
Ingredients
Cookie Ingredients:
- 5 cups flour
- 2 tsp baking powder
- 1 tsp salt
- 1 ½ cup unsalted butter softened at room temperature
- 2 cups granulated sugar
- 4 Eggs
- 2 tsp Vanilla Extract
Icing Ingredients:
- 2 egg whites
- 1 cup powdered sugar
- ½ tsp cream of tartar
- Gel Food Coloring
Instructions
COOKIE INSTRUCTIONS:
- Preheat the oven to 325 degrees F (160°C).
- Cream the softened butter with the granulated sugar in a mixing bowl until the combination is smooth and light, not grainy to the touch.
- Add all 4 eggs at one time to the butter-sugar mixture. Continue to mix until well combined.
- Then, add in the vanilla extract and mix until fully incorporated.
- In a separate bowl, sift together the flour, baking powder, and salt.
- Gradually add the dry mixture to the wet mixture, mixing on low speed until just combined.
- Continue mixing briefly to ensure all ingredients are thoroughly blended without overworking the dough.
- Gather the dough into a ball, wrap it tightly in plastic cling wrap, completely covering the entire dough ball.
- Place the dough in the refrigerator to chill for about 6 hours or preferably overnight until it is firm.
- Once firm, remove the cookie dough from the refrigerator and let it sit out to soften slightly for easier rolling (about 10-15 minutes).
- Lightly flour your work surface (e.g., a wood cutting board), rub flour on your rolling pin, and work a little flour into the dough if it’s too sticky.
- Roll the dough out to an even thickness (about ¼ inch) on the cutting board and use a bunny cookie cutter to cut out bunny-shaped cookies.
- Line your cookie sheets with parchment paper or silicone mats. Using a metal spatula, gently move the cut cookies to the prepared cookie sheets.
- Bake at 325 degrees F (160°C) for 8-10 minutes, or until the cookies are lightly browned around the edges and thoroughly baked.
- Remove the cookies from the oven and transfer them from the cookie sheet to a wire rack to cool completely (approximately 10 minutes or more). Do not frost until completely cool.
ICING INSTRUCTIONS:
- Combine all icing ingredients (except food coloring) in a mixing bowl, mixing on medium speed for 4 minutes. If the icing is not stiff enough, gradually add ¼ cup of powdered sugar until the icing reaches a 15-second consistency (meaning a line drawn with a spatula disappears in 15 seconds).
- Separate the icing into 5 small bowls. Mix each bowl of icing with your chosen gel food coloring. I recommend pastel colors like pink, yellow, purple, and blue for the main cookies, and black for the bunny faces.
- Place the pastel-colored icing into piping bags. First, outline the cookies with the icing, then fill in the centers (flood). Allow this layer of icing to cool and set completely for 2-3 hours.
- Once the pastel icing is dry, place the black icing in a piping bag fitted with a small tip (like tip #1). Use this to pipe three small dots on each cookie to form the bunny face (two for eyes, one for nose). Allow this detailed icing to cool completely for another 2-3 hours. Do not cover the cookies while the icing is drying.
- After the icing has cooled and hardened completely, store the cookies at room temperature in an airtight container for up to 5-7 days.
Nutrition Facts
Calories 196kcal,
Carbohydrates 28g,
Protein 3g,
Fat 8g,
Saturated Fat 5g,
Polyunsaturated Fat 1g,
Monounsaturated Fat 2g,
Trans Fat 1g,
Cholesterol 39mg,
Sodium 99mg,
Potassium 38mg,
Fiber 1g,
Sugar 14g,
Vitamin A 263IU,
Calcium 21mg,
Iron 1mg
