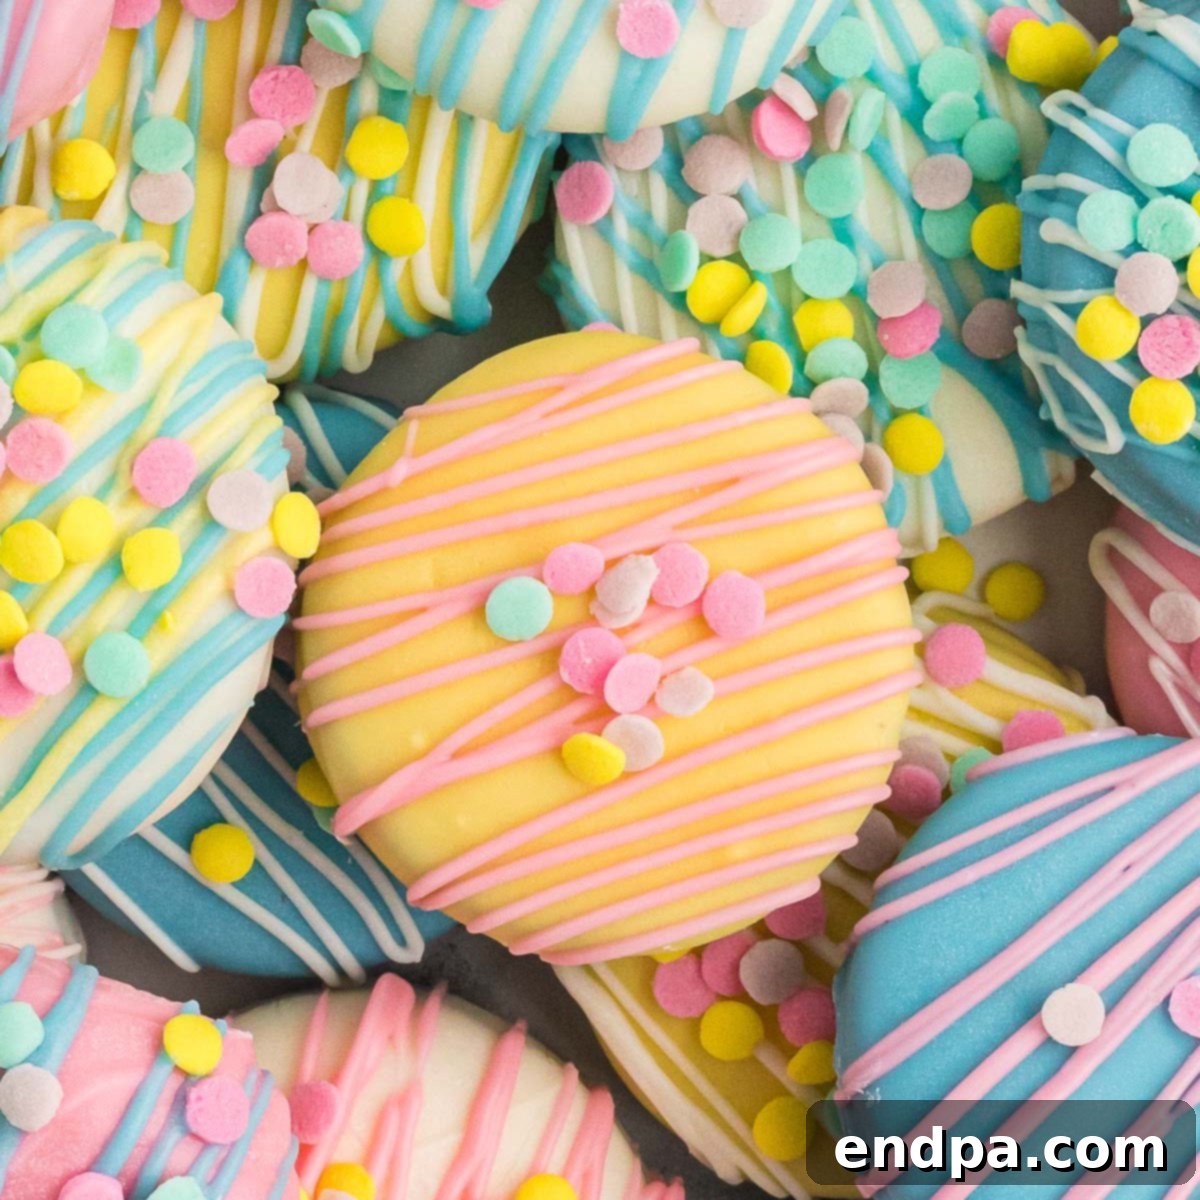
Easy Easter Chocolate Covered Oreos: A Delightful No-Bake Treat
Get ready to add a burst of color and sweetness to your Easter celebrations with these incredibly simple and absolutely delicious Easter Chocolate Covered Oreos! Perfect for busy holidays, this no-bake recipe allows you to whip up a batch of festive, chocolate-dipped Oreos in mere minutes, making it an ideal activity for families and a delightful addition to any Easter spread. Whether you’re a seasoned baker or just starting, you’ll love how effortlessly these treats come together, providing endless fun for decorating and an irresistible snack for everyone.
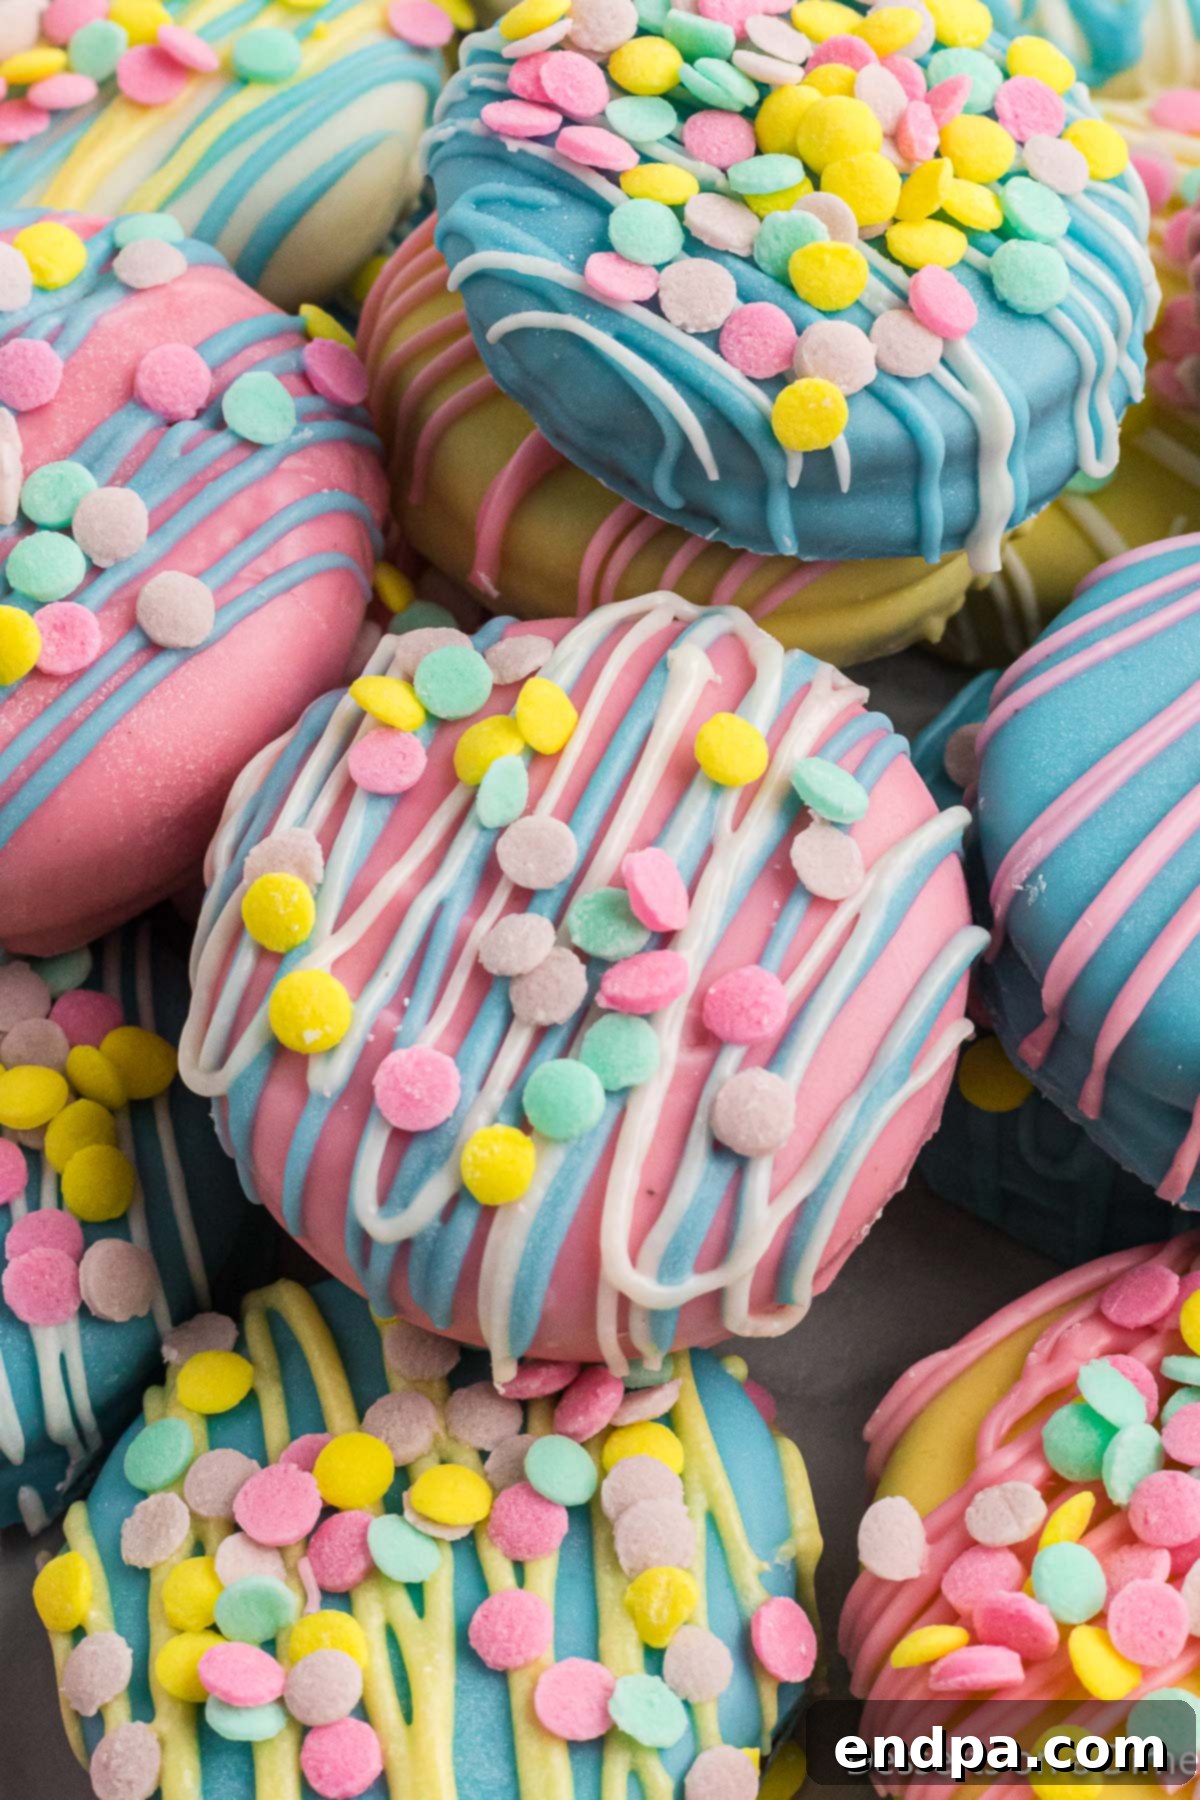
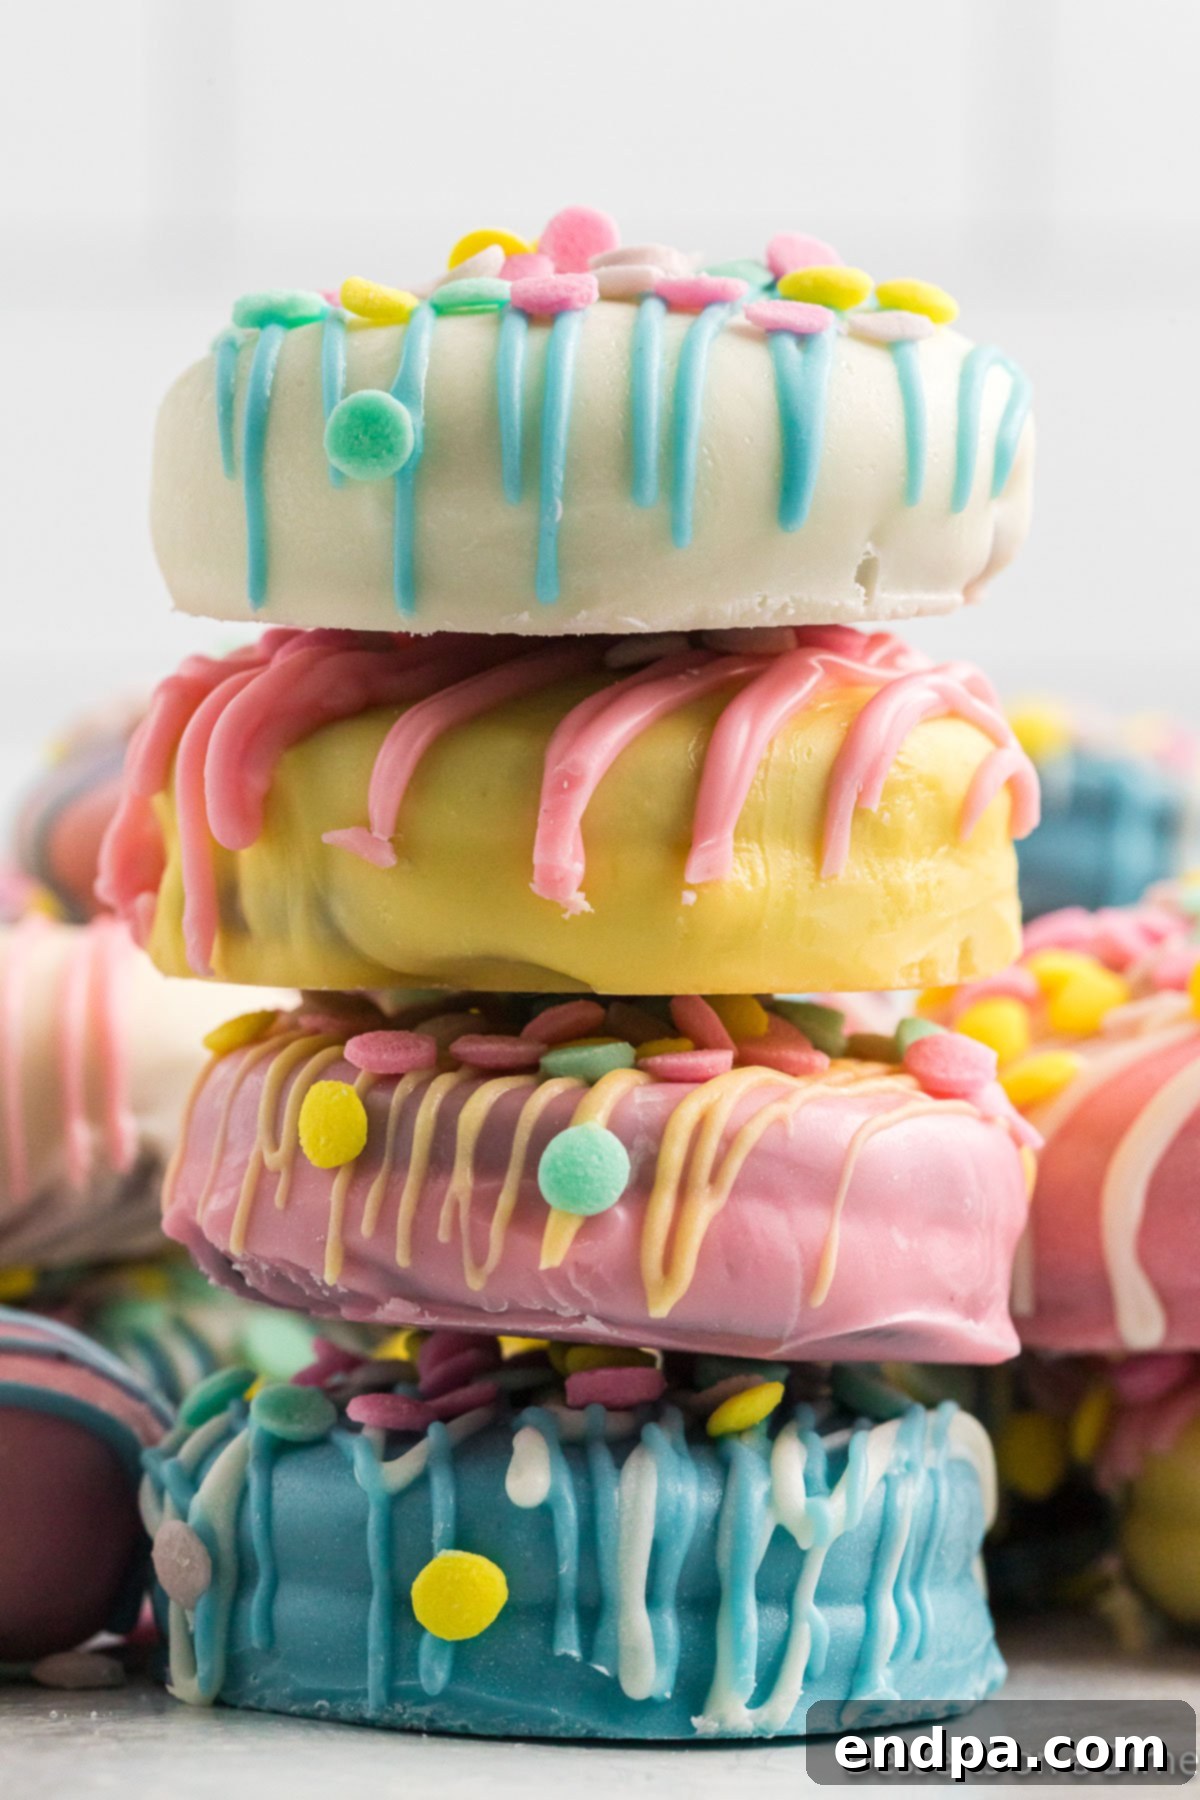
Crafting these delightful chocolate dipped Oreos is not only quick but also incredibly rewarding. They are a staple in our household for Easter, consistently earning rave reviews from both kids and adults. Their customizable nature means you can tailor them to any preference, making them a truly versatile no-bake dessert. Imagine an array of pastel-colored Oreos, each adorned with unique sprinkles, glistening on your holiday table or nestled within a homemade Easter basket!
Beyond being a standalone treat, these gorgeous Oreos are fantastic for enhancing other Easter creations. We love to feature them prominently on our elaborate Easter Candy Charcuterie Board. They also pair wonderfully with other festive delights like Easter Egg Rice Krispie Treats, savory-sweet Crock Pot Easter Candy Clusters, playful Bunny Butt Cupcakes, and crunchy Easter Pretzel Rods. These chocolate-covered wonders are the perfect sweet inclusion for a thoughtful gift box for friends, neighbors, or as a vibrant centerpiece for any gathering. They truly embody the spirit of Easter Desserts, bringing smiles and joy with every bite.
Table of Contents
- Why We Love This Recipe
- Ingredients for Chocolate Covered Oreos
- Creative Variations
- How to Make Easter Chocolate Covered Oreos: Step-by-Step
- Frequently Asked Questions
- More Easter Treats to Try
Why We Love This Recipe
There’s a multitude of reasons why these Easter Chocolate Covered Oreos have become an annual tradition and a cherished part of our holiday celebrations. This recipe stands out for its sheer simplicity and fantastic results, making it a favorite for countless families:
- Effortless Preparation: This is a genuinely easy recipe that requires minimal culinary skill. Forget complicated baking steps; these are primarily about melting and dipping, which even the youngest helpers can manage.
- Budget-Friendly Fun: Made with readily available and inexpensive ingredients, these treats won’t break the bank. You can create a bountiful batch without a hefty grocery bill, perfect for classroom parties, church gatherings, or large family get-togethers.
- Kid-Friendly Activity: The dipping and decorating process is incredibly engaging for children of all ages. From choosing candy melt colors to scattering sprinkles, kids love to get involved, fostering creativity and making lasting holiday memories.
- Customizable for Any Occasion: While designed for Easter with pastel colors, the beauty of this recipe lies in its adaptability. Simply change the colors of your candy melts and sprinkles, and you have a perfect treat for birthdays, Halloween, Christmas, or Valentine’s Day!
- Delicious No-Bake Delight: Who doesn’t love a delicious dessert that doesn’t require turning on the oven? These no-bake Oreos are a quick solution when you need a sweet fix or a last-minute addition to your dessert table.
- Perfect for Gifting: Beautifully decorated, these chocolate-covered Oreos make charming homemade gifts. Arrange them in small bags with ribbons, and you have a thoughtful present that everyone will appreciate.
From their charming appearance to their irresistible taste, these chocolate-dipped Oreos are more than just a snack; they’re a joyful expression of the spring holiday season.
Ingredients for Chocolate Covered Oreos
Creating these festive delights requires just a few key ingredients. Quality makes a difference, so choose your components wisely for the best results:
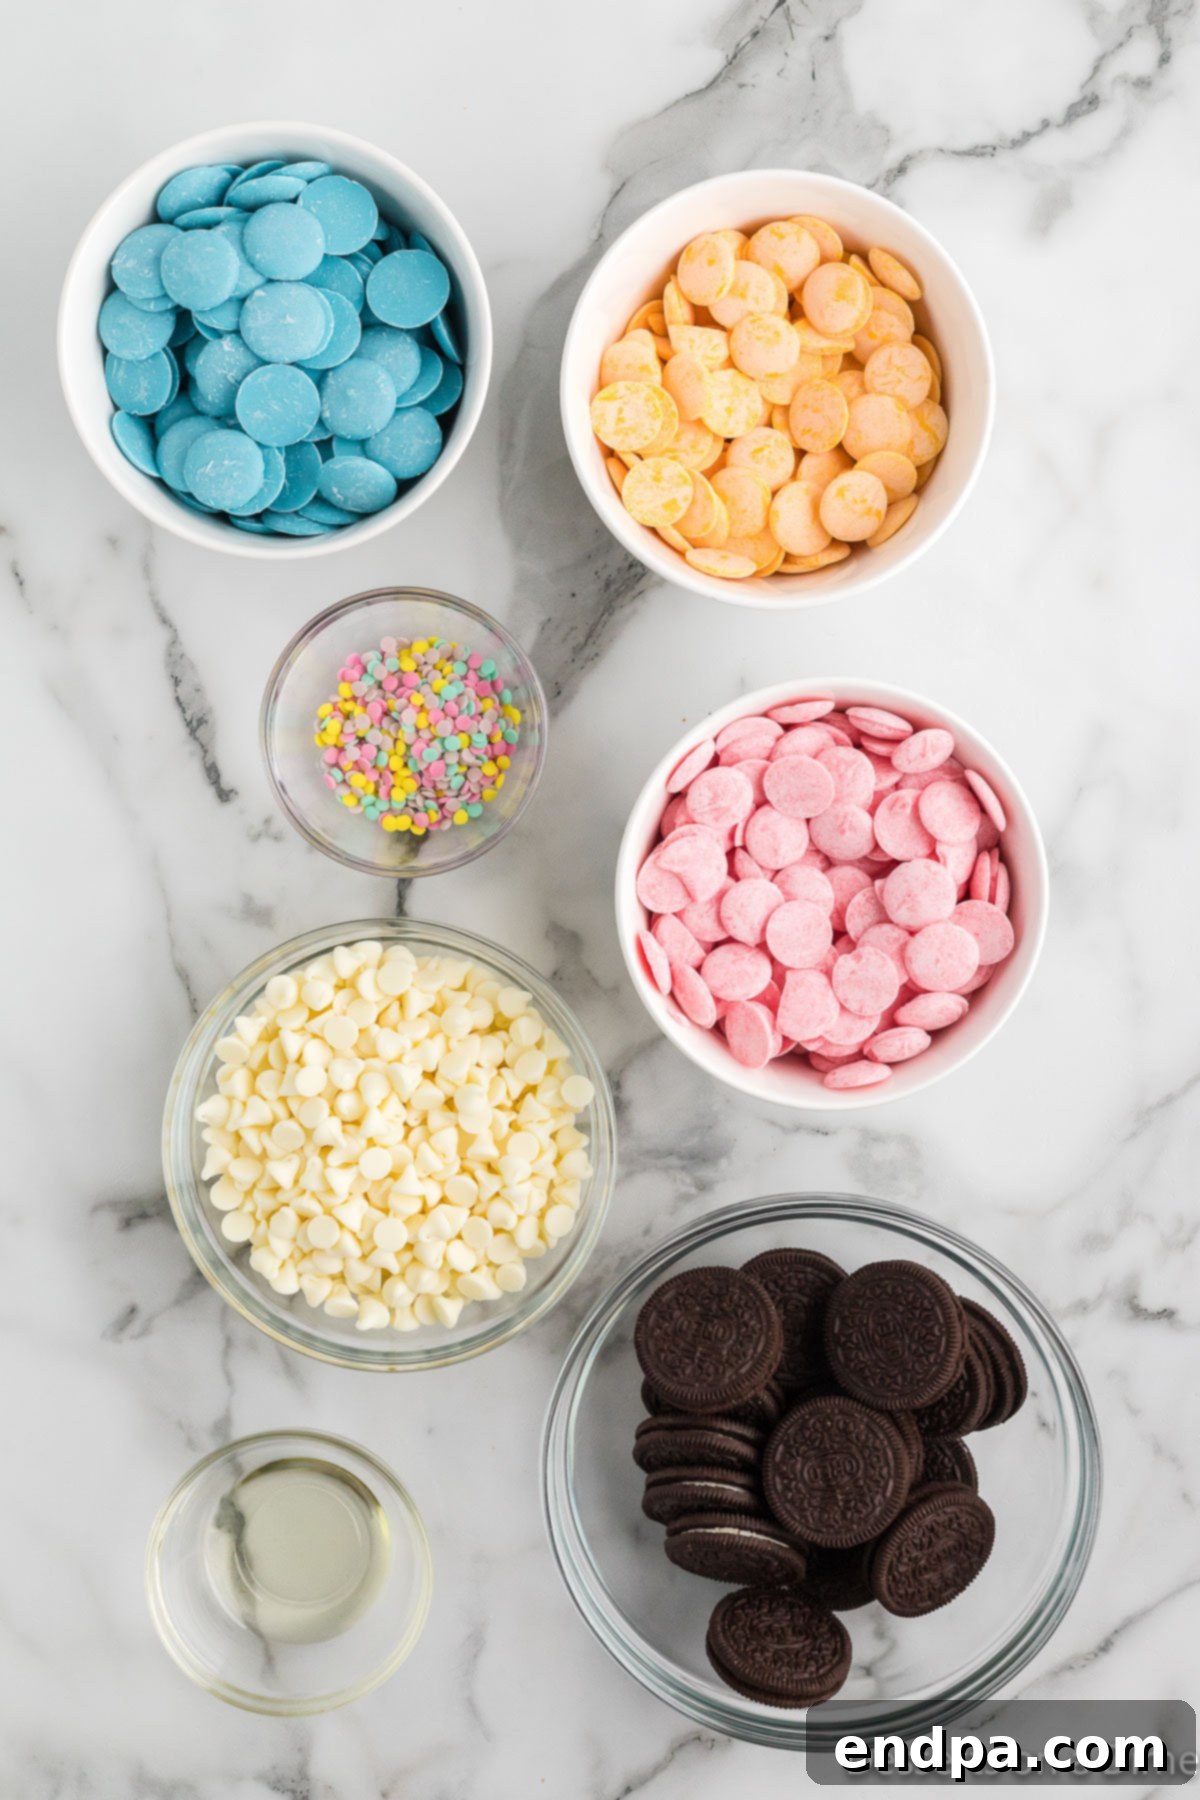
- Oreo Cookies: We highly recommend using regular Oreo Cookies. While double-stuffed Oreos might sound appealing for extra cream, their thicker profile can sometimes make them trickier to dip evenly and result in a very thick chocolate coating.
- Belgian White Chocolate Chips: Opt for a good quality white chocolate. Belgian chocolate chips melt smoothly and provide a rich, creamy coating that tastes superior to standard baking chocolate. It serves as an excellent base for any colorful drizzles.
- Candy Melts: These are essential for achieving those vibrant, cheerful Easter colors. We used pastel blue, yellow, and pink for a classic spring palette. Feel free to unleash your creativity and choose any colors that spark your imagination or match your party theme. Candy melts are designed to harden quickly and provide a smooth, glossy finish.
- Vegetable Oil: A small amount of vegetable oil is a secret weapon here. It helps to thin the candy melts and chocolate slightly, ensuring a smoother consistency for dipping and allowing any excess to drip off easily, resulting in a perfectly coated cookie without thick, uneven layers.
- Spring Pastel Sprinkles: A must-have for decoration! Choose a mix of pastel hues, bunny shapes, or tiny eggs to enhance the Easter theme.
For precise measurements and the full recipe details, please refer to the comprehensive recipe card at the bottom of this article. These ingredients combine to create a truly delicious and eye-catching array of Easter-themed Oreo treats.
Creative Variations for Your Chocolate Covered Oreos
One of the best aspects of making chocolate-covered Oreos is the endless potential for customization. While our recipe focuses on a beautiful Easter theme, these treats are incredibly versatile and can be adapted for any holiday or occasion. Here are some inspiring variations to spark your creativity:
- Holiday-Themed Candy Melts and Sprinkles: This is where the fun truly begins!
- Christmas: Use red and green candy melts, topped with festive sprinkles, crushed candy canes, or edible glitter.
- St. Patrick’s Day: Dip in vibrant green candy melts, adding gold coin sprinkles or green sugar.
- Halloween: Opt for orange and black candy melts, spooky sprinkles, edible googly eyes, or ghost shapes piped with white chocolate.
- Valentine’s Day: Pink and red candy melts, heart-shaped sprinkles, or a dusting of pink sanding sugar create a romantic touch.
- Birthday Parties: Match the candy melts to the party’s color scheme and add confetti sprinkles.
These cookies are truly fantastic year-round!
- Explore Different Chocolate Coatings: Don’t limit yourself to white chocolate or candy melts.
- Milk Chocolate: For a classic, rich flavor, milk chocolate provides a comforting and familiar taste.
- Dark Chocolate: If you prefer a more intense, less sweet profile, dark chocolate offers a sophisticated twist.
- Almond Bark: This is a popular and easy-to-use alternative to chocolate chips or candy melts, known for its smooth melting and quick-setting properties. It’s often more cost-effective as well.
- Food Coloring Fun: If using white chocolate or almond bark, you can use oil-based food coloring (specifically designed for chocolate) to tint it any color you desire. Ensure you mix thoroughly until no streaks remain for a uniform color.
- Experiment with Oreo Flavors: The base cookie itself offers numerous possibilities!
- Double Stuffed Oreos: While we recommend regular for ease of dipping, double-stuffed can be used for an extra creamy center if you’re comfortable with a slightly thicker coating.
- Golden Oreos: These vanilla-flavored cookies provide a lighter base, which can be lovely with pastel coatings.
- Chocolate Oreos: For an ultimate chocolate experience, use chocolate-flavored Oreos with your chosen coating.
- Seasonal Oreo Cookies: Keep an eye out for limited-edition Oreo flavors! Pumpkin Spice, Mint, or Birthday Cake Oreos can add an exciting seasonal twist to your treats.
- Alternative Melting Methods: While microwaving is quick, a double boiler offers more control and a gentler melt, reducing the risk of scorching your chocolate. Simply place your chocolate or candy melts in a heatproof bowl over a simmering pot of water, ensuring the bowl does not touch the water. Stir until smooth.
- Diverse Topping Options: Beyond sprinkles, get creative with your toppings!
- Sanding Sugar: Pink, yellow, or blue sanding sugar adds a beautiful sparkle.
- Jellybeans: Small, pastel jellybeans can be pressed onto the wet chocolate for a playful touch.
- Crushed Nuts: For a textural contrast, crushed peanuts, almonds, or walnuts add a delightful crunch.
- Bunny Oreos: For a truly adorable Easter touch, use a piping bag with a small amount of melted white chocolate to pipe small bunny paws and ears onto your finished Oreos. Then, add a tiny pink heart sprinkle for the nose and black nonpareil sprinkles for the eyes. These make for an extra special presentation!
How to Make Easter Chocolate Covered Oreos: Step-by-Step
Creating these festive chocolate-dipped Oreos is a straightforward and enjoyable process. Follow these simple steps for perfectly coated and decorated treats:
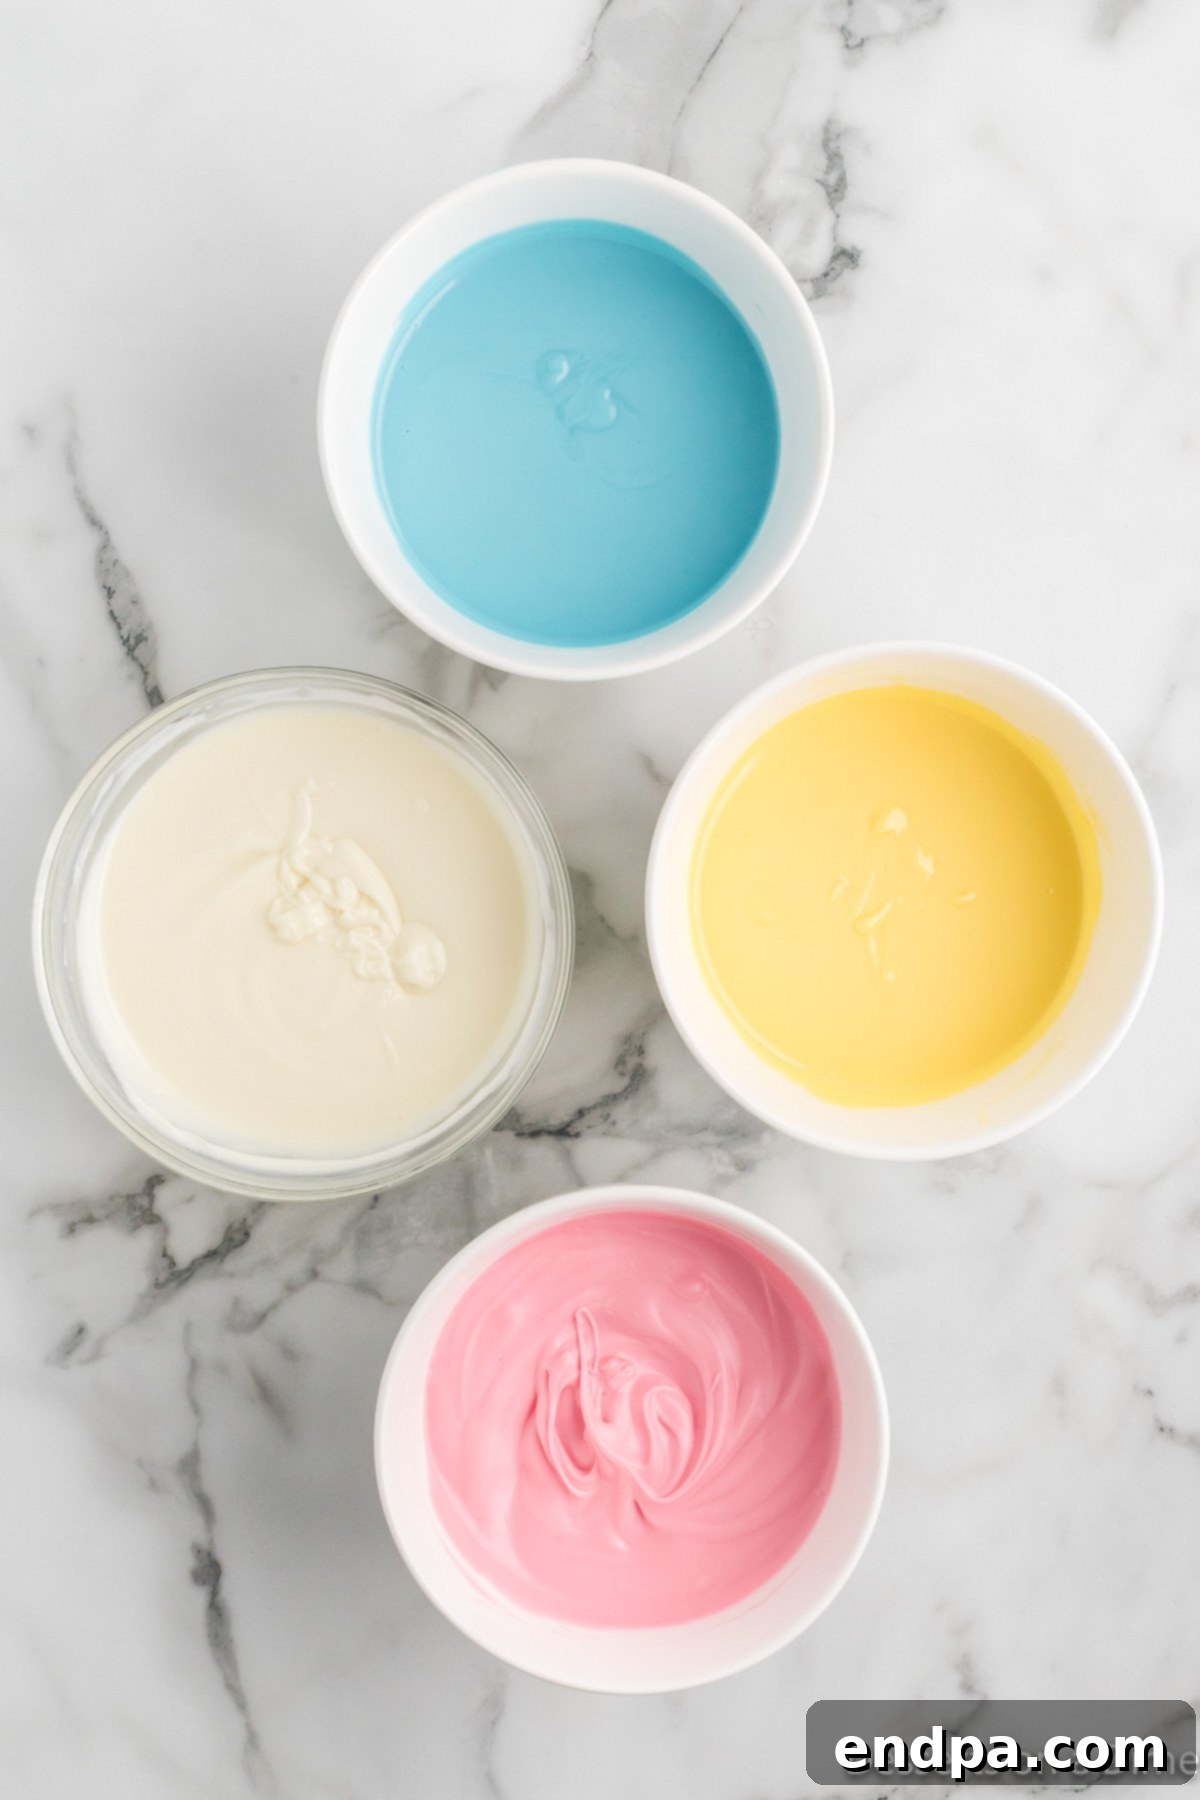
Step 1: Prepare Your Melting Station. Gather four separate microwave-safe bowls. Divide your white chocolate chips and different colored candy melts into these bowls. Add a small amount of vegetable oil (about ½ teaspoon per bowl, or as needed to thin) to each bowl of candy coating. This helps achieve a smooth, dippable consistency.
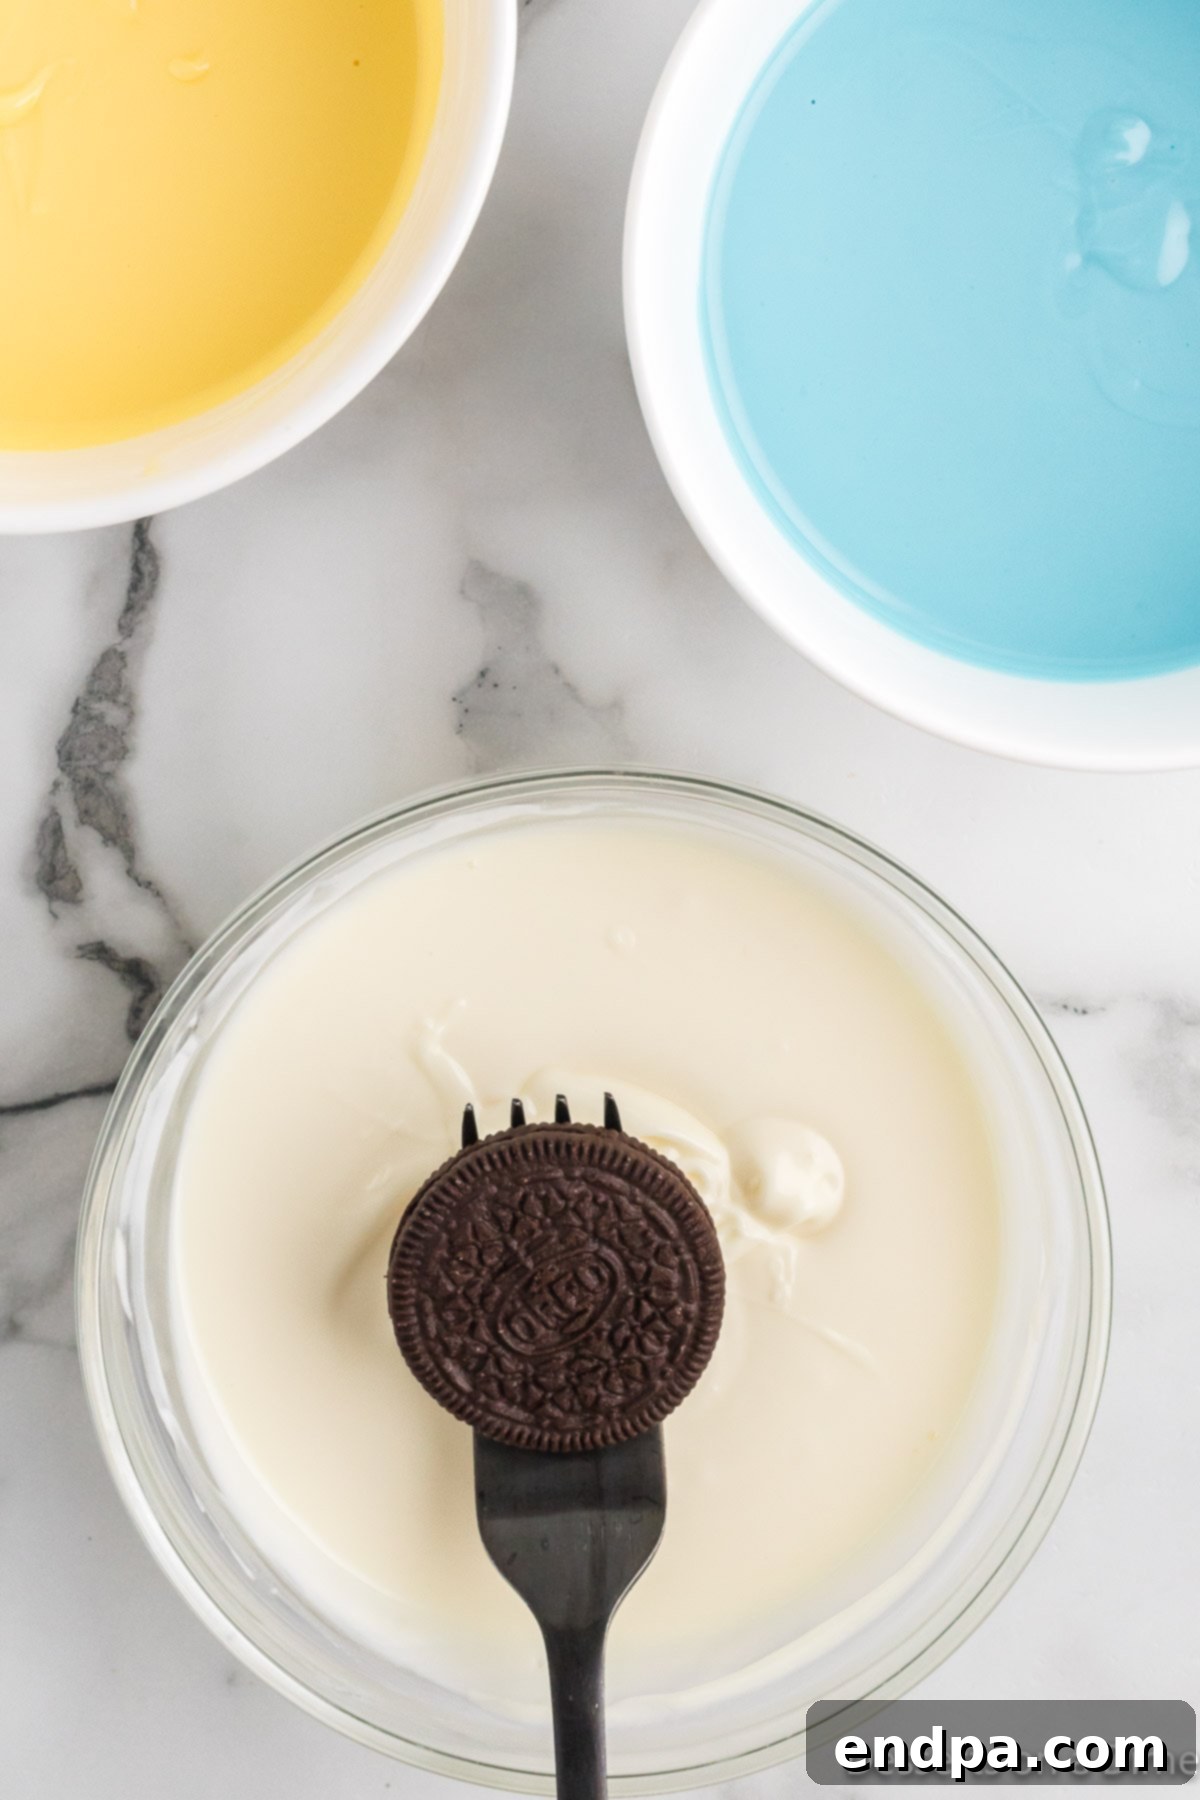
Step 2: Melt the Coatings. Microwave each bowl of chocolate/candy melts in 15-20 second intervals, stirring well after each interval, until completely melted and smooth. Be careful not to overheat. Once melted, use a fork to dip each Oreo cookie into the desired melted coating. Gently tap the fork against the side of the bowl to remove any excess chocolate, ensuring a clean and even coating.
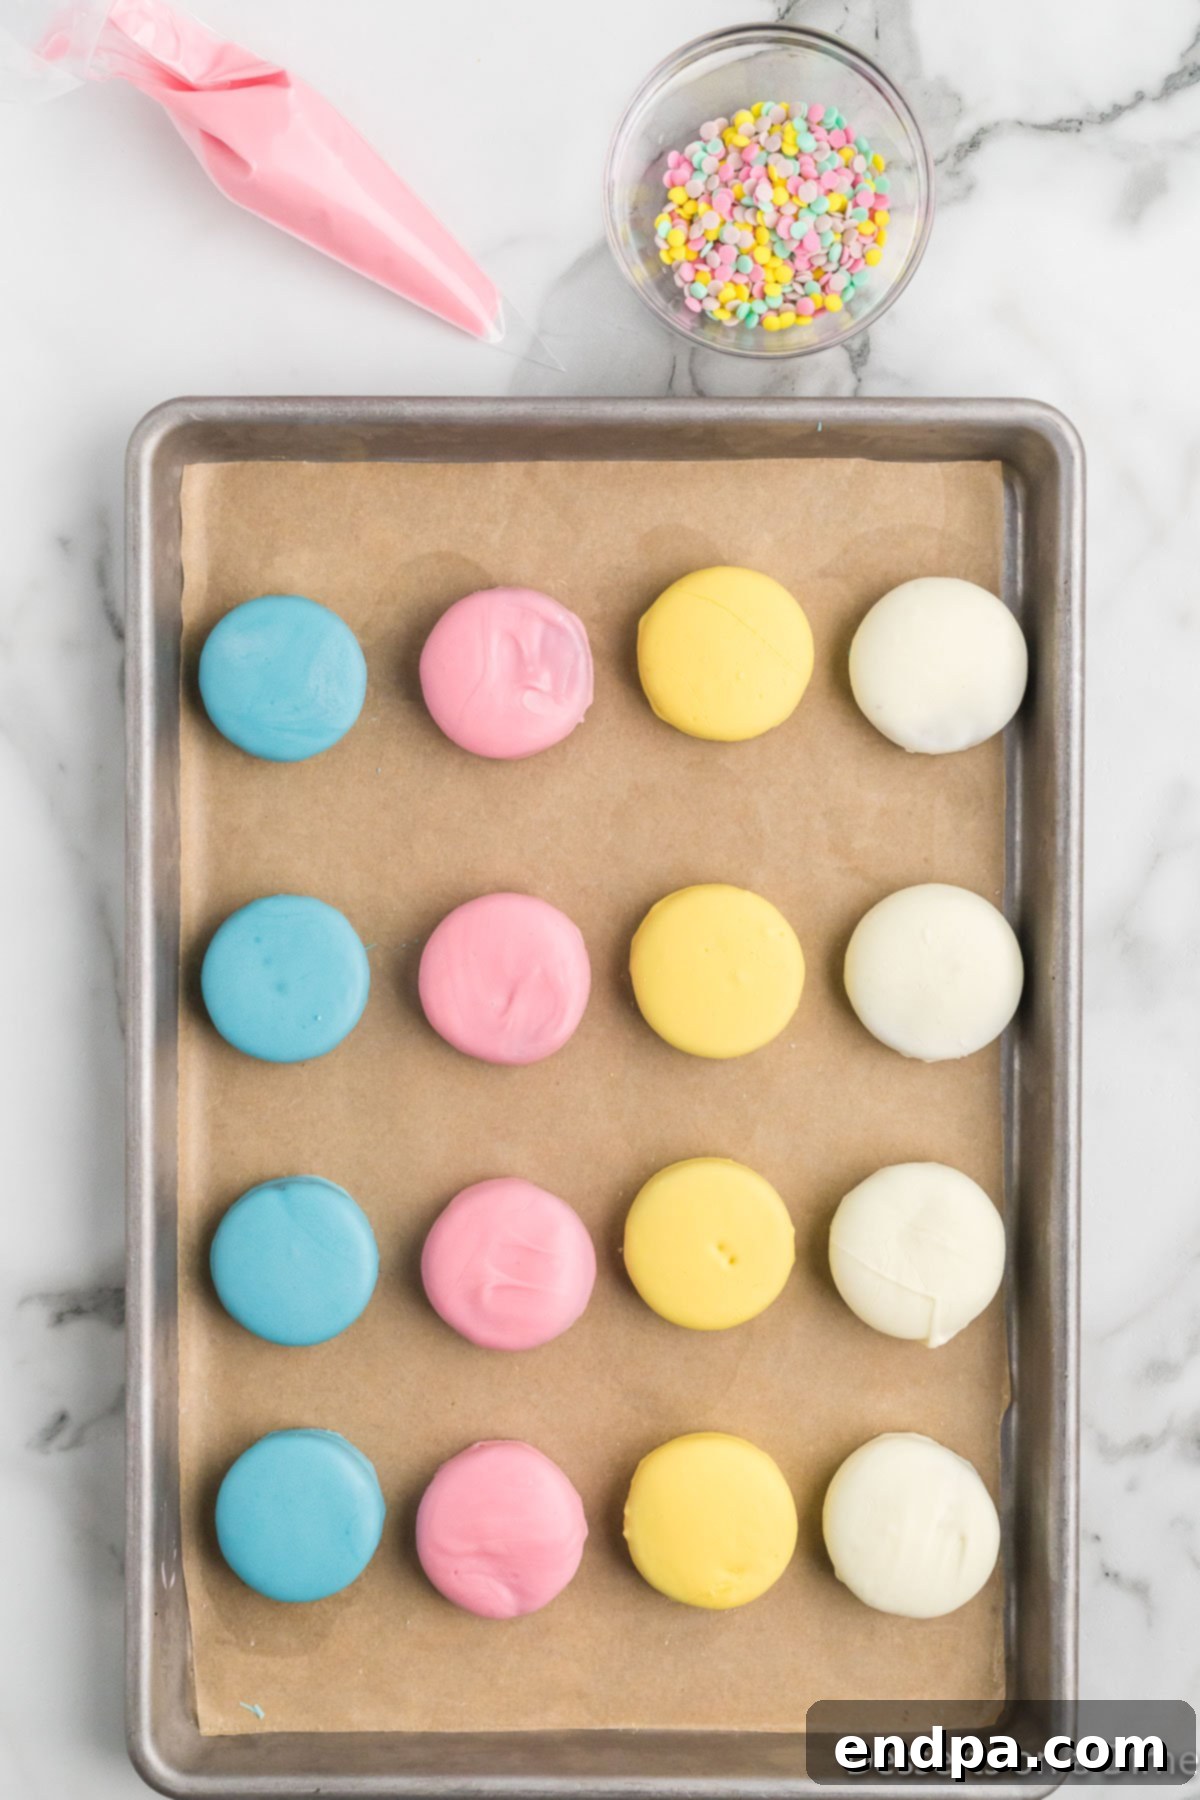
Step 3: Set and Chill. Once coated, carefully place each cookie in a single layer on a baking sheet lined with parchment paper or a silicone mat. Continue this process, rotating through your different colors of candy melts, until all your Oreo cookies are beautifully coated. Place the entire baking sheet into the refrigerator for at least one hour to allow the chocolate coating to fully set and harden.
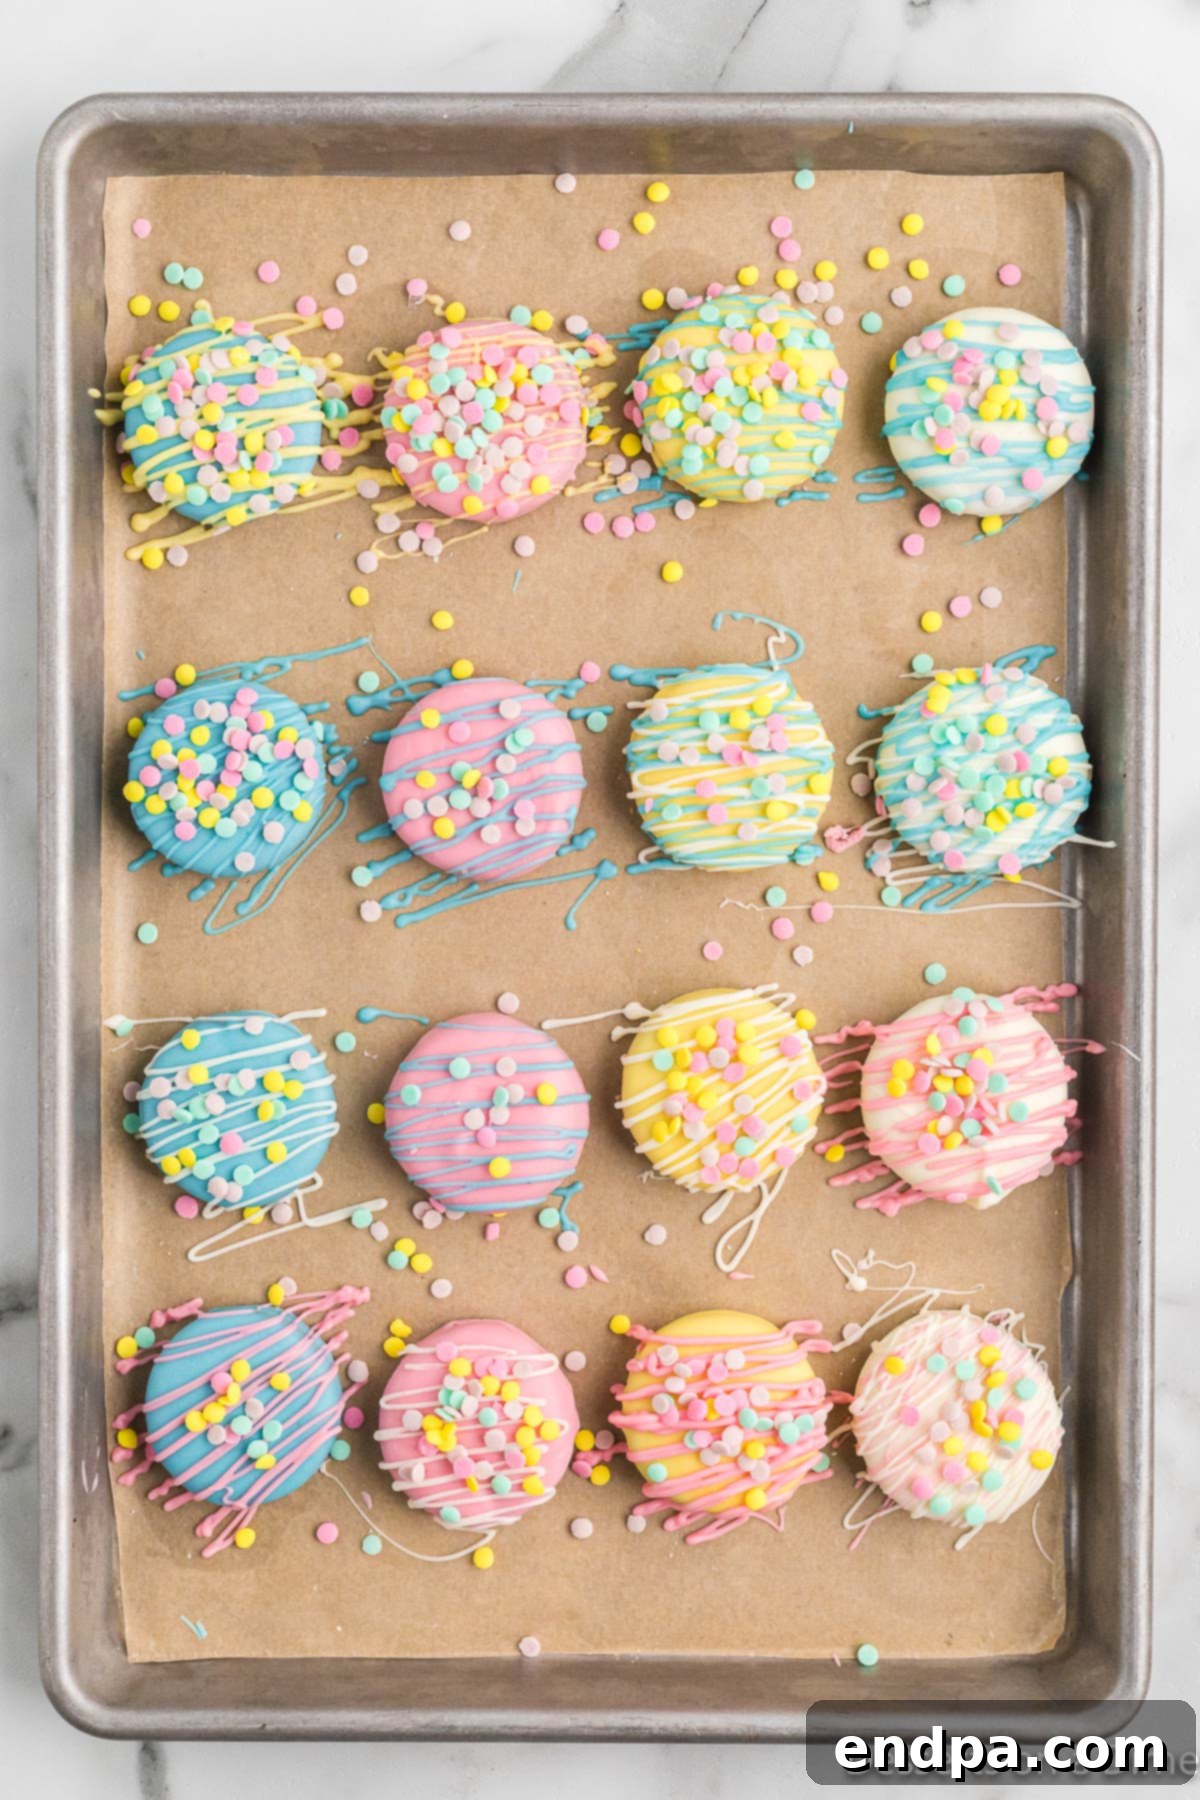
Step 4: Decorate and Final Set. Once the initial chocolate coating is firm, take any remaining melted chocolate and candy melts and pour them into separate piping bags or resealable plastic bags with a small corner snipped off. Drizzle these over your set cookies in a zig-zag pattern, create elegant pastel stripes, or draw simple designs. Immediately after drizzling, sprinkle your chosen pastel sprinkles over the wet chocolate. This ensures they adhere beautifully. Finally, return the decorated cookies to the refrigerator for an additional 15 minutes to allow the drizzles and sprinkles to set completely. Once firm, your delightful Easter Chocolate Covered Oreos are ready to be served and enjoyed!
Frequently Asked Questions
Here are some common questions about making and storing your Easter Chocolate Covered Oreos:
How to store Easter Chocolate Covered Oreos?
Store these delicious Easter Oreo Cookies in an airtight container or bag at room temperature. They will maintain their freshness and delightful taste for up to 2-3 weeks, making them a fantastic make-ahead treat for the holiday season.
Can you make this recipe in advance?
Absolutely! This recipe is ideal for making ahead of time. Because they store so well, you can prepare them days or even a couple of weeks before your event, allowing you to focus on other holiday preparations closer to Easter. Just ensure they are stored properly to maintain their quality.
Can you freeze the cookies?
Yes, you can easily freeze these chocolate-covered Oreos for longer storage, up to 2-3 months. For best results, wrap each cookie individually in plastic wrap before placing them in a freezer bag or an airtight freezer-safe container. If stacking, separate layers with wax paper to prevent sticking. Once defrosted, the chocolate might appear slightly ‘wet’ or have a minor bloom, but the taste and texture will remain largely unaffected. Simply let them thaw at room temperature for an hour or two before serving.
What are the best types of sprinkles to use?
For Easter, pastel-colored jimmies, nonpareils, small sugar shapes (like bunnies, chicks, or eggs), or even edible glitter are perfect. Look for sprinkles specifically labeled “spring mix” or “Easter sprinkles” for a cohesive look. Avoid very large or heavy candies unless pressing them firmly into the wet chocolate to ensure they stick.
Why is my chocolate seizing or clumping when melting?
Chocolate seizing (becoming thick and crumbly) usually happens when even a tiny drop of water gets into the chocolate while melting. Always ensure your bowls and utensils are completely dry. Also, avoid overheating chocolate; melt it slowly in short bursts in the microwave or using a double boiler to prevent it from burning or clumping.
Can I use butter or shortening instead of vegetable oil to thin the chocolate?
While some recipes use shortening (like Crisco) for thinning, vegetable oil (or any neutral oil like coconut oil) is generally preferred for candy melts and chocolate. Butter contains water, which can cause seizing. A tiny bit of oil helps thin the consistency without compromising the flavor or setting properties.
More Easter Treats to Try
If you loved making these Easter Chocolate Covered Oreos, be sure to explore more of our fantastic Easter-themed dessert recipes:
- Peeps Chocolate Covered Pretzels
- Easter Dirt Cups Recipe
- Easter Chocolate Covered Pretzels
- Easter Bunny Cake
- Easter Dirt Cake
- Adorable Peeps Cupcakes
Make these easy Easter treats today for your Easter baskets or holiday gathering! We would love to hear from you. Please leave a star rating and comment once you try them and share your experience!
Pin
Easter Chocolate Covered Oreos
5
15
20
16
American
Dessert
188
Carrie Barnard
Ingredients
- 16 Oreo Cookies
- 6 ounces White Chocolate Chips
- 6 ounces Pink Candy Melts
- 6 ounces Light Blue Candy Melts
- 6 ounces Yellow Candy Melts
- 2 teaspoons Vegetable Oil (divided)
- Spring Pastel Sprinkles
Instructions
- Prepare microwave-safe bowls for each color of chocolate and candy melts you’ll be using. Add a small amount of vegetable oil to each bowl (approximately ½ teaspoon per bowl) to help achieve a smooth, dippable consistency.
- Microwave each bowl of chocolate/candy melts in 15-20 second intervals, stirring thoroughly after each interval, until they are completely melted and smooth. Be careful not to overheat.
- Using a fork, carefully dip each Oreo cookie into the melted chocolate or candy melts, ensuring it’s fully coated. Gently tap the fork on the side of the bowl to remove any excess coating, allowing it to drip back into the bowl.
- Place the coated cookies in a single layer onto a baking sheet lined with parchment paper or a silicone mat.
- Continue dipping and placing cookies, rotating between the different colors of candy melts to create a vibrant assortment of Easter-themed Oreos.
- Once all cookies are coated, place the baking sheet in the refrigerator for at least an hour to allow the chocolate coating to fully set and harden.
- After the initial coating has set, transfer any remaining melted chocolate and candy melts into separate piping bags or small ziplock bags with a tiny corner snipped off.
- Drizzle the remaining chocolate and candy melts over the set cookies in decorative patterns, such as zig-zags or stripes. Immediately top with your chosen spring pastel sprinkles before the drizzle hardens.
- Return the decorated cookies to the refrigerator for an additional 15 minutes to allow all decorations to set completely. Once firm, your festive Easter Chocolate Covered Oreos are ready to serve and enjoy!
Recipe Notes
If you prefer, you can use almond bark instead of candy melts in this recipe. Remember to use oil-based food coloring if you wish to change the color of almond bark or white chocolate.
Nutrition Facts
Calories
188
kcal
,
Carbohydrates
23
g
,
Protein
1
g
,
Fat
10
g
,
Saturated Fat
6
g
,
Polyunsaturated Fat
1
g
,
Monounsaturated Fat
2
g
,
Trans Fat
0.01
g
,
Cholesterol
2
mg
,
Sodium
70
mg
,
Potassium
58
mg
,
Fiber
0.4
g
,
Sugar
20
g
,
Vitamin A
3
IU
,
Vitamin C
0.1
mg
,
Calcium
24
mg
,
Iron
1
mg
Pin This Now to Remember It Later
Pin Recipe
