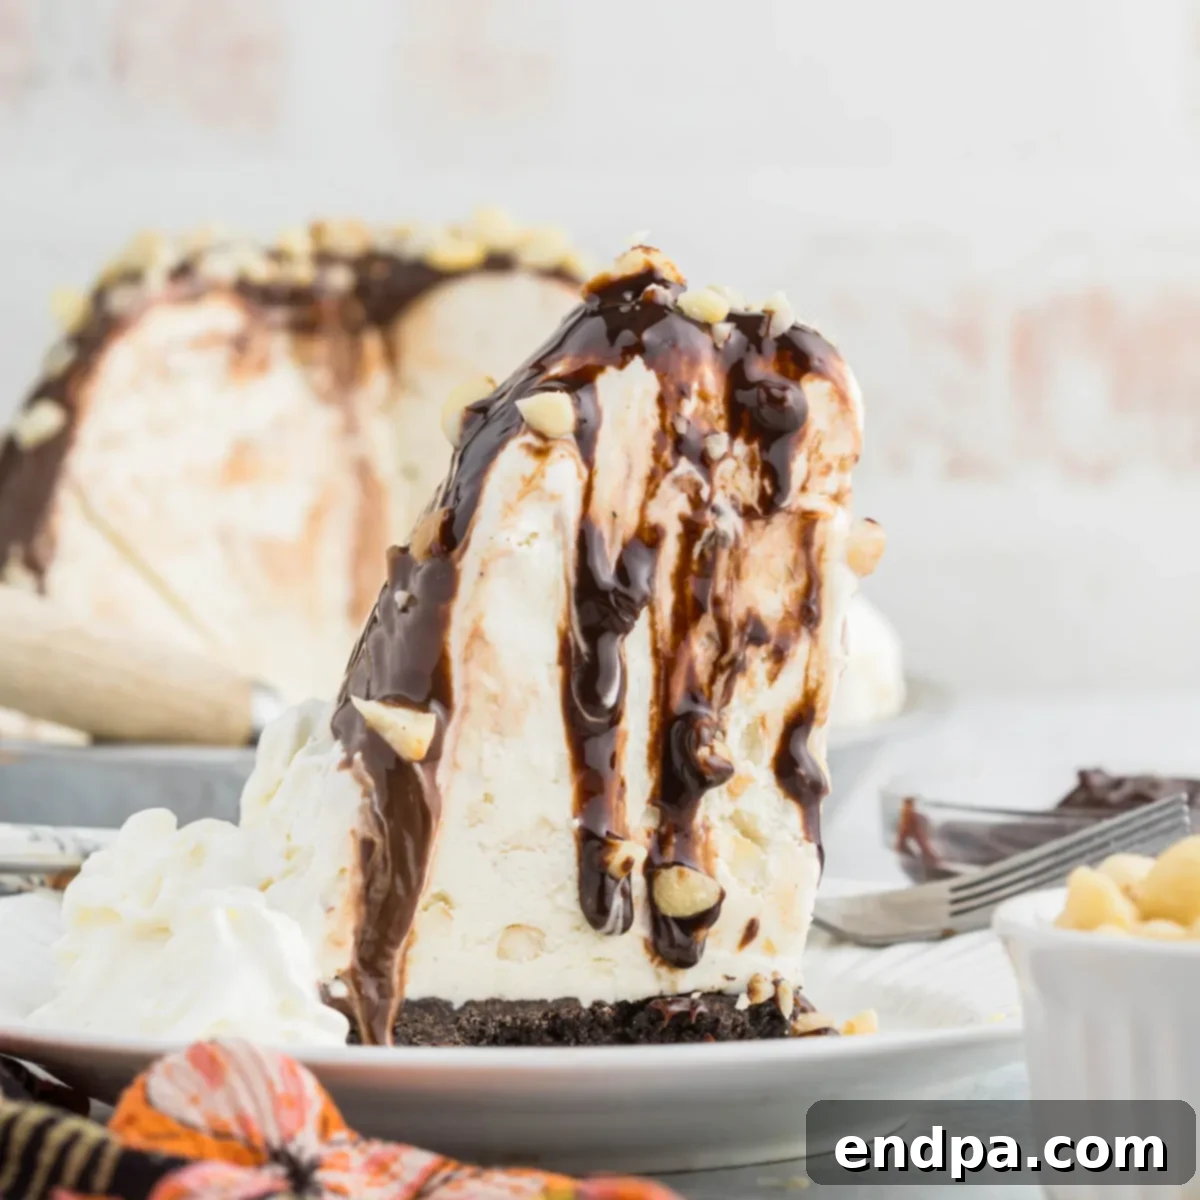
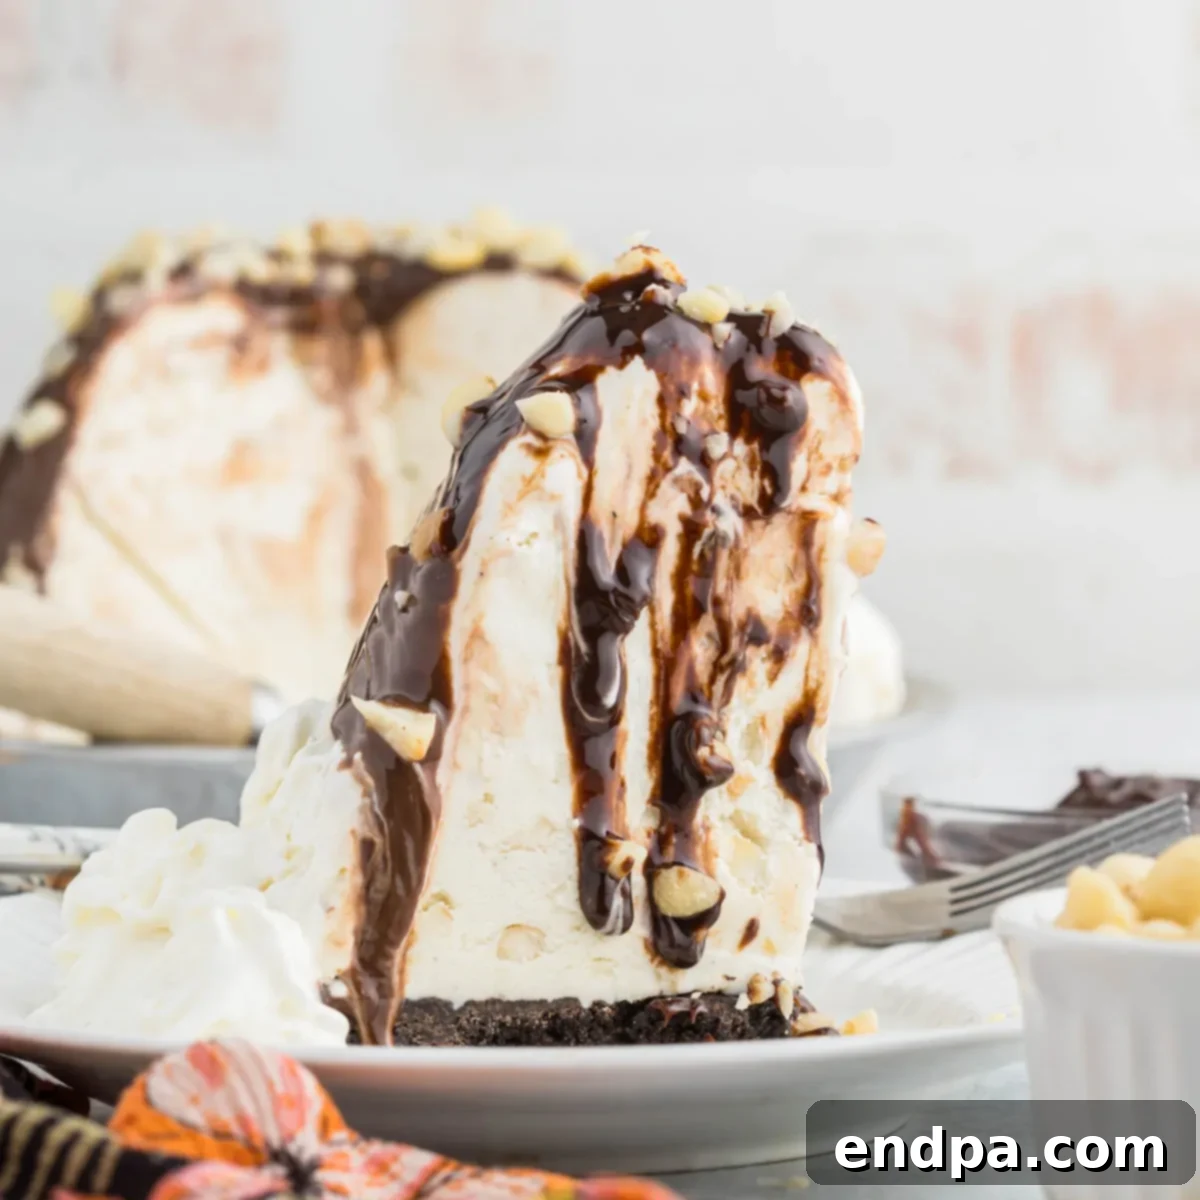
Indulge in the vibrant, tropical flavors of Hula Pie, an iconic Hawaiian dessert that promises to transport your taste buds straight to the islands with every decadent bite. This beloved sweet treat is a harmonious blend of creamy macadamia nut ice cream, a rich chocolate cookie crust, and a lavish topping of fudge, whipped cream, and extra macadamia nuts. It’s not just a dessert; it’s an experience, perfect for anyone seeking a delightful escape.
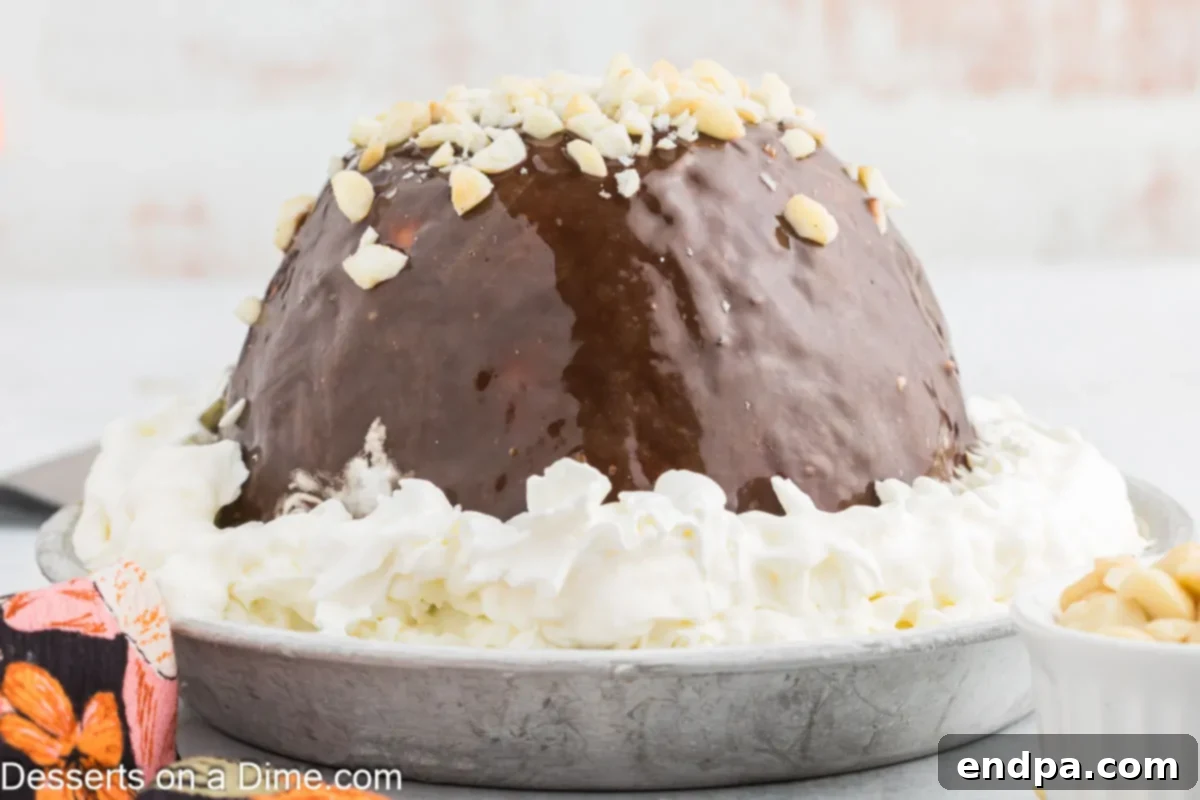
If you find yourself dreaming of the Hawaiian islands, Hula Pie is the ultimate dessert to bring that paradise feeling directly to your dining table. This show-stopping dessert boasts meticulously crafted layers: a crunchy, rich chocolate cookie crust forms the foundation, followed by a generous dome of creamy macadamia nut ice cream. It’s then crowned with a luxurious drizzle of fudge, a cloud of fluffy whipped cream, and a sprinkle of chopped macadamia nuts for an irresistible finish. Whether you’ve savored this legendary treat at Duke’s restaurant in Hawaii or are discovering its magic for the very first time, this comprehensive and easy-to-follow recipe empowers you to recreate the authentic taste of Hula Pie right in your own kitchen.
Beyond Hula Pie, the world of tropical desserts offers many delights. For those who appreciate island-inspired sweets, you might also enjoy exploring our Hawaiian Wedding Cake recipe, another fantastic way to infuse your gatherings with a taste of aloha. We are passionate about creating delicious desserts, especially our 33 Ice Cream Desserts and a variety of Easy Thanksgiving Pie Recipes that are perfect for any occasion.
Table of Contents
- Why This Hula Pie Recipe Is a Must-Try
- The Storied History of Hula Pie
- Essential Ingredients for Your Hula Pie
- Crafting the Perfect Chocolate Cookie Crust
- Assembling the Iconic Hula Pie
- Step-by-Step Instructions for Hula Pie
- Expert Tips for Hula Pie Perfection
- Serving and Storage of Hula Pie
Why This Hula Pie Recipe Is a Must-Try
This legendary Hula Pie recipe flawlessly encapsulates the essence of island indulgence, delivering a truly unforgettable experience with every spoonful. It’s more than just a dessert; it’s a symphony of textures and tastes, meticulously crafted to delight. Imagine the smooth, creamy macadamia nut ice cream, perfectly complemented by the satisfying crunch of a rich chocolate cookie crust. Then comes the luxurious hot fudge topping, a generous swirl of fluffy whipped cream, and the final flourish of roasted macadamia nuts, adding both flavor and visual appeal. The combination is simply irresistible.
What makes this Hula Pie truly special is not only its visually stunning presentation, making it an instant crowd-pleaser for any gathering, but also its surprising simplicity. Despite its elaborate appearance, our detailed, step-by-step instructions make it remarkably easy to prepare at home, even for novice bakers. Whether you’re hosting a lively summer barbecue, throwing a festive tropical-themed party, or simply craving a sweet, refreshing escape from the everyday, Hula Pie is the quintessential dessert that effortlessly brings smiles and joy to everyone who tastes it. It’s the kind of treat that creates lasting memories and becomes a cherished part of your culinary repertoire.
We are always enthusiastic about pies, and our repertoire includes delightful creations such as No-Bake Pumpkin Pie, the classic Butterscotch Pie, and the uniquely delicious Arkansas Possum Pie.
The Storied History of Hula Pie
The origins of the beloved Hula Pie are deeply rooted in the picturesque island of Maui, tracing back to the cherished Kimo’s restaurant nestled in the historic Old Lahaina Town. It was here, amidst the vibrant atmosphere and the soothing sounds of the ocean, that this iconic dessert was first conceived. The culinary team at Kimo’s aimed to create something truly extraordinary, a sweet and unforgettable treat that would satisfy the hearty appetites of hungry sailors returning from their long, arduous days at sea. Their creation quickly transcended its initial purpose, evolving from a simple dessert into a local legend, a staple of Hawaiian hospitality.
From its humble beginnings, Hula Pie rapidly gained widespread popularity, becoming synonymous with the laid-back charm and welcoming spirit of Lahaina’s oceanfront eateries. Today, Hula Pie is far more than just a delightful confection; it represents a nostalgic taste of Hawaii’s rich culinary heritage and its enduring tradition of warmth and aloha. Each bite carries with it the spirit of Maui, a sweet reminder of sun-kissed beaches, gentle breezes, and unforgettable island experiences. It embodies the essence of a truly special place, making it a cherished part of any Hawaiian-themed meal or celebration.
Essential Ingredients for Your Hula Pie
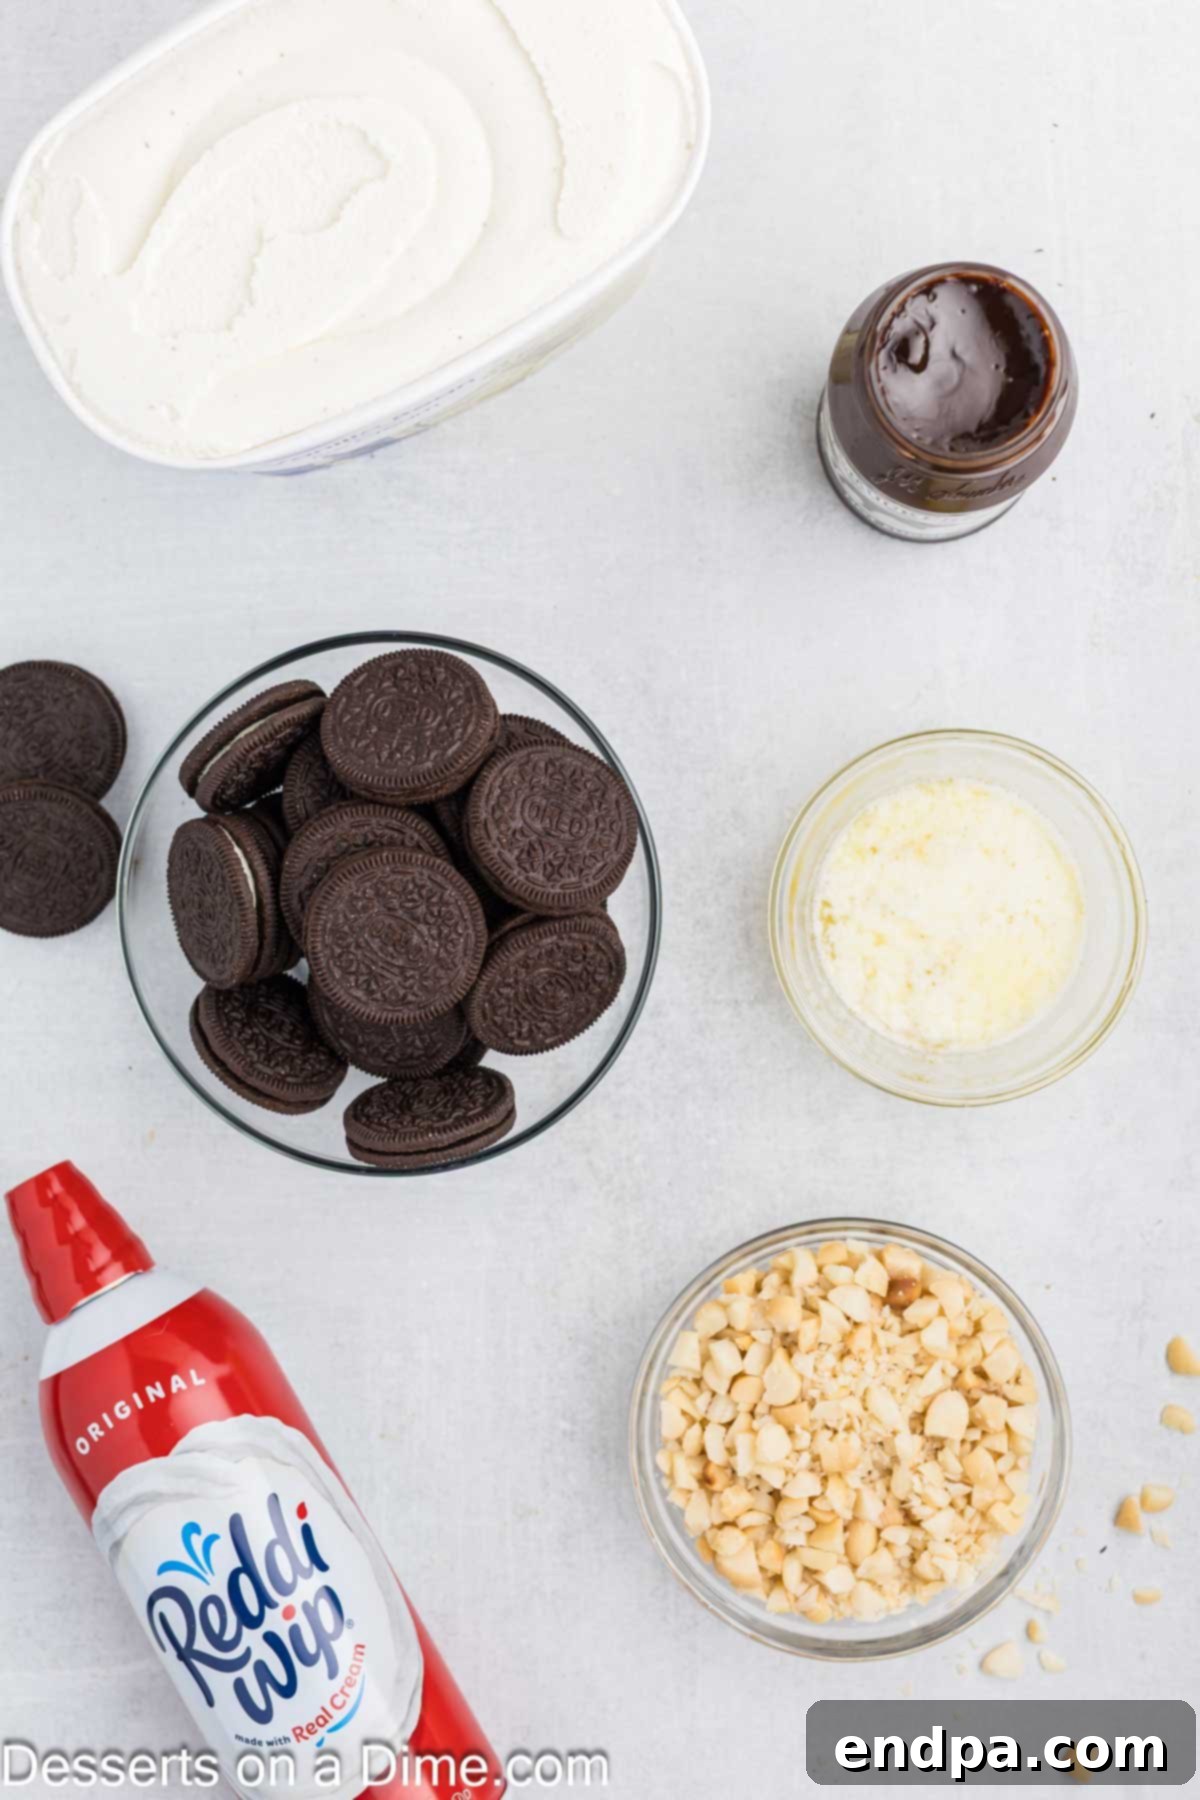
Creating an authentic Hula Pie requires a selection of high-quality ingredients that come together to form its distinctive layers and flavors. Each component plays a vital role in achieving that perfect balance of crunch, creaminess, and decadent sweetness. From the robust foundation of the chocolate crust to the smooth, nutty ice cream and the luscious toppings, every ingredient is chosen to contribute to the ultimate tropical dessert experience. Here’s what you’ll need to gather:
For the Crust:
- Oreo Cookies: Opt for regular Oreo cookies, not the double-stuffed variety. The classic filling-to-cookie ratio provides the ideal texture and chocolatey flavor for a sturdy yet delicious crust that won’t be overly sweet or rich. These cookies crush easily and combine beautifully with melted butter to form a compact base.
- Butter: Unsalted butter, melted, is essential for binding the cookie crumbs together. It not only helps the crust hold its shape but also adds a rich, buttery flavor that complements the chocolate cookies perfectly. Ensure it’s fully melted for easy incorporation.
For the Pie Layers and Toppings:
- Vanilla Ice Cream: The foundation of the creamy filling. Using a good quality, full-fat vanilla ice cream is paramount. Its rich, smooth texture and classic flavor provide the perfect canvas for the macadamia nuts, allowing their distinct taste to shine without being overwhelmed. Avoid low-fat or artificial varieties, as they can result in a less satisfying consistency and flavor.
- Macadamia Nuts: These Hawaiian nuts are crucial for the authentic Hula Pie experience. Ensure they are chopped into small, bite-sized pieces for even distribution throughout the ice cream and as a delightful garnish. Roasted macadamia nuts offer a deeper, more pronounced nutty flavor and a satisfying crunch.
- Hot Fudge Sauce: A thick, decadent hot fudge sauce is key for the rich chocolate layer atop the ice cream. A good quality brand, such as Hershey’s hot fudge, provides the perfect balance of sweetness and deep chocolate flavor. It’s vital to use it at room temperature, not heated, to prevent melting the ice cream layers during assembly.
- Canned Whipped Topping: For convenience and a light, airy finish, canned whipped topping like Reddi-Wip or a quality store brand works perfectly. Its delicate texture and mild sweetness provide a beautiful contrast to the rich ice cream and fudge, and it forms the classic “hula skirt” decoration around the dome. For an even more luxurious touch, you can make homemade whipped cream from heavy cream, sugar, and vanilla extract.
Step-by-Step Instructions for Hula Pie
Creating your own Hula Pie at home is a rewarding process that results in a truly spectacular dessert. Follow these detailed steps to ensure each layer is perfect and your pie comes out looking and tasting like it came straight from a Hawaiian beachside cafe.
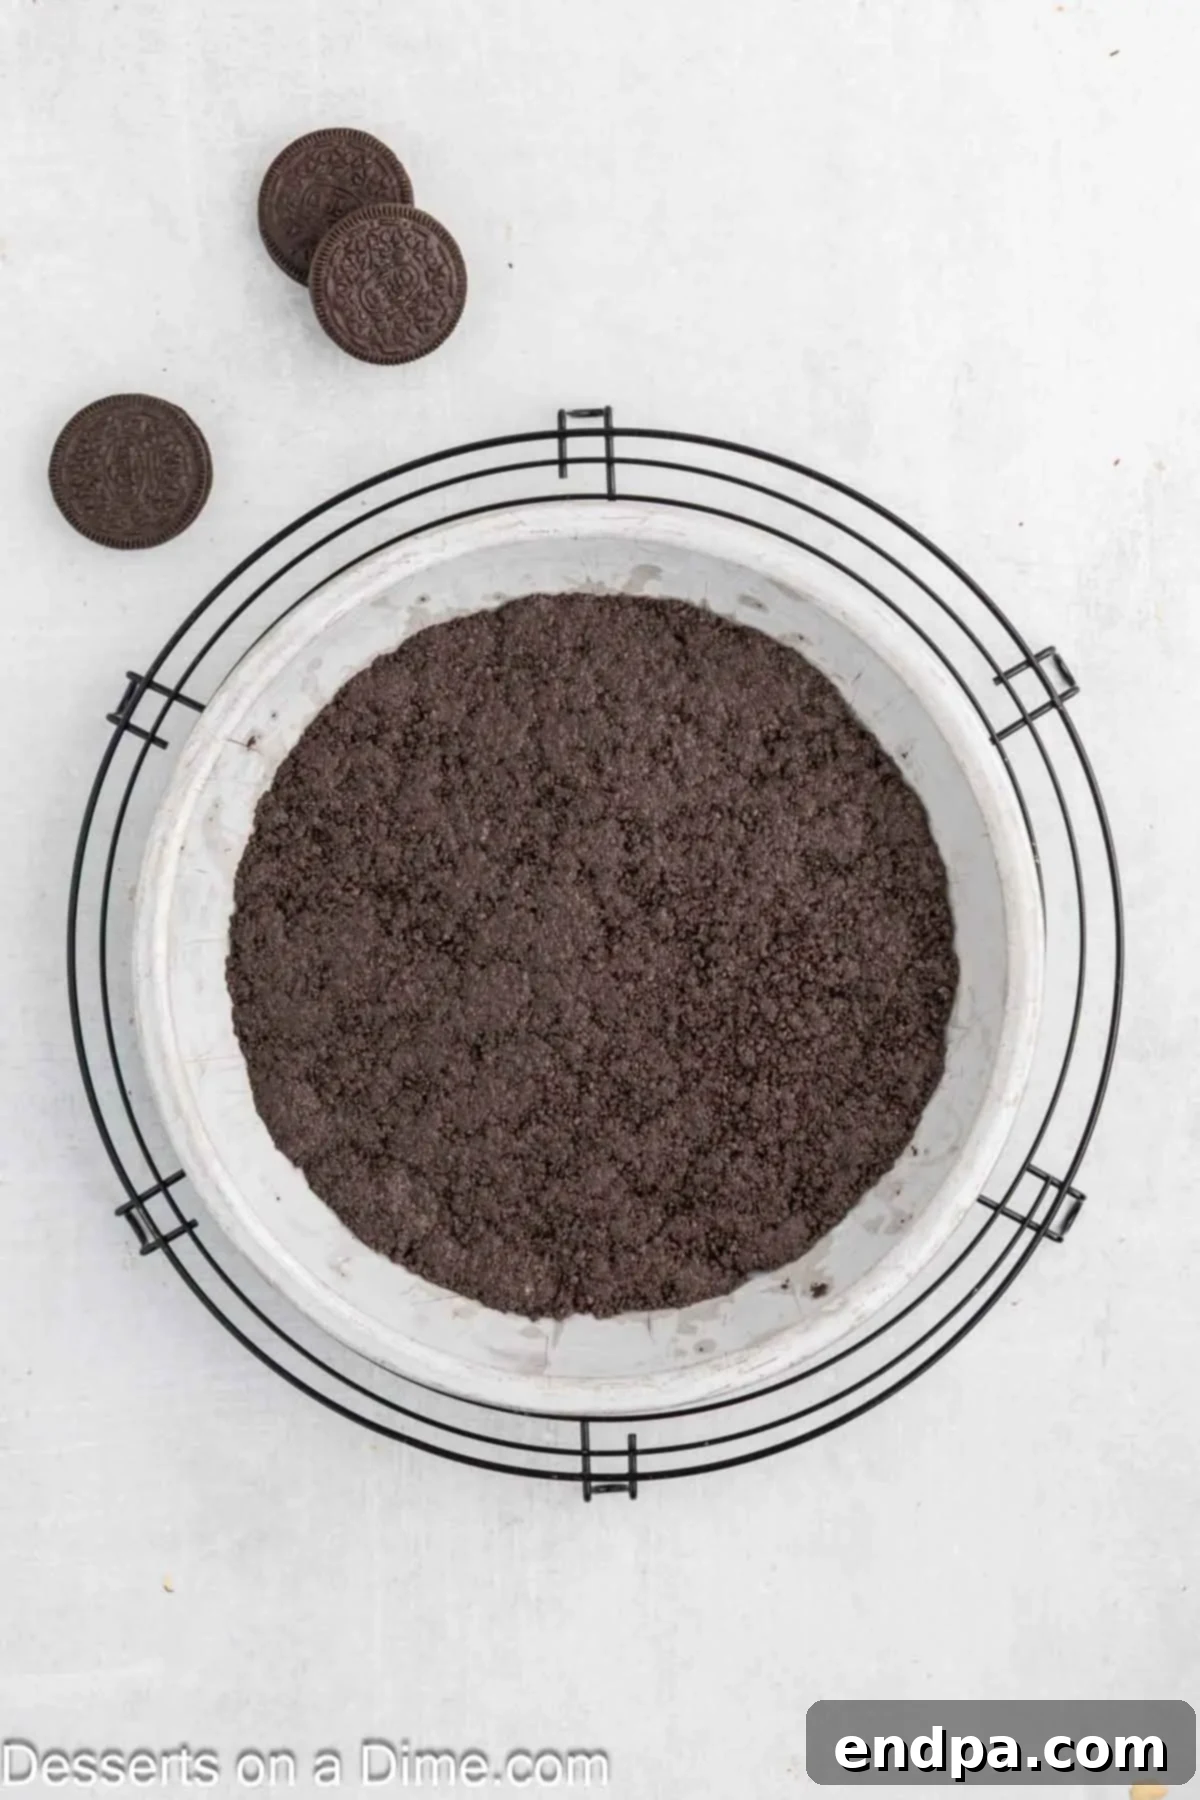
- Prepare the Oven and Crust Ingredients: Begin by preheating your oven to 350 degrees Fahrenheit (175 degrees Celsius). This will ensure your crust bakes perfectly.
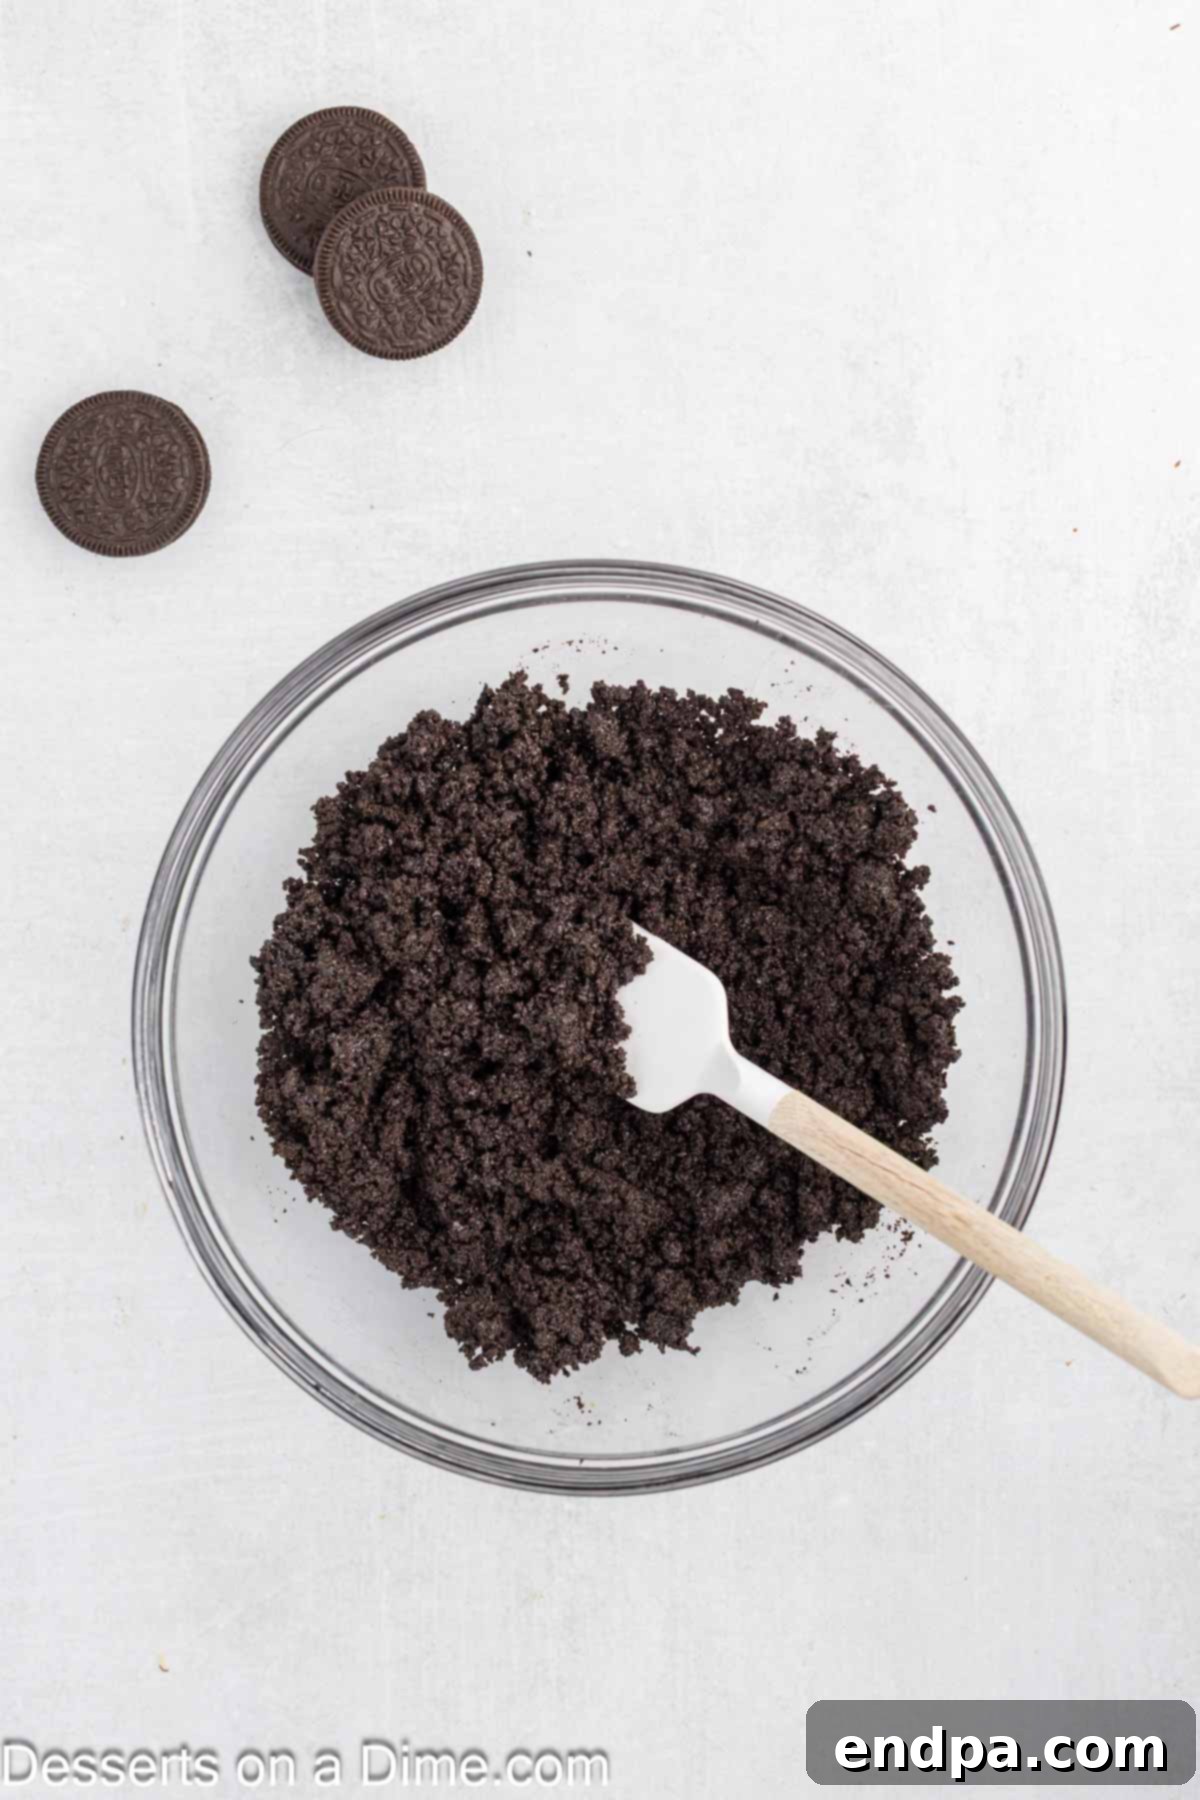
- Crush the Oreos: Place the regular Oreo cookies into a food processor. Pulse them until they are transformed into fine, uniform crumbs. This fine texture is crucial for a cohesive crust.
- Form the Crust Mixture: Transfer the crushed cookie crumbs into a large mixing bowl. Pour in the melted butter and stir thoroughly until all the crumbs are evenly moistened and well combined. The mixture should resemble wet sand.
- Press and Bake the Crust: Gently pour the buttery cookie crumbs into a 9-inch pie pan. Using the back of a spoon or your fingers, press the mixture firmly and evenly into the bottom and slightly up the sides of the pan. Bake this Oreo cookie crust for 10-12 minutes. Once baked, remove it from the oven and allow it to cool completely to room temperature before proceeding with the ice cream layers. This prevents the ice cream from melting prematurely.
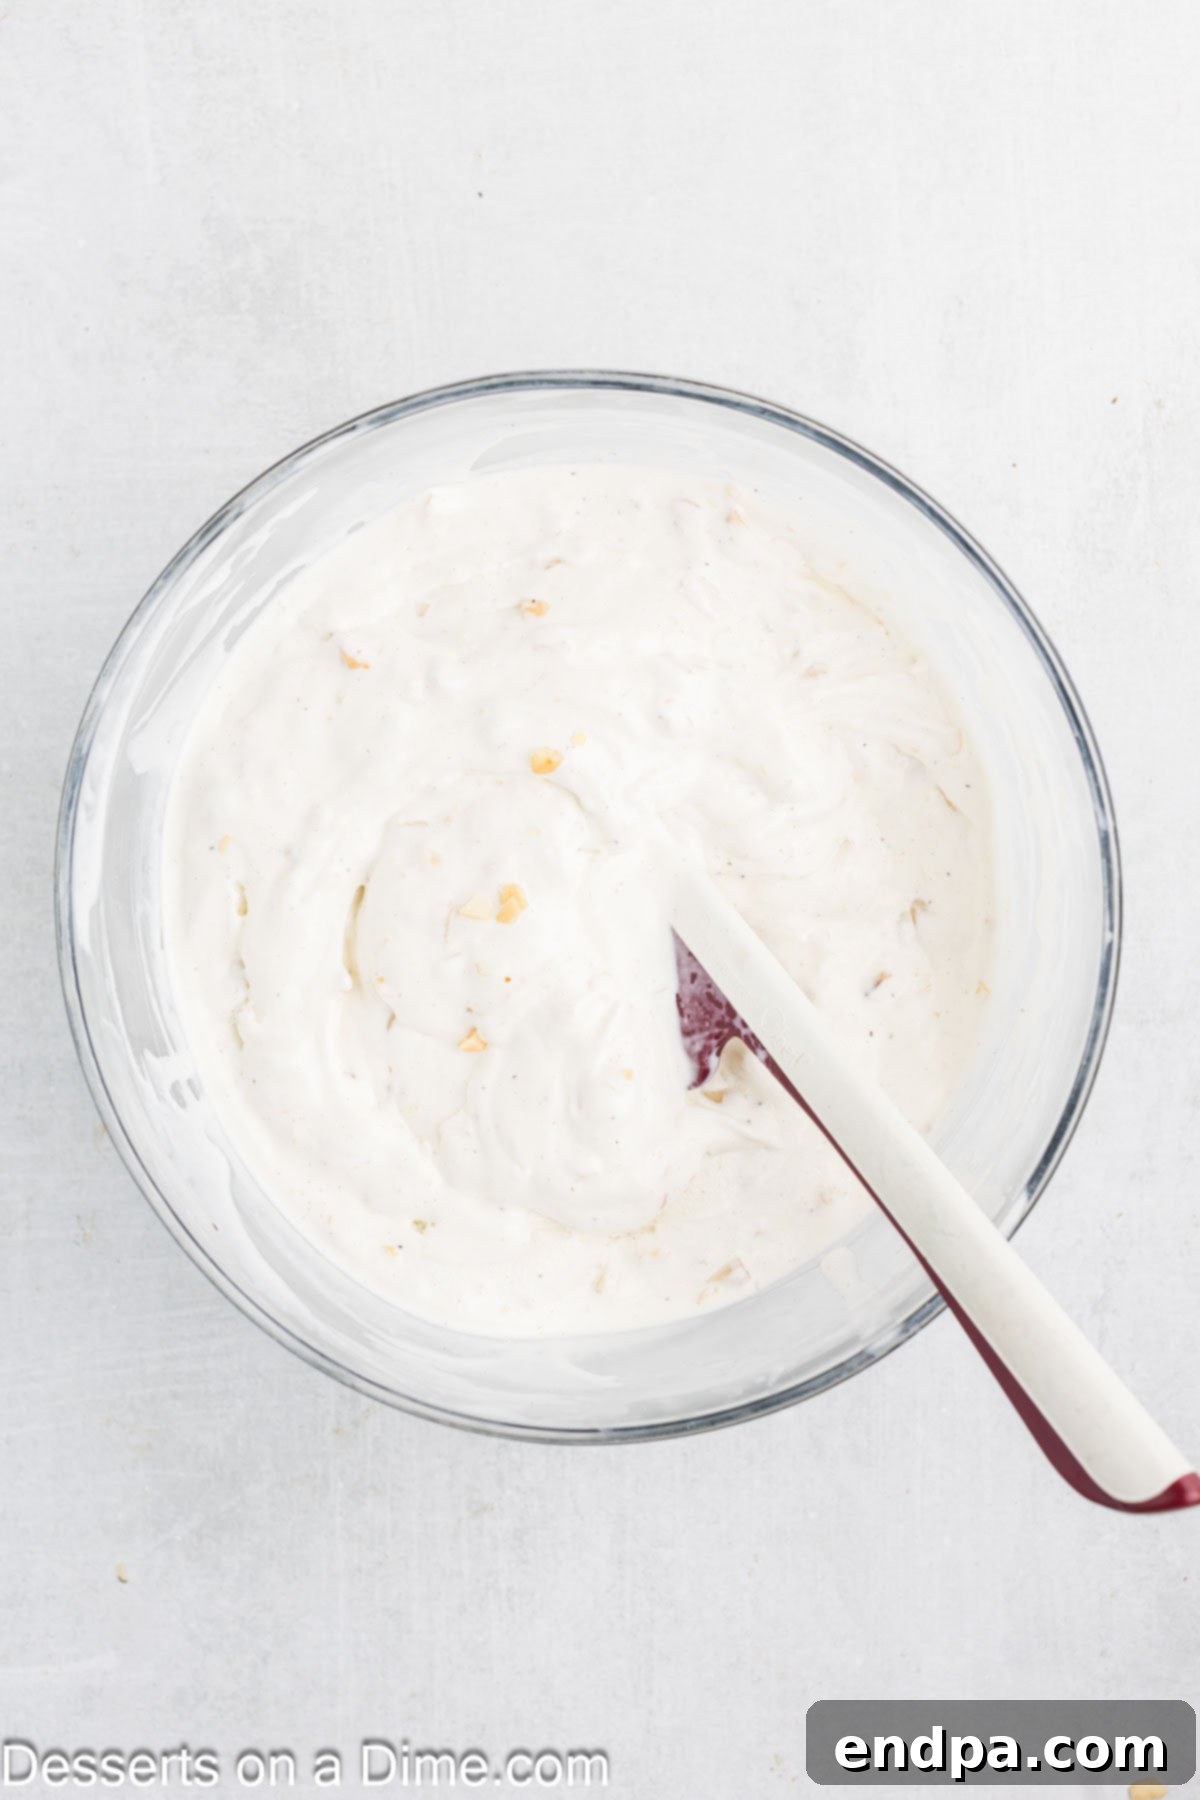
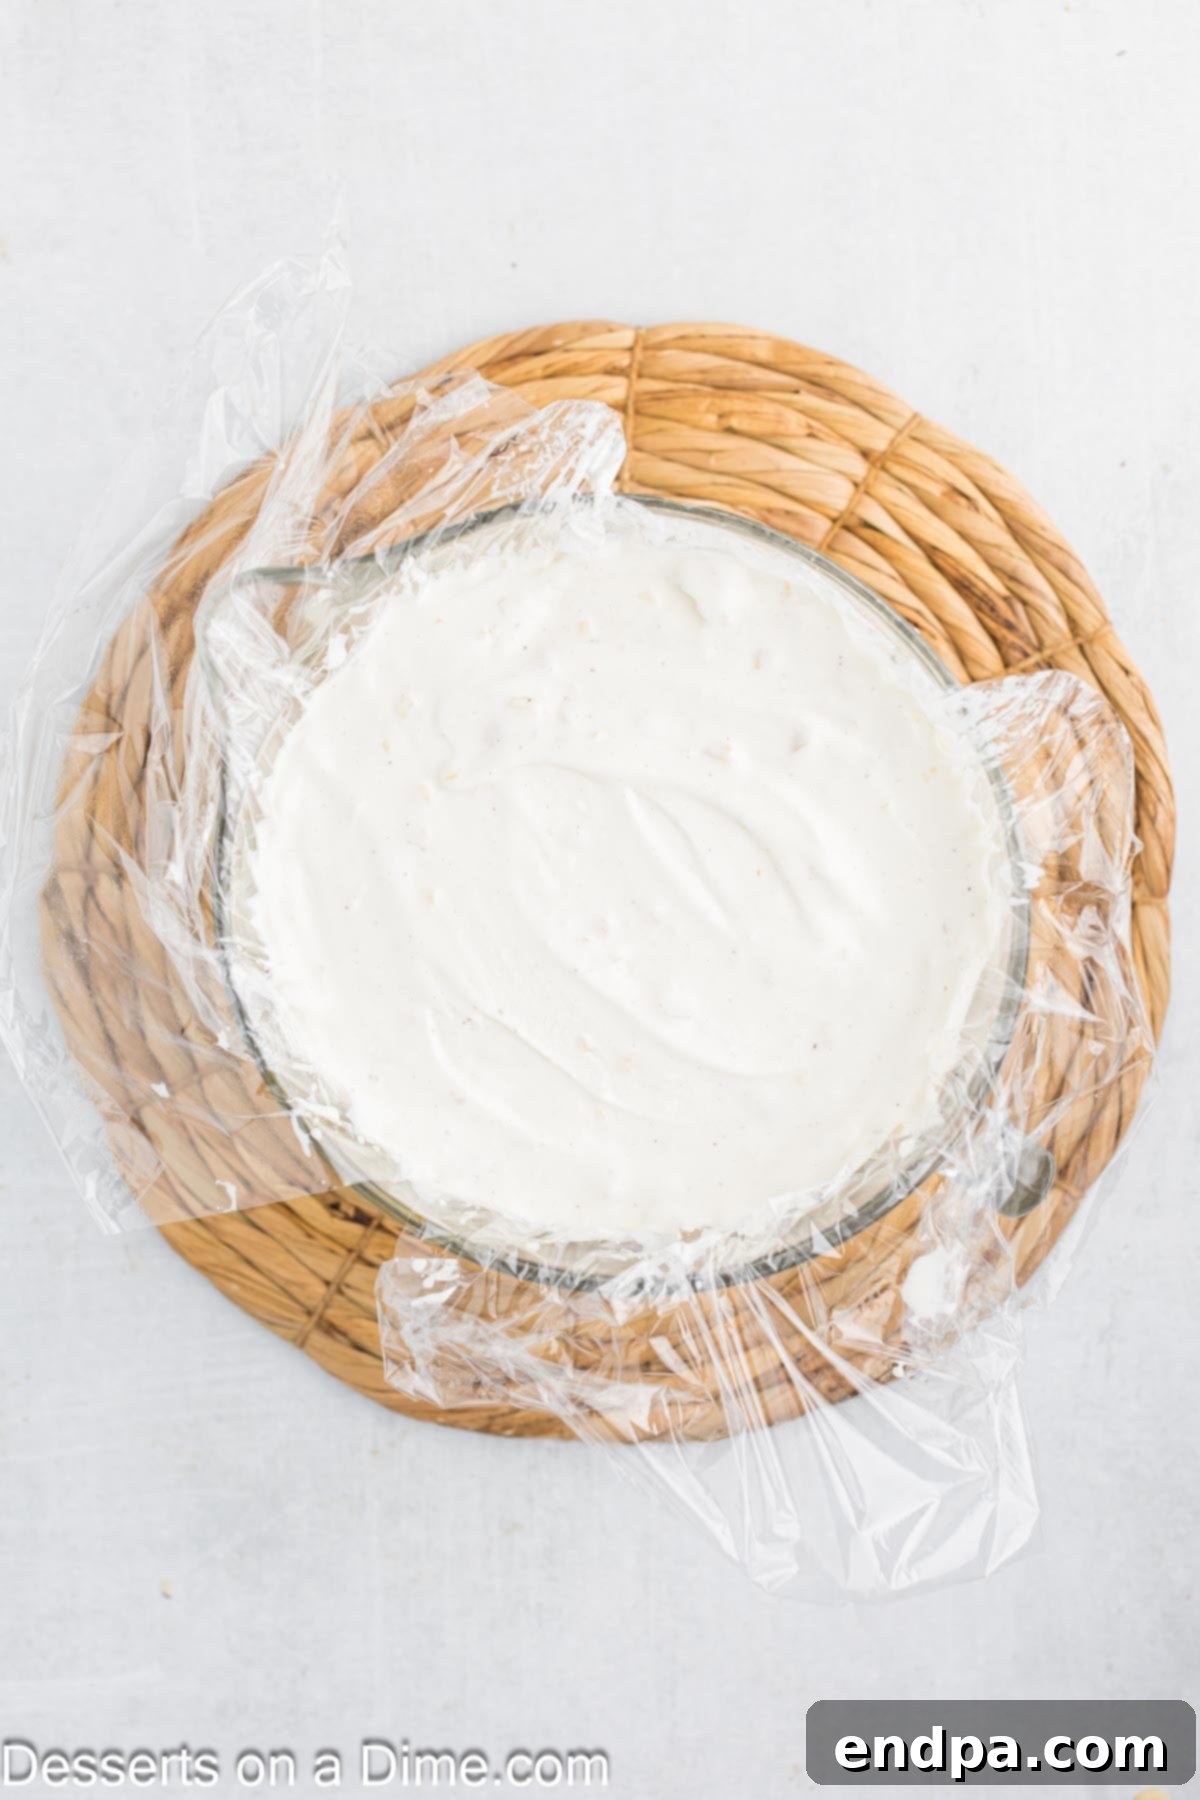
- Soften and Mix Ice Cream: Allow the vanilla ice cream to soften at room temperature for approximately 10 minutes. You want it pliable enough to mix but not completely melted. Transfer the softened ice cream to a large mixing bowl, add ¾ cup of the chopped macadamia nuts, and stir gently until the nuts are evenly distributed throughout the ice cream.
- Create the Ice Cream Dome: Select a separate mixing bowl that is roughly 2 quarts in size and has a rim that can easily fit inside your 9-inch pie crust. This bowl will be instrumental in creating the signature dome shape of the Hula Pie. Line this bowl generously with plastic wrap, ensuring there’s ample overhang to facilitate easy removal later. For extra assurance, you may spray the plastic wrap with a light coating of nonstick cooking spray. Carefully spoon the macadamia nut ice cream mixture into the lined bowl, smoothing the top. Cover the bowl with additional plastic wrap and place it in the freezer for 3-5 hours, or until the ice cream is completely firm and holds its dome shape.
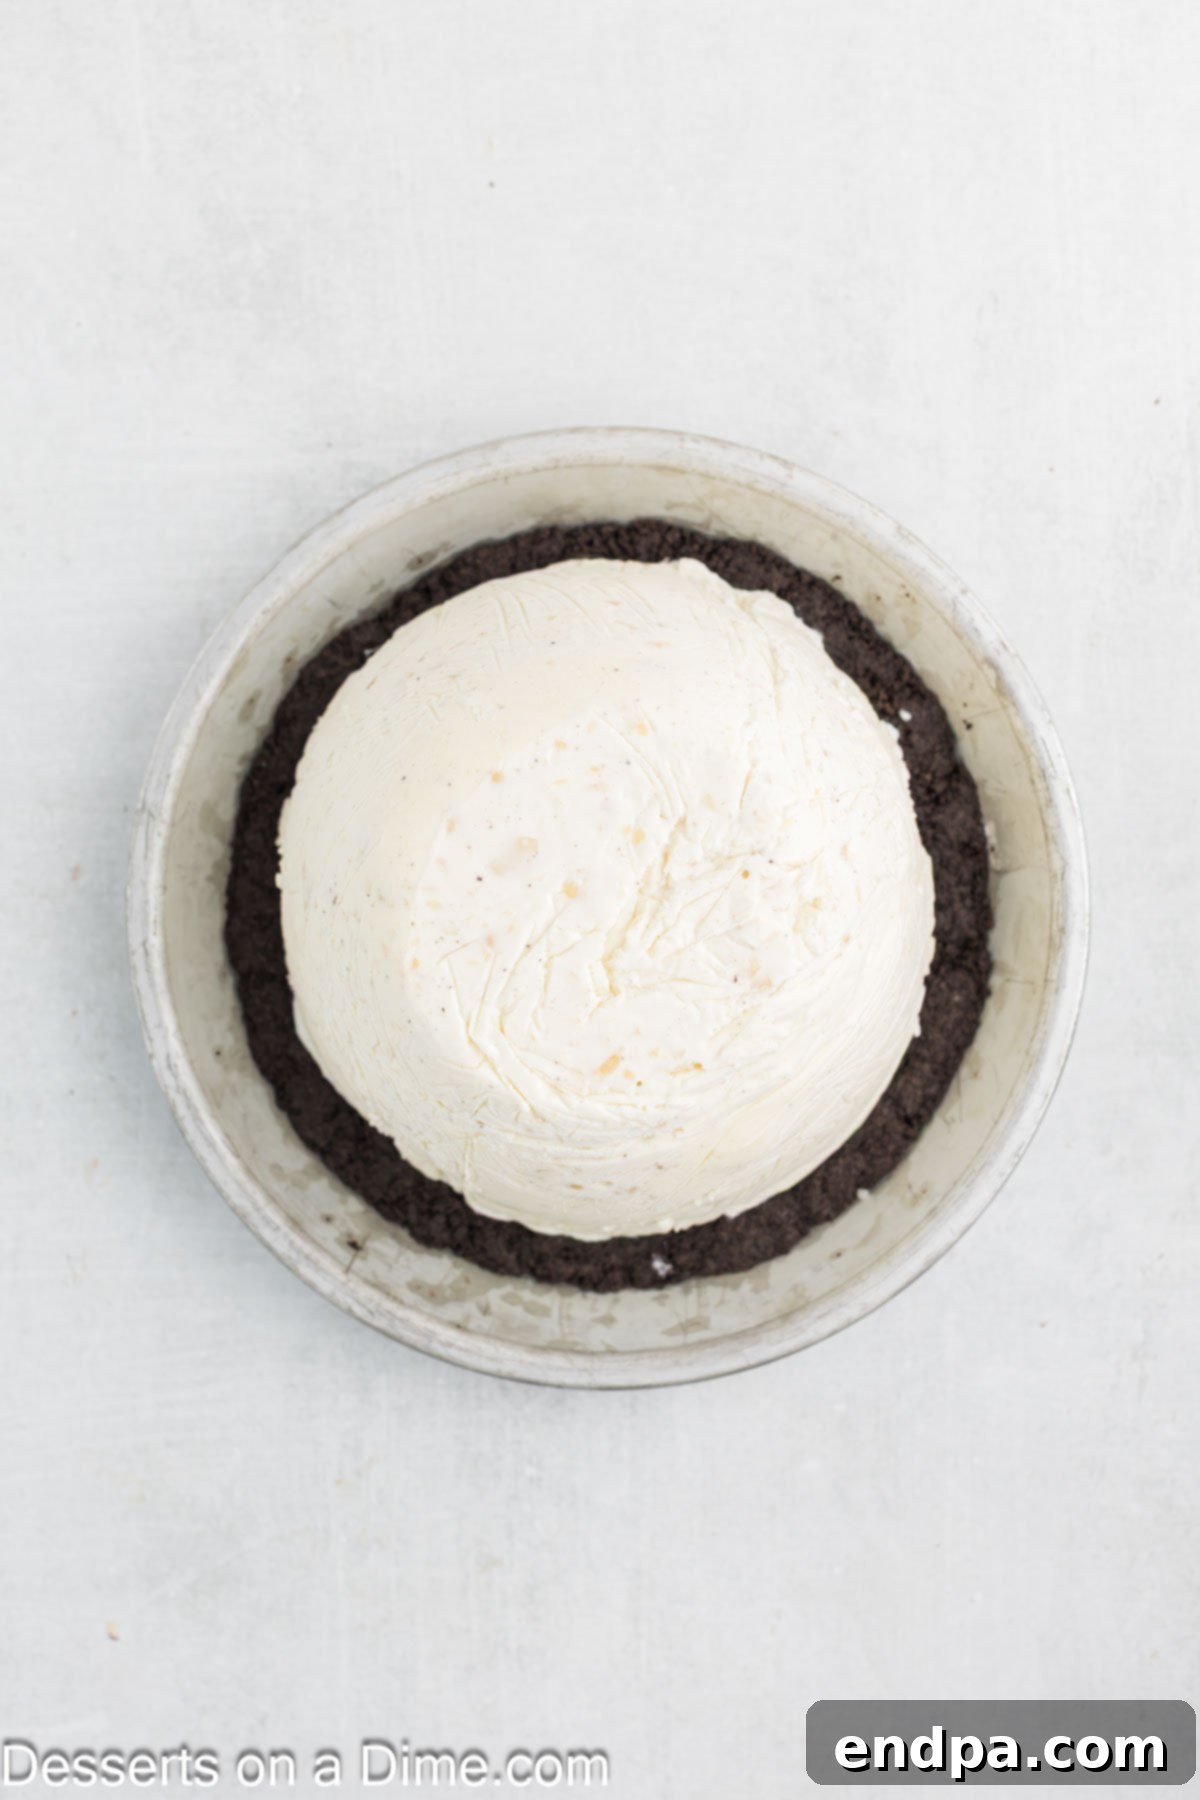
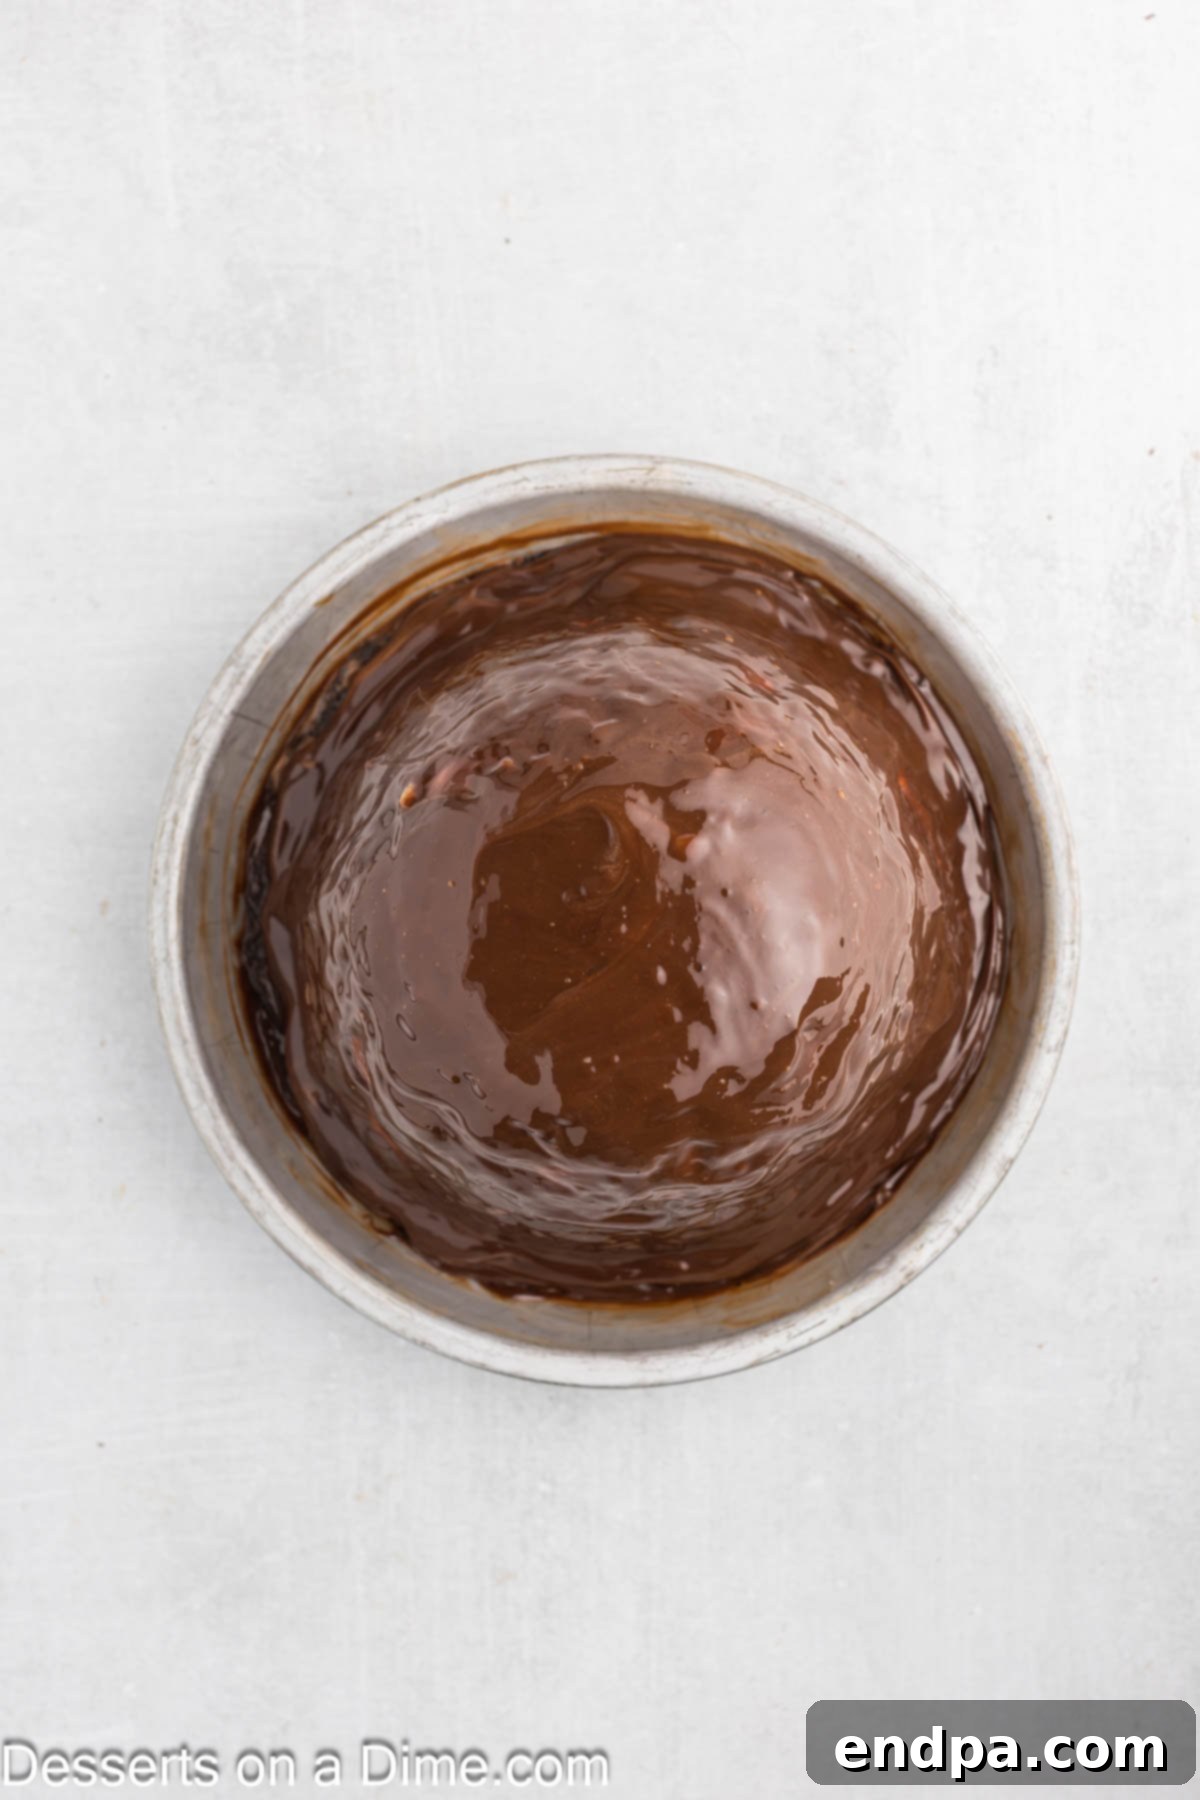
- Assemble the Pie Base: Once the ice cream dome is firm, remove the top layer of plastic wrap from its bowl. Using the overhang, carefully lift and invert the entire ice cream dome, gently placing its flat side directly into the cooled Oreo pie crust.
- Add the Fudge Layer: Ensure your hot fudge sauce is at room temperature; it must not be heated, as warmth will melt the ice cream. Pour the entire cup of hot fudge sauce over the ice cream dome and quickly spread it evenly. Don’t worry if it doesn’t extend perfectly to the very bottom edges, as the whipped cream will gracefully cover these areas later. The key is to work swiftly to prevent the ice cream from melting. Freeze the pie for an additional 40-60 minutes to allow the hot fudge layer to firm up and set.
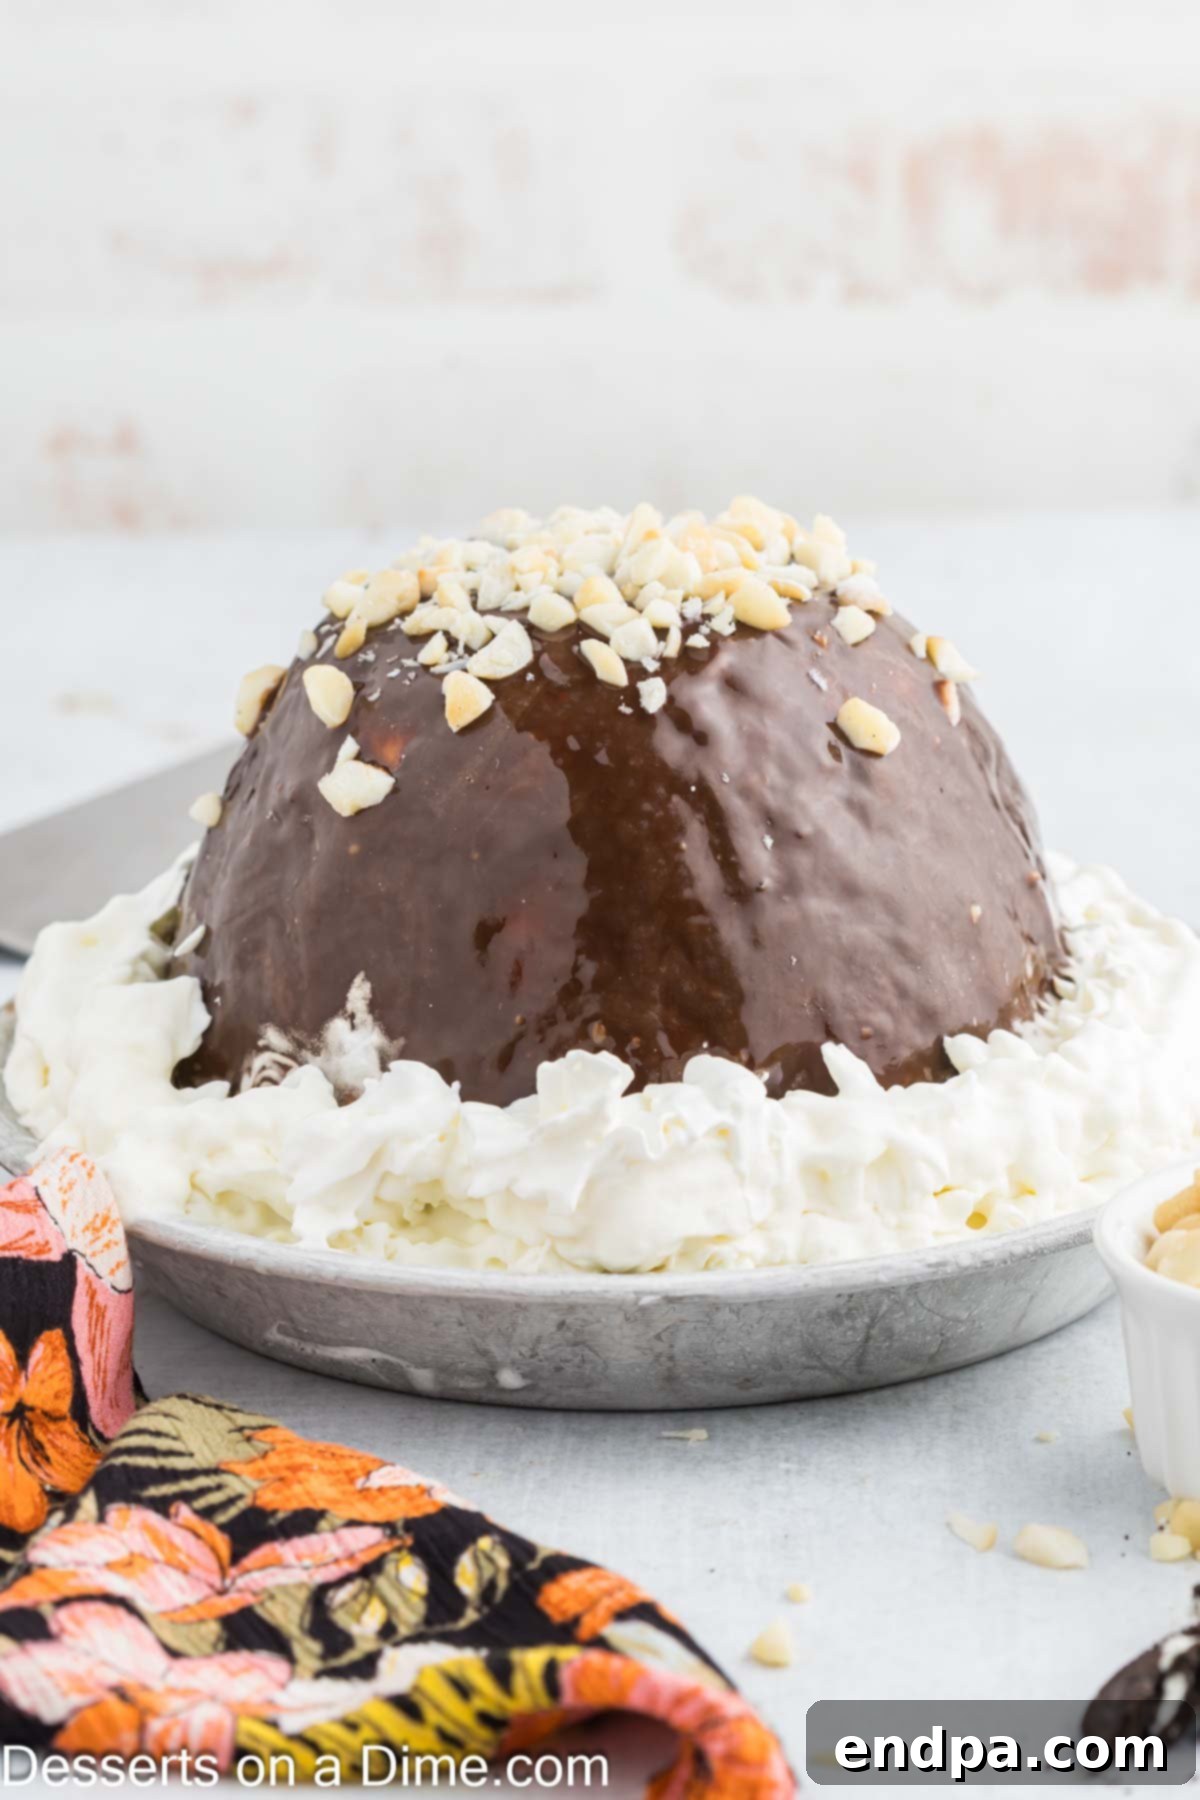
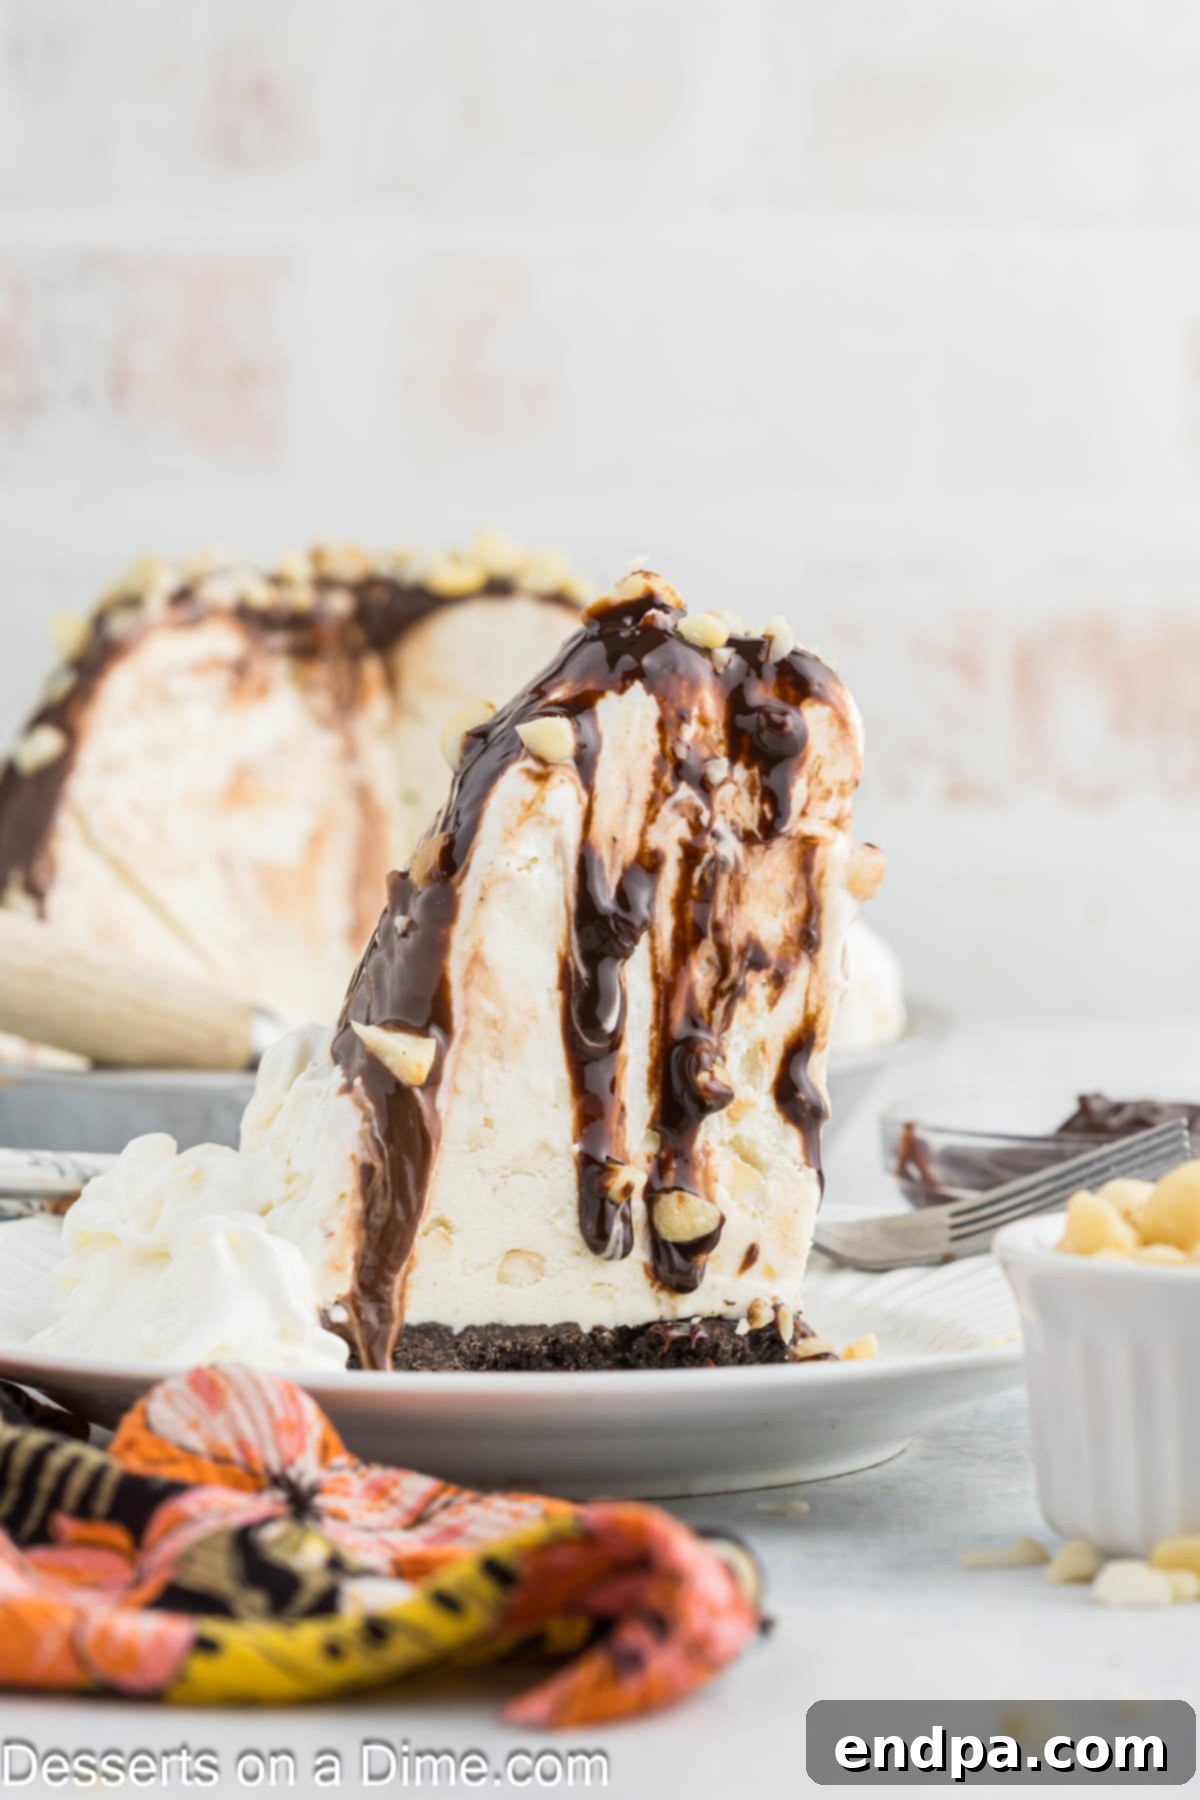
- Garnish and Serve: When you’re ready to serve your masterpiece, generously garnish the edges of the pie with canned whipped cream. A fun and traditional way to do this is to pipe vertical lines of whipped cream around the sides, resembling a festive hula skirt. Finally, sprinkle the remaining ¼ cup of chopped macadamia nuts over the top of the pie for added texture and a beautiful presentation.
- Slice and Enjoy: Your magnificent Hula Pie is now complete and ready to be sliced, served, and savored!
Expert Tips for Hula Pie Perfection
Achieving a perfect Hula Pie is simple with a few insider tricks. These professional tips will help you navigate common challenges and ensure your dessert is a triumph of flavor and presentation.
- Handle Hot Fudge Swiftly and at Room Temperature: The most critical aspect of the fudge layer is its temperature. Always ensure the hot fudge sauce is at room temperature, never heated, when spreading it over the ice cream. Warm fudge will instantly melt the ice cream, compromising the pie’s structure. Work quickly and confidently. If you notice the ice cream beginning to soften, immediately place the pie back in the freezer for a few minutes to firm up, then resume spreading. It doesn’t need to be perfectly smooth; the charm of Hula Pie lies in its homemade appeal. The easiest method is to pour the entire cup of room-temperature fudge directly onto the center of the dome and spread it outwards rapidly with an offset spatula.
- No Hot Fudge Heating Necessary: Reiterate: do not heat the hot fudge sauce. Its natural consistency at room temperature is ideal for this recipe. If you absolutely feel it’s too stiff to spread (which is rare for most brands), and you must warm it, do so for only a few seconds in the microwave, just enough to make it slightly more pliable, then work very, very quickly. Your primary goal is to avoid melting the ice cream.
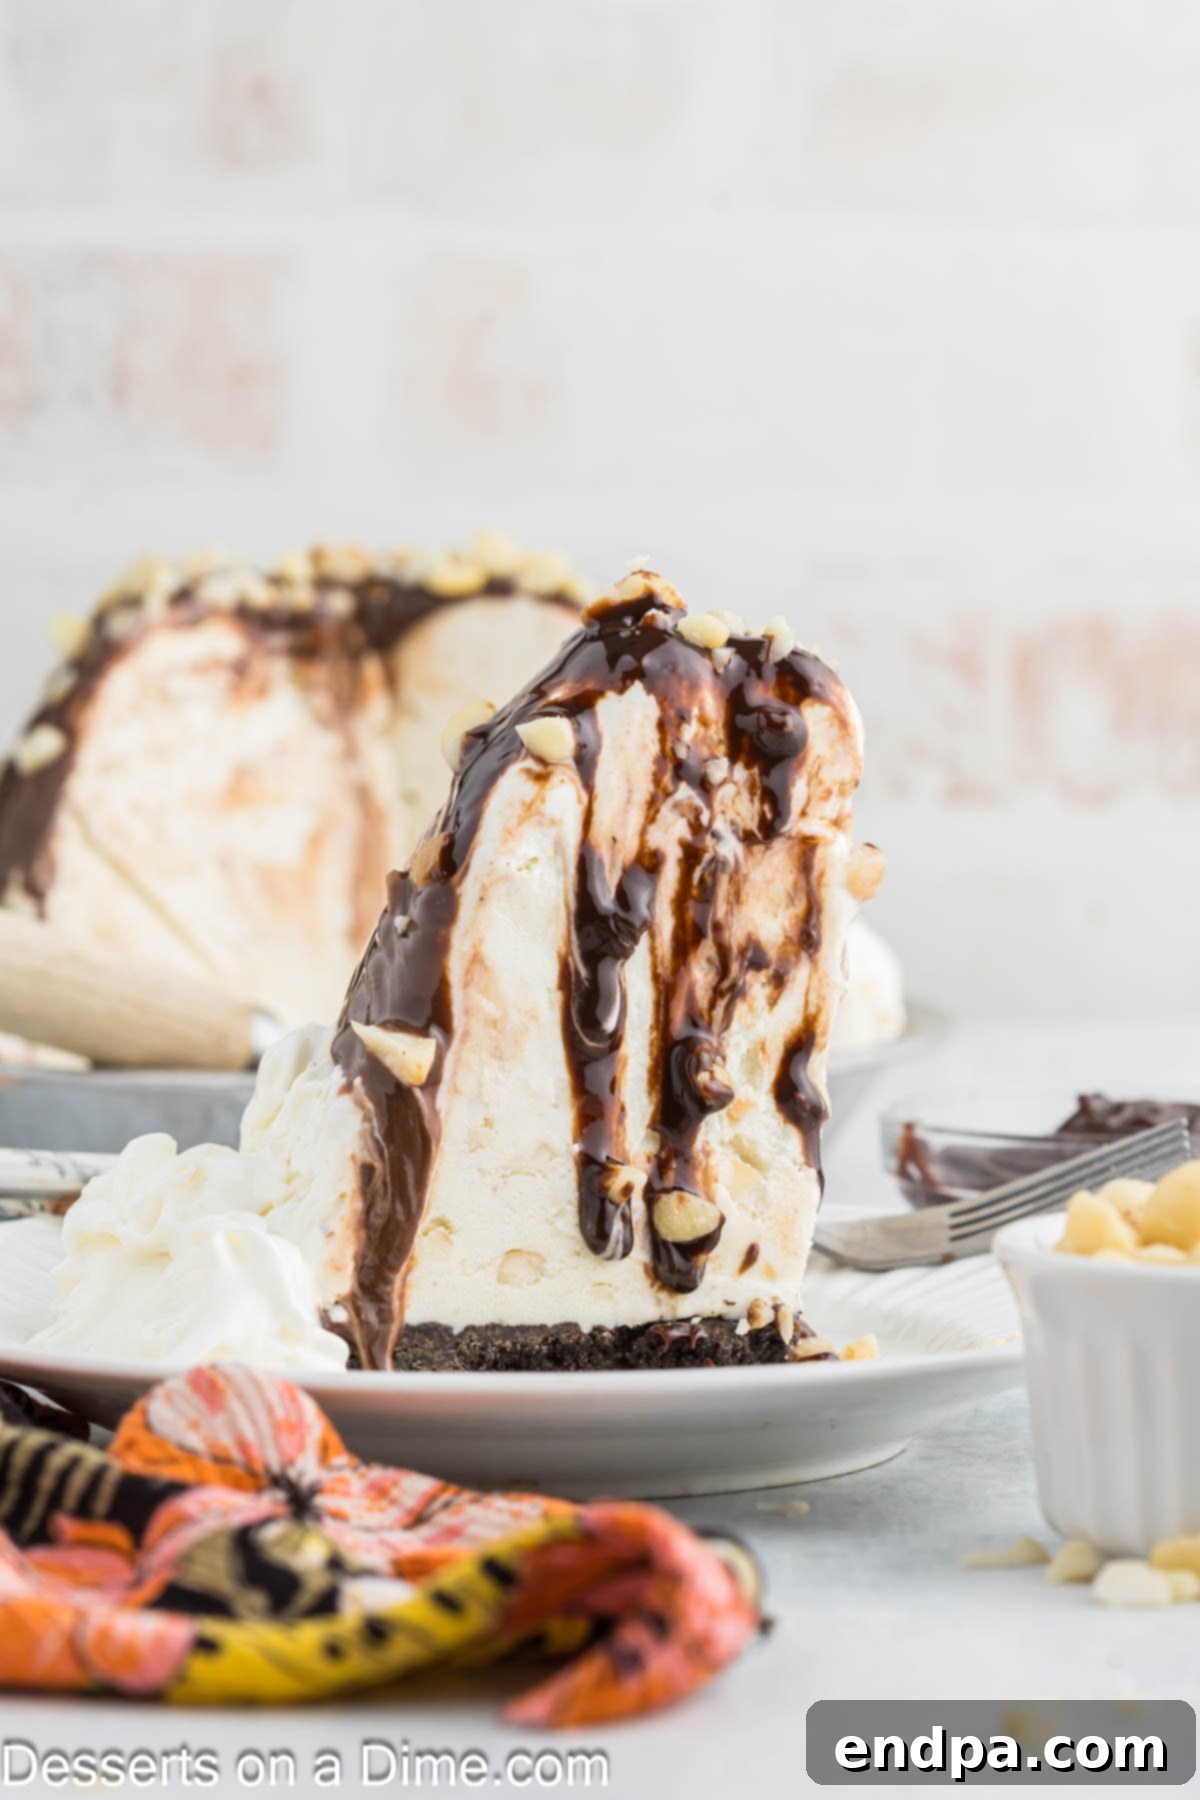
- Slice with Ease: For clean, professional-looking slices, allow the Hula Pie to sit at room temperature for about 5-10 minutes before cutting. This slight thawing will make the ice cream and crust easier to manage. For an even smoother cut, use a large, sharp knife that has been dipped in hot water and wiped dry between each slice. The warmth of the blade will glide effortlessly through the layers, ensuring beautiful portions.
- Don’t Skimp on the Ice Cream: It might seem like a substantial amount of ice cream is called for, but resist the temptation to reduce the quantity. The specified amount is essential for creating the Hula Pie’s signature, impressive dome shape. A generous, towering dome is part of what makes this dessert so visually appealing and satisfying.
Serving and Storage of Hula Pie
Once your Hula Pie is complete and beautifully garnished, it’s ready to be the star of your dessert table. For the best experience, serve it chilled but not rock-hard, as suggested in our slicing tips. Any leftover Hula Pie can be easily stored to enjoy later, ensuring its deliciousness is preserved.
To store leftovers, place any remaining slices or the entire pie (if well-covered) in an airtight container. This prevents freezer burn and keeps the flavors fresh. Store the container in the freezer for up to one week. When ready to enjoy a leftover slice, simply take it out of the freezer a few minutes before serving to allow it to soften slightly, bringing it back to that perfect, creamy texture.
More Ice Cream Desserts to Explore
Cakes
Oreo Ice Cream Cake Recipe
Cakes
Melted Ice Cream Cake
No-Bake Dessert
Fried Ice Cream
We encourage you to try this incredibly delicious Hula Pie for an unforgettable dessert experience. We’d love to hear your thoughts! Please leave a comment and a star rating once you’ve had a chance to make and taste it. Your feedback helps us share the joy of these recipes with even more dessert lovers.
Hula Pie
30 mins
5 hrs
5 hrs
30 mins
8
American
Dessert
1064
Carrie Barnard
Ingredients
For the Crust:
- 24 Oreo Cookies
- 5 Tablespoons Butter (melted)
For the Pie:
- 2 48-ounce containers Vanilla Ice Cream
- 1 Cup Chopped Macadamia Nuts divided
- 1 Cup Hot Fudge Sauce
- Canned Whipped Topping such as Reddi-Wip
Instructions
For the Crust:
- Preheat the oven to 350 degrees F (175 degrees C).
- Pulse the Oreo cookies in a food processor until they are fine crumbs.
- Pour the cookie crumbs into a mixing bowl and stir in the melted butter.
- Press the mixture evenly into the bottom of a 9-inch pie pan.
- Bake for 10-12 minutes. Allow to cool completely at room temperature before adding the pie ingredients.
For the Pie:
- Allow the vanilla ice cream to soften for about 10 minutes at room temperature. It should be easy to scoop and mix but not melted.
- Place the softened ice cream in a large mixing bowl and add ¾ cup chopped macadamia nuts. Stir until well combined.
- You will need a separate mixing bowl (about 2 quarts) with a rim that can easily fit inside your pie crust to create the dome shape.
- Line the dome-making bowl with plastic wrap, ensuring enough overhang to easily remove the ice cream. Optionally, spray with nonstick cooking spray.
- Spread the macadamia nut ice cream mixture into the lined bowl. Cover with additional plastic wrap and freeze for 3-5 hours until the ice cream is firm.
- Remove the top plastic wrap. Carefully use the plastic wrap overhang to lift the entire dome of ice cream out of the bowl.
- Place the flat side of the ice cream dome into the cooled Oreo cookie crust.
- Ensure the hot fudge sauce is at room temperature (not heated). Spread it evenly on top of the ice cream. It’s fine if it doesn’t reach the very bottom edges, as the whipped cream will cover them. The easiest way is to pour the whole cup on top and quickly spread.
- Place the pie in the freezer for 40-60 minutes to allow the hot fudge to set and firm up.
- When ready to serve, garnish the edges of the pie with canned whipped topping to resemble a hula skirt, by squirting vertical lines along the sides.
- Sprinkle the remaining ¼ cup chopped Macadamia nuts on top for garnish.
- The pie is now ready to slice, serve, and enjoy!
Recipe Notes
Work quickly with the hot fudge sauce. Make sure it is room temperature or it will not spread properly and could melt the ice cream. It does not have to be absolutely perfect. If the ice cream starts to melt, return the pie to the freezer for a few minutes before trying again. Never heat the hot fudge, as it will instantly melt the ice cream. If necessary, a few seconds in the microwave might make it slightly more pliable, but swift application is key.
When ready to serve, allow the pie to sit at room temperature for a few minutes (5-10) before slicing to make cutting easier. Use a large, sharp knife dipped in warm water and wiped dry between cuts to achieve clean slices.
The recommended amount of ice cream is crucial for creating the impressive dome shape of the pie. Do not reduce the quantity.
Store any leftovers in an airtight container in the freezer for up to a week to maintain freshness and prevent freezer burn.
Nutrition Facts
Calories
1064kcal
,
Carbohydrates
120g
,
Protein
16g
,
Fat
59g
,
Saturated Fat
28g
,
Polyunsaturated Fat
2g
,
Monounsaturated Fat
25g
,
Cholesterol
150mg
,
Sodium
505mg
,
Potassium
871mg
,
Fiber
5g
,
Sugar
90g
,
Vitamin A
1433IU
,
Vitamin C
2mg
,
Calcium
474mg
,
Iron
2mg
