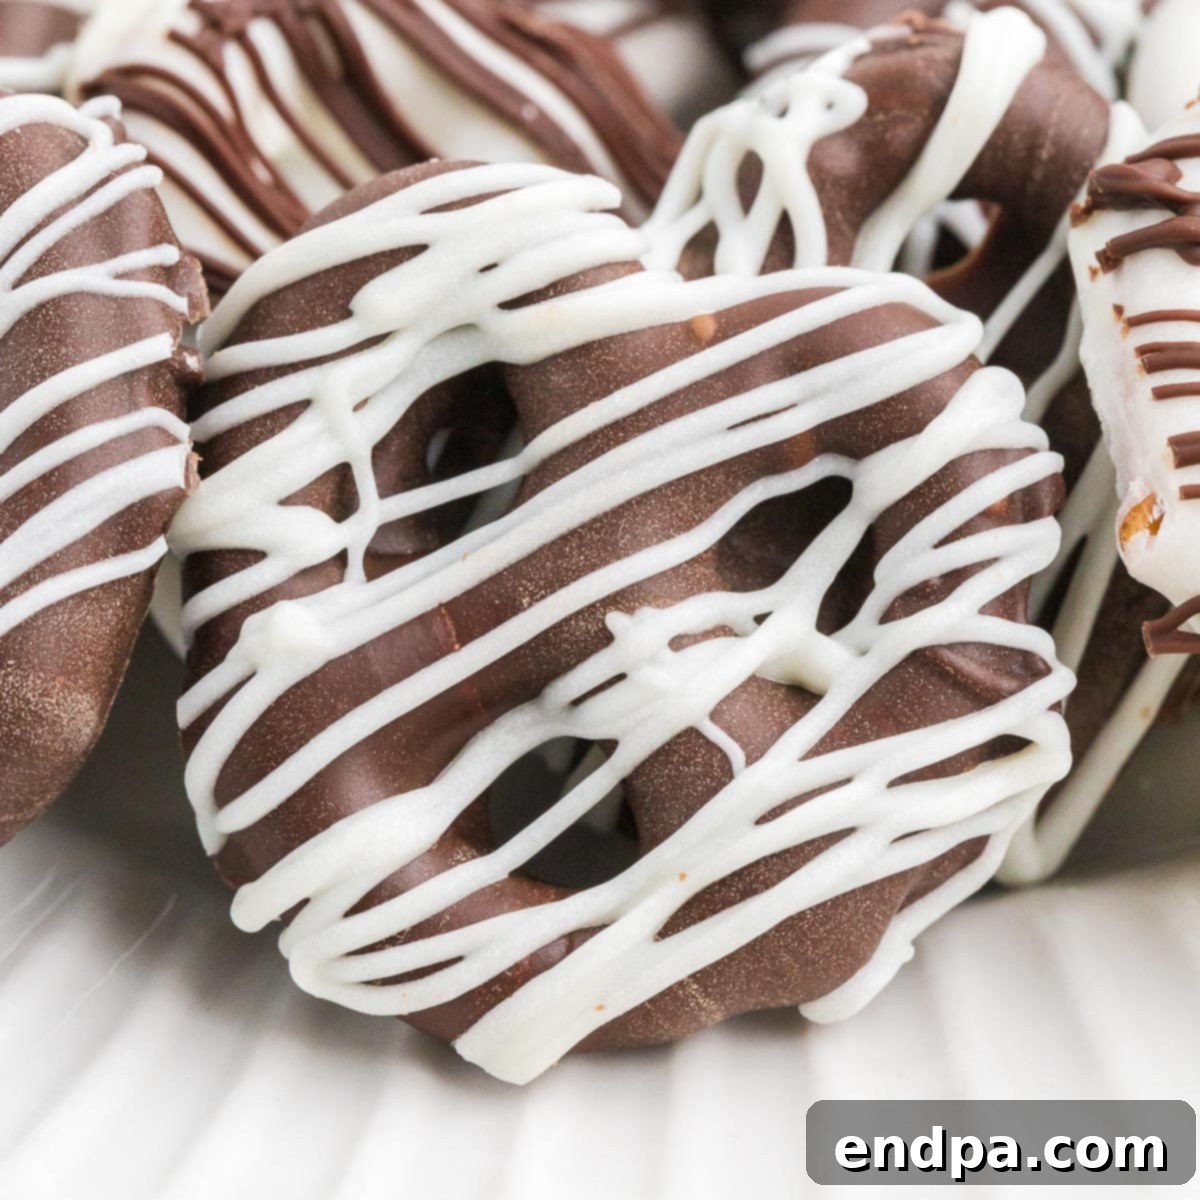
Easy Homemade Chocolate Covered Pretzels: Your Ultimate Sweet & Salty Treat
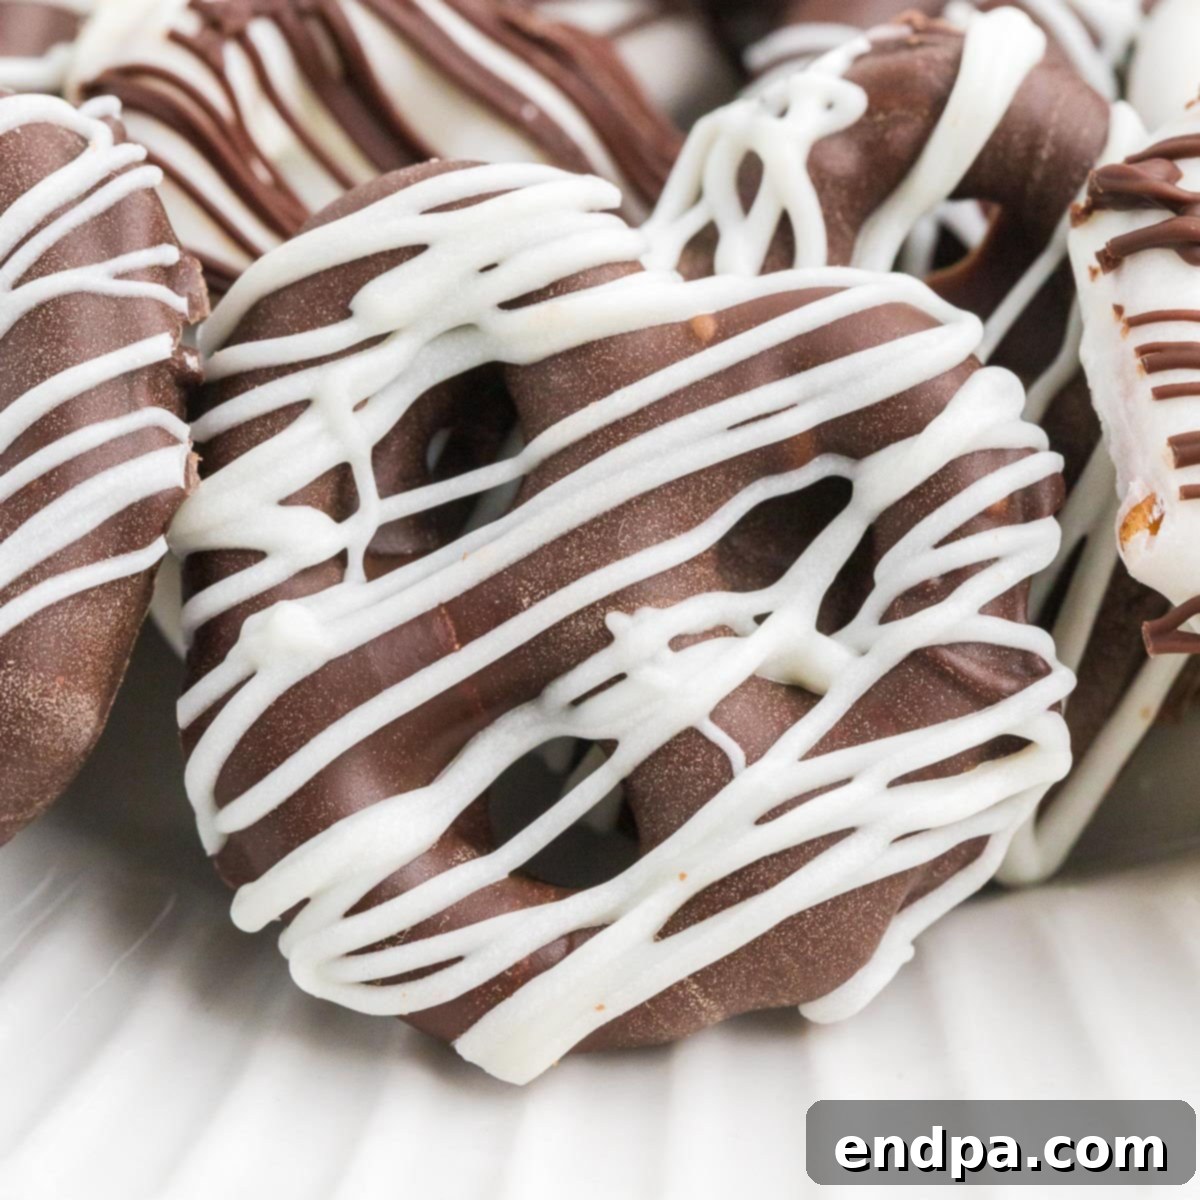
Embark on a culinary journey to create one of the most beloved and effortlessly delicious treats: **Chocolate Covered Pretzels**. This incredible recipe requires **only two essential ingredients** and yields a snack that is simply amazing. It’s the quintessential solution for those moments when a sweet craving strikes, yet your pantry supplies are minimal. Prepare to delight your taste buds with this simple, yet profoundly satisfying, confection.
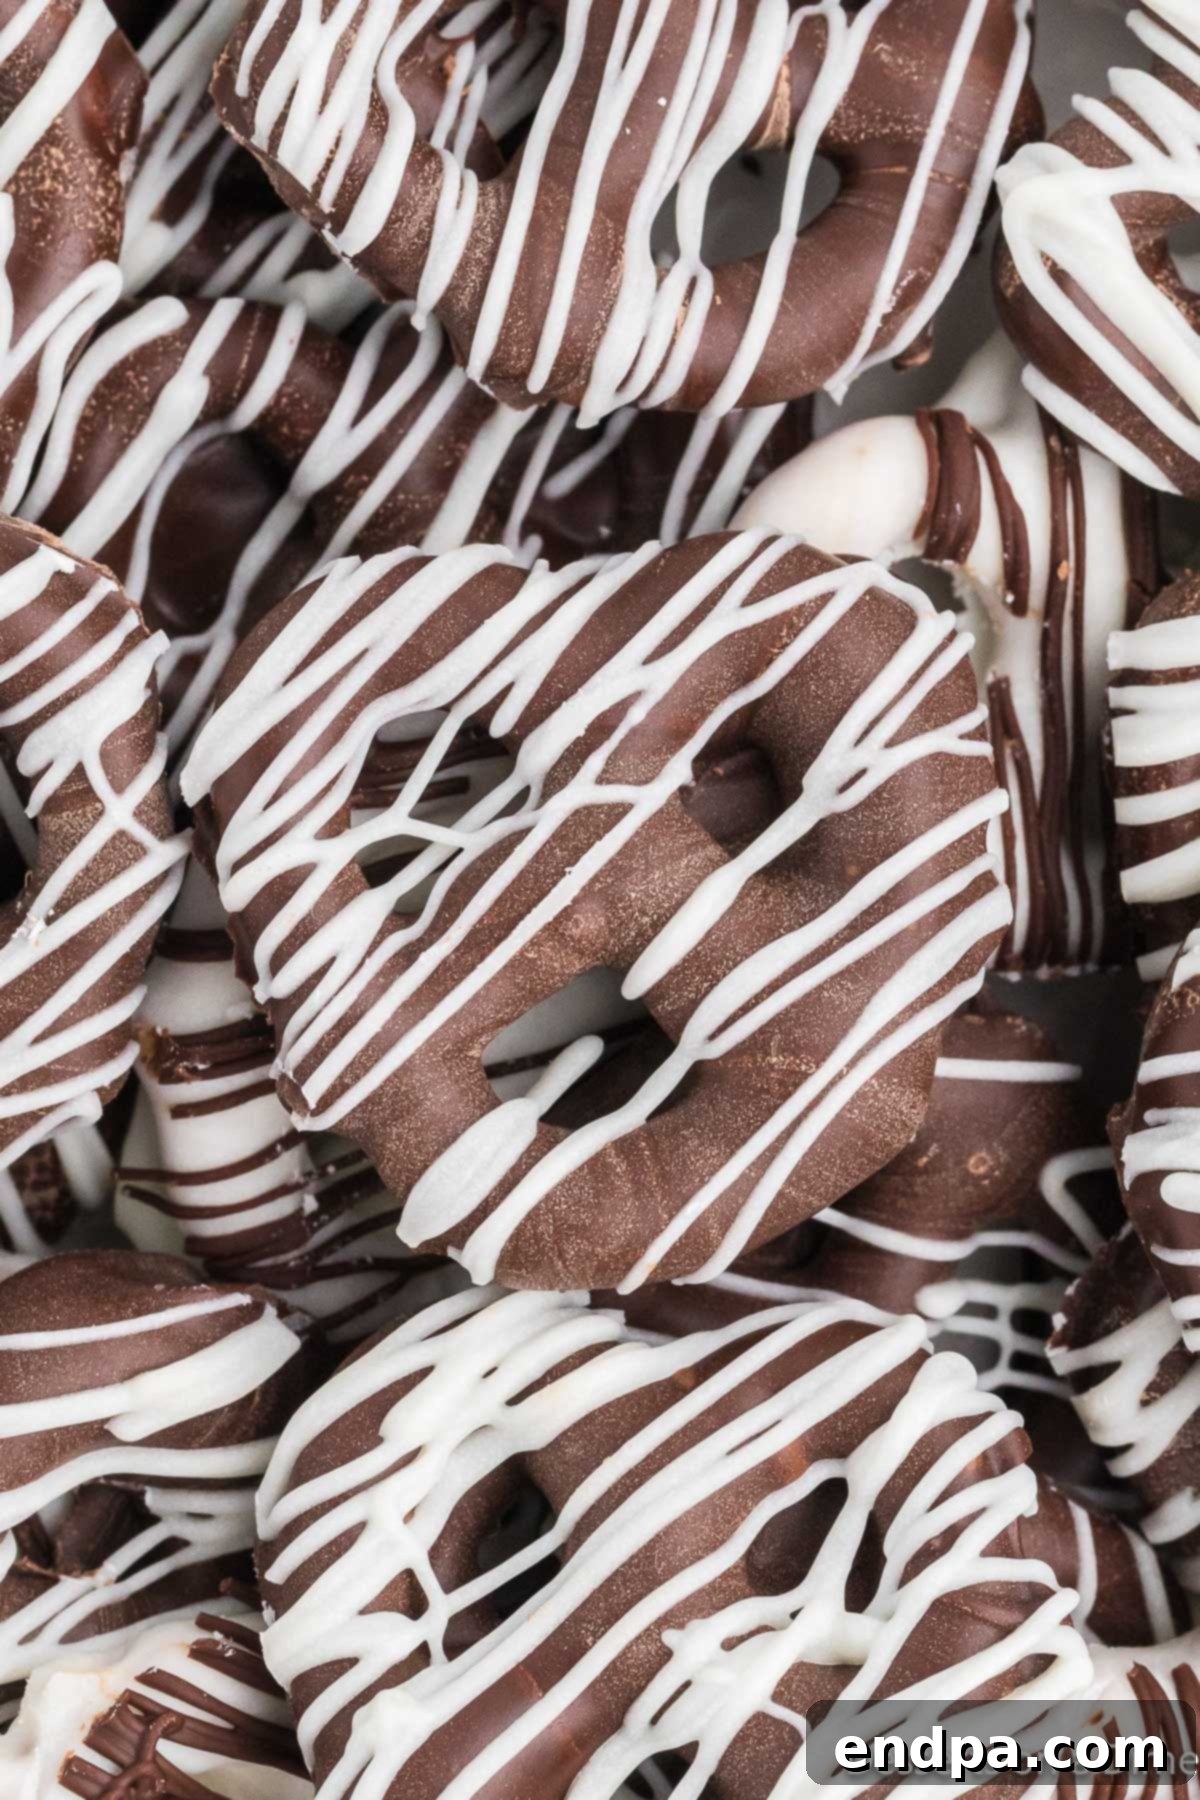
The harmonious fusion of sweet and salty flavors has long been a favorite, and these chocolate-covered pretzels epitomize this classic combination. They stand out as our go-to no-bake dessert recipe, offering a fantastic and tasty treat that comes together in mere minutes. This is a recipe that has been cherished and created by families for years, known for its undeniable ease and universally appealing taste.
Whether you’re preparing for a festive holiday, a casual get-together, or simply seeking a delightful snack for yourself, chocolate-covered pretzels fit every occasion. Their versatility is unmatched; you can easily customize them for specific events. For instance, we love making festive Shamrock Pretzels for St. Patrick’s Day or vibrant Red, White, and Blue Chocolate Covered Pretzels for patriotic celebrations.
If your heart beats for chocolate-covered delights, you’ll also adore our Chocolate Covered Ritz Crackers – another simple, addictive treat that perfectly balances salty and sweet notes, creating a unique and irresistible snack experience.
Why We Absolutely Love This Recipe
There are countless reasons why chocolate-covered pretzels have earned a permanent spot in our hearts and kitchens. Primarily, this recipe stands out because of its incredible simplicity, requiring only two basic ingredients. This minimal ingredient list makes it an accessible and stress-free option for anyone, regardless of their baking experience.
Beyond its simplicity, this recipe offers year-round appeal. It’s not just a holiday treat; it’s a versatile dessert that can be enjoyed throughout the seasons. Imagine customizing them with pastel drizzles for spring, bright colors for summer parties, earthy tones for fall gatherings, or classic white and dark chocolate for winter festivities.
What truly makes chocolate-covered pretzels a family favorite is the opportunity for shared creation. It’s a wonderful activity to do with children, allowing everyone to participate in the fun of decorating. Kids and adults alike will enjoy dipping pretzels, applying colorful sprinkles, creating artistic swirls with contrasting chocolate, or adding their own unique touches. This hands-on experience transforms a simple snack into a memorable family tradition, fostering creativity and delicious results.
Essential Ingredients for Success
The beauty of this recipe lies in its minimalist approach. With just two core ingredients, you can conjure a treat that tastes far more complex than it is. Here’s what you’ll need:
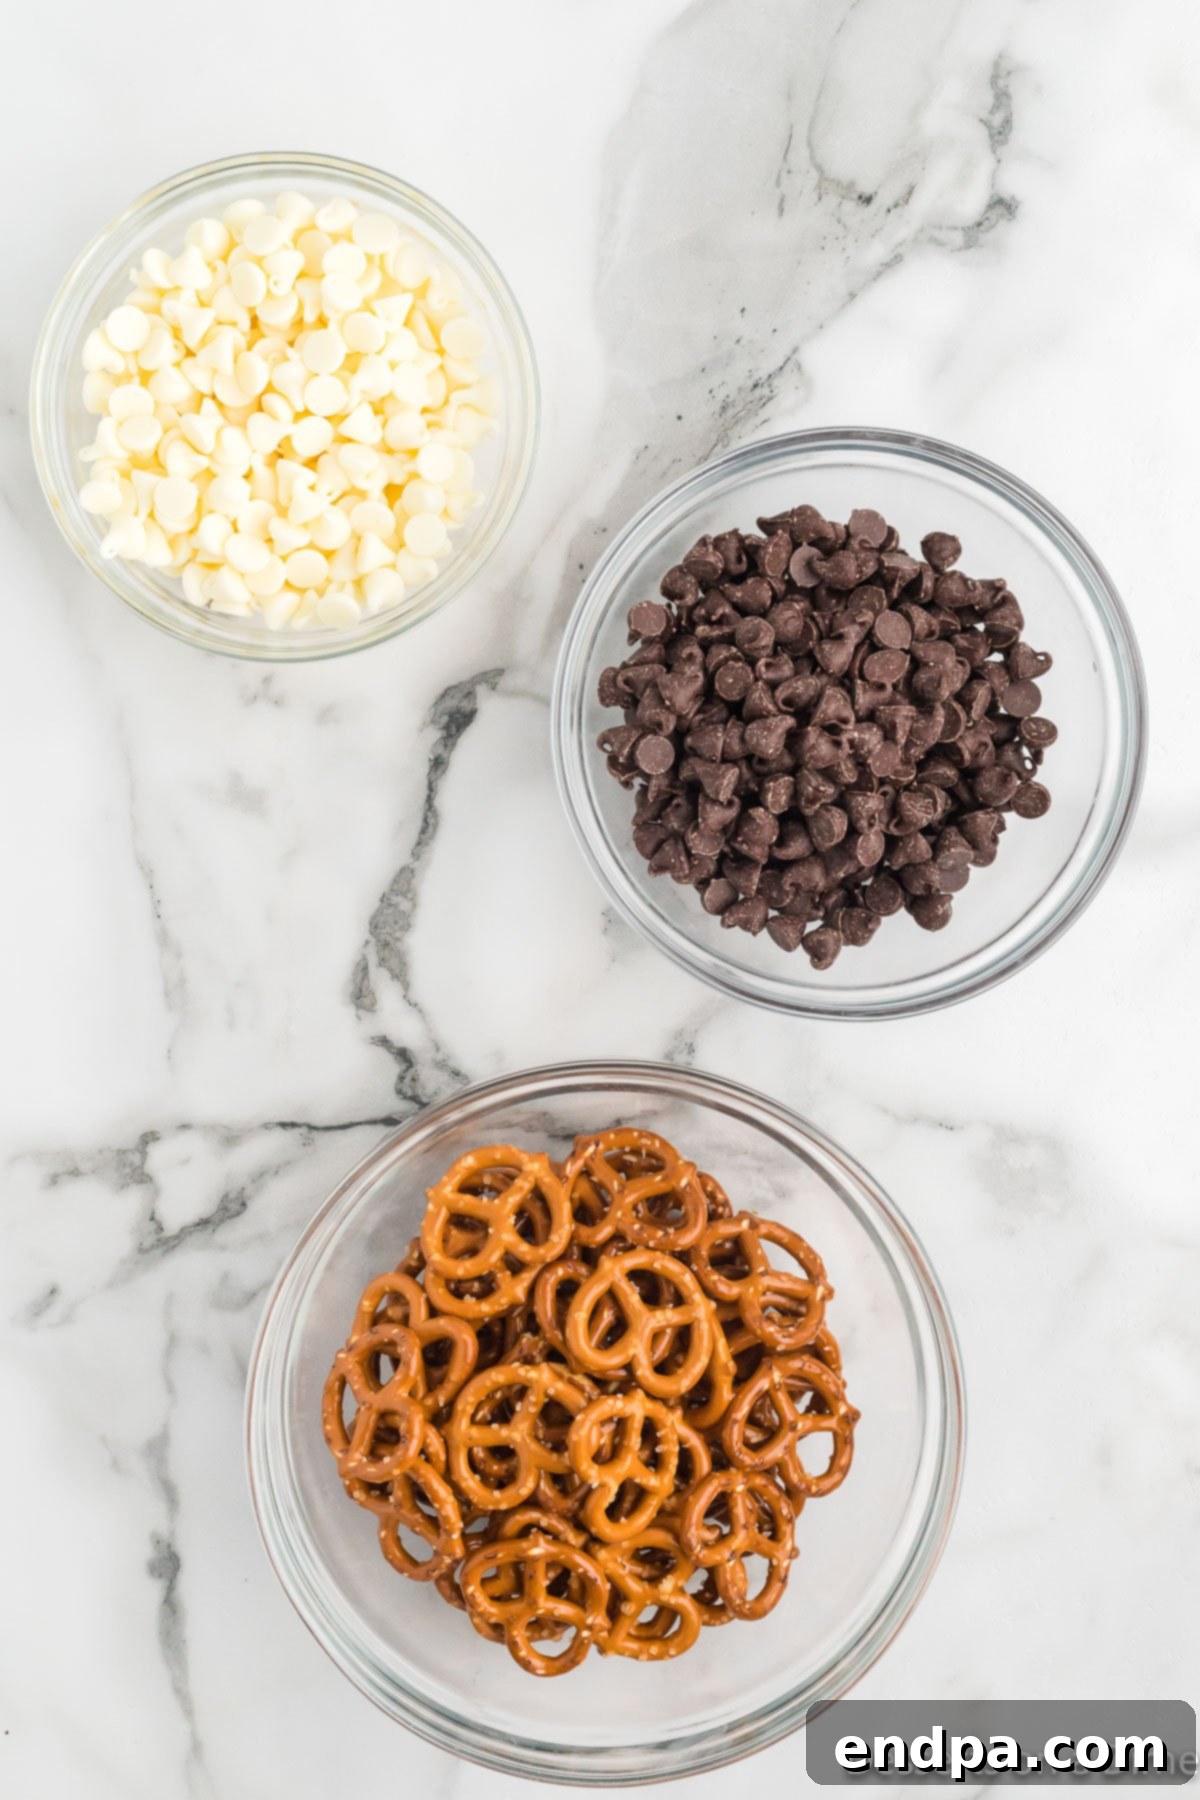
- **Miniature Pretzel Twists:** The classic choice for their perfect bite-sized form and ideal surface area for chocolate coating. While twists are traditional, feel free to experiment with other shapes. **Pretzel rods** offer a longer canvas for dipping and decorating, while **square pretzels** (also known as “snaps”) provide a different texture and visual appeal, often easier for younger children to handle. Choose a brand you enjoy for optimal flavor.
- **Chocolate Chips or Candy Melts:** This is where the magic happens! We’ve found that using both **white chocolate** and **semi-sweet chocolate** creates a lovely contrast in flavor and appearance, perfect for drizzling and decorating. However, the choice is entirely yours. **High-quality chocolate chips** will provide a rich, authentic chocolate flavor. **Candy melts**, on the other hand, are specifically designed to melt smoothly and harden quickly without tempering, making them incredibly user-friendly, especially for vibrant colors.
The complete ingredient list, along with precise measurements, is available in the detailed recipe card at the conclusion of this post.
Creative Variations to Elevate Your Pretzels
While the classic chocolate-covered pretzel is a masterpiece in itself, this recipe is a fantastic canvas for creativity. Don’t be afraid to experiment and customize your pretzels to suit your taste or the occasion. Here are some delightful variations to inspire you:
- **Explore Different Types of Chocolate:**
- **Dark Chocolate:** For a more sophisticated and less sweet flavor profile, perfect for pairing with a glass of red wine.
- **Milk Chocolate:** A creamy, classic choice that appeals to almost everyone.
- **White Chocolate:** As used in our recipe, it provides a beautiful contrast and a delicate, milky sweetness. You can also color white chocolate with food-safe oil-based dyes for festive hues.
- **Butterscotch or Peanut Butter Chips:** For a different flavor dimension that’s equally delicious.
- **Top with Your Favorite Sprinkles:** This is the easiest way to personalize your pretzels for any holiday or special occasion.
- **Holiday-themed sprinkles:** Red and green for Christmas, orange and black for Halloween, pastels for Easter.
- **Party sprinkles:** Rainbow nonpareils, confetti sprinkles, or even edible glitter for birthdays.
- **Themed sprinkles:** Use sprinkles shaped like stars, hearts, or specific characters for themed events.
- **Utilize Other Pretzel Types:** As mentioned before, don’t limit yourself to miniature twists.
- **Pretzel Rods:** Ideal for dipping entirely or partially, creating a handle that keeps fingers clean. They’re also great for more elaborate decorating.
- **Pretzel Rings or Nuggets:** Offer different textures and shapes for variety.
- **Add Crushed Candy or Cookies for Toppings:** This is a brilliant way to use up leftover candy or add an extra layer of flavor and crunch.
- **M&M’s:** Adds a colorful crunch and extra chocolatey goodness.
- **Oreo Cookies:** Crushed Oreos create a delightful cookies-and-cream effect.
- **Butterfingers:** For a rich, nutty, and crunchy caramel-like topping.
- **Nutter Butter Cookies:** Crushed for a fantastic peanut butter flavor bomb.
- **Candy Canes:** Crushed peppermint candy canes are perfect for a festive winter treat.
- **Toffee Bits:** Adds a buttery, crunchy element.
- **Top with Chopped Nuts:** For a more refined and nutty crunch, consider finely chopped almonds, pecans, walnuts, or peanuts. Lightly toasting the nuts beforehand can enhance their flavor.
- **Spice It Up:** A tiny pinch of cayenne pepper in dark chocolate can add an unexpected and exciting kick.
The possibilities are truly endless when it comes to customizing your chocolate-covered pretzels. Let your imagination run wild!
How to Make Chocolate Covered Pretzels: A Simple Guide
Creating these delightful treats is incredibly straightforward, making it a perfect activity for home cooks of all ages. Follow these simple steps for perfectly coated pretzels every time:
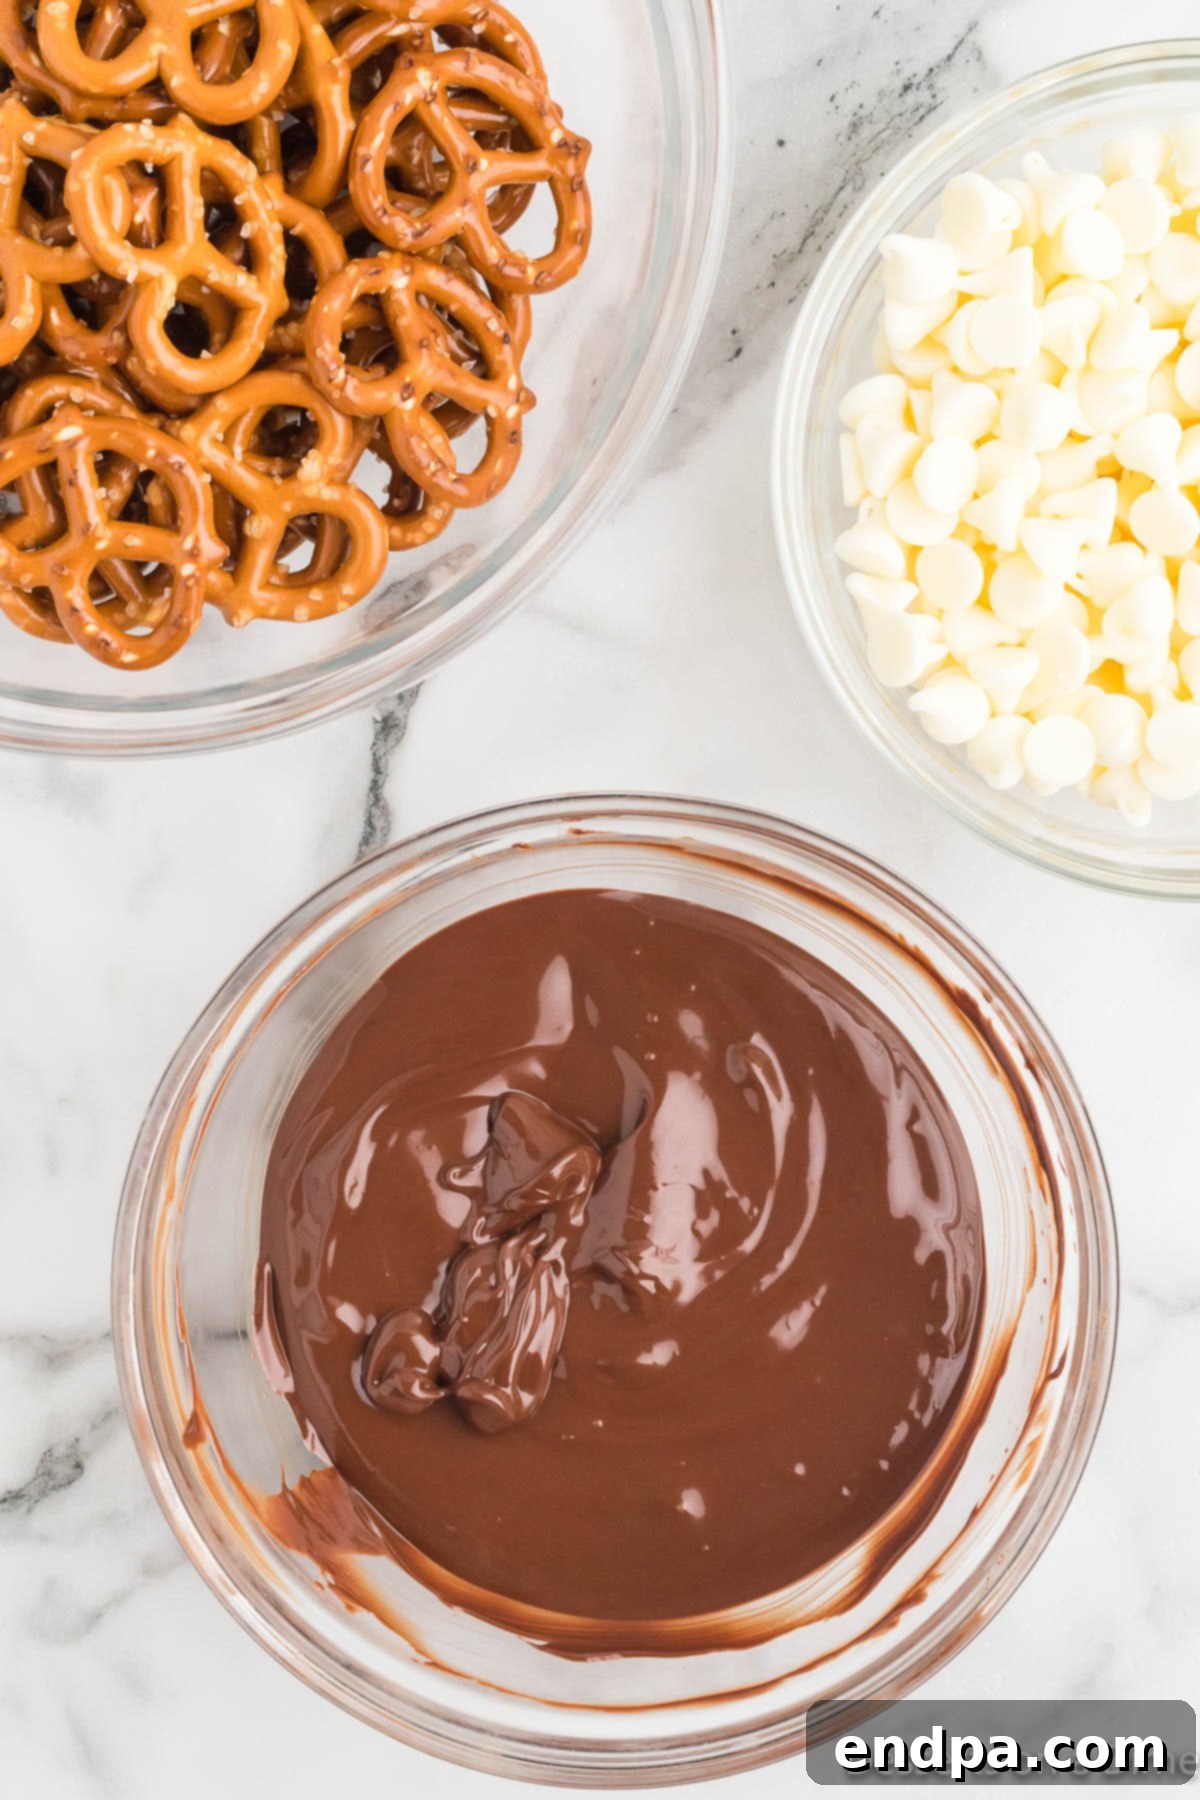
Step 1: Prepare the Chocolate for Melting. Begin by placing your chosen chocolate chips or candy melts into microwave-safe bowls. If you plan to use different types or colors of chocolate, ensure each is in its own separate bowl. This prevents any accidental mixing and allows for distinct flavor and color options.
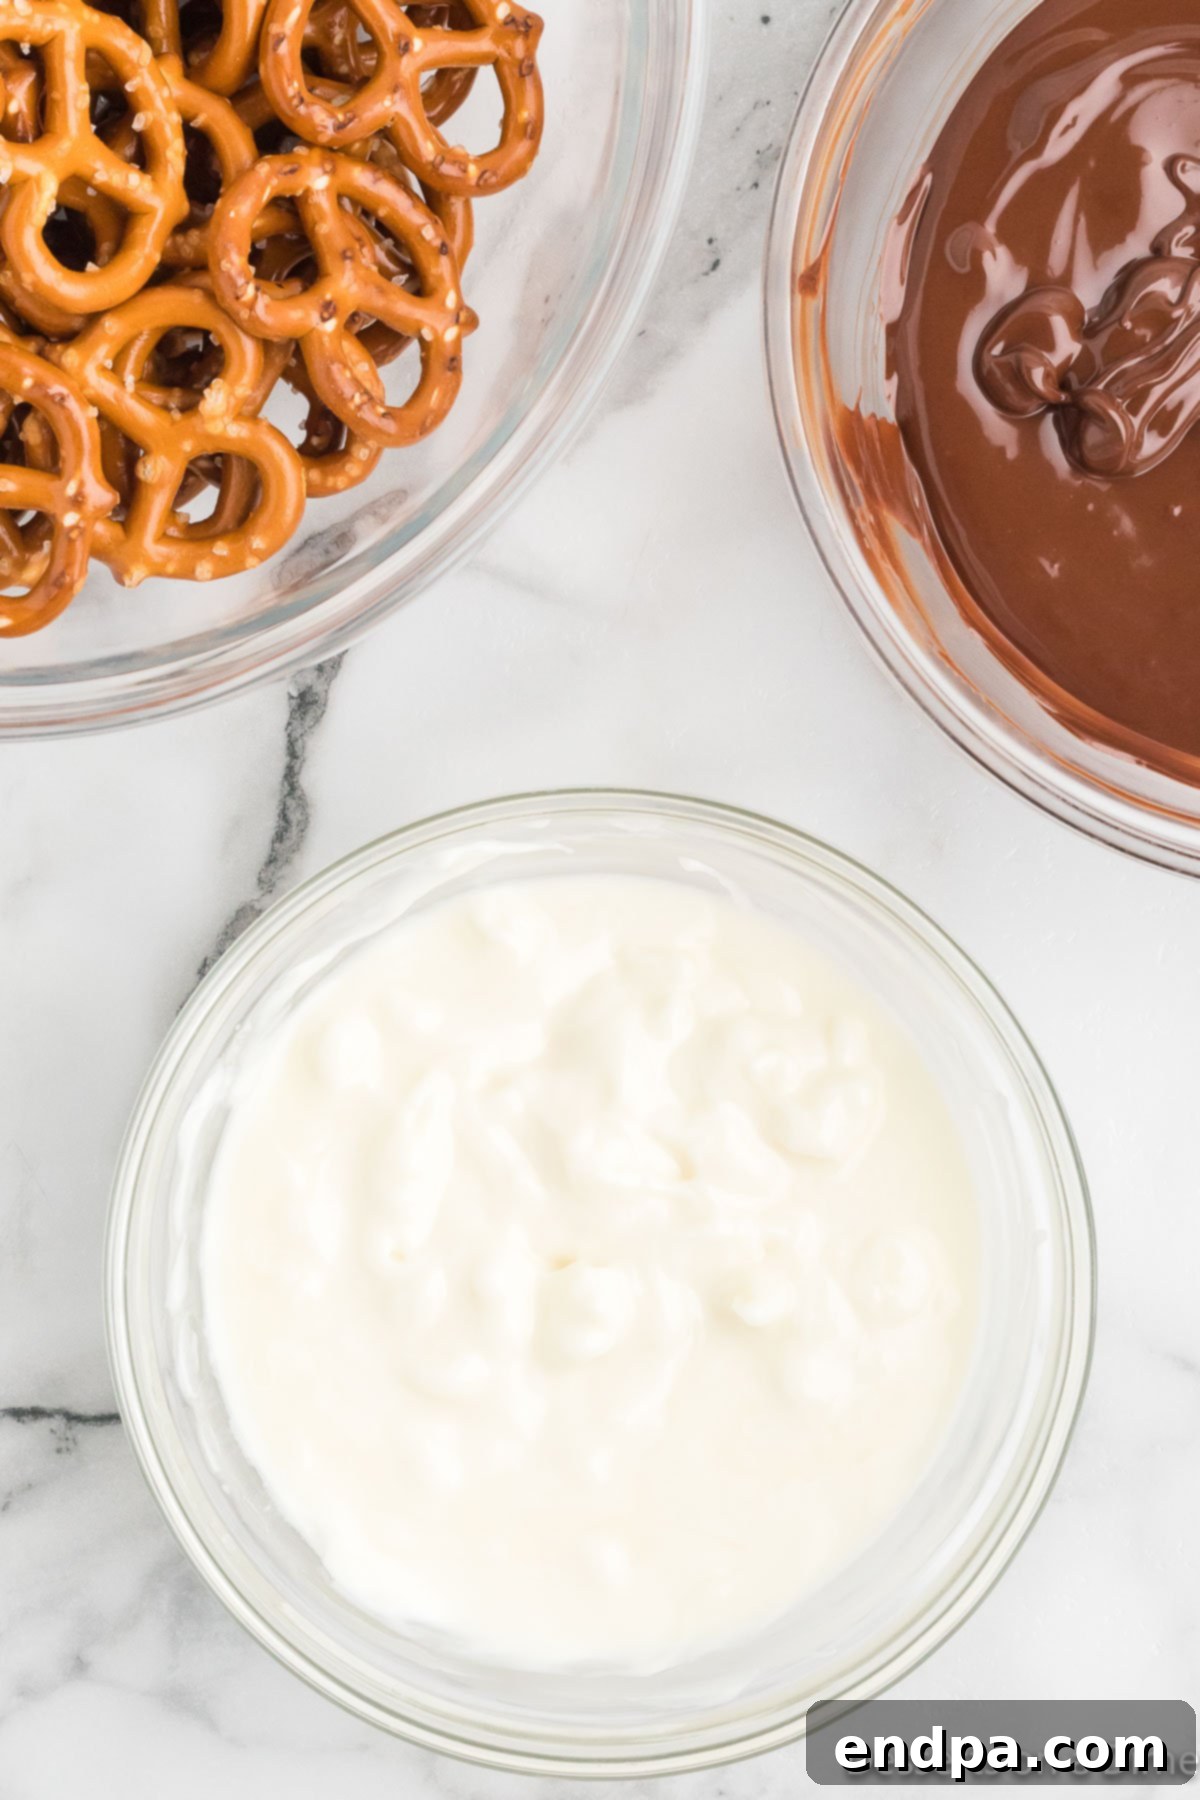
Step 2: Gently Melt the Chocolate. Place the bowls in the microwave and heat the chocolate in short, 30-second intervals. After each interval, remove the bowl and stir the chocolate thoroughly. This method is crucial for preventing the chocolate from overheating or burning. Continue this process until the chocolate is completely smooth and free of lumps. Repeat for all chocolate varieties.
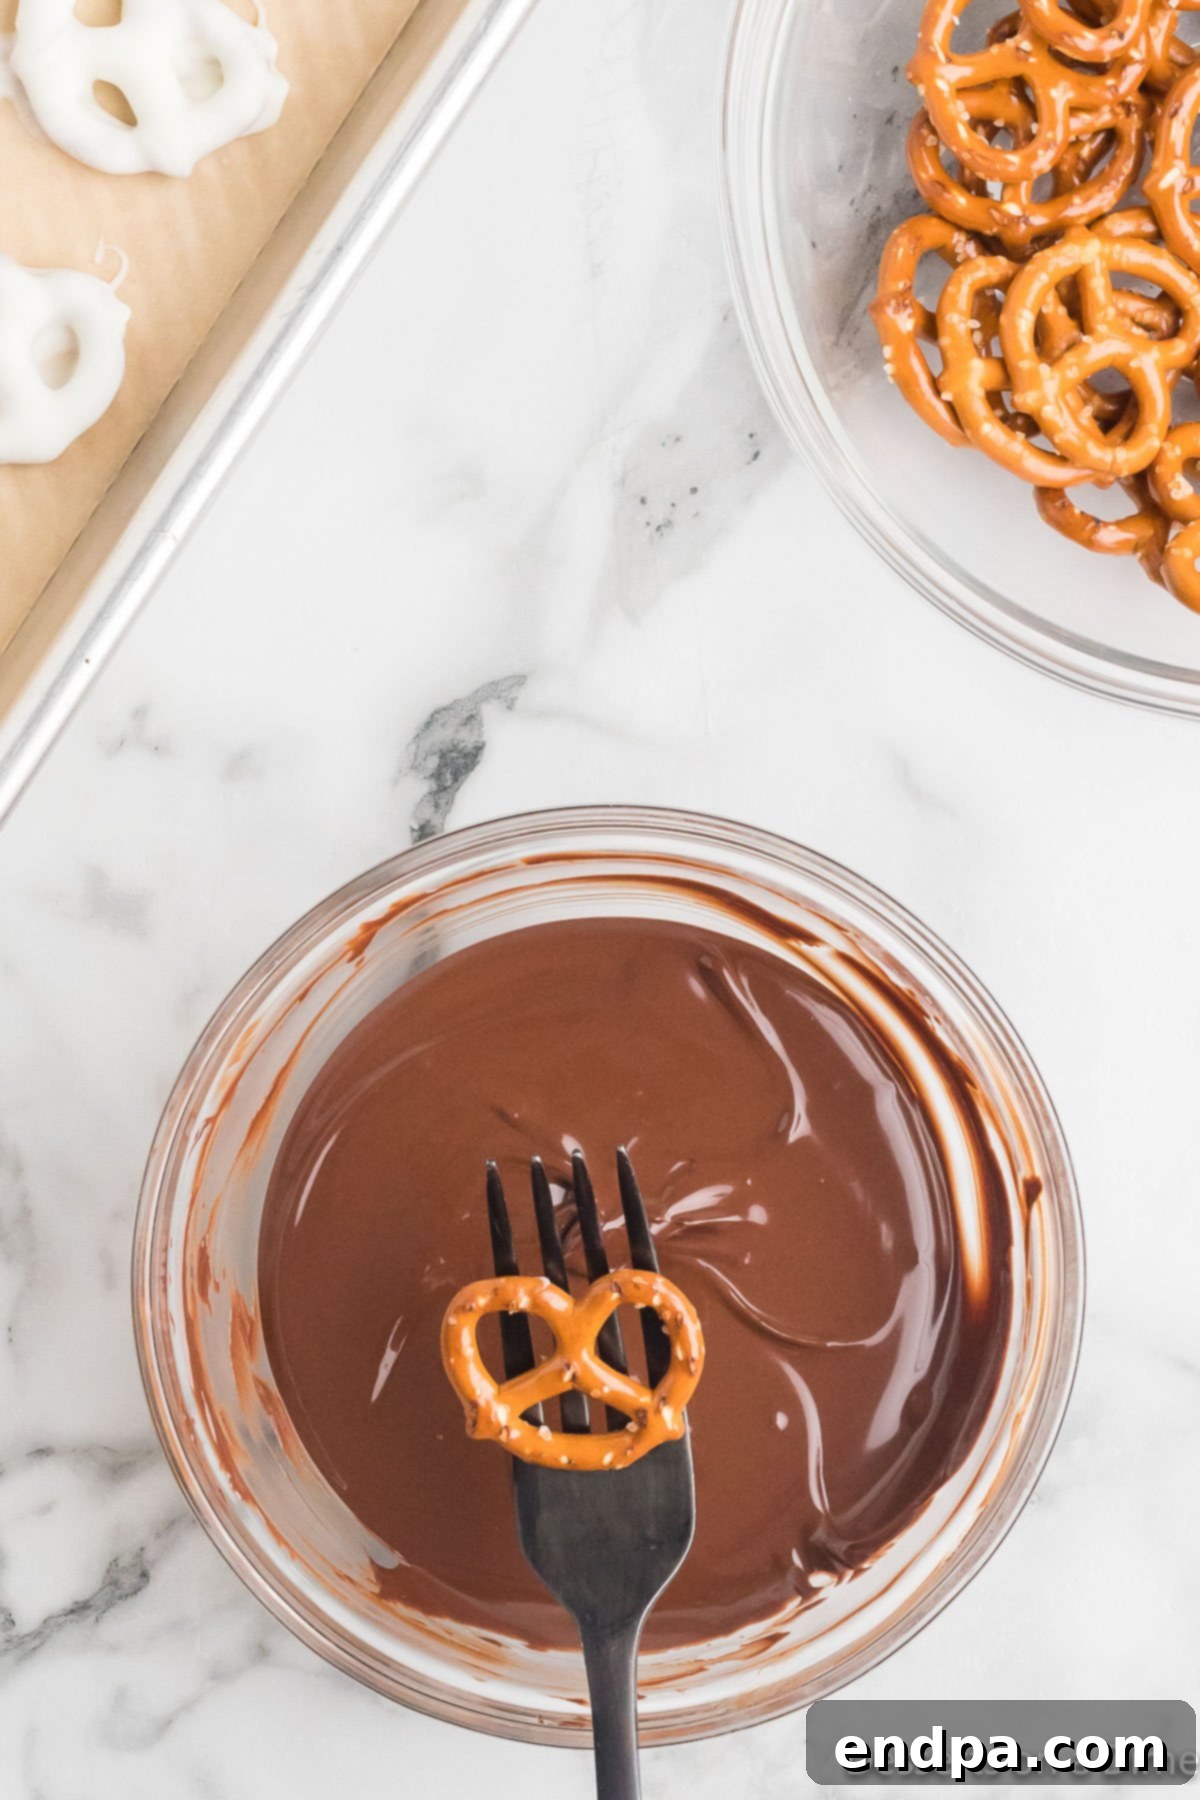
Step 3: Dip Pretzels in Milk Chocolate. Once your milk chocolate is perfectly melted and smooth, carefully begin dipping your miniature pretzels. You can submerge them completely for a full coating or partially dip them for a more rustic look. Ensure a generous, even layer of chocolate covers each pretzel.
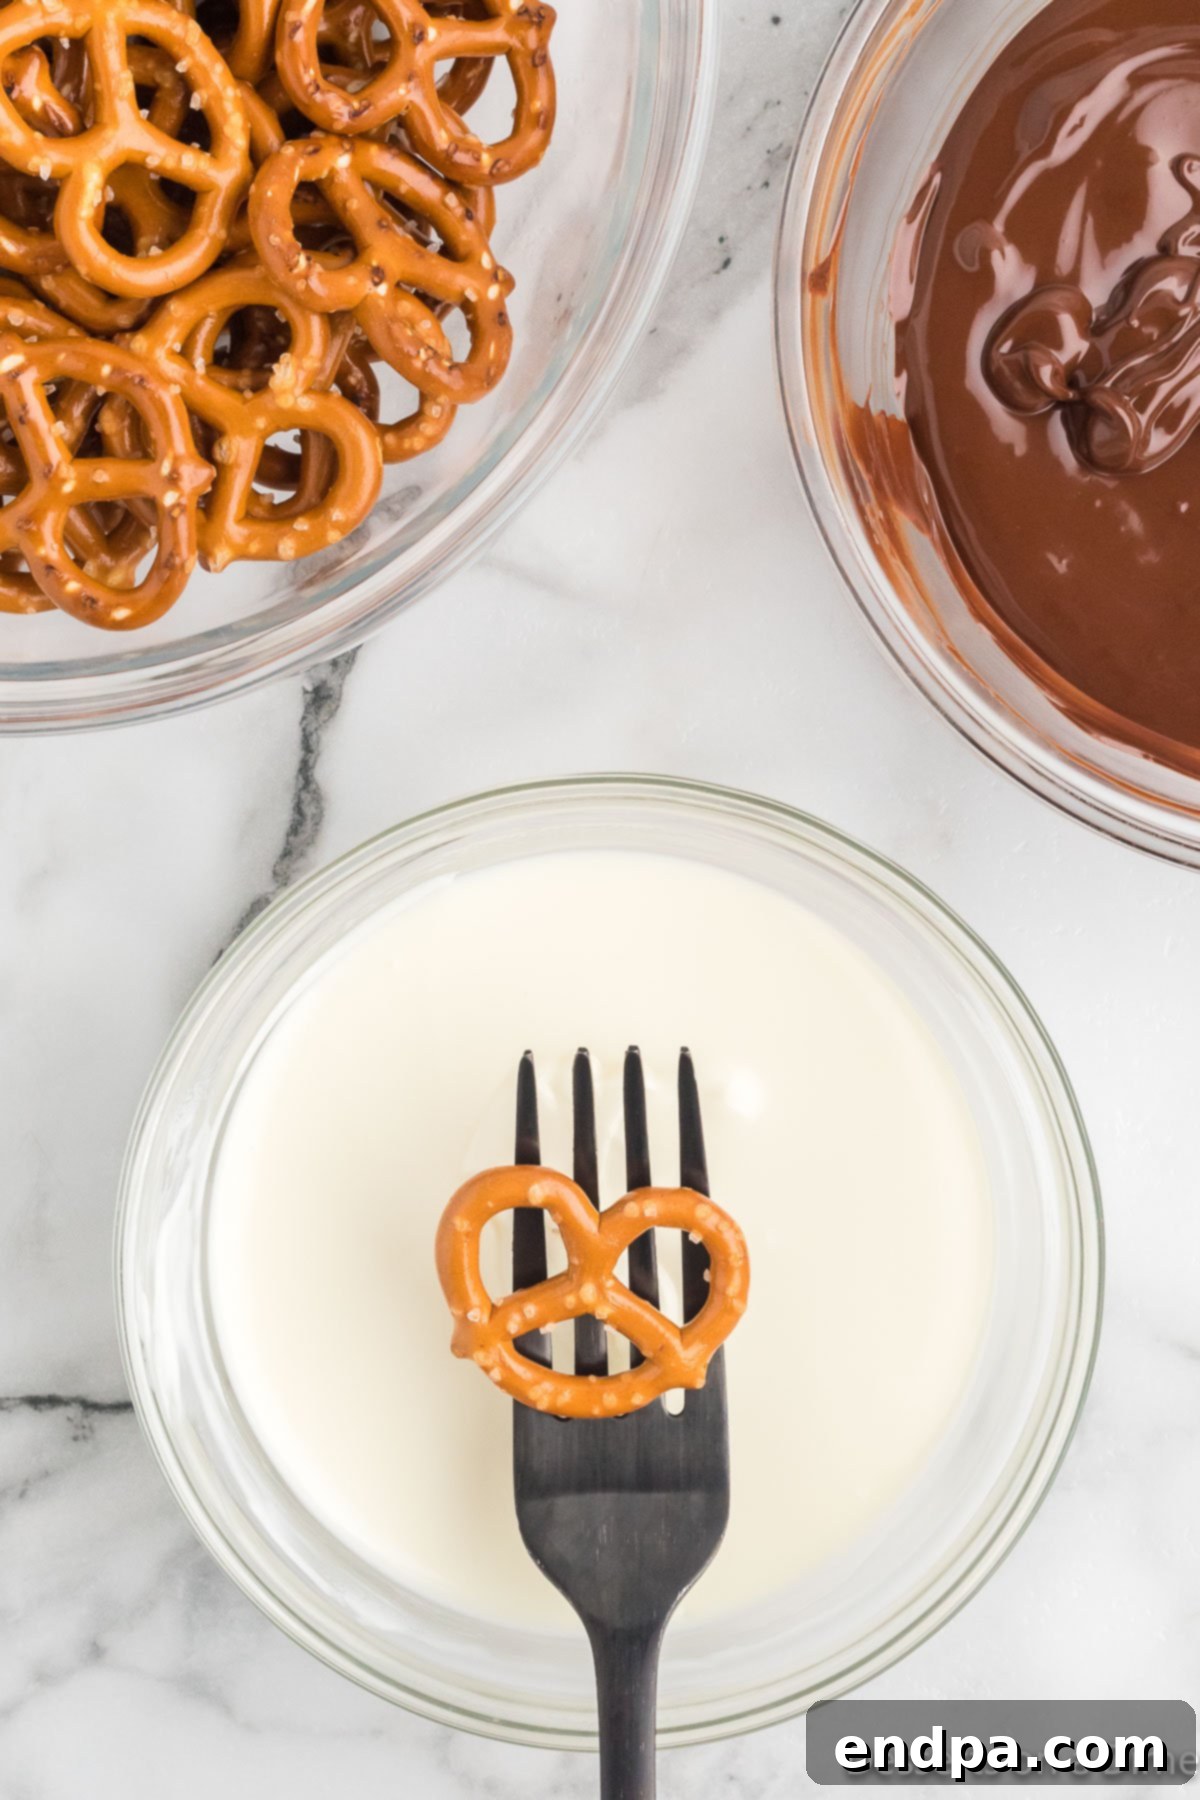
Step 4: Dip Pretzels in White Chocolate. Similarly, take a fresh batch of pretzels and dip them into the melted white chocolate. This creates a beautiful visual contrast and a different flavor experience. Using separate bowls and dipping utensils for each chocolate type helps maintain their distinct colors and flavors.
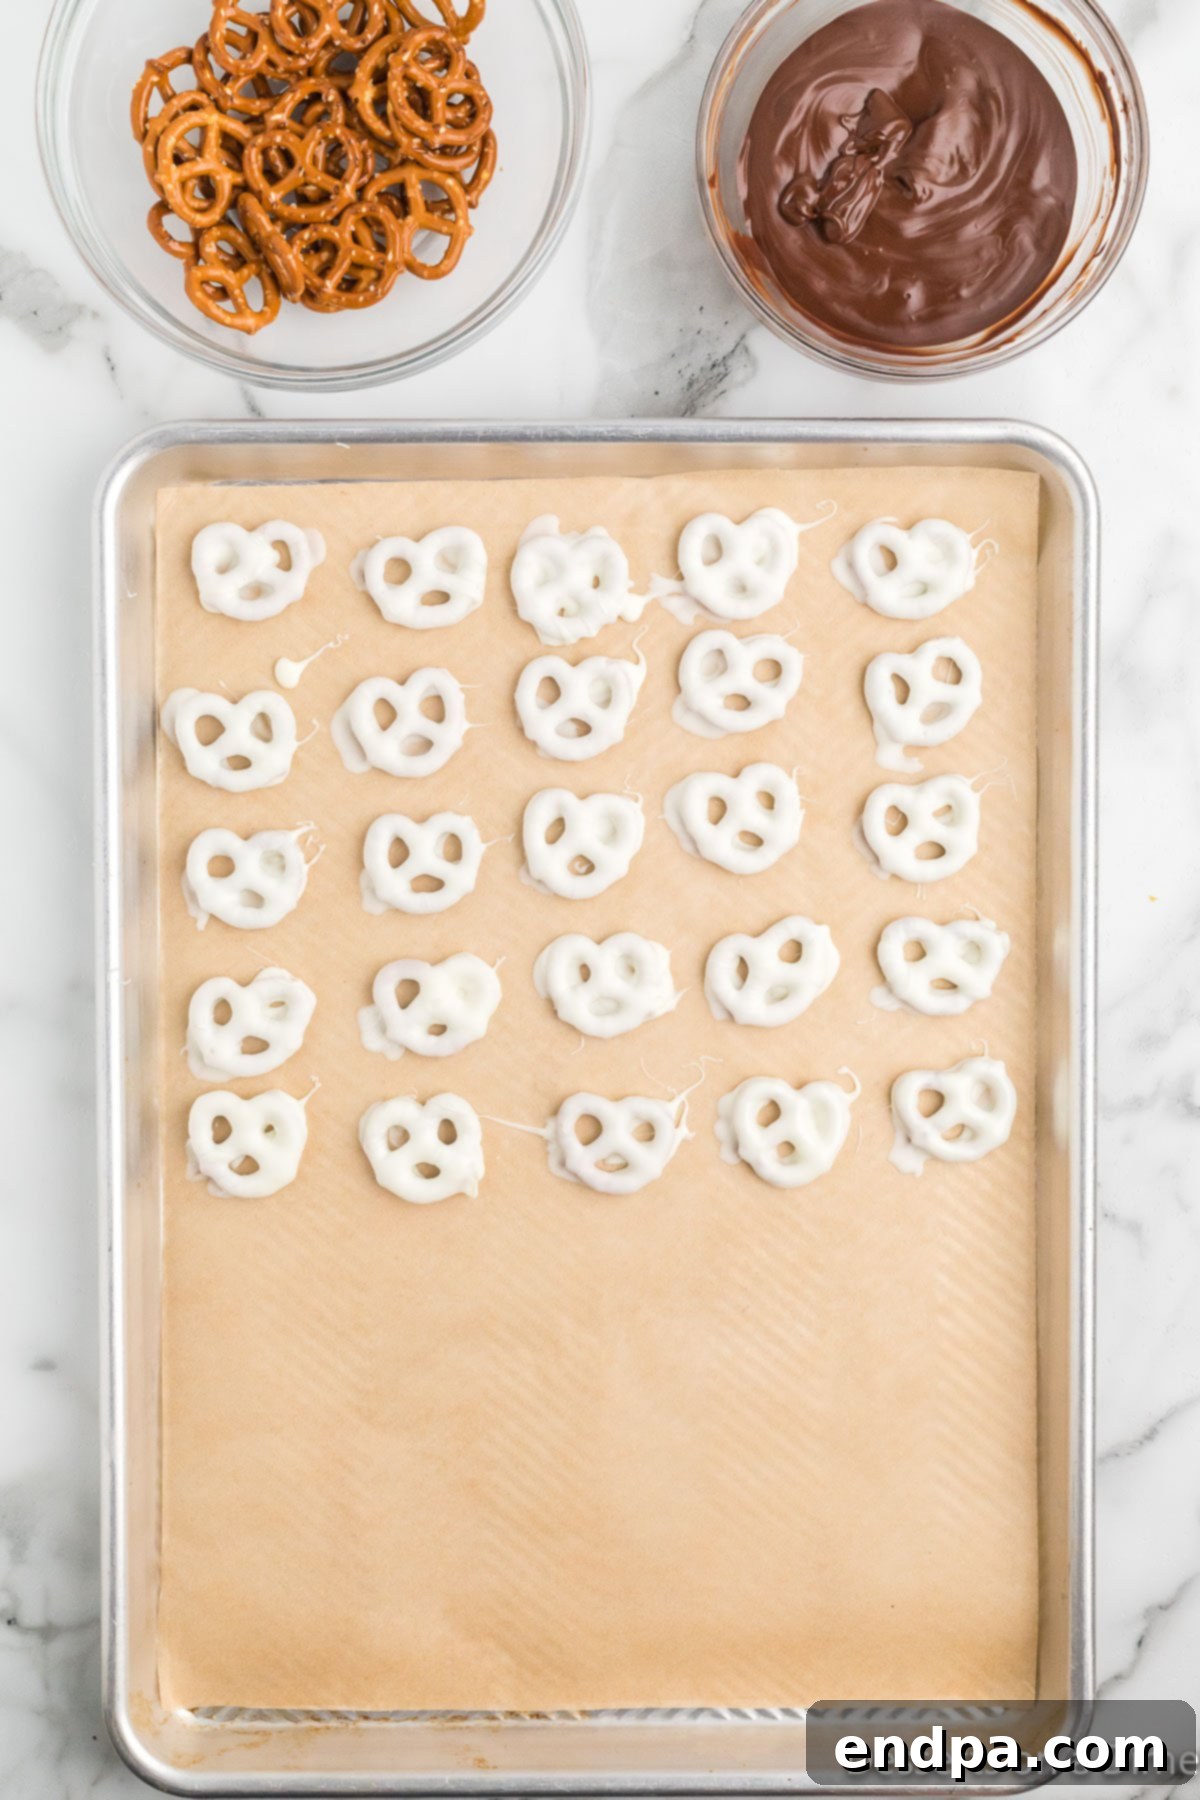
Step 5: Ensure Even Coating and Placement. After dipping, gently tap the pretzel against the side of the bowl or use a fork to allow any excess chocolate to drip off. This ensures a clean, even coating. Then, carefully place each coated pretzel onto a baking sheet that has been lined with parchment paper or wax paper. This prevents them from sticking as they set.
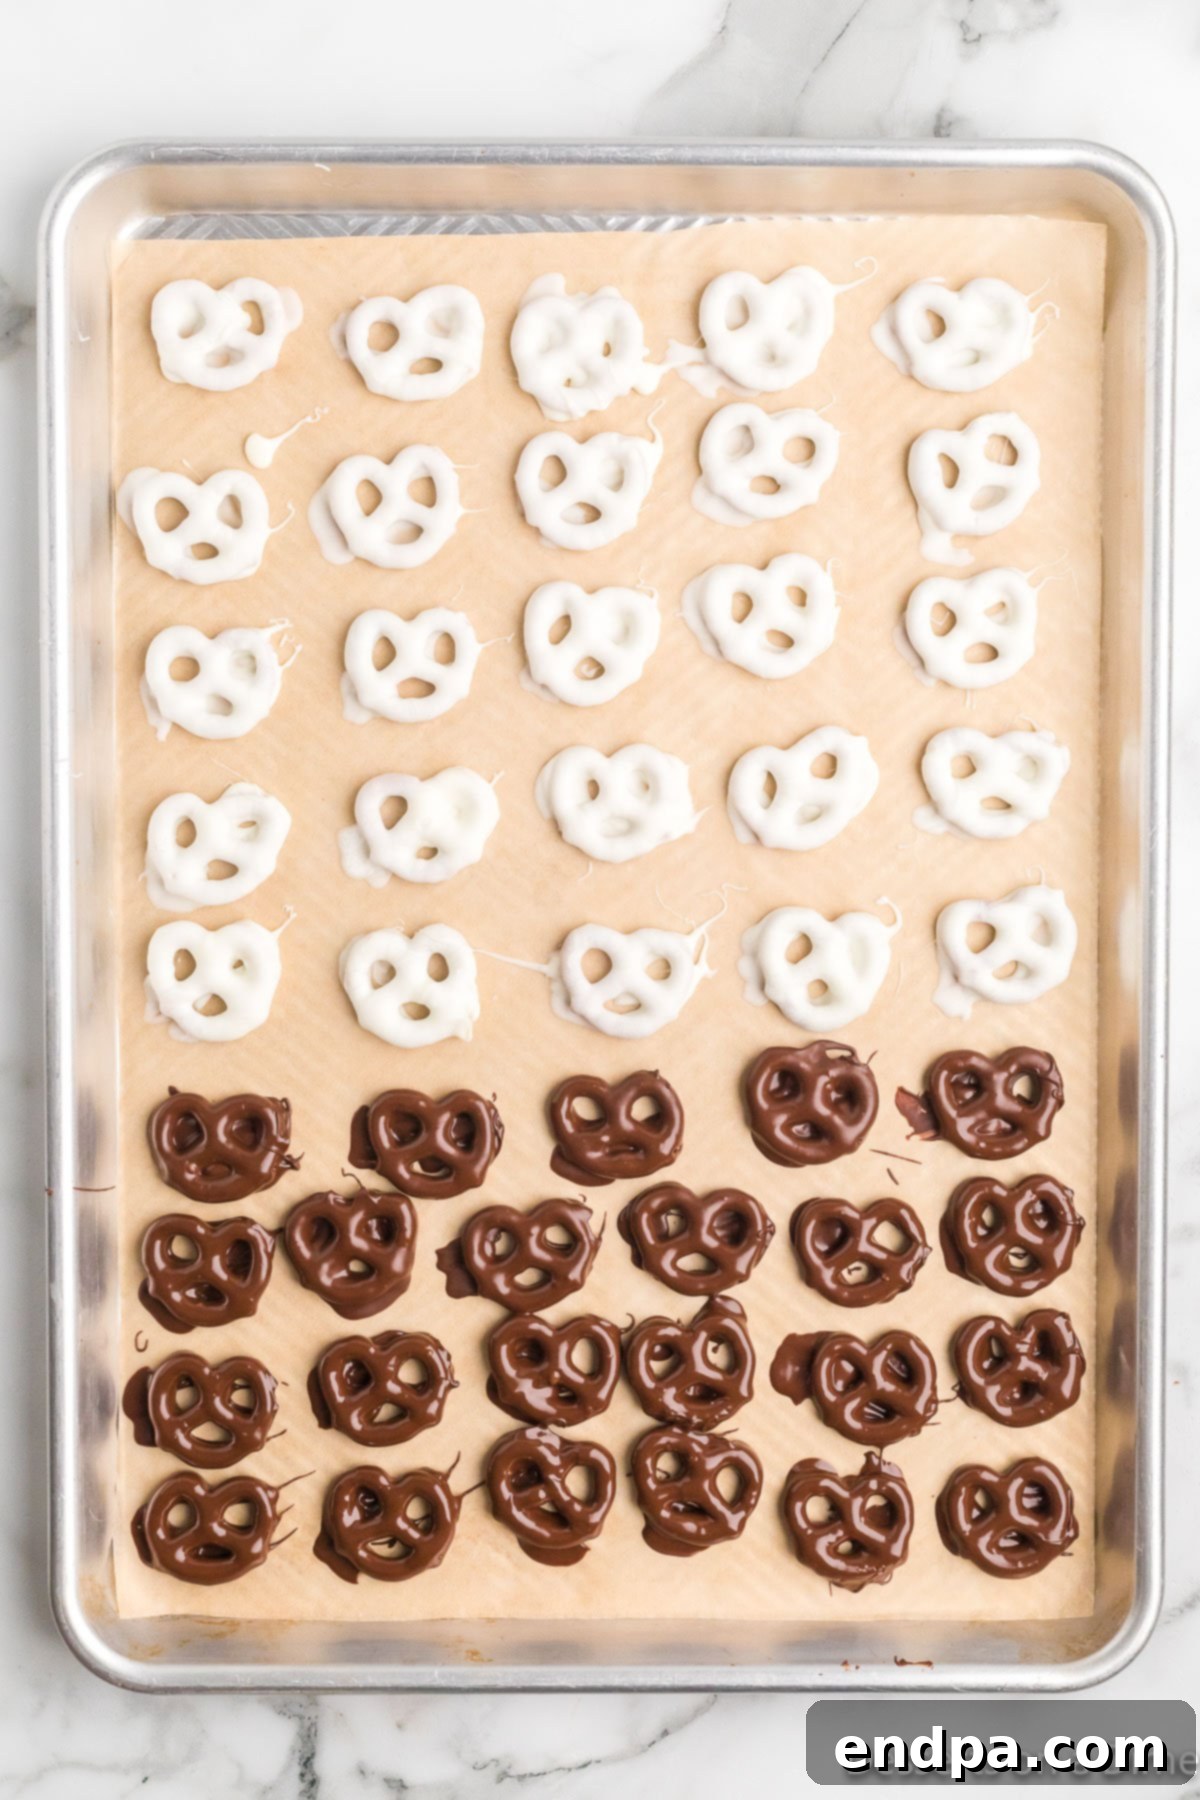
Step 6: Continue Dipping and Arrange Neatly. Repeat the dipping process, alternating between milk and white chocolate until all your pretzels are coated. Arrange them on the baking sheet with a little space between each to prevent them from fusing together as they cool and harden.
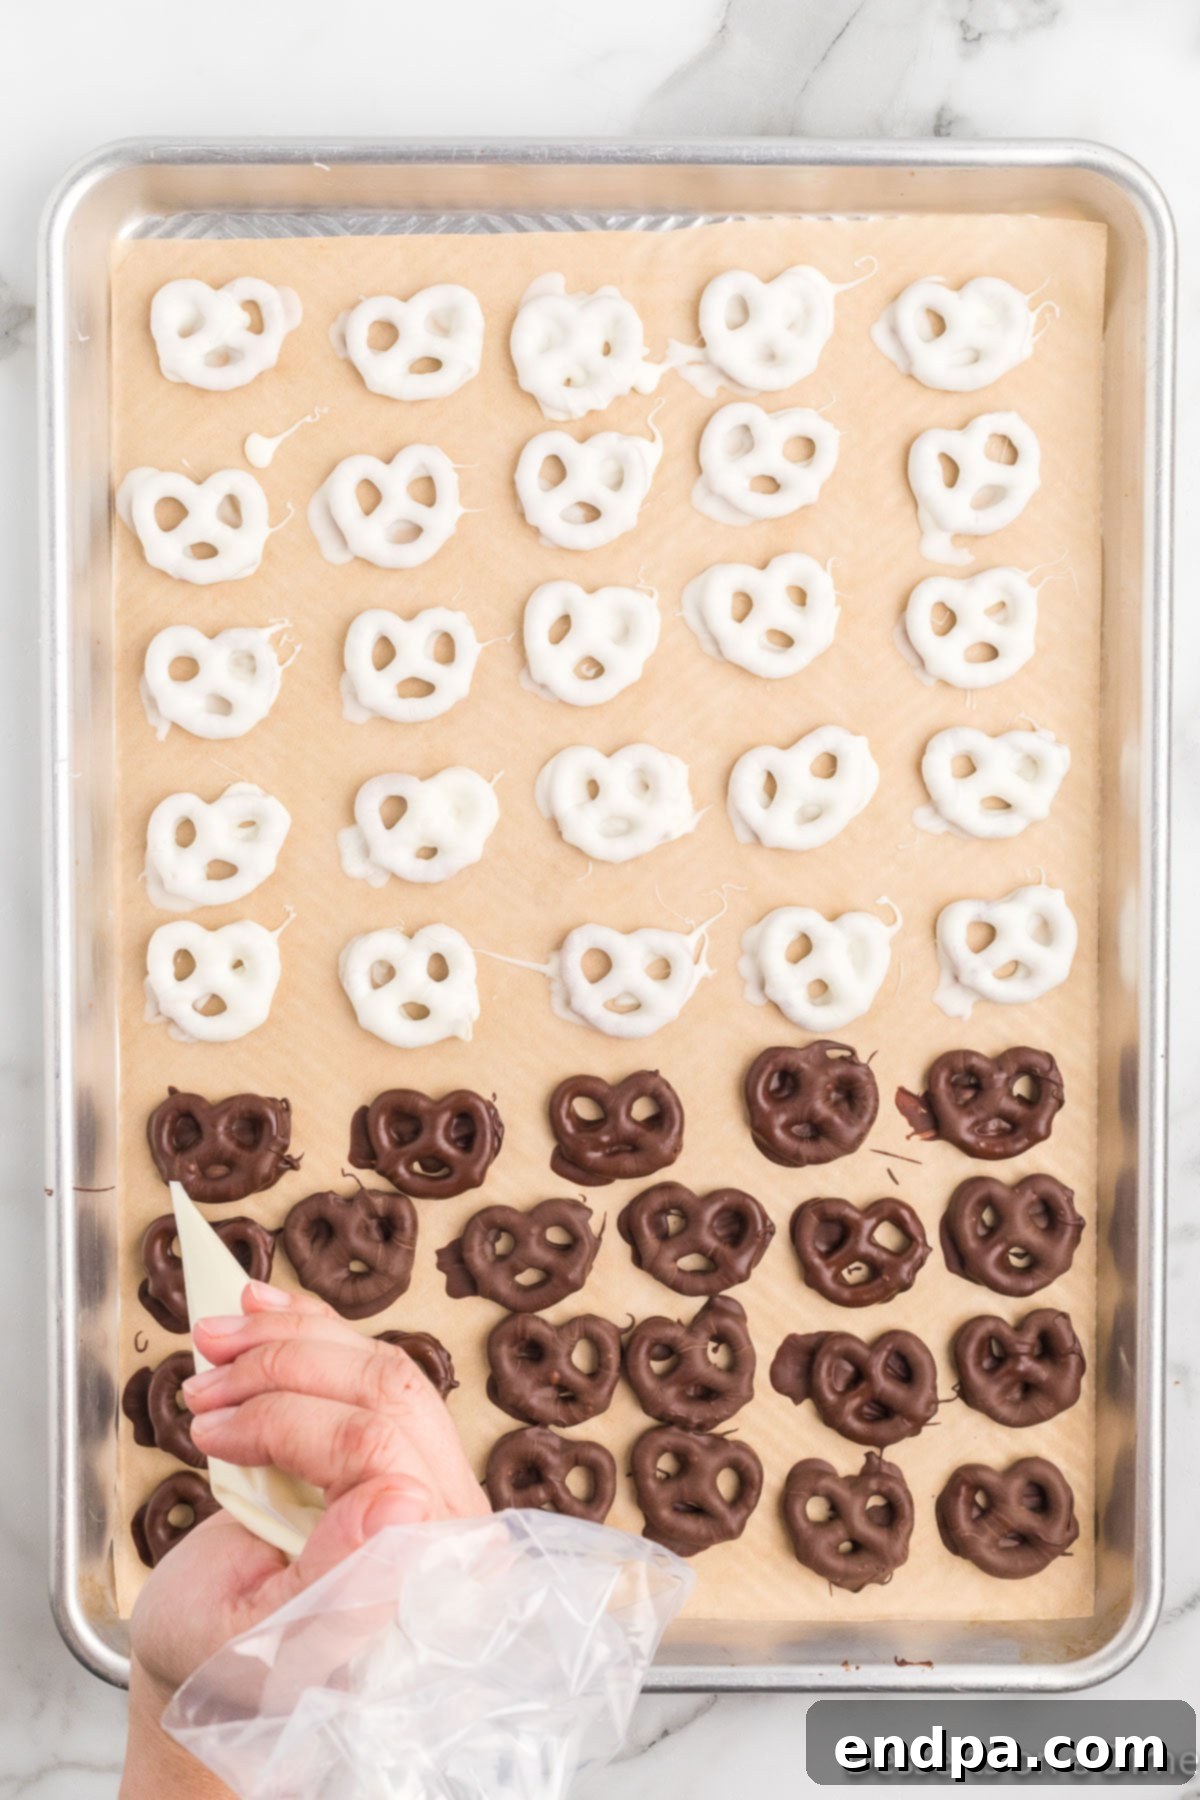
Step 7: Drizzle for Extra Flair. For an added touch of elegance and flavor, take a fork, spoon, or a piping bag with a very small tip and drizzle the opposite type of chocolate over each pretzel. For instance, drizzle white chocolate over milk-chocolate-covered pretzels and vice versa. This creates beautiful stripes and patterns.
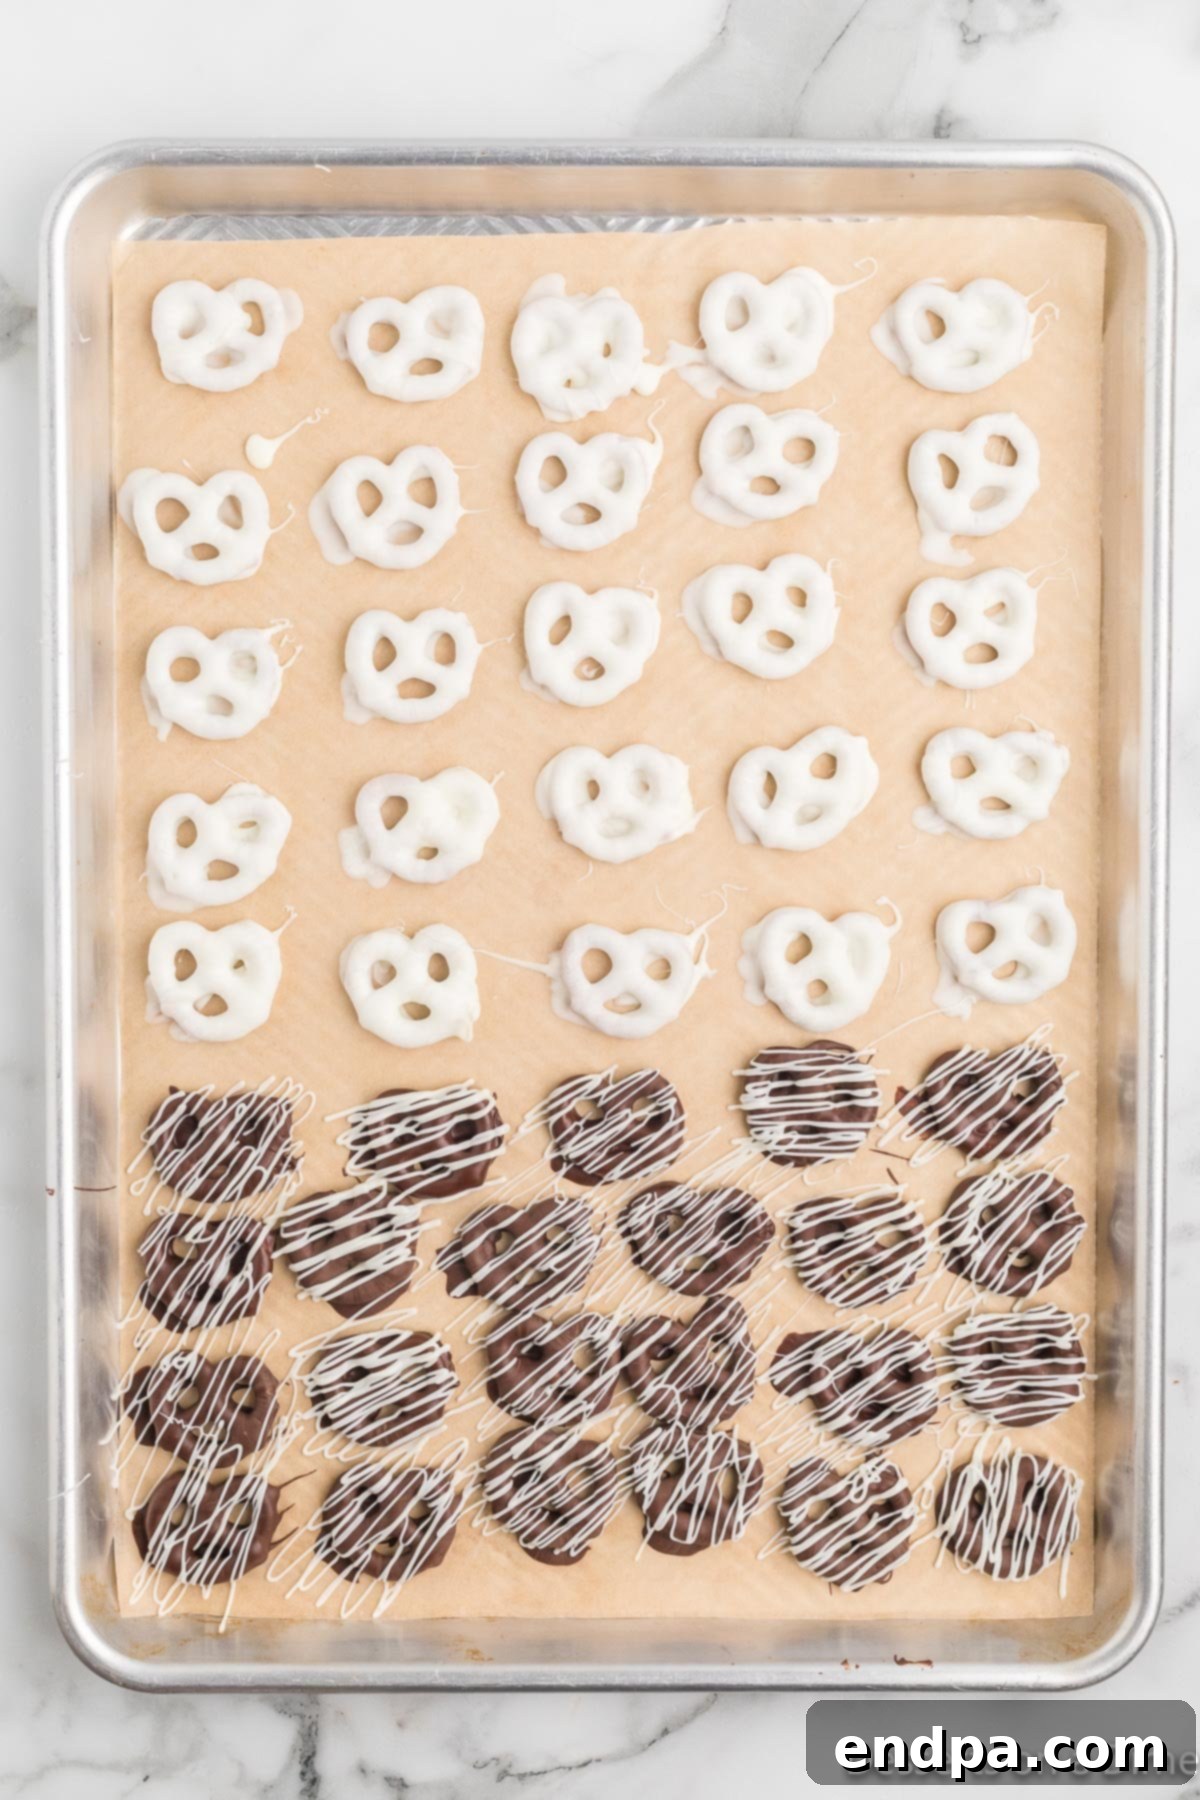
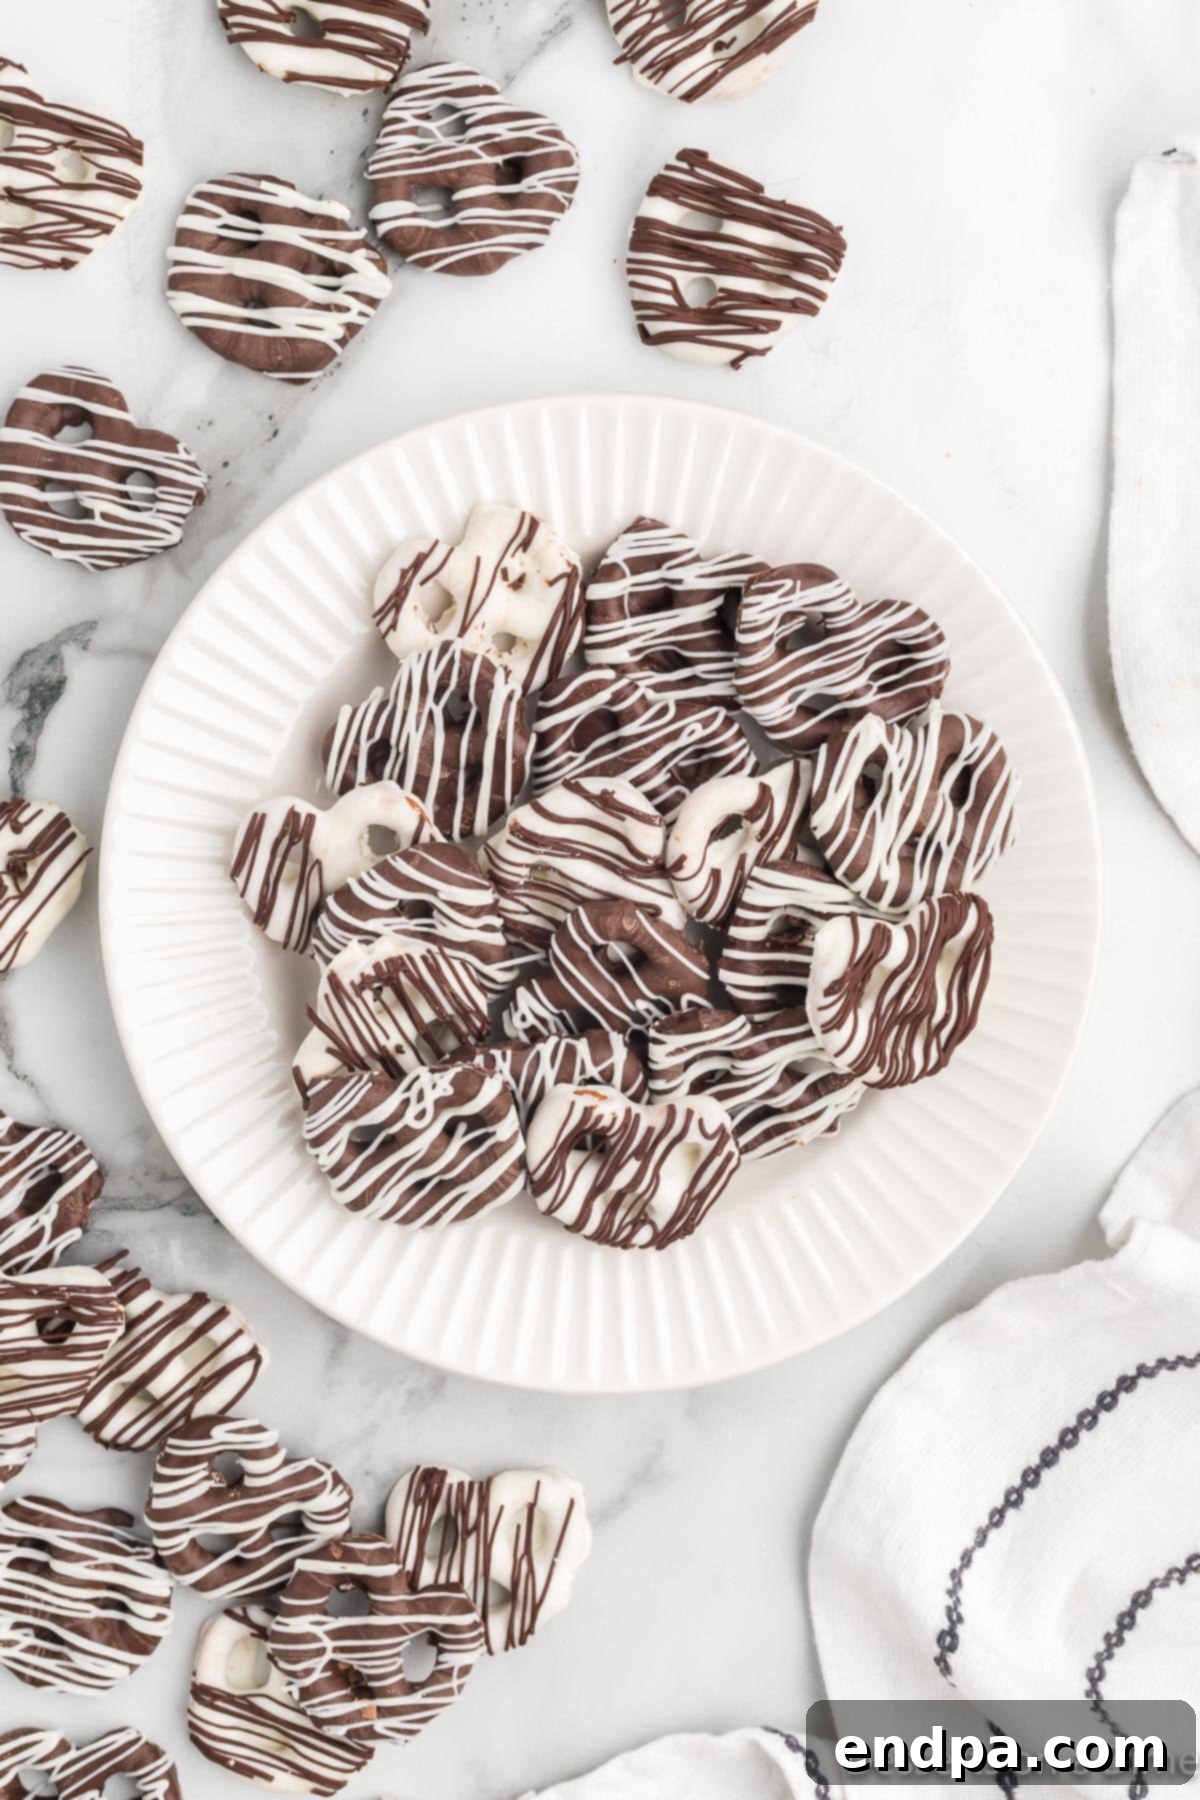
Step 8: Allow to Set. Continue the drizzling process until all your pretzels are beautifully decorated. Once complete, allow the chocolate-covered pretzels to set completely. This typically takes about 30 minutes to an hour at room temperature. To speed up the process, you can place the baking sheet in the refrigerator for about 15-20 minutes.
Frequently Asked Questions (FAQs)
Here are answers to some common questions about making and storing chocolate covered pretzels:
While it’s not strictly necessary, storing chocolate covered pretzels in an airtight container at room temperature is suitable for up to two weeks. However, if you live in a warmer climate or prefer a firmer snap to your chocolate, refrigeration is an excellent option. When refrigerated, they tend to stay fresh even longer and maintain their crispness.
Absolutely! These pretzels are an ideal make-ahead treat. They typically stay fresh for up to three weeks when stored properly in an airtight container. This makes them perfect for preparing in advance for parties, holiday gifts, or when you simply want to have a stash of delicious snacks ready for any craving. Just ensure they are completely set before storing to prevent sticking.
For best results, use good quality chocolate chips, melting wafers, or candy melts. Chocolate chips are generally made to hold their shape, so they might require a tiny bit of vegetable oil (as per our expert tips) to achieve a super smooth consistency. Candy melts are formulated to melt easily and set quickly, often without needing tempering, making them a very convenient choice.
Chocolate seizes when it comes into contact with even a tiny amount of water, becoming thick and grainy. To prevent this, ensure all your bowls and utensils are completely dry. Also, avoid covering the bowl while microwaving, as condensation can form and drip into the chocolate.
Yes, a double boiler is an excellent method for melting chocolate, especially if you want more control over the temperature. Place chocolate in a heatproof bowl over a saucepan of simmering water, ensuring the bowl does not touch the water. Stir gently until melted and smooth.
Expert Tips for Flawless Results
Achieving perfectly coated and beautifully set chocolate covered pretzels is easier with a few insider tricks. These expert tips will help ensure your treats are nothing short of spectacular:
- Melt Chocolate Completely and Smoothly: It’s crucial that your chocolate or candy melts are fully melted and silky smooth before you start dipping. Any unmelted chunks will create an uneven coating and diminish the overall aesthetic and texture of your pretzels. Take your time during the melting process for the best outcome.
- Smoothing Chocolate with Vegetable Oil: If you find your melted chocolate or candy melts are a bit too thick or not as smooth as you’d like, add about ½ teaspoon of vegetable oil (or coconut oil) at a time. Stir it in until you reach your desired consistency. This simple addition can make a significant difference, allowing the chocolate to coat the pretzels more evenly and professionally.
- Avoid Overheating Chocolate: This is a golden rule in chocolate melting! Overheating can cause chocolate to “seize” – becoming thick, grainy, and difficult to work with, losing its glossy finish. Always melt in short, 30-second intervals in the microwave, stirring diligently after each. If using a double boiler, keep the heat gentle and ensure no water comes into contact with the chocolate.
- Dip Pretzels Immediately After Melting: Chocolate and candy melts will start to harden as they cool. To ensure the easiest and most effective dipping, use your melted chocolate immediately after it reaches its perfect consistency. Don’t let it sit too long; be ready to dip!
- Utilize a Fork for Dipping: When it comes to dipping pretzels, a simple dinner fork is your best friend. Submerge the pretzel, then gently tap the fork on the side of the bowl. The prongs of the fork allow excess chocolate to drip off efficiently, preventing thick, clumpy coatings and creating a cleaner finish than a spoon would.
- Line Your Baking Sheet: To prevent your chocolate-covered pretzels from sticking to the baking sheet as they set, always line it with parchment paper or wax paper. This ensures easy removal and keeps your treats intact.
- Strategic Drizzling Tip: If you plan to drizzle a contrasting chocolate color, allow the initial chocolate coating to set for a few minutes (approximately 15 minutes) before drizzling. This brief setting period helps ensure that the drizzled chocolate stays on top and creates distinct lines, rather than mixing into the still-wet base coat.
- Cool Completely Before Storing: Patience is key! Make sure your chocolate-covered pretzels are entirely dried and hardened before you attempt to move or store them. Moving them too soon can smudge the chocolate or cause them to stick together, ruining their perfect appearance.
- Gifting Presentation: Chocolate covered pretzels make wonderful homemade gifts. Once fully set, arrange them in clear cellophane bags tied with a ribbon, or in decorative boxes lined with tissue paper. They are always a hit!
More Irresistible Pretzel Dessert Recipes
If you’ve fallen in love with the sweet and salty allure of pretzels in desserts, you’re in for a treat! Here are more fantastic pretzel-based recipes that are sure to become new favorites:
- Rolo Pretzel Turtle Recipe: An incredibly simple three-ingredient marvel combining the chewiness of Rolo candies with the crunch of pretzels and a touch of pecan.
- Strawberry Pretzel Dessert Recipe: A refreshing and creamy layered dessert featuring a salty pretzel crust, a sweet cream cheese layer, and a vibrant strawberry topping.
- Easy Rolo Pretzel Bites Recipe: Similar to the turtles but often simpler, these bite-sized treats are perfect for quick snacking and parties.
- Football Chocolate Covered Pretzel Cookies: A fun and festive recipe perfect for game day, combining cookies, chocolate, and pretzels into a themed treat.
We encourage you to try this incredibly simple, yet profoundly delicious recipe for chocolate covered pretzels. We are confident it will become a go-to treat in your household. Don’t forget to leave a comment with your feedback and creations – we absolutely love hearing from you!
Chocolate Covered Pretzels Recipe
A simple, delightful recipe for sweet and salty chocolate covered pretzels, perfect for any occasion!
Chocolate Covered Pretzels require minimal ingredients to make. This fun and easy recipe is a perfect family activity, yielding delicious sweet and salty treats everyone will love.
10 mins
30 mins
40 mins
10
American
Dessert
190
Carrie Barnard
Ingredients
- 50 miniature pretzel twists
- 12 ounces chocolate chips or candy melts – (We used 6 ounces of white chocolate and 6 ounces of semi-sweet chocolate.)
Instructions
- Place the chocolate chips or candy melts in microwave-safe bowls. If using different types or colors of chocolate, use separate bowls for each to prevent mixing.
- Microwave in 30-second increments, stirring thoroughly after each interval, until the chocolate is completely melted and smooth. Be careful not to overheat.
- Dip the pretzels into the melted chocolate. Use a fork to fully coat each pretzel, then gently tap the fork on the side of the bowl to remove any excess chocolate. For decoration, drizzle contrasting colors of chocolate over the coated pretzels.
- Place the dipped pretzels onto a baking sheet lined with parchment paper or wax paper, ensuring they are not touching.
- Allow the pretzels to sit until the chocolate is completely dry and set. This will take approximately 1 hour at room temperature or 30 minutes if refrigerated.
- Serve immediately, or store in an airtight container for up to 2 weeks for optimal freshness.
Nutrition Facts
Calories: 190kcal, Carbohydrates: 27g, Protein: 2g, Fat: 8g, Saturated Fat: 5g, Cholesterol: 5mg, Sodium: 86mg, Potassium: 7mg, Fiber: 1g, Sugar: 21g, Vitamin A: 76IU, Vitamin C: 1mg, Calcium: 39mg, Iron: 1mg
Pin This Now to Remember It Later
Pin Recipe
