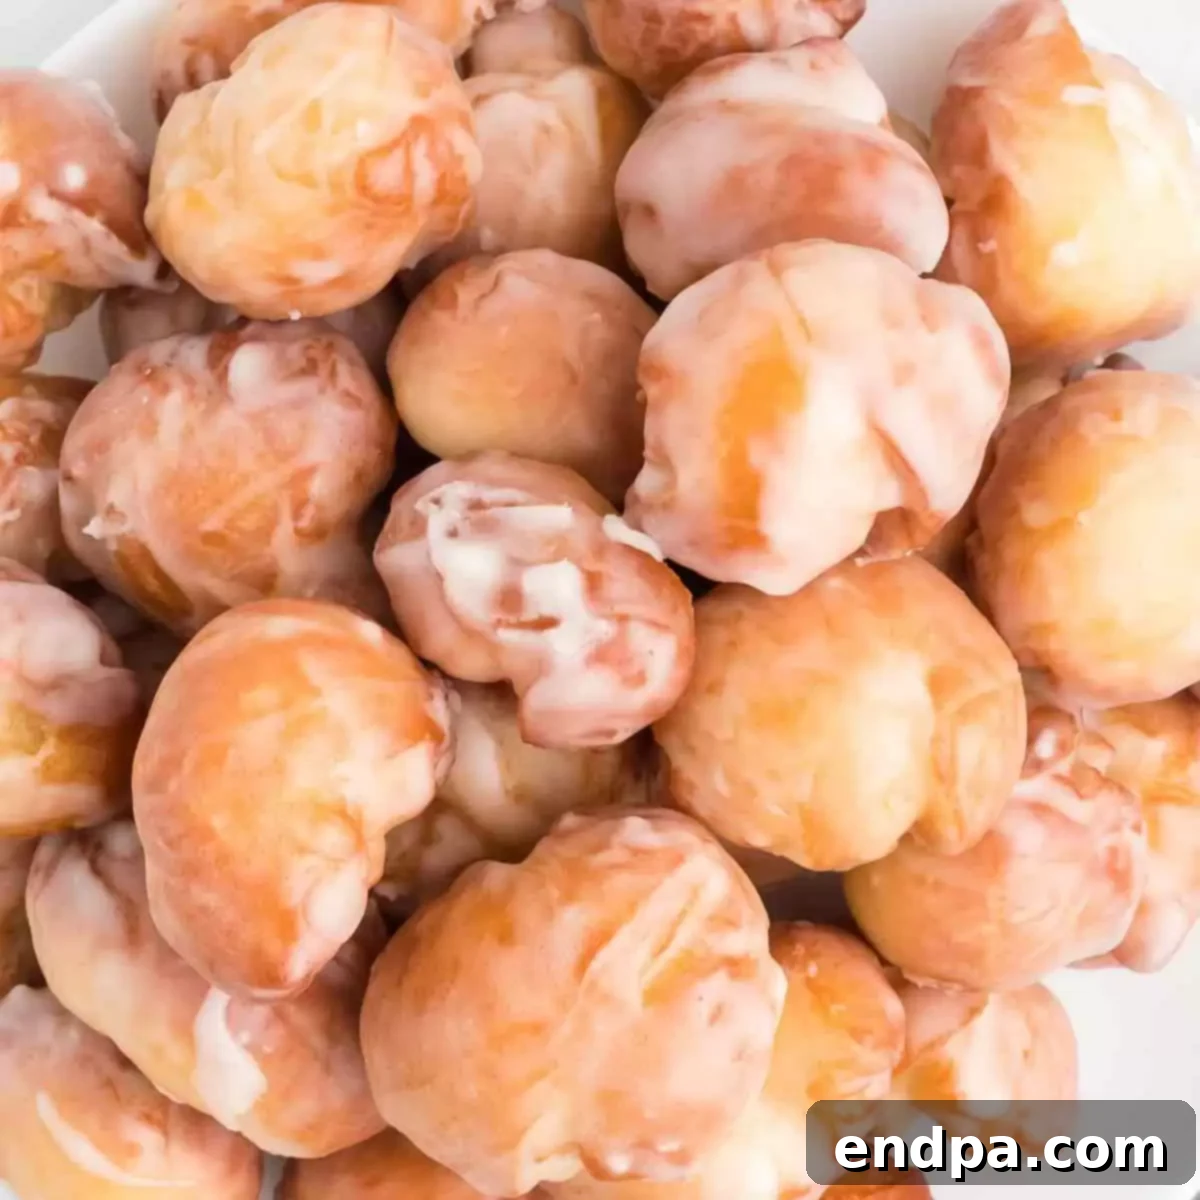
Unlock the secret to making incredibly soft and fluffy Krispy Kreme Donut Holes from the comfort of your home. This highly sought-after copycat recipe promises an authentic taste and texture that is remarkably easy to achieve, making these bite-sized treats an absolute delight for any occasion. Prepare to impress your family and friends with this homemade version of a beloved classic.
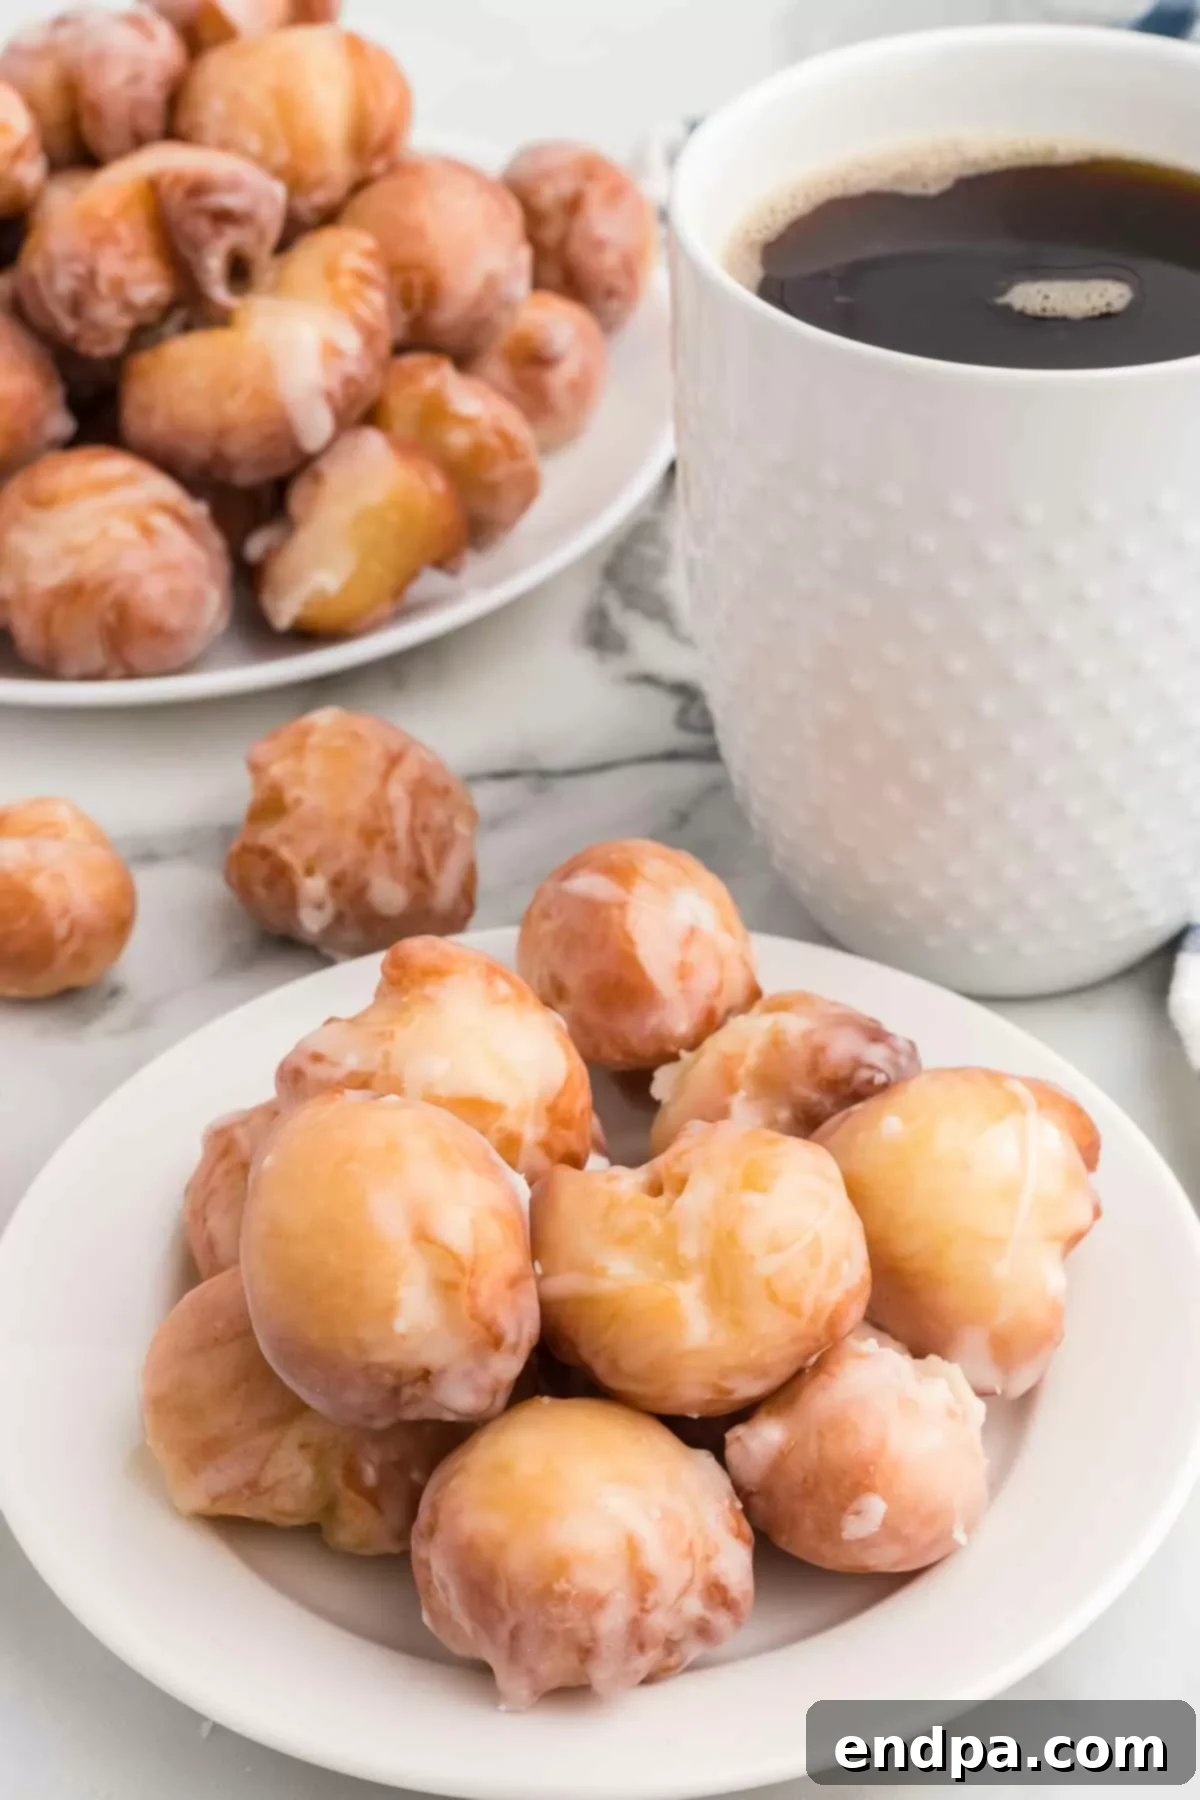
There’s a special magic to Krispy Kreme’s original glazed doughnut holes – their light-as-air texture and signature sweet glaze are simply irresistible. Now, you can effortlessly replicate that beloved taste in your own kitchen. This simple and straightforward recipe ensures you can enjoy these iconic treats whenever a craving strikes. Pair them with a freshly brewed cup of hot coffee or a tall glass of cold milk for the ultimate indulgence.
If your heart beats for delicious donut recipes as much as ours does, we highly recommend exploring these other fantastic creations: try our delightful Italian Donuts, discover the convenience of Air Fryer Donuts, bake up a celebration with our Donut Cake Recipe, or master the art of Homemade Glazed Donuts. For a fun and unexpected twist, you’ll also love our Glazed Donut Popcorn.
What’s in this Post: Mastering Krispy Kreme Donut Holes
- Why You’ll Adore This Recipe
- The Iconic Krispy Kreme Story
- Essential Ingredients
- Step-by-Step: How to Make Krispy Kreme Donut Holes
- Pro Tips for Donut Perfection
- Donut Hole Variations & Serving Ideas
- Troubleshooting Common Donut Issues
- Storing Your Homemade Donut Holes
- Frequently Asked Questions (FAQs)
- More Delightful Copycat Dessert Recipes
- Krispy Kreme Donut Holes Recipe Card
Why You’ll Adore This Krispy Kreme Copycat Recipe
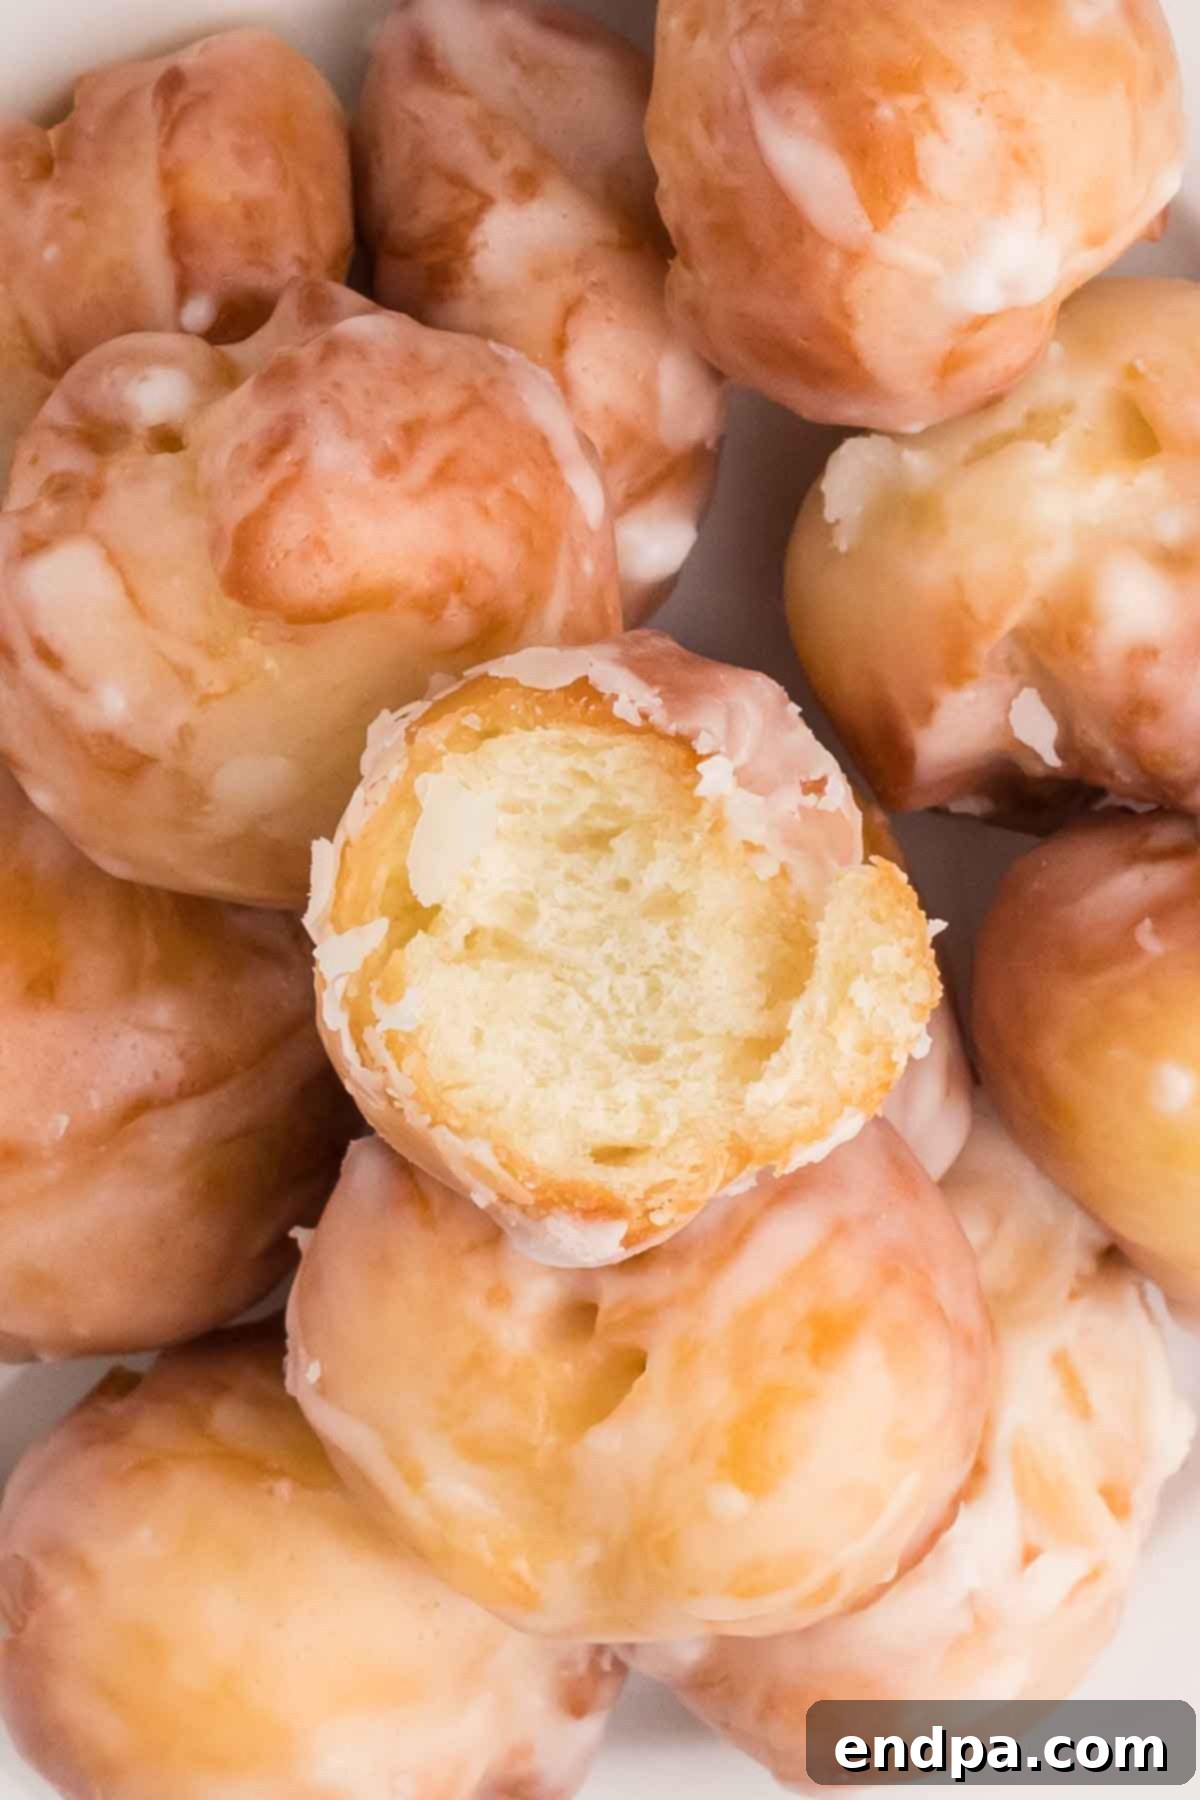
There’s truly nothing quite like a freshly made Krispy Kreme donut, and these donut holes capture that magic perfectly. Each bite-sized piece is incredibly light and fluffy, melting in your mouth with every decadent mouthful. The signature glaze provides that perfect balance of sweetness and a delicate crunch, creating a truly irresistible experience. This recipe simplifies the process, making it accessible for anyone to recreate the joy of these classic doughnuts at home. It’s not just a recipe; it’s an opportunity to bring a beloved treat into your kitchen, perfect for breakfast, dessert, or a sweet snack any time of day.
The Iconic Krispy Kreme Story
Before diving into the recipe, it’s worth appreciating the legacy of Krispy Kreme. Founded in 1937 in Winston-Salem, North Carolina, Krispy Kreme has grown from a humble doughnut shop into a global phenomenon. Their original glazed doughnut, especially when the “Hot Now” sign is lit, is an experience in itself – a warm, airy, sweet delight that has captivated generations. This recipe aims to bring that same warm, freshly glazed goodness directly to your table, allowing you to enjoy the essence of Krispy Kreme’s timeless tradition.
Essential Ingredients for Perfect Donut Holes
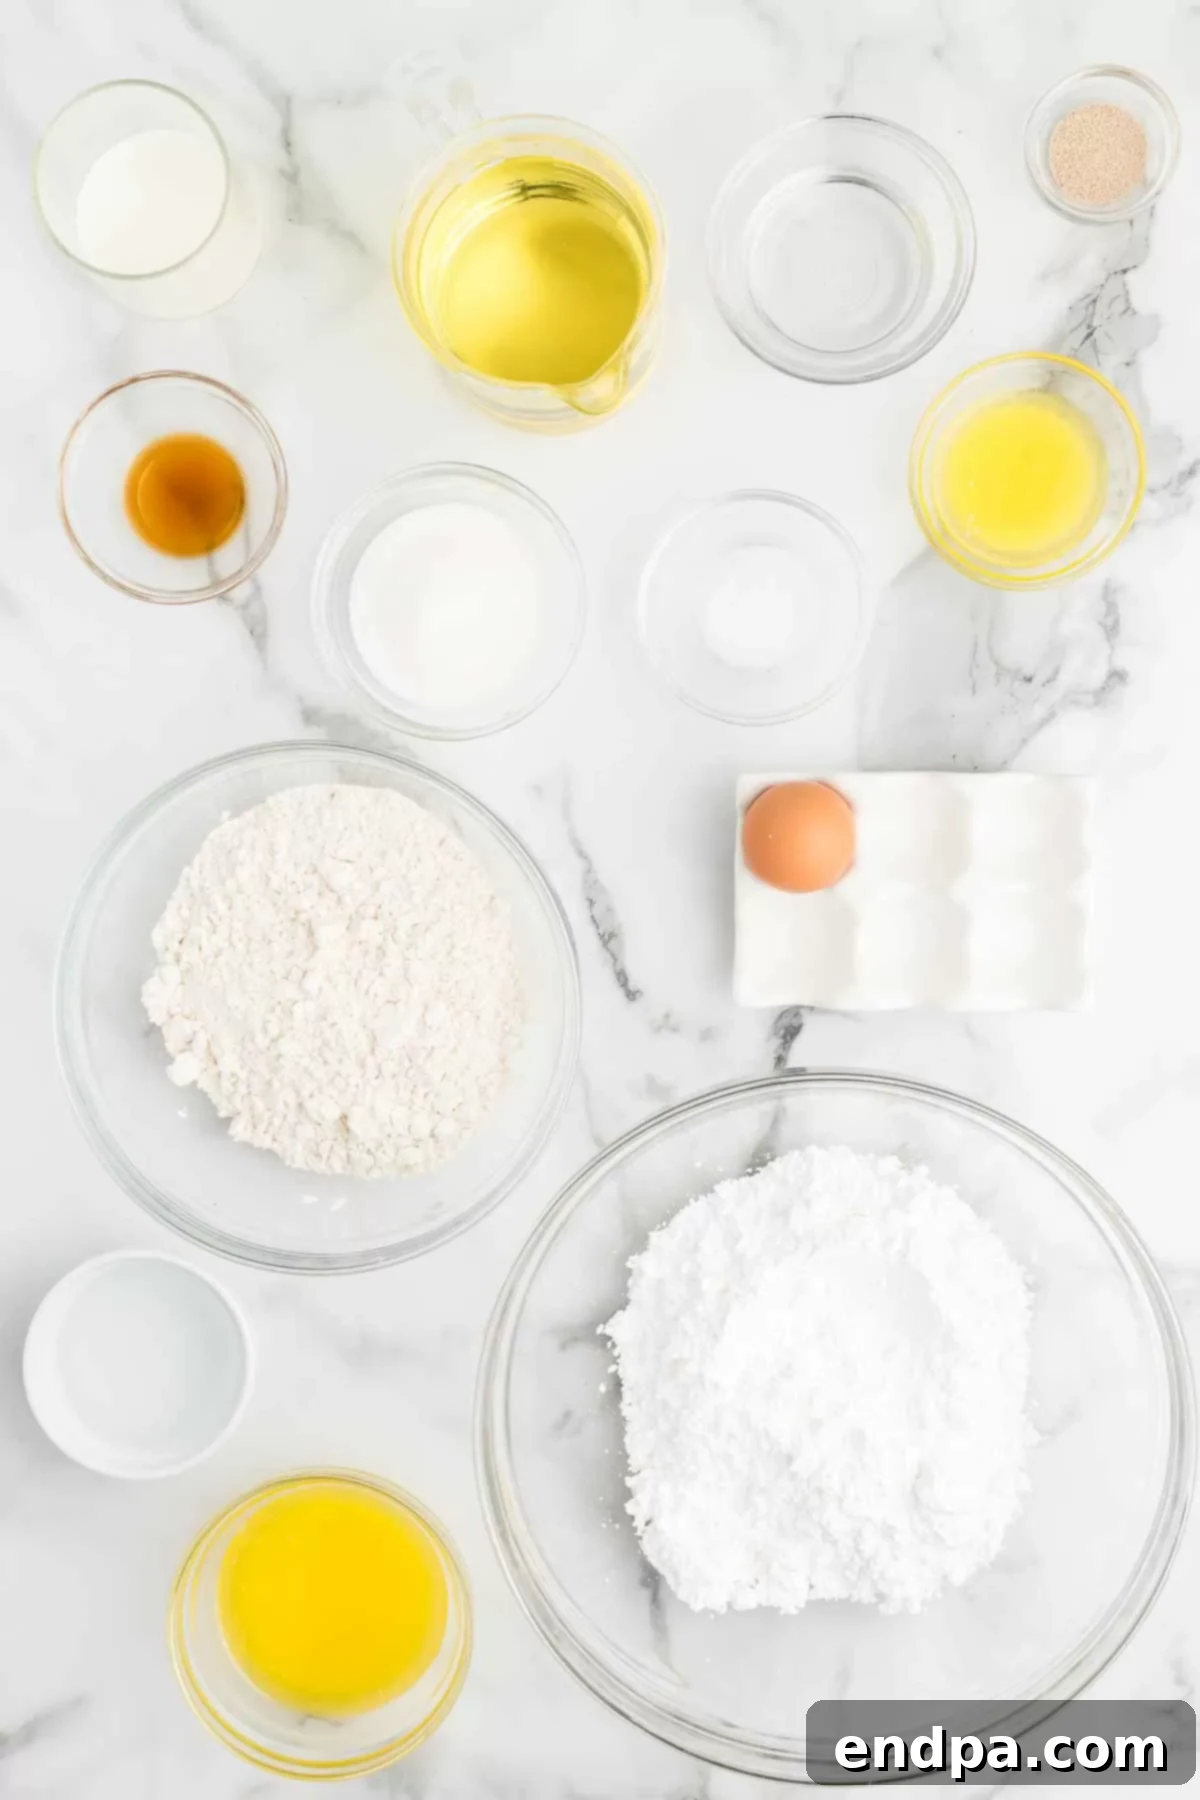
For the Donut Holes: Achieving the Perfect Dough
- Milk: Opt for whole milk for the richest flavor and most tender texture in your doughnuts. The fat content contributes significantly to the overall mouthfeel.
- Boiling Water: Crucial for activating the yeast properly and creating the right environment for dough development. Ensure it’s genuinely boiling for optimal results.
- All-Purpose Flour: Accuracy in measuring flour is key for perfect dough consistency. Spoon the flour into your measuring cup and level it off rather than scooping directly from the bag to avoid over-packing.
- Sugar: Simple white granulated sugar provides the necessary sweetness and feeds the yeast, aiding in the dough’s rise.
- Dry Active Yeast: This is what gives your donut holes their wonderful airy texture. Ensure your yeast is fresh and active for a successful rise.
- Salt: A small amount of salt balances the sweetness and enhances the flavor of the dough, preventing it from tasting flat.
- Butter: Use real butter, and make sure it’s melted before incorporating it into the dough. Butter adds richness and moisture, contributing to the soft interior.
- Egg: A single egg helps bind the ingredients, adds richness, and improves the dough’s structure and tenderness. Ensure it’s at room temperature for better incorporation.
- Vegetable Oil: Essential for frying the donut holes to a beautiful golden brown. Choose a neutral oil with a high smoke point.
For the Iconic Glaze: That Sweet Finish
- Powdered Sugar (Confectioners’ Sugar): Sifting the powdered sugar is a non-negotiable step to ensure a smooth, lump-free glaze. This creates the signature delicate texture.
- Vanilla Extract: Pure vanilla extract is paramount for achieving the authentic, warm flavor profile of Krispy Kreme’s glaze. Avoid artificial vanilla for the best taste.
- Melted Butter: Just like in the dough, real melted butter enriches the glaze, giving it a depth of flavor that sets it apart.
- Boiling Water: Used to thin the glaze to the perfect dipping consistency. The warmth also helps the glaze adhere beautifully and set quickly.
The complete list of ingredients with precise measurements can be found in the recipe card at the bottom of this page.
Step-by-Step: How to Make Krispy Kreme Donut Holes
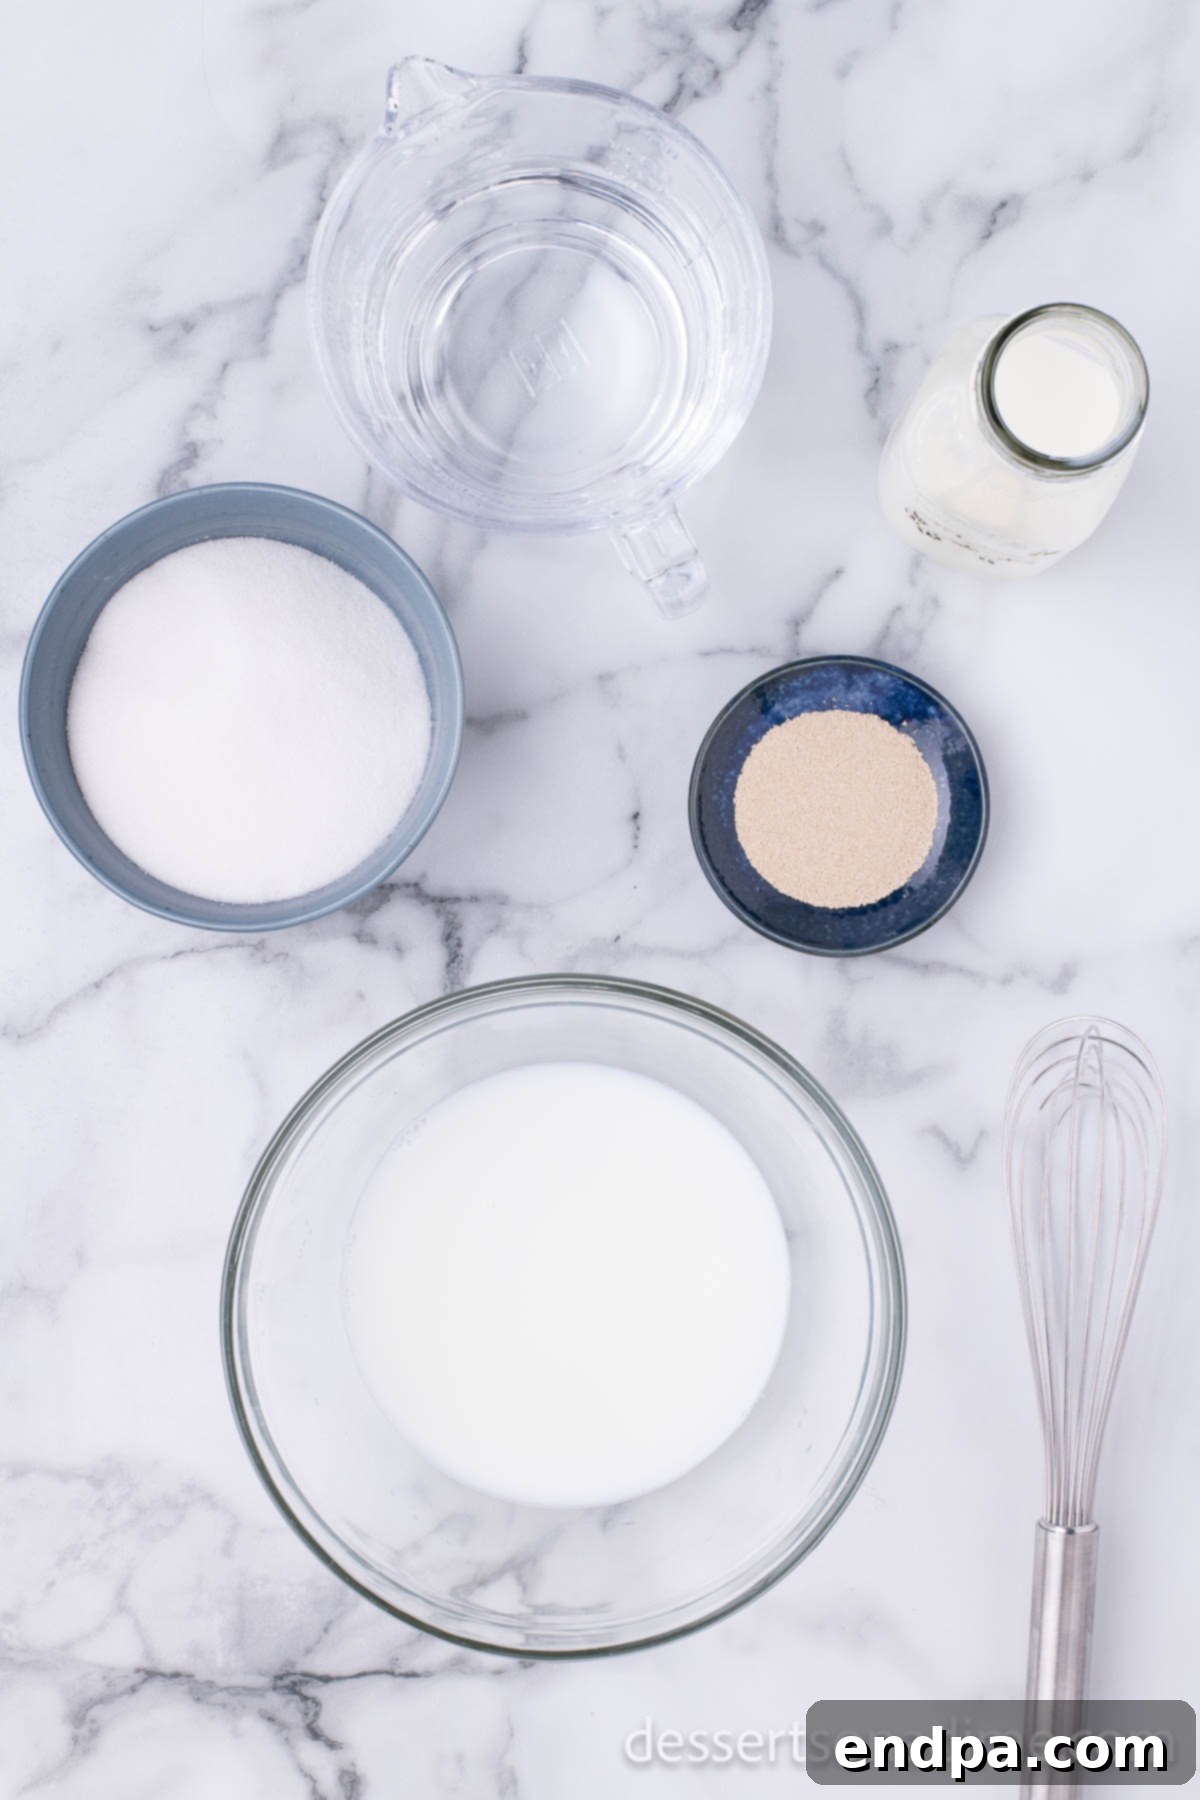
Step 1: Activate the Yeast. In a large mixing bowl, combine the warm milk and boiling water. The water’s heat helps the milk reach the ideal temperature for yeast activation. You can use the bowl of a stand mixer fitted with a dough hook if you prefer mechanical mixing.
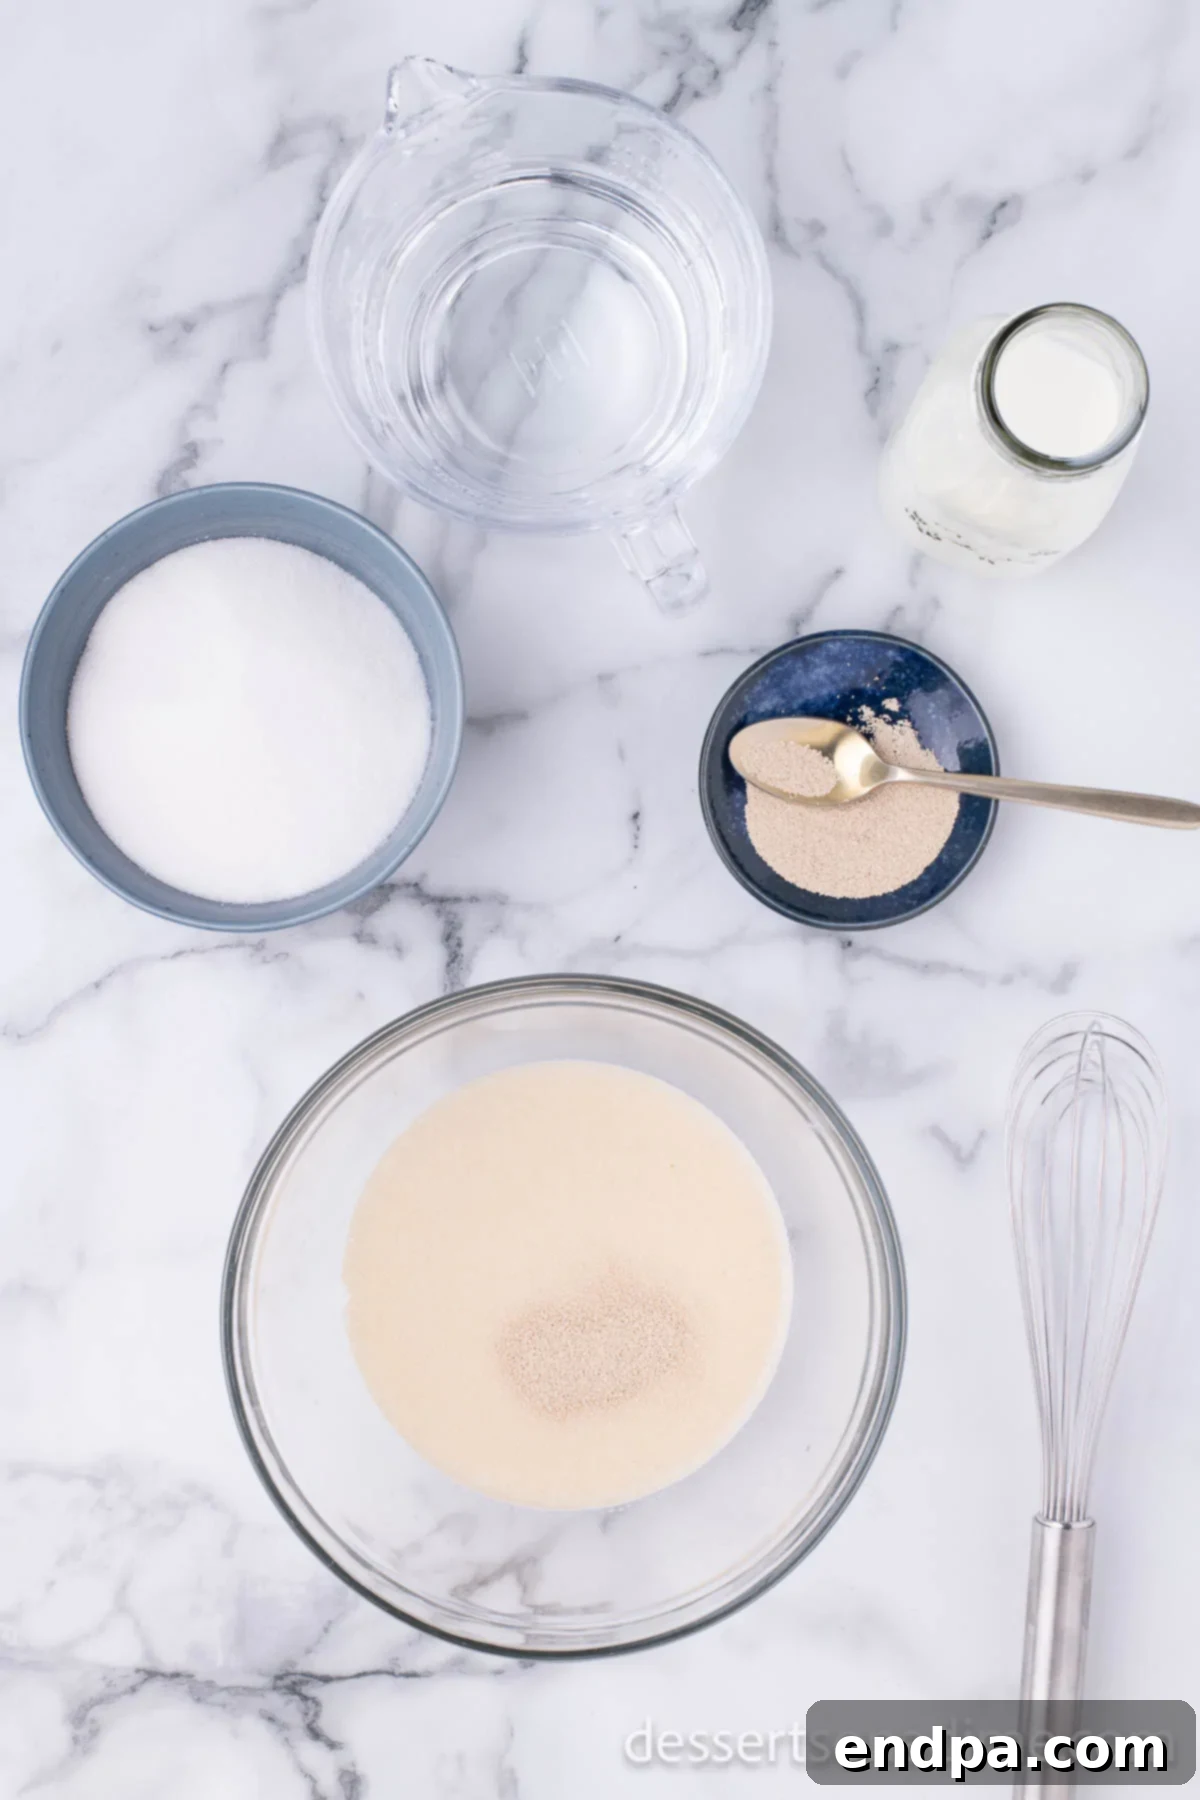
Step 2: Proof the Yeast. Gently stir in the active dry yeast and one teaspoon of the sugar into the milk and water mixture. Allow this mixture to sit undisturbed for approximately 5-10 minutes. This period is vital for the yeast to activate; you should see a foamy layer form on the surface, indicating the yeast is alive and ready to work.
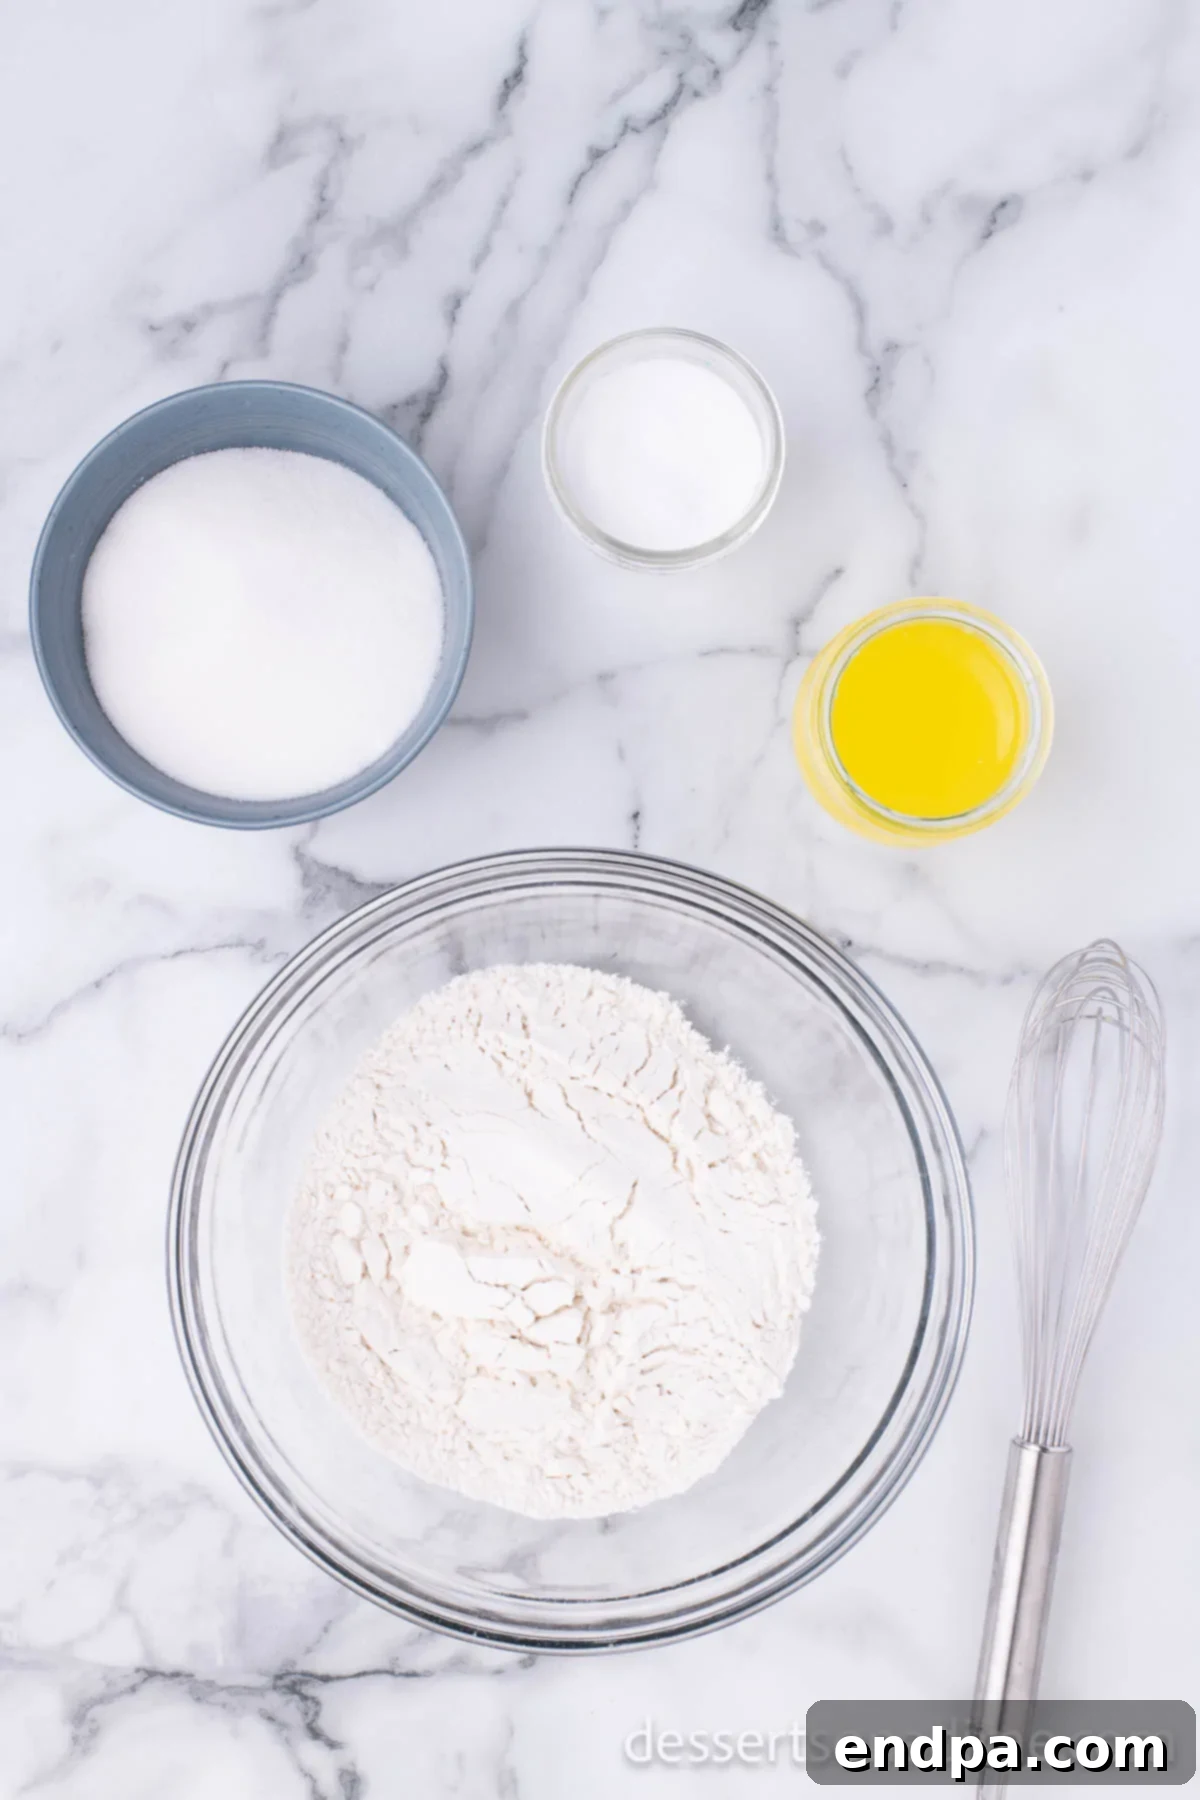
Step 3: Combine Dry Ingredients. In a separate, larger mixing bowl, add the measured all-purpose flour. Ensure your flour is accurately measured by spooning it into the measuring cup and leveling it off with a knife.
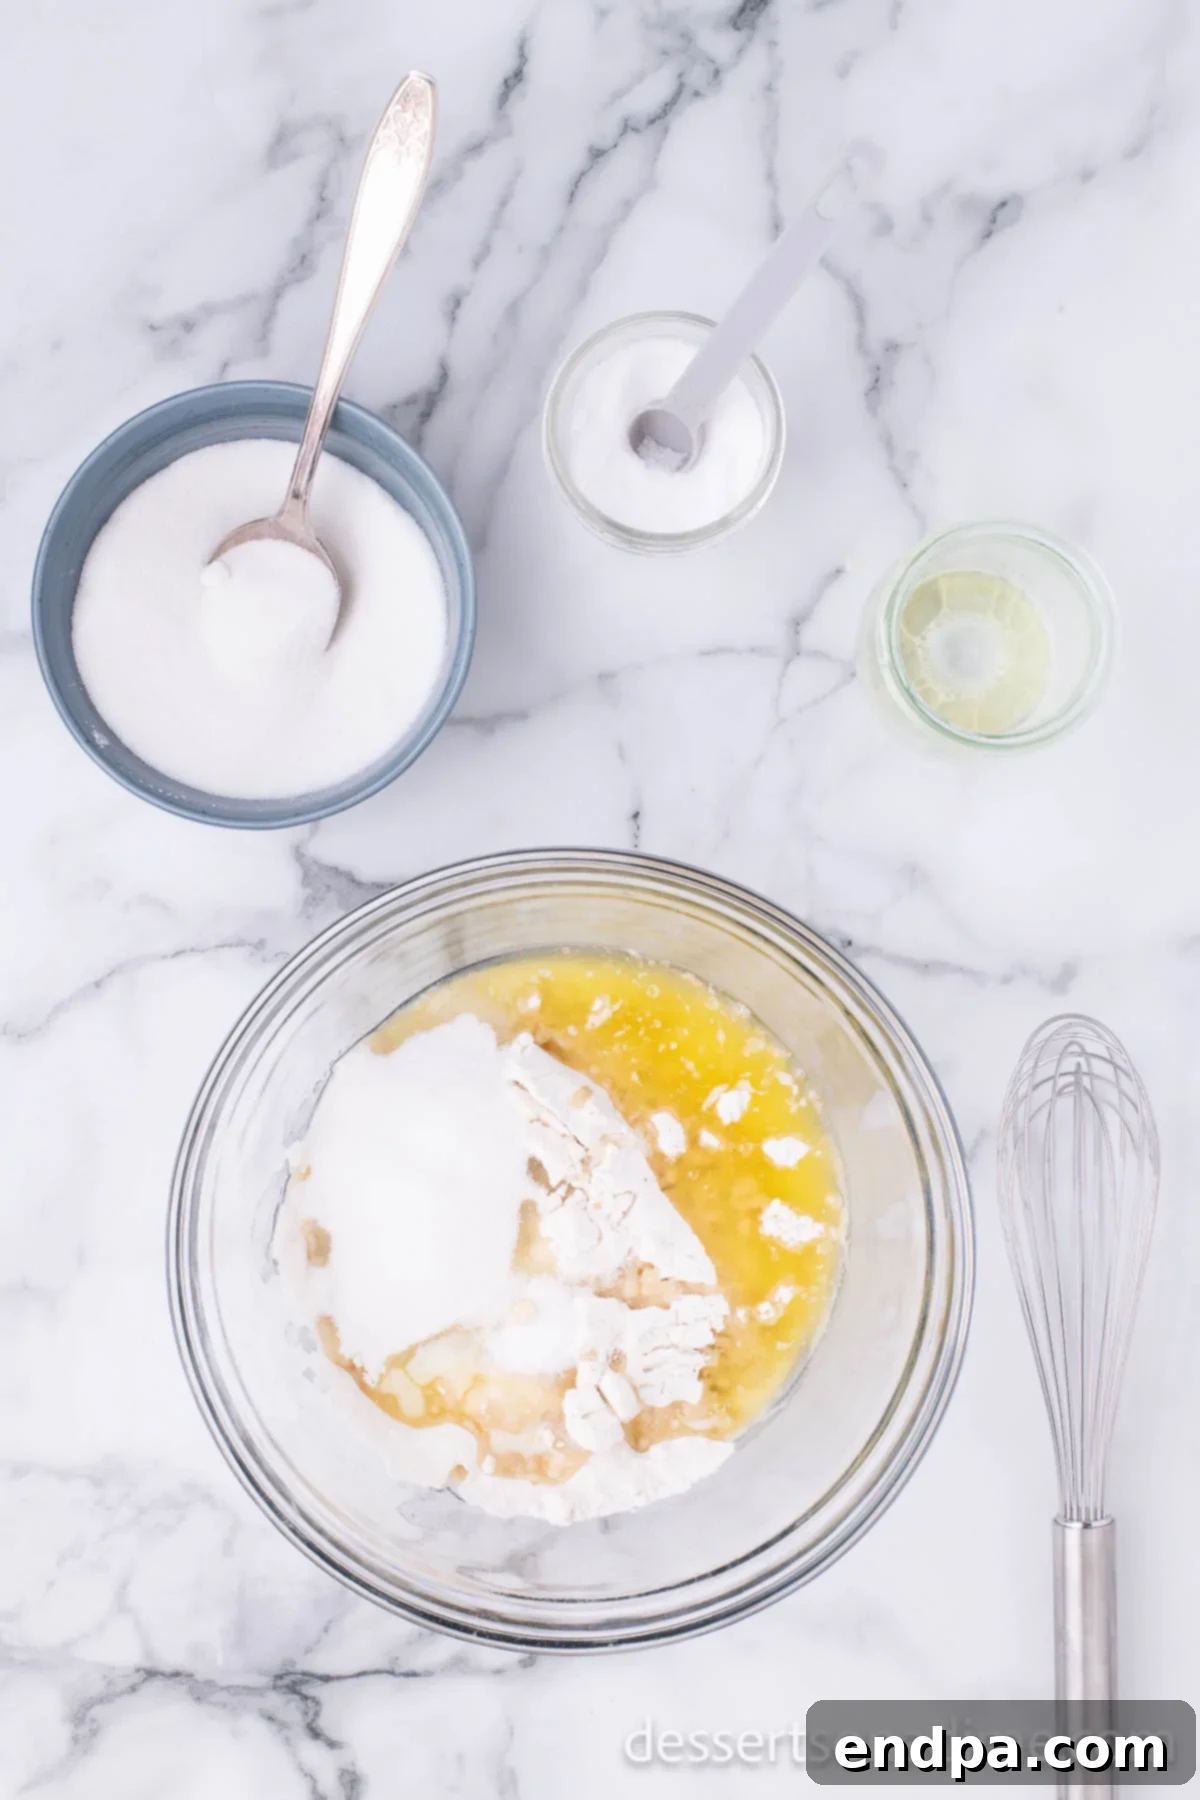
Step 4: Add Butter and Remaining Dry Ingredients. Pour the melted butter into the flour. Using a standing mixer with a dough hook attachment (or a sturdy spoon for hand mixing), begin to combine them. Then, add the remaining granulated sugar and the salt. Mix briefly until just combined.
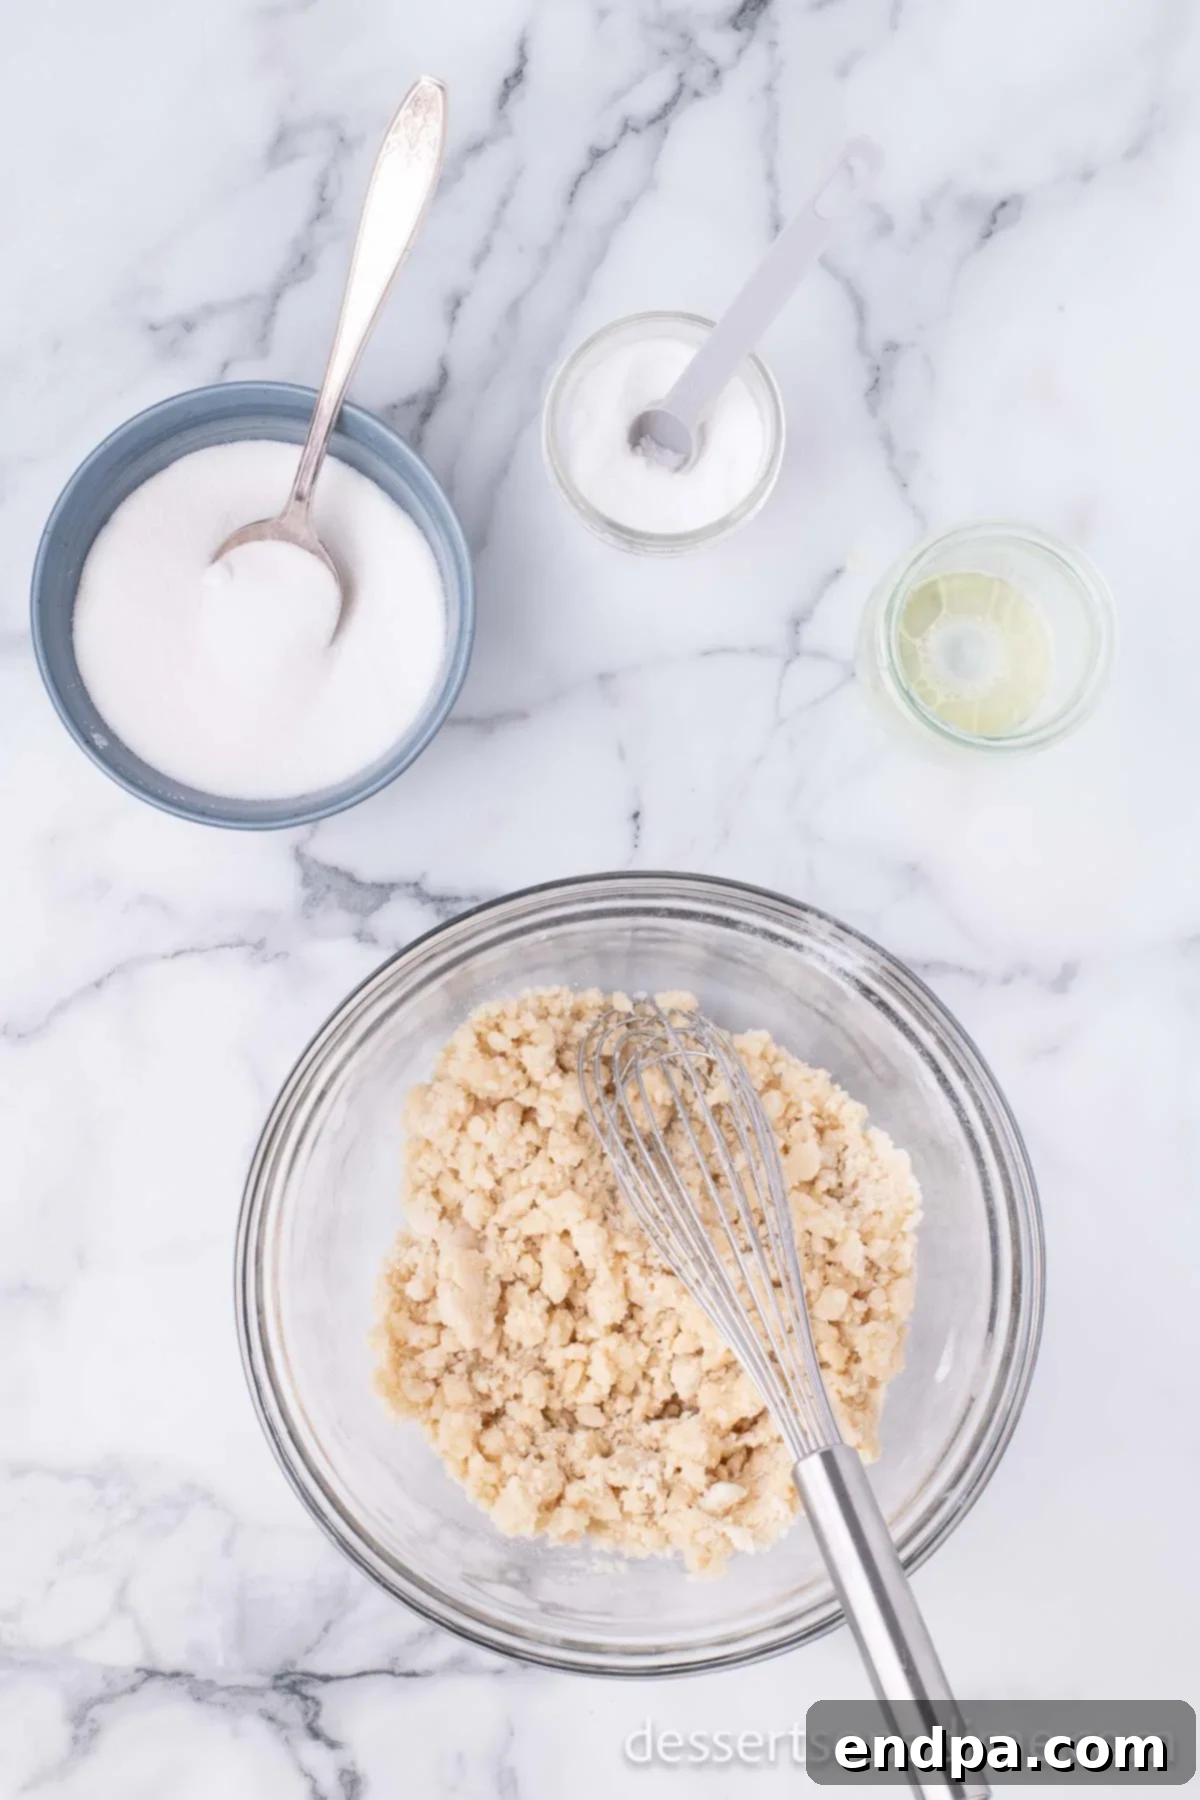
Step 5: Incorporate Yeast Mixture and Egg. Now, carefully add the whisked egg to the flour mixture. Then, pour in the activated yeast mixture. Blend all the ingredients together on low speed (or mix by hand) until a cohesive dough starts to form. Be patient, as this may take a few minutes.
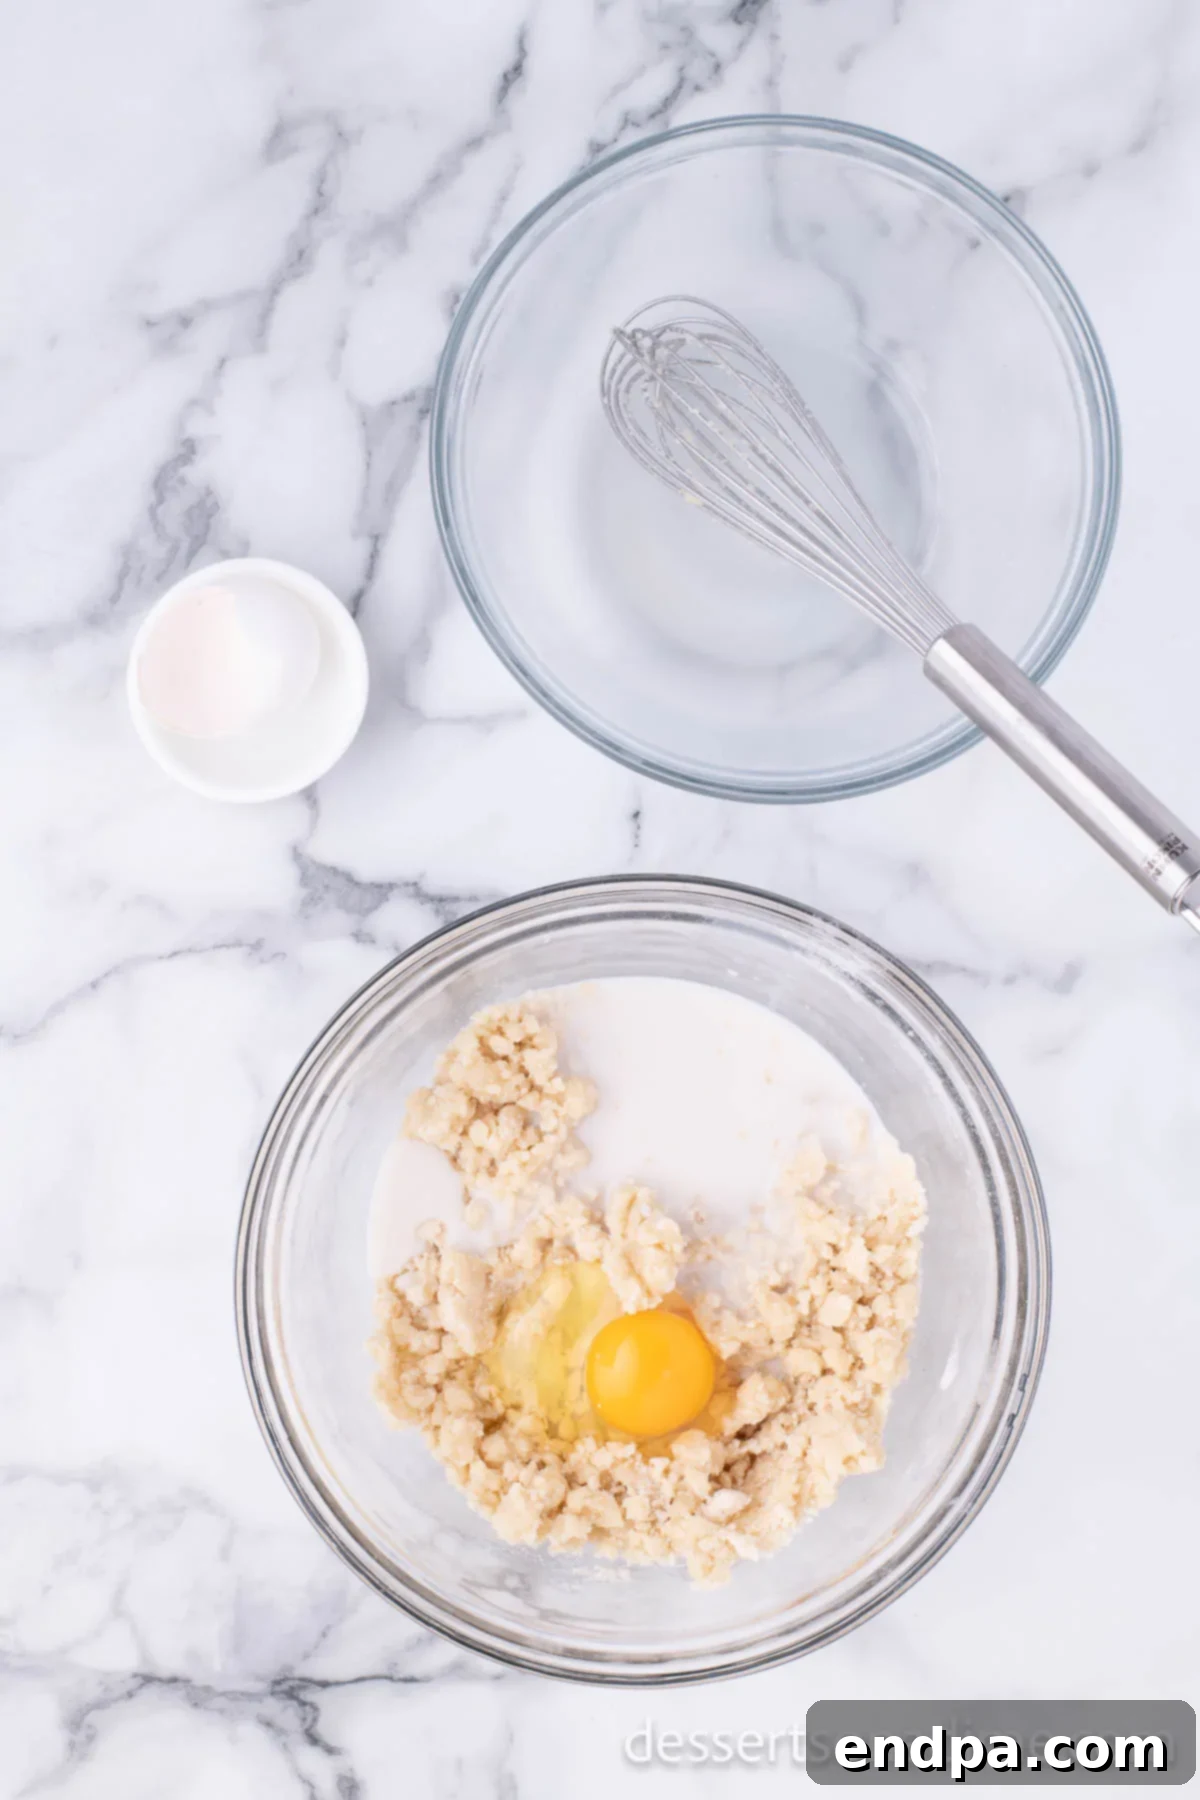
Step 6: Adjust Dough Consistency. Observe the dough’s texture. It should begin to pull away from the sides of the bowl or spatula but will still be slightly tacky to the touch. If the dough is too wet and sticky, add a little more flour, one tablespoon at a time, until the desired consistency is reached.
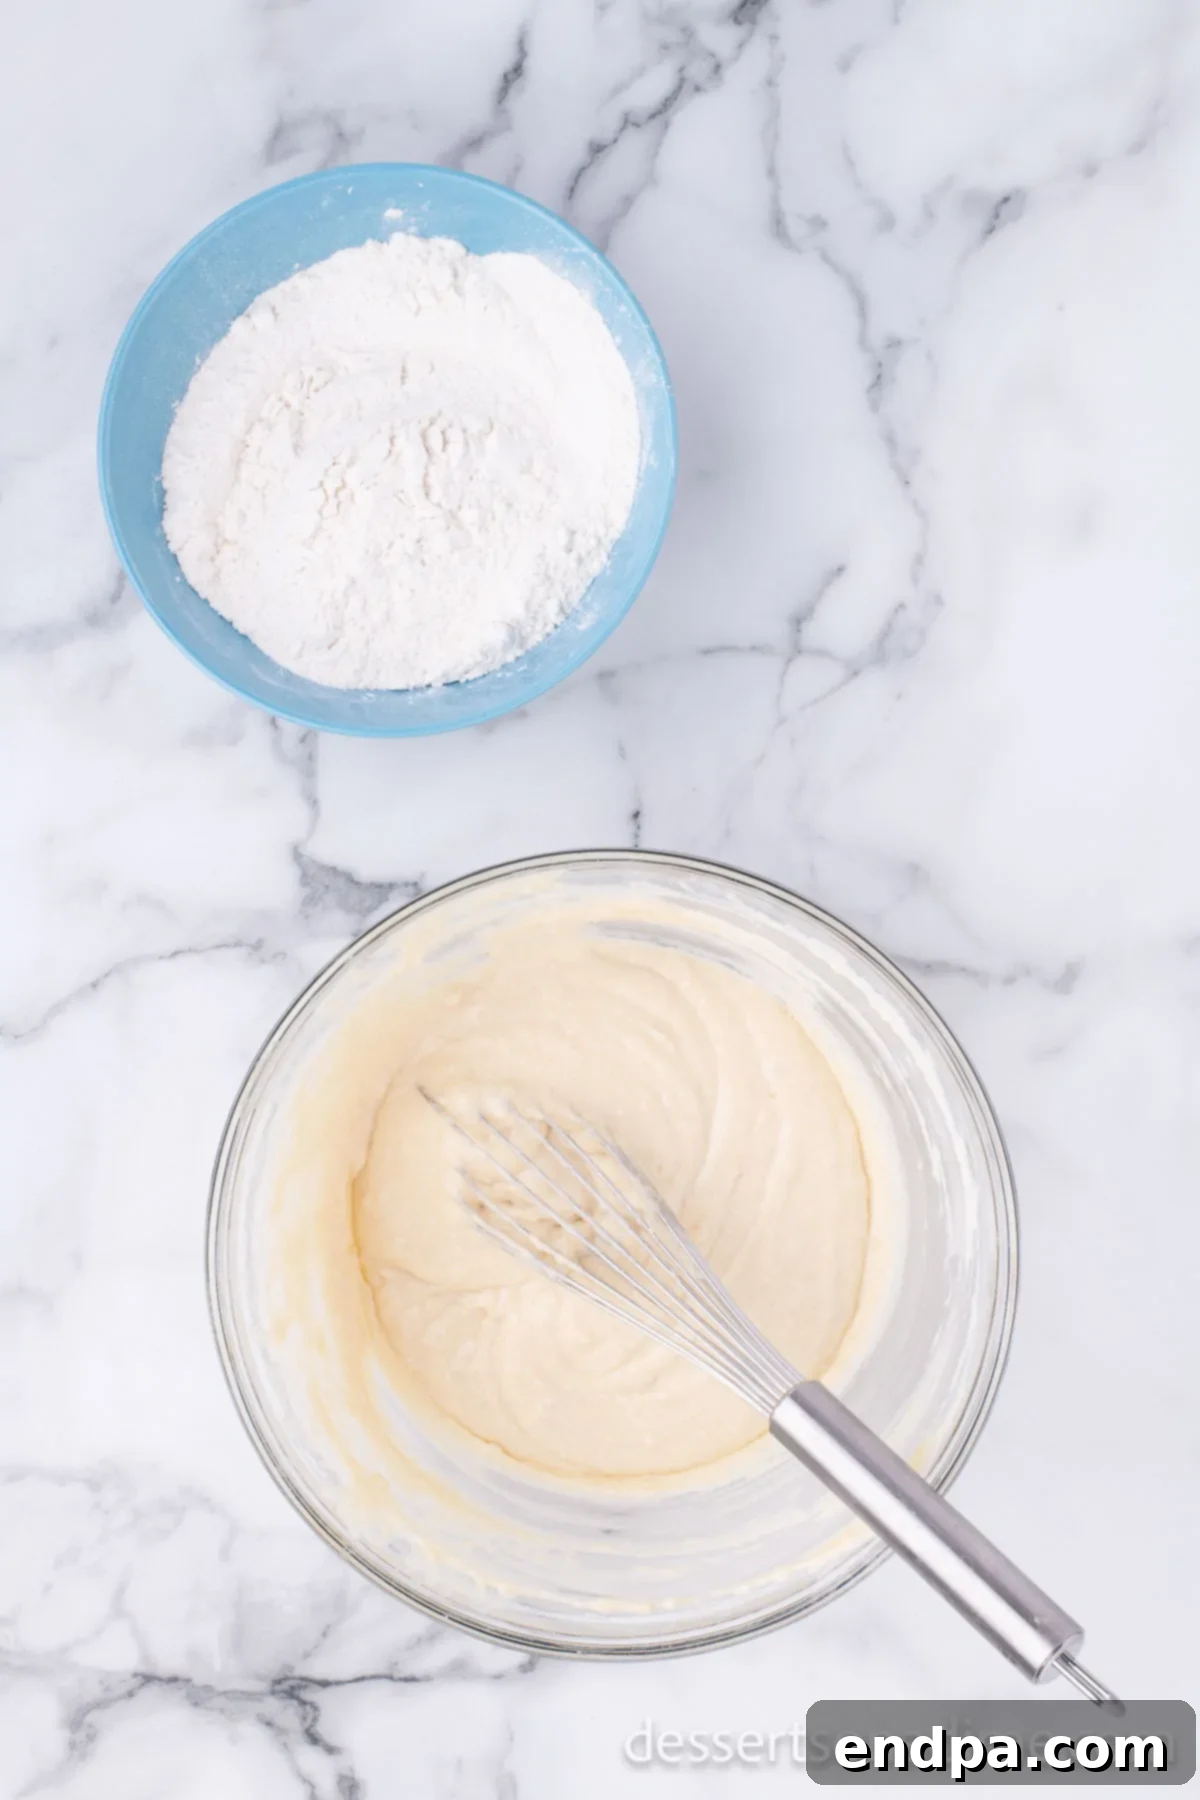
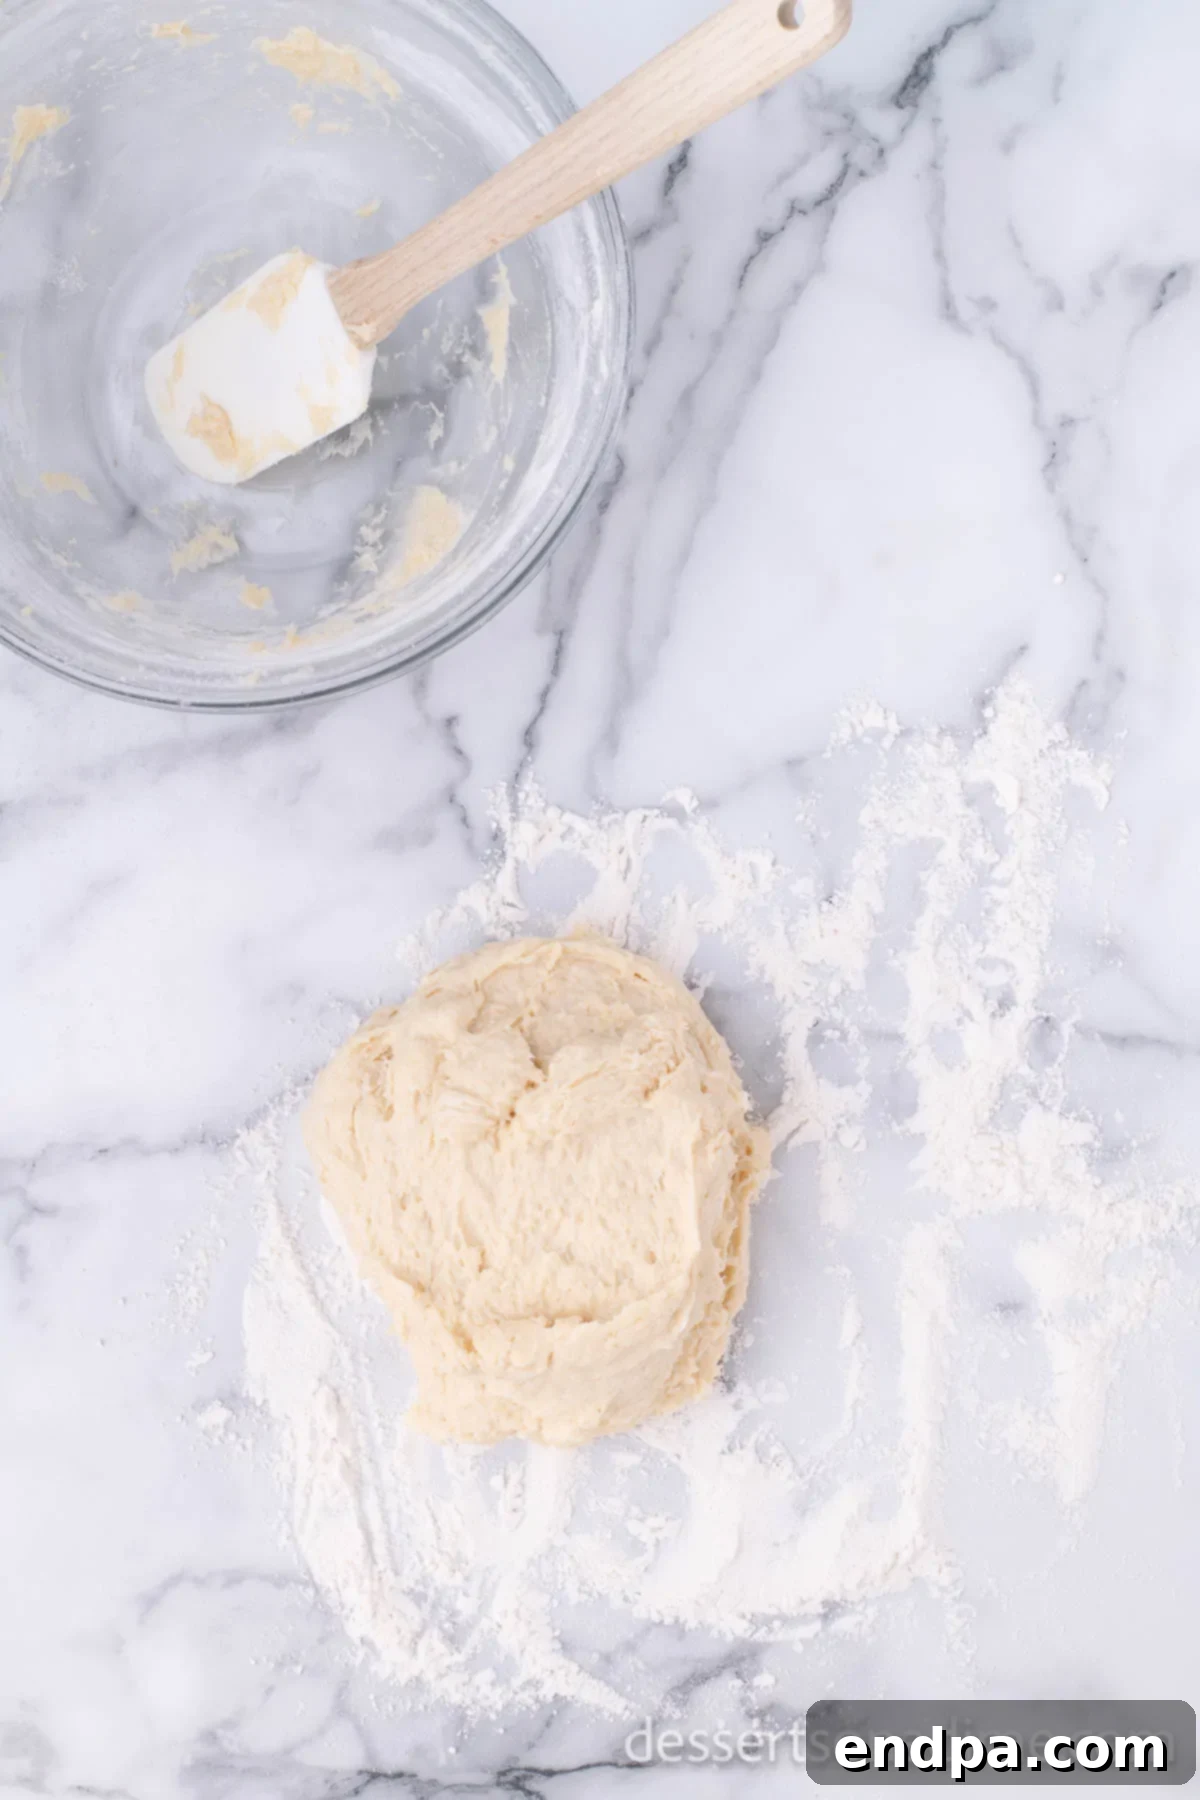
Step 7: Knead the Dough. Turn the dough out onto a lightly floured surface. Knead the dough for approximately 4-5 minutes, either by hand or using the dough hook on your stand mixer. Kneading develops the gluten, which is essential for achieving that characteristic light and airy texture. The dough should become smooth and elastic.
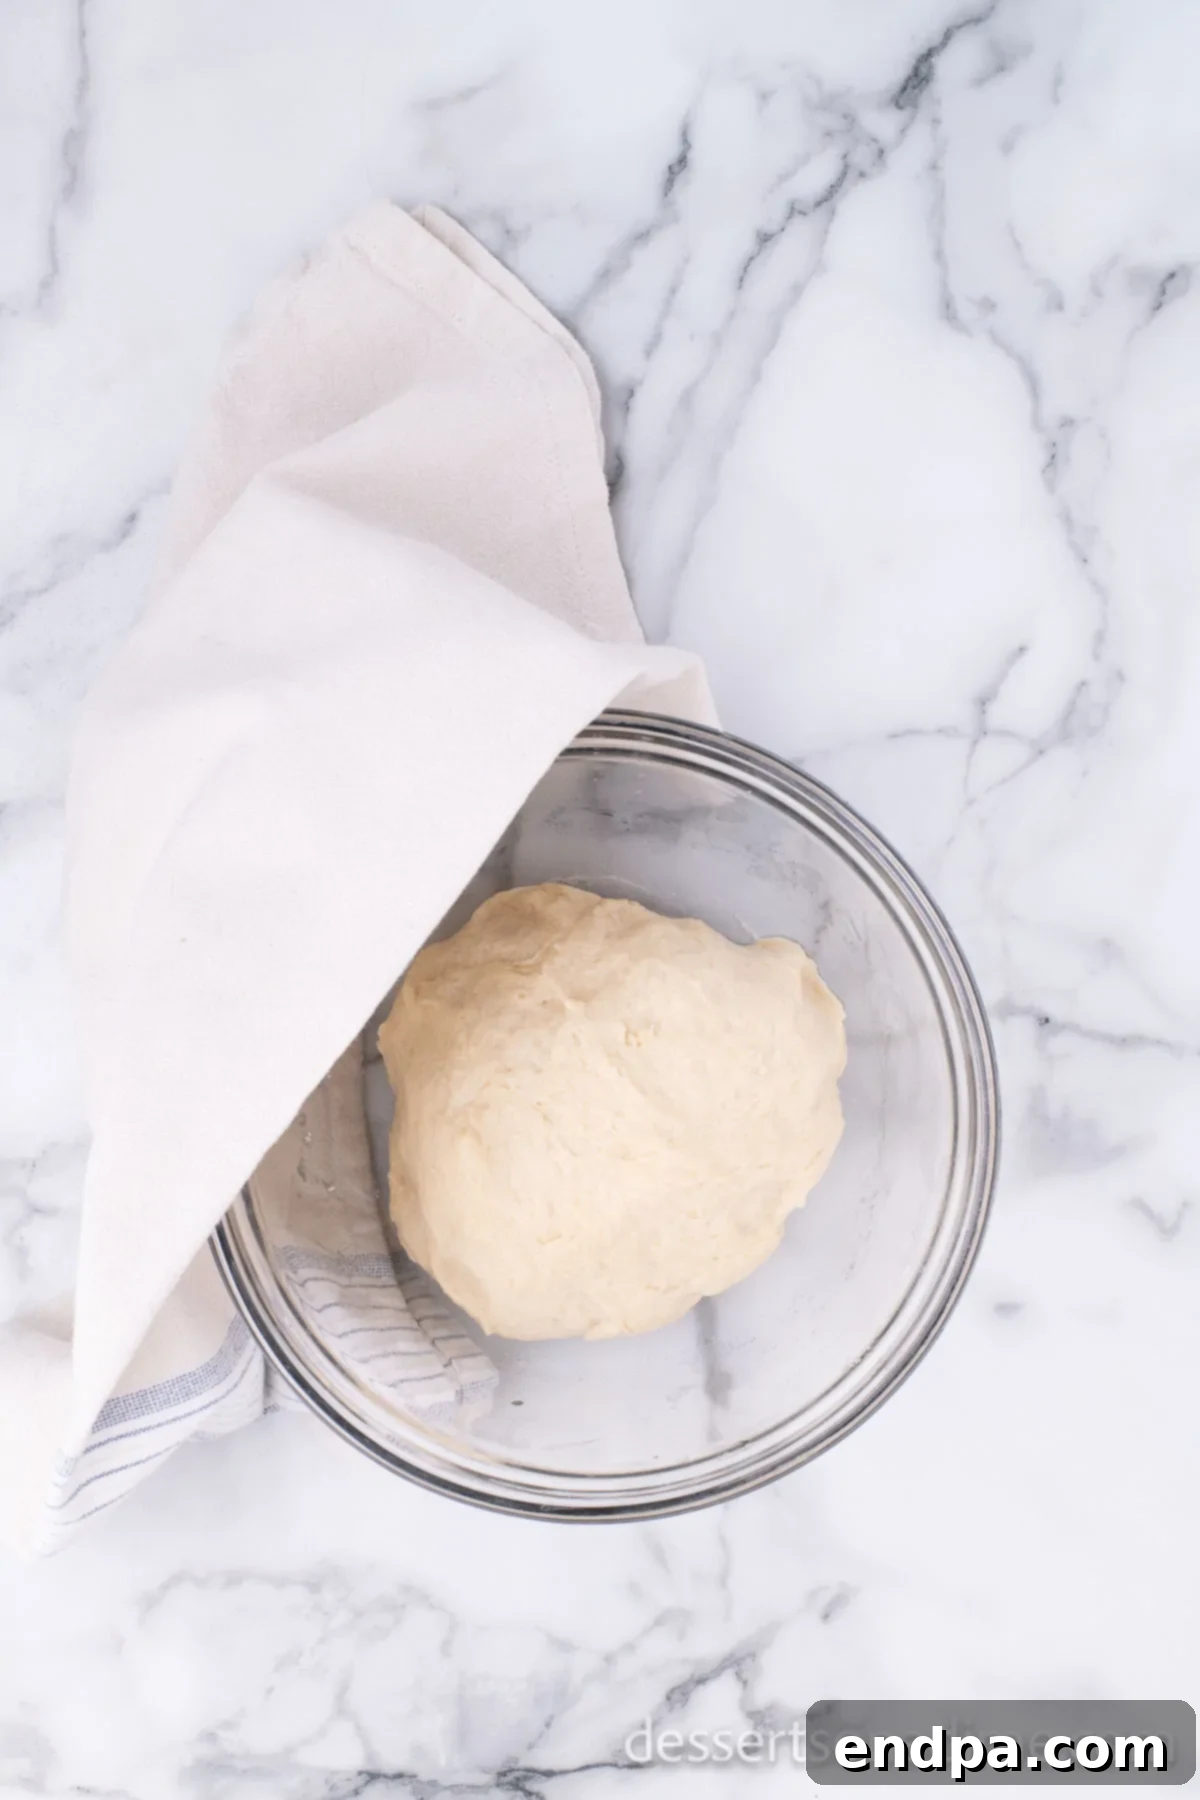
Step 8: First Rise. Lightly coat a clean bowl with vegetable oil. Place the kneaded dough into the oiled bowl, turning it once to coat the entire surface. Cover the bowl with plastic wrap or a clean kitchen towel and allow the dough to rise in a warm, draft-free place for at least an hour, or until it has visibly doubled in size. This step is crucial for flavor and texture.
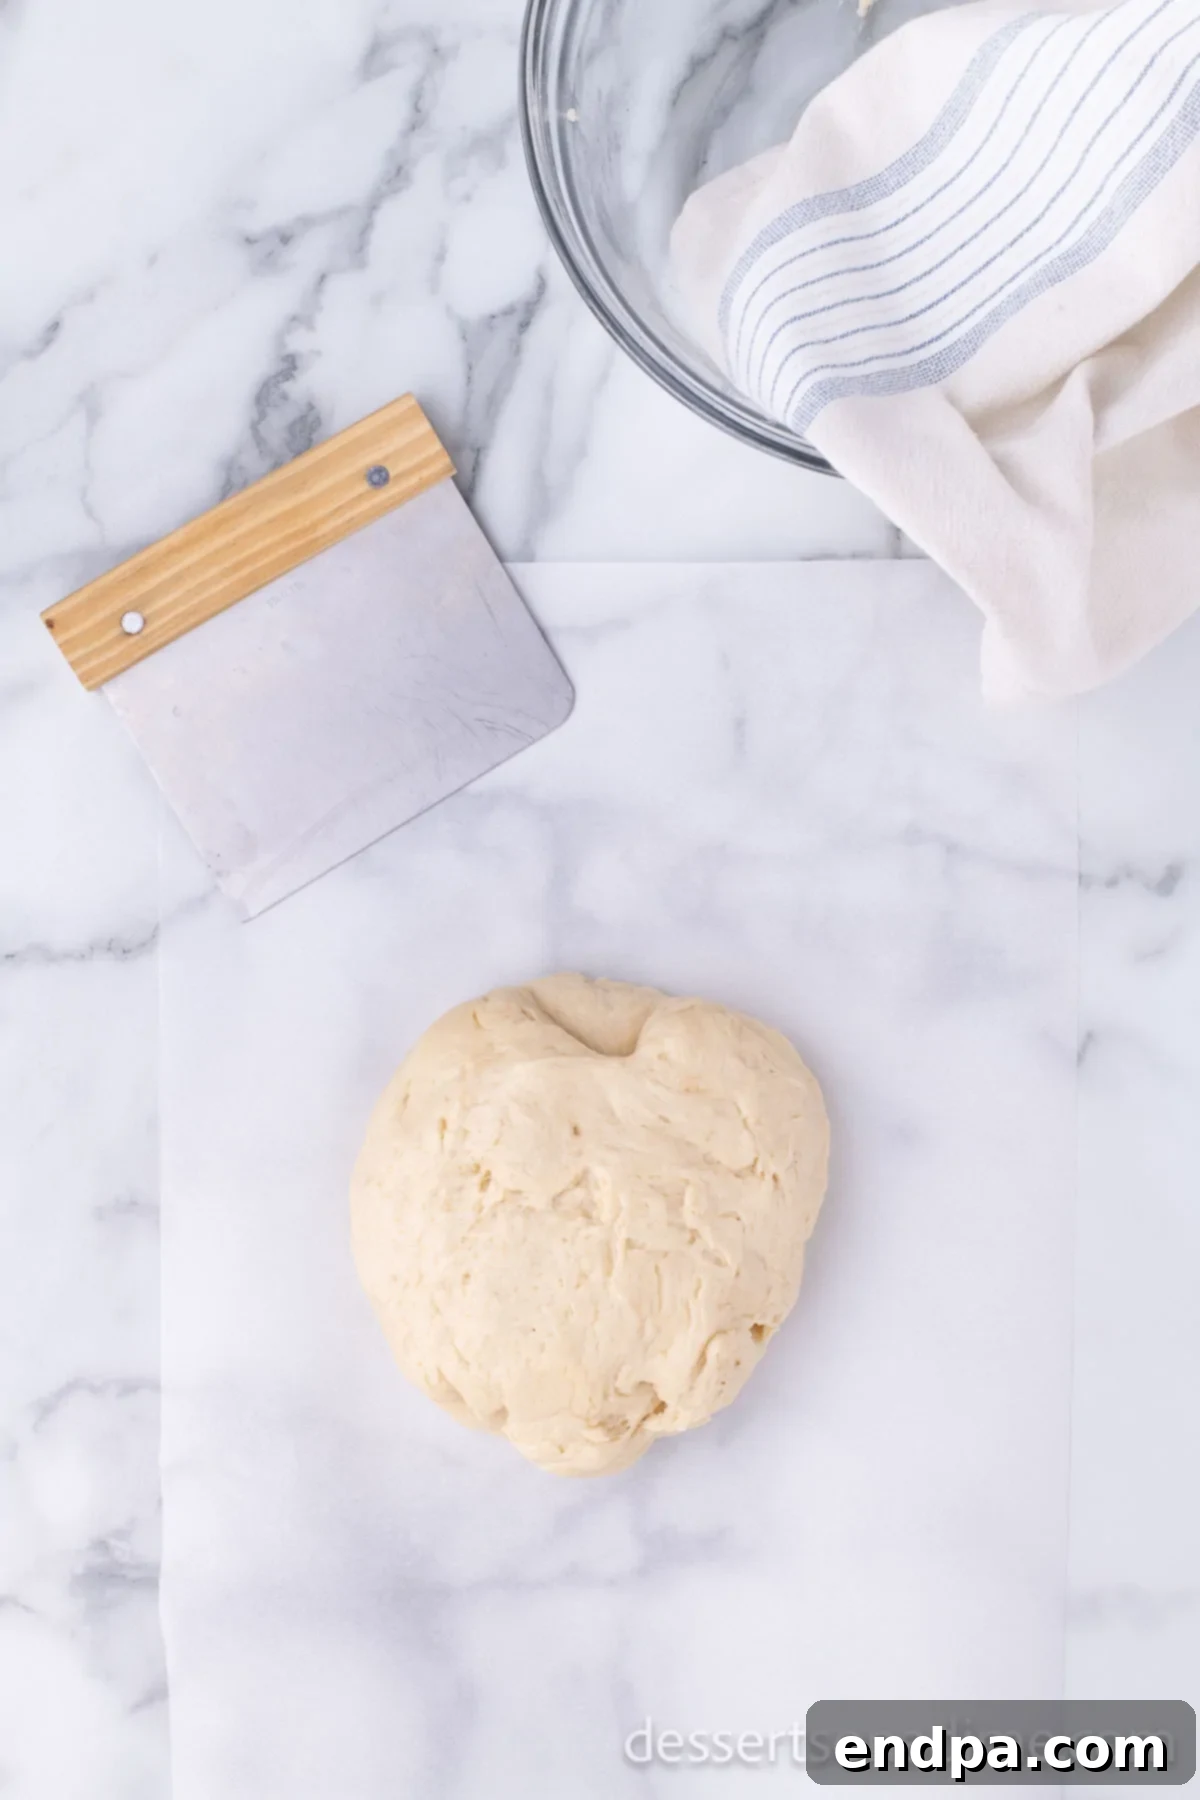
Step 9: Prepare for Shaping. Once the dough has doubled, gently punch it down to release the air. Transfer the dough to a sheet of wax paper or parchment paper on your work surface. This prevents sticking and makes the next step easier.
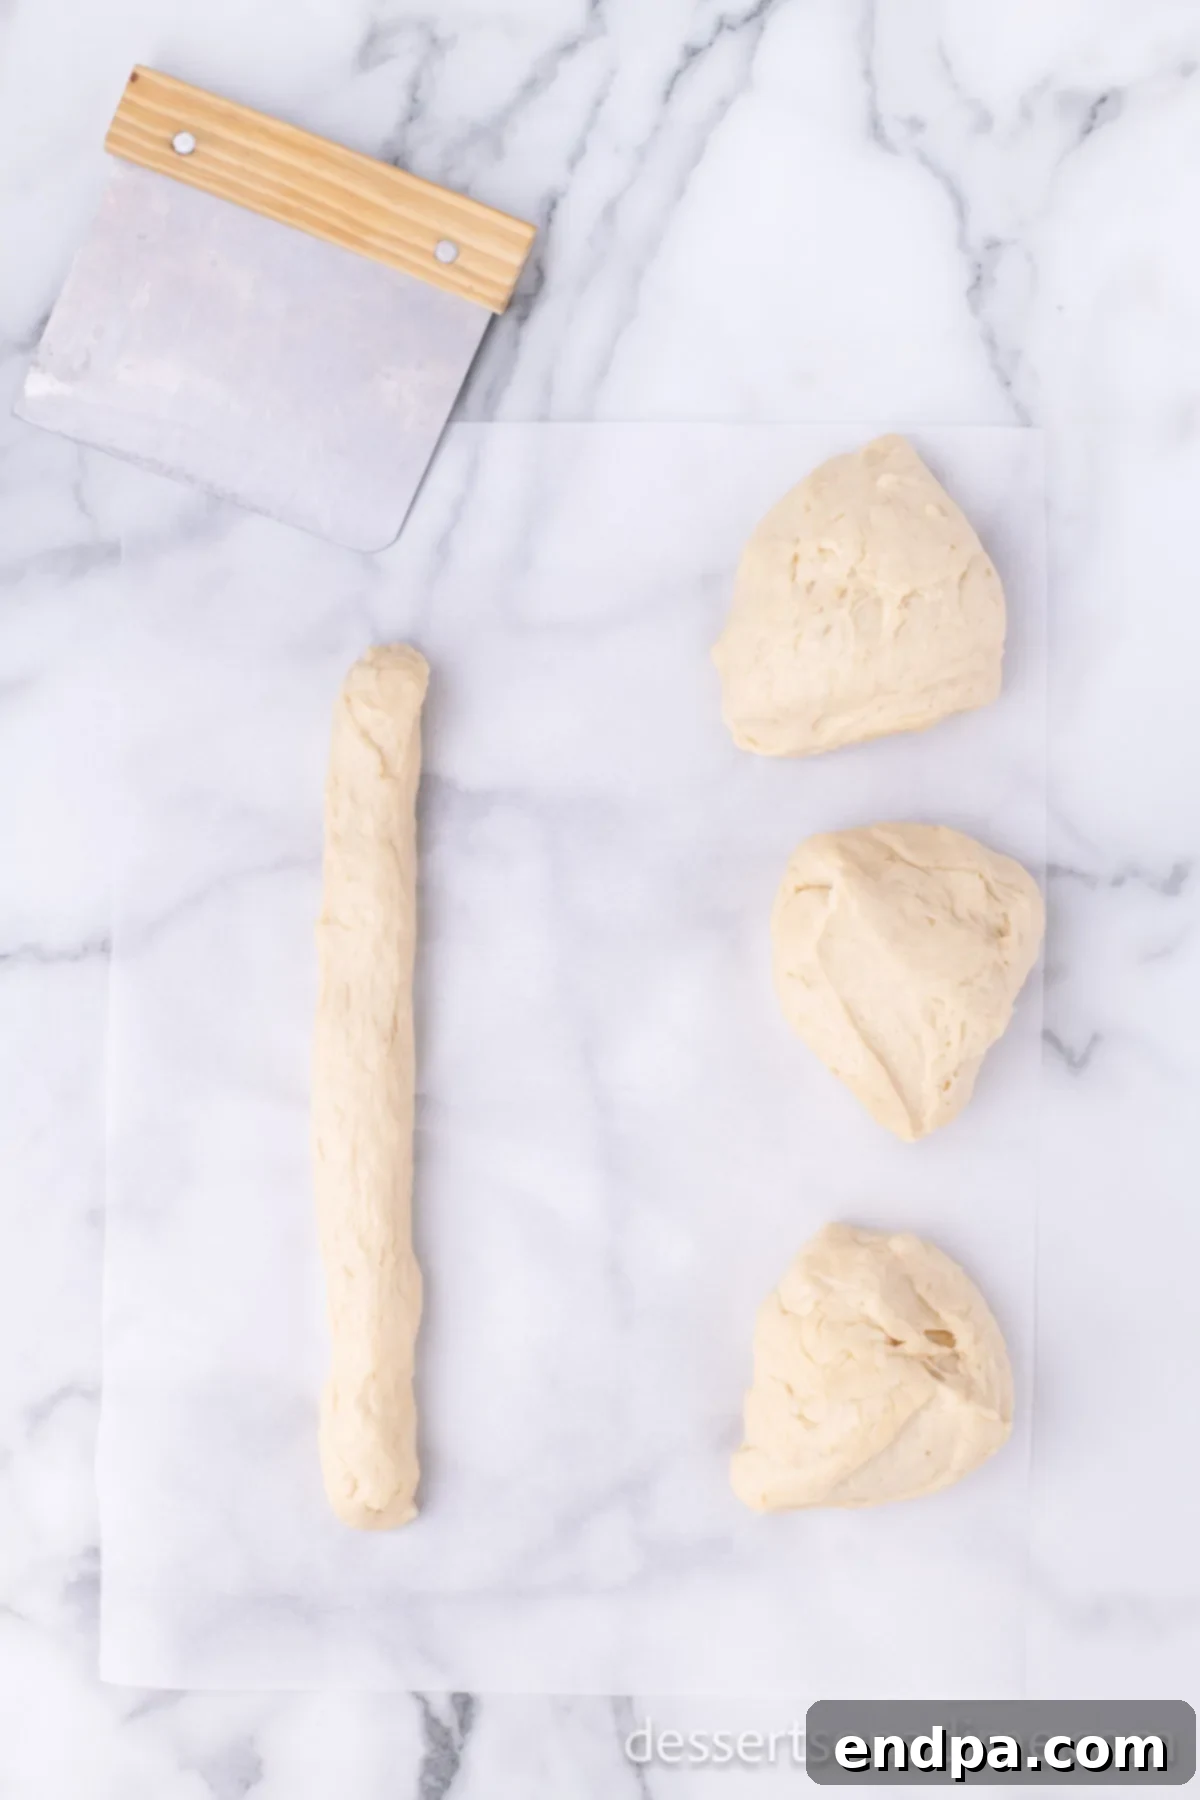
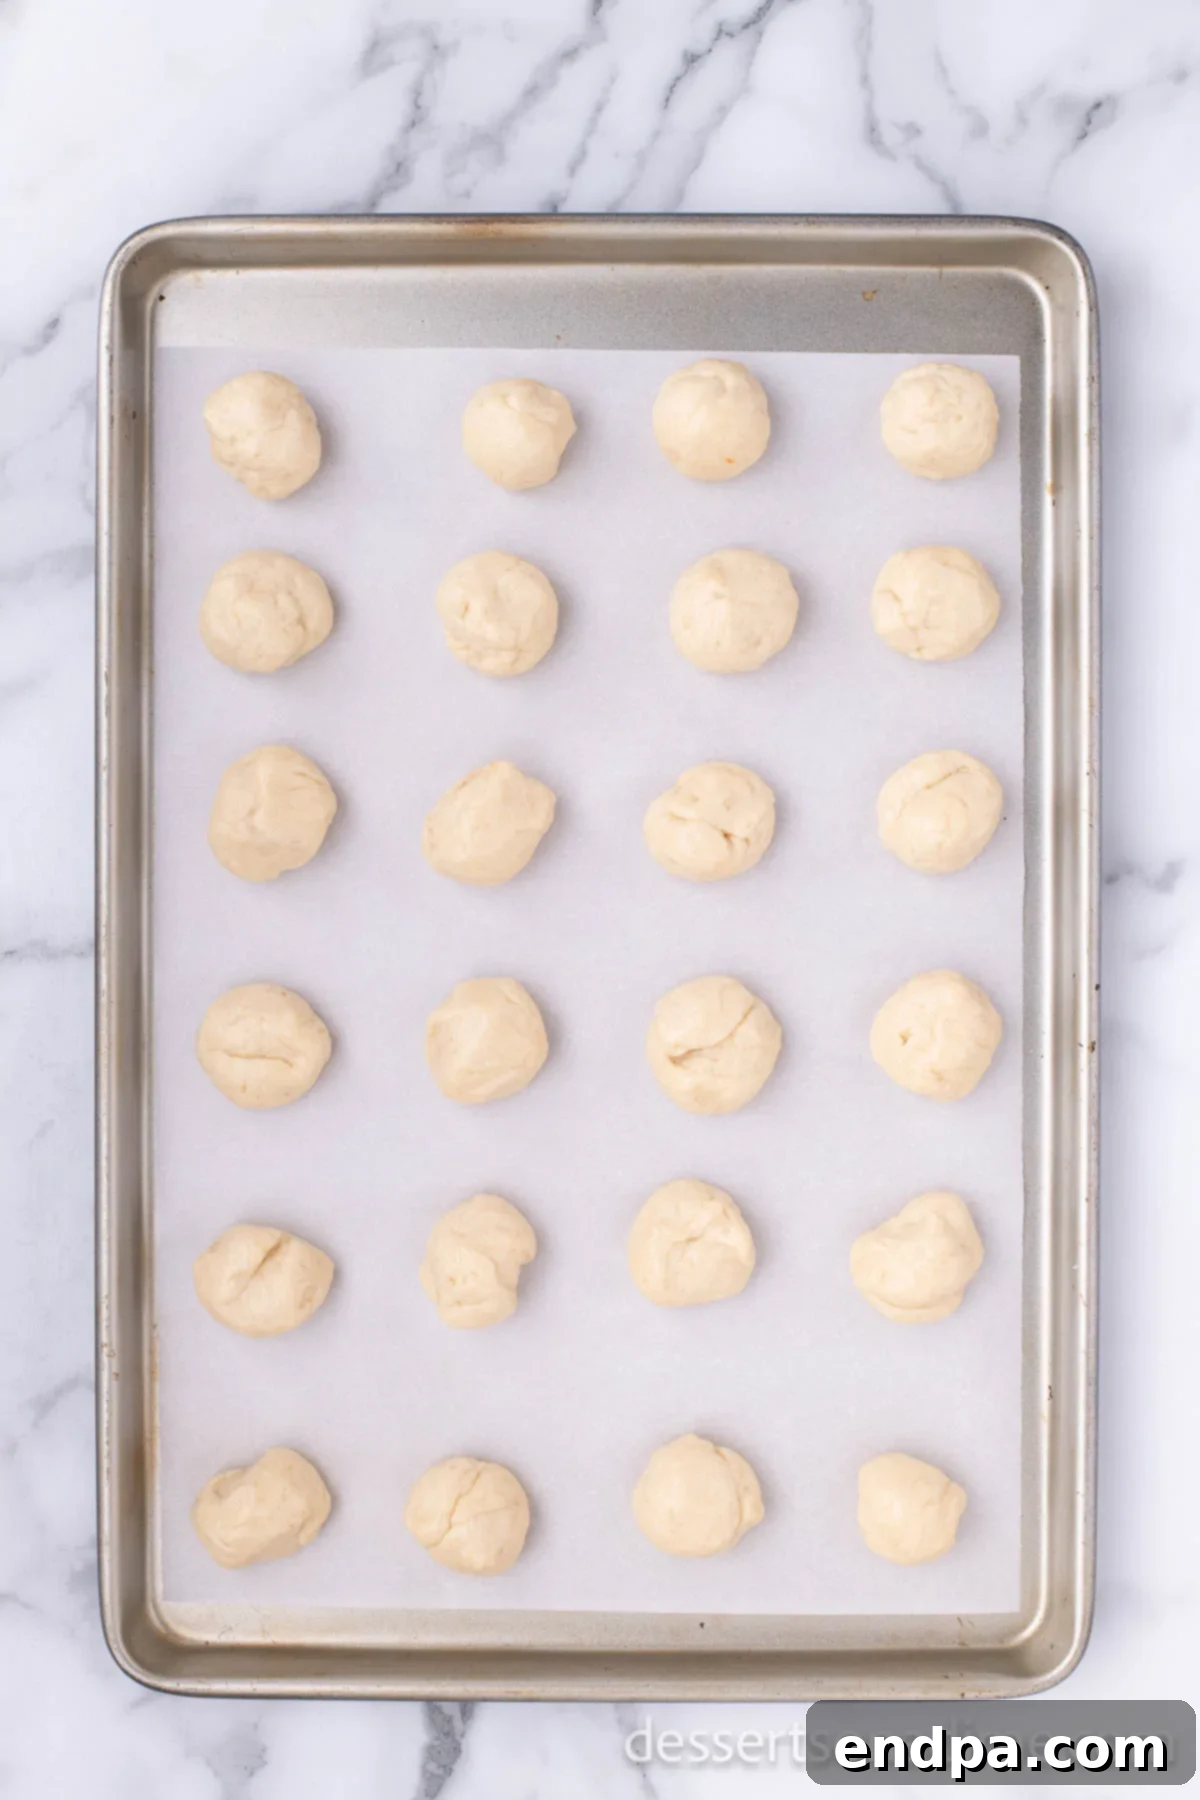
Step 10: Divide and Shape. Divide the dough into four equal sections. Take each section and roll it into a long, uniform rope, approximately 1 inch thick. Then, use a knife or a small dough cutter to cut the rope into 1-inch pieces. Roll each small piece between your palms to form neat, round donut holes. Place them on a baking sheet lined with parchment paper, keeping them spaced apart, and cover them lightly with a cloth to prevent drying while you prepare the frying oil.
Step 11: Prepare for Frying. In a large stockpot or deep fryer, pour enough vegetable oil to reach a depth of 3-4 inches. Heat the oil to precisely 375°F (190°C). A candy thermometer or deep-fry thermometer is highly recommended for accurate temperature control, which is critical for perfectly fried donuts.
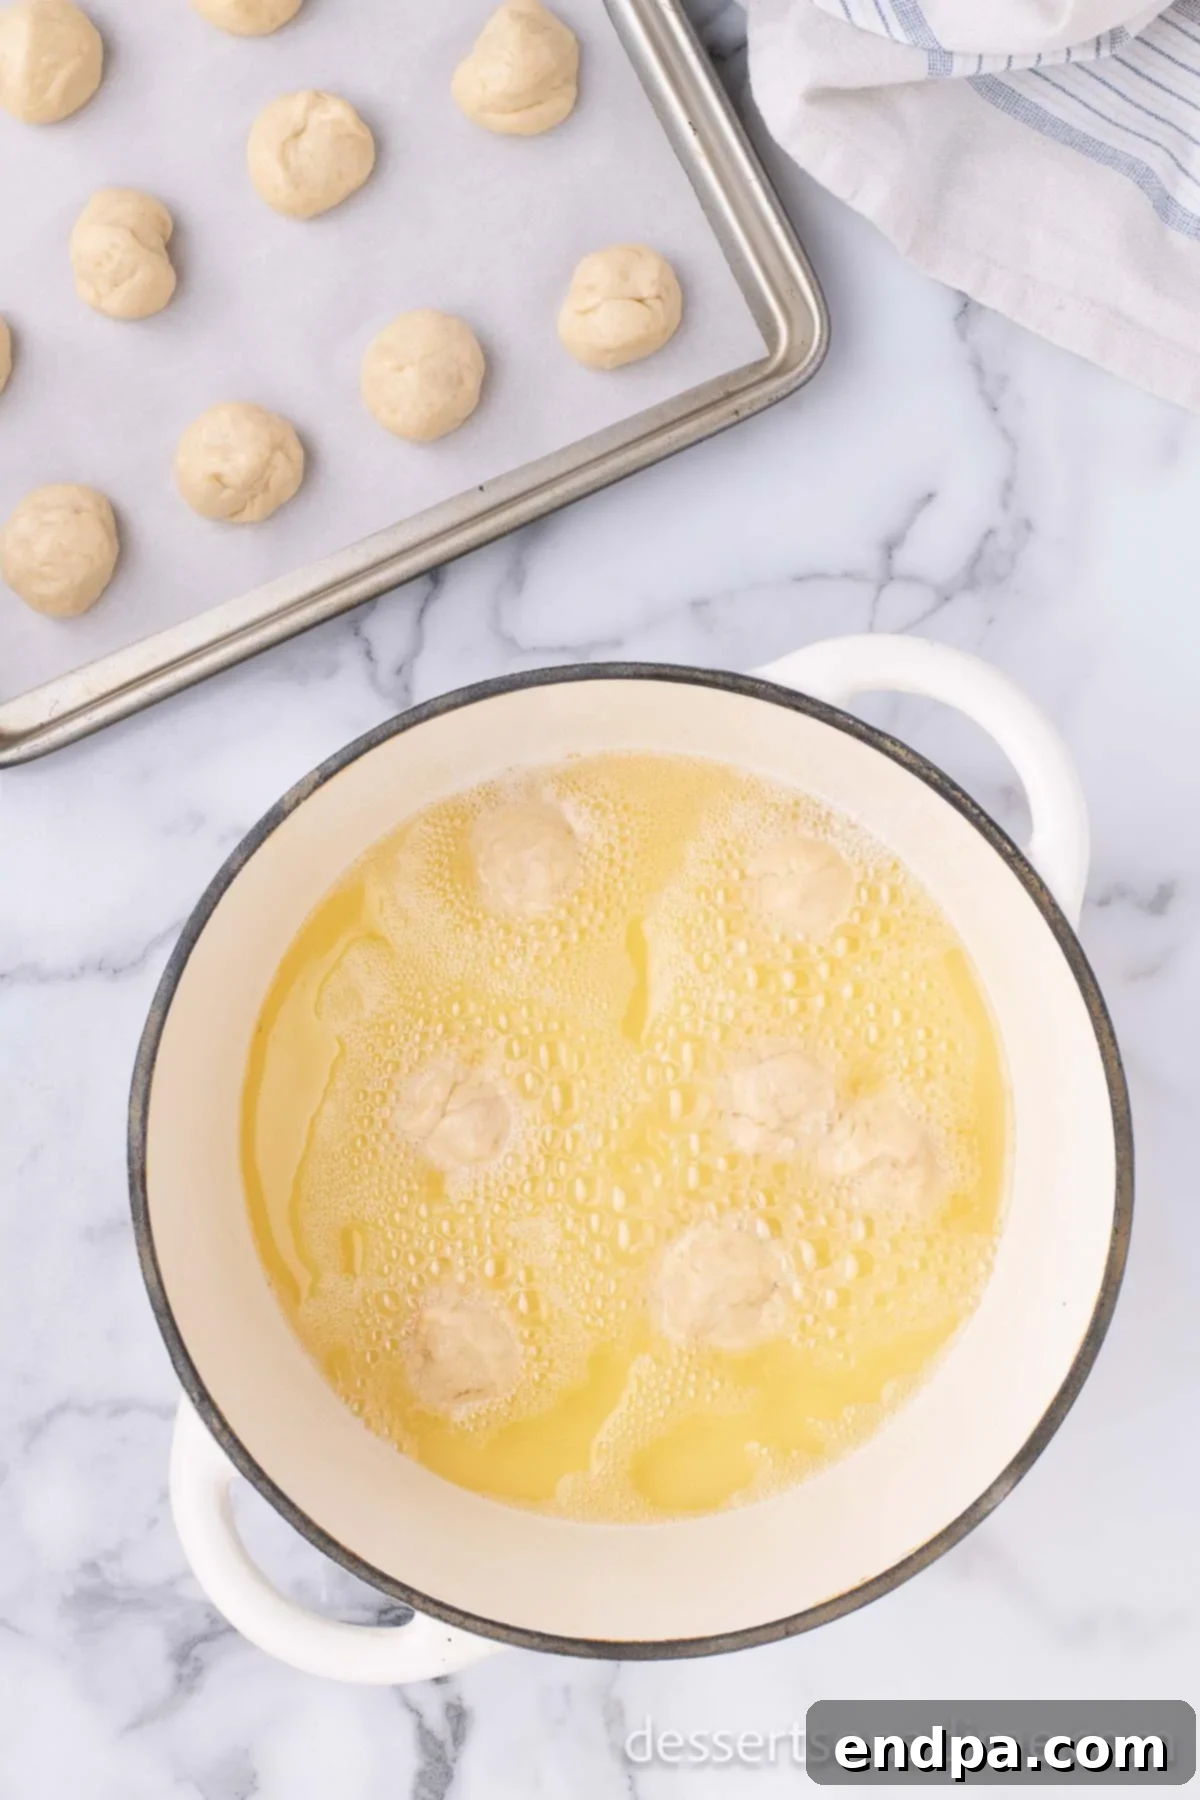
Step 12: Fry the Donut Holes. Carefully drop a few donut holes into the hot oil, working in small batches to avoid overcrowding the pan. Overcrowding will lower the oil temperature and result in greasy donuts. Fry for about 1-2 minutes per side, or until they turn a beautiful golden brown. Use a slotted spoon or spider to flip them and to remove them from the oil.
Step 13: Drain Excess Oil. As each batch finishes frying, transfer the golden donut holes to a plate lined with paper towels. This will help absorb any excess oil, ensuring your donut holes are perfectly crisp and not greasy. Keep them warm while you prepare the glaze.
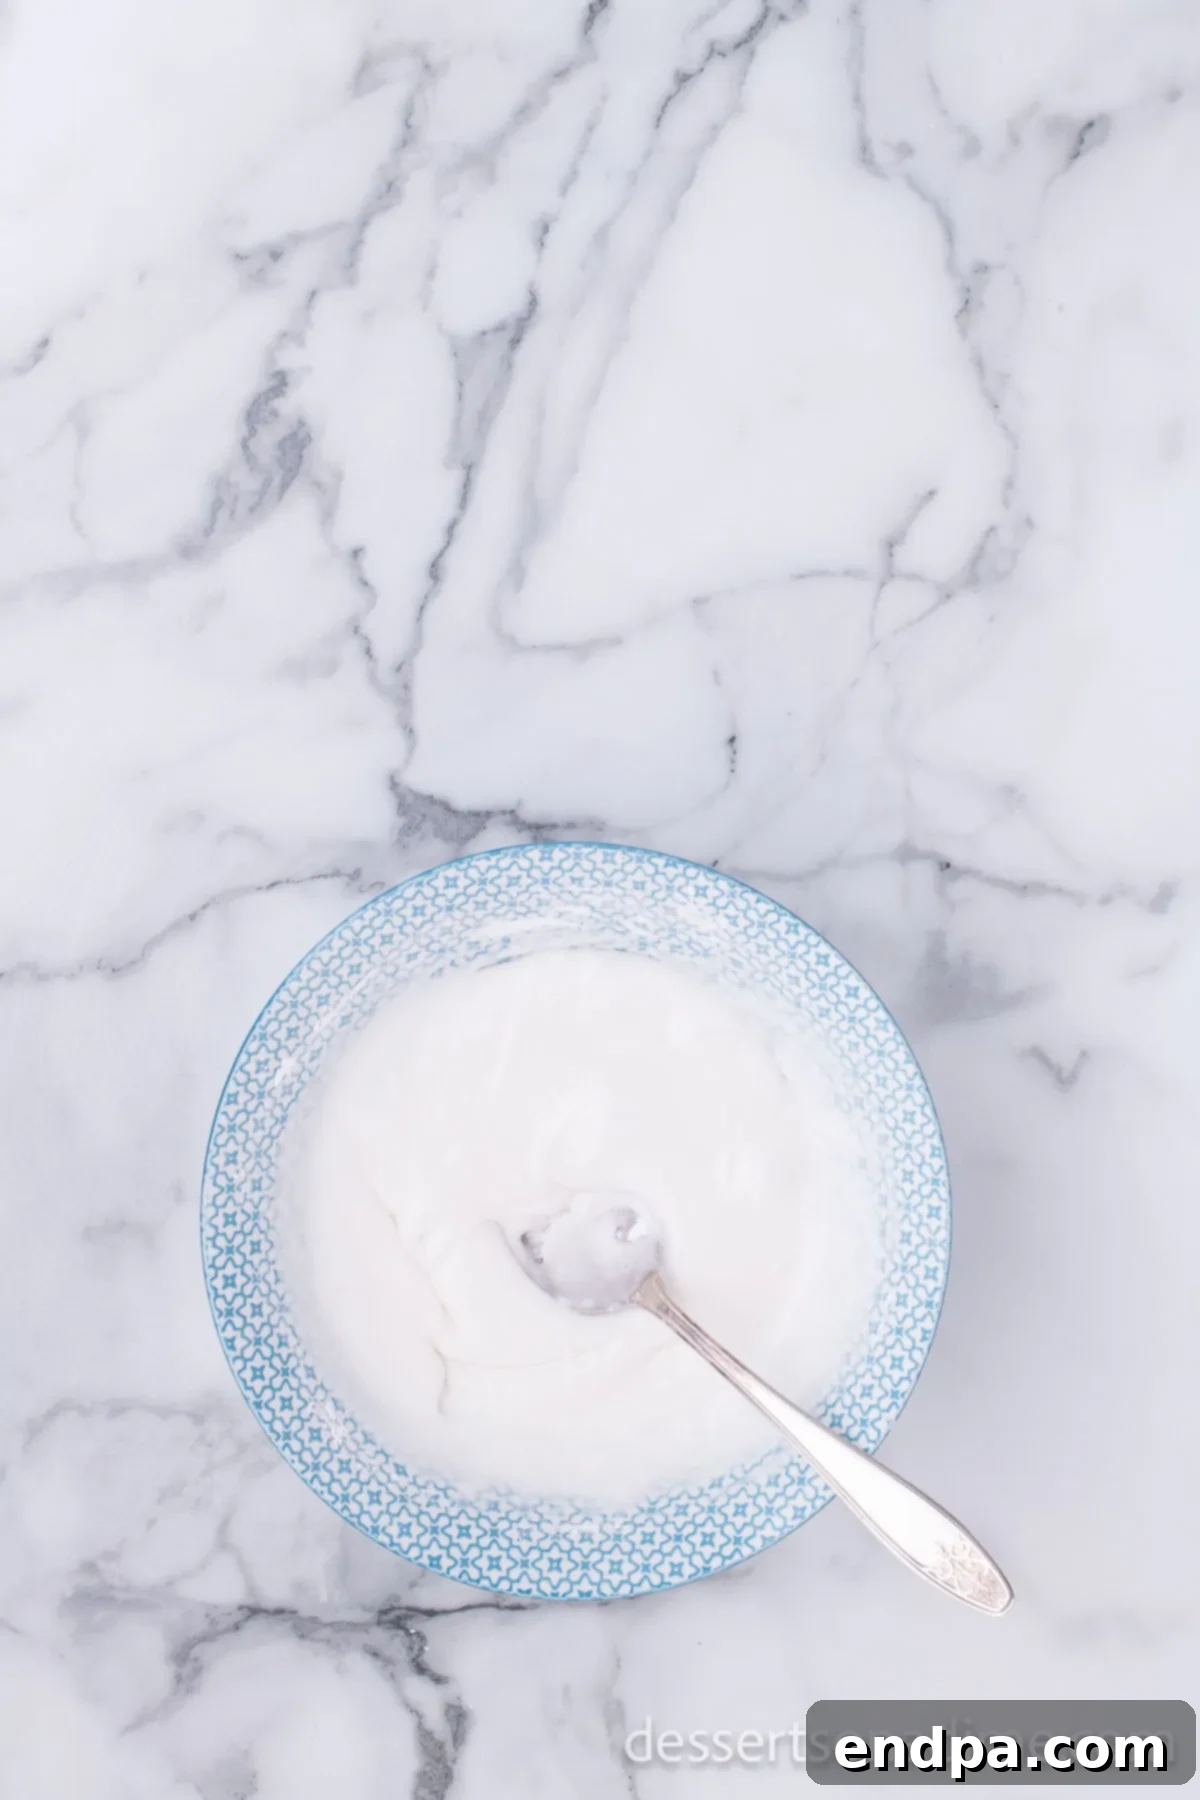
Step 14: Prepare the Signature Glaze. In a medium-sized mixing bowl, combine the sifted powdered sugar, pure vanilla extract, melted butter, and boiling water. Whisk everything together until the mixture is completely smooth and reaches a pourable, yet thick, consistency. It’s crucial that the glaze is warm when you dip the donut holes; this helps it coat evenly and set beautifully.
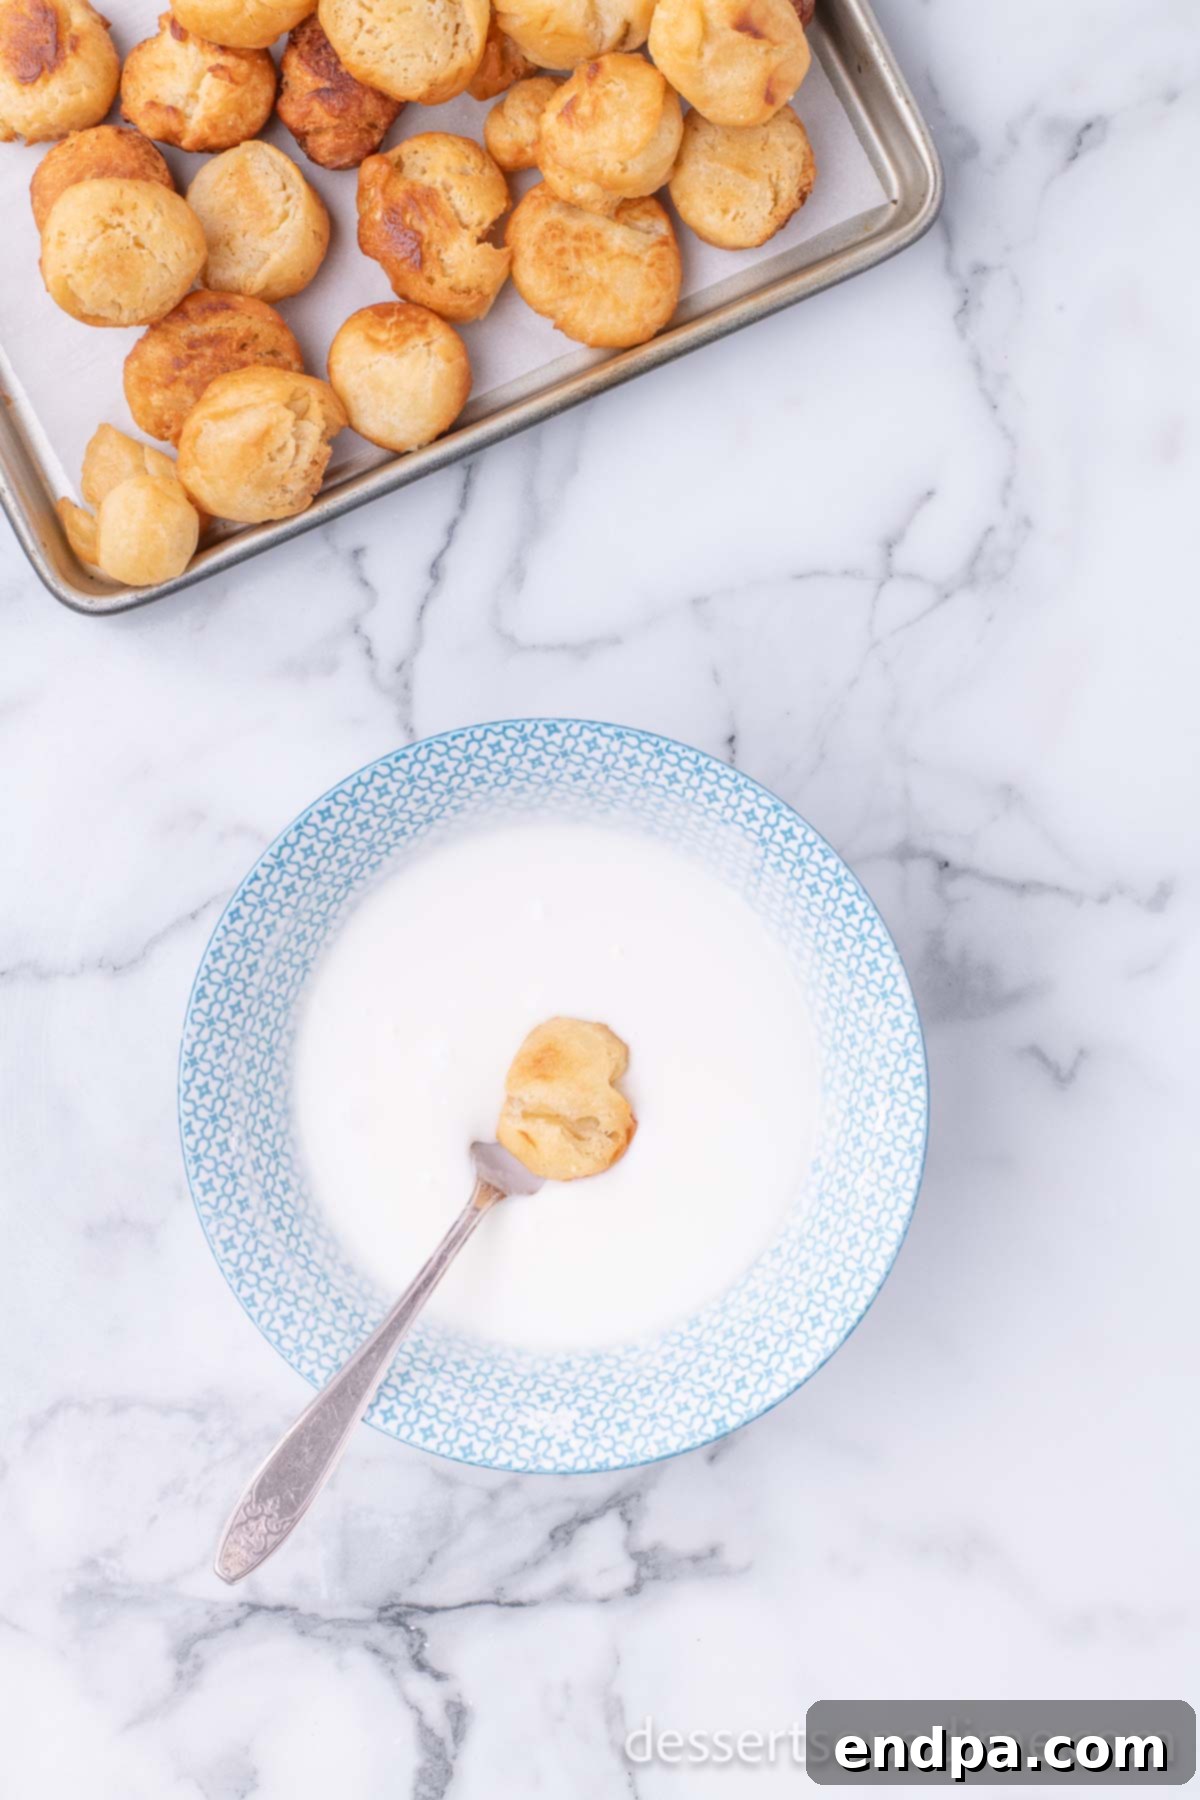
Step 15: Glaze the Donut Holes. While the donut holes are still warm (but not piping hot), dunk each one into the prepared warm glaze. Ensure it’s fully coated, then gently tap off any excess glaze back into the bowl.
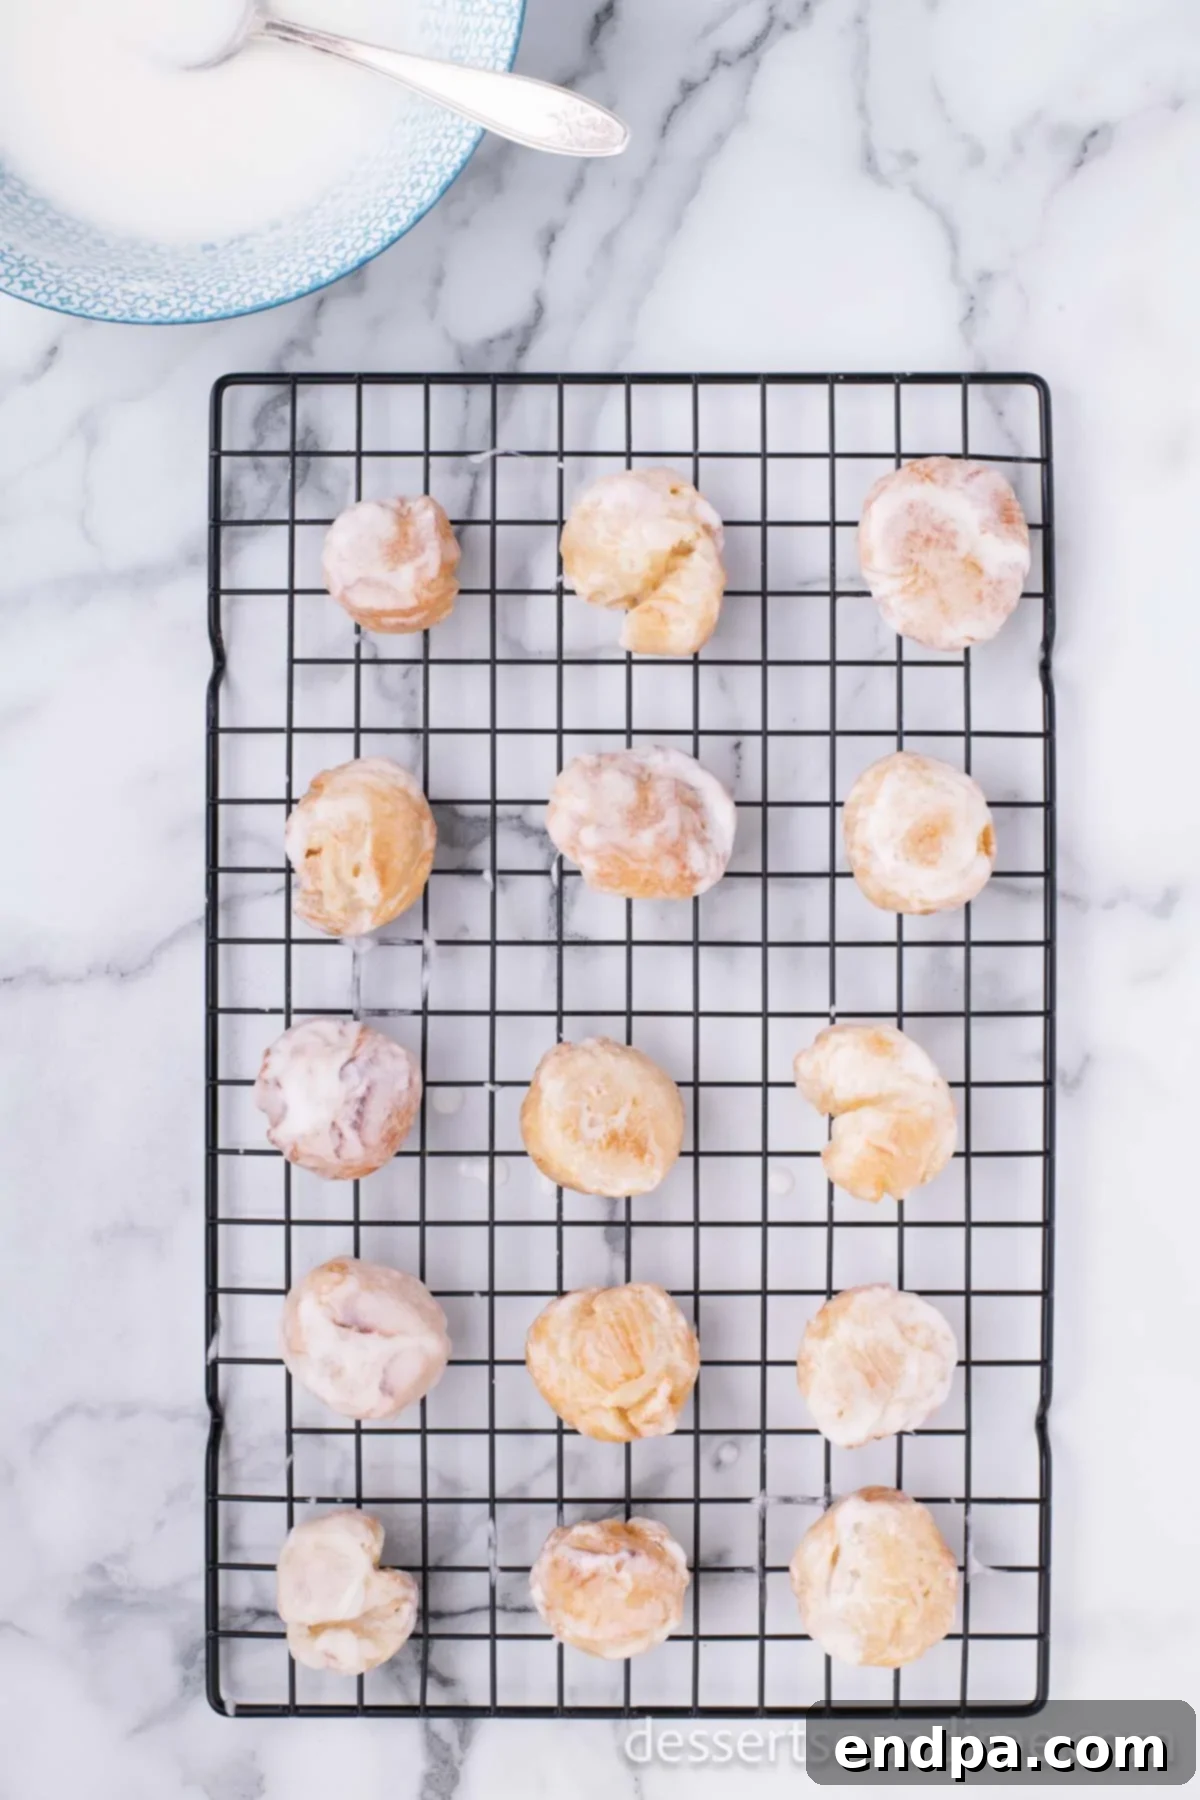
Step 16: Cool and Serve. Place the glazed donut holes on a wire rack set over a baking sheet. This allows any excess glaze to drip off and helps the glaze to set properly. Once the donut holes have cooled slightly and the glaze has firmed up, they are ready to serve and savor! Enjoy them fresh for the best experience.
Pro Tips for Achieving Donut Perfection
- Oil Temperature is Key: Maintaining a consistent oil temperature of 375°F (190°C) is paramount. If the oil is too cool, your donut holes will absorb too much oil and become greasy. If it’s too hot, they will brown too quickly on the outside and remain raw on the inside. Invest in a reliable deep-fry thermometer.
- Don’t Overcrowd the Pan: Fry the donut holes in small batches. This prevents a drastic drop in oil temperature and allows for even cooking and browning. Give each donut hole enough space to float and cook properly.
- Allow for Adequate Rise: Patience is a virtue when working with yeast. Ensure your dough has doubled in size during the first rise. This signifies proper yeast activation and will result in the light, airy texture characteristic of Krispy Kreme donuts. A warm, draft-free spot is ideal for rising.
- Warm Glaze for Best Results: Always dip your warm donut holes into a warm glaze. The warmth helps the glaze adhere beautifully and creates that iconic, thin, and slightly crispy outer layer that Krispy Kreme is known for.
- Proper Drainage: After frying, immediately transfer the donut holes to a wire rack lined with paper towels to drain excess oil. This prevents them from becoming soggy and heavy.
Donut Hole Variations & Serving Ideas
While the classic glazed donut hole is perfection itself, don’t hesitate to get creative with variations. You could try different glazes like a rich chocolate glaze (using cocoa powder, powdered sugar, milk, and melted butter), a maple glaze, or even a citrus glaze with lemon or orange zest. For toppings, consider a simple dusting of cinnamon sugar immediately after frying, or add sprinkles for a festive touch once the glaze has set. Serve these delightful homemade Krispy Kreme donut holes for breakfast, brunch, or as a dessert. They are also a fantastic addition to any party platter, guaranteed to be a crowd-pleaser. Enjoy them with coffee, milk, or even a scoop of vanilla ice cream!
Troubleshooting Common Donut Problems
- Greasy Donut Holes: This is almost always due to the oil not being hot enough. Ensure your oil maintains a consistent 375°F (190°C). Overcrowding the pan can also drop the oil temperature.
- Dense/Heavy Donut Holes: This usually means the dough didn’t rise properly. Check your yeast’s freshness, ensure your water/milk mixture was the correct temperature for activation, and give the dough ample time to rise in a warm spot. Over-kneading can also sometimes lead to tough donuts.
- Donuts Burning on the Outside, Raw Inside: Your oil is too hot! Reduce the heat and ensure it stays at 375°F (190°C).
- Glaze Not Sticking/Setting: Make sure both the donut holes and the glaze are warm. If the glaze is too thin, add a little more powdered sugar; if too thick, add a tiny bit more boiling water.
Storing Your Homemade Donut Holes
These Krispy Kreme donut holes are best enjoyed fresh, ideally on the day they are made, while they are still wonderfully soft and the glaze is at its peak. However, if you have any leftovers, you can refrigerate them in an airtight container for up to 2-3 days. When you’re ready to enjoy them again, simply reheat the Krispy Kreme doughnut holes in the microwave for a few seconds until warm and soft. Freezing is generally not recommended for glazed donuts as the glaze can become sticky and the texture might change upon thawing.
Frequently Asked Questions (FAQs)
- Can I use a different type of oil for frying? Yes, you can use other neutral oils with high smoke points like canola oil, peanut oil, or sunflower oil. Avoid olive oil as it has a lower smoke point and distinct flavor.
- How do I know if my yeast is active? When you mix the yeast with warm liquid and a pinch of sugar, it should become foamy and bubbly within 5-10 minutes. If nothing happens, your yeast might be expired or the liquid temperature was off.
- Can I bake these instead of frying? While this recipe is optimized for frying to achieve the authentic Krispy Kreme texture, you can experiment with baking. Place them on a greased baking sheet and bake at 375°F (190°C) for 8-10 minutes, or until golden. The texture will be different from fried, but still delicious.
- What if my dough is too sticky or too dry? Dough consistency can vary slightly depending on humidity and how flour is measured. If too sticky, add flour one tablespoon at a time. If too dry, add a tiny bit of warm milk (half a teaspoon at a time) until it’s pliable and slightly tacky.
More Delightful Copycat Dessert Recipes
If you love recreating your favorite treats at home, be sure to check out these other fantastic copycat dessert recipes that are just as fun and rewarding to make:
- Copycat Swiss Roll Cake Recipe
- Homemade Little Debbie Brownies
- Recreate the Classic Ding Dong Cake
- Your Own Copycat Dairy Queen Cake
These irresistible bite-sized treats are so incredibly easy to prepare that you can begin making them today! We encourage you to try this amazing Krispy Kreme donut hole recipe and share your experience by leaving a comment below once you’ve tasted the homemade magic.
Pin
Krispy Kreme Donut Holes
Ingredients
For the Donut Holes:
- ¼ cup Milk
- ¼ cup Boiling Water
- 1 ½ cup All Purpose Flour
- ¼ cup Sugar
- 1 tsp Dry Active Yeast
- ½ tsp Salt
- 2 Tbsp Butter melted
- 1 Egg
- Vegetable Oil for Frying
For the Glaze:
- 2 cups Powdered Sugar
- 2 tsp Vanilla Extract
- ⅓ cup Melted Butter
- ¼ cup Boiling Water
Instructions
- Begin by combining the milk and freshly boiling water in a large mixing bowl. Once thoroughly mixed, stir in the dry active yeast and one teaspoon of the granulated sugar. Let this mixture sit for a crucial 5-10 minutes to allow the yeast to properly activate and become foamy.
- In a separate, larger bowl, carefully stir together the measured all-purpose flour, the remaining granulated sugar, and the salt. Once these dry ingredients are combined, pour in the melted butter and mix until just incorporated.
- Now, add the egg to the flour mixture, followed by the activated yeast mixture. Blend all these ingredients thoroughly until a soft and cohesive dough begins to form. If the dough appears too sticky, you may add a little more flour, one tablespoon at a time, until it pulls away from the sides of the bowl but remains slightly tacky to the touch.
- Transfer the dough onto a lightly floured surface. Knead the dough vigorously for approximately 4-5 minutes. This step is essential for developing the gluten, which will give your donut holes their characteristic light and airy texture. The dough should become smooth and elastic.
- Lightly coat a clean bowl with oil. Place the kneaded dough into this oiled bowl, turning it once to ensure it’s fully coated. Cover the bowl with plastic wrap or a clean kitchen towel and allow the dough to rise in a warm, draft-free environment for at least one hour, or until it has distinctly doubled in size.
- Once risen, gently punch down the dough to release the air. Divide the dough into 4 even sections. Take each section and roll it into a long rope, roughly 1 inch thick. Then, cut each rope into approximately 1-inch pieces. Roll these pieces between your hands to form neat, spherical donut holes. Place them on a baking sheet lined with parchment paper, ensuring they are not touching, and cover them with a cloth while you prepare the frying oil.
- Pour vegetable oil into a large stockpot or deep fryer, ensuring it’s at least 3-4 inches deep. Heat the oil to an exact temperature of 375 degrees F (190°C). Carefully fry the donut holes in batches, making sure not to overcrowd the pan. Fry until they are beautifully golden brown on each side, which should take approximately 2 minutes total. After frying, use a slotted spoon to transfer the donut holes to a plate lined with paper towels to soak up any excess oil.
- While the donut holes are still warm, prepare the glaze. In a mixing bowl, combine the powdered sugar, vanilla extract, melted butter, and boiling water. Whisk until the mixture is completely smooth and lump-free, with a pourable yet slightly thick consistency. Ensure the glaze is warm. Dunk each of the warm donut holes into the glaze, coating it completely, then place them on a wire rack to cool and allow the glaze to set.
- Once the glaze on the donut holes has set, they are perfectly ready to serve and enjoy! These are truly best when fresh and still slightly warm.
Nutrition Facts
Pin This Now to Remember It Later
Pin Recipe
