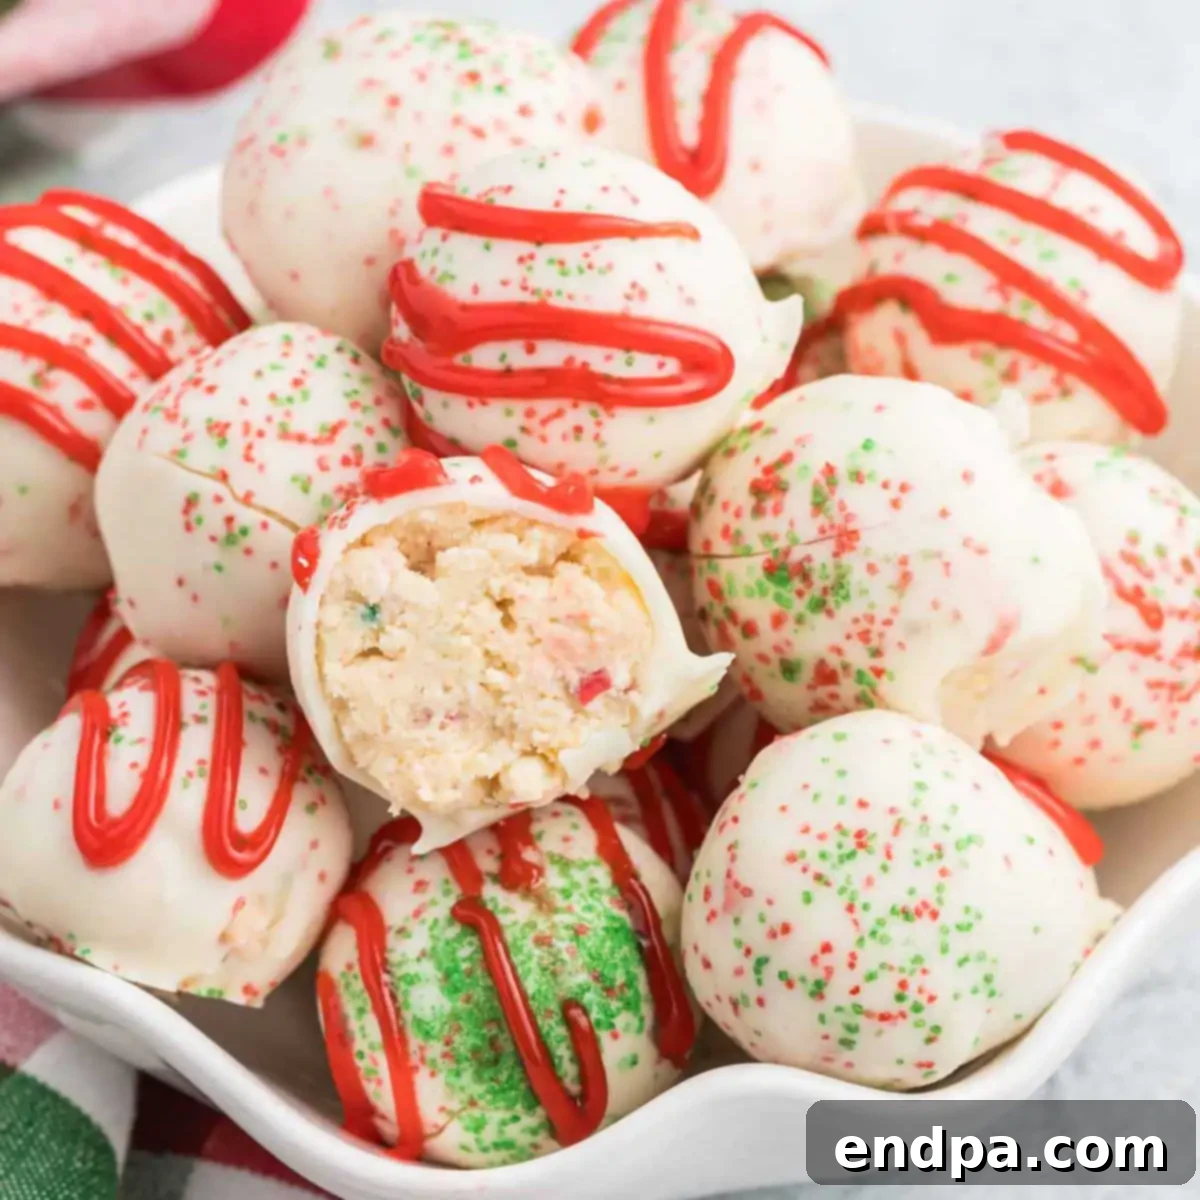
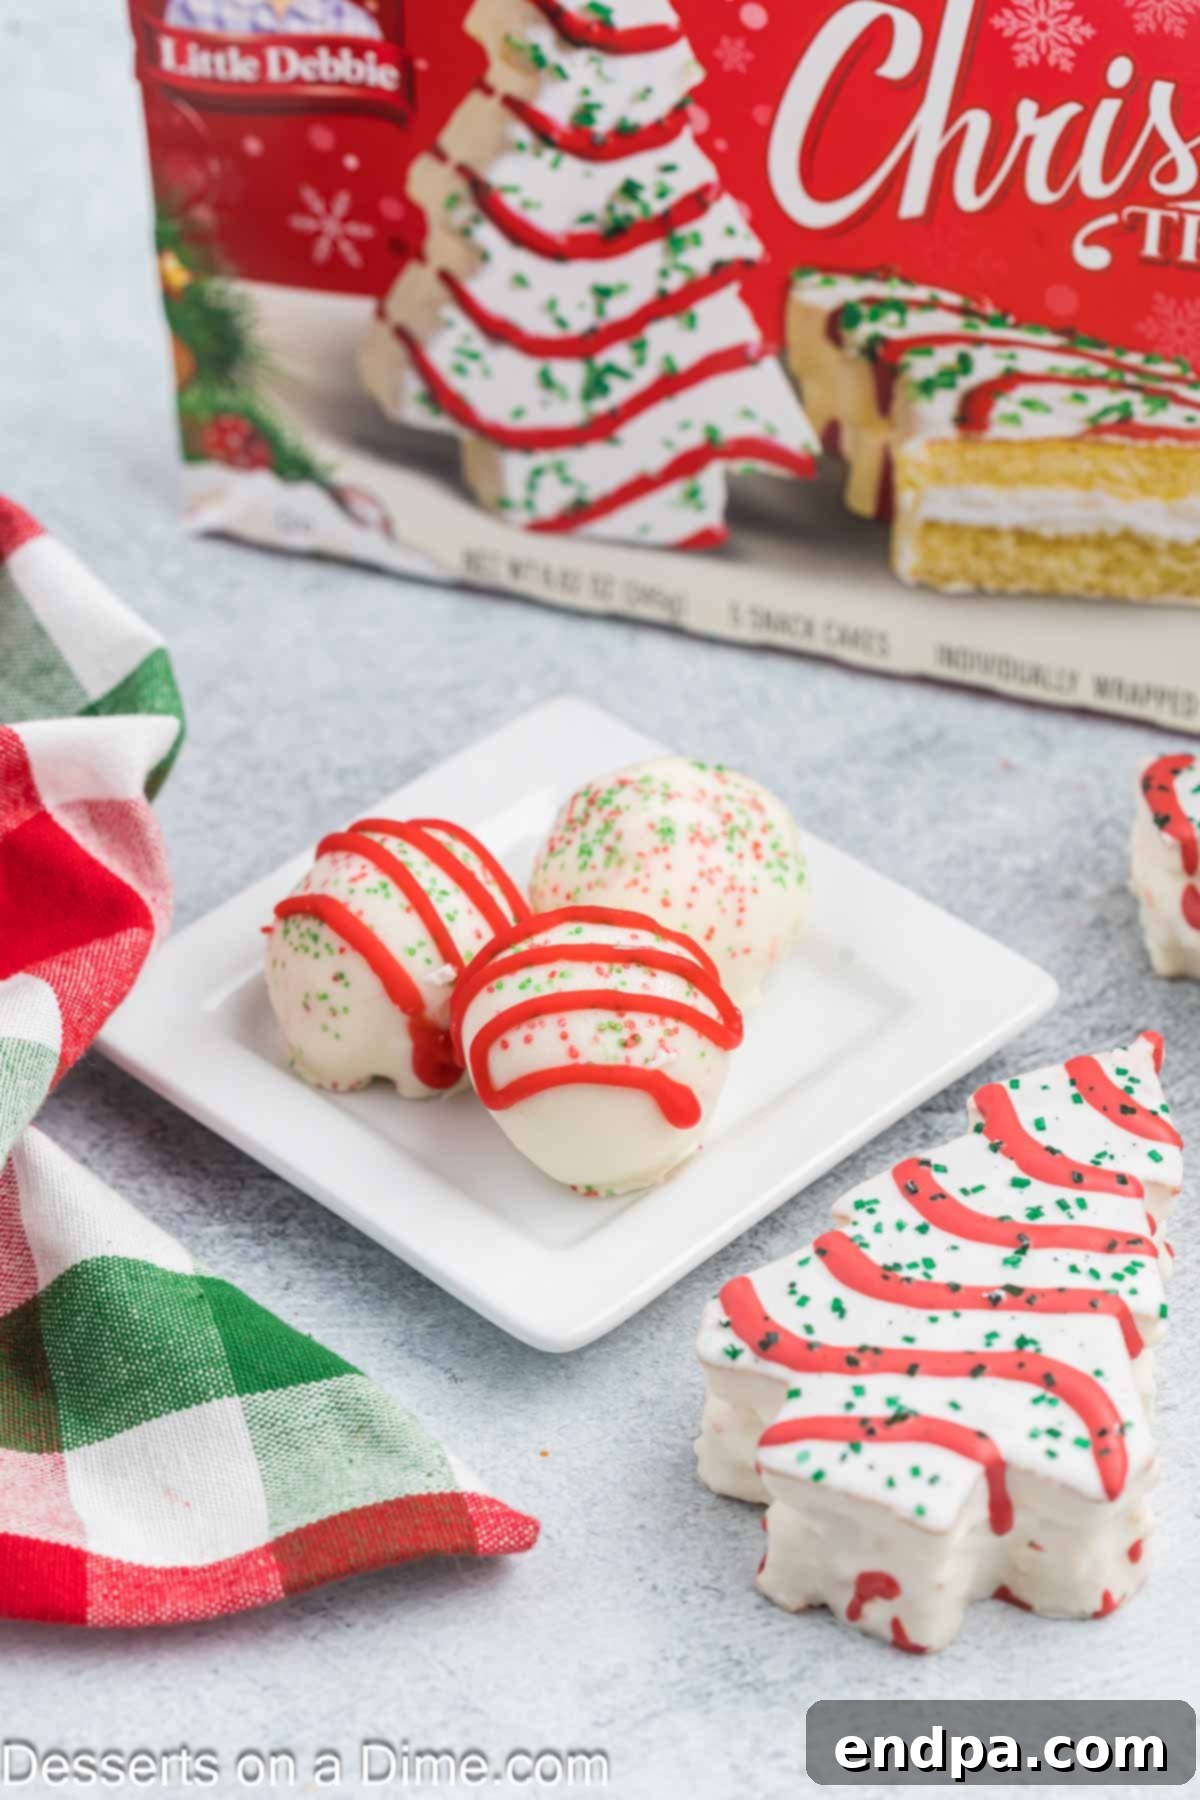
If you’re searching for an irresistibly festive and incredibly easy no-bake treat this holiday season, look no further than these delightful Little Debbie Christmas Tree Cake Balls. Inspired by the beloved classic snack cakes, this recipe transforms them into bite-sized marvels perfect for any Christmas gathering, cookie exchange, or cozy family movie night. With a mere handful of ingredients and minimal effort, you can create a show-stopping dessert that captures all the nostalgic charm of the original cakes, enhanced with a creamy texture and a decadent chocolate coating. These homemade Christmas Tree Cake Truffles are guaranteed to become a new holiday tradition!
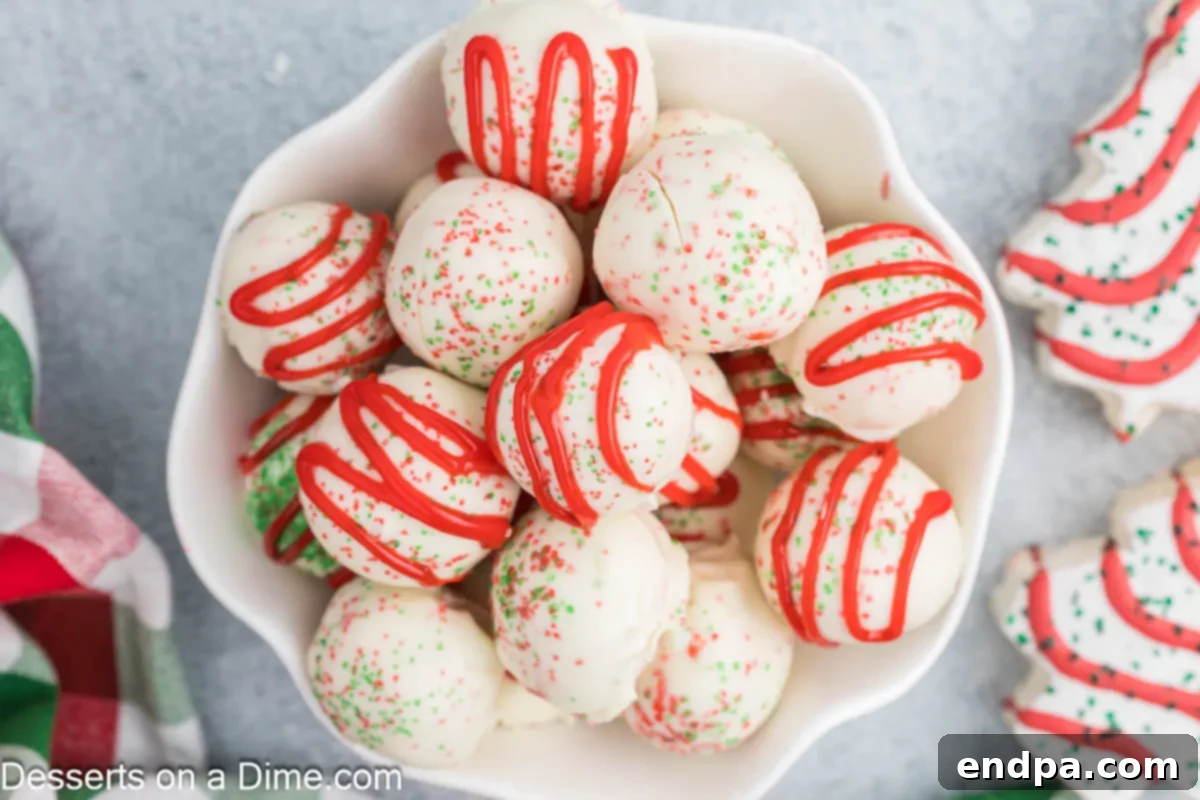
These enchanting Christmas dessert balls boast all the iconic flavor of Little Debbie Christmas Tree Cakes, perfectly blended with softened cream cheese and then lovingly dipped in a smooth, sweet white chocolate coating. The final touch of vibrant red cookie icing and festive sanding sugar mirrors the signature look of the original snack, making them as visually appealing as they are delicious. My family consistently raves about these treats, and the excitement they generate is truly infectious. They’re a simple yet sophisticated way to bring holiday cheer to your table!
If you adore Little Debbie Christmas Tree Cakes as much as we do, you might also enjoy exploring other creative ways to enjoy their distinctive flavor. We’ve successfully adapted this cherished holiday treat into a variety of desserts, including a luscious Little Debbie Christmas Tree Dip, a decadent Little Debbie Christmas Tree Cheesecake, and even a refreshing Little Debbie Christmas Tree Cake Ice Cream. These easy-to-make desserts offer unique twists on a seasonal favorite. Their bite-sized format makes them ideal for parties and gatherings, ensuring everyone can enjoy a little taste of holiday magic. For another crowd-pleasing, no-bake option, be sure to try our famous No Bake Oreo Balls too!
Table of Contents
- Why We Love These Christmas Tree Cake Balls
- Essential Ingredients for Little Debbie Cake Balls
- Step-by-Step Instructions to Create Your Cake Balls
- Proper Storage for Your Delicious Treats
- Can You Freeze Christmas Tree Cake Balls?
- Expert Tips for the Best Results
- Variations and Serving Suggestions
- More Christmas Dessert Ideas
- Recipe Card
Why We Love These Christmas Tree Cake Balls
These Little Debbie Cake Balls stand out as a holiday favorite for several compelling reasons, making them an absolute must-try during the festive season. First and foremost, their no-bake nature means you won’t need to heat up your oven, a huge plus during busy holiday preparations or if you’re already baking other items. The simplicity of the ingredient list is another major draw – just five core components are all it takes to bring these delicious treats to life. This means less shopping, less fuss, and more time enjoying the season.
Furthermore, the recipe is incredibly quick to prepare, allowing you to whip up a batch in a surprisingly short amount of time. This efficiency makes them perfect for last-minute party contributions, a delightful addition to your movie night snack spread, or even as charming homemade gifts for friends and neighbors. Their irresistible combination of cake, cream cheese, and chocolate ensures they’re a guaranteed hit with both children and adults. The nostalgic flavor of the Little Debbie Christmas Tree Cakes brings a unique sense of warmth and familiarity, making these cake balls a truly special holiday confection.
Essential Ingredients for Little Debbie Cake Balls
Crafting these festive Little Debbie Christmas Tree Cake Balls requires only a few key ingredients, each playing a vital role in creating their signature taste and texture. Here’s a closer look at what you’ll need and why each component is essential:
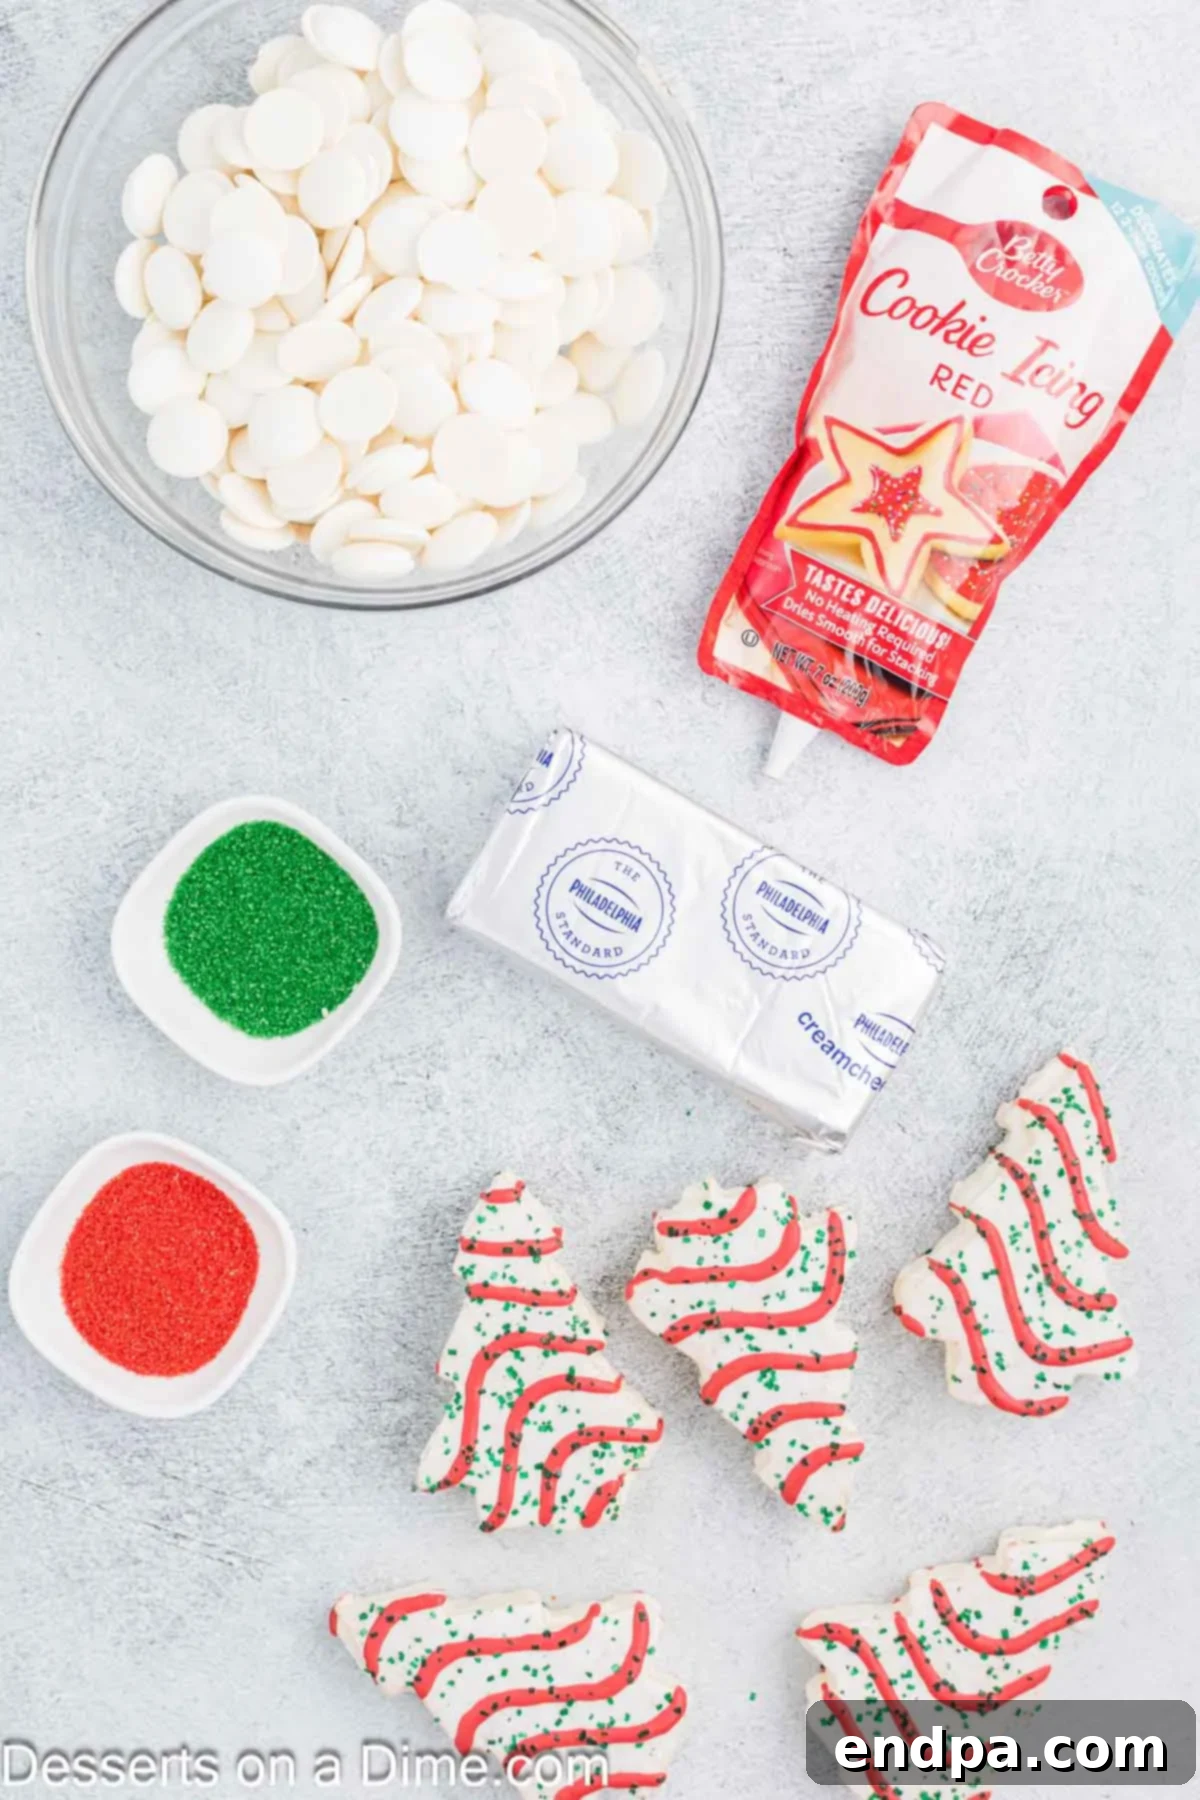
- Little Debbie Christmas Tree Cakes: These iconic snack cakes are the heart and soul of this recipe. Their distinct vanilla cake, creamy filling, and green frosting provide the perfect base for our cake balls. It’s highly recommended to grab these seasonal delights early in the holiday season, as they tend to sell out quickly due to their immense popularity.
- Cream Cheese: Softened at room temperature, cream cheese acts as the binding agent, transforming the crumbled snack cakes into a rich, moist, and pliable dough. Using full-fat cream cheese is recommended for the best flavor and texture, ensuring your cake balls are wonderfully creamy and hold their shape well. Allow it to soften for at least 30 minutes to an hour before mixing for a smooth, lump-free consistency.
- White Candy Melts: These are ideal for dipping as they melt smoothly and set quickly, providing a crisp, even coating without the need for tempering. Candy melts create a beautifully uniform and festive shell for your cake balls, ensuring they look professionally made. While white chocolate chips can be used as an alternative, they often require a bit of coconut oil or shortening to achieve a similar thin, dippable consistency.
- Pre-made Red Cookie Icing: To replicate the classic red drizzle on the original Christmas Tree Cakes, pre-made red cookie icing is incredibly convenient. It comes in an easy-to-use squeeze pouch, making the final decorative step a breeze. If you prefer, red candy melts can also be used for drizzling, offering a slightly different texture and color vibrancy.
- Red and Green Sanding Sugar: This festive topping is crucial for achieving that authentic Little Debbie Christmas Tree Cake sparkle. Sanding sugar has larger crystals than regular sprinkles, which catch the light beautifully and provide a lovely textural contrast. Make sure to use sanding sugar to capture the traditional appearance and add that extra holiday glitz.
You can find the full, precise list of ingredients and their exact quantities in the comprehensive recipe card located at the bottom of this page.
Step-by-Step Instructions to Create Your Cake Balls
Creating these delightful Little Debbie Christmas Tree Cake Balls is a straightforward process. Follow these easy steps to bring this festive treat to life:
- Step 1: Prepare Your Workspace. Begin by lining a large baking sheet with either wax paper or parchment paper. This non-stick surface will prevent your cake balls from sticking and make them easy to handle once coated. Set it aside for later use.
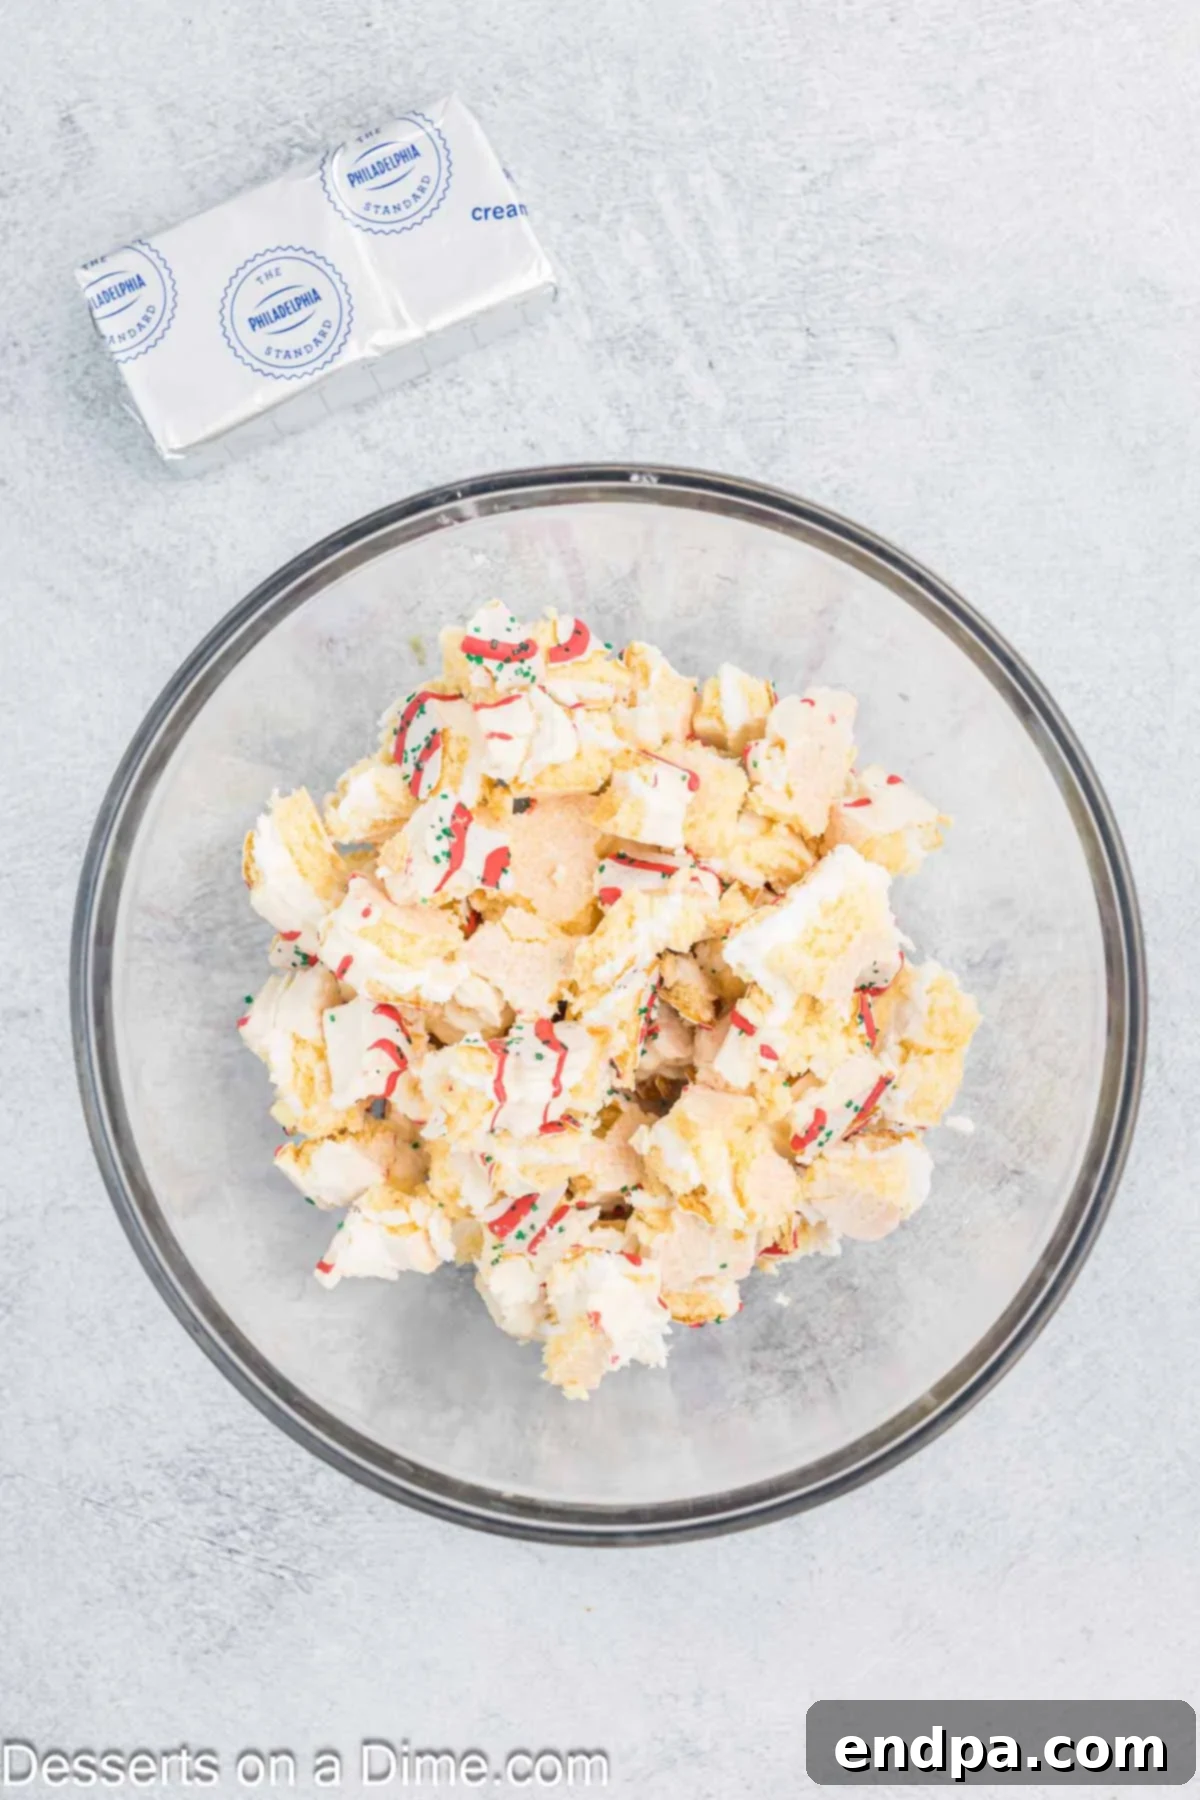
Step 2: Crumble and Mix. Take your Little Debbie Christmas Tree Cakes and gently crumble them into fine pieces. Place the crumbled cake into a large mixing bowl. Add the softened cream cheese to the bowl. Using an electric mixer (a hand mixer or stand mixer works best), combine the cake crumbs and cream cheese thoroughly until a uniform, dough-like mixture forms. Scrape down the sides of the bowl periodically to ensure all ingredients are well incorporated.
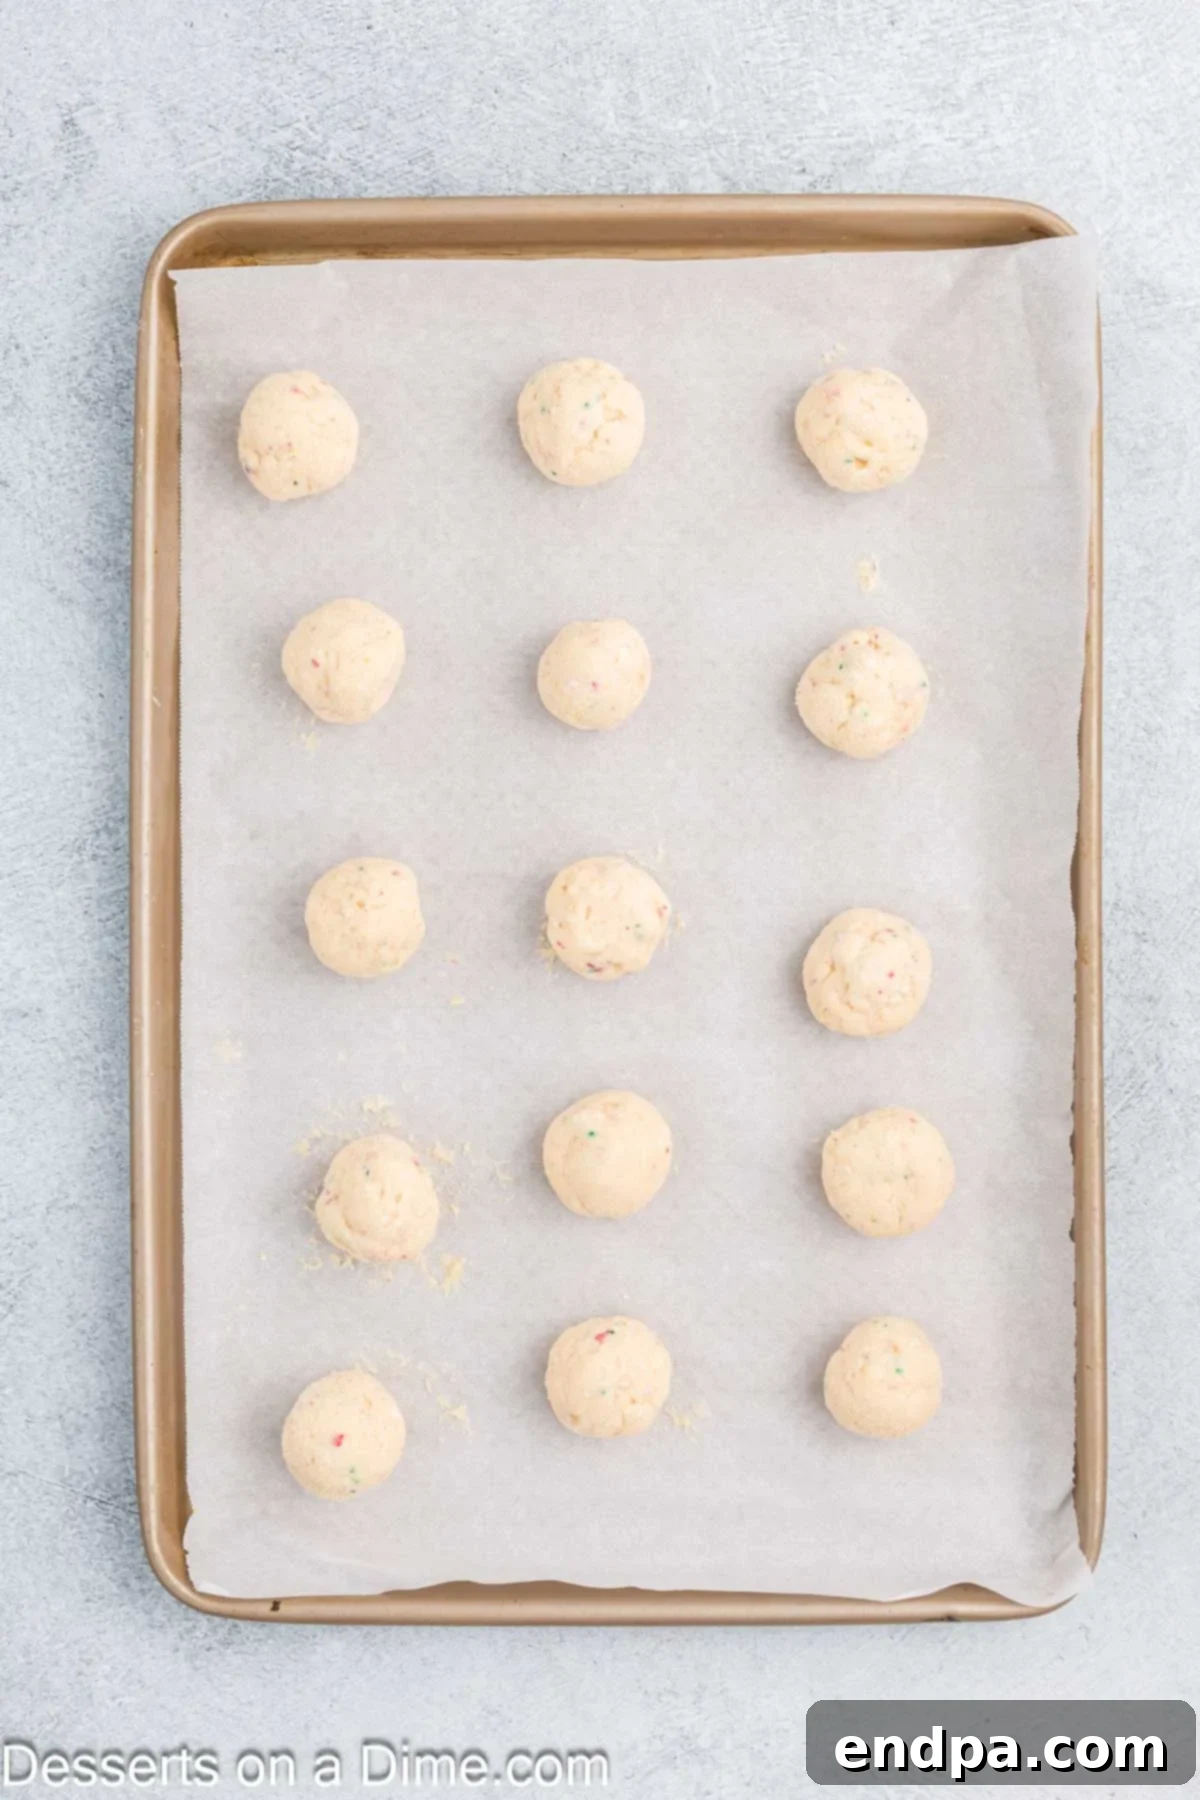
Step 3: Roll and Freeze. Using a small cookie scoop (about 1-inch in diameter) or your hands, roll the cake mixture into smooth, uniform balls. The cookie scoop helps ensure all your cake balls are roughly the same size, which is great for even coating and presentation. Place the formed balls onto your prepared baking sheet. Once all balls are rolled, transfer the baking sheet to the freezer and chill for at least 1 hour. This crucial step helps them firm up, making them much easier to dip in chocolate.
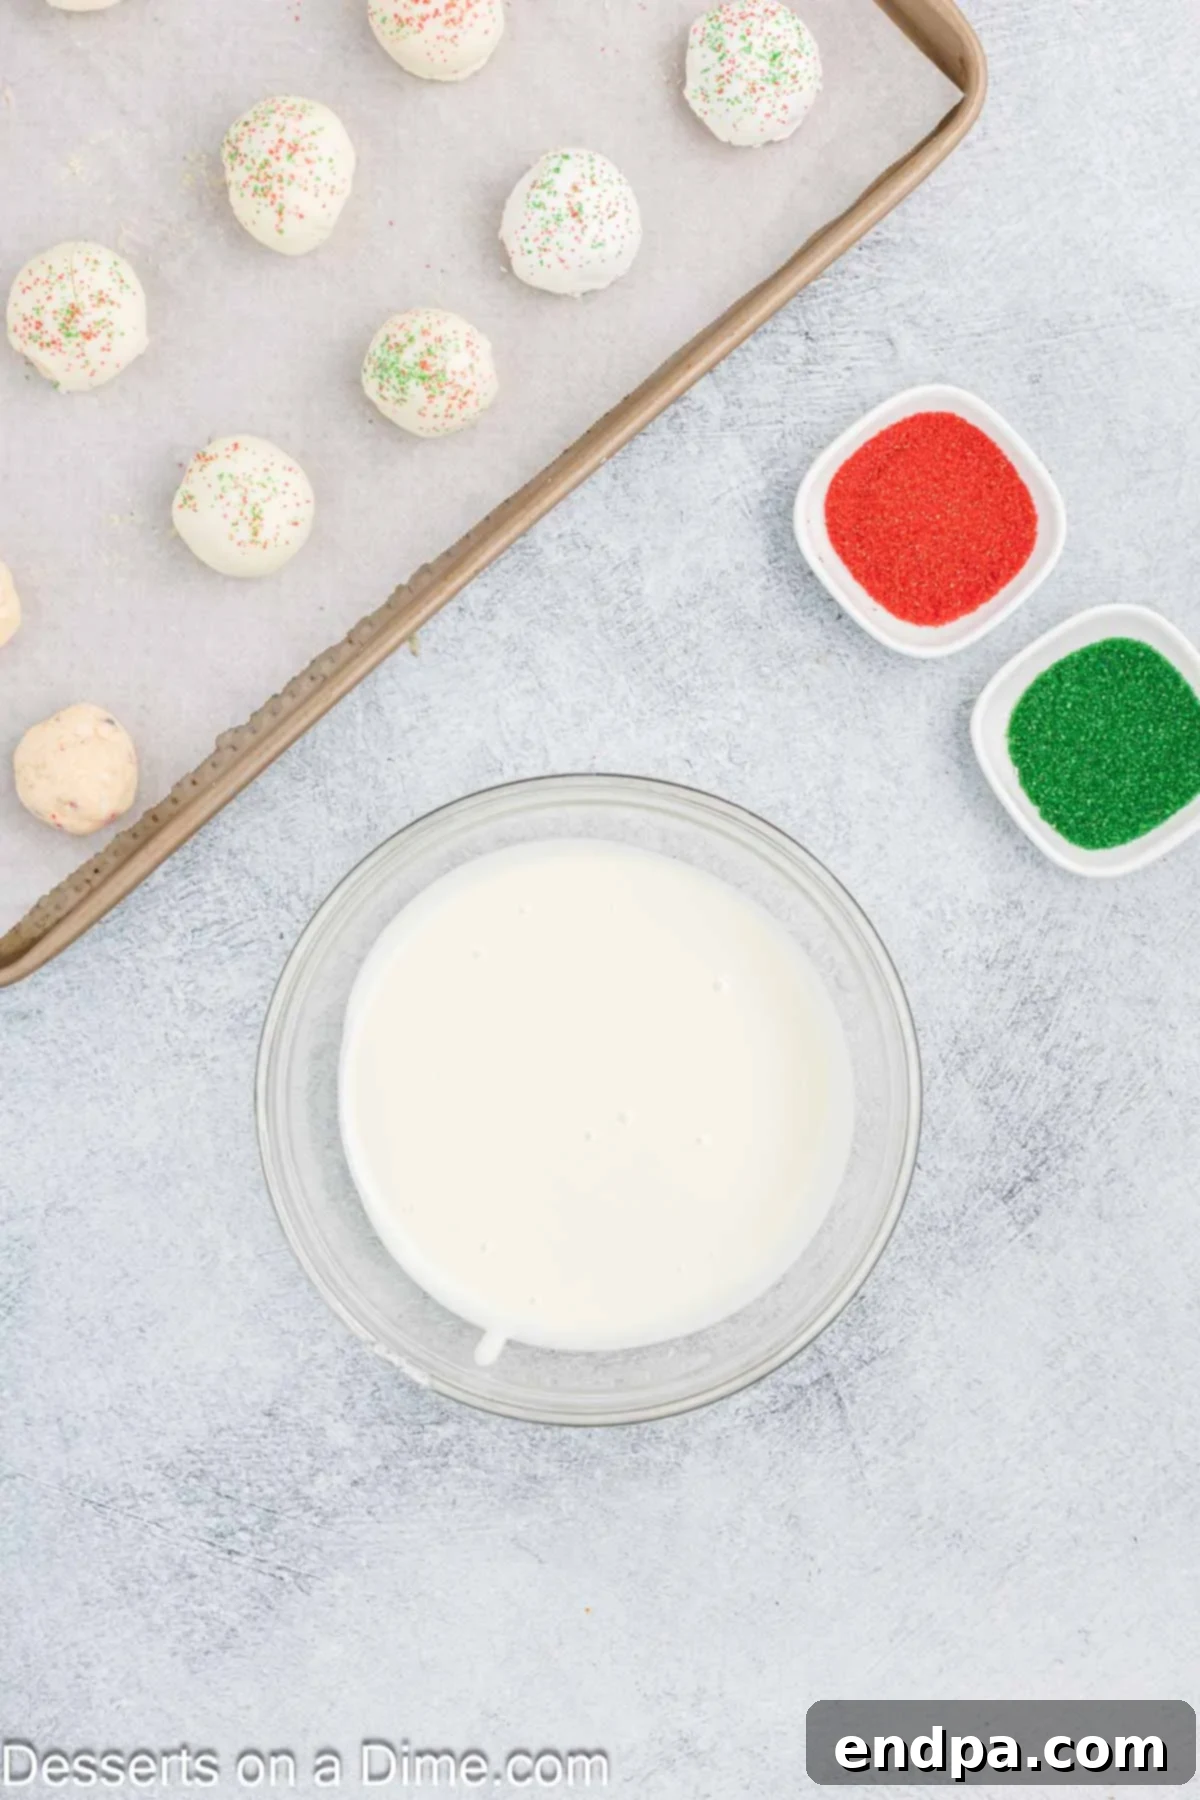
Step 4: Melt the Candy Melts. Place the white candy melts in a microwave-safe bowl. Microwave the melts for 1 minute, then stir well. Continue heating in 30-second intervals, stirring thoroughly after each interval, until the candy melts are completely smooth and free of lumps. Be careful not to overheat, as this can cause the melts to seize.
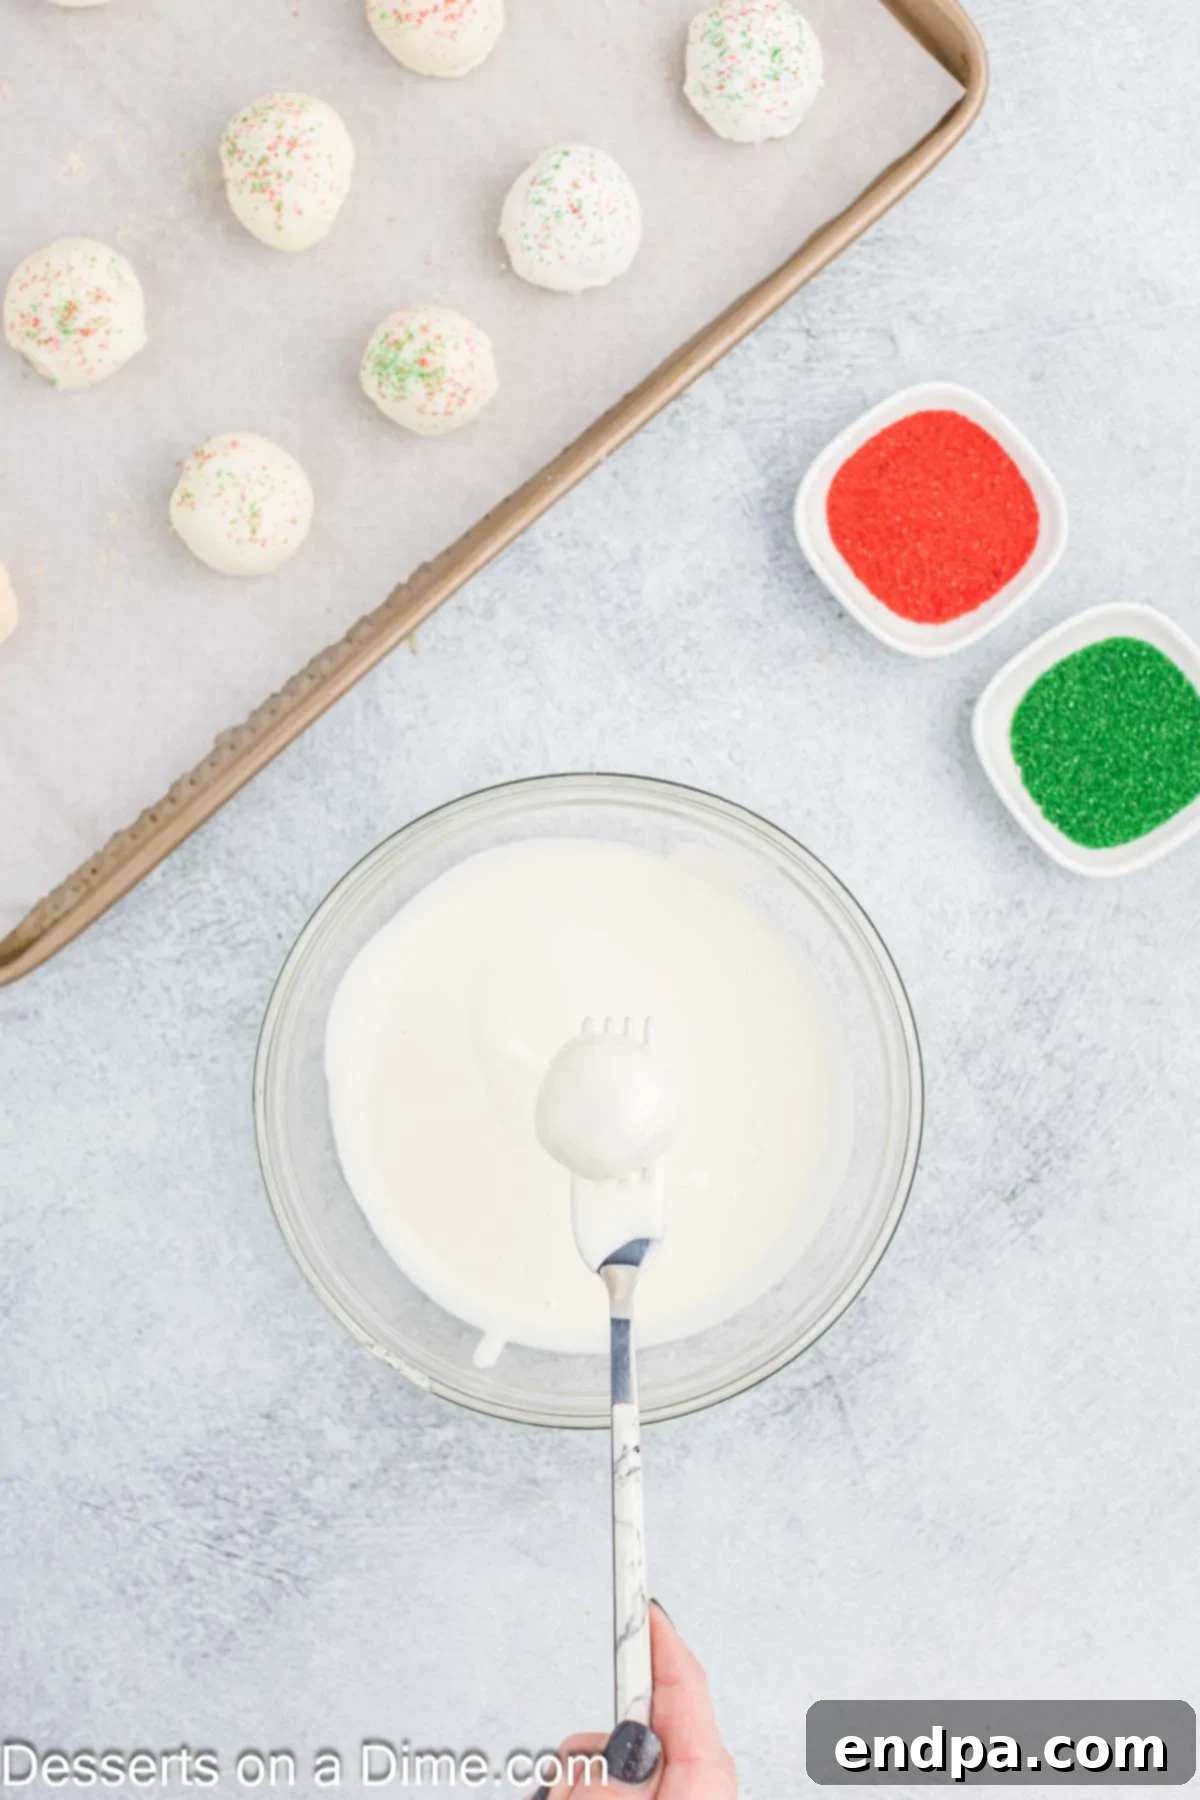
Step 5: Dip the Cake Balls. Carefully remove the frozen cake balls from the freezer. Using a fork or a dipping tool, submerge each cake ball into the melted white candy. Tap the fork gently on the edge of the bowl to remove any excess candy coating, ensuring a clean and even layer. Place the dipped cake balls back onto the prepared baking sheet.
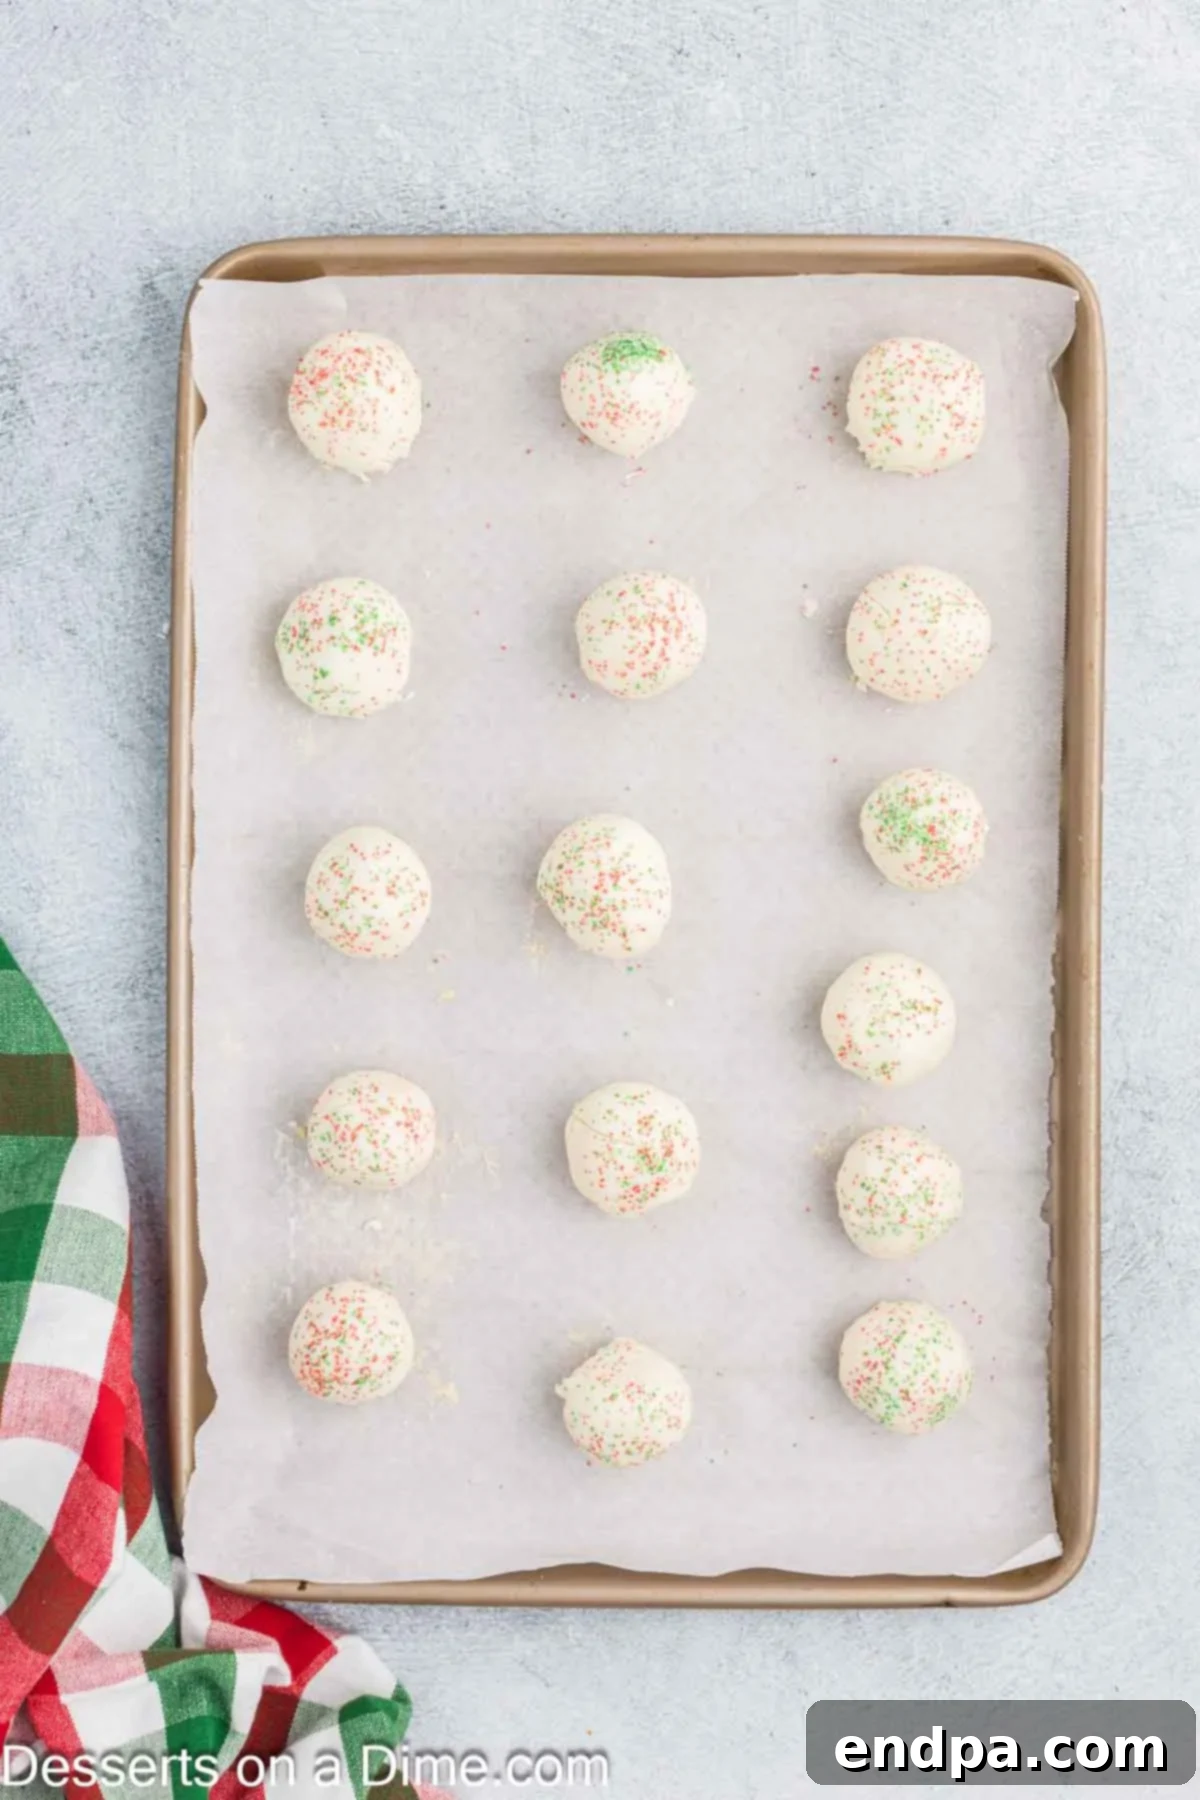
Step 6: Add Sanding Sugar and Chill. Immediately after dipping each cake ball (while the candy coating is still wet), sprinkle generously with red and green sanding sugar. This ensures the sugar adheres properly. Allow the cake balls to cool and set at room temperature for 3-4 hours, or accelerate the process by refrigerating them for at least 1 hour until the coating is firm.
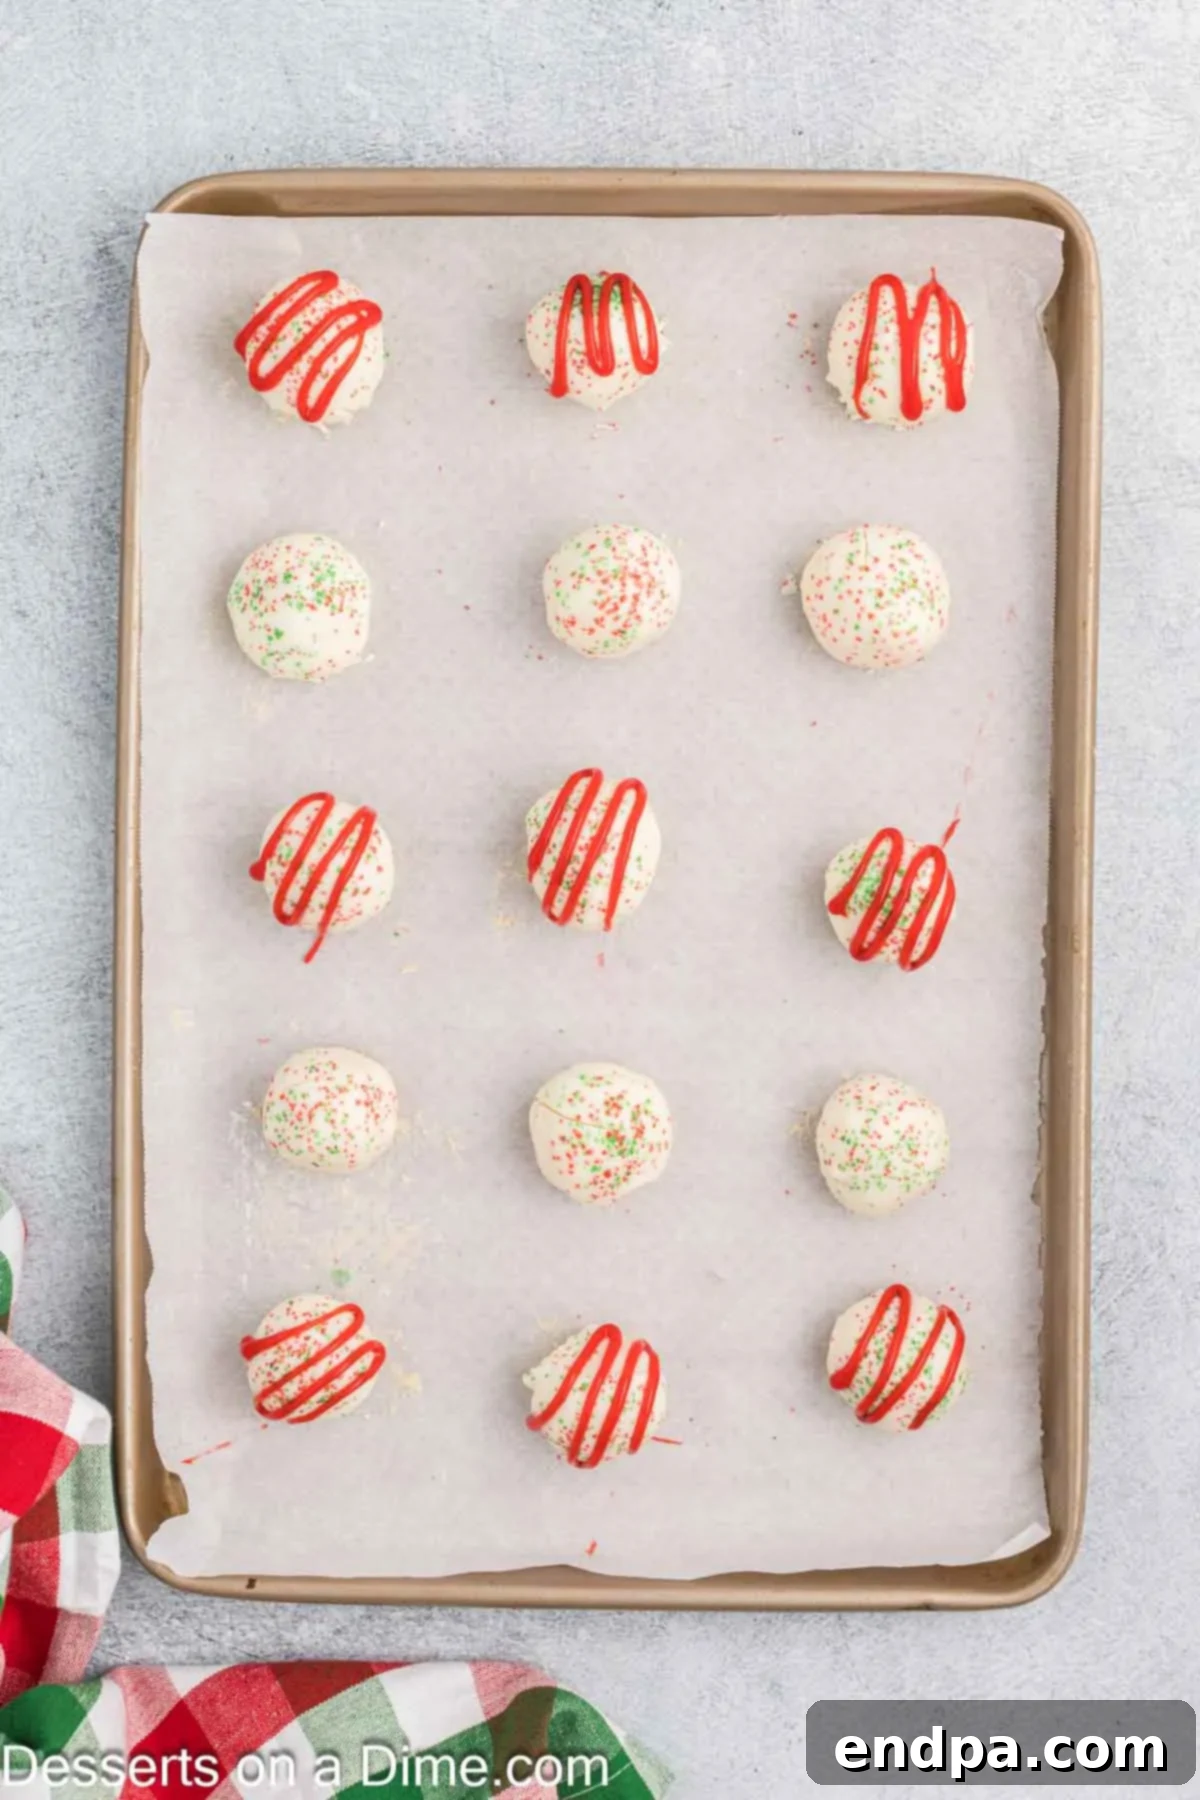
Step 7: Drizzle with Red Icing. Once the white candy coating has completely set and hardened, take your pre-made red cookie icing. Drizzle the red icing artistically over the top of each cake ball. This final touch mimics the signature red frosting detail found on the classic Little Debbie Christmas Tree Cakes, completing their festive look. Now they’re ready to serve and enjoy!
Proper Storage for Your Delicious Treats
Ensuring your Little Debbie Christmas Tree Cake Balls stay fresh and delicious is key to enjoying them throughout the holiday season. Here are the best ways to store them:
Room Temperature: If you plan to serve the cake balls within a few hours and your environment is cool and not humid, they can be kept at room temperature. Store them in an airtight container to protect them from air exposure, which can dry them out. Place them in a cool, dry spot away from direct sunlight.
Refrigerator: For longer storage, or if you live in a warmer or more humid climate, the refrigerator is your best bet. Store the cake balls in an airtight container in the refrigerator for up to 5 days. Chilling them helps the candy coating remain firm and prevents it from melting or becoming sticky. It also keeps the cake inside wonderfully moist and dense. Layer them between sheets of parchment paper if stacking to prevent sticking.
Can You Freeze Christmas Tree Cake Balls?
Yes, absolutely! This recipe is incredibly freezer-friendly, making it perfect for preparing ahead of time during the busy holiday season. Freezing allows you to extend the enjoyment of these festive treats and have them ready for any unexpected guests or cravings.
To freeze, arrange the cake balls in a single layer on a baking sheet and freeze until solid (about 1-2 hours). Once solid, transfer them to a freezer-safe airtight container. For best results and to prevent them from sticking together, separate the layers with wax paper or parchment paper. If your cake balls are already coated and decorated, they can be frozen for up to 2 months. If you decide to freeze them before dipping in candy melts and adding sprinkles, they can last even longer, up to 3 months. When ready to enjoy, simply transfer them from the freezer to the refrigerator for a few hours, or let them thaw at room temperature for about 30-60 minutes until softened to your liking. They taste just as delicious after thawing!
Expert Tips for the Best Results
Achieving perfectly smooth and delicious Little Debbie Christmas Tree Cake Balls is easy with a few insider tricks. Here are some expert tips to ensure your treats turn out beautifully every time:
- Don’t Skip the Freezing Step: This is arguably the most crucial tip! Freezing the cake balls for at least an hour before dipping is essential. Cold cake balls maintain their shape better and prevent the candy coating from causing them to crumble or melt, resulting in a much smoother and more professional-looking finish.
- Allow the Coating to Set Fully: Patience is a virtue when it comes to decorating. Ensure the white candy melts have completely hardened before you attempt to drizzle the red cookie icing. Applying the drizzle too soon can cause the colors to bleed or the coating to smudge, ruining the clean, crisp lines.
- Strive for Smooth Balls: When rolling the cake mixture, try to make each ball as smooth and uniform as possible. Any bumps or irregularities will show through the candy coating. Using a small cookie scoop helps immensely in achieving consistent sizes and shapes, which contributes to a polished final product.
- Transform Them into Cake Pops: For a fun variation, insert a lollipop stick into each cake ball before freezing and dipping. This turns them into festive Christmas Tree Cake Pops, perfect for kids’ parties or a whimsical display. Ensure the stick is firmly inserted into the center of the ball.
- Choose Candy Melts for Ease: Candy melts are highly recommended over traditional white chocolate for dipping. They are formulated to melt smoothly and remain fluid, making the dipping process much easier without the need for tempering. Almond bark is another excellent alternative that behaves similarly. If you opt for regular white chocolate or milk chocolate, you’ll likely need to add a teaspoon or two of coconut oil or vegetable shortening to thin the mixture to a dippable consistency.
- Remove Excess Coating: After dipping each cake ball, gently tap the fork (or dipping tool) against the side of the melted candy bowl. This allows any excess coating to drip off, preventing puddles at the base of your cake balls and ensuring a thin, even layer.
- Control Candy Melt Temperature: When melting candy, use short intervals and stir frequently. Overheating candy melts can cause them to seize, becoming thick and unusable. If they do become too thick, a tiny amount of vegetable shortening or paramount crystals can help thin them out.
Variations and Serving Suggestions
While the classic Little Debbie Christmas Tree Cake Balls are perfect as they are, don’t hesitate to get creative with variations and serving ideas to make them uniquely yours or to match a specific holiday theme:
- Alternative Coatings: Instead of white candy melts, consider using green or red candy melts for a bolder, monochromatic look. You could also use dark chocolate or milk chocolate for a richer flavor profile, perhaps drizzled with white chocolate for contrast.
- Different Sprinkles: Beyond the traditional red and green sanding sugar, explore other festive sprinkles like silver or gold edible glitter, nonpareils, or even tiny snowflake sprinkles.
- Flavor Boosters: A tiny drop of peppermint extract or almond extract can be added to the cake and cream cheese mixture for an extra layer of flavor that complements the holiday season beautifully.
- Decorate with Edible Markers: For intricate designs, after the coating has fully set, use edible food markers to draw small stars, ornaments, or other festive patterns.
- Serving Platter Presentation: Arrange your cake balls on a festive platter with fresh cranberries, sprigs of rosemary, or other holiday garnishes for a stunning presentation. They look especially charming nestled among other Christmas cookies and treats.
- Gift Giving: Package these delightful cake balls in decorative boxes or cellophane bags tied with a ribbon. They make wonderful homemade gifts that friends, family, and neighbors will truly appreciate.
More Fun Christmas Desserts
Discover More Holiday Delights
Cute Christmas Desserts
Christmas Tree Brownies
Cute Christmas Desserts
Christmas Dirt Cups
Cute Christmas Desserts
Christmas Chocolate Covered Oreos
Cute Christmas Desserts
No Bake Grinch Pie
These Little Debbie Christmas Tree Cake Balls are more than just a dessert; they’re a delightful celebration of holiday nostalgia and simple joy. Easy to make and even easier to love, they promise to bring smiles and festive cheer to everyone who tries them. Whip up a batch today and watch them disappear!
Recipe Card
Little Debbie Christmas Tree Cake Balls
Ingredients
- 2 boxes Little Debbie Christmas Tree Cakes 5 count each
- 8 ounces Cream Cheese softened
- 1 package White Candy Melts 16 ounces
- 1 pouch Pre-made Red Cookie Icing
- Red and Green Sanding Sugar
Instructions
- Line a baking sheet with parchment or wax paper and set aside.
- Crumble the Little Debbie Christmas Tree Cakes into a large mixing bowl.
- Add in the cream cheese.
- Beat together with a hand held mixer until well combined.
- Take small amounts (about a tablespoon or so) and roll into a ball (I used a cookie scoop for this process). Then place on the baking sheet.
- Continue this process until all the balls are formed and place the baking sheet in the freezer. Freeze for at least 1 hour.
- Place the white candy melts in a large microwave safe bowl. Microwave for 1 minute, stir and continue to heat in 30 second intervals (stirring after each interval) until melted and smooth.
- Dip each ball into the white candy melts, tap on the edge of the ball to remove any excess candy and place back on the baking sheet.
- Top with the red and green sanding sprinkles, cool at room temperature for 3-4 hours or in the refrigerator for 1 hour.
- Drizzle the red cookie icing on top of the cake balls once the candy coating is set to resemble the red frosting on the Christmas tree cakes.
- Then the cake balls are ready to serve and enjoy!
