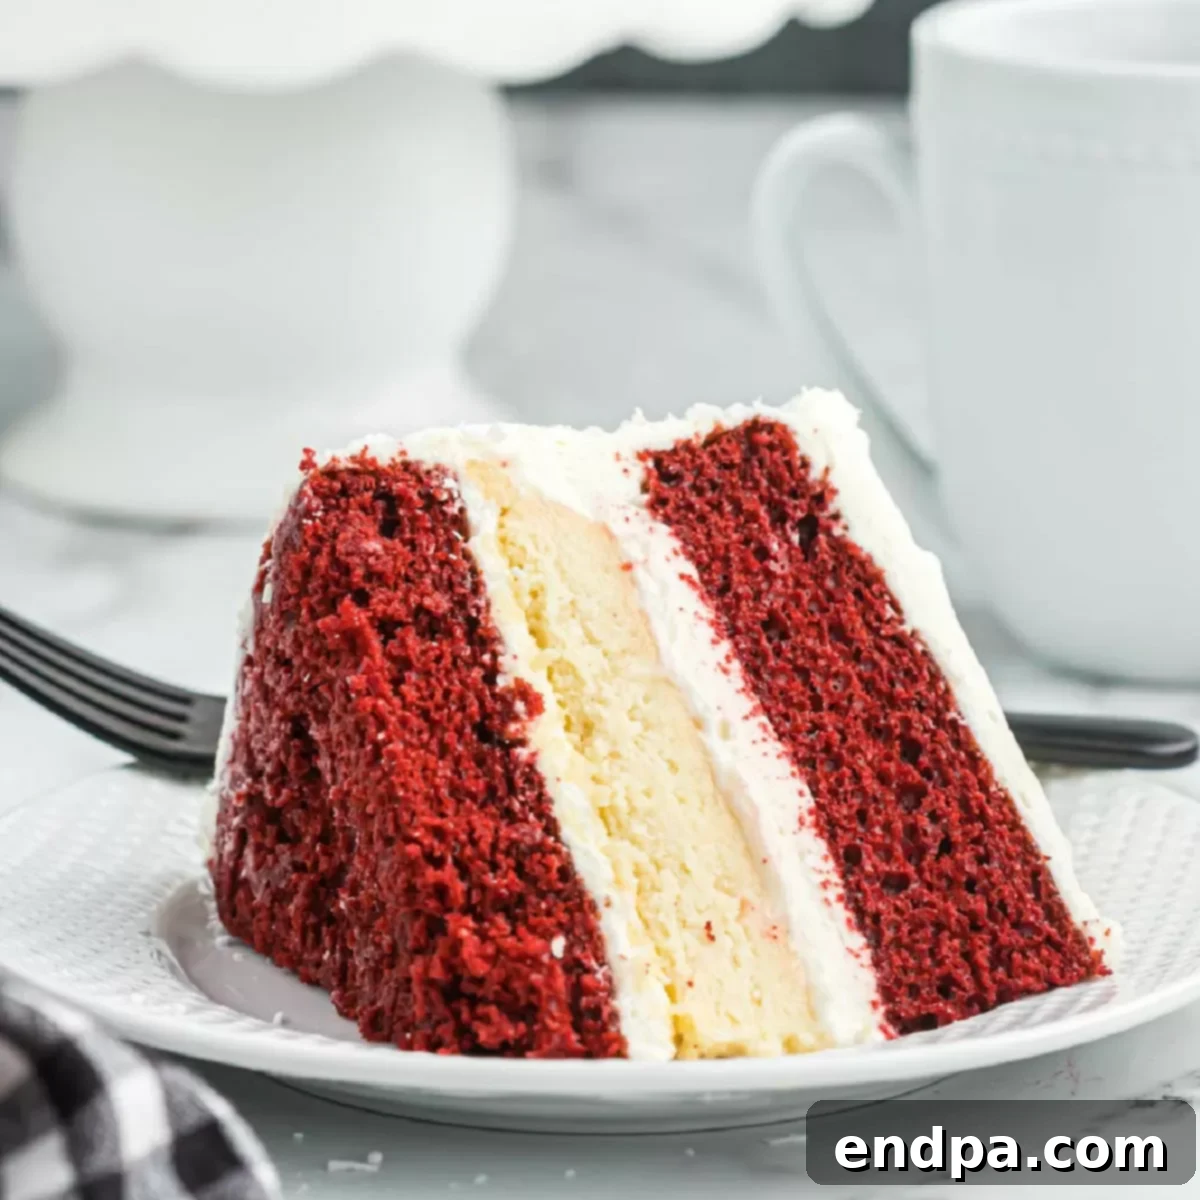
Experience the Decadence: Your Guide to Cheesecake Factory Red Velvet Cheesecake at Home
Craving that iconic dessert from Cheesecake Factory but prefer to bake it yourself? Our sensational copycat Cheesecake Factory Red Velvet Cheesecake recipe brings the beloved, multi-layered delight right into your kitchen. This isn’t just any dessert; it’s a celebration of two classic favorites – rich, moist red velvet cake and luxuriously creamy cheesecake – combined into one show-stopping masterpiece. Perfect for anniversaries, birthdays, holidays, or any moment that calls for something truly special, this recipe is designed to be both delicious and surprisingly accessible for home bakers.
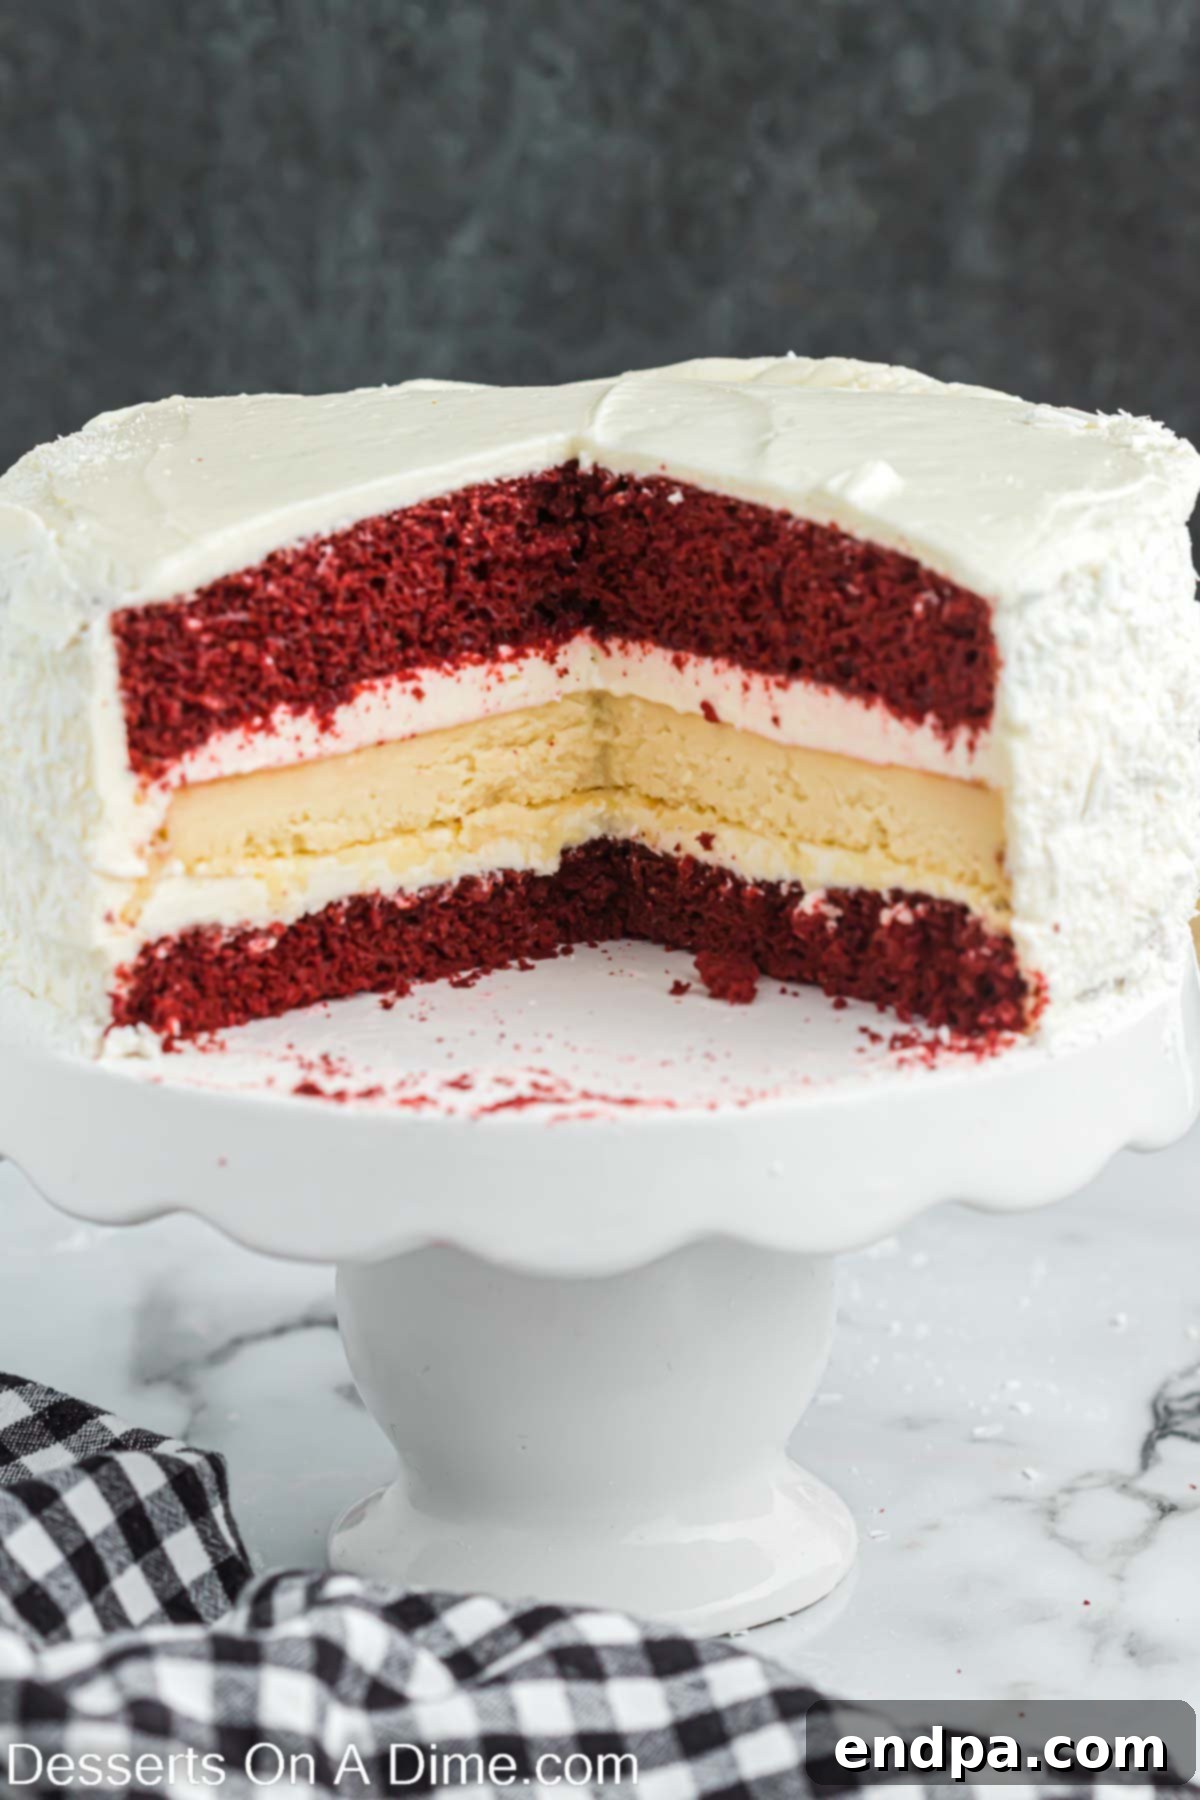
If your heart beats for the classic tang of Red Velvet Cake and the smooth indulgence of Cheesecake, then this layered red velvet cheesecake is destined to become your new favorite. The Cheesecake Factory is renowned for its extraordinary cheesecakes, and their Red Velvet version stands out as a top contender, offering a unique blend of flavors and textures that tantalize the taste buds. We’ve meticulously crafted this recipe to emulate that famous experience, allowing you to recreate its magic right from scratch (or mostly from scratch, thanks to a few clever shortcuts!).
This ultimate Red Velvet Cheesecake is more than just a dessert; it’s an experience. It’s ideal for all your special occasions, especially if you’re a devoted fan of red velvet desserts. Beyond this showstopper, you might also enjoy other red velvet creations like our Red Velvet Sheet Cake Recipe, featuring buttermilk and unsweetened cocoa powder for a classic flavor, or the quick and delightful Red Velvet Mug Cake Recipe. For a fun, bite-sized treat, the Red Velvet Cake Pops are always a hit with both kids and adults.
Table of Contents: Your Journey to Cheesecake Factory Red Velvet Cheesecake
- What is Red Velvet Cake Cheesecake?
- Why You’ll Love This Copycat Recipe
- Essential Ingredients for Your Cheesecake
- Step-by-Step Guide to Baking Perfection
- Assembling Your Masterpiece
- How to Store Red Velvet Cheesecake for Freshness
- Expert Recipe Tips for Success
- Frequently Asked Questions
- More Cheesecake Recipes to Explore
- Cheesecake Factory Red Velvet Cheesecake Recipe Card
What is Red Velvet Cake Cheesecake?
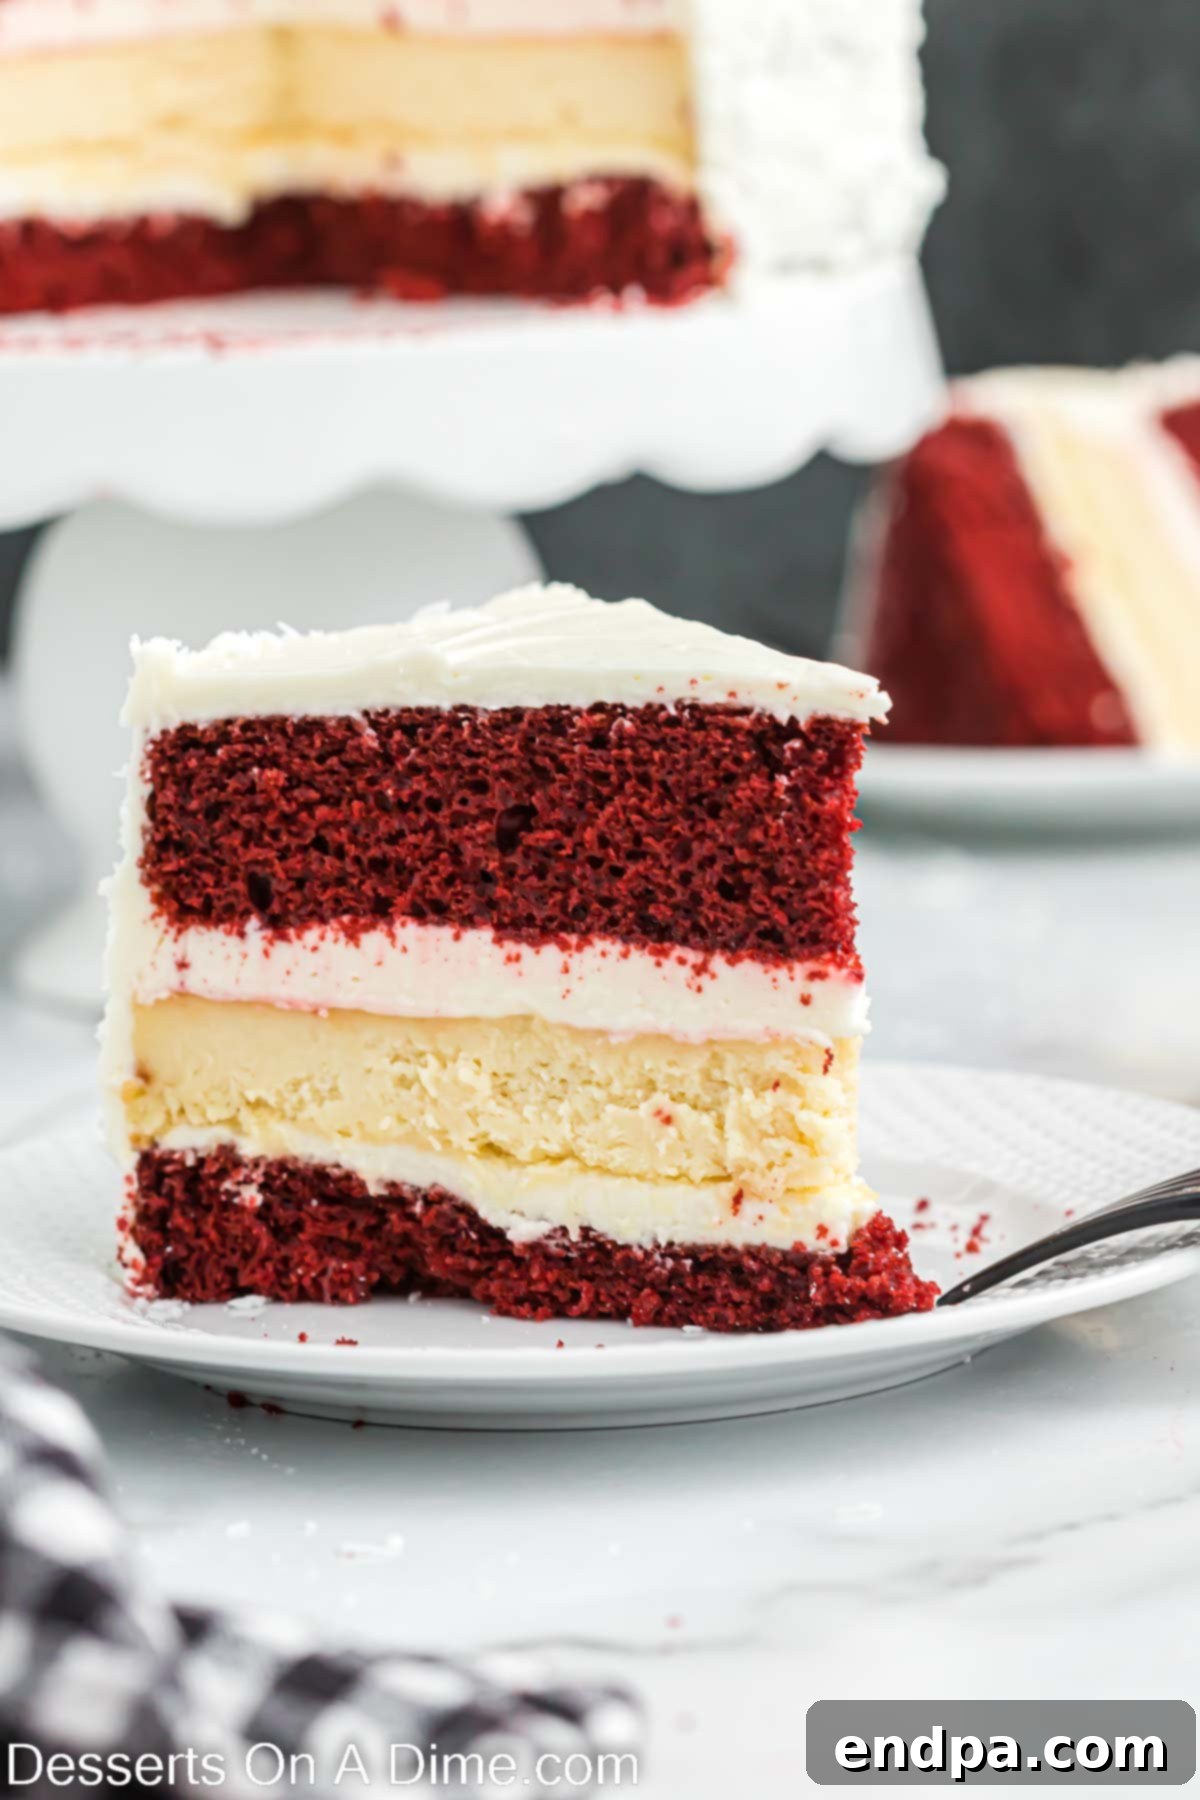
A Red Velvet Cheesecake is a heavenly hybrid dessert that brilliantly marries the distinct flavors and textures of two beloved classics: the iconic red velvet cake and the rich, creamy cheesecake. Imagine moist, lightly cocoa-flavored red velvet cake layers, vibrant with their signature crimson hue, sandwiching a thick, velvety smooth cheesecake filling. This exquisite combination is then generously blanketed with a luscious, tangy cream cheese frosting, creating a dessert that is as visually stunning as it is delicious.
Our copycat version makes this impressive dessert even more approachable by starting with a convenient red velvet cake mix for the cake layers. This thoughtful shortcut significantly streamlines the baking process without compromising on flavor or that characteristic deep red color. The result is a multi-layered marvel that’s not only eye-pleasing but also a delightful blend of creamy, tangy, and subtly chocolatey notes. It’s the perfect cake to prepare ahead of time, allowing flavors to meld beautifully and saving you stress on event day.
Impress your guests with this perfect cheesecake for significant celebrations like Valentine’s Day, Christmas, birthdays, or any gathering where you want to serve something truly memorable. Its creamy texture, delicious flavor profile, and striking appearance make it an unforgettable centerpiece. While this recipe is an indulgence, for those seeking healthier alternatives, consider exploring our Keto Fat Bomb Recipes for delightful low-carb treats.
Why You’ll Love This Copycat Recipe
There are countless reasons why this Red Velvet Cheesecake will become a treasured addition to your recipe collection. Firstly, it offers the undeniable satisfaction of recreating a restaurant-quality dessert in your own kitchen. The Cheesecake Factory’s version is legendary, and our copycat recipe aims to deliver that same luxurious experience. You’ll love the distinct layers: two tender, moist red velvet cake layers encasing a thick, rich, and perfectly baked cheesecake. Each forkful provides a harmonious blend of textures and tastes, from the slight tang of the cream cheese frosting to the deep, subtle cocoa notes of the cake and the creamy decadence of the cheesecake layer.
Beyond its incredible flavor, this recipe is designed for ease. Using a boxed red velvet cake mix for the cake layers is a clever shortcut that saves significant time and effort without sacrificing quality. This means you can achieve impressive results even if you’re not an expert baker. Furthermore, this dessert is a fantastic make-ahead option. Preparing it in stages allows you to manage your time effectively, making it ideal for busy holidays or special events. The chilling time is essential not just for setting but also for allowing the flavors to deepen and meld, resulting in an even more exquisite dessert when served.
Finally, the visual appeal of this red velvet cheesecake is simply unmatched. Its vibrant red layers contrasted with the pristine white frosting make it a stunning centerpiece on any dessert table. Garnishing with white chocolate shavings adds an elegant touch, promising a feast for both the eyes and the palate. Prepare to receive endless compliments when you serve this show-stopping, homemade Red Velvet Cheesecake!
Essential Ingredients for Your Cheesecake
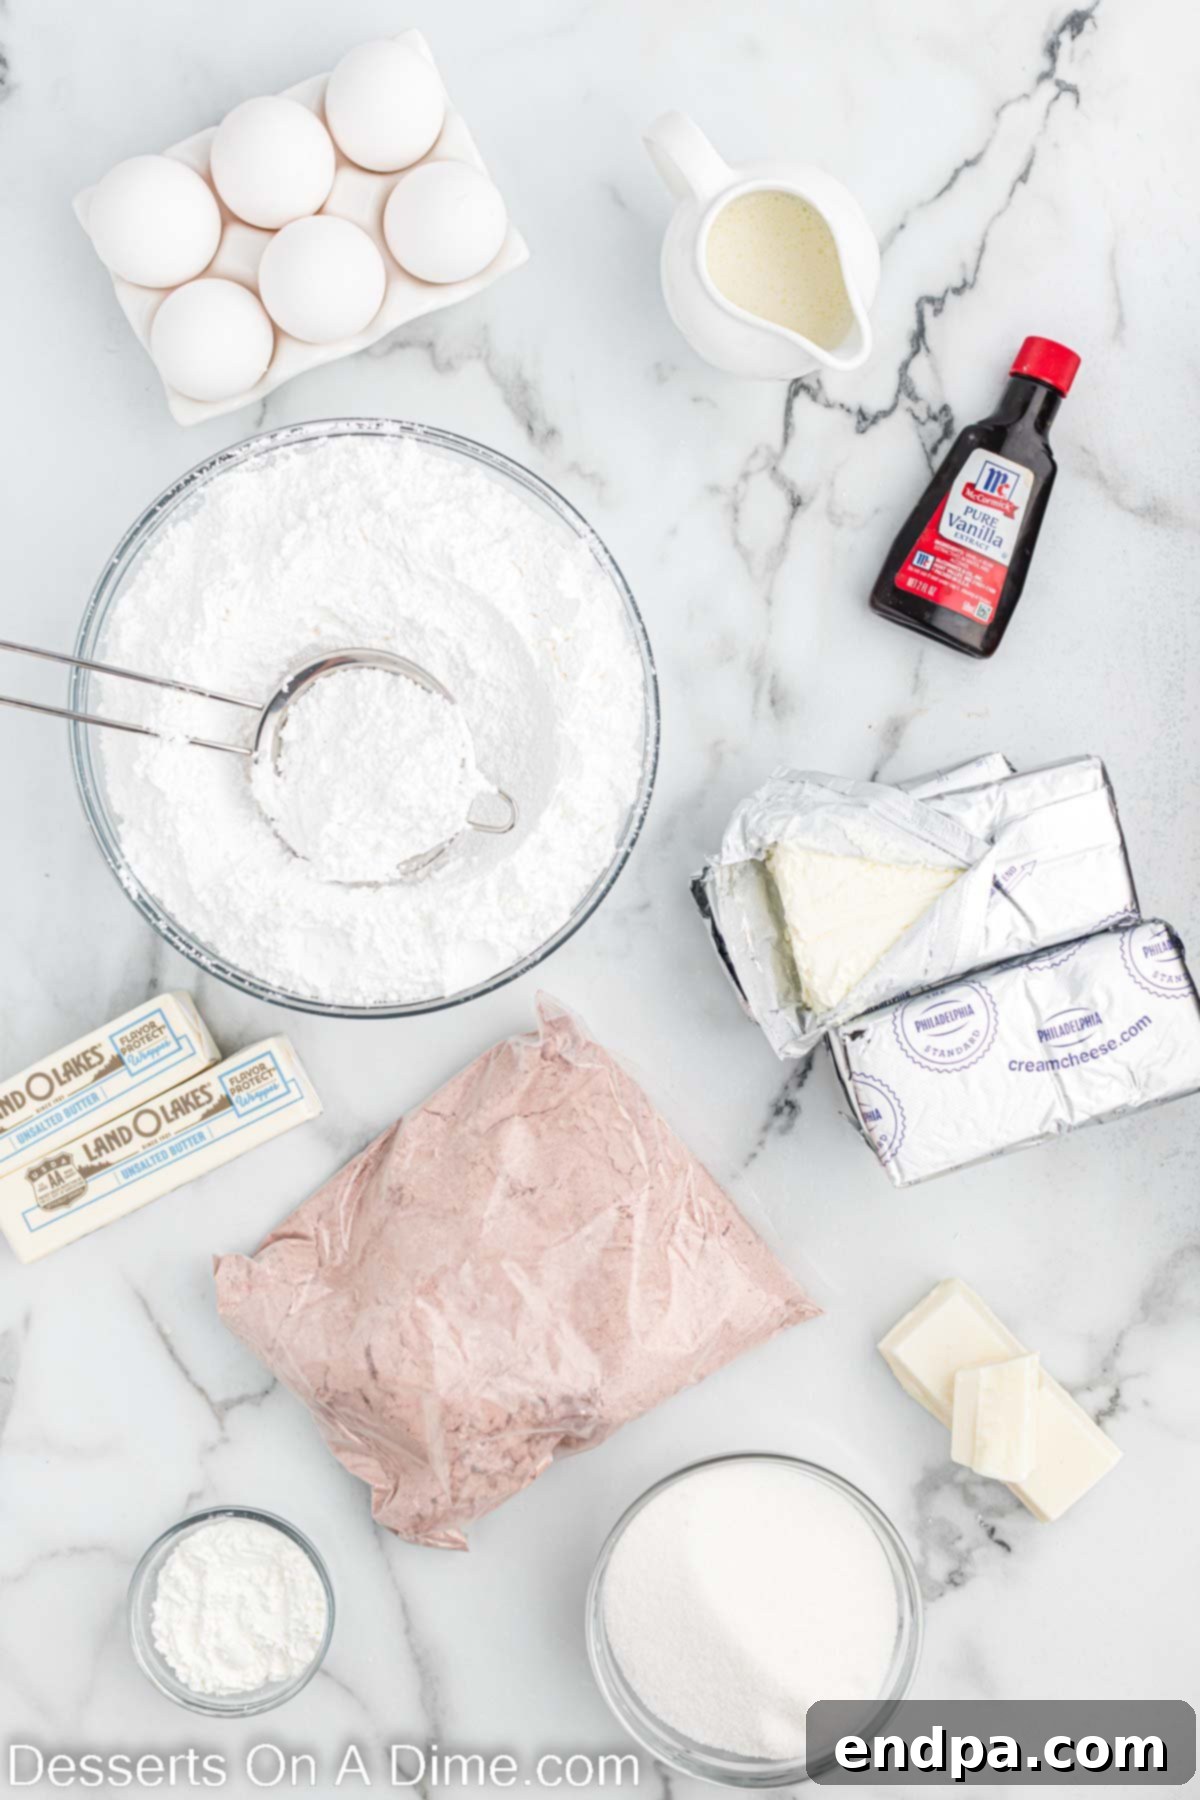
Crafting this incredible Red Velvet Cheesecake requires a selection of high-quality ingredients, thoughtfully divided into three main components: the red velvet cake layers, the creamy cheesecake filling, and the luscious cream cheese frosting. Ensuring your dairy ingredients like cream cheese and butter are at room temperature is crucial for achieving a smooth, lump-free batter and frosting.
Red Velvet Cake Layers
- Red Velvet Cake Mix: A 15 oz box provides a convenient and consistent base for your cake layers. You’ll also need the additional ingredients listed on the cake mix package (typically eggs, oil, and water or milk).
Cheesecake Layer
- Cream Cheese: 16 oz, softened to room temperature. This is the star of your cheesecake, providing its signature tang and creaminess. Full-fat cream cheese is recommended for the best texture.
- Granulated Sugar: 1 cup, to sweeten the cheesecake filling.
- Cornstarch: 2 Tbsp, acts as a stabilizer, preventing cracks and ensuring a smooth, firm cheesecake.
- Large Eggs: 3, ensure they are at room temperature. Eggs provide structure and richness to the cheesecake.
- Vanilla Extract: 1 Tbsp, enhances the overall flavor profile of the cheesecake layer.
- Heavy Whipping Cream: ¼ cup, adds extra richness and a silky texture to the cheesecake.
Cream Cheese Frosting
- Cream Cheese: Two 8-oz packages, softened to room temperature. This is essential for the classic tangy frosting.
- Unsalted Butter: 1 cup (2 sticks), softened to room temperature. Butter provides richness and helps create a stable, spreadable frosting.
- Powdered Sugar: 6 cups, sifted. Sifting is vital to prevent lumps and ensure a super smooth frosting.
- Vanilla Extract: 2 tsp, for a comforting, aromatic flavor in the frosting.
For Garnish
- White Chocolate: For elegant shavings that add a beautiful contrast and an extra touch of sweetness.
Step-by-Step Guide to Baking Perfection
Creating this magnificent Red Velvet Cheesecake is a rewarding baking project. Follow these detailed instructions carefully to ensure each layer is perfect, leading to a stunning final dessert.
Part 1: Preparing the Red Velvet Cake Layers
- Step 1 – Bake the Cake: Prepare the red velvet cake batter according to the package instructions. This typically involves combining the cake mix with eggs, oil, and water or milk. Divide the batter evenly between two greased and floured 9-inch round cake pans.
- Step 2 – Bake Until Done: Bake the cakes in a preheated oven following the temperature and time specified on the cake mix box. The cakes are done when a toothpick inserted into the center comes out clean and the edges begin to slightly pull away from the sides of the pans. If the tops start to brown too quickly, you can loosely tent them with aluminum foil.
- Step 3 – Cool Completely: Once baked, remove the cake pans from the oven and allow the cakes to cool in their pans on a wire rack for 10-15 minutes. This helps them firm up before handling. Then, carefully invert the cakes onto the wire rack to cool completely. Ensuring they are fully cooled is crucial before frosting or assembling to prevent melting and sliding.
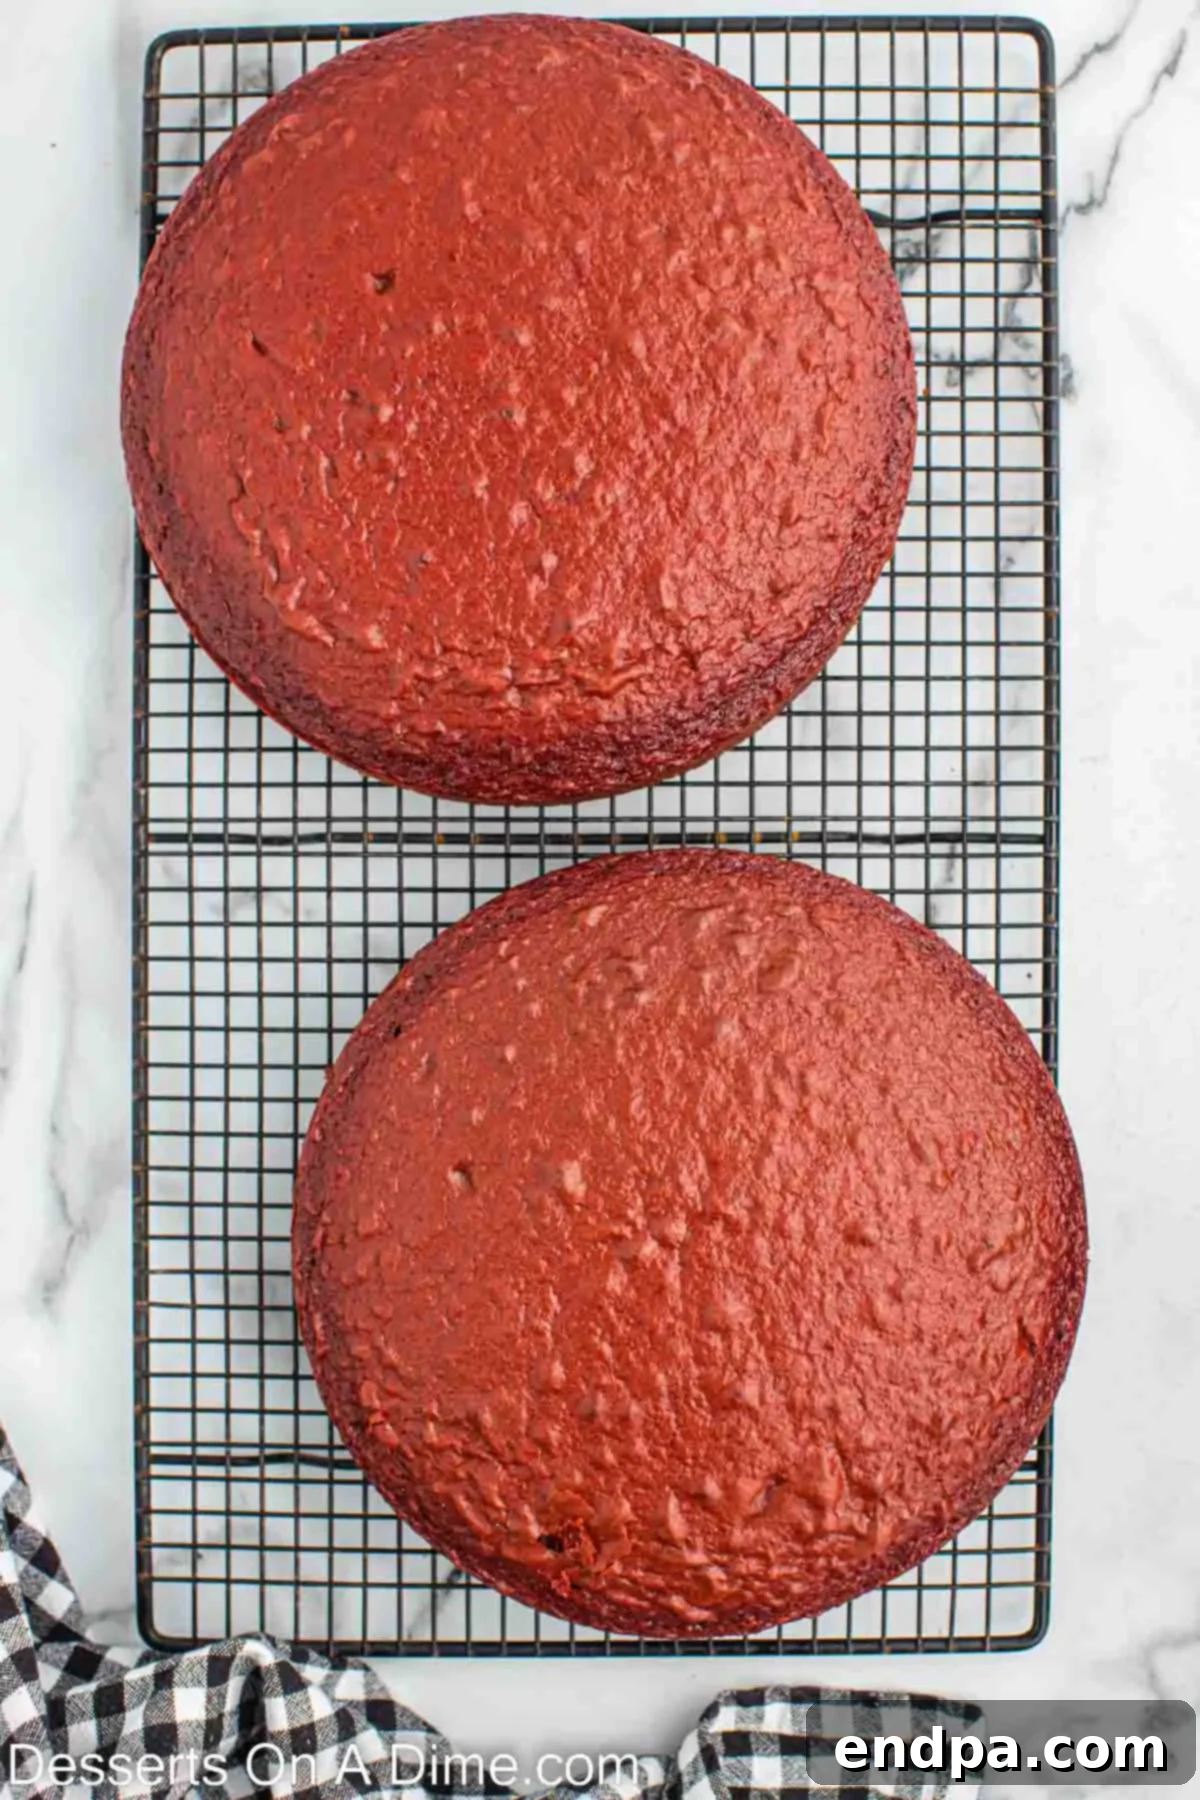
Image 1: Red Velvet cakes cooling on a wire rack.
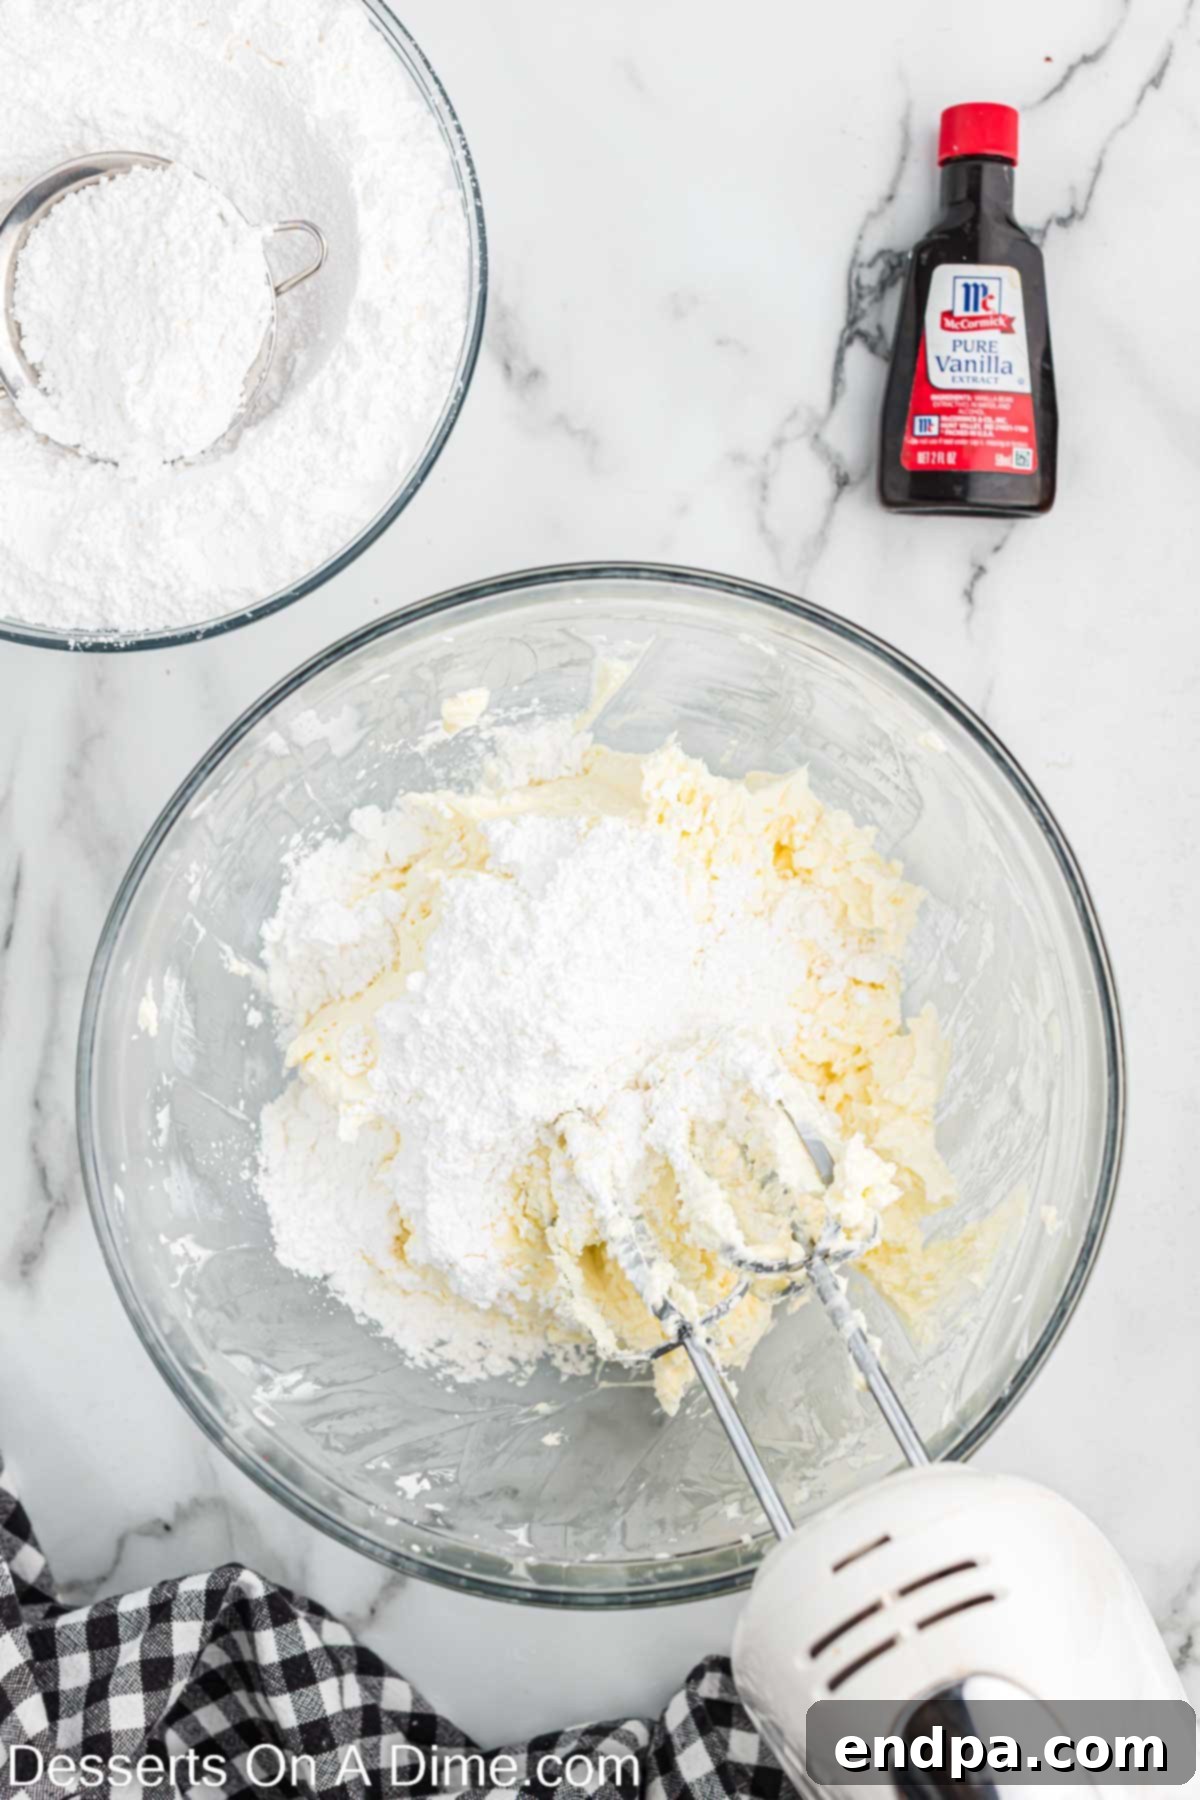
Image 2: Cheesecake ingredients being combined in a mixing bowl.
Part 2: Crafting the Creamy Cheesecake Layer
- Step 4 – Prepare the Pan & Preheat Oven: While the cake layers cool, preheat your oven to 325°F (160°C). Line the bottom of a 9-inch springform pan with parchment paper and lightly spray the sides with a non-stick cooking spray. This preparation is key for easy removal later.
- Step 5 – Mix Cream Cheese and Sugar: In a large mixing bowl, using an electric mixer (stand or hand-held), beat the softened cream cheese until it’s perfectly smooth and creamy, with no lumps. Gradually add the granulated sugar, beating until well combined and light.
- Step 6 – Add Liquids and Eggs: Stir in the heavy whipping cream and vanilla extract. Reduce the mixer speed to low. Add the large eggs one at a time, mixing just until each egg is incorporated. Be careful not to overmix the cheesecake batter, as this can introduce too much air, leading to cracks during baking.
- Step 7 – Incorporate Cornstarch: With the mixer still on low speed, slowly add the cornstarch. Increase the speed slightly and mix for another 2-3 minutes until the batter is smooth and uniform. Scrape down the sides of the bowl as needed to ensure everything is thoroughly combined.
- Step 8 – Bake the Cheesecake: Pour the prepared cheesecake batter into the springform pan. Bake in the preheated oven at 325°F (160°C) for 40 minutes. Do not open the oven door during this time.
- Step 9 – Gentle Cooling in the Oven: After 40 minutes, turn off the oven, but do not open the door. Let the cheesecake sit in the warm oven for an additional 20 minutes. This slow cooling prevents drastic temperature changes that can cause the cheesecake to crack.
- Step 10 – Chill Thoroughly: Remove the cheesecake from the oven and place it on a wire rack to cool completely to room temperature. Once cooled, transfer the cheesecake to the freezer for at least 1 hour, or preferably overnight. Freezing it helps firm up the cheesecake, making it much easier to handle and assemble.
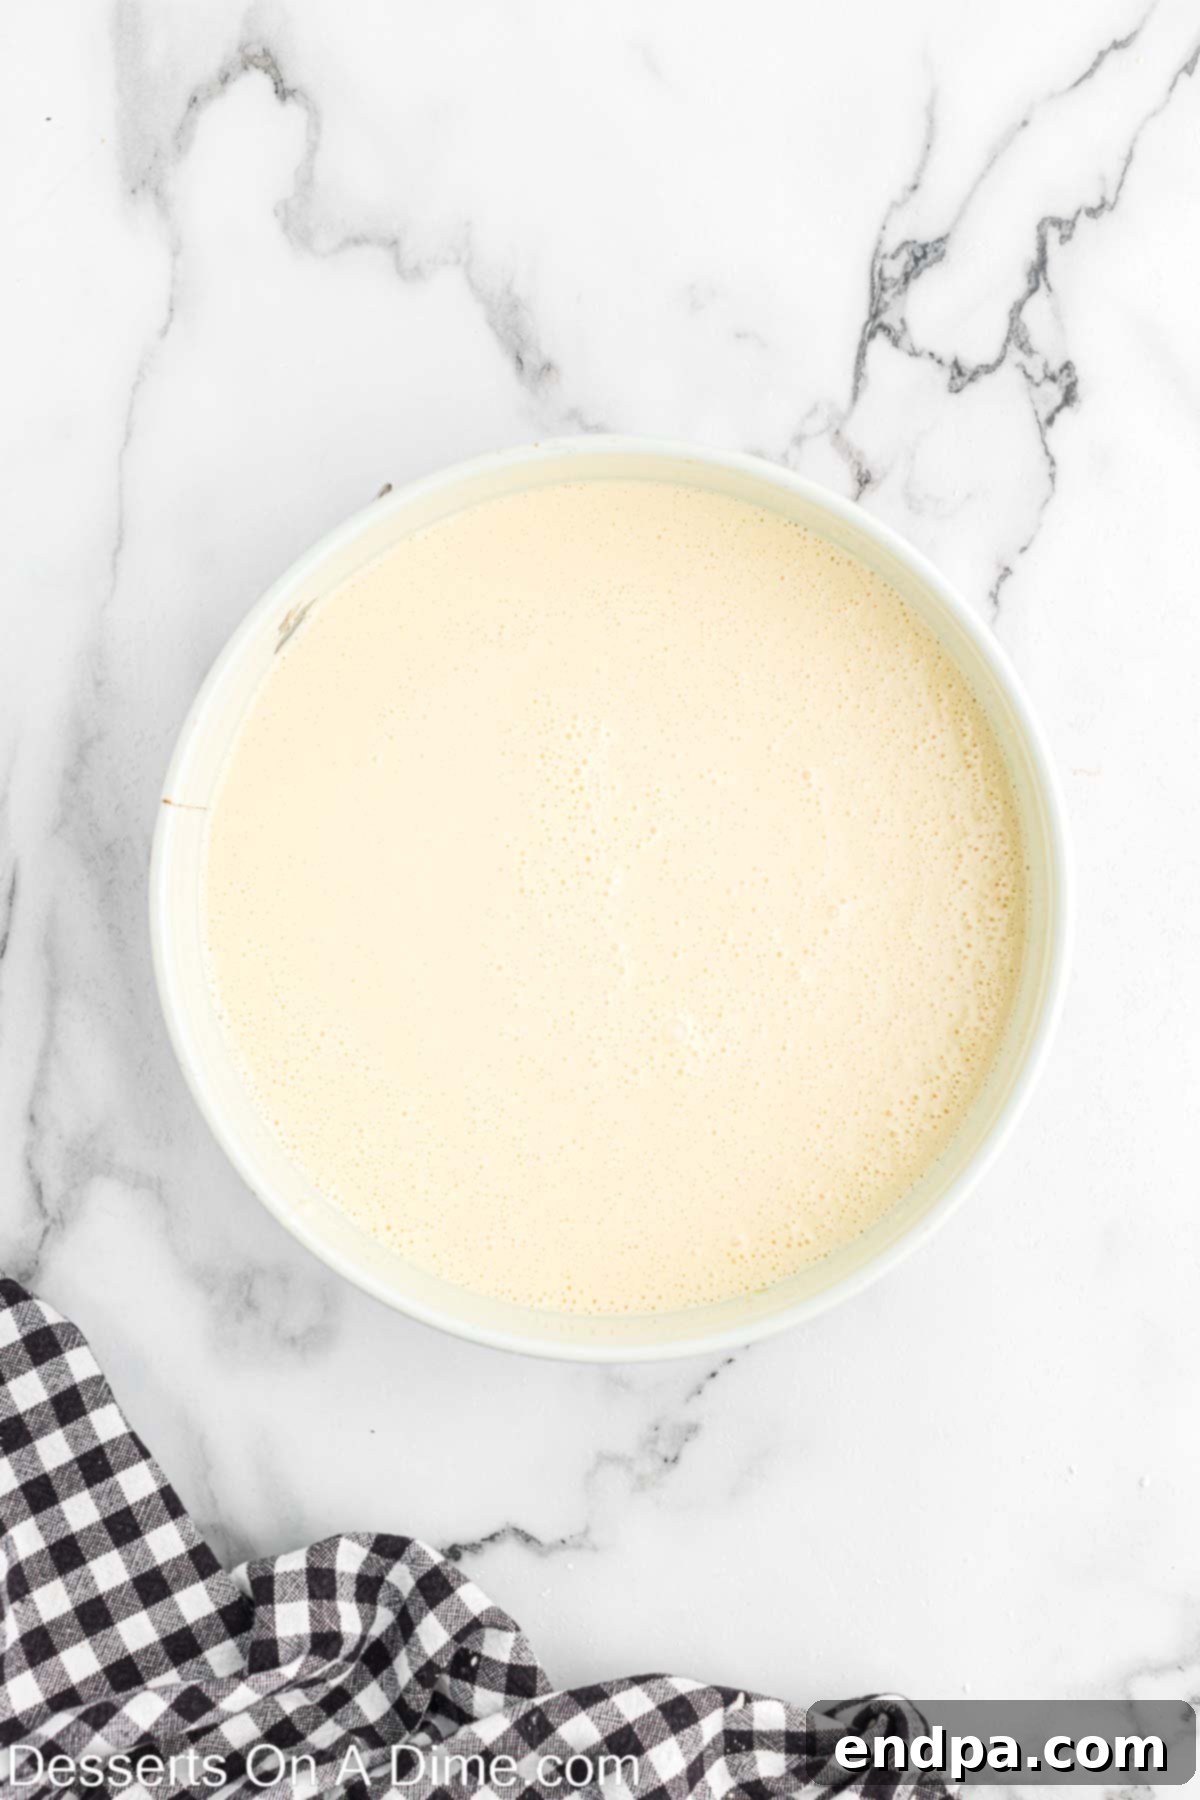
Image 3: Cheesecake ingredients perfectly combined.
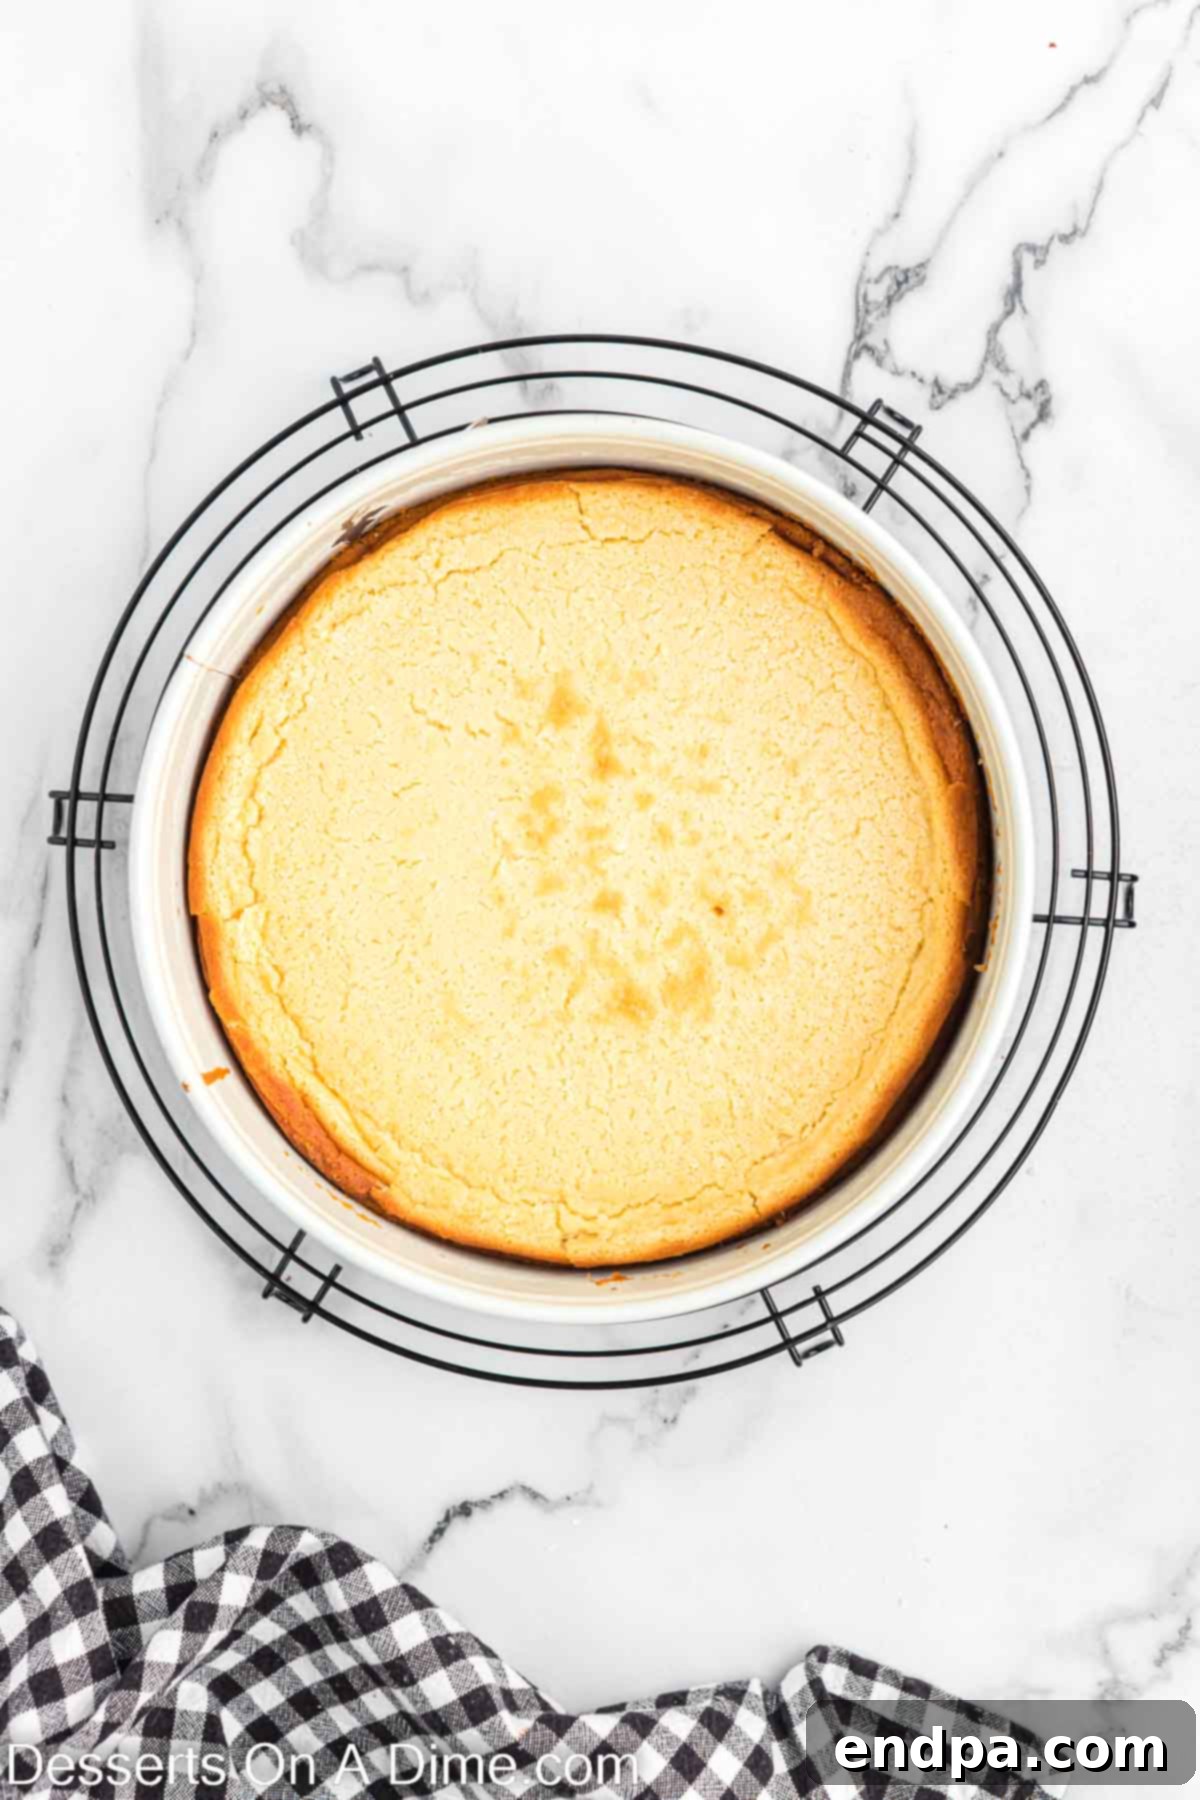
Image 4: Cheesecake baked in its pan.
Part 3: Whipping Up the Cream Cheese Frosting
- Step 11 – Cream Cheese First: In a large mixing bowl, using an electric mixer, beat the softened cream cheese until it is completely smooth and creamy. Ensure there are no lumps remaining, as this will affect the texture of your frosting.
- Step 12 – Add Butter: Incorporate the softened unsalted butter into the cream cheese, continuing to beat until the mixture is light, fluffy, and well combined.
- Step 13 – Gradually Add Powdered Sugar: Slowly add the sifted powdered sugar to the cream cheese and butter mixture, about 1 cup at a time. Beat thoroughly after each addition until the sugar is fully incorporated and the frosting is smooth. Scrape down the sides of the bowl frequently. Sifting the sugar beforehand is crucial for a lump-free frosting.
- Step 14 – Finish with Vanilla: Finally, stir in the vanilla extract until just combined. Taste and adjust sweetness if desired. No salt is needed for this frosting, as the cream cheese provides a lovely tang.
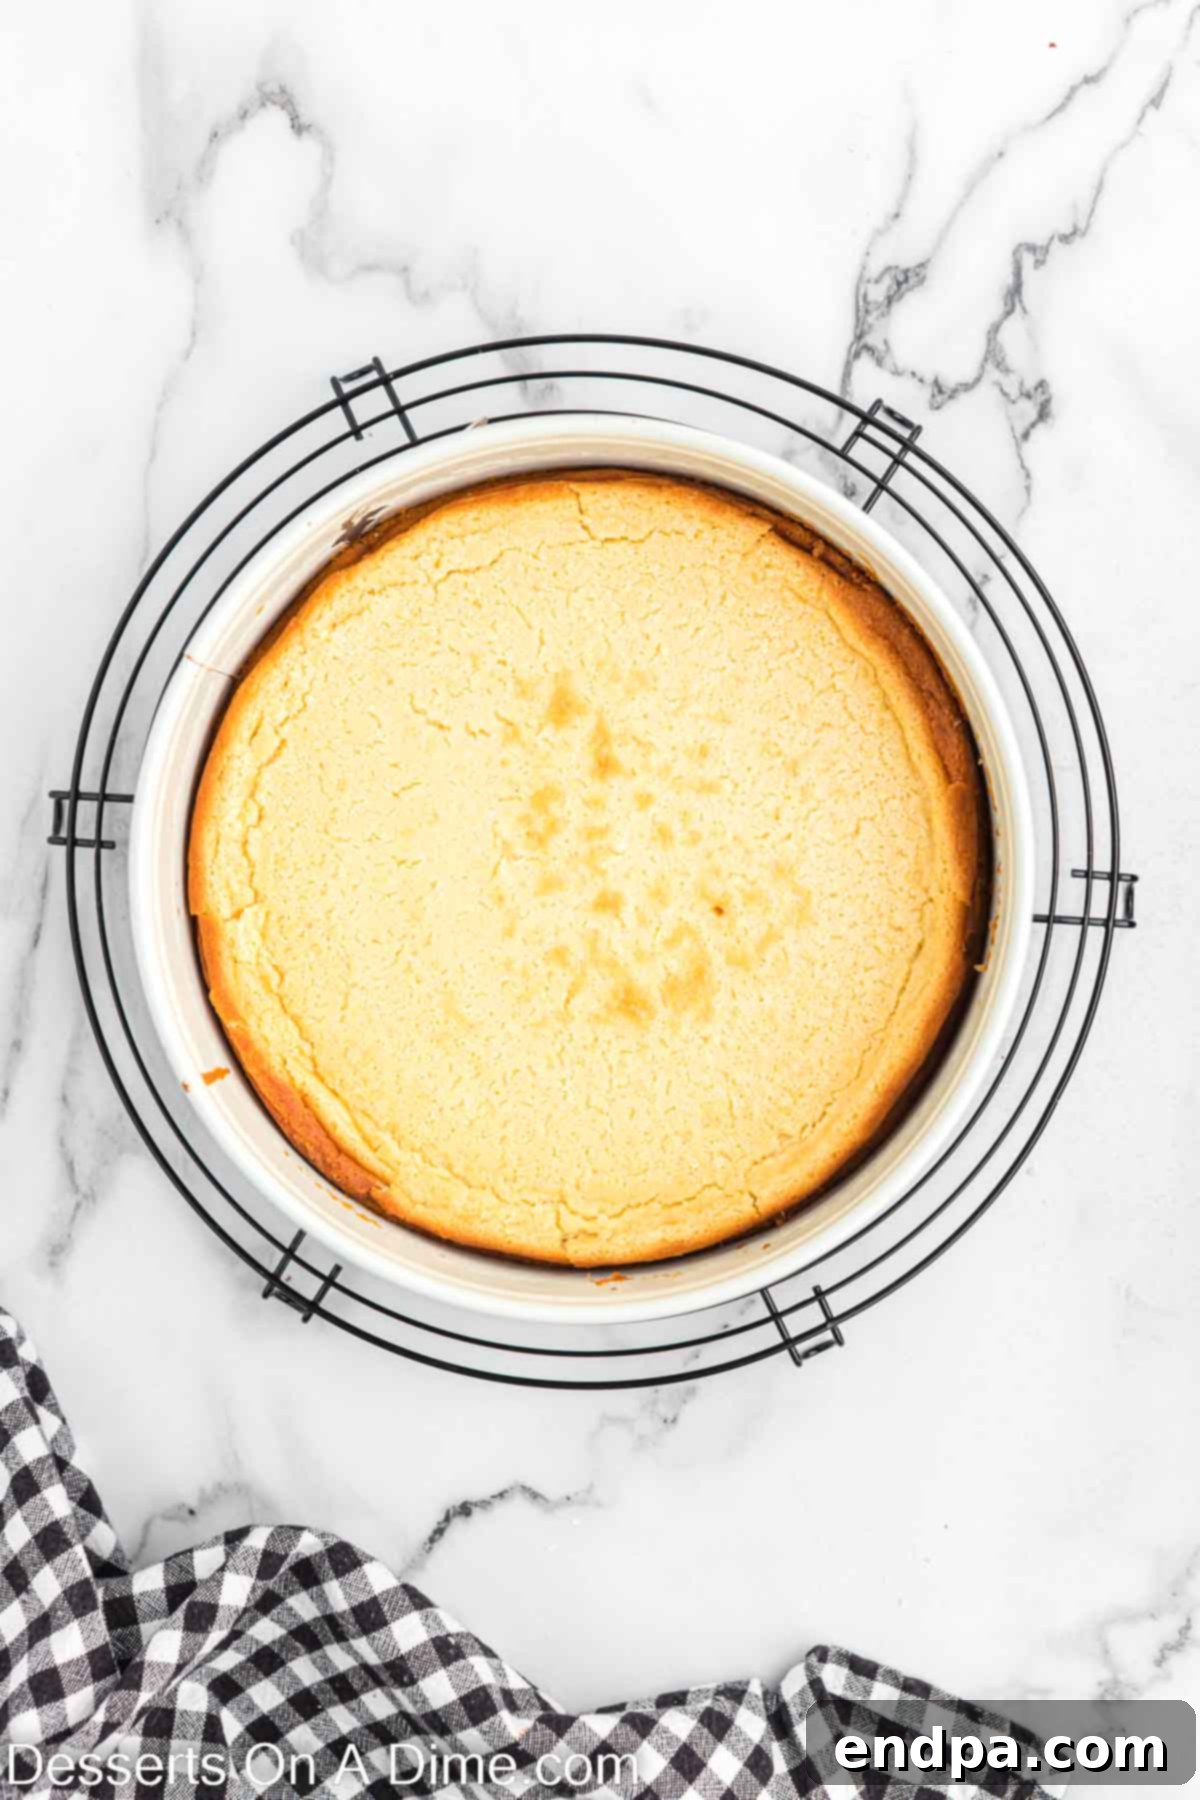
Image 5: Cheesecake cooling on a wire rack.
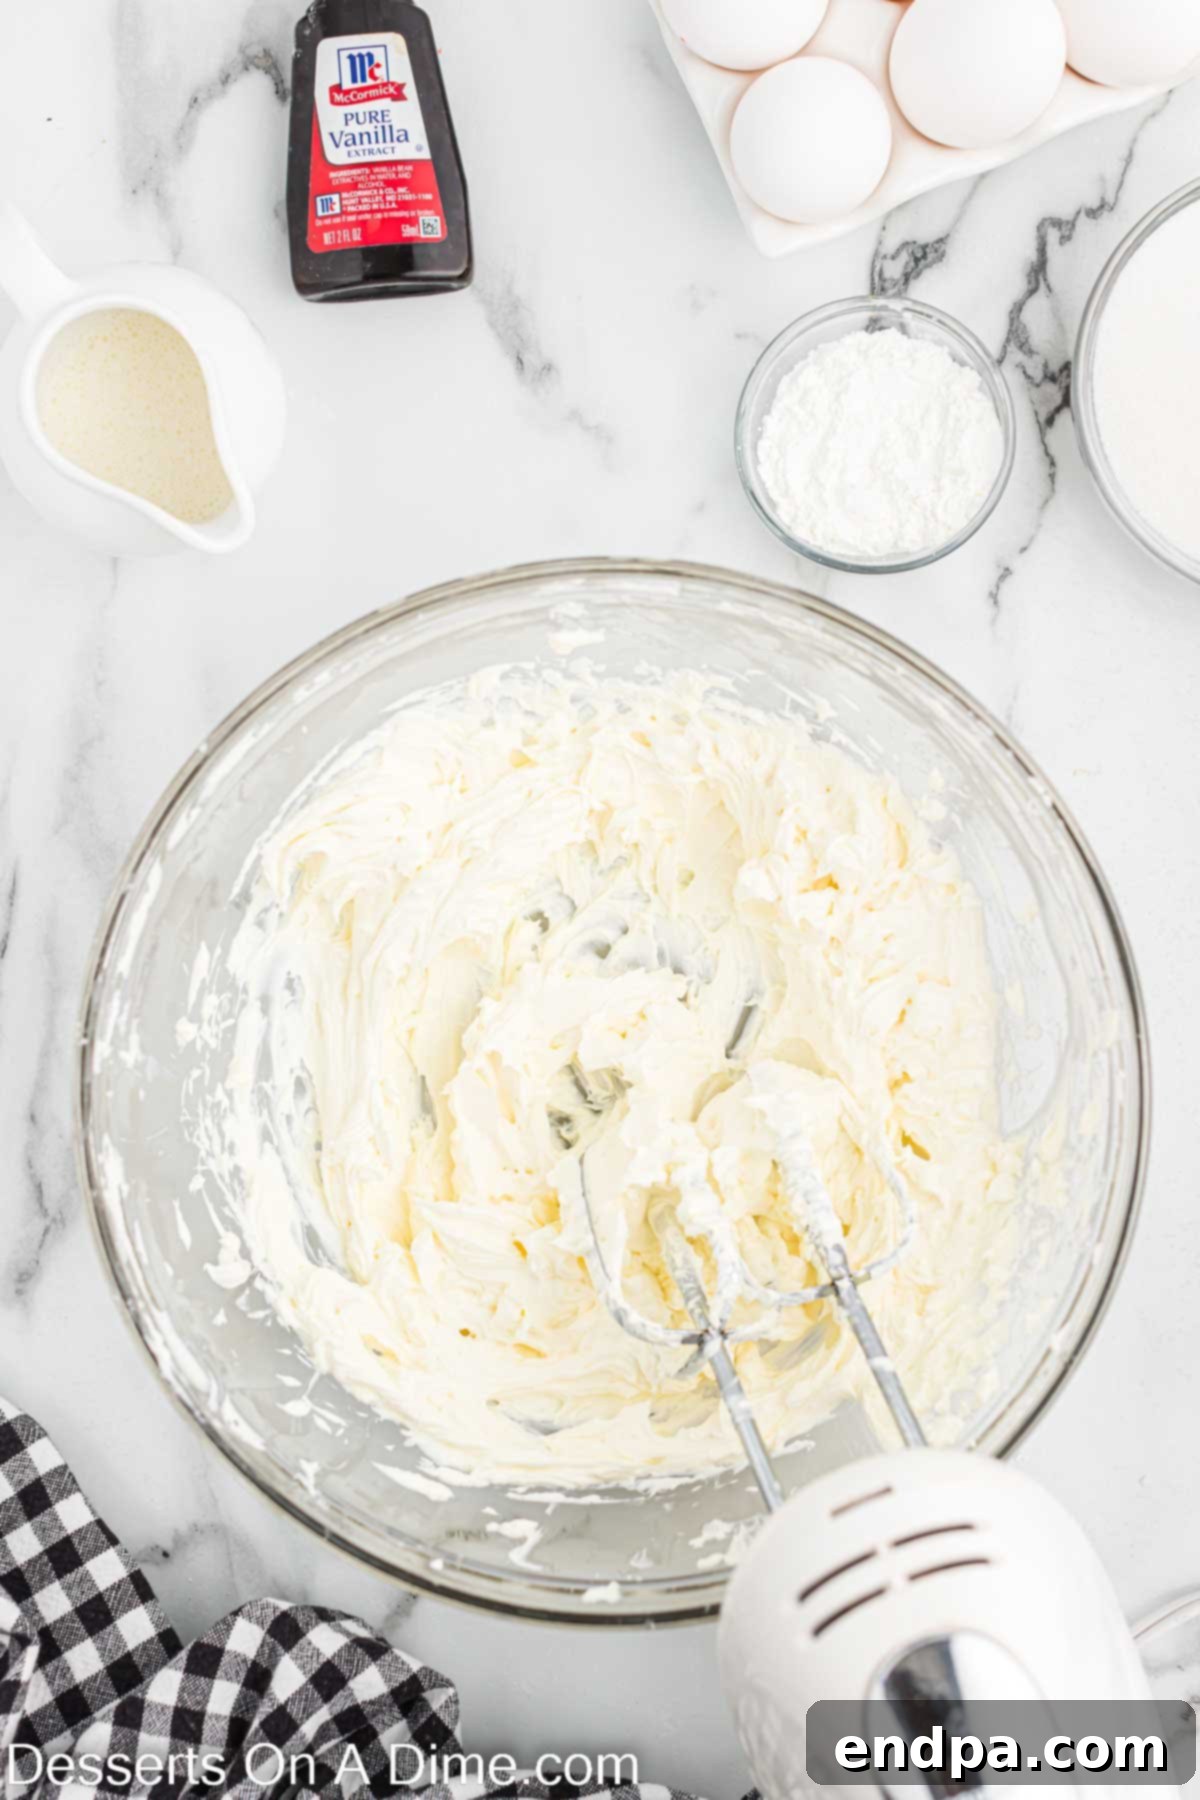
Image 6: Cream cheese frosting being prepared.
Assembling Your Masterpiece
This is where all your hard work comes together to create the visually stunning and delicious Cheesecake Factory Red Velvet Cheesecake. Take your time with these steps for a clean, professional finish.
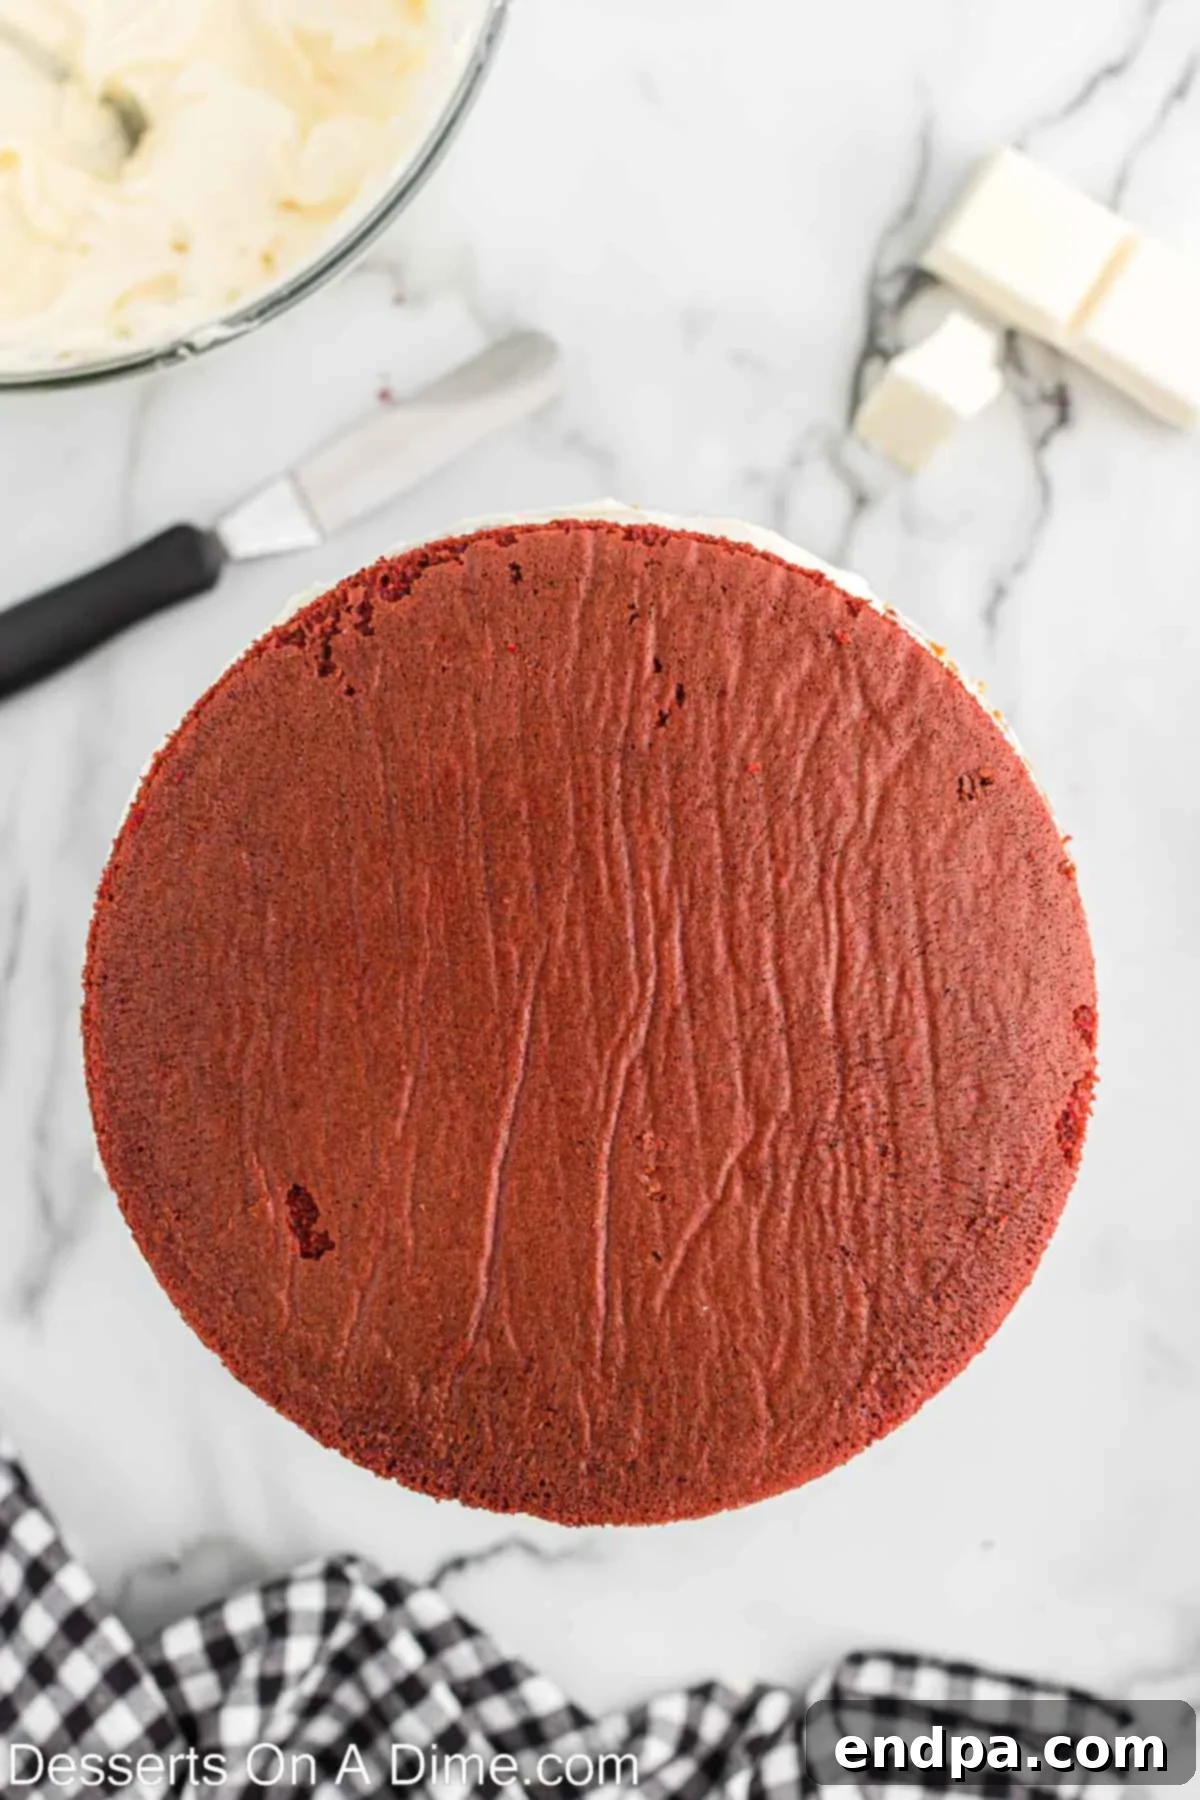
Image 7: Cake layers being leveled for assembly.
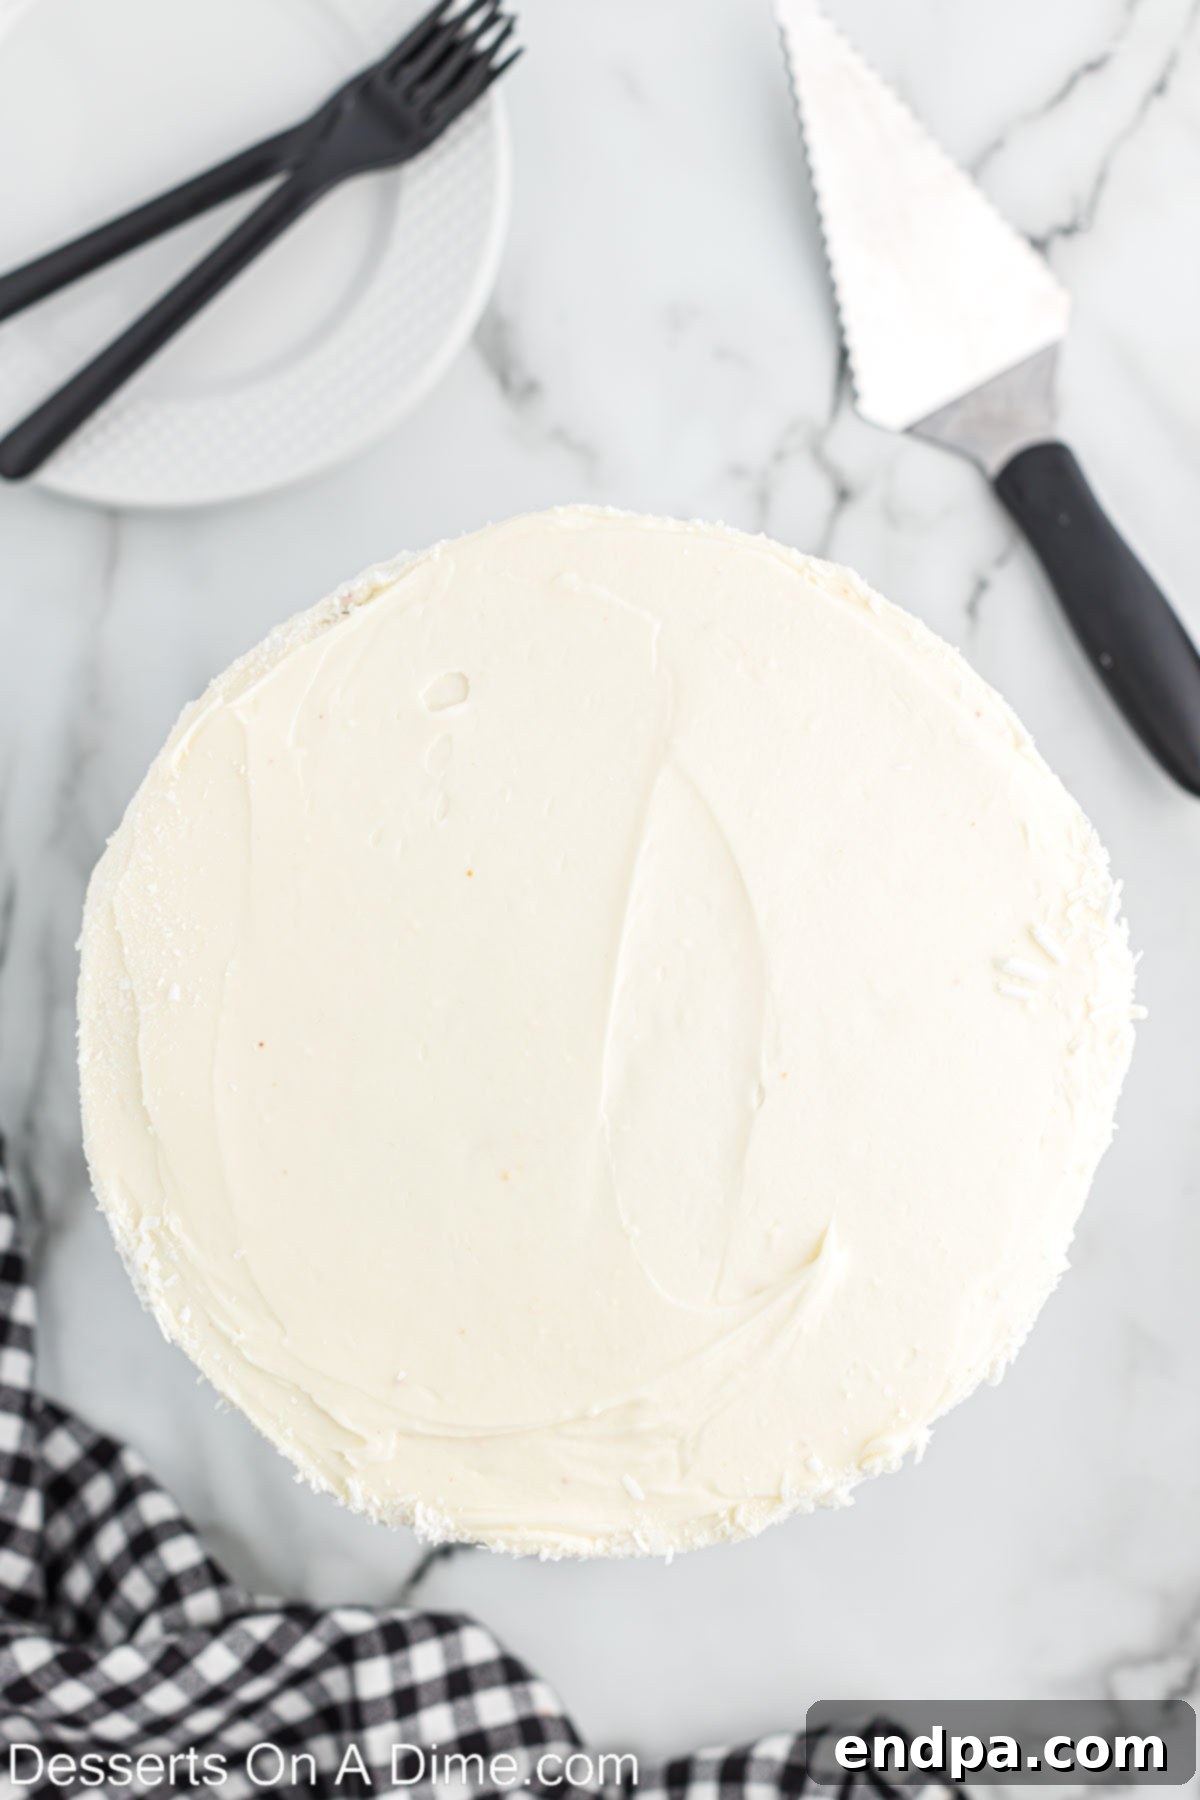
Image 8: First cake layer topped with frosting.
- Step 15 – Level the Cakes: Once the red velvet cake layers are completely cool, use a large serrated knife to carefully slice off any domed tops, making them perfectly level. This ensures your assembled cake stands straight and looks professional. You can save the cake scraps for snacking or other uses!
- Step 16 – First Layer: Place one of the leveled red velvet cake layers on your chosen serving platter or cake stand. Spread an even, generous layer of the cream cheese frosting over the top of this cake layer.
- Step 17 – Add the Cheesecake: Carefully remove the ring from the springform pan holding the chilled cheesecake. Gently flip the cheesecake upside down onto the frosted red velvet cake layer. Then, carefully remove the bottom of the springform pan and the parchment paper. The cheesecake should now be sitting perfectly centered on the first cake layer.
- Step 18 – Second Layer of Frosting: Spread another layer of cream cheese frosting evenly over the top of the cheesecake layer. This will act as the “glue” for your second red velvet cake layer.
- Step 19 – Top with Second Cake & Frost: Carefully place the second leveled red velvet cake layer on top of the cheesecake and frosting. Now, using the remaining cream cheese frosting, evenly spread it over the top and down the sides of the entire cake. Use an offset spatula for a smooth finish.
- Step 20 – Garnish and Chill: For an elegant finish, shave white chocolate using a vegetable peeler or grater, and gently press the white chocolate shavings onto the sides of the cake. Cover the assembled cake loosely and chill it in the refrigerator for at least 2-4 hours (or longer, even overnight) to allow the layers to set and the flavors to fully meld.
- Step 21 – Slice and Enjoy: When ready to serve, slice with a sharp, warm knife (wiped clean between slices for neatness) and enjoy your homemade Cheesecake Factory Red Velvet Cheesecake!
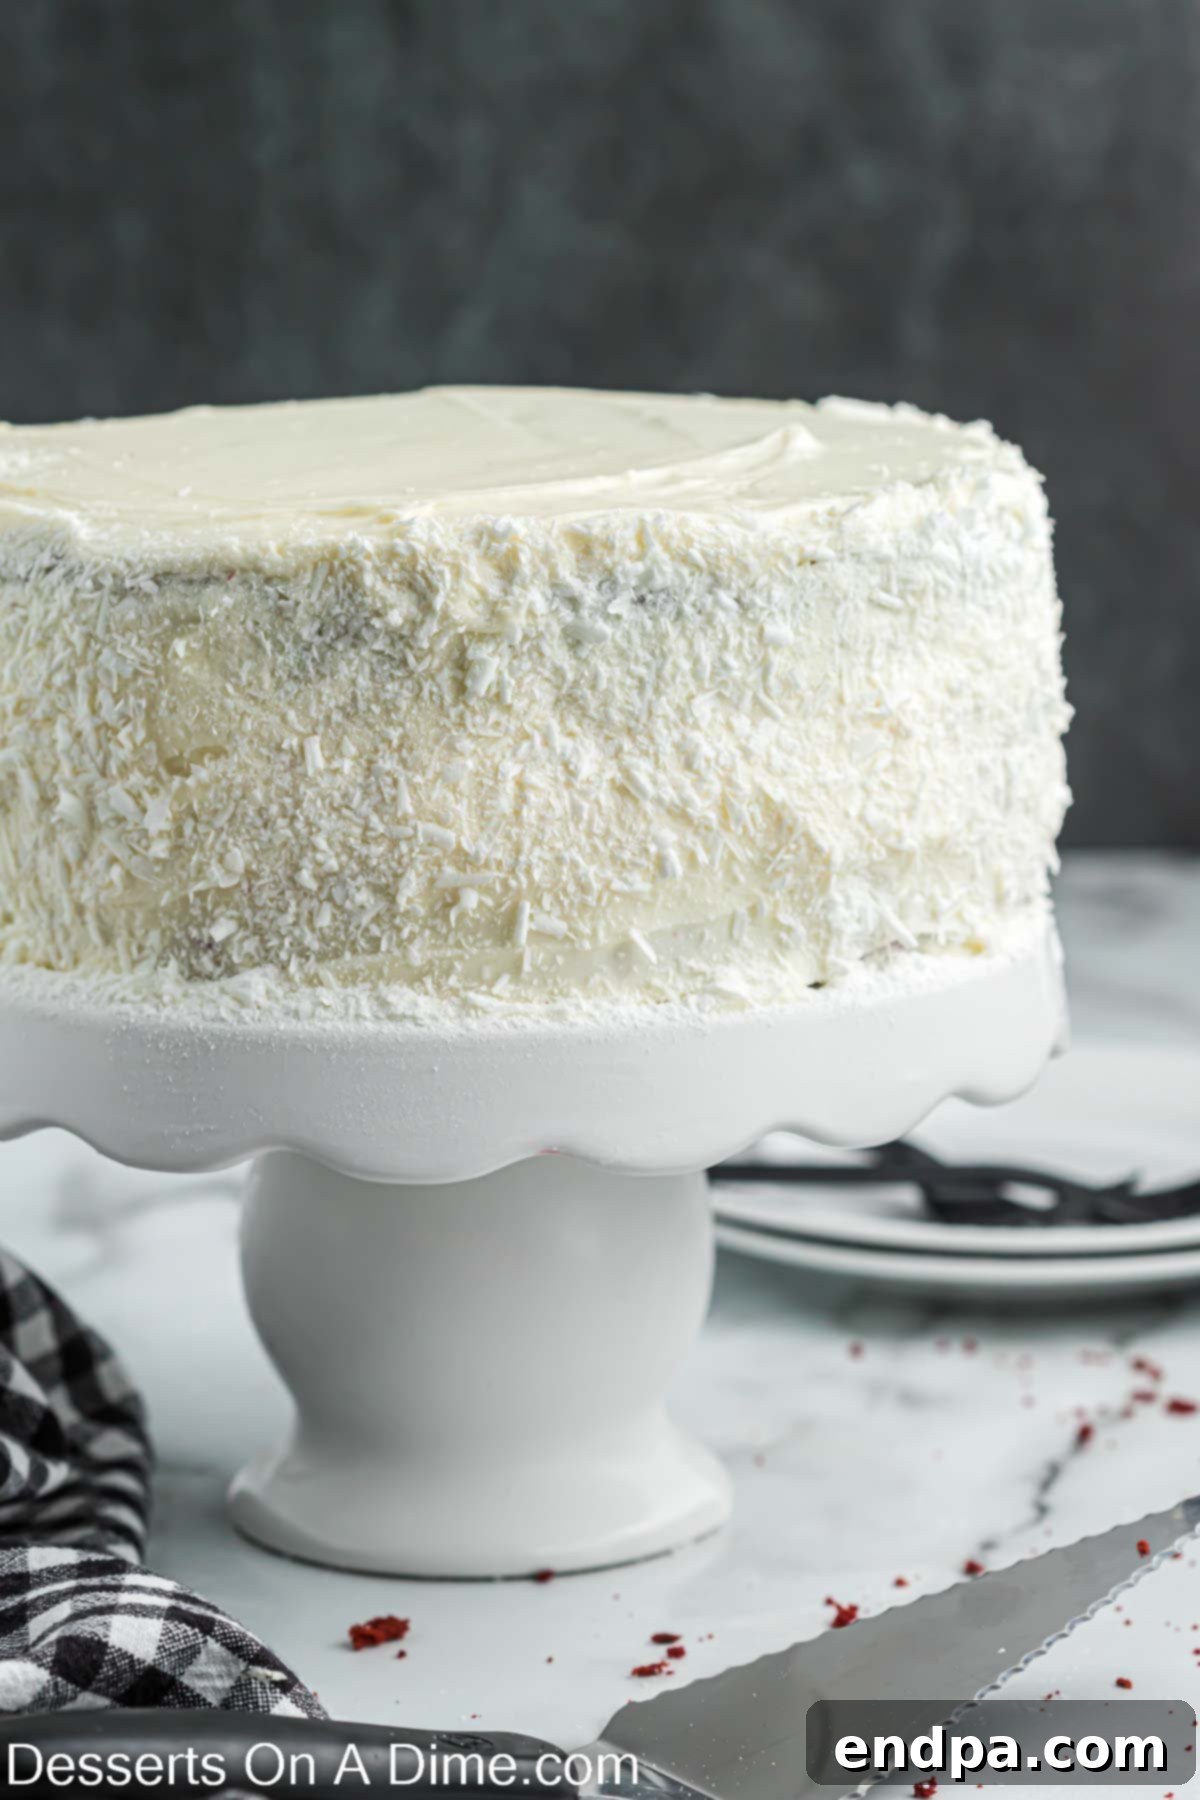
Image 9: The complete, assembled Red Velvet Cheesecake.
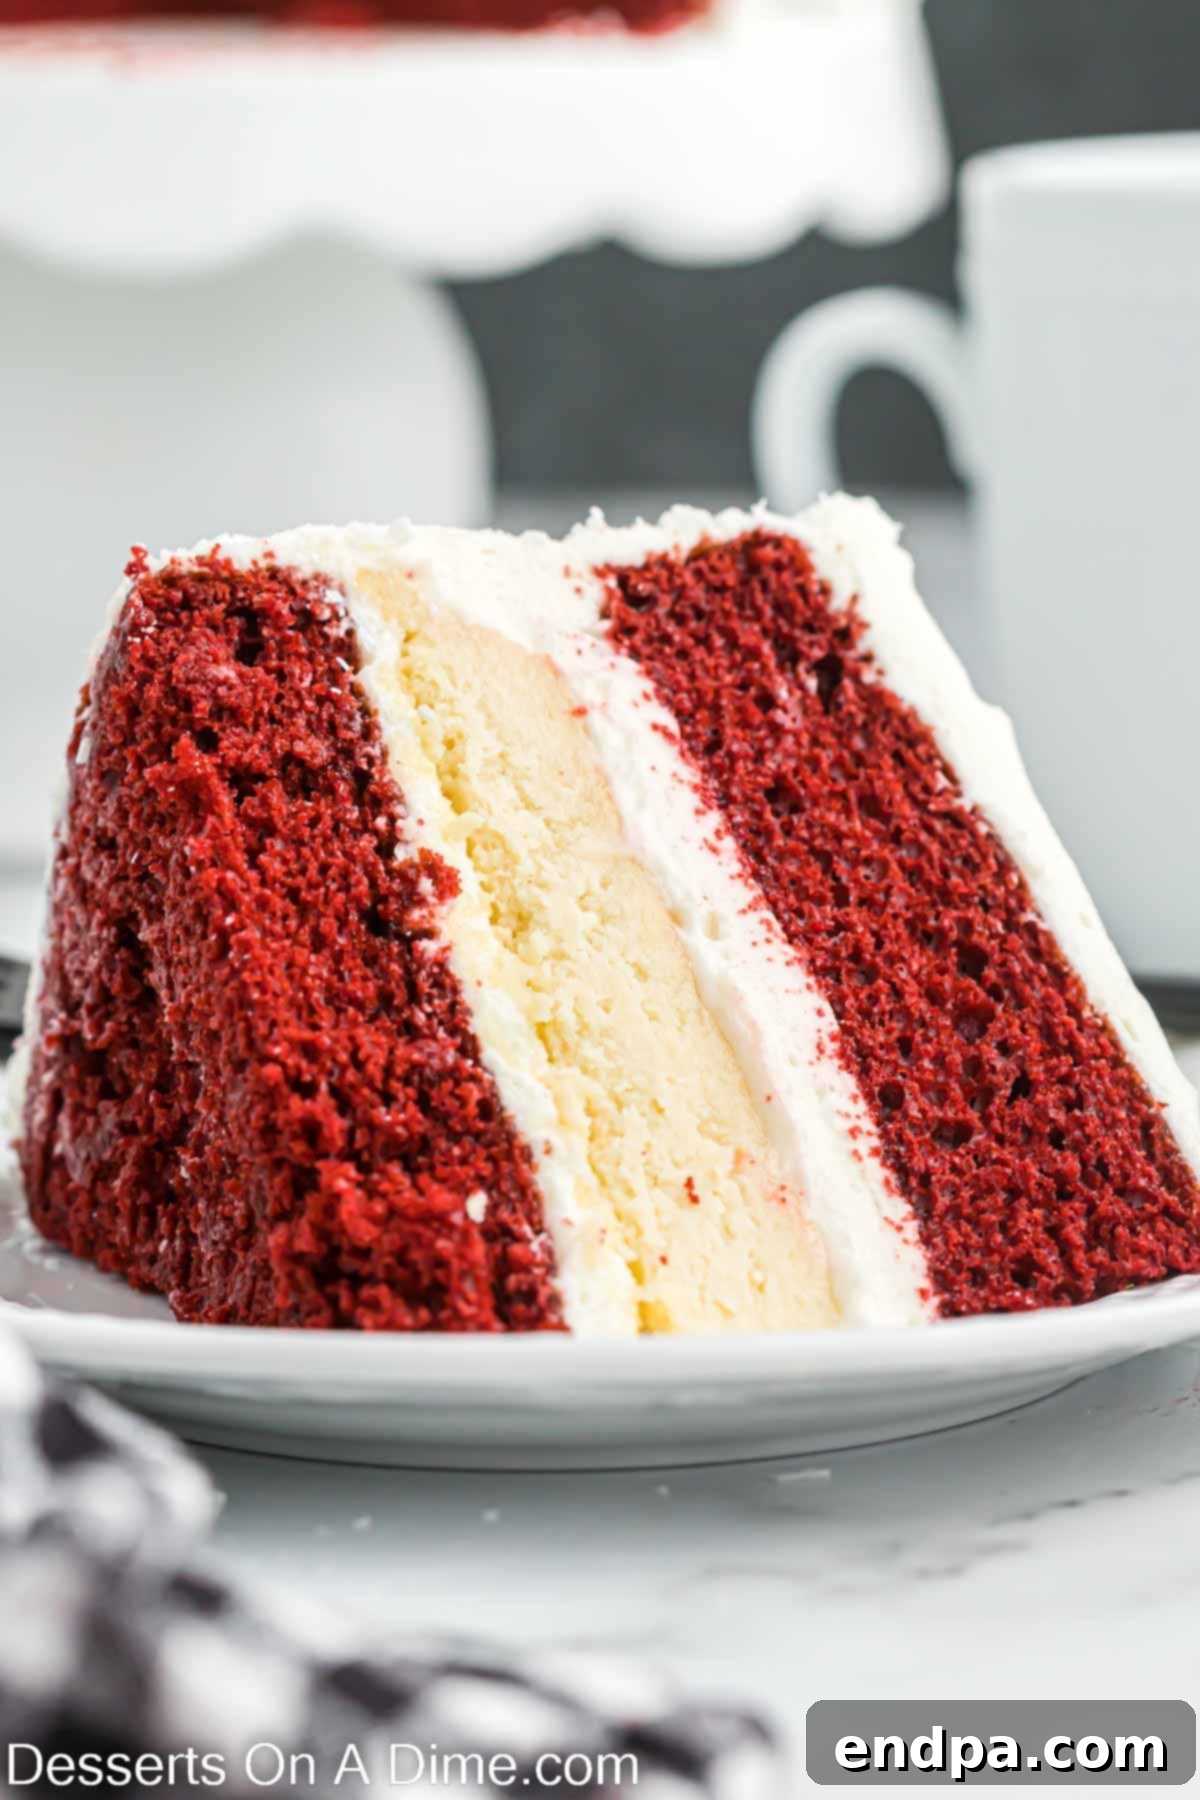
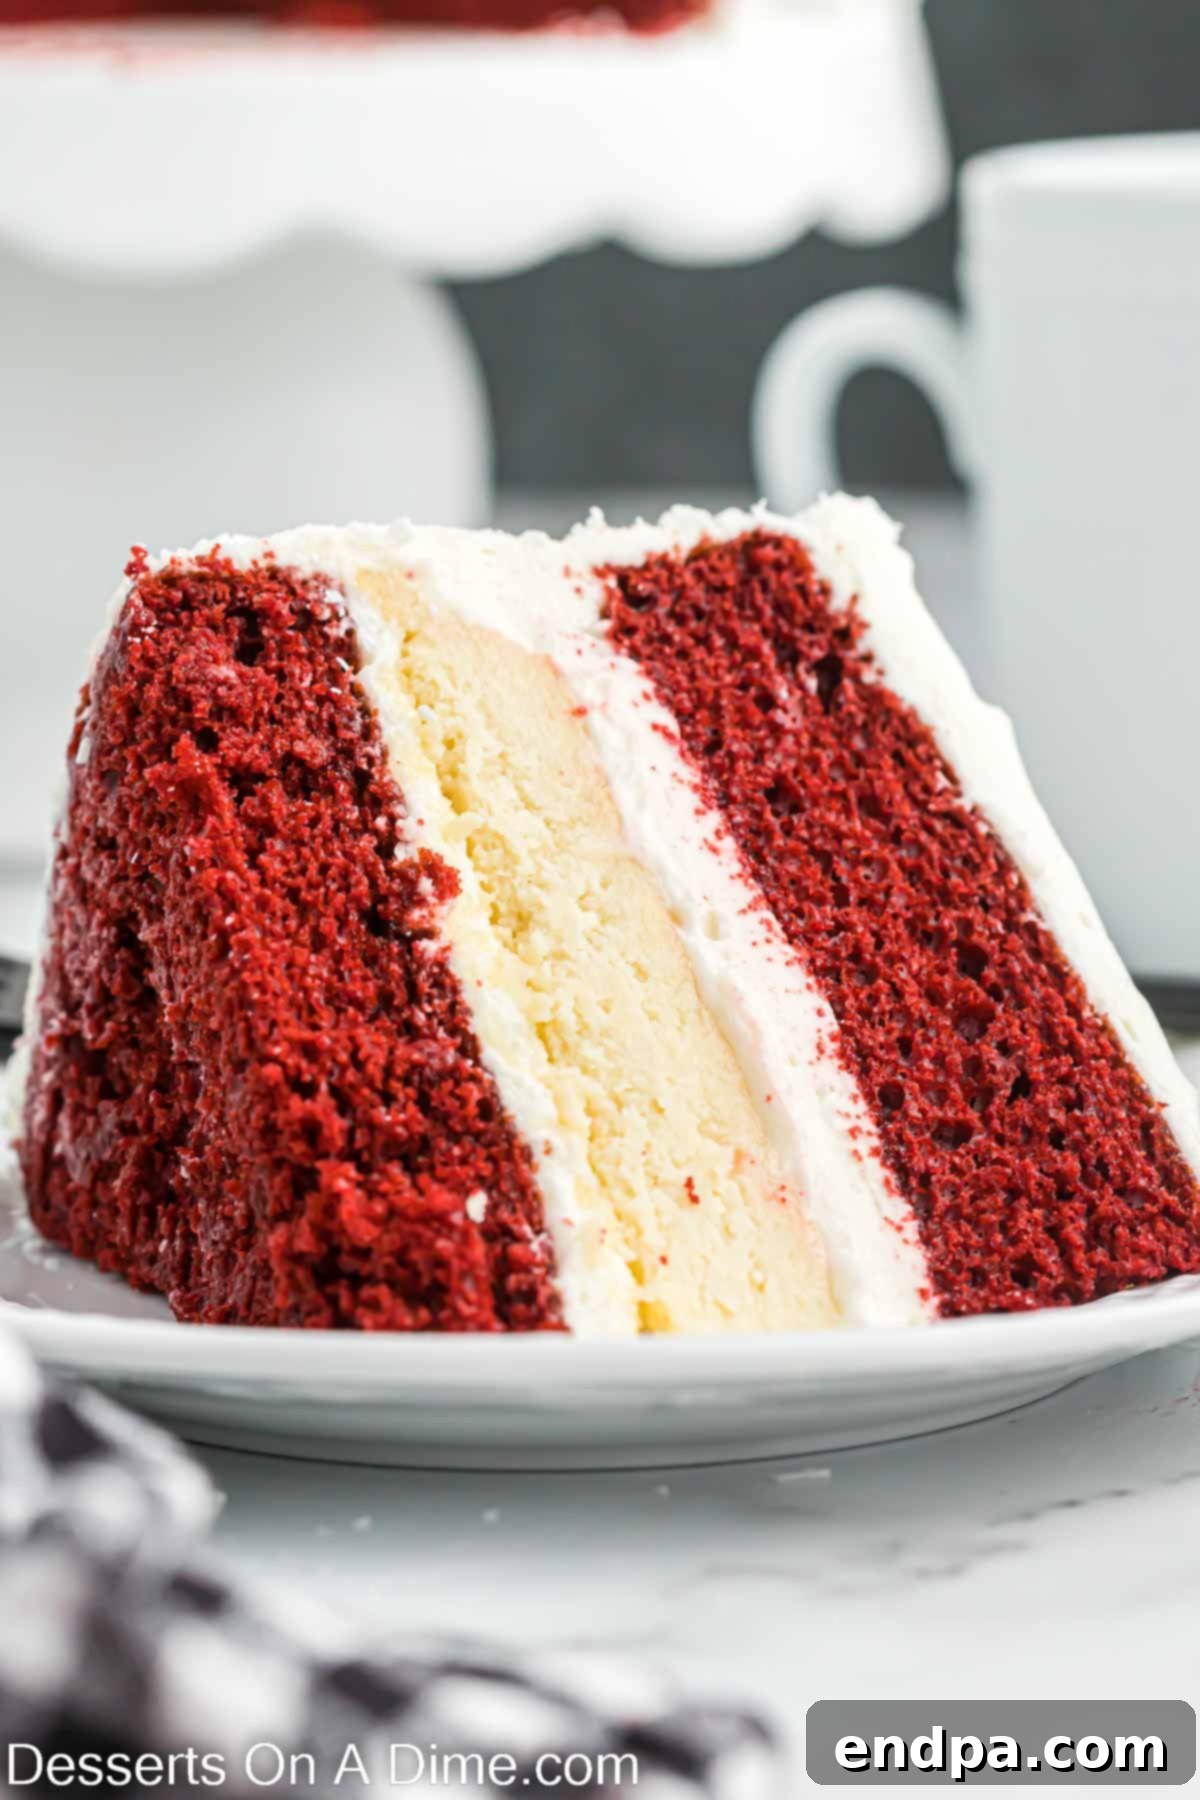
Image 10: A slice of the magnificent cake on a plate.
How to Store Red Velvet Cheesecake for Freshness
Proper storage is essential to maintain the freshness, moisture, and flavor of your beautiful Red Velvet Cheesecake. Since it contains cream cheese, refrigeration is a must.
Store the assembled cake in the refrigerator until you are ready to serve. For best results, we recommend placing it on a cake pan and covering it with a cake cover dome. If you don’t have a dome, cover any exposed cake portions with plastic wrap, pressing it gently against the frosting to prevent air from drying out the cake and cheesecake. This method keeps it moist and prevents it from absorbing odors from the refrigerator.
Leftovers should be stored refrigerated, tightly covered, for up to 5 days. For individual slices, cover each slice with plastic wrap or place them in an airtight container to preserve their texture and taste.
Expert Recipe Tips for Success
Achieving a perfect Cheesecake Factory-style Red Velvet Cheesecake is easier with these helpful tips:
- Room Temperature Ingredients: This is arguably the most crucial tip for both the cheesecake and the frosting. Ensure your cream cheese, eggs, and butter are at room temperature. Softened ingredients combine much more smoothly, preventing lumps in your batter and frosting, and ensuring an emulsified, creamy result.
- Round Cake Pans: For those signature neat layers, use a set of round 9-inch cake pans for the red velvet layers. This dimension is ideal for stacking with the 9-inch cheesecake.
- Quality Mixer: While a hand mixer works well, a stand mixer makes the process significantly easier and ensures consistent mixing, especially for the dense cream cheese. It’s a worthwhile investment if you bake frequently.
- Cool Cakes Completely: Patience is key! Make sure the red velvet cake layers are truly cool before you begin assembling and frosting. Warm cake will cause your frosting to melt and slide, ruining the layers. Baking racks are excellent for even cooling.
- Leveling Cakes for a Polished Look: After baking, your cake layers might have a slightly domed top. Use a serrated knife to carefully slice off these domes, creating flat surfaces. This ensures the cake layers stack evenly and gives your finished cheesecake a professional, aesthetically pleasing appearance.
- Gentle Layering: The red velvet cakes bake up soft and moist. Be gentle when placing your cake layers and cheesecake on top of each other to avoid breaking or cracking them.
- Springform Pan for Cheesecake: Always use a springform pan for baking cheesecake. Its removable sides make it incredibly easy to release the delicate cheesecake without damaging it.
- Cheesecake Cooling in the Oven: After baking, allowing the cheesecake to cool slowly in the turned-off oven with the door closed for 20 minutes is a classic technique. This gradual cooling prevents the cheesecake from cracking due to sudden temperature changes.
- Freezing the Cheesecake: Don’t skip the freezer step! Freezing the cheesecake for at least an hour (or overnight) before assembly makes it firm and much easier to handle and stack without fear of collapse.
- Red Velvet Cake Mix Enhancements: While we kept it simple, for an even creamier and richer red velvet cake texture, consider adding ½ cup of sour cream or plain full-fat yogurt to your cake mix batter. When using a red velvet cake mix, there’s typically no need to add extra cocoa powder or red food coloring.
- Sifting Powdered Sugar: Always sift your powdered sugar for the cream cheese frosting. This simple step eliminates lumps, ensuring your frosting is perfectly smooth and delightful.
Frequently Asked Questions
Yes, cheesecake freezes beautifully! If you decide to freeze the cheesecake, it’s best to freeze the entire cheesecake as a whole (before assembly, or as a fully assembled cake if carefully wrapped). To freeze, first wrap the cheesecake tightly in plastic wrap, then wrap it again securely in aluminum foil. Place the double-wrapped cheesecake in a freezer-safe bag or container. When stored properly, the cake will last in the freezer for about 1 month. Thaw in the refrigerator overnight before serving.
For a red velvet cake, the undisputed best frosting is a classic cream cheese frosting. It combines all the sweet, tangy, and creamy flavors that complement the subtle cocoa and vanilla notes of red velvet cake perfectly. Its smooth texture and slight tang cut through the richness of the cake and cheesecake, creating a balanced and utterly delightful bite. Our recipe provides a simple, homemade cream cheese frosting using basic ingredients for the best results.
Cheesecake cracks often occur due to sudden temperature changes or overbaking. Ensure your ingredients are at room temperature for smooth batter. Avoid overmixing, which incorporates too much air. Most importantly, follow the two-step cooling process: first, let it cool slowly in the turned-off oven, then on a wire rack to room temperature before chilling. This gradual cooling minimizes stress on the cheesecake’s structure.
Absolutely! If you have a favorite homemade red velvet cake recipe, feel free to use it. Just ensure it yields two 9-inch round cake layers. The primary goal is moist, flavorful red velvet layers that can support the cheesecake in the middle. Baking from scratch will add a bit more time to your overall preparation, but it can be incredibly rewarding.
For clean slices, especially with multiple layers, use a long, sharp, thin-bladed knife. For the neatest cuts, warm the knife under hot water, wipe it dry, and then slice. Repeat this process for each slice: warm, wipe, slice. This helps the knife glide through the cold cheesecake and frosting without dragging or tearing the layers.
More Cheesecake Recipes to Explore
If you’ve fallen in love with cheesecake, here are more delightful recipes to add to your baking repertoire:
- No Bake Blueberry Cheesecake Recipe: A refreshing and easy option for summer.
- Chocolate Chip Cookie Cheesecake Recipe: The ultimate comfort food fusion.
- Easy No Bake Cheesecake Recipe: Perfect for beginners or when you’re short on time.
- Strawberry Cheesecake Tacos: A fun, unique, and portable dessert idea.
We invite you to make this glorious Red Velvet Cheesecake. Please leave a comment and a star recipe rating once you’ve tried it – we love hearing your feedback!
Pin
Cheesecake Factory Red Velvet Cheesecake
25 mins
1 hr 25 mins
1 hr +
2 hrs 50 mins
12
American
Dessert
884
Carrie Barnard
Ingredients
For the Red Velvet Cake:
- 1 box Red Velvet Cake Mix (15 oz)
- Ingredients to prepare the cake based on the package instructions.
For the Cheesecake Layer:
- 16 oz cream cheese softened at room temperature
- 1 cup Granulated Sugar
- 2 Tbsp cornstarch
- 3 large Eggs
- 1 Tbsp Vanilla Extract
- ¼ cup Heavy Whipping Cream
For the Cream Cheese Frosting:
- 2 8- oz packages of cream cheese softened at room temperature
- 6 cups powdered sugar sifted
- 1 cup unsalted butter
- 2 tsp Vanilla Extract
- For Garnish:
- White Chocolate
Instructions
For the Red Velvet Cake:
- Prepare the red velvet cake based on the package instructions, using the specified dry and wet ingredients. Divide the batter evenly into two 9-inch round cake pans that have been greased and floured.
- Bake the cake layers in a preheated oven according to the package directions until they are lightly golden and a toothpick inserted into the center comes out clean. The cakes should just begin to pull away from the sides of the pans. If they start to brown too much, you may loosely cover them with aluminum foil.
- Allow the cakes to cool in their pans for 10-15 minutes on a wire rack. Then, carefully invert them onto the wire rack to cool completely to room temperature. This step is crucial for preventing the cake from breaking during assembly.
For the Cheesecake:
- Preheat the oven to 325 degrees F (160°C). Line the bottom of a 9-inch springform pan with parchment paper and spray the sides of the pan with a non-stick cooking spray to prevent sticking.
- Using a hand-held mixer or a stand mixer with the paddle attachment, beat the softened cream cheese until it is smooth and creamy. Gradually add the granulated sugar and beat until well combined. Then, add in the heavy whipping cream and the vanilla extract, mixing until just incorporated.
- Reduce the mixer speed to low. Add the eggs one at a time, mixing just until each egg yolk disappears into the batter. Do not overmix. Slowly add in the cornstarch and mix until just combined. Increase the speed slightly and mix for 2-3 minutes until the batter is smooth.
- Pour the cheesecake batter into the prepared springform pan. Bake at 325 degrees F (160°C) for 40 minutes. Avoid opening the oven door during this baking period.
- After 40 minutes, turn the oven off. Leave the cheesecake inside the oven with the door closed for an additional 20 minutes. This slow cooling helps prevent the cheesecake from cracking.
- Remove the cheesecake from the oven and place it on a wire rack to cool completely to room temperature. Once cooled, place the cheesecake in the freezer for at least 1 hour, or ideally overnight, to firm it up for easy handling and assembly.
For the Frosting:
- In a large mixing bowl, beat the softened cream cheese until it is completely smooth and creamy, ensuring no lumps remain.
- Add the softened unsalted butter to the cream cheese and continue to mix until the mixture is light, fluffy, and well combined.
- Gradually add the sifted powdered sugar, about 1 cup at a time, mixing thoroughly between each addition until the sugar is fully incorporated and the frosting is smooth. Scrape down the sides of the bowl as needed.
- Finally, stir in the vanilla extract until just combined. Your frosting is now ready for assembly.
To Assemble the Cake:
- Using a large serrated knife, carefully slice off any domed portions from the tops of your cooled red velvet cake layers to ensure they are perfectly flat and level.
- Place one of the leveled red velvet cake layers onto your desired serving platter or cake stand. Spread an even and generous layer of the prepared cream cheese frosting over the top of this cake layer.
- Carefully remove the ring from the springform pan around your chilled cheesecake. Gently flip the cheesecake upside down onto the frosted red velvet cake layer, centering it as best as possible. Then, remove the bottom of the springform pan and the parchment paper.
- Spread another layer of cream cheese frosting evenly over the top of the cheesecake layer. This will secure the final cake layer. Place the second leveled red velvet cake layer on top of the frosted cheesecake. Evenly spread the remaining frosting over the top and down the sides of the entire cake, smoothing with an offset spatula.
- For a beautiful garnish, shave white chocolate using a vegetable peeler or fine grater. Gently press these white chocolate shavings onto the sides and top edges of the cake.
- Cover the assembled cake loosely and chill it in the refrigerator for at least 2-4 hours (or overnight) to allow all the layers and frosting to set firmly and the flavors to fully meld. This makes slicing much easier and improves the overall taste. Enjoy your magnificent Red Velvet Cheesecake!
Nutrition Facts
Carbohydrates 107g,
Protein 8g,
Fat 50g,
Saturated Fat 25g,
Polyunsaturated Fat 5g,
Monounsaturated Fat 15g,
Trans Fat 1g,
Cholesterol 149mg,
Sodium 506mg,
Potassium 227mg,
Fiber 1g,
Sugar 92g,
Vitamin A 1431IU,
Vitamin C 0.03mg,
Calcium 128mg,
Iron 2mg
Pin This Now to Remember It Later
Pin Recipe
