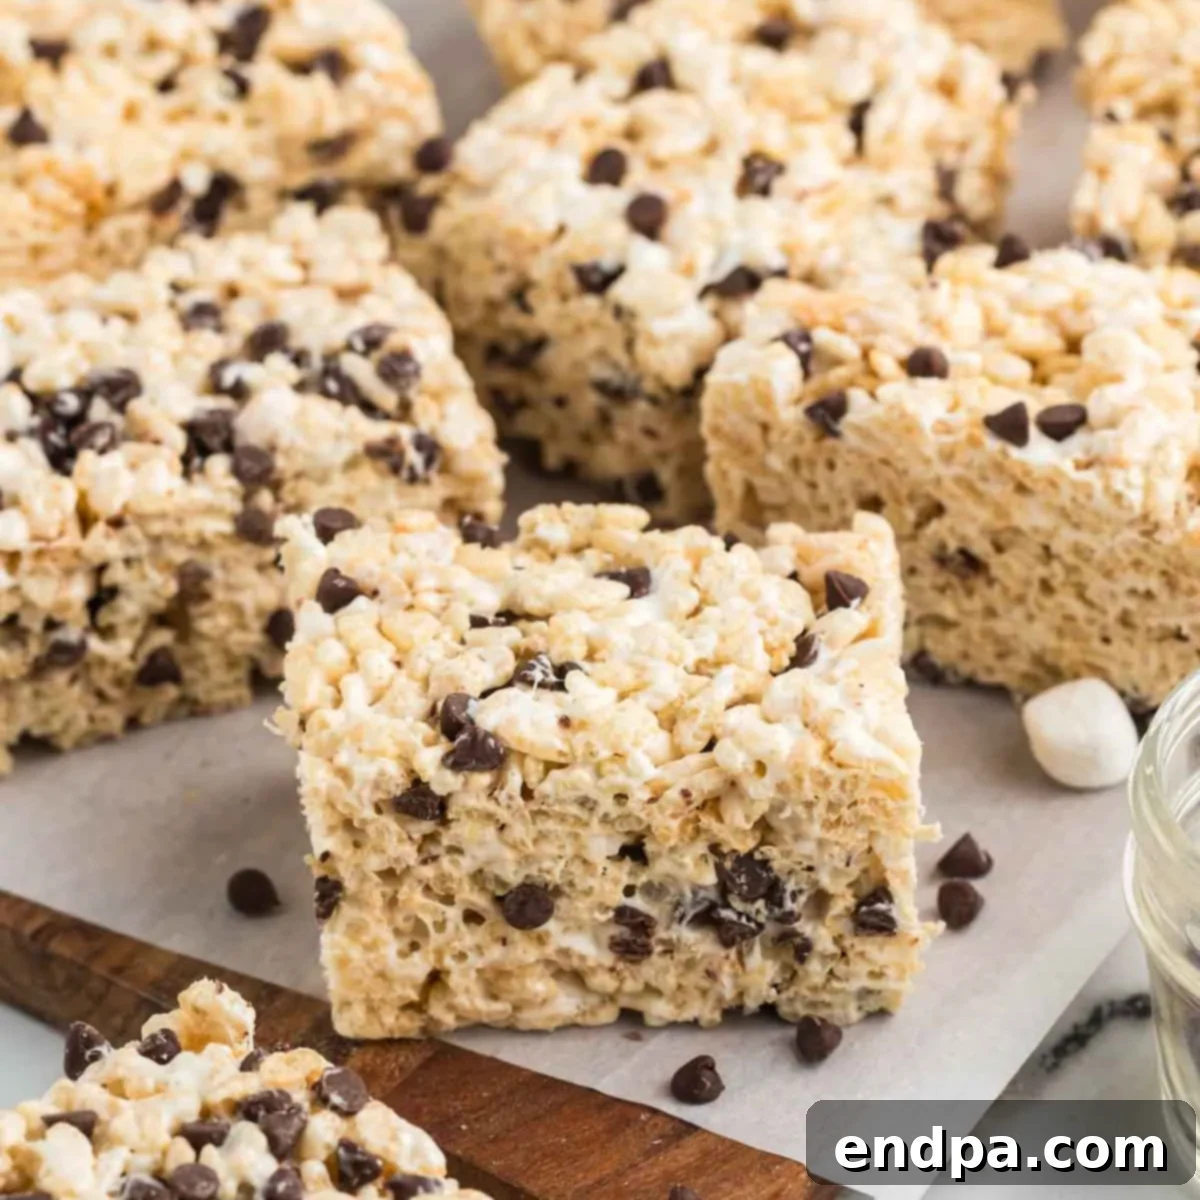
Chocolate Chip Rice Krispie Treats: The Ultimate Gooey Delight
Transform a beloved classic into an extraordinary dessert with this incredibly simple yet utterly irresistible Chocolate Chip Rice Krispie Treats recipe. Imagine the familiar crispy, chewy texture of traditional Rice Krispie treats, but elevated with an abundance of rich, melt-in-your-mouth chocolate chips in every single bite. This recipe isn’t just a treat; it’s a decadent experience that promises to become an instant family favorite.

Our household has always cherished the comforting simplicity of homemade Rice Krispie treats. The addition of chocolate chips was a spontaneous decision that quickly evolved into a staple, turning an already fantastic no-bake dessert into something truly special. These easy-to-make marshmallow squares are perfect for satisfying sweet cravings without ever needing to turn on the oven. Whether you’re a seasoned baker or a kitchen novice, you’ll find joy in whipping up a batch of these glorious chocolate chip-infused treats.
If your heart beats for chocolate as much as ours does, you’re in for a real treat. Once you’ve mastered this recipe, don’t stop there! Explore other chocolatey variations like classic Chocolate Rice Krispie Treats, or indulge in the rich complexity of Chocolate Caramel Rice Krispie Treats. And for the ultimate chocolate chip enthusiast, our collection of 57 Best Chocolate Chip Desserts offers endless inspiration. For seasonal celebrations, try festive twists such as Patriotic Rice Krispie Treats, perfect for the Fourth of July or any red, white, and blue occasion.
Table of Contents
- Why These Chocolate Chip Rice Krispie Treats Are a Must-Try
- Essential Ingredients for Chocolate Chip Rice Krispie Treats
- Creative Variations and Additions to Elevate Your Treats
- Step-by-Step Guide: How to Make Chocolate Chip Rice Krispie Treats
- Expert Tips for Perfect Chocolate Chip Rice Krispie Treats
- FAQs About Chocolate Chip Rice Krispie Treats
Why These Chocolate Chip Rice Krispie Treats Are a Must-Try
This recipe for Chocolate Chip Rice Krispie Treats stands out for many reasons, making it a go-to for busy parents, dessert lovers, and anyone craving a sweet, simple snack. First and foremost, the recipe requires only a handful of common ingredients, most of which you likely already have in your pantry. The minimal ingredient list translates directly into a minimal prep time, making it an ideal choice when you need a quick dessert or snack solution.
The beauty of this recipe lies in its incredible ease. It’s a fantastic no-bake option, eliminating the need for an oven and making it perfect for warm weather or when you’re short on time. Kids adore these treats, and the simple steps mean they can even get involved in the kitchen, making it a fun family activity. From stirring the melted marshmallows to gently folding in the chocolate chips, there are plenty of tasks for little hands to help with.
Beyond being incredibly easy, these treats are remarkably versatile. They are perfect for lunchbox surprises, after-school snacks to curb hunger, or a delicious sweet addition to a movie night. The combination of crispy cereal, gooey marshmallow, and rich chocolate chips creates a texture and flavor profile that is universally loved. Furthermore, knowing how to make perfect Rice Krispie treats is a fundamental skill for any home baker, and this recipe offers the best tips for achieving that soft, chewy consistency every time. You might also love other variations like Lucky Charms Treats, which prove how easily the base recipe can be adapted.
In essence, these chocolate chip marshmallow squares offer a delightful blend of nostalgia, convenience, and pure deliciousness. They are a guaranteed crowd-pleaser, sure to bring smiles to faces young and old, making them a truly indispensable addition to your recipe collection.
Essential Ingredients for Chocolate Chip Rice Krispie Treats
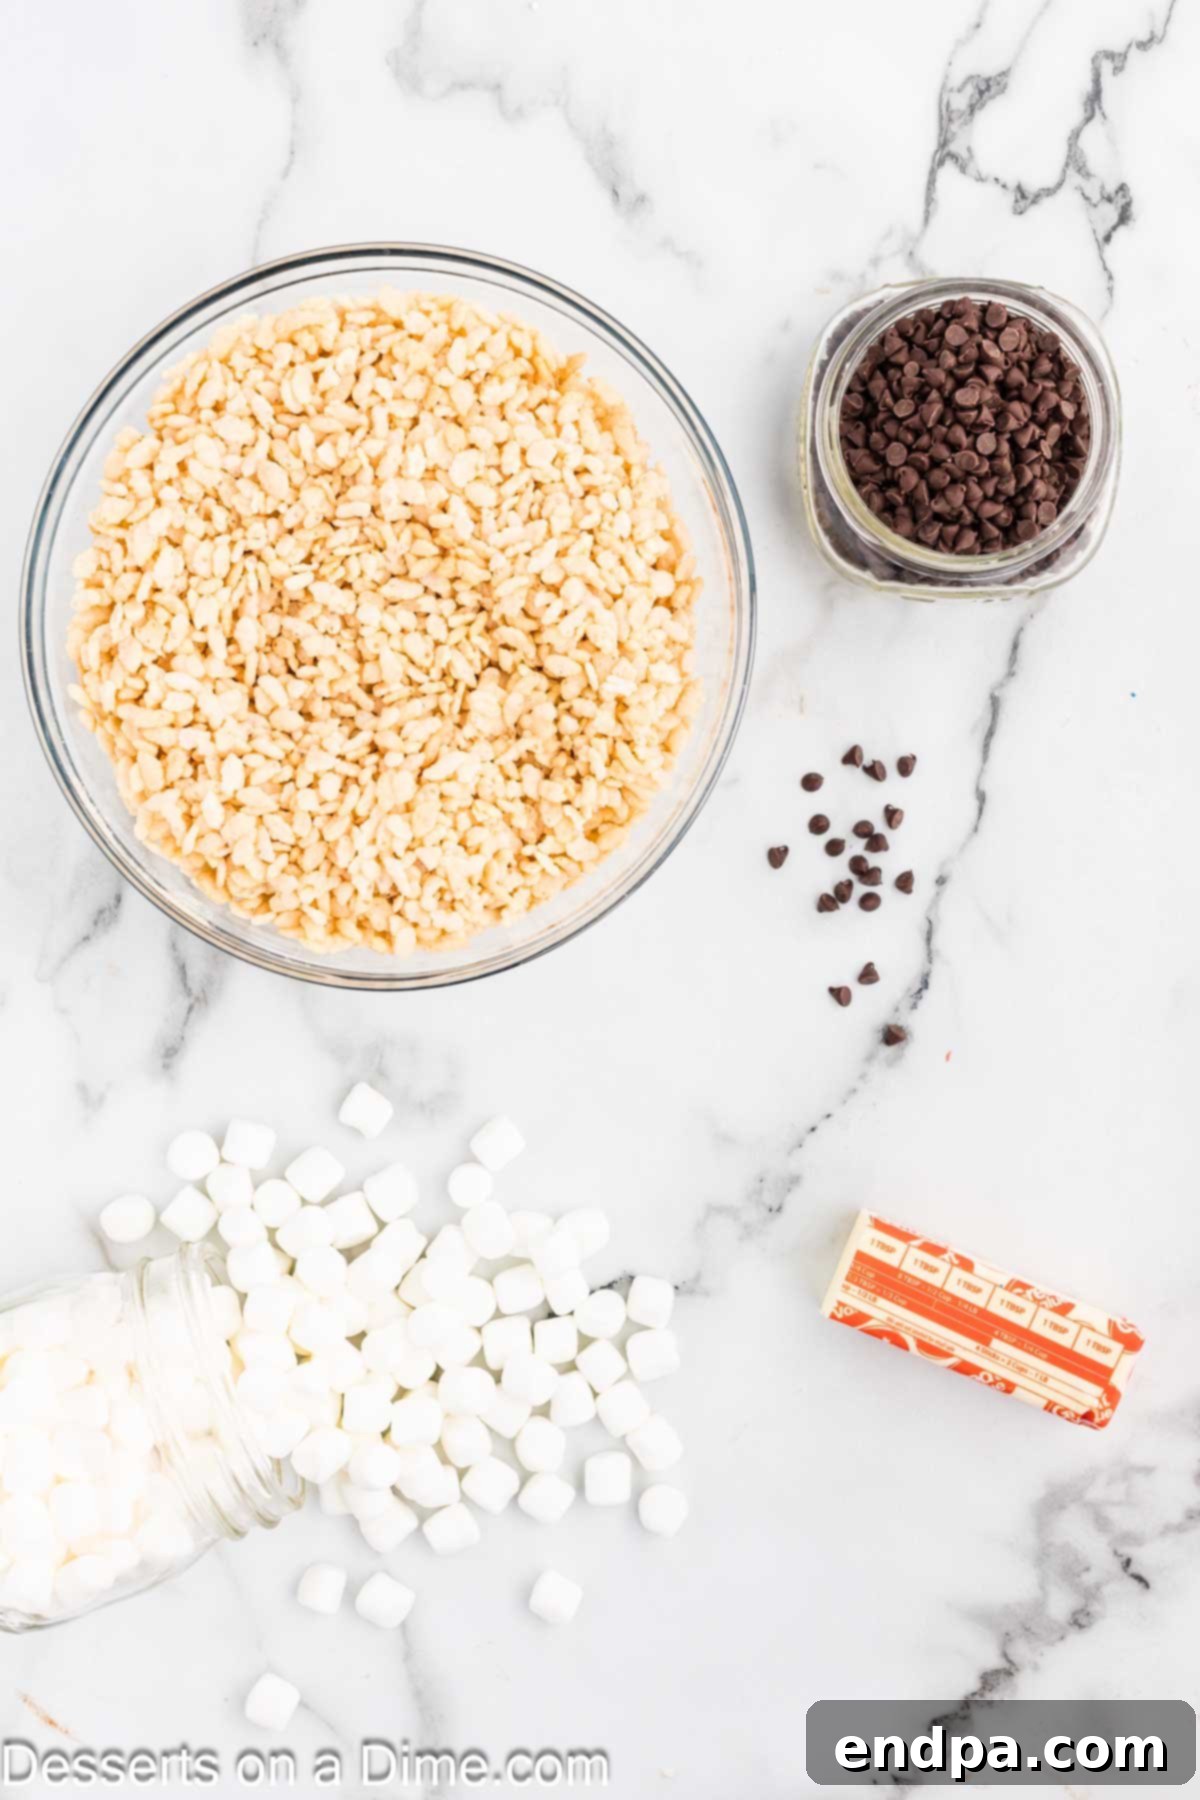
Crafting the perfect batch of Chocolate Chip Rice Krispie Treats relies on a few key ingredients, each playing a crucial role in achieving that beloved chewy and crispy texture. Here’s a closer look at what you’ll need:
- Rice Krispies Cereal: The star of the show! This classic puffed rice cereal provides the signature crispy base for your treats. While the Kellogg’s brand is iconic, feel free to use a store-brand equivalent if preferred. The key is its light and airy texture, which absorbs the marshmallow mixture beautifully to create that satisfying crunch.
- Butter: Real butter is non-negotiable for the best flavor and texture. It adds a rich, creamy depth that margarine simply can’t replicate, and helps the marshmallows melt smoothly and evenly. We recommend using unsalted butter, as it gives you more control over the overall sweetness and saltiness of the treats.
- Marshmallows: Fresh marshmallows are vital for achieving that perfectly gooey and soft consistency. Stale marshmallows can result in harder, less pliable treats. Mini marshmallows are often easier to melt consistently, but large marshmallows can also be used; just be sure to cut them into smaller pieces to ensure even melting. Marshmallow fluff can also be a substitute for an even creamier result, though it may alter the final texture slightly.
- Semi-Sweet Chocolate Chips: The delightful addition that transforms these treats. Semi-sweet chocolate chips offer the ideal balance, providing a rich chocolate flavor without making the treats overly sweet. Their size also ensures that you get a burst of chocolate in nearly every bite.
- Vanilla Extract (Optional but Recommended): While not in the original ingredient list, a splash of pure vanilla extract (about 1 teaspoon) can significantly enhance the overall flavor, adding warmth and depth that complements both the marshmallow and chocolate beautifully.
The exact measurements for these ingredients can be found in the comprehensive recipe card located at the very bottom of this post, ensuring you have everything you need to start creating your delicious treats.
Creative Variations and Additions to Elevate Your Treats
While the classic Chocolate Chip Rice Krispie Treat is undoubtedly a winner, this recipe offers a fantastic canvas for creativity. Don’t be afraid to experiment with these fun and simple variations to customize your treats for any occasion or preference:
- Food Coloring: Add a festive touch by incorporating food coloring into your melted marshmallow mixture. Green food coloring can create wonderful treats for Christmas or St. Patrick’s Day, while red or pink is perfect for Valentine’s Day. Imagine vibrant blue for a baby shower or school colors for a graduation party! Simply add a few drops to the melted marshmallow and butter mixture before adding the cereal.
- Different Shapes: Once the mixture is pressed into the pan and slightly cooled but still warm, use your favorite cookie cutters to create fun shapes. Stars for patriotic holidays, hearts for Valentine’s, or even animal shapes for a kid’s birthday party can make these treats extra special. Lightly grease your cookie cutters for easy release.
- Sprinkles: A sprinkle of fun! Add colorful sprinkles to the top of your treats immediately after pressing them into the pan, while the marshmallow mixture is still tacky. This makes them visually appealing for birthdays, holidays, or just everyday cheer. Choose festive blends for specific events or classic rainbow sprinkles for a universally loved look.
- Dip into Chocolate: For an extra layer of decadence, dip half or all of the cooled treats into melted milk chocolate, dark chocolate, or white chocolate. Let the excess chocolate drip off, then place them on parchment paper to set. You can even add a contrasting drizzle on top for an elegant finish.
- Marshmallow Alternatives: While mini marshmallows are standard, feel free to use large marshmallows (cut into smaller pieces) or marshmallow fluff for a slightly different texture. Marshmallow fluff creates an even gooier, silkier treat, but might require a slight adjustment to the cereal quantity to maintain firmness.
- Assorted Chocolate Chips & Candies: Beyond semi-sweet, try mini chocolate chips for more even distribution, or experiment with other flavors like peanut butter chips, butterscotch chips, white chocolate chips, or even mint chocolate chips for a seasonal twist. For a playful crunch, fold in M&M’s, chopped candy bars, or crushed cookies (like Oreos or Biscoff) along with the chocolate chips.
- Drizzle Chocolate: Melt a small amount of extra chocolate chips (or white chocolate, or colorful candy melts) and drizzle it artfully over the cooled and cut treats. Use a piping bag with a small tip or simply a spoon for a rustic look. This adds visual appeal and another layer of chocolatey goodness.
- Peanut Butter Infusion: Elevate the flavor profile by adding about half a cup of creamy peanut butter to the butter and marshmallow mixture while it’s melting. This creates a rich, nutty, and irresistibly chewy treat, perfect for peanut butter lovers. For those with nut allergies, sunbutter or other nut-free spreads can be used.
- Nuts: For added crunch and a sophisticated touch, fold in a handful of finely chopped nuts like pecans, walnuts, or almonds along with the chocolate chips.
- Extracts: Don’t limit yourself to vanilla! A few drops of almond extract, peppermint extract (for a holiday treat), or even a hint of coffee extract can introduce exciting new flavor dimensions.
Step-by-Step Guide: How to Make Chocolate Chip Rice Krispie Treats
Making these delightful Chocolate Chip Rice Krispie Treats is a breeze, and by following these simple steps, you’ll achieve perfect, gooey squares every time. Here’s a detailed breakdown of the process:
- Step 1 – Prepare Your Pan: First, grab a standard 9X13 inch baking pan. For easy removal and even easier cleanup, thoroughly spray the pan with a nonstick cooking spray. Alternatively, you can line the pan with parchment paper, leaving an overhang on the sides to easily lift the entire slab of treats out once cooled. If using parchment paper, you can still lightly spray the paper for extra nonstick insurance.
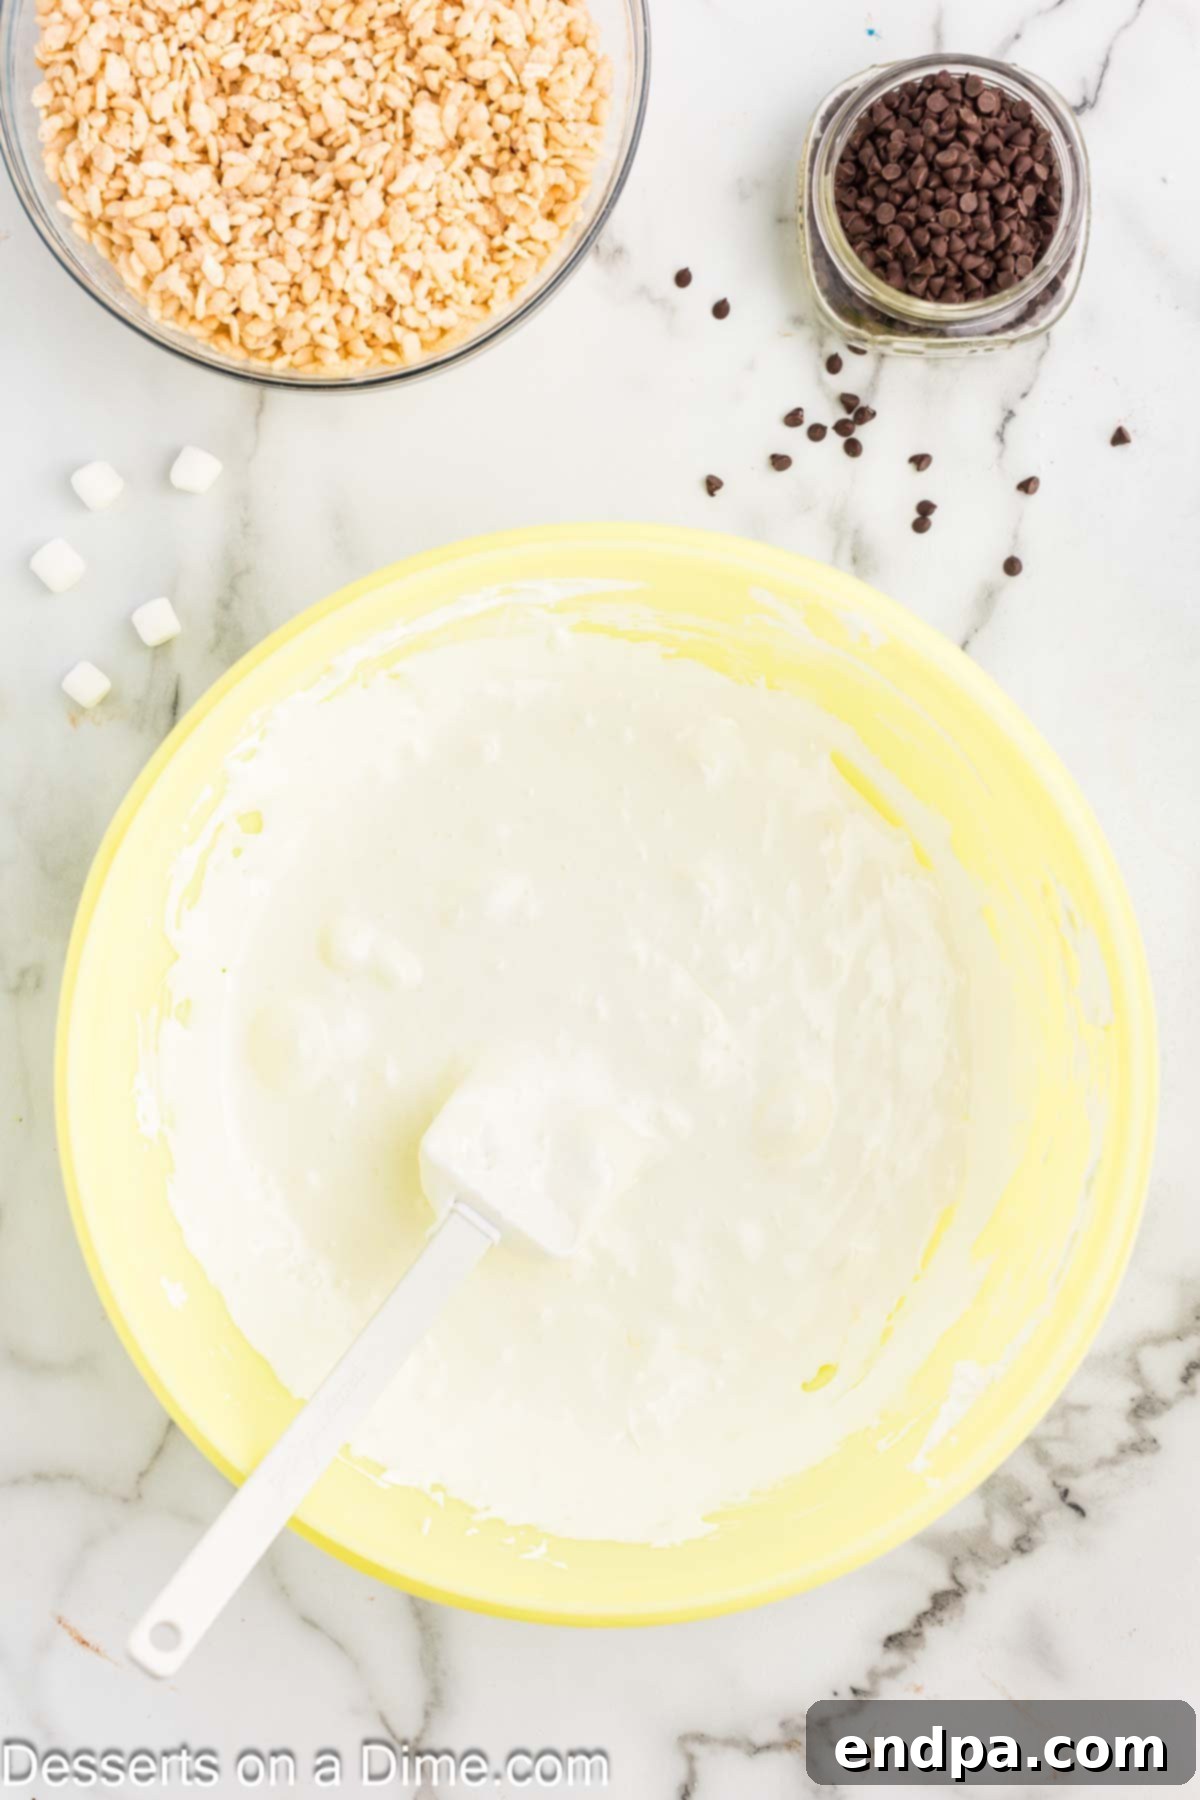
Step 2. Melt Butter and Marshmallows: In a large, microwave-safe bowl, combine the butter and mini marshmallows. Heat the mixture in 30-second intervals, stirring thoroughly with a rubber spatula after each interval. Continue this process until the butter and marshmallows are completely melted and smooth. Be careful not to overheat, as this can lead to hard treats. If you prefer, you can also melt the mixture on the stovetop over low heat, stirring constantly to prevent burning.
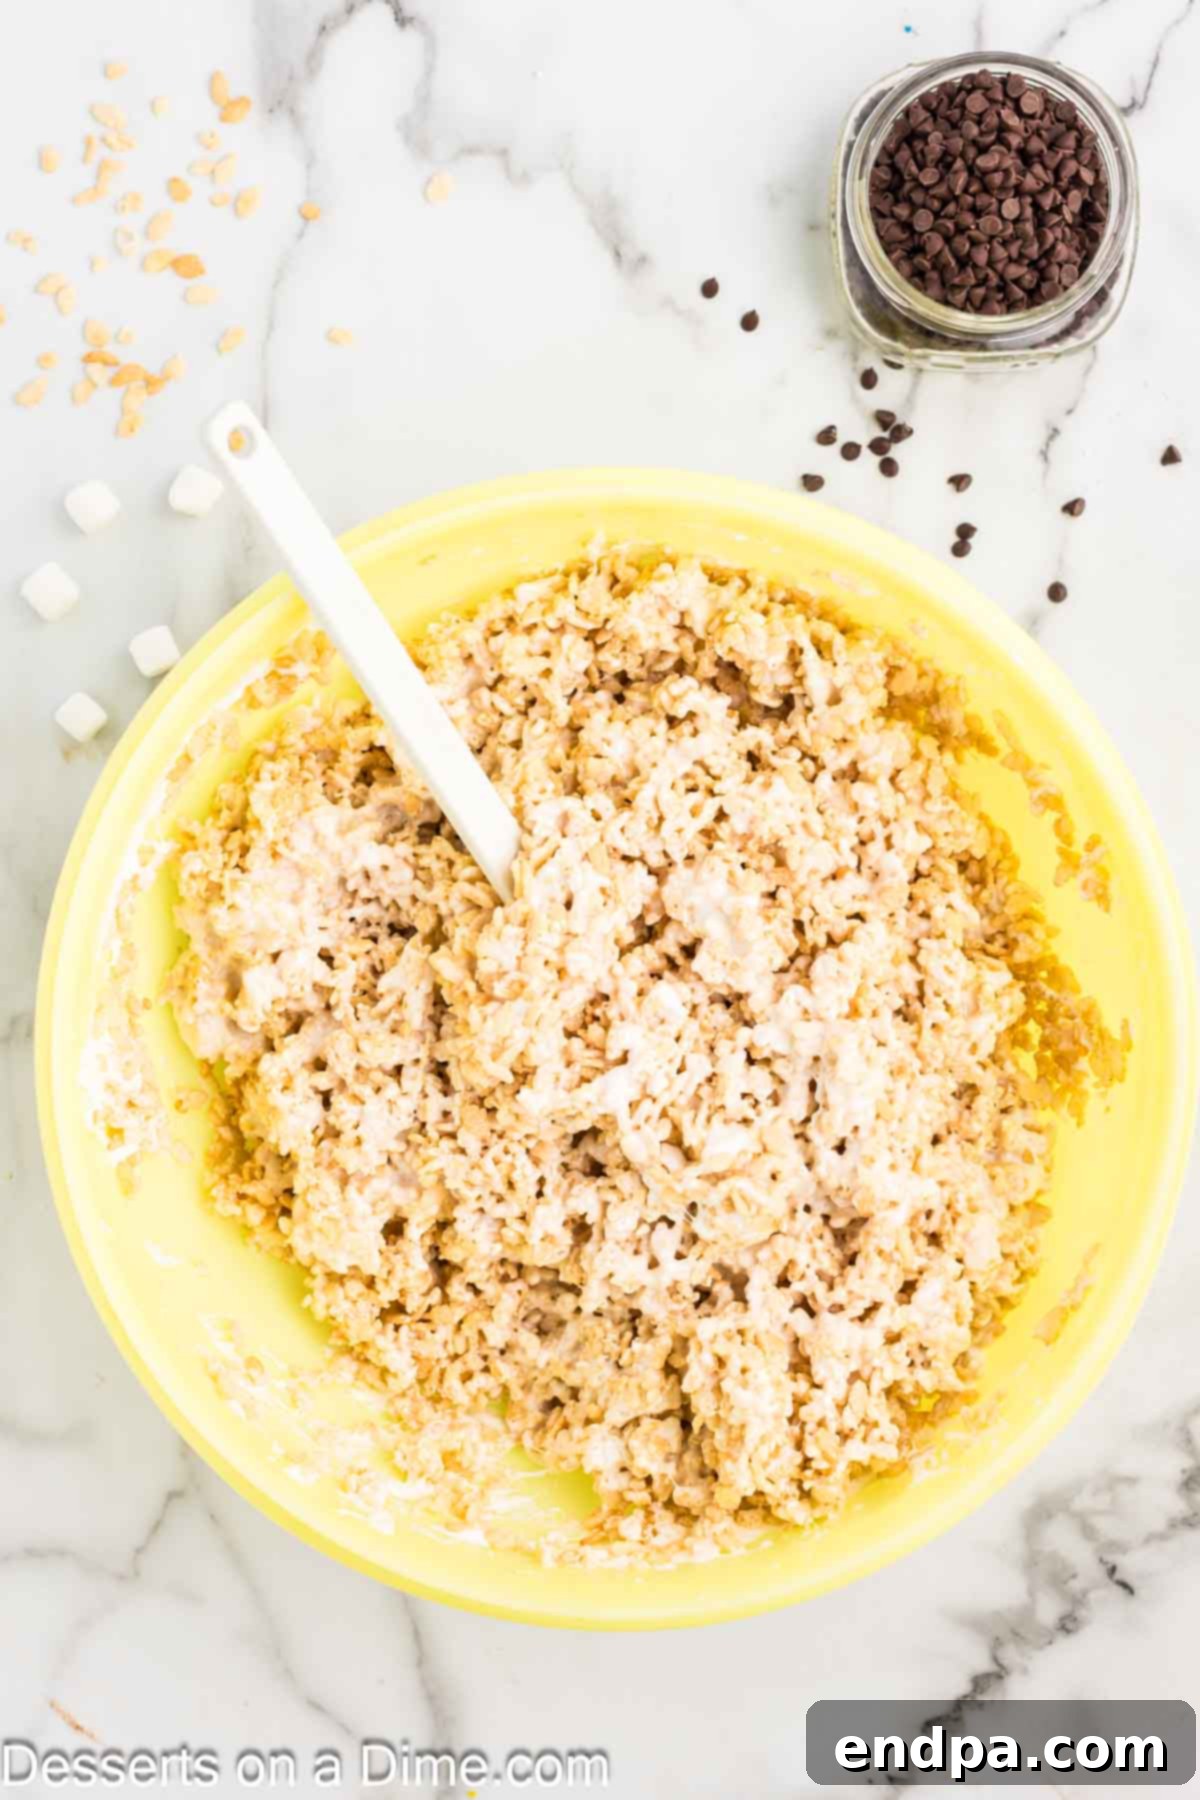
Step 3. Combine with Cereal and Cool Slightly: Once the marshmallow mixture is fully melted, add the Rice Krispie cereal to the bowl. Use your rubber spatula to gently fold the cereal into the gooey marshmallow until every piece is evenly coated. It’s crucial not to overmix, as this can crush the cereal. After mixing, let the cereal and melted marshmallow mixture sit at room temperature for 5-8 minutes. This brief cooling period is essential to prevent the chocolate chips from melting completely when added.
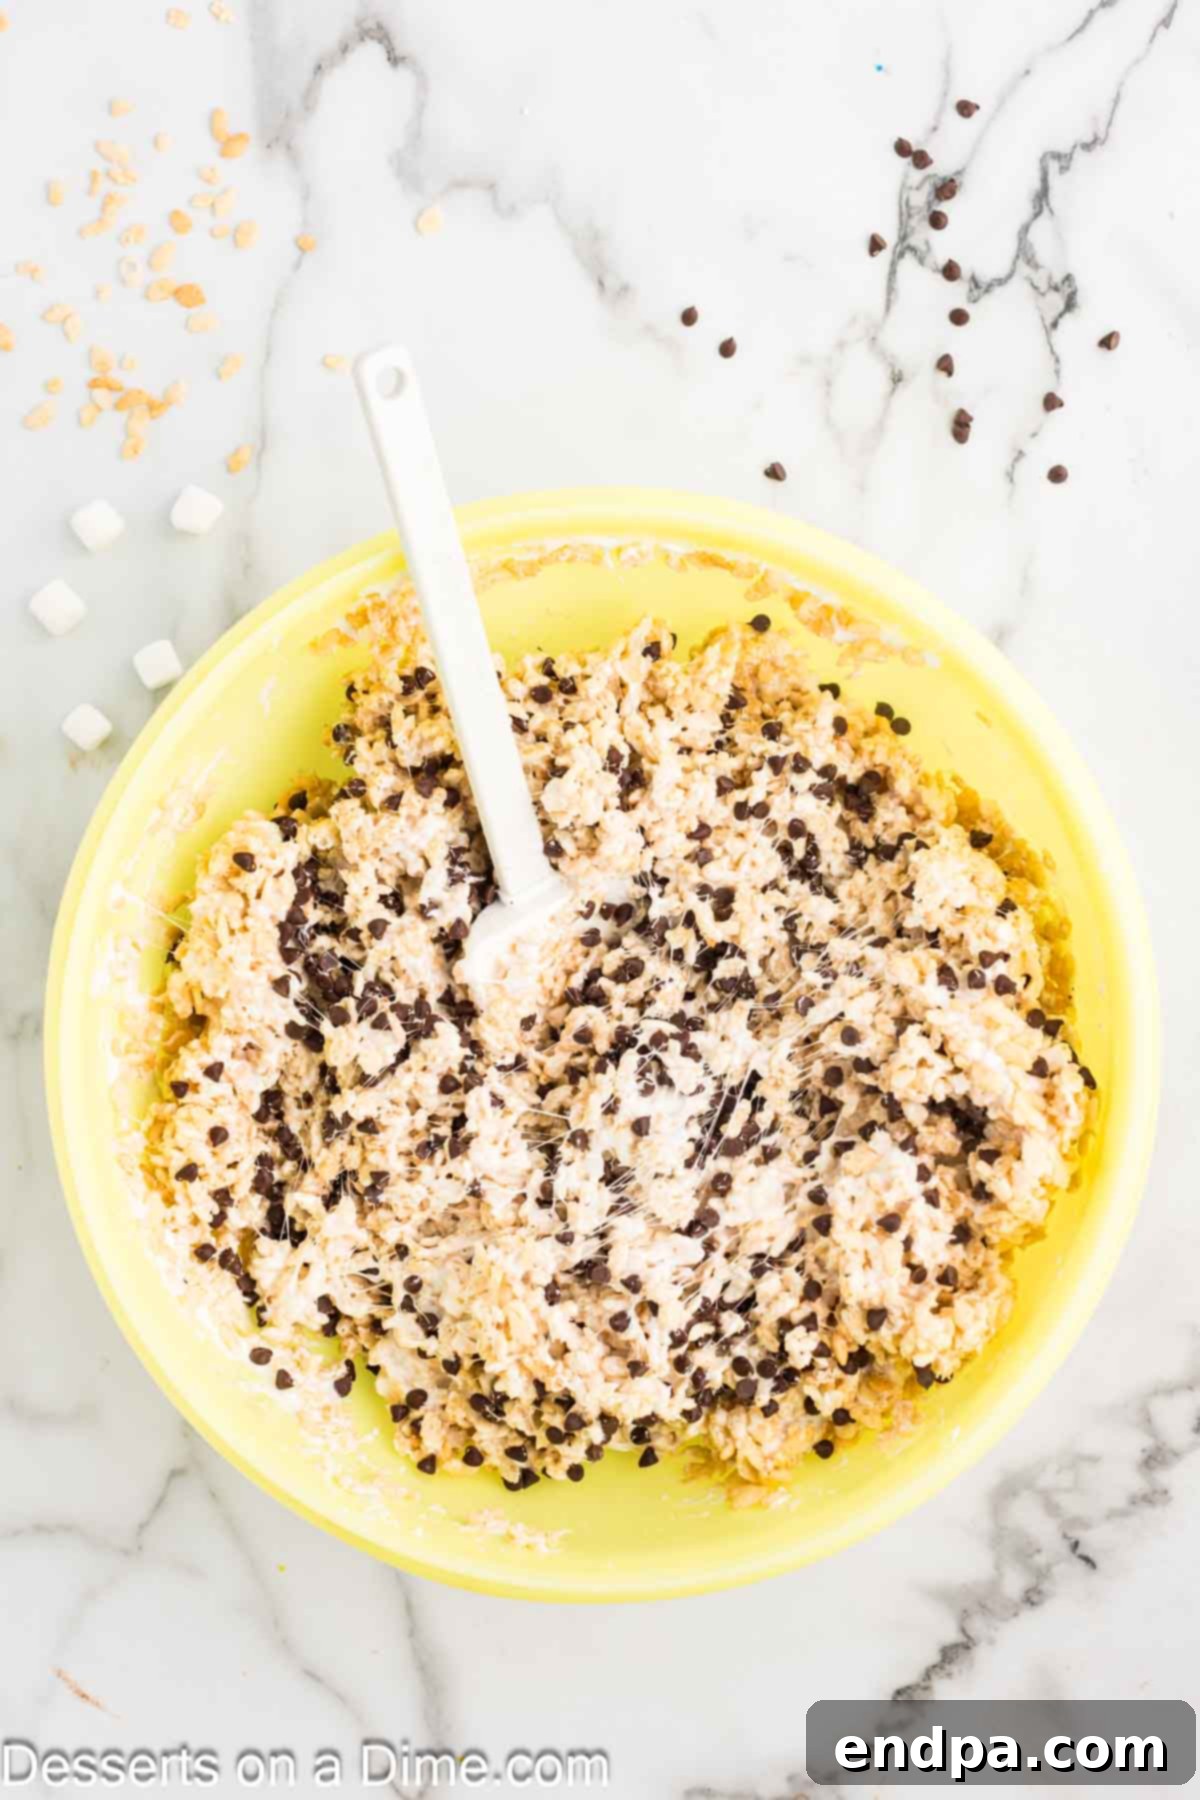
Step 4. Gently Fold in Chocolate Chips: After the mixture has cooled slightly, add your semi-sweet chocolate chips. Gently fold them in with your spatula, just until they are evenly distributed. The goal is to incorporate them without melting them entirely, so you have distinct pockets of chocolate in your finished treats. Over-folding or adding them too early will result in a muddy, chocolate-colored treat rather than one with delightful chocolate chip bursts.

Step 5. Press into Prepared Pan: Transfer the entire cereal mixture into your prepared 9×13 inch pan. To press the mixture evenly into the bottom of the baking pan, use a piece of wax paper or a buttered spatula. A little trick is to lightly spray the wax paper or spatula with nonstick cooking spray; this prevents it from sticking to the gooey marshmallow. Press gently and evenly, ensuring the mixture is level without compressing it too firmly. Over-compressing can lead to dense, hard treats.
- Step 6. Cool and Cut: Allow the treats to cool completely at room temperature. This can take anywhere from 1 to 2 hours, or until they are firm enough to cut. Once cooled, use a sharp, greased knife to cut them into squares. For best results, clean the knife periodically to prevent sticking. Slice, serve, and savor these amazing chocolate chip creations!
Expert Tips for Perfect Chocolate Chip Rice Krispie Treats
Achieving the perfect balance of chewy, crispy, and gooey in your Chocolate Chip Rice Krispie Treats is easier than you think with a few expert tips. Follow these guidelines to ensure your treats are always a success:
- Achieve Your Desired Thickness: The recipe yields a wonderfully thick batch, which we absolutely adore! If you prefer thinner rice krispie treats, simply make half of the batch, or press the full batch into a larger pan (like an 11×17 inch baking sheet) for a thinner profile.
- Avoid Refrigeration for Optimal Texture: One of the most common mistakes is storing Rice Krispie treats in the refrigerator. While it might seem logical for preserving freshness, the cold temperature causes the marshmallows to harden, resulting in dense and less enjoyable treats. These treats are best left to cool and stored at room temperature to maintain their signature gooey and delicious texture.
- The Magic of Parchment Paper: Don’t skip lining your baking pan with parchment paper! It’s a game-changer for both cleanup and easy removal. By leaving a slight overhang on the sides, you can effortlessly lift the entire slab of treats out of the pan once they’ve set, making cutting and serving a breeze.
- Freshness Matters: Always use fresh marshmallows and cereal for the best results. Stale marshmallows won’t melt as smoothly and can lead to a tough, crumbly texture. Fresh cereal retains its crispness longer, ensuring your treats have that satisfying crunch.
- Gentle Pressing is Key: When pressing the mixture into the prepared pan, remember to be gentle. Use a piece of wax paper or a lightly buttered spatula to spread the mixture evenly without compacting it too much. Pressing too firmly will squeeze out air pockets, resulting in dense, hard, and chewy-in-a-bad-way treats. The goal is a light, even layer that retains its softness.
- Mastering the Melt: Whether you choose the microwave or stovetop, melting the butter and marshmallows requires attention. For the microwave, heat in short 30-second increments, stirring well after each, until just melted and smooth. On the stovetop, use low heat and stir constantly. Overheating the marshmallow mixture can make it seize and crystalize, leading to stiff and unpleasantly hard treats.
- Accurate Cereal Measurement: For consistent results, measure your Rice Krispie cereal accurately. Avoid packing the cereal into the measuring cup; gently scoop and level it for the correct volume. This ensures the perfect marshmallow-to-cereal ratio, vital for the right texture.
- A Pinch of Salt: While not a primary ingredient, a tiny pinch of sea salt (about ¼ teaspoon) added to the melted butter and marshmallow mixture can surprisingly enhance the flavors of both the sweet marshmallow and the rich chocolate chips. It helps to balance the sweetness without making the treats taste salty.
- Even Chocolate Chip Distribution: To ensure every bite is chocolatey, make sure to cool the cereal mixture slightly (as detailed in step 3) before folding in the chocolate chips. This prevents them from melting entirely. Fold them in gently and evenly throughout the mixture to guarantee a good distribution.
FAQs About Chocolate Chip Rice Krispie Treats
Here are some frequently asked questions to help you perfect your Chocolate Chip Rice Krispie Treats and enjoy them to the fullest:
There are a few common culprits behind hard Rice Krispie treats. The primary reason is often overheating the marshmallow mixture. When melting butter and marshmallows, whether in the microwave or on the stovetop, it’s crucial to melt them slowly and gently. In the microwave, use 30-second increments and stir well between each. On the stovetop, use low heat and stir continuously. Overheating causes the sugar in the marshmallows to crystalize, leading to a hard, brittle texture. Another factor is pressing the mixture too firmly into the pan. This compacts the cereal and marshmallow, squeezing out air pockets and resulting in dense, hard treats. Lastly, improper storage can also make them hard. Always store them in an airtight container at room temperature.
To maintain their soft, gooey, and delicious texture, store your Chocolate Chip Rice Krispie Treats at room temperature. Place them in an airtight container. If stacking layers, use wax paper or parchment paper between the layers to prevent them from sticking together. Avoid storing them in the refrigerator, as the cold air will cause the marshmallows to stiffen and the treats to become hard.
While it is technically possible to freeze Rice Krispie treats, we generally do not recommend it for this recipe. Freezing can significantly alter the delicate texture of the treats, causing them to become more brittle and hard, and sometimes even a bit dry. The moisture content in the marshmallows reacts poorly to freezing and thawing. For optimal enjoyment, it’s best to enjoy them fresh within a few days of making them.
When stored properly in an airtight container at room temperature, Chocolate Chip Rice Krispie Treats will generally last for about 3 to 4 days. However, in most households, they rarely last that long because they’re simply too delicious to resist! To prevent sticking when storing, especially if stacking, place a piece of wax paper or parchment paper between each treat.
Absolutely! While Rice Krispies cereal is the classic choice, you can definitely experiment with other puffed or crispy cereals. Popular alternatives include Cheerios, Chex cereals, Lucky Charms, or even Fruity Pebbles for a colorful and sweet twist. Keep in mind that different cereals will absorb the marshmallow mixture differently and may slightly alter the final texture and flavor, but it’s a fun way to customize your treats!
A 9×13 inch baking pan is the standard size recommended for this recipe, yielding a good number of generously sized treats. This size allows for a nice, thick treat. If you prefer thinner treats, you can use a larger baking sheet, such as an 11×17 inch pan. Conversely, for extra-thick squares, you could use an 8×8 or 9×9 inch pan, though you might need to adjust cooking times slightly to ensure even cooling.
More Easy Rice Krispie Treats
Easy Holiday Desserts
Red White and Blue Rice Krispie Treats
No bake Dessert
Oreo Rice Krispie Treats
All Recipes Dessert
Neapolitan Rice Krispie Treats
Easy Cupcake
Fruity Pebbles Cupcakes
Now that you have all the tips and tricks, it’s your turn to try this simple, yet incredibly delicious recipe. Gather your ingredients, invite some helpers, and whip up a batch of these unforgettable chocolate chip-infused treats. Don’t forget to leave a comment once you do to share your experience!
Pin
Chocolate Chip Rice Krispie Treats
Ingredients
- 12 cups Rice Krispie Cereal
- 6 Tablespoons Butter
- 20 oz. Marshmallows
- 1.5 cups Semi-Sweet Chocolate Chips
Instructions
- Spray a 9X13 pan with a non-stick cooking spray.
- Melt the butter and marshmallows in a large microwave safe bowl. Heat it in 30 second increments and stir between each one until fully melted.
- Once it’s melted, mix in the Rice Krispie cereal until completely coated. Allow this mixture to set up room temperature for 5-8 minutes to cool slightly.
- Fold in the chocolate chips gently so that they don’t melt.
- Spread evenly into the prepared pan. Use a piece of wax paper or a buttered spatula to press the Rice Krispies into the bottom of the pan.
- Allow to cool completely before serving. Slice, serve and enjoy!
Recipe Notes
*Do not store in the refrigerator. They are best left to cool at room temperature so that the remain gooey and delicious!
Nutrition Facts
Pin This Now to Remember It Later
Pin Recipe
