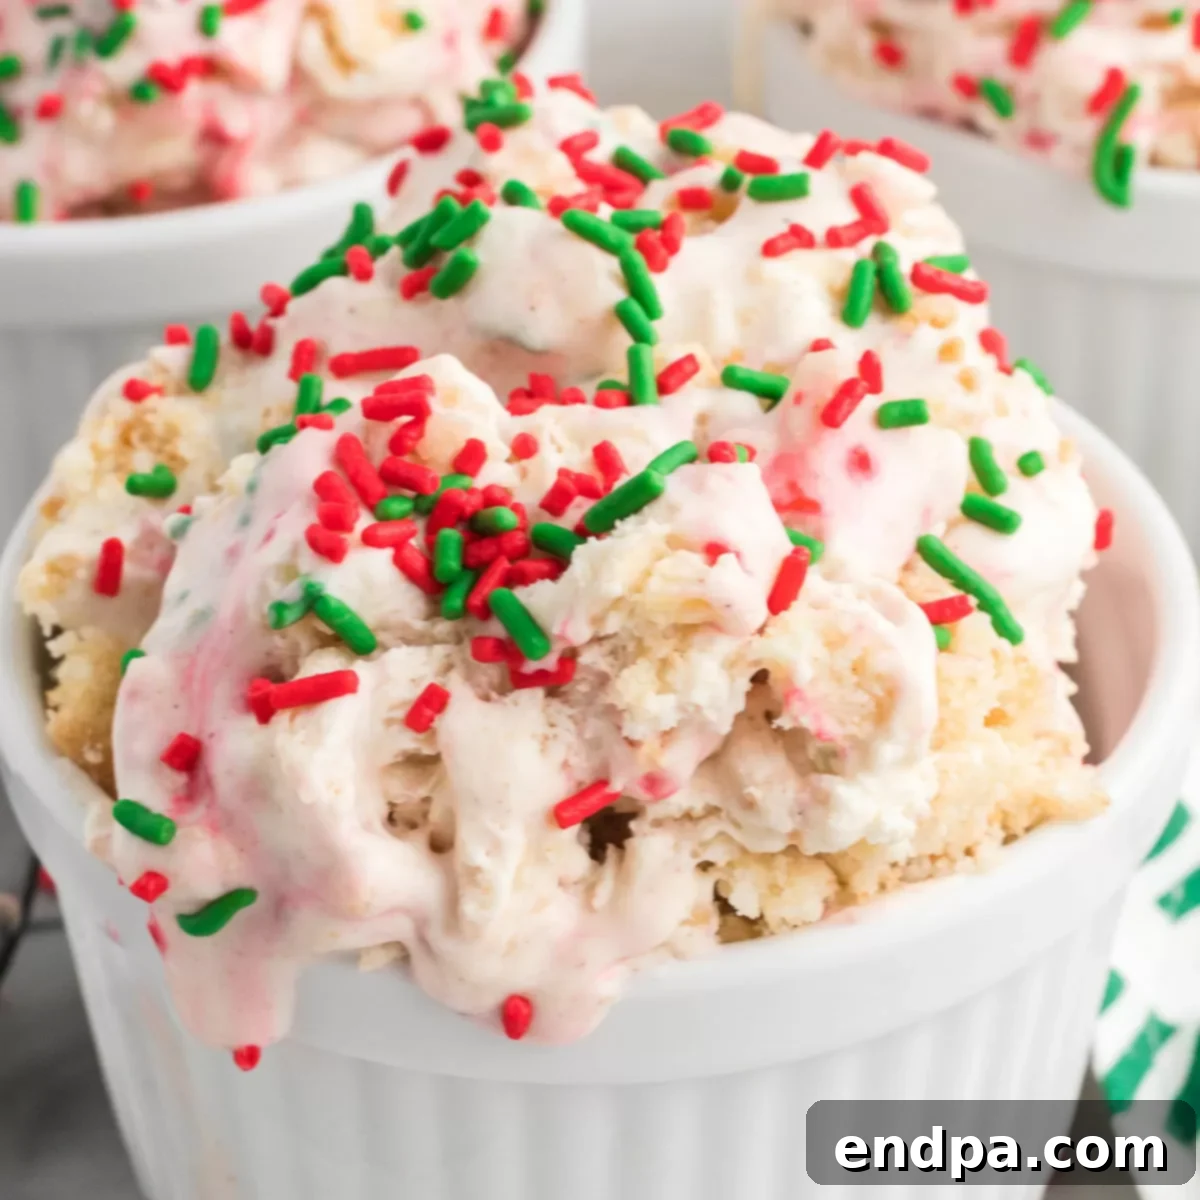
Christmas Ice Cream is more than just a dessert; it’s a delightful celebration of the holiday season, perfectly captured in every creamy, vibrant scoop. This incredibly easy no-churn recipe brings together the comforting flavors of holiday cookies, the luxurious sweetness of white chocolate, and a medley of other festive ingredients, promising a dessert experience that is both simple to make and irresistibly delicious. Say goodbye to complicated machinery and hello to a homemade treat packed with genuine holiday cheer.
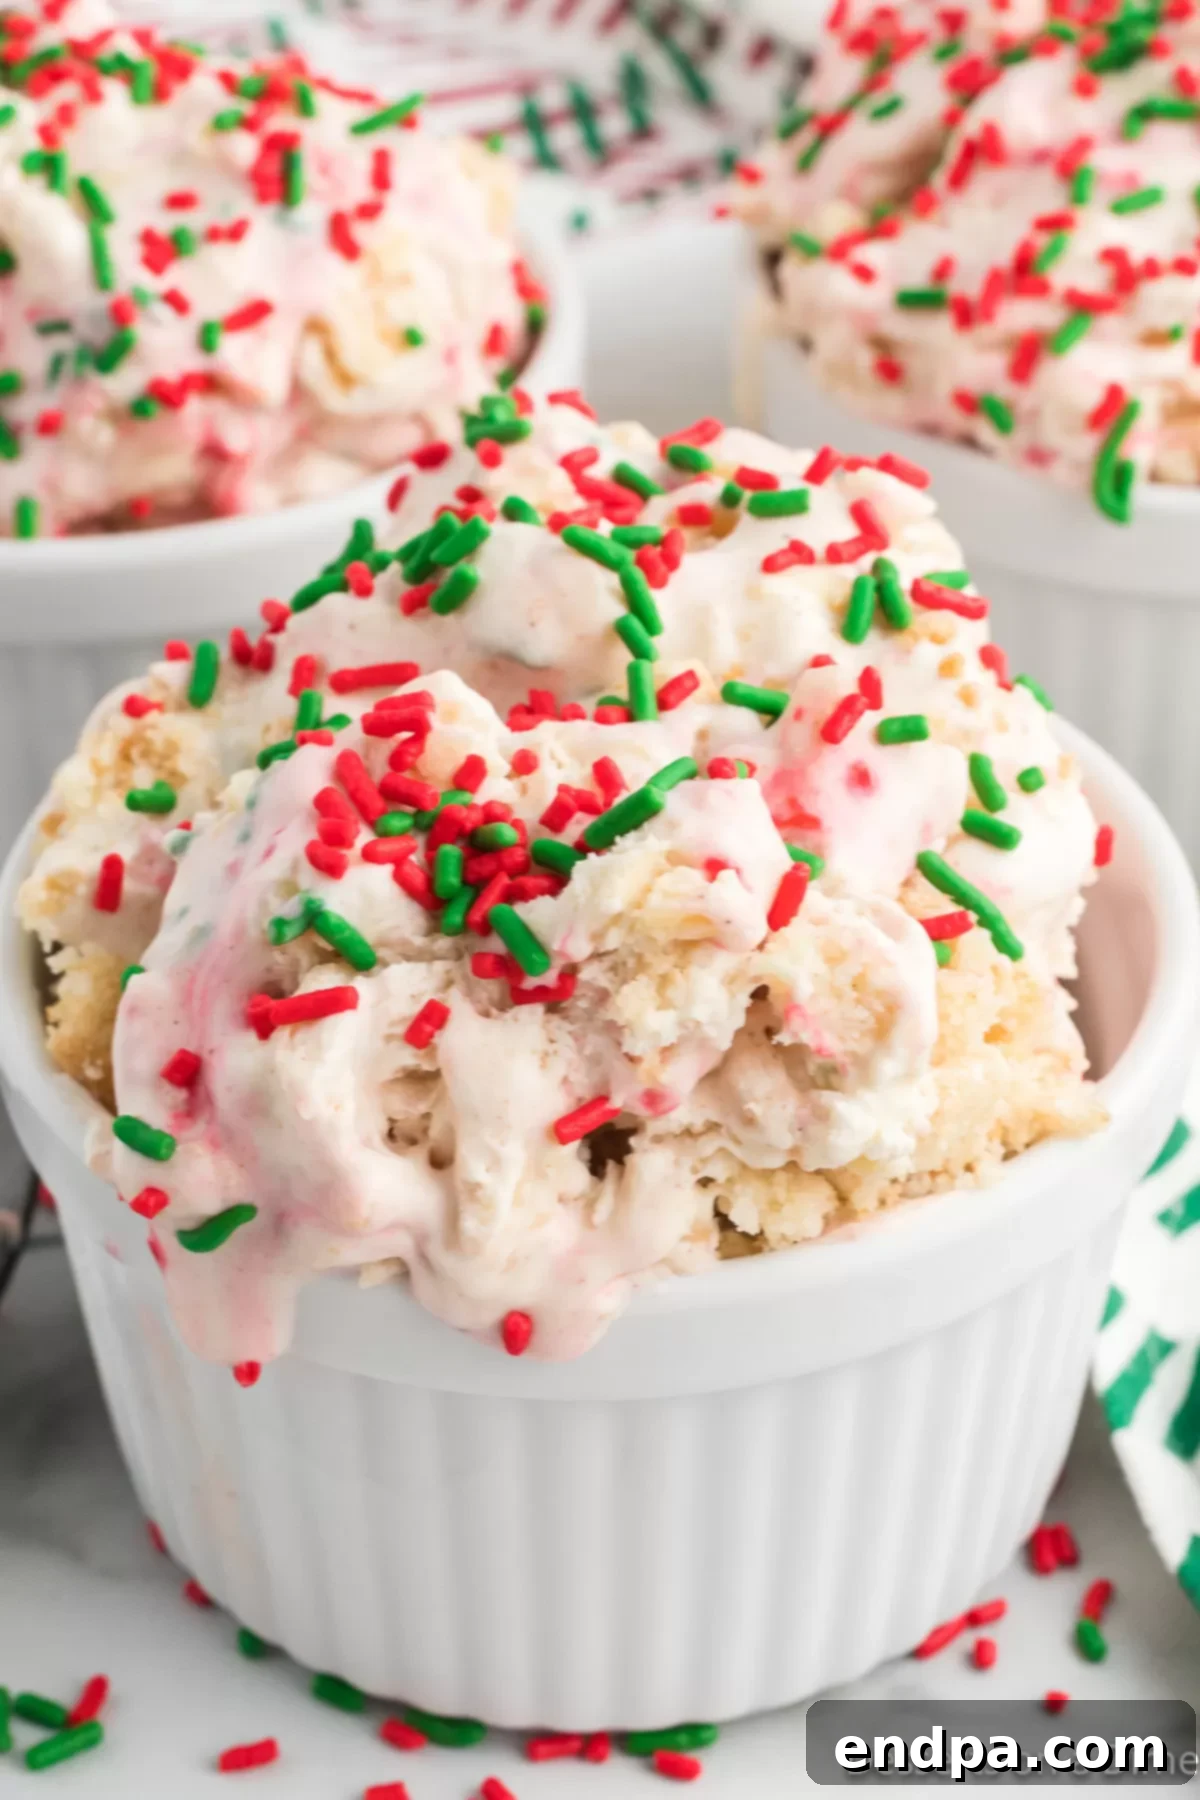
Tired of searching for limited-edition, seasonal ice cream flavors that disappear too quickly? With this super easy Christmas Cookie Ice Cream recipe, you don’t need an expensive ice cream maker to create a dessert that tastes like it came straight from a gourmet parlor. This method relies on just a few simple ingredients, transforming them into a rich, velvety treat that will impress everyone.
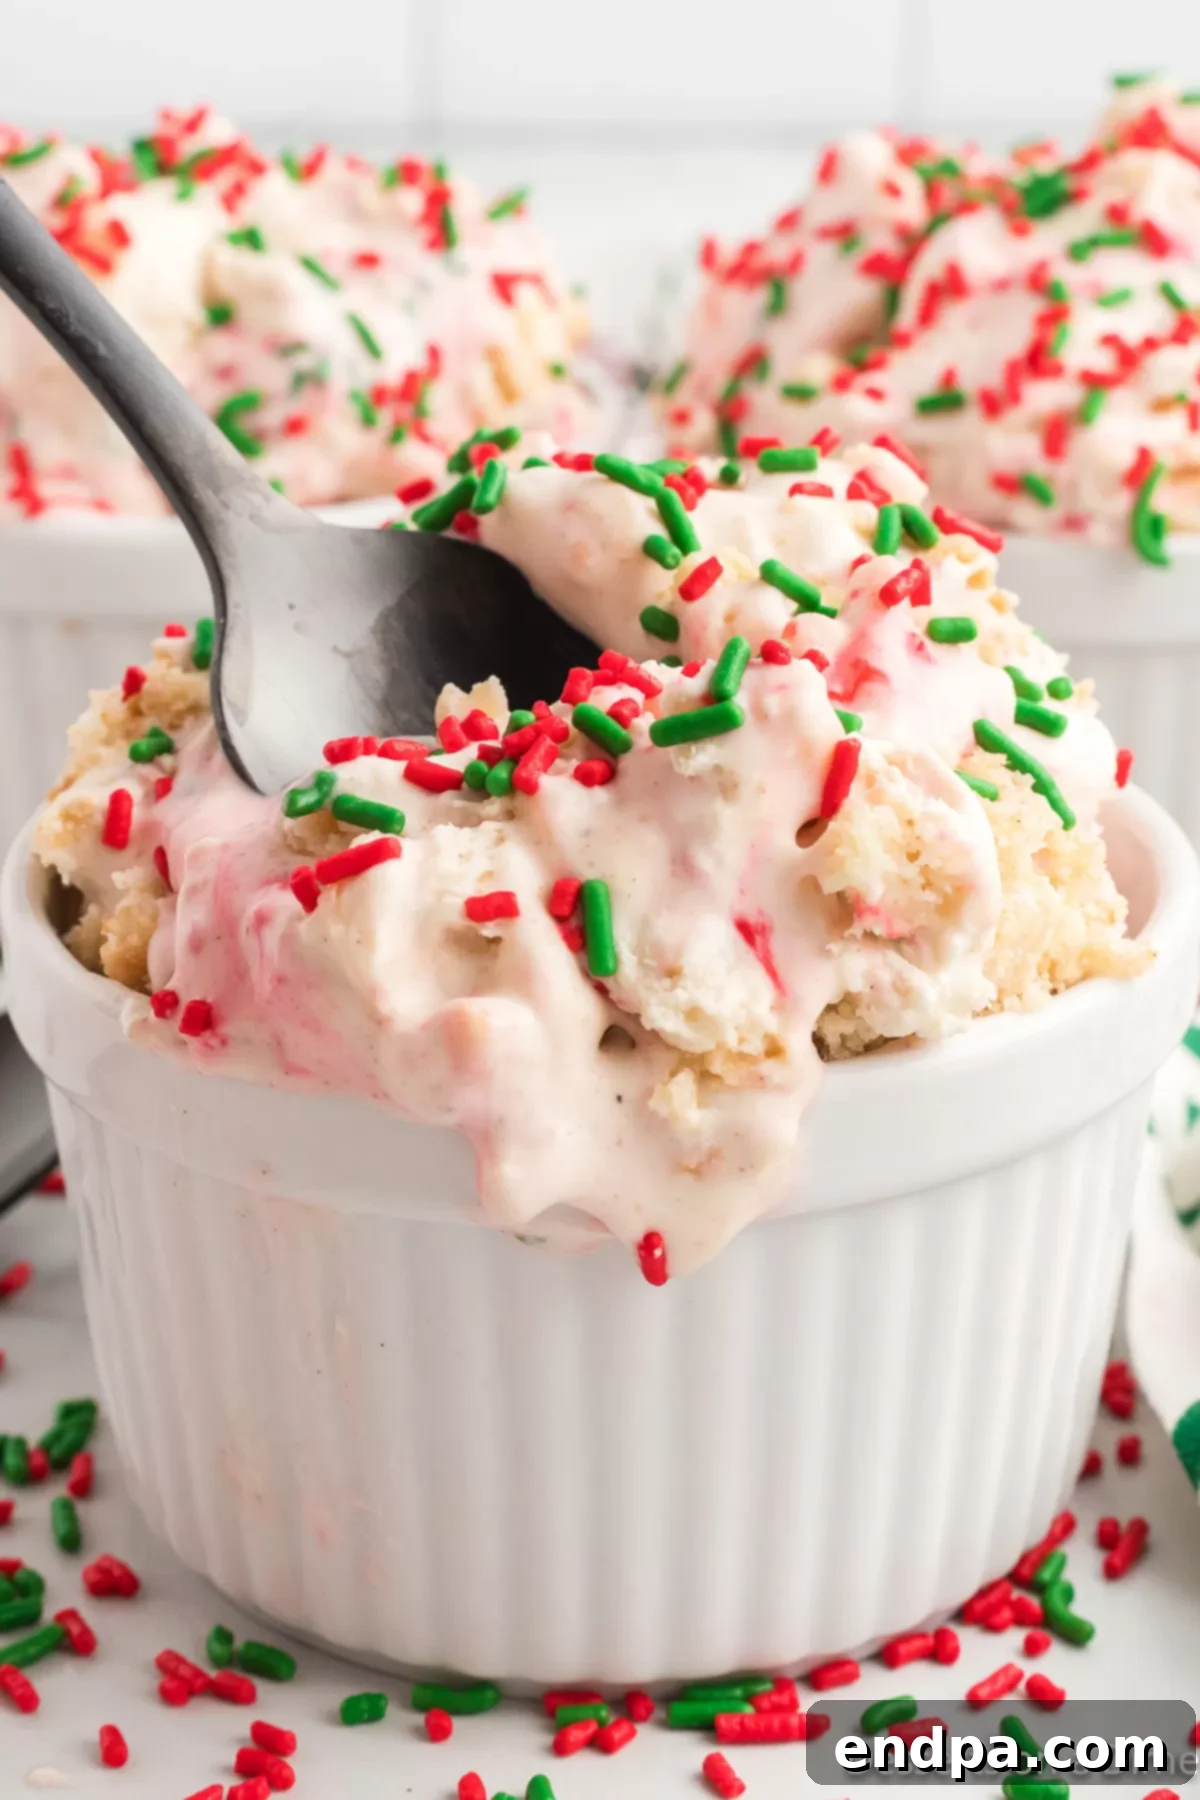
Each generous scoop of this festive creation is a gorgeous blend of red and green hues, making it a stunning centerpiece for any holiday feast. The vibrant sprinkles and creamy texture make it an instant hit, perfectly embodying the joyous spirit of Christmas. Its simplicity means you’ll have plenty of time to enjoy other holiday activities, or even whip up more festive delights!
Imagine effortlessly crafting this delicious ice cream, leaving you with ample time to prepare other beloved holiday treats. Complement your dessert table with crowd-pleasers like Christmas Tree Rice Krispie Treats, a crunchy Christmas Crunch Recipe, whimsical Grinch Cupcakes, or a platter of the Best 25 Cookies for Santa. For a delightful morning, consider serving up some creative Christmas Pancake Ideas alongside your frozen dessert.
Table of Contents
- Why You’ll Adore This Christmas Ice Cream
- Essential Ingredients for Perfection
- Creative Variations to Explore
- Step-by-Step Guide to No-Churn Bliss
- Expert Tips for the Best Results
- Storage Recommendations for Freshness
- Discover More No-Churn Ice Cream Recipes
Why You’ll Adore This Christmas Ice Cream
What makes this Christmas ice cream truly special? It all starts with a luxurious, rich vanilla ice cream base, the perfect canvas for holiday indulgence. Into this creamy foundation, we generously fold crumbled sugar cookies, adding a wonderful texture and that classic holiday cookie flavor. Intertwined within the sugar cookie ice cream are delicate chunks of white chocolate, melting subtly on the tongue and adding another layer of exquisite sweetness.
But the festive appeal doesn’t stop there. A generous scattering of vibrant red and green sprinkles transforms this homemade no-churn ice cream into a visually stunning dessert, ready to grace any holiday party or family gathering. The combination of creamy, crunchy, sweet, and spiced elements creates a harmonious flavor profile that is utterly irresistible. While it might evoke fond memories of treats like Little Debbie Christmas Tree Cakes ice cream, this homemade version offers the unparalleled freshness and customizable goodness of a recipe made with love, centered around the beloved sugar cookie.
The ease of preparation, coupled with its impressive taste and appearance, makes this recipe a true holiday gem. It’s perfect for busy hosts who want to offer a spectacular dessert without spending hours in the kitchen. Make it ahead of time, stash it in the freezer, and pull it out when you’re ready to serve a slice of Christmas magic.
Essential Ingredients for Perfection
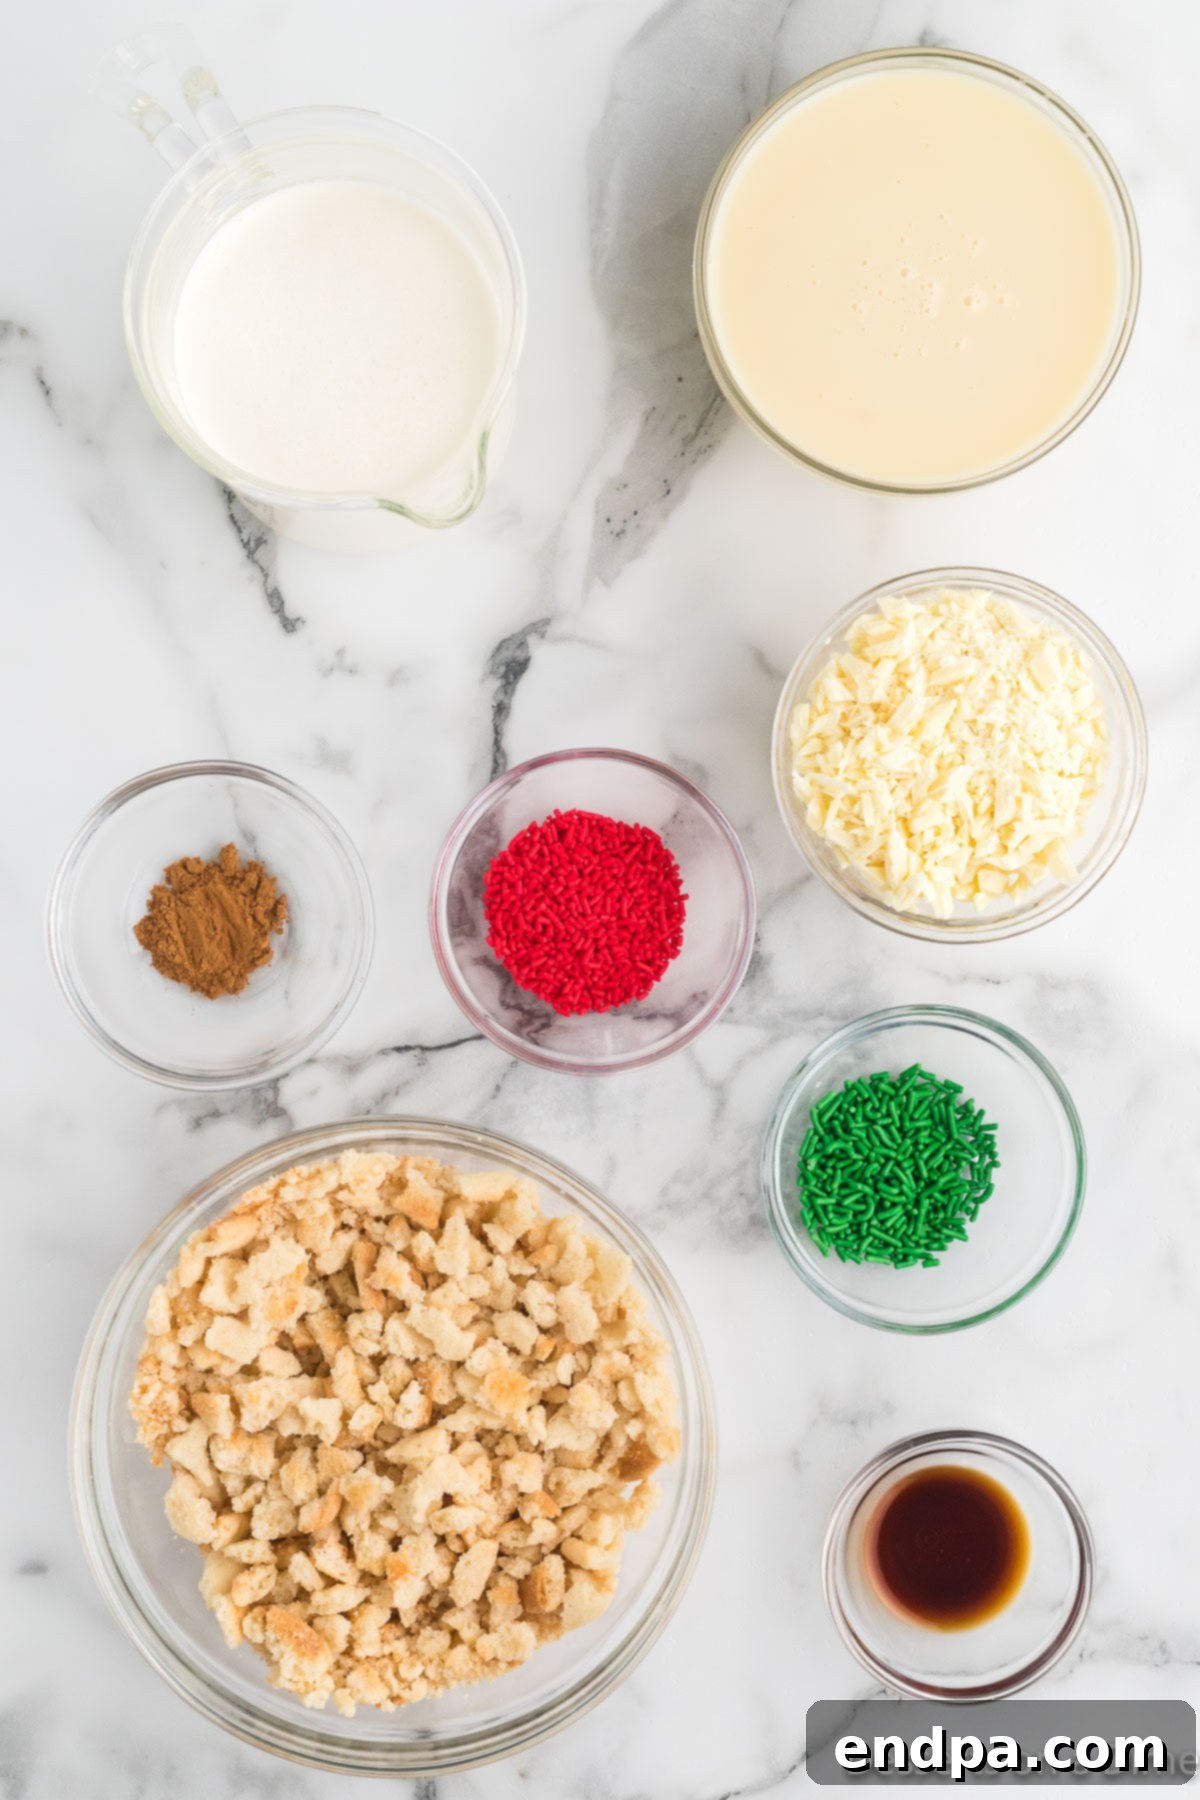
Crafting this delightful no-churn Christmas Ice Cream requires only a handful of readily available ingredients. Each component plays a crucial role in achieving the rich flavor and smooth texture that makes this dessert so irresistible:
- Heavy Whipping Cream: This is the foundation of our creamy ice cream. Ensure it is thoroughly chilled before use, as cold cream whips up faster and to a more stable consistency, creating the airy volume needed for a light yet rich ice cream base.
- Sweetened Condensed Milk: The magic ingredient for no-churn ice cream! It provides the perfect balance of sweetness and a velvety texture without the need for an ice cream maker. Its thick consistency helps prevent ice crystals from forming, ensuring a smooth, delightful scoop every time.
- Pure Vanilla Extract: A touch of high-quality pure vanilla extract elevates all the other flavors, adding a warm, aromatic depth that is essential for any classic dessert. Avoid imitation vanilla for the best results.
- Ground Cinnamon: This subtle spice is a game-changer, enhancing the overall holiday flavor profile of the ice cream. It adds a gentle warmth and complexity that perfectly complements the cookies and chocolate, truly capturing the essence of Christmas.
- Sugar Cookies: The star of the show! Crumbled sugar cookies integrate beautifully into the ice cream, providing delightful bursts of chewiness and sweetness. For optimal flavor and texture, use plain sugar cookies without frosting. You can use your favorite homemade sugar cookies or high-quality store-bought versions for convenience.
- White Chocolate: Finely chopped white chocolate melts into creamy pockets throughout the ice cream, offering a luxurious contrast to the cookie pieces. Its sweet, buttery notes are a wonderful addition to the festive blend.
- Red Jimmie Sprinkles and Green Jimmie Sprinkles: These classic holiday sprinkles are not just for decoration! Jimmie sprinkles are specifically recommended because they are designed not to bleed their colors into the ice cream mixture, ensuring your dessert maintains its beautiful, distinct red and green layers for a picture-perfect presentation.
The precise measurements for these ingredients can be found in the comprehensive recipe card located at the bottom of this page, ensuring you have everything you need for a successful batch.
Creative Variations to Explore
While the classic Christmas Ice Cream is phenomenal on its own, this versatile no-churn base is perfect for experimentation! Feel free to customize it with your favorite flavors and textures to create a truly unique holiday treat. Here are a few exciting variations to inspire your culinary creativity:
- Chocolate Chip Extravaganza: For the ultimate chocolate lover, toss in a generous handful of chocolate chips along with the white chocolate. You can use classic milk chocolate chips for a familiar sweetness, rich dark chocolate chips for a deeper flavor, or even a mix of all three for a truly decadent “Holiday Cookies Chocolate Chip” variation. The different chocolates will add contrasting textures and intensify the chocolatey goodness.
- Spiced Snickerdoodle & Chocolate Chip Delight: Elevate the cookie base by substituting half or all of the sugar cookies with crumbled Snickerdoodle cookies. The warm cinnamon and sugar coating of Snickerdoodles will infuse the ice cream with an extra layer of cozy holiday spice. To make it even more irresistible, add chocolate chips to this variation as well. Everyone will adore this “Chocolate Chip Snickerdoodle and Sugar Cookie Ice Cream” for its complex flavors and delightful texture blend.
- Peppermint Candy Cane Crunch: For a refreshing and classic Christmas twist, omit the ground cinnamon and instead, fold in crushed candy canes or peppermint candies during the final mixing step. A touch of peppermint extract can also be added for an intensified flavor. The vibrant red and white flecks and the cool minty crunch will make this variation a holiday favorite.
- Gingerbread Dream: Substitute the sugar cookies with crumbled gingerbread cookies. The bold, spicy notes of ginger, cinnamon, cloves, and nutmeg from gingerbread will create a wonderfully aromatic and deeply flavored ice cream. You could also swirl in a bit of molasses or gingerbread syrup for an even richer taste.
- Nutty Festive Delight: Add a delightful crunch and nutty flavor by folding in toasted chopped pecans, walnuts, or almonds along with the cookies and chocolate. These nuts complement the holiday flavors beautifully and add a satisfying textural contrast.
- Caramel Swirl Indulgence: Create beautiful ribbons of gooey caramel throughout your ice cream by gently swirling in a generous amount of homemade or store-bought caramel sauce after you’ve layered the mixture into the loaf pan. This adds a rich, buttery depth that pairs wonderfully with the cookies and chocolate.
- Dried Fruit & Spice Blend: For a more sophisticated twist, consider adding finely chopped dried cranberries, cherries, or candied orange peel. These fruits provide a burst of tangy sweetness and vibrant color, especially when combined with a hint of orange zest or extra cinnamon.
Don’t be afraid to mix and match these ideas to create your signature Christmas ice cream. The possibilities are truly endless!
Step-by-Step Guide to No-Churn Bliss
Making this festive Christmas ice cream is surprisingly simple and requires no special skills or equipment. Just follow these easy steps to create a homemade holiday masterpiece:
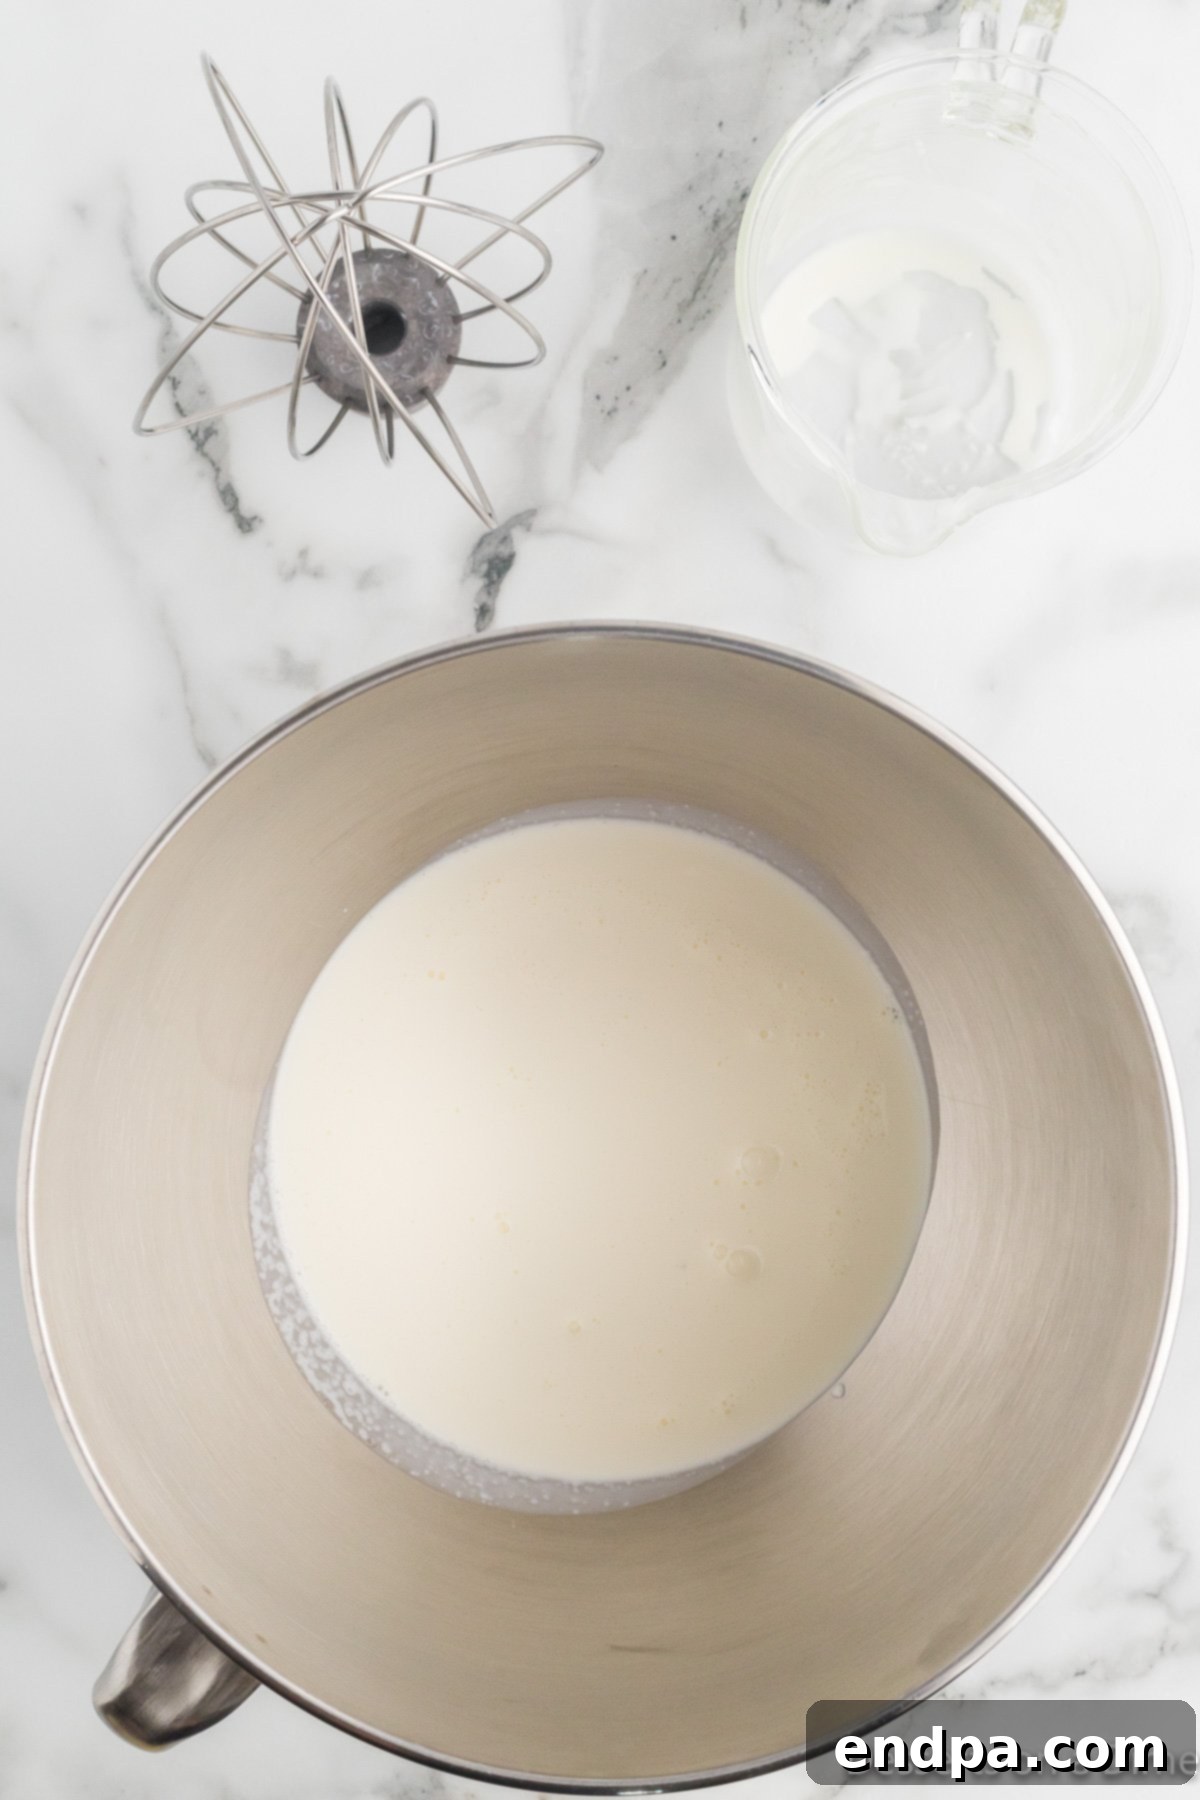
Step 1. Begin by beating the heavy cream. Pour the well-chilled heavy whipping cream into a large mixing bowl. Using either a hand mixer or a stand mixer fitted with the whisk attachment, beat the cream on medium-high speed until stiff peaks begin to form. This means when you lift the beaters, the cream should hold its shape firmly. This step is crucial for incorporating air and achieving a light, airy texture in your finished ice cream.
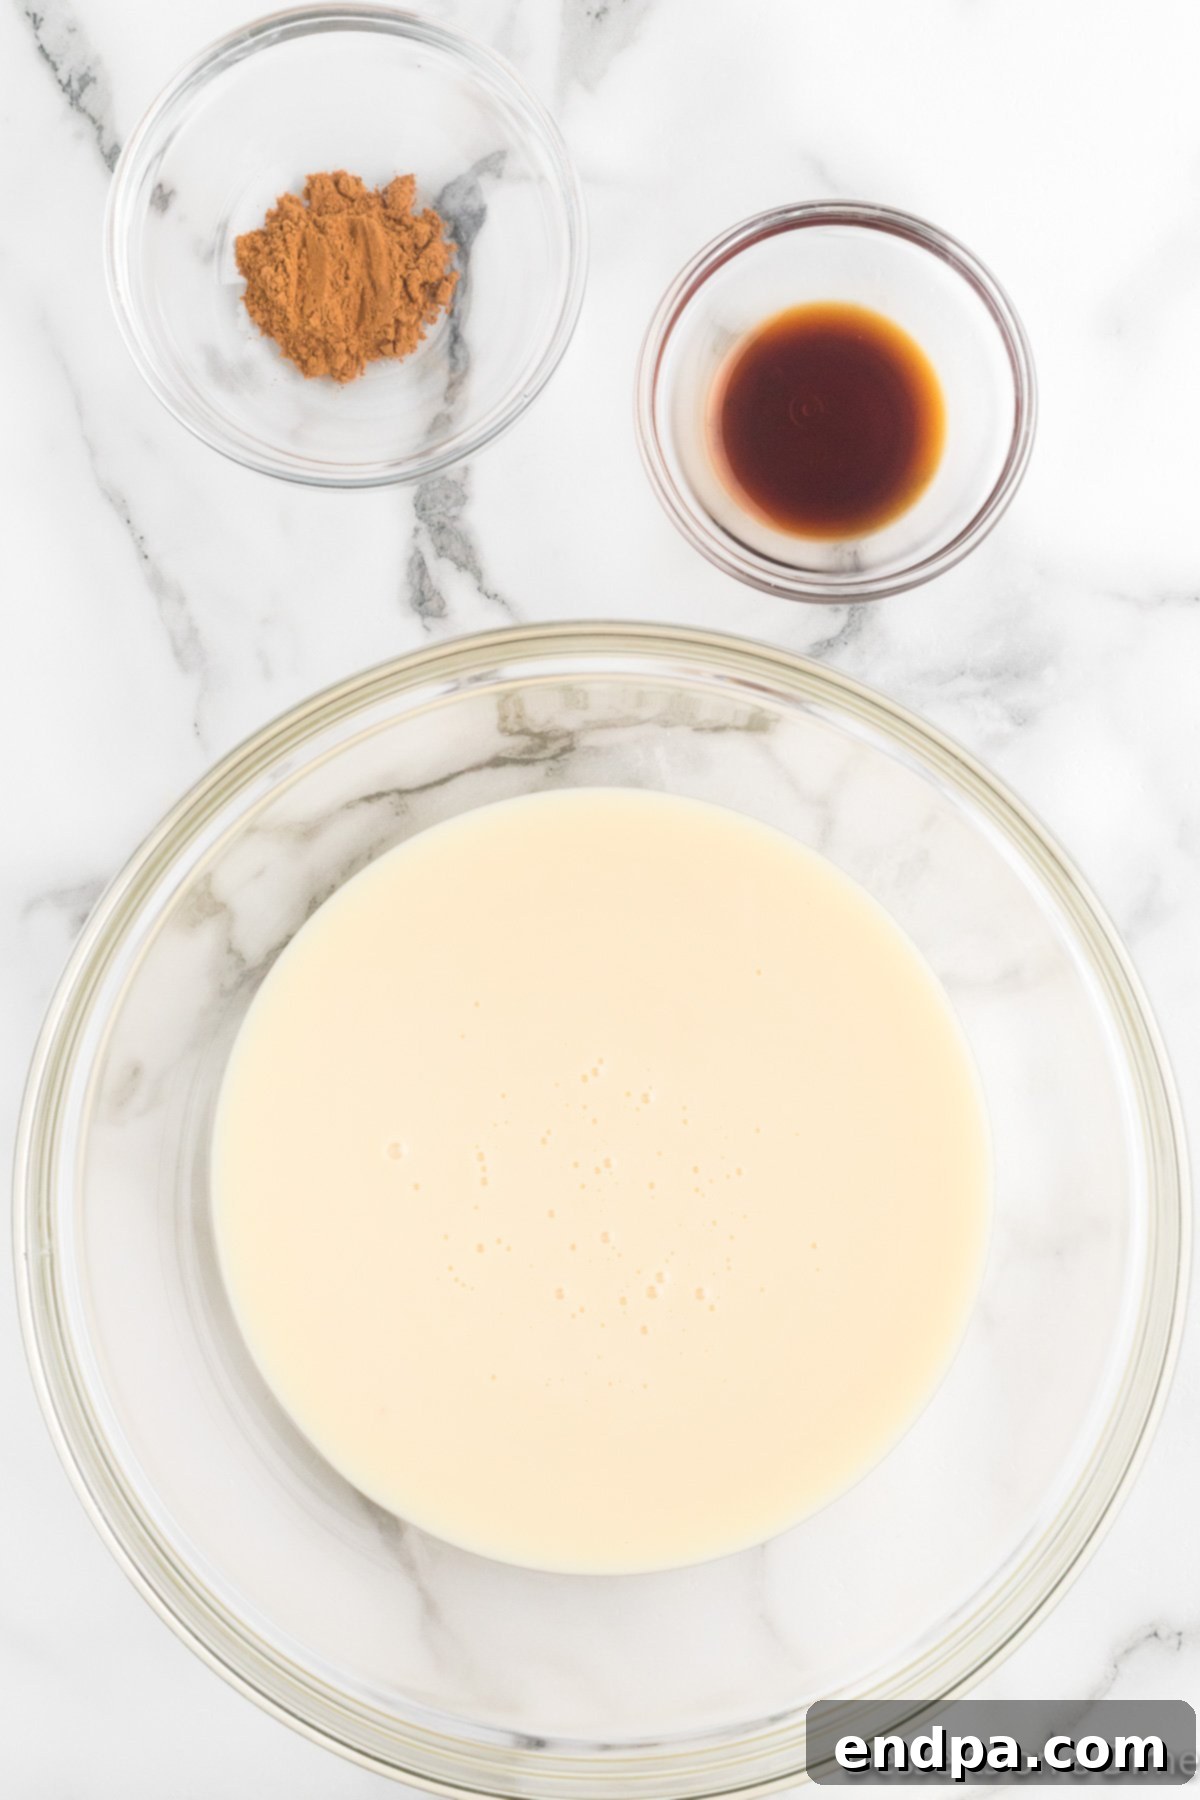
Step 2. In a separate, medium-sized mixing bowl, add the sweetened condensed milk. This will form the sweet, creamy base of your no-churn ice cream, providing both flavor and a luscious texture.
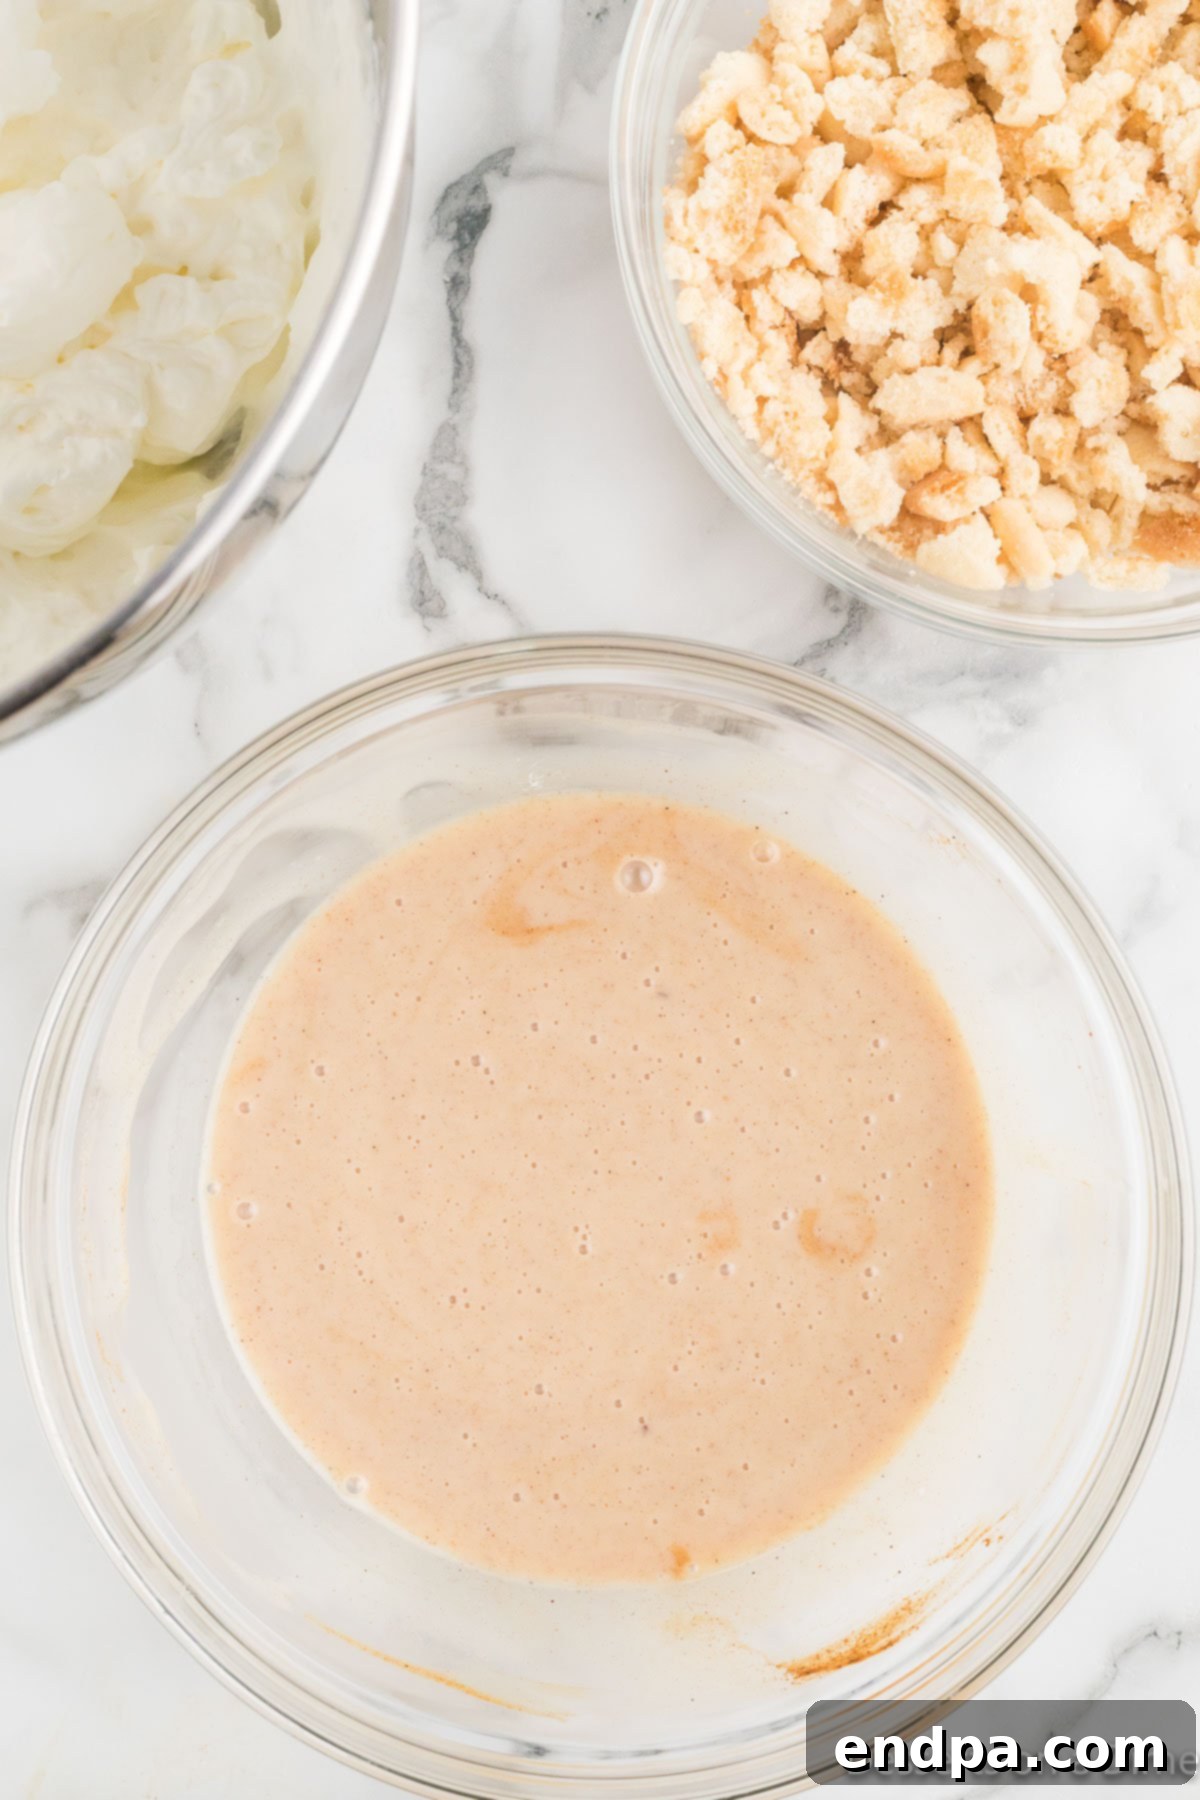
Step 3. To the bowl with the sweetened condensed milk, add the pure vanilla extract and the ground cinnamon. Stir these ingredients together until they are well combined and the mixture is smooth and fragrant. The cinnamon will begin to infuse the mixture with its signature holiday warmth.
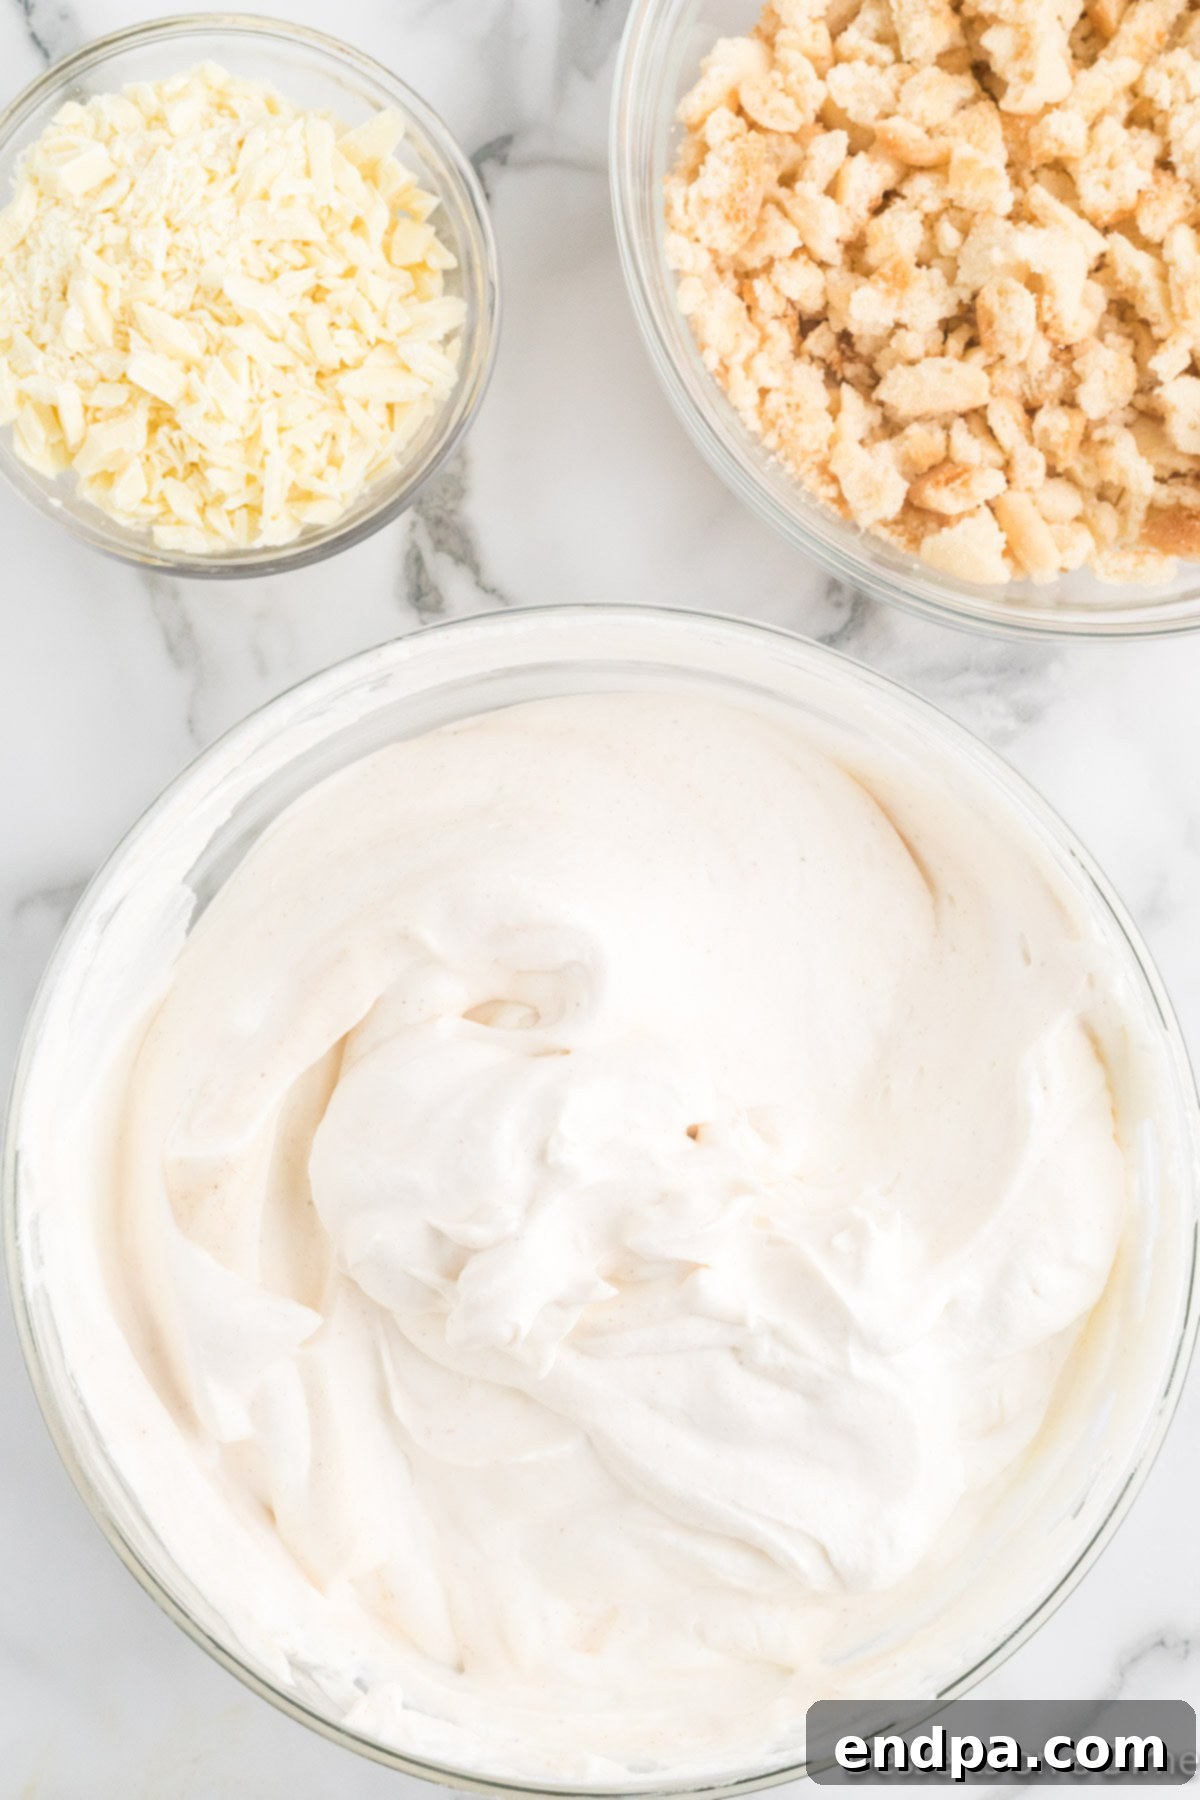
Step 4. Now, carefully fold the whipped cream into the sweetened condensed milk mixture. Use a rubber spatula and a gentle hand, folding until the two mixtures are just combined. Avoid overmixing, as this can deflate the whipped cream and result in a less airy ice cream. The goal is a light, uniform base.
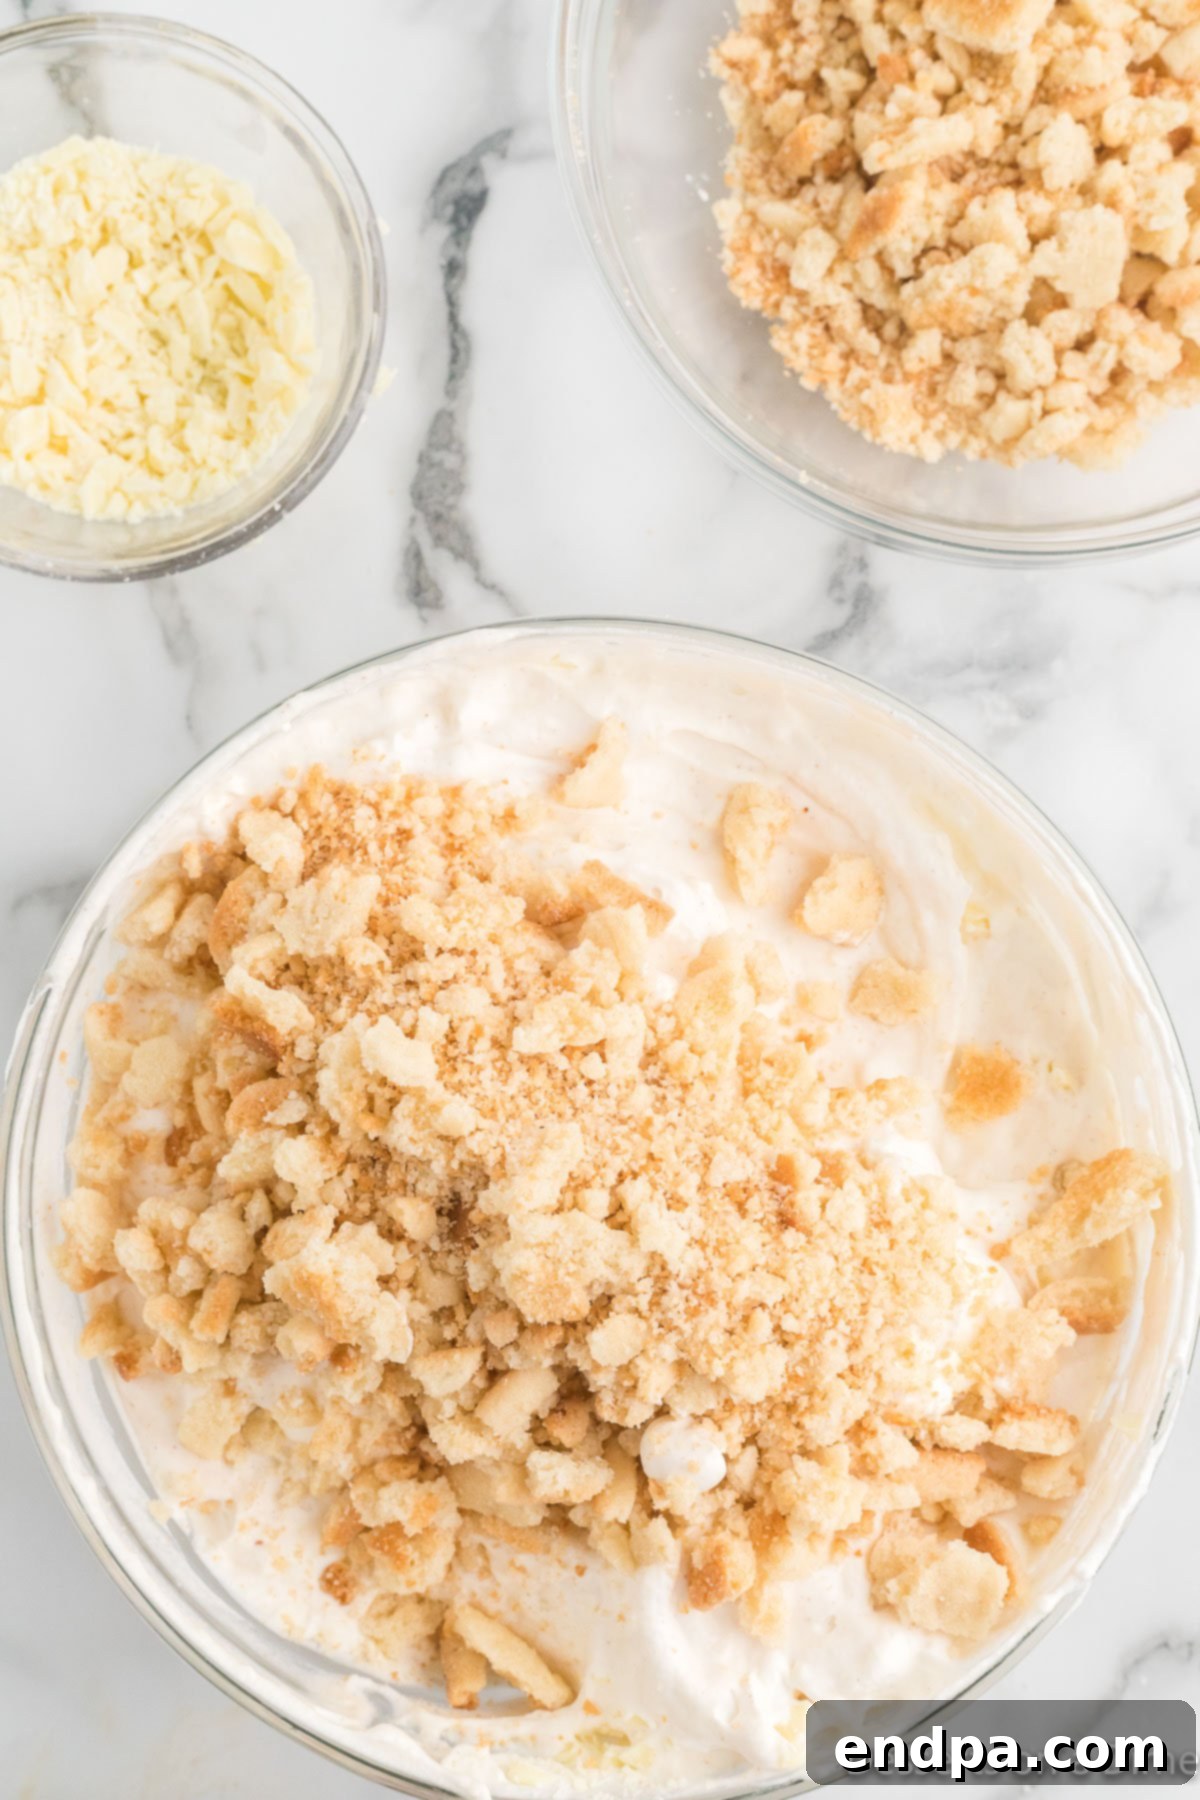
Step 5. Next, it’s time to add your festive mix-ins. Gently fold in the crumbled sugar cookies and the finely chopped white chocolate into the ice cream base. Ensure the cookies are broken into small, manageable pieces for even distribution throughout the mixture.
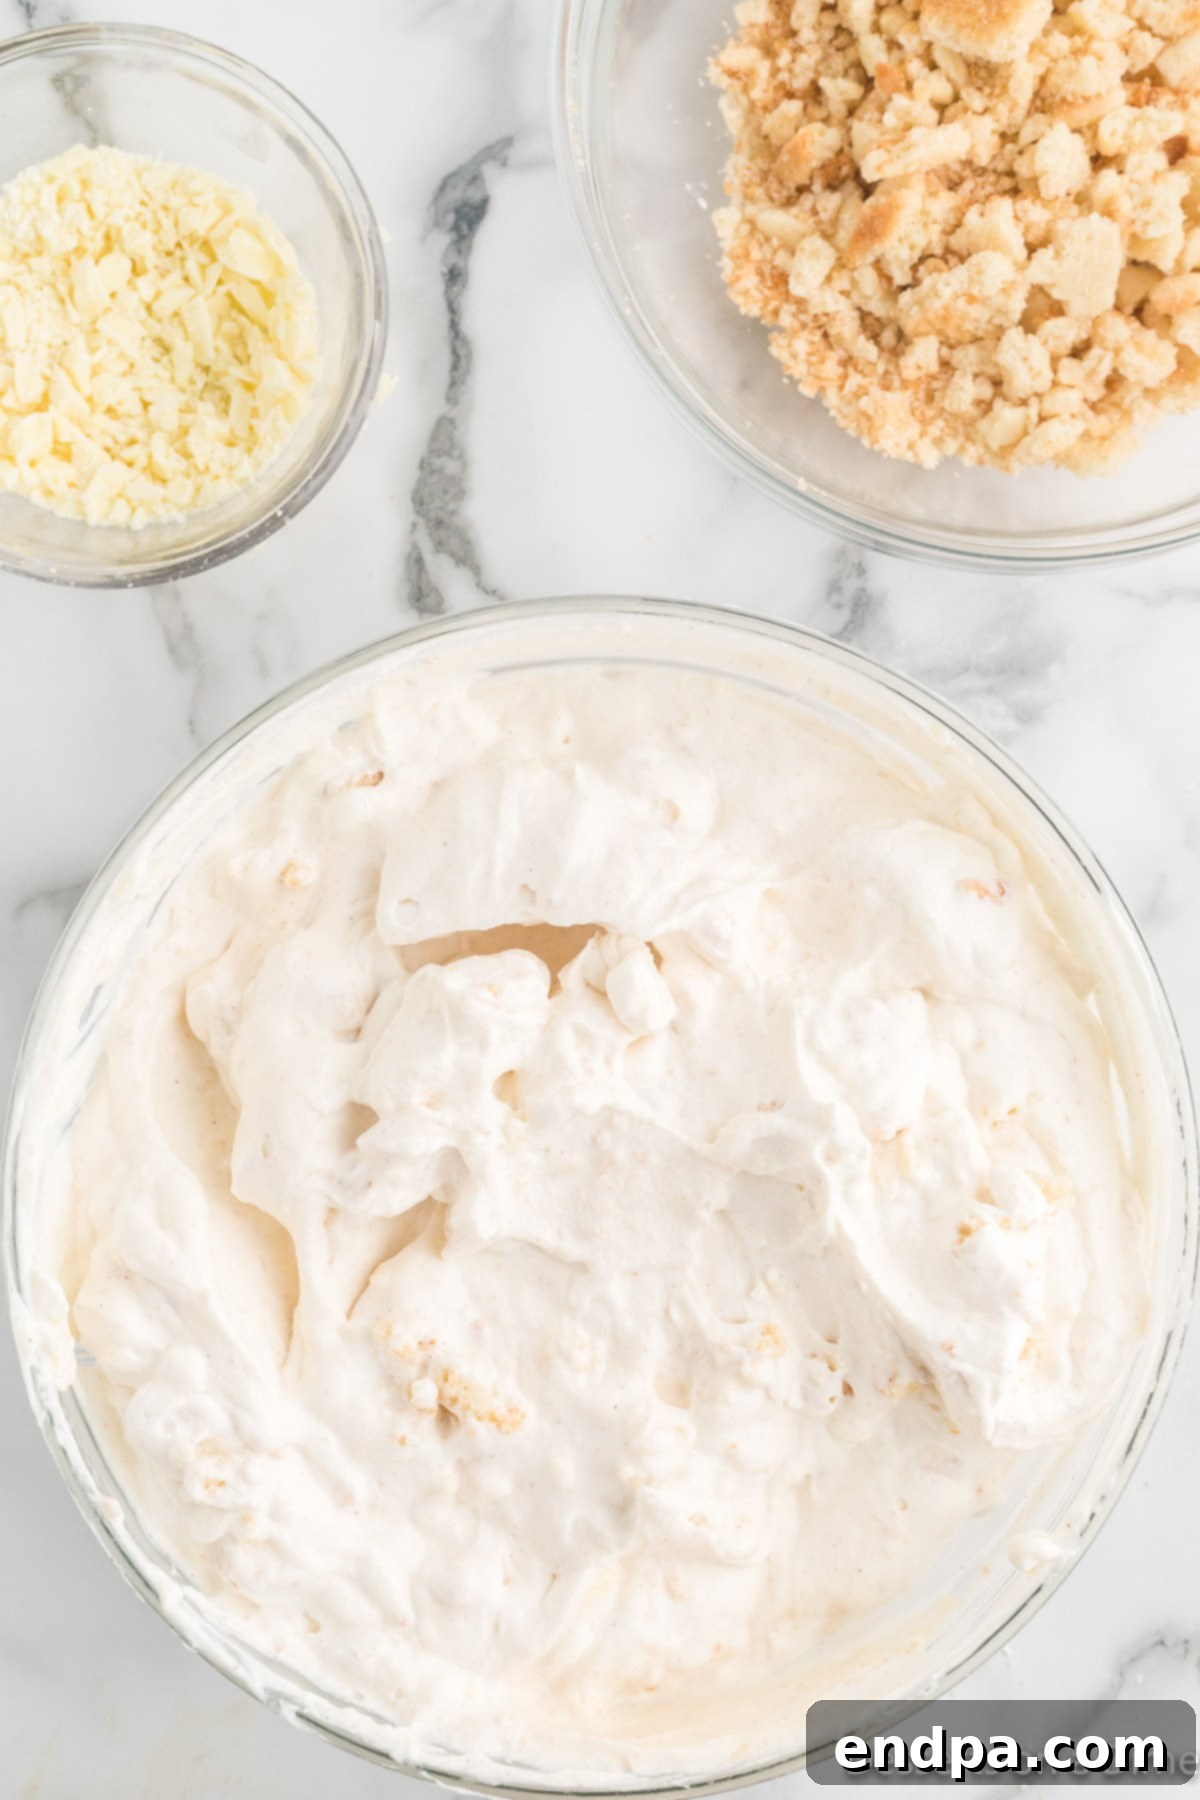
Step 6. Continue to fold the ingredients together until the cookies and white chocolate are evenly distributed throughout the creamy ice cream mixture. Be gentle to maintain the airy texture achieved from whipping the cream.
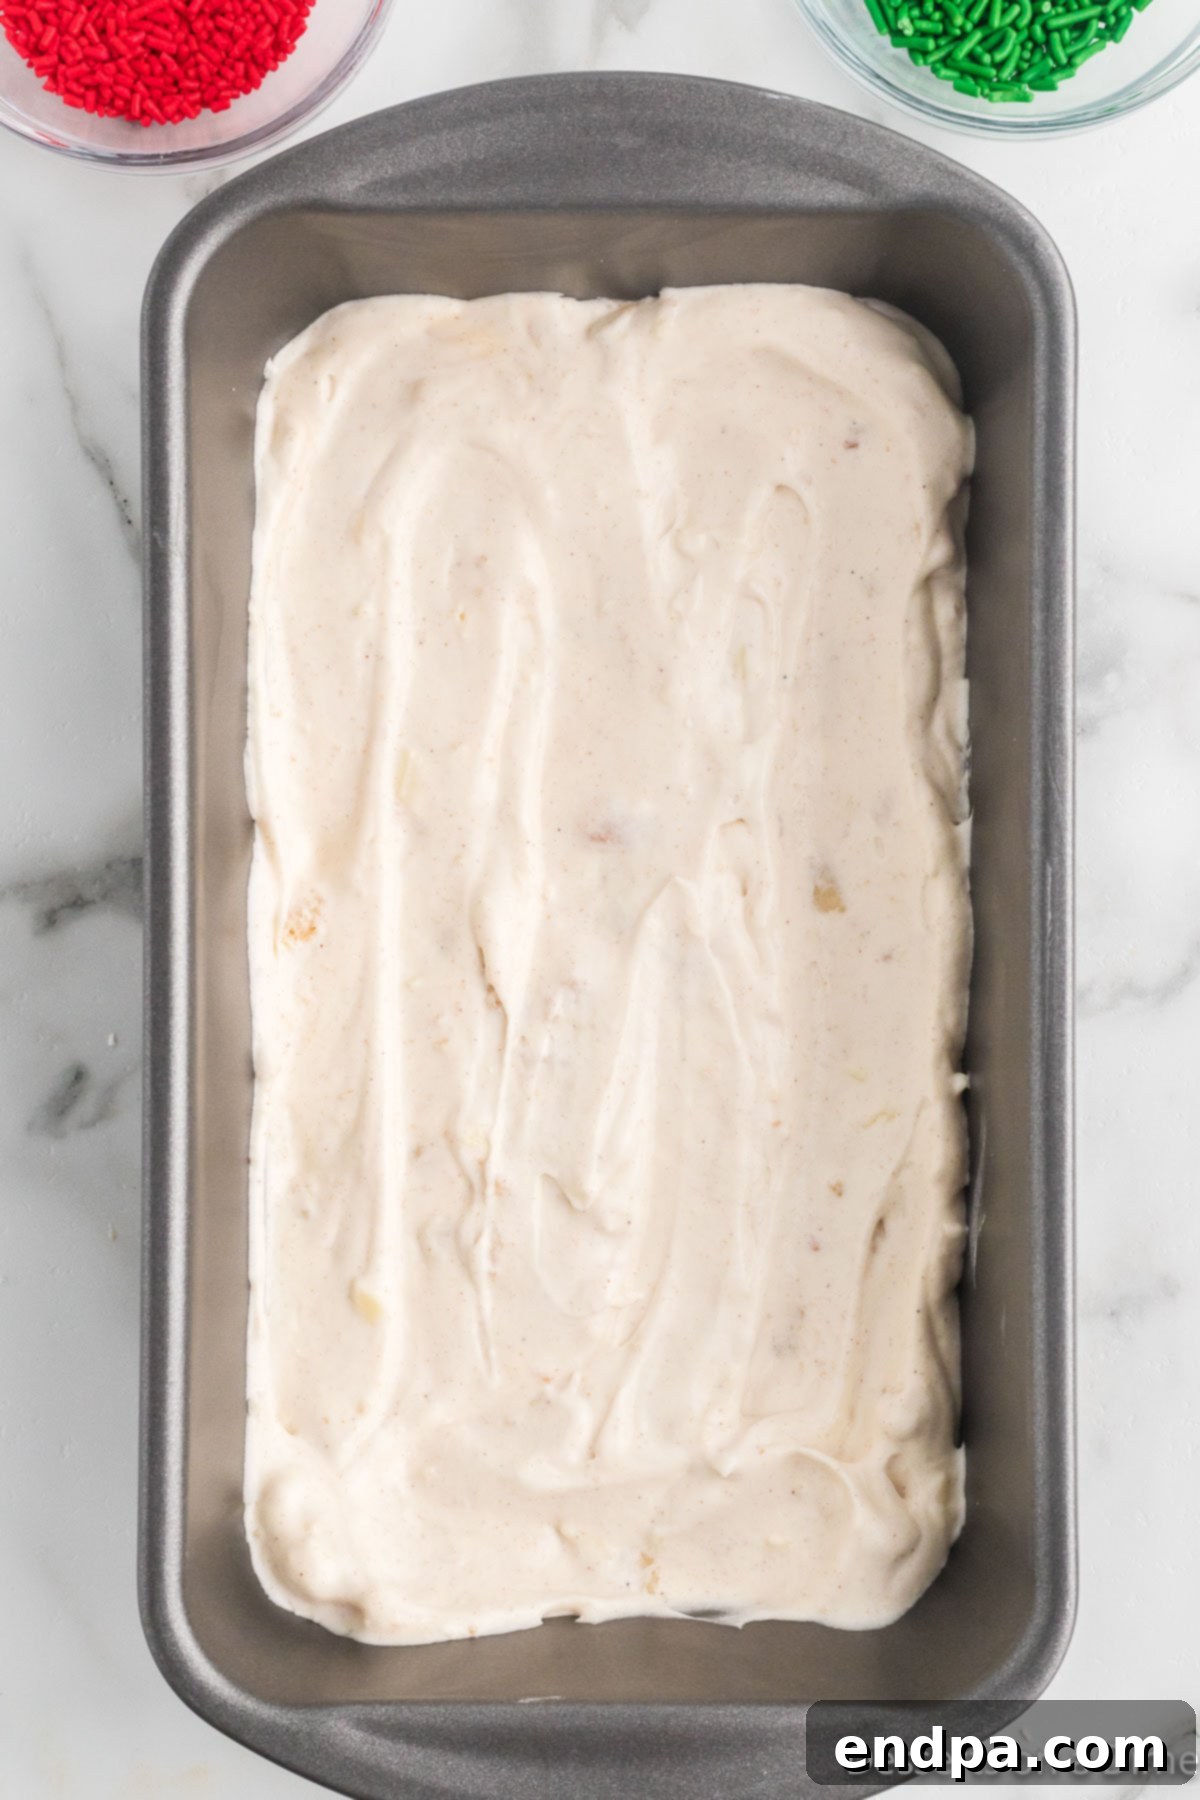
Step 7. Now for the artistic touch! Spread approximately one-third of your ice cream mixture evenly into a standard 9×5-inch loaf pan. Once the layer is smooth, generously sprinkle a portion of your festive red and green jimmie sprinkles over the top. This layering technique will ensure beautiful pockets of color and crunch throughout the ice cream.
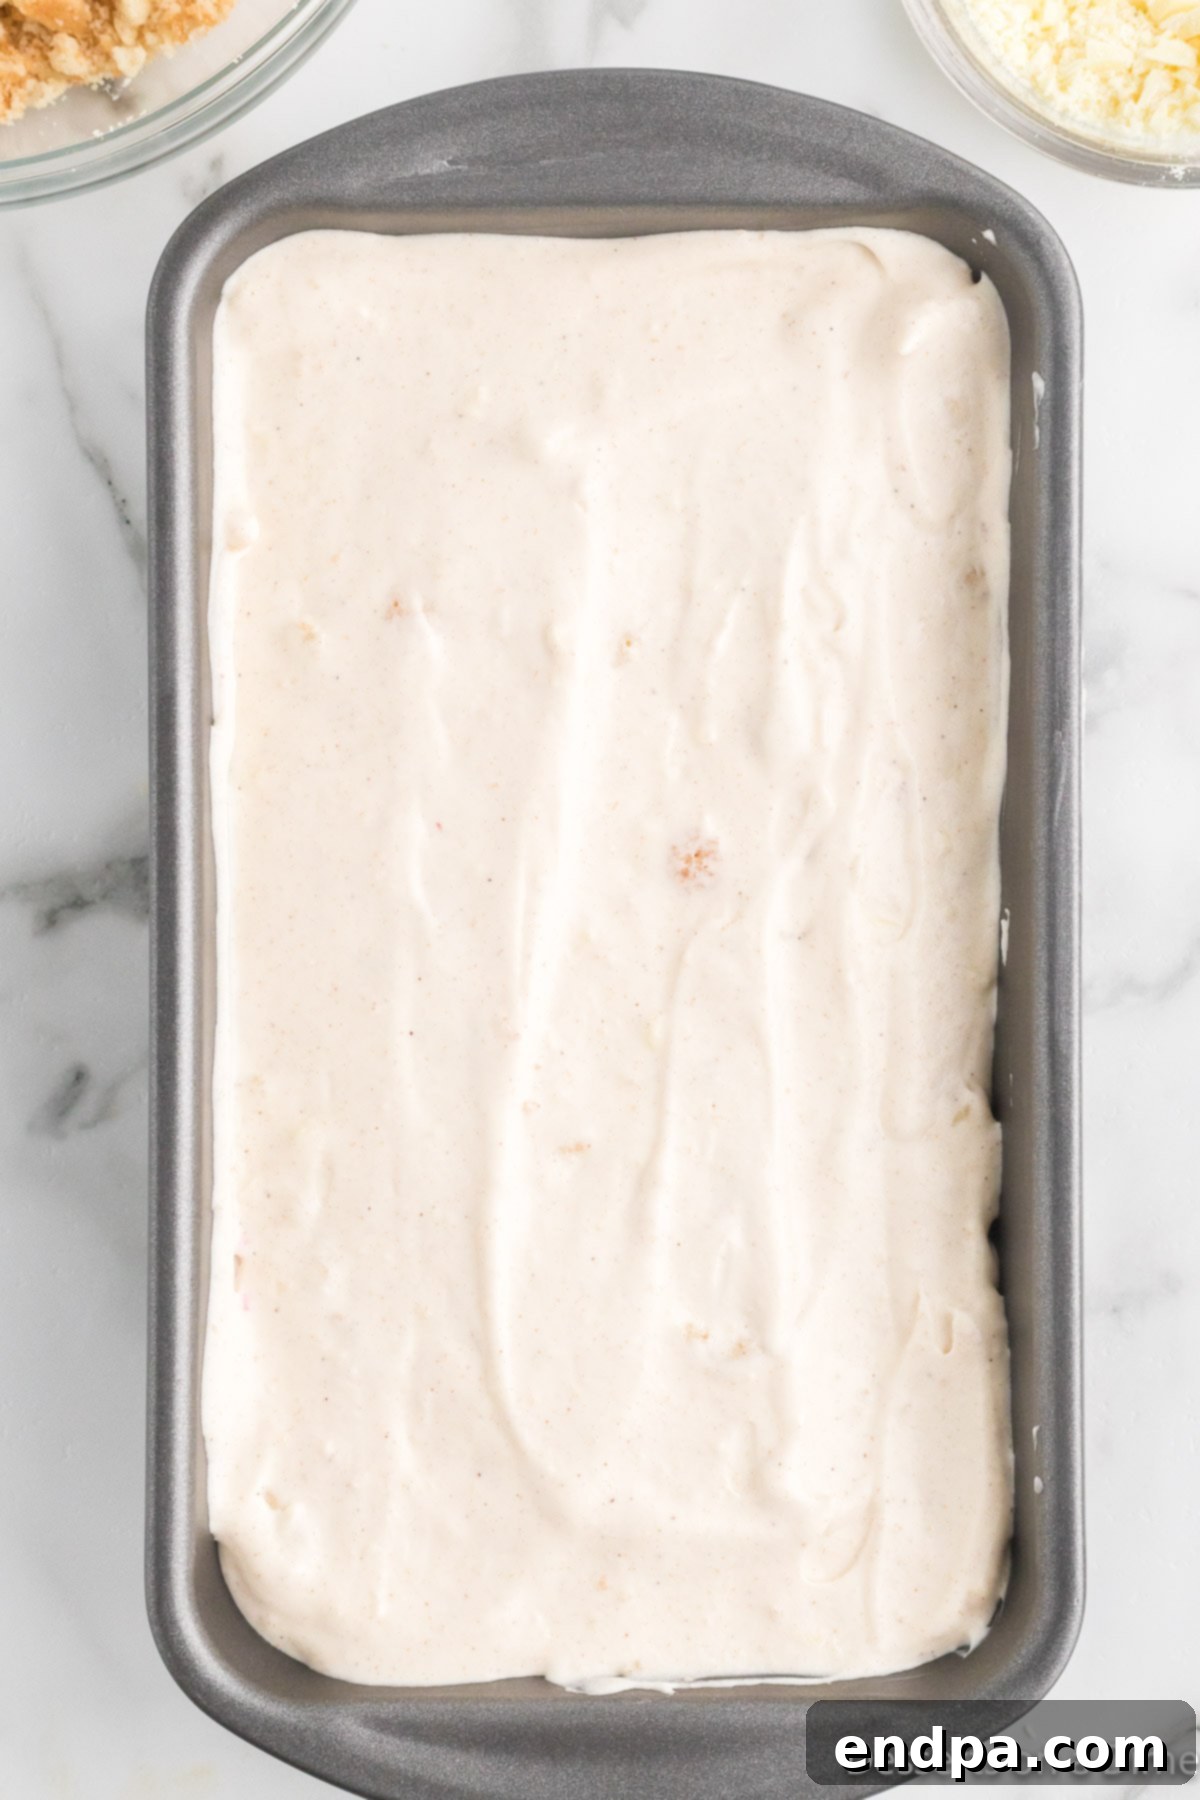
Step 8. Continue this layering process two more times. Add another third of the ice cream mixture, spread it out, and then top with another portion of sprinkles. Repeat one final time with the remaining ice cream and sprinkles, creating distinct, colorful layers that will be revealed when you scoop.
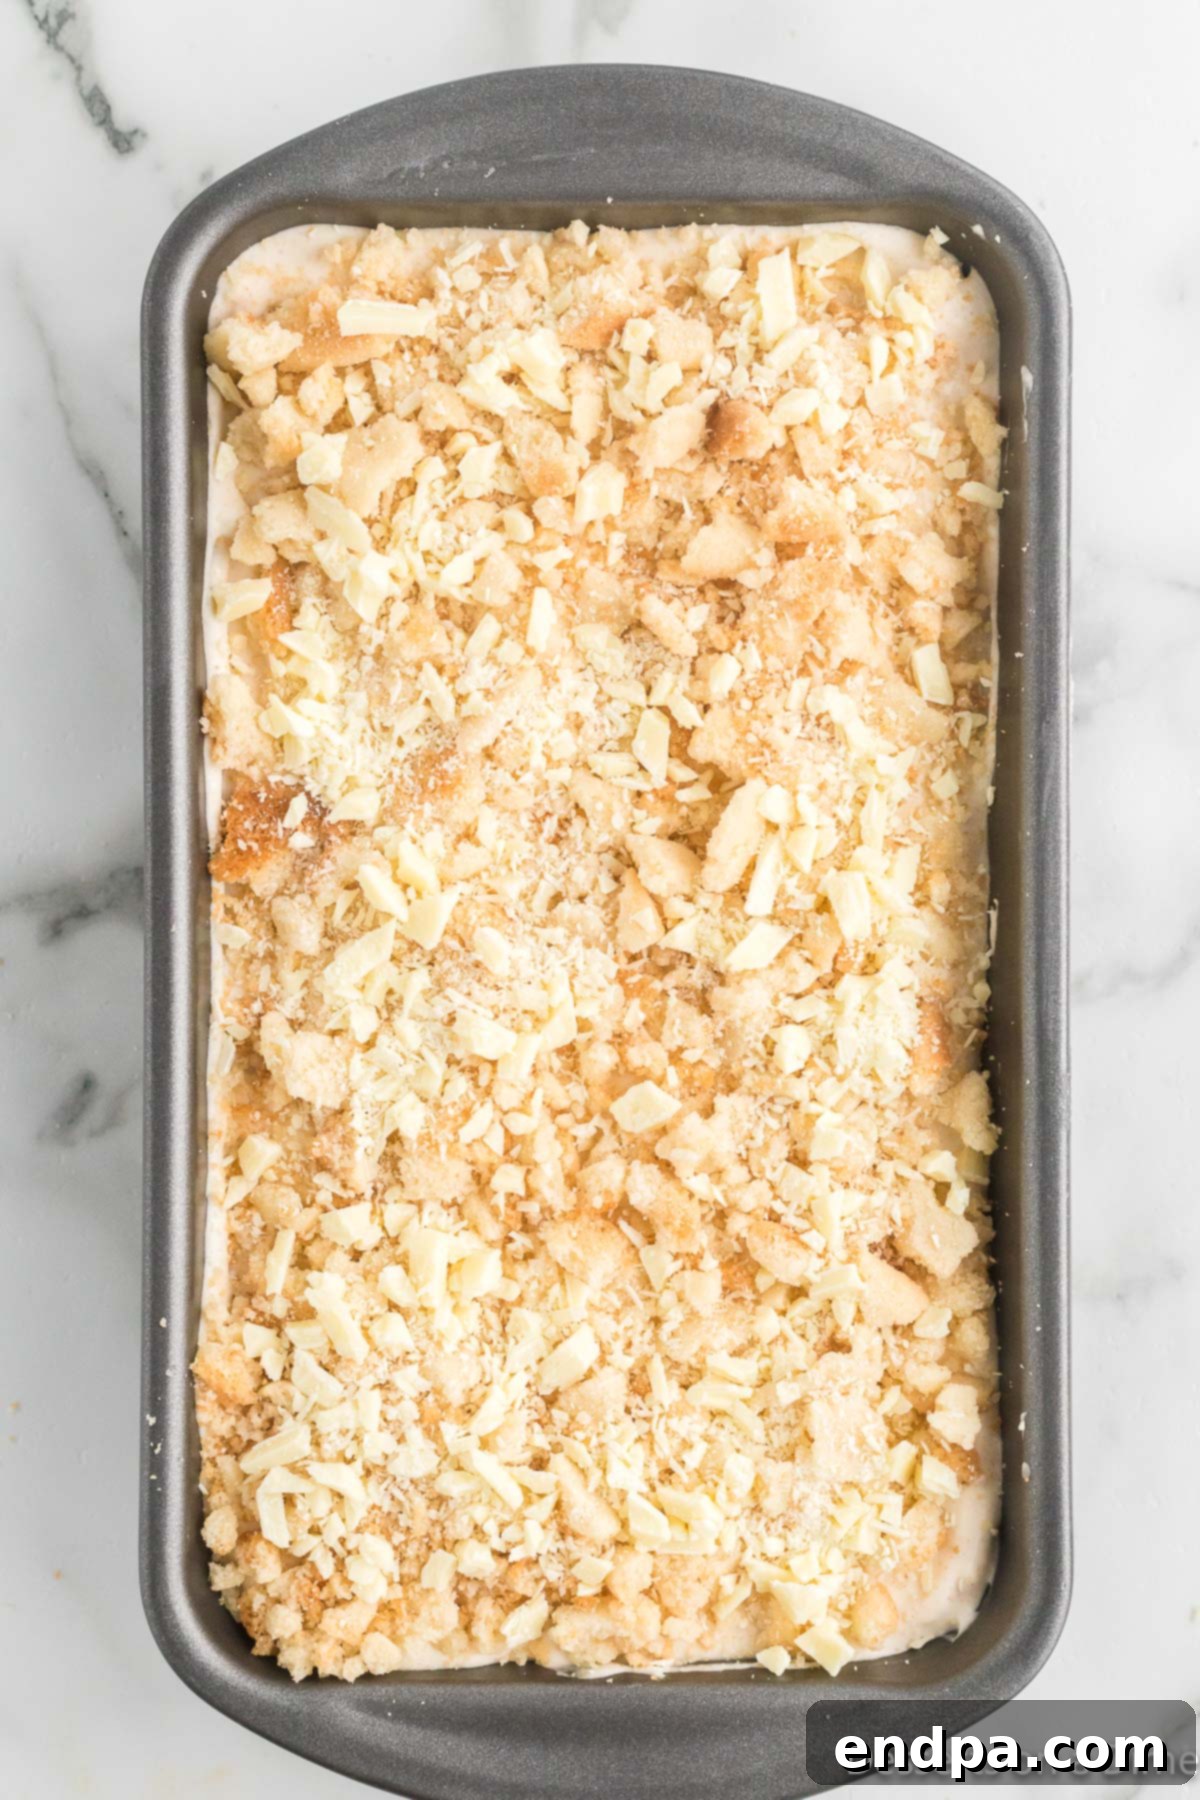
Step 9. For a beautiful presentation and an extra textural element, sprinkle any remaining crumbled cookies and chopped white chocolate over the very top layer of the ice cream mixture in the loaf pan. This adds a tempting visual appeal. Once assembled, cover the loaf pan tightly with plastic wrap, ensuring the wrap touches the surface of the ice cream to prevent ice crystals. Freeze for a minimum of 6 hours, or ideally, overnight, to allow the ice cream to fully set and achieve its perfect consistency.
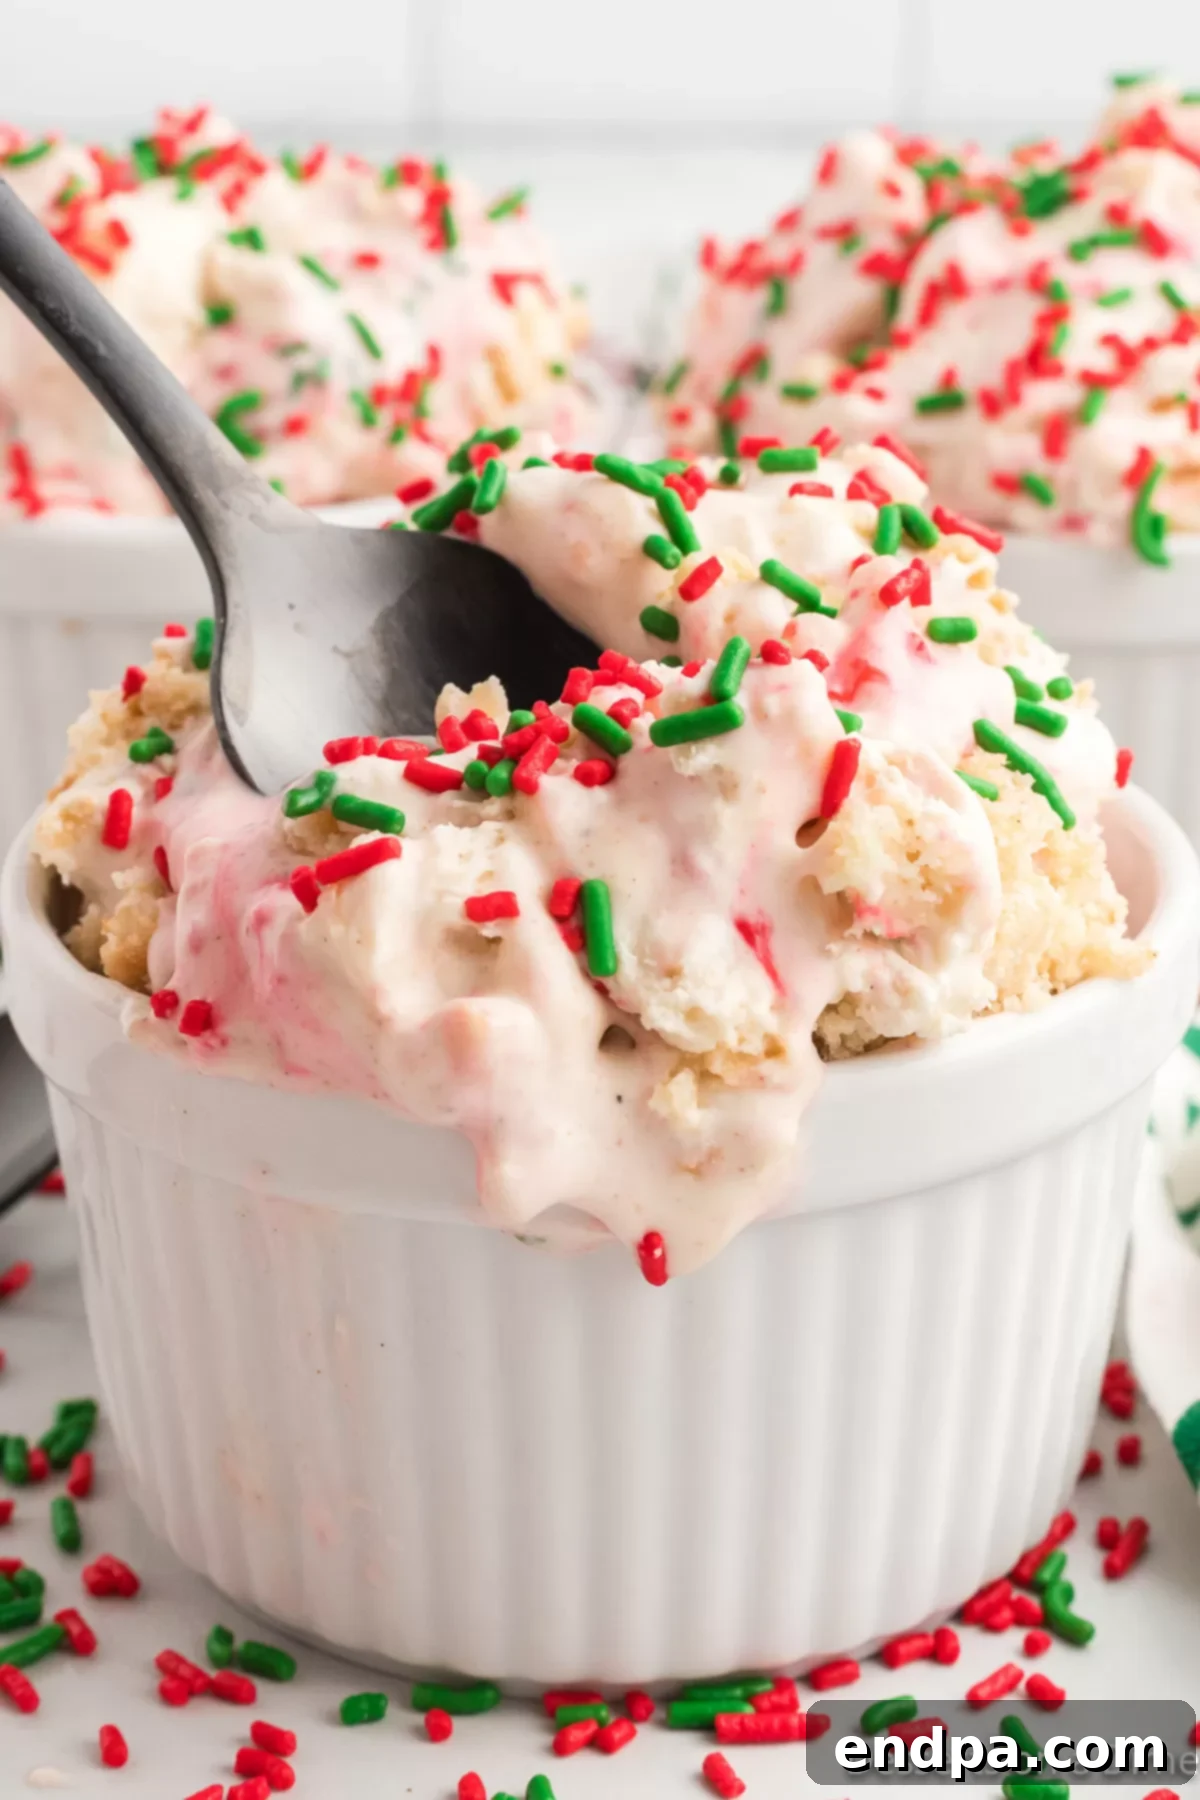
Step 10. Once frozen solid, your magnificent Christmas ice cream is ready to serve! Use a sturdy ice cream scoop, perhaps warmed slightly under hot water, to create beautiful spheres. Serve this festive treat in bowls, perhaps garnished with a festive peppermint stick, classic candy canes, or any of your favorite Ice Cream Sundae Toppings. It’s particularly delightful with a drizzle of Homemade Caramel Sauce or a sprinkle of Christmas Crack for an extra layer of indulgence. Enjoy the smiles and joy this homemade dessert brings!
Expert Tips for the Best Results
Achieving perfectly creamy, delicious no-churn Christmas ice cream is easy with a few simple tricks. Keep these expert tips in mind to ensure your holiday dessert turns out flawlessly every time:
- Choose the Right Sugar Cookies: For the best texture and flavor, always use plain sugar cookies without frosting. Frosted cookies can become overly sweet and might change the consistency of the ice cream once frozen. You have the flexibility to use either your cherished homemade sugar cookies, which add a personal touch, or convenient high-quality store-bought cookies. Ensure they are slightly stale or firm enough to crumble easily without turning to mush.
- The Magic of Jimmie Sprinkles: When it comes to sprinkles, not all are created equal! Jimmie sprinkles are your best friend for this recipe because their waxy coating prevents them from bleeding color into the ice cream mixture. This ensures that your vibrant red and green layers remain distinct and beautiful, creating a much more appealing visual presentation once the ice cream is scooped. Other types of sprinkles, especially nonpareils, tend to dissolve and create muddy colors.
- Optimal Layering for Aesthetic Appeal: Don’t just dump all the ingredients in at once! Taking the time to layer the ice cream mixture and sprinkles as you pour it into the loaf pan is key to achieving that gorgeous, Instagram-worthy presentation. These distinct layers will be revealed with every scoop, making your Christmas ice cream not only delicious but also a feast for the eyes. It truly makes a difference in the overall festive feel.
- Chill Your Bowl and Whisk: For extra stable whipped cream, place your mixing bowl and whisk attachment (or hand mixer beaters) in the freezer for 10-15 minutes before whipping the heavy cream. This extra chill helps the cream whip up faster and hold its stiff peaks longer, which is vital for the airy texture of no-churn ice cream.
- Gentle Folding is Key: When combining the whipped cream with the condensed milk mixture, and then adding the mix-ins, use a gentle folding technique with a rubber spatula. Avoid stirring or beating vigorously, as this will deflate the air you’ve worked hard to incorporate into the heavy cream, leading to a denser, less creamy ice cream.
- Prevent Ice Crystals: After layering your ice cream into the loaf pan, cover it very tightly with plastic wrap. Press the plastic wrap directly onto the surface of the ice cream to create an airtight seal. For even better results, you can also place a layer of parchment paper directly on the ice cream before covering with plastic wrap. This prevents air from reaching the surface, which is the primary cause of ice crystal formation, ensuring your ice cream stays super smooth.
- Serving Perfection: Before serving, let the ice cream sit at room temperature for 5-10 minutes. This slight softening makes it much easier to scoop, especially if it’s been frozen solid overnight. A warm ice cream scoop also helps create perfectly rounded scoops.
Storage Recommendations for Freshness
One of the many advantages of this no-churn Christmas ice cream is its excellent shelf life in the freezer, making it a perfect make-ahead holiday dessert. Planning is key for a stress-free celebration, which is why I often prepare this recipe the night before we intend to enjoy it, giving it ample time to freeze to perfection.
When stored correctly, this homemade ice cream will maintain its delicious flavor and creamy texture for up to 3 months in the freezer. To achieve the best results and prevent the formation of pesky ice crystals, it’s crucial to use an airtight freezer container. Alternatively, if you’re keeping it in the loaf pan, cover the pan tightly with multiple layers of plastic wrap, followed by a layer of aluminum foil. For an extra layer of protection against freezer burn and ice crystals, place a sheet of parchment paper directly on the surface of the ice cream before securing the plastic wrap and foil. This creates a barrier that minimizes contact with air, ensuring each scoop remains as fresh and creamy as the day you made it.
Discover More No-Churn Ice Cream Recipes
If you’ve fallen in love with the ease and deliciousness of this no-churn Christmas ice cream, you’re in for a treat! The world of no-churn desserts is vast and exciting, offering endless possibilities for creamy, homemade goodness without the need for an ice cream maker. Explore these other fantastic no-churn ice cream recipes to keep the frozen dessert fun going all year round:
- Little Debbie Christmas Tree Cake Ice Cream Recipe
- Pecan Pie Ice Cream Recipe
- Christmas Pie Recipes (While not all ice cream, this link might have relevant variations)
- Caramel Pecan Praline Ice Cream Recipe
- Pumpkin Chocolate Chip Ice Cream
- Mint Chocolate Chip Ice Cream
Each of these recipes offers a unique flavor profile and the same simple, no-churn convenience. They are perfect for holidays, special occasions, or just when you crave a delicious homemade treat without the fuss.
You will absolutely love making this festive Christmas ice cream at home. It’s incredibly easy, bursting with holiday flavors, and guaranteed to be a crowd-pleaser. Try it today for a truly delicious and memorable treat that embodies the spirit of the season. After you’ve whipped up your batch and enjoyed its delightful taste, please consider sharing your experience by leaving a star review and a comment below. Your feedback helps other home cooks discover and enjoy this wonderful recipe!
Pin
Christmas Ice Cream
Christmas Ice Cream is a delicious blend of holiday cookies, white chocolate and more. This no-churn recipe is so easy and packed with holiday flavors.
Ingredients
- 2 cups heavy whipping cream
- 14 oz can sweetened condensed milk
- 2 teaspoons vanilla extract
- 1/2 teaspoon Ground Cinnamon
- 12 Sugar Cookies Crumbled no frosting, homemade or store bought
- 4 ounces White Chocolate finely chopped
- 1 Tablespoon Red Jimmie Sprinkles
- 1 Tablespoon Green Jimmie Sprinkles
Instructions
- Whip the heavy whipping cream in a large bowl with a hand held or stand up mixer until stiff peaks are formed.
- In a separate bowl, stir together the sweetened condensed milk, vanilla extract and ground cinnamon.
- Gently stir the whipped cream into the sweetened condensed milk mixture until just combined. Then add in the crumbled cookies and white chocolate (reserve some for the topping).
- Pour approximately ⅓ of the mixture into a 9X5 loaf pan. Sprinkle ⅓ of each of the sprinkles on top of that layer. Then continue this process 2 more times until all the mixture and sprinkles are used.
- Sprinkle the remaining cookies and white chocolate on top of the mixture in the loaf pan.
- Freeze for at least 6 hours and up to overnight.
- Then the ice cream is ready to serve and enjoy!
Recipe Notes
I usually make this recipe the night before we’re going to enjoy it. This ice cream will last up to 3 months stored in the freezer.
Nutrition Facts
Carbohydrates 67g,
Protein 10g,
Fat 45g,
Saturated Fat 26g,
Polyunsaturated Fat 3g,
Monounsaturated Fat 13g,
Cholesterol 116mg,
Sodium 216mg,
Potassium 399mg,
Fiber 0.5g,
Sugar 59g,
Vitamin A 1349IU,
Vitamin C 2mg,
Calcium 286mg,
Iron 1mg
