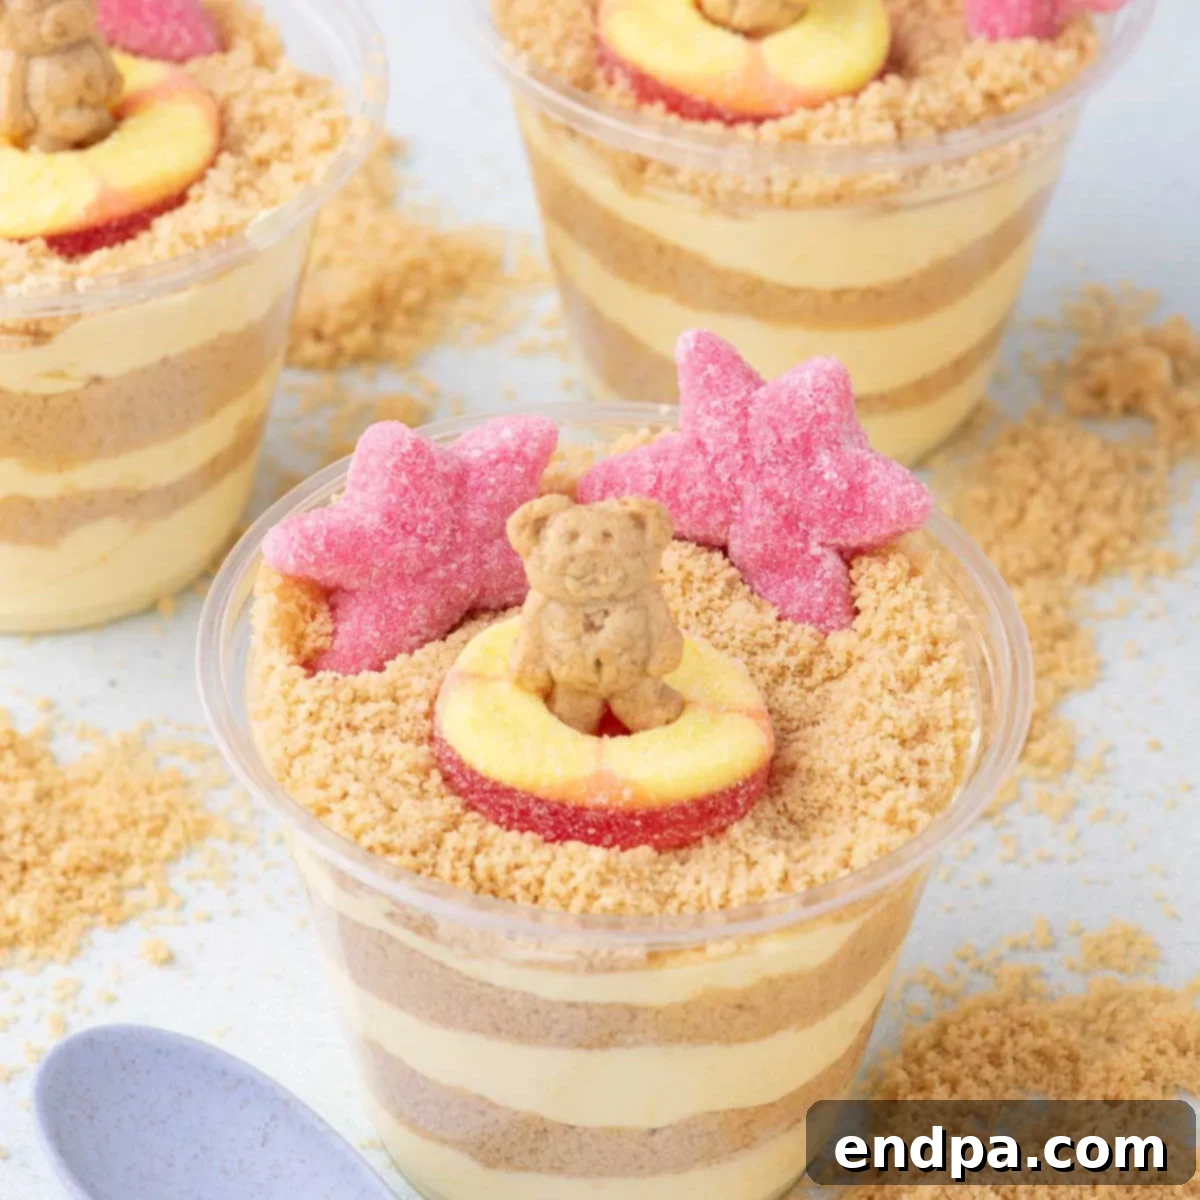
Welcome to the ultimate guide for crafting the most delightful and visually captivating dessert: Sand Pudding Cups! These enchanting individual treats are not just a feast for the taste buds, but also a charming miniature beach scene, making them absolutely perfect for any warm-weather gathering. Whether you’re hosting a lively pool party, celebrating the end of the school year, or simply craving a fun, no-bake dessert that brings a smile to everyone’s face, these pudding cups are your go-to recipe. Imagine creamy, luscious pudding layered with crushed cookies that perfectly mimic soft beach sand, adorned with adorable gummy candies and teddy grahams that appear to be enjoying a day at the seaside. It’s an edible escape to paradise, offering both a refreshing taste and a whimsical presentation that will surely be the talk of your event.
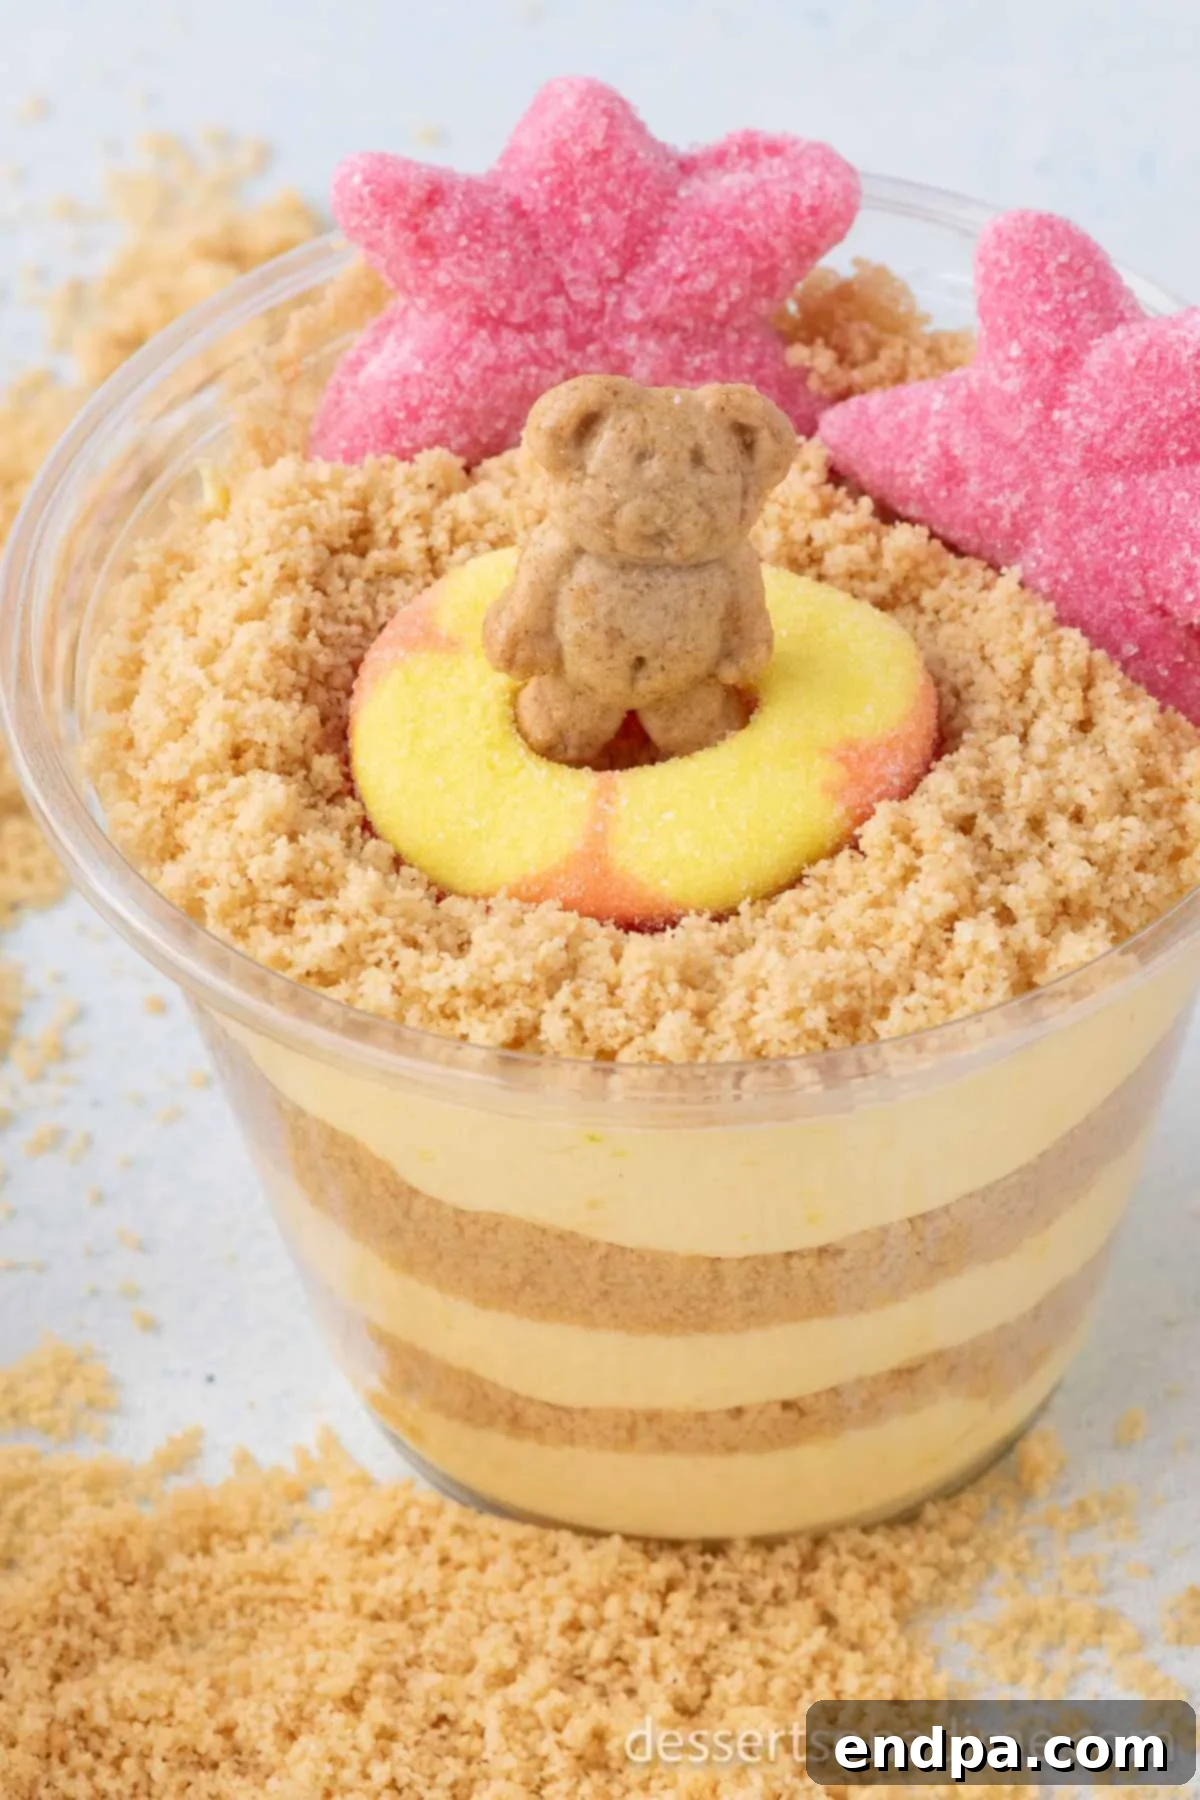
Creating these easy vanilla pudding desserts is a joyous experience, a culinary adventure that requires minimal effort but delivers maximum impact. The combination of smooth, rich pudding and the satisfying crunch of cookie crumbs creates a texture sensation that is incredibly satisfying. Each cup is a delightful miniature world, begging to be explored spoonful by spoonful. This recipe focuses on simplicity and accessibility, ensuring that even novice bakers can achieve stunning results. Forget oven heat and complex techniques; these Sand Pudding Cups embrace the convenience of a no-bake approach, making them ideal for hot summer days when you want to minimize time spent in the kitchen and maximize enjoyment. Let’s dive into how you can bring this adorable beach-themed treat to life!
Table of contents
- Why We Love This Recipe
- Equipment You’ll Need
- Ingredients
- How to Make Sand Pudding Cups
- Pro Tips for Perfect Sand Pudding Cups
- Storage
- How Long Will Pudding Cups Last?
- Creative Topping Ideas
- Variations for Your Sand Pudding Cups
- Perfect for Any Occasion
- More Pudding Cups to Try
Why We Love These Sand Pudding Cups
There are countless reasons why these Sand Pudding Cups have become a fan favorite, especially during the warmer months. Firstly, their undeniable charm makes them a showstopper at any event. The visual appeal of a miniature beach scene, complete with sandy cookie crumbs and playful candy characters, is simply irresistible. This isn’t just a dessert; it’s a conversation starter, a whimsical centerpiece that instantly brightens the mood.
Beyond their adorable aesthetics, the taste is equally remarkable. The creamy, smooth pudding base provides a comforting and sweet foundation, while the crushed Golden Oreo cookies add a delightful textural contrast and rich flavor. The candy toppings not only enhance the beach theme but also introduce bursts of fruity sweetness, complementing the overall dessert experience. Kids, in particular, absolutely adore these beach-themed pudding cups. The interactive element of the “swimming” teddy grahams and colorful gummy creatures captivates their imagination, turning dessert time into an exciting adventure.
Furthermore, the simplicity of this no-bake recipe is a huge plus. It’s incredibly easy to prepare, requiring no oven time, which is a blessing on hot summer days. This makes them perfect for busy parents, impromptu gatherings, or anyone who wants a delicious treat without the fuss. Whether it’s for end-of-school parties, vibrant pool parties, birthday celebrations, family picnics, or simply as a special everyday treat, these Sand Pudding Cups consistently deliver joy and deliciousness. They are a versatile dessert that caters to all ages and occasions, truly embodying the spirit of fun and flavor.
Equipment You’ll Need
One of the beauties of making Sand Pudding Cups is that you don’t need a lot of specialized kitchen gadgets. Most of these items you likely already have on hand, making this recipe even more convenient. Here’s a quick list of the essentials:
- Medium Mixing Bowl: For whisking together your pudding mixture.
- Whisk: Essential for ensuring a smooth, lump-free pudding.
- Rubber Spatula: Ideal for folding in whipped topping and scraping the sides of the bowl.
- Food Processor or Blender: The quickest way to achieve fine cookie crumbs. Alternatively, a large Ziploc bag and a rolling pin work perfectly.
- Measuring Cups and Spoons: For accurate ingredient quantities.
- Clear Plastic Cups (8 oz recommended): These allow the beautiful layers of your Sand Pudding Cups to shine through, making them visually appealing and perfect for individual servings.
Essential Ingredients for Sand Pudding Cups
Crafting these adorable Sand Pudding Cups requires just a few simple ingredients, most of which are pantry staples. The magic lies in how these basic components come together to create a delightful and visually stunning dessert. Here’s what you’ll need:
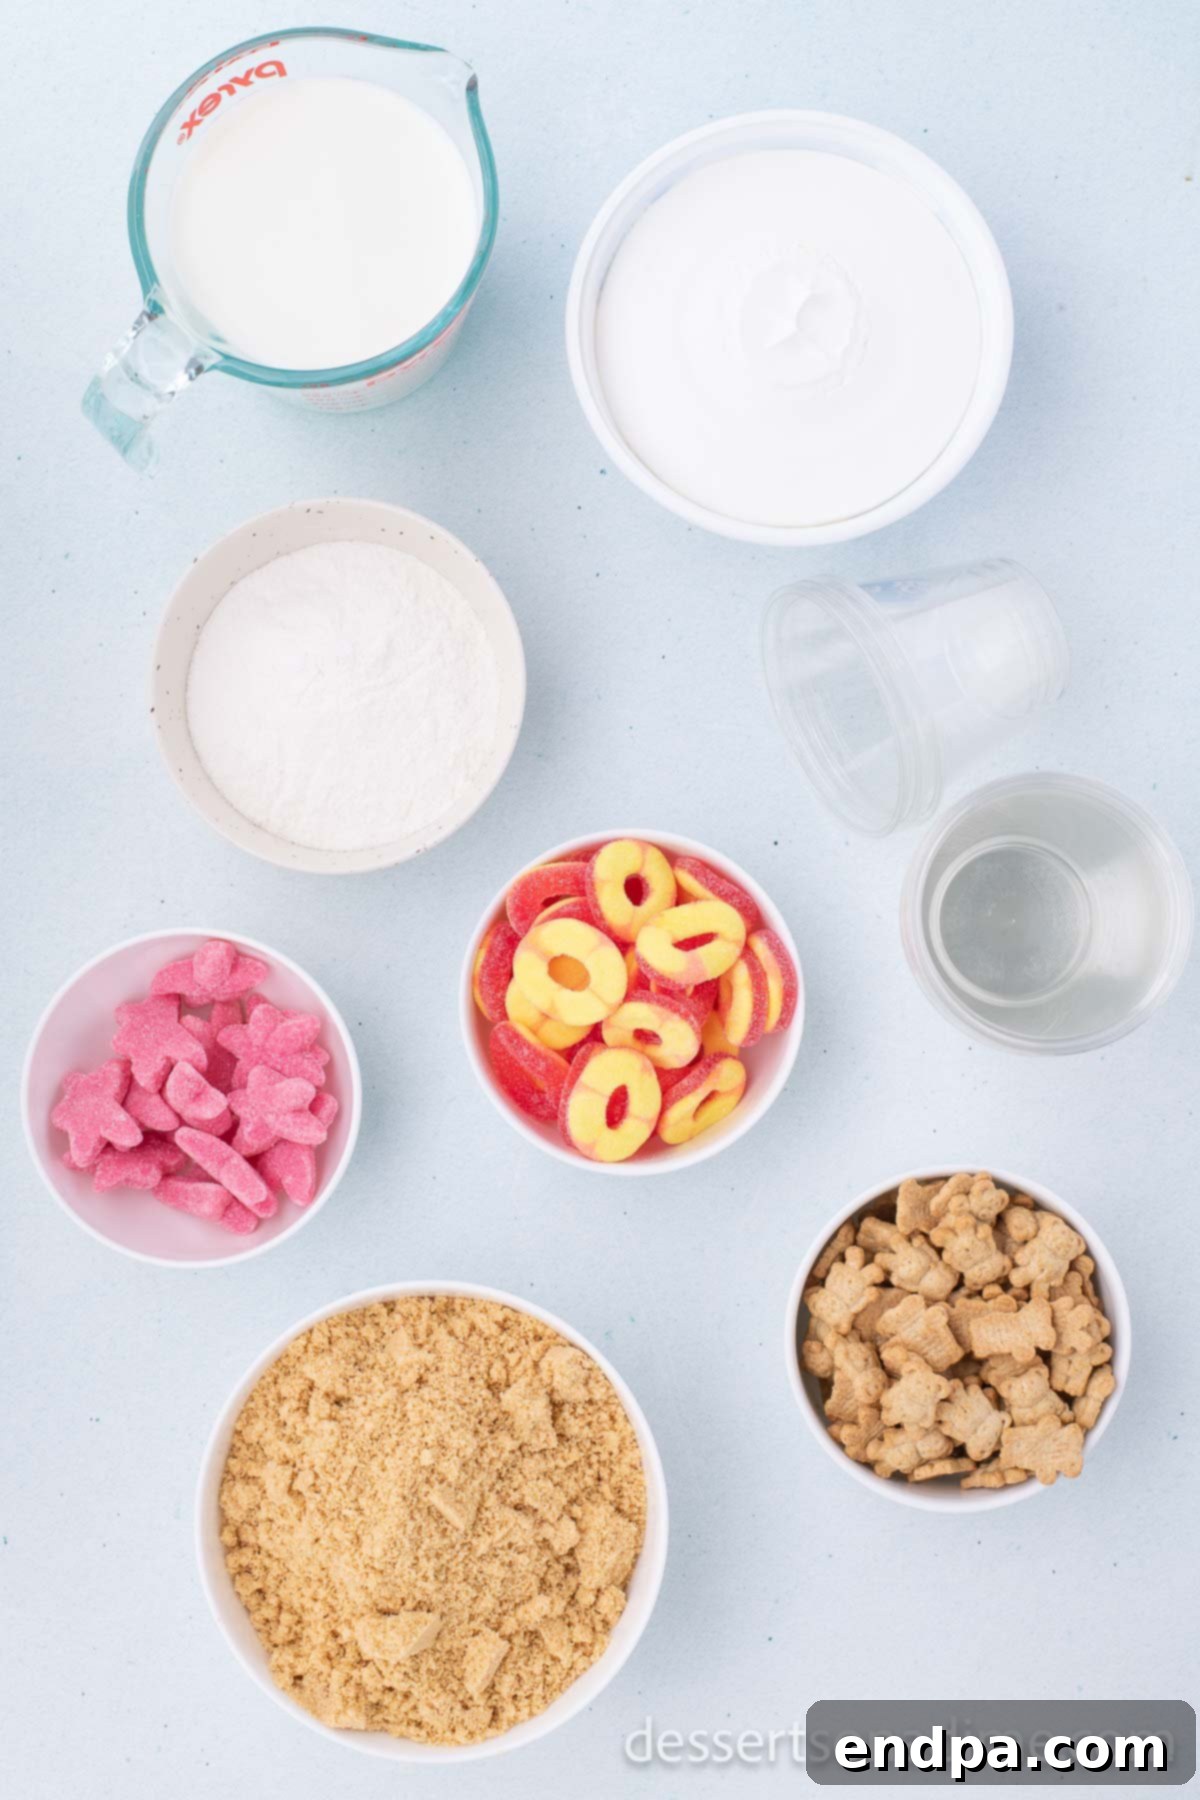
- Instant Vanilla or White Chocolate Pudding Mix: A 3.4-ounce box is typically enough for a batch. Instant pudding is key for its quick setting time, making this a truly no-bake dessert. While vanilla offers a classic, versatile flavor, white chocolate pudding can add a slightly richer, creamier note. For those who prefer a homemade touch, you can always prepare our Homemade Vanilla Pudding from scratch, just ensure it’s thoroughly chilled and set before proceeding.
- Cold Milk: Two cups of cold milk are needed to activate and set the instant pudding mix. The colder the milk, the quicker and firmer your pudding will set. Any type of dairy milk (whole, 2%, or skim) will work, or you can opt for a non-dairy alternative like almond or soy milk for a lactose-free version, though setting times might vary slightly.
- Whipped Topping (8 ounces, thawed): This adds an incredible lightness and airy texture to the pudding, transforming it into a more mousse-like consistency. A store-bought container of whipped topping (like Cool Whip) is convenient and ensures consistency. However, for a richer, more natural flavor, you can whip up your own Homemade Whipped Cream Recipe. Just be sure it’s stable enough to be folded into the pudding without deflating.
- Golden Oreo Cookies (approximately 12 cookies): These are the secret to creating the perfect “sand” effect. The golden color of these cookies, once crushed, beautifully mimics beach sand. Unlike regular chocolate Oreos, they offer a lighter hue and a distinct vanilla flavor that complements the pudding wonderfully. Remember to leave the cream filling in when crushing for added richness and texture.
- Assorted Candy for Toppings: This is where the fun really begins! We recommend a selection of:
- Gummy Sea Creatures: Think sharks, fish, or turtles to populate your edible ocean.
- Gummy Stars or Shells: These add a playful touch, resembling starfish or seashells on the sand.
- Teddy Grahams: These adorable bear-shaped cookies are perfect for posing as sunbathers or swimmers enjoying the beach.
- Gummy Rings (or Lifesavers): Great for creating miniature pool floats.
You can get creative with your candy choices to customize your beach scene!
How to Make Sand Pudding Cups: Step-by-Step Guide
Creating these delightful Sand Pudding Cups is a straightforward and enjoyable process. Follow these simple steps to assemble your very own edible beach scenes:
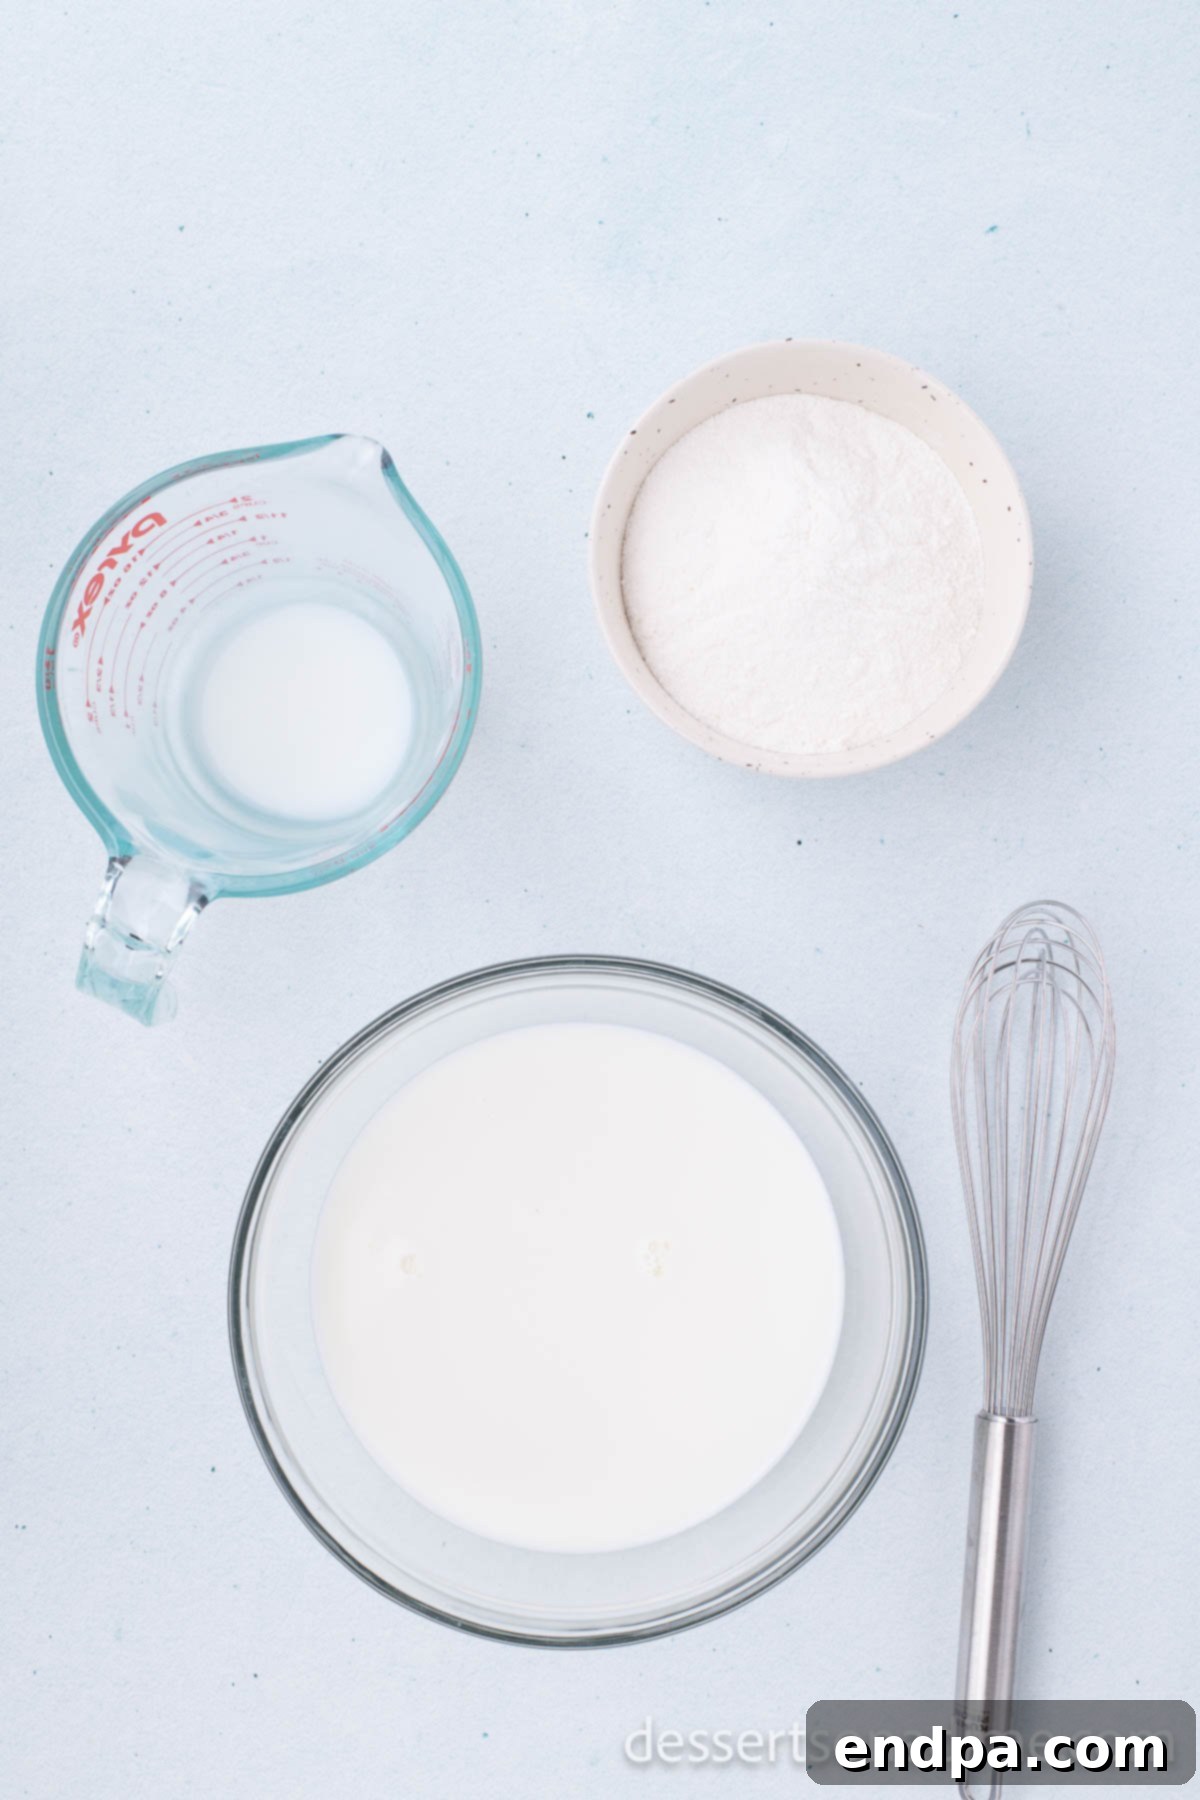
Step 1: Prepare the Pudding Base. In a medium-sized bowl, pour the cold milk. Evenly sprinkle the instant pudding mix over the surface of the milk. Using a whisk, vigorously whisk the mixture for about 2 minutes until it is thoroughly combined and starts to thicken. It’s important to whisk until no dry pockets of pudding mix remain, ensuring a smooth consistency.
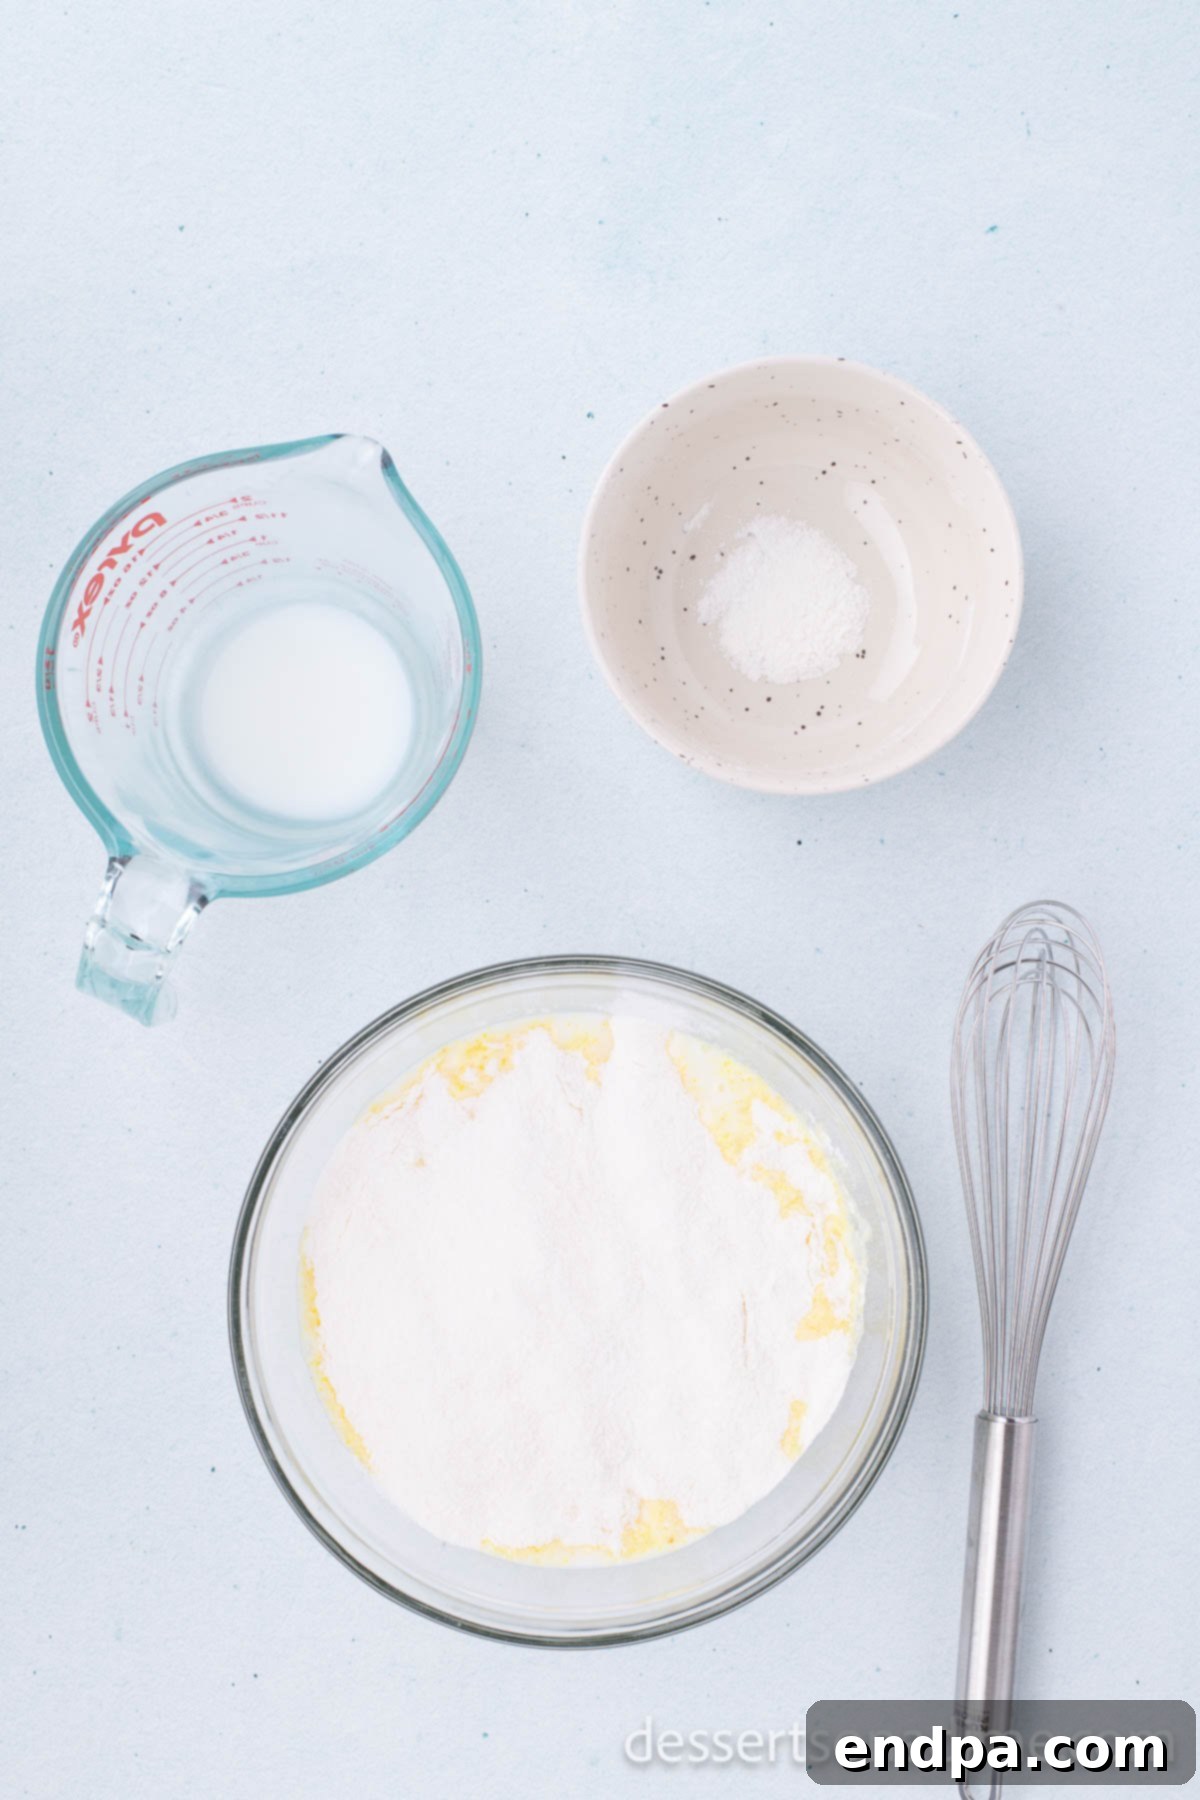
Step 2: Chill the Pudding. Once the pudding mixture is well combined and begins to thicken, place the bowl in the refrigerator. Allow it to chill for approximately 10 minutes, or until the pudding has fully set and achieved a firm, spoonable consistency. This crucial step ensures your pudding cups will hold their shape.
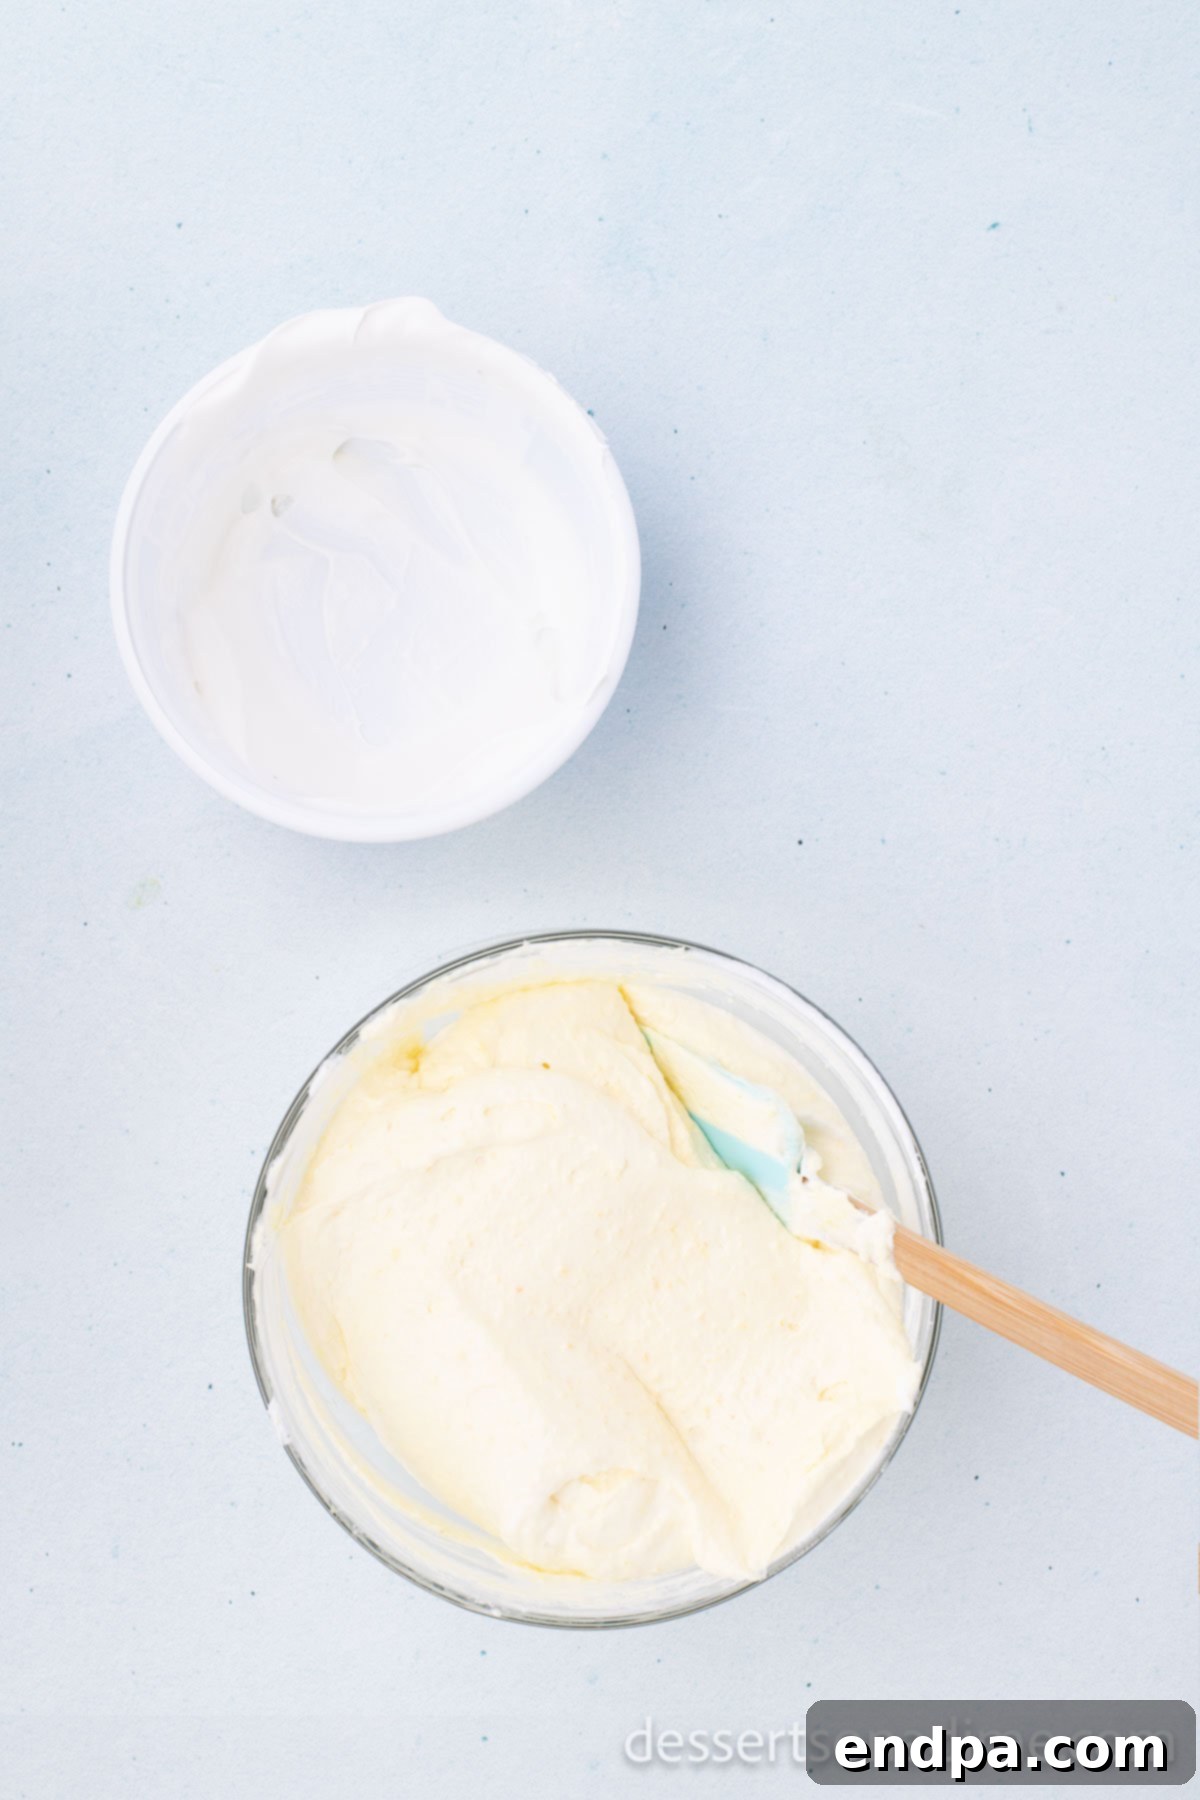
Step 3: Fold in the Whipped Topping. Remove the set pudding from the refrigerator. Gently fold in the thawed whipped topping using a rubber spatula. Continue folding until the whipped topping is completely incorporated, resulting in a light, airy, and creamy pudding mousse. Be careful not to overmix, as this can deflate the whipped topping. Return the mixture to the fridge for another 20 minutes to ensure it’s perfectly chilled.
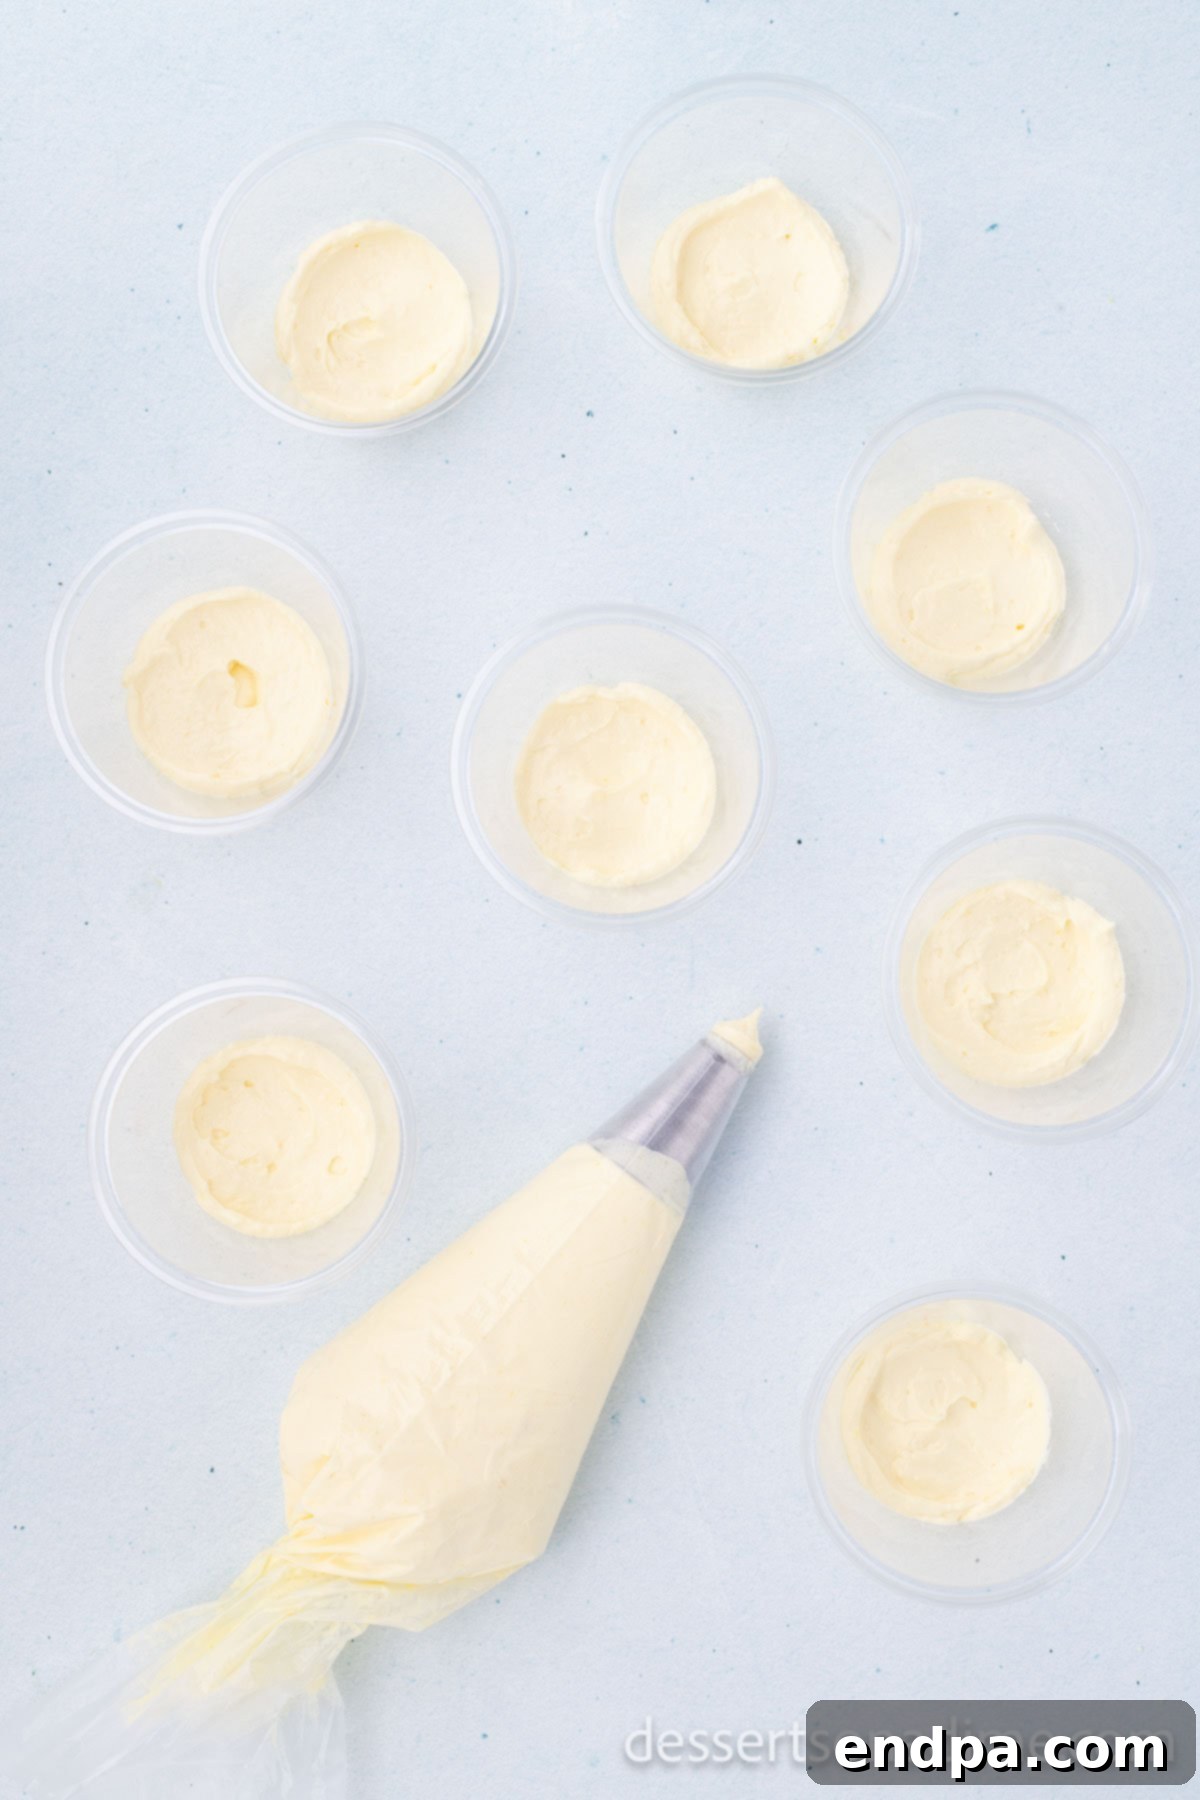
Step 4: Prepare the Cups with Pudding. While the pudding chills, prepare your Golden Oreo cookies by crushing them into fine crumbs. You can use a food processor for speed or a Ziploc bag and rolling pin. Begin assembling your Sand Pudding Cups by filling individual glasses or clear plastic cups (8 oz is ideal) with the creamy pudding mixture. Fill each cup approximately one-third of the way full.
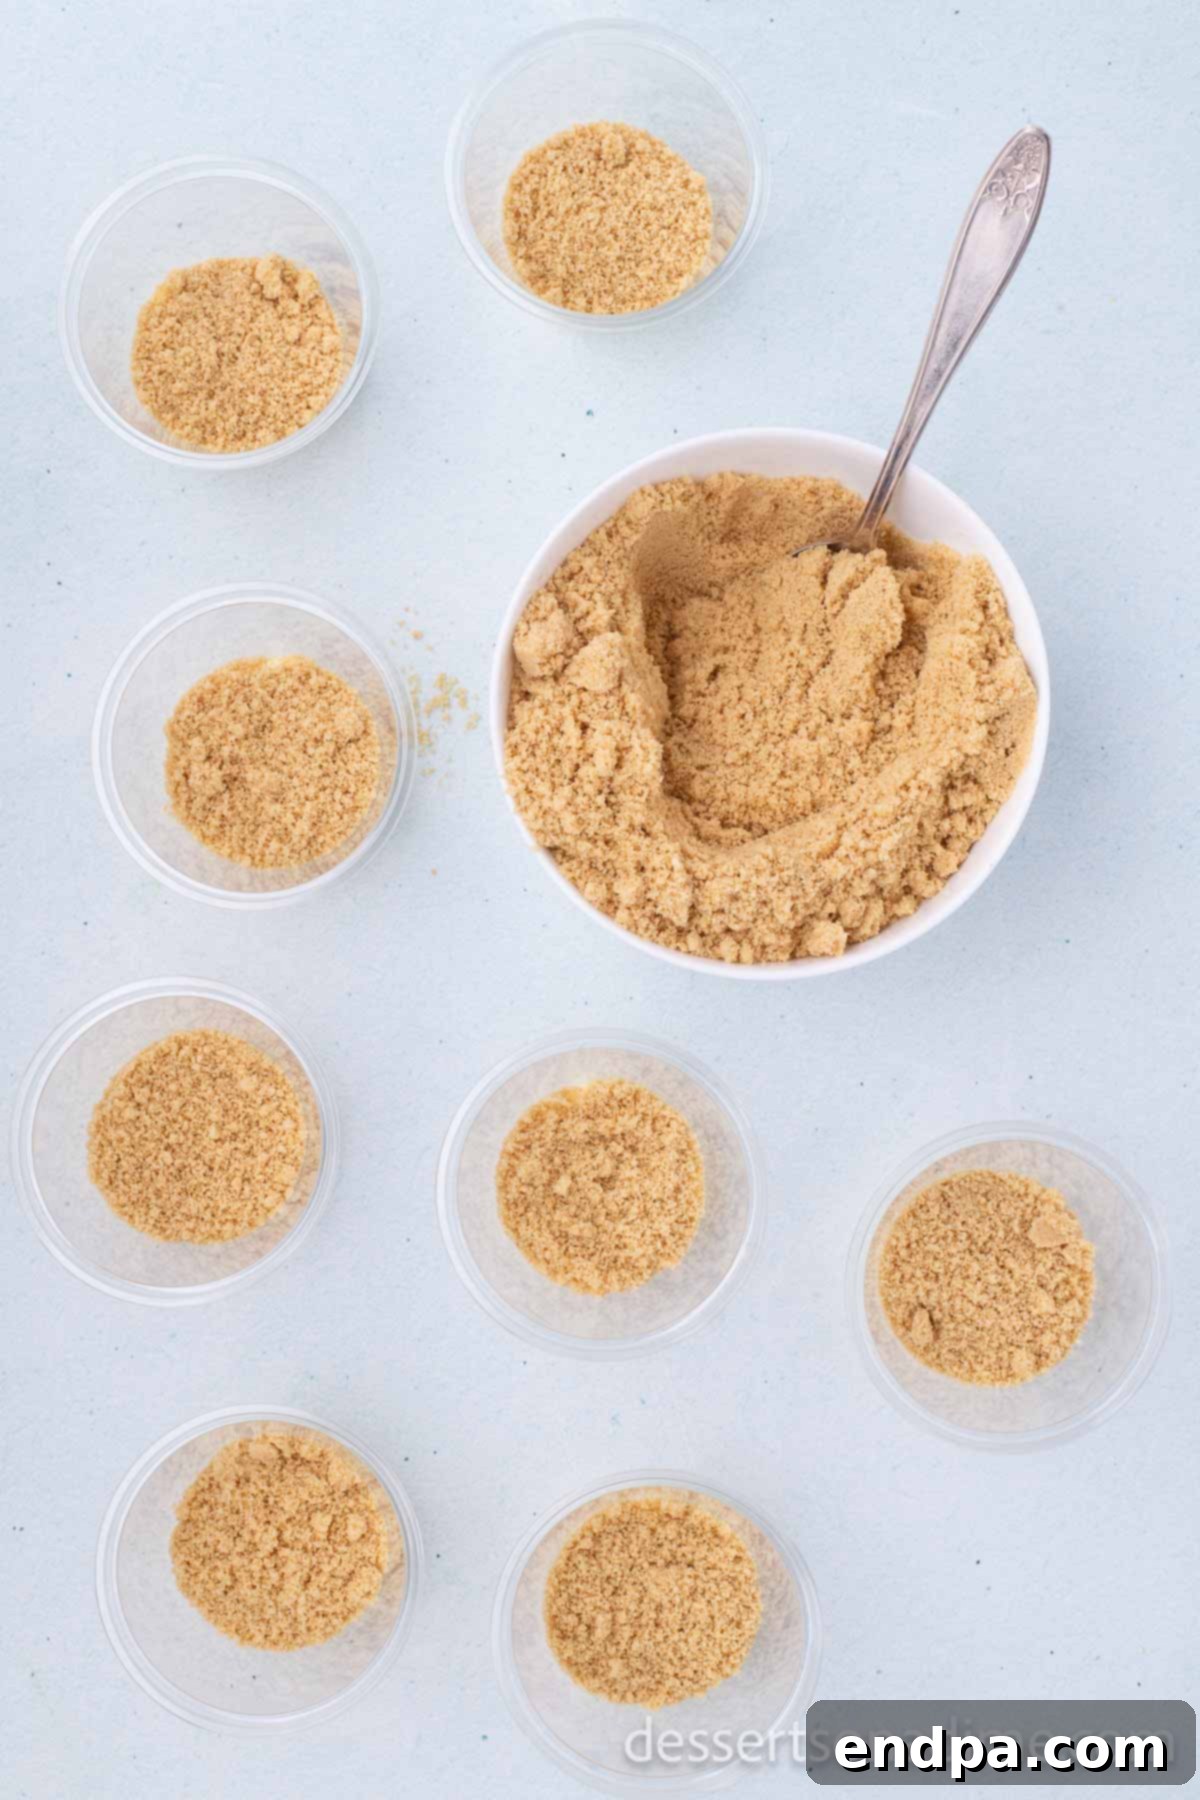
Step 5: Create the “Sand” Layer. Sprinkle a generous amount of the crushed Golden Oreo cookies over the pudding layer in each cup. This creates the realistic “sand” effect that is crucial to the Sand Pudding Cups theme. Repeat the layering process if you desire multiple layers of pudding and sand, ending with a final layer of cookie crumbs on top.
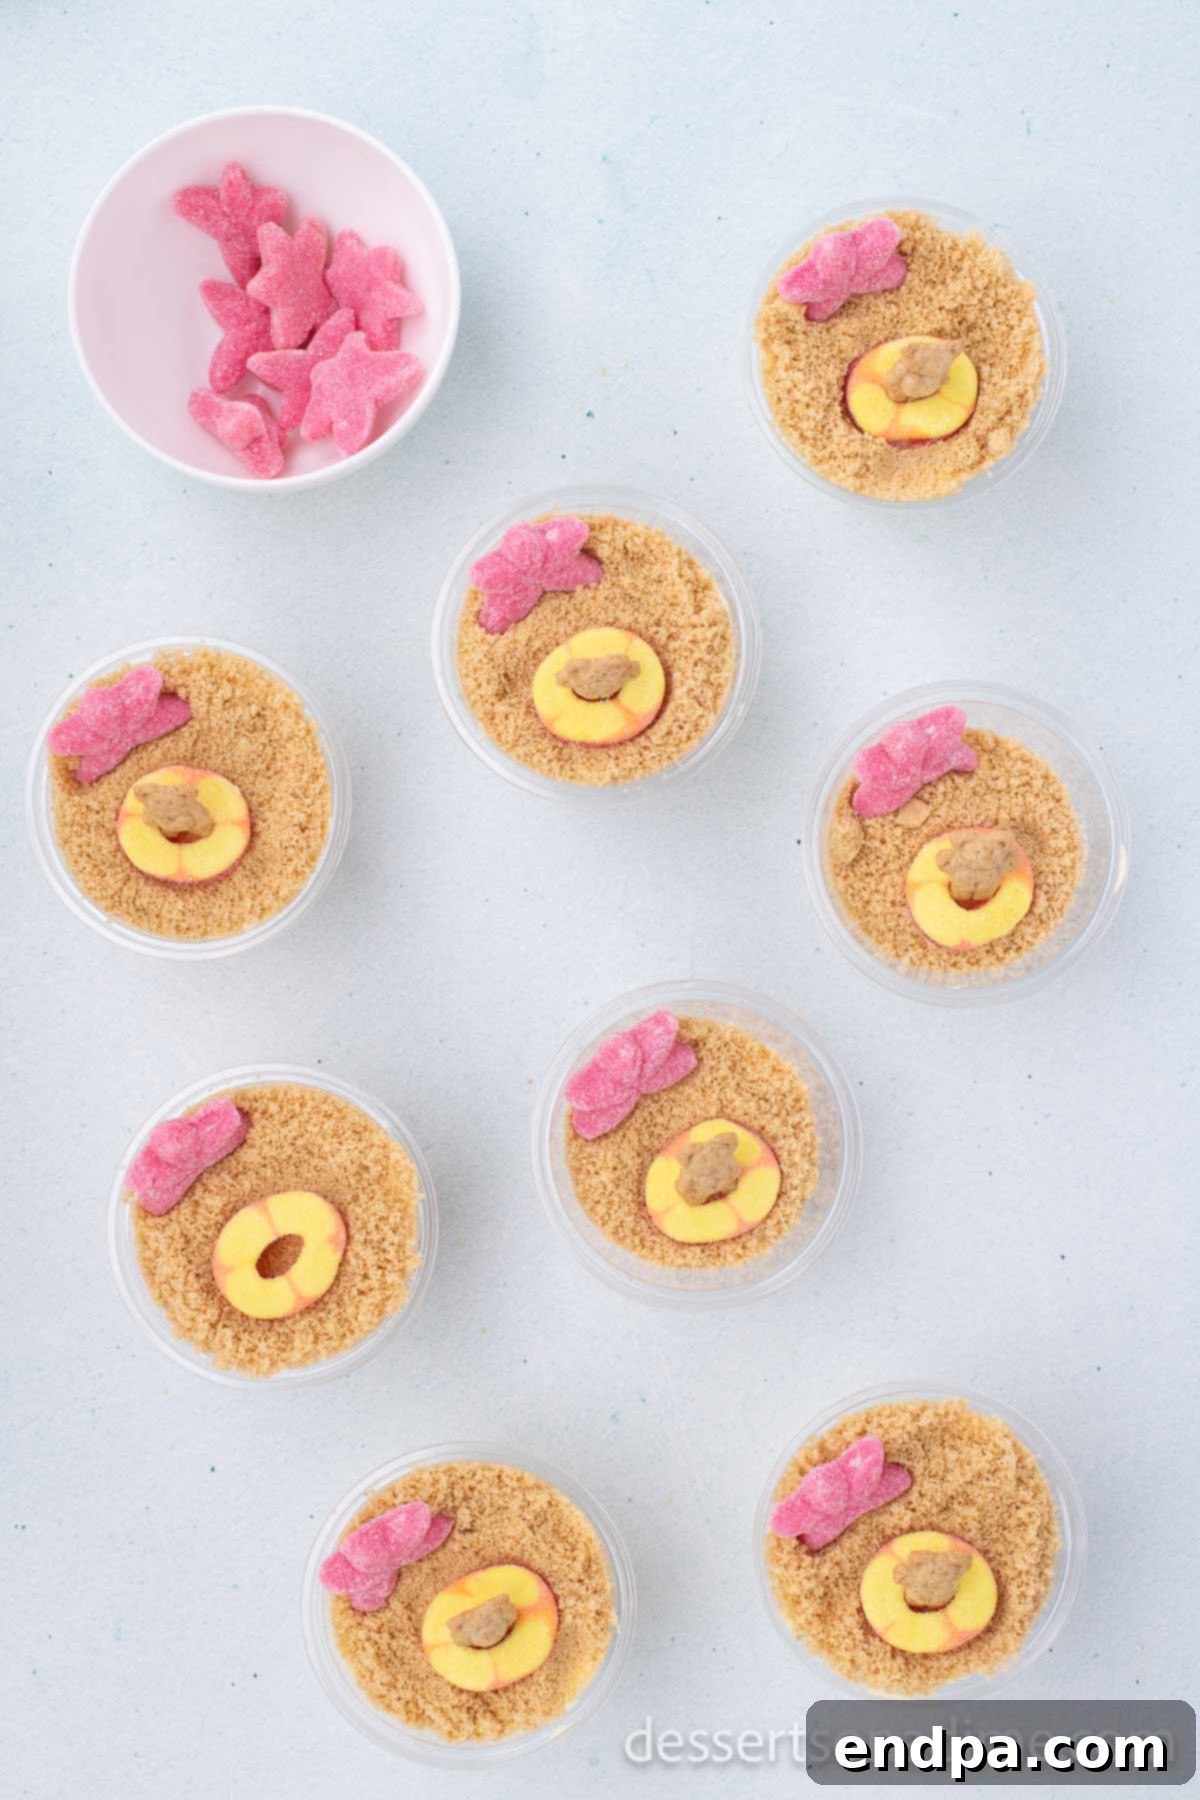
Step 6: Decorate Your Beach Scene. Now for the most fun part! Arrange your chosen gummy candies on top of the cookie crumbs. Place a Teddy Graham in each cup, positioning it so it looks like it’s floating on a gummy ring or lounging on the sand. Add gummy sea creatures, stars, or shells to complete your miniature beach scene. Serve immediately and enjoy your adorable and delicious beach pudding cups!
Pro Tips for Perfect Sand Pudding Cups
Achieving the perfect Sand Pudding Cups goes beyond just following the steps. These expert tips will help you elevate your dessert, ensuring they are not only delicious but also visually stunning and easy to prepare:
- Efficient Cookie Crushing: While a food processor is undoubtedly the quickest and most efficient way to achieve uniformly fine cookie crumbs, don’t fret if you don’t have one. A sturdy Ziploc bag (freezer bags work best for durability) and a rolling pin are excellent alternatives. Place the cookies in the bag, seal it, and roll over them repeatedly until they reach a fine, sandy consistency. This method also doubles as a fun activity for kids!
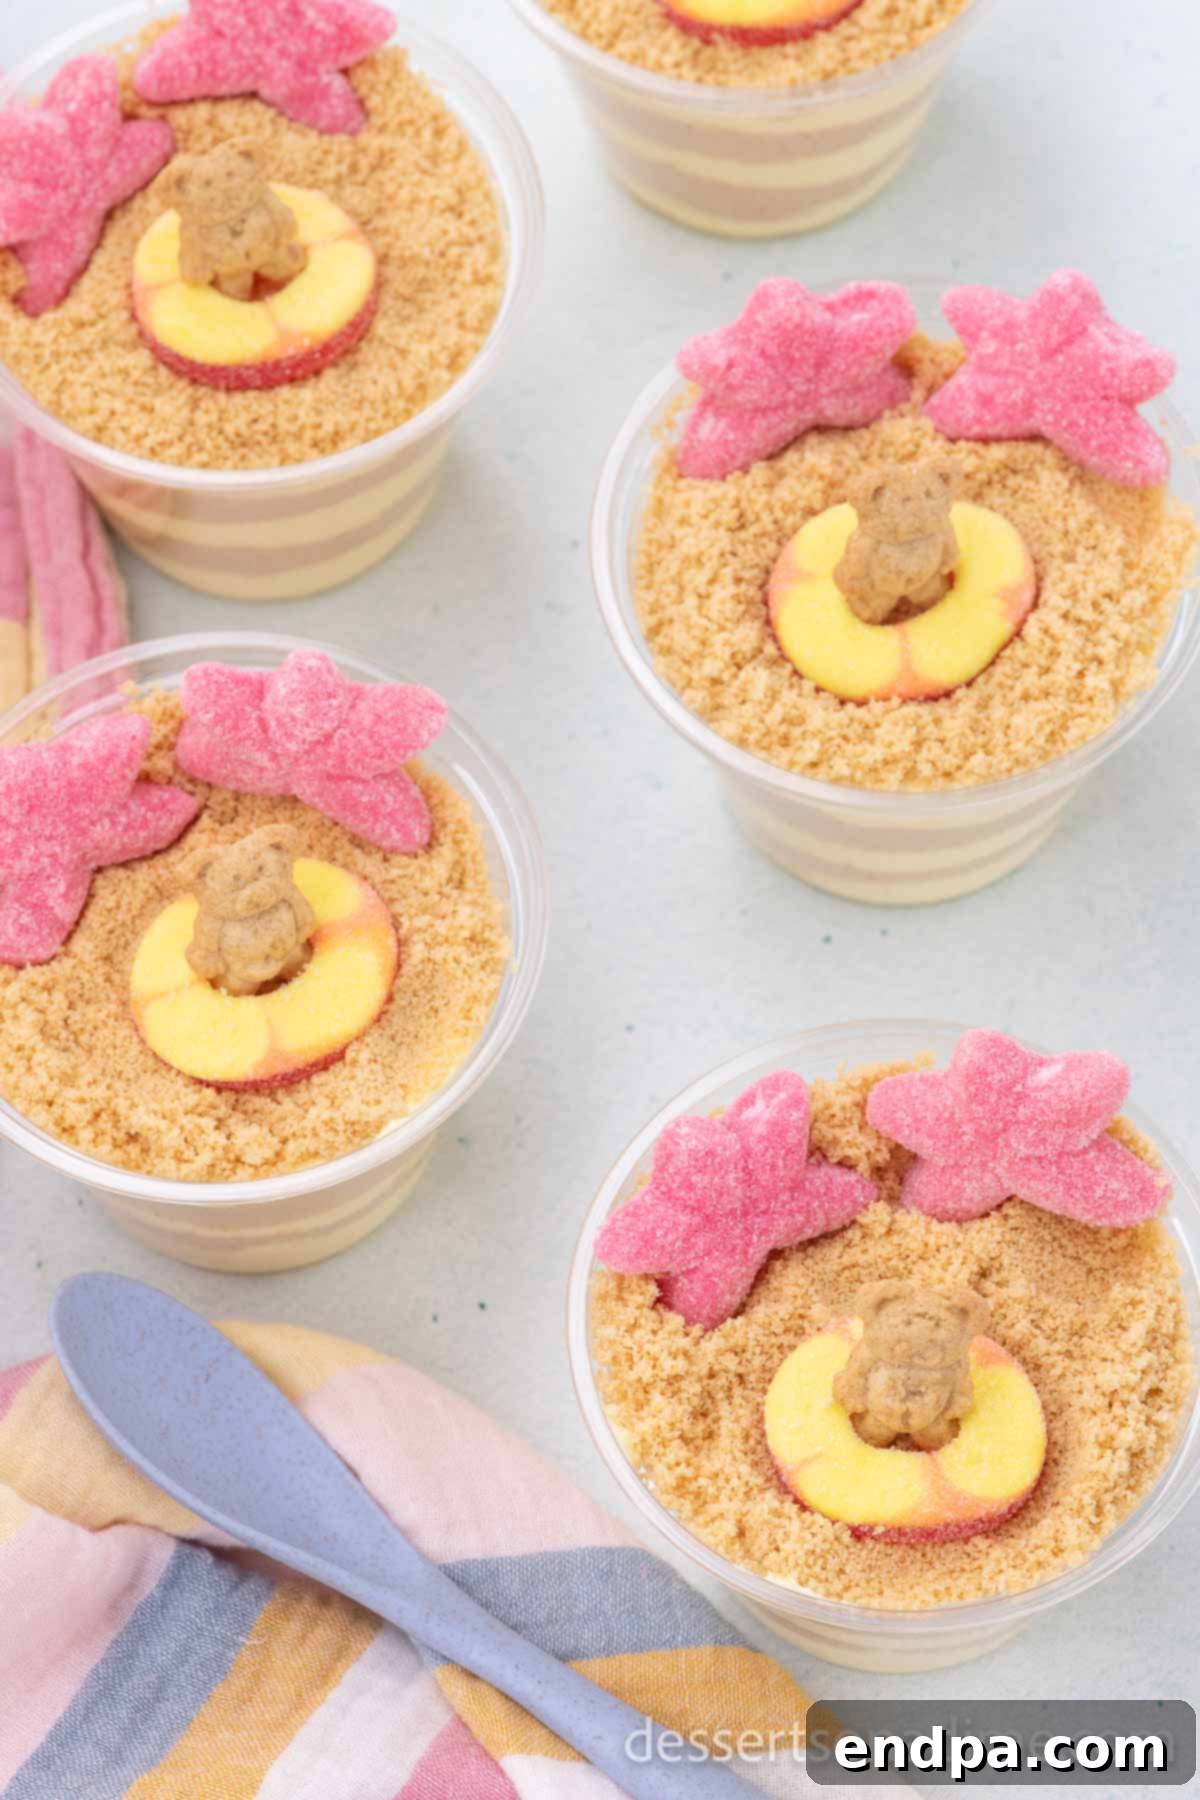
- Strategic Layering for Visual Appeal: For truly eye-catching Sand Pudding Cups, consider creating multiple layers. Instead of just pudding, then a large sand layer, try alternating thin layers of pudding and cookie crumbs. This creates a beautiful striped effect that enhances the illusion of sand and water, making each cup even more enticing.
- The Golden Oreo Advantage: Golden Oreos are recommended because their light color perfectly mimics beach sand. However, feel free to experiment! For a “speckled sand” look, you can crush in a few dark chocolate Oreos along with the golden ones. This adds depth and a slightly different flavor profile.
- Alternative “Sand” Options: If Golden Oreos aren’t available or you’re looking for a different flavor, vanilla wafers or graham crackers are fantastic substitutes. Crush them finely to achieve a similar sandy texture. Animal crackers or even shortbread cookies could also work, offering subtle variations in taste and color.
- Enhancing Creaminess with Cream Cheese: For an even richer, more decadent pudding, consider incorporating a cream cheese mixture. Blend softened cream cheese with a little butter and powdered sugar until smooth, then gently fold this into your prepared pudding base before adding the whipped topping. This adds a delightful tang and a velvety texture that takes the dessert to another level.
- Choosing the Right Cups: Clear plastic cups, ideally 8-ounce size, are perfect for serving. Their transparency allows the beautiful layers and decorations of your Sand Pudding Cups to be fully admired. This size is also ideal for kids’ hands and makes for easy portion control. You can typically yield about 12-15 cups from one recipe, making them great for sharing.
- Preventing Soggy Cookies: To ensure your “sand” remains delightfully crumbly and doesn’t get soggy, try adding the final layer of cookie crumbs and decorations just before serving. If making in advance, add the pudding and intermediate cookie layers, but save the top cookie layer and all candies for the last minute.
Storage
Proper storage is key to keeping your Sand Pudding Cups fresh and delicious. If you have any delightful leftovers, or if you’re preparing them in advance, ensure they are stored correctly. Cover each individual cup tightly with plastic wrap or transfer them to an airtight container. Place them in the refrigerator, where they will remain fresh and tasty for up to 5 days. For optimal taste and texture, consume them within 2-3 days, as the cookie crumbs can start to soften over time.
How Long Will Pudding Cups Last?
These individual pudding cups are fantastic for making ahead, which is a huge advantage when planning for parties or events. While they can last in the refrigerator for up to 5 days when properly covered, for the best quality, taste, and texture, we recommend preparing them no longer than 2 days in advance of when you plan to serve them. The pudding will remain perfectly creamy, but the cookie crumbs will maintain their pleasant crunch better if not exposed to moisture for too long. If you’re adding delicate candy toppings, it’s best to place those on just a few hours before serving to prevent them from becoming sticky or dissolving.
Creative Topping Ideas for Your Beach Pudding Cups
The toppings are what truly bring your Sand Pudding Cups to life, transforming them into miniature edible beach masterpieces. While our core suggestions are wonderful, don’t hesitate to get creative and personalize your beach scenes. Here are some fantastic ideas to spark your imagination:
- Mini Umbrellas: Small paper cocktail umbrellas are a classic touch, instantly adding a tropical resort vibe to your beach scene.
- Swedish Fish: These iconic gummy candies are perfect for creating realistic-looking fish swimming in the pudding “water.”
- Teddy Grahams: As mentioned, these are adorable sunbathers or swimmers. Try positioning them in different ways to tell a story in each cup.
- Gummy Lifesavers or Rings: Ideal for creating miniature inner tubes for your Teddy Grahams.
- Fresh Fruit: Sliced kiwis can resemble lily pads or small islands, while blueberries can be “pebbles.” Mandarin orange segments can look like tiny rafts or buoyant objects.
- Chocolate Rocks/Pebbles: Small chocolate candies shaped like rocks can be scattered on the “sand” for added realism.
- Candy Pearls/Sprinkles: Blue or white sprinkles can mimic ocean foam or tiny bubbles, while pearlized candies can be “treasure.”
- Mini Candy Seashells: Edible candy seashells are a beautiful and elegant addition to your beach theme.
- Blue Food Coloring (for “Water”): For an even more realistic ocean effect, you can add a drop or two of blue food coloring to a portion of your pudding mixture to create a vibrant “water” layer.
- Pretzel Sticks: These can be used to create tiny “driftwood” pieces or even miniature fishing poles for your Teddy Grahams.
Variations for Your Sand Pudding Cups
While the classic vanilla Sand Pudding Cups are a guaranteed hit, this recipe is incredibly versatile and can be customized to suit different tastes or themes. Experiment with these variations to create your unique spin:
- Pudding Flavor Swap: Don’t limit yourself to vanilla! Chocolate pudding can create a “dark sand” or “muddy beach” effect, especially fun for dirt cup variations. Butterscotch, banana, or even lemon pudding could offer distinct flavor profiles that pair well with cookies.
- Cookie Crumbs Alternatives: Beyond Golden Oreos, vanilla wafers, and graham crackers, consider ginger snaps for a spicy kick, shortbread for a buttery texture, or even crushed animal crackers for a more playful “sand.”
- Dairy-Free/Vegan Option: Use plant-based instant pudding mixes (ensure they are dairy-free) and substitute regular milk with almond milk, soy milk, or oat milk. Opt for a coconut-based whipped topping and check that your cookies and candies are vegan-friendly.
- Adult Version: For an adult-friendly treat, you can infuse the milk with a tiny splash of coconut rum or a liqueur that complements the pudding flavor. Ensure this is clearly labeled and separated from kid-friendly versions.
- Different “Ocean” Colors: Add a few drops of blue or green food coloring to your pudding base (before folding in whipped topping) to create a more vibrant and distinct “ocean” layer.
- Grown-Up Garnishes: Instead of gummy candies, consider using fresh berries (blueberries, raspberries) for a pop of color and freshness, or toasted coconut flakes for a tropical texture.
Perfect for Any Occasion
The beauty of these Sand Pudding Cups lies in their adaptability and universal appeal. They are not just limited to pool parties; their charm and ease of preparation make them suitable for a wide range of events and celebrations:
- Summer Get-Togethers: From backyard BBQs to picnics in the park, these cups are a refreshing and mess-free dessert option.
- Children’s Birthday Parties: A beach-themed birthday party would be incomplete without these delightful treats! Kids love the interactive decorations and individual portions.
- School Events & Fundraisers: Easy to transport and serve, they’re a hit at school fairs, class parties, or bake sales.
- Beach-Themed Baby Showers or Bridal Showers: Add an elegant touch with sophisticated candy shells and perhaps a hint of edible glitter.
- Just Because: Sometimes, you don’t need a special occasion. Treat your family to these fun pudding cups for an ordinary evening to make it extraordinary.
Their individual serving size makes them hygienic and convenient, minimizing mess and making them perfect for grab-and-go enjoyment. No plates or extra cutlery required!
More Pudding Cups to Try
If you loved creating and enjoying these Sand Pudding Cups, you’re in for a treat! The world of pudding cups is vast and wonderful, offering endless possibilities for themed, easy-to-make desserts. Here are a few more popular pudding cup recipes that you might enjoy:
- Easter Dirt Cups: A festive twist on the classic, perfect for spring celebrations with colorful candy eggs and bunny decorations.
- Christmas Dirt Cups: Bring holiday cheer with red and green candies, gingerbread, or peppermint flavors.
- The Best Dirt Cups Recipe: The original beloved classic, featuring chocolate pudding, crushed Oreos, and gummy worms for a truly satisfying treat.
- Find More dessert cup recipes: Explore a wide variety of individual dessert ideas perfect for any theme or season.
Each of these variations offers the same ease of preparation and delightful presentation, making them ideal for adding a touch of fun to any occasion.
Go ahead and make this easy recipe for Sand Pudding Cups. We are confident that these charming and delicious treats will become a staple in your dessert repertoire, especially when the sun is shining and fun is in the air. Enjoy the process of creating these miniature beach escapes and delight in the smiles they bring!
