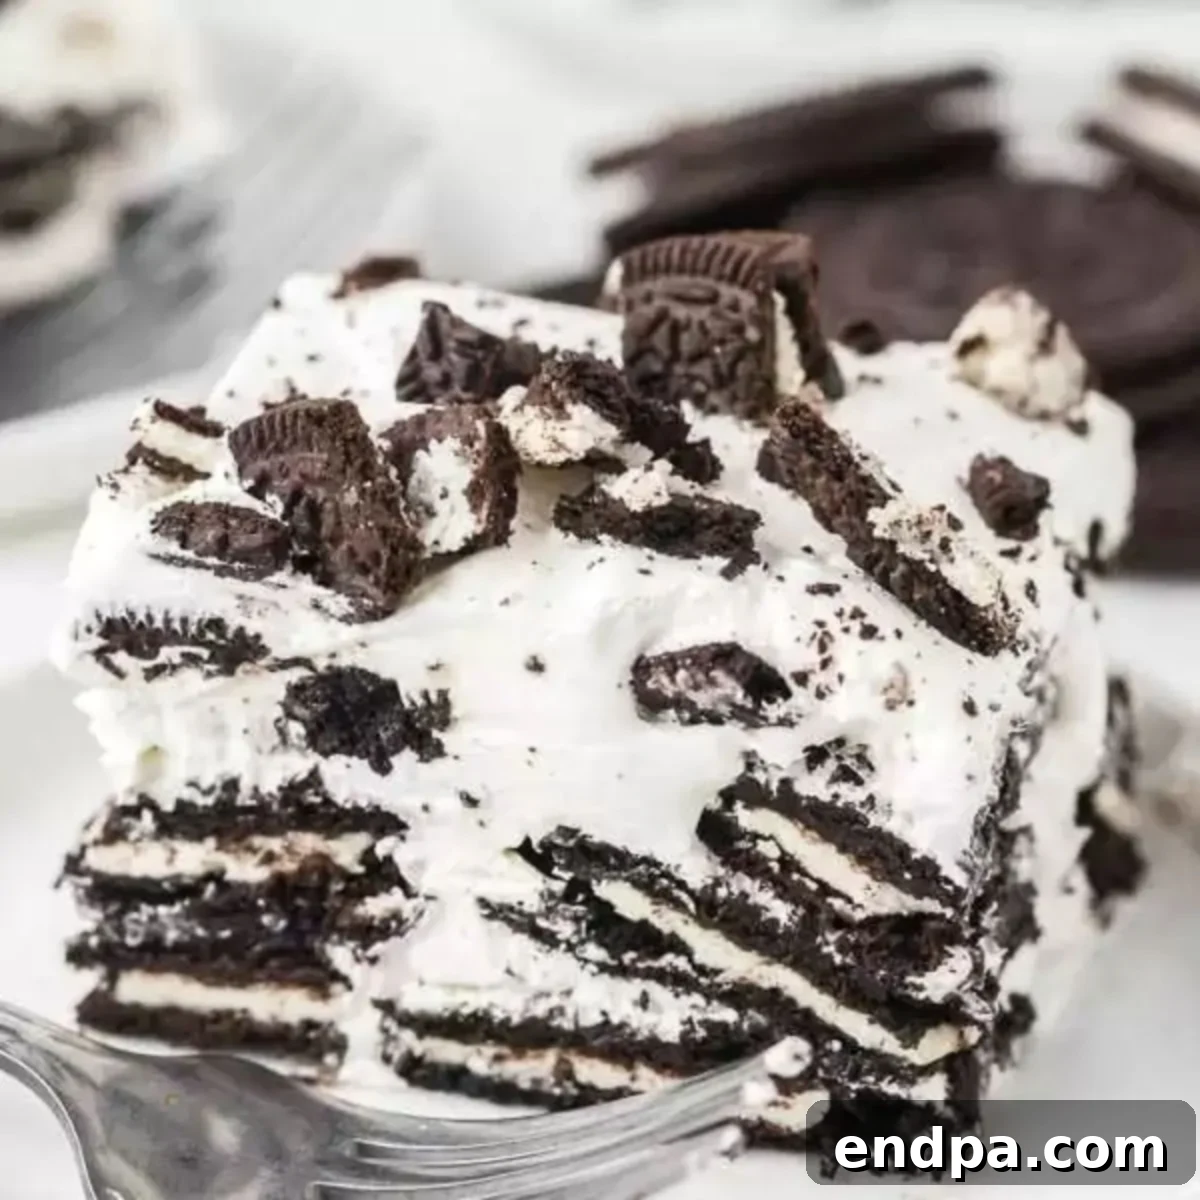
The Easiest 3-Ingredient Oreo Icebox Cake: Your Go-To No-Bake Dessert!
Discover the ultimate dessert solution that requires just three simple ingredients and absolutely no baking! This Oreo Icebox Cake Recipe is a dream come true for anyone craving a quick, delicious, and effortlessly impressive treat. It’s so easy, even the kids can join in the fun, making it a perfect activity for a lazy afternoon or a fantastic no-bake dessert for those warm summer days. Forget complicated recipes and long prep times; this cake comes together in minutes, then chills to perfection, delivering a delightful blend of creamy and crunchy textures that will leave everyone asking for more.
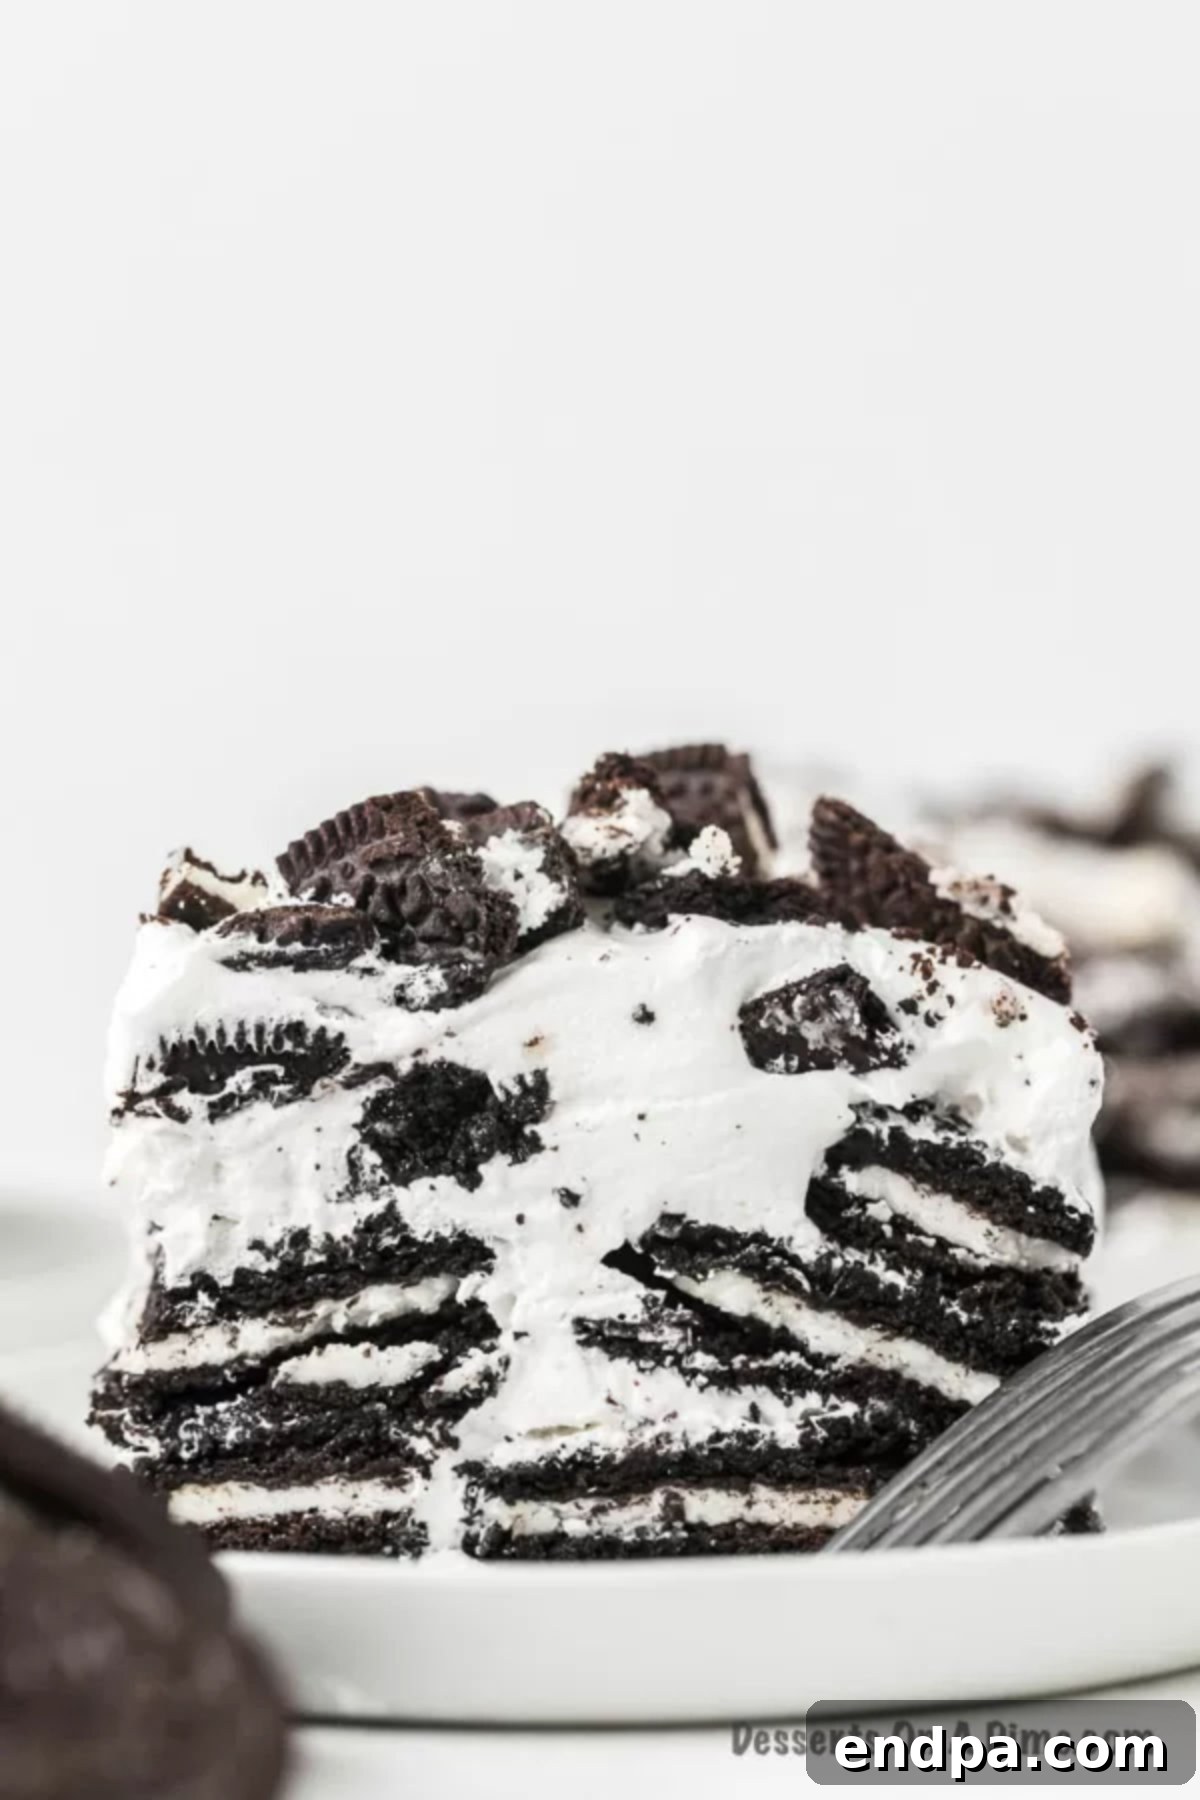
Oreo enthusiasts, prepare to be amazed! This icebox cake, packed with your favorite chocolate sandwich cookies, is an instant crowd-pleaser and the fastest way to satisfy any sweet tooth. With a mere three ingredients, anyone can master this incredibly simple recipe to create the best No-Bake Oreo Dessert you’ve ever tasted. You won’t believe how incredibly flavorful and satisfying this cake turns out, requiring less than 30 minutes of hands-on preparation – honestly, it’s often closer to just 15 minutes!
If you’re a fan of fuss-free desserts, you might also enjoy exploring other popular icebox cake variations like Peanut Butter Icebox Cake, the festive Red White and Blue Icebox Cake, or a classic Chocolate Icebox Cake.
Table of Contents
- Why We Love This Recipe
- What Is An Icebox Cake?
- The 3 Magic Ingredients
- Simple Variations & Customizations
- How to Make Oreo Icebox Cake
- Expert Tips for the Perfect Icebox Cake
- Storage & Longevity
- Frequently Asked Questions
- More Irresistible Oreo Desserts
Why We Love This Recipe
This Oreo icebox cake isn’t just easy; it’s a family favorite that routinely receives rave reviews. The sheer simplicity of preparation is one of its biggest appeals. You don’t even need a food processor for this recipe, as the Oreo cookies don’t require finely crushed crumbs. In fact, many prefer the texture of larger cookie pieces throughout the cake and as a delightful topping. This saves time and effort, making it genuinely accessible for anyone, regardless of their kitchen skill level.
From impromptu weeknight treats to special occasion celebrations, this 3-ingredient Oreo cake consistently finds its way onto our dessert table. Its undeniable deliciousness combined with its minimal preparation makes it a standout. It’s truly a recipe that delivers maximum flavor with minimal fuss, proving that you don’t need a long ingredient list or complex techniques to create something truly spectacular.
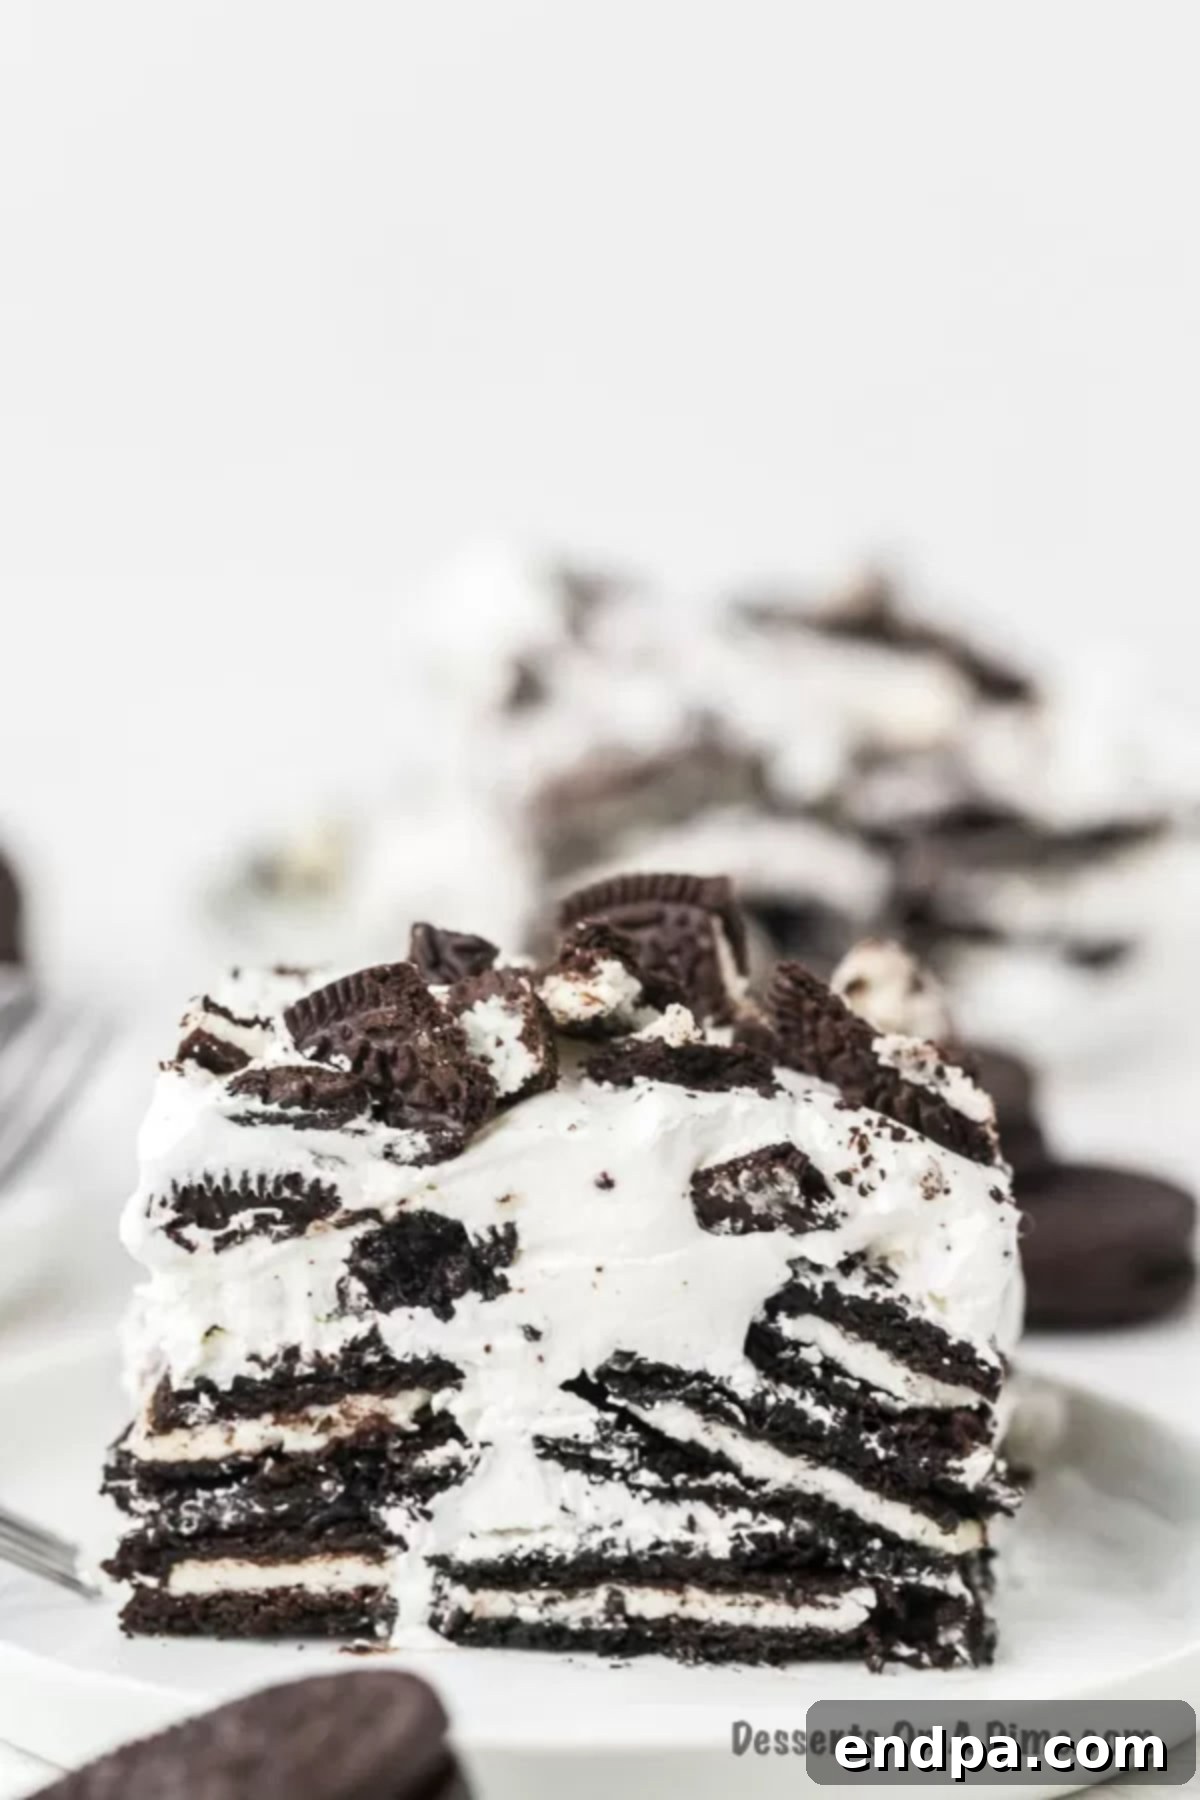
What Is An Icebox Cake?
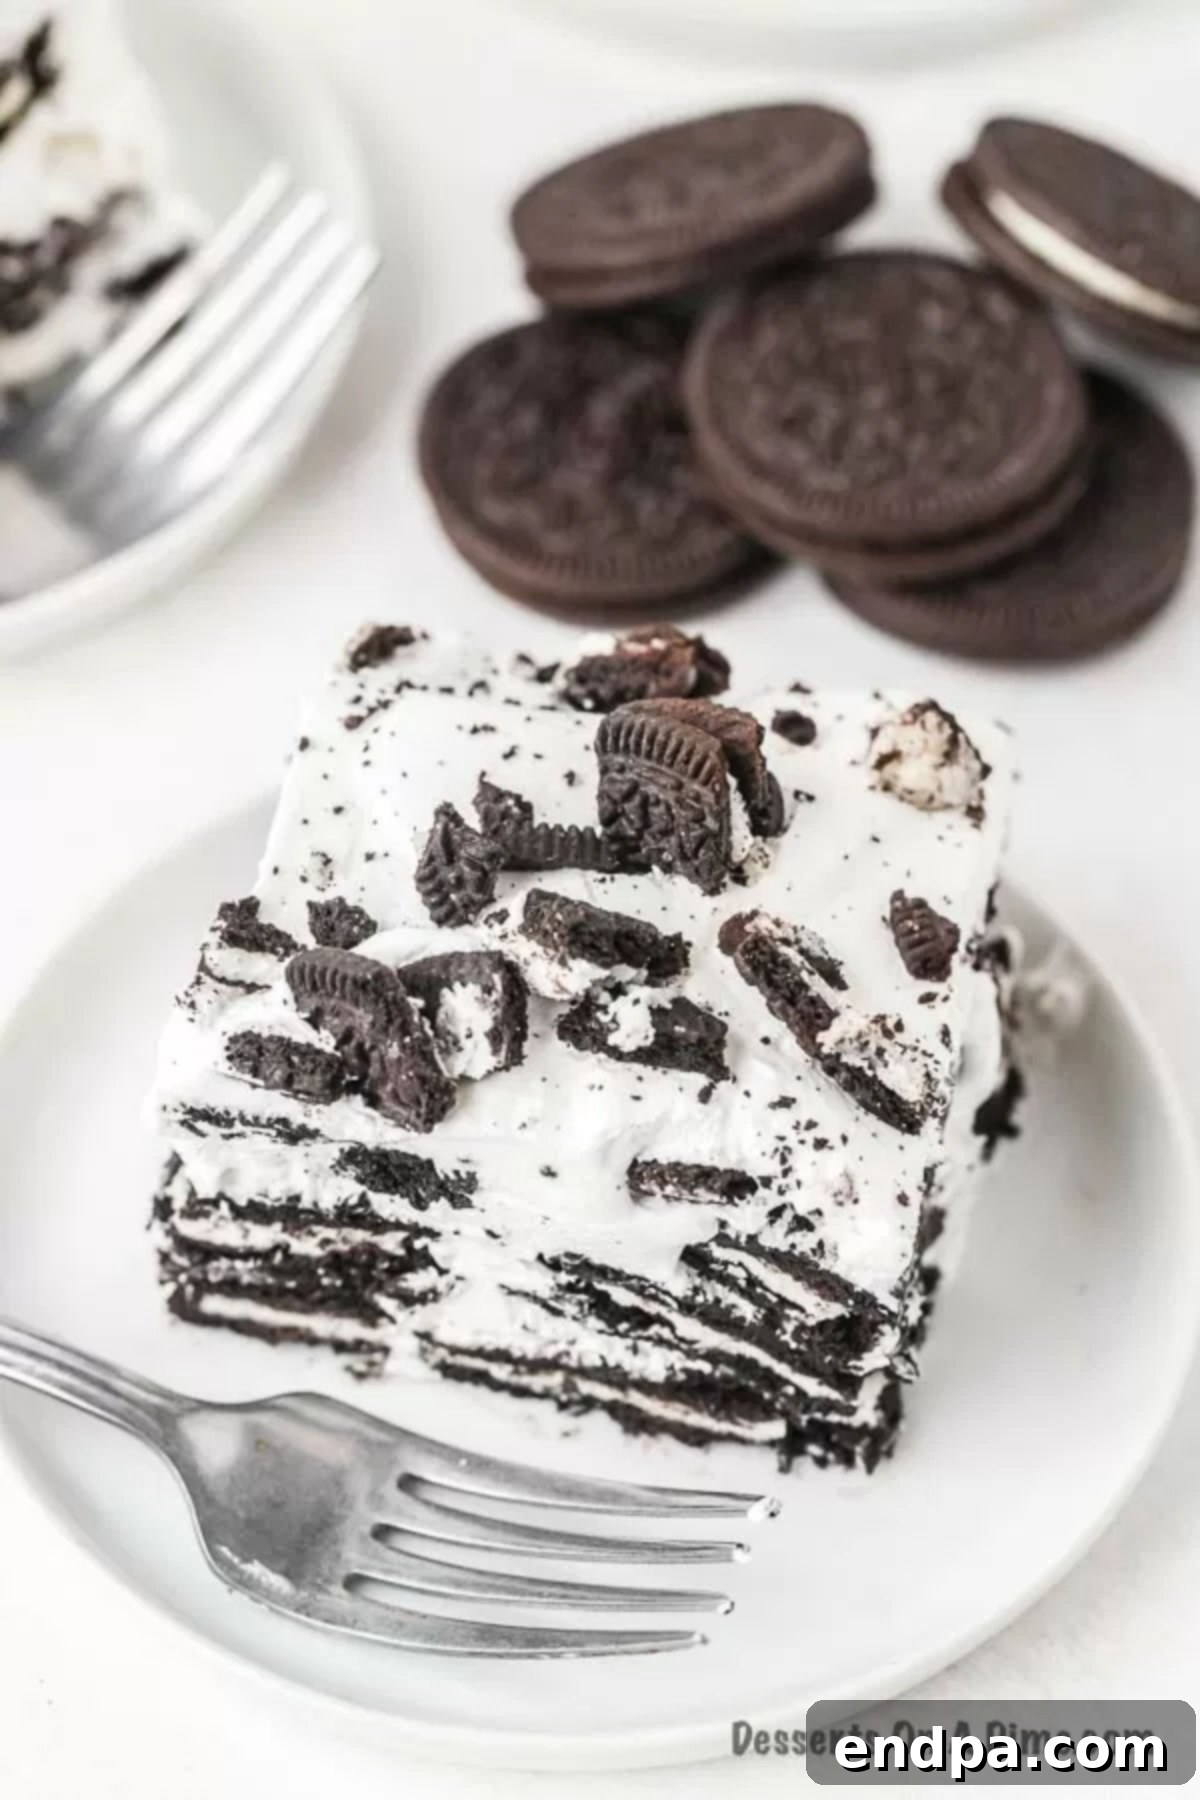
An icebox cake is a classic no-bake dessert that rose to popularity in the early 20th century. Its name originates from the “icebox,” which was the predecessor to the modern refrigerator. The fundamental concept involves layering cookies, wafers, or graham crackers with whipped cream or a creamy filling. The magic happens during refrigeration: as the cake chills, the cookies gradually soften, absorbing moisture from the cream, transforming into a tender, cake-like texture. This simple process creates a surprisingly sophisticated dessert with minimal effort.
Icebox cakes are renowned for their ease and versatility. They’re typically assembled and then left to set in the refrigerator, allowing the flavors to meld and the textures to evolve beautifully. This Oreo icebox cake perfectly embodies all these wonderful qualities, making it one of our absolute favorite icebox cake recipes.
The 3 Magic Ingredients
The beauty of this recipe lies in its incredibly short ingredient list. You only need three items to create this luscious, layered dessert:
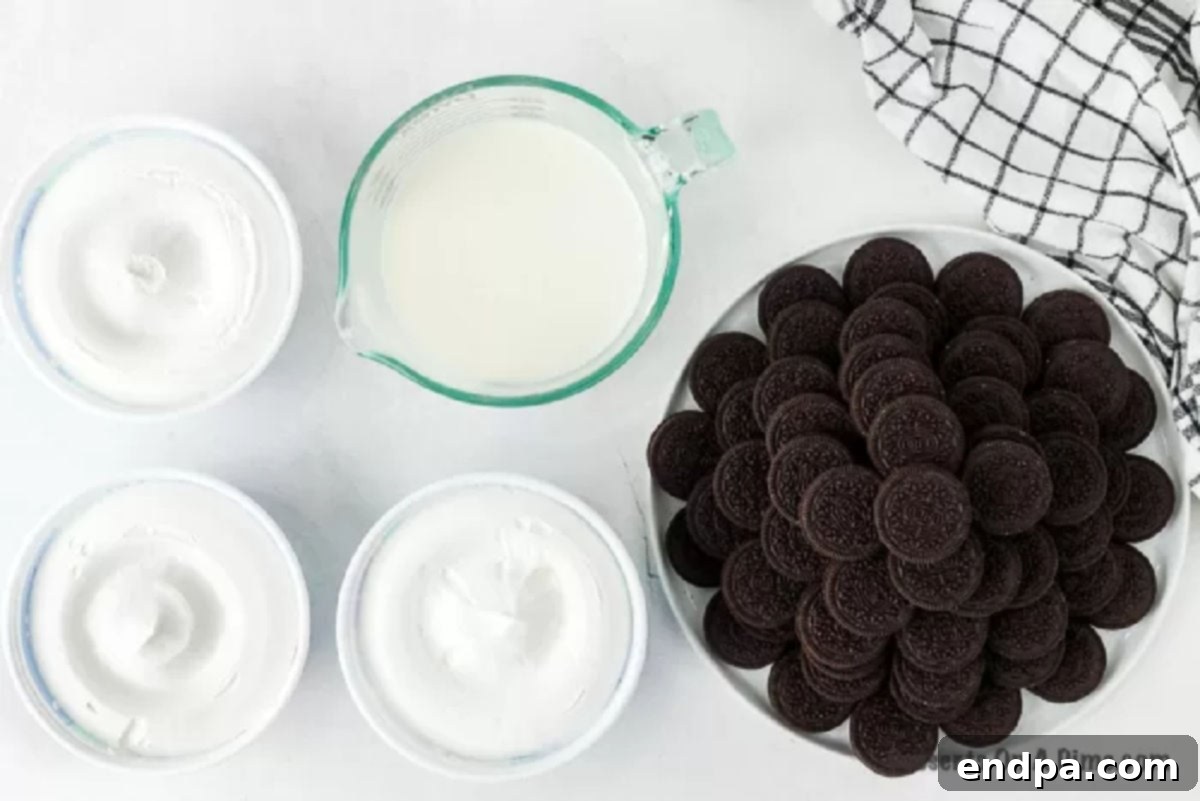
- Oreo Cookies: For the best results, we recommend using regular Oreo cookies. Their classic chocolate flavor and ideal thickness allow them to soften perfectly without becoming overly soggy. While Double Stuffed or Oreo Thins can be used as variations (see below), the standard Oreo provides the optimal cookie-to-cream ratio for this recipe.
- Cool Whip (Thawed): This pre-made whipped topping provides a light, airy, and stable creamy layer that holds its shape beautifully. Ensure it’s thawed completely at room temperature before use for easy spreading. If you prefer a homemade touch, you can certainly make your Homemade Whipped Cream Recipe using heavy whipping cream and powdered sugar.
- Milk: A small amount of milk is used to briefly dip the Oreos, helping them soften and meld with the Cool Whip more effectively. Whole milk will yield a richer flavor and slightly creamier texture, but any type of milk (2%, skim, or even non-dairy alternatives) will work just fine.
These three simple components combine to create a surprisingly complex and utterly delightful dessert that’s greater than the sum of its parts.
Simple Variations & Customizations
While the classic 3-ingredient Oreo Icebox Cake is perfection in itself, it’s also wonderfully adaptable! Don’t hesitate to get creative and customize it to your taste or for different occasions:
- Homemade Whipped Topping: For those who prefer to avoid store-bought whipped cream, you can easily make your own. Simply beat heavy whipping cream with a touch of powdered sugar and vanilla extract until stiff peaks form. This adds an extra layer of freshness and a slightly richer texture.
- Explore Oreo Flavors: The world of Oreo cookies offers endless possibilities! Instead of traditional Oreos, try Golden Oreos for a vanilla-based cake, or seasonal flavors like Peppermint for holidays. Peanut butter, chocolate fudge, lemon, or even mint Oreos would all make delicious and exciting variations.
- Additional Toppings: Elevate your cake with extra toppings! Sprinkle chocolate chips (mini or regular), chopped nuts (like pecans or walnuts), or a drizzle of caramel or chocolate syrup over the top for added flavor and visual appeal. Fresh berries, like sliced strawberries or raspberries, also add a lovely fresh counterpoint.
- Double the Recipe, Impress with a Trifle: Planning for a larger gathering or simply want a more dramatic presentation? Double the recipe and assemble it in a beautiful trifle dish. The visible layers of dark Oreos and white cream create a stunning display that looks incredibly gourmet, yet remains incredibly easy to make.
- Gluten-Free Option: For those with dietary restrictions, simply substitute regular Oreo cookies with gluten-free Oreo cookies. This is an easy and effective swap that ensures everyone can enjoy this delightful treat.
- Coffee or Liqueur Infusion (Adult Version): For a more sophisticated twist, lightly dip the Oreos in cold coffee or a coffee liqueur (like Kahlúa) instead of milk. This adds a wonderful depth of flavor, perfect for an adult dessert.
- Mini Icebox Cakes: Create individual servings by layering Oreos and whipped cream in small glasses, mason jars, or ramekins. These are perfect for parties and portion control.
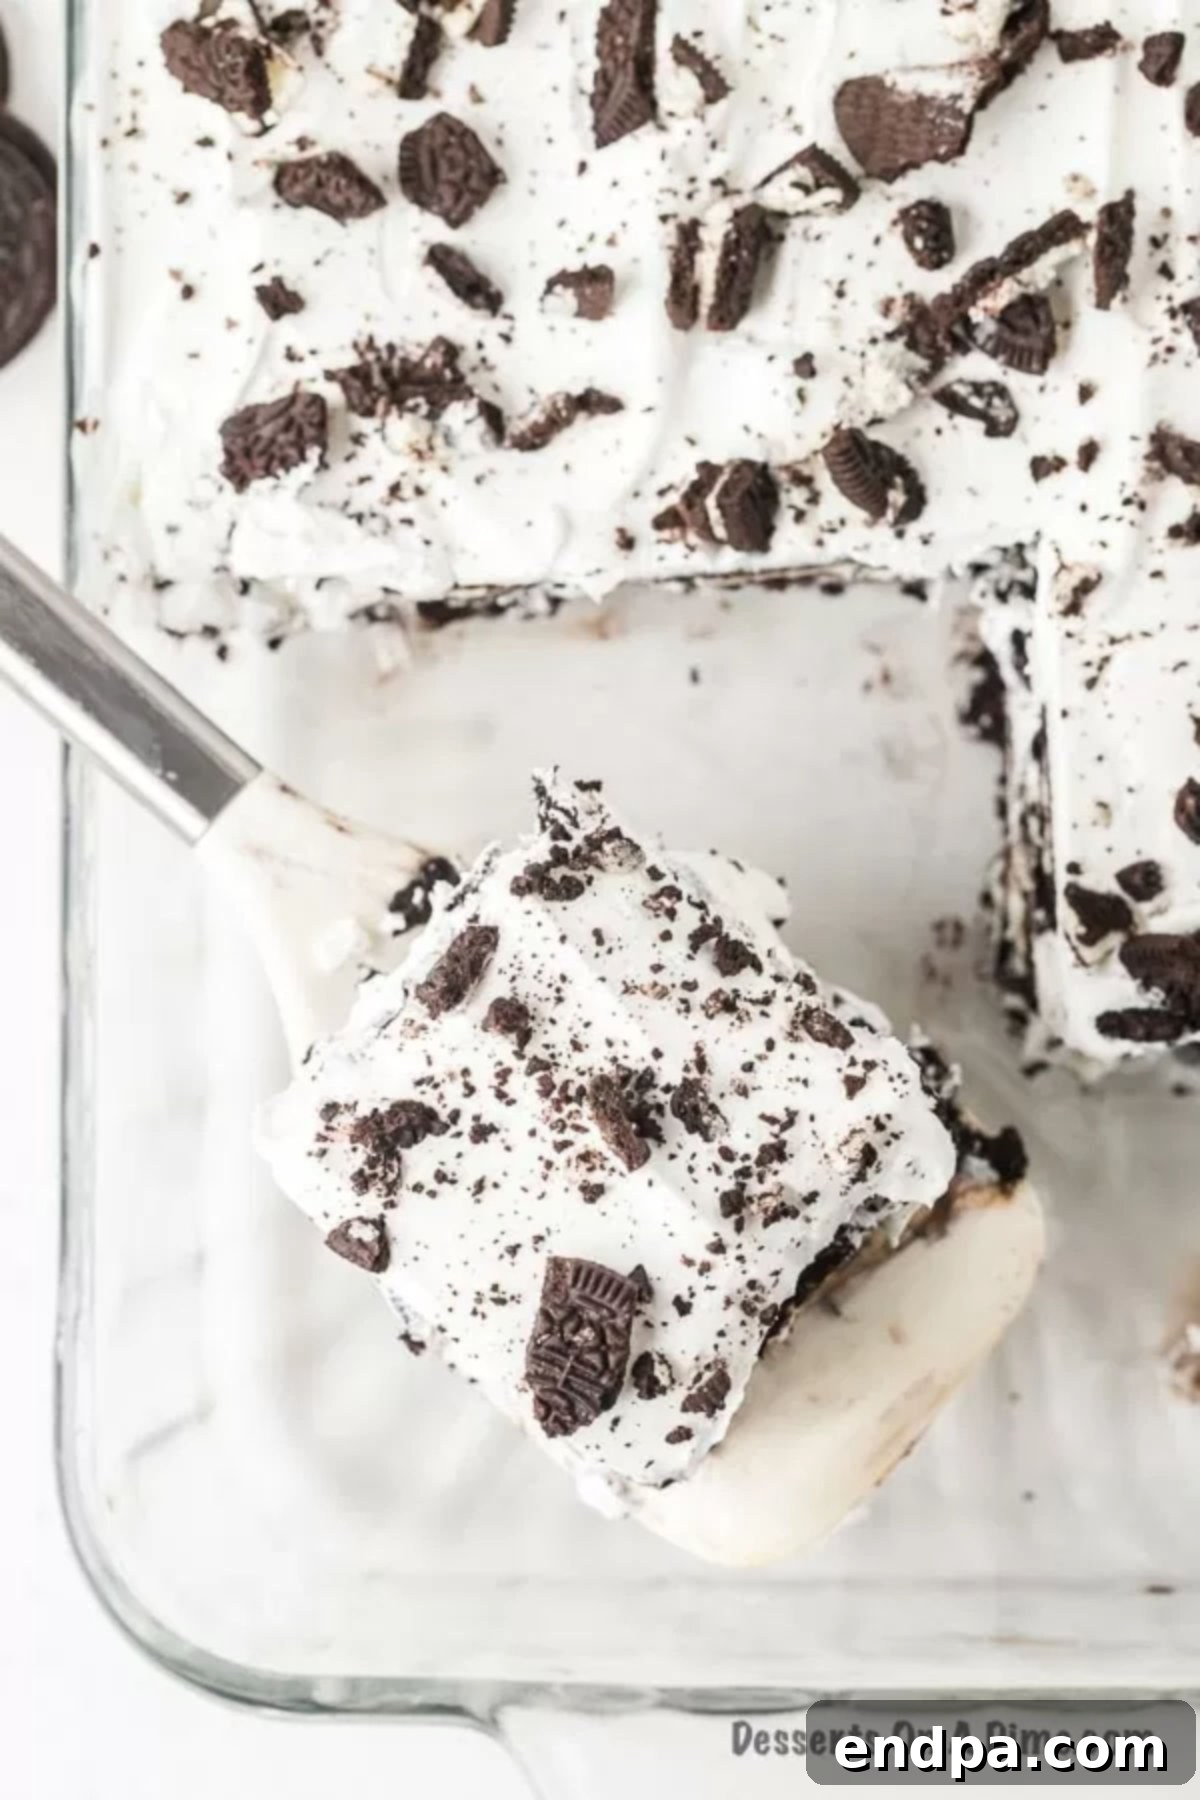
How to Make Oreo Icebox Cake
Making this icebox cake is a breeze! Here’s a step-by-step guide to assembling your delicious dessert:
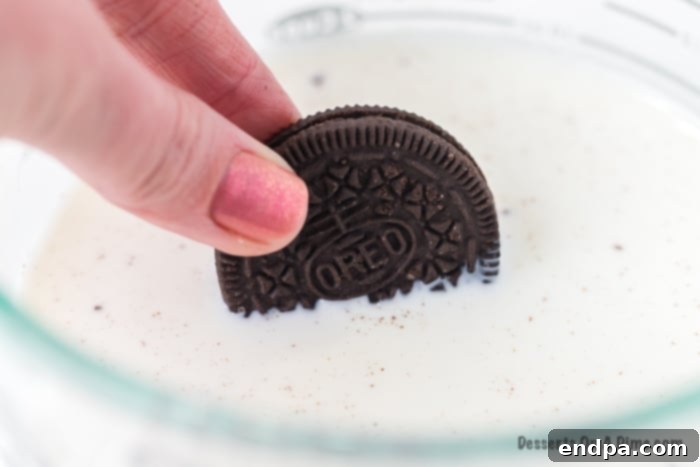
Step 1: Dip the Cookies in Milk
Gather approximately 30 Oreo cookies. Briefly dip each cookie into a bowl of milk, just enough to moisten them without making them soggy. Place these milk-dipped cookies side by side in a single layer at the bottom of a 9×13 inch baking pan. Arrange them neatly to form an even base.
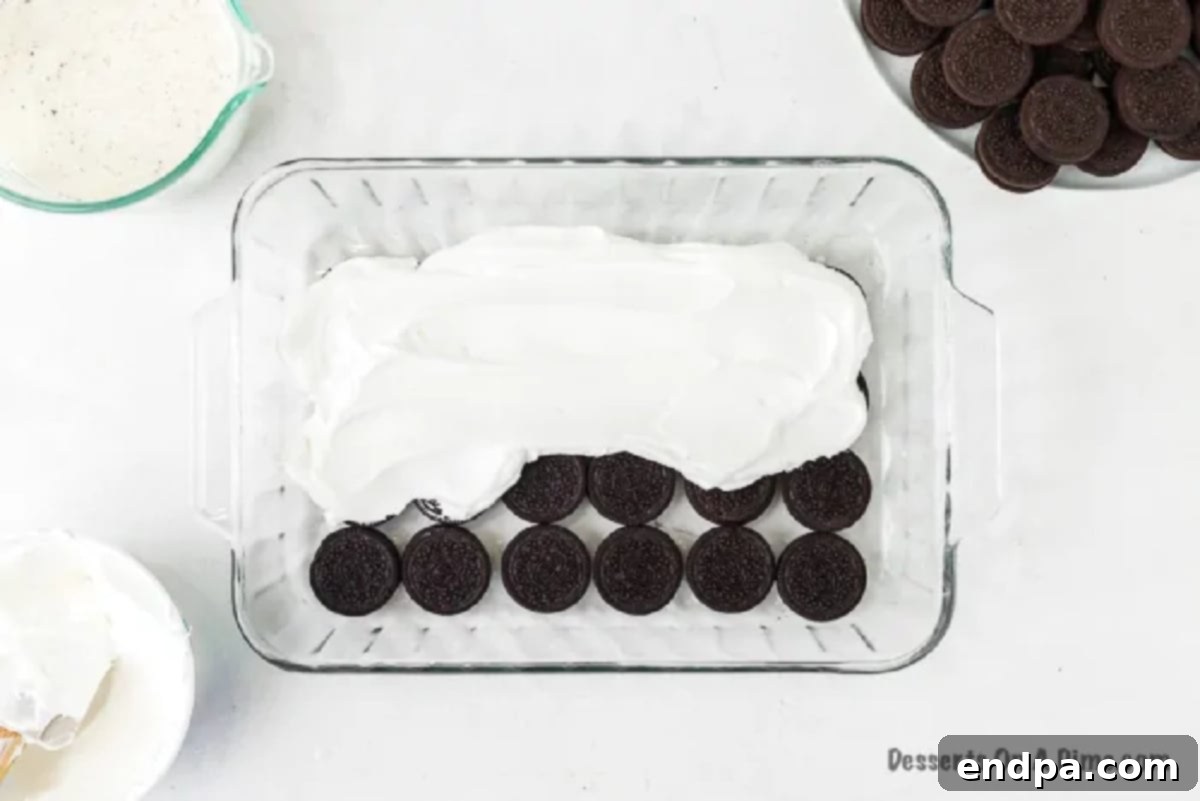
Step 2: Add a Layer of Whipped Cream
Once the first layer of cookies is arranged, gently spread one container of thawed Cool Whip evenly over the top of the cookies. Use a spatula or the back of a spoon to ensure the cream covers all the cookies completely, creating a smooth and consistent layer.
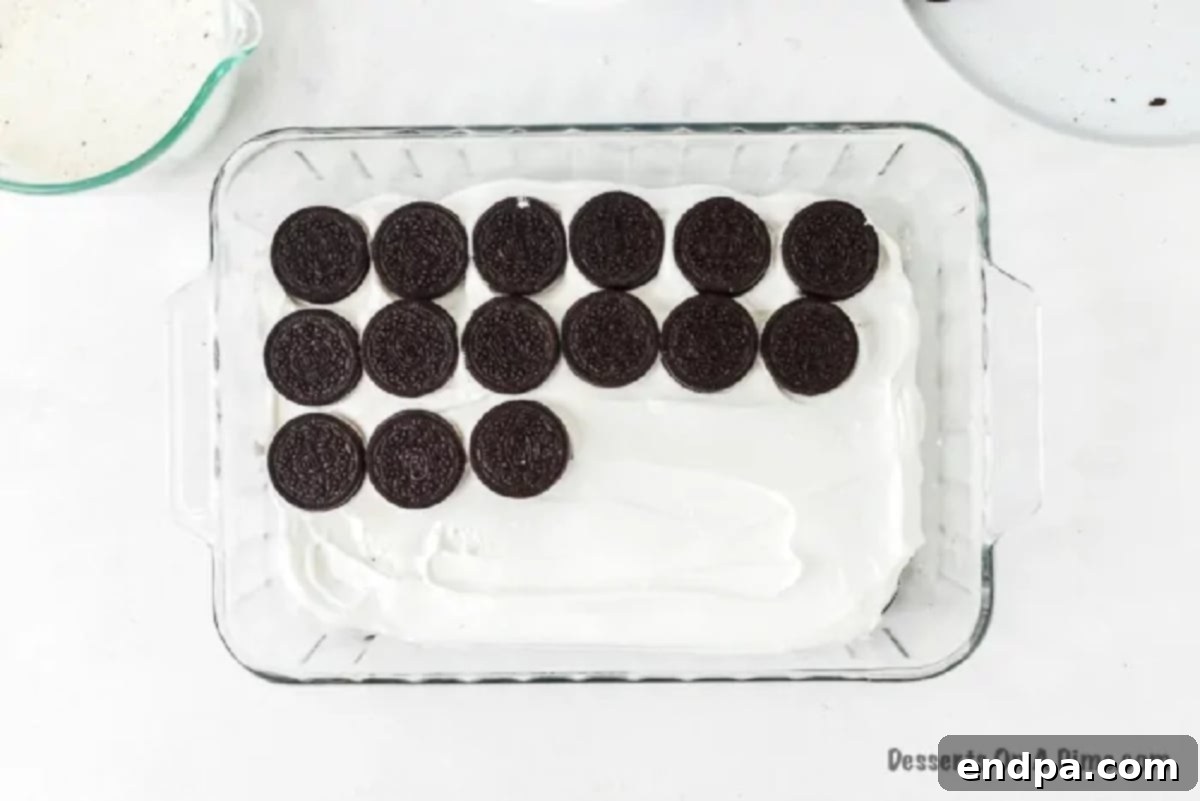
Step 3: Repeat the Layers
Continue this layering process two more times. Dip another batch of Oreo cookies in milk and arrange them over the whipped cream layer, then top with another container of Cool Whip. Repeat one last time, ensuring all the cookies and Cool Whip are used, typically resulting in three layers of cookies and three layers of cream.
Step 4: Garnish and Chill
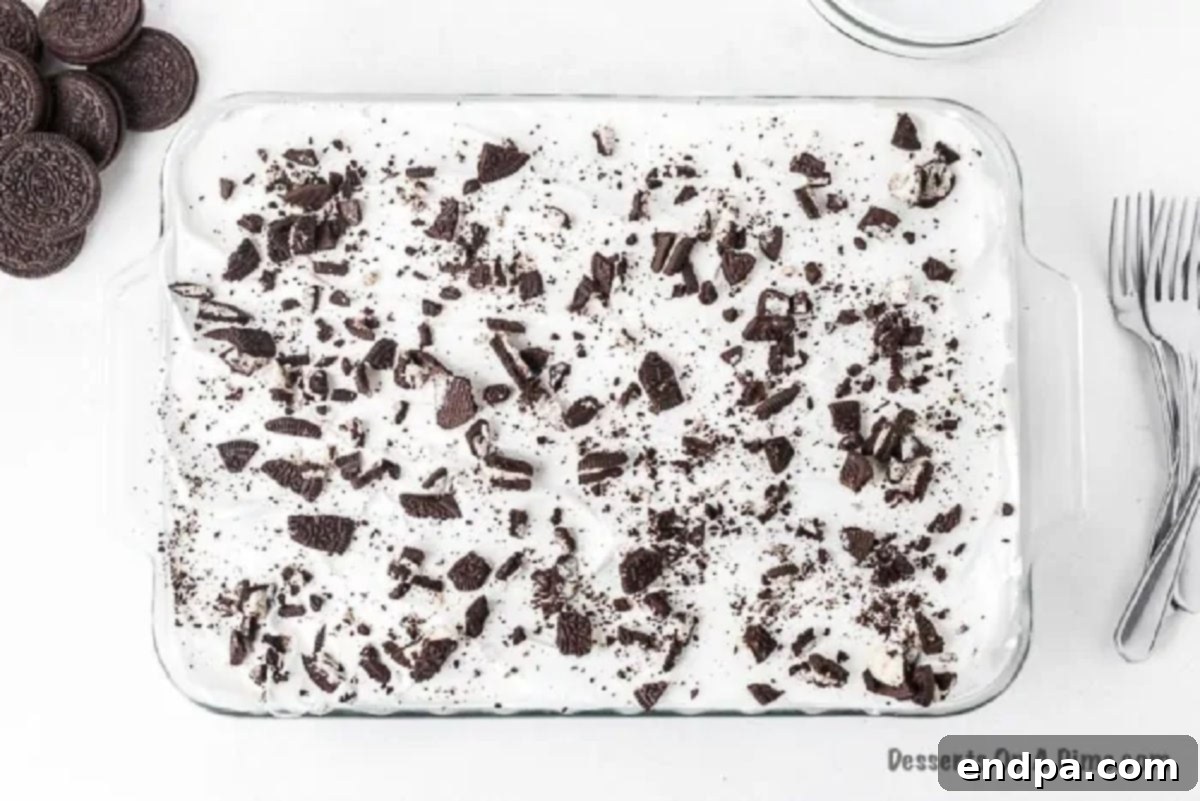
Take the remaining 5 Oreo cookies (from the 95 total cookies) and roughly chop or crush them. Sprinkle these crushed Oreos over the very top layer of the cake for a decorative and textural finish. Once garnished, cover the pan tightly with plastic wrap and place it in the refrigerator. Chill for at least 4 hours, though overnight chilling is highly recommended for the best flavor and texture. This allows the cookies to fully soften and the flavors to meld beautifully. Then, it’s ready to slice and serve!
Expert Tips for the Perfect Icebox Cake
Achieving a perfectly set and delicious Oreo Icebox Cake is incredibly simple, but a few expert tips can elevate your dessert even further:
- Chill for Optimal Flavor and Texture: This is arguably the most crucial step! While a minimum of 4 hours is necessary for the cake to set, we strongly recommend refrigerating it overnight. This extended chilling time allows the Oreo cookies to fully absorb the moisture from the whipped cream, transforming them into a wonderfully tender, cake-like consistency and allowing all the flavors to deepen and meld. Patience here truly pays off!
- Mastering Clean Slices: For beautifully neat slices, place your chilled icebox cake in the freezer for about 15 to 20 minutes just before you plan to serve it. This brief stint in the freezer will firm up the cake, making it much easier to cut through cleanly without disturbing the layers.
- Prepare in Advance: Icebox cakes are ideal make-ahead desserts. I often prepare mine a full day before I intend to serve it. Not only does this save time on the day of an event, but the softened cookies and well-integrated layers actually taste even better after a night in the fridge.
- Don’t Over-Dip the Cookies: When dipping the Oreos in milk, a quick dunk is all you need. You want them moistened, not soaked. Over-dipping can lead to a mushy cake rather than a tender one.
- Even Layers are Key: Try to spread your whipped cream layers as evenly as possible. This ensures that each slice of cake has a consistent ratio of cookie to cream and contributes to a visually appealing dessert.
- Cover Tightly: Always cover the cake tightly with plastic wrap before refrigerating. This prevents the cake from absorbing any odors from the refrigerator and helps maintain its moisture, preventing it from drying out or developing a crust.
Storage & Longevity
Proper storage is key to enjoying your Oreo Icebox Cake for as long as possible. Once assembled, ensure the pan is well-covered with plastic wrap or has an airtight lid. This helps to protect the cake from drying out and absorbing other odors from the refrigerator.
Store the icebox cake in the refrigerator. It will typically last for 2 to 3 days. Beyond this timeframe, the cookies can become overly soft and mushy, and the texture may begin to deteriorate. Therefore, it’s best not to make this dessert too far in advance, ideally serving it within 48-72 hours of preparation to enjoy it at its prime texture and flavor.
Frequently Asked Questions
Can I use homemade whipped cream instead of Cool Whip?
Yes, absolutely! Homemade whipped cream can be a wonderful substitute for store-bought Cool Whip. Simply use heavy whipping cream, a touch of powdered sugar, and a splash of vanilla extract, then beat until stiff peaks form. Both options will yield a delicious result, so choose whichever you prefer.
Can I make this ahead of time?
This is an excellent make-ahead dessert! You can prepare it up to 1 day in advance. In fact, making it the day before serving is often preferred, as it gives the cookies ample time to soften and the flavors to fully develop. However, avoid preparing it too far in advance (more than 2-3 days), as the cookies can become overly mushy.
Can I use Double Stuffed Oreos?
While the recipe works best with regular Oreos for optimal cookie-to-cream balance, you can certainly use Double Stuffed Oreos if you love the extra creaminess! It’s a tasty variation that will result in a richer, sweeter cake.
Can I use a different pan size or type?
Yes, while a 9×13 inch pan works perfectly for this recipe, feel free to experiment with other ideas. A trifle dish is a fantastic choice for showcasing the beautiful layers, especially if you double the recipe. You could also make individual servings in small glasses or ramekins for a more personalized presentation.
What kind of milk should I use?
Any kind of milk will work for dipping the Oreos. Whole milk will add a slightly richer taste to the overall dessert, but 2%, skim, or even a non-dairy milk alternative like almond or oat milk can be used successfully.
Can I freeze the icebox cake?
For clean slicing, you can place the cake in the freezer for 15-20 minutes before serving. However, for long-term storage, freezing is not recommended as it can significantly alter the texture of the cookies and cream, making it icy and less palatable upon thawing.
More Irresistible Oreo Desserts
If you’re an Oreo aficionado, there’s a whole world of delightful Oreo-infused treats to explore beyond this icebox cake. Here are some more of our favorites that you’re sure to love:
- Oreo Cupcakes: Fluffy cupcakes topped with creamy frosting and crushed Oreos – a classic combination.
- Mini Oreo Cheesecake Recipe: Bite-sized cheesecakes with an Oreo crust and creamy filling, perfect for individual servings.
- 2-Ingredient Oreo Mug Cake: When you need an instant, single-serving treat, this microwave mug cake is incredibly fast and satisfying.
- Oreo Cheesecake Cookies Recipe: The best of both worlds – chewy cookies with the irresistible flavor of Oreo cheesecake.
With just 3 ingredients, this Oreo Icebox Cake is incredibly easy to whip up, requiring minimal effort but delivering maximum delight. We are confident it will become a beloved staple in your home, just as it has in ours. Give this simple and delicious recipe a try today, and don’t forget to share your experience in the comments!
Oreo Icebox Cake Recipe
You only need 3 ingredients to make this Oreo Icebox Cake Recipe in minutes. Let the kids help with this easy and delicious dessert. It is an easy no bake dessert for Summer.
Prep Time: 20 mins
Refrigerate before serving: 4 hrs
Total Time: 4 hrs 20 mins
Servings: 16
Cuisine: American
Course: Dessert
Calories: 251
Author: Carrie Barnard
Ingredients
- 95 Oreo Cookies
- 3 (12 oz) containers of Cool Whip, thawed at room temperature
- 1 ½ – 2 cups Milk
Instructions
- Dip approximately 30 Oreo Cookies in milk (just a quick dip to moisten) and place them side by side in a 9×13 inch pan.
- Then spread 1 container of the thawed Cool Whip evenly over the top of these cookies.
- Continue this process 2 more times in the same pan, making sure to use all the cookies and Cool Whip to create three layers of each.
- Chop up the remaining 5 Oreos. Sprinkle these crushed Oreos on top of the cake for garnish.
- Refrigerate for a minimum of 4 hours, but chilling overnight is strongly preferred for the best texture and flavor development.
- Slice and enjoy your delicious no-bake treat!
Recipe Notes
This cake will last for 3-4 days in the refrigerator when covered tightly.
Nutrition Facts
Calories: 251kcal, Carbohydrates: 37g, Protein: 5g, Fat: 10g, Saturated Fat: 4g, Trans Fat: 1g, Cholesterol: 16mg, Sodium: 190mg, Potassium: 196mg, Fiber: 1g, Sugar: 24g, Vitamin A: 199IU, Calcium: 135mg, Iron: 2mg
