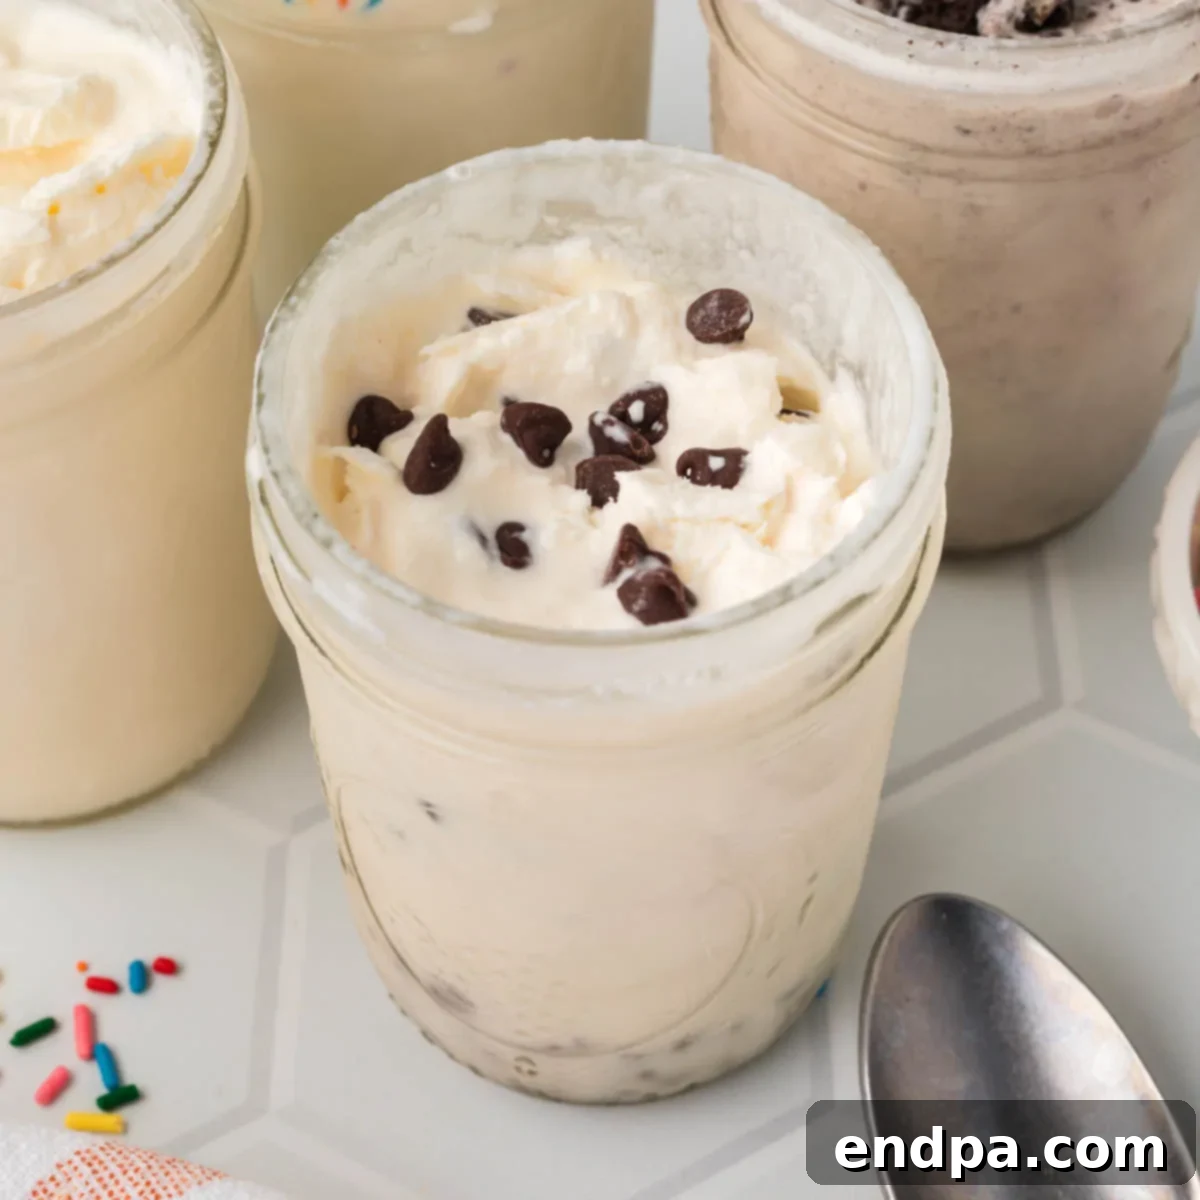
Mason Jar Ice Cream is an incredibly fun and easy treat that requires just four basic ingredients. Forget about fancy ice cream makers; this no-churn method is perfect for anyone, and the little ones will absolutely adore helping with the process!
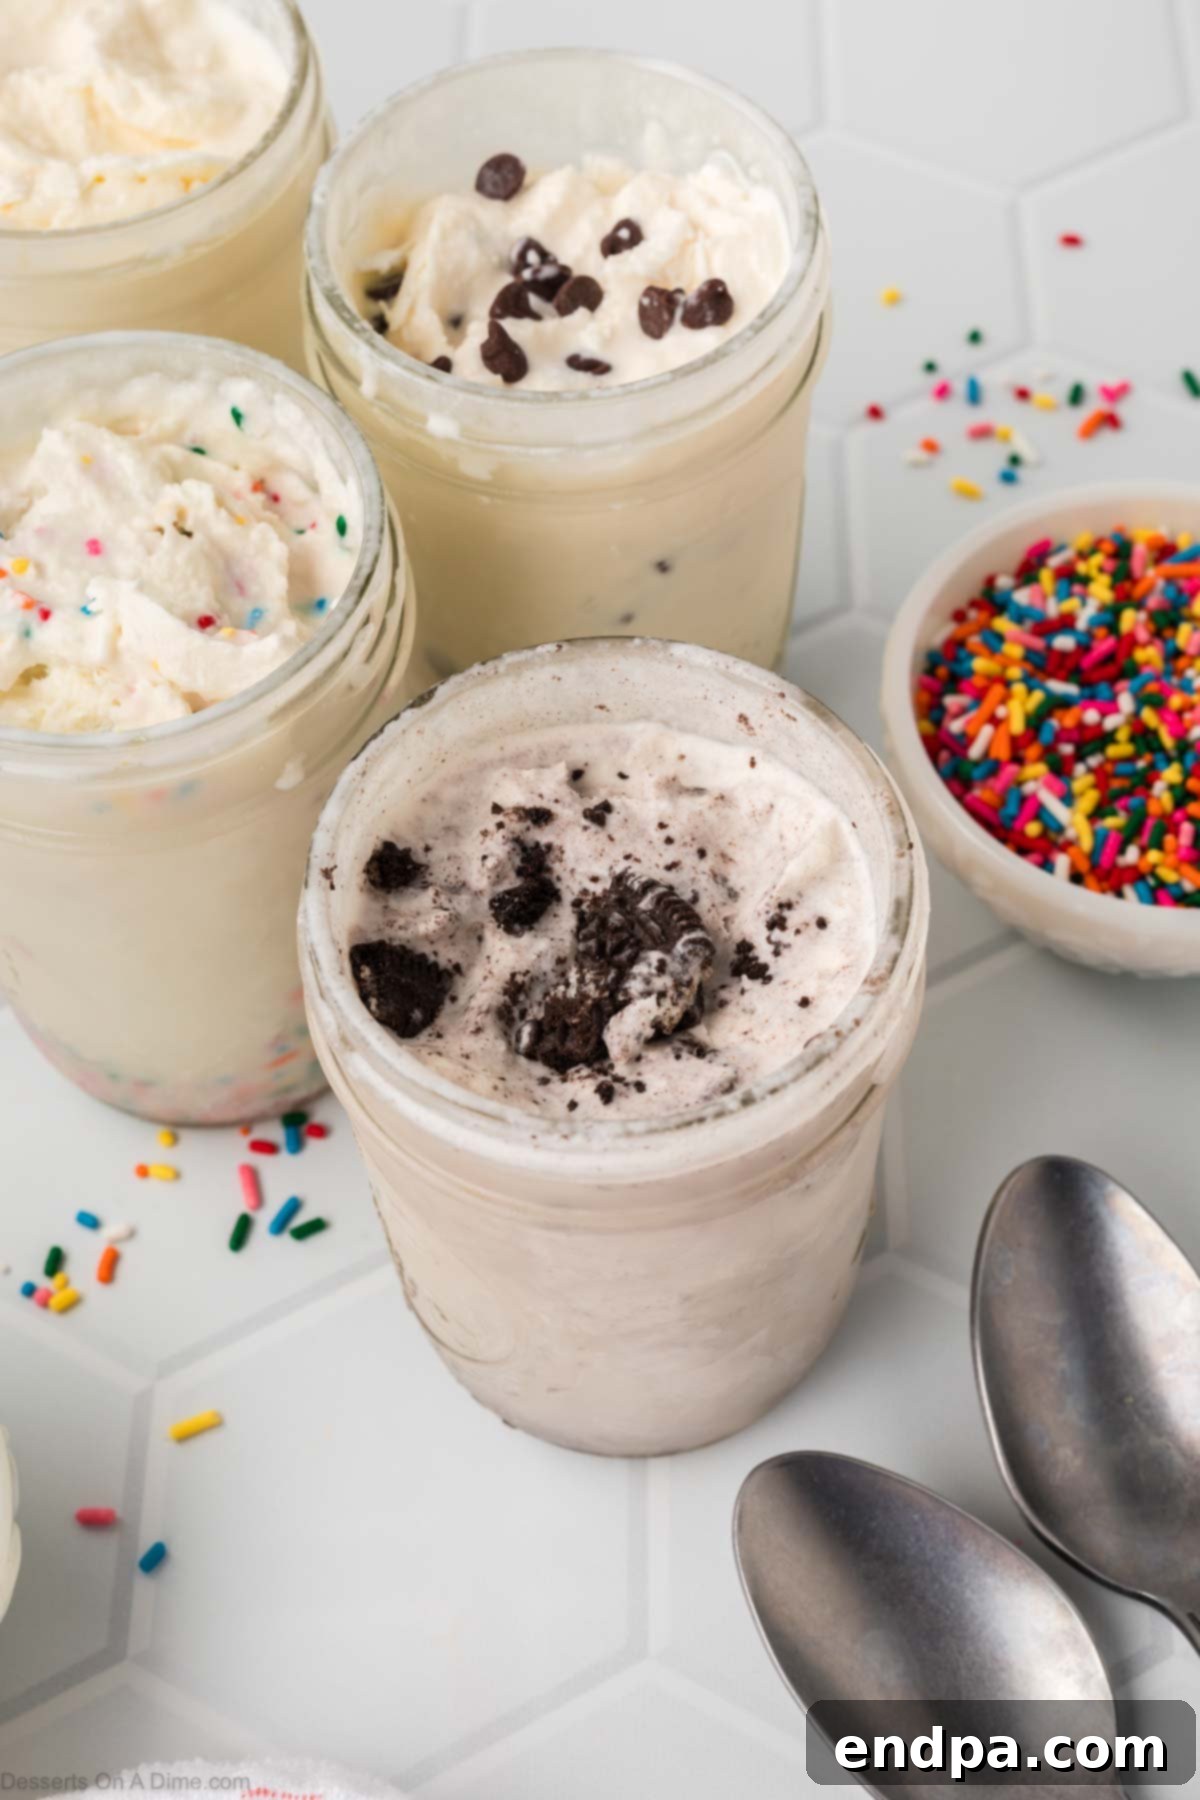
Crafting homemade ice cream has never been simpler or more enjoyable than with our Mason Jar Ice Cream recipe. It’s a delightful dessert that promises rich, creamy results with minimal effort and just a handful of staple ingredients. This versatile recipe is a fantastic choice year-round, but it truly shines during the warmer months, offering a cool, refreshing treat for any occasion. Imagine the joy of gathering your family to whip up this deliciousness, perhaps even as a centerpiece for a fun Ice Cream Charcuterie Board!
If you’re a fan of simple yet sensational frozen desserts, you might also love exploring other delightful creations like No-Churn Lemon Shortbread Ice Cream or the tropical indulgence of Hula Pie. But for pure simplicity and interactive fun, our Mason Jar Ice Cream stands unparalleled.
Table of Contents
- Why We Love This Recipe
- Essential Ingredients
- Step-by-Step Instructions
- Add-Ins and Toppings Inspiration
- Pro Tips for Perfect Ice Cream
- Storage Guidelines
- Frequently Asked Questions
Why We Love This Recipe: The Ultimate No-Churn Experience
This Mason Jar Ice Cream recipe isn’t just easy; it’s an experience! It’s a blast to make, incredibly satisfying, and the end result is a luxuriously rich and creamy ice cream with a delightful soft-serve consistency that rivals any store-bought treat. The true magic lies in its simplicity and the sheer joy it brings to everyone involved.
One of the biggest appeals of this recipe is its interactive nature. Children especially love shaking their own jar, watching the liquid transform into a delicious frozen dessert. It’s a fantastic way to get the entire family involved in the kitchen, creating lasting memories together. Beyond the fun, this recipe serves as a brilliant base. You can effortlessly customize it with an endless array of toppings and mix-ins, ensuring everyone gets to enjoy their favorite flavor combination. Each person can even make their own individual jar, making it a personalized treat that kids find incredibly cool!
The Magic Behind No-Churn Ice Cream in a Jar
The secret to this “no-churn” method lies in the high fat content of heavy cream and the aeration achieved through vigorous shaking. When cold heavy cream is shaken with sugar and vanilla, it gradually incorporates air, thickening and creating a stable emulsion. As it freezes, this aerated mixture prevents large ice crystals from forming, resulting in a smooth, creamy texture similar to traditional ice cream, but without the need for specialized equipment.
Benefits of Making Ice Cream in a Mason Jar
- Simplicity: No complicated machinery or intricate steps. Just mix, shake, and freeze!
- Kid-Friendly: A safe and engaging activity for children, boosting their confidence in the kitchen.
- Customization: Each jar can be a unique flavor creation, catering to individual preferences.
- Portion Control: Perfect for individual servings, minimizing waste.
- Accessibility: Most ingredients are common pantry staples, and mason jars are readily available.
- Delicious Results: Despite its simplicity, the ice cream is wonderfully rich, smooth, and full of flavor.
Essential Ingredients for Your Mason Jar Masterpiece
With only four core ingredients, this recipe proves that you don’t need much to create something truly special. Quality ingredients make a noticeable difference in the final flavor and texture.
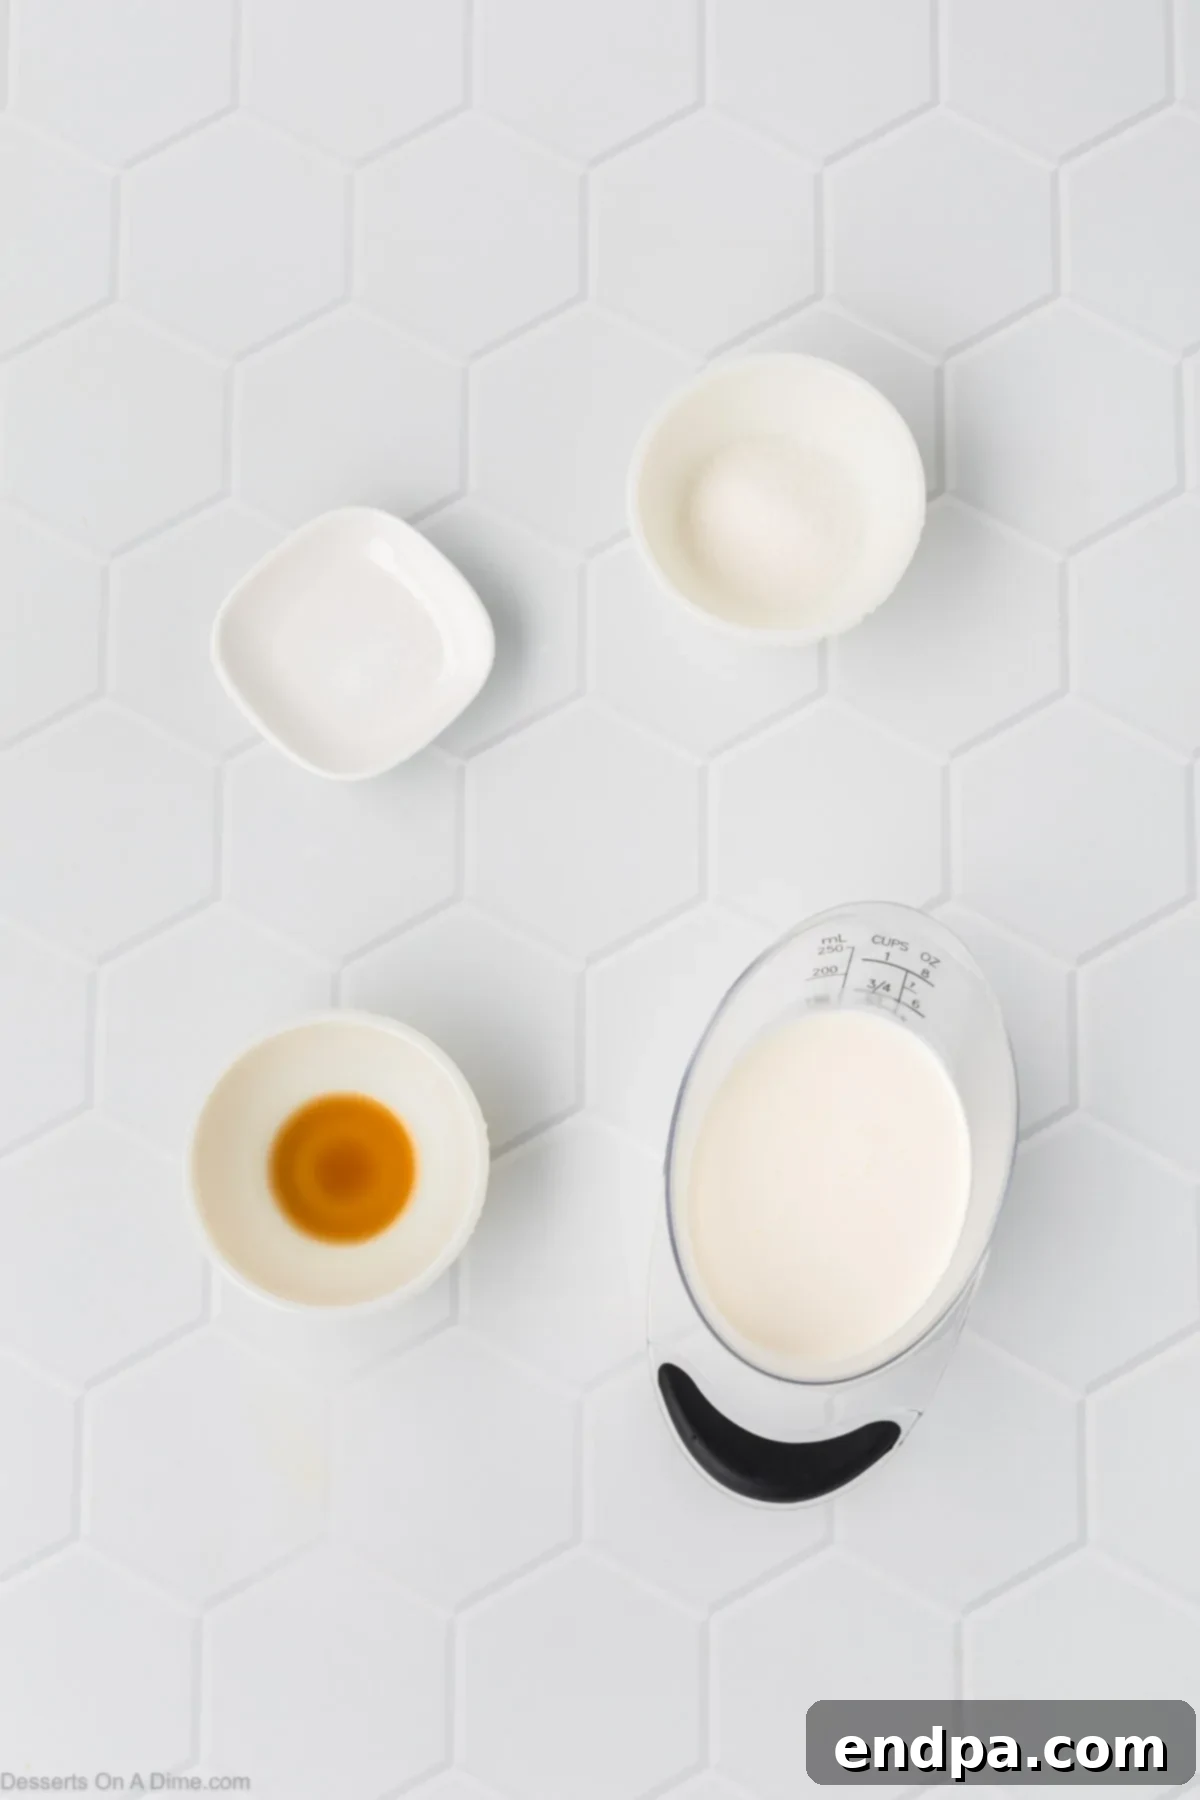
- Heavy Cream: This is the superstar ingredient. For the best results, ensure your heavy cream is very cold. The high fat content is crucial for achieving that rich, smooth, and creamy texture we all love in ice cream. Do not substitute with lighter creams or milk, as they lack the necessary fat for proper emulsification and freezing consistency.
- Granulated Sugar: Standard white granulated sugar is all you need. It provides the essential sweetness and also helps prevent the ice cream from freezing too solid, contributing to its desirable soft-serve consistency.
- Vanilla Extract: Opt for pure vanilla extract for the most authentic and robust flavor. Vanilla adds a foundational warmth and depth that complements almost any topping or mix-in. If you’re feeling adventurous, other extracts like almond or mint can be used for different flavor profiles.
- Pinch of Salt: Truly just a pinch! While seemingly small, salt plays a vital role in balancing the sweetness of the sugar and enhancing all the other flavors, preventing the ice cream from tasting overly sweet or flat.
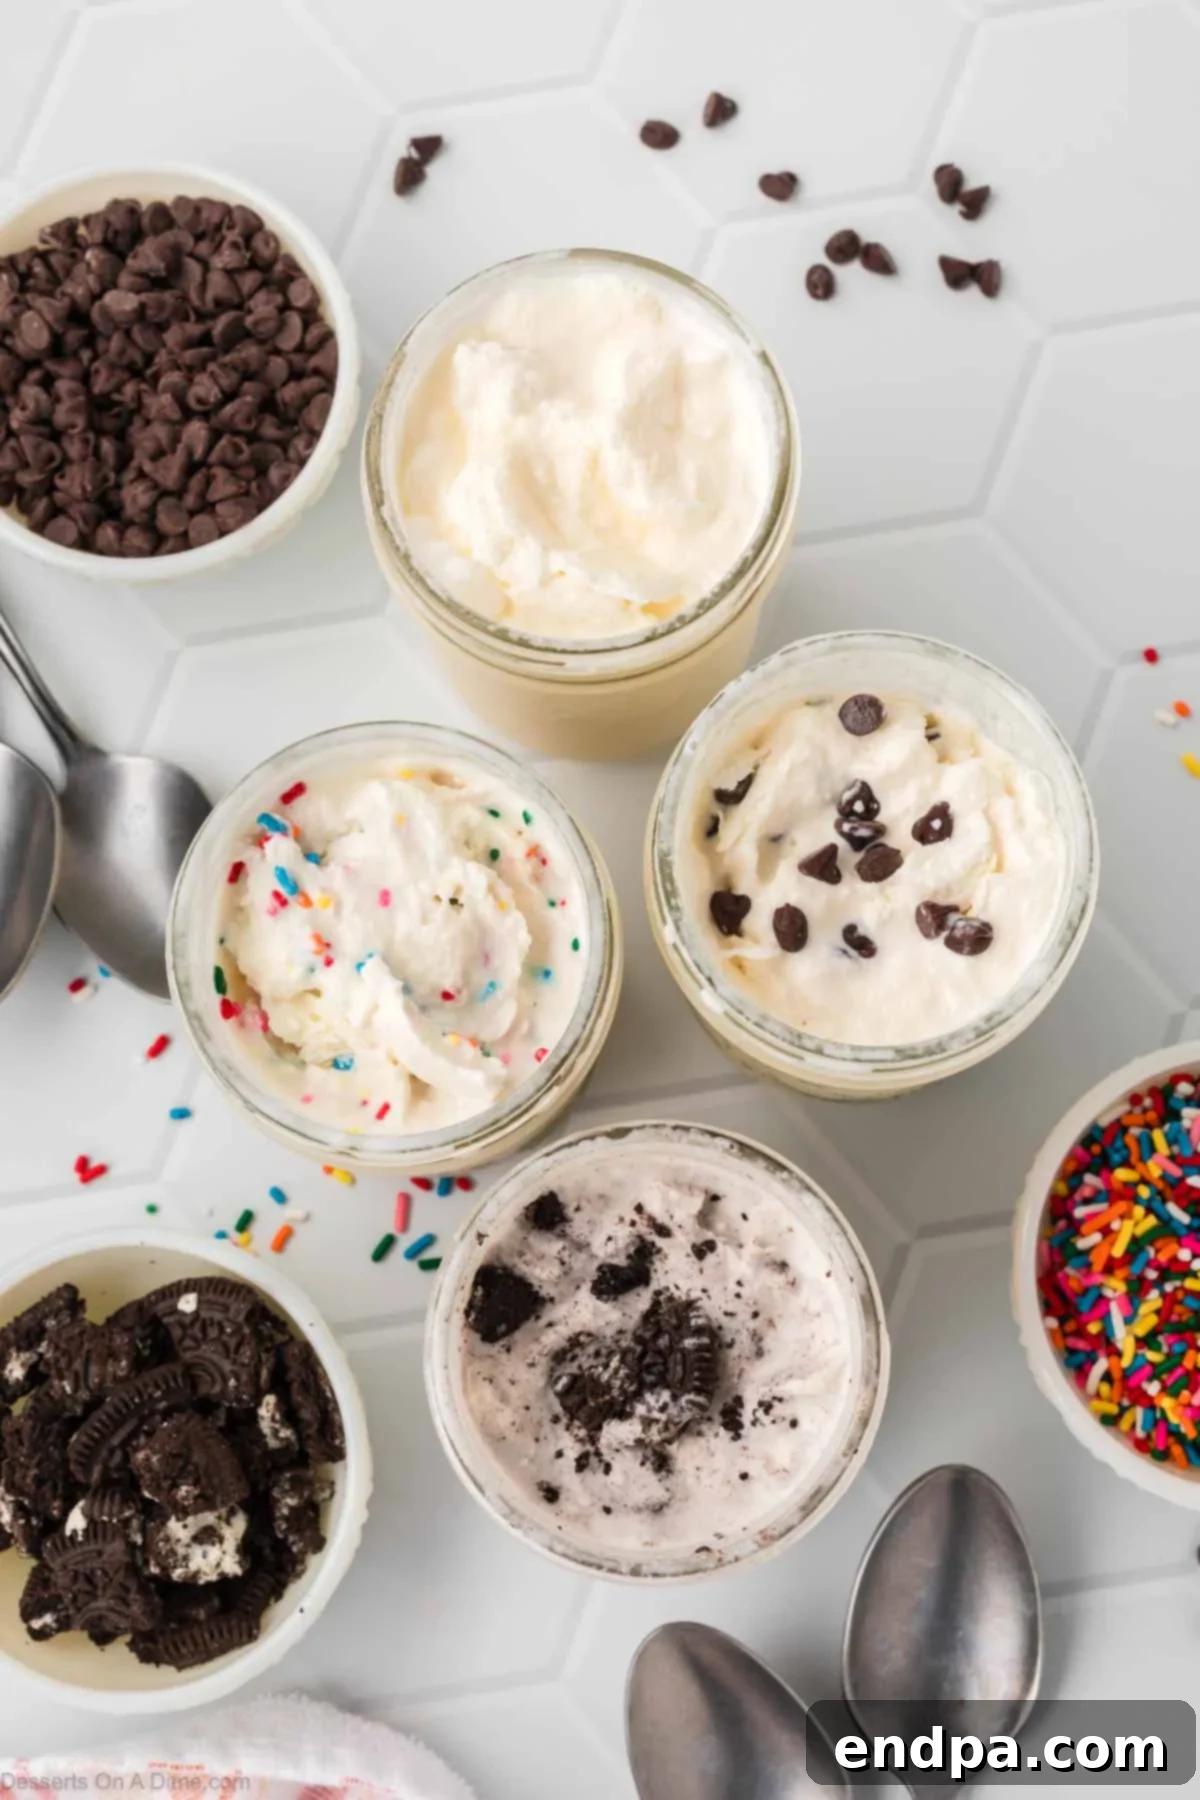
- Optional Add-Ins: This is where the real fun begins! Think about elevating your ice cream with delightful additions such as crushed cookies (like Oreos or chocolate chip cookies), colorful sprinkles, a spoonful of cocoa powder for a chocolatey base, or melty chocolate chips. These can be stirred in before shaking or added after freezing as toppings.
Simple Step-by-Step Guide to Mason Jar Ice Cream
Making this ice cream is as straightforward as it gets. Follow these easy steps to create your delicious homemade treat:
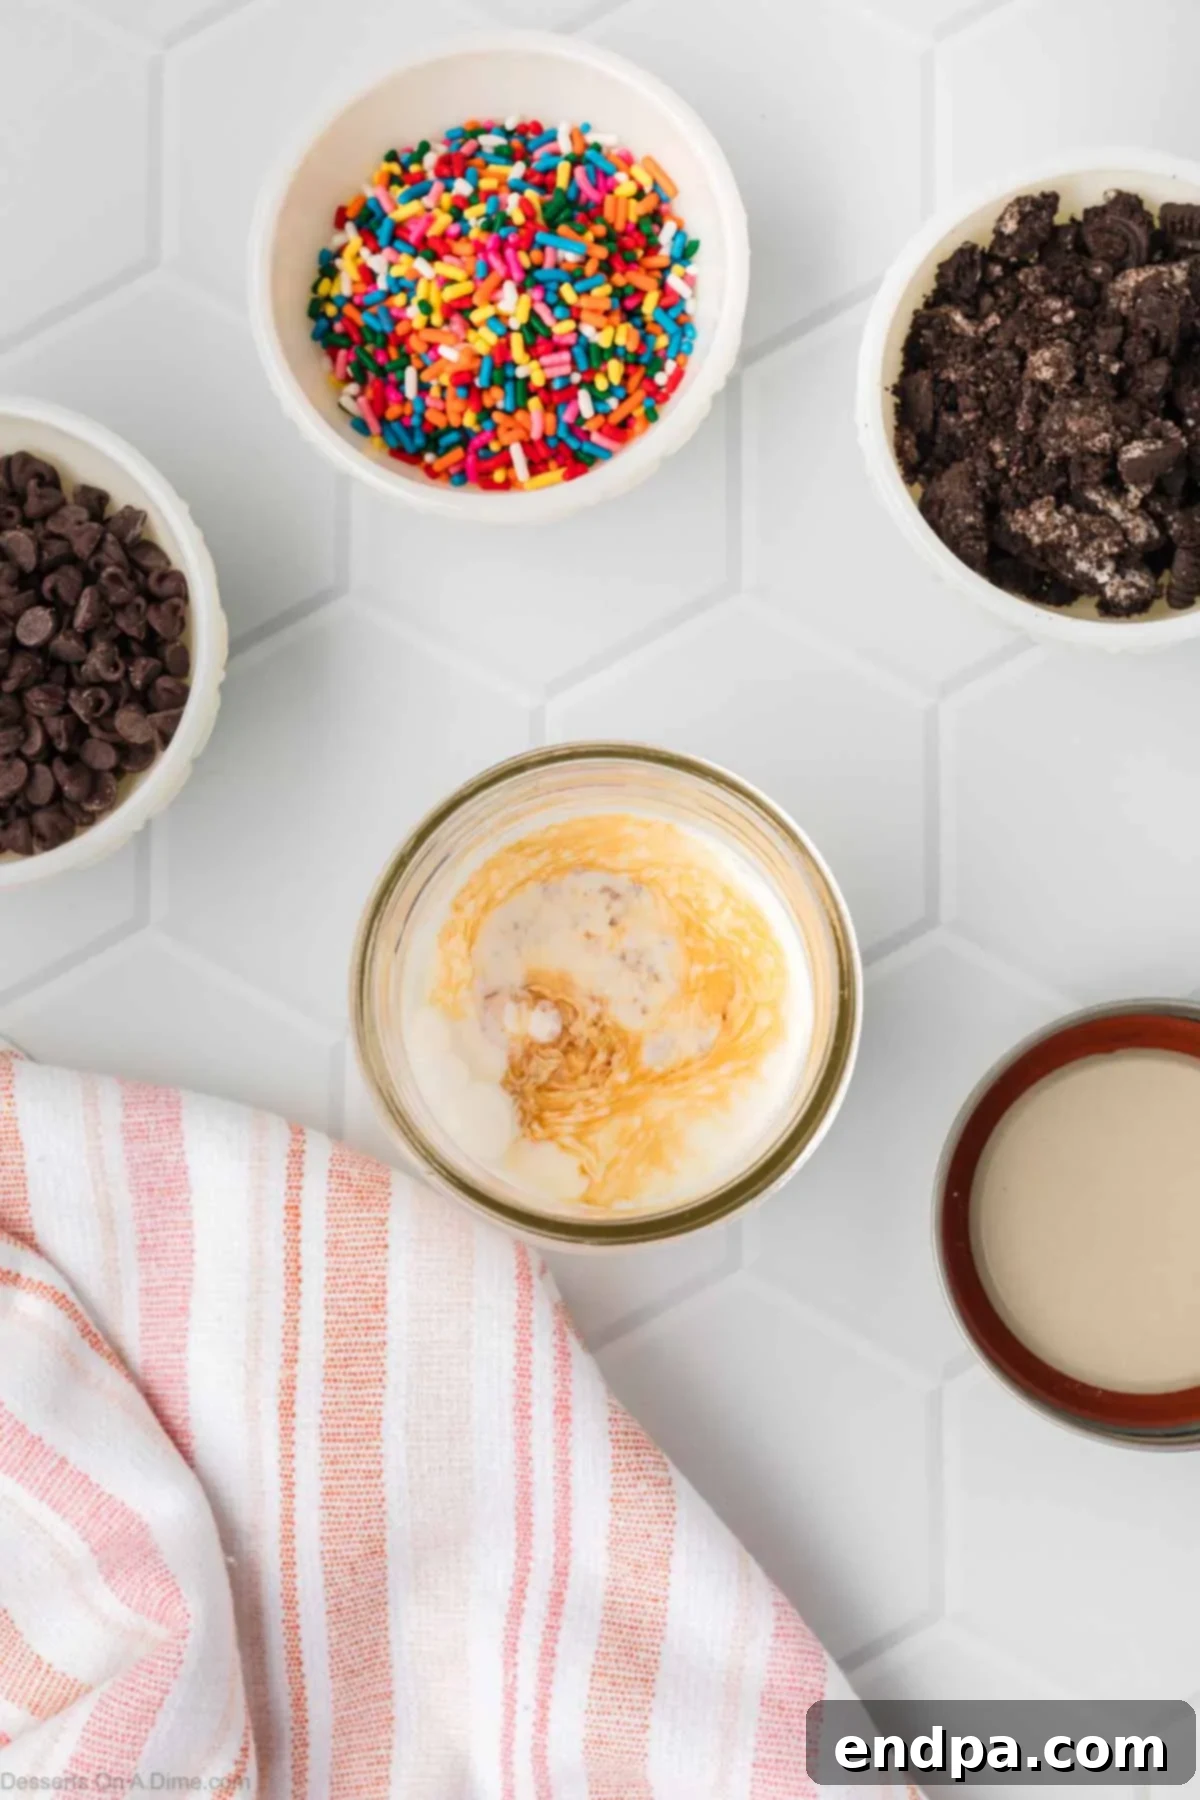
Step 1: Combine the Ingredients. Start by pouring your cold heavy cream, granulated sugar, pure vanilla extract, and that tiny pinch of salt into a clean mason jar. If you’re using any optional add-ins like cocoa powder or mini chocolate chips that you want integrated into the ice cream base, stir them gently into the heavy whipping cream mixture at this stage. Ensure you use at least an 8-ounce mason jar to allow enough room for the mixture to expand as you shake it.
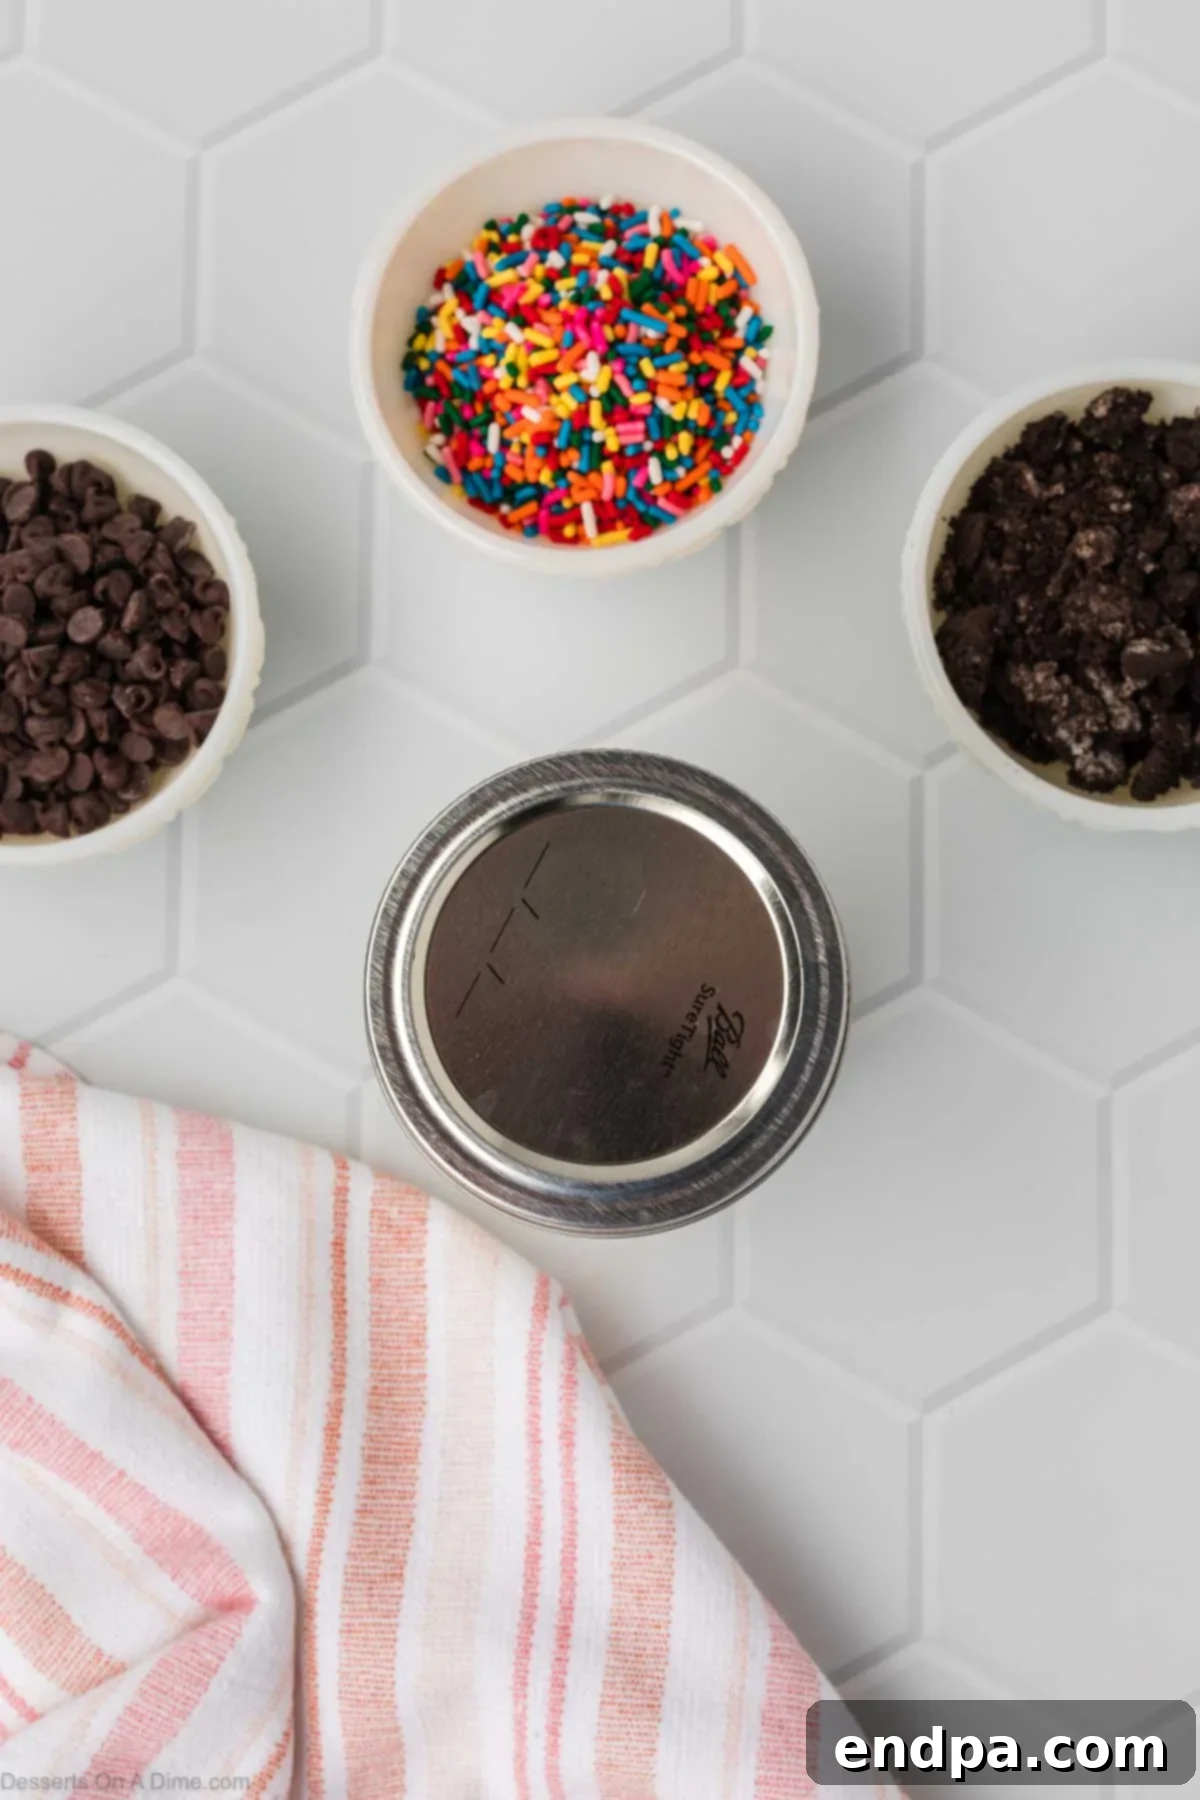
Step 2: Seal and Shake! Once all your ingredients are in the jar, place the lid on top and seal it tightly. This is the fun part! Vigorously shake the jar for about 4-5 minutes. The continuous motion will incorporate air into the mixture, causing it to double in size and noticeably thicken. Kids especially love this step, turning it into a game!
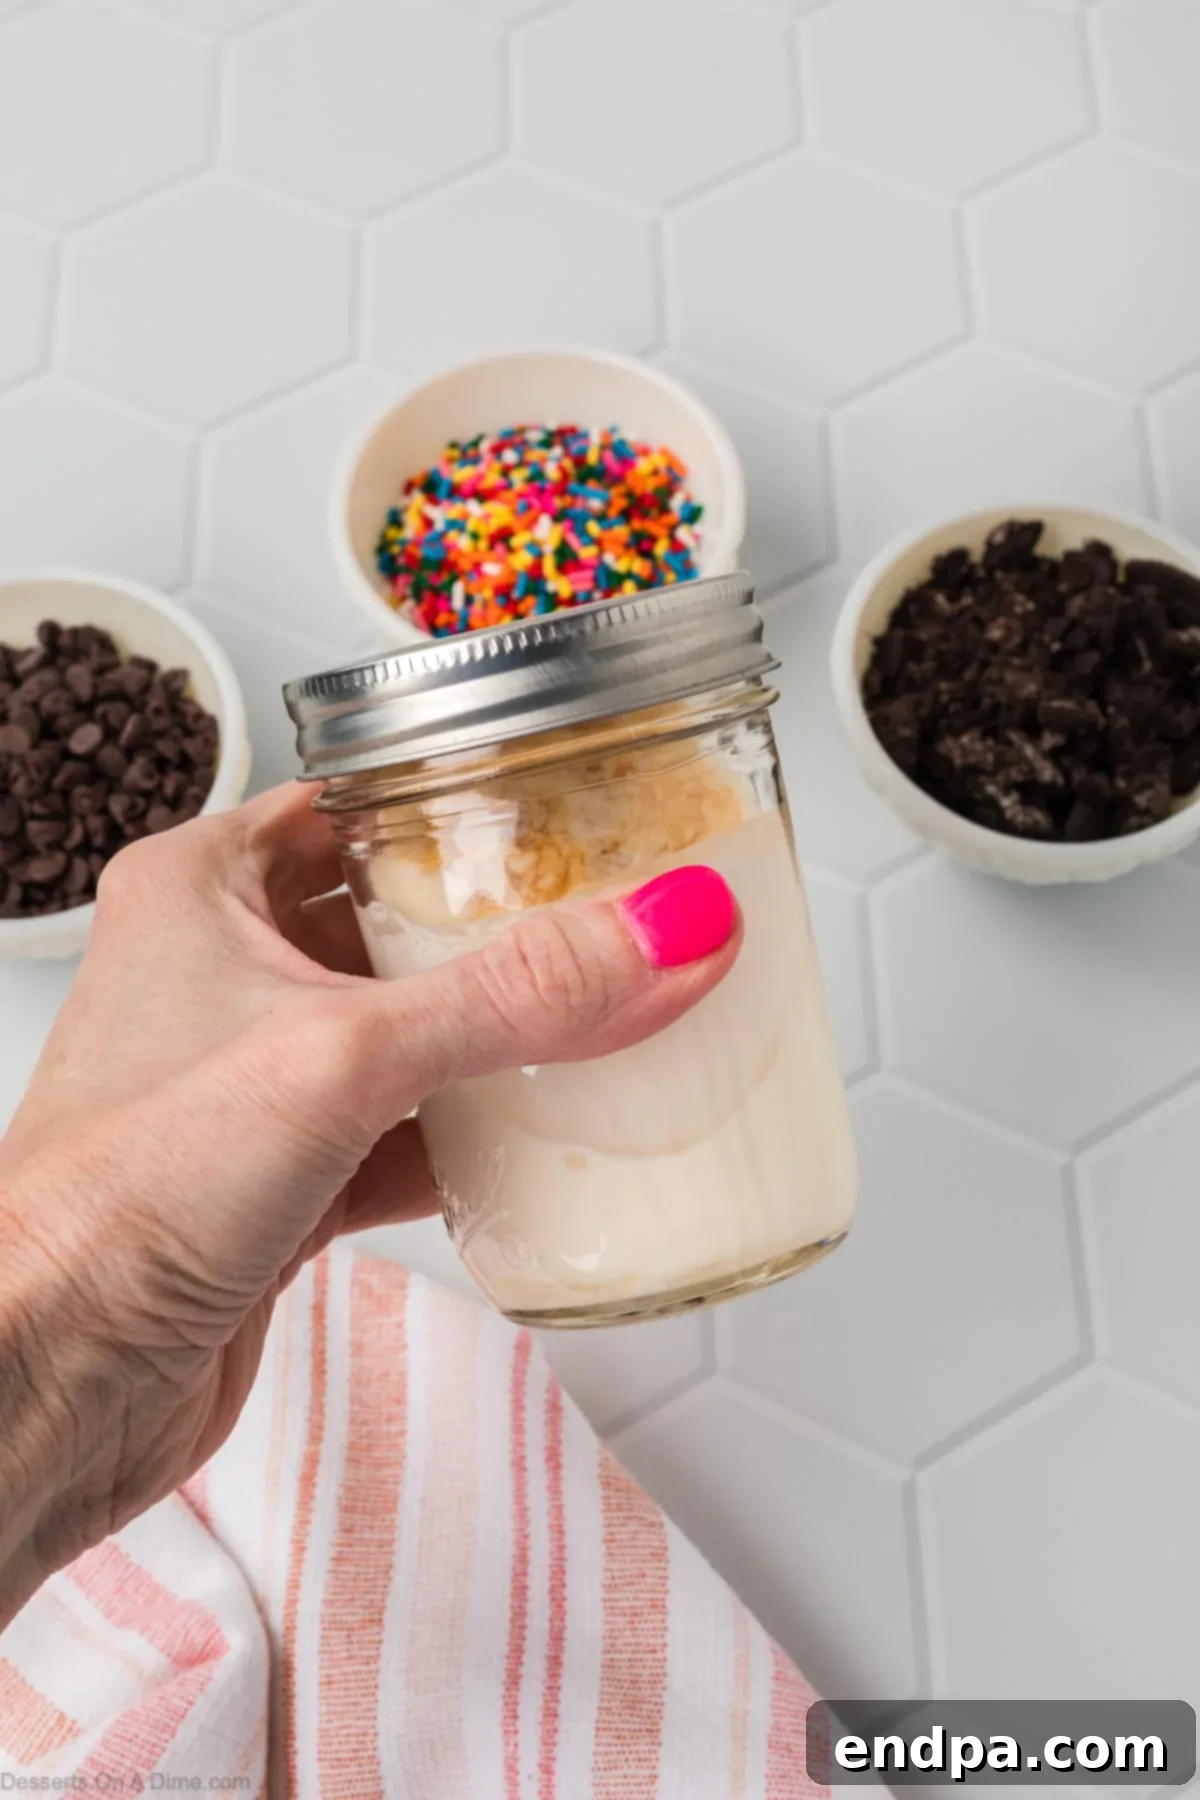
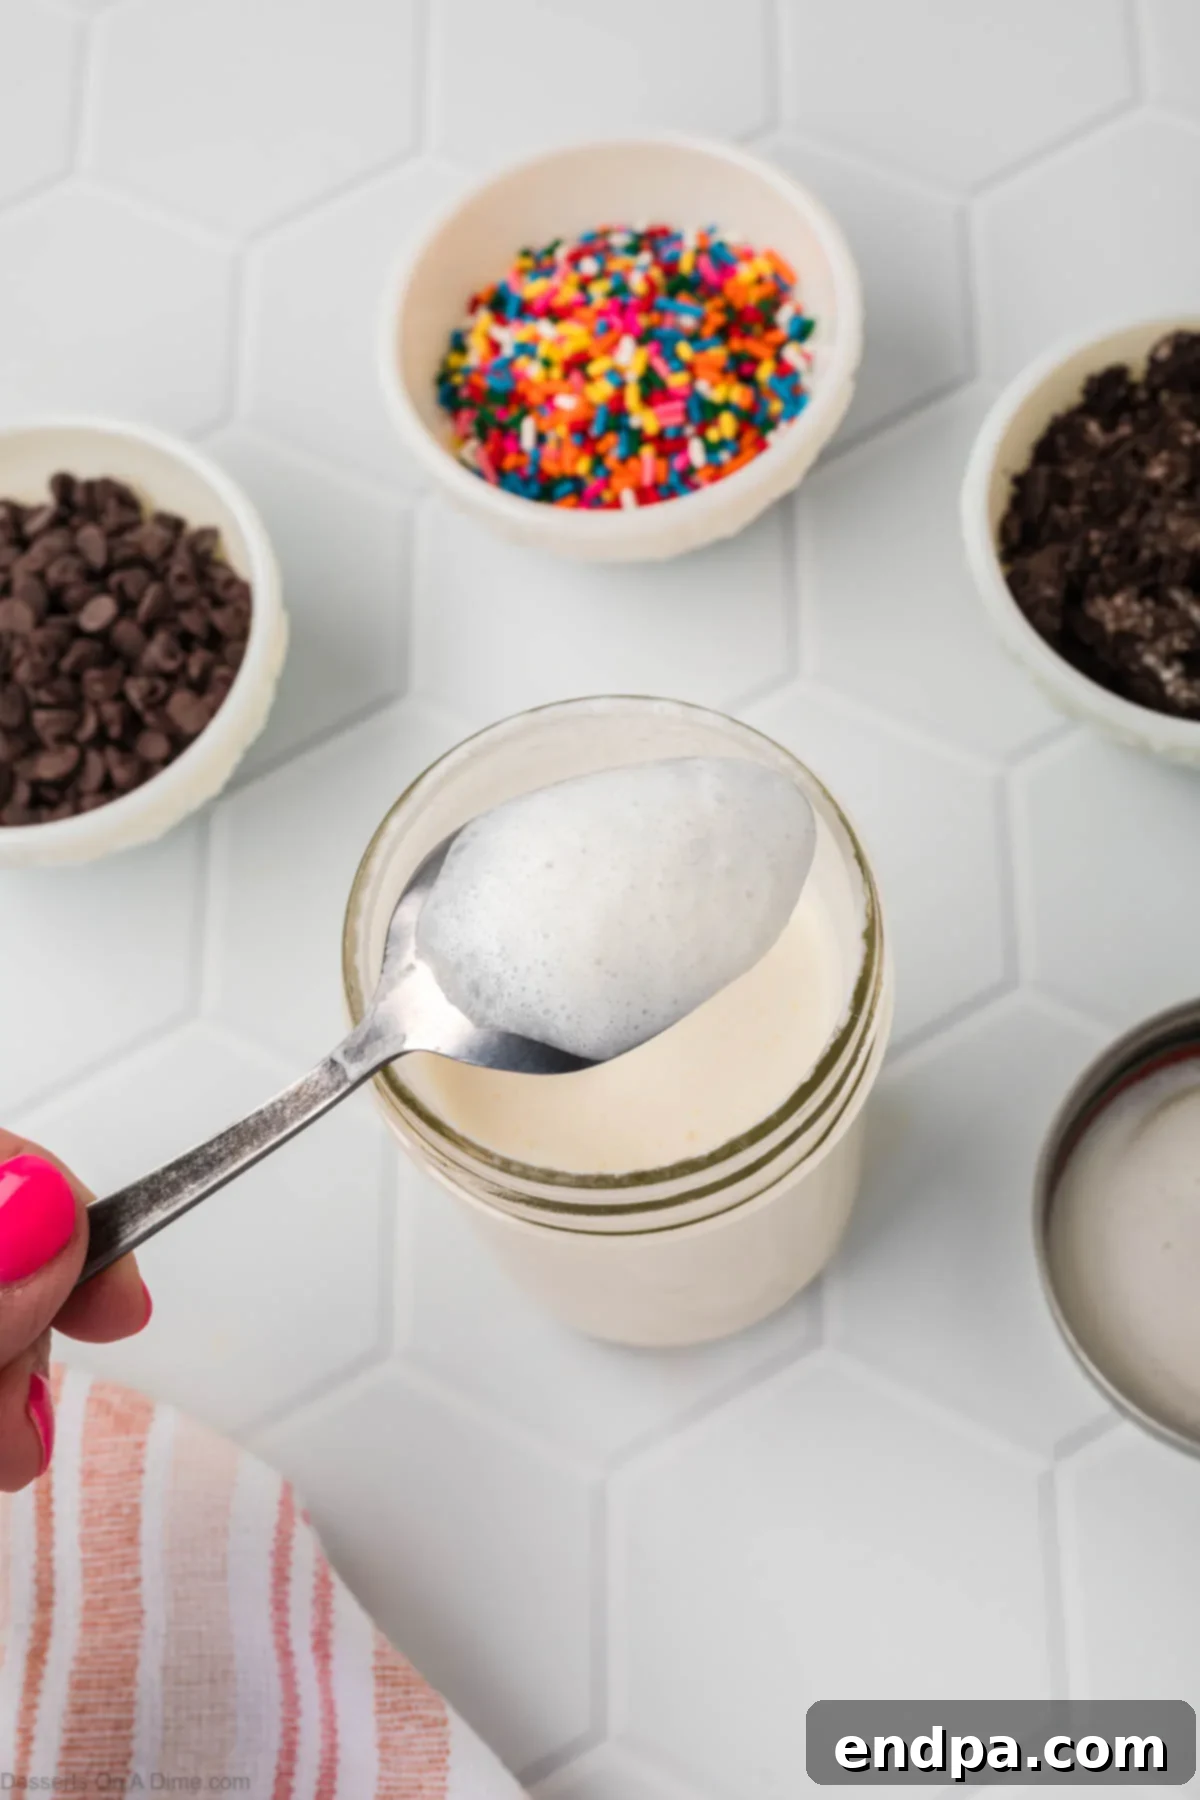
Step 3: Check for Consistency. After shaking, remove the lid and take a peek inside. The mixture should have a thick, milkshake-like consistency. It should easily coat the back of a spoon without being as stiff as whipped cream. If it’s still too runny, put the lid back on and shake for another minute or two. You’re looking for a smooth, pourable, yet thick texture.
Step 4: The Final Chill. Once you’ve achieved the perfect pre-freeze consistency, securely place the lid back on the jar. Transfer the sealed jar to your freezer and let it chill for approximately 2-3 hours. This freezing time allows the mixture to firm up into a scoopable ice cream, while still retaining its creamy texture.
- Step 5: Serve and Savor. After 2-3 hours, your delicious Mason Jar Ice Cream is ready! Remove it from the freezer, grab a spoon, and enjoy your homemade treat. If it’s too hard straight out of the freezer, let it sit on the counter for 5-10 minutes to soften slightly.
Unleash Your Creativity: Popular Add-ins and Toppings
The beauty of Mason Jar Ice Cream is its incredible versatility. While delicious on its own, adding your favorite mix-ins and toppings transforms it into a personalized dessert masterpiece. Here are some fantastic ideas to spark your creativity:
- Fresh & Fruity Additions:
- Berries: Sliced strawberries, blueberries, raspberries, or blackberries can be gently folded in for a burst of fresh flavor. A combination of several types of berries offers a delightful medley.
- Stone Fruits: Diced peaches or nectarines add a lovely sweetness and texture, especially when in season.
- Citrus Zest: A little lemon or orange zest can brighten the flavor profile and add a subtle tang.
- Decadent Baked Goods:
- Brownie Chunks: Leftover pieces of fudgy One Bowl Brownies make for an irresistible addition, adding richness and chewiness.
- Cookie Crumbles: Crushed Oreos, chocolate chip cookies, shortbread, or graham crackers provide fantastic texture and flavor.
- Cake Pieces: Small cubes of pound cake or sponge cake can soak up the creamy goodness.
- Nutty & Buttery Swirls:
- Peanut Butter Swirls: A few tablespoons of creamy or crunchy peanut butter swirled through the mixture before freezing creates beautiful marbling and a rich, nutty taste. Almond butter or other nut butters work equally well.
- Chopped Nuts: Pecans, walnuts, almonds, peanuts, or pistachios add a satisfying crunch and depth of flavor. Lightly toasting them beforehand can enhance their aroma.
- Sweet Sauces & Syrups:
- Caramel Sauce: Drizzle in some rich Homemade Caramel Sauce for a buttery, sweet note.
- Chocolate Fudge: A generous swirl of Hot Fudge Chocolate Sauce is always a crowd-pleaser.
- Fruit Sauces: Try a vibrant Homemade Strawberry Sauce for a fresh, fruity burst.
- Maple Syrup or Honey: For a more natural sweetness and distinct flavor, a touch of maple syrup or honey can be swirled in.
- Chocolates & Candies:
- Chocolate Chips: Mini or regular chocolate chips are a classic choice. Dark, milk, or white chocolate chips can be used.
- Chopped Candy Bars: Get creative with chopped-up versions of your favorite candy bars like Snickers, Reese’s, or Kit Kats.
- Sprinkles: Add a festive touch with colorful sprinkles, especially fun for kids!
Expert Tips for Perfect Mason Jar Ice Cream Every Time
While this recipe is incredibly simple, a few expert tips can help ensure your Mason Jar Ice Cream turns out perfectly creamy and delicious, avoiding common pitfalls:
- Do Not Overmix the Ingredients: This is a crucial step! The goal is to create a thick, airy mixture, not whipped cream or butter. As long as you are shaking the jar by hand, you are unlikely to overmix. If you were to use an electric mixer, it would be easy to turn the heavy cream into butter. Stop shaking once the mixture has doubled in size and achieved a thick, coating consistency.
- Avoid Freezing Longer Than 3 Hours: For the absolute best taste and texture, aim to consume your ice cream within 2-3 hours of freezing. If left in the freezer for too long (e.g., overnight or for several days), ice crystals will begin to form, making the ice cream harder and less creamy. If it does get too hard, simply let it sit on the counter for 10-15 minutes to soften slightly before serving.
- Ensure Ingredients Are Super Cold: Start with very cold heavy cream. Cold ingredients emulsify and whip much better, leading to a creamier final product. If your cream is at room temperature, it won’t thicken properly.
- Choose the Right Mason Jar: While any airtight container works, a standard 8-ounce or 16-ounce wide-mouth mason jar is ideal. The wide mouth provides a little more room for shaking and makes it easier to add mix-ins and scoop out your ice cream later. Ensure the lid seals tightly to prevent any freezer burn or odors from seeping in.
- Don’t Fill the Jar to the Brim: Leave some headspace in the jar, about an inch or so from the top. The mixture will expand as it incorporates air during shaking, and you need that extra space.
- Serve Immediately or Store Properly: This ice cream is best enjoyed fresh. If you plan to serve it later, adhere to the storage guidelines to maintain its creamy texture.
Storage Guidelines
For the freshest taste and creamiest texture, we highly recommend enjoying your Mason Jar Ice Cream within 3 hours of making and freezing it. This is when its soft-serve consistency is at its peak.
However, if you find yourself with leftovers (which is rare with this delicious treat!), you can absolutely store them in the freezer. Simply ensure the mason jar is sealed tightly with its lid. Leftovers can be stored for up to a week in the freezer. Keep in mind that beyond 3 hours, the ice cream may firm up considerably, and some small ice crystals might start to form, slightly altering the texture.
When you’re ready to enjoy the stored ice cream, allow it to sit on the kitchen counter for 10-15 minutes. This brief thawing period will soften it just enough to be easily scoopable and bring back some of its creamy consistency.
Frequently Asked Questions About Mason Jar Ice Cream
While granulated sugar is ideal for both sweetness and texture, you can experiment with alternatives. Maple syrup or honey can be used, but keep in mind they will impart their own distinct flavor and might slightly alter the final consistency. Start with a smaller amount and adjust to taste.
Mason jars are recommended because they are sturdy, seal tightly, and provide a good shape for vigorous shaking. However, you can use any type of airtight container with a secure lid that allows for vigorous shaking. A well-sealed plastic container or even a heavy-duty blender bottle could work, but ensure it’s completely airtight to prevent leaks.
While using milk might technically produce a frozen dessert, it will not yield the same rich and creamy ice cream. The high fat content in heavy cream is essential for creating the desired luxurious texture and preventing large ice crystals. Substituting with milk would result in a much icier, less satisfying product.
Yes, you can! For a dairy-free version, substitute the heavy cream with full-fat canned coconut cream (refrigerated overnight and scoop out the thick cream). The texture will be slightly different, with a subtle coconut flavor, but it can still be wonderfully delicious. Ensure all other ingredients are dairy-free as well.
Our base recipe, using typically an 8-ounce mason jar, makes one generous individual serving. If you’re using a larger jar (like a 16-ounce pint jar) and doubling the recipe, it can serve two people. It’s often fun to make several smaller jars so everyone can customize their own!
More Homemade Ice Cream Recipes
Ice Cream
Cookies and Cream Ice Cream
Ice Cream
Red Velvet Ice Cream
Ice Cream
Mint Chocolate Chip Ice Cream
Ice Cream
Chunky Monkey Ice Cream
We hope you thoroughly enjoy trying this easy and utterly delicious Mason Jar Ice Cream recipe. It’s a fantastic way to enjoy homemade ice cream without any fuss. After you’ve made it, please consider coming back to leave a star rating and share your thoughts in the comments below. Your feedback is invaluable!
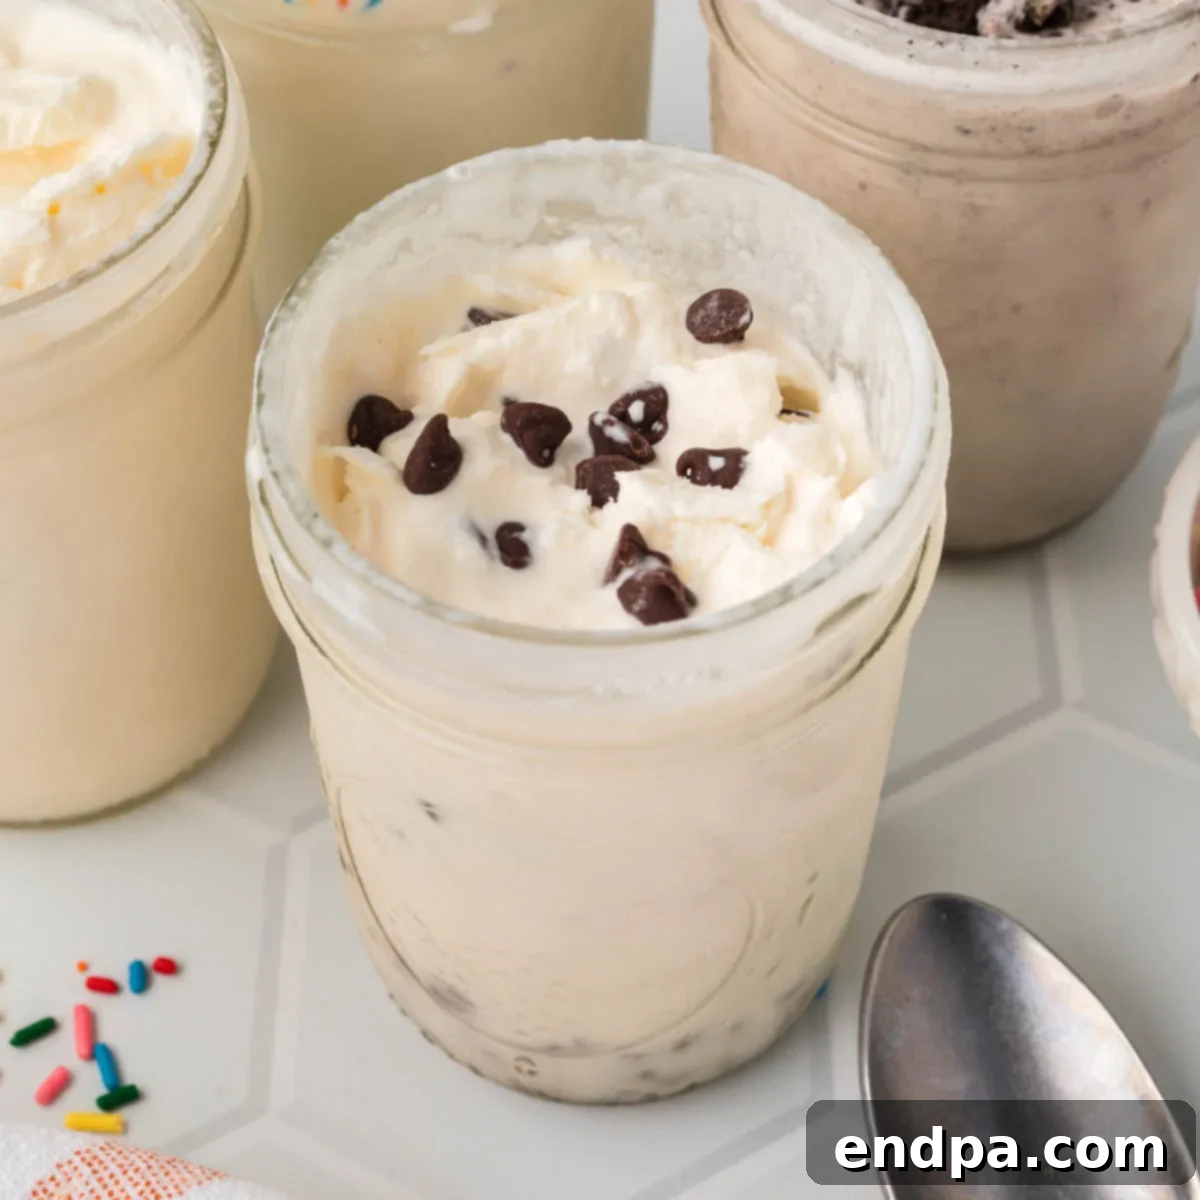
Mason Jar Ice Cream
5 from 2 votes
Mason Jar Ice Cream is a fun and effortless treat requiring only 4 ingredients. No ice cream maker is needed, and it’s a fantastic activity for kids!
5 mins
10 mins
2-3 hrs
2 hrs 15 mins
1
Carrie Barnard
Ingredients
- ½ cup Heavy Cream (ensure it’s cold)
- 2 teaspoons Granulated Sugar
- ¼ teaspoon Vanilla Extract (pure vanilla for best flavor)
- Pinch of Salt (to enhance flavor and balance sweetness)
- Optional Add Ins: crushed cookies, sprinkles, cocoa powder, chocolate chips, fruit, nuts, etc.
Instructions
- Add all core ingredients (heavy cream, granulated sugar, vanilla extract, pinch of salt) into an 8-ounce (or larger) mason jar. If using optional add-ins that you want mixed into the base, stir them in now.
- Securely seal the mason jar with its lid. Shake vigorously for 4-5 minutes until the mixture visibly doubles in size and thickens.
- Remove the lid and check the consistency. The mixture should easily coat the back of a spoon but not be as stiff as whipped cream. If too thin, re-seal and shake for another minute.
- Re-seal the jar and place it in the freezer for 2-3 hours.
- Once frozen to a soft-serve consistency, your Mason Jar Ice Cream is ready to serve and enjoy!
Recipe Notes
- Be careful not to overmix the ingredients by shaking for too long, as this could result in whipped cream or even butter instead of ice cream. Stop once the desired thick, airy consistency is reached.
- Do not freeze the ice cream for longer than 3 hours, as ice crystals may begin to form, affecting the creamy texture.
- This recipe is a fantastic base for customization. Feel free to experiment with your favorite toppings, mix-ins, and flavor extracts to make it uniquely your own!
