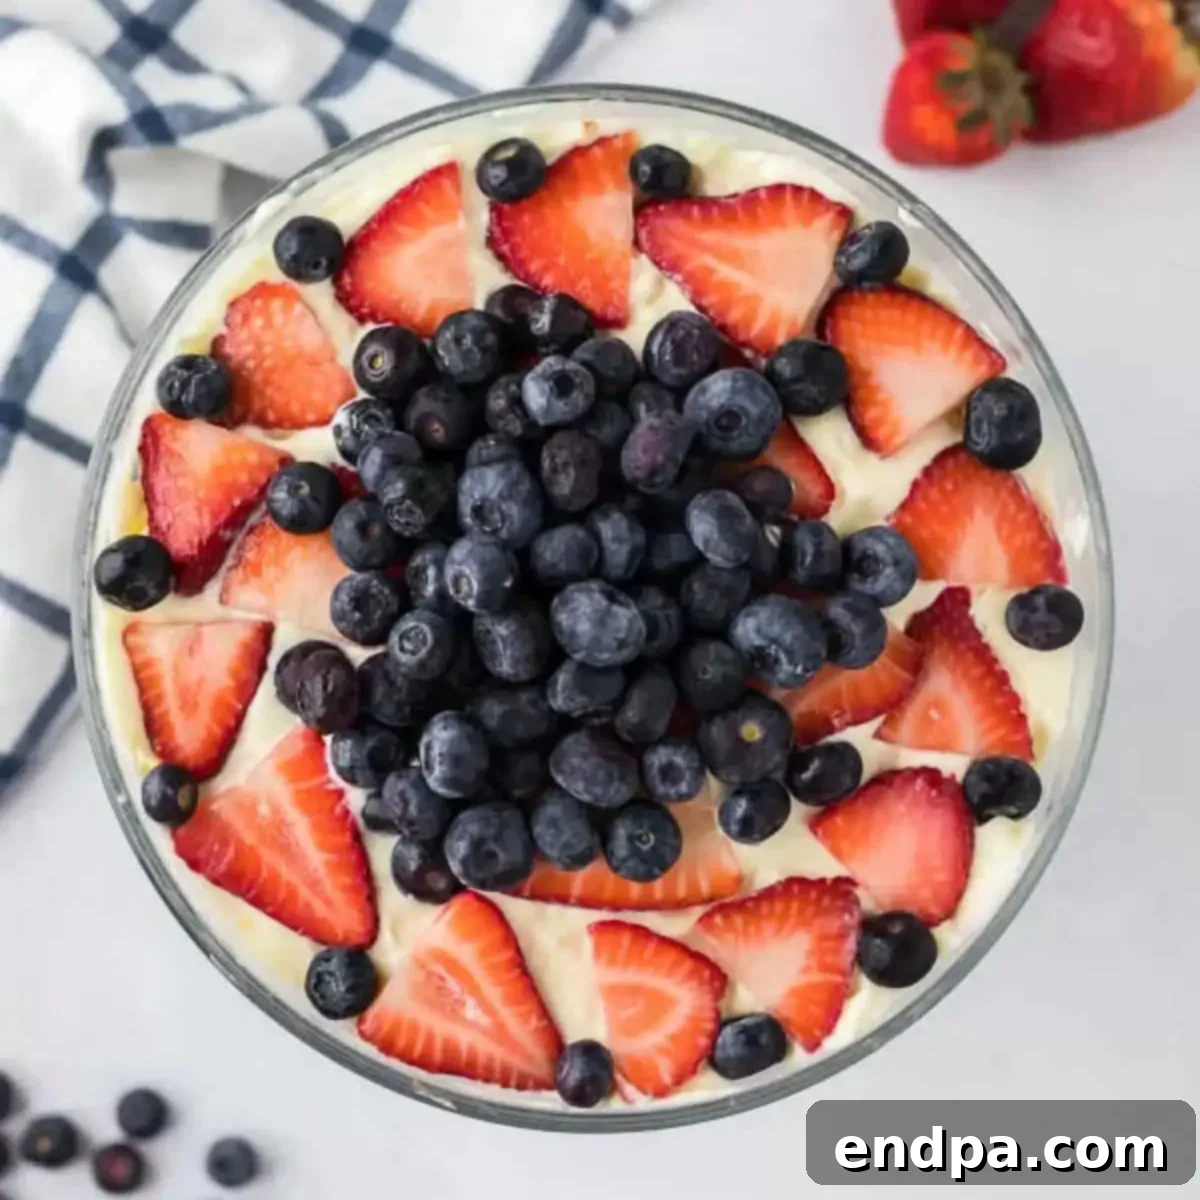
Red White and Blue Trifle is a dazzling, no-bake dessert that promises to be the star of any patriotic celebration. Featuring luscious layers of fluffy cake, creamy pudding, and vibrant fresh berries, this trifle is as delightful to look at as it is to eat. It’s an incredibly easy recipe, perfect for entertaining large crowds or simply enjoying a festive treat at home. Whether you’re celebrating Memorial Day, the Fourth of July, Labor Day, or any occasion that calls for a touch of red, white, and blue, this trifle delivers a light, refreshing, and utterly delicious experience that everyone will love.
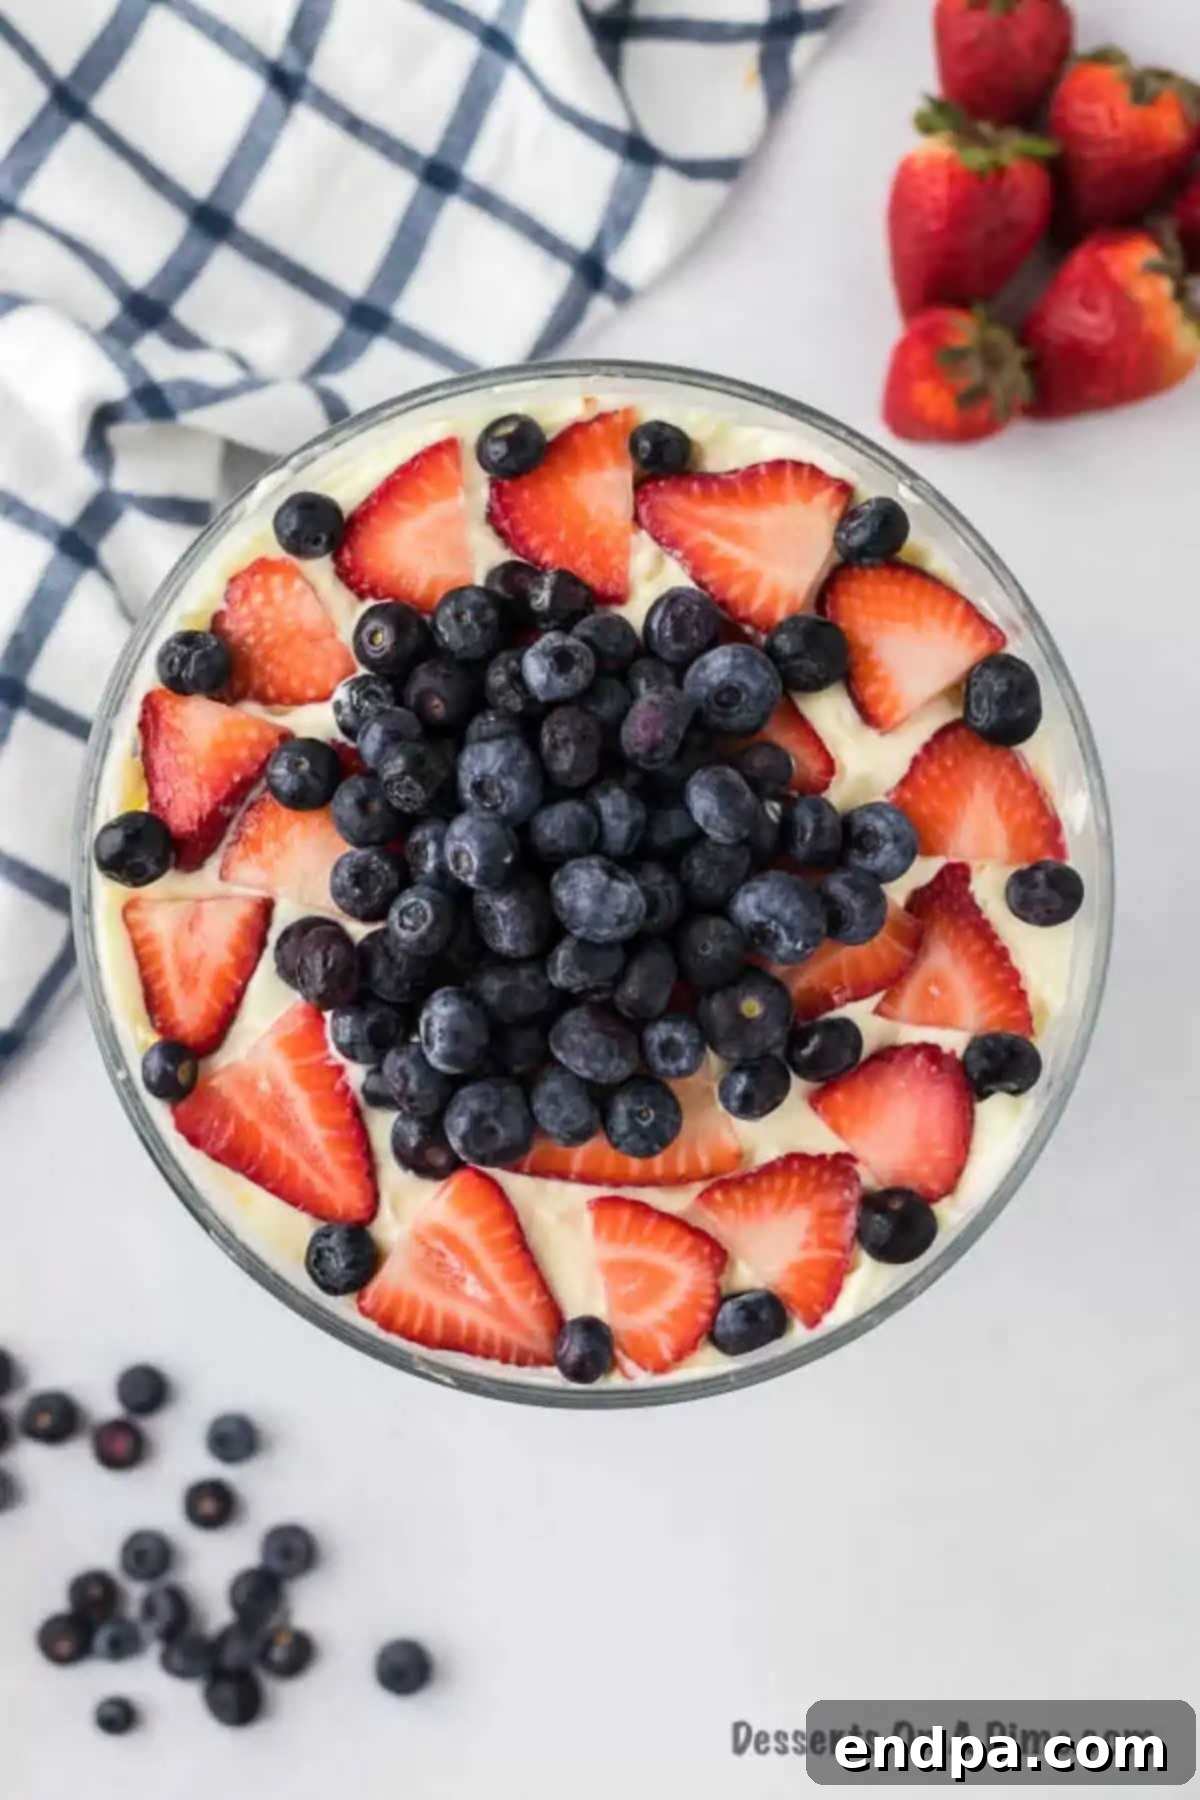
If you’re a fan of layered desserts, you’re in for a treat with this festive trifle. Much like our popular Chocolate Trifle recipe, this red, white, and blue version combines simple ingredients to create an impressive dessert that requires minimal effort. The secret lies in the freshness of the strawberries and blueberries, which burst with flavor and add incredible color to each layer. It’s truly one of the most beloved 4th of July Cake Ideas, right alongside other festive treats like 4th of July Chocolate Covered Pretzel Rods. For those who enjoy trifles year-round, be sure to explore our delightful Strawberry Trifle Recipe, the zesty Lemon Strawberry Trifle, and the indulgent Oreo Trifle.
Looking for more ways to use up those extra blueberries after making this spectacular trifle? You’ll find a treasure trove of inspiration in our collection of 27 Easy Blueberry Desserts Recipes.
Table of contents
- Why We Love This Recipe
- Ingredients
- How to Make a Red White and Blue Trifle
- Tips for the Perfect Trifle
- Storage
- FAQs
- More Red White and Blue Desserts
Why We Love This Recipe
There are countless reasons why the Red White and Blue Trifle holds a special place in our hearts and on our holiday tables. First and foremost, its unparalleled ease of preparation means you can whip this show-stopping dessert together in minutes, leaving you more time to enjoy your next cookout or party. It’s a fantastic no-bake option, perfect for hot summer days when turning on the oven is the last thing you want to do.
This trifle isn’t just easy; it’s a beloved tradition that brings families together. Kids especially look forward to helping with the layering, making it a fun and engaging activity for all ages. The vibrant colors of the berries, combined with the pristine white layers of pudding and whipped cream, create a visually stunning dessert that automatically elevates any festive spread. It truly embodies the spirit of celebrations like Memorial Day and the Fourth of July, making it a quintessential patriotic treat.
Its versatility is another major plus. Not only is it ideal for holiday gatherings, but it’s also a fantastic choice for potlucks, family reunions, or any occasion where you need a crowd-pleasing dessert that can be prepared in advance. Its light and refreshing nature makes it a perfect finale to any meal, especially during warmer months. This recipe consistently ranks among our favorite 4th of July Cakes and is a top contender in our list of the Best Memorial Day Dessert Ideas, proving its enduring popularity and delicious appeal.
Ingredients
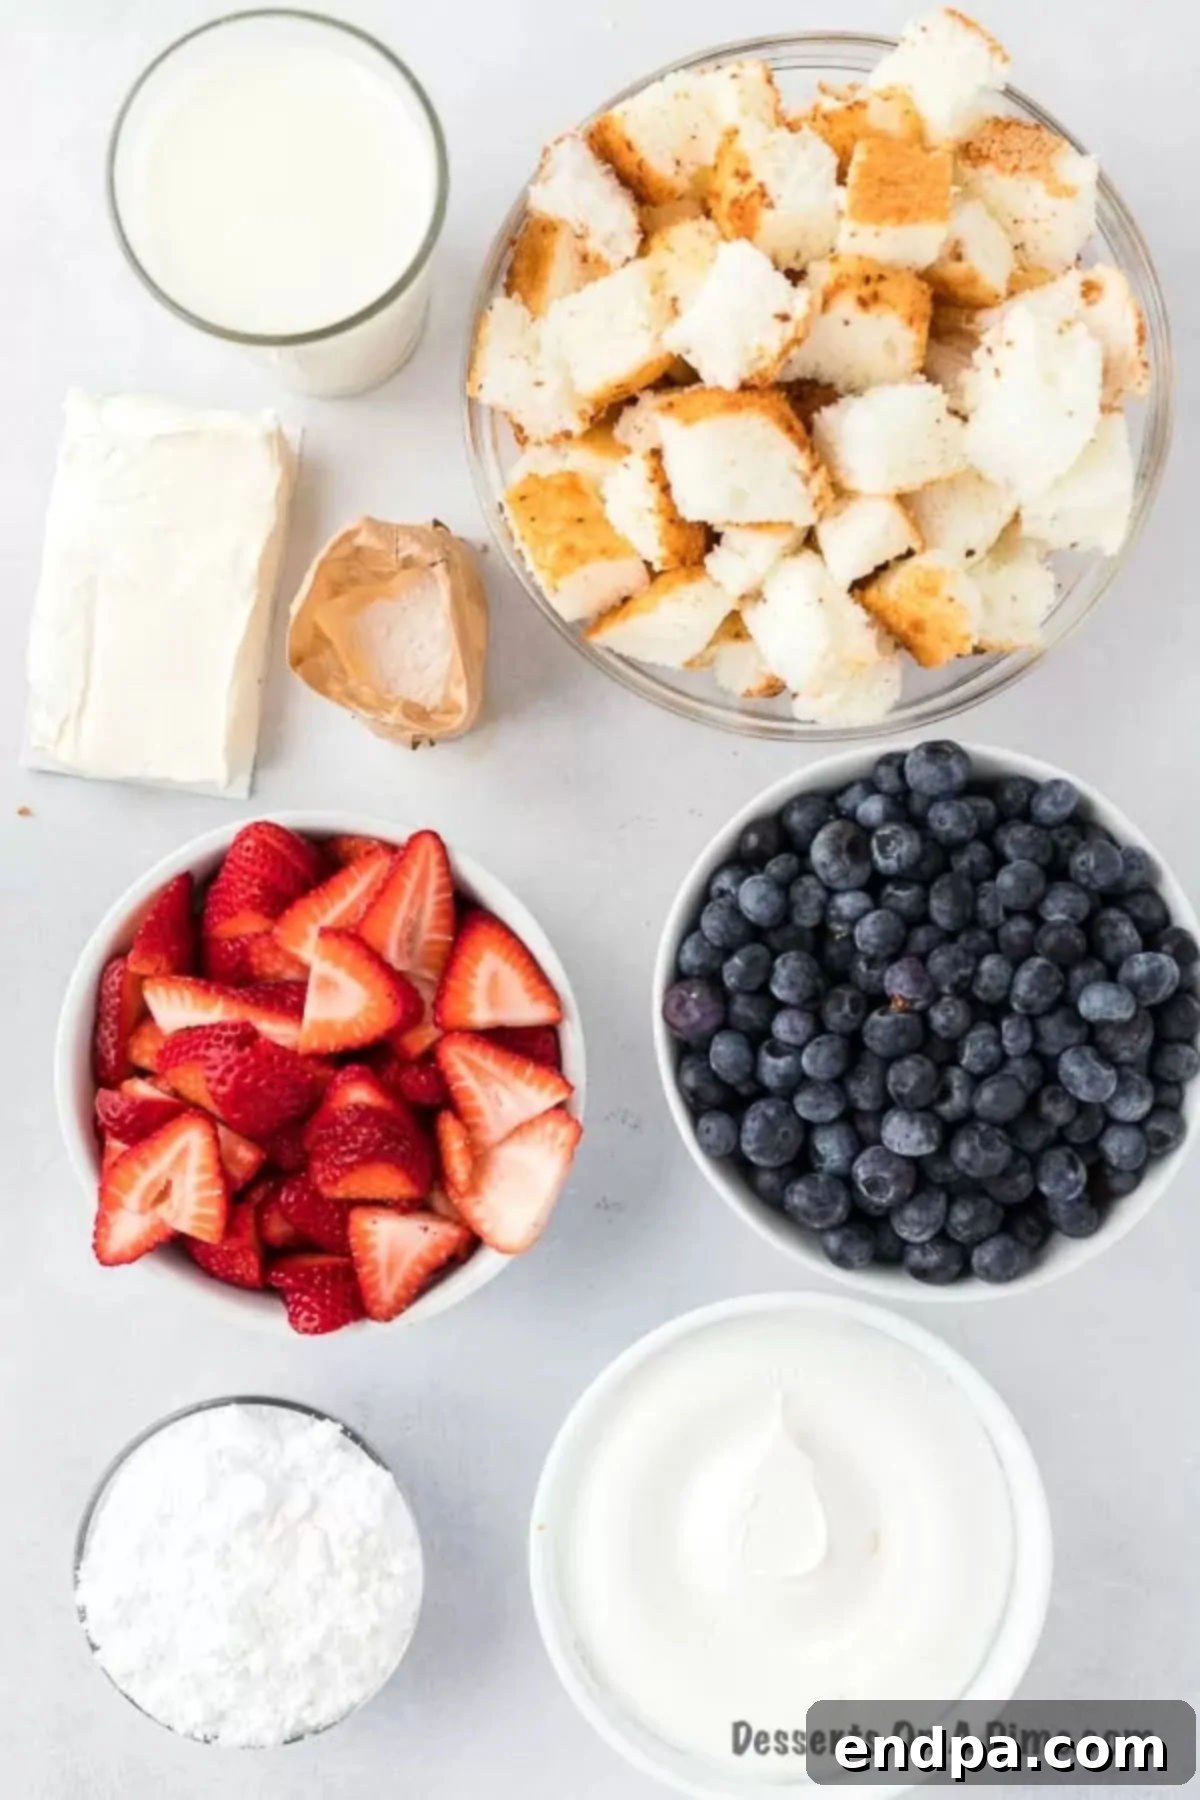
Creating this spectacular Red White and Blue Trifle requires just a few simple, readily available ingredients. The beauty of this recipe lies in its ability to transform everyday items into an extraordinary dessert with minimal fuss.
- Angel Food Cake: This light and airy cake forms the perfect base for our trifle, absorbing the creamy goodness without becoming overly heavy. For convenience, a store-bought angel food cake works wonderfully and saves a lot of time. Simply cut it into bite-sized cubes. If angel food cake isn’t your preference or readily available, you can easily substitute it with yellow cake, white cake, pound cake, or even a classic sponge cake.
- Instant Vanilla Pudding Mix: We use instant vanilla pudding for its quick setting time and smooth texture. It provides a creamy, sweet layer that complements the fruit and cake beautifully. While instant pudding is a time-saver, you can certainly try making Homemade Vanilla Pudding for an even richer flavor. Other pudding flavors like cheesecake or white chocolate would also be delicious variations.
- Cold Milk: Essential for preparing the instant pudding, ensuring it sets properly and achieves the desired consistency.
- Cream Cheese: The cream cheese adds a delightful tang and richness to the pudding mixture, giving it a slightly firmer and more decadent texture. It’s crucial that your cream cheese is at room temperature before beating to ensure it becomes smooth and lump-free. This makes it easier to incorporate with the other ingredients.
- Powdered Sugar: Used to sweeten the cream cheese layer, providing a finer texture than granulated sugar and dissolving seamlessly into the mixture.
- Whipped Cream: This is a key component for the light, airy texture and classic trifle look. You can opt for the convenience of store-bought Cool Whip or elevate your trifle with a batch of Homemade Whipped Cream Recipe. Both options work beautifully, adding a cloud-like finish to your dessert.
- Fresh Blueberries and Strawberries: These vibrant berries are not only visually stunning but also provide a burst of fresh, sweet-tart flavor. Fresh fruit is highly recommended for the best texture and appearance. They are the stars that bring the “red, white, and blue” theme to life! Remember to rinse them thoroughly before use.
You can find the precise measurements and any additional details for these ingredients in the comprehensive recipe card below.
How to Make a Red White and Blue Trifle
Assembling this trifle is a straightforward and enjoyable process. Follow these steps to create a show-stopping patriotic dessert that’s perfect for any celebration.
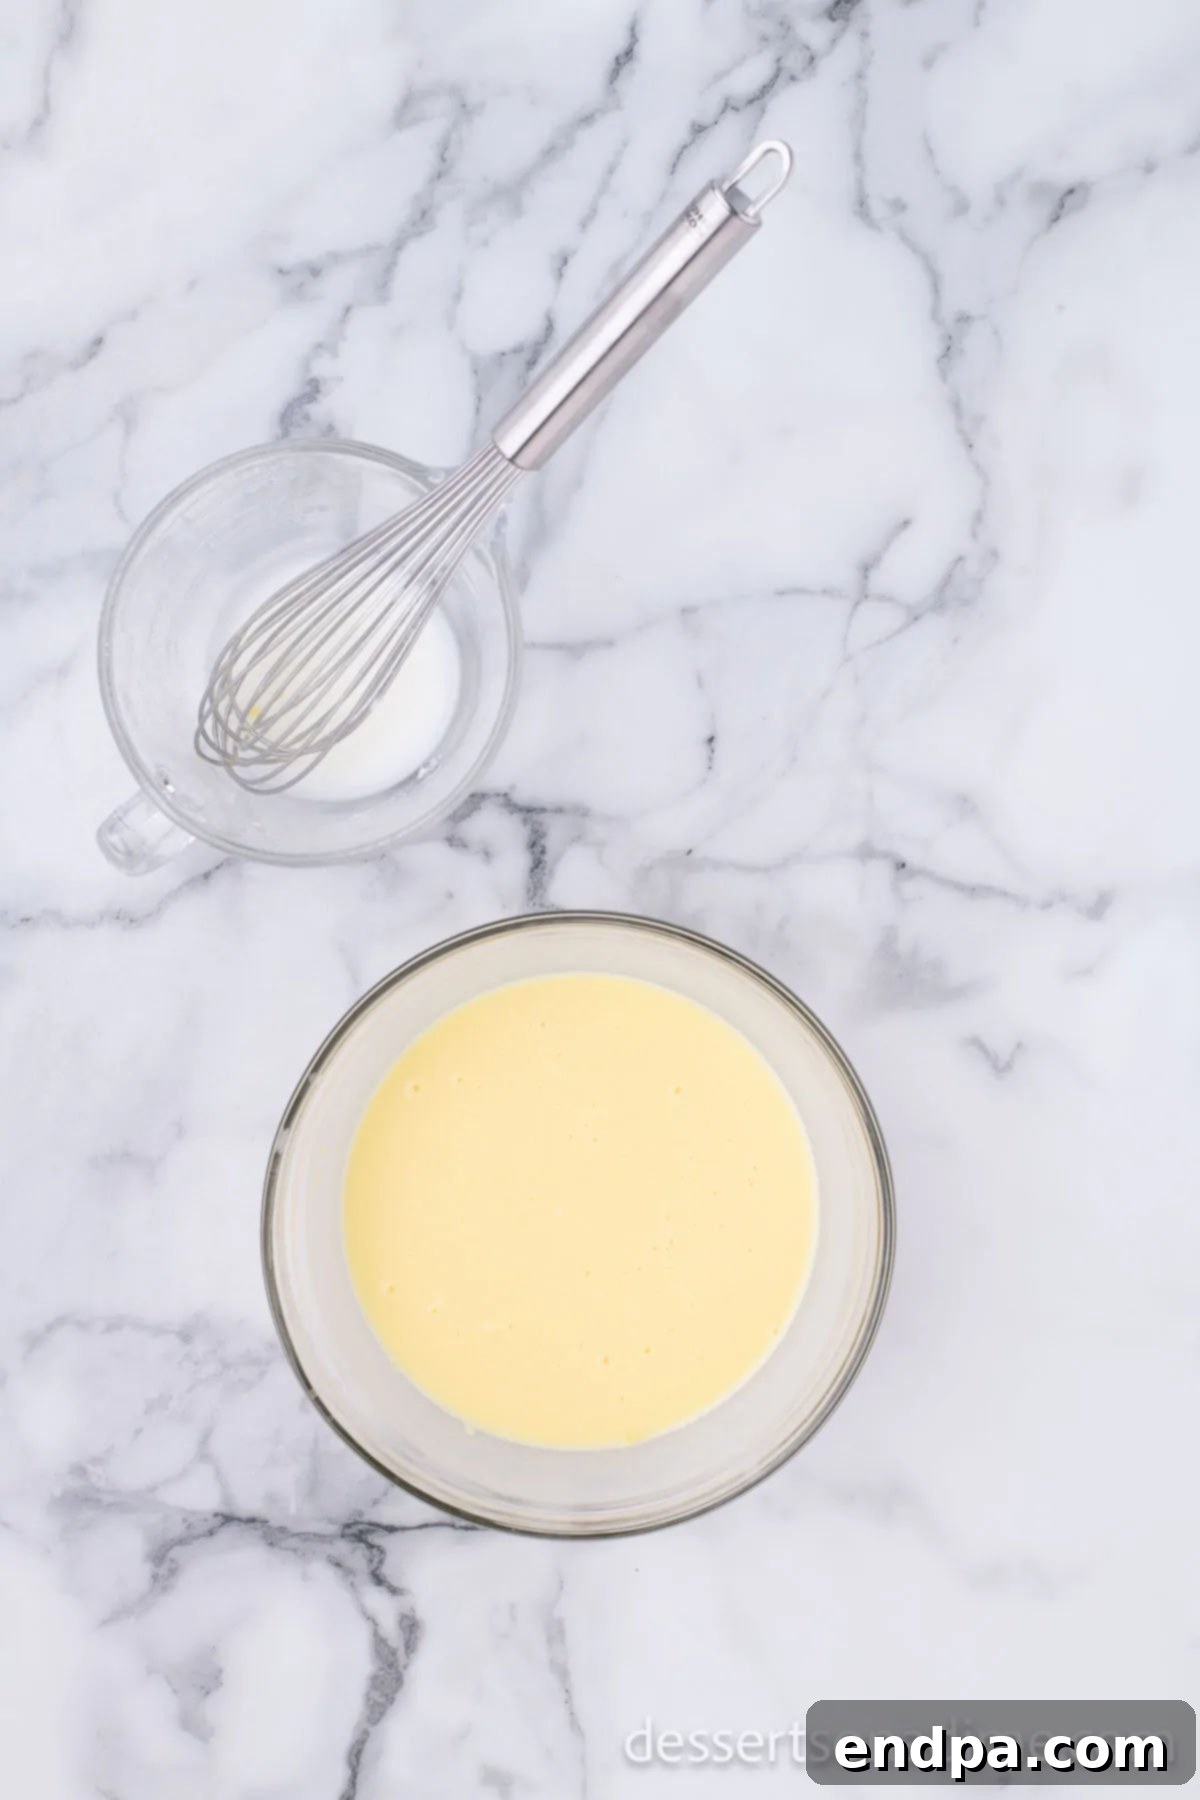
Step 1: Prepare the Pudding. In a medium bowl, combine the instant vanilla pudding mix with the cold milk. Whisk vigorously for a full two minutes until the mixture begins to thicken. It should be smooth and free of lumps. Once combined, set it aside to allow it to firm up further while you prepare the cream cheese mixture.
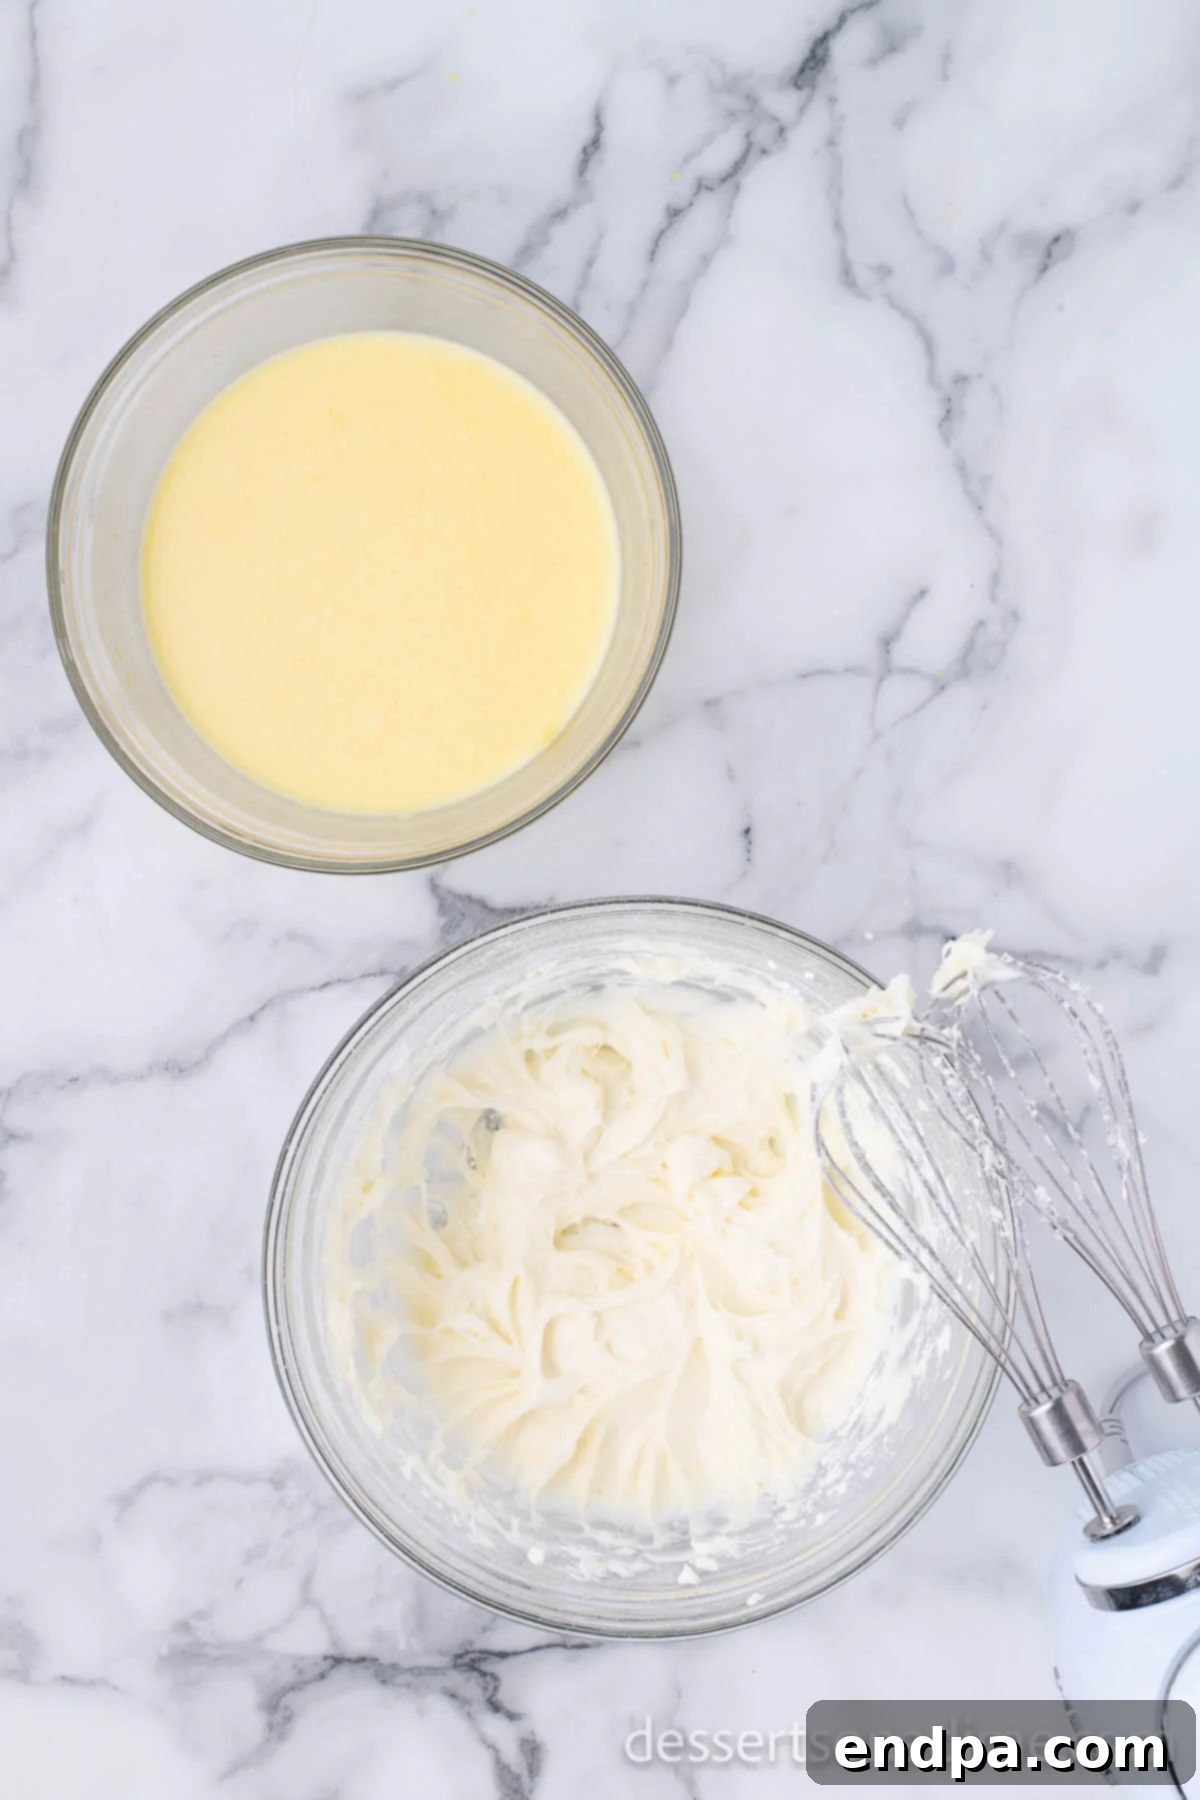
Step 2: Create the Cream Cheese Layer. In a separate large bowl, using an electric mixer, beat the room temperature cream cheese until it is smooth, light, and creamy, which typically takes about 2-3 minutes. This step is crucial for preventing any lumps in your final dessert. Next, reduce the mixer speed to low and gradually add the powdered sugar, mixing until fully incorporated. Once smooth, gently fold the prepared vanilla pudding mixture into the cream cheese mixture using a rubber spatula. Mix until just combined, being careful not to overmix.
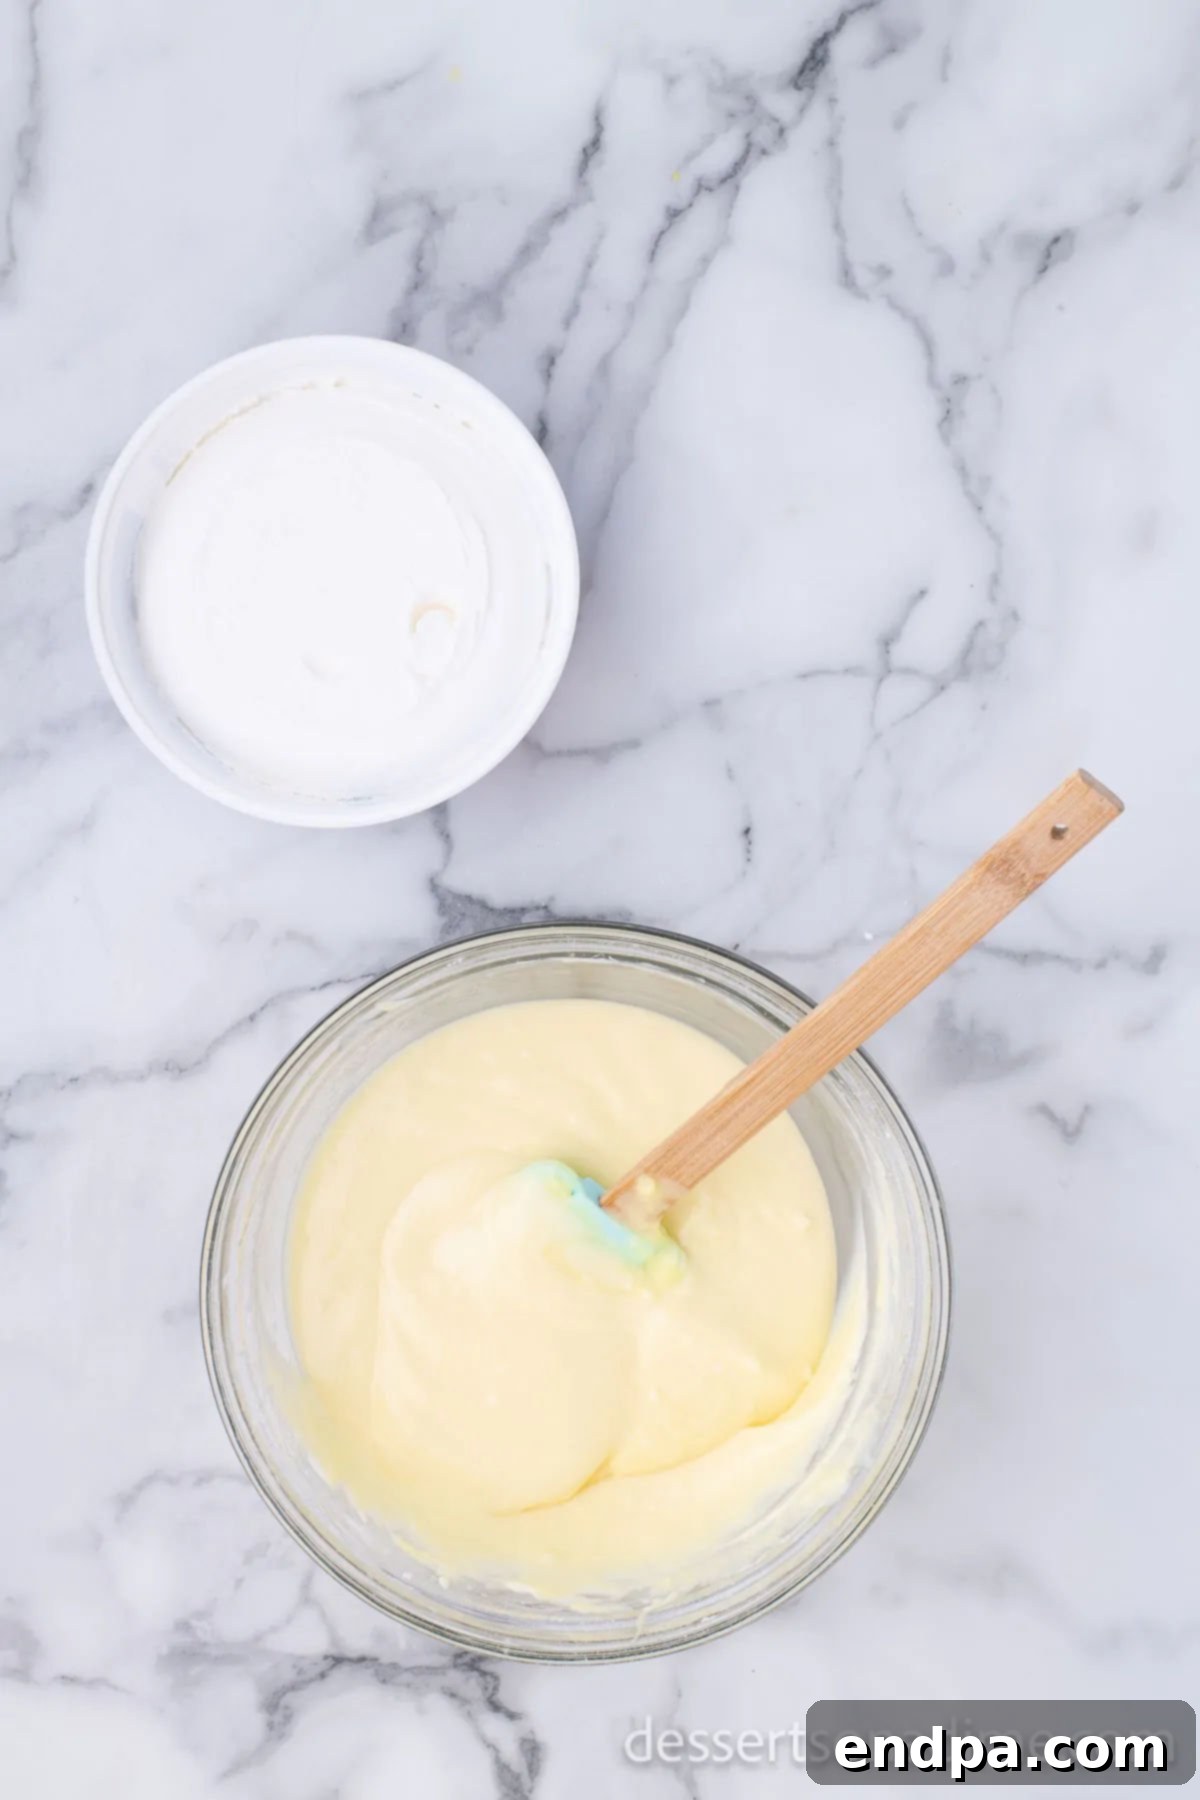
Step 3: Incorporate the Whipped Cream. Add the Cool Whip (or homemade whipped cream) to the pudding and cream cheese mixture. Using a rubber spatula, gently fold it in. The key here is to fold, not stir, to maintain the airy texture of the whipped cream. Continue folding until there are no visible white streaks, and the mixture is uniformly light and creamy.
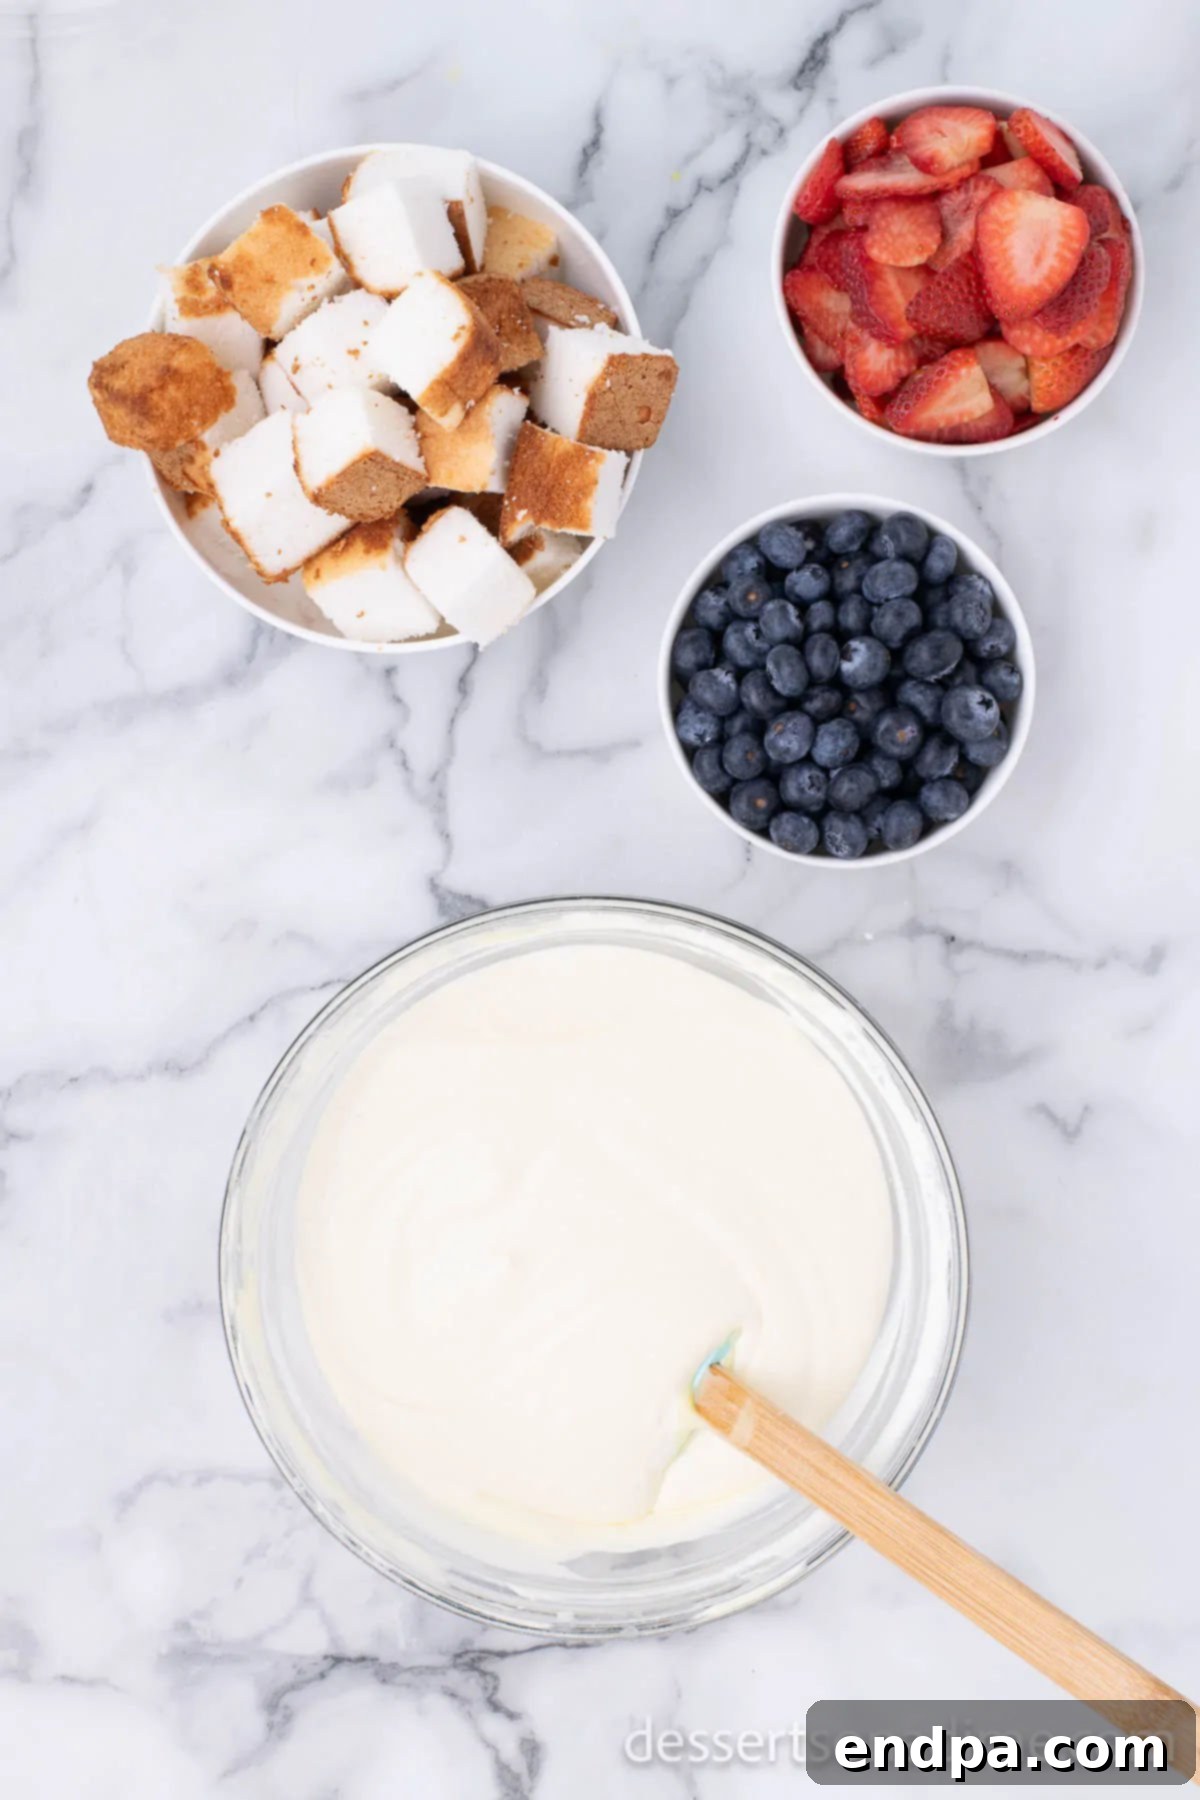
Step 4: Ensure Homogeneity. Continue folding the mixture until it is perfectly smooth and light, with absolutely no white streaks remaining. This ensures each bite of your trifle will have a consistent, delightful texture and flavor.
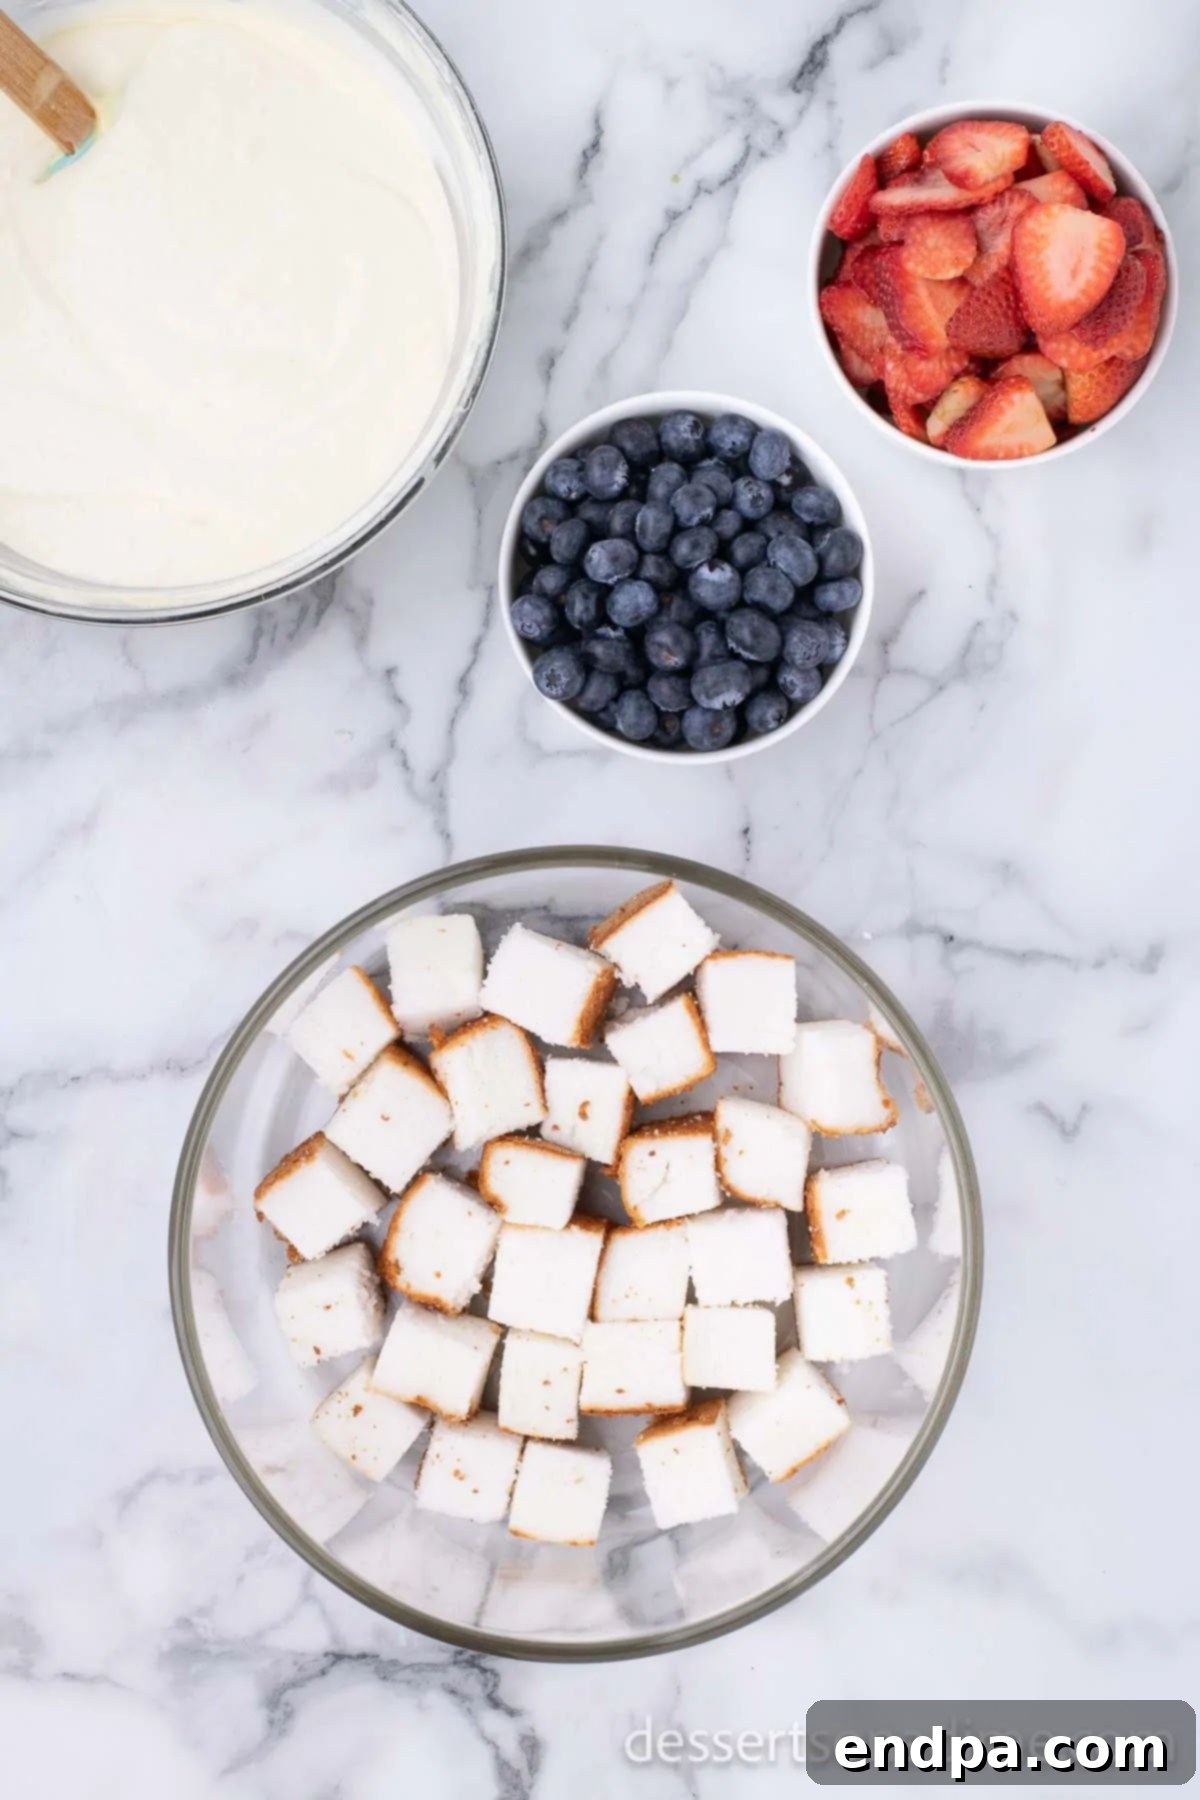
Step 5: Begin Layering the Cake. Now it’s time for the fun part: assembling your trifle! Start by placing a generous layer of cubed angel food cake at the very bottom of your clear glass trifle dish. Spread the cubes evenly to create a solid foundation for the subsequent layers.
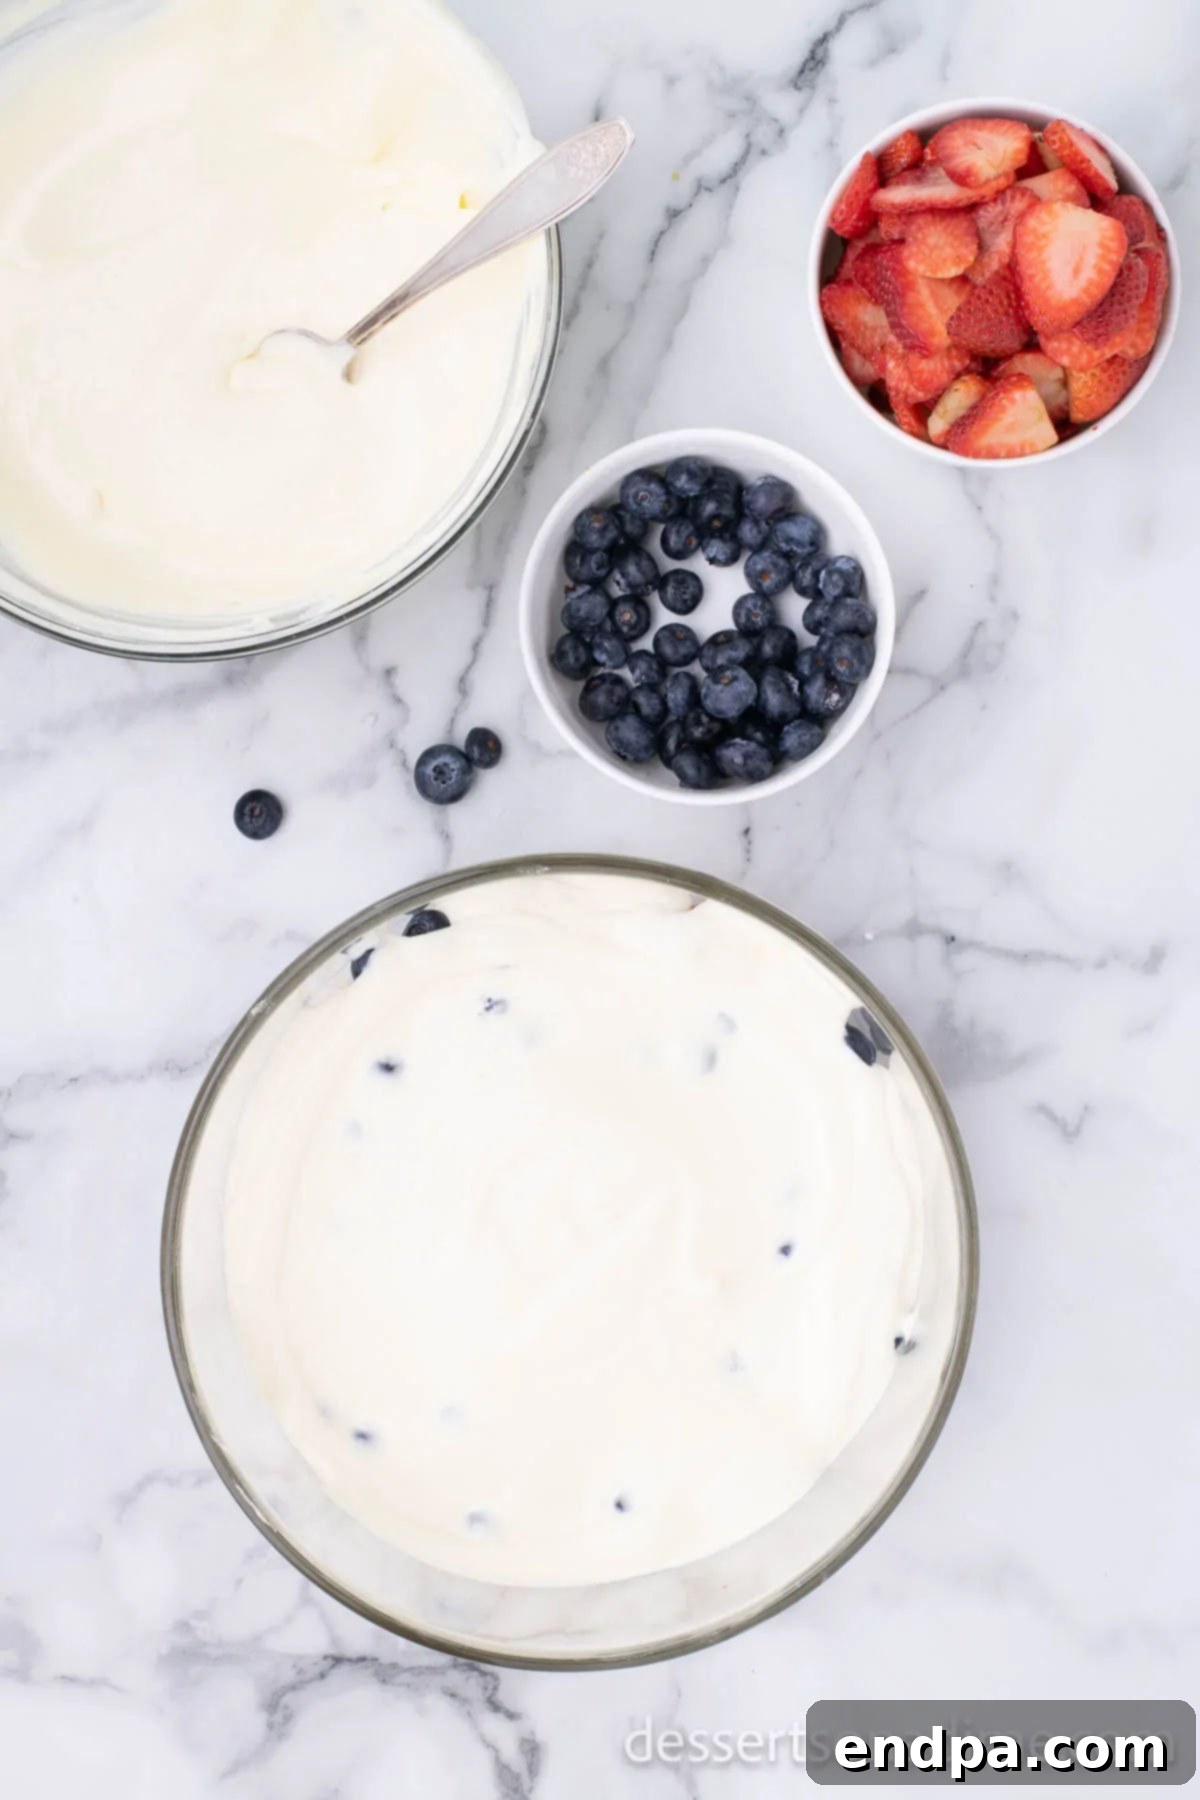
Step 6: Add the Pudding Layer. Carefully spoon a layer of your creamy pudding mixture over the cake. Gently spread it out using the back of a spoon or an offset spatula, ensuring it covers the cake layer completely and reaches the edges of the dish. This creates the first “white” layer of your patriotic dessert.
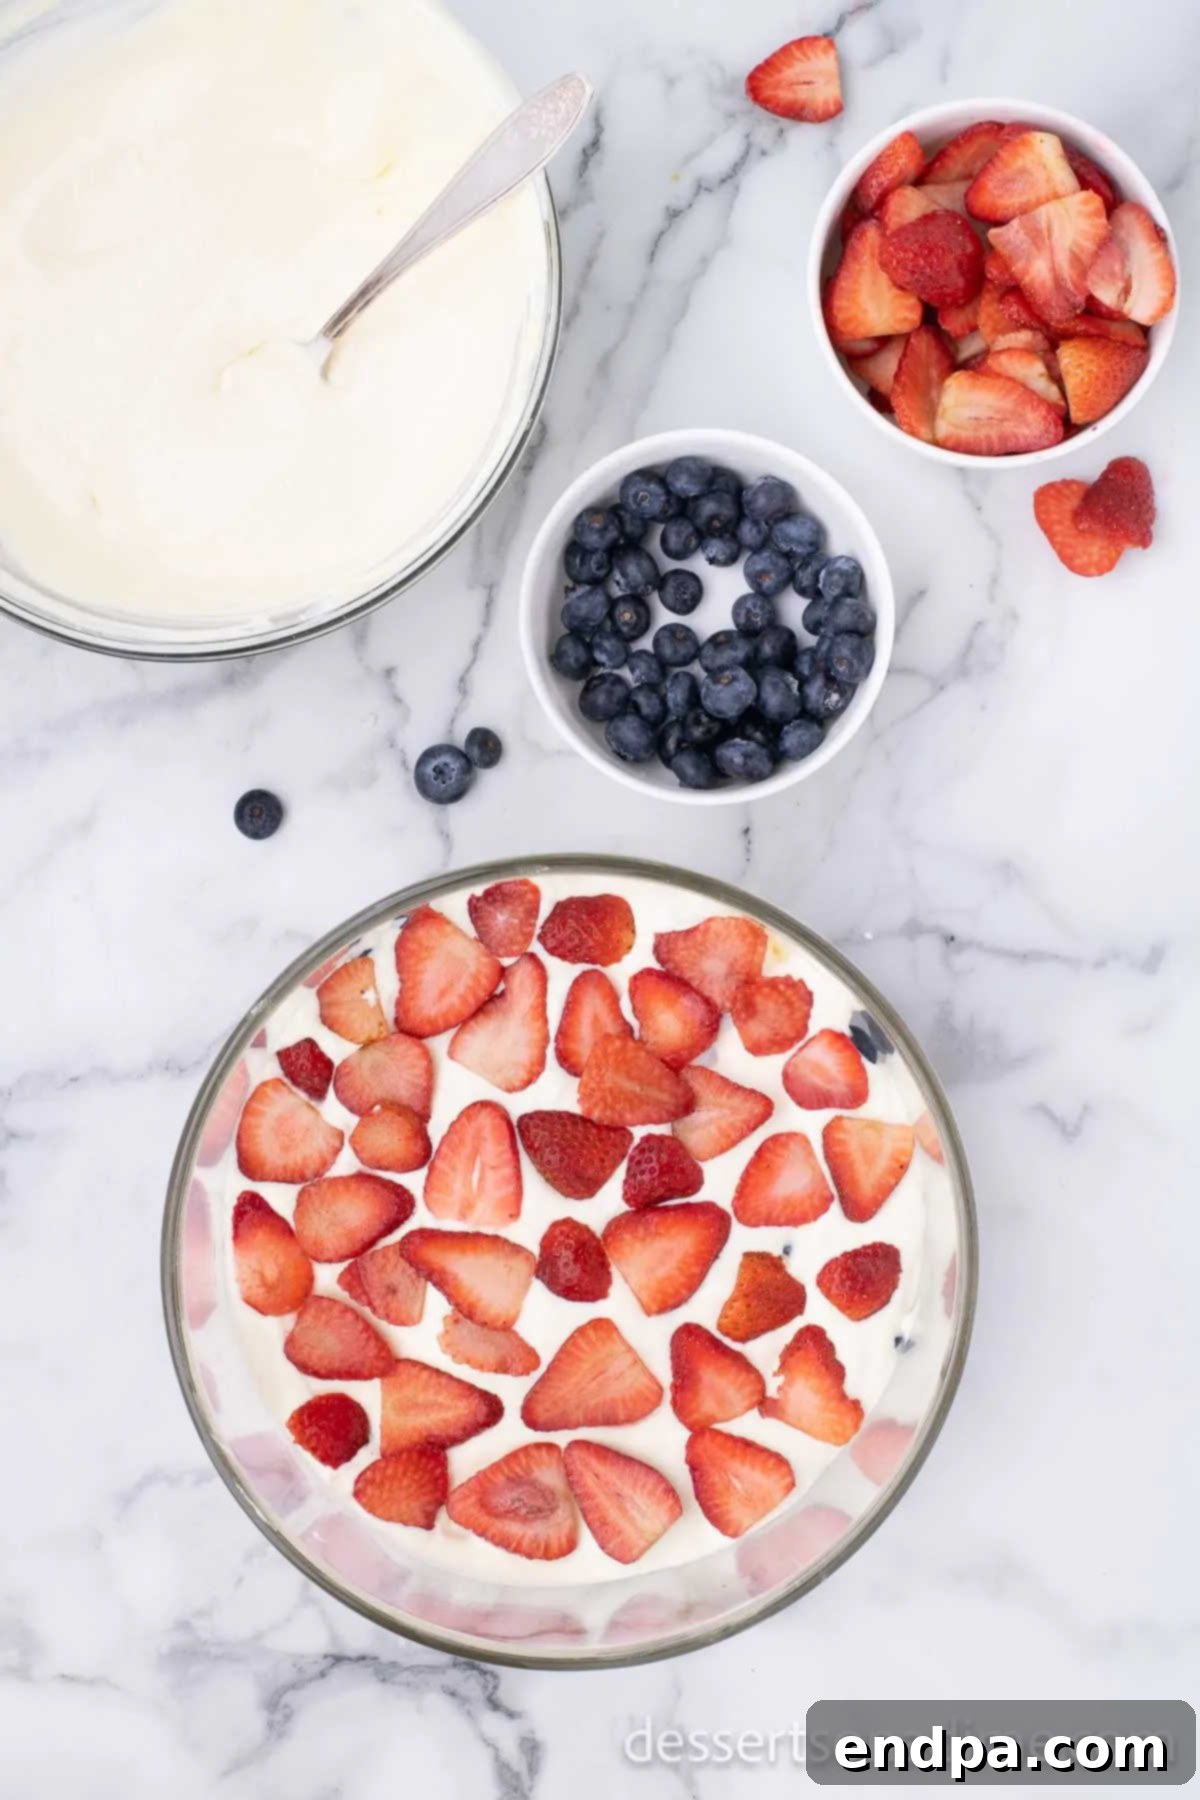
Step 7: Alternate with Berries. Next, scatter a layer of fresh blueberries over the pudding, followed by a layer of sliced strawberries. This creates your beautiful “red” and “blue” layers. Continue alternating layers of cake, pudding mixture, and berries until you reach the top of your trifle dish. Aim for even layers to create a visually appealing striped effect.
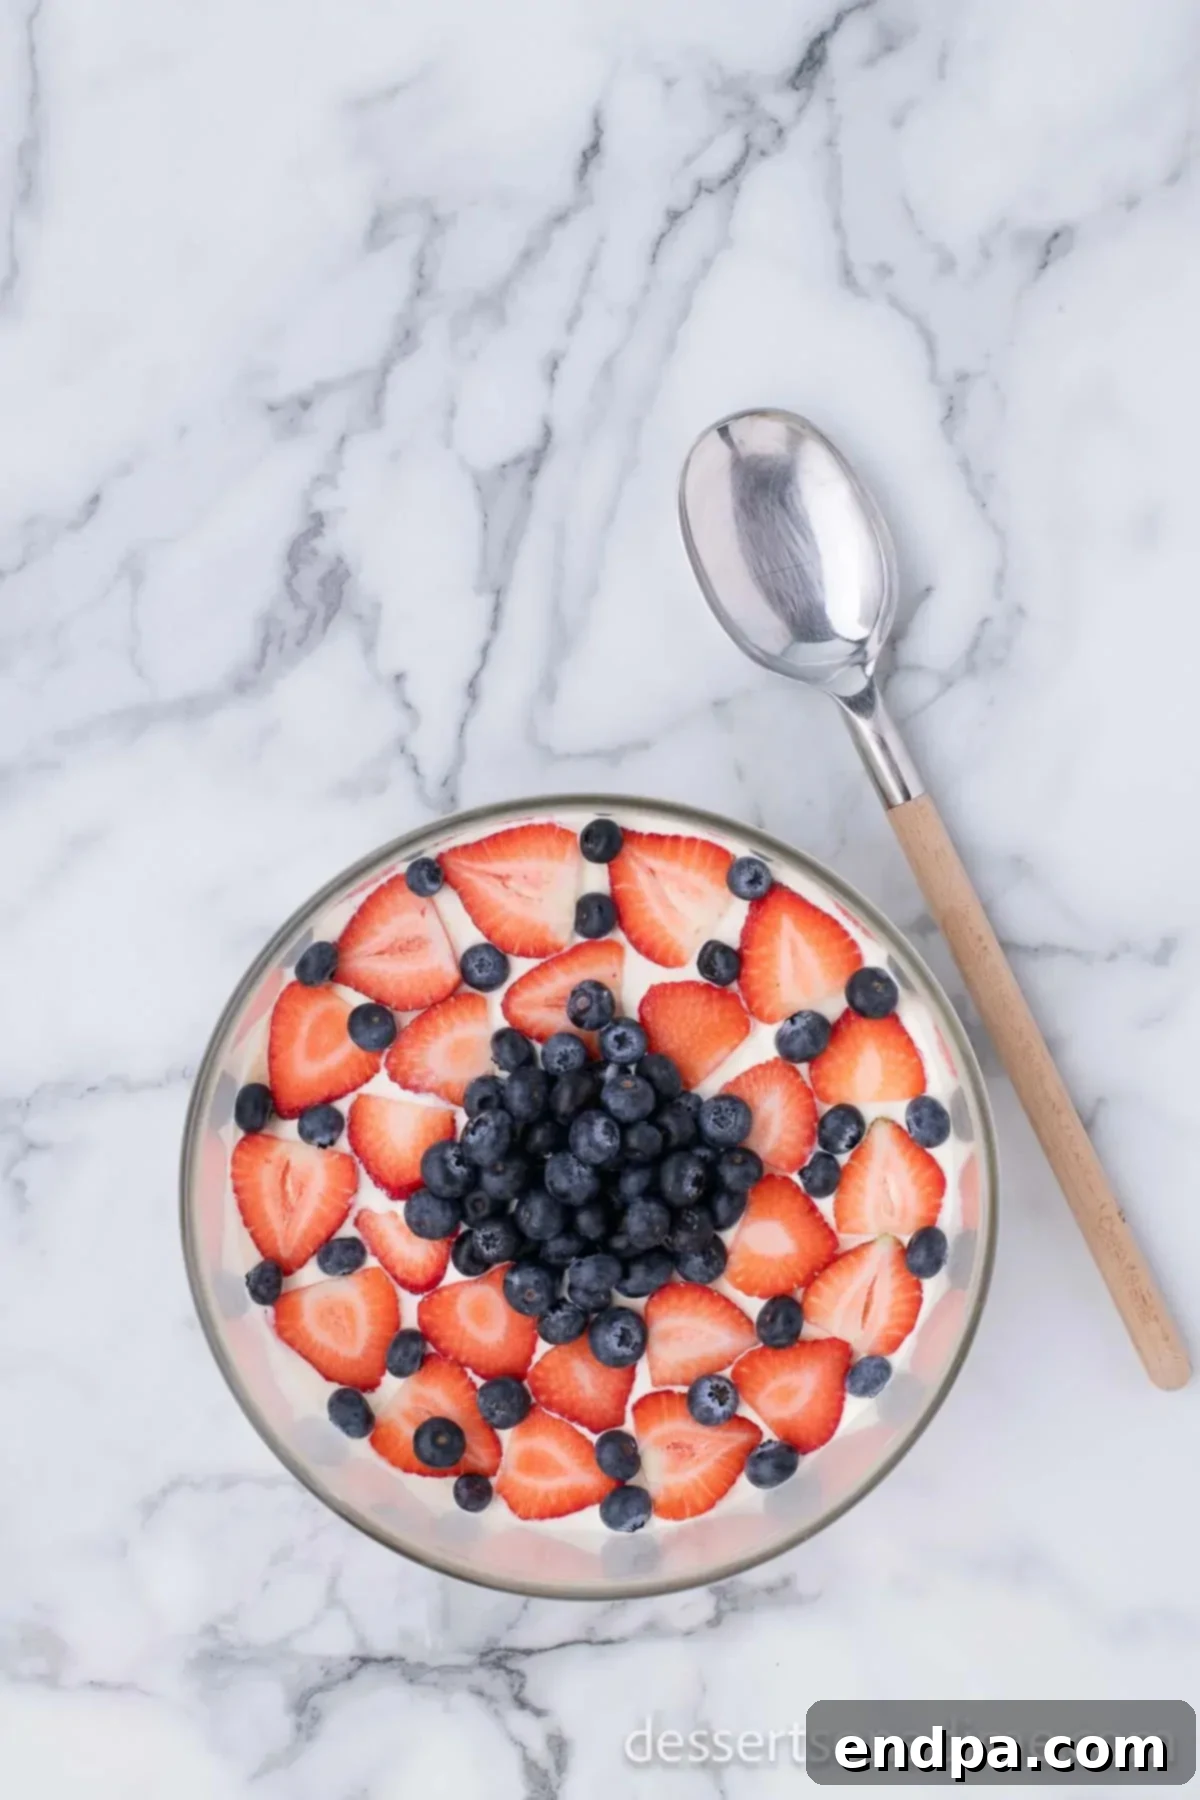
Step 8: Final Touches and Garnishing. Once you’ve reached the top of your trifle dish, finish with a final layer of the creamy pudding mixture. Then, take the remaining fresh strawberries and blueberries and arrange them artfully on top in a pretty, decorative pattern. This last step adds a professional and inviting finish to your patriotic dessert. Serve immediately, or chill as described in the storage section.
Tips for the Perfect Trifle
While this Red White and Blue Trifle is incredibly simple to make, a few expert tips can help ensure your dessert is absolutely perfect every time:
- Chill Everything: For the best results, make sure your milk for the pudding is very cold, and your cream cheese is at room temperature. Once assembled, chilling the trifle for at least 2-4 hours allows the flavors to meld and the layers to set beautifully.
- Use a Clear Trifle Dish: A clear glass trifle dish is essential for showcasing the beautiful layers of this dessert. The visual appeal is a huge part of its charm!
- Don’t Overmix: When incorporating the Cool Whip or homemade whipped cream, be gentle. Overmixing can deflate the air, leading to a less airy and fluffy texture.
- Even Layers: Take a moment to spread each layer evenly. This not only makes the trifle look stunning but also ensures that every spoonful gets a balanced combination of flavors and textures.
- Fresh is Best: Always opt for fresh berries over frozen. Frozen berries can release excess liquid as they thaw, making your trifle soggy.
- Cake Alternatives: Experiment with different cake bases! While angel food cake is traditional, a vanilla pound cake or a light white or yellow cake can also work wonderfully and offer a slightly different texture.
- Pudding Variations: Feel free to swap vanilla pudding for other flavors like white chocolate, cheesecake, or even lemon for a zesty twist, though vanilla best preserves the “white” aspect.
Storage
For the freshest and most appealing presentation, this Red White and Blue Trifle is best served within 24 hours of making it. While it can be assembled a little in advance, prolonged sitting can cause the cake layers to absorb too much moisture from the pudding and fruit, leading to a slightly mushy texture. If you’re not serving it immediately, make sure to cover the trifle dish tightly with plastic wrap and refrigerate it until you’re ready to present it. Any leftovers can be stored in the refrigerator for up to 3 days, though the texture of the cake may soften considerably over time.
FAQs
Yes, you can, but with some caveats. The layers of cake will naturally soften and absorb moisture from the pudding and fruit the longer it sits. For the best texture and freshness, we recommend assembling the trifle no more than 24 hours in advance. If you need to prepare it further ahead, consider keeping the components separate and assembling just a few hours before serving.
Absolutely! The fruit is very adaptable and can be changed based on the occasion, season, or your personal preference. For a patriotic theme, red and blue berries are essential, but you could add raspberries or blackberries for more “red” and “dark blue” variations. If it’s not a patriotic event, feel free to use just blueberries, just strawberries, or even mixed tropical fruits.
Unfortunately, this recipe is not recommended for freezing. The dairy-based pudding and whipped cream layers, along with the cake, will become watery and mushy when thawed, significantly compromising the texture and appeal of the trifle.
We strongly suggest using fresh berries for this recipe. Frozen berries, especially strawberries, contain a lot of excess liquid that will bleed into the pudding layers and make the trifle watery and soggy as they thaw. If fresh berries are completely unavailable, you might try thawing frozen berries first, draining them thoroughly, and patting them dry before adding them, but the result will likely still be inferior to using fresh.
A large, clear glass trifle bowl is ideal for this recipe. Its depth and transparency are perfect for showcasing the beautiful, distinct layers of cake, pudding, and colorful berries. If you don’t have a specific trifle dish, a large glass salad bowl or any deep, clear serving bowl will work.
Yes, absolutely! Individual Red White and Blue Trifles are a charming way to serve this dessert, especially for parties. Simply layer the ingredients in smaller clear glasses, mason jars, or even wine glasses. This makes for elegant single servings and is perfect for grab-and-go options at a buffet.
More Red White and Blue Desserts
If you’re planning a patriotic feast and need more red, white, and blue inspiration, these recipes are perfect companions to your trifle:
- 4th of July Poke Cake Recipe
- Red White and Blue Crinkle Cake Mix Cookies
- Red White and Blue Chocolate Covered Pretzels
- How to Make Red, White, and Blue Jello
- Red White and Blue Strawberries
- Red White and Blue Popsicles
Once you make this Red White and Blue Trifle, you’ll discover why it’s a go-to dessert for so many celebrations. Its simplicity, stunning appearance, and irresistible taste make it an instant favorite. We encourage you to try it and share your delightful creations!
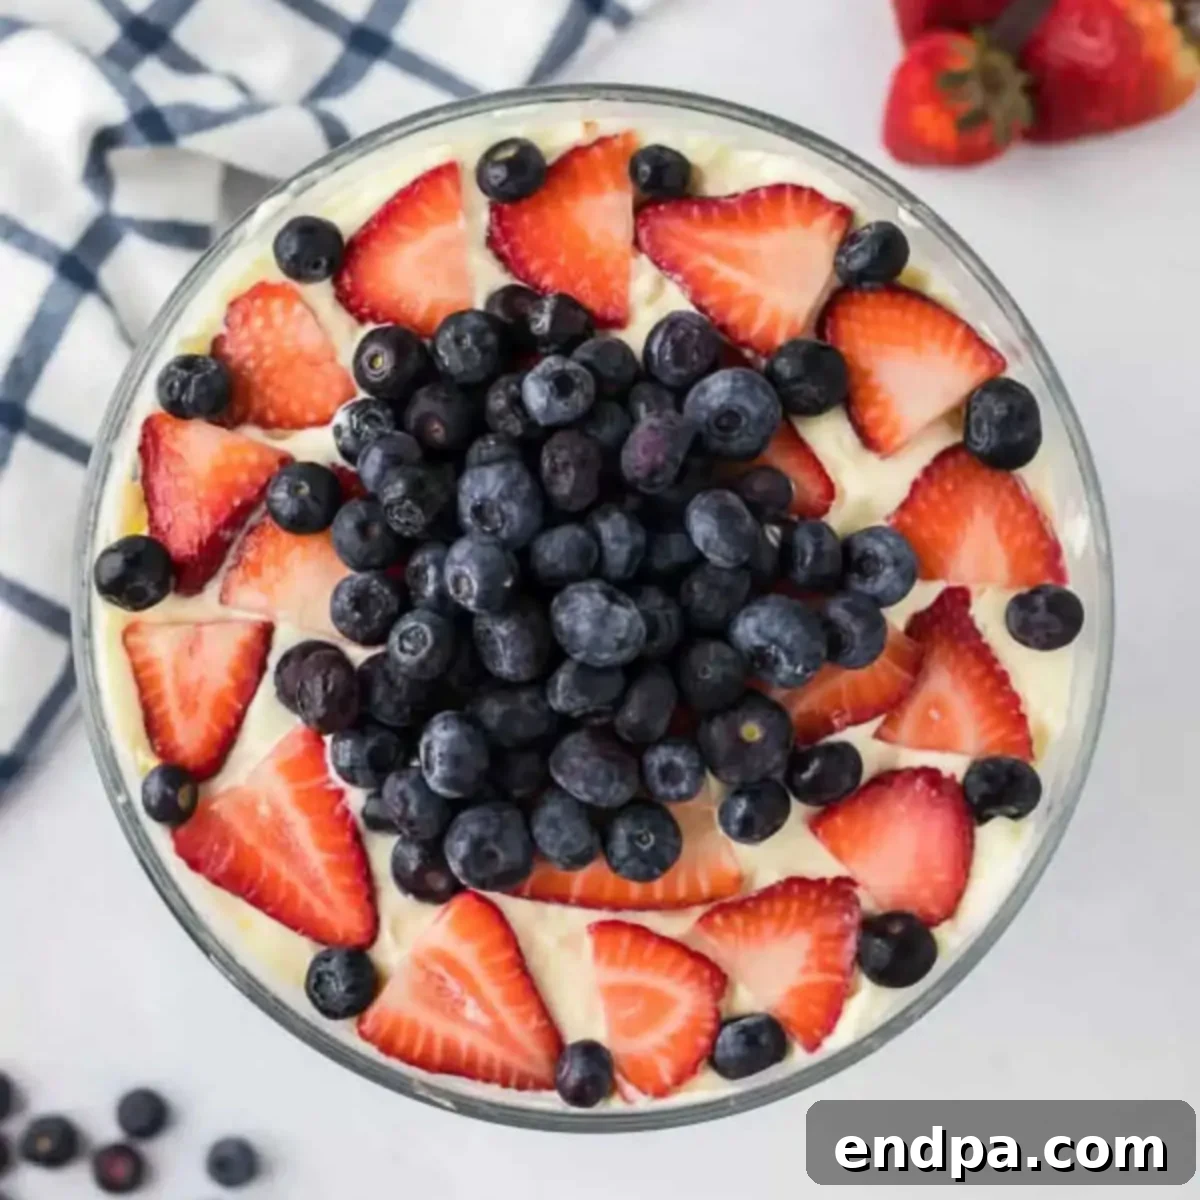
Red White and Blue Trifle
Ingredients
- 1 angel food cake cut into cubes
- 3.4 ounce box instant vanilla pudding mix
- 2 cups cold milk
- 8 ounces cream cheese at room temperature
- 1 cup powdered sugar
- 8 ounces Cool Whip
- 2 pints blueberries rinsed
- 2 pints strawberries rinsed, hulled and sliced
Instructions
- In a small bowl, combine the vanilla pudding mix with the milk. Whisk for two minutes and set aside.
- In a large bowl, beat the cream cheese on medium speed for about 2-3 minutes or until smooth and creamy.
- Reduce the speed to low and gradually add the powdered sugar. Once all of the sugar is incorporated, increase the speed to medium and beat for 1 minute, or until smooth.
- Add the prepared pudding to the cream cheese mixture and gently fold and stir with a rubber spatula until completely combined.
- Add the Cool Whip to the bowl and fold it into the mixture until no white streaks remain.
- To assemble the trifle, alternate layers of angel food cake, blueberries, the pudding mixture, strawberries and so on, until you get the top.
- Add a final layer of the pudding mixture, then arrange the remaining strawberries and blueberries in a decorative pattern.
- Serve immediately or cover and refrigerate until ready to serve.
