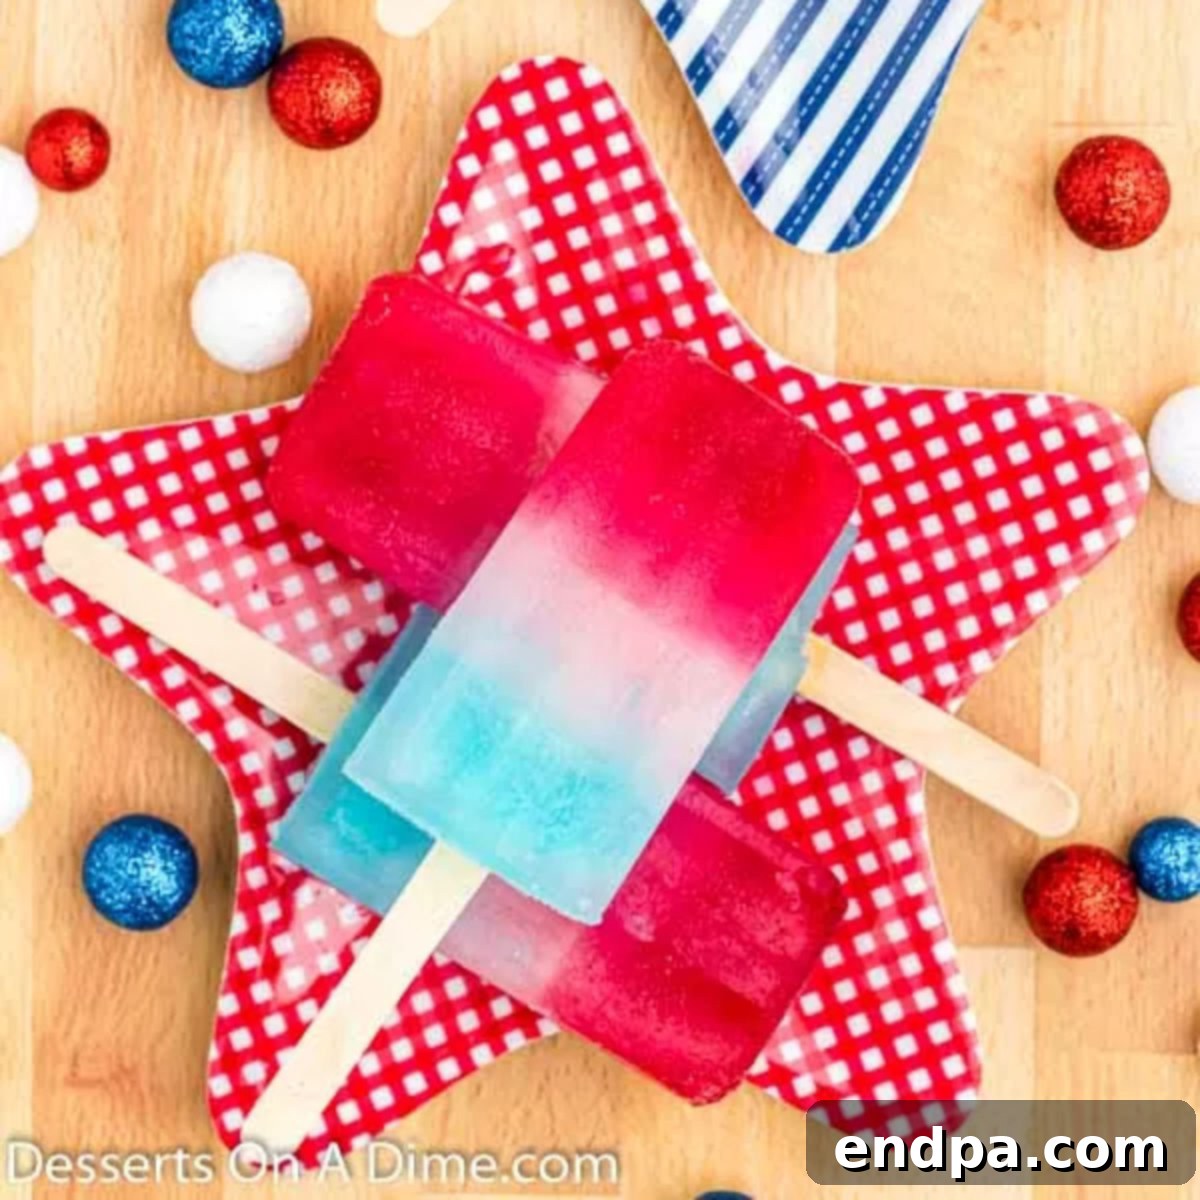
Easy Red, White & Blue Popsicles: The Ultimate 3-Ingredient Patriotic Treat
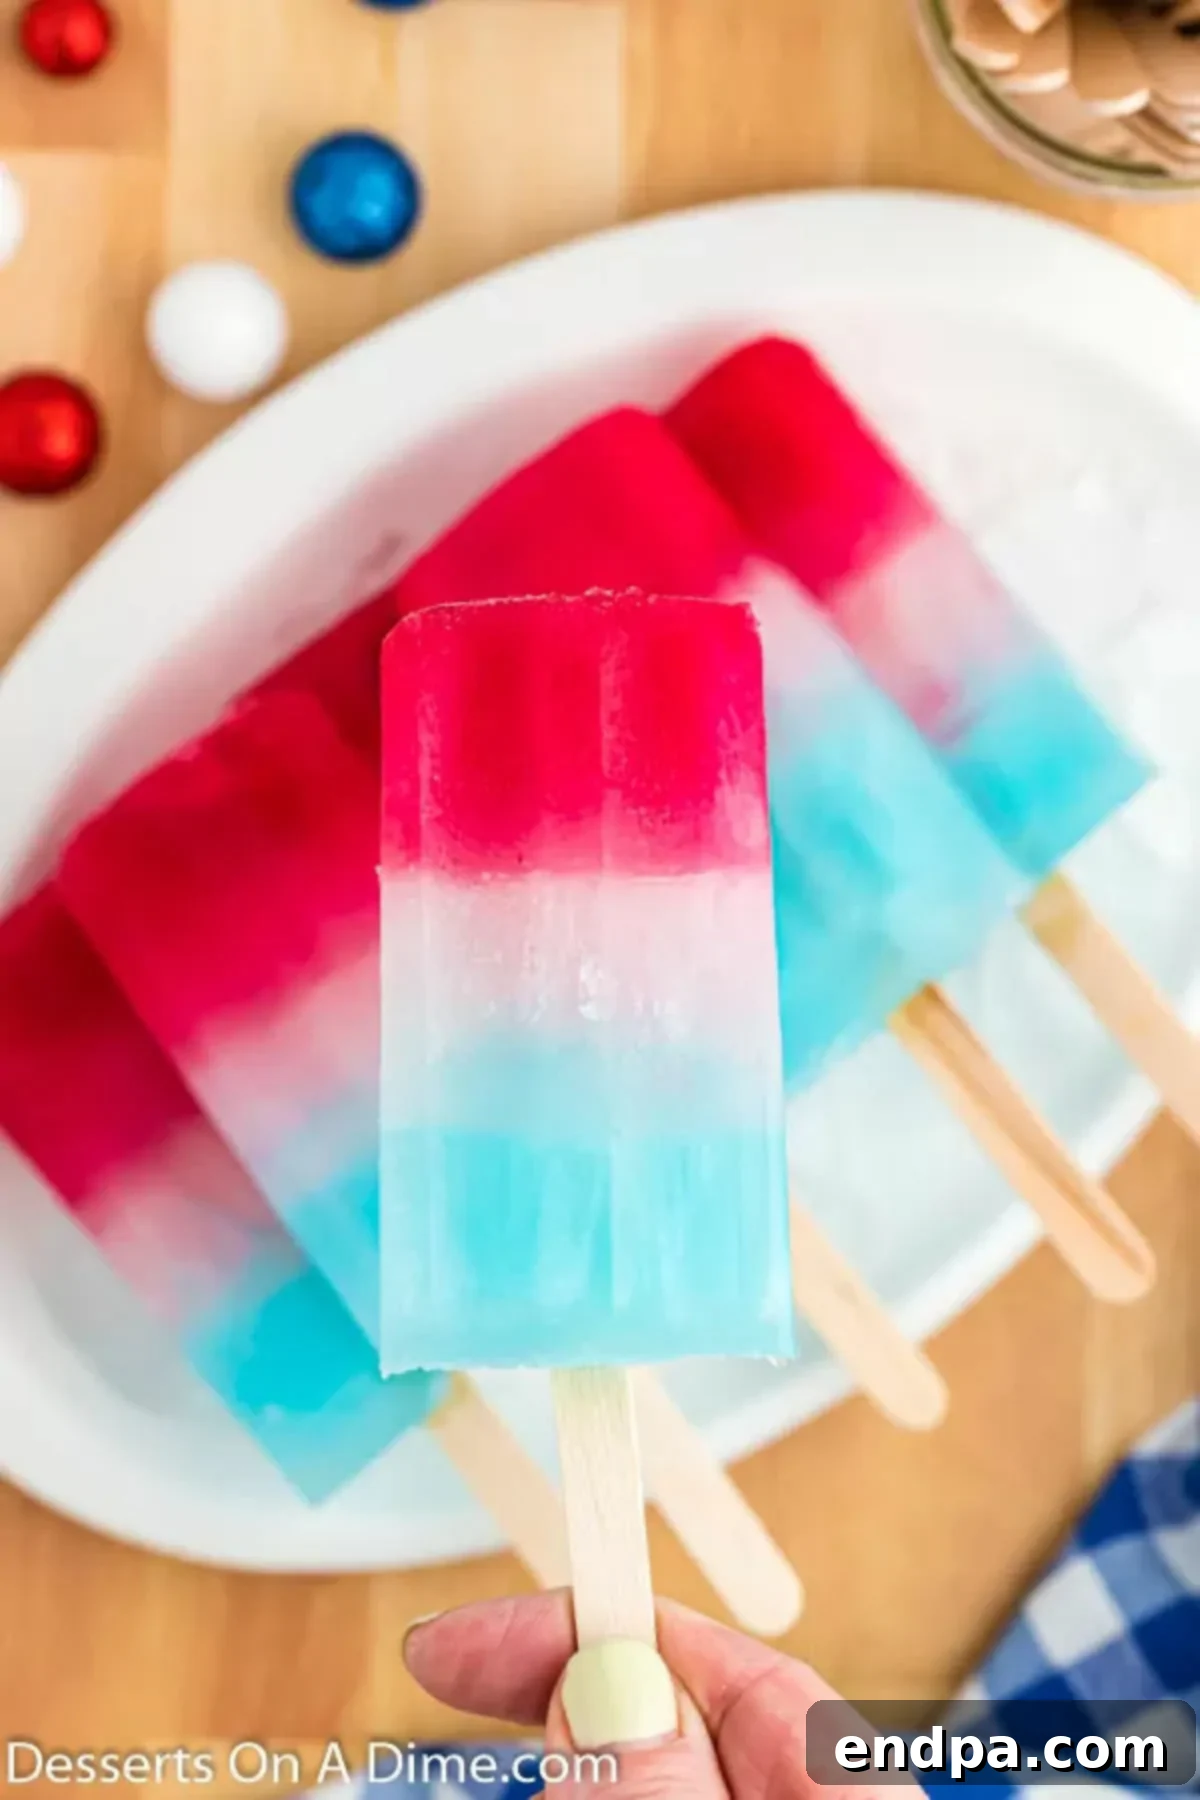
Prepare to delight your taste buds and impress your guests with these incredibly easy Red, White, and Blue Popsicles! Crafted with just three simple ingredients, these vibrant, layered frozen treats are the epitome of summer refreshment and patriotic festivity. Whether you’re celebrating the 4th of July, Memorial Day, Labor Day, or simply enjoying a sunny afternoon, these homemade popsicles are a guaranteed crowd-pleaser for all ages. Forget the store-bought versions; once you experience how effortless and delicious these are to make, you’ll be creating frozen delights all summer long.
Embrace the joy of homemade frozen treats! Kids adore popsicles, and the possibilities for customization are endless. Beyond these patriotic layers, you might also enjoy exploring other delightful options such as simple ice cream recipes, our popular Homemade Rainbow Popsicles, zesty Lemon Popsicles, or tropical Cherry Pineapple Popsicles. These treats are not only fun to make but also a fantastic way to cool down during the warmer months.
To further enhance your patriotic celebrations, consider pairing these popsicles with other themed desserts like a stunning Red, White, and Blue Trifle or delightful Red, White, and Blue Rice Krispie Treats. For a unique twist, try our refreshing Orange Julius Popsicle Recipe. These delicious ideas collectively form some of the Best Memorial Day Desserts, ensuring your holiday spread is both festive and unforgettable.
Table of Contents: Red, White and Blue Popsicles
- Why These Popsicles Are a Must-Try
- Essential Ingredients for Patriotic Popsicles
- Creative Variations and Customizations
- Step-by-Step Guide to Making Layered Popsicles
- Frequently Asked Questions for Perfect Popsicles
- More Refreshing Homemade Popsicle Recipes
- Discover More Red, White and Blue Desserts
- Red, White and Blue Popsicles Recipe Card
Why These Popsicles Are a Must-Try
There are countless reasons to fall in love with this simple yet stunning popsicle recipe:
- Effortless Preparation: You only need three basic ingredients, making this recipe incredibly straightforward and quick to assemble.
- Irresistibly Refreshing: Each bite offers a burst of fruity, sweet, and tangy flavors that perfectly complement warm weather.
- Visually Stunning: The distinct red, white, and blue layers create a gorgeous, Instagram-worthy treat that’s sure to impress.
- Kid-Friendly Fun: A fantastic activity for children to help with, from pouring layers to eagerly anticipating the frozen result.
- Perfect for Any Occasion: While ideal for patriotic holidays, these popsicles are a hit at any summer gathering, birthday party, or just as a refreshing everyday snack.
- Healthier Homemade Option: Control the ingredients, minimize artificial additives, and enjoy a fresher, more wholesome frozen dessert compared to many store-bought alternatives.
Essential Ingredients for Patriotic Popsicles
The beauty of this recipe lies in its simplicity. With just three readily available beverages, you can create a truly spectacular treat. Here’s what you’ll need:
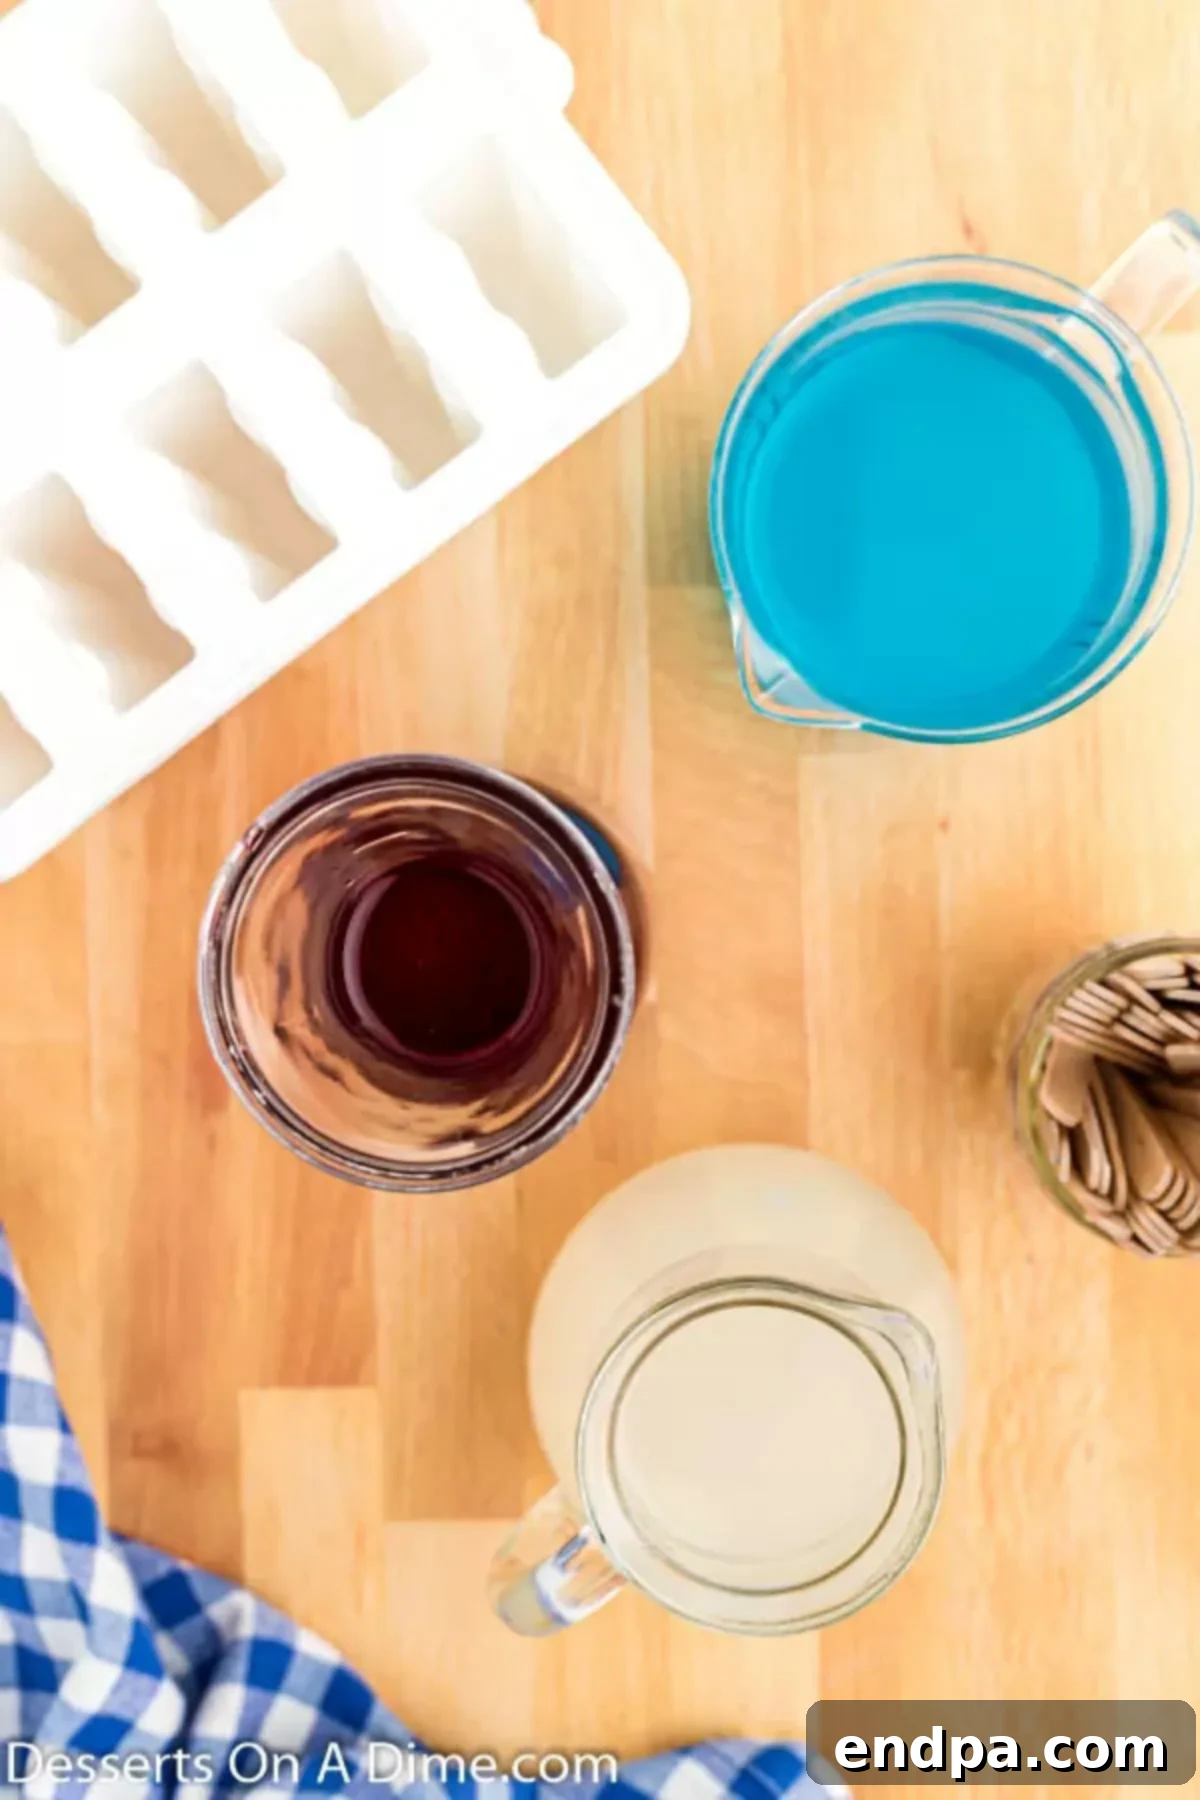
- Cranberry Juice: This forms the vibrant red layer. Opt for 100% cranberry juice or a cranberry blend for the best flavor and color.
- Lemonade: The zesty lemonade creates the middle “white” layer, offering a delightful tart contrast to the other flavors.
- Blue Sports Drink (e.g., Gatorade): A blue-colored sports drink like Gatorade provides the brilliant blue layer and a slightly sweet, tangy finish.
That’s it! A quick trip to the grocery store for these three items, and you’re ready to start crafting your patriotic masterpieces. For precise measurements, refer to the complete ingredient list in the recipe card below.
Creative Variations and Customizations
While the classic three-ingredient recipe is fantastic on its own, don’t hesitate to get creative with variations to suit your taste or dietary needs. Here are some ideas to inspire you:
- **For a Creamier Texture:** To achieve a richer, creamier popsicle, substitute coconut milk or vanilla-flavored Greek yogurt for the lemonade in the white layer. This adds a delightful smooth texture and a hint of tropical flavor.
- **Natural Fruit Options:**
- Red Layer: For a completely natural red, use pureed watermelon or strawberries. Blend them smooth and strain if you prefer a pulp-free popsicle. For a more intense red, a tiny drop of natural red food coloring can be added.
- Blue Layer: Pureed blueberries can create a lovely purple-blue hue. For a brighter blue, a natural blue spirulina powder or a small amount of blue food coloring might be needed, as blueberries tend to be more purple.
- **Single-Color Base with Food Coloring:** If you prefer to use one base liquid, you can use a clear or white sports drink (like clear Gatorade) for all three layers and simply add red and blue food coloring to two separate portions. This gives you complete control over the color intensity.
- **All Sports Drink Layers:** Another straightforward option is to use red Gatorade, blue Gatorade, and a clear or white Gatorade for distinct layers. This ensures a consistent flavor profile throughout the popsicle.
- **Blended Creamy Delights:** Combine ice cream or Greek yogurt with fruit purees or juices in a blender for a thicker, richer, and more dessert-like popsicle. This opens up a world of flavor combinations beyond simple juice layers. Think strawberry yogurt for red, vanilla ice cream for white, and blueberry yogurt for blue!
- **Shape and Size Fun:** Don’t limit yourself to standard popsicle molds. Explore different shaped molds, such as star-shaped or miniature molds, to add an extra element of fun and visual appeal, especially for themed parties. The ideas for making unique and exciting frozen treats are truly endless!
Step-by-Step Guide to Making Layered Popsicles
Creating these beautifully layered popsicles is simple, but requires a bit of patience during the freezing process. The key to perfect, distinct layers is to ensure each layer is fully frozen before adding the next. Follow these easy steps for delicious results:
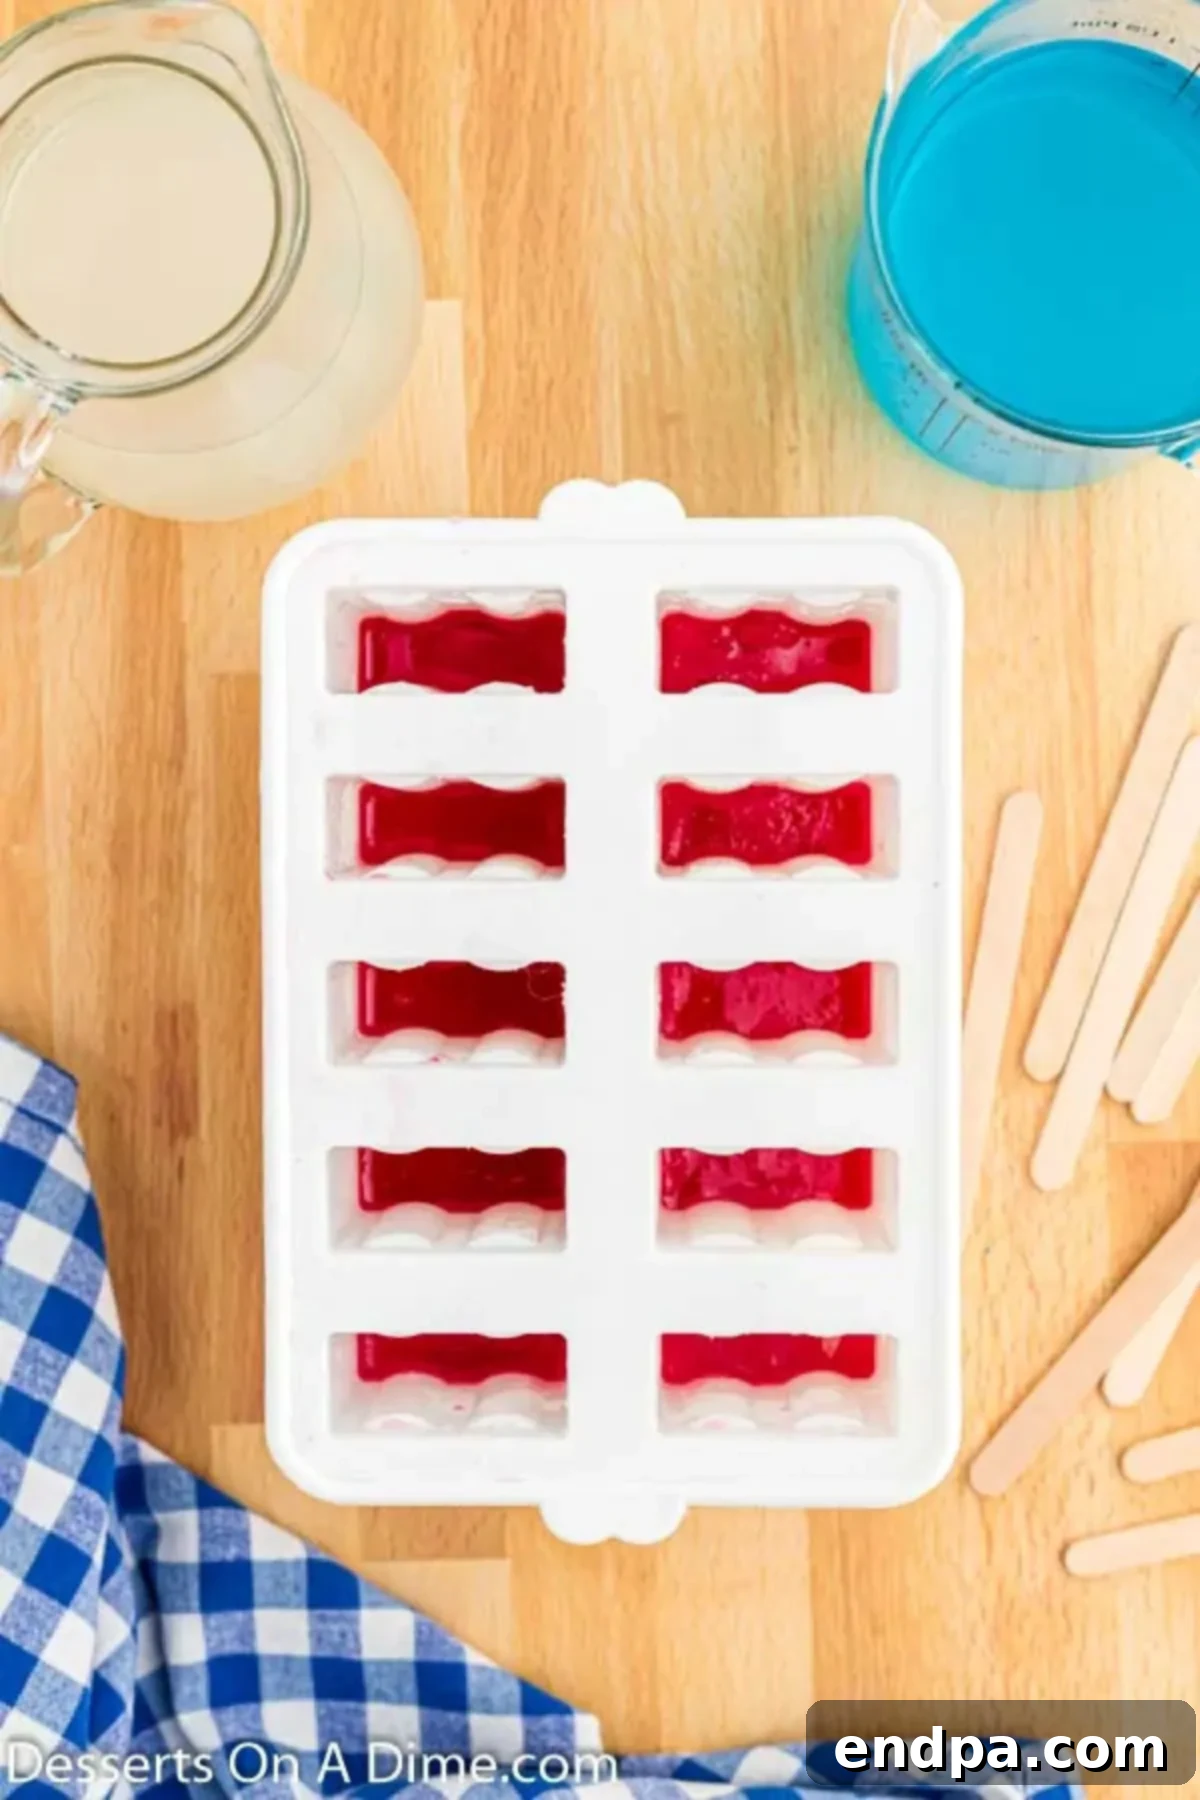
Step 1: The Red Layer
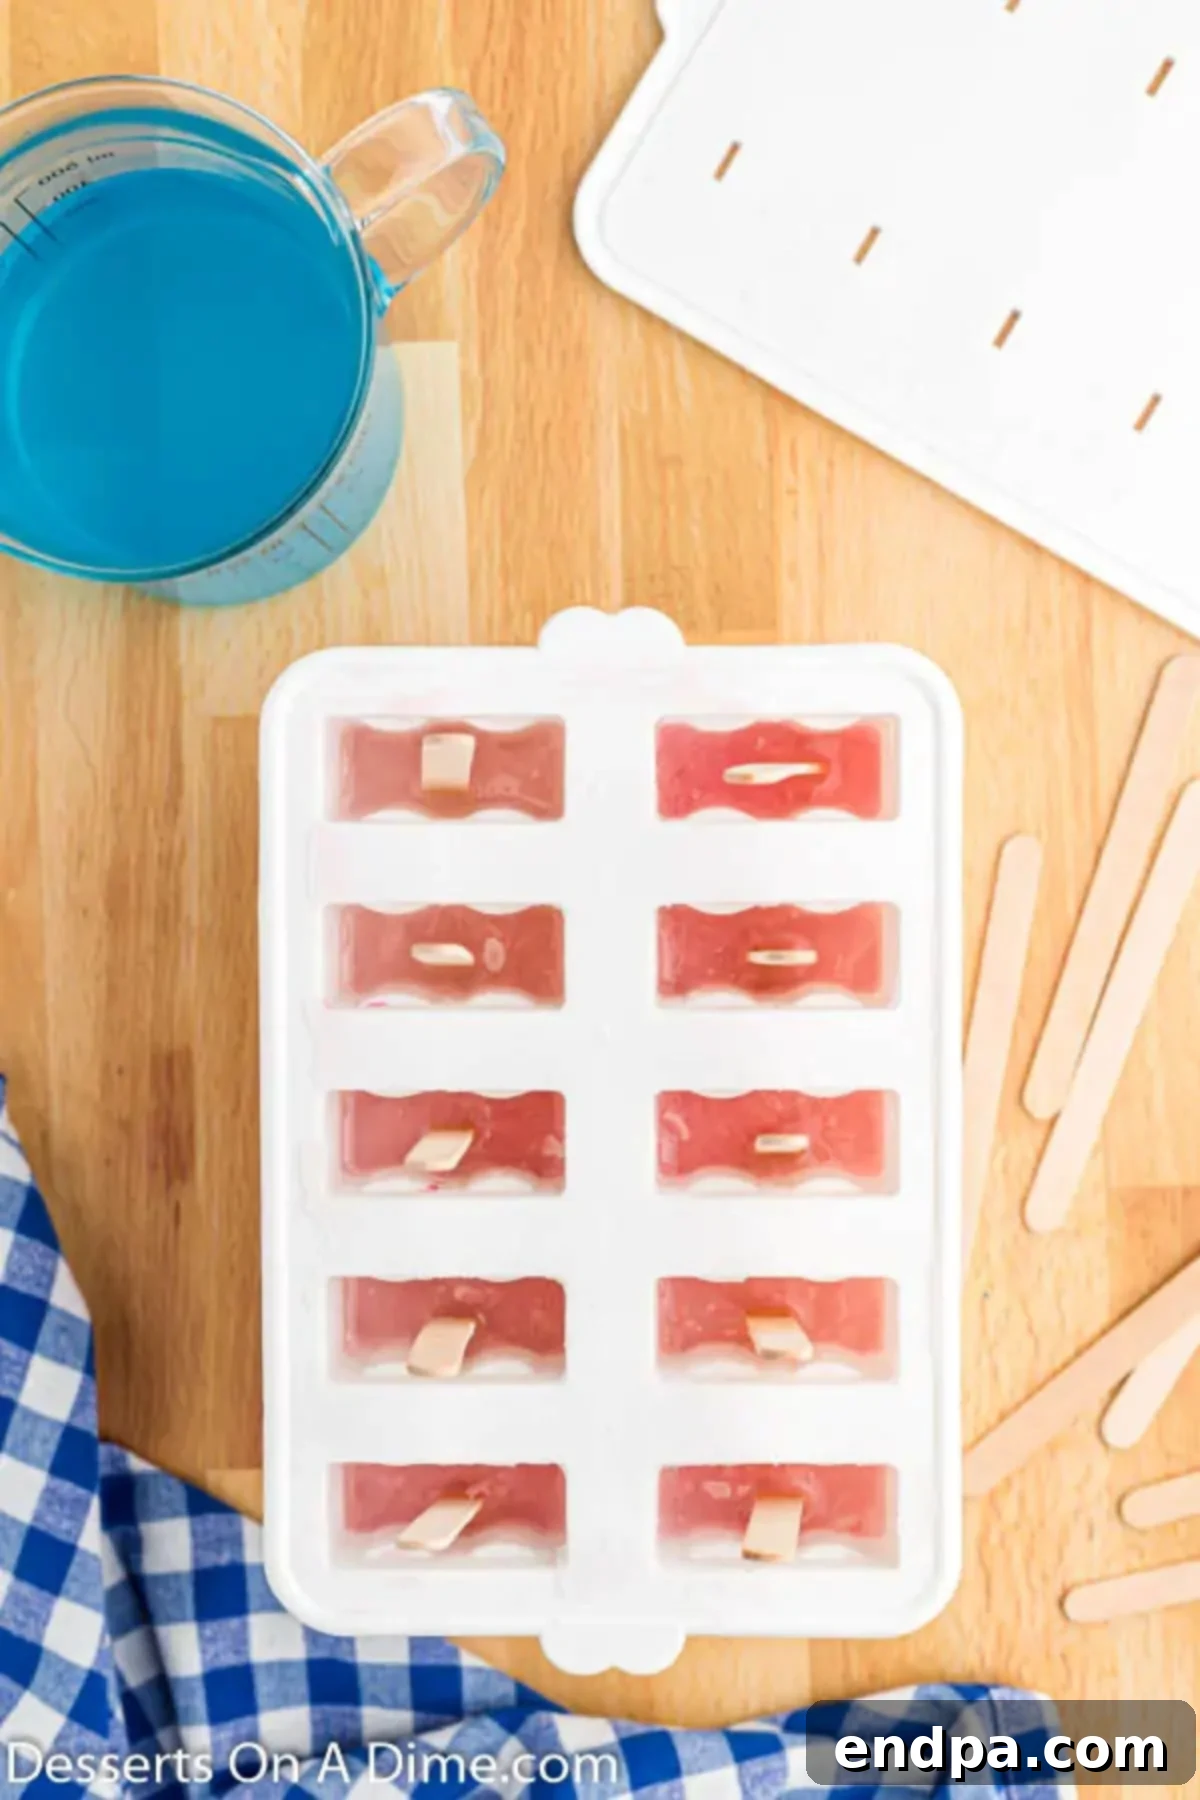
Begin by pouring the cranberry juice evenly into each compartment of your popsicle molds. Fill approximately one-third of the way. Place the molds into the freezer and allow this first layer to freeze completely for at least one hour. This initial freeze is crucial to prevent the colors from bleeding into each other.
Step 2: The White Layer and Sticks
Once the cranberry layer is solid, carefully pour the lemonade on top, filling another third of the mold. Immediately insert your popsicle sticks into the center of each mold. Return the molds to the freezer for another hour, ensuring the lemonade layer and sticks are securely frozen in place.
Step 3: The Blue Layer & Final Freeze
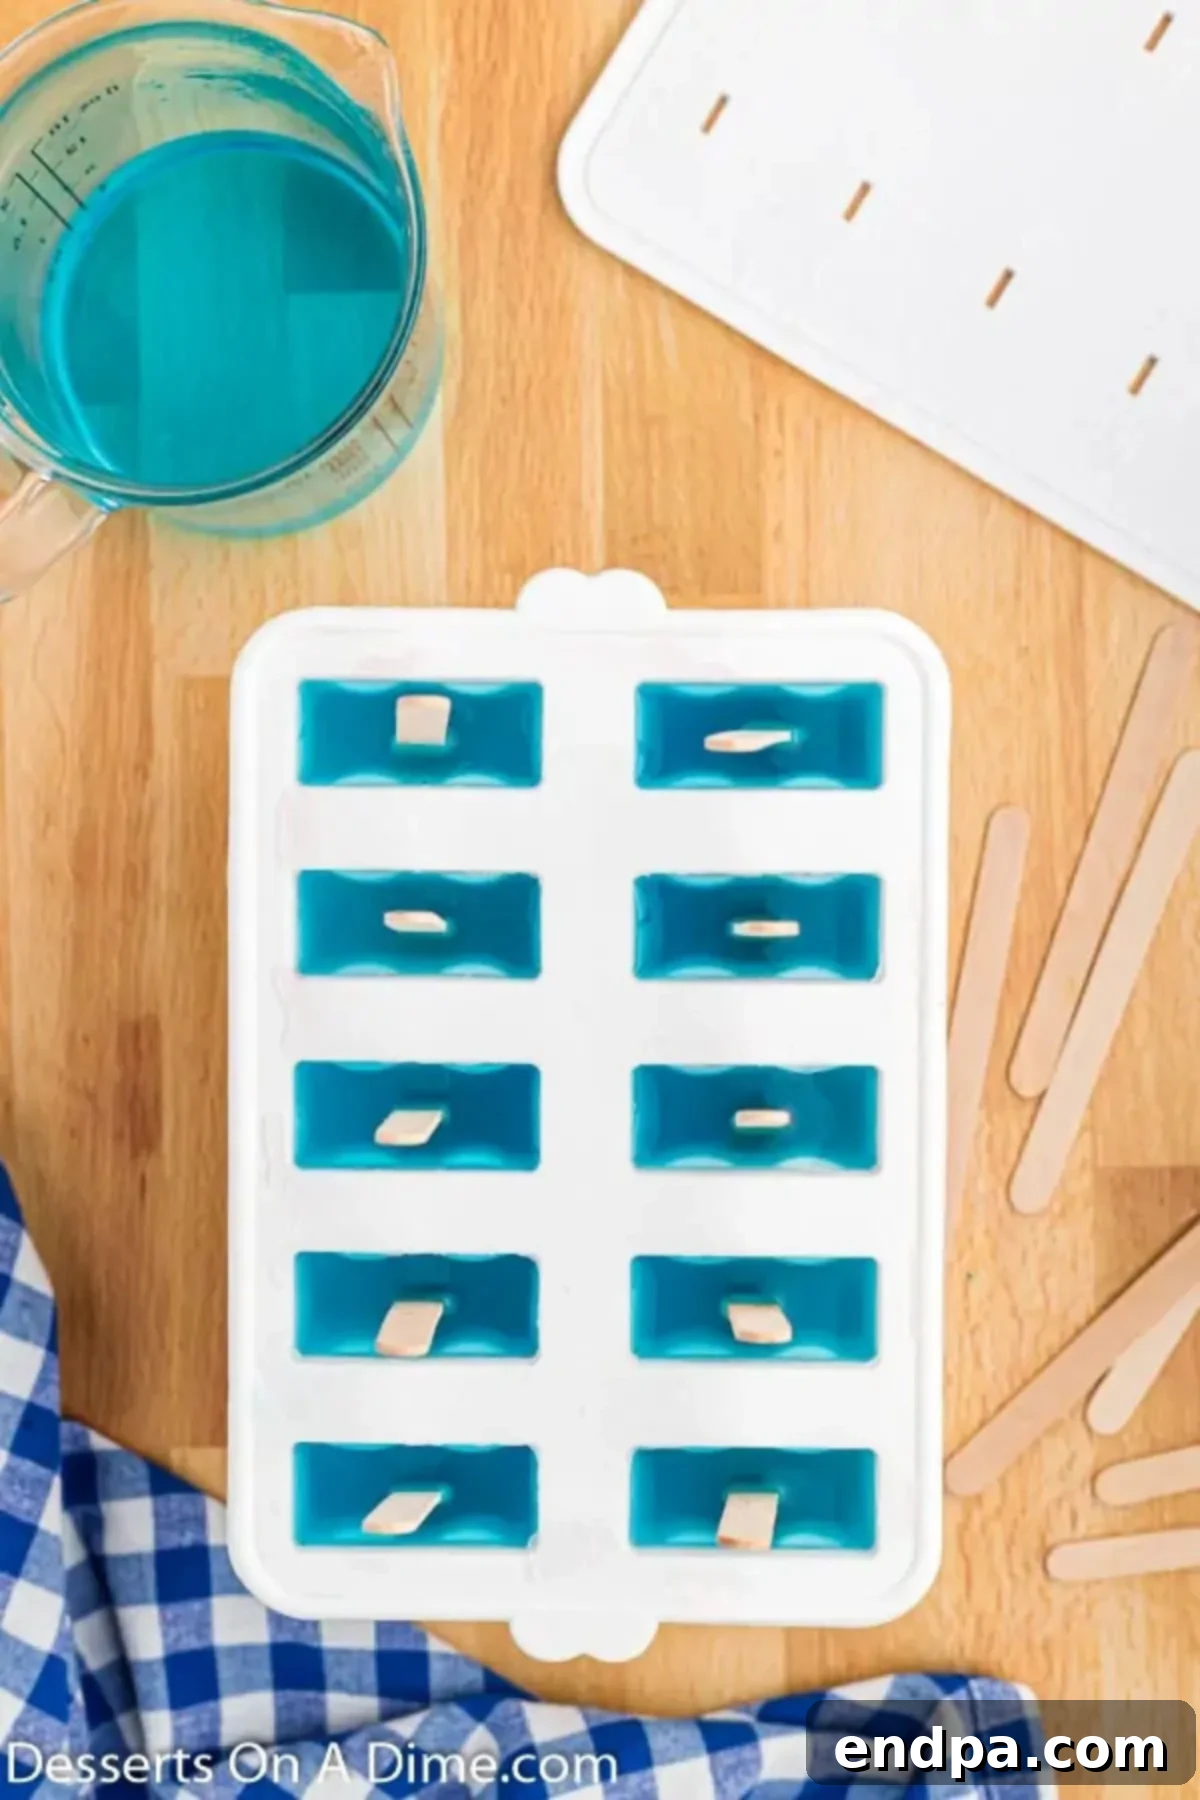
After the white layer is frozen, pour the blue sports drink over it, filling the molds to the top. This is the final layer. Place the popsicles back into the freezer and allow them to freeze until completely solid. This will take at least 4 hours, but for best results and firm popsicles, freezing overnight is highly recommended. Adequate freezing time ensures the layers are perfectly set and the popsicles are easy to handle.
Step 4: Serve and Enjoy!
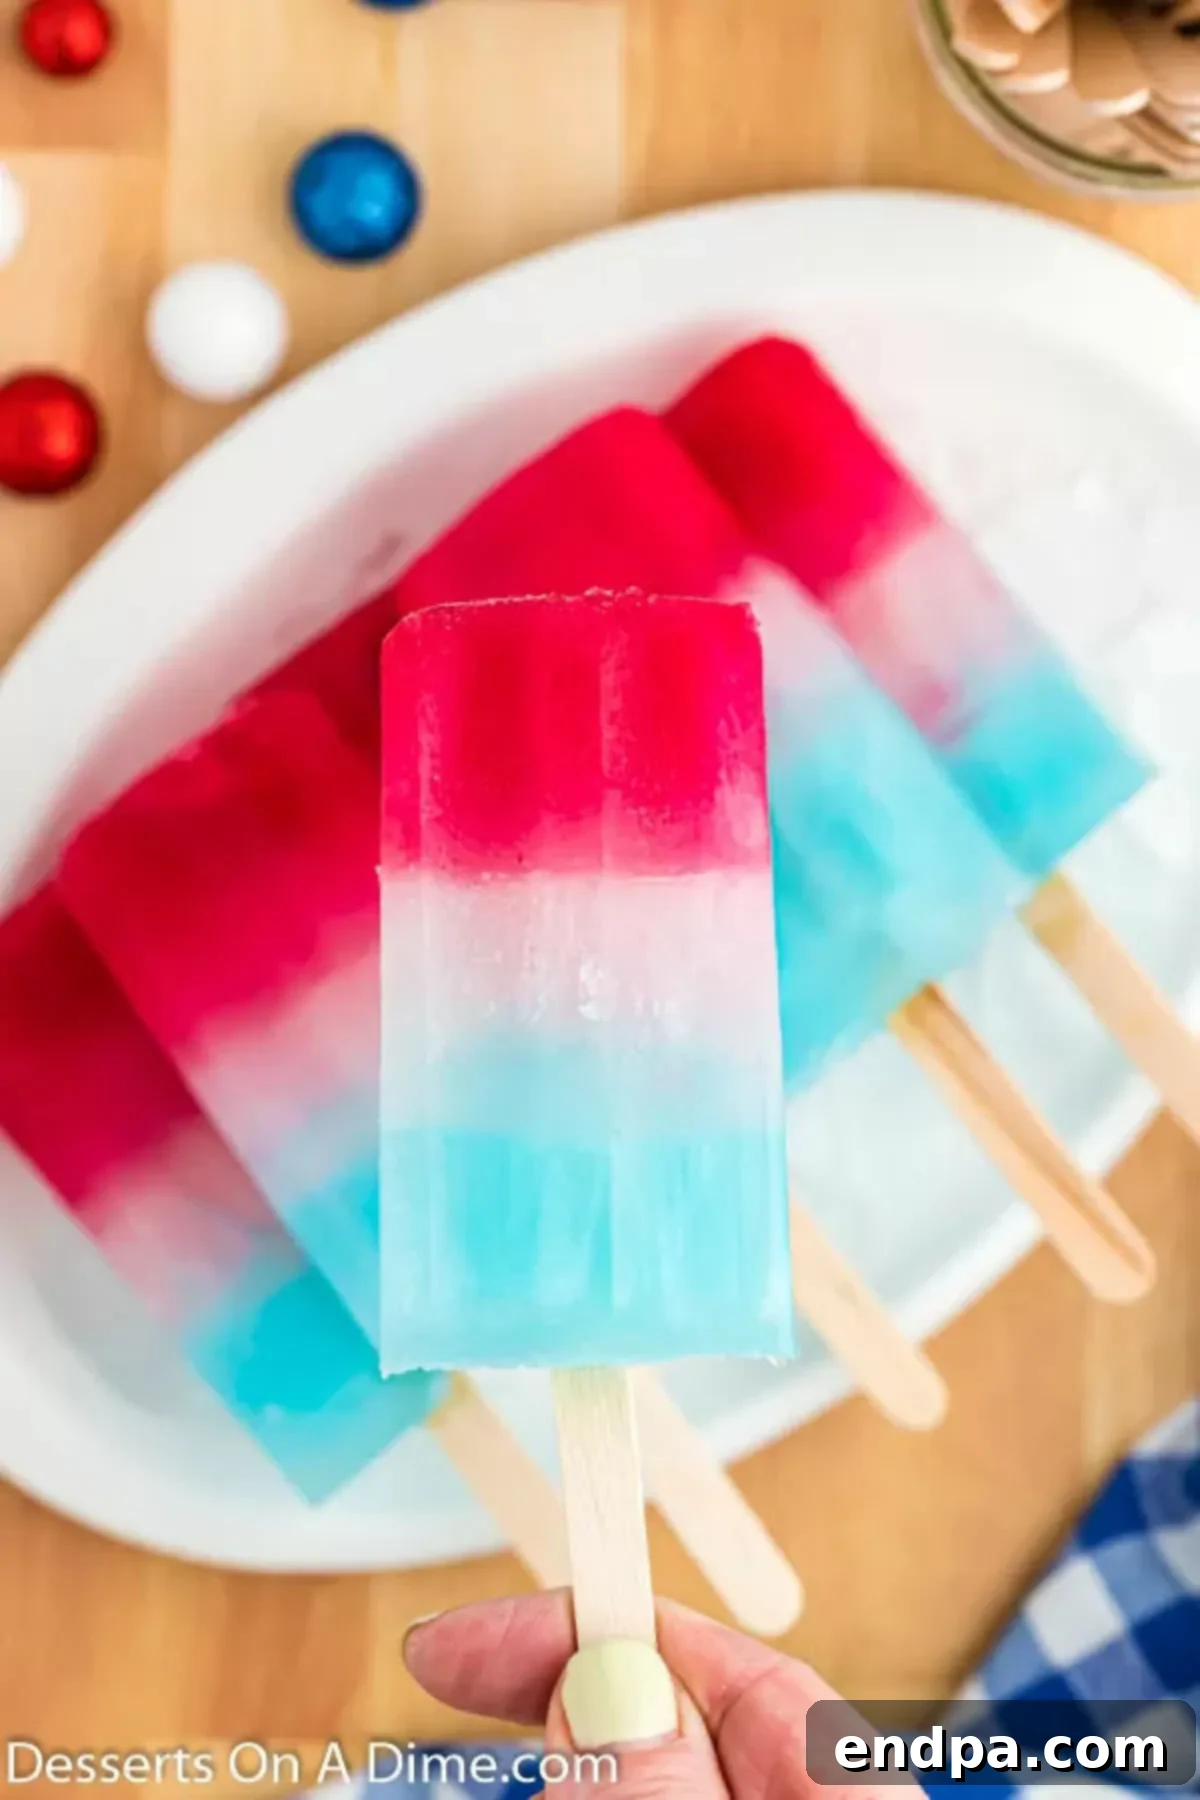
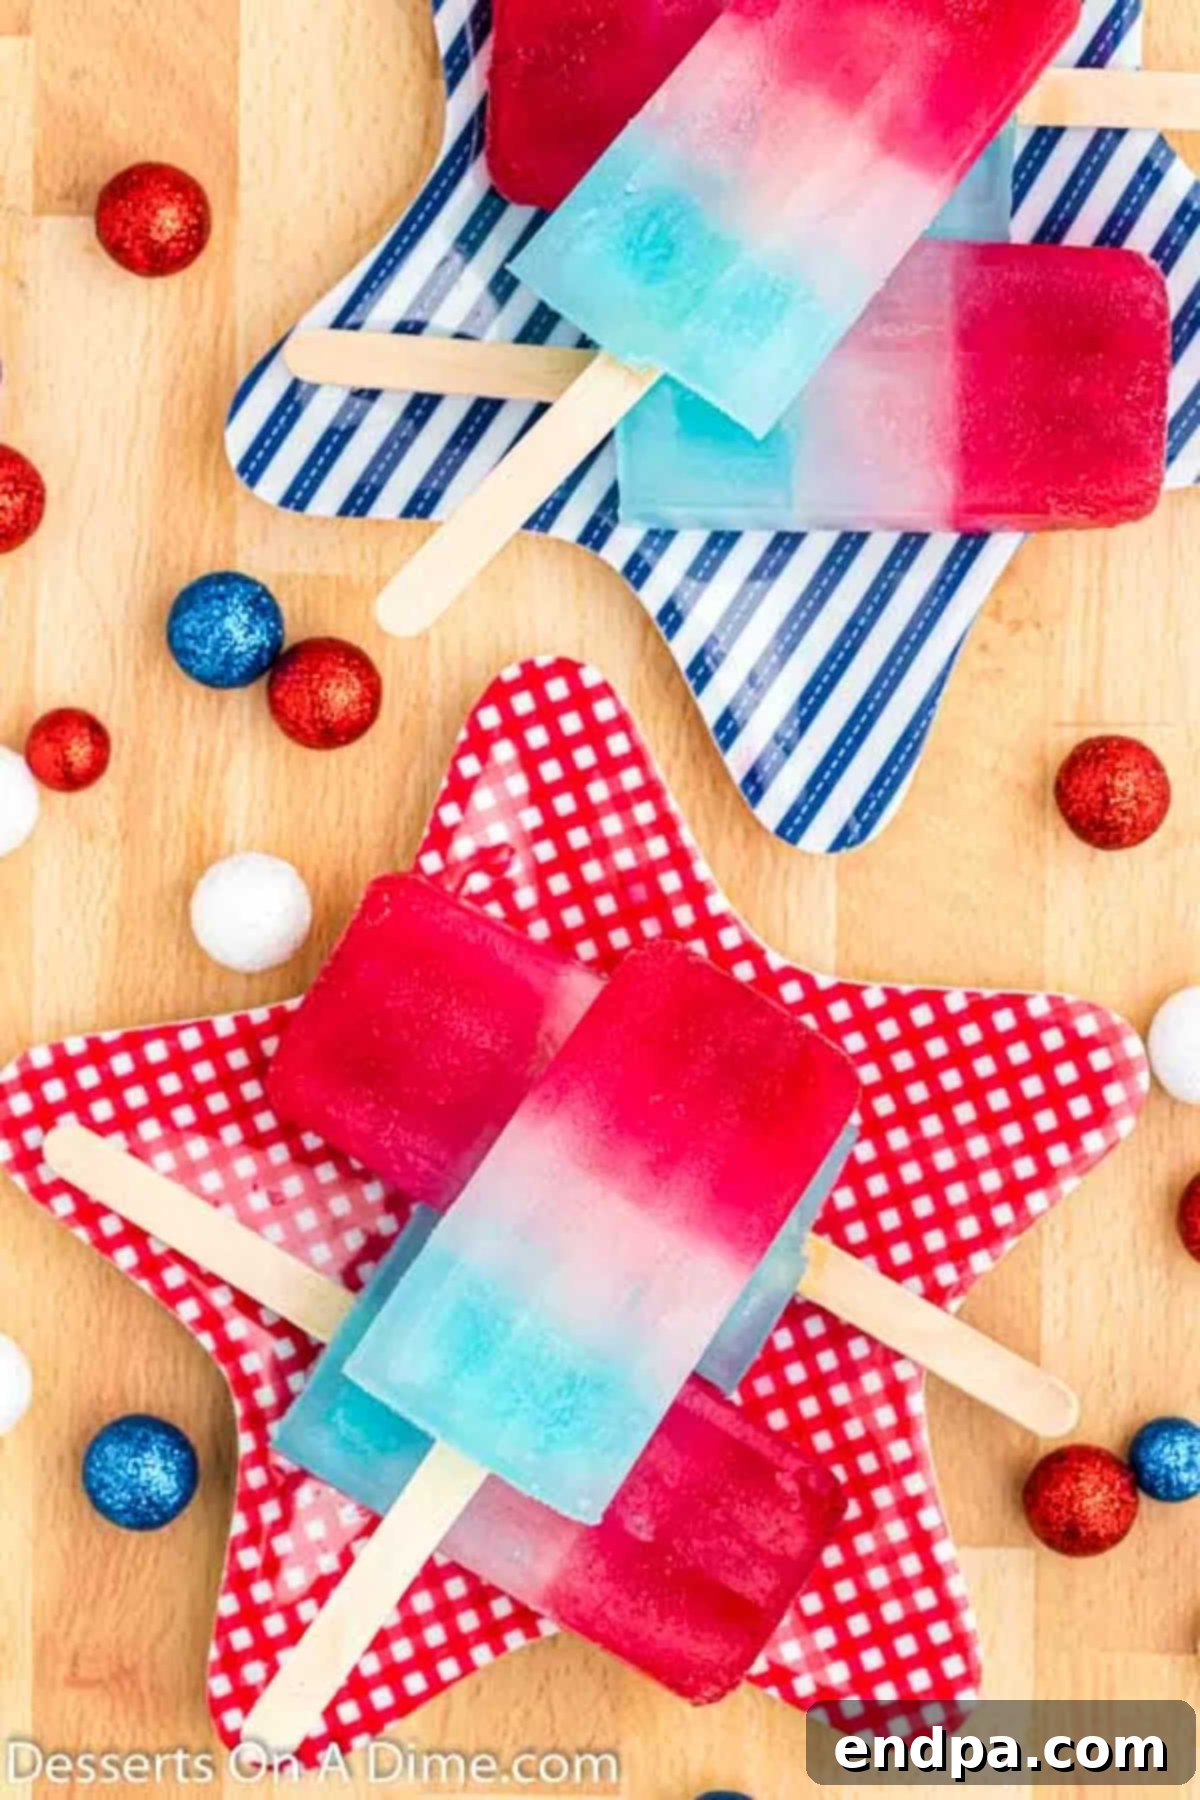
Once fully frozen, your beautiful red, white, and blue popsicles are ready to be served. Follow the tips in our FAQ section for easy removal from the molds. These vibrant treats are incredibly simple to make and always a huge hit with both children and adults. Get ready for a refreshing burst of patriotic flavor!
Frequently Asked Questions for Perfect Popsicles
Here are some common questions and helpful tips to ensure your layered popsicles turn out perfectly every time:
How do I get perfectly defined layers?
The absolute key to achieving those gorgeous, distinct layers is patience and proper freezing between each pour. It might seem like an extra step, but allowing sufficient time for each layer to freeze solid is critical. If you rush this process or try to shorten the freezing time, the different liquid layers will blend, resulting in muddy colors rather than the clear, separated patriotic look you’re aiming for. Plan ahead and give each layer its full hour to set completely.
What’s the best way to remove popsicles from the mold?
Removing frozen popsicles from their molds doesn’t have to be a struggle. Simply run the outside of the popsicle mold under warm (not hot!) water for just a few seconds. The warmth will slightly loosen the popsicle from the mold, allowing it to slide out easily. Be gentle when tugging on the stick to avoid breaking your beautifully crafted treat. Avoid hot water, as it can cause the popsicle to melt too quickly. A quick dip or rinse is all it takes!
How should I store homemade popsicles?
While you can certainly store them directly in their molds in the freezer, for longer-term storage and easier access, it’s best to remove the popsicles from their molds once fully frozen. Wrap each popsicle individually in plastic wrap or parchment paper, then transfer them to an airtight freezer bag or container. If stacking them, place a piece of wax paper between layers to prevent sticking. This method makes it much easier to grab a quick treat, especially for children, and frees up your molds for your next batch!
How long do homemade popsicles last in the freezer?
When stored properly in an airtight freezer bag or container, these popsicles can last for 5 to 6 months in the freezer. However, if left in non-airtight molds, they might not last as long due to potential freezer burn. In our experience, they rarely last that long because everyone loves them so much! We often make a double batch to ensure we always have extras on hand throughout the summer. It’s minimal extra effort for maximum enjoyment!
More Refreshing Homemade Popsicle Recipes
If you loved making these patriotic popsicles, you’re in for a treat! There’s a whole world of homemade frozen delights waiting for you to explore. Expand your repertoire with these fantastic popsicle recipes:
- Orange Creamsicle Popsicle Recipe: A classic nostalgic flavor transformed into a creamy, dreamy popsicle.
- Jello Popsicles Recipe: Fun, fruity, and incredibly customizable – perfect for vibrant colors and kid-friendly flavors.
- Root Beer Float Popsicles Recipe: All the bubbly, creamy goodness of a root beer float in a frozen treat.
- Chocolate Popsicle Recipe: Rich, decadent, and a dream come true for chocolate lovers seeking a cool indulgence.
- Dairy Queen Buster Bar Recipe: Recreate the iconic ice cream bar at home with this delightful popsicle variation.
- Mango Tajin Popsicles Recipe: A sweet, tangy, and spicy fusion that’s bursting with exotic flavor.
Discover More Red, White and Blue Desserts
Beyond popsicles, there are many creative and delicious ways to incorporate the classic red, white, and blue theme into your dessert spread. These recipes are perfect for any patriotic holiday or celebration:
- Red, White and Blue Puppy Chow: A sweet, crunchy, and addictive snack mix that’s as fun to make as it is to eat.
- Crock Pot Patriotic Clusters Recipe: An incredibly easy, hands-off dessert that delivers a satisfying crunch and festive colors.
- Red, White and Blue Chocolate Covered Pretzels: A perfect blend of salty and sweet, beautifully decorated for patriotic flair.
- Easy Red, White and Blue Crinkle Cake Mix Cookies: Soft, chewy cookies with a beautiful crackle design, made effortlessly with a cake mix.
- Red, White, and Blue Cupcakes: Classic cupcakes adorned with festive colors, ideal for individual servings at parties.
- Patriotic Oreo Balls: No-bake, bite-sized treats bursting with flavor and patriotic charm.
We encourage you to go ahead and make this fun recipe for 4th of July popsicles. Once you’ve tried it, please leave a comment and share your experience!
Red, White and Blue Popsicles Recipe Card
Red, White and Blue Popsicles
Red, White and Blue Popsicles are incredibly simple to make with just 3 ingredients. This patriotic treat is perfect for a 4th of July party or any summer day.
Prep Time: 6 hours
Total Time: 6 hours
Servings: 6 popsicles
Cuisine: American
Course: Dessert, Snack
Calories: 55 kcal
Author: Carrie Barnard
Ingredients
- 1 cup cranberry juice (for the red layer)
- 1 cup lemonade (for the white layer)
- 1 cup blue sports drink, such as Gatorade (for the blue layer)
Instructions
- Pour cranberry juice: Distribute cranberry juice evenly among your popsicle molds, filling each approximately one-third of the way. Freeze for one hour until solid.
- Add lemonade and sticks: Carefully pour lemonade on top of the frozen cranberry layer, filling another third of the mold. Insert popsicle sticks into the center of each mold. Freeze for an additional hour.
- Add blue sports drink and final freeze: Pour the blue sports drink on top, filling the molds to the top. Freeze until completely solid, which will take at least 4 hours. For best results, it is highly recommended to freeze overnight.
- Serve and enjoy: Once fully frozen, run the molds under warm water for a few seconds to release the popsicles, then serve and enjoy your refreshing patriotic treat!
Nutrition Facts (per serving)
Calories: 55 kcal,
Carbohydrates: 14g,
Protein: 1g,
Fat: 1g,
Saturated Fat: 1g,
Polyunsaturated Fat: 1g,
Monounsaturated Fat: 1g,
Sodium: 7mg,
Potassium: 33mg,
Fiber: 1g,
Sugar: 14g,
Vitamin A: 19 IU,
Vitamin C: 4mg,
Calcium: 4mg,
Iron: 1mg
Pin This Now to Remember It Later
Pin Recipe
