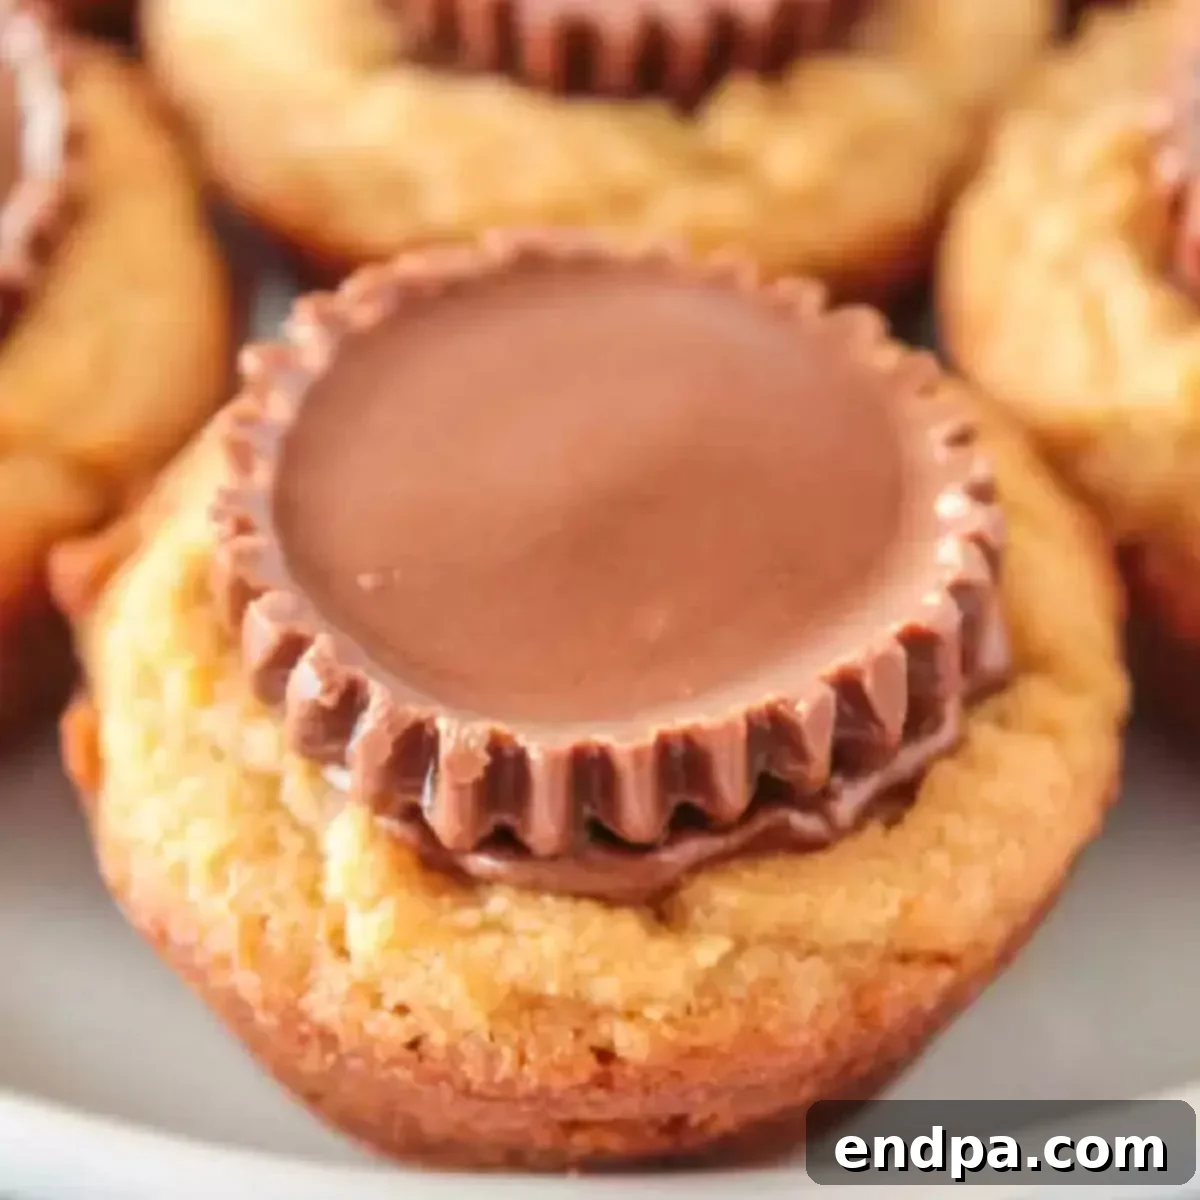
Reese’s Peanut Butter Cup Cookies are a sublime indulgence, perfectly crafted for every peanut butter enthusiast. This recipe brings together the classic, beloved combination of rich chocolate and creamy peanut butter into a single, heavenly treat that’s impossible to resist.

These aren’t just any peanut butter cookies; they’re generously stuffed with a mini Reese’s Peanut Butter Cup, transforming a simple cookie into an extraordinary dessert experience. For anyone who believes that anything with peanut butter is always a good idea, this recipe is a dream come true. Beyond these delightful creations, we also adore Peanut Butter Cake Mix Cookies for another incredibly easy cookie solution, and for those seeking a grander dessert, our Reese’s Peanut Butter Pie is always a hit. As a busy parent and home baker, I appreciate recipes that deliver maximum flavor with minimal fuss, making these desserts a staple in my kitchen.
If you’re eager to explore more luscious desserts featuring the iconic Reese’s flavor, be sure to check out our comprehensive collection of Reese’s Dessert Recipes, where you’ll find inspiration for every chocolate-peanut butter craving.
Table of Contents
- Why You’ll Adore These Cookies
- Essential Ingredients for Success
- Creative Variations & Customizations
- How to Bake Reese’s Peanut Butter Cup Cookies
- Expert Tips for Perfect Peanut Butter Cup Cookies
- Storage and Freezing Guidelines
- Frequently Asked Questions
- Explore More Easy Cookie Recipes
Why You’ll Adore These Cookies
There’s a magical synergy that happens when creamy peanut butter meets rich chocolate, creating a dessert that is both familiar and utterly divine. These Reese’s Peanut Butter Cup Cookies epitomize that perfect pairing, delivering an explosion of flavor and texture with every bite. But it’s not just the irresistible taste that makes this recipe a firm family favorite; it’s also incredibly straightforward to prepare, making it accessible and enjoyable for bakers of all skill levels. Whether you’re a seasoned dessert maestro or just embarking on your baking adventures, you’ll find immense joy in whipping up a batch of these decadent treats.
Beyond their ease of preparation and phenomenal taste, these cookies are incredibly versatile. They’re perfect for a wide array of occasions: imagine them as a show-stopping addition to a potluck, a delightful treat for a party, a welcome surprise in a lunchbox, or simply the ultimate companion for a cozy night in. The moment their warm, nutty aroma fills your kitchen, everyone will be eagerly anticipating their first bite. The visual appeal of the melted Reese’s cup nestled in the golden-brown cookie is just as captivating as the taste, making them an instant crowd-pleaser.
Essential Ingredients for Success
Crafting these delectable Reese’s Peanut Butter Cup Cookies requires a few simple pantry staples, ensuring that the rich, comforting flavors of peanut butter and chocolate truly shine. Here’s a breakdown of what you’ll need, along with some helpful considerations for each:
- All-Purpose Flour: This forms the essential structure of our cookie dough, providing the perfect balance of tenderness and chewiness. For consistent results, it’s always best to measure your flour accurately. Spoon it into a dry measuring cup and then level it off with a straight edge, or, for ultimate precision, use a kitchen scale to measure by weight.
- Baking Soda: As a key leavening agent, baking soda helps the cookies rise beautifully and achieve that desirable soft, slightly airy crumb. It reacts with the acidic brown sugar in the recipe to create a tender texture.
- Salt: Often underestimated, salt is crucial for balancing the sweetness of the sugars and intensifying the deep, complex flavors of both the peanut butter and chocolate. Do not skip this ingredient, as it elevates the overall taste profile significantly.
- Unsalted Butter, softened: Softened butter is vital for proper creaming. When at room temperature, it whips up beautifully with the sugars, incorporating air that contributes to a light and fluffy cookie base. If you only have salted butter on hand, remember to reduce the amount of added salt in the recipe by half a teaspoon.
- White Granulated Sugar: This sugar not only contributes to the cookies’ sweetness but also plays a role in their spread, browning, and achieving a slight crispness around the edges.
- Creamy Peanut Butter: The undeniable star of this recipe! For the most consistent and classic peanut butter cookie texture, we highly recommend using a commercial creamy peanut butter, such as Jif or Skippy. Natural peanut butter, with its tendency for oil separation, can sometimes alter the final texture of the cookies, making them more prone to spreading. However, if you’re looking to add an extra layer of crunch and nuttiness, feel free to experiment with a good-quality crunchy peanut butter.
- Packed Brown Sugar: The addition of brown sugar is what gives these cookies their incredible moisture, chewiness, and a subtle, delightful caramel-like undertone that perfectly complements the peanut butter. Make sure to firmly pack the brown sugar into your measuring cup to ensure you have the correct amount.
- Large Egg: The egg acts as a crucial binder, holding all the ingredients together, and also adds richness and moisture to the dough. For optimal incorporation and a smoother dough, ensure your egg is at room temperature before mixing.
- Vanilla Extract: A non-negotiable flavor enhancer, vanilla extract deepens the taste profile and beautifully marries the distinct flavors of chocolate and peanut butter, adding a warm, aromatic note.
- Milk: Just a couple of tablespoons of milk are added to achieve the perfect dough consistency, ensuring it’s pliable enough to work with. Any type of milk (dairy or non-dairy, such as almond milk) will work equally well in this recipe.
- Reese’s Mini Peanut Butter Cups: These are the delightful, iconic surprise hidden inside each cookie! You’ll need approximately 30 miniature, unwrapped cups. A pro tip: freezing these beforehand can significantly help prevent them from melting too quickly or losing their shape when pressed into the warm cookies.
You’ll find the complete ingredient list with precise measurements, along with detailed, step-by-step instructions, conveniently located in the recipe card below.
Creative Variations & Customizations
While the classic Reese’s Peanut Butter Cup Cookie is undeniably fantastic, there’s always room for a little culinary creativity! This recipe is incredibly adaptable, allowing you to customize it to your heart’s content and impress everyone with your unique twists. Here are some delicious ideas to get you started:
- Double Chocolate Delight: For serious chocoholics, elevate the chocolate factor by folding a generous half cup of your favorite chocolate chips (whether milk chocolate, semi-sweet, dark chocolate, or even a mix!) directly into the peanut butter cookie dough mixture before you roll the balls. This adds an extra layer of gooey chocolatey goodness.
- Ultimate Peanut Butter Lover’s Version: If you’re all about that nutty flavor, consider incorporating peanut butter chips into your dough. Adding a half cup of peanut butter chips will intensify the rich, savory peanut butter taste, making it an even more pronounced experience.
- Crunchy Peanut Butter Dough: While creamy peanut butter yields a consistently smooth cookie, opting for crunchy peanut butter in your dough will introduce a delightful textural contrast with every single bite, offering satisfying little pieces of peanuts throughout.
- White Chocolate Dream Cookies: For a different, elegant flavor profile, swap out the traditional milk chocolate Reese’s cups for White Chocolate Peanut Butter Cups. This variation offers a milder sweetness and a beautiful aesthetic contrast.
- Effortless Shortcut with Store-Bought Dough: When time is of the essence but cravings strike, don’t hesitate to use store-bought peanut butter cookie dough. Simply follow the package instructions for baking, roll the dough into balls, and then proceed with pressing in your Reese’s cups as soon as they come out of the oven.
- Beyond Reese’s – Candy Alternatives: Unleash your inner candy connoisseur! Don’t limit yourself to Reese’s. Experiment with other beloved chocolate-covered candies. Hershey’s Chocolate Kisses, for instance, melt into a perfect peak when pressed into warm cookies, and Mini Butterfingers or chopped mini Snickers bars offer a delightful chewy, nutty, caramel-filled surprise.
- Caramel Infusion with Rolo’s: For a decadent caramel twist, use Rolo’s Candy instead of Reese’s. The warm, gooey caramel center adds an incredible richness that’s truly irresistible.
- Seasonal & Festive Sprinkles: Make your cookies pop with color! Immediately after pressing in the peanut butter cups, sprinkle some colorful sprinkles over the warm cookies. This is a fantastic way to customize them for holidays (think red and green for Christmas, pastels for Easter), birthdays, or any special celebration.
How to Bake Reese’s Peanut Butter Cup Cookies
Creating these delightful Reese’s Peanut Butter Cup Cookies is a remarkably straightforward process. Follow these simple steps for a batch of perfectly baked, incredibly flavorful treats:
- Step 1: Prepare Your Oven and Dry Ingredients. Begin by preheating your oven to a precise 375°F (190°C). This ensures the oven is at the correct temperature for even baking. In a medium-sized bowl, combine the all-purpose flour, baking soda, and salt. Whisk these dry ingredients together thoroughly for about 30 seconds. This crucial step ensures that the leavening agent (baking soda) and salt are evenly distributed throughout the flour, preventing any pockets of unmixed ingredients in your final cookies. Once combined, set this bowl aside.
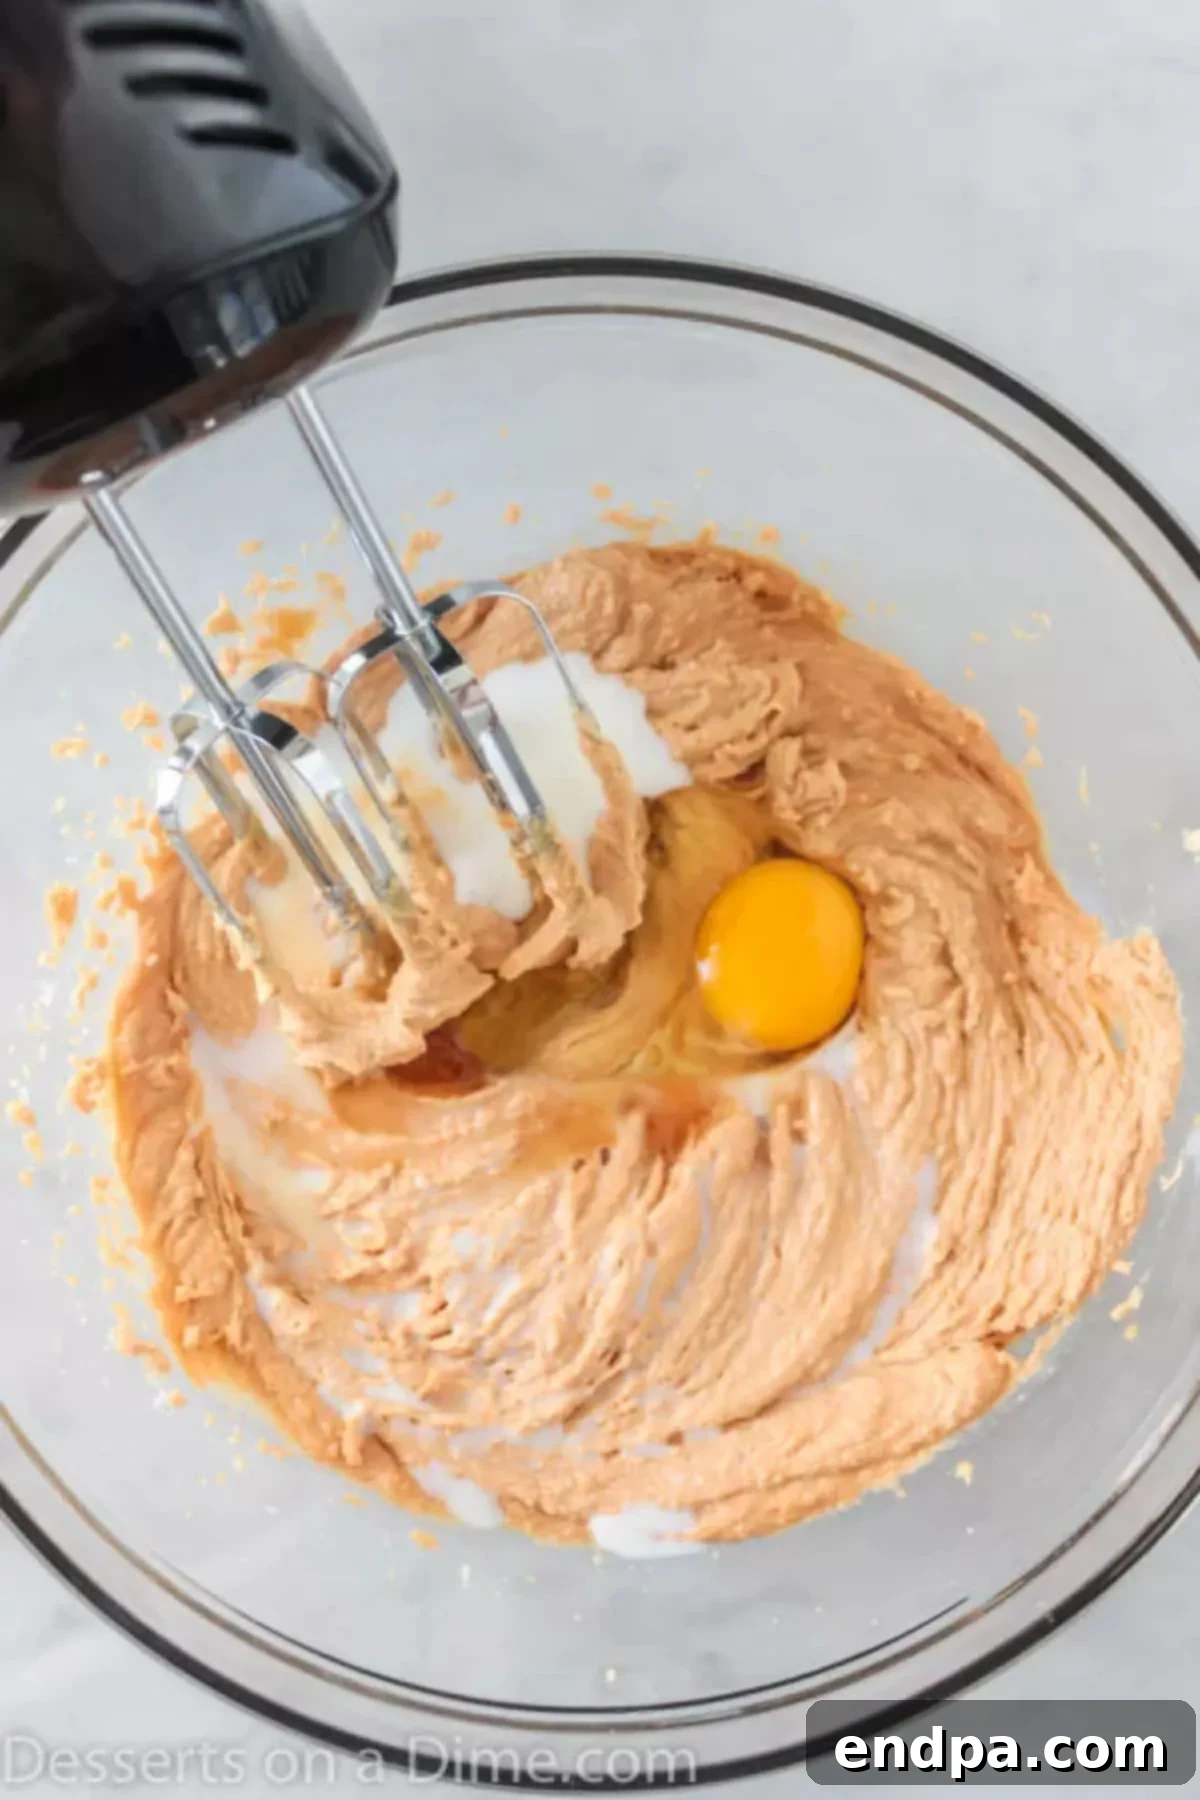
- Step 2: Cream Together the Wet Ingredients. In a large mixing bowl, using an electric mixer (either a stand mixer with a paddle attachment or a hand mixer), cream together the softened unsalted butter, white granulated sugar, creamy peanut butter, and firmly packed brown sugar. Beat these ingredients on medium speed for approximately 2 to 3 minutes, or until the mixture becomes visibly light, fluffy, and well combined. This creaming process is essential as it incorporates air into the butter and sugar, which contributes significantly to the cookies’ light and tender texture.
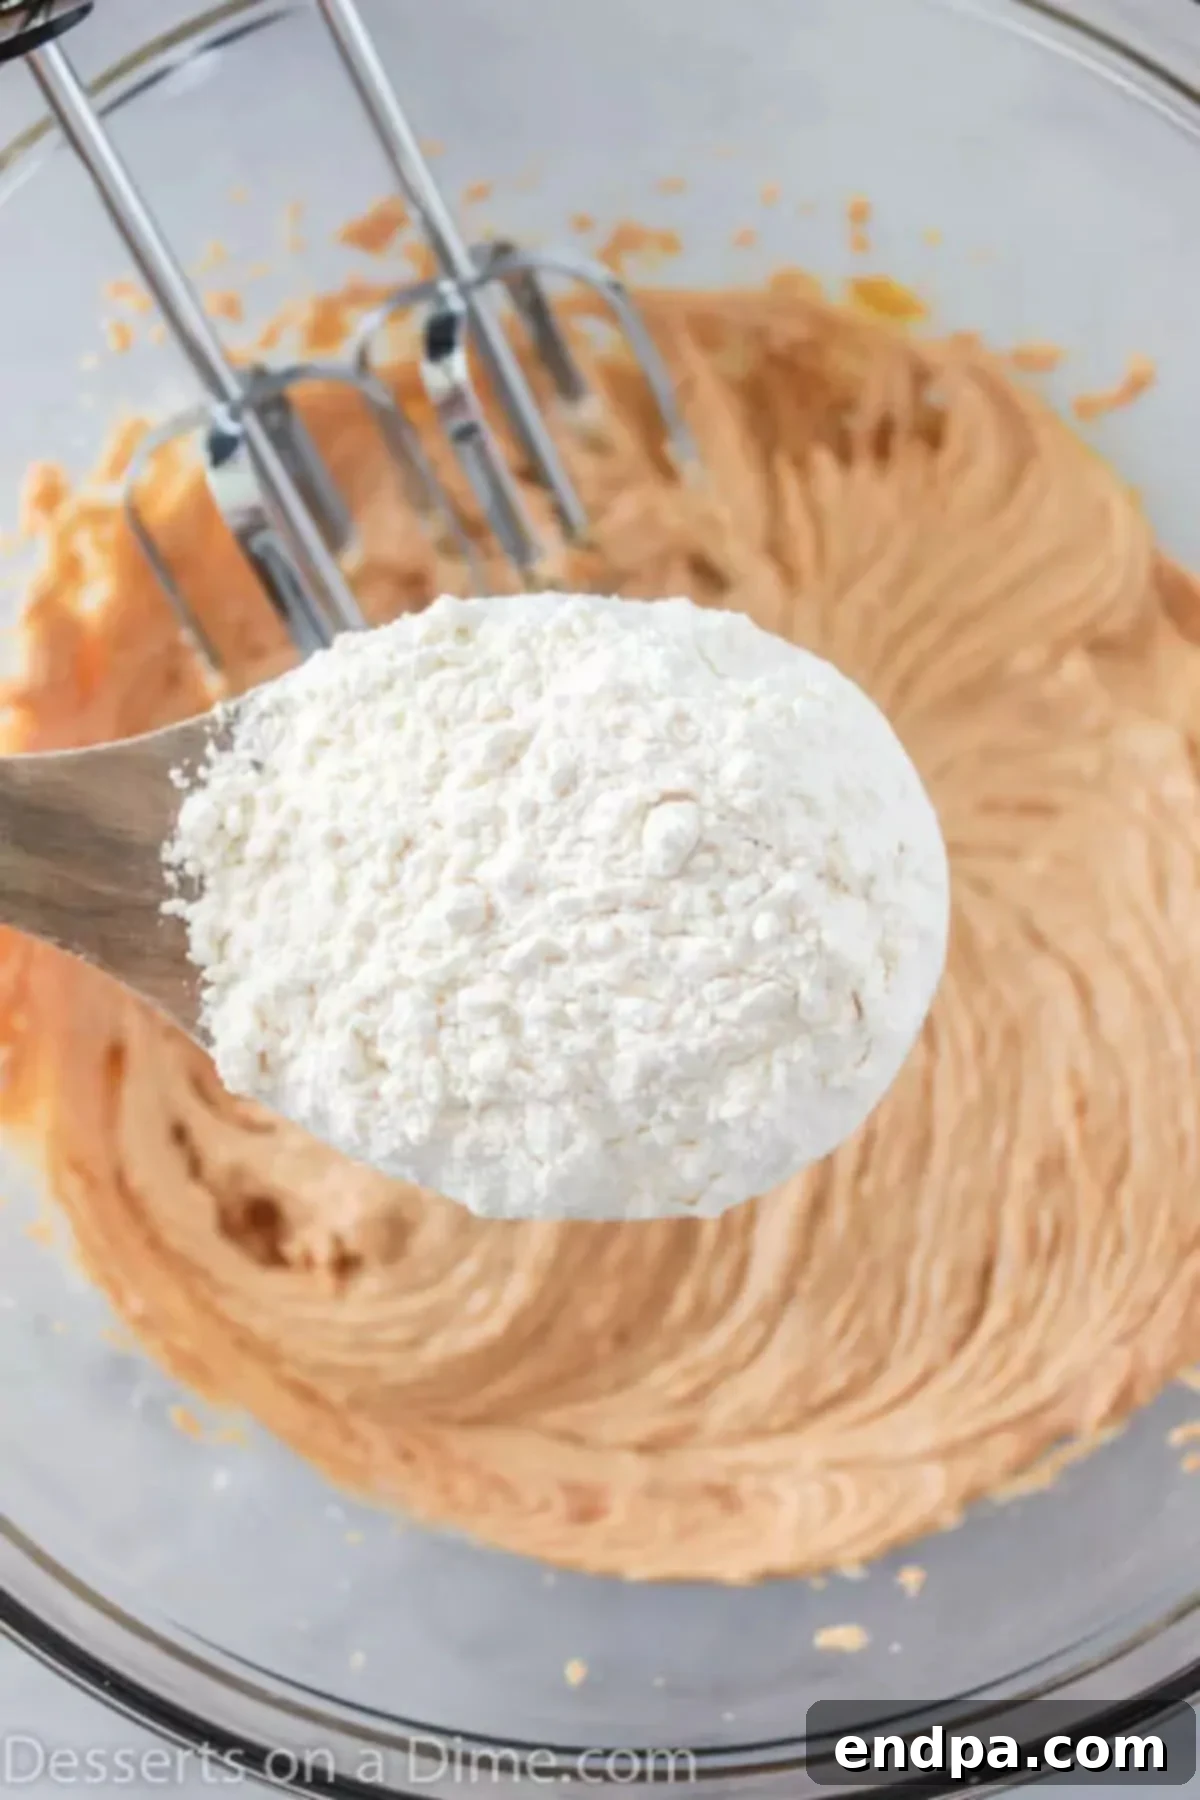
- Step 3: Finish the Dough and Form Balls. Into the creamed mixture, beat in the room-temperature egg, vanilla extract, and milk until they are just combined. Once these wet ingredients are integrated, gradually add the reserved dry flour mixture to the bowl. Mix with your electric mixer on low speed, or by hand with a spatula, until the ingredients are just combined and a cohesive dough forms. It’s crucial not to overmix the dough at this stage, as overworking the gluten in the flour can lead to tougher cookies. Once the dough is ready, use a cookie scoop (typically a 1-tablespoon size for 1-inch balls) to shape it into uniform spheres.
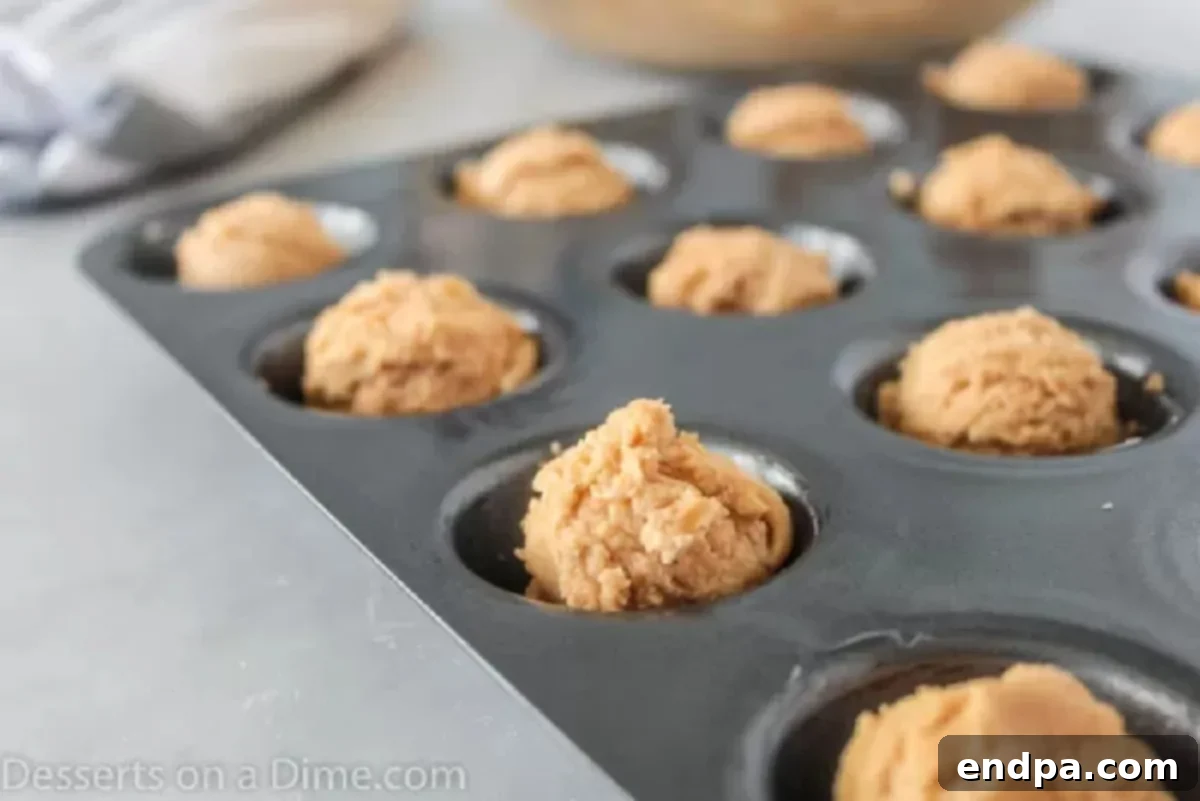
- Step 4: Prepare for Baking in Muffin Tin. Lightly grease a mini muffin tin thoroughly with cooking spray, or, for easier cleanup and removal, line each cup with paper mini muffin liners. Carefully place one cookie dough ball into each compartment of the prepared muffin tin. Using a muffin tin helps the cookies maintain a uniform, cup-like shape, which is perfect for cradling the Reese’s Peanut Butter Cups.
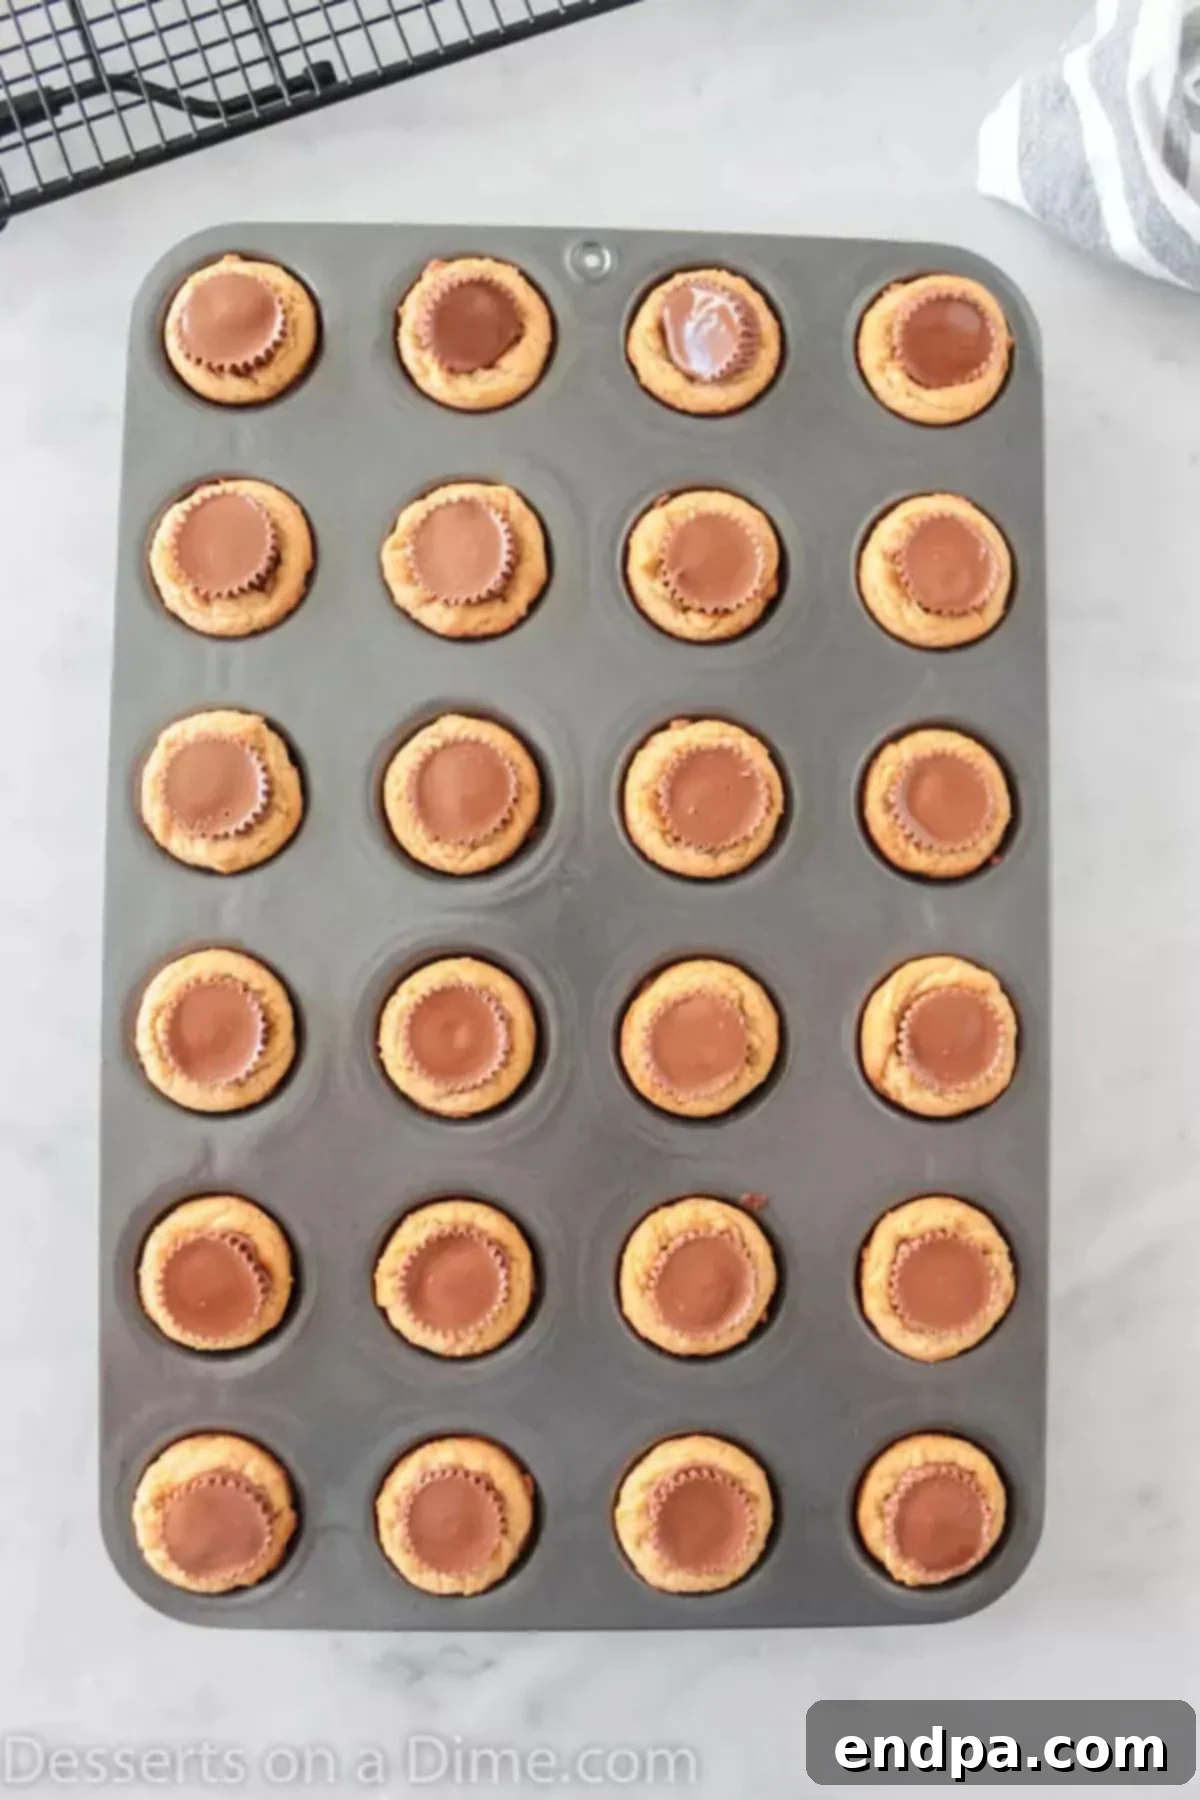
- Step 5: Bake and Add Reese’s. Place the muffin tin into the preheated oven and bake the cookies for approximately 8 to 10 minutes. The exact baking time may vary slightly depending on your oven, so watch them closely. The cookies are done when their edges are lightly golden, and the centers appear just set but still slightly soft. It’s absolutely critical not to overbake them, as they will continue to firm up as they cool. Immediately upon removing the muffin tin from the oven, gently press one unwrapped (and preferably frozen) mini Reese’s Peanut Butter Cup into the center of each warm cookie. The residual heat from the cookie will perfectly soften and adhere the chocolate cup.
- Step 6: Cool Completely and Serve. Allow the cookies to cool completely within the muffin tin. This step is important because it allows the cookies to fully set and firm up, making them easier to remove from the pan without breaking or crumbling. Once cooled to room temperature, carefully remove them from the muffin tin. They are now ready to be savored and enjoyed!
Expert Tips for Perfect Peanut Butter Cup Cookies
To ensure your Reese’s Peanut Butter Cup Cookies turn out absolutely perfect every single time, from their irresistible chewiness to their delightful peanut butter and chocolate centers, keep these expert tips in mind. These small details can make a big difference in your baking success:
- Embrace the Cookie Scoop: For professional-looking, perfectly uniform cookies that bake evenly, a set of stainless steel cookie scoops is an indispensable tool. They make portioning the dough incredibly quick, clean, and consistent, ensuring that every cookie is the same size and shape. This uniformity not only looks appealing but also guarantees consistent baking times across the entire batch. Say goodbye to unevenly baked cookies!
- The Secret to Intact Reese’s: Freeze ‘Em!: This is a game-changing tip! To prevent the mini peanut butter cups from melting too quickly and potentially losing their distinct shape when pressed into the warm cookies, unwrap them all and place them in the freezer for at least 30 minutes (or even longer) before you begin the baking process. This simple proactive step ensures they remain firm enough to withstand the heat and maintain their delightful structure in the center of your cookies.
- Chill Your Cookie Dough: If you find your cookie dough to be particularly soft or sticky, or if you’re baking in a warm environment, refrigerating the dough can work wonders. Chilling the dough for at least an hour (or even overnight for enhanced flavor) firms it up, making it much easier to handle and less prone to spreading excessively in the oven. This often results in a thicker, chewier, and more intensely flavored cookie.
- The Golden Rule: Do Not Overbake!: This is arguably the most crucial tip for achieving tender, chewy cookies. Peanut butter cookies have a tendency to go from perfectly baked to dry and crumbly in a matter of minutes. Remove them from the oven when the edges are just lightly golden brown and the centers appear mostly set but may still look slightly soft. Remember, the cookies will continue to cook and firm up in the residual heat of the hot muffin pan or baking sheet after they’ve been taken out of the oven.
- No Muffin Pan? No Problem!: While a mini muffin tin helps create that perfect cup shape, you can absolutely bake these cookies on a standard cookie sheet. Simply line your baking sheet with parchment paper for easy cleanup. Roll the dough into balls, place them about 2 inches apart to allow for spreading, and bake as directed. You’ll still press the Reese’s cup into the warm cookie immediately after baking, achieving a similar delicious result.
- Ensure Easy Release: Grease Your Muffin Pan: If you’re not using paper liners in your mini muffin tin, it is absolutely crucial to thoroughly spray each cup with a good quality non-stick cooking spray. This vital step ensures that your precious, delicate cookies can be easily removed once cooled without sticking, tearing, or breaking apart.
- Room Temperature Ingredients Are Key: For the best results, make sure your butter and egg are at room temperature before you start mixing. Room temperature butter creams more smoothly and incorporates air more effectively, while a room temperature egg emulsifies better with the other ingredients. This leads to a more uniform, cohesive dough and a better final cookie texture.
- Avoid Overmixing: Once you’ve added the dry flour mixture to the wet ingredients, mix only until the flour streaks have just disappeared and the dough comes together. Overmixing develops the gluten in the flour, which can lead to tough, dense cookies rather than the soft, chewy texture we’re aiming for.
Storage and Freezing Guidelines
To ensure your delicious Reese’s Peanut Butter Cup Cookies remain fresh and irresistible for as long as possible, proper storage is key. Here’s how to keep them at their best:
- How to Store Baked Cookies: Once your cookies are completely cooled to room temperature, transfer them to an airtight container. They will stay wonderfully fresh and delicious at room temperature for up to 3-4 days. For slightly extended freshness, you can also store them in the refrigerator, where they will keep well for up to a week. Be aware that refrigerated cookies might become a bit firmer, but they are still incredibly tasty! If you prefer a softer cookie, let them come back to room temperature before serving.
- Make-Ahead Cookie Dough: This recipe is fantastic for preparing ahead of time! If you wish to bake later, simply prepare the cookie dough as instructed up to the point of forming the balls. Then, either cover the mixing bowl tightly with plastic wrap or scoop the dough into individual balls and arrange them on a baking sheet before covering. Refrigerate the dough for up to 3 days. When you’re ready to bake, take the dough out of the refrigerator and let it sit at room temperature for about 30 minutes to soften slightly before scooping (if not already balled) and baking according to the recipe. This method is perfect for busy schedules!
- How to Freeze Baked Cookies: These peanut butter cup cookies freeze exceptionally well, making them perfect for meal prep or having a quick treat on hand! Once the baked cookies are completely cooled, arrange them in a single layer on a baking sheet and place it in the freezer for about 1-2 hours, or until the cookies are firm. This prevents them from sticking together. Then, transfer the frozen cookies to a freezer-safe airtight container or a heavy-duty zip-top freezer bag. Ensure as much air as possible is removed from the bag to prevent freezer burn. They will remain fresh and delicious in the freezer for up to 3 months. When you’re ready to enjoy, simply thaw them at room temperature for a quick snack, or warm them gently in the microwave for a few seconds for that freshly baked experience.
Frequently Asked Questions
- What kind of peanut butter works best for these cookies?
- For the most consistent and classic texture, we highly recommend using a creamy, processed peanut butter like Jif or Skippy. Natural peanut butter, which tends to separate oils, can sometimes result in a different cookie texture (often drier or more crumbly). However, if you enjoy added texture, a good-quality crunchy peanut butter can also be used in the dough.
- Why are my cookies spreading too much in the oven?
- Several factors can contribute to excessive spreading. Your butter might have been too warm (melted instead of softened), your oven temperature might be slightly too low (causing slow cooking and more spreading), or you might have inaccurately measured the flour (too little flour). The best solution to combat spreading is to thoroughly chill your cookie dough for at least an hour before baking.
- Can I use full-size Reese’s Peanut Butter Cups instead of mini ones?
- While you certainly could attempt it, miniature Reese’s cups are ideally suited for this recipe. Their size fits perfectly within the approximately 1-inch cookie dough balls and they melt beautifully into the center without overwhelming the cookie. Full-size cups would likely be too large, potentially causing the cookie to break apart or creating an imbalance in the chocolate-to-cookie ratio.
- How do I ensure the Reese’s cups don’t melt completely into a puddle?
- The key to keeping the Reese’s cups from completely melting is to freeze them beforehand! Unwrap the mini cups and place them in the freezer for at least 30 minutes. Pressing these chilled cups into the warm, freshly baked cookies allows them to soften just enough to adhere and create that gooey center, without fully dissolving.
- Is it possible to make these cookies gluten-free?
- Yes, it is often possible. You can experiment with a high-quality 1:1 gluten-free all-purpose flour blend designed for baking. Results may vary slightly in texture and spread, but many gluten-free blends perform well in peanut butter cookie recipes due to the high fat content from the peanut butter.
- What’s the best method to achieve uniform cookie sizes?
- Using a cookie scoop is by far the easiest and most effective way to ensure all your cookie dough balls are uniform in size. For this recipe, a standard 1-tablespoon cookie scoop will create the perfect 1-inch balls, leading to consistent baking and a professional appearance.
Pin
Reese’s Peanut Butter Cup Cookies
10
8
18
30
American
Dessert
145
Carrie Barnard
Ingredients
- 1 3/4 cups all-purpose flour
- 1/2 teaspoon salt
- 1 teaspoon baking soda
- 1/2 cup butter softened
- 1/2 cup white sugar
- 1/2 cup peanut butter
- 1/2 cup packed brown sugar
- 1 egg beaten
- 1 teaspoon vanilla extract
- 2 tablespoons milk
- about 30 miniature Reese’s butter cups unwrapped
Instructions
- Preheat oven to 375 degrees F (190 degrees C). Whisk together the flour, salt and baking soda in a medium bowl; set aside.
- Cream together the butter, sugar, peanut butter and brown sugar until fluffy. Beat in the egg, vanilla and milk. Add the flour mixture; mix well. Shape into 1 inch balls and place each into a greased mini muffin tin (or use paper liners).
- Bake at 375 degrees for about 8 minutes. Do not over bake! Remove from oven and immediately press a mini peanut butter cup into each ball. Cool completely and carefully remove from pan.
Nutrition Facts
Carbohydrates 17g,
Protein 3g,
Fat 8g,
Saturated Fat 3g,
Cholesterol 14mg,
Sodium 151mg,
Potassium 68mg,
Fiber 1g,
Sugar 11g,
Vitamin A 106IU,
Calcium 14mg,
Iron 1mg
Pin This Now to Remember It Later
Pin Recipe
Explore More Easy Cookie Recipes
If you’ve fallen in love with these Reese’s Peanut Butter Cup Cookies and are looking for more delicious and easy cookie recipes to add to your repertoire, you’re in luck! Here are some other favorites that are sure to please any crowd and keep your cookie jar full:
- Peanut Butter Hershey Kiss Cookies: A timeless classic that combines soft peanut butter cookies with a delightful chocolate kiss.
- Chocolate Peanut Butter Cookies: For those who can’t get enough of this iconic flavor combination, these cookies offer a rich, decadent experience.
- Chocolate Crinkle Cookie Recipe: Beautifully cracked and powdered, these cookies are as visually appealing as they are delicious, offering a rich chocolatey chew.
- Peanut Butter Stuffed Chocolate Cookies: The inverse of our main recipe, these feature a surprise peanut butter filling tucked inside a luscious chocolate cookie.
- Reese’s Peanut Butter Cup Cookies: A reminder of the incredible recipe you just mastered – a classic for a reason and always worth making again!
We truly hope you enjoy making and sharing these incredible Reese’s Peanut Butter Cup Cookies! They are sure to become a beloved treat in your home. We’d love to hear about your baking success, so please consider leaving a star recipe rating and a comment below to let us know how they turned out. Happy baking!
