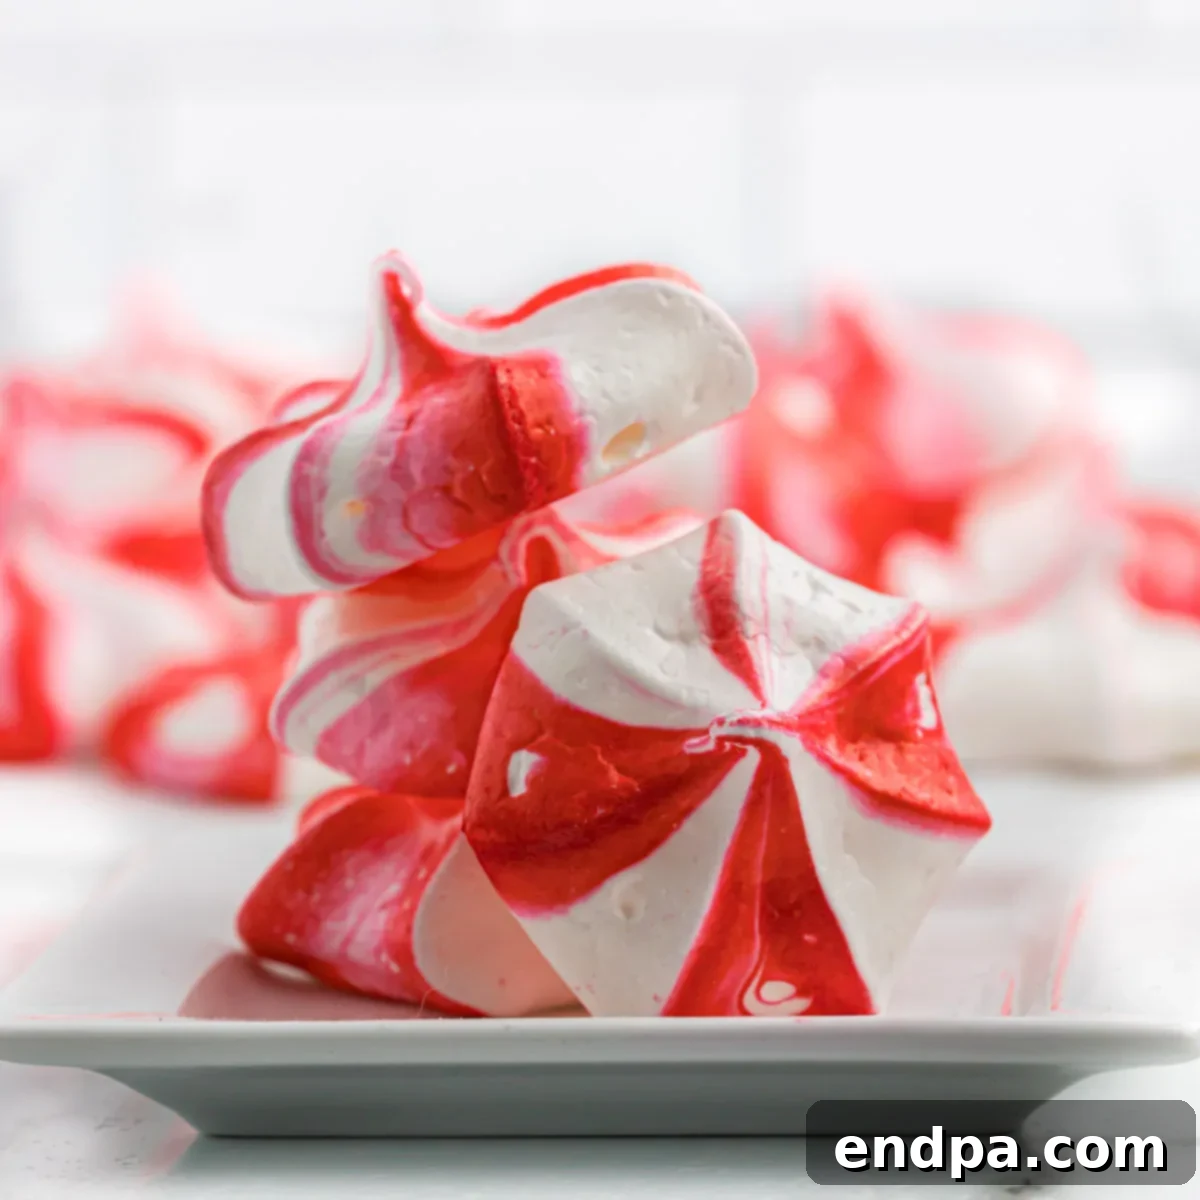
Peppermint Meringues: The Ultimate Festive Holiday Cookie
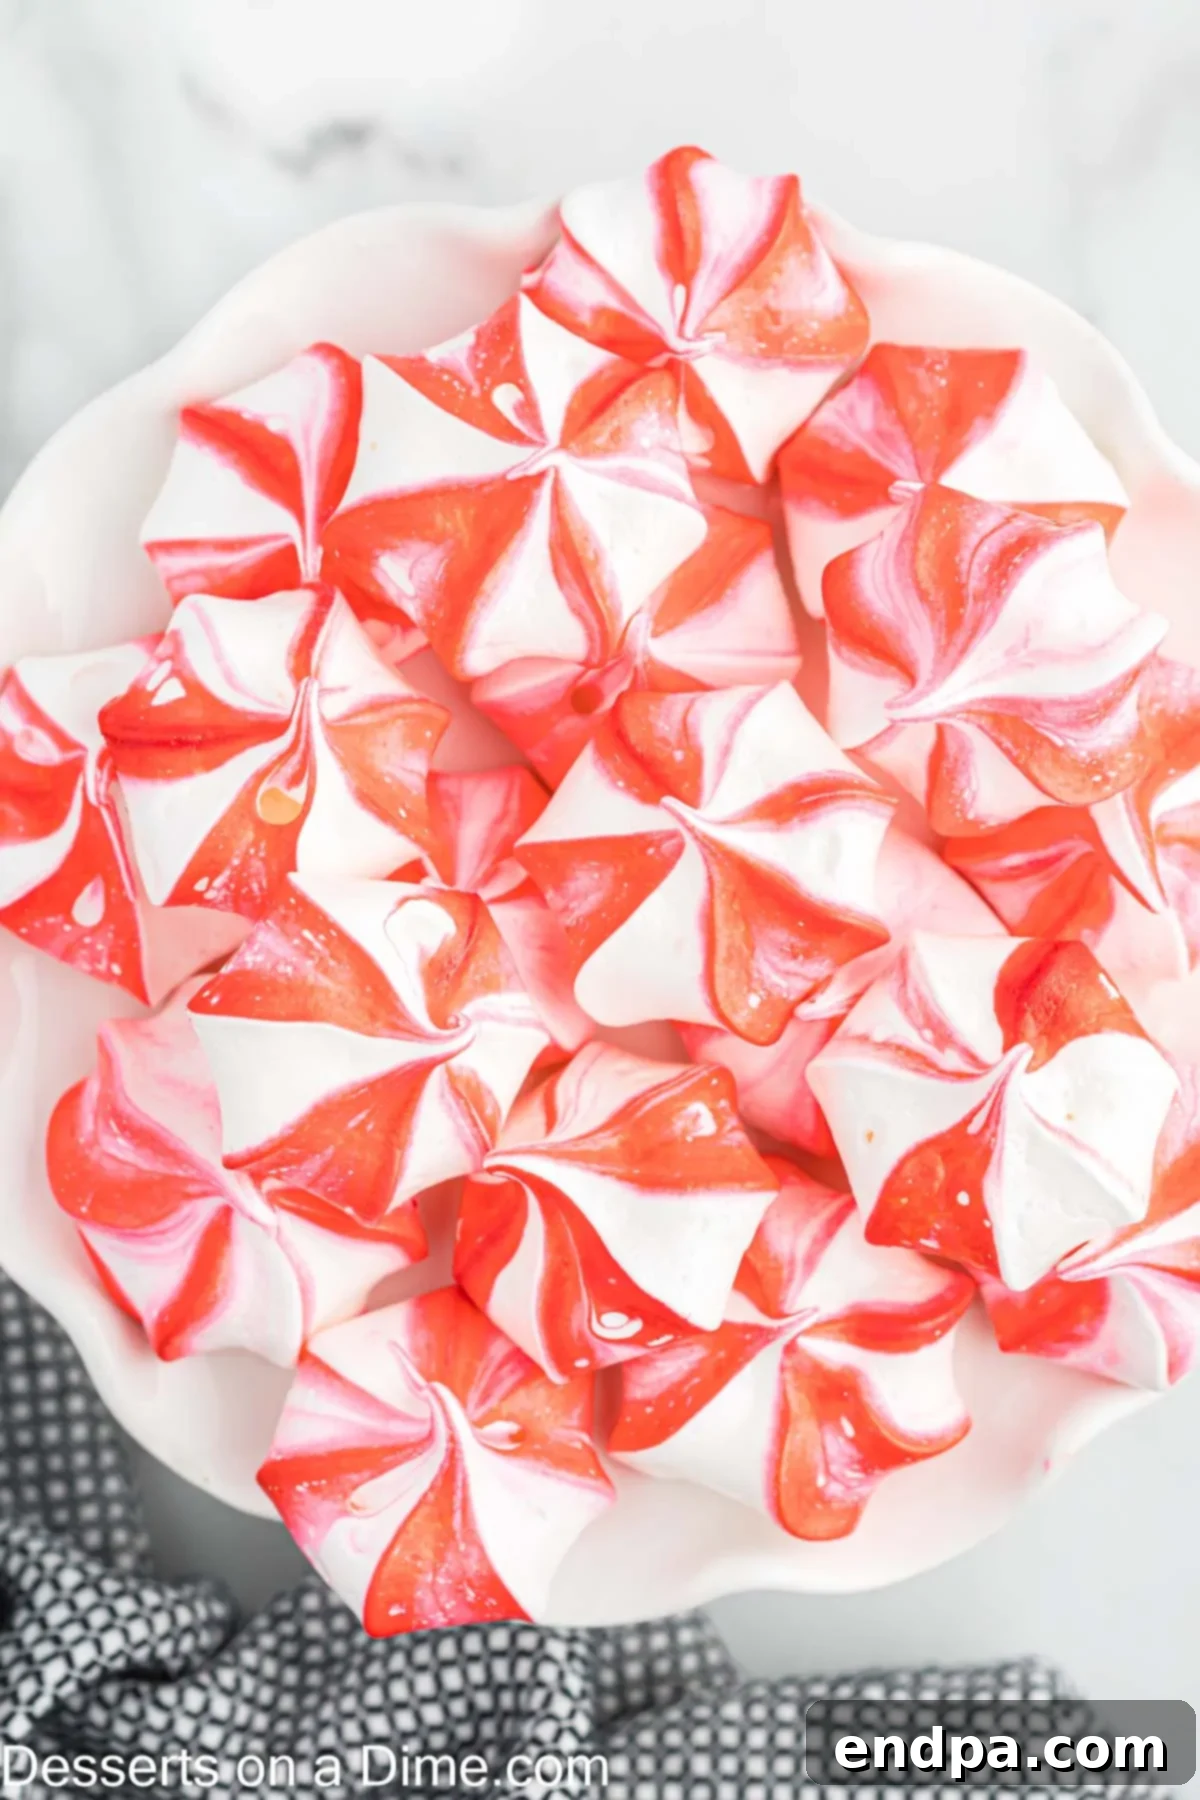
Step into a world of enchanting holiday flavors with our irresistible Peppermint Meringues! These delightful cookies are a true showstopper, boasting vibrant red and white stripes that beautifully blend together, creating a visual feast. Beyond their stunning appearance, you’ll be captivated by their incredibly airy texture and refreshing peppermint flavor, making each bite a melt-in-your-mouth experience. What makes this recipe even more magical? You only need 5 simple ingredients to create these gourmet-looking treats!
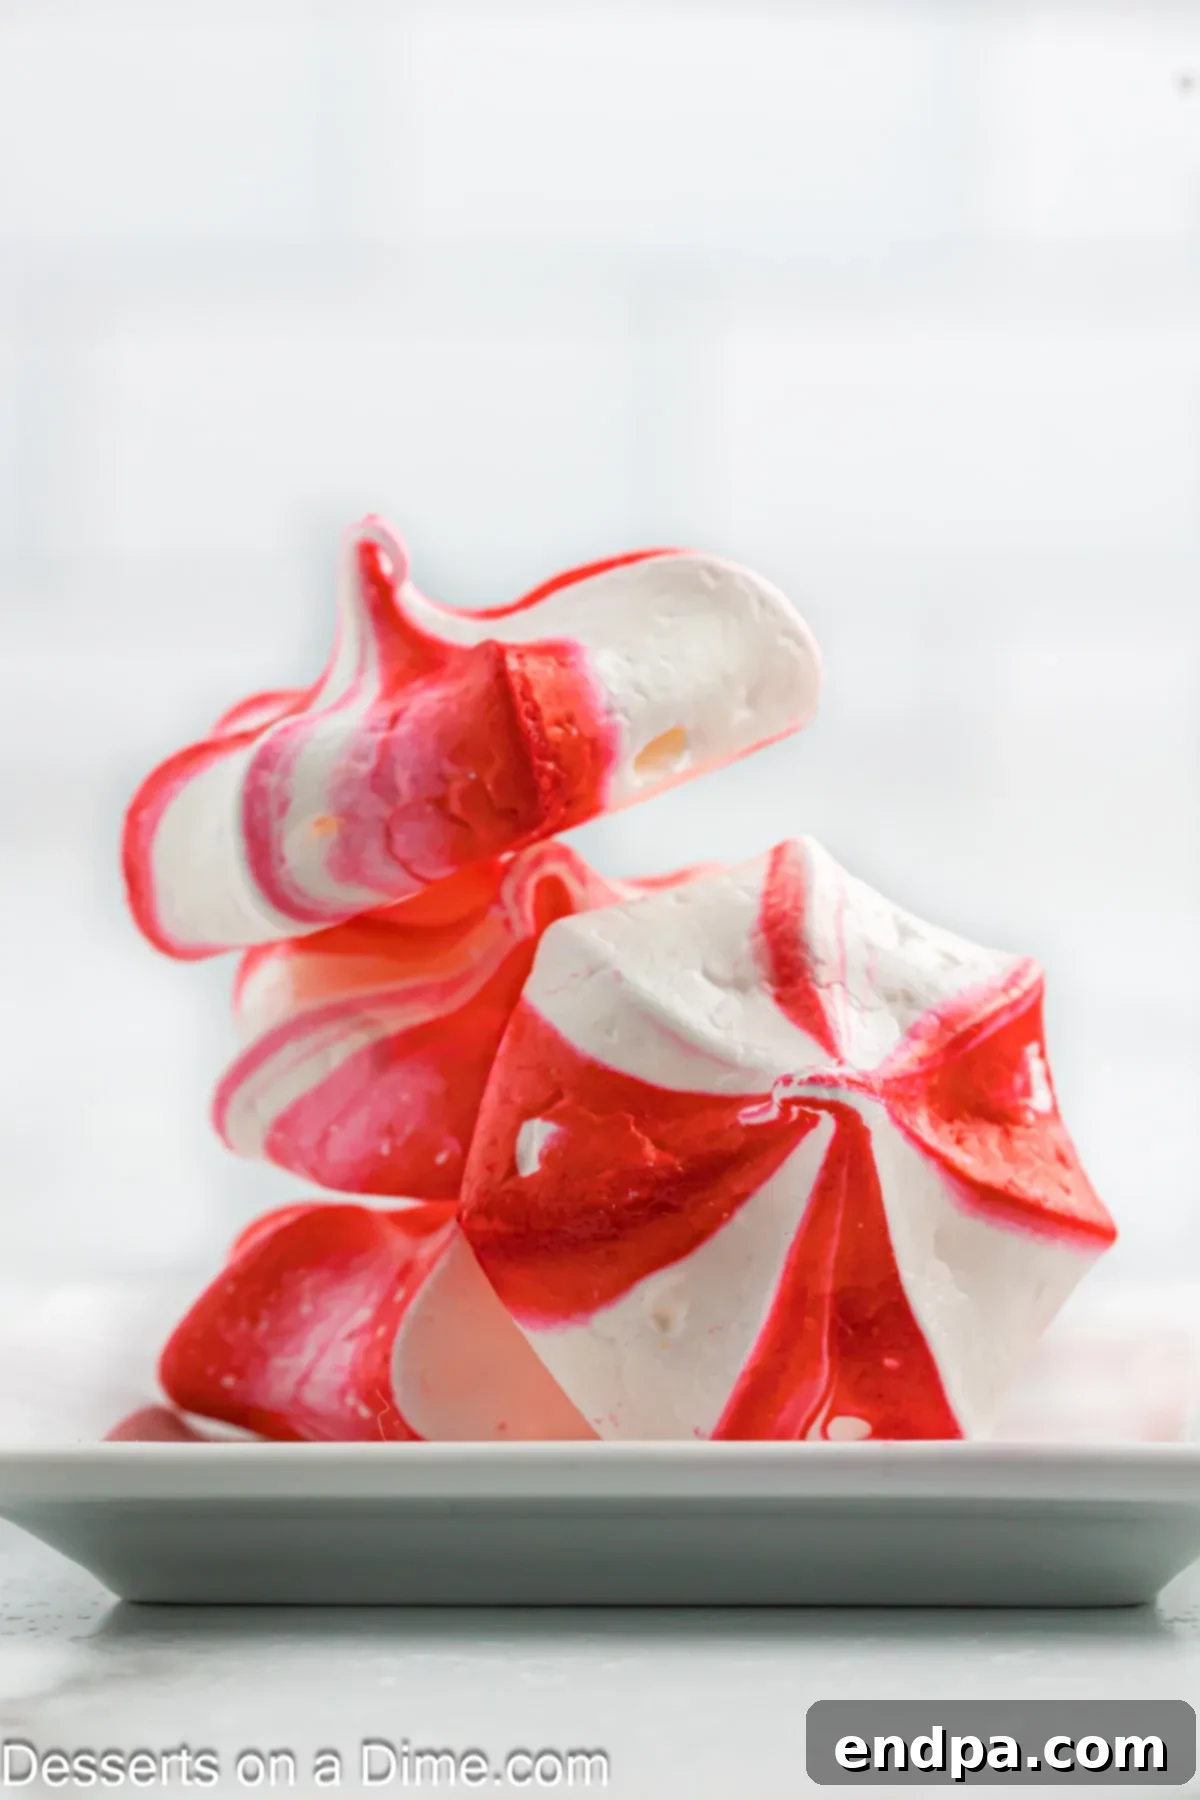
While their sophisticated appearance might suggest a complex baking process, this Peppermint Meringue Recipe is surprisingly easy to master. If you’re searching for a captivating Christmas dessert to impress guests at holiday parties, elevate your movie night spread, or simply enjoy a sweet moment with loved ones, these meringues are an absolute must-try. Their delicate crunch and cool minty essence are synonymous with festive cheer, promising to become a cherished part of your holiday baking tradition.
For those who adore the crisp, invigorating taste of peppermint, these meringues are just the beginning. Explore other delightful treats like our Chocolate Peppermint Bark Recipe and White Chocolate Peppermint Fudge Recipe, both perfect for rounding out your holiday cookie trays with an array of peppermint-infused goodness. The versatility of peppermint in holiday baking truly knows no bounds!
What’s in this post: Peppermint Meringues
- Why We Love This Recipe
- Key Ingredients Explained
- Essential Equipment for Meringues
- Substitutions and Creative Additions
- How to Make Peppermint Meringues
- Expert Tips for Perfect Meringues
- Common Meringue Troubleshooting
- Frequently Asked Questions
- Serving and Storage Suggestions
- More Festive Peppermint Delights
- Peppermint Meringues Recipe Card
Why We Love This Recipe
There are countless reasons why these peppermint meringues have earned a permanent spot in our holiday baking repertoire. From their simplicity to their undeniable charm, here’s why you’ll fall in love with them:
- Budget-Friendly Baking: Holiday baking doesn’t have to break the bank! This recipe shines for its affordability, primarily relying on pantry staples like egg whites and sugar. You can create a large batch of impressive cookies without a significant investment, making them ideal for gift-giving, cookie exchanges, or feeding a crowd during the festive season.
- Minimum Ingredients, Maximum Impact: With just a handful of ingredients – only 5, to be precise – you can whip up these gorgeous meringues. This simplicity is a huge advantage during the busy holiday rush, allowing you to create something extraordinary without a long grocery list or complex prep work. It’s perfect for beginner bakers and seasoned pros alike looking for a straightforward yet spectacular dessert.
- Sweet and Airy Texture: The magic of meringues lies in their delicate, cloud-like texture. Each bite offers a satisfyingly crisp shell that gives way to an incredibly light, melt-in-your-mouth interior. Paired with the invigorating rush of peppermint, it’s a harmonious blend of sweetness and freshness that’s utterly perfect for celebrating the holidays. These cookies stand out from heavier holiday treats, offering a refreshing alternative.
- Visually Stunning: The striking red and white stripes make these meringues instantly festive and incredibly eye-catching. They add a vibrant pop of color to any dessert spread or cookie platter, embodying the spirit of candy canes and holiday cheer. They truly look like they came from a high-end bakery, but you made them right in your kitchen!
- Impressively Easy: Despite their elegant appearance, peppermint meringues are surprisingly easy to make. The process involves a few key steps that, once mastered, allow for consistent, beautiful results every time. It’s a fantastic recipe for building confidence in the kitchen and showing off your baking prowess.
Key Ingredients Explained
Crafting perfect peppermint meringues starts with understanding the role of each component. Here’s a closer look at the minimal yet mighty ingredients:
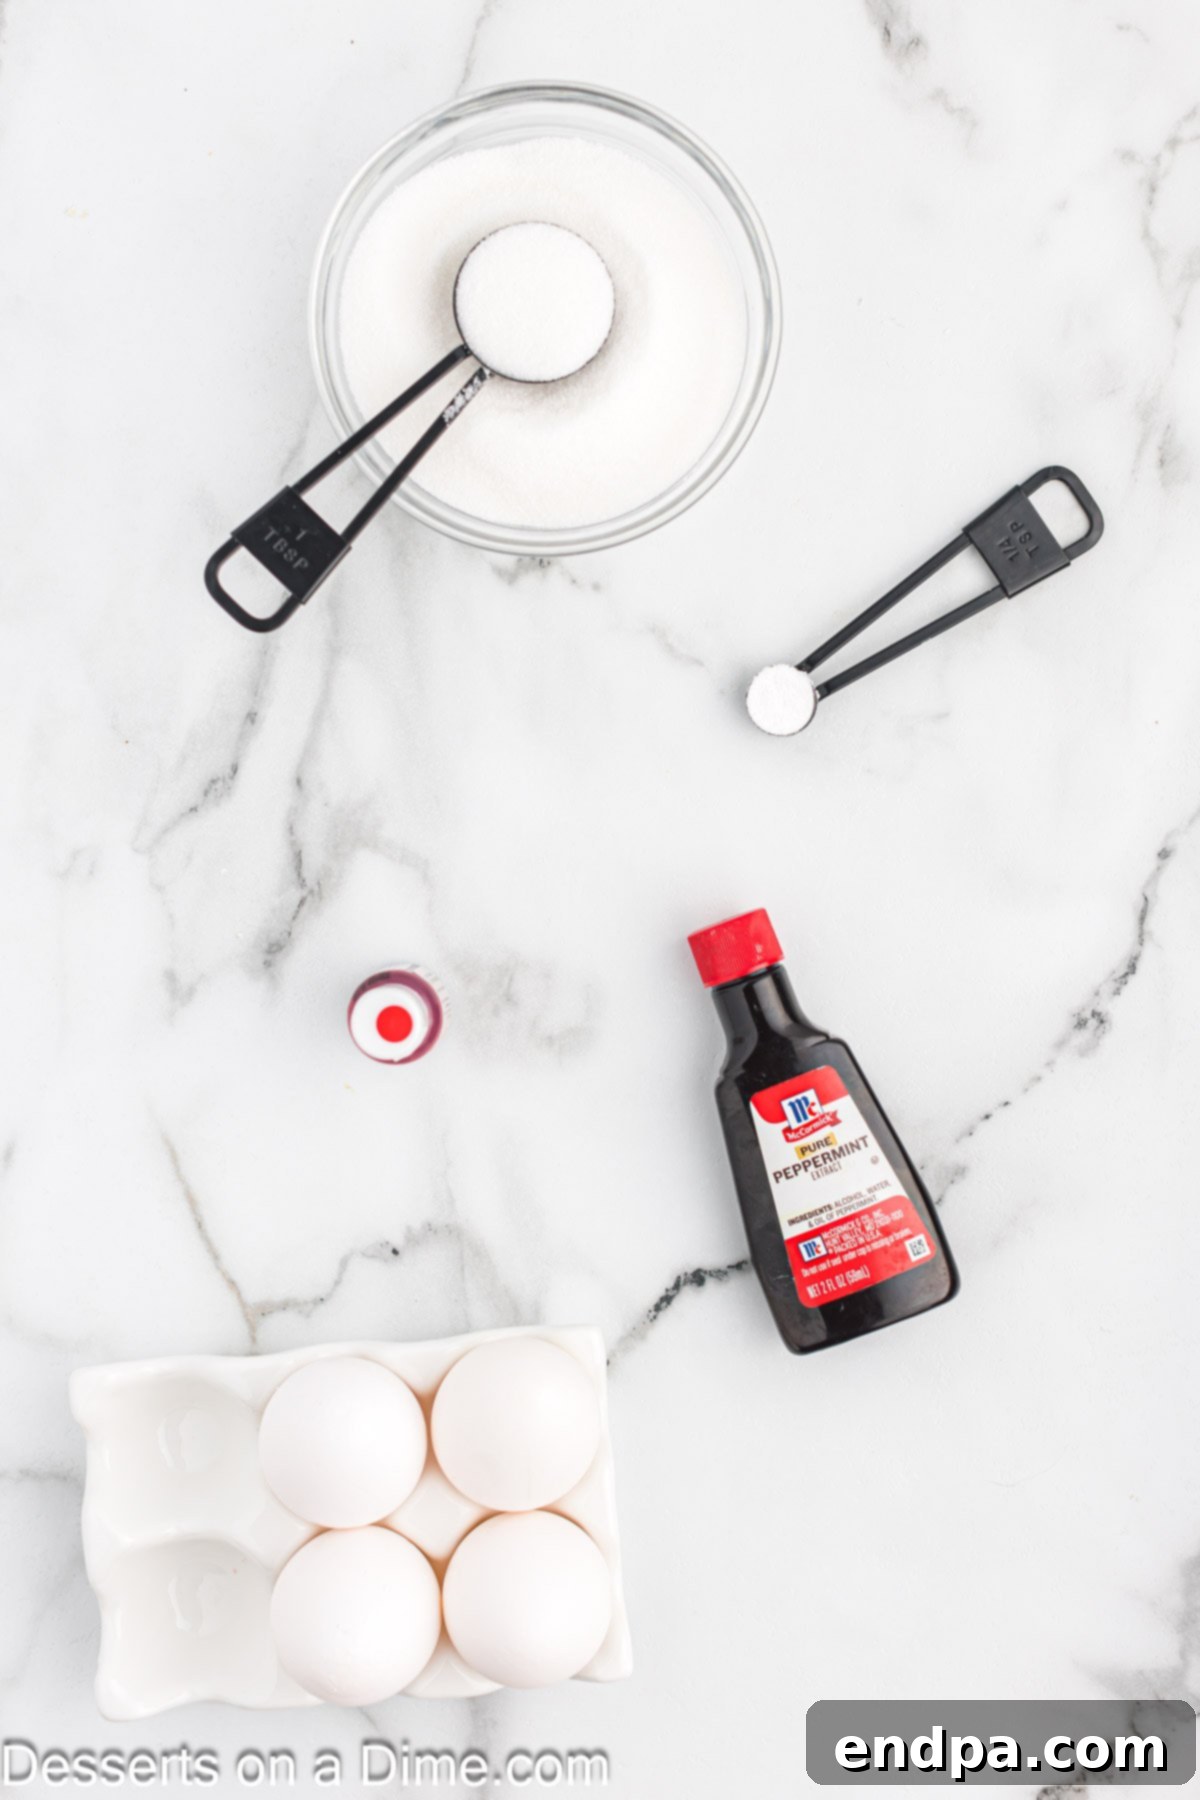
- Large Egg Whites (Room Temperature): These are the foundation of your meringues. Room temperature egg whites whip up with more volume and stability compared to cold ones, resulting in a lighter, airier meringue. Carefully separate them from the yolks, ensuring no trace of yolk gets into the whites, as fat can prevent them from whipping properly. Don’t toss those yolks – save them for a rich custard, crème brûlée, or even a Hollandaise sauce!
- Cream of Tartar: This acidic ingredient is a meringue’s best friend. It acts as a stabilizer, preventing the egg whites from bonding too tightly and collapsing. It helps create a smooth, glossy meringue with stiff peaks that hold their shape beautifully, crucial for piping those intricate designs. If you don’t have cream of tartar, a small amount of lemon juice or white vinegar can serve as an acidic substitute.
- Granulated Sugar: (Not explicitly listed in the bullet points in the original, but present in the recipe card, so crucial to mention here). Sugar isn’t just for sweetness; it plays a vital structural role in meringues. When gradually added to whipping egg whites, it dissolves and forms a stable, glossy foam. The sugar crystals help create a strong framework that holds the air incorporated during whipping, giving meringues their signature crispness.
- Peppermint Extract: This is where the holiday magic truly happens! Peppermint extract infuses your meringues with that distinct, cool, and festive minty flavor. It’s important to use *peppermint* extract, not generic mint extract, as the flavor profile is uniquely suited for holiday treats and candy cane vibes. A little goes a long way, so measure carefully.
- Red Gel Food Coloring: To achieve those striking candy cane stripes, gel food coloring is highly recommended. Unlike liquid food coloring, gel colors are highly concentrated and won’t add excess moisture to your meringue, which can be detrimental to its texture. Gel coloring provides vibrant, rich hues with just a small amount, ensuring your meringues look as festive as they taste.
Essential Equipment for Meringues
While the ingredient list is minimal, having the right tools can make all the difference in achieving perfect meringues:
- Stand Mixer with Whisk Attachment: This is arguably the most crucial piece of equipment. A stand mixer provides consistent, powerful whipping, making it much easier to achieve stiff peaks compared to a hand mixer. The whisk attachment incorporates maximum air into the egg whites.
- Large, Clean Mixing Bowl: Ensure your mixing bowl is immaculately clean and completely grease-free. Even a tiny speck of fat can prevent egg whites from whipping properly. Stainless steel or glass bowls are often preferred over plastic, which can sometimes retain grease.
- Piping Bag and Star Tip: To create the signature star shapes and striped appearance, a sturdy piping bag fitted with a small open star tip (like Wilton 1M or similar) is essential. These allow for precise and decorative piping.
- Parchment Paper: Lining your baking sheets with parchment paper is non-negotiable for meringues. It prevents sticking and makes for easy removal of the delicate cookies once baked and cooled.
- Small Clean Paintbrush: This little tool is a secret weapon for painting those vivid red stripes inside the piping bag, ensuring a beautiful, professional finish.
- Rubber Spatula: Useful for gently folding in extracts and coloring, and for transferring meringue into the piping bag.
- Baking Sheets: You’ll need at least two large baking sheets to accommodate all the meringues.
- Wire Rack: For cooling the meringues completely after baking.
Substitutions and Creative Additions
While the classic red and white peppermint meringue is perfect as is, you can certainly get creative and customize them to your liking. Here are a few ideas:
- Crushed Candy Canes: For an extra festive touch and a burst of crunchy peppermint, sprinkle crushed candy canes on top of the piped meringues before baking. This adds both texture and visual appeal.
- Chocolate Drizzle: After the meringues have cooled completely, melt some dark or white chocolate and drizzle it over the cookies. This creates a decadent contrast to the light meringue and complements the peppermint flavor beautifully. You can also dip the bottoms of the cooled meringues in melted chocolate for an elegant finish.
- Alternate Food Coloring: Experiment with different gel food coloring shades to match other holidays or themes. Green and red for a classic Christmas look, blue for winter, or pastel colors for Easter!
- Other Extracts: While peppermint is traditional, you could try other extracts for different flavors. Vanilla, almond, or even a touch of espresso extract could create unique meringue variations, though they would depart from the classic peppermint theme.
- Mini Chocolate Chips: Gently fold in a small amount of mini chocolate chips into the meringue mixture just before piping for a subtle chocolatey surprise.
- Sprinkles: Beyond candy canes, a scattering of festive sprinkles before baking can add extra sparkle and fun.
How to Make Peppermint Meringues
Creating these beautiful peppermint meringues is a straightforward process that yields impressive results. Precision and patience are key for achieving that perfect airy texture and crisp finish. Here’s a general overview of the steps involved, with detailed instructions available in the recipe card below:
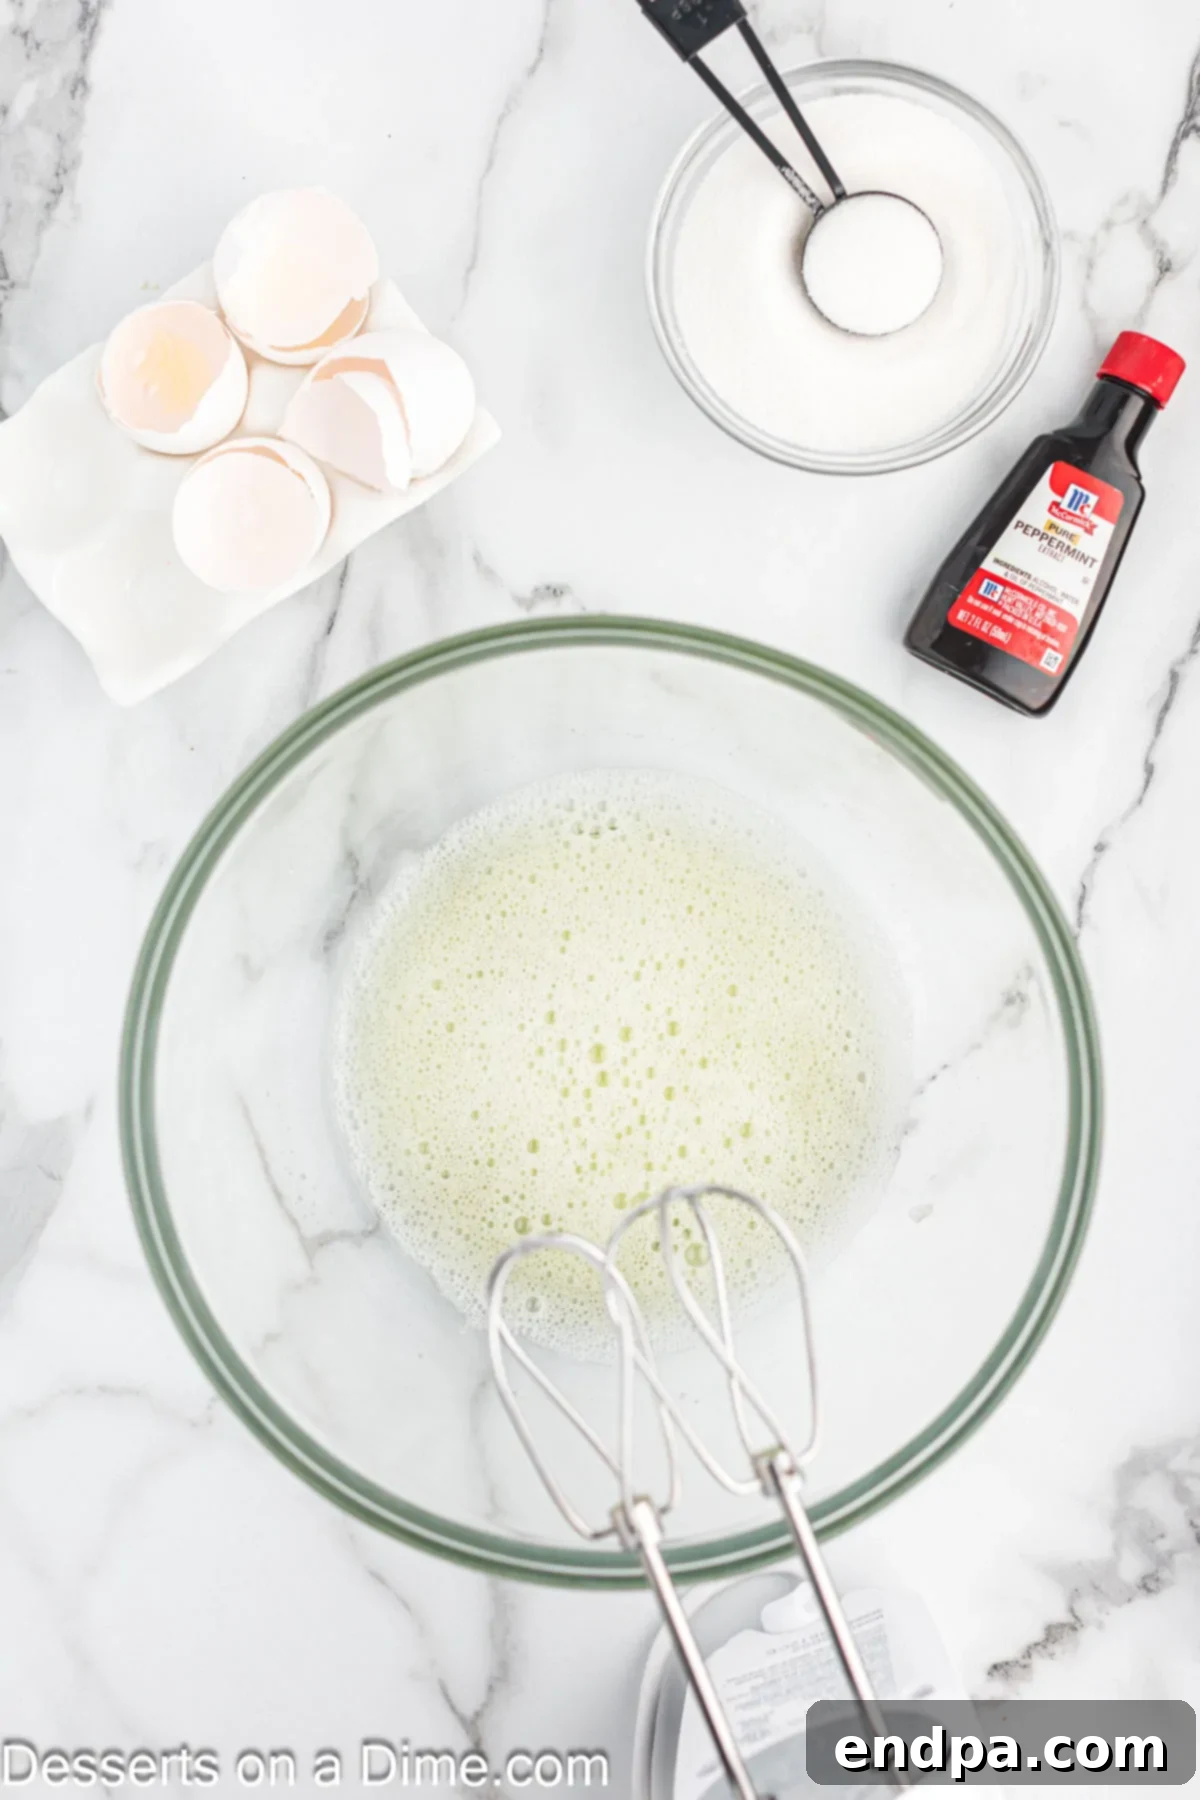
Step 1: Prepare the Meringue Base. Begin by preheating your oven to a very low temperature, which is crucial for drying out the meringues rather than baking them. Line your baking sheets with parchment paper. In the impeccably clean bowl of a stand mixer, combine the room temperature egg whites and cream of tartar. Beat them on medium speed until they become light, frothy, and full of small bubbles – this usually takes a few minutes.
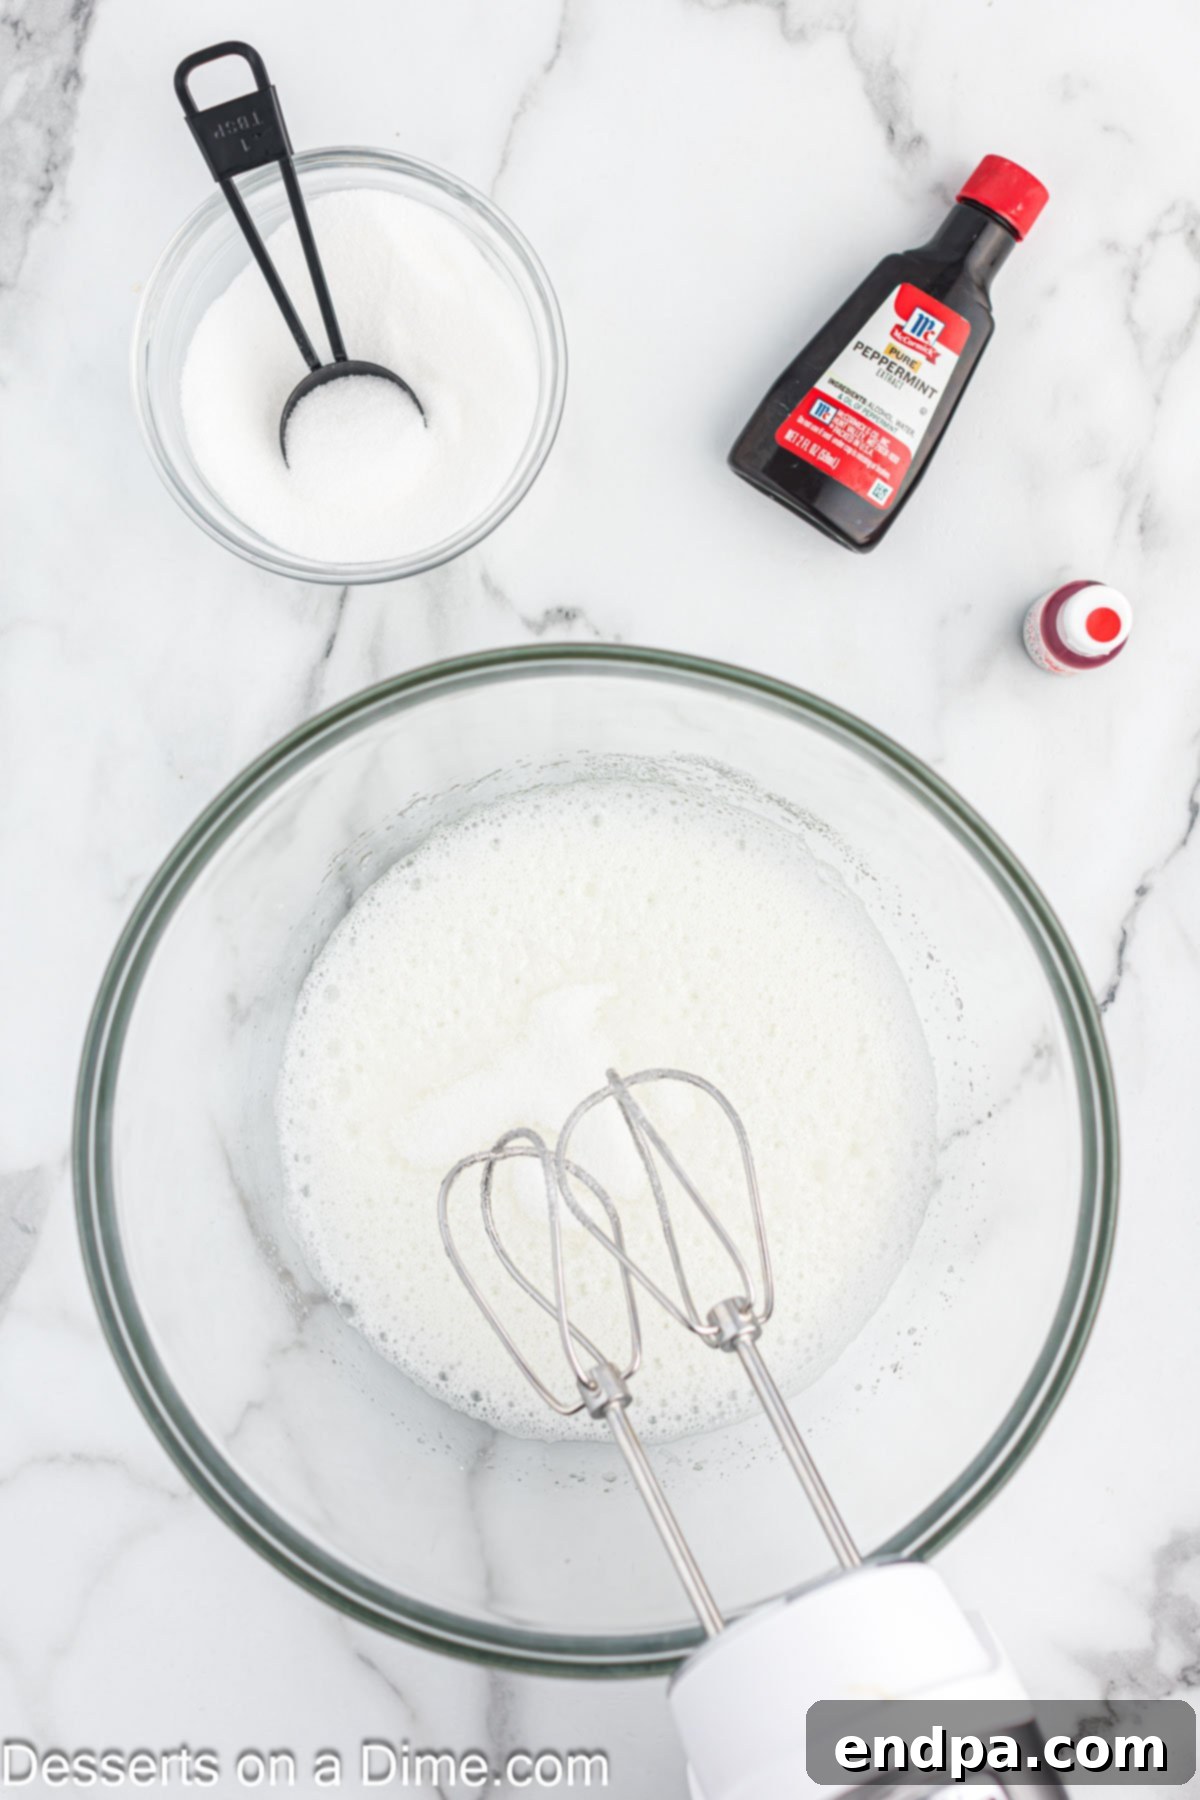
Step 2: Incorporate Sugar and Flavor. Increase the mixer speed to medium-high and gradually add the granulated sugar, one tablespoon at a time. This slow addition allows the sugar to fully dissolve and stabilize the egg whites. Continue beating on high speed for 4-5 minutes until the meringue forms stiff, glossy peaks. This means when you lift the whisk, the peaks hold their shape firmly. Finally, reduce the mixer speed to low and gently mix in the peppermint extract until just combined.
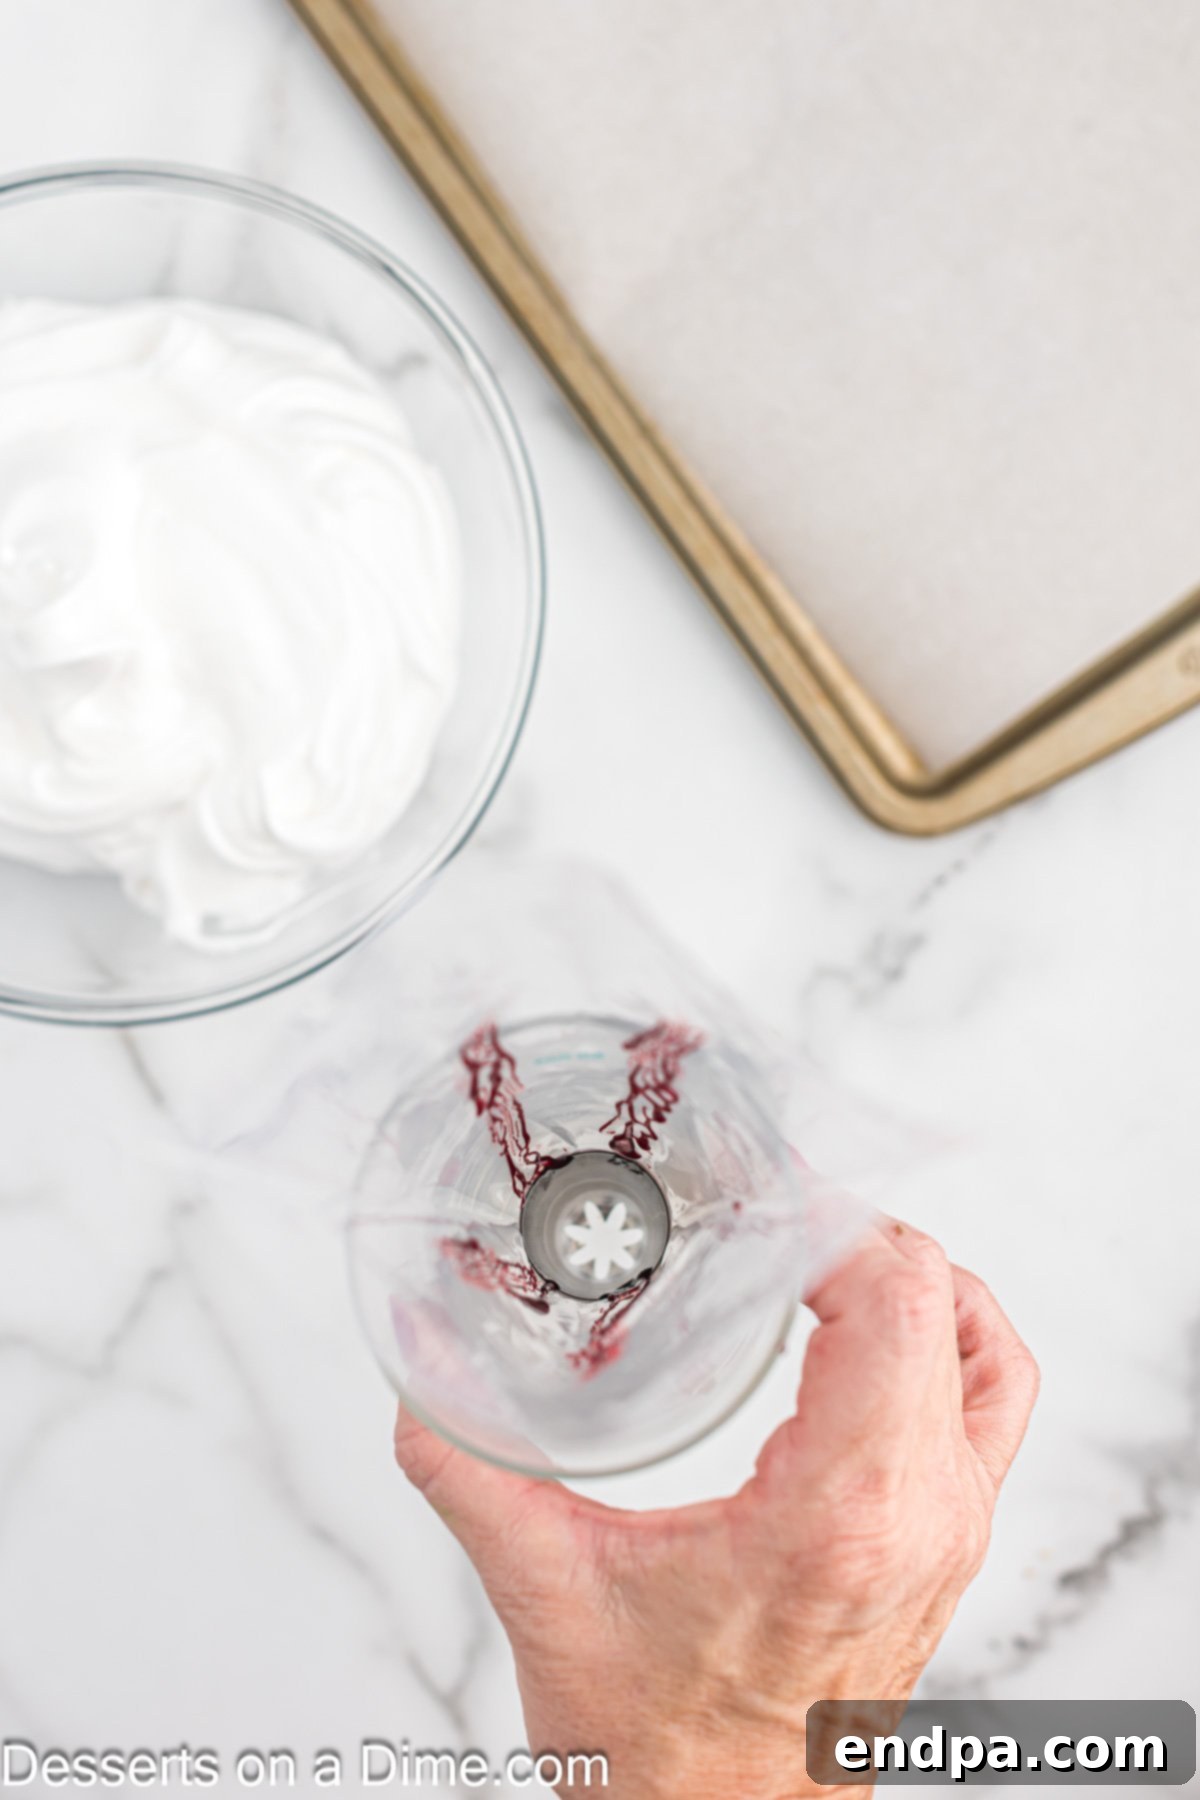
Step 3: Create Festive Stripes. Prepare your piping bag by fitting it with a small open star tip. For the iconic red and white stripes, use a small, clean paintbrush to paint 3-4 distinct stripes of red gel food coloring vertically along the inside of the piping bag. Then, carefully fill the piping bag with your meringue mixture. The meringue will pick up the color as it’s piped, creating beautiful stripes.
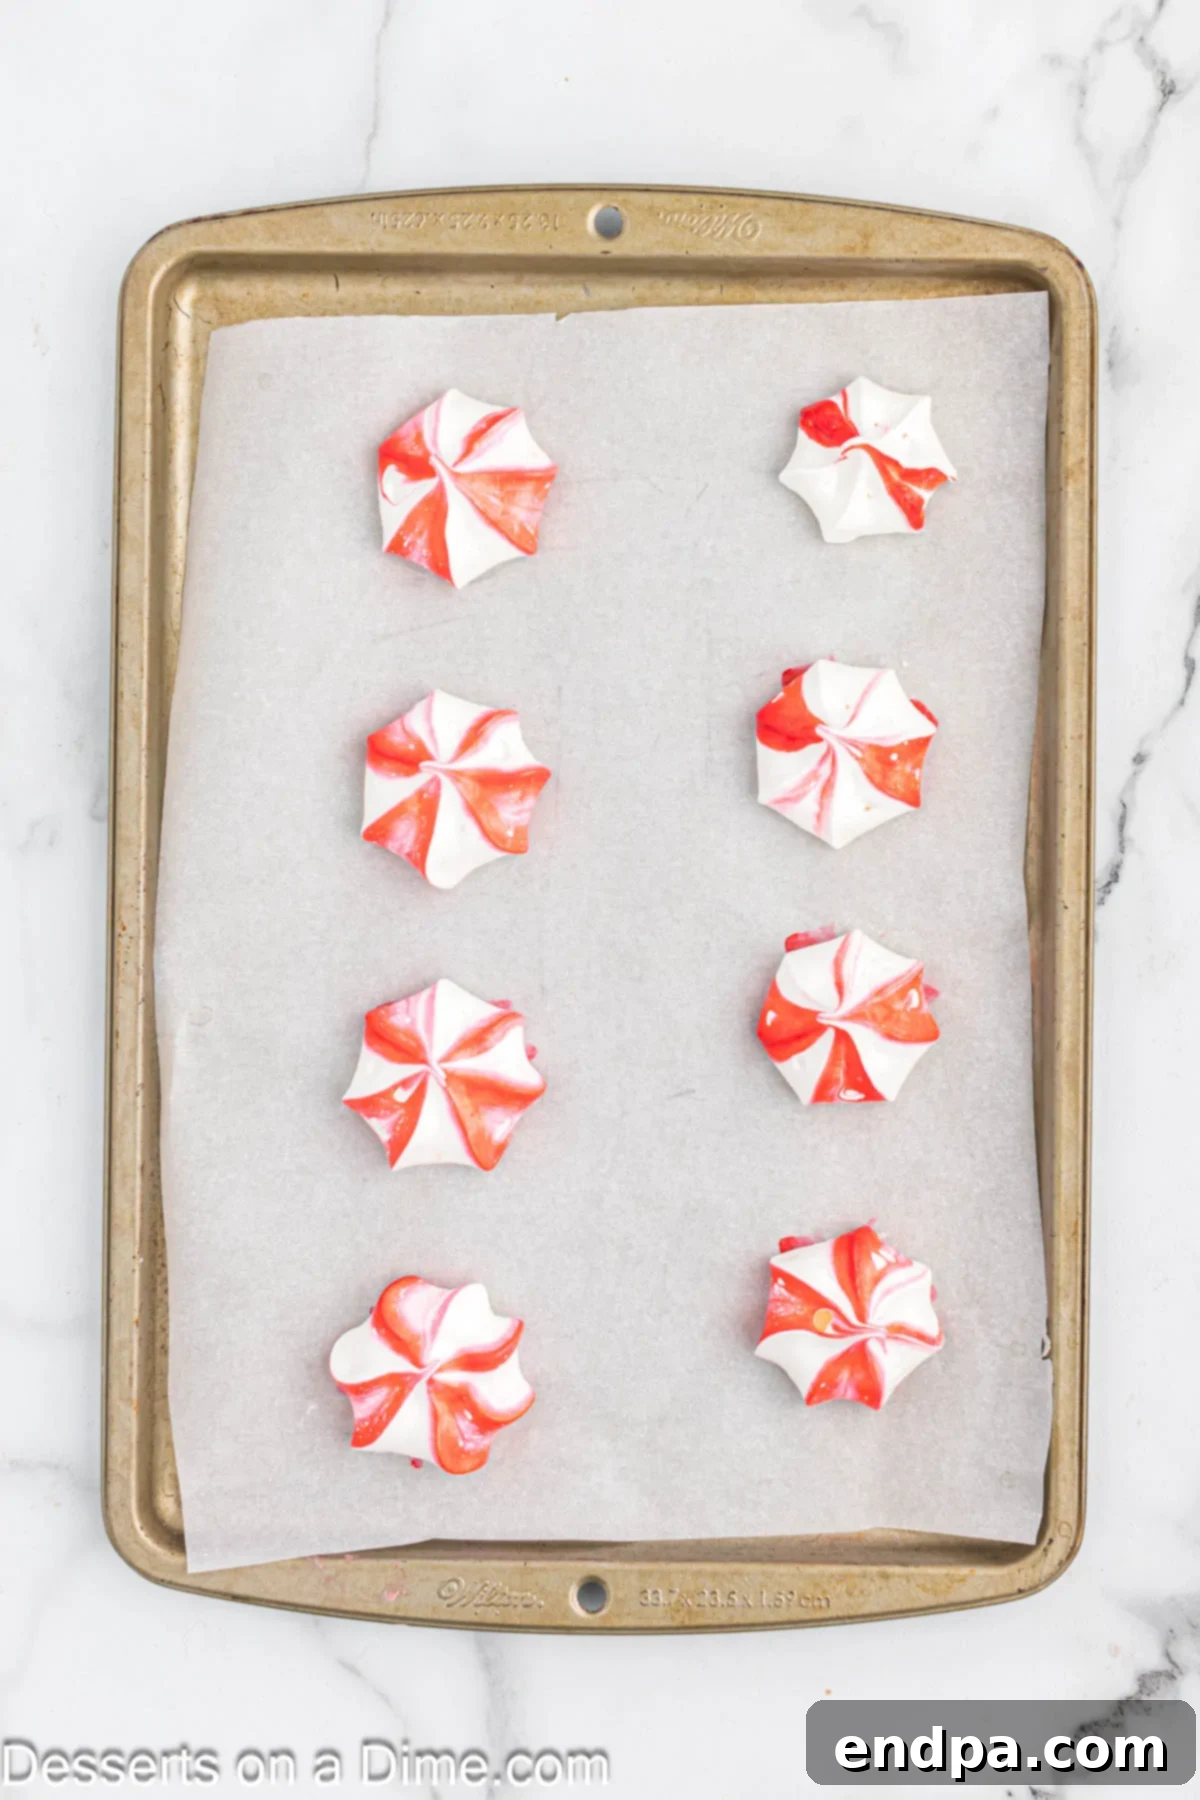
Step 4: Pipe and Bake. Pipe small, star-shaped cookies onto your prepared baking sheets, leaving a little space between each. Continue piping until all the meringue is used, repainting the food coloring stripes inside the bag each time you refill it to maintain vibrant colors. Bake the cookies at a very low temperature for an extended period. This long, slow bake dries them out, making them crispy rather than browned. Once baked, turn off the oven and allow the meringues to cool completely inside the oven for ultimate crispness.
Expert Tips for Perfect Meringues
Meringues can seem intimidating, but with a few expert tips, you can achieve picture-perfect results every time:
- Ensure Grease-Free Equipment: This is paramount! Any trace of fat (from egg yolks, oily hands, or residue in the bowl/whisk) will prevent your egg whites from whipping into stiff peaks. Wash all equipment thoroughly with hot, soapy water, or wipe bowls with a lemon wedge, then dry completely.
- Room Temperature Egg Whites are Key: Cold egg whites won’t whip up as volumetrically or as quickly as those at room temperature. Plan ahead and let your eggs sit on the counter for at least 30 minutes (or up to 2 hours) before separating them.
- Whip Egg Whites Slowly at First: Start beating egg whites on medium speed until they are frothy and foamy before gradually increasing the speed. This allows the proteins to unfold and incorporate air more effectively.
- Add Sugar Gradually: Do not dump all the sugar in at once. Add it slowly, a tablespoon at a time, allowing each addition to fully dissolve before adding the next. This helps create a stable, glossy meringue. You should not feel any sugar crystals when you rub a small amount of meringue between your fingers.
- Don’t Substitute Peppermint Extract: For that iconic holiday flavor, stick to peppermint extract. Mint extract often has a broader, sometimes less pleasant, flavor profile for baking. Pure peppermint extract delivers the crisp, clean taste you’re looking for.
- Gel Food Coloring for Vibrant Stripes: Gel food coloring provides intense color without adding excess liquid, which can destabilize meringue. Use a small, clean paintbrush to paint stripes inside the piping bag for that stunning visual effect.
- Use a Piping Bag for Best Shape: While you can spoon meringues, a piping bag with a star tip creates beautiful, uniform shapes that bake more evenly and look incredibly professional.
- Low and Slow Baking: Meringues don’t bake; they dry out. A very low oven temperature (like 375°F for the initial blast, then turning off the oven for residual heat drying as per the recipe card, or a consistent 200-225°F for the entire baking duration, depending on the recipe method) is essential. This prevents browning and ensures a crisp, dry meringue.
- Patience During Cooling: Do not open the oven door during baking or immediately after turning it off. Let the meringues cool completely inside the turned-off oven. The gradual cooling process helps prevent cracking and ensures they dry out fully, resulting in a perfectly crisp texture.
- Monitor for Doneness: Meringues should be crisp but not browned. They should lift easily off the parchment paper when done. If they still feel chewy or sticky in the middle, they need more drying time in the oven.
- Humidity is the Enemy: Meringues are highly susceptible to humidity. Bake them on a dry day if possible. Store them immediately in an airtight container once completely cooled to protect them from moisture.
Common Meringue Troubleshooting
Even with the best intentions, meringues can sometimes be a bit tricky. Here are solutions to common issues you might encounter:
- Meringues are Sticky/Chewy: This is the most common problem and usually means they weren’t dried out enough.
- Solution: Leave them in the turned-off oven for a longer period, or if the oven is cold, bake them at a very low temperature (around 200°F / 95°C) for another 30-60 minutes until completely dry and crisp. Humidity can also contribute; try baking on a less humid day.
- Meringues Weep or “Sweat”: This often happens when the sugar hasn’t fully dissolved or if they are exposed to too much humidity during or after baking.
- Solution: Ensure you add sugar very slowly and beat until no sugar crystals are detectable. Store immediately in an airtight container once cool.
- Meringues Collapsed or Flat: This can be due to under-whipped egg whites, adding sugar too quickly, or introducing fat/grease into the mixture.
- Solution: Ensure stiff peaks are achieved before piping. Double-check that all equipment is grease-free. Avoid overmixing once sugar is fully incorporated.
- Meringues are Browned: Your oven temperature was likely too high.
- Solution: Meringues should dry, not bake. Use a lower oven temperature (the original recipe uses 375F initially but then turns off the oven, which is a method to achieve a crispy exterior before slow drying). Ensure your oven thermometer is accurate.
Frequently Asked Questions
The cookies should be very crisp and dry all the way through, but they should not be browned. They should lift easily off the parchment paper. The total drying time, including time in the turned-off oven, is crucial. If they are still chewy in the middle, return them to the warm (but off) oven to continue drying out.
When stored properly in an airtight container at room temperature, away from humidity, these delightful cookies will stay fresh and crispy for up to a few weeks. This makes them perfect for preparing in advance for holiday gatherings.
Absolutely! Meringues are an excellent make-ahead dessert. Because they last for several weeks when stored correctly, you can bake them well in advance of your event, reducing stress during busy holiday preparations.
Stickiness is usually a sign of too much moisture. This can be due to high humidity in your kitchen, not baking (drying) them long enough, or not storing them in an airtight container. Make sure they are thoroughly dried in the oven and sealed quickly after cooling.
Don’t waste those precious yolks! They’re fantastic for enriching other dishes. You can use them to make custards, crème brûlée, homemade ice cream, lemon curd, Hollandaise sauce, or even add them to scrambled eggs for extra richness.
Serving and Storage Suggestions
These beautiful peppermint meringues are versatile and can be enjoyed in many ways:
- On a Holiday Platter: Arrange them artfully on a festive serving platter alongside other holiday cookies and treats for a stunning display.
- With Hot Beverages: Pair them with a warm cup of hot cocoa, coffee, or tea. Their light texture is a lovely contrast to a rich drink.
- As a Garnish: Crush a few meringues and use them as a topping for ice cream, puddings, or even hot chocolate.
- Gift-Giving: Pack them in decorative tins or bags for a homemade holiday gift that friends and family will adore.
Storage: To maintain their crispness and delicate structure, it is critical to store peppermint meringues in an airtight container immediately after they have completely cooled. Keep them at room temperature in a cool, dry place, away from direct sunlight or any sources of moisture. Avoid refrigerating meringues, as the humidity can make them soft and sticky.
More Festive Peppermint Delights
If you can’t get enough of that cool, refreshing peppermint flavor, we have even more recipes to satisfy your holiday cravings:
- Chocolate Dipped Peppermint Cookies Recipe
- Peppermint Oreo Balls
- Double Chocolate Peppermint Cookies Recipe
- 22 Easy Peppermint Desserts Recipes
Don’t wait to bring this easy, stunning recipe to life in your kitchen. Make these Peppermint Meringues for your family and friends today and watch them disappear! We would love to hear about your experience; please come back and leave a star rating and comment on the recipe. Happy baking!
Pin
Peppermint Meringues
20
1 45
30
2 35
30
American
Dessert
22
Carrie Barnard
Ingredients
- 4 large Egg Whites room temperature
- ¼ teaspoon Cream of Tartar
- ¾ cup Granulated Sugar
- ½ teaspoon Peppermint Extract
- Red Gel Food Coloring
Instructions
- Preheat the oven to 375 degrees Fahrenheit and line 2 baking sheets with parchment paper.
- Place the egg whites and cream of tartar in a large mixing bowl. With an electric mixer, beat on medium speed until the egg whites become frothy (2-3 minutes).
- Increase the speed to medium high and slowly add in the sugar (1 tablespoon at a time) until all the sugar is added. Turn the speed up to high and beat for 4-5 minutes until stiff peaks start to form.
- Turn the speed on the mixer down to a low speed and mix in the peppermint extract.
- Fit a piping bag with a small open star tip. Use a small brush to paint 3-4 stripes of the red food coloring inside the piping bag. Then fill the piping bag with the meringue.
- Pipe small star shaped cookies onto the baking sheet.
- Continue this process until all the meringue is used. Make sure to add the food coloring stripes each time you add more meringue to the piping bag.
- Bake the cookies until they are crisp but not browned (approximately 1 hour 45 minutes). Then turn off the oven but leave the cookies in the oven for 30 minutes. Test a cookie and if it’s still chewy in the middle, let them continue to dry out in the oven.
- Let the cookies cool completely on the baking sheets on wire racks and then they are ready to serve and enjoy!
Recipe Notes
Nutrition Facts
Pin This Now to Remember It Later
Pin Recipe
