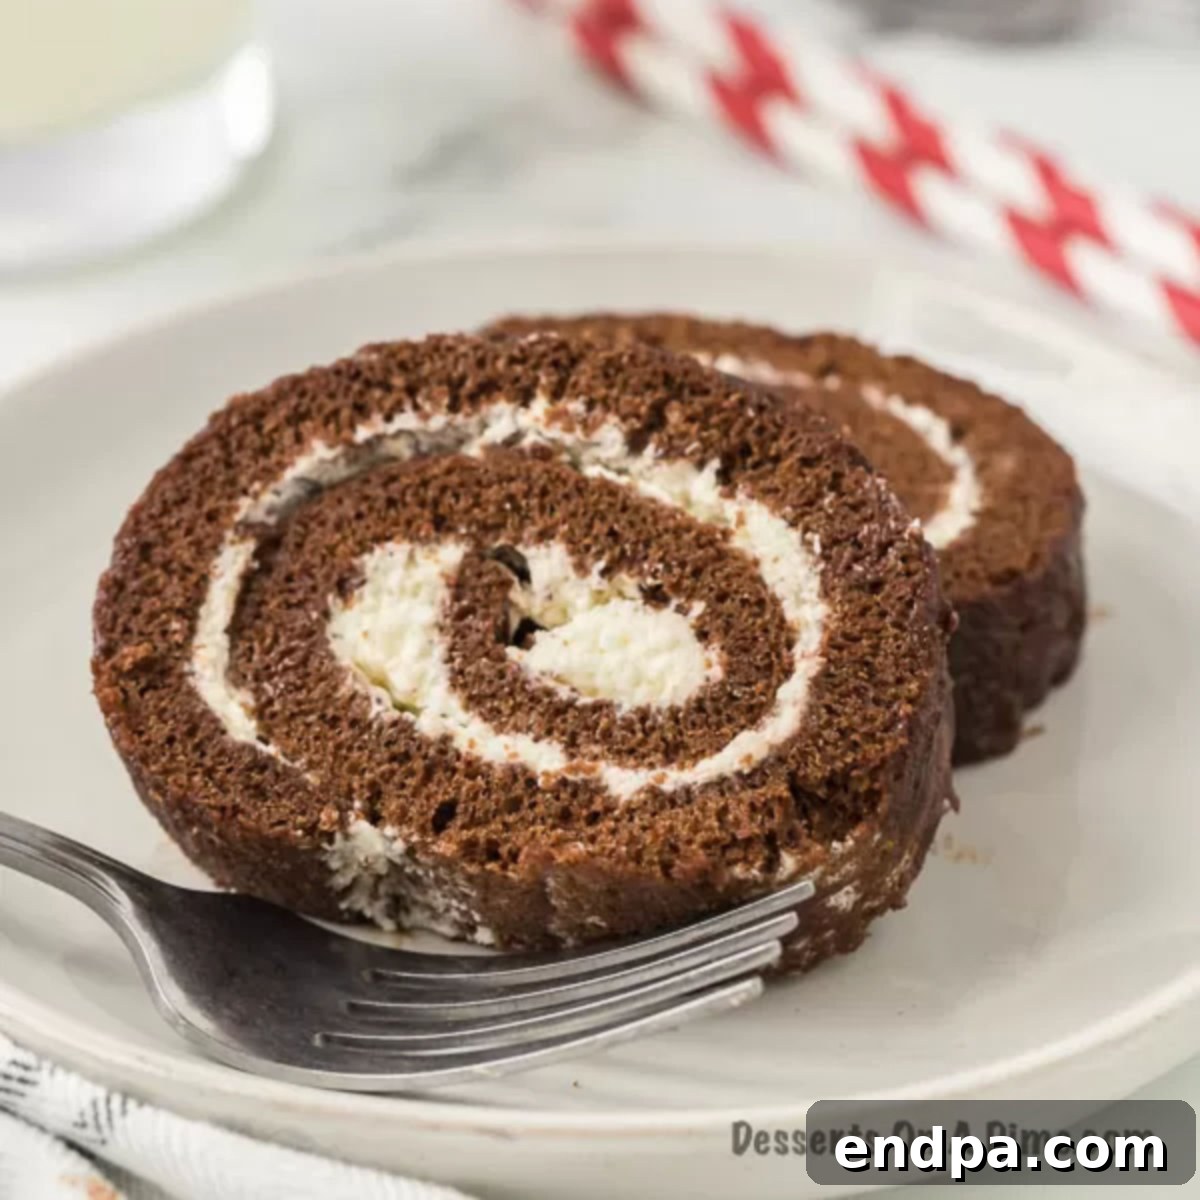
Indulge in the irresistible delight of a homemade **Swiss Roll Cake**, a classic dessert that beautifully combines a light, moist chocolate sponge with a creamy, dreamy filling, all enveloped in a rich chocolate ganache. This recipe will guide you through creating a truly spectacular treat that’s both elegant and utterly delicious, perfect for any occasion.
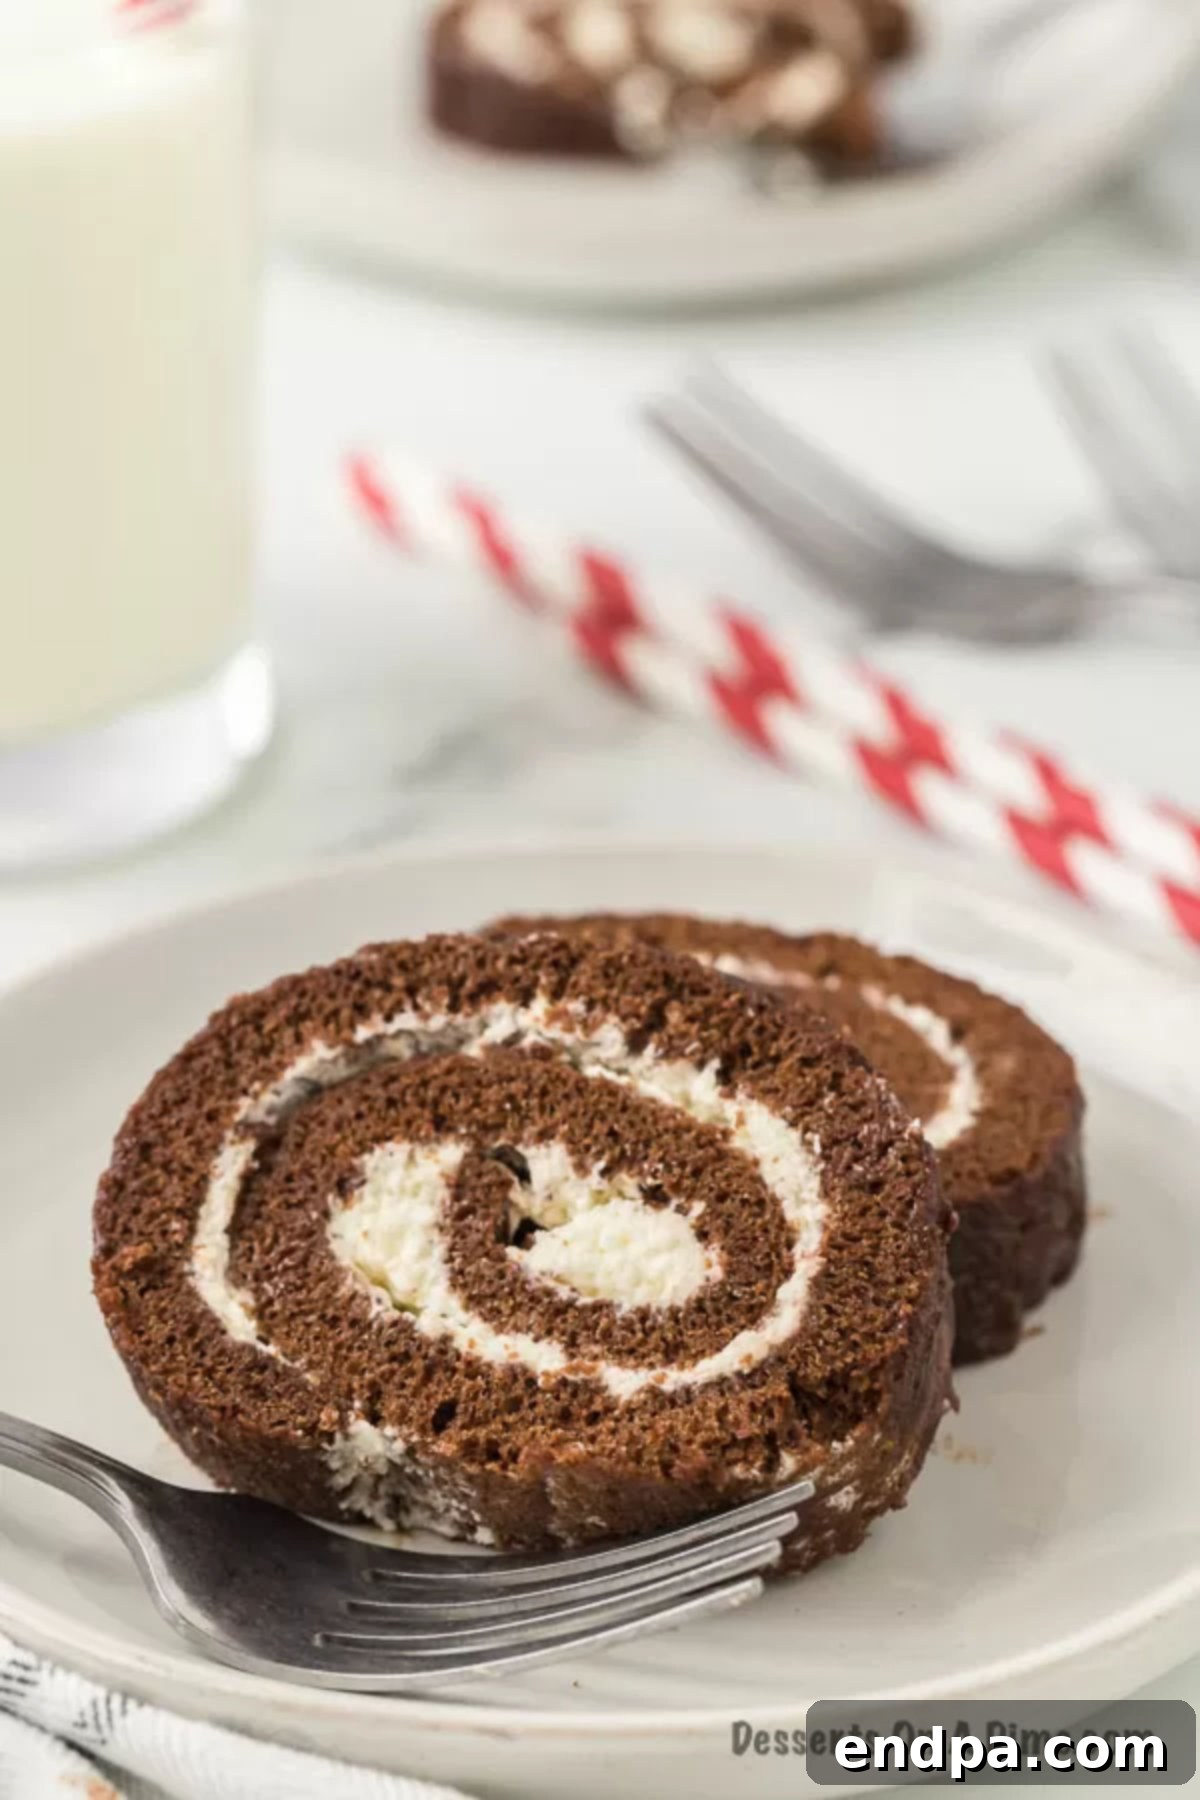
A true masterpiece of baking, the chocolate Swiss Roll Cake is renowned for its iconic spiral design and layers of exquisite flavor. Each slice promises a harmonious blend of tender chocolate cake, a cloud-like cream, and a luscious chocolate topping, making it a guaranteed crowd-pleaser and a standout among chocolate desserts. My personal experience over the years has proven this recipe to be not only incredibly tasty but also surprisingly approachable for home bakers.
Table of Contents
- The Enchanting Swiss Roll Cake
- Mastering the Ingredients for a Perfect Swiss Roll
- For the Moist Chocolate Cake
- For the Velvety Cream Filling
- For the Decadent Chocolate Ganache Topping
- Creative Variations to Elevate Your Swiss Roll
- Step-by-Step Guide to Baking Your Swiss Roll Cake
- Storage and Make-Ahead Tips
- Frequently Asked Questions About Swiss Roll Cakes
- Expert Baking Tips for Swiss Roll Perfection
- Explore More Irresistible Chocolate Cake Recipes
The Enchanting Swiss Roll Cake
What exactly is a Swiss Roll Cake? It’s an artful dessert crafted from a thin sheet of sponge cake, typically baked in a jelly roll pan, then delicately rolled into a cylindrical shape while still warm. The magic truly begins with its generous filling, most often a light whipped cream, and is completed with a glistening layer of chocolate ganache that cascades over the top. The beauty of a Swiss roll is revealed when sliced, showcasing elegant swirls of chocolate cake embracing its creamy center, a delightful visual and textural contrast.
Despite its name, the Swiss roll’s exact origins are widely debated and not definitively Swiss. It’s a beloved dessert found in many cultures around the world, known by various names such as “roulade” or “cream roll.” Its universal appeal lies in its distinctive spiral appearance and the satisfying combination of soft cake and rich filling. This particular recipe captures the nostalgic charm of childhood snack cakes while elevating it to a sophisticated, homemade dessert that will leave a lasting impression on anyone who tastes it. The three distinct layers of moist cake, luscious cream, and shiny ganache create a symphony of textures and flavors in every single bite, making it an utterly addictive creation.
Mastering the Ingredients for a Perfect Swiss Roll
Crafting the perfect Swiss roll cake begins with selecting the right ingredients. Each component plays a vital role in achieving the desired texture, flavor, and overall decadence of this magnificent dessert. Here’s a detailed look at what you’ll need:
For the Moist Chocolate Cake
- Unsweetened Cocoa Powder: This is key for a deep, rich chocolate flavor without added sweetness, allowing you to control the sugar content. Using good quality cocoa makes a noticeable difference.
- All-Purpose Flour: The structural backbone of our cake. Ensure it’s measured accurately, preferably by weight, to avoid a dense cake.
- Baking Powder: Our leavening agent, providing the necessary lift to achieve a light and airy sponge that’s easy to roll without cracking.
- Salt: A pinch of salt enhances all the other flavors, balancing the sweetness and deepening the chocolate notes.
- Large Eggs (Room Temperature): This is crucial! Room temperature eggs emulsify better with sugar and fat, creating a smoother, more voluminous batter that contributes to the cake’s tenderness and flexibility.
- Granulated Sugar: Provides sweetness and helps create a tender crumb in the cake.
- Unsalted Butter (Melted): Adds richness and moisture. Using unsalted butter gives you control over the overall saltiness of the recipe.
- Vanilla Extract: A splash of vanilla always complements chocolate beautifully, adding aromatic depth.
- Powdered Sugar (for rolling): Essential for preventing the warm cake from sticking to the towel during the initial rolling process and helps maintain its shape as it cools.
For the Velvety Cream Filling
- Heavy Whipping Cream: The foundation of our light and fluffy filling. Look for cream with at least 36% fat content for best whipping results and stability.
- Powdered Sugar: Sweetens the cream and helps stabilize it, ensuring a smooth, non-gritty texture.
For the Decadent Chocolate Ganache Topping
- Semi-Sweet Chocolate Chips: Provide the perfect balance of sweetness and rich chocolate flavor for the ganache. Quality matters here for a truly smooth and shiny finish.
- Heavy Whipping Cream: When heated with chocolate, it forms the luscious, pourable ganache.
- Powdered Sugar: Added to the ganache for extra sweetness and to refine its consistency.
- Milk: Used to adjust the ganache to a perfect pouring consistency, ensuring it drapes beautifully over the cake.
For a complete and precise ingredient list, along with exact measurements for this delightful chocolate Swiss roll cake recipe, refer to the recipe card below.
Creative Variations to Elevate Your Swiss Roll
While the classic chocolate Swiss roll is perfection on its own, don’t hesitate to experiment with different fillings and toppings to customize this versatile dessert for any palate or occasion. Here are some delectable ideas:
- Marshmallow Fluff: Imagine the light, airy sweetness of marshmallow fluff swirled within the chocolate cake. This variation offers a delightful texture contrast and a nostalgic flavor profile reminiscent of a gourmet hot cocoa. You can make your own homemade marshmallow fluff for an extra special touch or use a high-quality store-bought version for convenience.
- Peanut Butter Frosting: For lovers of the classic chocolate and peanut butter combination, a creamy peanut butter frosting makes an incredible filling. Its rich, nutty flavor perfectly complements the deep chocolate of the cake and ganache, creating an unforgettable dessert experience.
- Cream Cheese Frosting: A tangy and incredibly decadent cream cheese frosting, made with just a few simple ingredients, can transform your Swiss roll. The slight tartness of the cream cheese beautifully cuts through the sweetness of the chocolate, adding another layer of complexity to the flavor profile.
- Fruit Fillings: Incorporate fresh fruit into your cream filling! Swirl in raspberry puree or finely chopped strawberries for a burst of fresh flavor and vibrant color. The tartness of berries pairs exceptionally well with chocolate.
- Coffee Infusion: Add a teaspoon of instant espresso powder to your chocolate cake batter or a hint of coffee liqueur to your cream filling for a mocha-inspired Swiss roll.
- Mint Chocolate: For a refreshing twist, add a few drops of peppermint extract to your cream filling and sprinkle some finely crushed peppermint candies or mini chocolate chips on top of the ganache.
- Orange Zest: The bright, citrusy notes of orange zest grated into the chocolate cake batter or even the ganache can create a sophisticated chocolate-orange flavor combination.
- Seasonal Sprinkles: Add a festive touch with sprinkles! Whether you’re celebrating a holiday or a special occasion, colorful sprinkles scattered over the chocolate ganache can make your Swiss roll even more visually appealing. Don’t limit yourself to sprinkles; consider crushed candy, toasted nuts, or even chocolate shavings for extra texture and decoration.
Step-by-Step Guide to Baking Your Swiss Roll Cake
Creating this beautiful Swiss Roll Cake is a rewarding experience. Follow these detailed steps to ensure a perfect result:
- Step 1: Prepare Your Workspace and Oven. Begin by preheating your oven to 350 degrees Fahrenheit (175°C). While the oven warms, meticulously line a 15×10-inch jelly roll pan with parchment paper. This step is non-negotiable for easy removal and rolling. Ensure the parchment paper extends slightly over the edges, creating “handles.” Then, lightly spray the parchment paper with a non-stick cooking spray, especially if your parchment isn’t naturally non-stick, to guarantee the cake releases effortlessly.
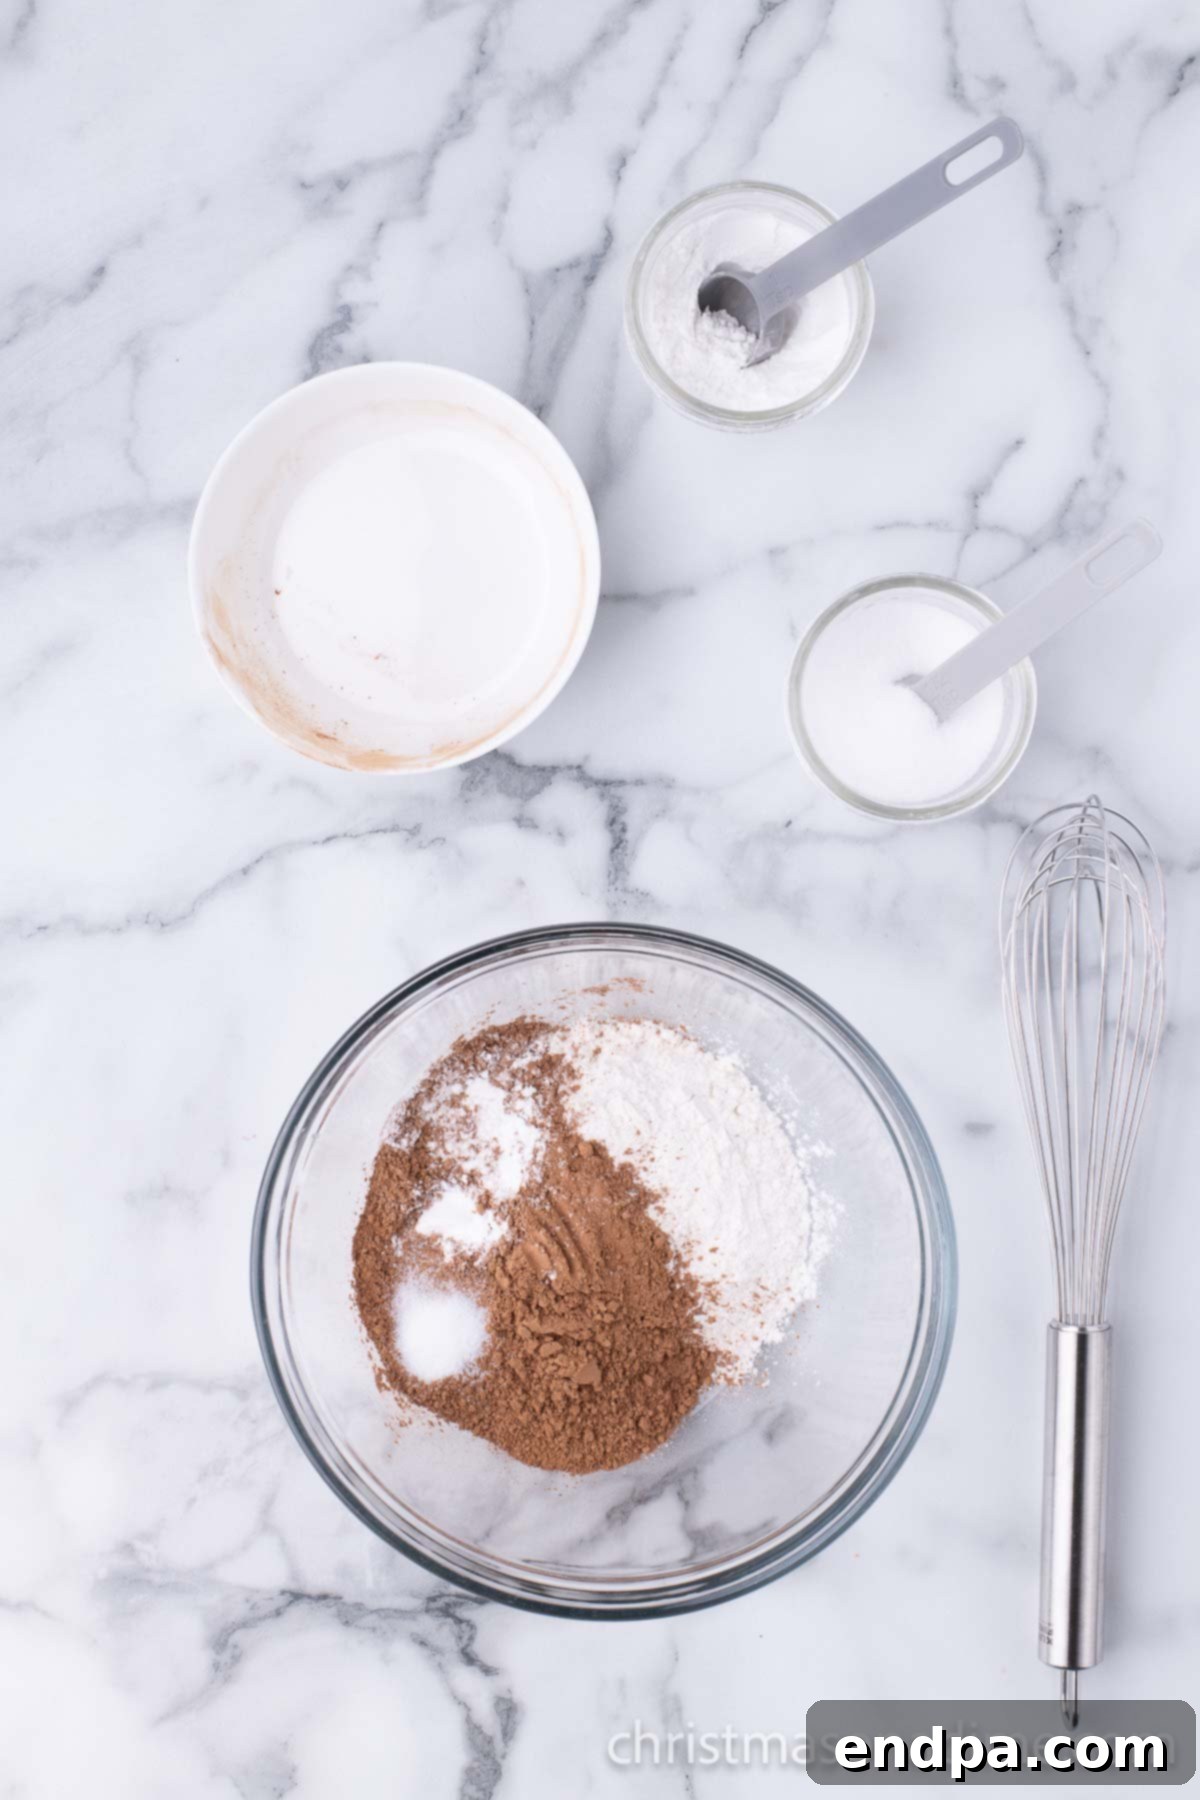
Step 2: Combine Dry Ingredients. In a large mixing bowl, thoroughly whisk together the unsweetened cocoa powder, all-purpose flour, baking powder, and salt. Sifting these ingredients together can help eliminate lumps and ensure even distribution, leading to a more consistent cake texture. Set this bowl aside.
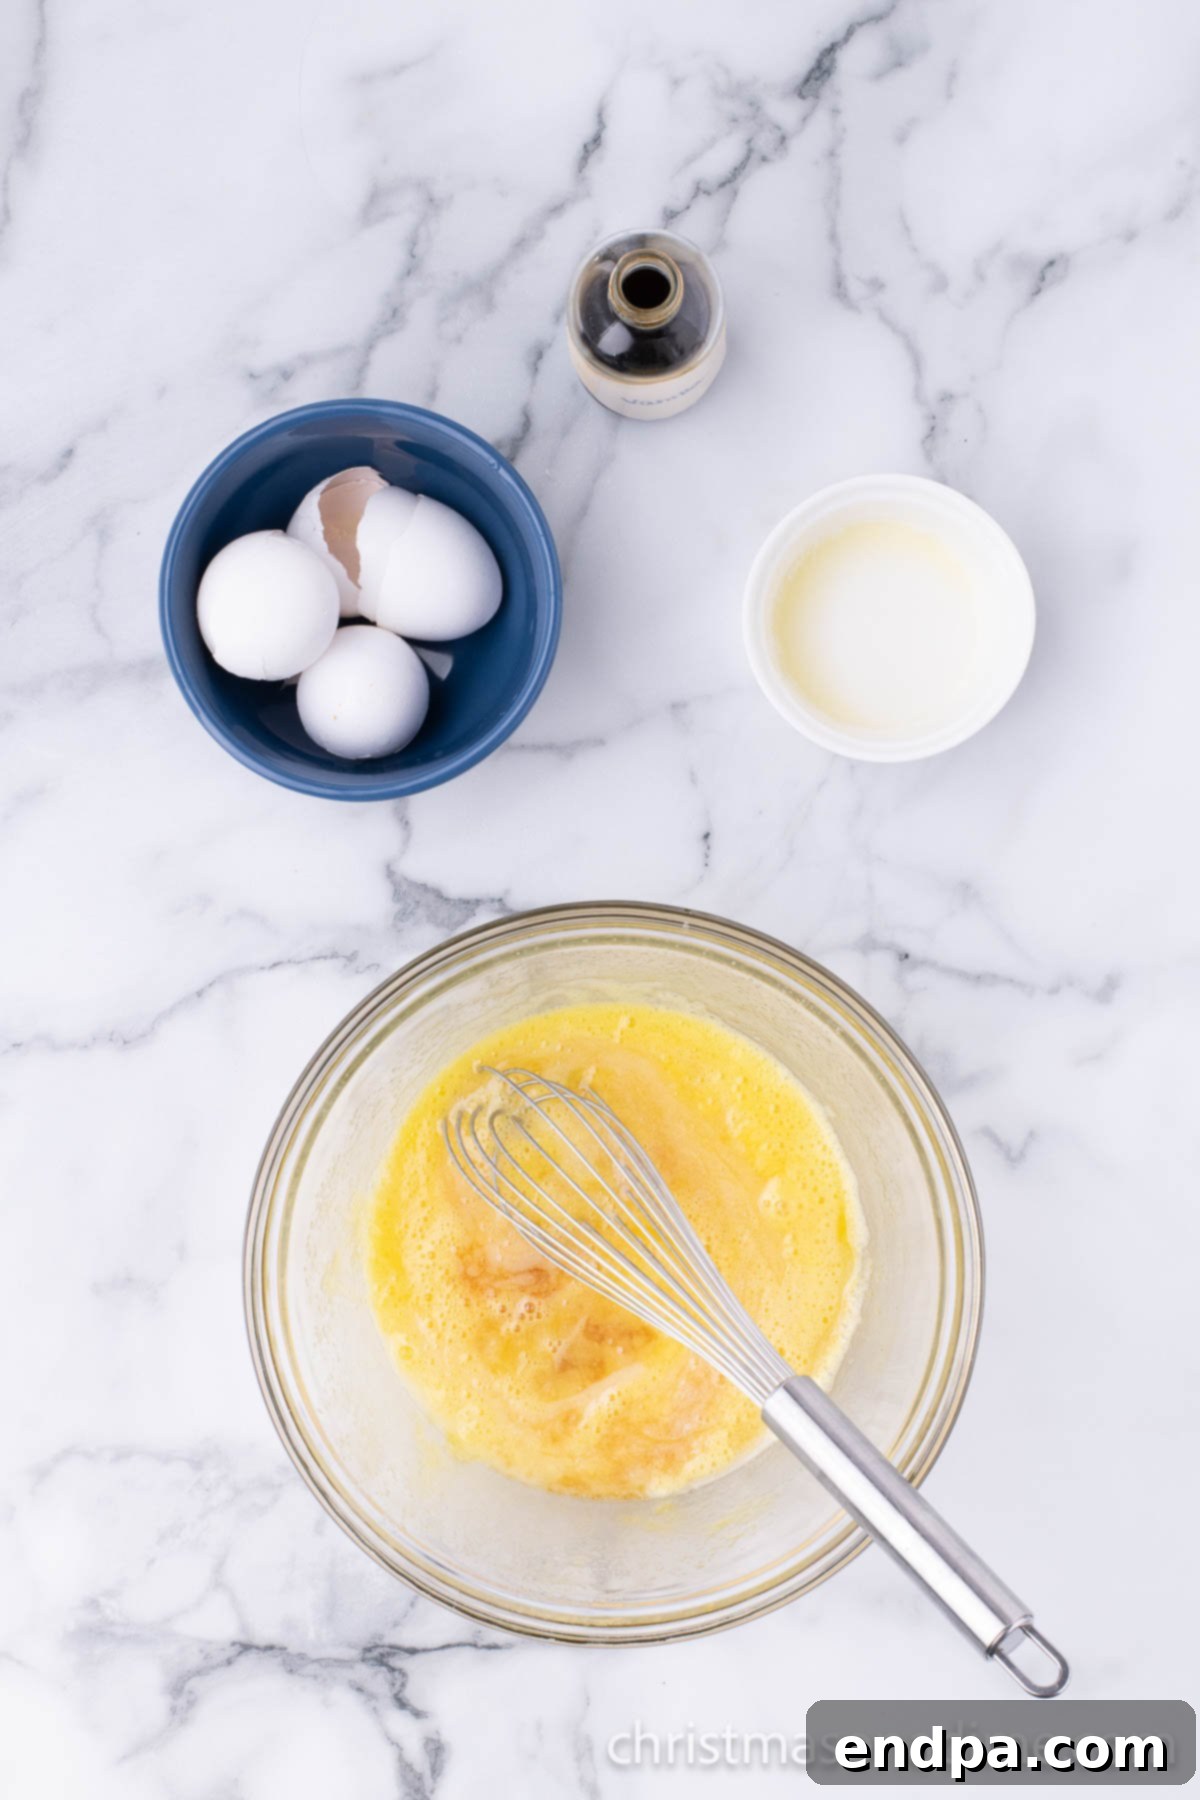
Step 3: Prepare Wet Ingredients. In a separate, clean bowl, beat the room temperature large eggs with the granulated sugar until the mixture is light, fluffy, and pale yellow. This process incorporates air, which is vital for a tender sponge. Next, gently fold in the melted unsalted butter and vanilla extract. Whisk just until combined, being careful not to overmix, as overmixing can develop gluten and make the cake tough.
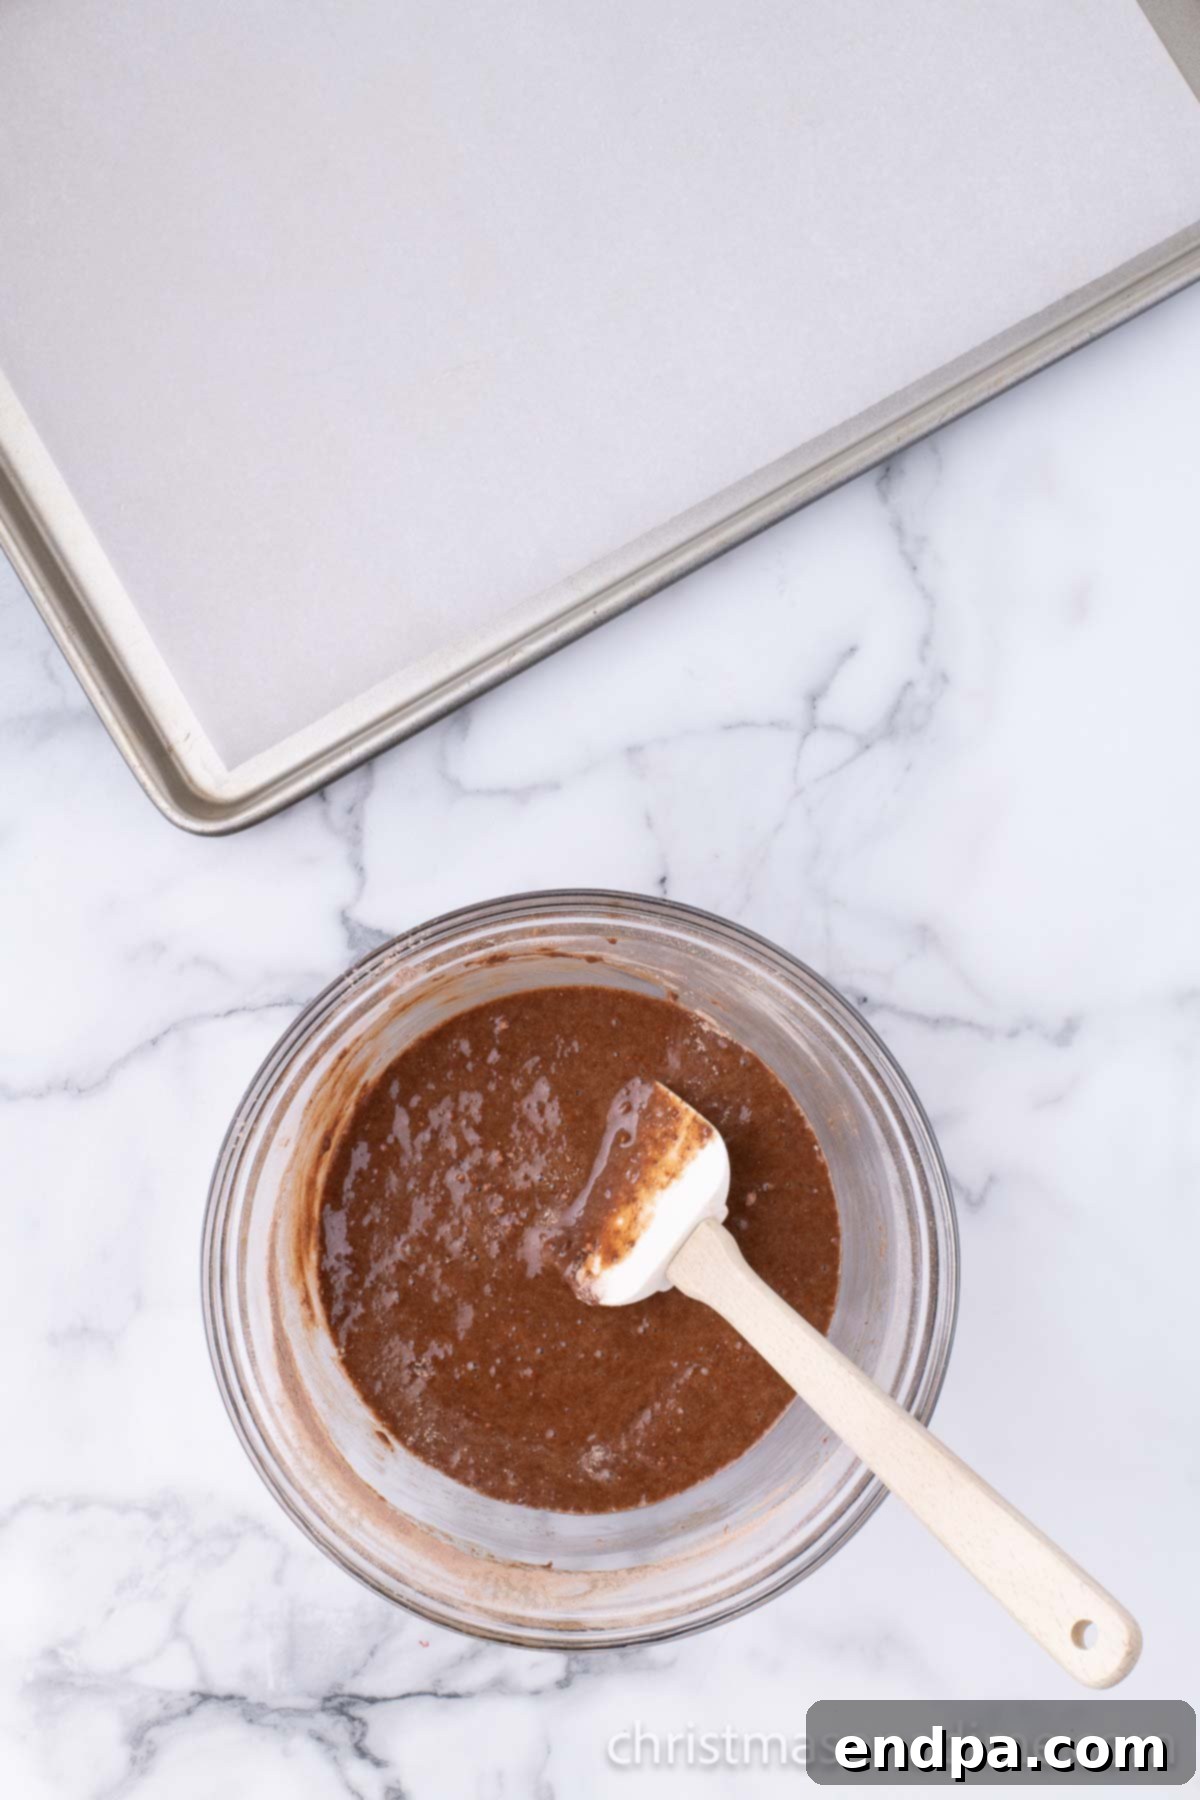
Step 4: Gently Combine Wet and Dry Mixtures. Now, gradually add the dry ingredients into the wet ingredients. It’s important to do this by hand using a spatula or whisk, rather than an electric mixer. Mix until just combined and no streaks of flour remain. Overmixing at this stage will deflate the air you incorporated into the eggs and develop gluten, resulting in a dense cake that is prone to cracking when rolled.
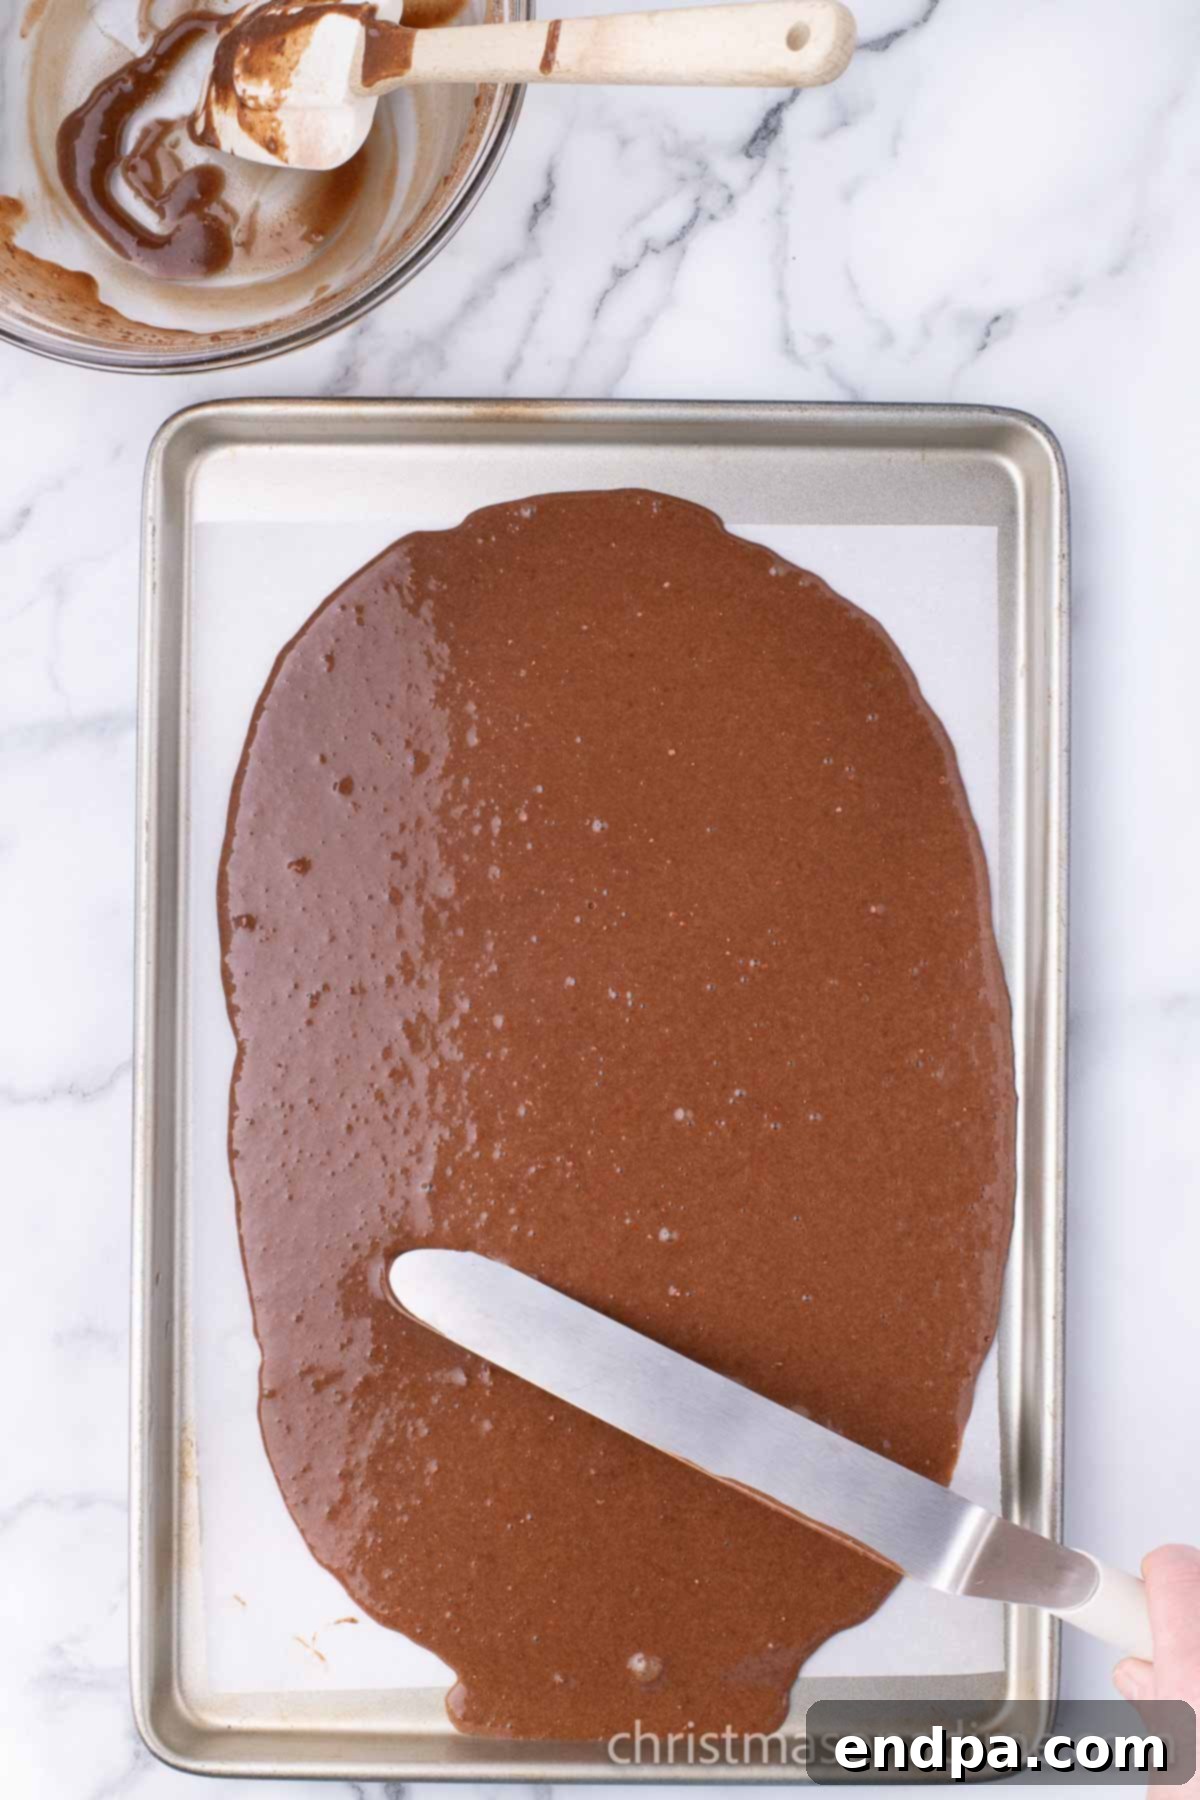
Step 5: Bake the Sponge Cake. Pour the prepared batter evenly into the lined baking pan. Use a rubber spatula to gently spread the batter all the way to the edges, ensuring a uniform thickness for even baking. Bake for approximately 11 to 13 minutes. The cake is done when the center springs back lightly when touched and the edges just begin to pull away from the pan. Overbaking is the main cause of cracks, so keep a close eye on it. Once baked, you can use the parchment paper edges to carefully lift the cake out of the pan and onto a wire rack, allowing for initial cooling.
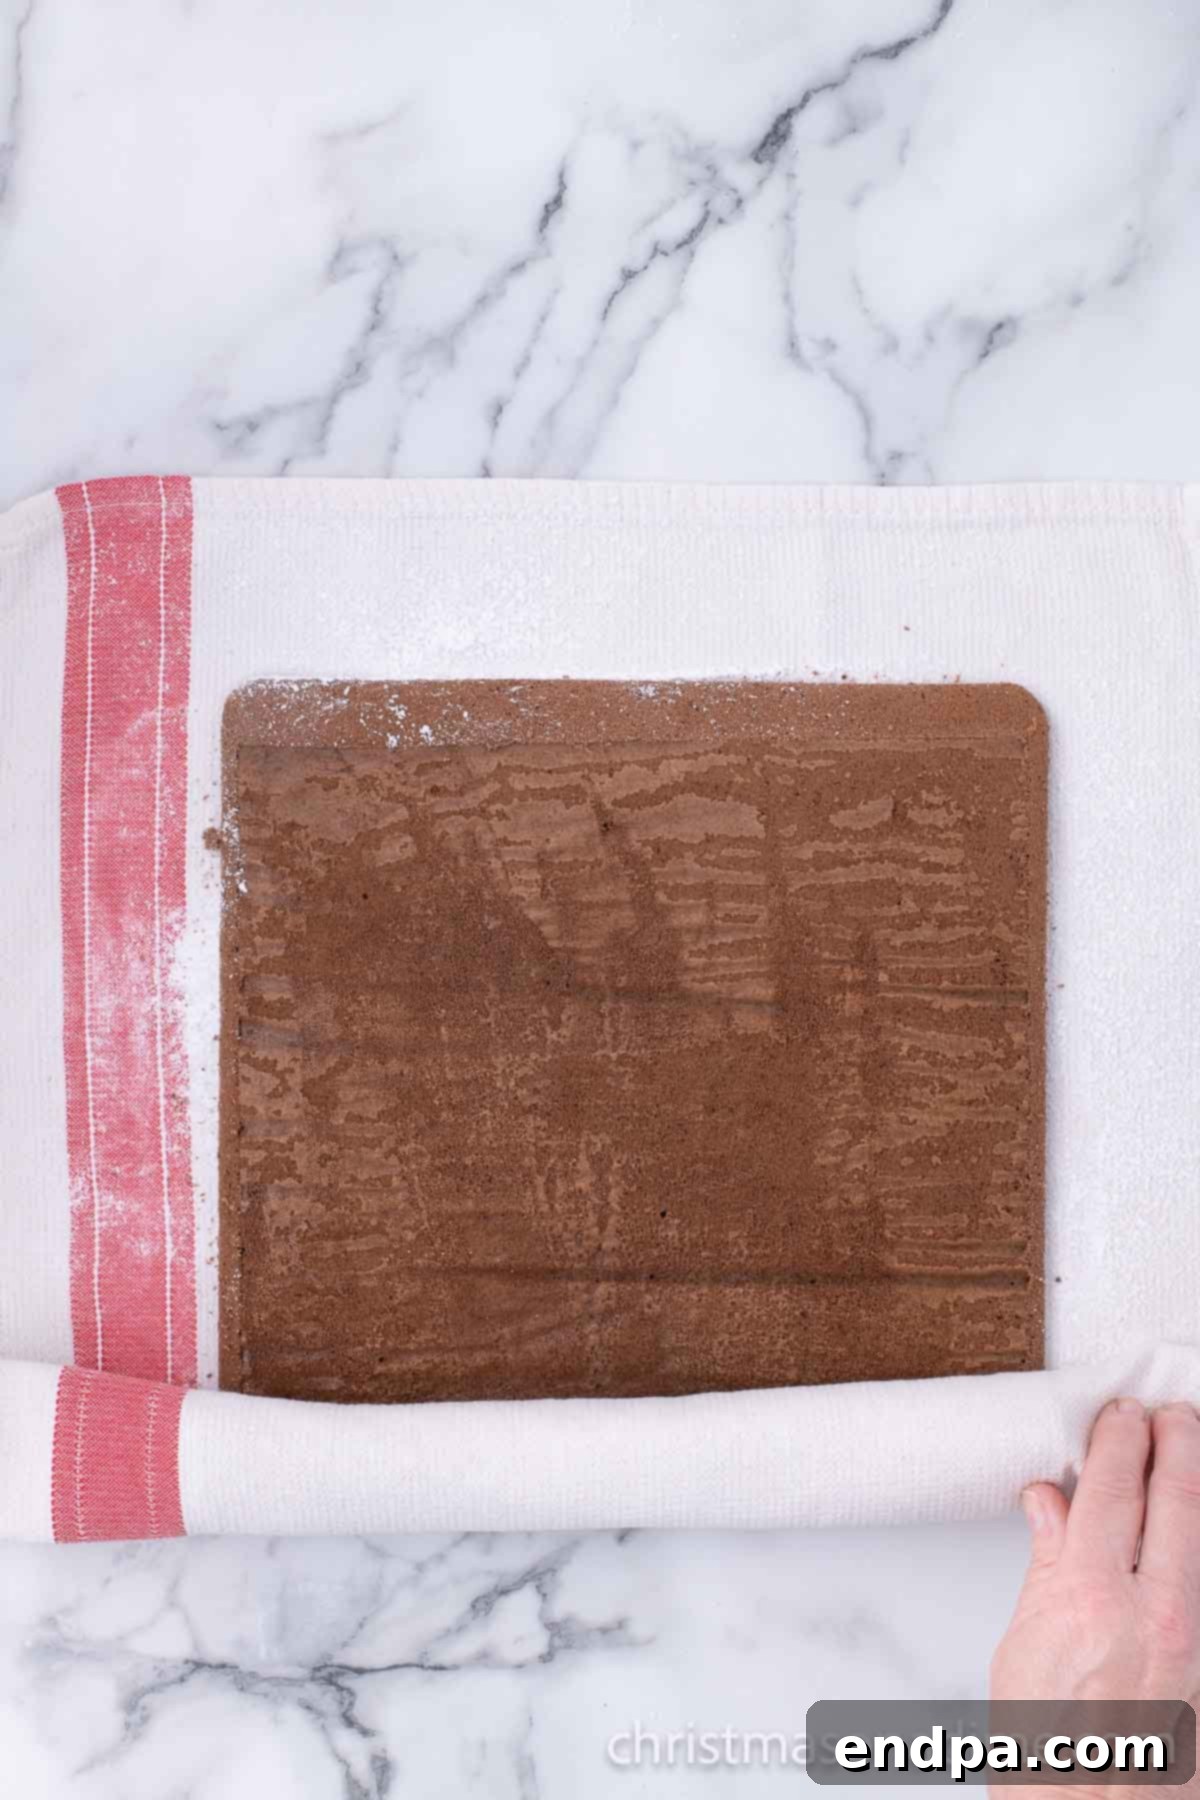
Step 6: Prepare for Rolling. While the cake is still warm from the oven, lay out a clean kitchen towel (free of any fabric softener scent) on a flat surface. Generously sprinkle powdered sugar evenly over the towel. This powdered sugar layer is crucial as it prevents the cake from sticking and aids in the rolling process. Carefully invert the warm cake onto the sugared towel, then gently peel off the parchment paper. If the parchment resists, allow it to cool for an extra minute or two, then try again.
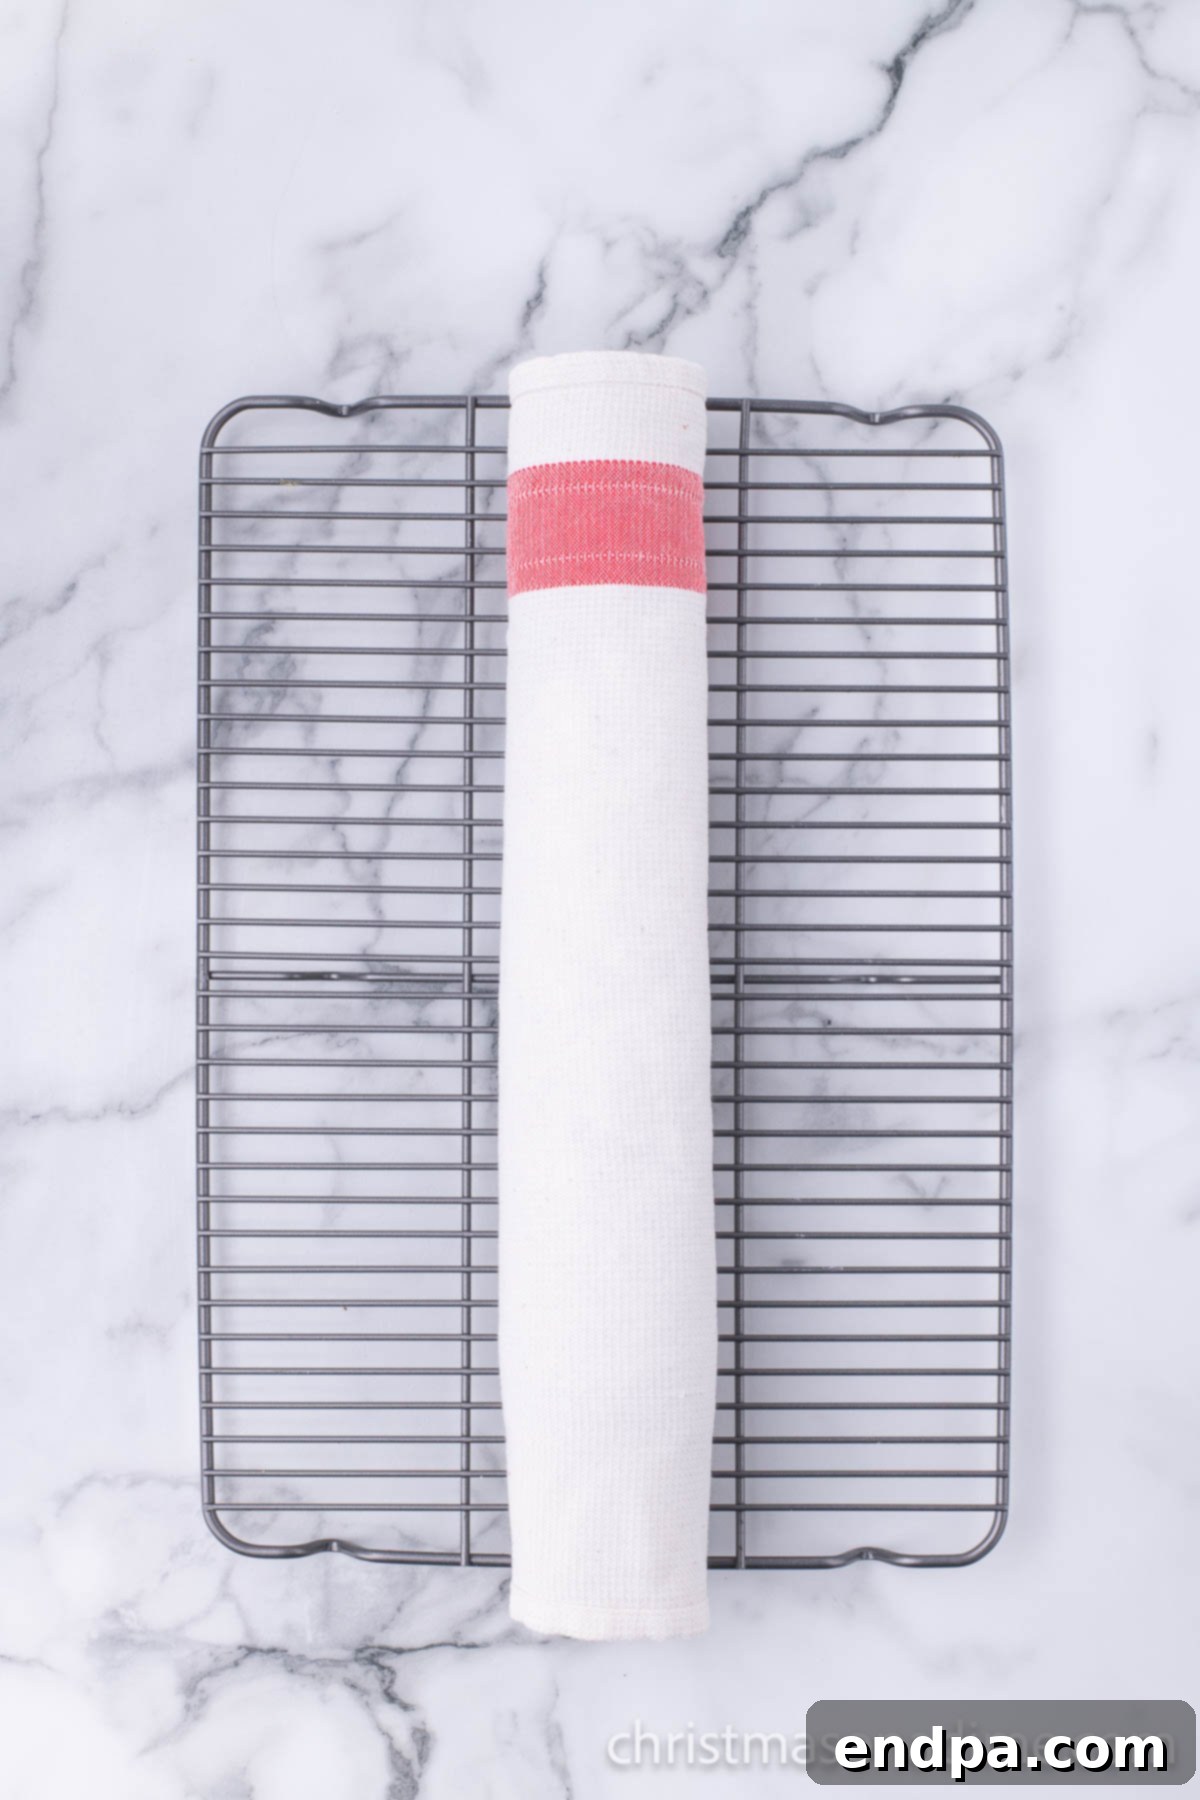
Step 7: The Initial Roll. While the cake is still warm and pliable, carefully roll it up from the short end, along with the towel, into a tight log. This step is incredibly important as it “trains” the cake to hold its spiral shape and significantly reduces the risk of cracking later when you fill and re-roll it. Allow the cake to cool completely in this rolled position, seam-side down, on a wire rack for about an hour. Patience here will be rewarded with a perfect, crack-free roll.
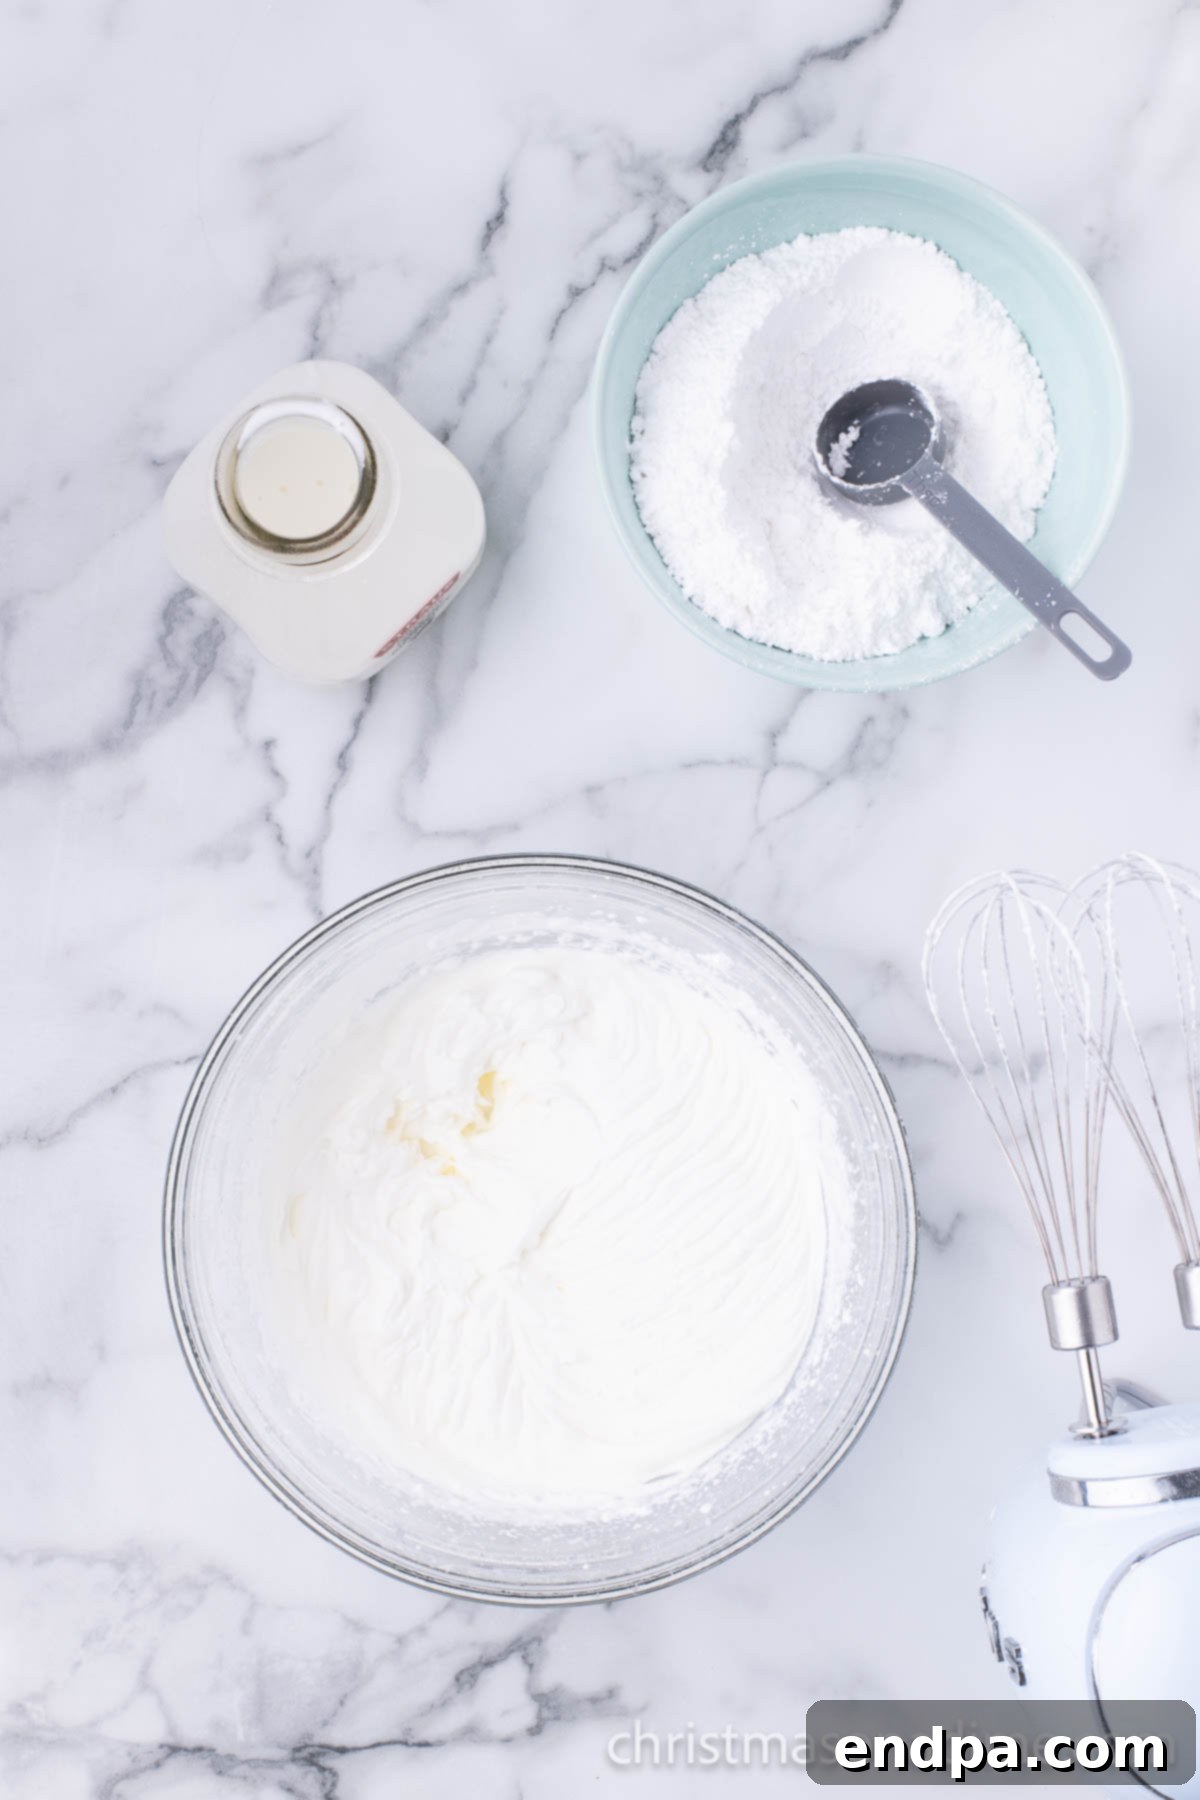
Step 8: Prepare the Cream Filling. While the cake cools, it’s time to prepare the luscious cream filling. Using an electric mixer (either a handheld or stand mixer), whip the cold heavy cream and powdered sugar together. Start on medium speed, then gradually increase to medium-high. Continue whipping until stiff peaks begin to form, which typically takes about 3 to 5 minutes. The cream should be thick and hold its shape. Be careful not to over-whip, or it will turn grainy.
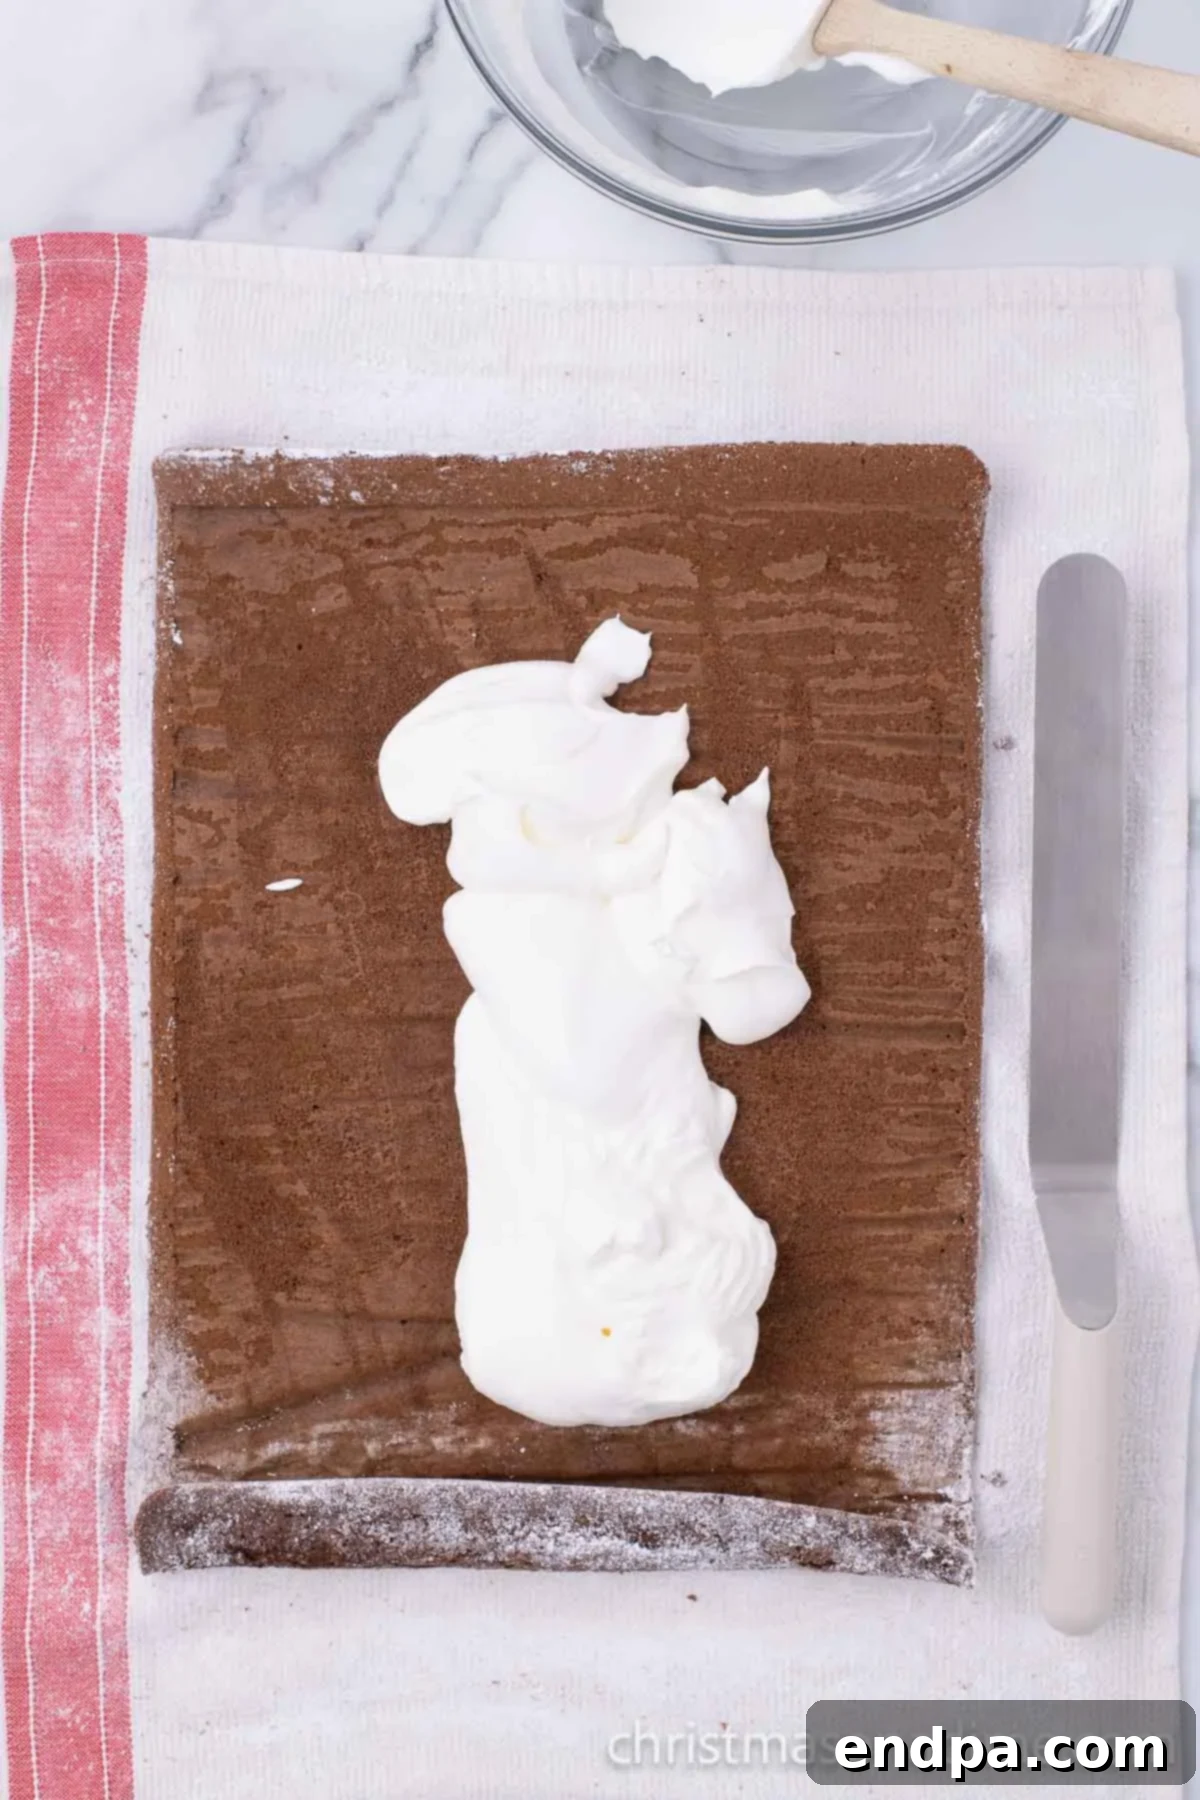
Step 9: Fill the Cake. Once the cake has completely cooled, gently unroll it from the towel. The cake should now hold its shape. Evenly spread the prepared whipped cream all over the top surface of the cake, leaving a small border (about half an inch) around the edges. This prevents the filling from squeezing out excessively when rolled.
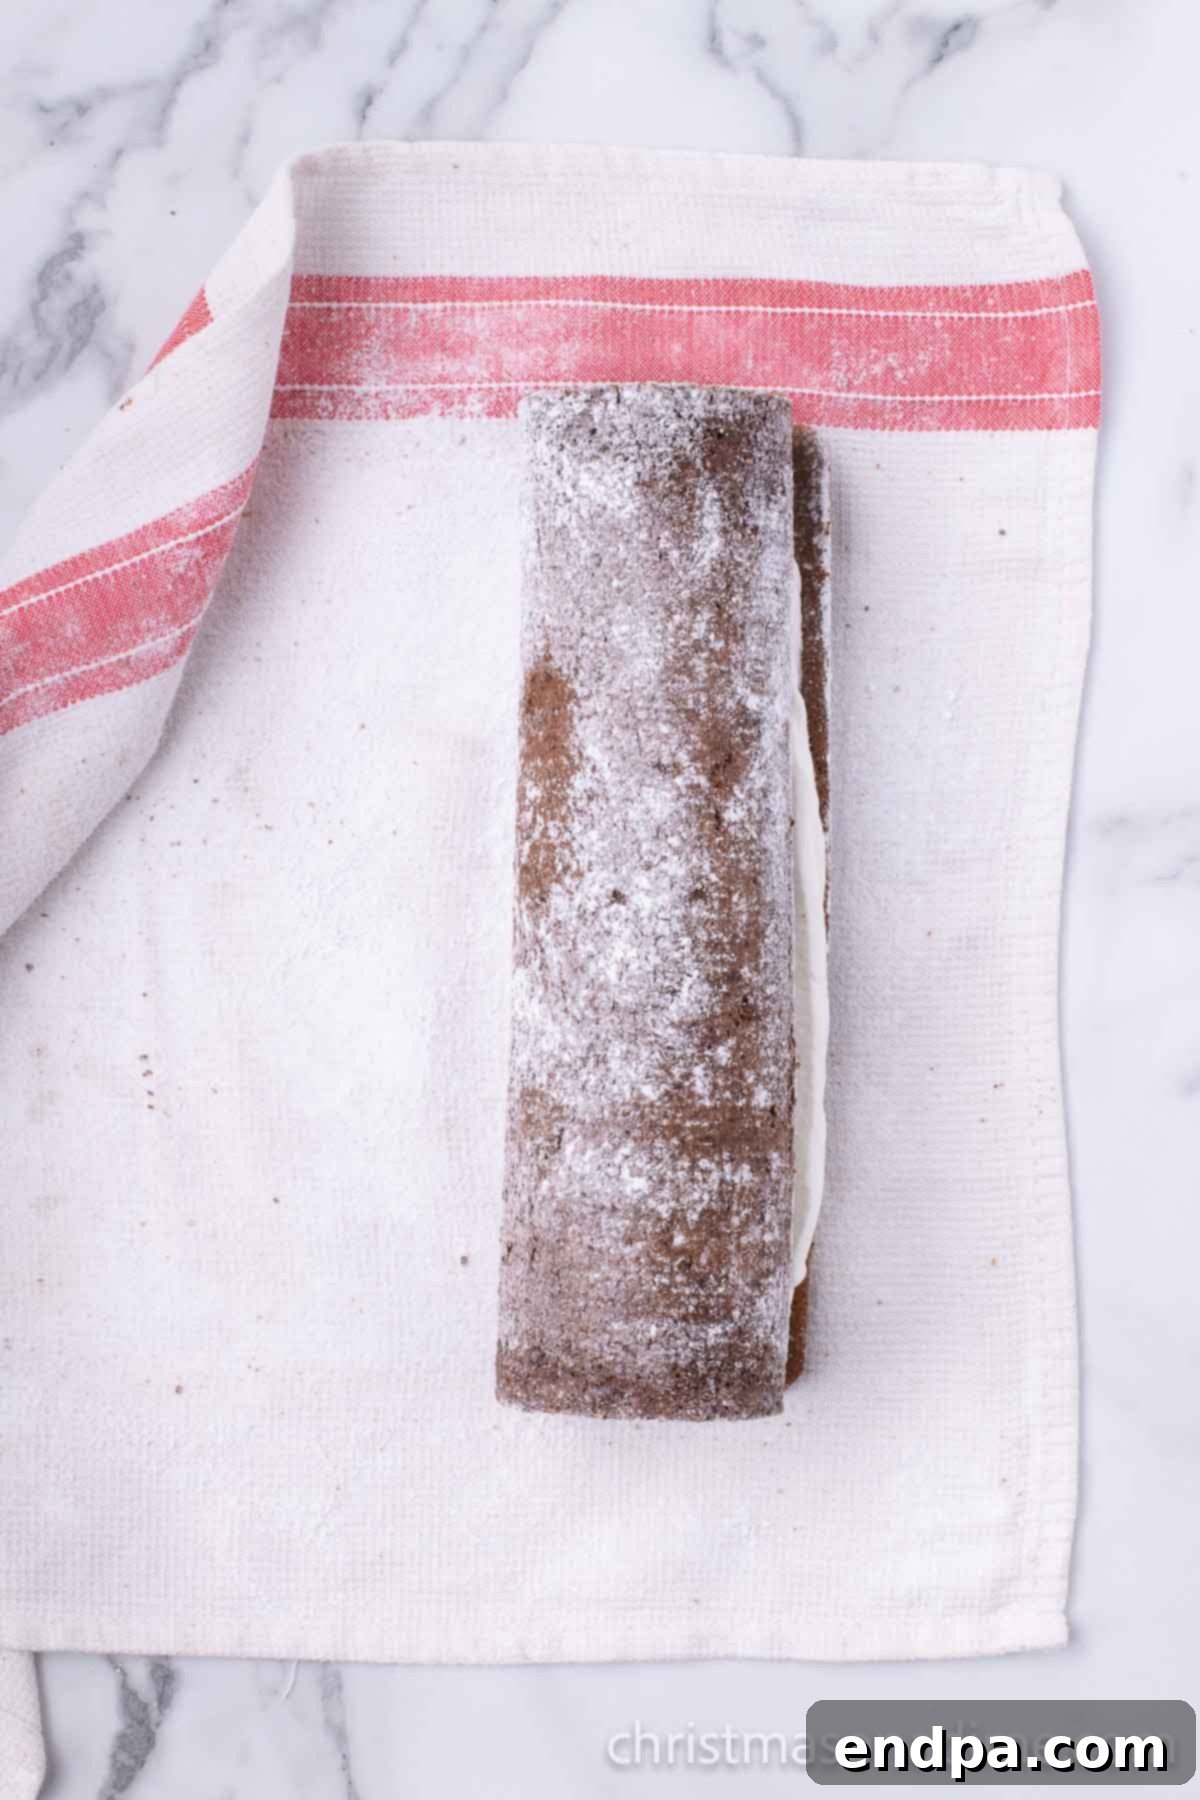
Step 10: The Final Roll. Carefully roll the cake back up, starting from the short end, without the towel this time. Roll it as tightly as possible without squeezing out too much filling. Once rolled, place it seam-side down on a serving platter or a piece of plastic wrap. Set the cake aside while you prepare the glorious chocolate ganache topping. Placing it in the refrigerator briefly at this stage can help the filling set slightly.
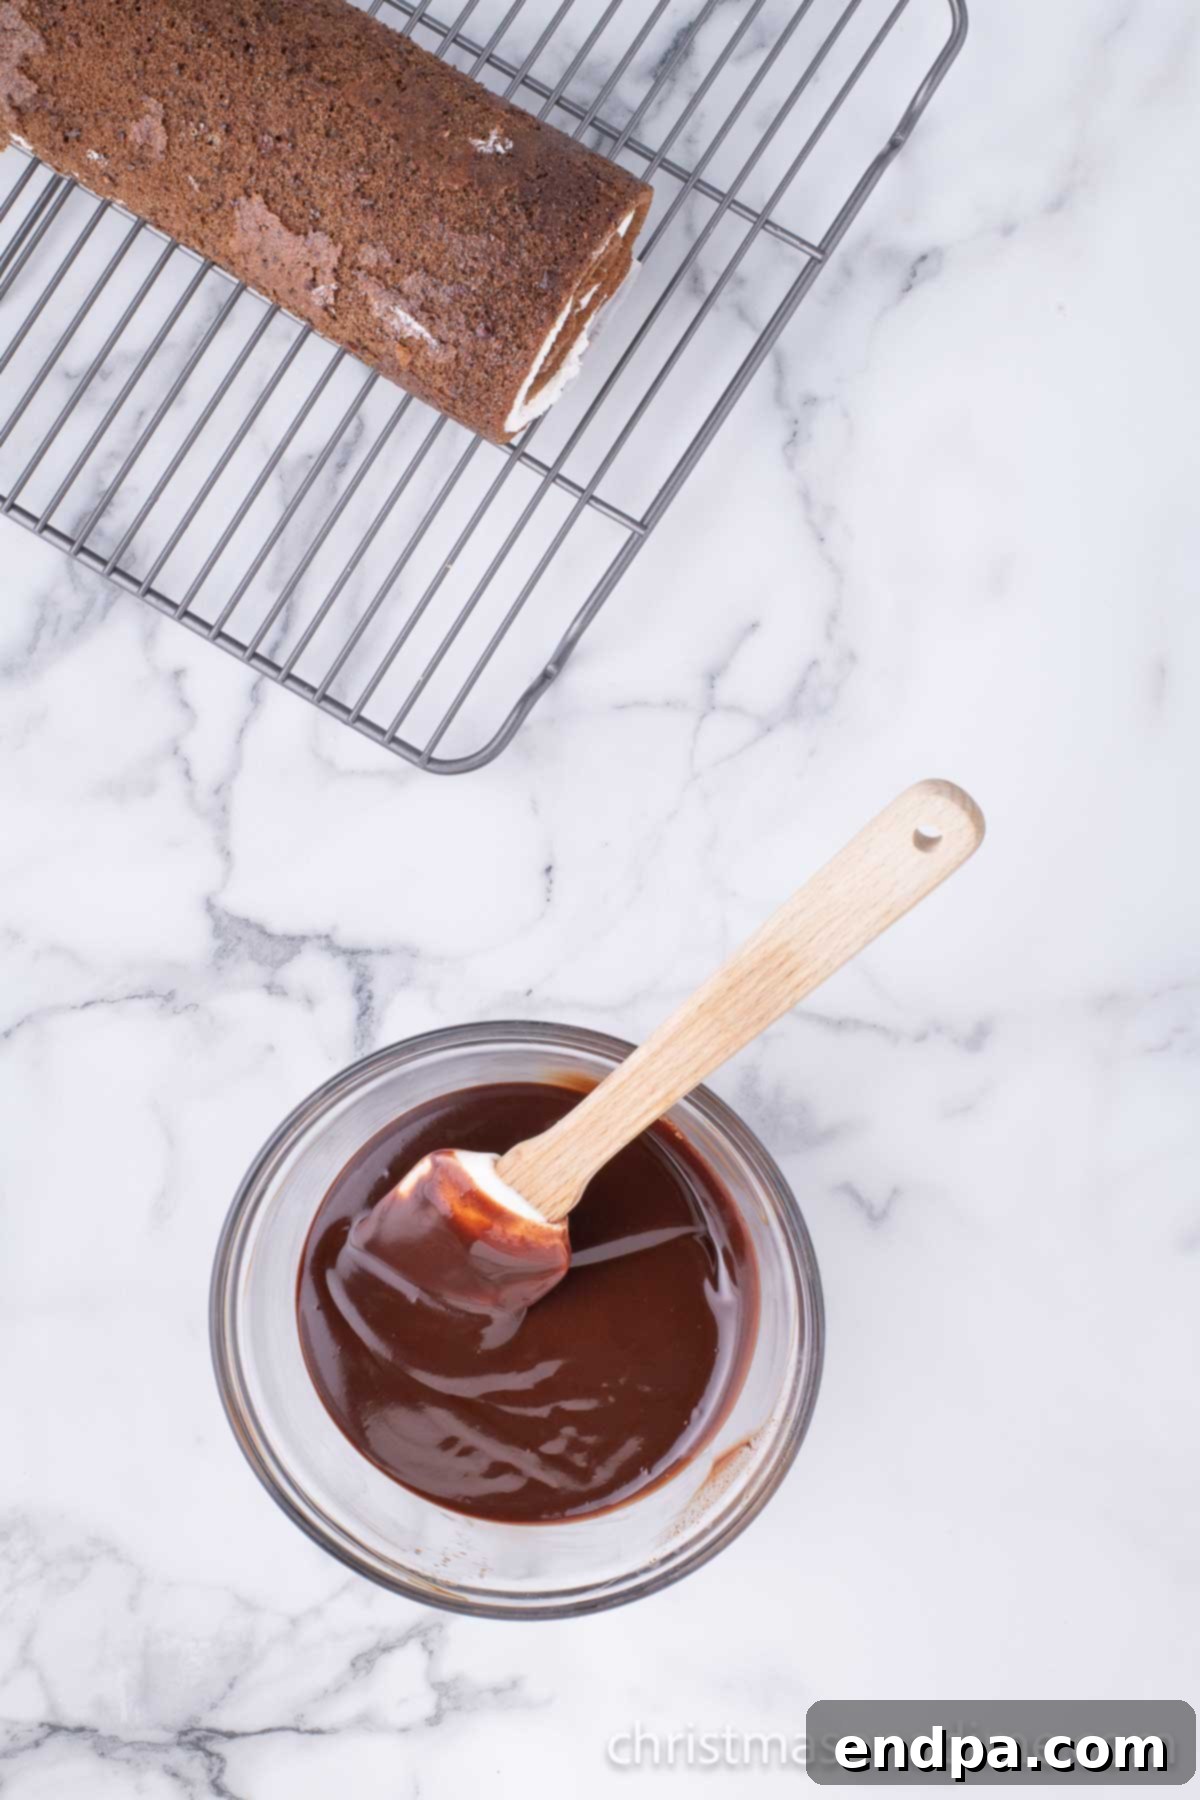
Step 11: Prepare the Chocolate Ganache. In a microwave-safe bowl, combine the semi-sweet chocolate chips and heavy whipping cream. Heat in 30-second intervals, stirring thoroughly after each interval. Continue heating and stirring until the chocolate is completely melted and the mixture is smooth and glossy. This gradual heating prevents the chocolate from scorching. Next, stir in the powdered sugar until fully dissolved. Gradually whisk in the milk, a tablespoon at a time, until the ganache reaches a smooth, pourable consistency that is not too thick or too thin. It should be able to drape beautifully over the cake.
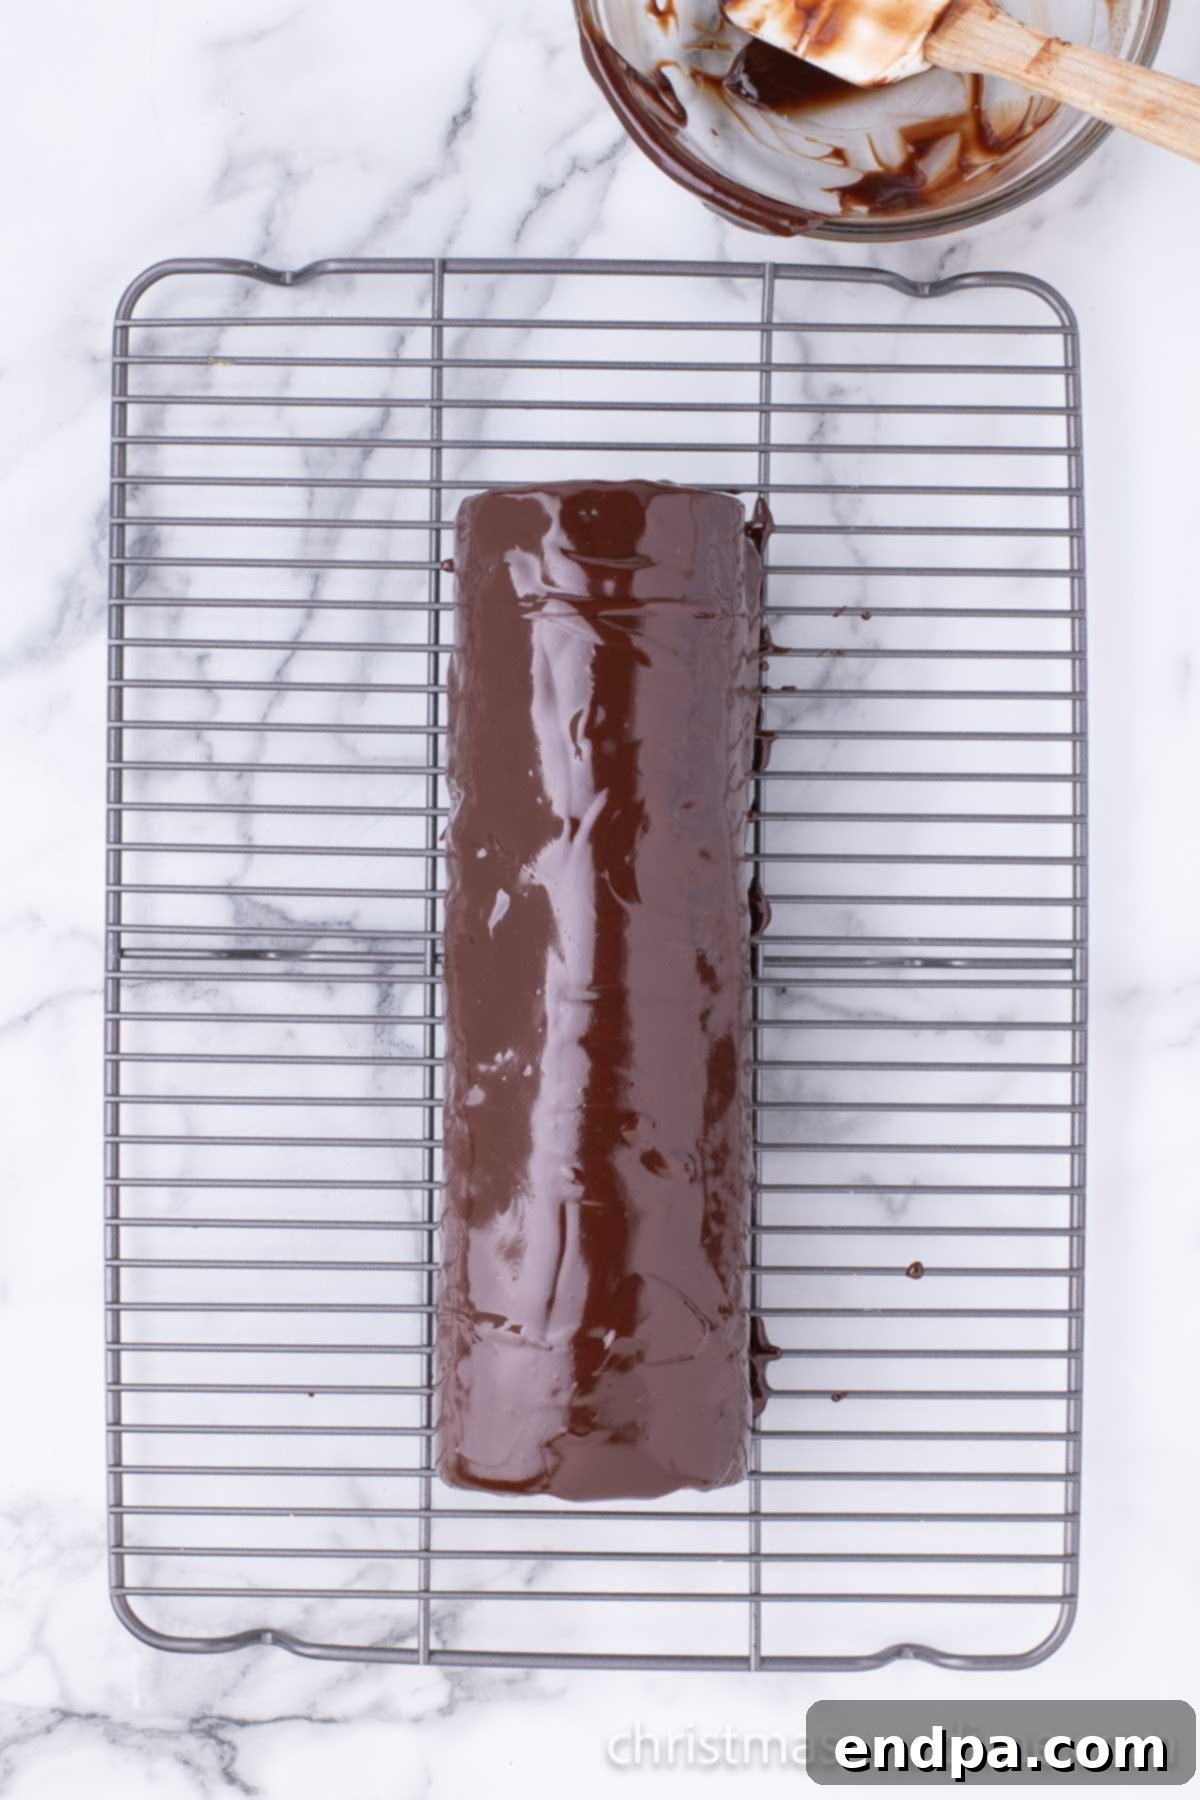
Step 12: Glaze and Chill. Finally, pour the warm, pourable chocolate ganache evenly over the entire top and sides of the rolled cake. Use an offset spatula to gently spread it, ensuring a smooth, uniform coating. Once glazed, refrigerate the cake for at least 20 to 30 minutes. This chilling time is essential for the ganache to set and for the cream filling to firm up, making the cake much easier to slice cleanly and preventing a messy presentation.
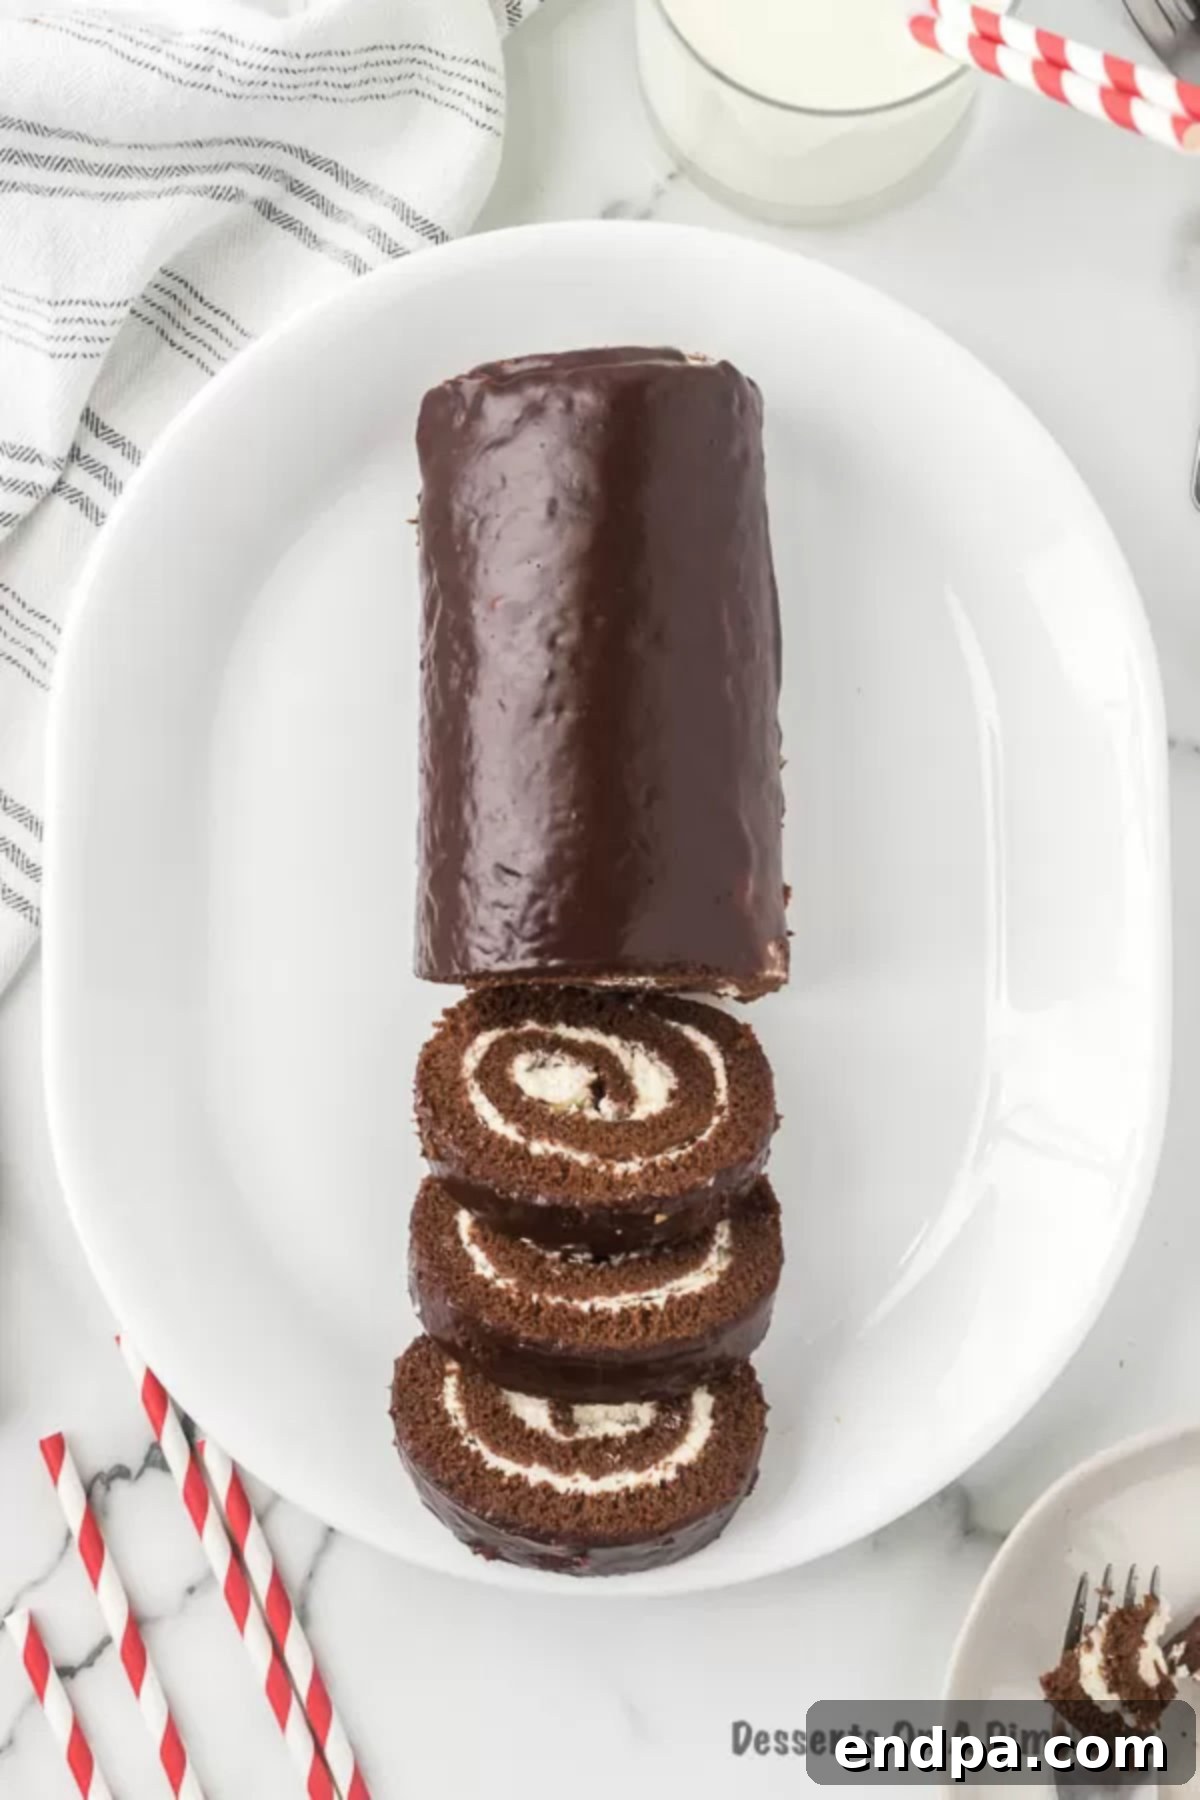
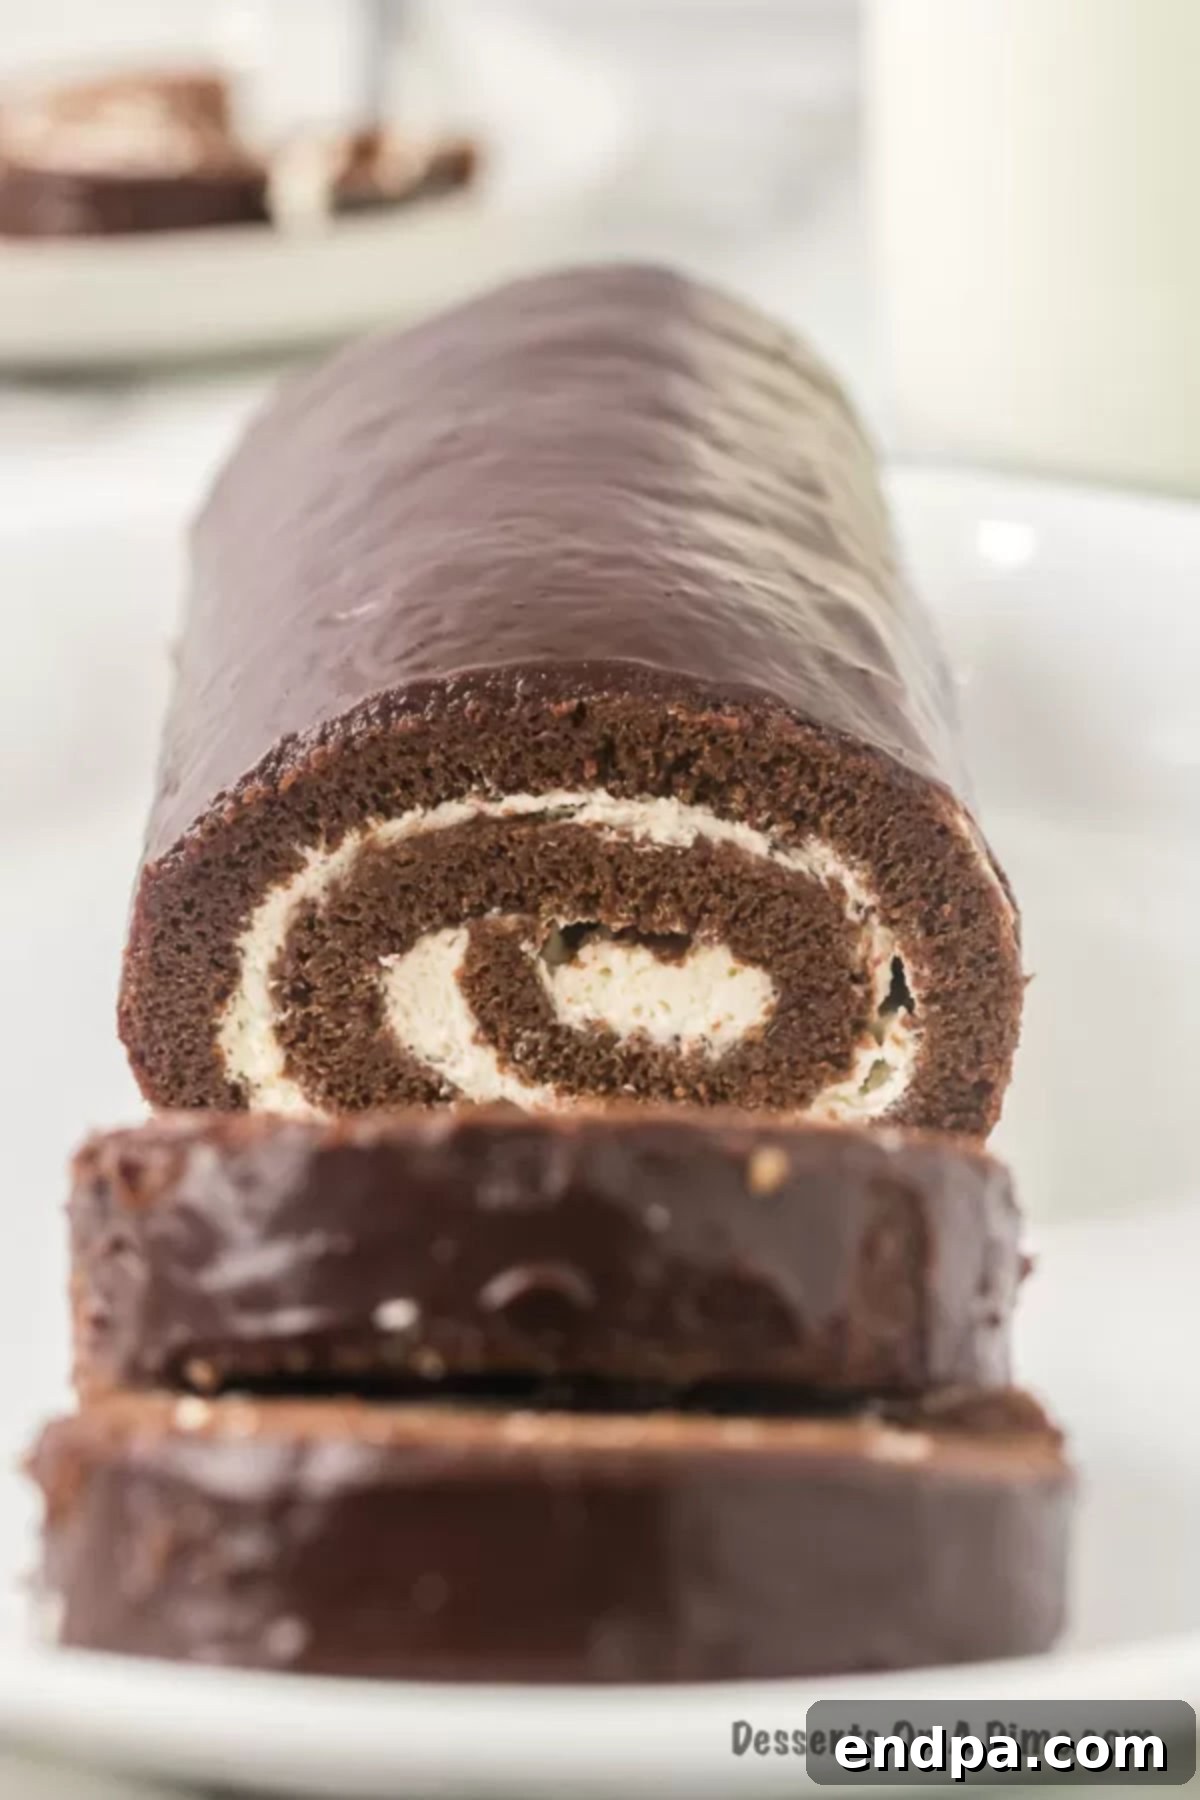
Step 13: Slice and Serve. Once the ganache is set, use a sharp knife (dipped in hot water and wiped clean between slices for the neatest cuts) to slice the Swiss roll into individual portions. Admire the beautiful spiral layers, and then, without further ado, serve and enjoy this decadent homemade chocolate Swiss Roll Cake!
Storage and Make-Ahead Tips
To keep your exquisite Swiss Roll Cake fresh and delicious, proper storage is key. Due to its cream filling, this cake requires refrigeration.
Store any leftover cake in an airtight container in the refrigerator. For maximum freshness, wrap the entire cake or individual slices tightly in plastic wrap, then an additional layer of aluminum foil. This dual-layer protection helps prevent the cake from drying out and absorbing odors from the fridge. Stored this way, your Swiss roll cake will remain fresh and delightful for up to 3 days.
If you’re planning ahead, this cake can also be frozen, which is a fantastic time-saving option for parties or special occasions. For best results when freezing, it is recommended to freeze the cake *before* adding the chocolate ganache topping. Wrap the rolled cake (with its cream filling) very tightly in multiple layers of plastic wrap, followed by a layer of aluminum foil. This helps to prevent freezer burn and maintains the cake’s quality. It can be frozen for up to 2 months.
When you’re ready to serve, transfer the frozen cake to the refrigerator and allow it to thaw overnight. The next day, prepare and apply the chocolate ganache topping as instructed in the recipe. This method ensures that the ganache is fresh, shiny, and perfectly set for a beautiful presentation.
Frequently Asked Questions About Swiss Roll Cakes
When properly stored in an airtight container or tightly wrapped in plastic wrap and foil in the refrigerator, your homemade Swiss roll cake will maintain its optimal freshness and deliciousness for up to 3 days. Beyond that, the cake might start to dry out slightly, and the cream filling may lose some of its pristine texture.
Yes, this cake is an excellent candidate for freezing, making it perfect for preparing in advance. For the best quality, I advise freezing the rolled cake with its cream filling, but *before* applying the chocolate ganache topping. To freeze, wrap the cake securely in plastic wrap, ensuring no air can get in, and then add a layer of aluminum foil for extra protection against freezer burn. It can be stored in the freezer for up to 2 months.
When you’re ready to enjoy it, simply transfer the frozen cake to the refrigerator to thaw overnight. The following day, you can then prepare and pour the fresh ganache topping over the thawed cake. This method ensures the ganache is glossy and vibrant, making it look and taste freshly made.
Cracking is a common concern with Swiss roll cakes, and it’s most often a result of overbaking the sponge cake. An overbaked cake loses moisture and elasticity, making it stiff and brittle, and thus prone to cracking when bent. The key is to bake it just until it springs back to the touch, no longer. Oven temperatures can vary, so it’s always best to rely on visual cues and the touch test rather than just the timer.
If your cake does crack, don’t despair! You can still salvage it. Simply continue with the rolling process as normal. The cream filling and the chocolate ganache topping are excellent at camouflaging any imperfections. A few minor cracks won’t affect the delicious taste, and with a little creative frosting, your cake will still look fantastic. It might take a little extra finesse, but a cracked cake is still a yummy cake!
For optimal results, a jelly roll pan measuring 15x10x1 inches is highly recommended. The specific dimensions of this type of baking sheet are ideal for creating a thin, even layer of cake that has the perfect surface area and thickness for rolling. While a standard sheet pan might look similar, its dimensions can differ, potentially yielding a cake that’s too thick or too small to roll effectively without breaking or being too cumbersome to handle. A proper jelly roll pan ensures your cake is flexible and easy to manage throughout the rolling process.
Expert Baking Tips for Swiss Roll Perfection
Achieving a flawless Swiss roll cake is easier with a few insider tricks. Keep these expert tips in mind for a truly spectacular dessert:
- Choose the Right Jelly Roll Pan: For the very best results, always use a true 15×10-inch jelly roll pan. While it might resemble a standard sheet pan, its specific dimensions are crucial. The shallower depth and larger surface area ensure your cake bakes into a thin, even layer that remains flexible enough to roll without tearing. Using a pan that’s too small or too deep can result in a cake that’s too thick or too small, making rolling difficult and increasing the risk of cracks.
- Never Skip Lining the Pan: This step is paramount for a successful Swiss roll. Always line your baking pan with parchment paper, allowing an overhang on the sides to create “handles.” Then, lightly spray the parchment paper with cooking spray. This dual approach not only prevents the delicate cake from sticking to the pan but also provides a sturdy base to gently lift and transfer the warm cake, significantly simplifying the removal and initial rolling process.
- Avoid Overbaking at All Costs: This is arguably the most critical tip for preventing cracks. The cake should be baked just until the center springs back gently when lightly touched, and the edges are just barely set. Ovens can vary widely, so don’t solely rely on the timer; keep a close watch on your cake. An overbaked cake will be dry, crumbly, and lose its essential elasticity, making it highly susceptible to cracking when you attempt to roll it.
- Roll the Cake While Still Warm: The moment the cake comes out of the oven, it’s at its most flexible. Do not delay in inverting it onto your sugared towel and performing the initial roll. This “training” step is fundamental in teaching the cake to hold its spiral shape as it cools. Rolling it warm ensures it bends without resistance, setting the foundation for a perfectly shaped, crack-free Swiss roll once filled.
- Refrigerate Before Serving: Once your Swiss roll is filled and covered with ganache, give it ample time in the refrigerator (at least 20-30 minutes, or longer) before slicing. This chilling period allows both the cream filling and the chocolate ganache to firm up and set properly. The result? Beautifully clean, defined layers when you slice the cake, creating that stunning, professional presentation you desire.
- Melt Chocolate in Careful Intervals: When preparing your chocolate ganache, resist the temptation to microwave the chocolate chips and cream all at once. Instead, heat them in short, 30-second intervals, stirring thoroughly after each one. This method is crucial to prevent the chocolate from scorching, clumping, or seizing, ensuring you achieve a perfectly smooth, glossy, and pourable ganache every time.
- Ensure the Cake Cools Completely Before Filling: After the initial warm roll and cooling period, it’s absolutely vital that the cake is completely cool to the touch before you unroll it and add the cream filling. This usually takes about an hour. Rushing this step will lead to a melted, runny filling that will compromise the structure and appearance of your Swiss roll. Patience here guarantees a stable and delicious result.
- Trim the Edges for a Polished Look: For a truly professional and clean presentation, consider trimming a small amount off both ends of your baked and rolled cake before serving. This reveals the beautiful, neat spiral of the layers, instantly elevating the aesthetic appeal of your homemade Swiss roll.
- Utilize Room Temperature Ingredients: For the cake batter, ensure that ingredients like eggs and butter are at room temperature. This is not just a suggestion; it’s a technique that significantly impacts the final texture. Room temperature ingredients emulsify more effectively, creating a smoother, more uniform batter. This leads to a finer crumb, better rise, and ultimately, a more tender and pliable cake that’s ideal for rolling.
- Sift Dry Ingredients: For an even lighter and lump-free cake, always sift your cocoa powder, flour, and baking powder together before combining with the wet ingredients. This aerates the dry components and ensures they are evenly distributed, contributing to a consistently tender crumb.
Explore More Irresistible Chocolate Cake Recipes
If you’ve fallen in love with the rich flavors of this Swiss Roll Cake, you’re in for a treat! The world of chocolate desserts is vast and wonderful. Here are some more decadent chocolate cake recipes that are sure to satisfy your cravings:
- Chocolate Cherry Dump Cake: An incredibly easy and flavorful cake that combines the rich taste of chocolate with sweet, tart cherries. Perfect for a quick dessert.
- Easy Chocolate Icebox Cake: A no-bake wonder that layers chocolate cookies and whipped cream for a surprisingly elegant and refreshing dessert.
- Chocolate Bundt Cake Recipe: A moist and impressive chocolate cake baked in a decorative Bundt pan, often finished with a simple glaze or dusting of powdered sugar.
- The Best Chocolate Poke Cake: A super moist cake infused with a sweet, rich sauce that “pokes” its way into every bite, creating an extra tender and flavorful experience.
Now it’s your turn to embark on this delightful baking adventure! This luscious homemade Swiss roll recipe promises a rewarding experience and a dessert that will earn rave reviews. Once you’ve tried it, please don’t forget to come back and leave a star rating and a comment to share your experience with everyone!
Pin
Swiss Roll Cake
Ingredients
For the Chocolate Cake:
- ¼ cup Unsweetened Cocoa Powder
- ½ cup Flour
- 1 tsp Baking Powder
- ½ tsp Salt
- 4 Large Eggs
- ½ cup Sugar
- 2 Tbsp Unsalted Butter melted
- ½ tsp Vanilla
- ½ cup Powdered Sugar – For Rolling the cake
For the Cream Filling:
- 1 cup Heavy Whipping Cream
- 3 Tbsp Powdered Sugar
For the Chocolate Ganache Topping:
- ½ cup Semi-Sweet Chocolate Chips
- ½ cup Heavy Whipping Cream
- ¼ cup Powdered Sugar
- 2-3 Tbsp Milk
Instructions
- Preheat the oven to 350 degrees F (175°C). Line a 15×10-inch baking sheet with parchment paper, extending slightly over the edges, and spray the paper with a non-stick cooking spray.
- In a large bowl, whisk together the cocoa powder, flour, baking powder, and salt until well combined and lump-free.
- In a separate bowl, whisk together the room temperature eggs and granulated sugar until the mixture is light, fluffy, and pale. Then, gently whisk in the melted butter and vanilla extract until just combined.
- Gradually stir the dry ingredients (flour mixture) into the wet ingredients (egg mixture) by hand with a spatula. Mix until just combined, being careful not to overmix to maintain a tender cake.
- Pour the batter onto the prepared baking sheet and use a spatula to spread it evenly to the edges. Bake for 11-13 minutes, or until the center of the cake springs back when gently touched.
- Lay a clean kitchen towel on your counter and generously sprinkle it with powdered sugar. Immediately invert the warm cake onto the sugared towel, then carefully peel off the parchment paper. Starting from a short end, roll up the cake along with the towel into a tight log. This helps the cake cool in its final shape. Let it cool completely on a wire rack for about 1 hour.
- To make the filling, use an electric mixer (handheld or stand mixer) to whip the cold heavy cream and powdered sugar on medium-high speed until stiff peaks form, usually within 3-5 minutes.
- Once the cake is fully cooled, gently unroll it from the towel. Spread the whipped cream filling evenly over the entire top surface of the cake, leaving a small border.
- Carefully roll the cake back up without the towel, starting from the short end, creating a neat spiral. Place it seam-side down on a serving platter or plastic wrap and set aside while you prepare the ganache.
- For the ganache, combine the chocolate chips and heavy whipping cream in a microwave-safe bowl. Heat in 30-second intervals, stirring well after each, until the chocolate is completely melted and smooth.
- Stir the powdered sugar into the melted chocolate mixture. Gradually whisk in the milk, a tablespoon at a time, until the ganache reaches a smooth, pourable consistency.
- Pour the warm chocolate ganache evenly over the top of the rolled cake, spreading it gently to cover the sides. Refrigerate for 20-30 minutes to allow the chocolate to set.
- Once set, slice the Swiss roll with a sharp knife (wiped clean between cuts) and serve immediately. Enjoy your homemade masterpiece!
Nutrition Facts
Pin This Now to Remember It Later
Pin Recipe
