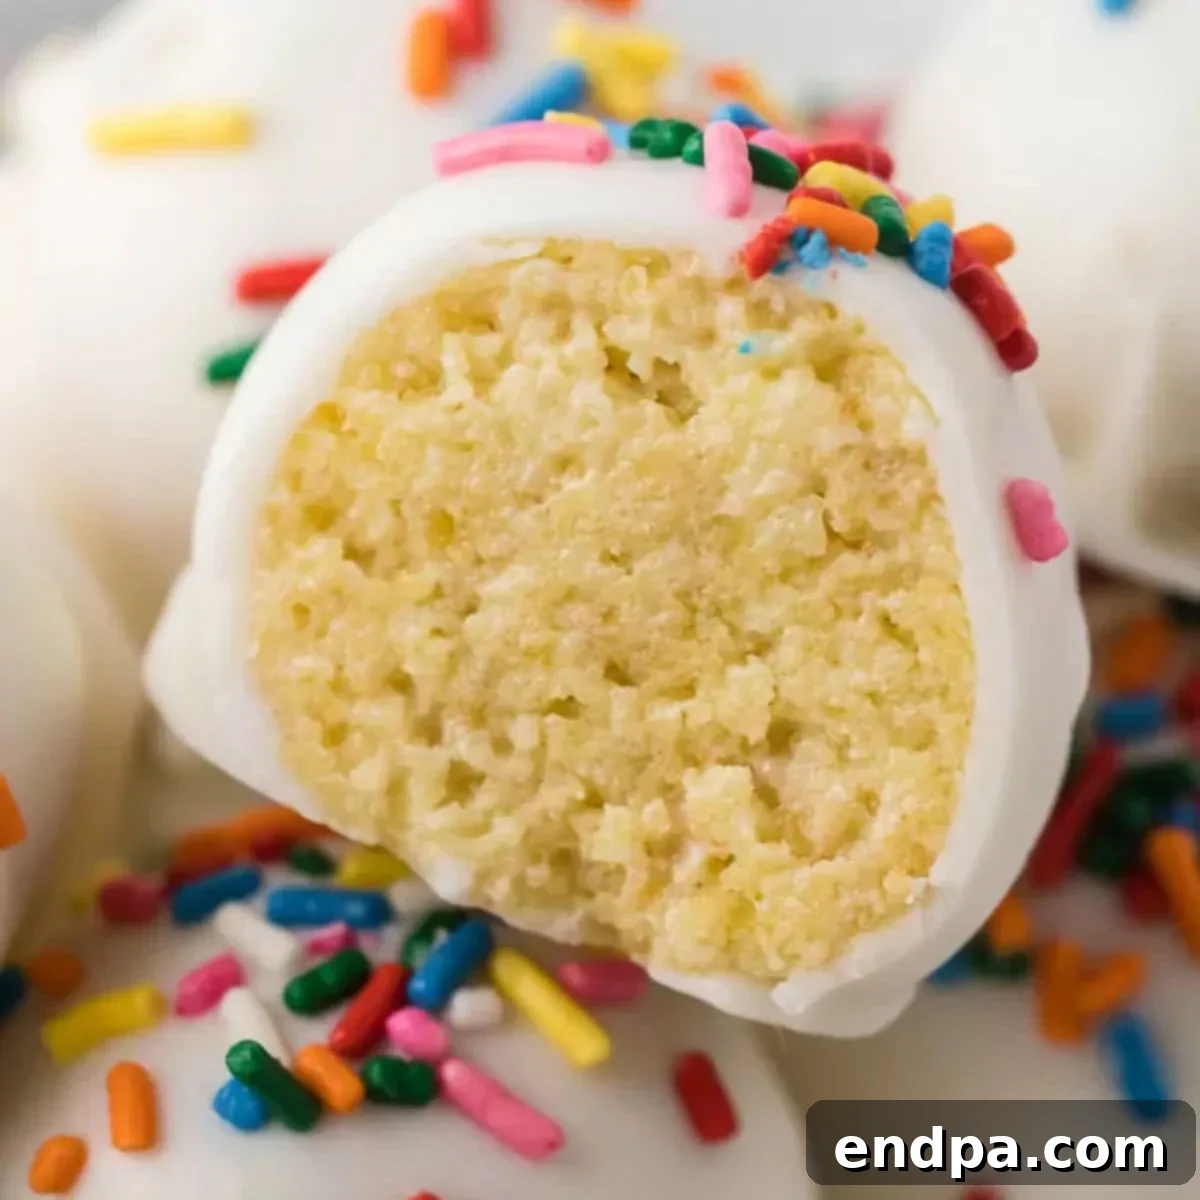
Delicious & Easy Vanilla Cake Balls Recipe: The Perfect Bite-Sized Treat
Delight in the simplicity and sweetness of our Vanilla Cake Balls Recipe, an incredibly easy dessert that promises to be a hit at any gathering or a perfect treat for a quiet evening. These delightful bite-sized confections start with a moist vanilla cake, blended with creamy frosting, and then coated in a smooth candy shell before being adorned with festive sprinkles. With minimal ingredients and straightforward steps, you can create a batch of these irresistible cake balls that taste simply amazing. Forget complicated baking; this recipe is designed for fun, flavor, and effortless enjoyment.
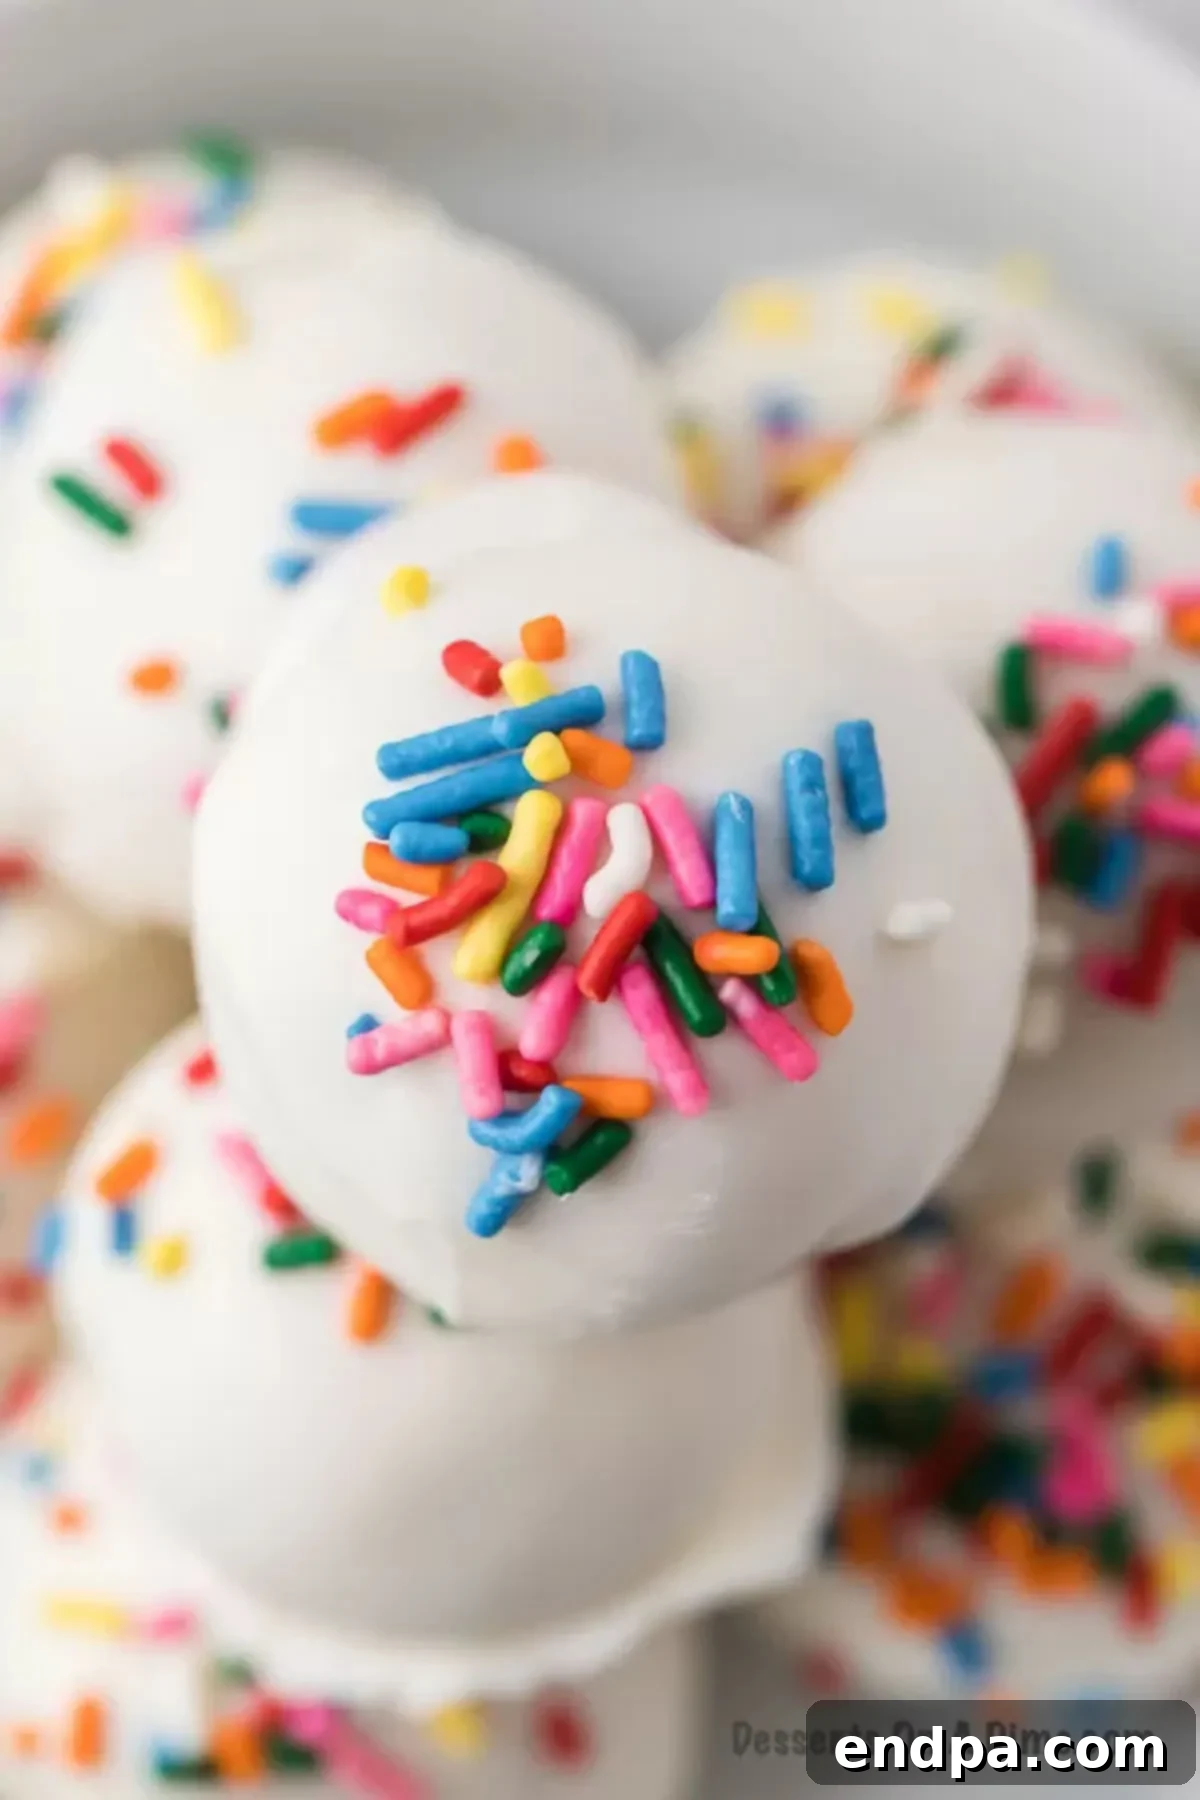
Cake balls are celebrated for their playful nature and incredible versatility. They are wonderfully simple to prepare, making them an ideal dessert to whip up anytime you crave something sweet without spending hours in the kitchen. Our Vanilla Cake Balls have quickly become a cherished family favorite, known for their tender crumb, rich vanilla flavor, and charming appearance. If you’re a fan of classic vanilla desserts, you might also enjoy other delightful Vanilla Desserts like our Easy Vanilla Fudge Recipe. For those looking to elevate their dessert game for special occasions, adapting this recipe into Cake Pops adds an extra touch of elegance perfect for baby showers, birthday parties, and festive celebrations.
Table of Contents
- Why You’ll Adore This Vanilla Cake Ball Recipe
- What Exactly Are Cake Balls? A Sweet Explanation
- Essential Ingredients for Your Vanilla Cake Balls
- Step-by-Step Guide: How to Make Irresistible Vanilla Cake Balls
- Expert Tips & Tricks for Perfect Cake Balls
- Endless Possibilities: Additions & Substitutions
- Frequently Asked Questions (FAQs) About Cake Balls
- Discover More Delicious Dessert Ball Recipes
Why You’ll Adore This Vanilla Cake Ball Recipe
There are countless reasons to fall in love with these delightful vanilla cake balls. They are the epitome of convenience and charm, making them a go-to treat for any occasion. Here’s why they stand out as a beloved dessert:
- Perfect Portion Control: Each cake ball is a perfectly sized, satisfying bite, ideal for when you’re craving just a touch of something sweet without overindulging. They’re great for parties, as guests can easily grab and enjoy them.
- Last-Minute Party Savior: Need a quick and impressive dessert for an unexpected gathering? Cake balls come to the rescue! Their simple preparation makes them an excellent last-minute treat that looks far more intricate than it is.
- Festive & Fun: Sprinkles instantly transform these cake balls into a vibrant, festive dessert. You can customize the colors and shapes of sprinkles to match any holiday, party theme, or personal preference, adding a playful touch that appeals to all ages.
- Kid-Friendly Activity: This recipe is incredibly fun for children to help with, especially the crumbling and mixing steps. It’s a fantastic way to get them involved in the kitchen, fostering creativity and a love for baking.
- Versatile & Customizable: Beyond sprinkles, cake balls offer endless possibilities for customization. You can easily adapt flavors, coatings, and decorations to suit any event, making them a truly flexible dessert.
What Exactly Are Cake Balls? A Sweet Explanation
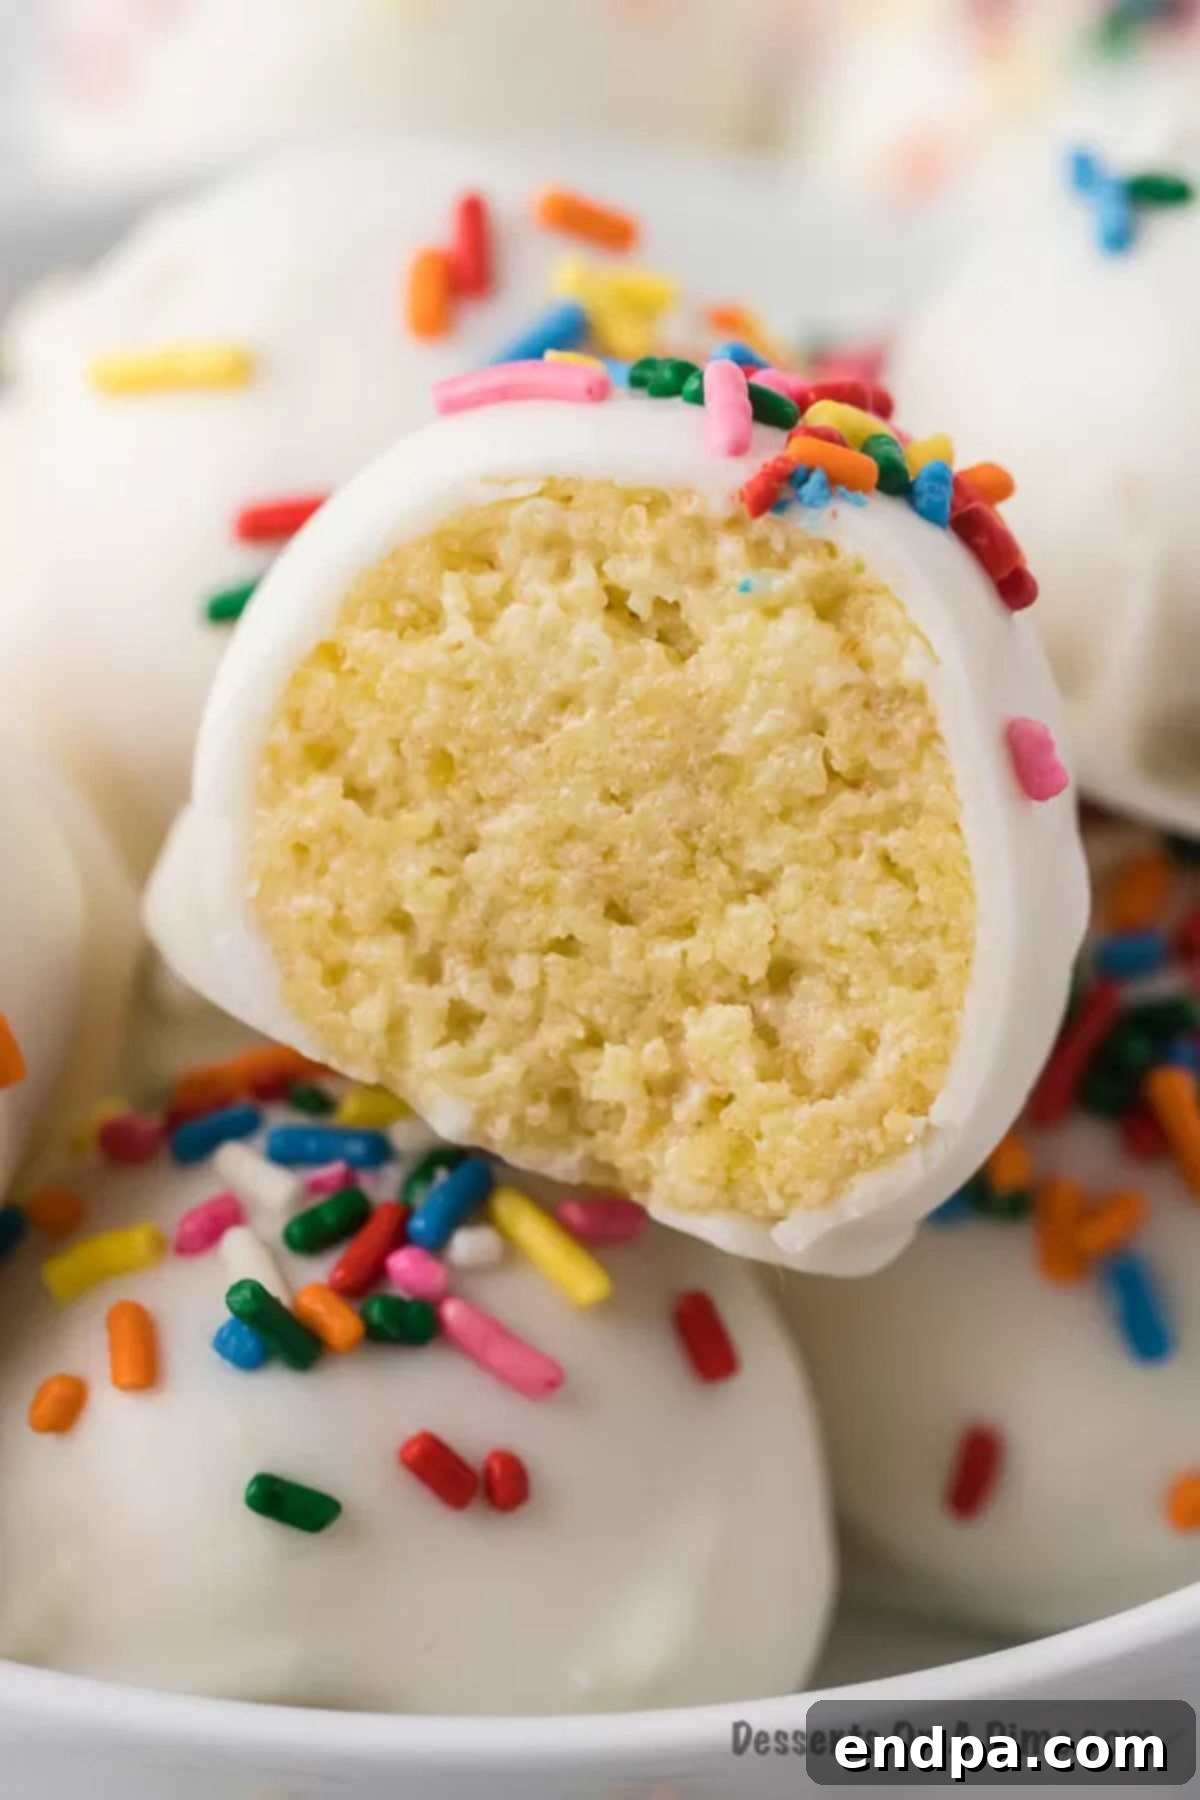
Cake balls are miniature, bite-sized desserts crafted from crumbled cake mixed with frosting, then typically chilled, shaped into spheres, and coated in a candy melt or chocolate shell. They represent a clever and delicious way to repurpose leftover cake, transforming it into a completely new and exciting treat. The magic happens when the moist cake crumbs combine with the rich, creamy frosting, creating a dense, truffle-like consistency that’s intensely flavorful and satisfying.
Unlike their stick-wielding cousins, cake pops, cake balls are served without a stick, making them an ideal finger food for platters and dessert buffets. The process of crumbling the cake and blending it with frosting is often a favorite part for kids, turning dessert preparation into a fun, tactile experience. This unique combination yields a sweet treat that’s not only incredibly tasty but also highly versatile. You can even store them in the freezer for a refreshing cold dessert whenever a sweet craving strikes.
The beauty of cake balls lies in their simplicity and ability to breathe new life into any cake. Whether it’s a store-bought mix or a homemade creation, any cake can be transformed into these delightful morsels, offering a wonderfully decadent and perfectly portioned dessert experience.
Essential Ingredients for Your Vanilla Cake Balls
Creating these delightful vanilla cake balls requires just a few key ingredients, most of which you likely already have in your pantry. The quality of each component contributes to the overall flavor and texture of your finished treat. Here’s a detailed look at what you’ll need:
- Cake Mix: The foundation of our cake balls. We recommend a classic vanilla cake mix for its versatile flavor profile, but feel free to experiment with other varieties. Remember to also gather the supplementary ingredients (such as eggs, oil, and water) needed to prepare the cake batter according to the box instructions. Using a box mix simplifies the process significantly, ensuring a consistent and reliably delicious cake base every time.
- Frosting: This is the binding agent and flavor enhancer that transforms your crumbled cake into a malleable, delicious dough. While vanilla frosting perfectly complements the vanilla cake, you have a world of options. Cream cheese frosting adds a tangy richness, chocolate frosting deepens the flavor, or you could even use a fruit-flavored frosting for a different twist. Choose a good quality frosting, as it significantly impacts the final taste and moisture.
- Vanilla Almond Bark: Almond bark is an excellent choice for coating cake balls because it melts incredibly smoothly and sets quickly, creating a crisp, appealing shell. Its vanilla flavor perfectly harmonizes with the cake. If almond bark isn’t available, high-quality white chocolate melting wafers or even tempered white chocolate can be used. Ensure whatever coating you choose is specifically designed for melting and dipping for the best results.
- Sprinkles: These are primarily for decoration but add a lovely pop of color and a slight textural crunch. The choice of sprinkles is entirely up to your creativity! Use classic rainbow sprinkles for a cheerful look, holiday-themed sprinkles for seasonal celebrations, or specific colors to match a party scheme. Nonpareils, jimmies, or even edible glitter can elevate the appearance of your cake balls.
The exact quantities for this recipe, designed to yield a generous batch, are provided in the comprehensive recipe card located at the bottom of this page.
Step-by-Step Guide: How to Make Irresistible Vanilla Cake Balls
Making vanilla cake balls is a straightforward and enjoyable process. Follow these simple steps to create your delicious, bite-sized treats:
- Step 1: Make the Cake – Begin by preparing your vanilla cake batter according to the instructions on the box. Pour the batter into a 9×13 inch baking pan and bake as directed. Allow the cake to cool completely at room temperature once baked. This is a crucial step; a warm cake will melt the frosting and make the mixture too soft to handle.
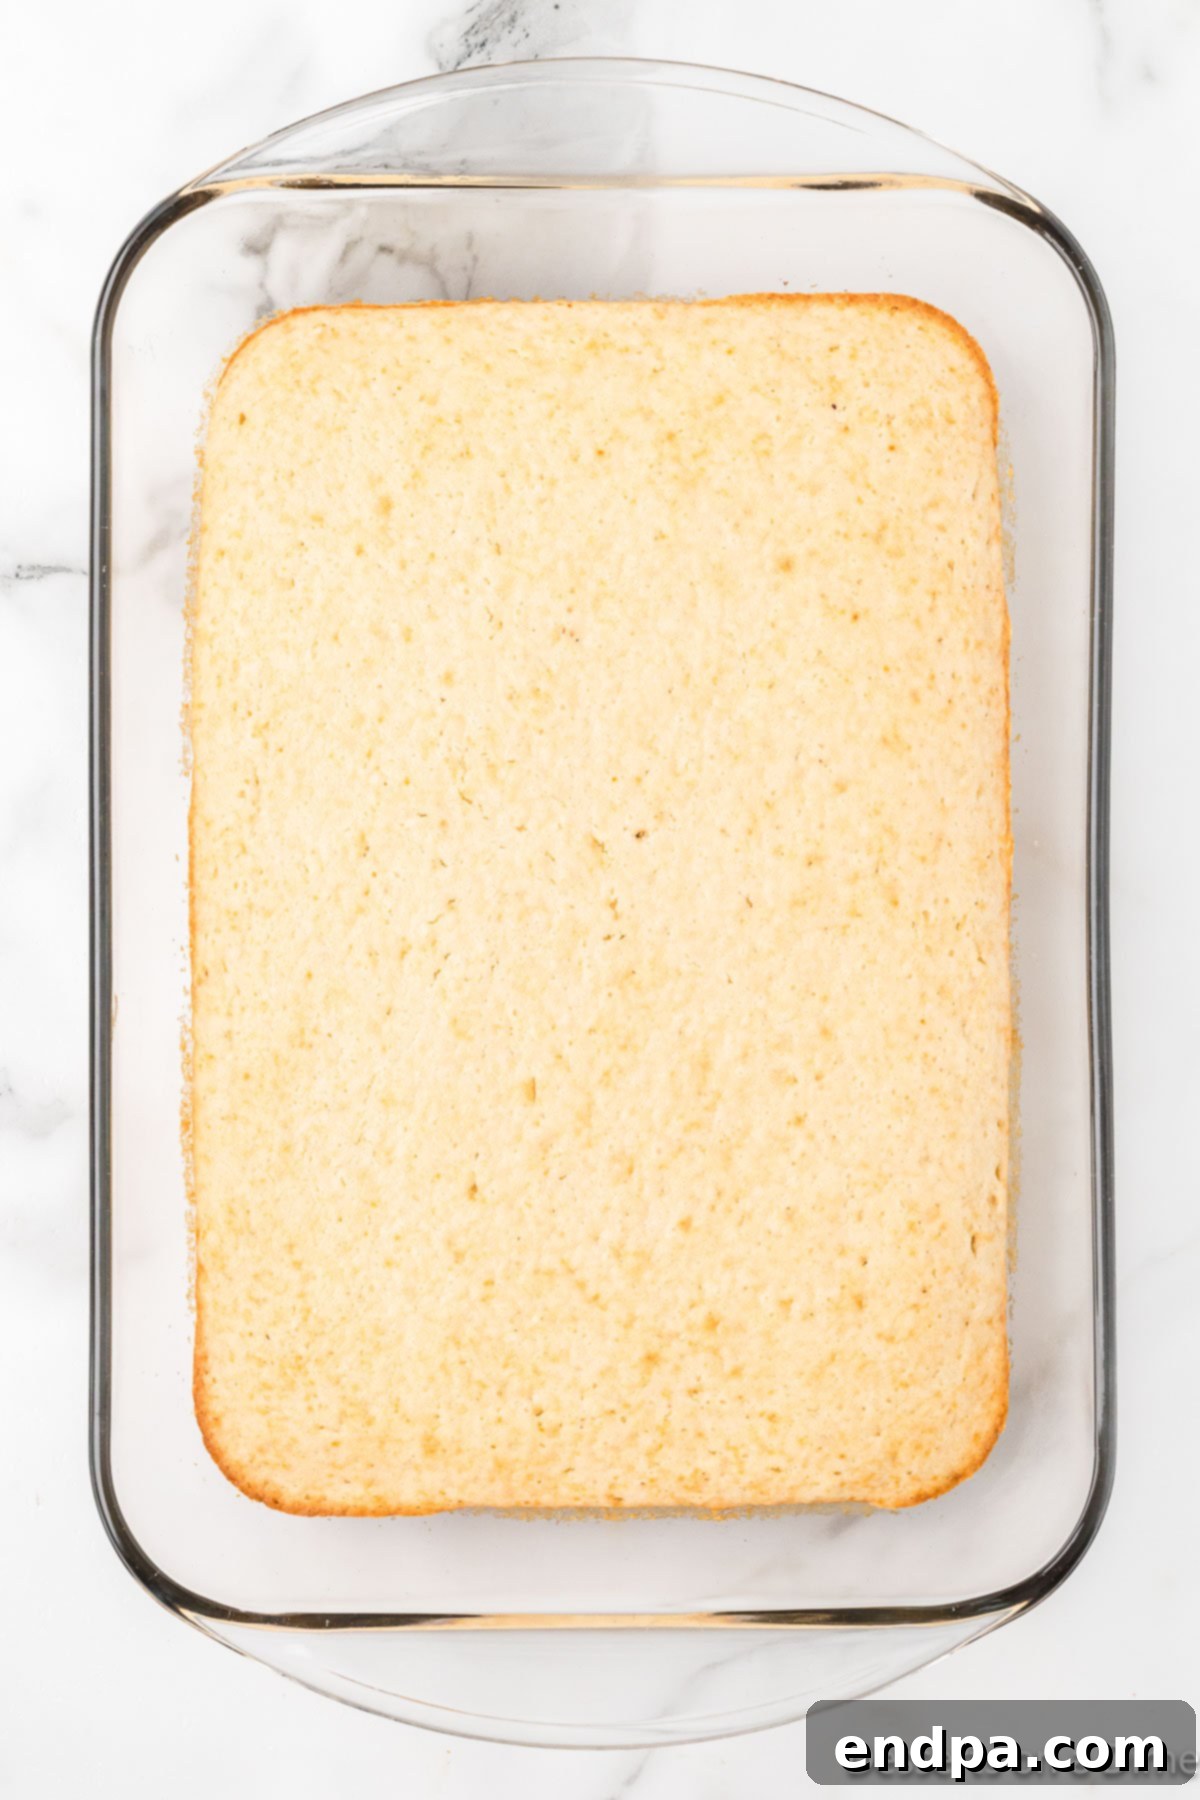
Step 2. Once the cake has cooled sufficiently, typically about 15-30 minutes, you can begin the next exciting part of the process.
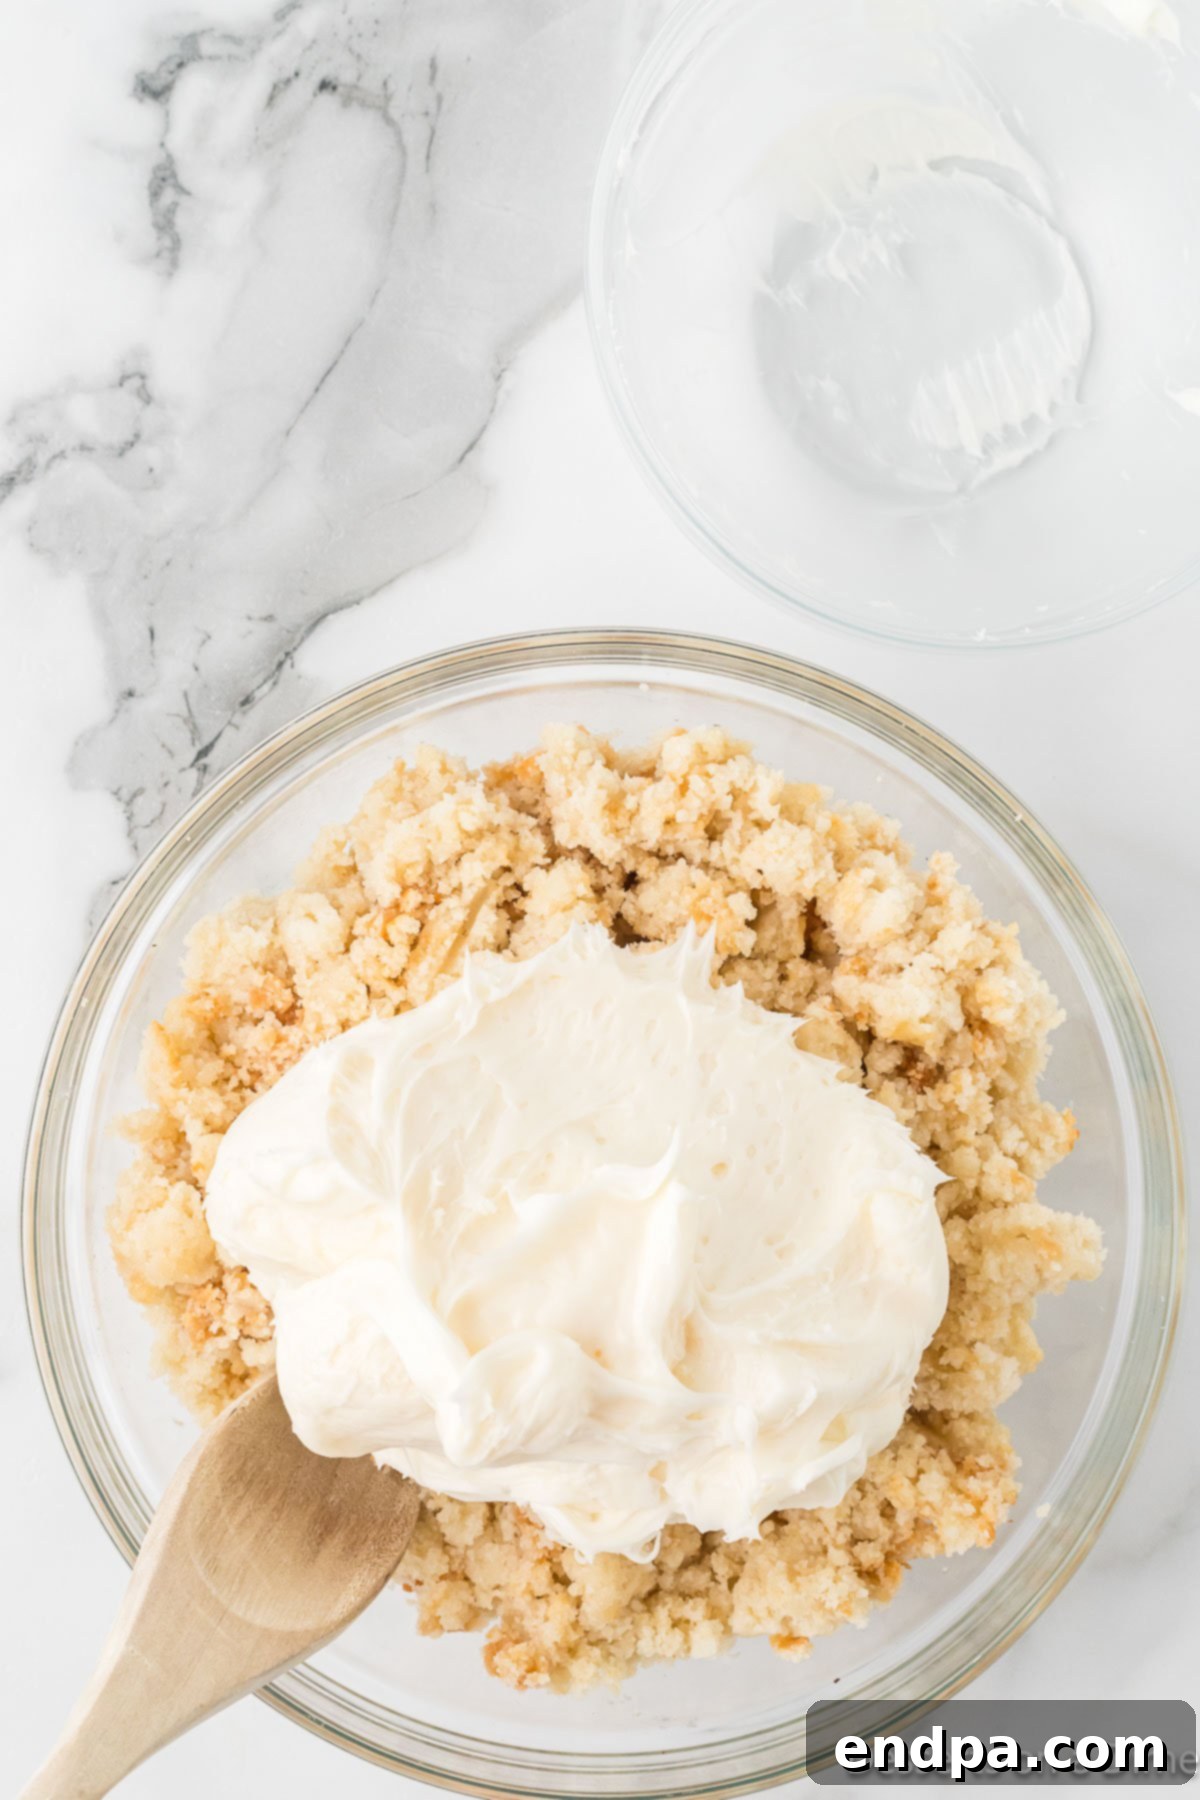
Step 3. Crumble the cooled cake thoroughly into a large mixing bowl. Then, add about 1.5 tubs of frosting to the crumbled cake. Mix them together until the mixture is uniform and holds its shape when pressed. The cake should be entirely saturated with frosting, resembling a thick cookie dough.
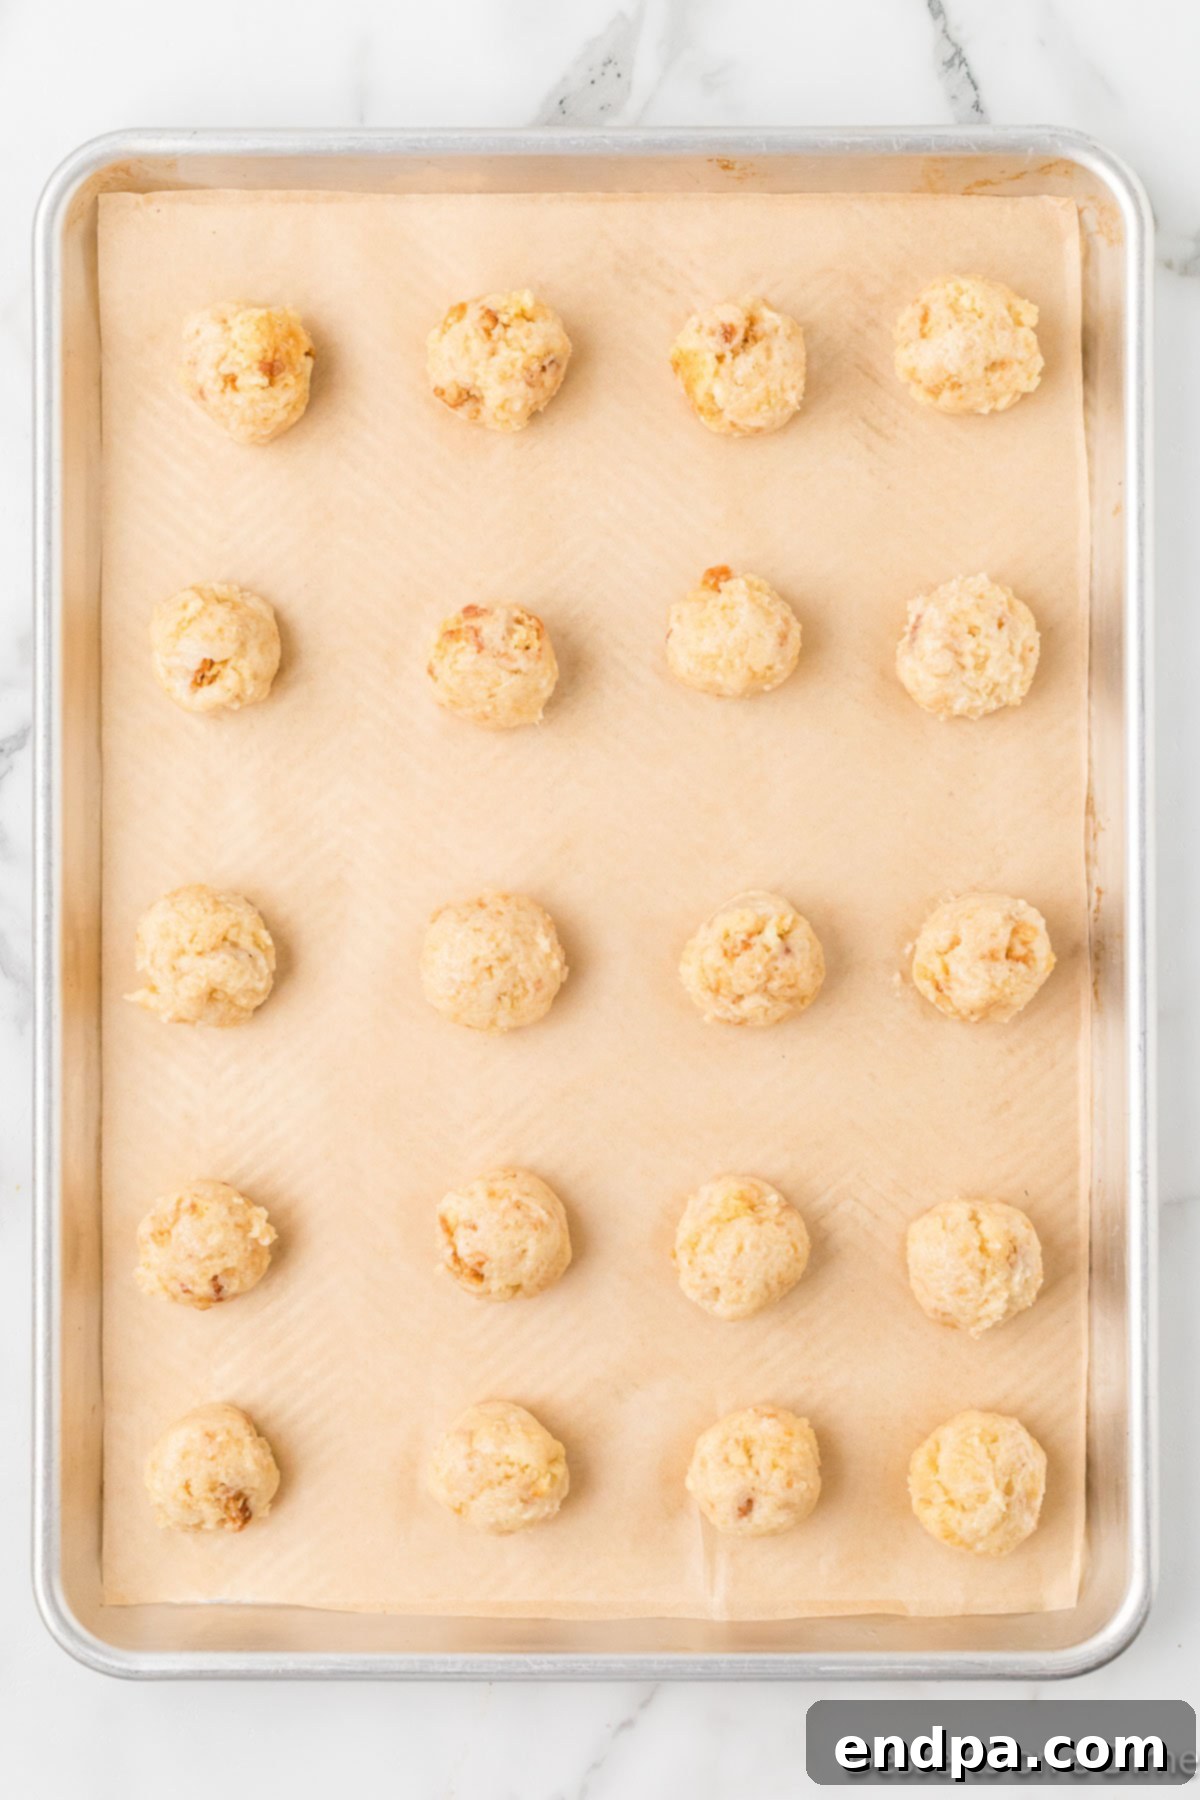
Step 4. Using a cookie scoop or your hands, roll the cake mixture into uniform, bite-sized balls. Place these balls onto a baking sheet lined with parchment paper. Once all balls are formed, place the baking sheet in the freezer for at least 30 minutes to 1 hour. This chilling step is vital for the balls to firm up and hold their shape during the dipping process.
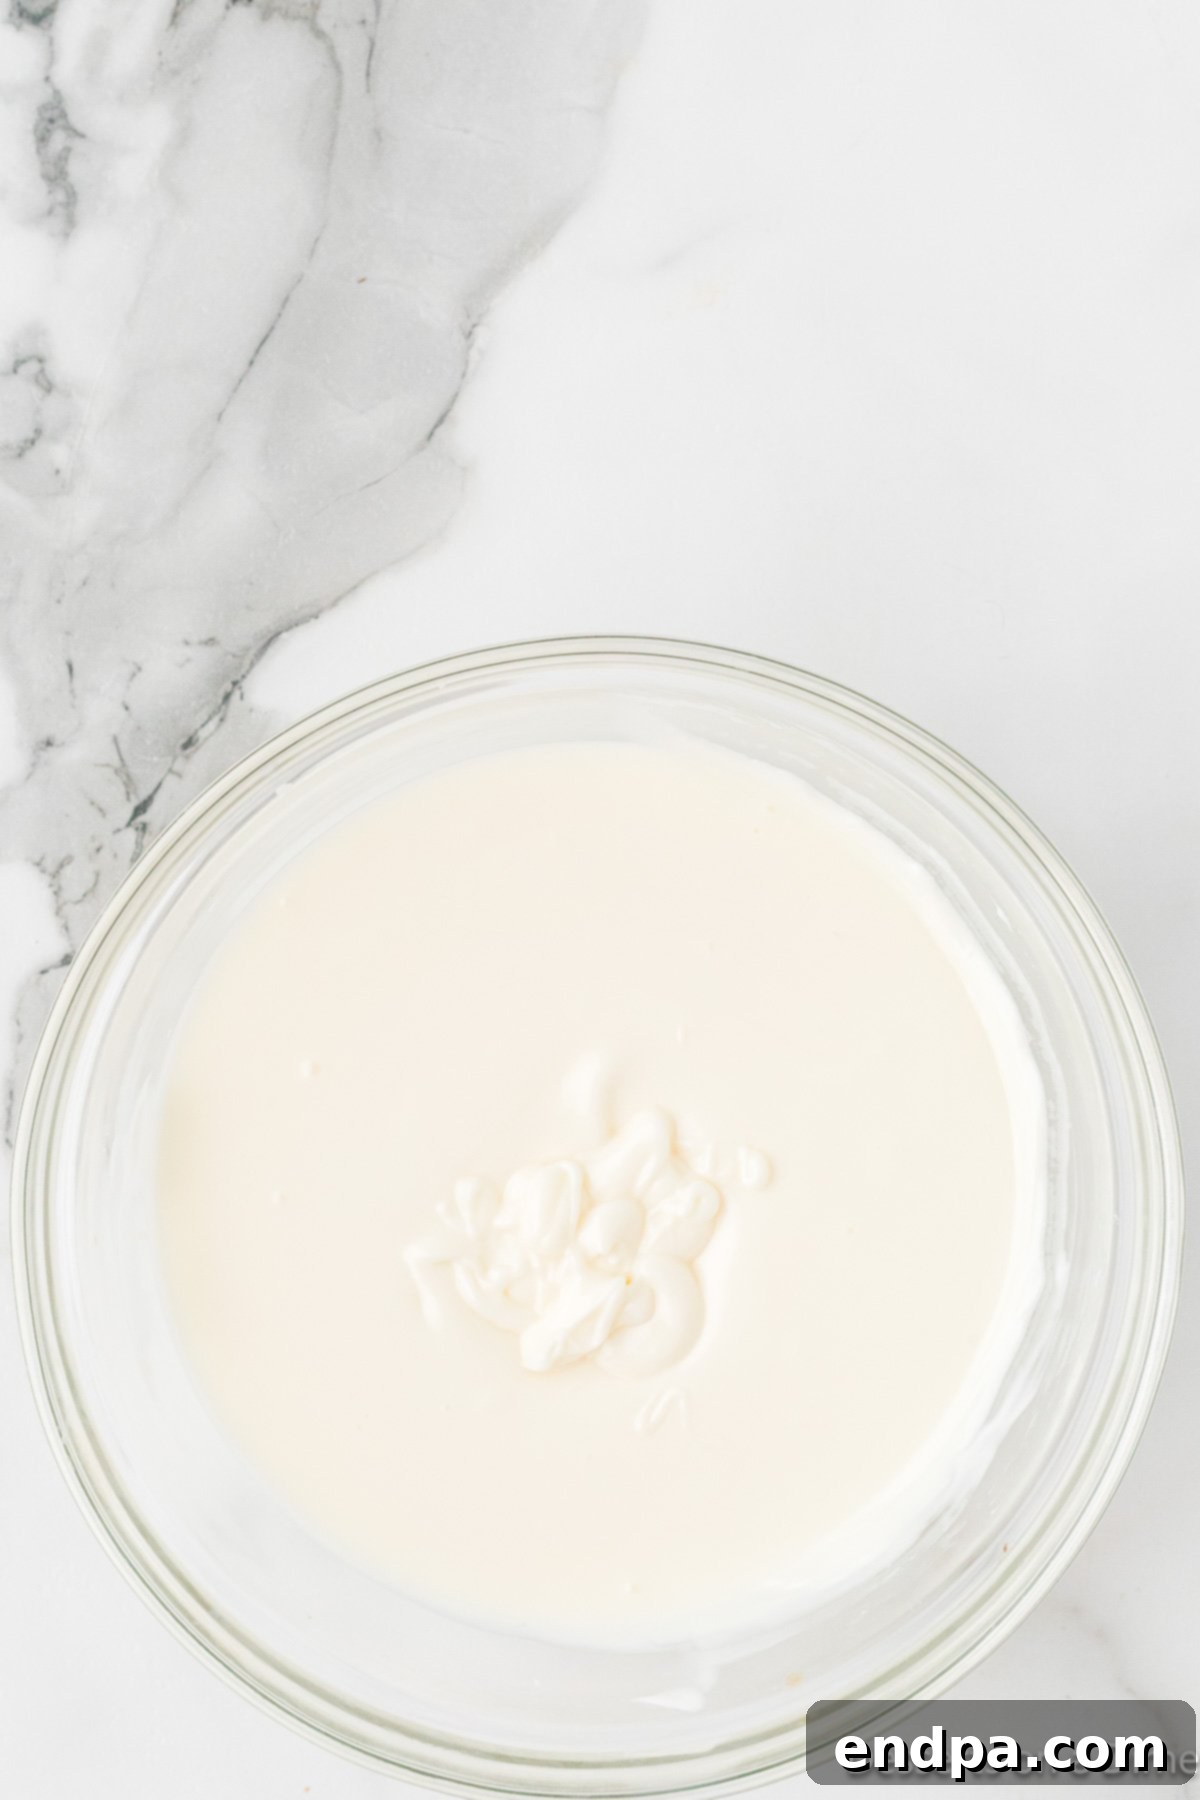
Step 5. While the cake balls are chilling, melt the vanilla almond bark. Follow the package directions carefully, typically involving heating in a microwave-safe bowl in short intervals, stirring frequently, until completely smooth and fluid. Be careful not to overheat it, as this can cause it to seize.
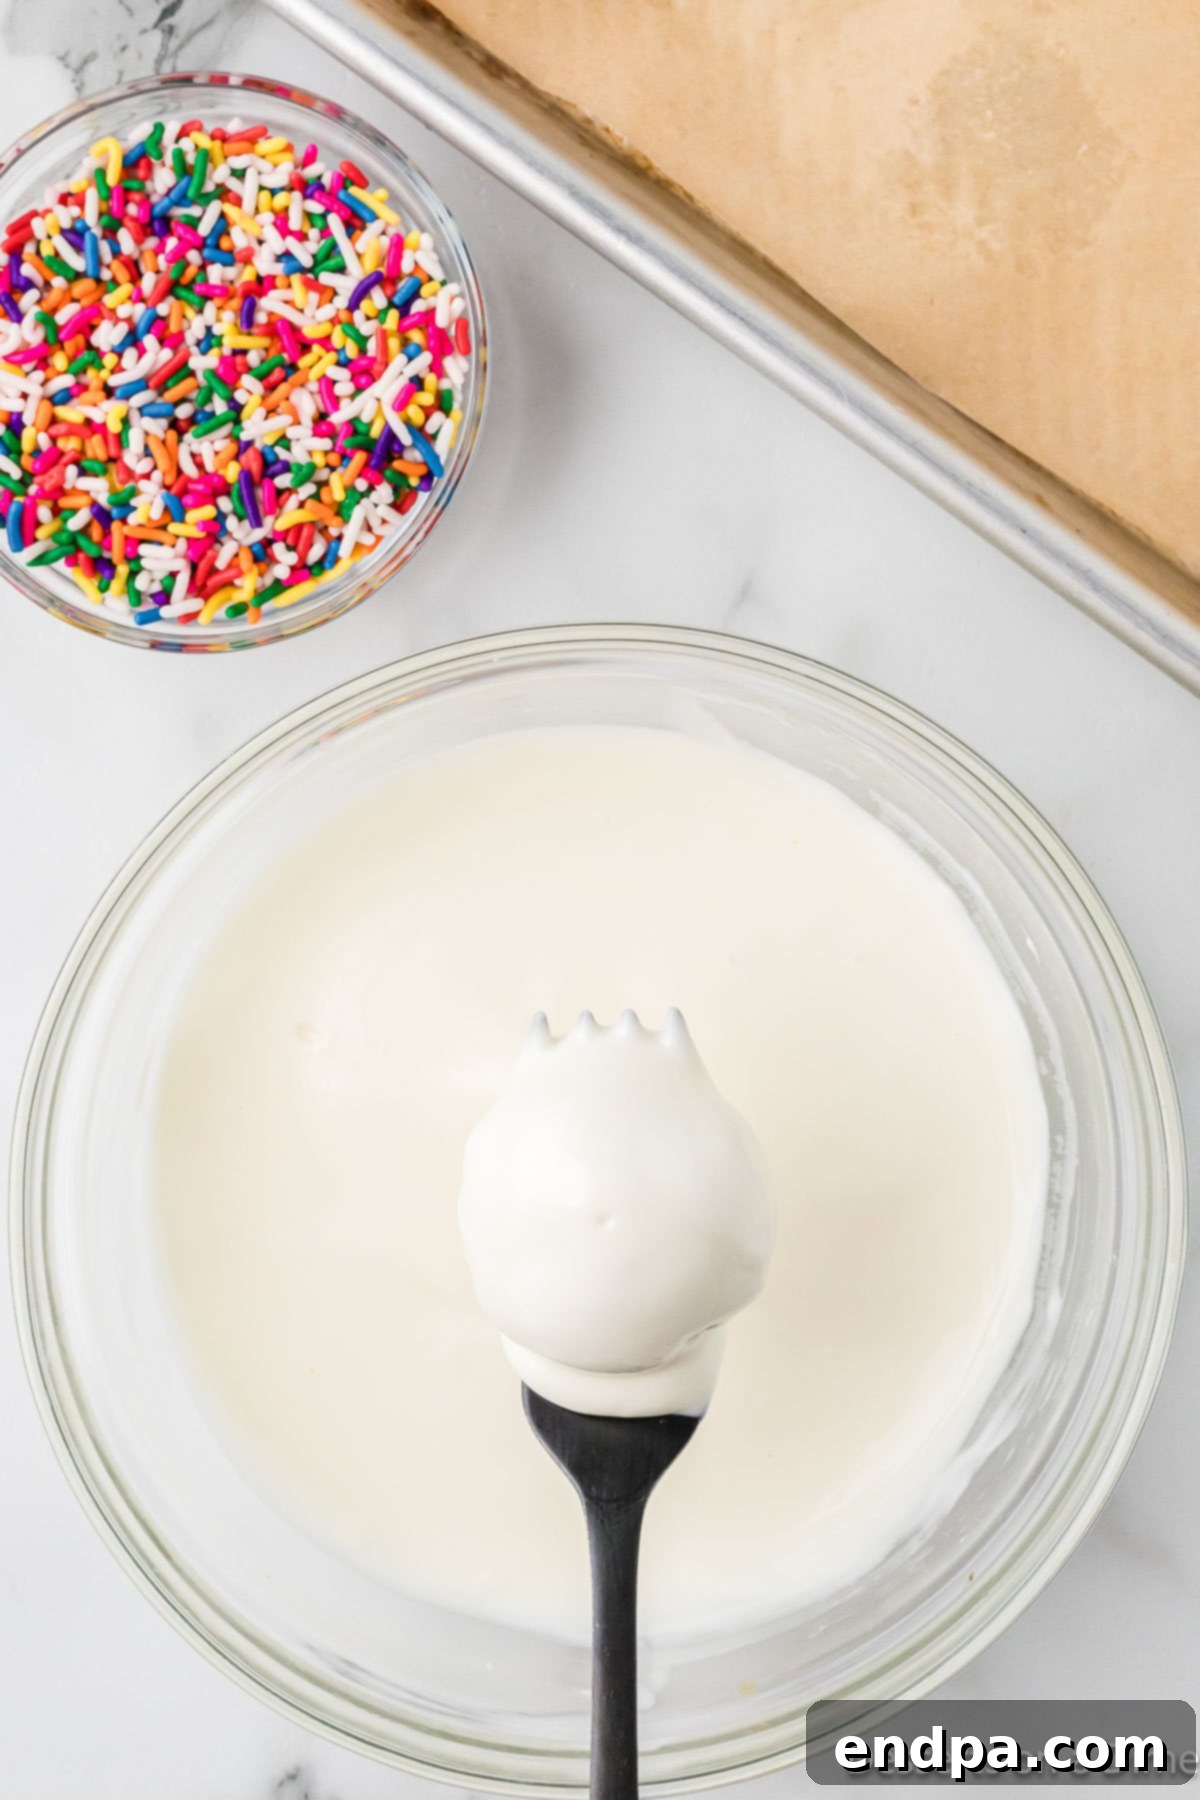
Step 6. Remove the chilled cake balls from the freezer. Using a fork or a dipping tool, gently dip each cake ball into the melted almond bark, ensuring it’s completely coated. Tap off any excess chocolate by gently tapping the fork against the edge of the bowl.
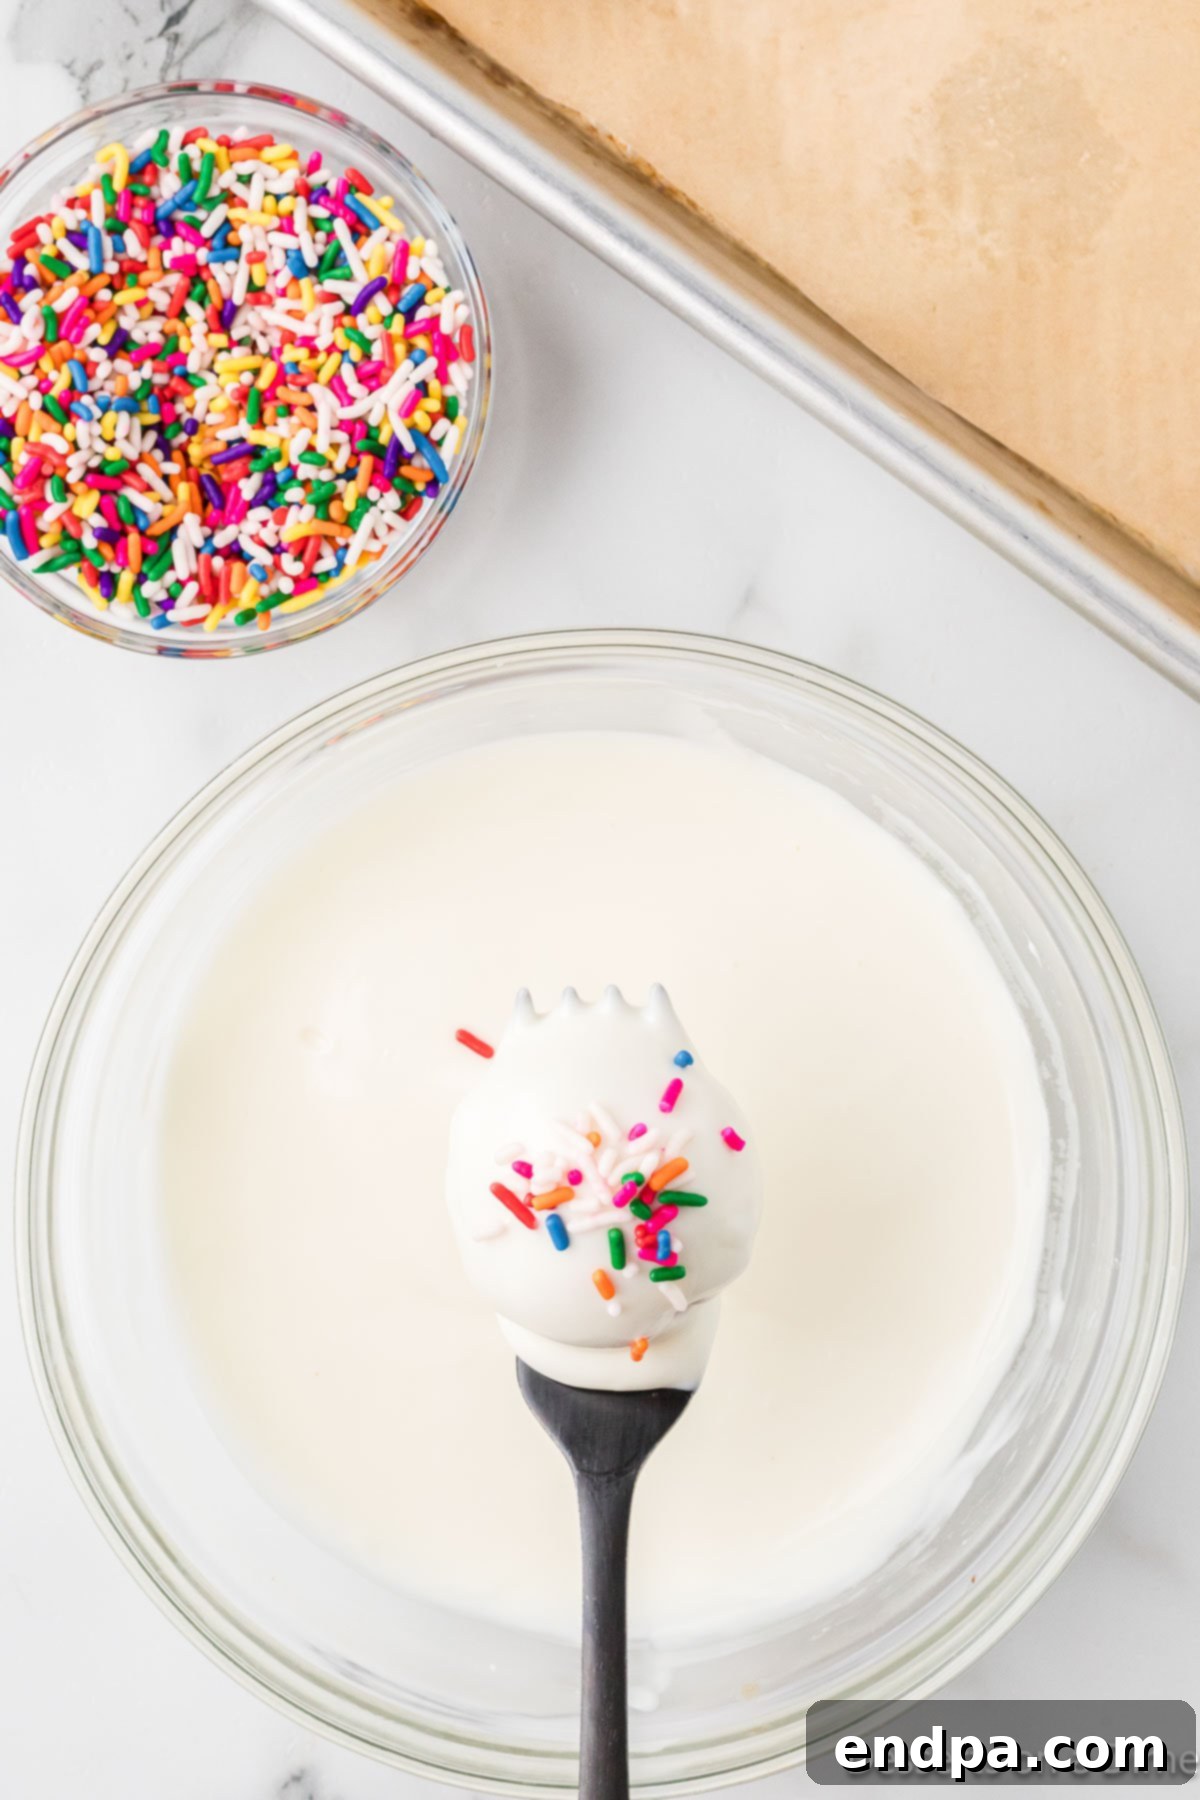
Step 7. Immediately after dipping each ball (while the coating is still wet), sprinkle your desired decorations on top. This is when the sprinkles will adhere best. Ensure you work quickly, as almond bark sets fast.
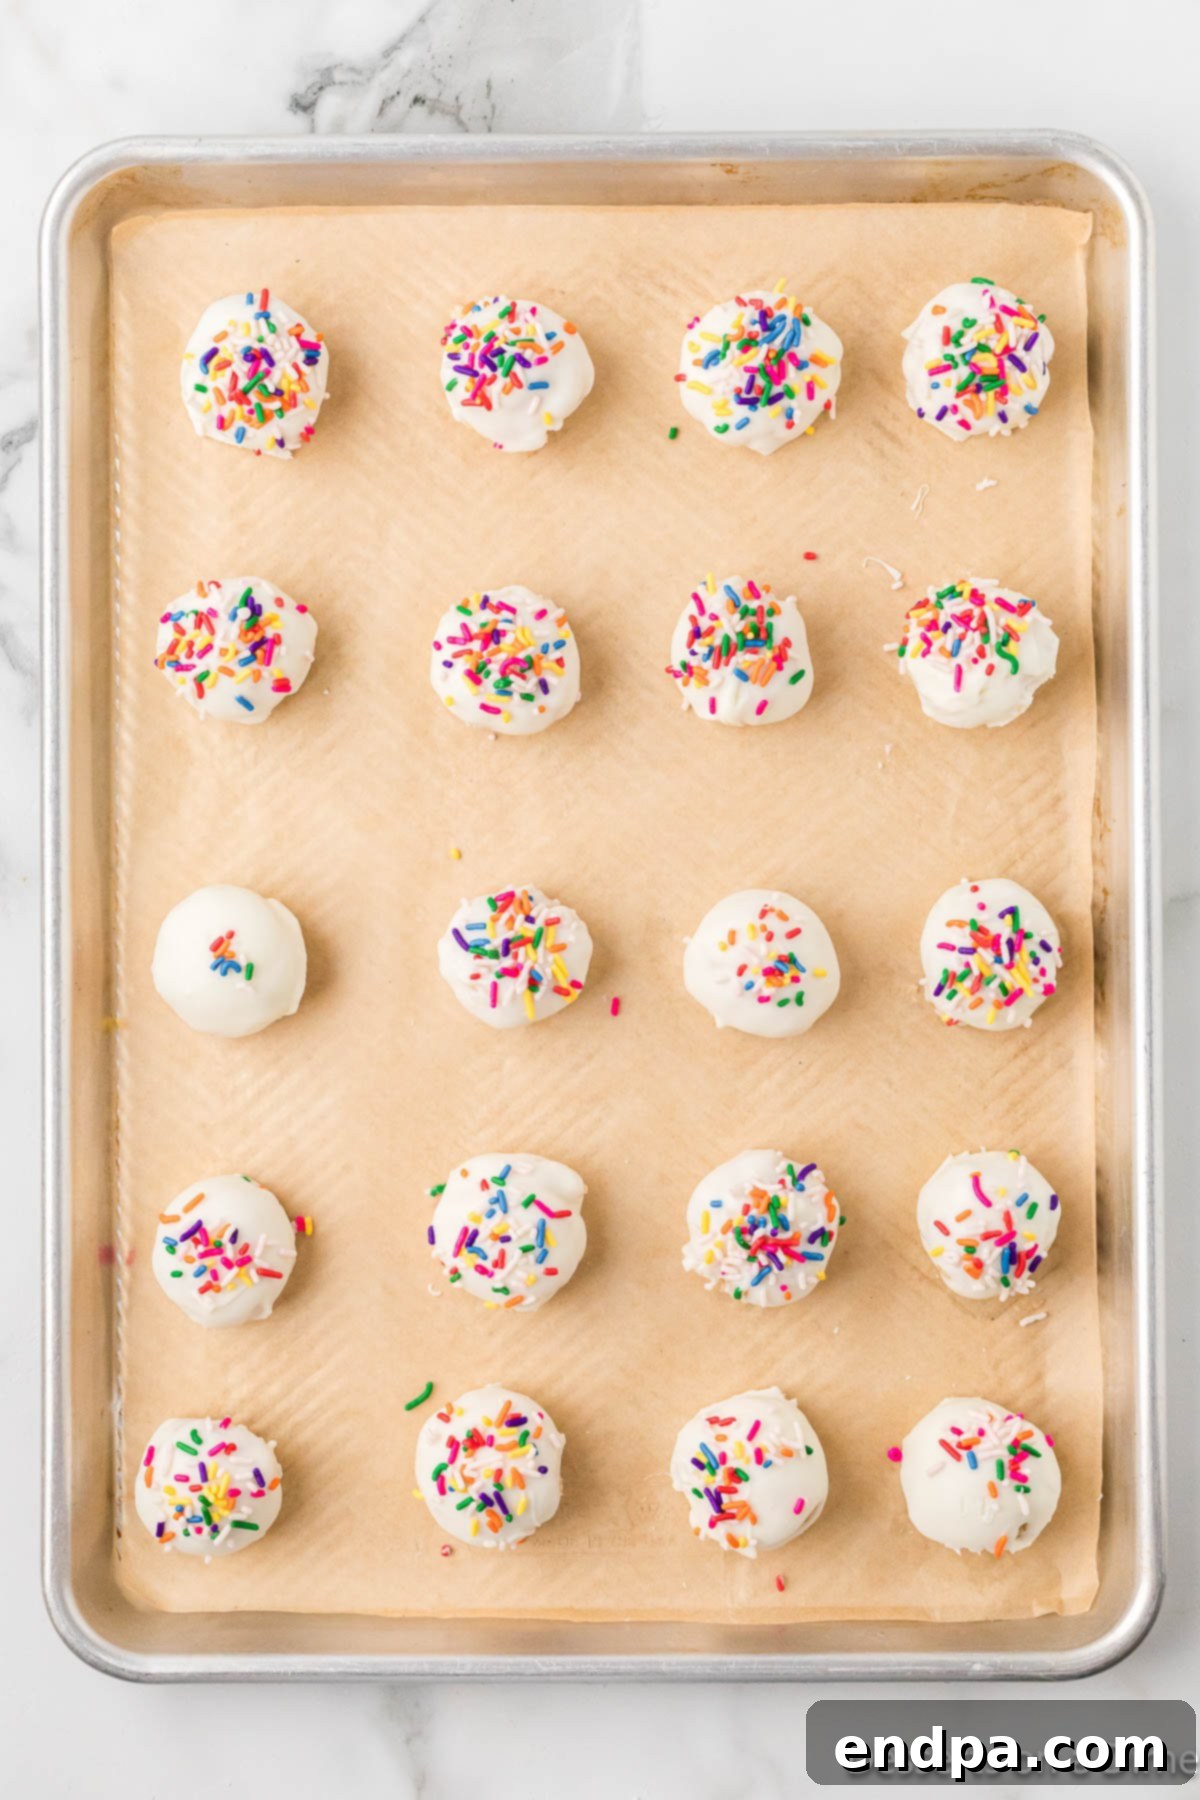
Step 8. Carefully place the decorated cake balls back onto the parchment-lined cookie sheet. Allow them to set completely, either at room temperature for 3-4 hours or in the refrigerator for about 1 hour, until the coating is firm to the touch.
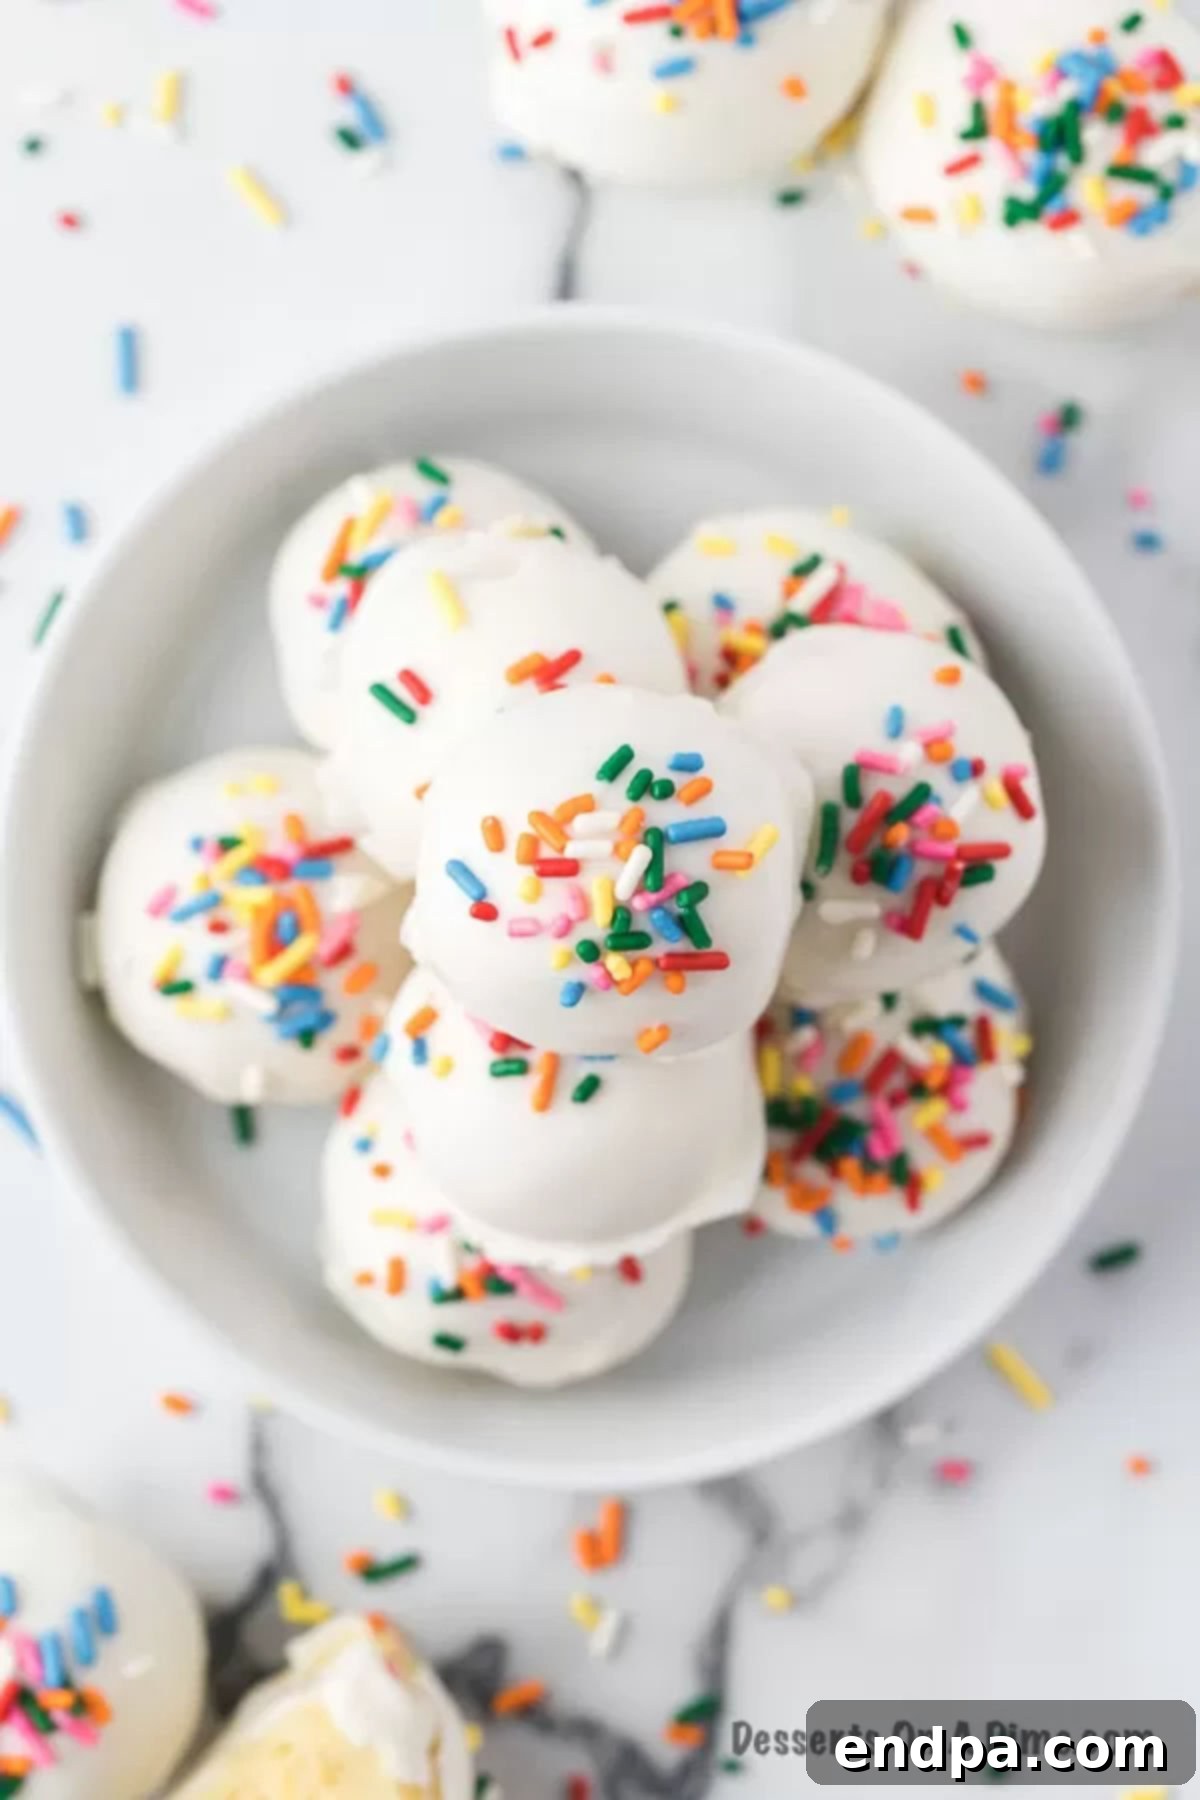
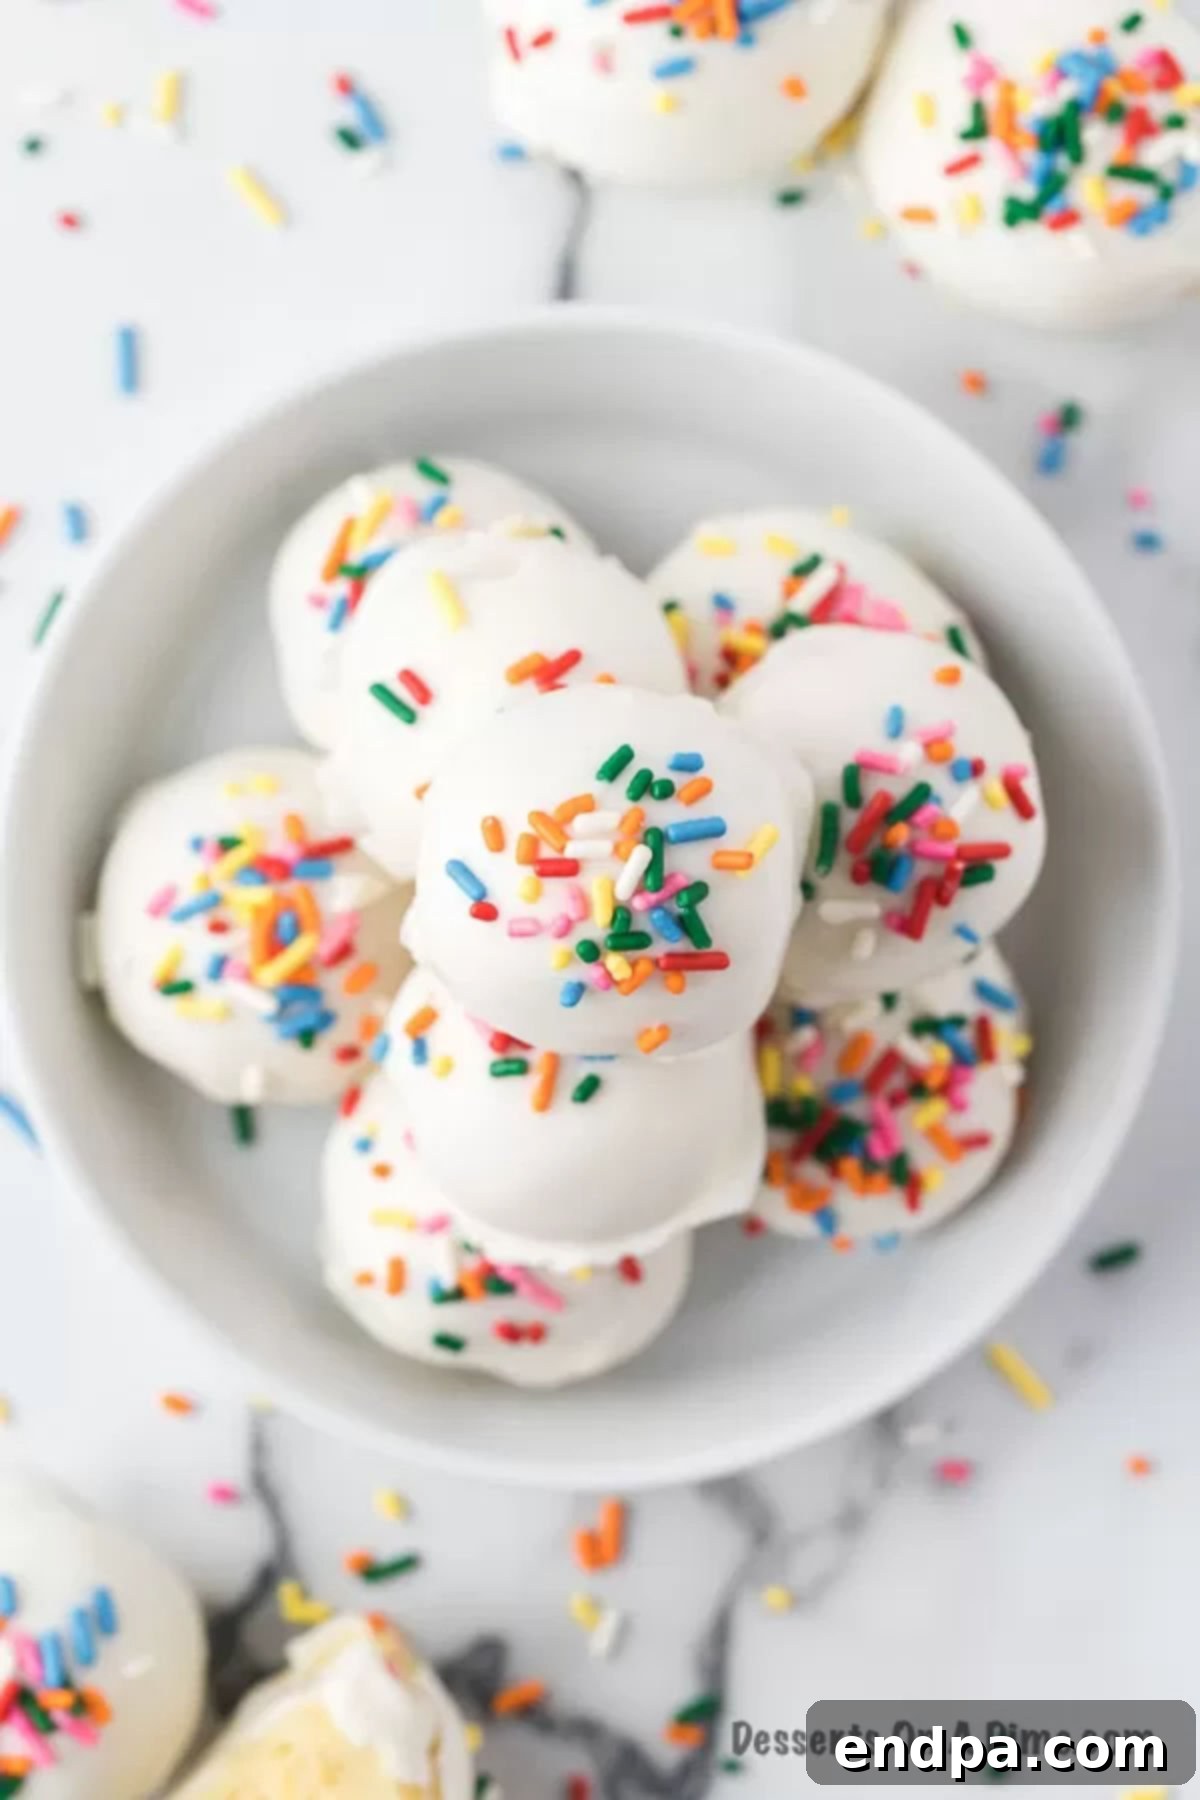
Step 9. Once fully set, your vanilla cake balls are ready to be served and enjoyed. Arrange them on a platter or in a decorative bowl for a stunning presentation!
Expert Tips & Tricks for Perfect Cake Balls
Achieving perfectly formed and delicious cake balls is easy with a few expert tips. These insights will help you avoid common pitfalls and ensure your treats are a resounding success every time:
- Master the Frosting Ratio: While a generous amount of frosting is wonderful on a cake, less is more when making cake balls. Too much frosting makes the cake mixture overly wet, causing the balls to be soft and prone to falling apart. Aim for just enough frosting to bind the cake crumbs together into a firm, pliable dough that holds its shape. It should feel like a dense cookie dough.
- Chill Cake Balls Thoroughly: This is arguably the most crucial step for flawless dipping. Before coating, ensure your cake balls are very cold and firm. Freezing them on a baking sheet for at least 30 minutes to an hour (or even longer) prevents them from disintegrating in the warm coating and helps the coating set quickly and smoothly.
- Optimize Your Dipping Process: For efficient and smooth dipping, use a deep, narrow container for your melted almond bark or chocolate. A 2-cup measuring cup or a small, deep bowl is often ideal, as it provides enough depth to fully submerge a cake ball without needing excessive coating. This technique reduces mess and ensures even coverage.
- Unleash Your Creativity with Sprinkles: Don’t limit yourself to one type of sprinkle! Vary the colors, shapes, and sizes to match different themes, holidays, or personal preferences. Holiday-specific sprinkles (e.g., red and green for Christmas, pastels for Easter) can instantly transform your cake balls into festive delights. Apply sprinkles immediately after dipping while the coating is still wet.
- Experiment with Coating Flavors: While vanilla almond bark is a classic choice, don’t hesitate to explore other coating options. Try milk chocolate, dark chocolate, or even colorful candy melts to add different flavor dimensions and visual appeal. This allows you to tailor your cake balls to specific tastes or occasions.
- Vary Your Frosting & Cake Combinations: The core of cake balls is the cake-frosting mixture, and here’s where true customization shines. Swap out vanilla frosting for chocolate, cream cheese, or even a flavored buttercream. Pair a chocolate cake mix with chocolate frosting for a double chocolate treat, or try a lemon cake with a lemon glaze. Cream cheese frosting provides a delightful tang that balances the sweetness.
- A Touch of Color (Optional): While not strictly necessary, adding vibrant sprinkles or using colored candy melts can truly complete the aesthetic of your cake balls, making them visually appealing and more exciting to eat.
- Use a Cookie Scoop for Uniformity: To save time and ensure all your cake balls are perfectly round and uniform in size, use a cookie scoop (about 1-tablespoon size). This not only makes the process quicker but also ensures consistent baking and presentation.
Endless Possibilities: Additions & Substitutions
One of the most exciting aspects of making cake balls is how incredibly adaptable the recipe is. Once you master the basic technique, you can unleash your creativity and customize flavors, textures, and appearances to suit any palate or occasion. Here are some fantastic additions and substitutions to inspire your next batch:
- Change the Cake Flavor: The vanilla cake mix is a wonderful starting point, but almost any cake flavor can be transformed into delicious cake balls. Experiment with different box mixes or even homemade cakes for a unique twist:
- Red Velvet: For a decadent, classic flavor with a beautiful red hue.
- Funfetti Cake: Adds a celebratory burst of color and a whimsical touch.
- Chocolate: Use a rich chocolate cake mix for a deeply satisfying, cocoa-infused treat.
- Lemon: A zesty and refreshing option, perfect for spring or summer.
- Strawberry Cake: Offers a fruity, sweet flavor, especially lovely with pink frosting.
- Devil’s Food: For an intensely dark and moist chocolate experience.
- Carrot Cake: Incorporates warm spices and a hint of vegetables for a sophisticated flavor.
- Dark Chocolate Cake: For serious chocolate lovers, paired wonderfully with dark chocolate coating.
- Mix in Peanut Butter: Swirl a tablespoon or two of creamy peanut butter into the cake-frosting mixture for a nutty, rich flavor, especially good with chocolate cake.
- Use Different Sprinkles & Toppings: Beyond traditional sprinkles, the possibilities for decoration are vast. Choose toppings that complement your theme or add extra crunch and flavor:
- Themed Sprinkles: Use holiday-specific sprinkles (e.g., Halloween, Christmas, Valentine’s Day) or colors to match a party palette.
- Chopped Nuts: Finely chopped pecans, walnuts, or almonds add a lovely textural contrast.
- Mini Chocolate Chips: Sprinkle mini chocolate chips on top for an extra chocolatey bite.
- Shredded Coconut: Toasted or plain, coconut flakes add a tropical or chewy element.
- Crushed Cookies: Oreos, graham crackers, or shortbread cookies can be crushed and sprinkled for an added layer of flavor and texture.
- Edible Glitter or Pearls: For a touch of elegance and sparkle, perfect for more formal events.
- Change the Frosting: The frosting binds and flavors the cake crumbs. Switching it up can dramatically alter the cake ball’s profile:
- Cream Cheese Frosting: A popular choice that adds a delicious tangy counterpoint to sweet cake.
- Chocolate Frosting: Enhances chocolate cakes or adds a new dimension to vanilla cakes.
- Peanut Butter Frosting: Pairs well with chocolate or vanilla cakes for a rich, nutty flavor.
- Caramel Frosting: A decadent option that adds a buttery, sweet depth.
- Fruit-Flavored Frosting: Lemon, strawberry, or raspberry frostings can brighten up a vanilla or complementing cake flavor.
- Creative Coatings & Dips: The outer shell is another canvas for creativity:
- Milk Chocolate or Dark Chocolate: Instead of white almond bark, use melted milk or dark chocolate for a richer, more intense coating.
- Colored Candy Melts: Available in a rainbow of colors, these allow for vibrant, theme-specific cake balls (e.g., blue for baby showers, school colors for graduations).
- White Chocolate with Food Coloring: You can tint white chocolate or almond bark with oil-based food coloring to create custom colors.
- Drizzles: After the main coating sets, drizzle contrasting chocolate (e.g., dark chocolate drizzle over white chocolate coating) for an artistic flair.
- Transform into Homemade Cake Pops: To create homemade cake pops, simply insert a lollipop stick into each chilled cake ball before dipping. Ensure the stick is coated in a little melted chocolate before insertion to help it adhere better. Display them upright in a cake pop stand or a block of Styrofoam for a charming presentation.
Frequently Asked Questions (FAQs) About Cake Balls
Here are answers to some common questions about making and enjoying vanilla cake balls, ensuring your experience is as smooth and successful as possible:
The key to preventing cake balls from falling apart lies in the consistency of your cake and frosting mixture, as well as proper chilling. First, ensure your frosting isn’t too thick or too sparse. You need enough frosting to thoroughly bind all the cake crumbs together, creating a firm, cohesive dough, but not so much that it makes the mixture mushy. If it’s too wet, add a few more cake crumbs. If too dry, a tiny bit more frosting. Second, chilling is paramount. Freezing the formed cake balls for at least 30 minutes to an hour makes them very firm, allowing them to withstand the warmth of the melted coating without crumbling. Also, when dipping, gently tap off excessive chocolate; too much heavy coating can sometimes lead to detachment when eaten.
There are a few effective methods for dipping cake balls, and your preference might depend on your tools and comfort level. You can gently drop a chilled cake ball into the melted almond bark or chocolate using a fork, then use the fork to lift it out, tapping the fork against the edge of the bowl to remove excess coating. Alternatively, some prefer to insert a toothpick into the cake ball, use it as a handle for dipping, and then carefully remove the toothpick once coated (filling the small hole with a dot of chocolate if desired). We highly recommend using a container that is deep enough to fully submerge the cake ball, like a 2-cup measuring cup, to ensure complete and even coverage. Gentle handling and ensuring the cake balls are very cold are critical for a smooth, crack-free coating.
For an attractive and convenient presentation, consider purchasing a dedicated cake pop stand, which securely holds each pop upright. If you’re serving cake balls (without sticks), simply arranging them beautifully on a platter, in a decorative bowl, or within a tiered dessert stand works wonderfully. For cake pops without a stand, a block of Styrofoam wrapped in elegant paper (like wrapping paper or craft paper that matches your decor) can serve as an excellent, sturdy holder. The sticks are easy to push into the Styrofoam, holding them securely in place for easy grabbing. Once the coating is completely dry and set, you can also serve cake balls charmingly in mason jars or small cupcake liners.
Cake balls have a decent shelf life, making them great for making ahead. If left out on the counter in an airtight container, they will typically last for about 5-7 days. However, for extended freshness, storing them in the refrigerator is recommended.
To properly store leftover cake balls and maximize their freshness, place them in an airtight container. When stored in the refrigerator, they will remain delicious for approximately 10 days. For an even longer storage solution, cake balls freeze exceptionally well. Simply place them in a freezer-safe, airtight container or bag. They can be stored in the freezer for up to 1-2 months. Many people enjoy eating them directly from the freezer as a cold, refreshing treat!
Absolutely! Cake balls are an excellent make-ahead dessert. You can prepare the cake and frosting mixture, form the balls, and then freeze them without dipping for up to a month. When you’re ready to serve, simply thaw them slightly, dip them in your chosen coating, decorate, and allow to set. This makes them perfect for party planning, as you can spread out the preparation over several days.
While they share the same base (cake crumbs mixed with frosting and coated), cake balls and cake pops differ primarily in their presentation. Cake balls are served as small, round, individual treats, usually on a platter or in a bowl, designed to be picked up with fingers. Cake pops, on the other hand, are served on a stick, making them resemble lollipops. The stick adds a fun, interactive element and makes them easy to hold, especially for children or at events where minimal mess is desired.
Discover More Delicious Dessert Ball Recipes
If you’ve fallen in love with the ease and charm of vanilla cake balls, you’ll be thrilled to explore a world of other delightful dessert ball recipes. Each offers a unique flavor profile and a fun twist on the bite-sized treat concept. Broaden your dessert repertoire with these fantastic ideas:
- Valentine’s Day Cake Ball Recipe: Perfect for a romantic treat, often featuring pink or red hues and themed sprinkles.
- Quick and Easy Cake Ball Recipe: A general guide for simple cake balls, encouraging creative flavor combinations.
- Starbucks Cake Ball Recipe: Recreate the popular coffee shop treat right in your own kitchen.
- Red Velvet Cake Balls Recipe: Indulge in the rich, cocoa-laced goodness of red velvet cake in ball form, often paired with a cream cheese frosting and white chocolate coating.
We encourage you to try this fun and delicious vanilla cake balls recipe for a truly satisfying treat. Share your creations and experiences by leaving a comment below – we’d love to hear from you!
Vanilla Cake Balls Recipe
Ingredients
- 1 box Cake Mix
- *Ingredients to prepare the cake based on the box instructions.
- 1.5 tubs Frosting
- 1 pkg Vanilla Almond Bark
Instructions
- Prepare cake mix as directed in a 9X13 pan.
- Let the cake cool for about 15 minutes and then crumble it!
- Scoop all of the frosting into the crumbled cake and mix with a wooden spoon until well combined.
- Take small amounts (about a tablespoon or so) and roll into a ball. Repeat multiple times until all the cake is formed into balls. Place the cake balls on a baking sheet and freeze for at least 1 hour.
- Melt your almond bark as per the directions on the package. Dip each ball into the melted almond bark and place on a cookie sheet to cool.
- Top with sprinkles if you prefer, cool at room temperature for 3-4 hours or in the refrigerator for 1 hour.
- Then they are ready to serve and enjoy.
Nutrition Facts
Carbohydrates 24g,
Protein 1g,
Fat 6g,
Saturated Fat 3g,
Polyunsaturated Fat 2g,
Monounsaturated Fat 1g,
Trans Fat 1g,
Sodium 119mg,
Potassium 12mg,
Fiber 1g,
Sugar 18g,
Calcium 32mg,
Iron 1mg
Pin This Now to Remember It Later
Pin Recipe
