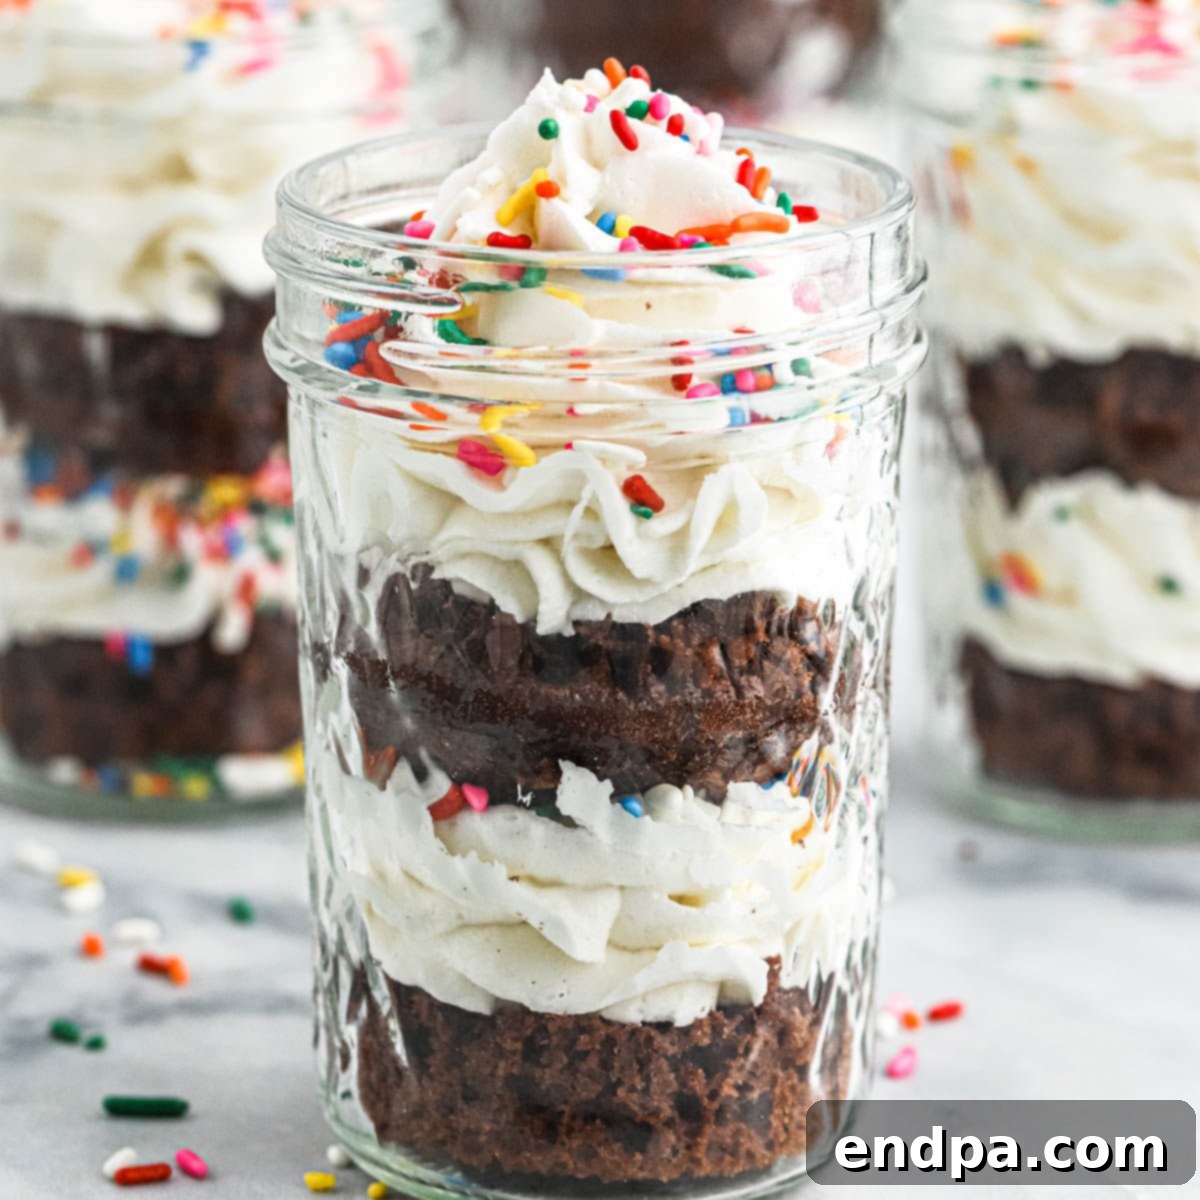
Prepare to delight your taste buds and impress your guests with this incredible Cupcake in a Jar recipe! These charming, layered desserts, often called mason jar cupcakes, feature fluffy cupcake layers, decadent frosting, and a festive burst of sprinkles, all beautifully presented in a portable glass jar. They are not only irresistibly delicious but also wonderfully convenient, making them the ultimate choice for parties, special occasions, or simply a delightful individual treat. Forget the fuss of traditional cupcakes; these jarred wonders simplify serving and add a touch of adorable elegance to any event.
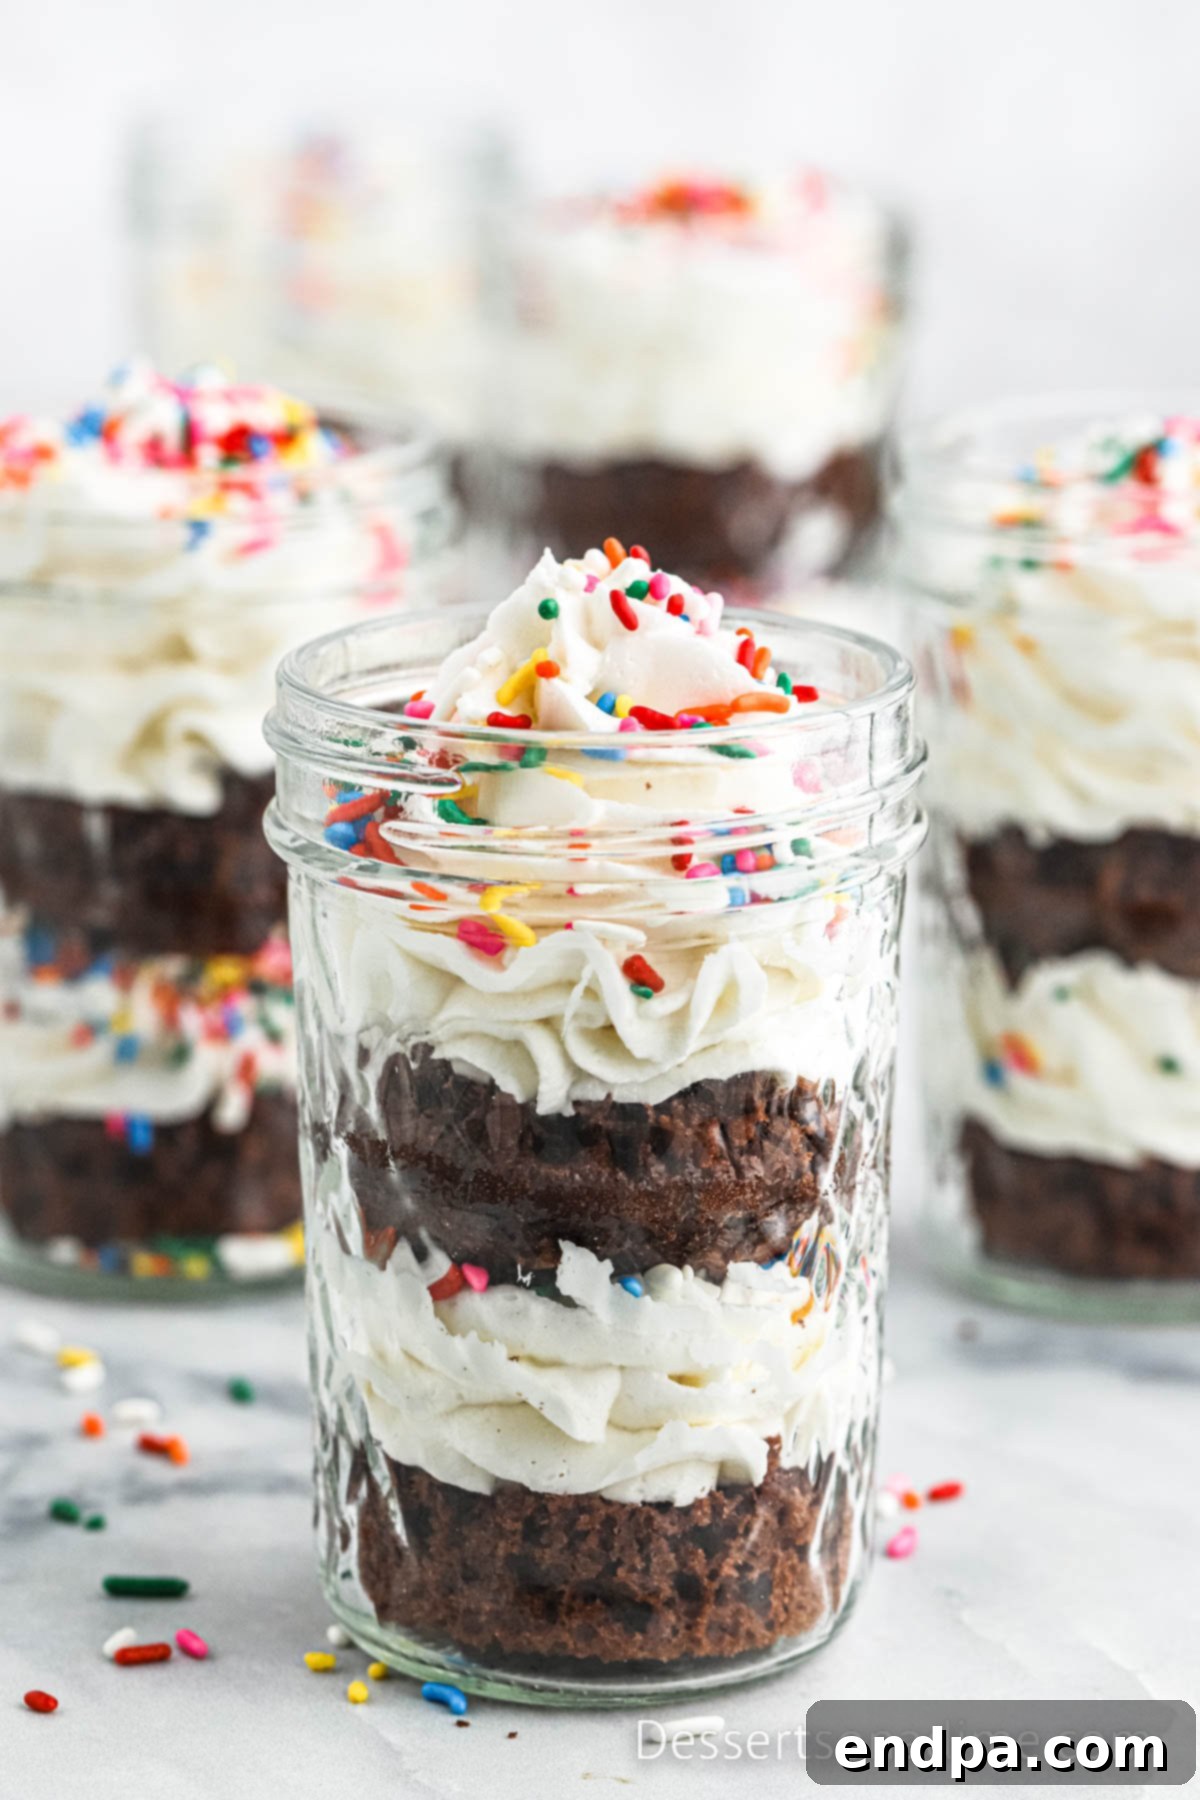
Transforming your favorite regular-sized cupcakes into a stunning cupcake in a jar is a clever and cute way to elevate a basic cupcake recipe. The process is surprisingly straightforward, and the result is an undeniably adorable dessert that tastes as good as it looks! This method has been a long-standing family favorite for over a decade, consistently bringing smiles with its layered perfection. While we’ve crafted this specific recipe using a classic chocolate cake mix for its rich, comforting flavor, the beauty of this concept lies in its adaptability. Feel free to experiment with any cupcake flavor you adore, from vibrant vanilla to a zesty lemon. Imagine the irresistible appeal of Peanut Butter Cupcakes nestled with creamy frosting and a scattering of mini chocolate chips – truly a delicious variation waiting to be discovered!
What’s in this post: Ultimate Cupcake in a Jar Recipe
- Why We Love This Recipe
- Ingredients for Cupcakes in a Jar
- Variations and Delicious Substitutions
- Step-by-Step Guide to Assemble
- Storage Tips for Freshness
- Expert Baking Tips for Perfection
- More Fun and Easy Cupcake Recipes
- Cupcake in a Jar Full Recipe
Why These Cupcakes in a Jar Are a Must-Try Dessert
There’s a reason these individual layered desserts in mason jars have become a beloved staple. Far more than just a pretty presentation, glass jar cupcakes offer a unique blend of convenience, customization, and visual appeal that traditional cupcakes can’t quite match. Each jar is a self-contained masterpiece, featuring distinct layers of moist cupcake, luscious frosting, and a generous shower of sprinkles. This layered approach makes them incredibly easy to eat – no messy wrappers or plates needed – and ensures every spoonful delivers a perfect balance of flavors and textures. The clear glass jars beautifully showcase the vibrant layers, transforming a simple dessert into a show-stopping creation.
One of the greatest advantages of this cupcake recipe is its unparalleled versatility. You can effortlessly adapt it to suit any occasion or theme simply by changing the cupcake and frosting flavors, or by selecting different colored sprinkles and toppings. Imagine festive red, white, and blue layers for Independence Day celebrations, or cheerful red and green hues for Christmas gatherings. For baby showers, use pastel colors; for birthdays, coordinate with the party theme. The possibilities are truly endless for crafting cute and personalized cupcakes in a jar, making them perfect for gifting, potlucks, picnics, or a special treat at home. Their individual portions also make them ideal for portion control and easy distribution.
Essential Ingredients for Your Mason Jar Cupcakes
Crafting these delightful layered treats requires a few basic ingredients for both the cupcakes and the rich, creamy frosting. We’ve chosen classic components that deliver exceptional flavor and texture, but as you’ll see in our variations section, there’s plenty of room for creative substitutions!
For the Cupcake Base
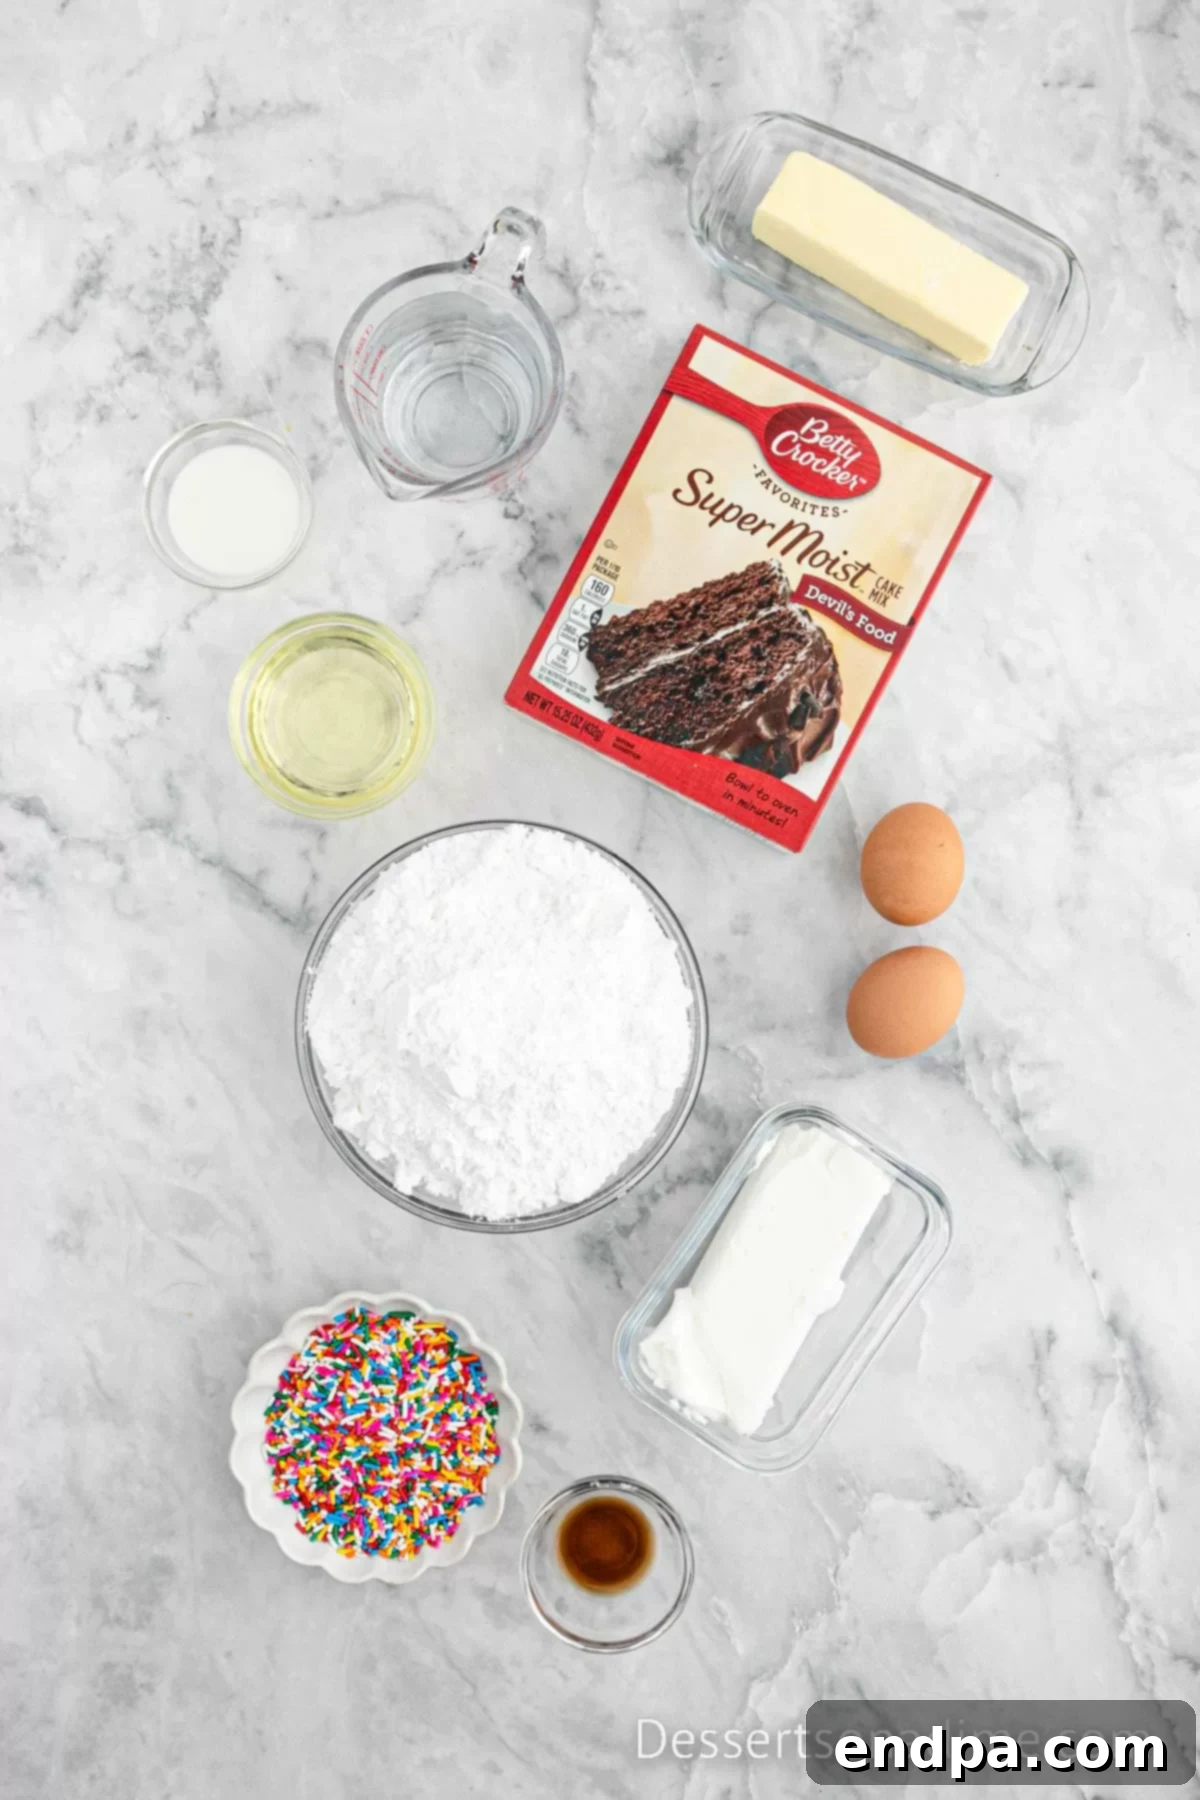
- Chocolate Cake Mix: Using a store-bought mix makes the process incredibly simple and consistently delicious. Any brand you prefer will work perfectly. You’ll also need the ingredients specified on the cake mix box (typically eggs, oil, and water or milk).
For the Creamy Frosting
Our homemade buttercream frosting is the secret to these cupcakes’ irresistible charm. It’s rich, smooth, and holds its shape beautifully for piping.
- Vegetable Shortening: Solid vegetable shortening provides structure and a wonderfully smooth texture to the frosting, helping it withstand varying temperatures.
- Unsalted Butter: Ensure your butter is softened at room temperature. This is crucial for achieving a light, fluffy, and lump-free frosting when creamed with the shortening.
- Sifted Powdered Sugar (Confectioners’ Sugar): It’s absolutely essential to sift the powdered sugar before adding it to your mixture. This step removes any lumps, guaranteeing a perfectly smooth, silky frosting every time.
- Vanilla Extract: A good quality vanilla extract enhances all the flavors in the frosting, adding a warm, aromatic depth.
- Milk: A small amount of milk helps achieve the desired consistency for your frosting, allowing you to adjust its thickness to be easily pipeable.
For Assembly and Decoration
- Pint-Sized Mason Jars: These are the ideal vessels for creating individual layered desserts. If mason jars aren’t available, clear glass cups or sturdy plastic tumblers can also work well, allowing the beautiful layers to shine through.
- Rainbow Sprinkles (Jimmies): Sprinkles add a festive pop of color and a fun texture. We recommend using Jimmies (rod-shaped sprinkles) because they are less likely to bleed their color into the frosting layers compared to nonpareils, keeping your layers looking neat and vibrant.
You can find the complete, detailed ingredient list with exact measurements in the full recipe card at the bottom of this post.
Creative Variations and Delicious Substitutions to Try
One of the most exciting aspects of making cupcakes in a jar is the endless potential for customization. This recipe is a fantastic canvas for your creativity, allowing you to tailor flavors, colors, and textures to any preference or event. Here are some inspiring ideas to get you started:
- Cake Flavor Options: Don’t limit yourself to chocolate! Experiment with a variety of cake mix flavors. Try a classic vanilla cupcake for a clean, sweet base, or a vibrant red velvet for a dramatic presentation. Strawberry, lemon, funfetti, or even spice cake mixes can open up a world of delightful possibilities.
- Frosting Fantasies: The frosting is a key component, offering another layer of flavor and richness. Beyond our classic buttercream, consider:
- Cream Cheese Frosting: A tangy and rich option, especially wonderful with red velvet or carrot cake cupcakes.
- Chocolate Frosting: For the ultimate chocolate lover, pair it with chocolate or even vanilla cupcakes.
- Peanut Butter Frosting: A dream come true with chocolate cupcakes!
- Cool Whip Cream Cheese Frosting: A lighter, airier option that adds a refreshing touch.
- Lemon or Raspberry Frosting: Infuse your buttercream with citrus zest or fruit purees for bright, fresh flavors.
- Whipped Cream Topping: For a lighter finish, top each jar with a generous swirl of freshly whipped cream just before serving. This adds a delicate touch and contrasts beautifully with the richer cupcake and frosting layers.
- Exciting Toppings and Fillings: Elevate your jarred cupcakes with extra goodies between layers or on top:
- Chocolate Chips or Mini Chocolate Chips: A timeless classic that adds bursts of chocolatey goodness.
- Crushed Candy Pieces: Think crushed Oreos, M&Ms, Heath bars, or even peppermint candy canes for a holiday twist.
- Salted Caramel Drizzle: A sophisticated touch that adds a delightful sweet and salty contrast.
- Fresh Berries or Fruit Compote: While fresh berries can get mushy if stored for too long, adding them just before serving or using a thick fruit compote can introduce a burst of freshness.
- Nuts: Chopped pecans, walnuts, or almonds can add a lovely crunch.
- Coconut Flakes: Toasted or raw, coconut adds a tropical flair.
Step-by-Step Guide to Assembling Your Cupcakes in a Jar
Creating these beautiful layered desserts is a fun and rewarding process. Follow these detailed steps for perfect results every time:
- Step 1: Preheat the Oven and Prepare Muffin Pans. Begin by preheating your oven to 350 degrees Fahrenheit (175°C). Line two standard muffin pans with cupcake liners, ensuring you have enough for all your cupcakes. This step is essential for proper baking and easy removal.
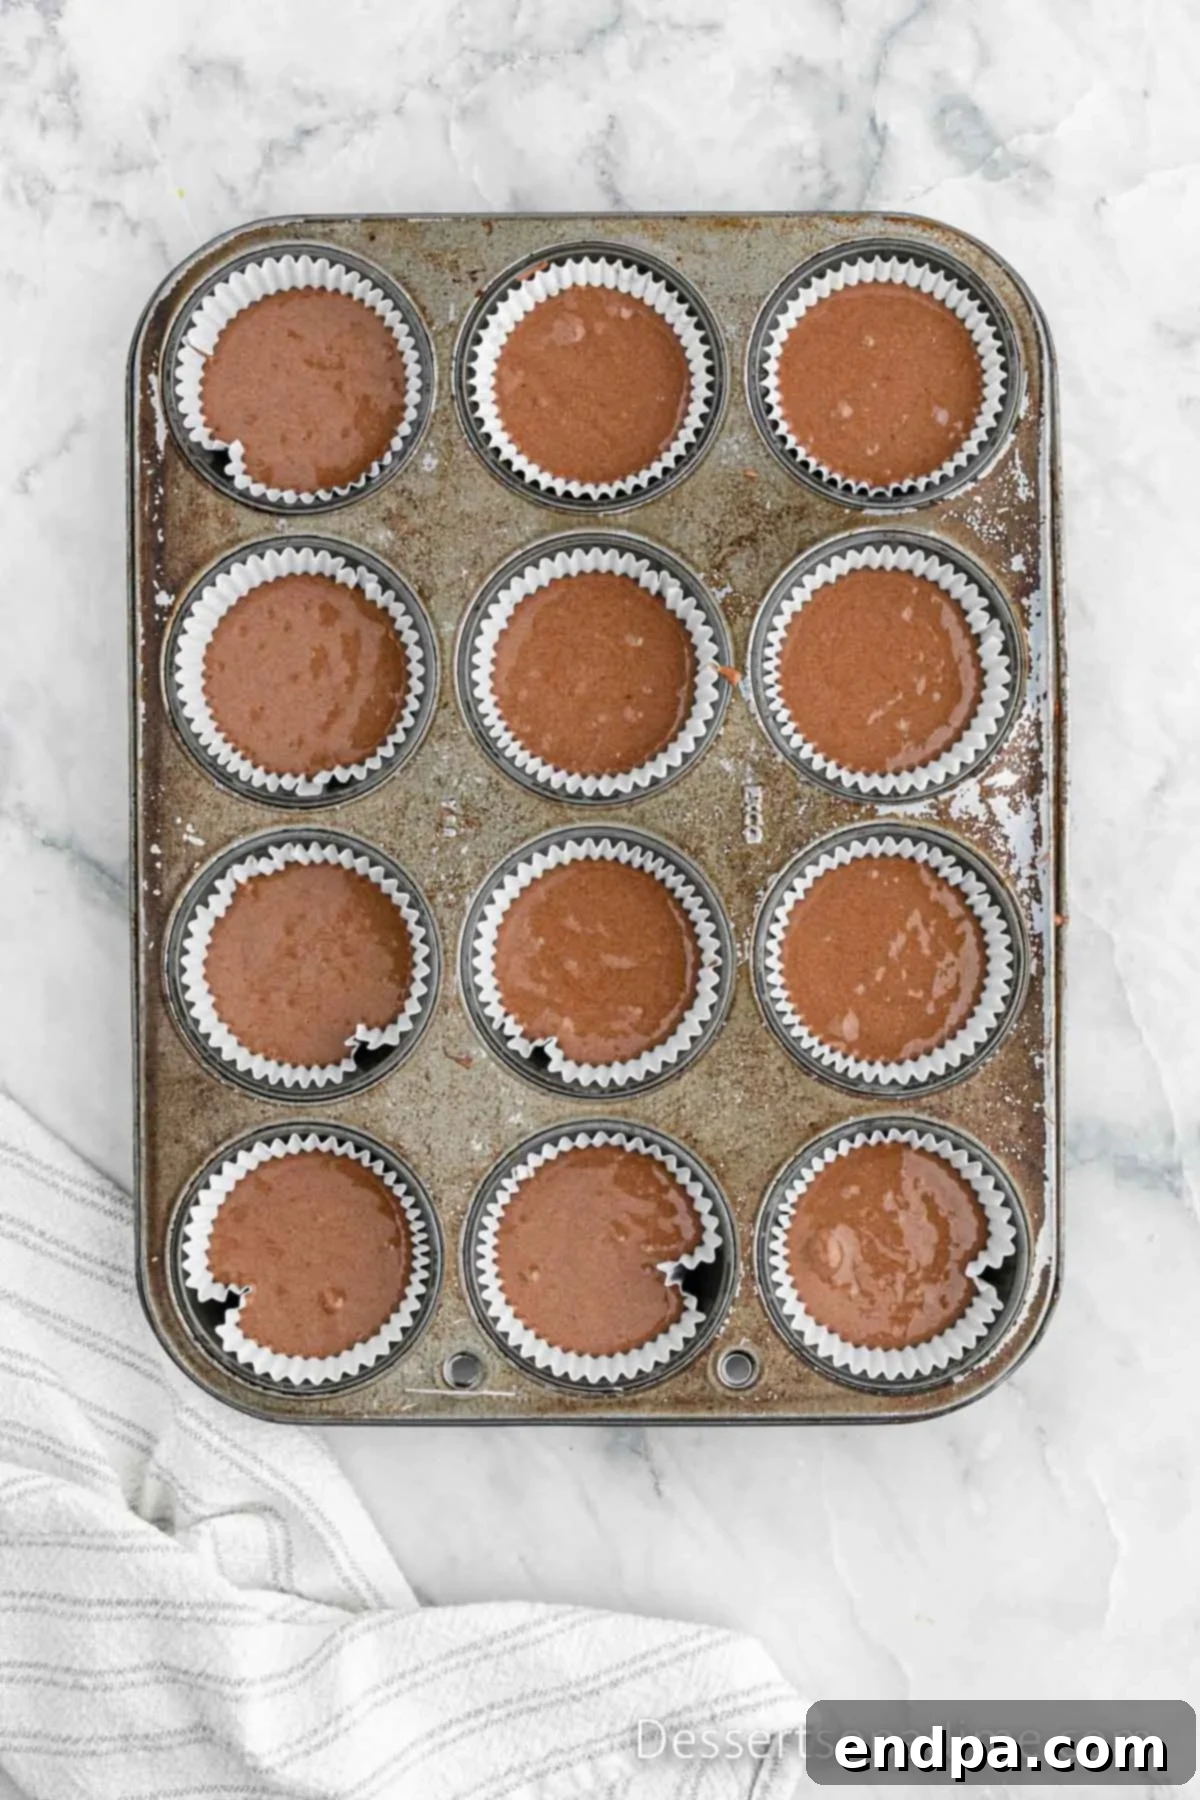
Step 2: Prepare and Bake the Cupcakes. Next, follow the instructions on your chosen chocolate cake mix box to prepare the batter. Once the batter is ready, carefully pour it into the prepared muffin tins, filling each cupcake liner approximately two-thirds full. Bake according to the package directions, typically 14-15 minutes, or until a toothpick inserted into the center of a cupcake comes out clean. Allow the baked cupcakes to cool completely on a wire rack. This is crucial before assembling to prevent the frosting from melting.
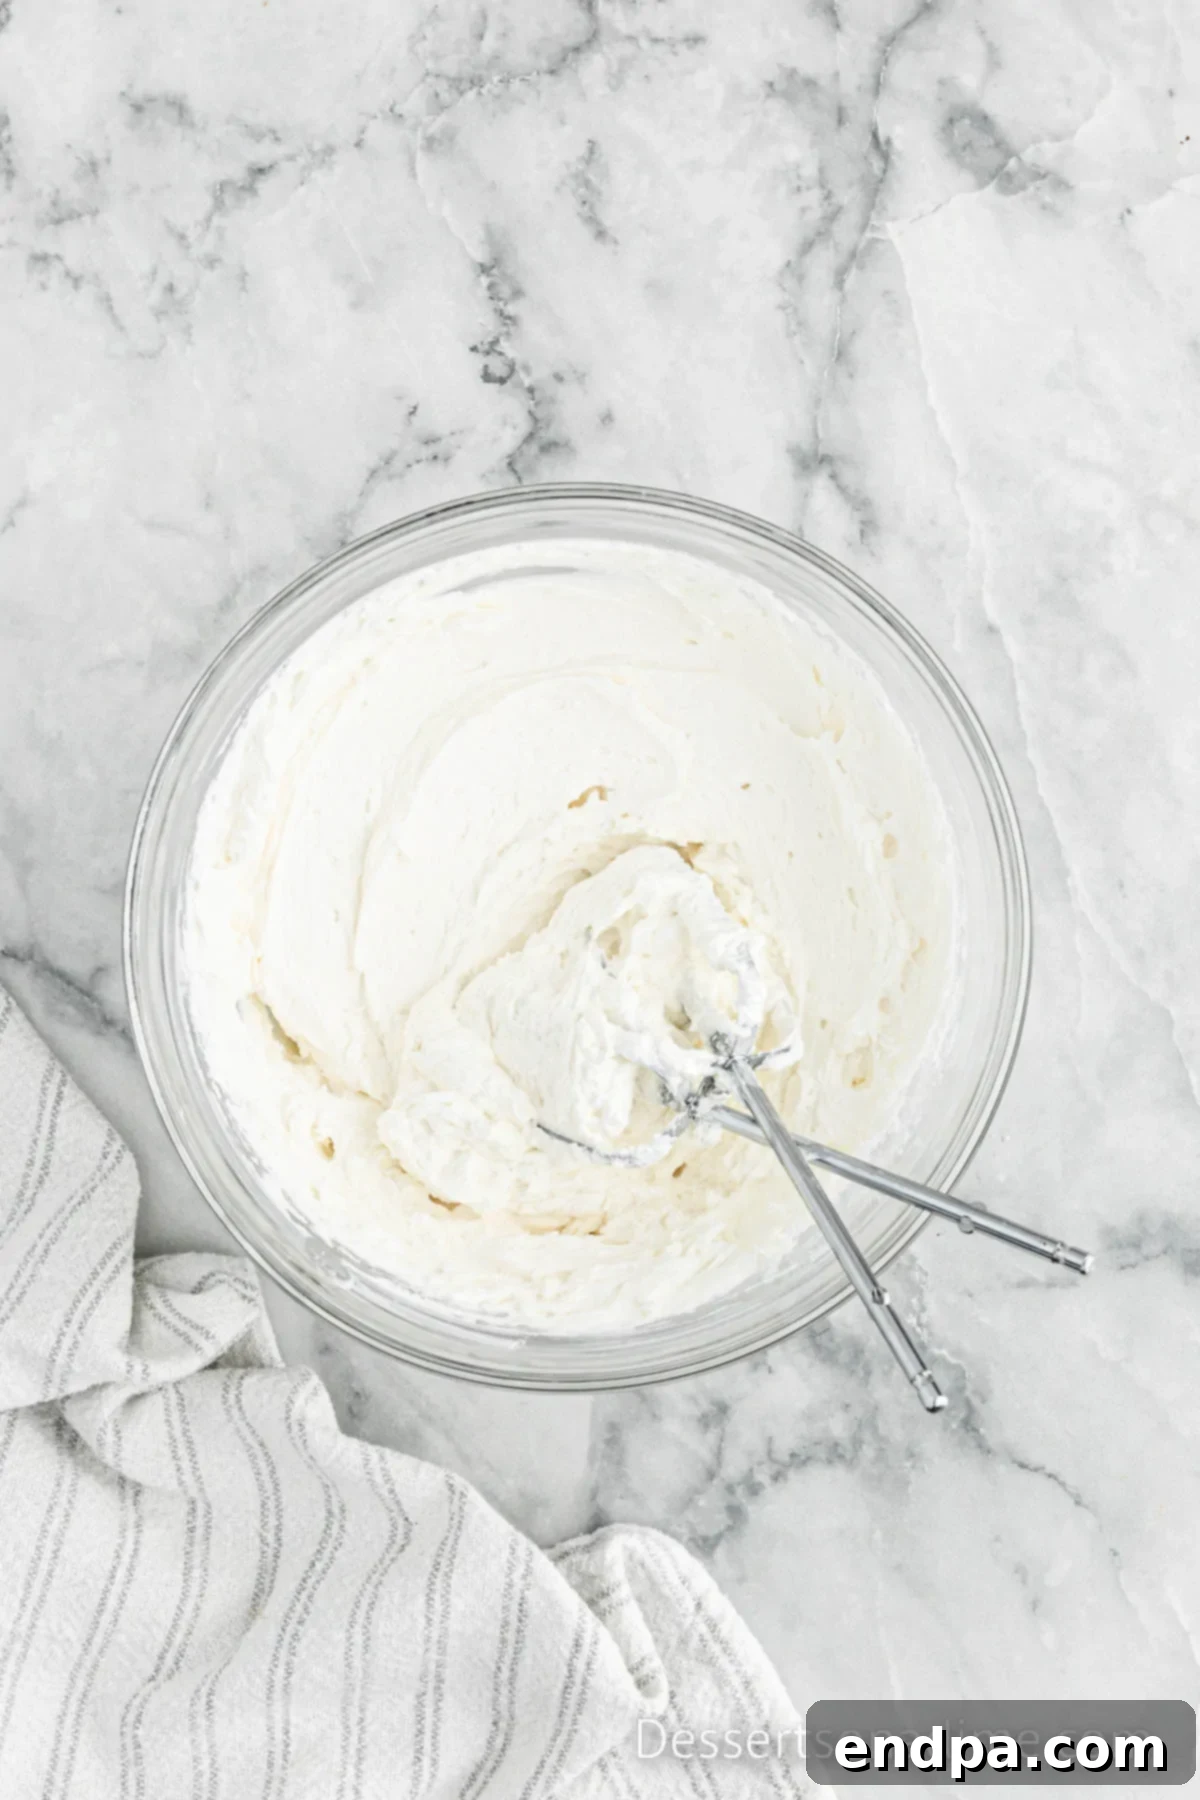
Step 3: Prepare the Creamy Frosting. While your cupcakes are cooling, begin preparing the homemade frosting. In a large mixing bowl, using either a stand mixer fitted with a paddle attachment or a handheld electric mixer, cream together the softened butter and solid vegetable shortening until the mixture is light and fluffy. Gradually add the sifted powdered sugar, one cup at a time, beating on low speed until fully incorporated and smooth. Finally, stir in the vanilla extract and milk, increasing the speed to medium-high and beating until the frosting is thoroughly mixed, light, and airy.
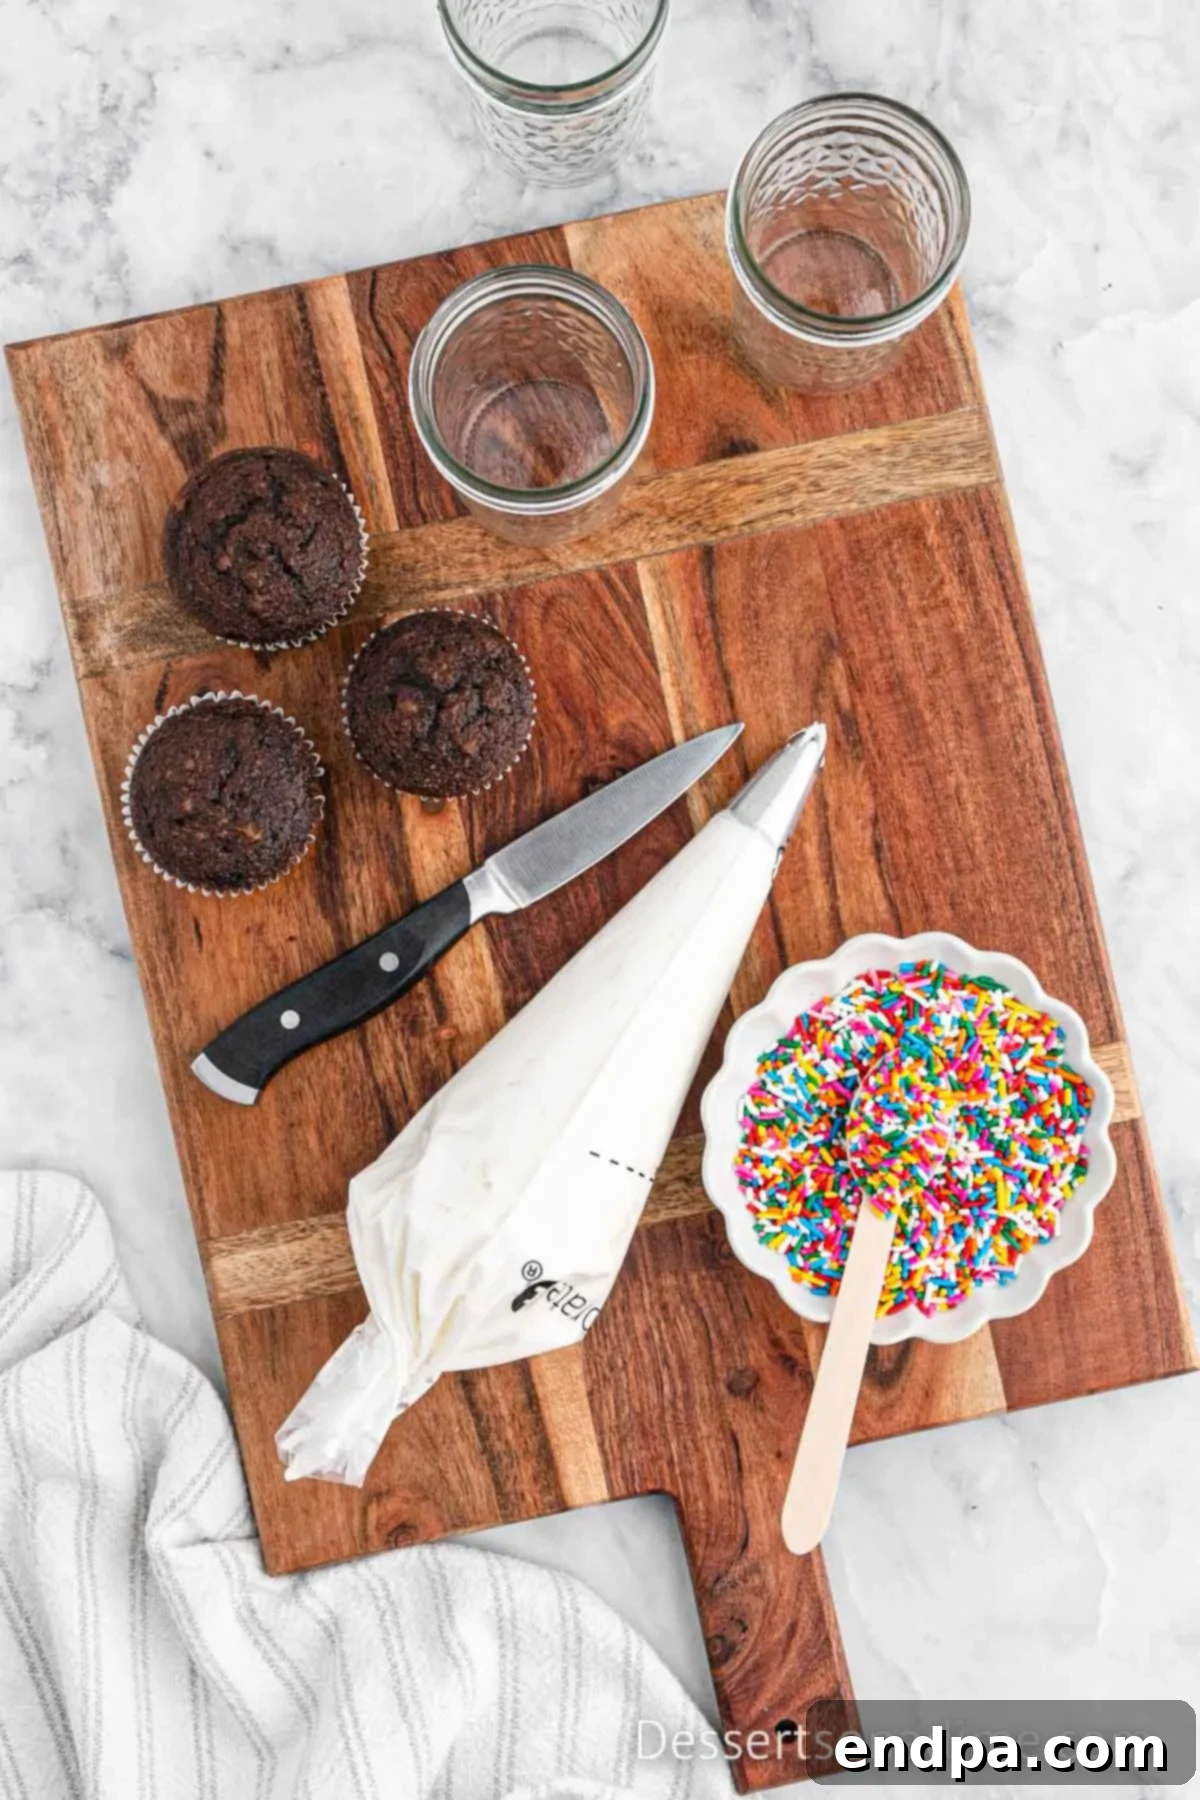
Step 4: Prepare the Piping Bag. Once your frosting is ready, transfer it to a piping bag fitted with a star tip (or your preferred decorative tip). This will allow for neat, professional-looking layers in your jars.
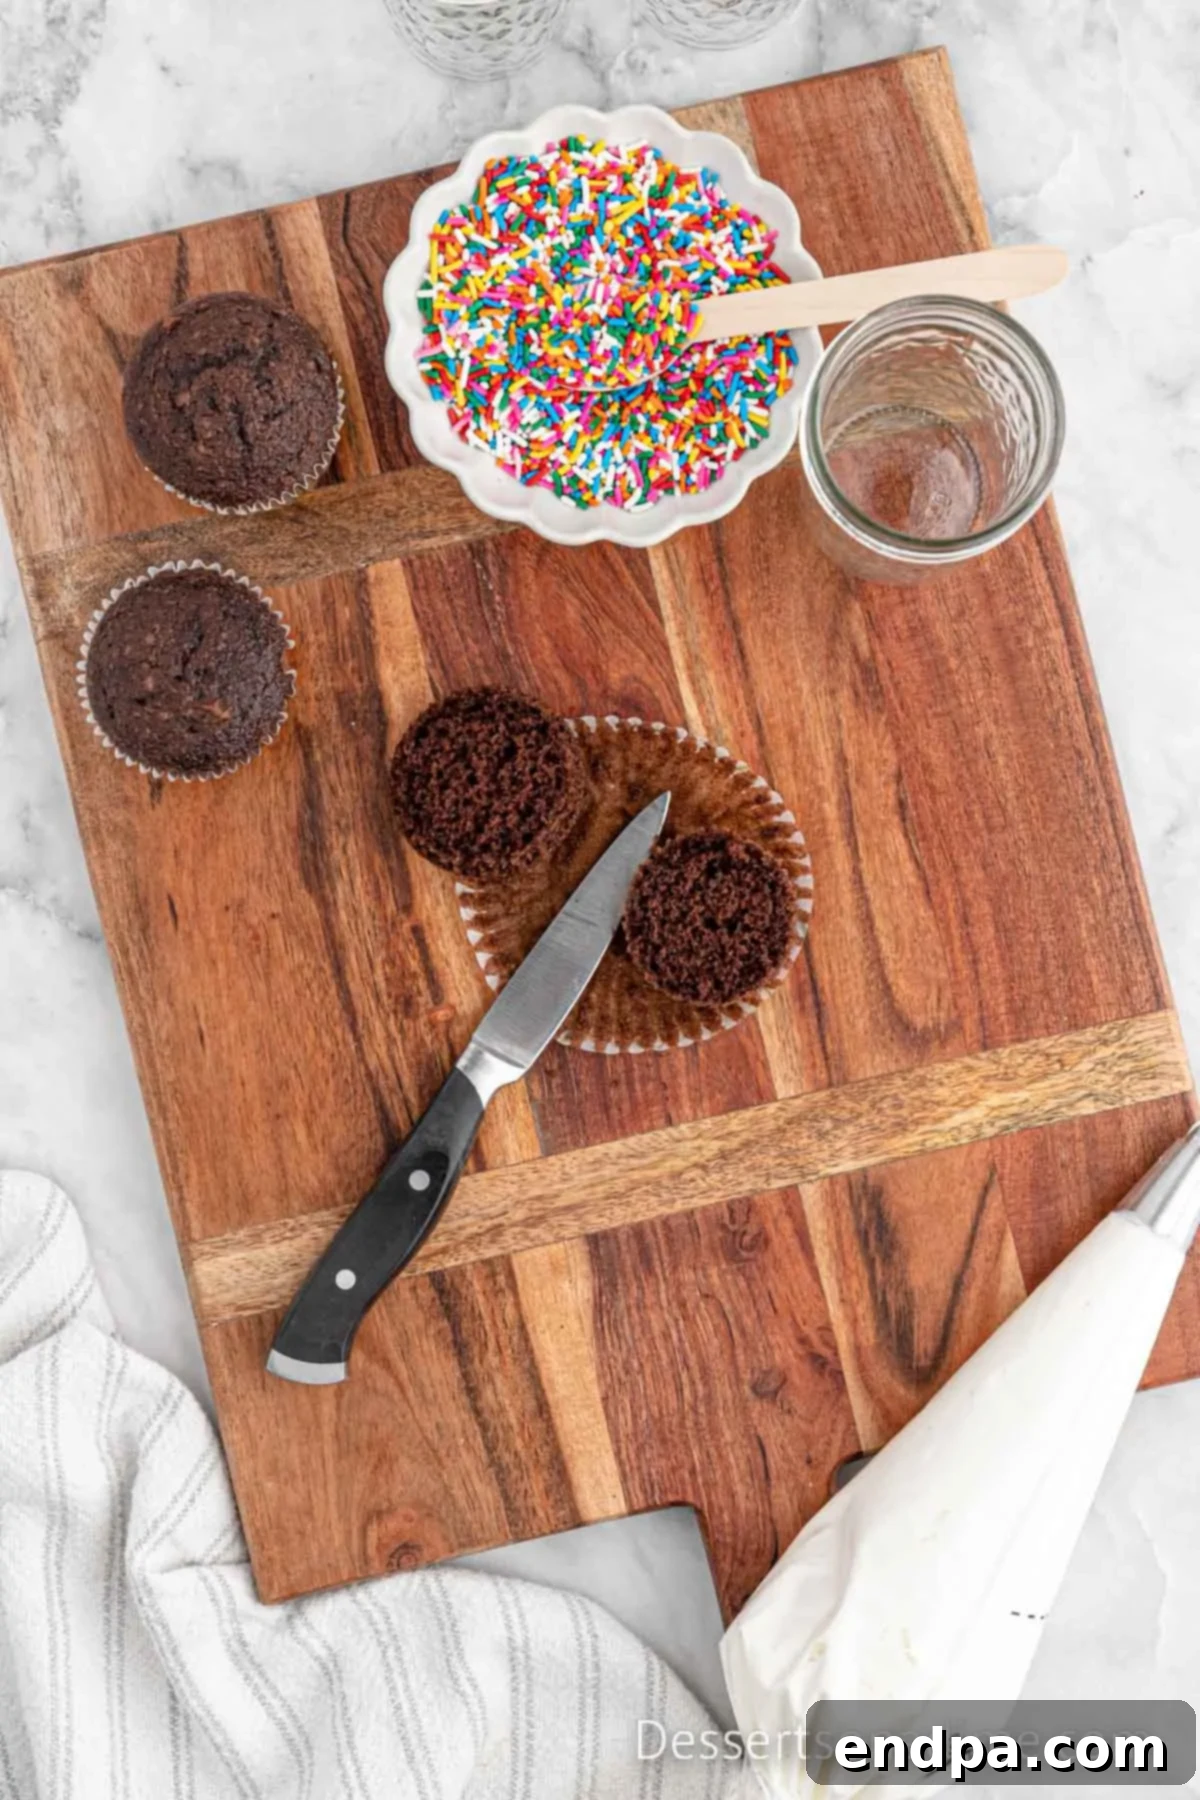
Step 5: Prepare the Cupcake Pieces. Gently remove the paper liners from the cooled cupcakes. Then, using a sharp knife, carefully cut each cupcake horizontally in half. Simply cut off the domed top portion, separating it from the flatter bottom base. This creates two perfect layers for your jars.
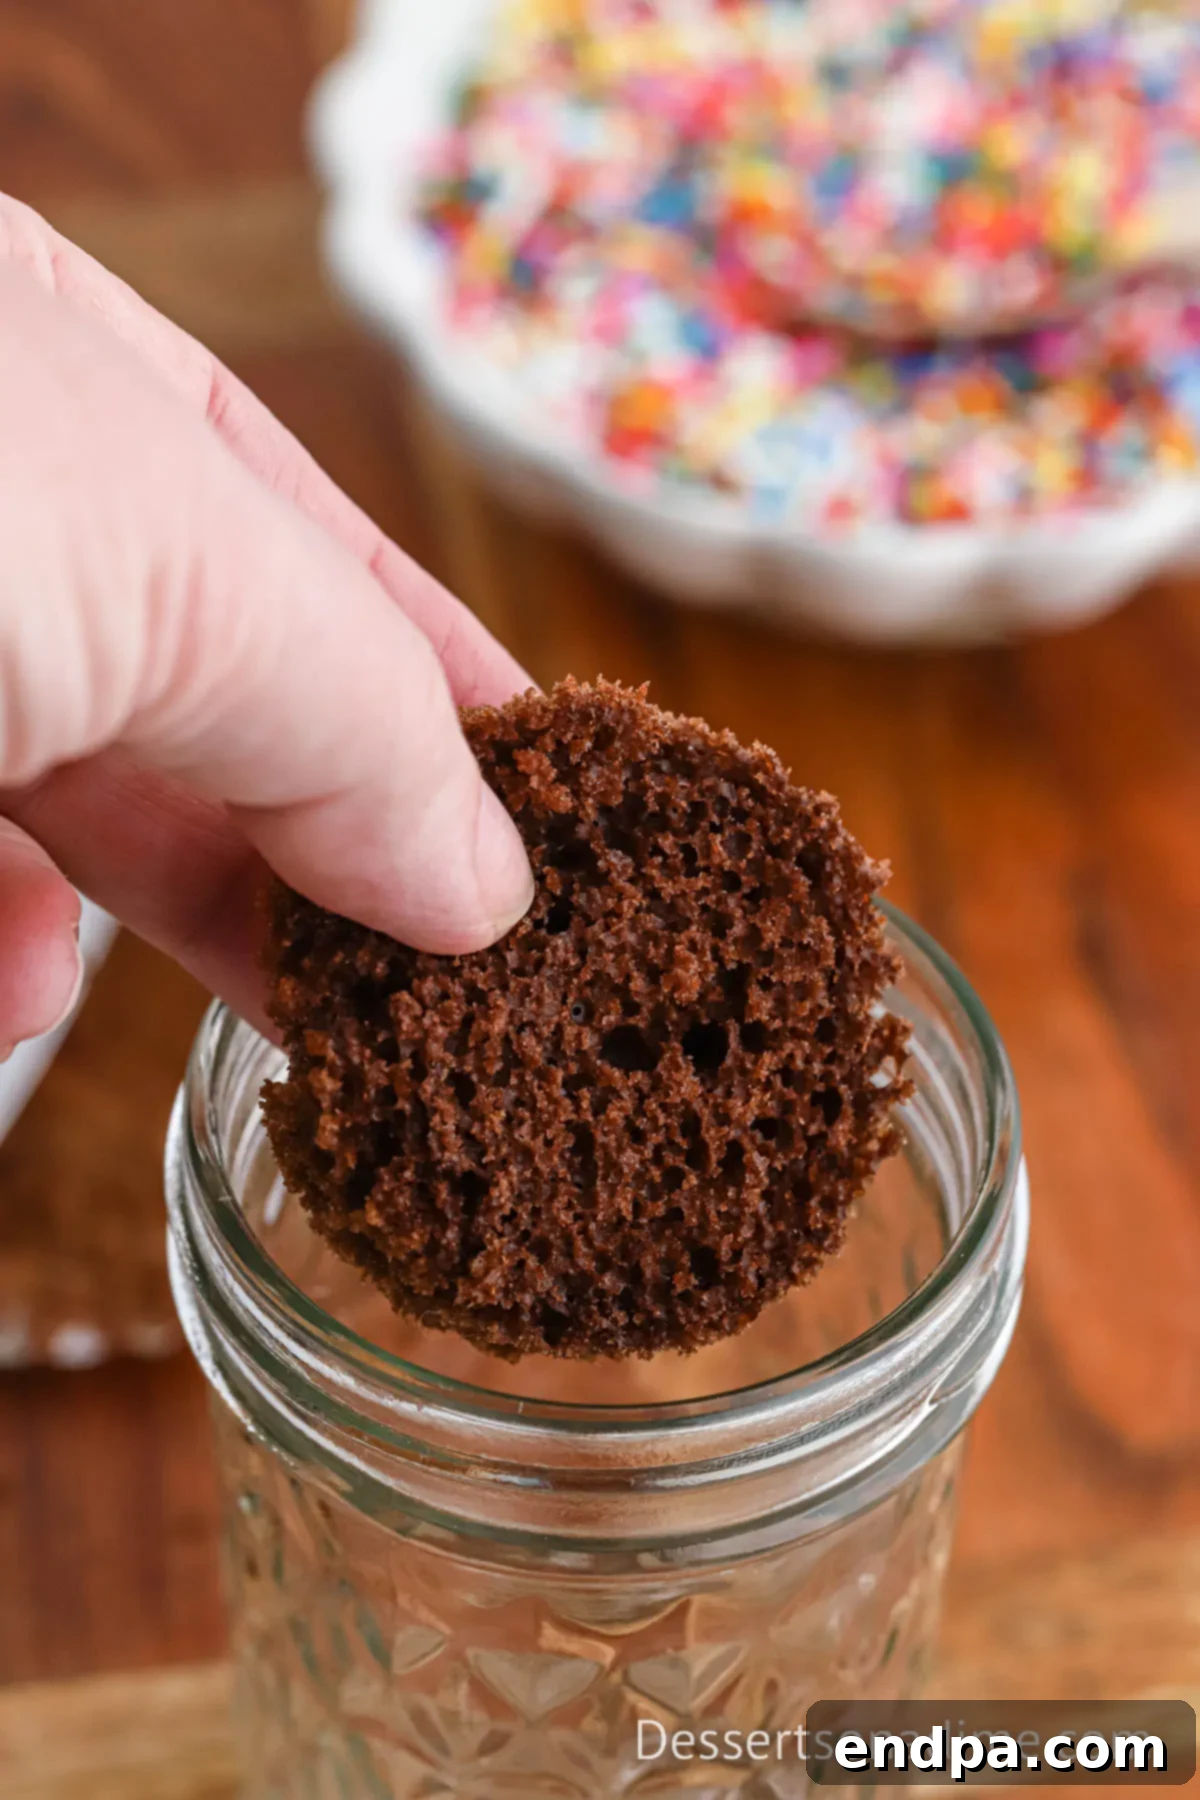
Step 6: First Layer – Cupcake Base. Take your pint-sized mason jars. Place the flatter bottom half of a prepared cupcake into the very bottom of each mason jar, pressing it down gently to create an even base.
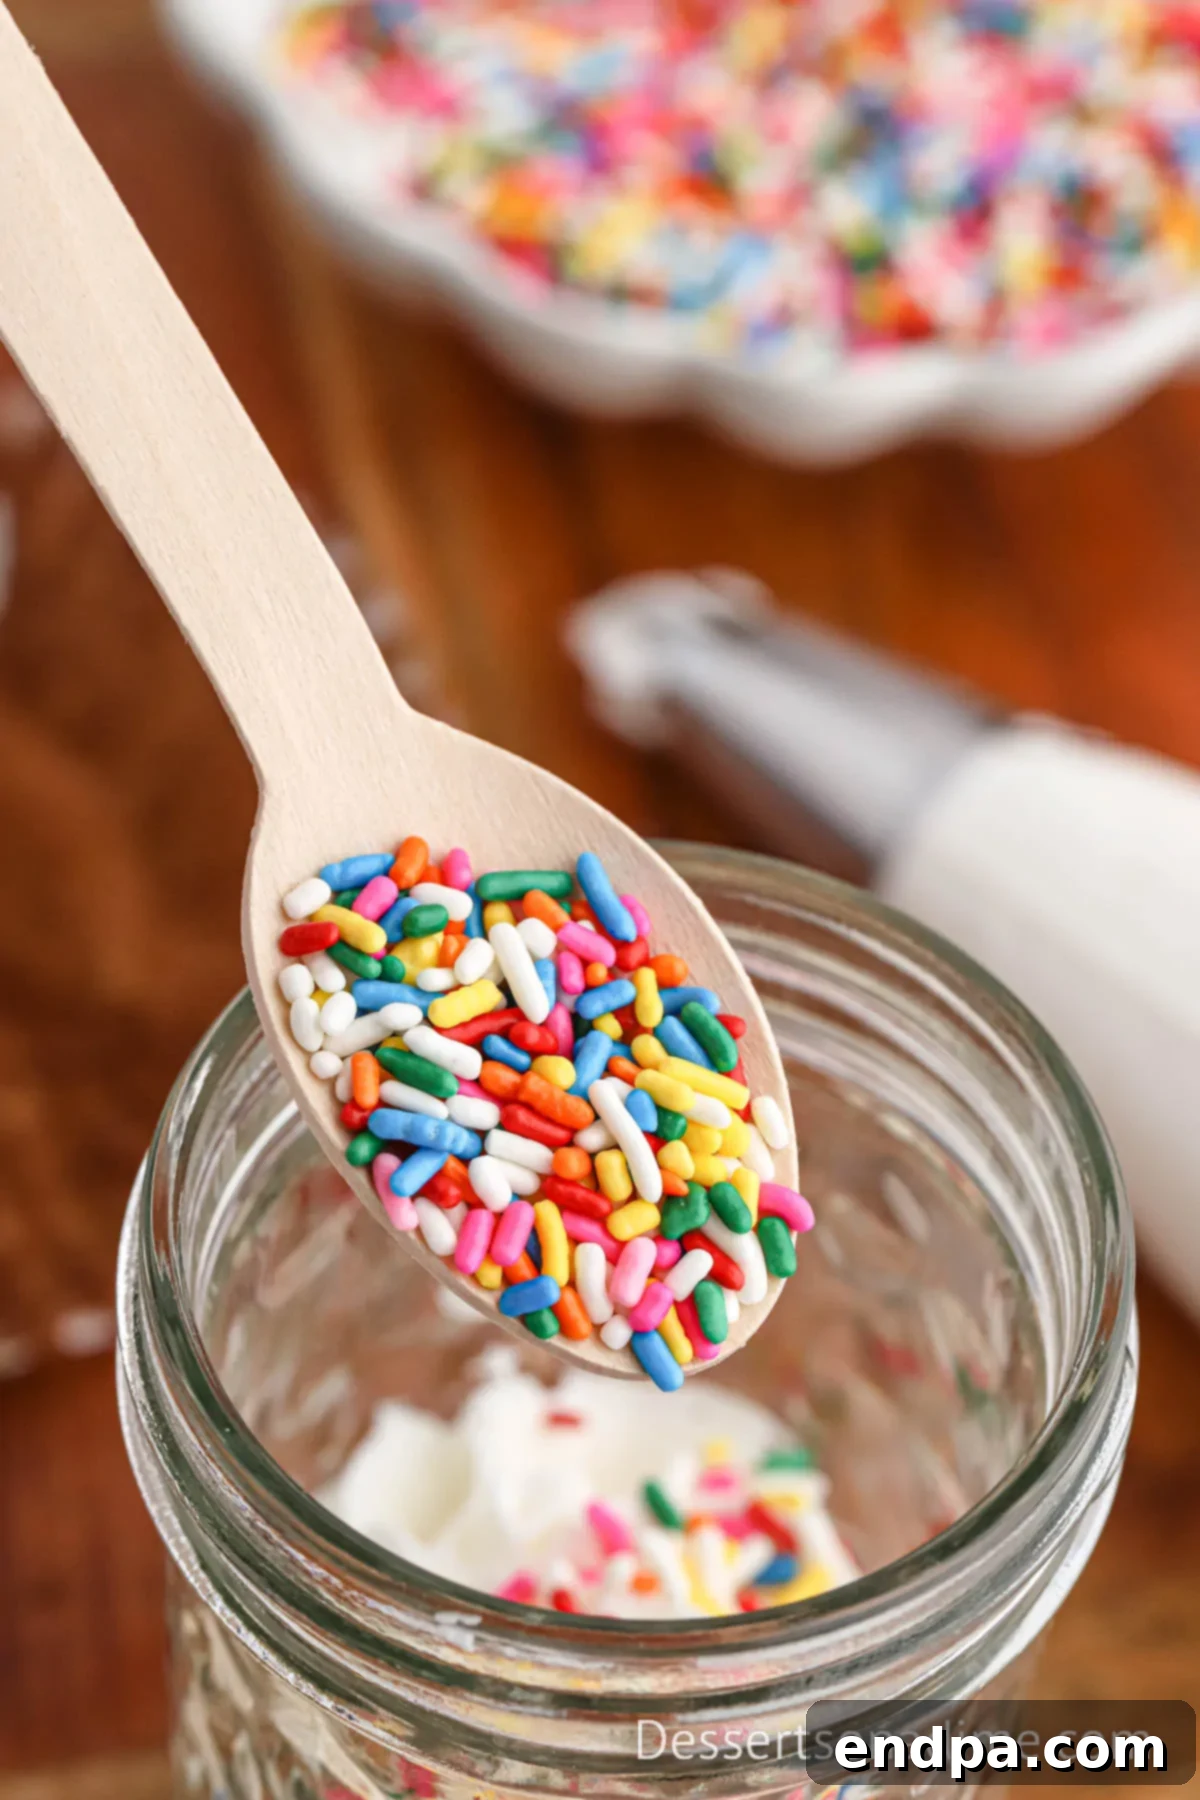
Step 7: Second Layer – Frosting and Sprinkles. Using your piping bag, pipe a generous layer of frosting on top of each cupcake bottom in the mason jars. Create an attractive swirl or simply a flat layer, as you prefer. Immediately after, liberally sprinkle your chosen rainbow jimmies over the frosting layer.
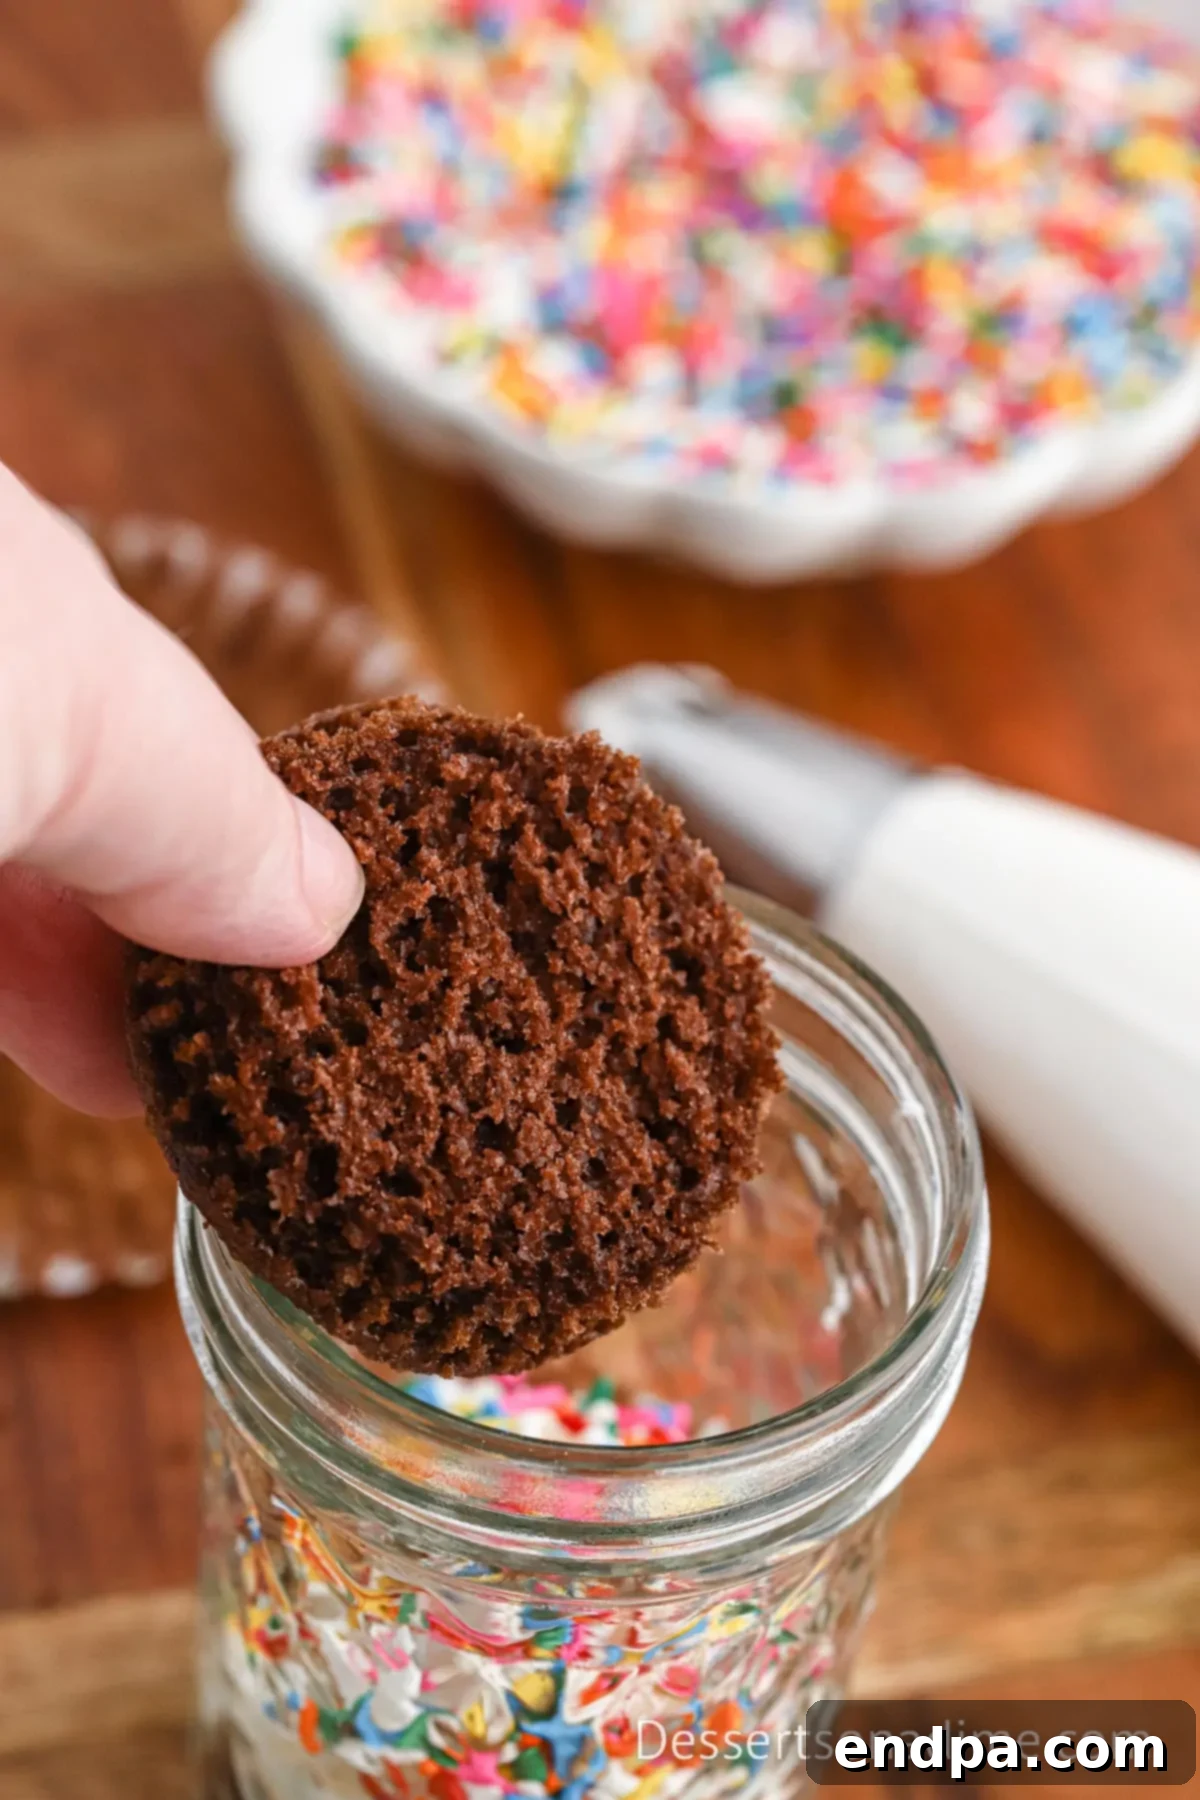
Step 8: Third Layer – Cupcake Top. Carefully place the domed top half of another cupcake into each mason jar, resting it gently on top of the frosting and sprinkle layer. This creates a beautiful contrast and adds another delicious cake element.
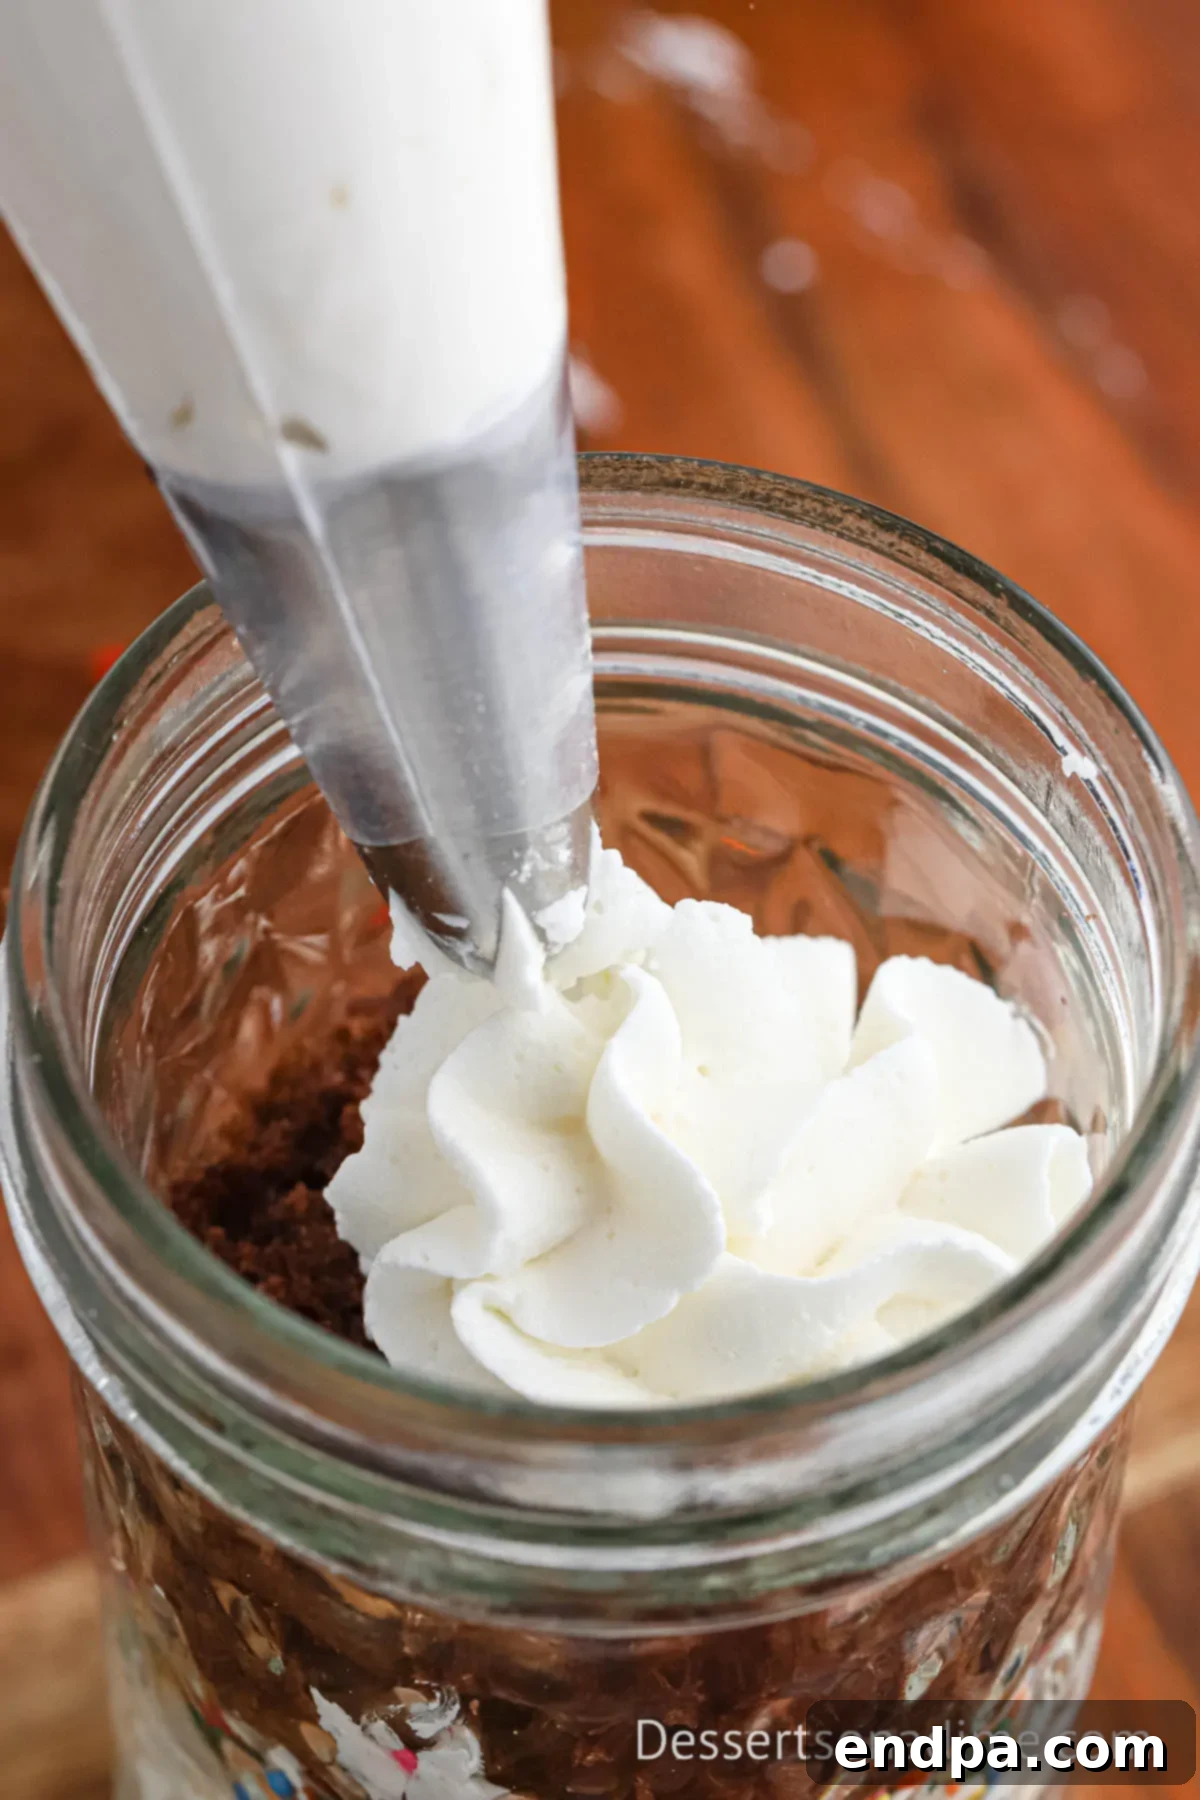
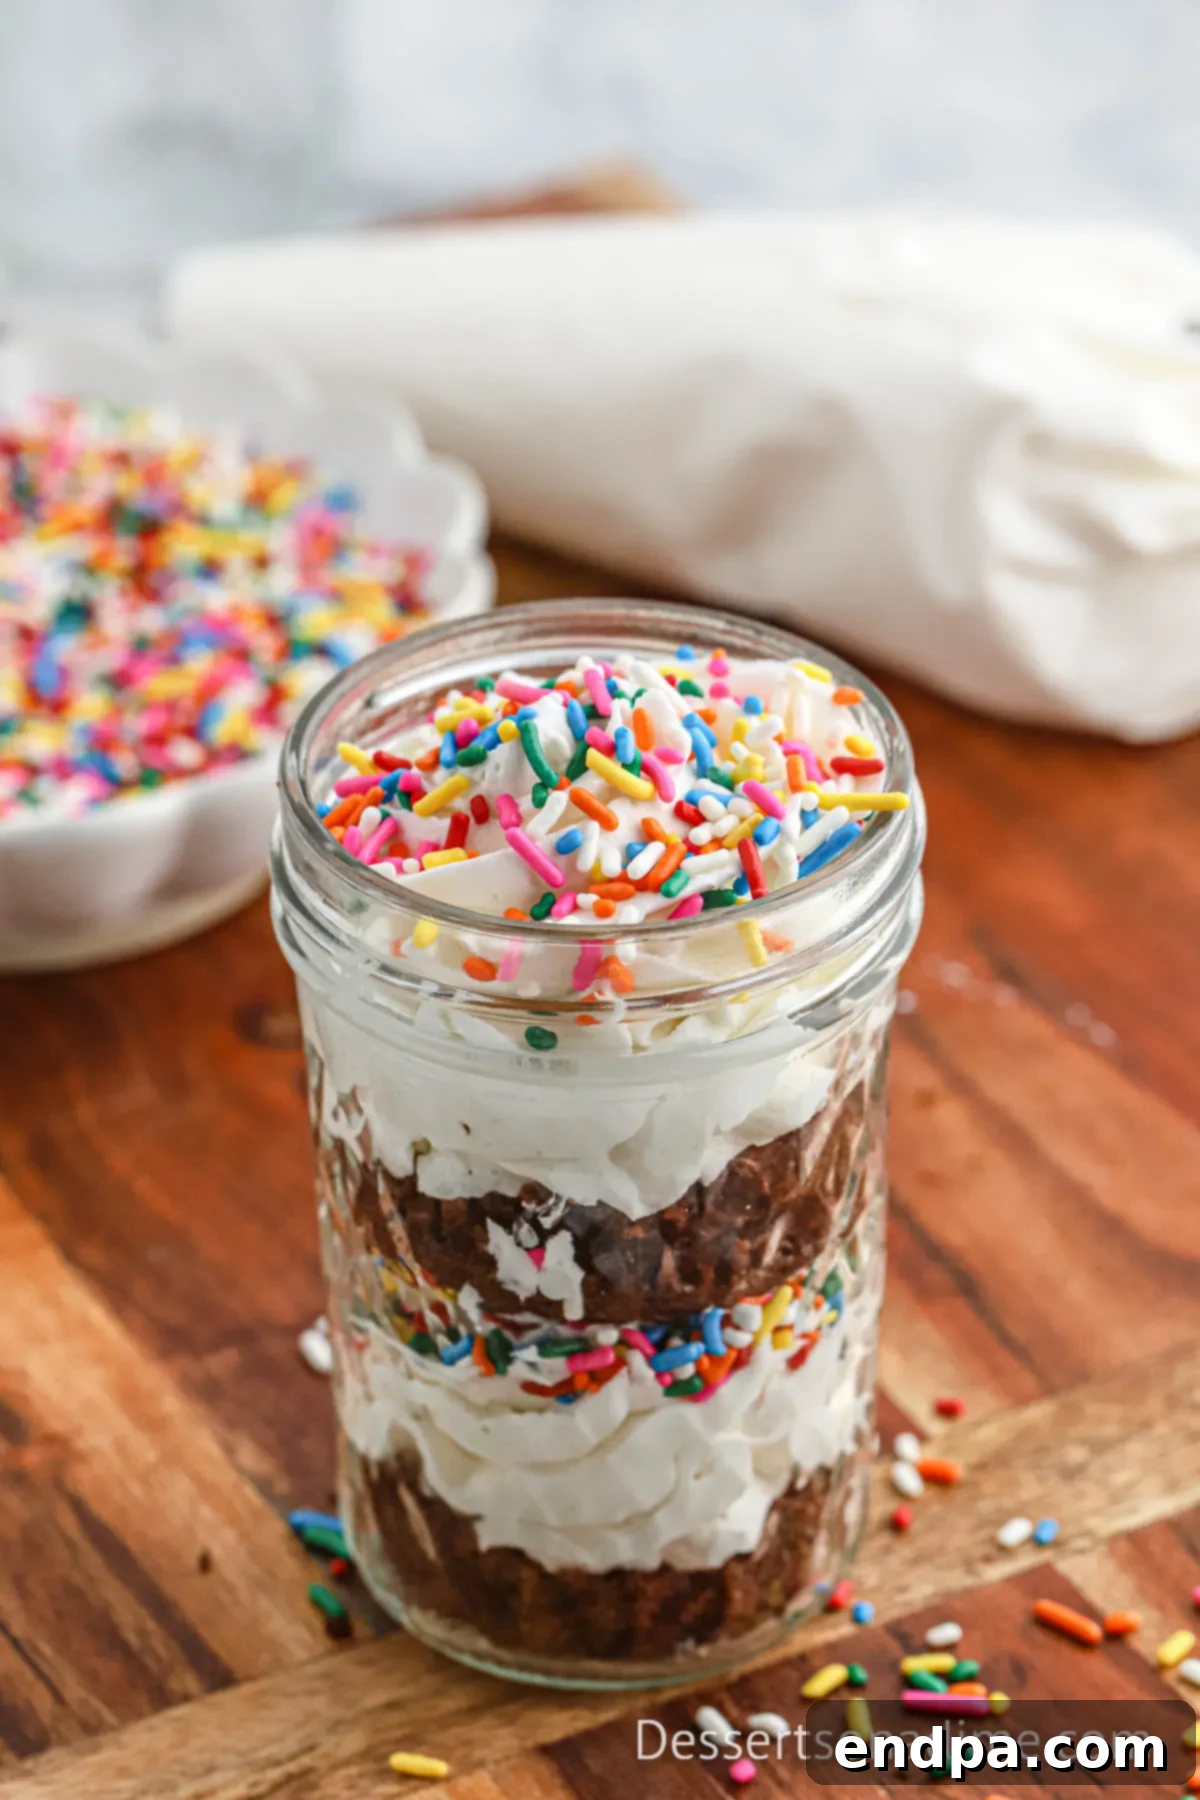
Step 9: Final Layer – Frosting and Garnish. Add a final, decorative layer of frosting on top of the second cupcake piece. Swirl it high or pipe a delicate rosette. Garnish generously with more rainbow sprinkles. For an extra special touch, these layered delights would be incredibly tasty served alongside a scoop of Red Velvet Ice Cream or a dollop of whipped cream.
Storage Tips for Optimal Freshness
To keep your delicious cupcakes in a jar tasting their best, proper storage is key. Once assembled, it’s important to place the lids securely on each mason jar. This creates an airtight seal that locks in moisture and keeps the layers fresh. Refrigerate any leftover cupcakes promptly. They will maintain their quality and flavor for up to 1 week in the refrigerator. However, for the absolute best taste and texture, we highly recommend enjoying these treats within 3-4 days of baking and assembly. Beyond that timeframe, the cake can start to dry out slightly, even with the protective frosting layers. For longer storage, you can freeze sealed jars for up to a month; just be sure to thaw them in the refrigerator overnight before serving.
Expert Baking Tips for Perfect Cupcakes in a Jar Every Time
Achieving picture-perfect and delicious layered cupcakes in a jar is simple when you follow a few expert tips. These small details can make a big difference in the final outcome, ensuring your desserts are as delightful to eat as they are to behold:
- Allow Cupcakes to Cool Completely: This tip cannot be stressed enough! Before you even think about layering the cake and frosting in your jars, ensure that your baked cupcakes are absolutely, entirely cool. Any residual warmth will cause your beautiful frosting layers to melt, slide, and create a messy, unappealing dessert. Patience here will be rewarded with neat, defined layers.
- Secure with a Lid for Storage: Always place a tight-fitting lid on your mason jars immediately after assembly. This airtight seal is crucial for several reasons: it keeps the cupcakes moist and prevents them from drying out, it protects the frosting from absorbing refrigerator odors, and it maintains the overall freshness of your dessert.
- Choose Your Sprinkles Wisely: Sprinkles are fantastic for adding a festive touch! However, be mindful of the type you use. Jimmies (the rod-shaped sprinkles) are generally recommended because their colors are more stable and less prone to bleeding into the frosting layers, especially if stored for a short period. Nonpareils (tiny ball-shaped sprinkles) tend to bleed color easily, which might diminish the crispness of your layers.
- Avoid Over-Filling with Extra Wet Fillings: While adding extra fillings can be tempting, be cautious with overly moist ingredients like fresh berries, fruit purees, or certain custards, especially if you plan to store the cupcakes for more than a few hours. These wet additions can cause the cake layers to become mushy and soggy over time, compromising the texture of your lovely layered dessert. If you want to include fresh fruit, it’s best to add it just before serving for maximum freshness and flavor.
- Pipe with Confidence: Don’t be intimidated by piping! Using a piping bag with a star tip makes creating elegant frosting layers much easier and more consistent. If you don’t have a piping bag, a zip-top bag with a corner snipped off will work in a pinch, though the designs might not be as intricate.
- Room Temperature Frosting Ingredients: For the creamiest, lump-free frosting, ensure your butter and any other dairy ingredients are at room temperature. This allows them to combine smoothly with the shortening and powdered sugar, resulting in a perfectly whipped consistency.
Discover More Fun and Easy Cupcake Recipes
If you’ve fallen in love with the convenience and charm of these layered jar cupcakes, you’ll be thrilled to explore more of our delightful cupcake creations. Here are some other fantastic recipes that are perfect for any occasion:
- Confetti Cupcakes: A festive and colorful treat guaranteed to bring a smile to anyone’s face.
- Thin Mint Cupcakes Recipe: Experience the irresistible combination of chocolate and mint in a delightful cupcake form.
- Orange Creamsicle Cupcakes Recipe: A nostalgic flavor that’s wonderfully zesty and creamy.
- Red Velvet Cupcakes: A classic, rich, and elegant choice, often paired with cream cheese frosting.
- S’mores Cupcakes Recipe: Capture the magic of a campfire favorite in a portable, sweet bite.
We are confident you’re going to adore this Cupcake in a Jar recipe as much as we do. It’s an innovative, delicious, and visually appealing dessert that everyone will love. Go ahead and try it, and don’t forget to come back and leave a comment to share your experience!
Pin
Cupcake in a Jar
Ingredients
For the Cupcakes:
- 1 box Chocolate Cake Mix
- Ingredients needed to make cupcakes based on the cake mix instructions (e.g., eggs, oil, water)
For the Frosting:
- ½ cup Solid Vegetable Shortening
- ½ cup Butter softened at Room Temperature
- 1 tsp Vanilla Extract
- 4 cups Sifted Powdered Sugar
- 2 Tbsp Milk
To Assemble:
- 24 Pint Sized Mason Jars
- Rainbow Sprinkles (Jimmies are recommended for color stability)
Want to save this recipe?
Enter your email below, and we’ll send it directly to your inbox, along with great new recipes weekly!
Instructions
- Preheat your oven to 350 degrees F (175°C). Line two standard muffin pans with cupcake liners, preparing for your baking.
- Prepare the chocolate cake mix according to the package directions. Fill each cupcake liner about two-thirds full with the batter.
- Bake the cupcakes for 14-15 minutes, or until a toothpick inserted into the center comes out clean. Transfer them to a wire rack to cool completely before proceeding.
- While the cupcakes are cooling, prepare the rich and creamy frosting.
- In a large bowl, cream together the softened butter and solid vegetable shortening until the mixture is smooth and light, using either a stand mixer or a handheld mixer.
- Gradually beat in the sifted powdered sugar, adding one cup at a time on low speed until it is fully incorporated and the frosting is smooth.
- Stir in the vanilla extract and milk. Increase the mixer speed to medium-high and beat until the frosting is thoroughly mixed, light, and fluffy.
- Transfer the prepared frosting into a piping bag fitted with your desired star tip.
- Once the cupcakes are completely cool, remove their liners. Slice each cupcake horizontally in half, separating the domed top from the flatter base. Place the bottom half of a cupcake into each pint-sized mason jar.
- Pipe a generous layer of frosting on top of the cupcake bottom in each mason jar. Then, immediately sprinkle generously with rainbow jimmies.
- Carefully add the top half of another cupcake into each mason jar, placing it on top of the frosting layer.
- Pipe a final, beautiful layer of frosting on top of the second cupcake layer in the mason jar.
- Crown your creation with more vibrant sprinkles for a festive finish.
- Refrigerate the assembled cupcakes in jars until you’re ready to serve. Enjoy these delightful layered treats!
Recipe Notes
Nutrition Facts
Carbohydrates 33g,
Protein 1g,
Fat 13g,
Saturated Fat 4g,
Polyunsaturated Fat 4g,
Monounsaturated Fat 4g,
Trans Fat 1g,
Cholesterol 10mg,
Sodium 178mg,
Potassium 62mg,
Fiber 0.4g,
Sugar 26g,
Vitamin A 121IU,
Calcium 30mg,
Iron 1mg
Pin This Now to Remember It Later
Pin Recipe
