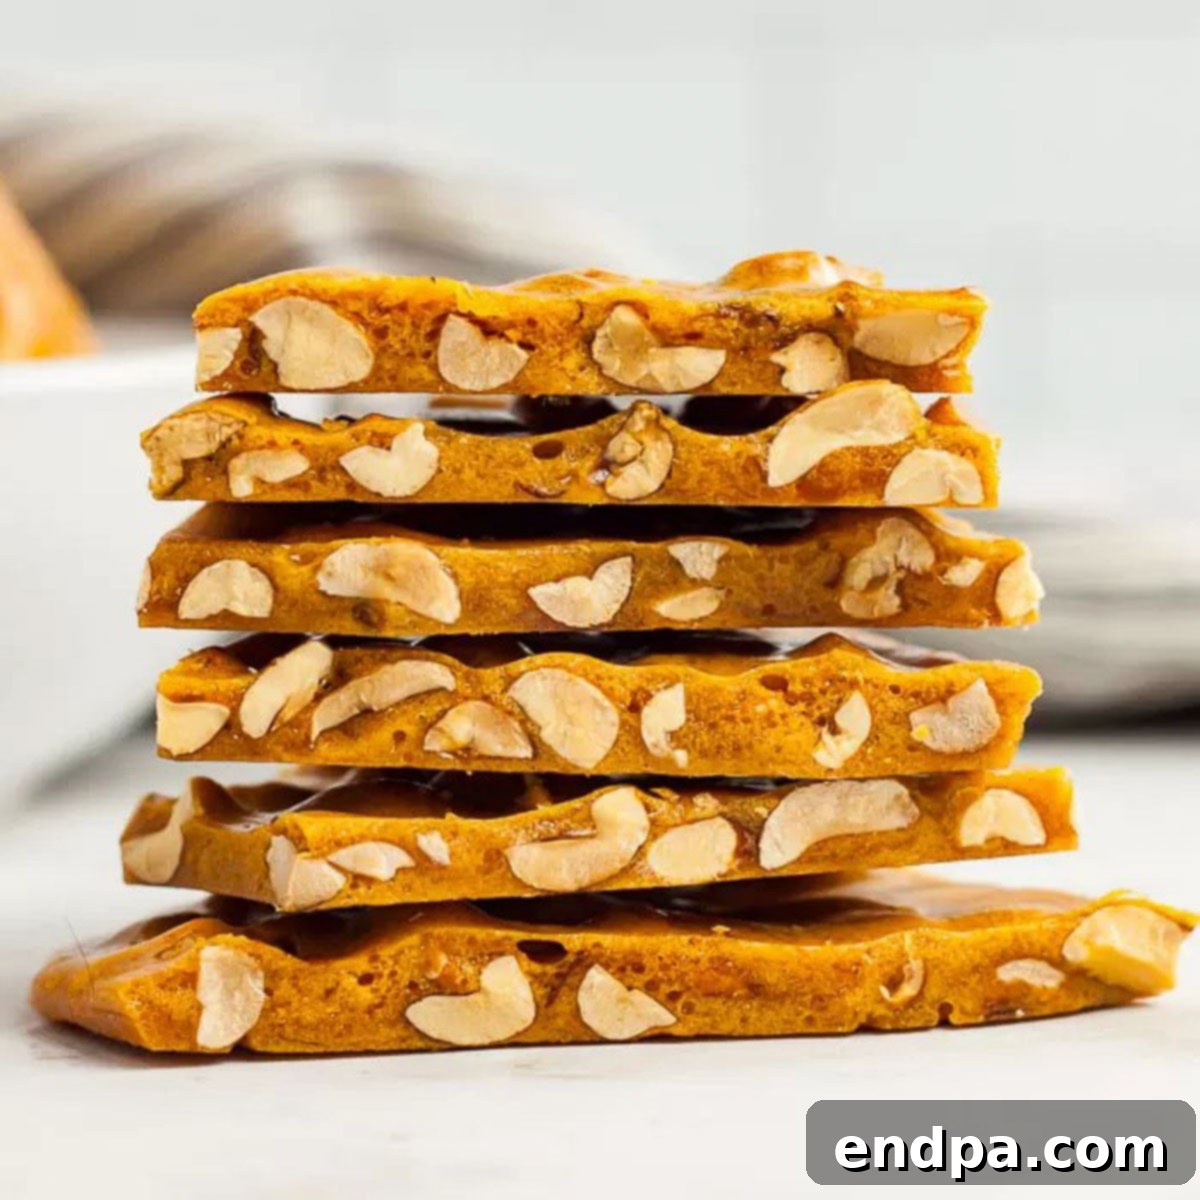
Experience the Joy of Homemade Microwave Peanut Brittle: A Simple, Delicious Treat for Everyone
Craving a classic, crunchy, and irresistibly sweet treat that’s surprisingly simple to make? Look no further than this incredibly easy Microwave Peanut Brittle Recipe. Forget complicated stovetop methods and the need for a candy thermometer – this foolproof recipe lets you create perfect, delectable peanut brittle right in your microwave. It’s so simple, even beginner confectioners can achieve amazing results, making it an ideal choice for last-minute gifts or a spontaneous sweet craving.
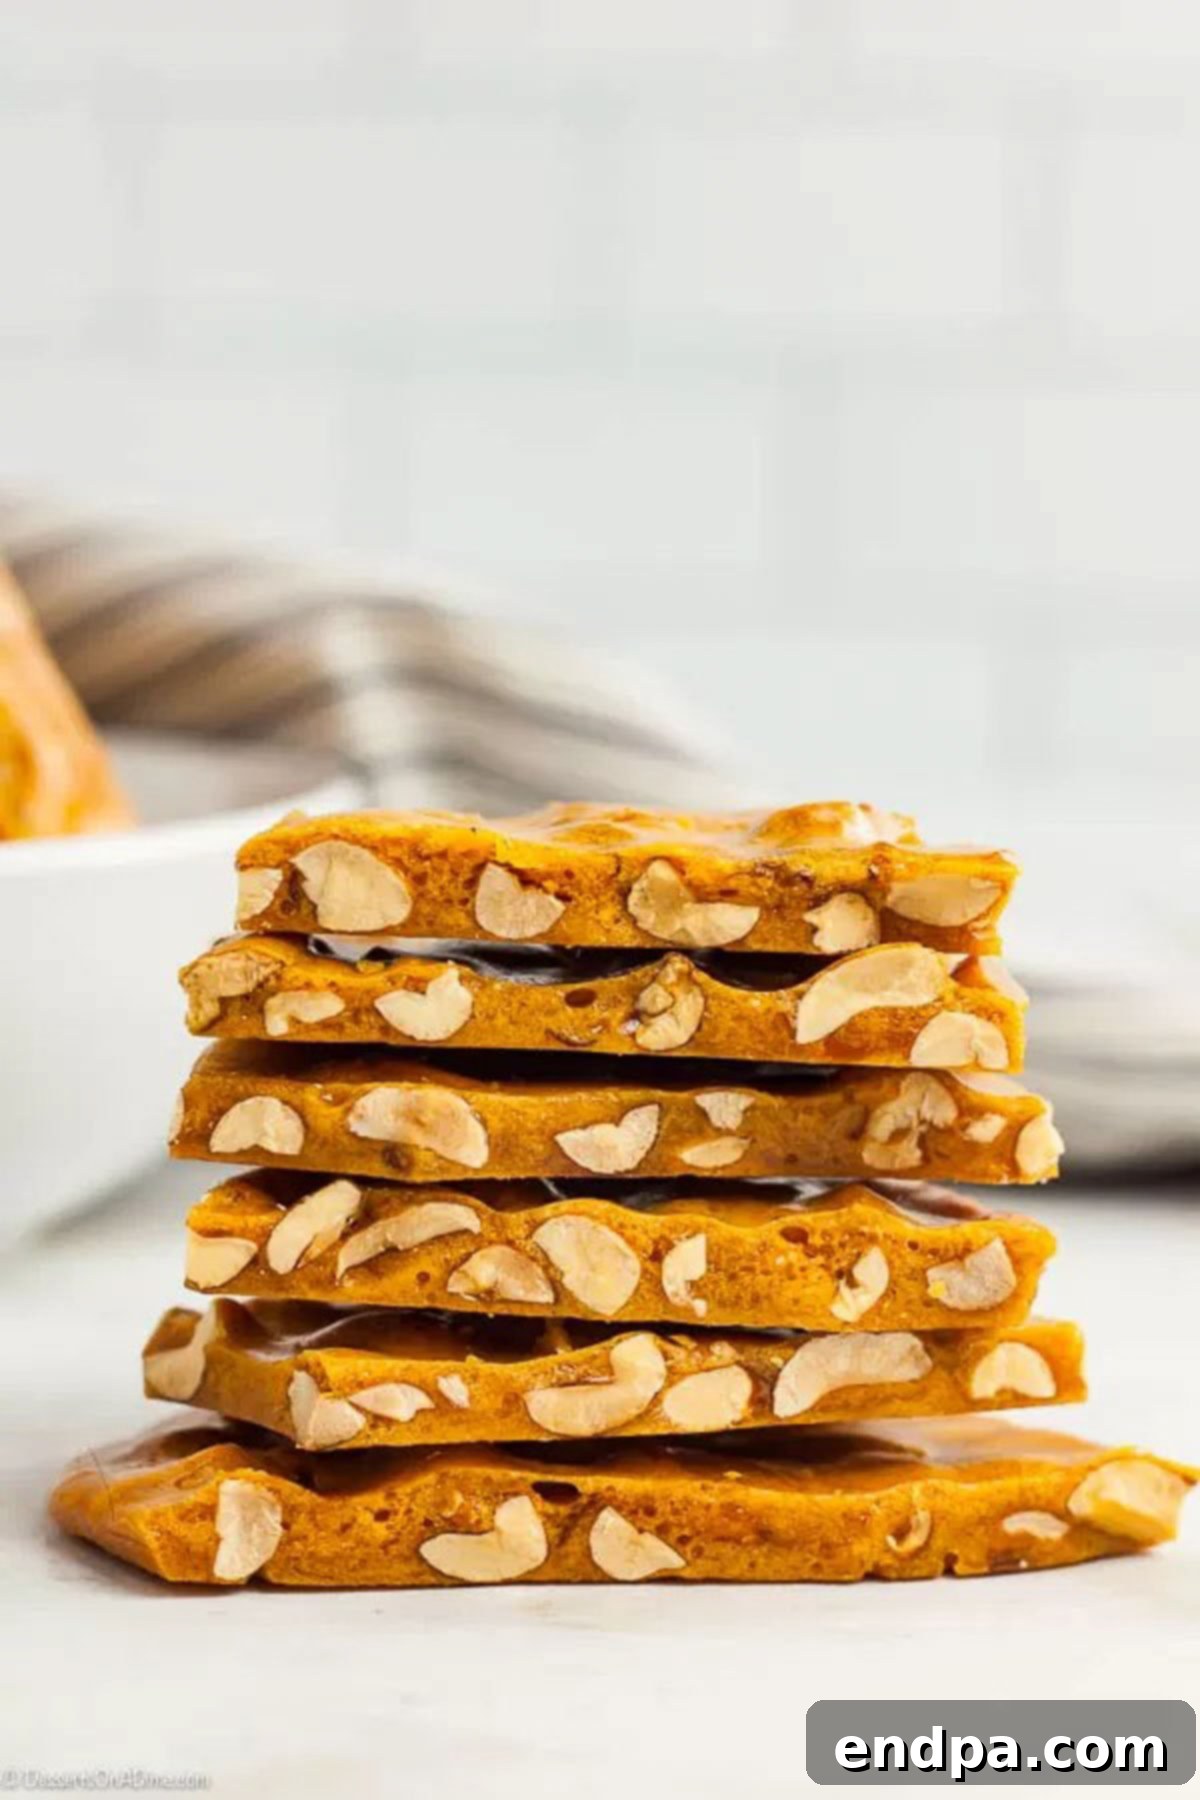
Why bother with expensive store-bought brittle when you can whip up a batch of this delightful confection at home for a fraction of the cost? Our easy microwave method ensures a crispy, nutty brittle every time, delivering that satisfying snap and rich flavor you adore. This recipe eliminates the guesswork, allowing you to focus on the pure joy of creating a homemade masterpiece.
While this article focuses on our quick microwave version, we also acknowledge the traditional methods. If you prefer the classic approach, explore our Easy Homemade Peanut Brittle Recipe for the stovetop. And for more convenient sweet creations, don’t miss our collection of Easy Microwave Desserts.
Table of Contents: Your Guide to Easy Microwave Peanut Brittle
- What is Peanut Brittle?
- Essential Ingredients for Microwave Peanut Brittle
- Creative Recipe Variations
- Step-by-Step Instructions: Mastering Microwave Brittle
- Pro Tips for Perfect Peanut Brittle
- Frequently Asked Questions
- More Delightful Holiday Candy Recipes
- Microwave Peanut Brittle Full Recipe Card
What is Peanut Brittle? A Sweet History and Delightful Texture
Peanut brittle is a beloved hard candy confection, characterized by its signature thin, crisp texture and a generous scattering of nuts. Traditionally made by cooking sugar and water (often with corn syrup) to a high temperature, then quickly mixing in peanuts and a touch of baking soda, the mixture is then spread thinly to cool and harden. Once set, it’s broken into irregular, delightful pieces. While peanuts are the most popular choice, variations often include almonds, pecans, cashews, or even a mix of nuts, offering a diverse flavor profile. This delightful candy, known for its satisfying crunch and rich nutty sweetness, has been a cherished treat for generations, especially during the holiday season.
The magic of brittle lies in the controlled crystallization of sugar, resulting in a glass-like sheet that shatters beautifully. Our microwave method streamlines this process, allowing you to achieve that perfect brittle texture with minimal effort and without the need for specialized equipment.
Essential Ingredients for Microwave Peanut Brittle
Crafting this incredible microwave peanut brittle requires just a handful of common pantry staples. Each ingredient plays a crucial role in achieving the perfect flavor and crisp texture:
- Granulated Sugar: This forms the base of our candy, providing its essential sweetness and structure. When heated, sugar caramelizes, creating the distinct flavor and color of brittle.
- Light Corn Syrup: A vital component, light corn syrup helps prevent the sugar from crystallizing too quickly. This ensures a smoother, less grainy texture for your brittle and contributes to its characteristic sheen.
- Unsalted Raw Peanuts: The star of the show! Using raw, unsalted peanuts allows you to control the saltiness of your brittle. As they cook with the sugar mixture, the peanuts toast slightly, enhancing their flavor and aroma.
- Salt: A small amount of salt balances the sweetness, enhancing the overall flavor of the brittle and preventing it from being overly cloying.
- Butter: Added for richness and a subtle buttery flavor, butter also aids in the texture, contributing to a slight chewiness and preventing the brittle from sticking too aggressively to your teeth.
- Vanilla Extract: Pure vanilla extract adds a warm, aromatic depth that complements the peanuts and caramel notes, elevating the brittle’s overall taste profile.
- Baking Soda: This is the secret ingredient for brittle’s airy, delicate crunch! When added to the hot sugar mixture, baking soda reacts, releasing tiny carbon dioxide bubbles that aerate the candy. This makes the brittle lighter, more tender, and easier to break into pieces, rather than being rock-hard. For more baking tips, check out our guide on Best Baking Soda Substitutes.
For the complete, precise measurements, please refer to the detailed recipe card at the bottom of this post.
Creative Recipe Variations: Customize Your Brittle
While the classic peanut brittle is undeniably delicious, don’t hesitate to experiment with these exciting variations to create a unique treat:
- Chocolate Drizzle or Chips: Elevate your brittle by adding chocolate! As soon as the hot brittle is spread onto the baking sheet, sprinkle a generous handful of chocolate chips over the top. The residual heat will melt them, allowing you to spread a thin layer of chocolate or create a beautiful drizzle. Dark chocolate or milk chocolate both pair wonderfully with the salty peanuts.
- Change the Nuts: Peanuts are fantastic, but other nuts offer delightful alternatives. Try sliced almonds for an elegant brittle, cashews for a creamier texture, or walnuts and pecans for a richer, more robust flavor. A mixed nut brittle can also be a delightful surprise!
- Caramel Swirl: For an extra layer of decadence, drizzle warm caramel sauce over the brittle after it has cooled slightly but before it fully hardens. This creates beautiful swirls and adds a chewy, rich dimension.
- Spicy Kick: For those who love a bit of heat, consider adding a pinch of cayenne pepper or chili powder to the sugar mixture along with the salt. This creates a surprising sweet and spicy brittle that’s truly addictive.
- Seed Brittle: For a different kind of crunch, you can replace half or all of the peanuts with pumpkin seeds, sunflower seeds, or a mix of both. This offers a unique texture and flavor profile.
Step-by-Step Instructions: Mastering Microwave Brittle
Follow these simple steps to create your perfect batch of microwave peanut brittle:
- Step 1: Prepare Your Baking Sheet – The Foundation of Success
Generously butter a large cookie sheet or baking sheet with raised sides. This crucial step prevents the hot, sticky brittle from adhering to the pan, making removal and cleanup significantly easier. You can also line it with parchment paper for extra assurance, then butter the parchment.
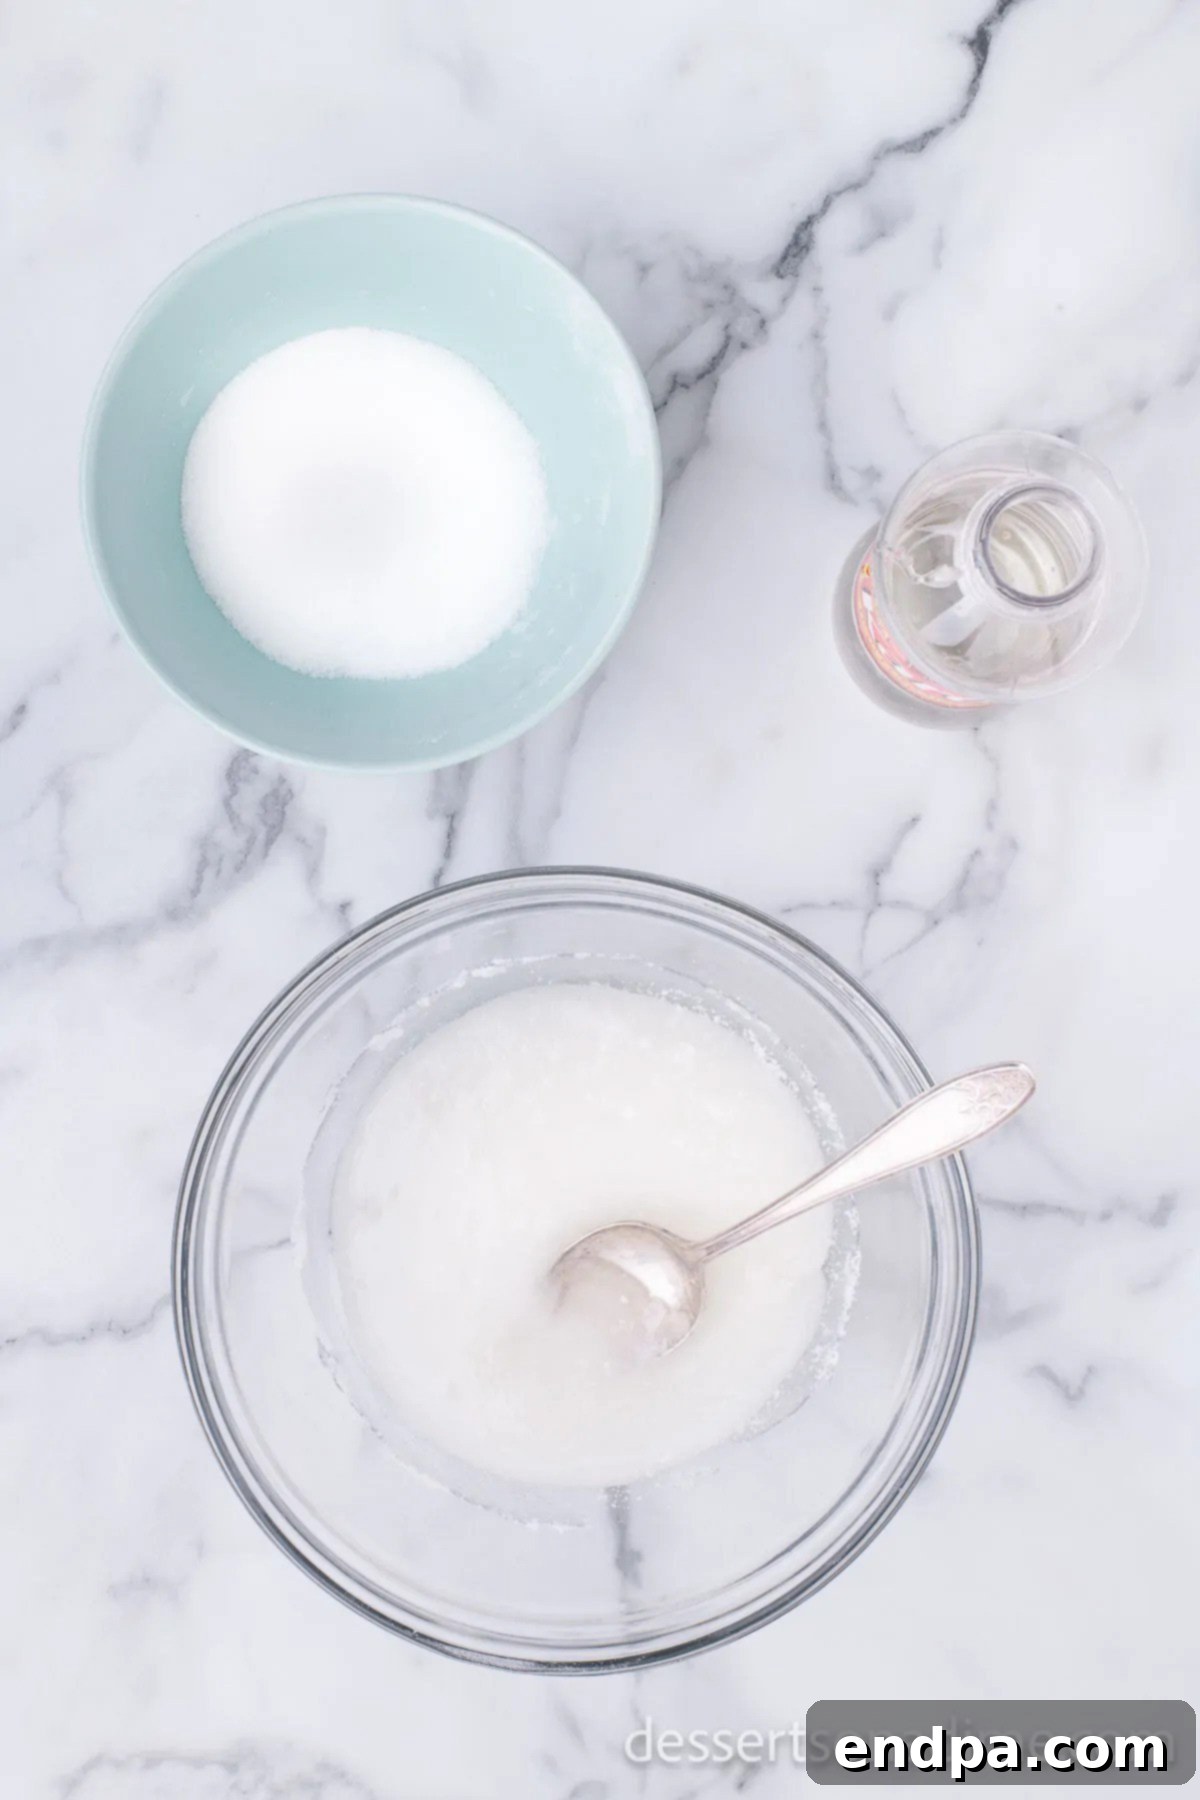
Step 2: Combine Corn Syrup and Sugar – The Sweet Start
In a large, microwave-safe glass mixing bowl (at least 2-quart capacity to allow for expansion), combine the granulated sugar and light corn syrup using a spoon. Stir thoroughly to ensure they are well mixed. Microwave this mixture on HIGH power for approximately 4 minutes. Microwave wattages vary, so keep an eye on it to ensure it melts and becomes bubbly.
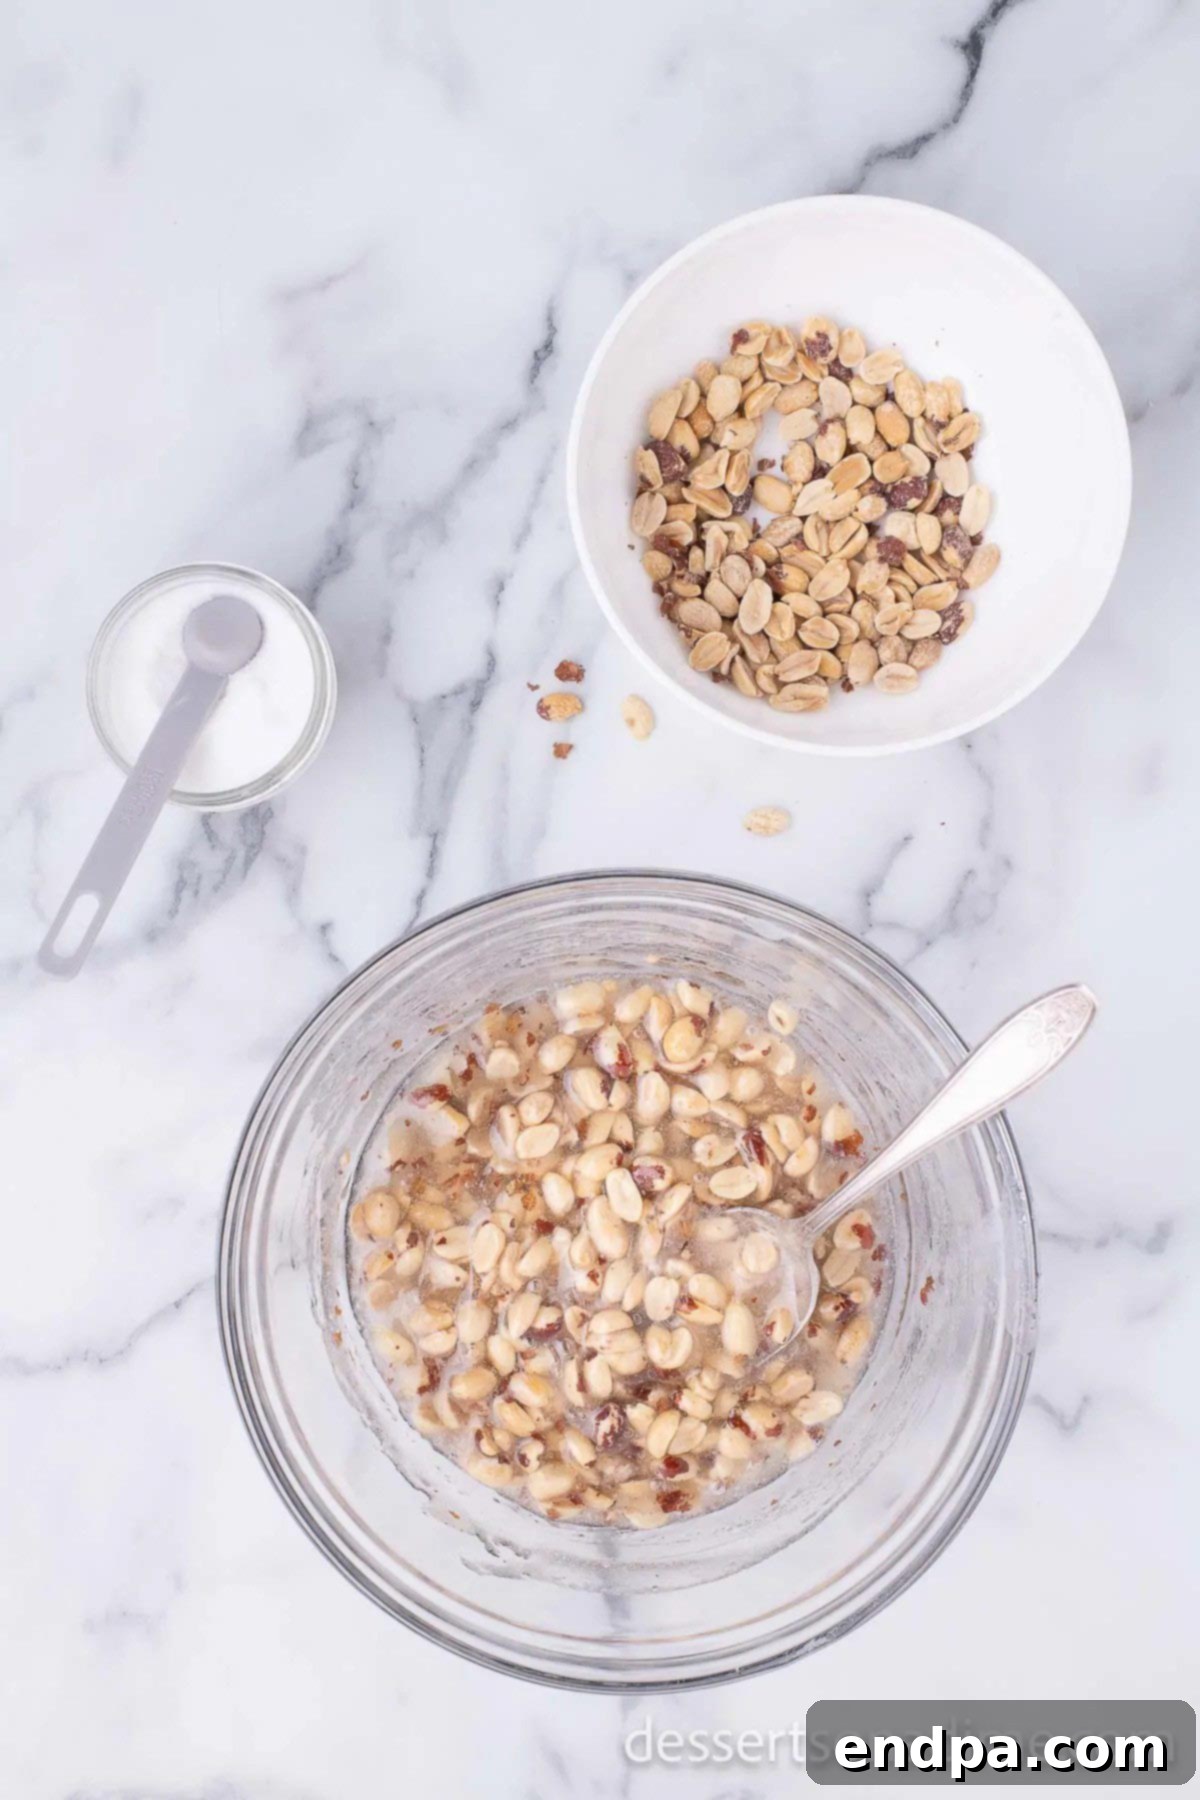
Step 3: Introduce Peanuts and Salt – Building Flavor
Carefully remove the bowl from the microwave (it will be hot!). Stir in the unsalted peanuts and salt until evenly distributed. Return the bowl to the microwave and continue cooking on HIGH power for another 3 ½ minutes. This stage begins to toast the peanuts and further cook the sugar mixture to a higher temperature.
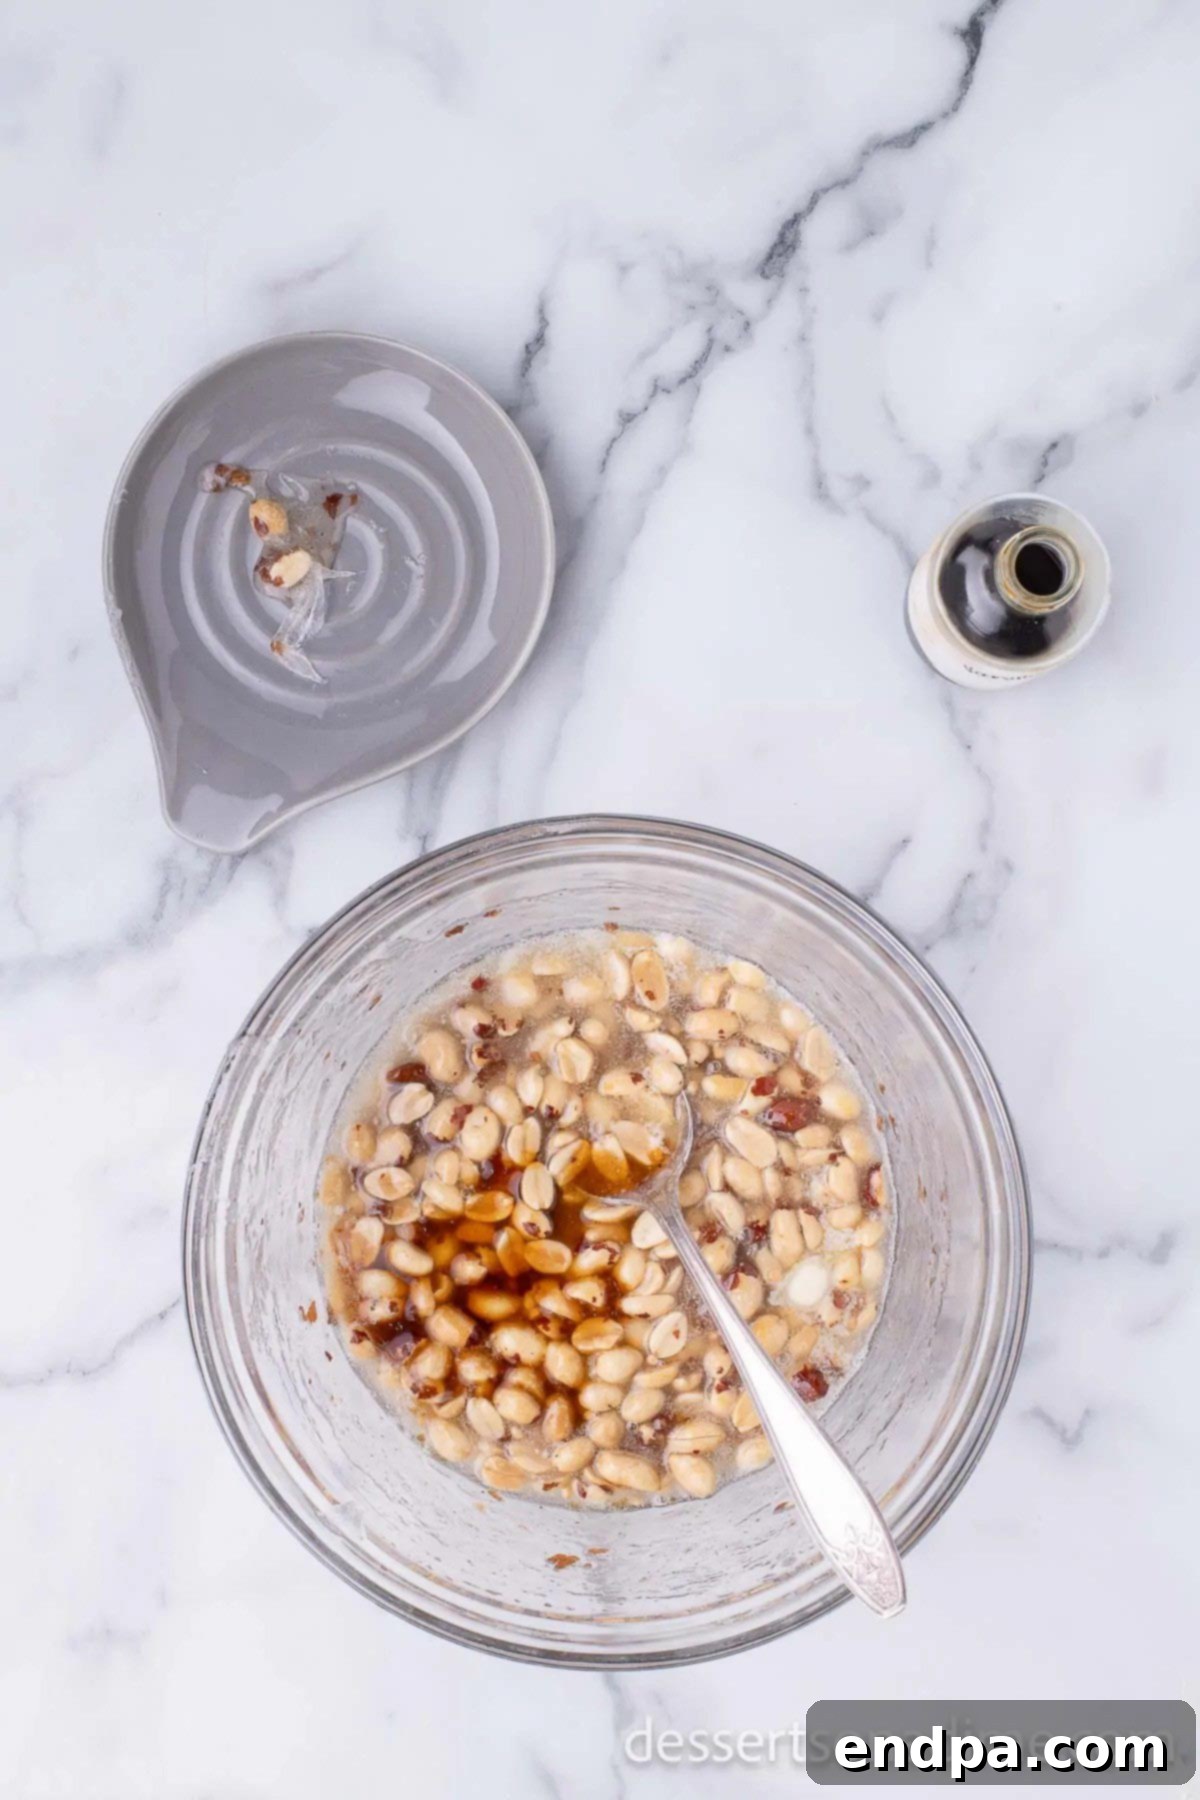
Step 4: Incorporate Butter and Vanilla – Adding Richness and Aroma
Once again, carefully remove the bowl from the microwave. Stir in the butter and vanilla extract, mixing continuously until the butter is completely melted and fully incorporated into the hot candy mixture. Return to the microwave for a final cook on HIGH power for 1 ½ minutes. During this last cooking phase, closely observe the mixture; it should reach a beautiful golden brown color, indicating it’s at the correct temperature for brittle.
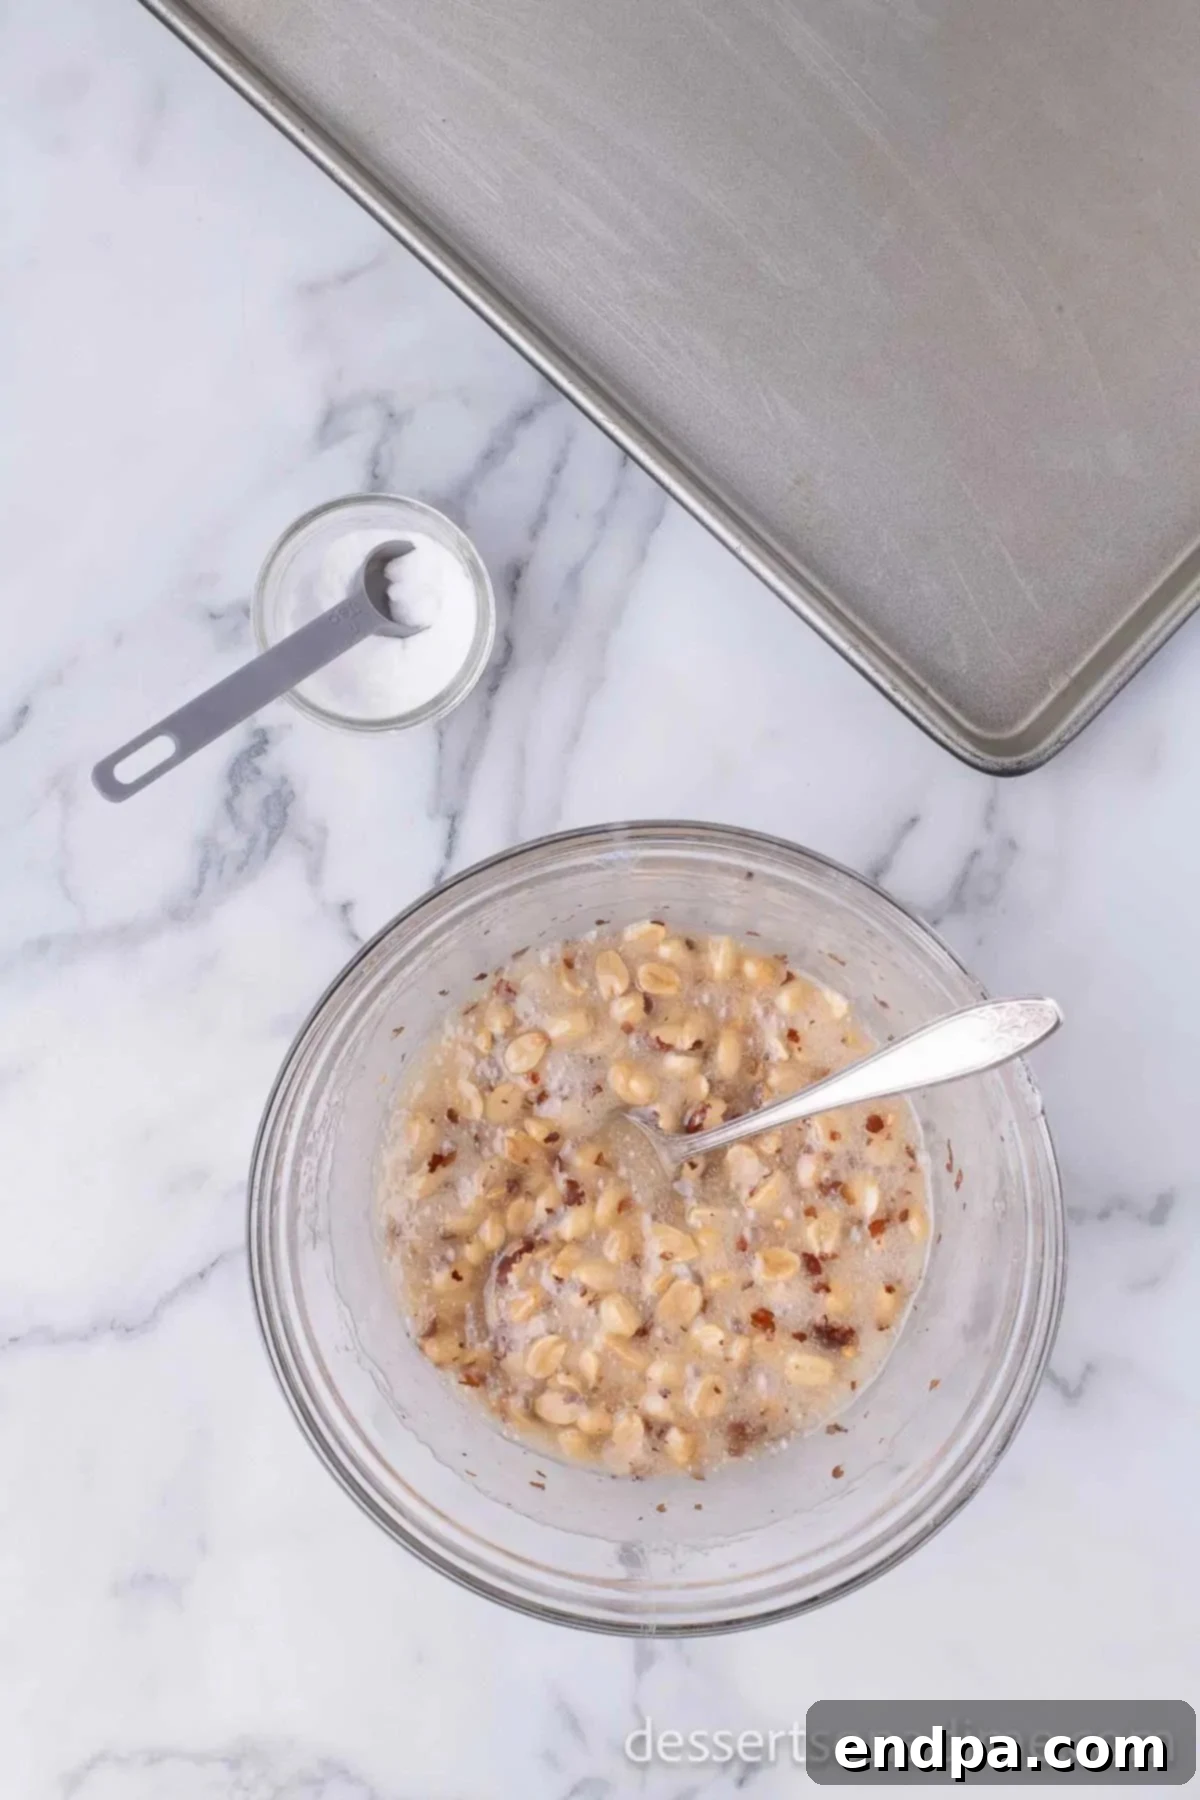
Step 5: Mix in Baking Soda – The Magic of Brittle’s Texture
This is the moment the brittle truly transforms! With oven mitts, carefully remove the bowl from the microwave. Promptly stir in the baking soda. The mixture will immediately become light, fluffy, and foamy as air bubbles rapidly form. This reaction is essential for creating the signature airy, crisp texture of brittle. Stir quickly but thoroughly to distribute the baking soda evenly.
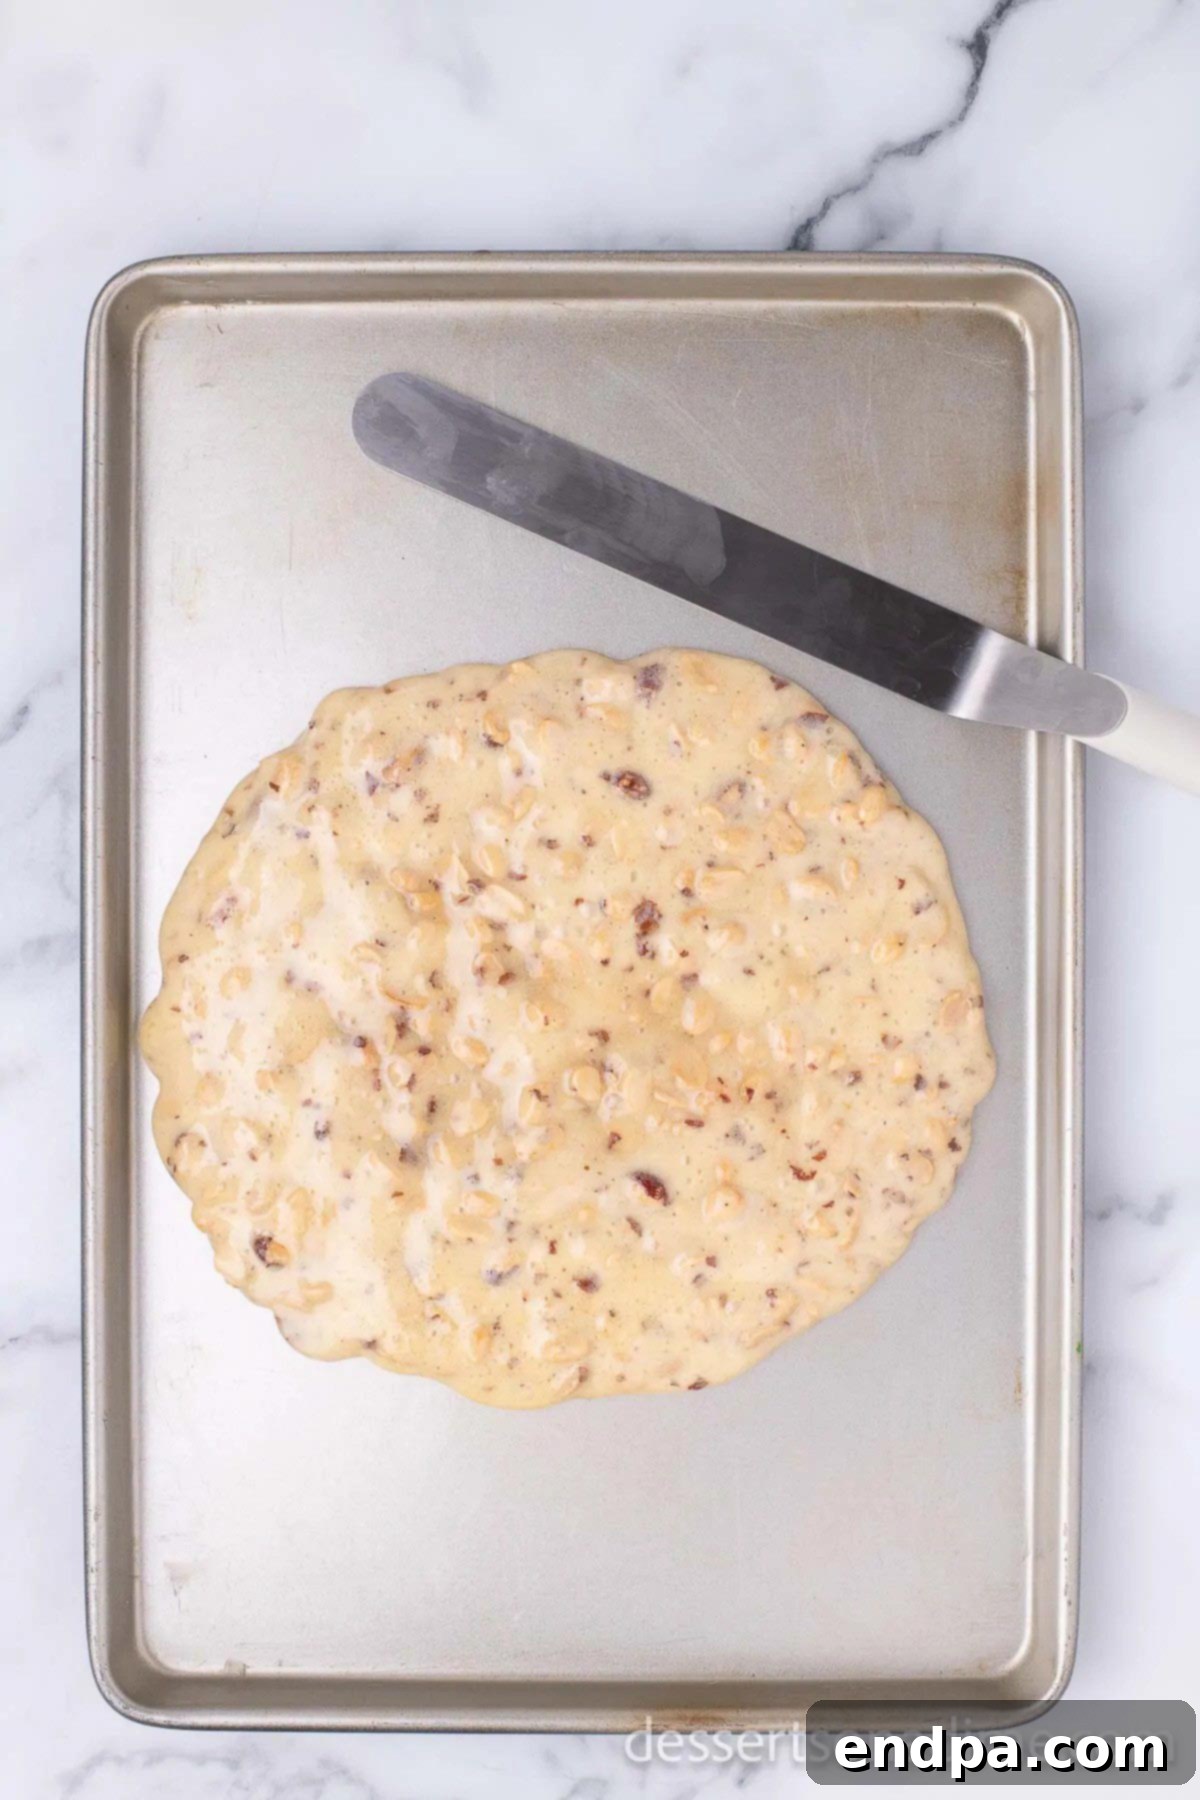
Step 6: Pour onto Baking Sheet – Swift Action Required
Working very quickly (as the mixture cools and hardens fast), pour the entire hot peanut brittle mixture onto your generously buttered cookie sheet. Be decisive and pour it as evenly as possible.
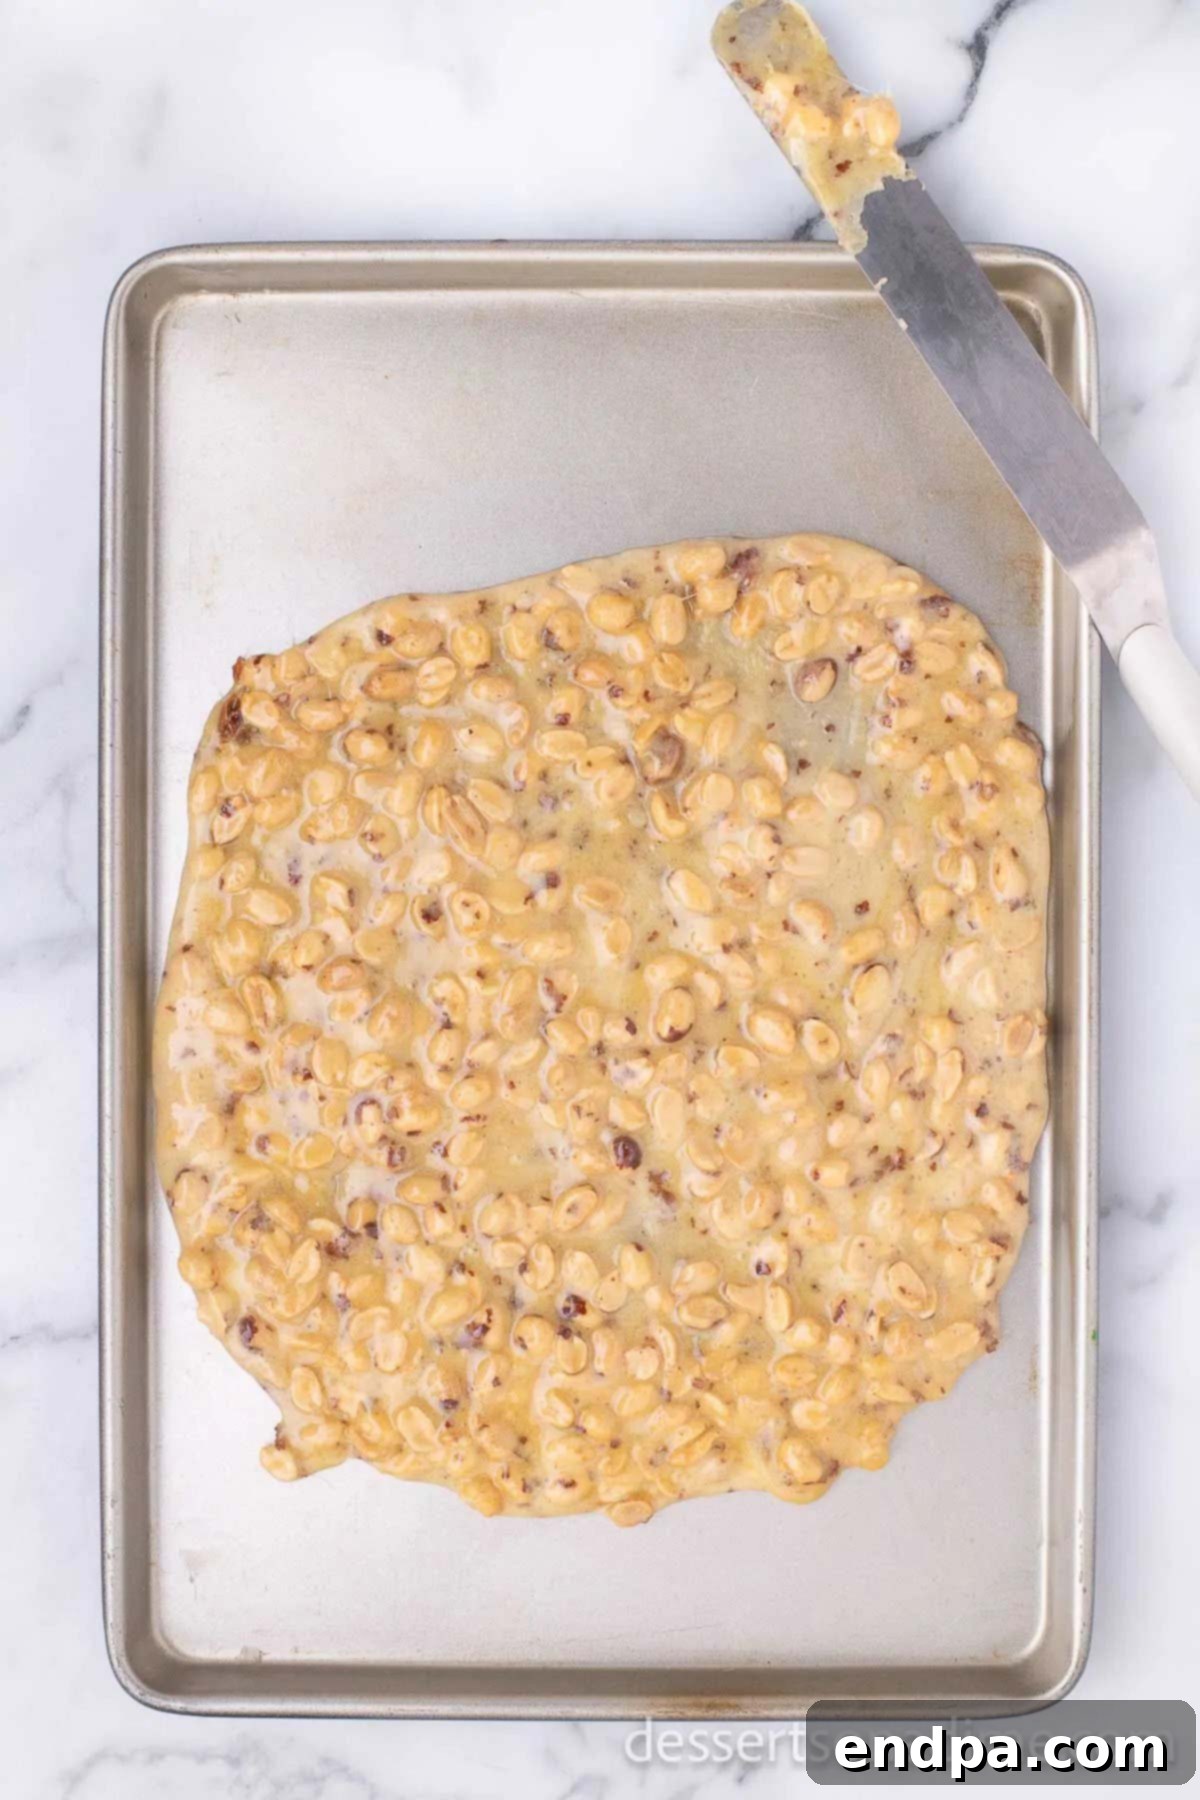
Step 7: Lightly Spread the Mixture – Achieving Uniformity
Using a buttered silicone spatula or the back of a buttered spoon, lightly and quickly spread the hot mixture out onto the prepared pan. Aim for an even thickness across the entire sheet. Avoid over-spreading, as this can make the brittle too thin and fragile. Moving swiftly is key here!
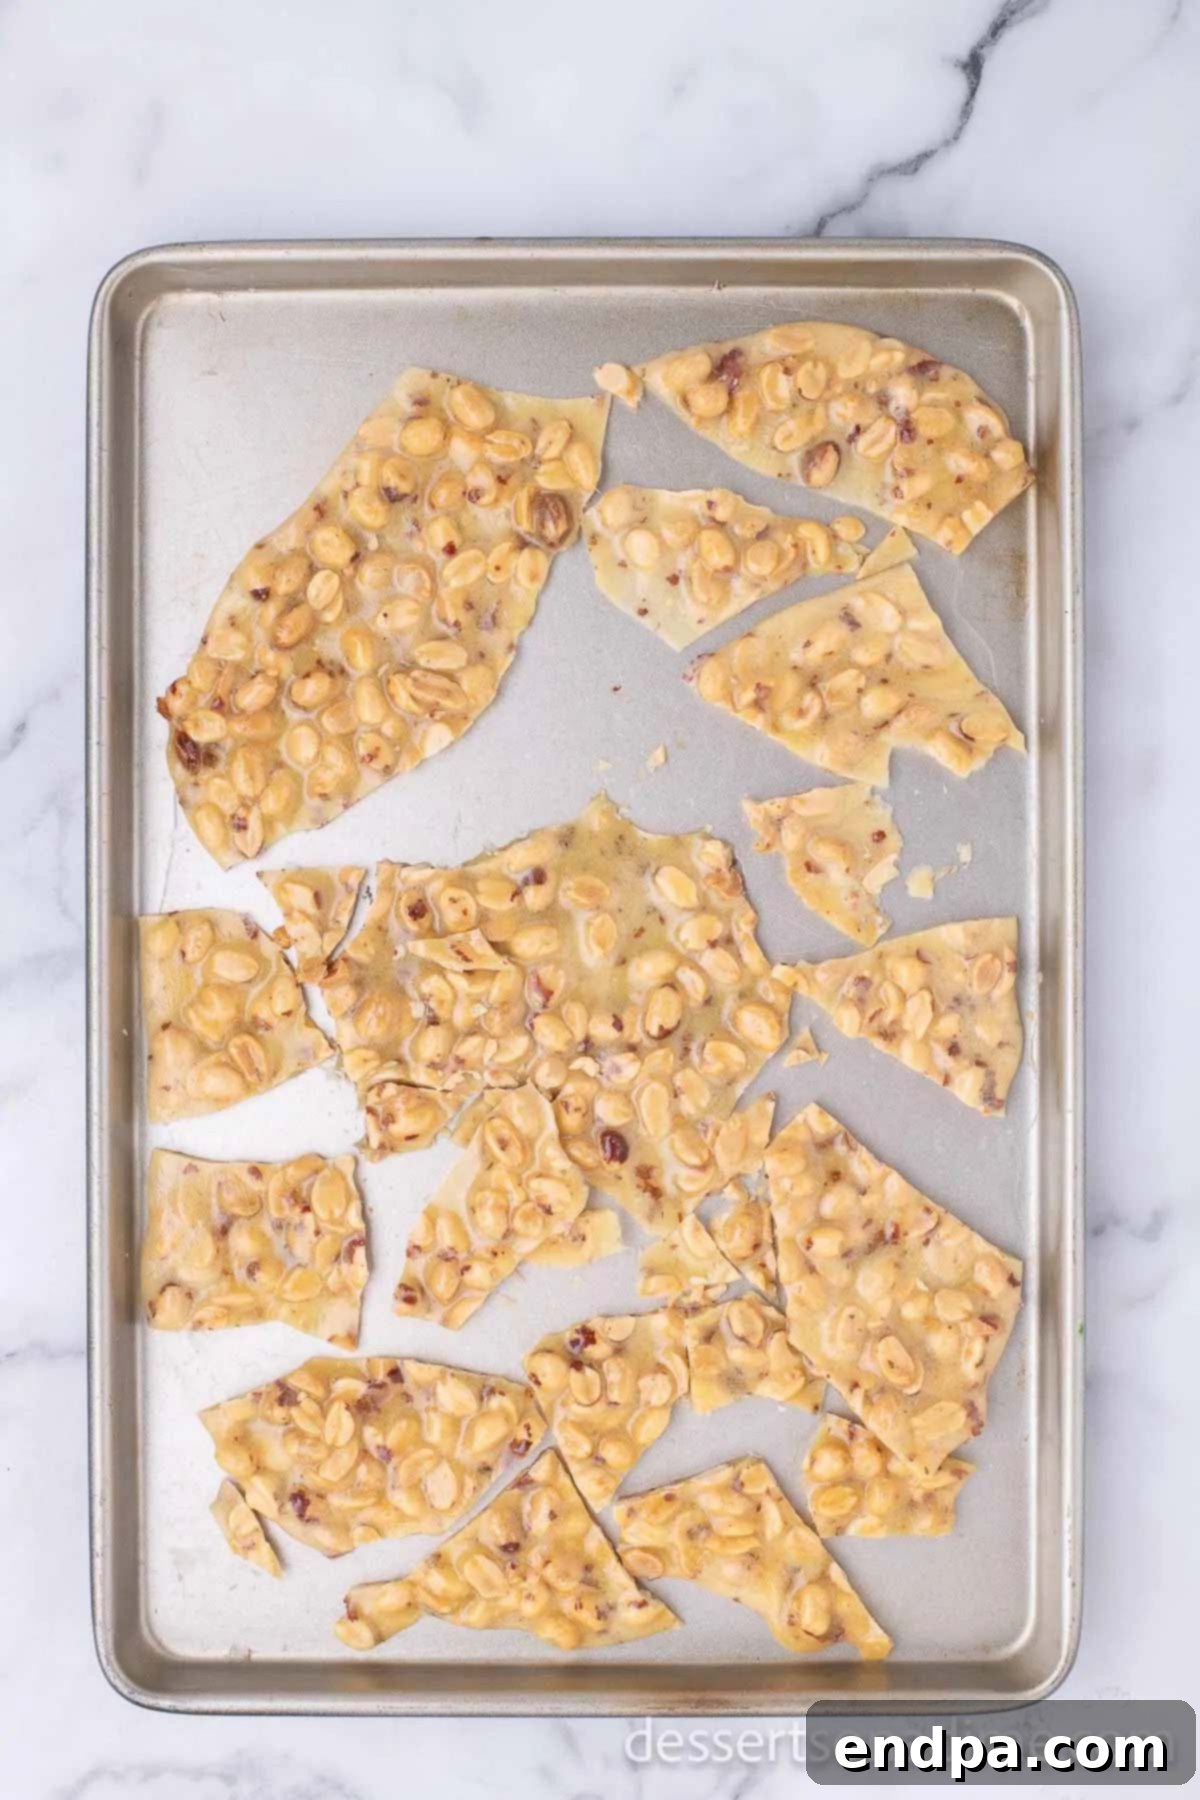
Step 8: Cool and Break into Pieces – The Final Transformation
Do not attempt to move or touch the brittle until it has fully cooled and hardened at room temperature. This can take anywhere from 30 minutes to an hour, depending on your kitchen’s temperature. Once completely set and firm, gently break the large sheet of brittle into smaller, irregular pieces using your hands or a blunt object. The satisfying snap confirms your success!
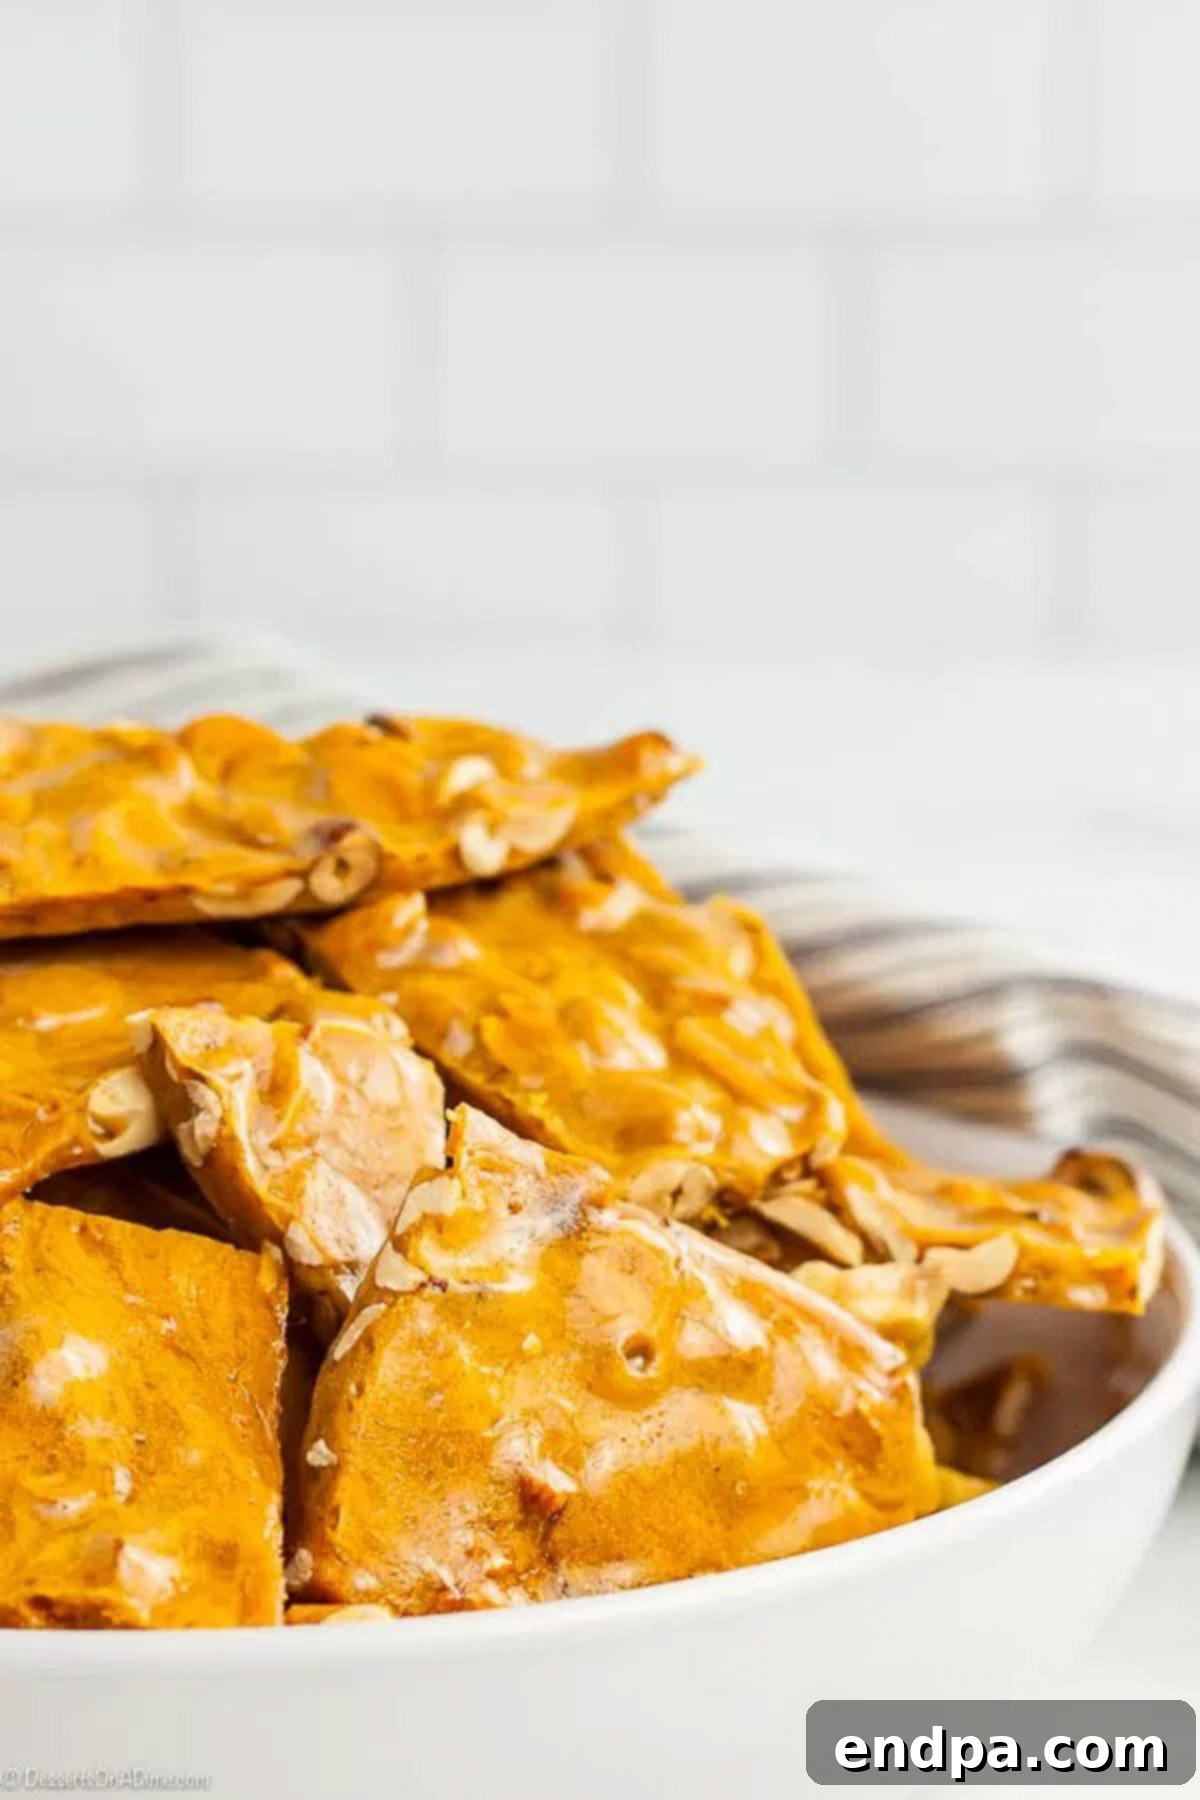
Step 9: Serve and Enjoy – Share the Sweetness
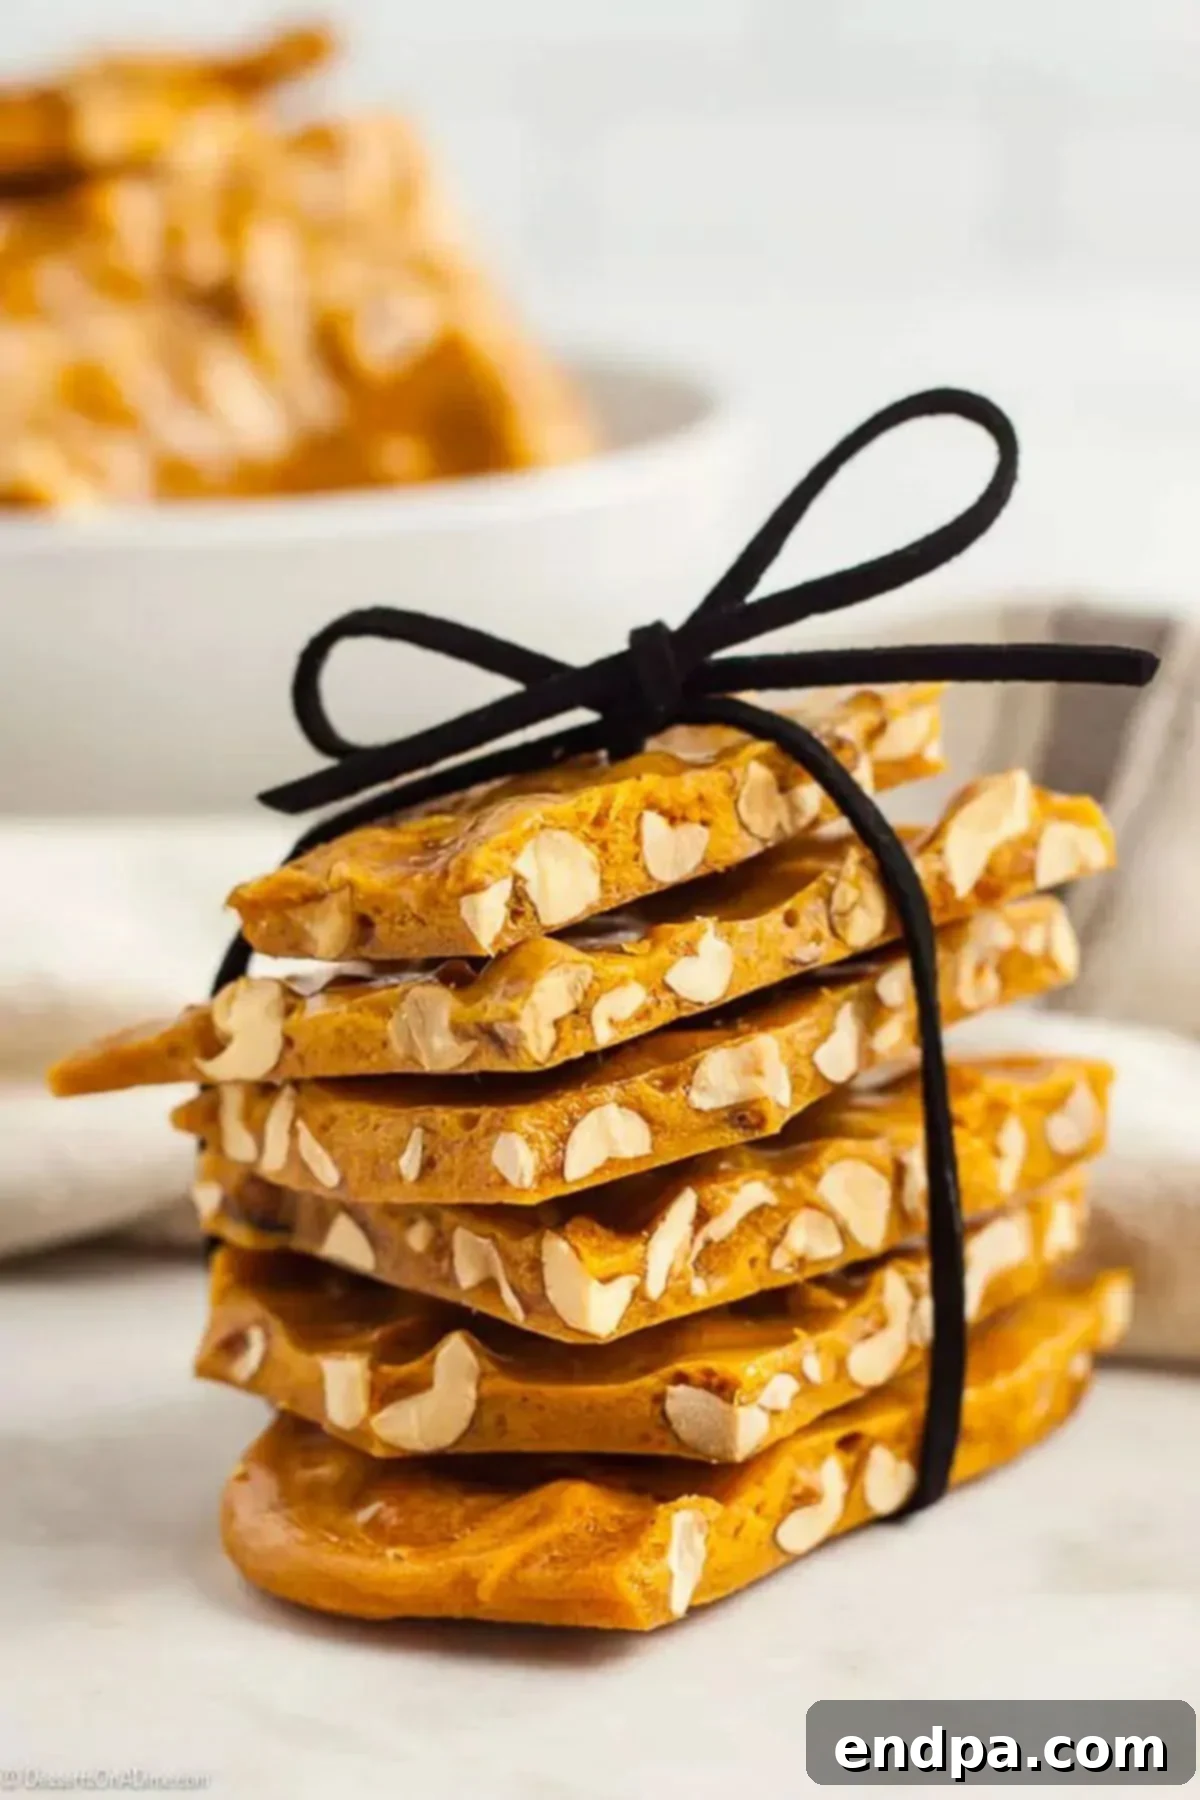
Your homemade microwave peanut brittle is now ready to be enjoyed! Serve it as a delightful after-dinner treat, a festive snack, or package it beautifully to give as a thoughtful, homemade gift during the holidays or any special occasion. The crunchy texture and rich flavor are sure to be a hit!
Pro Tips for Perfect Peanut Brittle
Achieve consistently perfect microwave peanut brittle every time with these expert tips:
- Choose the Right Baking Sheet: Always use a baking sheet with raised sides (a rimmed baking sheet). This prevents the hot, liquid candy from flowing off the edges and creating a sticky mess, ensuring all your delicious brittle stays contained.
- Prepare Your Pan Properly: Lining your baking sheet with parchment paper is highly recommended for easy cleanup and brittle removal. Even with parchment, a light layer of butter on top of the paper (or directly on the pan if not using parchment) adds an extra layer of non-stick protection, making it effortless to lift the brittle once it has cooled.
- Don’t Over-Spread: When spreading the mixture, aim for a relatively even, but not excessively thin, layer. If you spread it too thin, it can become overly fragile and burn easily. A thickness of about 1/4 to 1/2 inch is ideal for a good snap and chew.
- Patience During Cooling: Resist the urge to touch or move the brittle before it has cooled completely to room temperature. Premature handling can result in a chewy, rather than crisp, texture. Allowing it to cool undisturbed ensures the sugar structure sets properly, giving you that perfect brittle snap.
- Microwave Wattage Awareness: Microwave cooking times can vary significantly based on your appliance’s wattage. The times provided in this recipe are a general guideline. Always watch the mixture closely, especially during the final cooking stages, and adjust timings as needed until it reaches that characteristic golden brown color. This visual cue is more important than strict adherence to the clock.
- Safety First: The sugar mixture will become extremely hot. Always use oven mitts when handling the bowl and the hot brittle. Keep children and pets away from the work area during preparation and cooling.
Frequently Asked Questions About Peanut Brittle
What is Peanut Brittle made of?
Our easy microwave peanut brittle recipe combines simple yet essential ingredients: granulated sugar, light corn syrup, unsalted raw peanuts, a touch of salt, butter, vanilla extract, and baking soda. Each component works together to create the classic sweet, nutty, and crisp candy you know and love, making it a family favorite!
What is the purpose of baking soda in Peanut Brittle?
Baking soda is a magical ingredient in peanut brittle! When it’s stirred into the hot sugar syrup, it reacts with the heat and acids to release carbon dioxide gas. These tiny gas bubbles get trapped in the candy, which aerates the mixture. This aeration is what gives peanut brittle its signature delicate, porous, and melt-in-your-mouth crunchy texture, rather than a hard, dense, and difficult-to-chew block of sugar.
Why is my Homemade Peanut Brittle Chewy?
If your peanut brittle turns out chewy instead of crisp, it’s usually due to one of two reasons: either the sugar mixture wasn’t cooked to a high enough temperature, or it was refrigerated. To ensure a crispy brittle, always cook the mixture until it reaches a golden brown color in the final stages, indicating it’s hot enough. Additionally, avoid refrigerating peanut brittle, as the moisture and cold temperature will cause it to lose its crispness and become soft over time. For the best crunchy texture, always store your homemade peanut brittle at room temperature.
How do you store homemade Peanut Brittle?
Storing microwave peanut brittle is incredibly simple, and it has a fantastic shelf life! To keep your brittle fresh and perfectly crispy, store it in an airtight container at room temperature. A cool, dry pantry is ideal. Avoid humid environments and refrigeration. When stored correctly, homemade peanut brittle can last for up to 2 months, making it an excellent make-ahead treat or gift.
More Delightful Holiday Candy Recipes to Explore
If you loved making this microwave peanut brittle, you’re in for a treat with these other festive candy recipes, perfect for gifting or enjoying throughout the holiday season:
- Crock Pot Christmas Candy Recipe
- Divinity Candy Recipe
- Crock Pot Chocolate Peanut Clusters Recipe
Make this easy peanut brittle recipe today and discover how simple it is to create a truly impressive homemade candy. Come back and leave a star rating once you’ve tasted the delicious results!
MICROWAVE PEANUT BRITTLE RECIPE
This Microwave Peanut Brittle Recipe is incredibly simple to make and tastes absolutely amazing. It’s a truly easy and delicious peanut brittle recipe that requires no candy thermometer, perfect for quick homemade treats.
Prep Time: 5 mins
Cook Time: 10 mins
Total Time: 15 mins
Servings: 16 pieces
Cuisine: American
Course: Dessert
Calories: 138 kcal
Author: Carrie Barnard
Ingredients
- 1 cup granulated sugar
- ½ cup light corn syrup
- 1 cup unsalted raw peanuts (or roasted, if preferred)
- ¼ tsp salt
- 1 Tbsp butter
- 1 tsp vanilla extract
- 1 tsp baking soda
Instructions
- Generously butter a cookie sheet. In a 2-quart (8 cup) glass mixing bowl, stir together granulated sugar and corn syrup using a spoon. Microwave mixture on HIGH power for 4 minutes.
- Carefully remove from microwave. Stir in peanuts and salt, then microwave on HIGH power for another 3 ½ minutes.
- Again, remove carefully. Mix in butter and vanilla extract, stirring until the butter is completely melted. Microwave on HIGH power for a final 1 ½ minutes. Cooking times may vary slightly depending on microwave wattage; watch for a golden brown color near the end.
- Carefully remove from microwave using oven mitts. Stir in the baking soda (the mixture will immediately become fluffy and foamy due to aeration).
- Working quickly, pour the mixture onto the prepared buttered baking sheet and lightly spread it out to an even thickness. Do not over-spread.
- Allow the brittle to cool completely at room temperature until it is hard and firm.
- Once set, break the hardened brittle into irregular pieces. Serve and enjoy!
Nutrition Facts
Per Serving (approximate):
- Calories: 138 kcal
- Carbohydrates: 22g
- Protein: 2g
- Fat: 5g
- Saturated Fat: 1g
- Cholesterol: 2mg
- Sodium: 120mg
- Potassium: 68mg
- Fiber: 1g
- Sugar: 21g
- Vitamin A: 22IU
- Calcium: 11mg
- Iron: 1mg
