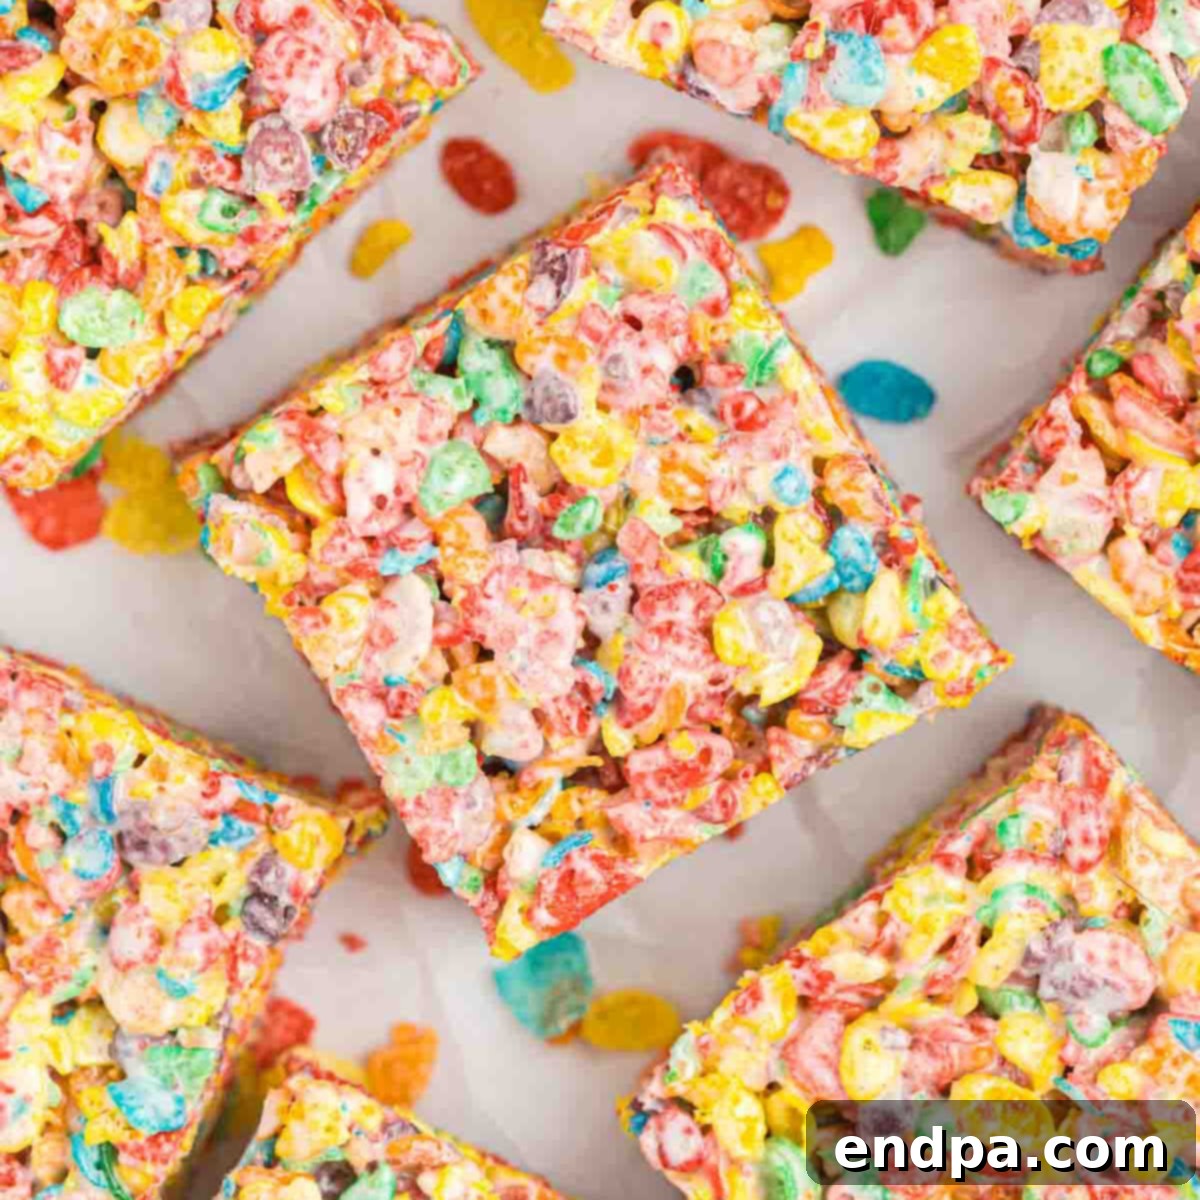
Fruity Pebble Rice Crispy Treats offer a whimsical, vibrant, and utterly delicious spin on a beloved classic no-bake dessert. These brightly colored, gooey marshmallow treats are not just a family favorite, but a burst of joyful flavor and texture that delights both young and old. If you’re looking to add a pop of color and a whole lot of fun to your dessert table, these easy-to-make cereal bars are an absolute must-try.
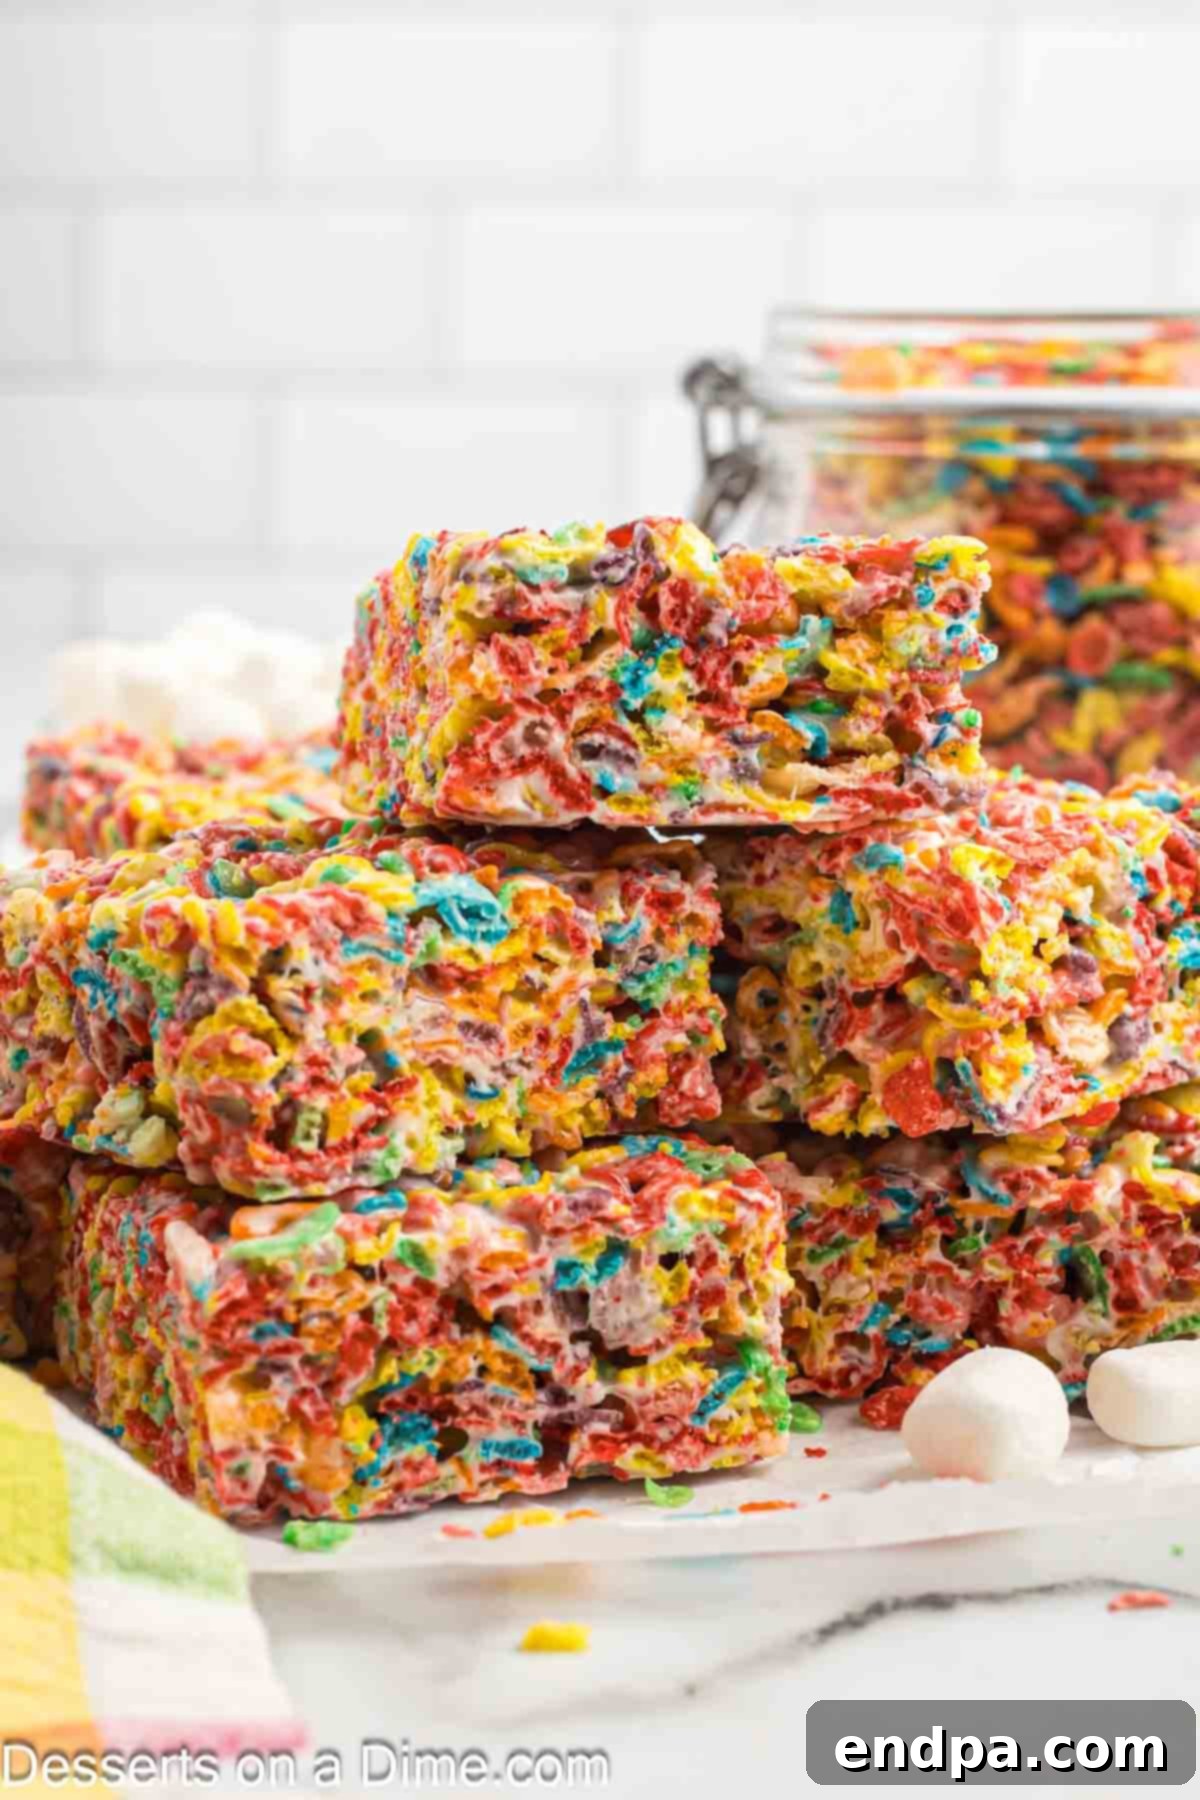
For many, Fruity Pebbles cereal evokes a sense of childhood nostalgia, with its iconic fruity aroma and rainbow hues. We’ve always had a box of this cheerful cereal in our pantry, not just for breakfast, but for inspiring creative dessert adventures. We’ve previously experimented with Fruity Pebbles Cupcakes and even a decadent Fruity Pebbles Cheesecake, always met with rave reviews.
But there’s something uniquely satisfying about a classic Rice Krispie Treat – its simplicity, its chewy texture, its undeniable comfort. So, it was only natural to combine our love for this timeless treat with the playful excitement of Fruity Pebbles. The result? These irresistible Fruity Pebbles Treats, which easily rank among the best no-bake dessert recipes you’ll ever encounter. They’re quick, vibrant, and guaranteed to put a smile on everyone’s face, making them perfect for parties, lunchbox surprises, or simply a fun afternoon snack.
Table of Contents
- Why You’ll Adore This Recipe
- Ingredients for Irresistible Fruity Pebble Treats
- Creative Variations to Explore
- Step-by-Step Guide to Making Fruity Pebbles Treats
- Expert Tips for Perfect Fruity Pebbles Rice Crispy Treats
- Frequently Asked Questions
- More Delightful Rice Crispy Treat Recipes
Why You’ll Adore This Recipe
There are countless reasons why these Fruity Pebble Rice Crispy Treats have become a staple in our home and why they’ll quickly become one in yours too. First and foremost, their sheer simplicity makes them a dream to prepare. They are incredibly easy to make, requiring minimal effort and no baking whatsoever. This means less time in the kitchen and more time enjoying your delicious creations.
Moreover, these treats are wonderfully kid-friendly. The preparation process is straightforward enough that even young children can lend a hand, making it a fantastic activity for family bonding. The vibrant colors of Fruity Pebbles naturally appeal to kids, turning these snacks into an instant hit for after-school munchies, birthday parties, or school events. Plus, they’re a surprisingly budget-friendly dessert, relying on readily available and affordable ingredients.
Beyond their practicality, these treats simply taste amazing. The gooey texture of melted marshmallows perfectly binds the crunchy, fruity cereal, creating a delightful contrast in every bite. If you’re a fan of the classic cereal, you’ll find this elevated version truly irresistible. It’s a dessert that brings joy with its playful appearance and satisfying sweetness, proving that sometimes, the simplest twists on a classic can be the most memorable. They’re quick to assemble, quick to set, and even quicker to disappear!
Ingredients for Irresistible Fruity Pebble Treats
Creating these delightful Fruity Pebble Rice Crispy Treats requires just a handful of simple ingredients. The quality and freshness of these components are key to achieving that perfect chewy, gooey texture and bright, fruity flavor. Here’s what you’ll need:
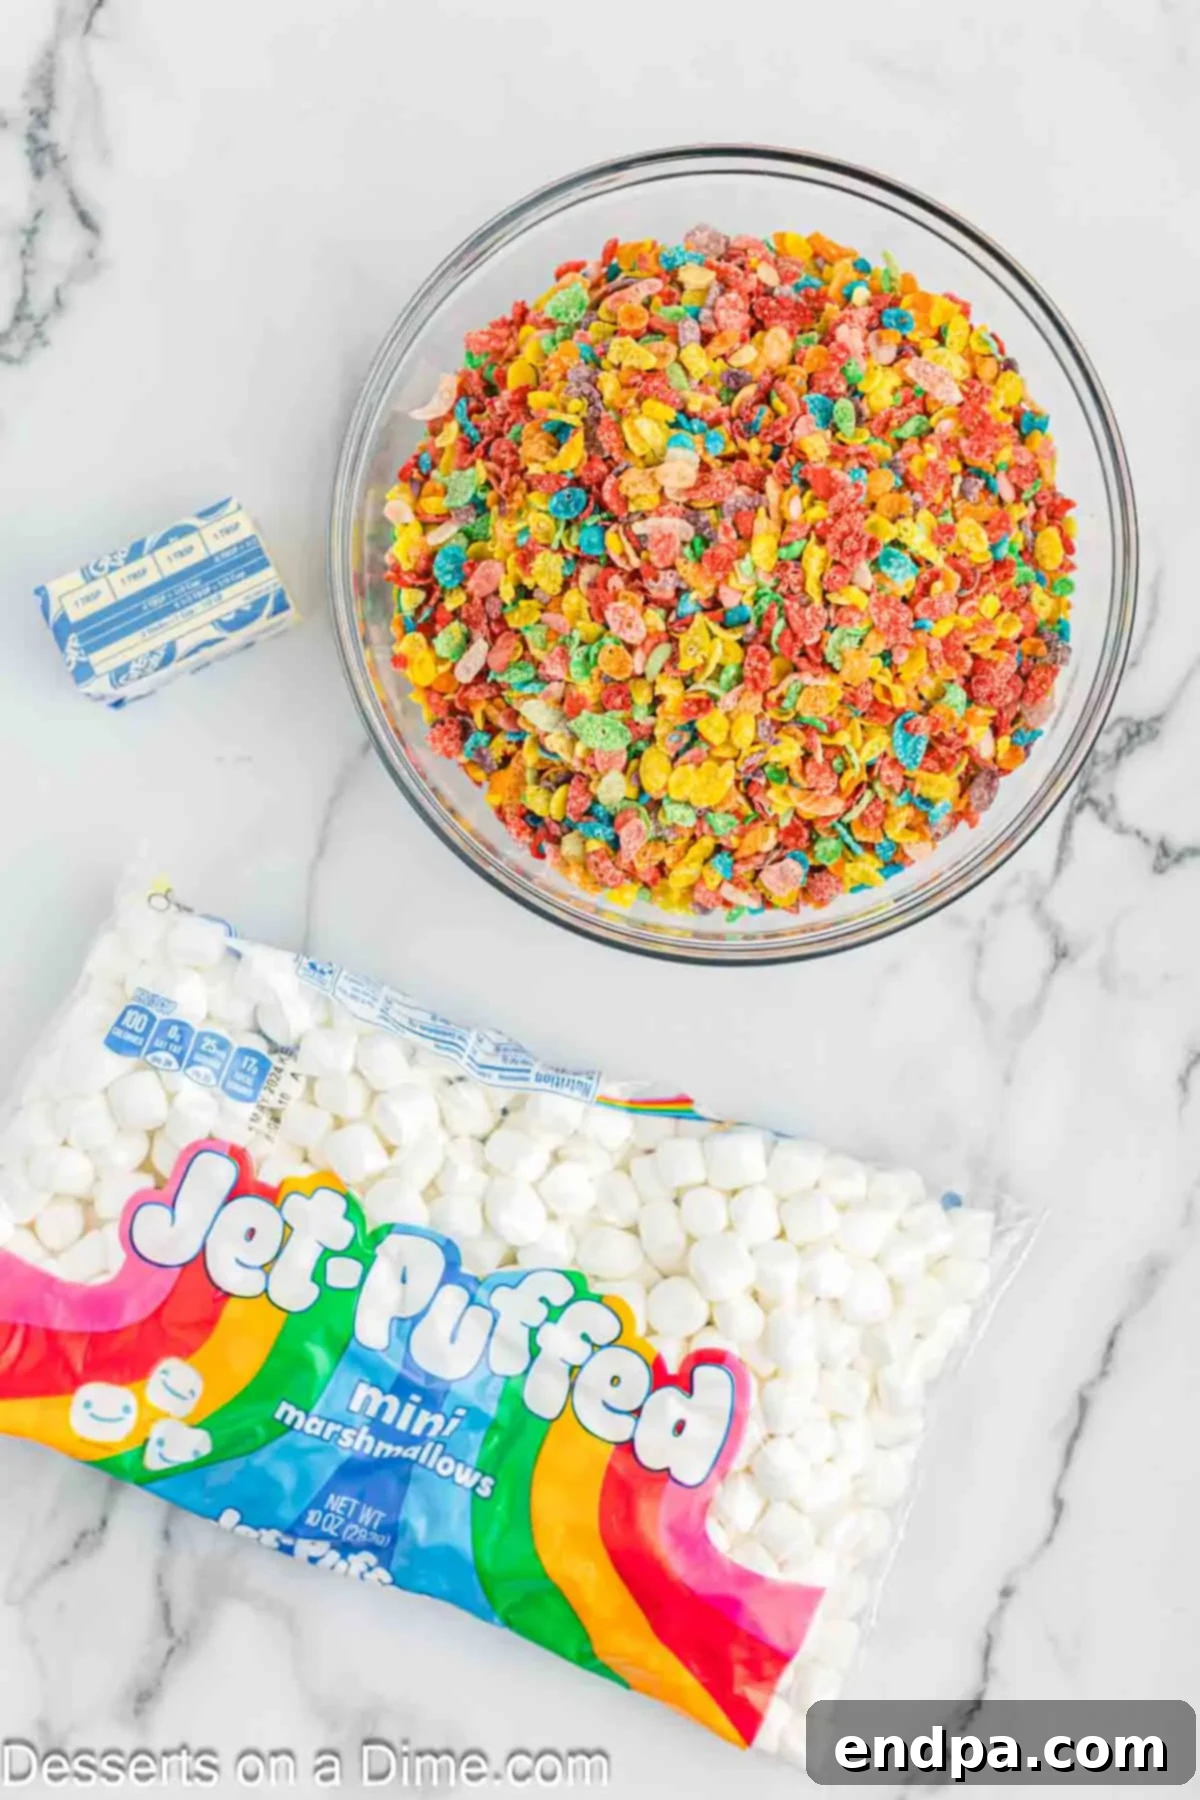
- Fruity Pebbles Cereal: This is the star of our show! For the best crunch and flavor, ensure your Fruity Pebbles cereal is fresh and has not gone stale. The vibrant colors are also crucial for the visual appeal of these treats. Avoid using cereal that has been open for too long, as it can lose its crispness and compromise the overall texture.
- Mini Marshmallows: Mini marshmallows are the ideal choice for this recipe. Their smaller size allows them to melt quickly and evenly, creating a smooth, consistently gooey marshmallow mixture that coats the cereal beautifully. While large marshmallows can work, mini marshmallows deliver a superior, more uniform binding. Always use fresh marshmallows for the best results; stale marshmallows won’t melt as smoothly and can result in tough treats.
- Butter: Real butter is essential for both flavor and preventing stickiness. You can use either salted or unsalted butter, depending on your preference. Salted butter can add a subtle contrast to the sweetness of the marshmallows and cereal, enhancing the overall flavor profile. If using unsalted butter, you might consider adding a tiny pinch of salt to the melted marshmallow mixture for that same balancing effect.
For the complete ingredient list with exact measurements and step-by-step instructions for these easy Fruity Pebbles Rice Krispie Treats, please refer to the comprehensive recipe card at the bottom of this article.
Creative Variations to Explore
While the classic Fruity Pebble Rice Crispy Treat is perfect as is, it also serves as an excellent base for various delicious customizations. Don’t hesitate to get creative and tailor these treats to your taste, a specific occasion, or whatever ingredients you have on hand:
- Cereal Swaps: The possibilities are endless when it comes to replacing or combining cereals.
- For a chocolatey twist, try Cocoa Pebbles or another chocolate rice cereal.
- For a whimsical, colorful option, Lucky Charms can add extra marshmallow bits and charm.
- Classic Rice Krispies offer a neutral base if you want the fruity flavor to come from other additions.
- Consider Cinnamon Toast Crunch for a warm, spiced flavor, or even crushed Oreos for an cookies and cream version.
- Food Coloring Fun: Add a few drops of food coloring to the melted marshmallow mixture to create festive treats.
- Green for St. Patrick’s Day.
- Red and blue for patriotic holidays.
- Pastel colors for Easter or baby showers.
- Match school colors for graduation parties or sports events.
Start with a small amount and add more until you achieve your desired shade.
- Chocolate Chips & More: Elevate the texture and flavor by mixing in your favorite add-ins.
- Mini chocolate chips (milk, dark, or white) can be folded into the cereal mixture just before pressing into the pan. This adds pockets of melty chocolate goodness.
- Sprinkles are a fantastic way to add extra color and a celebratory feel, either mixed in or sprinkled on top immediately after pressing the treats into the pan.
- Consider adding chopped nuts like pecans or walnuts for crunch, or even dried fruit like cranberries or raisins for a chewy, tangy element.
- A drizzle of melted white chocolate or colored candy melts over the cooled treats adds an elegant touch and extra sweetness.
- Flavor Extracts: A teaspoon of vanilla extract is a common addition for a warm, comforting flavor, but don’t stop there! Almond extract, lemon extract, or orange extract can complement the fruity notes of the cereal beautifully.
How to Make Fruity Pebbles Treats
Making these Fruity Pebble Rice Crispy Treats is a breeze, and the process is incredibly forgiving. Follow these simple steps for perfectly gooey and delicious results:
- Step 1: Prepare Your Baking Dish. Start by spraying an 8×8 inch baking pan with a generous amount of non-stick cooking spray. This crucial step will prevent your sticky treats from adhering to the pan, making them much easier to remove and cut. Alternatively, you can line the pan with parchment paper, leaving an overhang on the sides. This parchment paper sling makes lifting the entire block of treats out of the pan incredibly simple, and you can also spray the parchment paper for extra insurance against sticking.
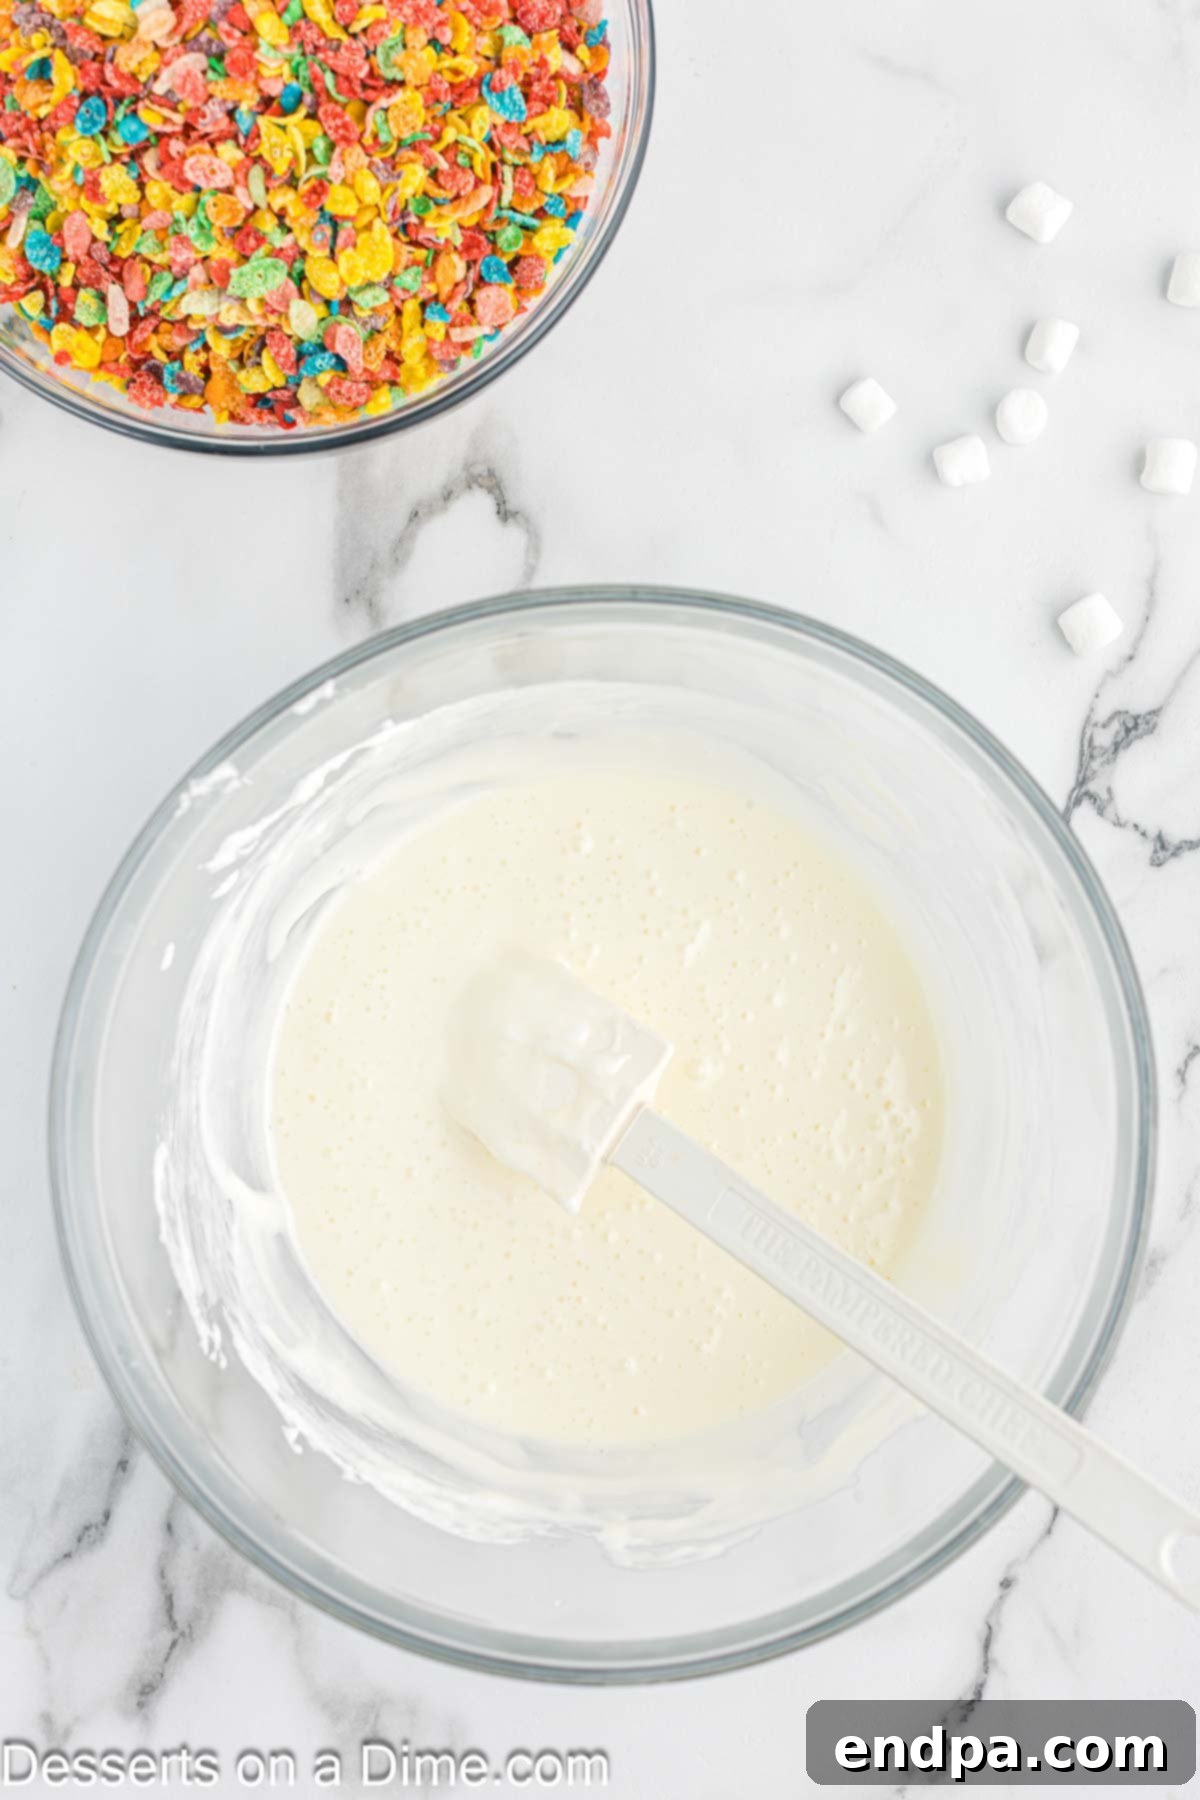
Step 2: Melt the Marshmallow Mixture. In a large microwave-safe bowl, combine the butter and mini marshmallows. Heat this mixture in the microwave in 30-second intervals. After each interval, remove the bowl and stir the mixture thoroughly with a rubber spatula. Continue this process until the marshmallows are completely melted and the butter is fully incorporated, creating a smooth, gooey, and lump-free marshmallow base. Be careful not to overheat the marshmallows, as this can make them tough once cooled.
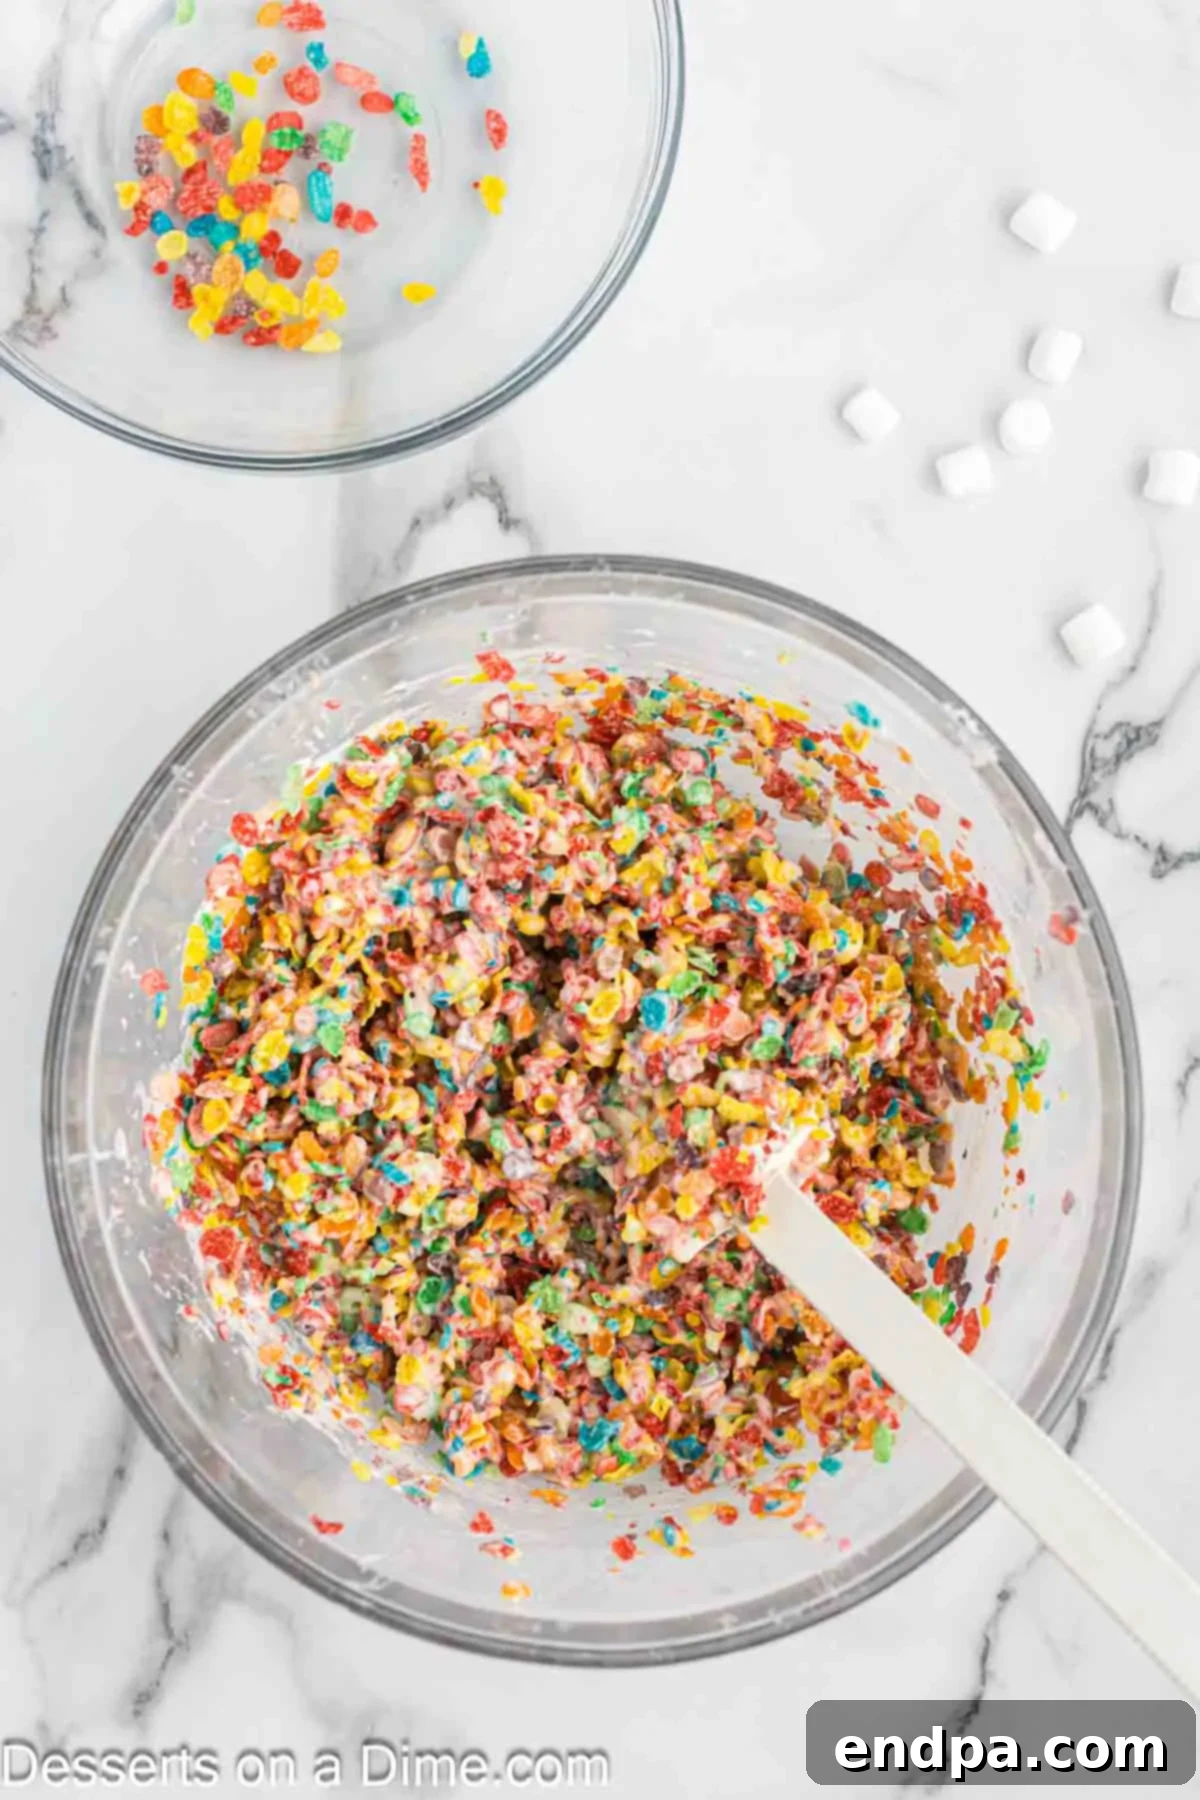
Step 3: Combine with Cereal. Once your marshmallow mixture is perfectly melted, gently add the Fruity Pebbles cereal to the bowl. Using a greased spatula or spoon, mix everything together until the cereal is evenly coated with the sticky marshmallow. Work relatively quickly, as the mixture will start to set as it cools. Ensure all the cereal gets a good coating without crushing the delicate flakes.
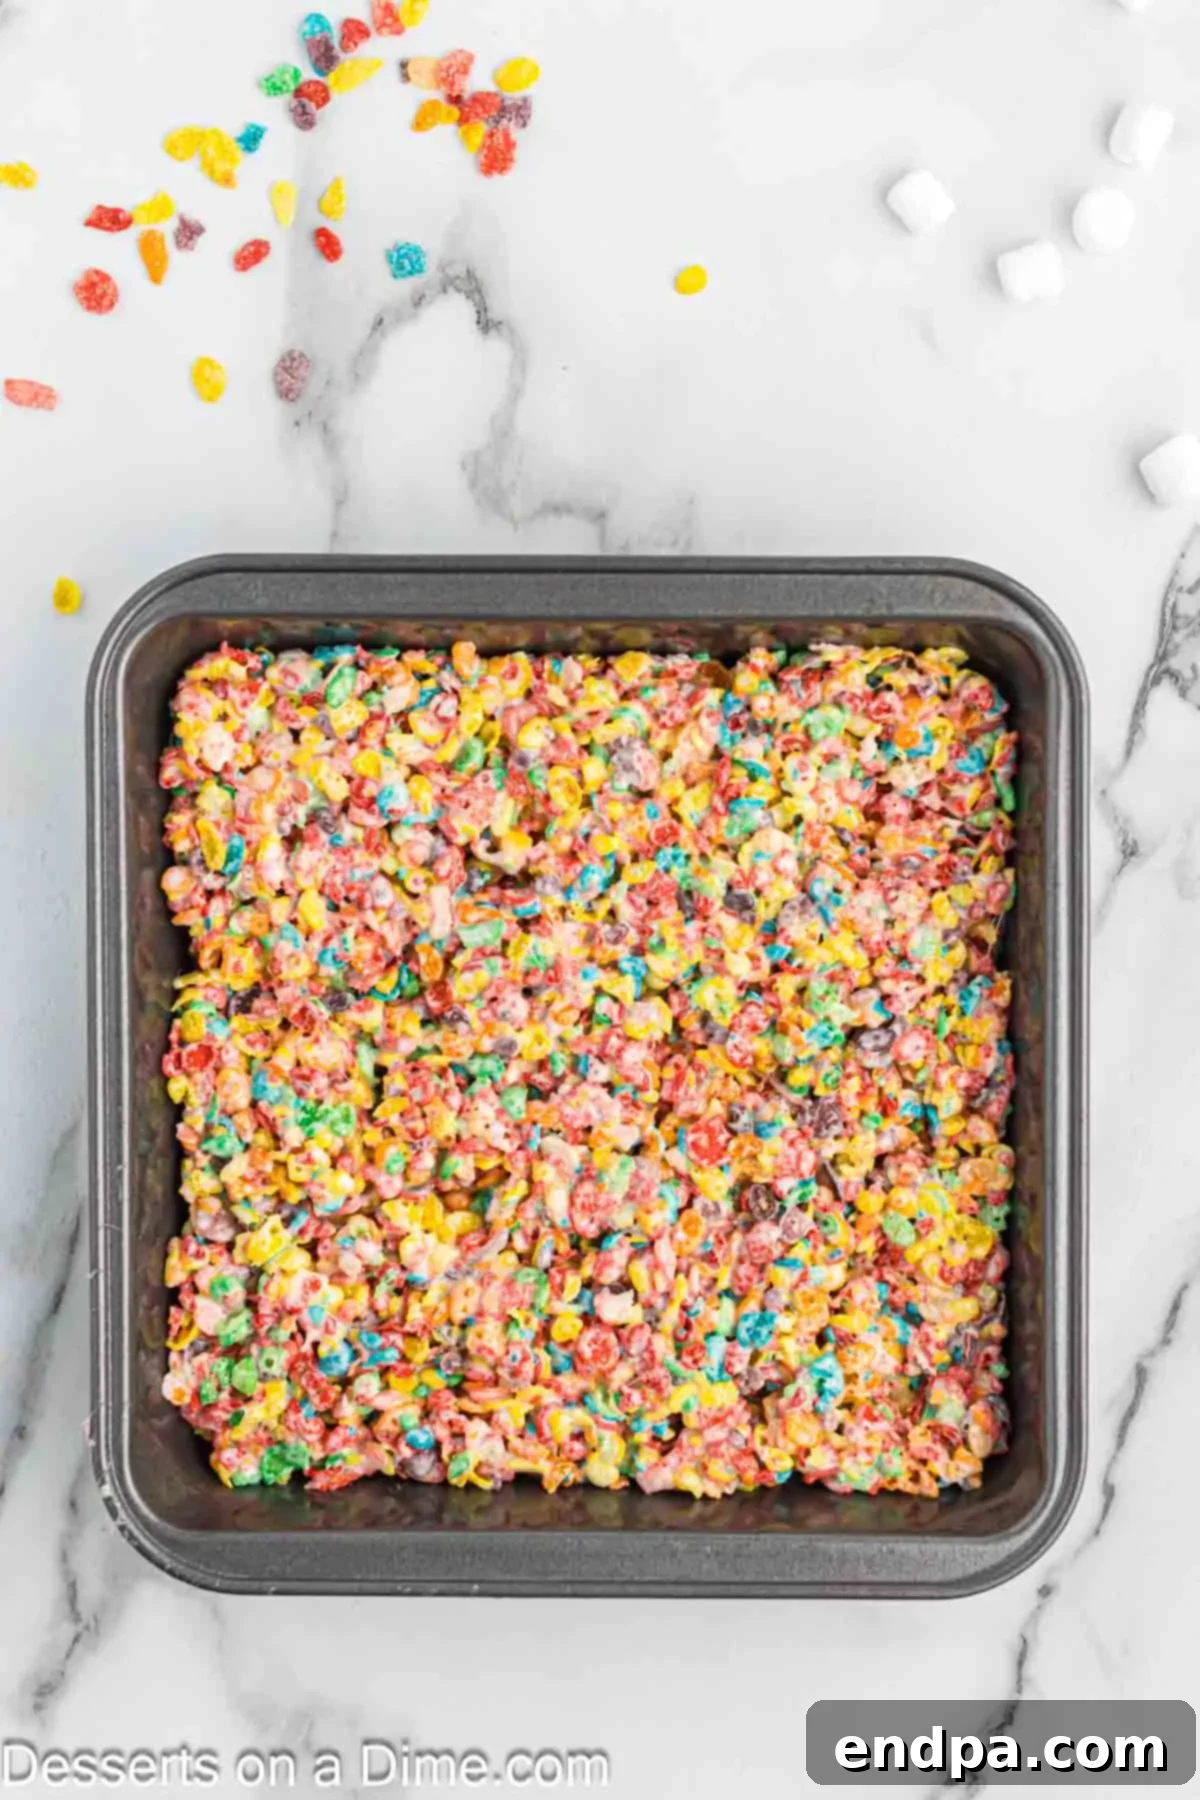
Step 4: Press into the Pan. Carefully transfer the combined cereal mixture into your prepared baking dish. This is where your non-stick spray or parchment paper will truly shine! Use a piece of wax paper (lightly sprayed with non-stick spray) or a buttered spatula to gently press the mixture down evenly into the pan. The key here is to press gently; avoid compacting the mixture too much, as this can lead to hard, dense treats instead of light, chewy ones.
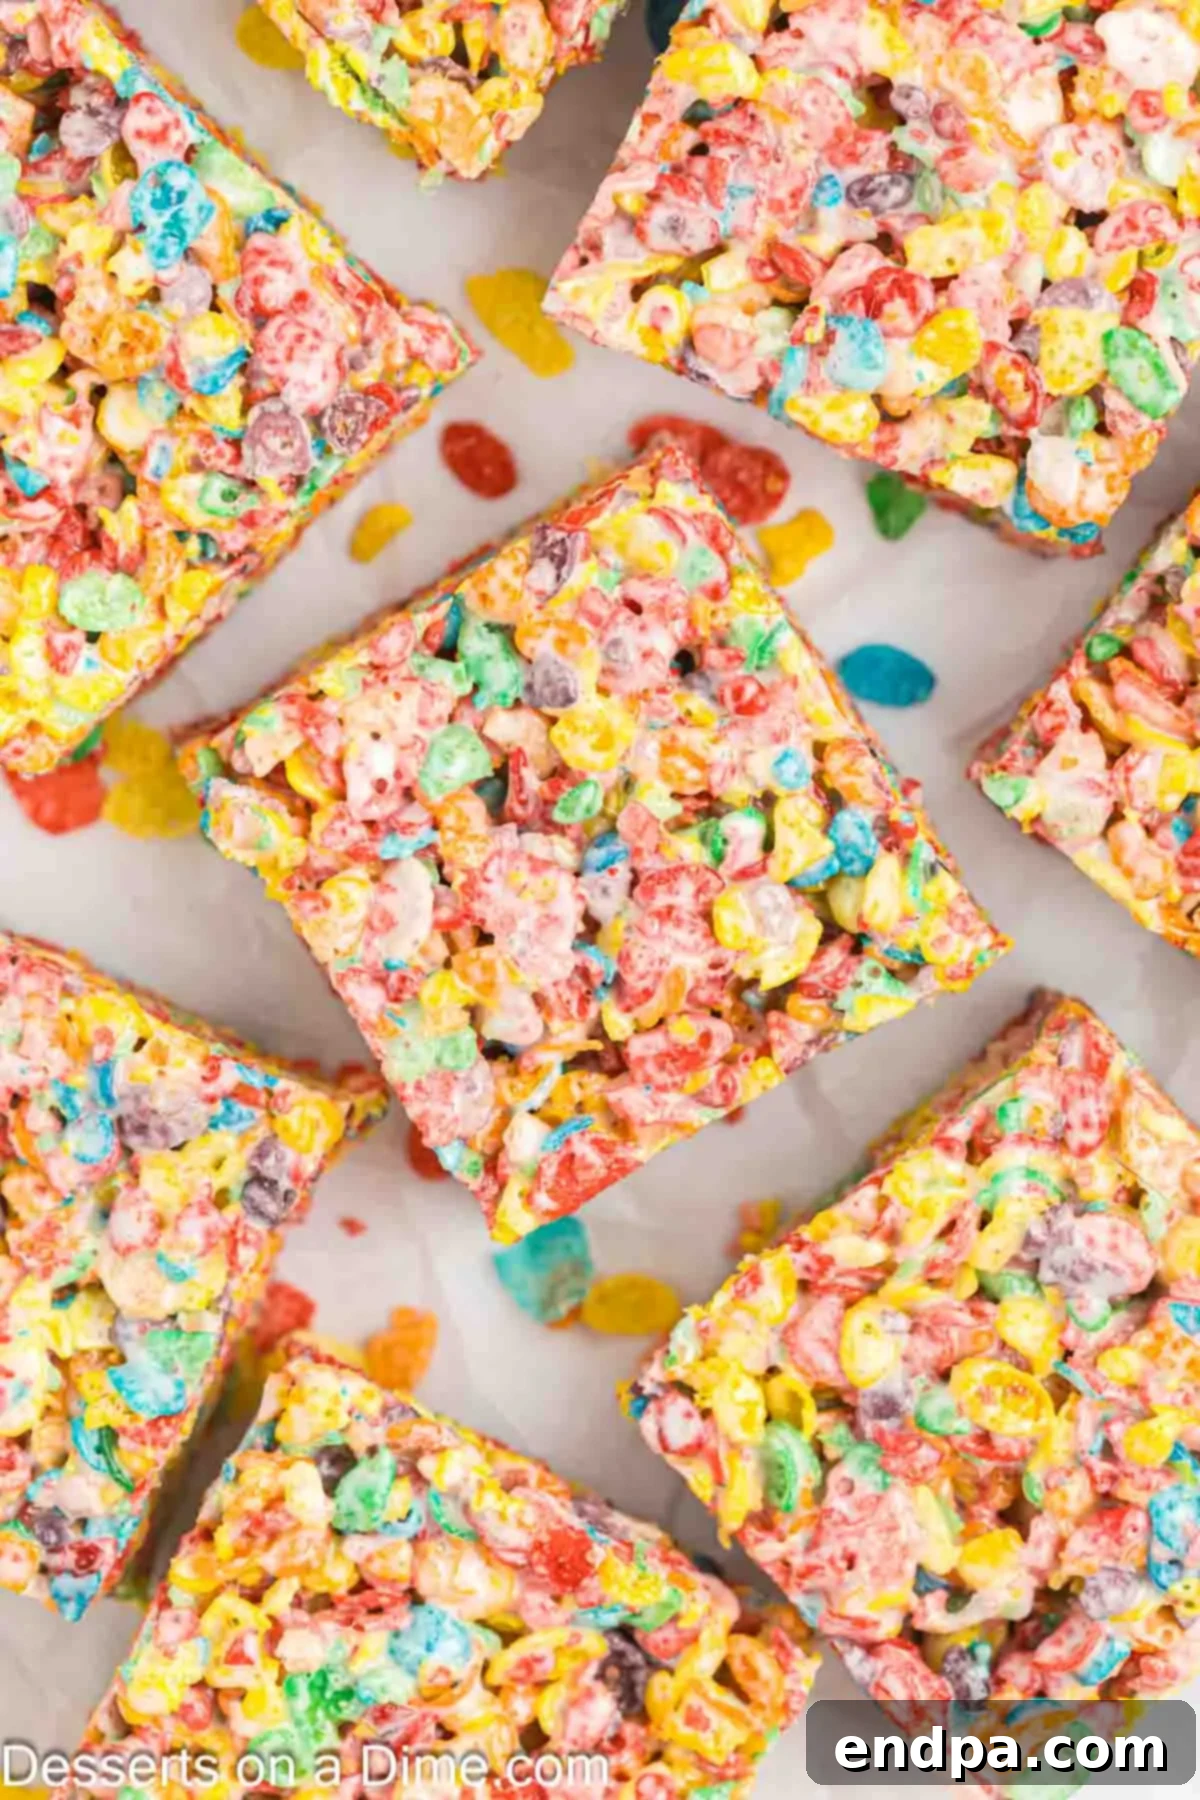
Step 5: Cool and Serve. Allow the treats to cool completely at room temperature. This will take at least an hour, or even longer depending on your kitchen’s temperature. Once fully cooled and set, use a sharp, greased knife to cut the cereal treats into squares or bars of your desired size. The greased knife will prevent sticking and ensure clean cuts. Now they are ready to serve and enjoy!
Expert Tips for Perfect Fruity Pebbles Rice Crispy Treats
Achieving the perfect gooey, chewy, and flavorful Fruity Pebble Rice Crispy Treat is simple when you know a few tricks. These expert tips will help you avoid common pitfalls and ensure your treats are always a success:
- Store Treats at Room Temperature: This is a crucial tip for maintaining their soft, gooey texture. Do not store these treats in the refrigerator. The cold temperature will cause the marshmallows to harden significantly, making the treats stiff and less enjoyable. They are best kept in an airtight container at room temperature, where they will remain delightfully chewy and delicious for up to a week.
- Always Grease Your Supplies: Marshmallow mixture is notoriously sticky, so proper greasing is your best friend. Thoroughly spray your baking dish, spatula, any mixing bowls you use, and even your hands (or a piece of wax paper) with non-stick cooking spray before you begin. This will make working with the sticky mixture much easier and clean-up a breeze. A buttered spatula also works wonderfully for pressing the mixture into the pan without it sticking.
- Gently Press into the Pan: When you transfer the Fruity Pebble mixture to the prepared pan, resist the urge to press it down firmly. Instead, use a very light touch. Gently pressing the mixture into the pan ensures that the treats remain airy and light, providing that perfect, easy-to-bite-into texture. Over-compressing the mixture will result in dense, hard, and unpleasantly chewy treats.
- Slowly Heat Marshmallows: Patience is key when melting marshmallows. Whether using a microwave or stovetop, heat them slowly and gradually. This prevents them from burning, which can give them an off-flavor, and also keeps them from becoming too hard and brittle once cooled. Low and slow heating ensures a perfectly smooth and pliable marshmallow base.
- Heat Marshmallows on Low Heat (Stovetop Method): If you opt for the stovetop, melt the butter in a large saucepan over low heat. Once melted, add the marshmallows and continue to heat on low, stirring continuously every 30 seconds or so. This gentle, consistent stirring and low heat will yield the ideal chewy, gooey marshmallow mixture, free from burnt spots or tough bits.
- Consider Vanilla Extract: For an added layer of warmth and complexity, stir in a teaspoon of good quality vanilla extract (pure vanilla is best) into the melted marshmallow mixture just before you add the cereal. It beautifully complements the sweetness and elevates the overall flavor profile of the treats.
- Use Fresh Marshmallows: The quality of your marshmallows directly impacts the texture of your treats. Always use fresh marshmallows that are within their expiration date. Old or stale marshmallows will not melt as smoothly and can result in grainy or tough treats. Fresh marshmallows are essential for achieving that signature gooey, stretchy texture.
- A Pinch of Salt: While optional, adding a small pinch (about ¼ teaspoon) of fine sea salt to the melted marshmallow mixture can work wonders. The salt helps to balance the sweetness of the marshmallows and cereal, enhancing all the other flavors without making the treats taste salty.
Frequently Asked Questions
For these Fruity Pebble Rice Crispy Treats, an 8×8 inch pan is typically recommended. This size allows for thicker, chewier treats, which many people prefer. However, you can absolutely use a 13×9 inch pan if you desire thinner bars. If you opt for a larger pan and still want thicker treats, simply double the recipe to fill the pan adequately. The cooking and cooling times will remain largely the same, but you might need to increase mixing time slightly.
Yes, you can use large marshmallows if mini marshmallows are not available. The ratio is generally 10 ounces of mini marshmallows equals about 40 large marshmallows. However, large marshmallows take longer to melt evenly. When using large marshmallows, be extra diligent about melting them slowly and stirring frequently to ensure a smooth, lump-free mixture. Sometimes, for an extra gooey texture, we like to add a handful of mini marshmallows at the very end of the melting process, letting them partially melt and create pockets of softness – this effect is harder to achieve with large marshmallows.
If your marshmallow treats are falling apart, it could be due to the marshmallows being overcooked. When marshmallows are heated too much, their sugar structure can become brittle, leading to a crumbly rather than cohesive texture. Conversely, if your treats are too hard, it’s also often a sign of overcooked marshmallows or pressing the mixture too firmly into the pan. To prevent this, heat the marshmallows just until they are melted and smooth – avoid boiling or excessive bubbling. Also, ensure you’re using the correct measurements and allow the treats to cool and set for at least an hour before cutting. Remember to press the mixture gently into the pan, not compress it tightly.
Proper storage is essential to keep your Fruity Pebble Treats fresh, chewy, and crispy. Store any leftovers in an airtight container at room temperature. They will remain fresh and delicious for up to 1 week. As mentioned before, refrigeration is not recommended as it can make them hard. For longer storage, you can individually wrap the bars in plastic wrap and then place them in an airtight freezer-safe bag or container. They can be frozen for up to 6 weeks. Thaw them at room temperature before serving.
No, the microwave is certainly not the only option! You can easily melt the butter and marshmallows using a large saucepan or a large pot on the stovetop. Simply melt the butter over low heat, then add the marshmallows and stir constantly until they are fully melted and smooth. Both methods are perfectly suitable for making delicious Fruity Pebble Rice Crispy Treats; choose whichever is most convenient for you.
Absolutely! These Fruity Pebble Treats are an excellent make-ahead dessert. You can prepare them a day or two in advance and store them in an airtight container at room temperature. This makes them perfect for parties, picnics, or school events where you want to minimize last-minute prep.
Good news for those with gluten sensitivities! Fruity Pebbles cereal is generally labeled as gluten-free by the manufacturer (Post Consumer Brands). Marshmallows and butter are also typically gluten-free. Always double-check the labels of all your ingredients to ensure there are no hidden gluten-containing additives, especially if you are catering to severe allergies.
There’s something inherently delightful about a no-bake treat that’s bursting with color and flavor. These Fruity Pebble Rice Crispy Treats are more than just a dessert; they’re a little piece of edible sunshine that’s incredibly easy to make. Their vibrant appearance and satisfying chewiness make them a standout choice for any occasion, from casual family snacks to festive gatherings. They strike the perfect balance between familiar comfort and exciting innovation, proving that sometimes, the simplest ideas are the best.
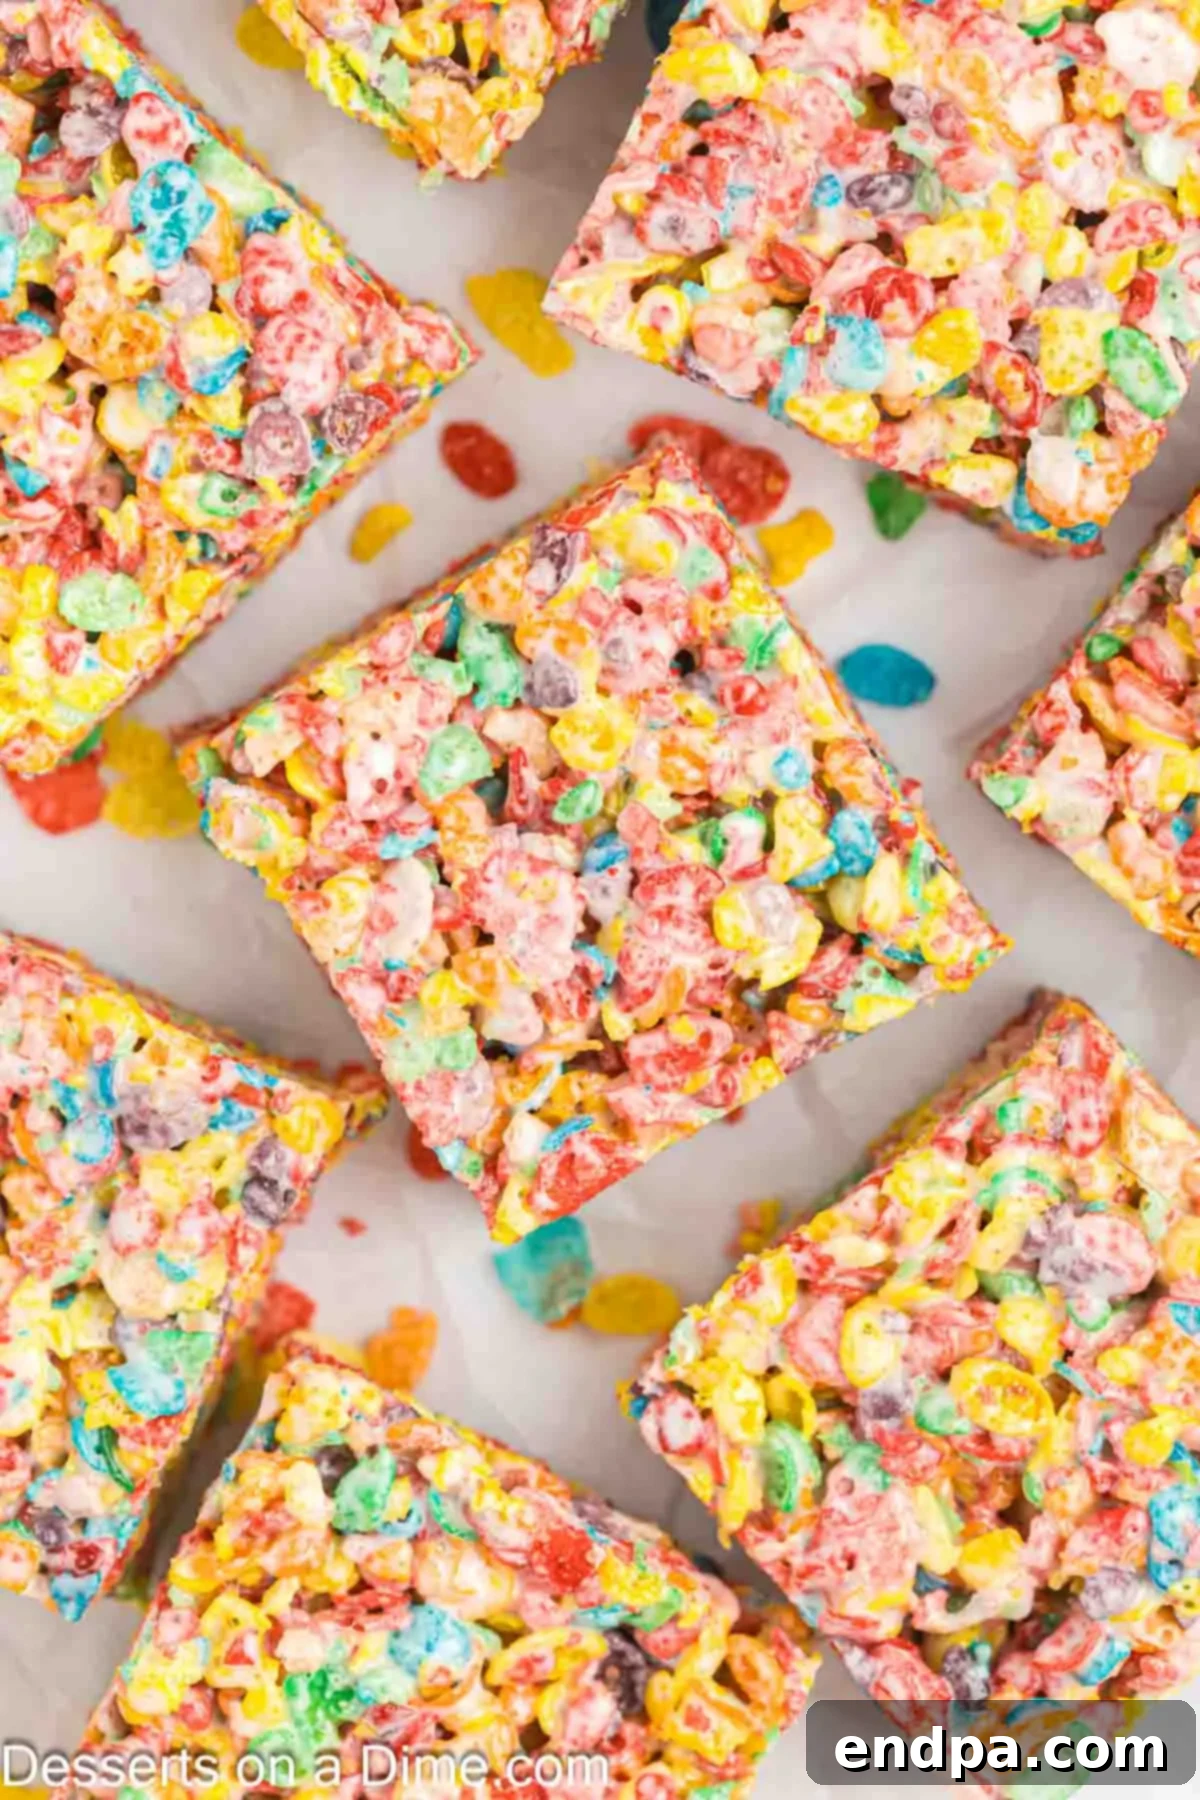
More Delightful Rice Crispy Treat Recipes
If you’ve fallen in love with the ease and versatility of Rice Crispy Treats, there’s a whole world of variations to explore! Here are some other fantastic recipes that put a unique spin on the classic, offering different flavor profiles and textures:
- Brown Butter Rice Krispie Treats: Elevate the classic with the rich, nutty notes of brown butter for a more sophisticated flavor.
- Red White and Blue Rice Krispie Treats: Perfect for patriotic holidays, these colorful treats are festive and fun.
- S’mores Rice Krispie Treats: Capture the essence of a campfire favorite with chocolate, graham cracker, and marshmallow goodness.
- Butterscotch Rice Krispie Treats: A sweet, caramel-like twist for those who love butterscotch flavor.
Give this easy Fruity Pebbles Treats recipe a try – it’s a delightful, colorful treat that promises to be a crowd-pleaser. We’d love to hear about your experience, so please come back and leave a comment sharing your thoughts!
Fruity Pebble Rice Crispy Treats
10 mins
10 mins
12
American
Dessert
176
Carrie Barnard
Ingredients
- 5 cups Fruity Pebbles Cereal
- 10 oz Mini Marshmallows
- 4 Tbsp Butter
Instructions
- Spray an 8×8 inch baking dish with non-stick cooking spray or line with parchment paper.
- Place the butter and marshmallows in a large microwave-safe bowl. Heat the mixture in the microwave in 30-second intervals, stirring after each interval, until the mixture is completely melted and combined. (Alternatively, melt in a saucepan over low heat on the stove, stirring constantly.)
- Then, stir in the Fruity Pebbles cereal until the cereal is thoroughly combined and coated with the marshmallow mixture.
- Pour the mixture into the prepared baking dish and spread the mixture down evenly. Use a piece of wax paper sprayed with non-stick cooking spray or a buttered spatula to gently press the mixture into the pan, avoiding over-compressing.
- Allow to cool completely at room temperature for at least 1 hour before cutting into bars and serving.
Recipe Notes
Nutrition Facts
Carbohydrates 34g,
Protein 1g,
Fat 5g,
Saturated Fat 3g,
Polyunsaturated Fat 1g,
Monounsaturated Fat 1g,
Trans Fat 1g,
Cholesterol 10mg,
Sodium 137mg,
Potassium 14mg,
Fiber 1g,
Sugar 19g,
Vitamin A 533IU,
Vitamin C 4mg,
Calcium 5mg,
Iron 1mg
Pin This Now to Remember It Later
Pin Recipe
