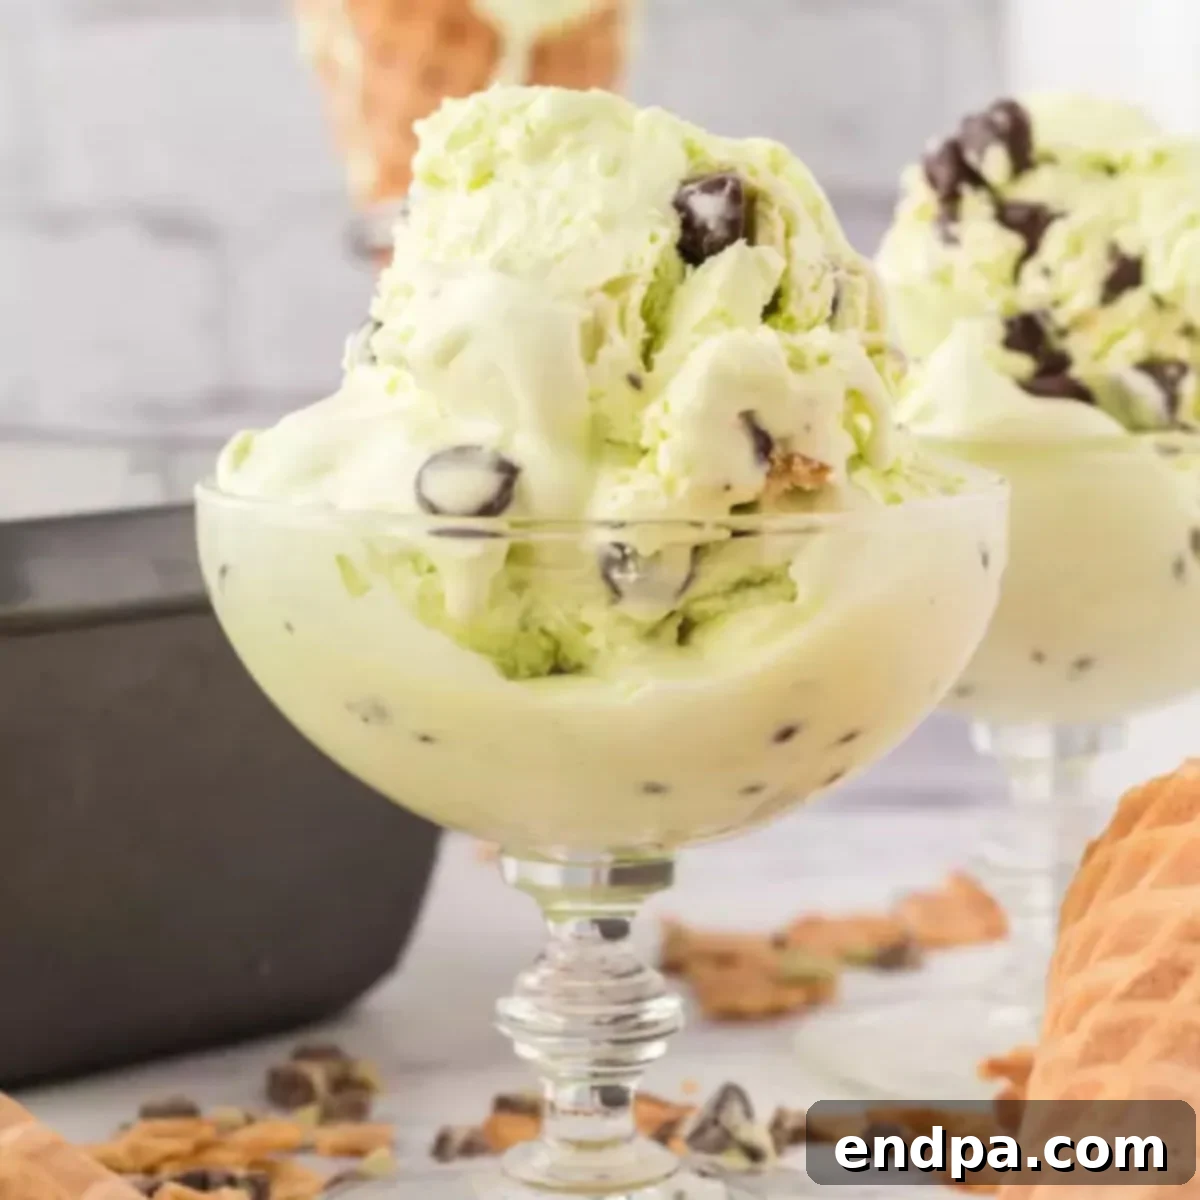
Indulge in Homemade Perfection: The Ultimate No-Churn Mint Chocolate Chip Ice Cream Recipe
Craving a refreshingly cool and unbelievably creamy dessert? Look no further! This homemade **Mint Chocolate Chip Ice Cream** recipe delivers an explosion of classic flavor without the need for an expensive ice cream machine. Prepare to be amazed by how easily you can create this rich, decadent treat with just a few simple ingredients and minimal effort. Forget about store-bought tubs; your taste buds are in for an authentic, delightful experience.
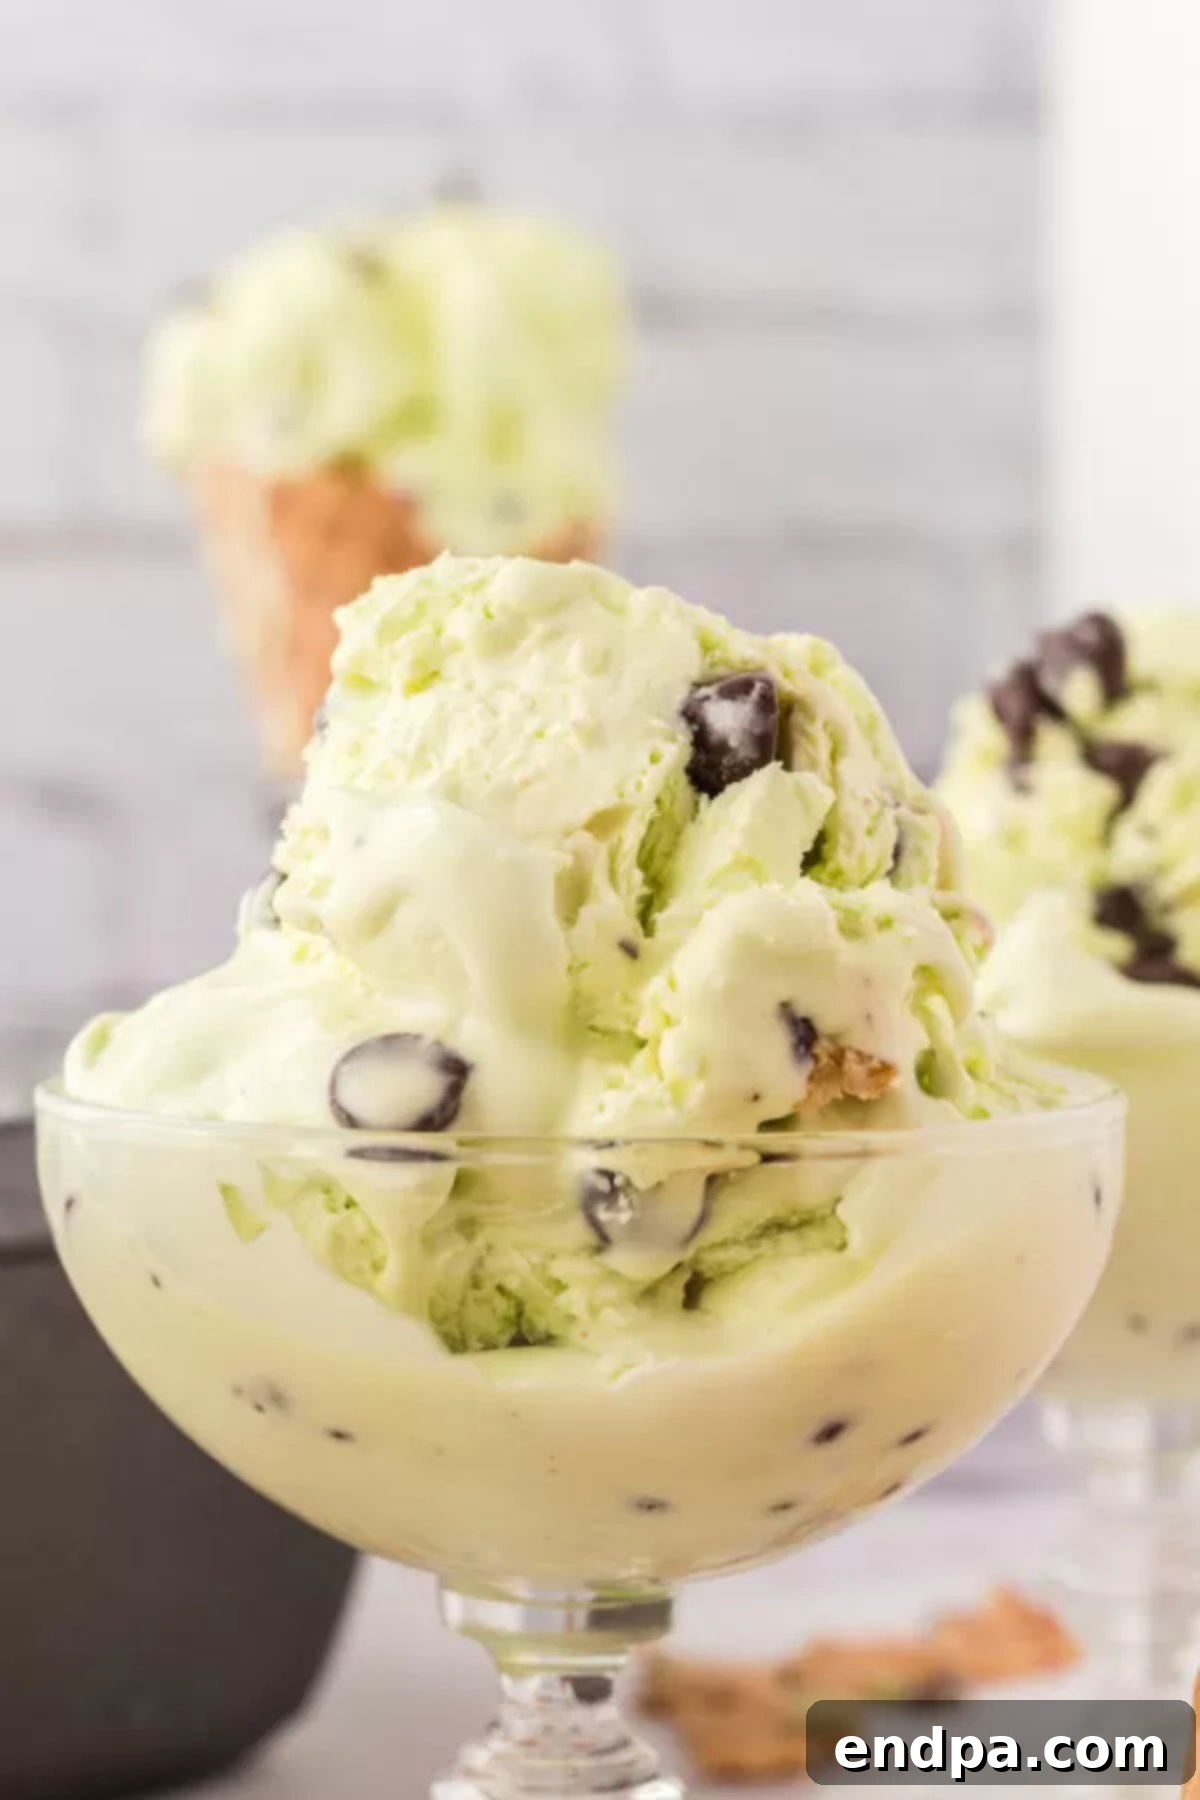
For devoted fans of the timeless mint chocolate chip combination, this recipe is an absolute game-changer. The harmonious blend of cool, invigorating peppermint and rich, bittersweet chocolate creates a symphony of flavors that will transport you straight to dessert heaven. Each spoonful is a velvety smooth, melt-in-your-mouth experience, brimming with delightful chocolatey crunch.
My journey into homemade ice cream began over a decade ago, sparked by a desire for fresher, more customizable desserts for my family. What started with simple flavors quickly evolved into beloved traditions. My kids especially adore the Salted Caramel Ice Cream and the innovative No-Churn Cheesecake Ice Cream, but this mint chocolate chip version remains a consistent crowd-pleaser. It’s a testament to how effortless and rewarding making your own frozen treats can be.
Table of Contents
- Why You’ll Adore This No-Churn Mint Chocolate Chip Recipe
- Essential Ingredients for Perfect Mint Chocolate Chip Ice Cream
- Creative Variations & Customization Ideas
- Step-by-Step Guide to Making Your Mint Chocolate Chip Ice Cream
- Serving Suggestions for an Irresistible Treat
- Expert Tips for No-Churn Ice Cream Success
- Frequently Asked Questions (FAQs)
- More Delicious Homemade Ice Cream Recipes to Try
- Craving More Mint? Explore These Mint Dessert Recipes
Why You’ll Adore This No-Churn Mint Chocolate Chip Recipe
The beauty of this recipe lies in its absolute simplicity and phenomenal results. You don’t need any specialized equipment or fancy gadgets to achieve an incredibly smooth and creamy texture that rivals gourmet ice cream shops. This is truly a “no-fail” recipe designed for anyone, regardless of their baking or dessert-making experience.
No Ice Cream Maker? No Problem!
For years, many home cooks shied away from making their own ice cream due to the perceived necessity of an ice cream maker. This recipe completely eliminates that barrier. By utilizing a technique that whips heavy cream to stiff peaks and combines it with sweetened condensed milk, we create a rich, stable base that freezes beautifully without churning. This means less equipment to buy, less cleanup, and more delicious ice cream for you!
Simple Ingredients, Superior Taste
You might be surprised that such an exquisite dessert can be made with only five core ingredients. Each component plays a vital role in achieving the perfect balance of sweetness, creaminess, and distinct minty flavor. There are no egg yolks or custard bases to worry about; the sweetened condensed milk is the secret to both the sweetness and the incredibly smooth, scoopable texture, making it a dream for novice and experienced dessert makers alike.
A Family Favorite for All Ages
Mint chocolate chip ice cream holds a special place in the hearts of many, evoking nostalgic memories and bringing smiles to faces young and old. This homemade version elevates that experience, offering a freshness and depth of flavor that store-bought options simply can’t match. It’s the perfect treat for birthday parties, family gatherings, or simply a cozy night in, guaranteeing satisfaction and delight with every scoop.
Essential Ingredients for Perfect Mint Chocolate Chip Ice Cream
Gathering the right ingredients is the first step towards crafting this incredible no-churn ice cream. While the list is short, the quality and type of each ingredient are crucial for the best possible outcome.
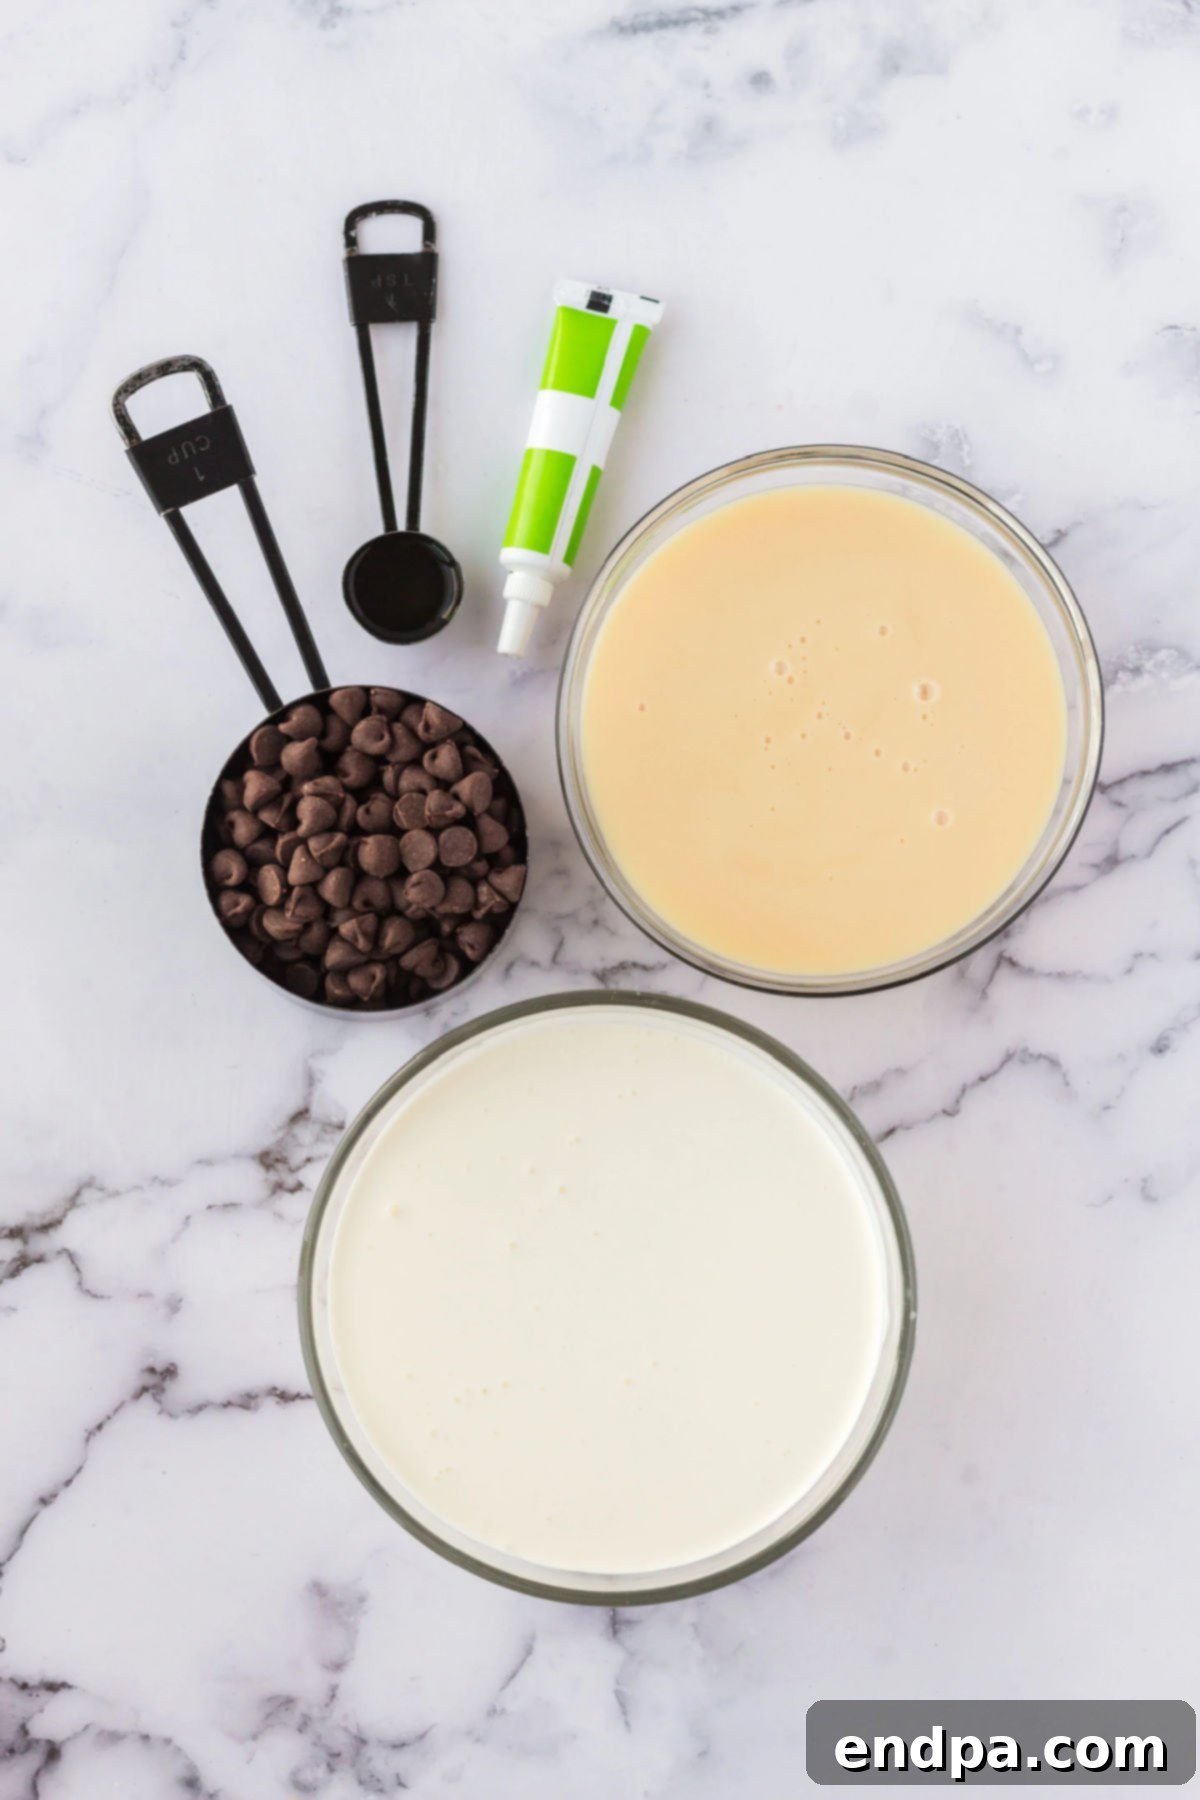
- Heavy Whipping Cream: This is the foundation of our no-churn ice cream. It must be full-fat heavy whipping cream, as it’s the ingredient that gets whipped to incorporate air and create that light, fluffy texture. Do not substitute with half-and-half, whole milk, or lighter creams, as they won’t whip properly and will result in a much icier, less creamy ice cream. Ensure it’s very cold before whipping for optimal results.
- Sweetened Condensed Milk: The star of the no-churn method, sweetened condensed milk provides both sweetness and the essential creamy body without requiring cooking or an ice cream maker. Its thick, syrupy consistency prevents ice crystals from forming, giving you that wonderfully smooth texture. There’s no need for additional sugar in this recipe because of the condensed milk.
- Pure Peppermint Extract: For that signature mint chocolate chip flavor, pure peppermint extract is key. I highly recommend using peppermint extract over generic “mint” or spearmint extracts, as these often have a different, sometimes less desirable, flavor profile that won’t give you the classic taste you’re aiming for. A little goes a long way, so measure carefully.
- Vibrant Green Food Coloring Gel (Optional): While entirely optional, a few drops of green food coloring gel will give your ice cream that instantly recognizable, cheerful green hue. It doesn’t affect the taste whatsoever, so feel free to omit it if you prefer a natural, off-white color. Gel food coloring provides a more concentrated color without adding excess liquid, which is ideal for ice cream.
- Quality Semi-Sweet Chocolate Chips: The “chocolate chip” element is just as important as the mint. Use a good quality semi-sweet chocolate that you enjoy eating on its own. While chips are convenient, you can also finely chop a semi-sweet chocolate bar for varying textures, from small flecks to larger chunks, depending on your preference. The chocolate will firm up nicely when frozen, providing a delightful contrast to the creamy mint base.
Creative Variations & Customization Ideas
One of the joys of making homemade ice cream is the freedom to experiment and customize flavors to your heart’s content. While the classic mint chocolate chip is delightful on its own, here are a few ideas to put your own spin on this recipe:
- Oreo Cookies for a Twist: Transform this into “Mint Cookies and Cream Ice Cream” by omitting the chocolate chips and folding in a generous amount of crushed Oreo cookies instead. The dark chocolatey cookies pair perfectly with the cool mint.
- Dark Chocolate Indulgence: If you’re a dark chocolate enthusiast, swap out the semi-sweet chocolate chips for dark chocolate chips or finely chopped dark chocolate. The deeper, more intense chocolate flavor will create a sophisticated contrast with the bright peppermint.
- Fudge Sauce Swirls: For an extra layer of chocolatey goodness, gently fold in ribbons of homemade Hot Fudge Sauce into the mixture just before freezing. This creates beautiful chocolate swirls and adds an irresistible fudge element throughout the ice cream.
- A Pinch of Sea Salt: A tiny sprinkle of flaky sea salt on top of your serving can really enhance both the mint and chocolate flavors, adding a subtle gourmet touch. Remember, just a pinch!
- White Chocolate Dream: For a different visual and flavor profile, consider using white chocolate chips or finely chopped white chocolate instead of dark or semi-sweet. This creates a sweeter, creamier chocolate element that still complements the mint beautifully.
- Candy Cane Crush: During the holidays, crush some peppermint candies or candy canes and fold them into the mixture for an extra burst of peppermint and a delightful crunchy texture.
- Brownie Batter Bliss: Add small, crumbled pieces of your favorite brownies or even brownie batter swirls for a truly decadent and rich treat.
Step-by-Step Guide to Making Your Mint Chocolate Chip Ice Cream
Creating this irresistible ice cream is incredibly straightforward. Just follow these simple steps, and you’ll have a delightful dessert chilling in your freezer in no time.
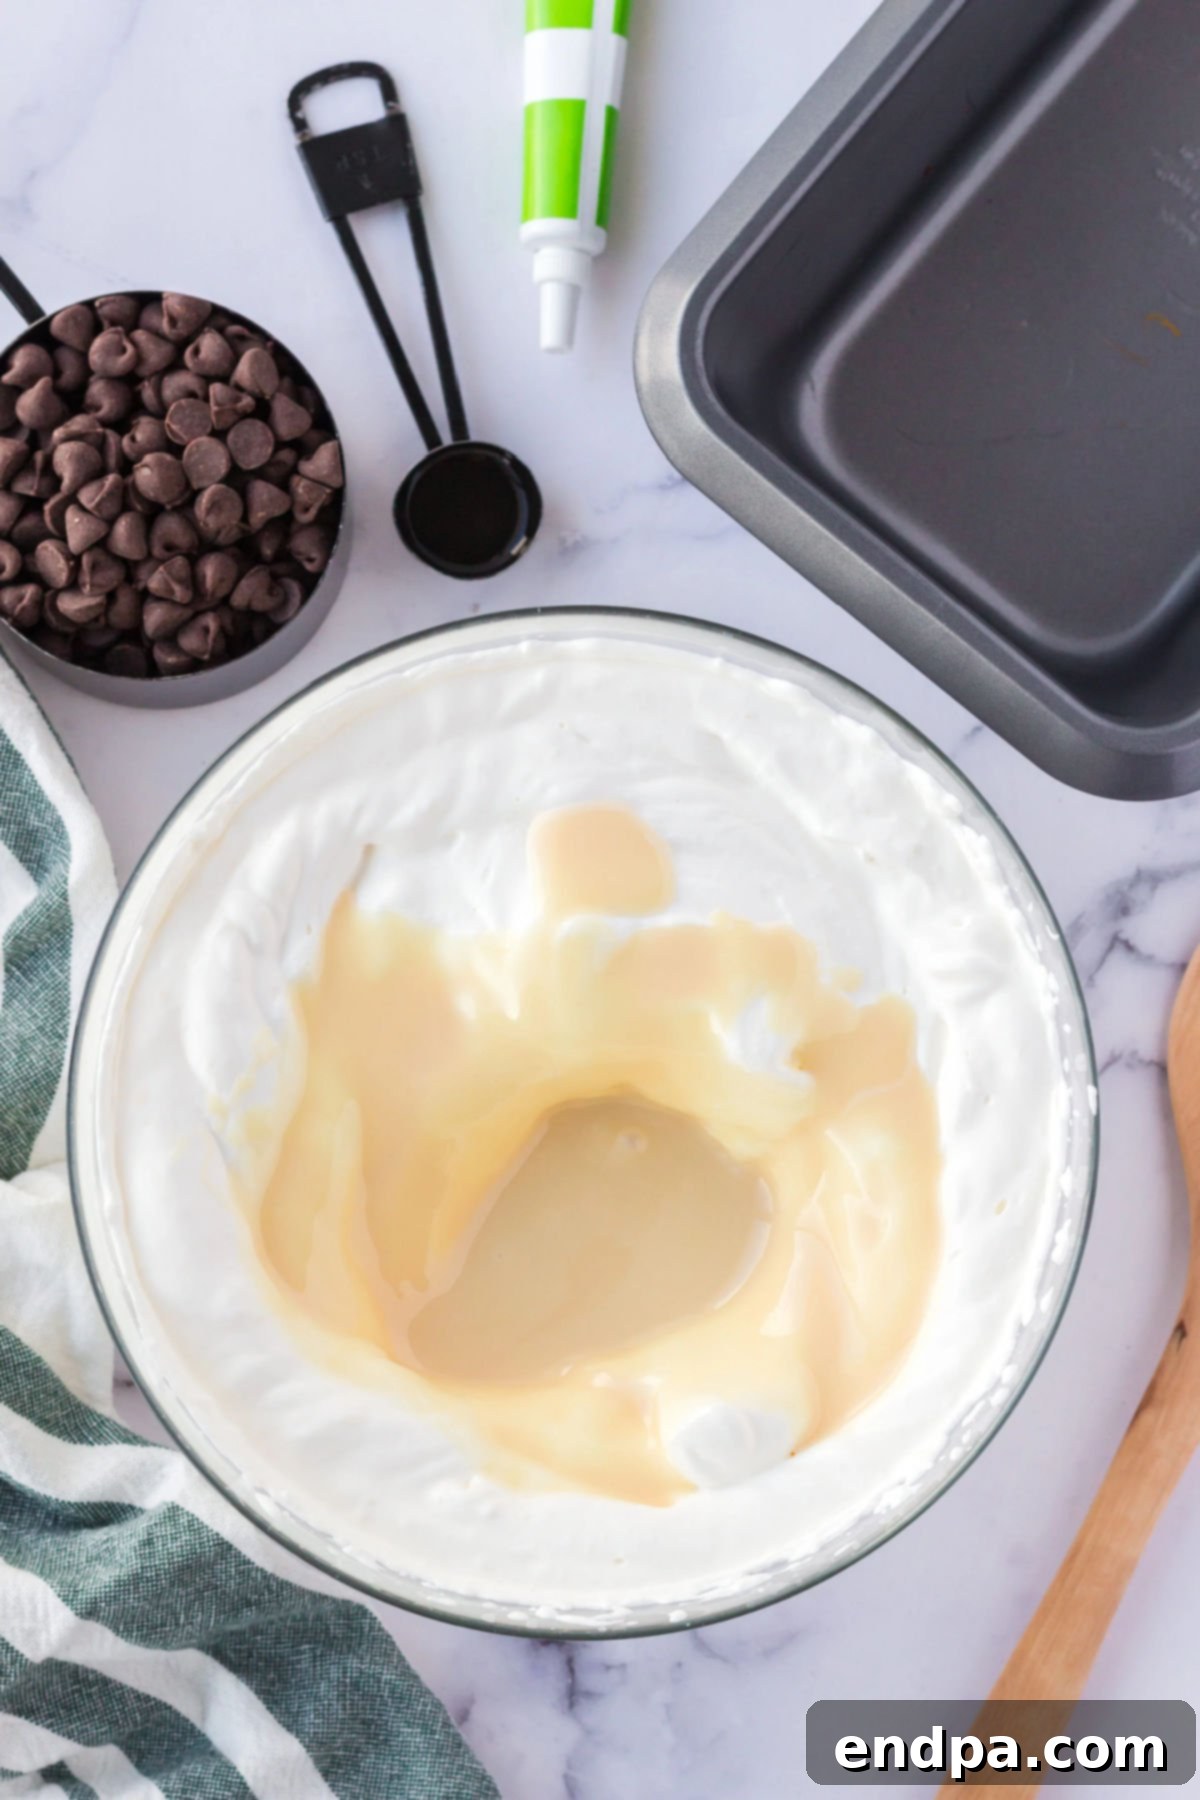
Step 1: Whip the Cream to Perfection. Begin by pouring your very cold heavy whipping cream into a large mixing bowl. Using an electric mixer fitted with a whisk attachment, whip the cream on high speed until it becomes thick, fluffy, and forms stiff peaks. This means when you lift the whisk, the peaks of cream stand firm and don’t collapse. Be careful not to over-whip, as it can turn granular.
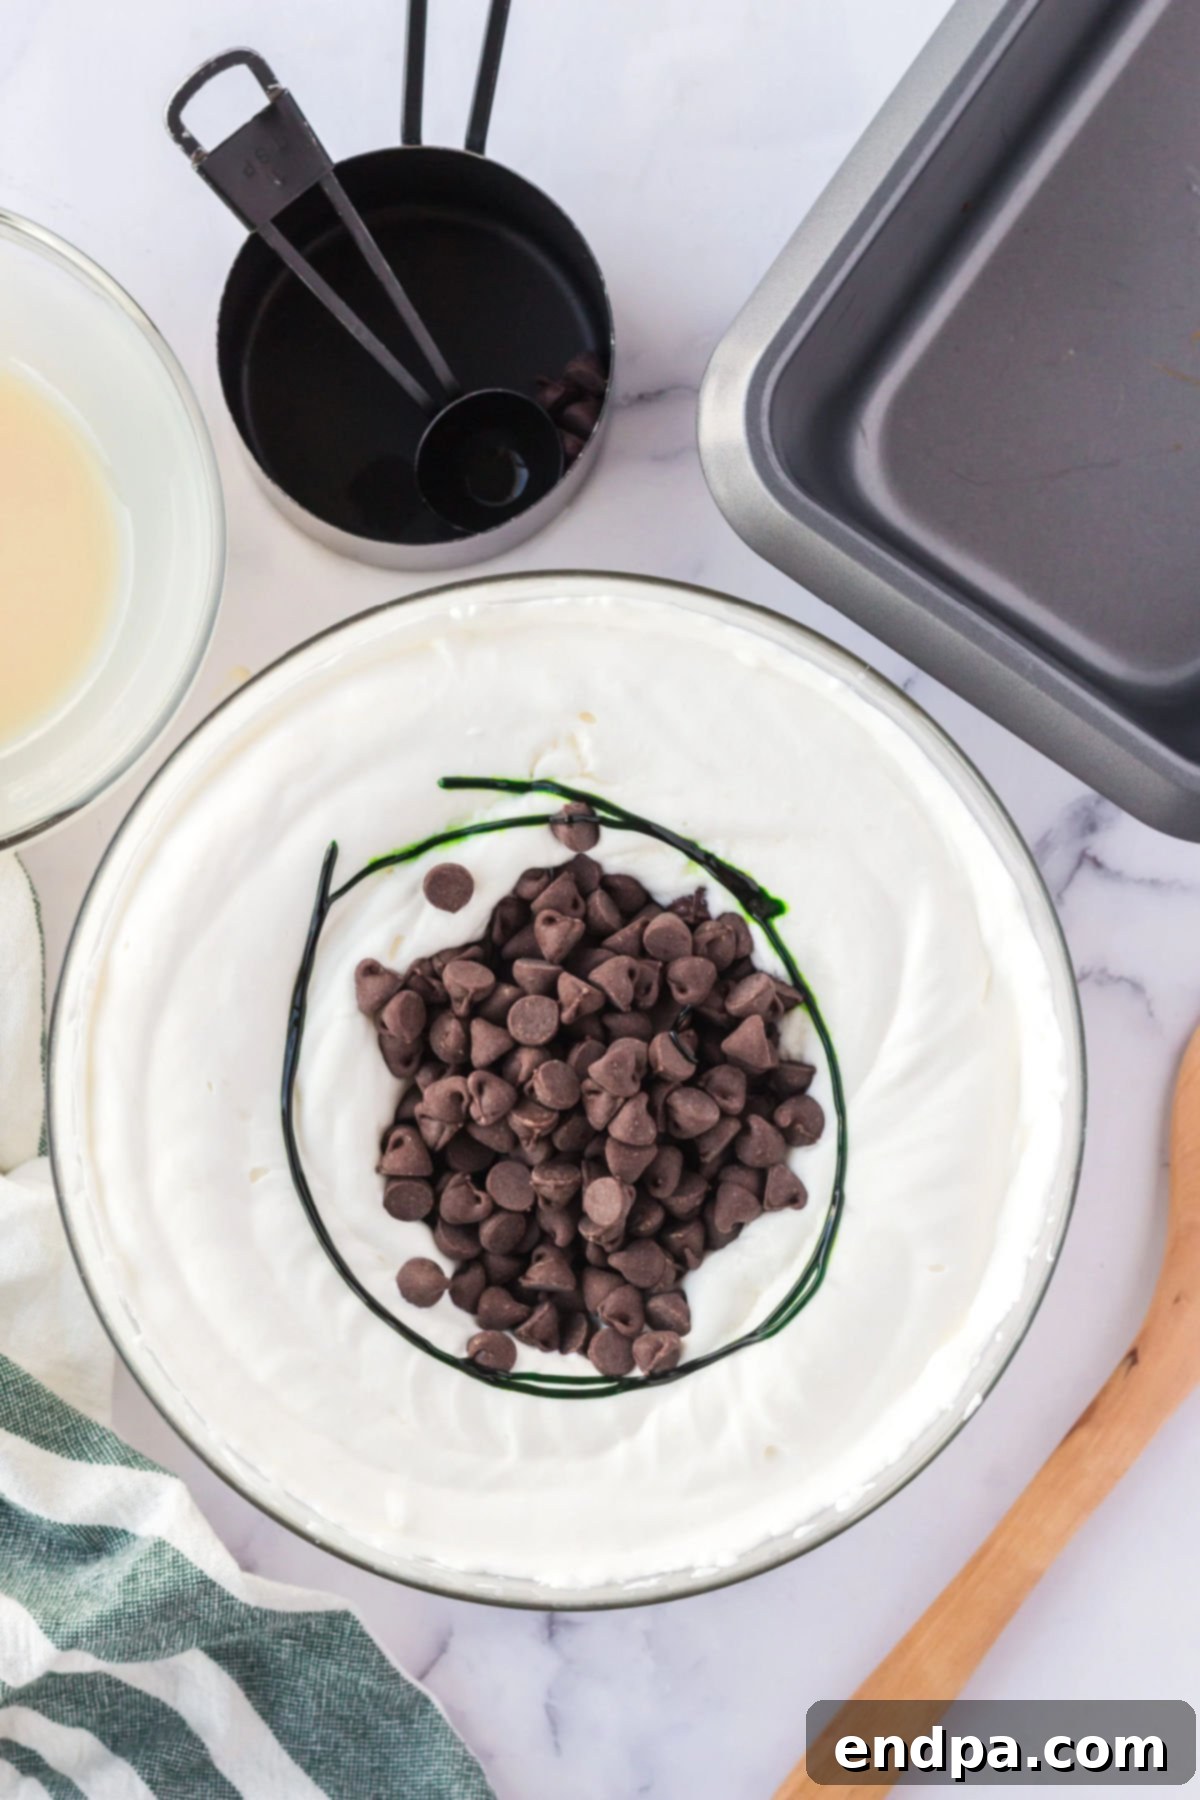
Step 2: Gently Fold in Flavors. With a spatula, very gently fold the sweetened condensed milk and peppermint extract into the whipped cream. Use a light touch to maintain as much air in the whipped cream as possible. Once those are mostly combined, add the semi-sweet chocolate chips and your desired amount of green food coloring gel. Continue to gently fold until the chocolate chips and color are evenly distributed throughout the mixture, ensuring no streaks remain.
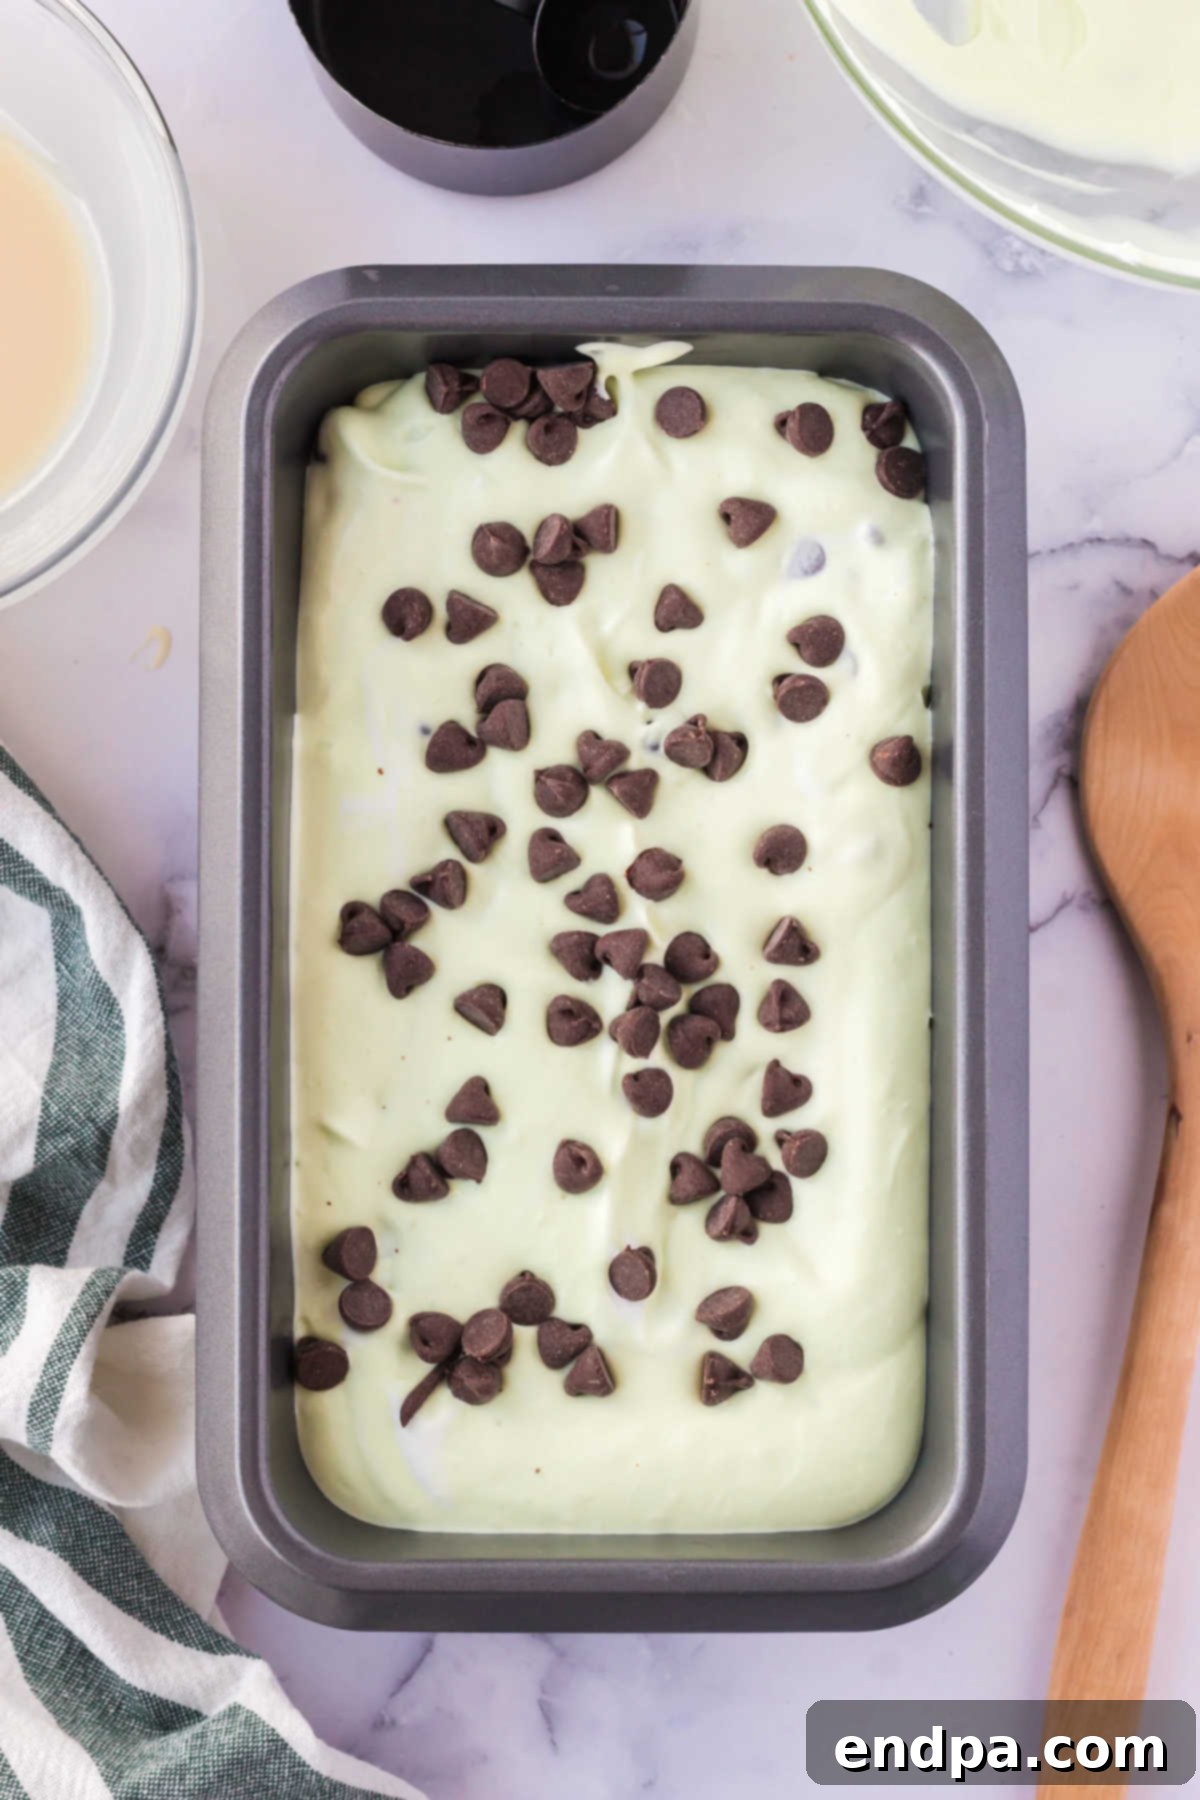
Step 3: Prepare for Freezing. Carefully pour the entire ice cream mixture into a freezer-safe container. A 9×5-inch loaf pan works perfectly, but any shallow container with a lid will do. For an extra visual flourish and a delightful surprise in every scoop, sprinkle a handful of additional chocolate chips or chocolate chunks evenly over the top of the mixture. Gently tap the pan on the counter a few times to settle the mixture and remove any large air bubbles.
Step 4: Freeze and Enjoy! Cover the pan tightly with plastic wrap, pressing it directly onto the surface of the ice cream to prevent ice crystals from forming. Alternatively, use an airtight freezer-safe container with a lid. Place the ice cream in the freezer and allow it to set for a minimum of 4 to 6 hours, or preferably overnight, until it’s firm enough to scoop. Once frozen, scoop generously and savor every creamy, minty bite!
Serving Suggestions for an Irresistible Treat
Once your homemade mint chocolate chip ice cream is perfectly frozen and ready, the fun continues with creative serving ideas. Whether you’re presenting it for a special occasion or simply enjoying a personal indulgence, these suggestions will elevate the experience.
For an elegant touch, garnish each serving with a fresh mint leaf or a sprinkle of additional mini chocolate chips or chocolate shavings. The vibrant green of the mint leaf contrasts beautifully with the ice cream, adding a professional and appetizing appeal.
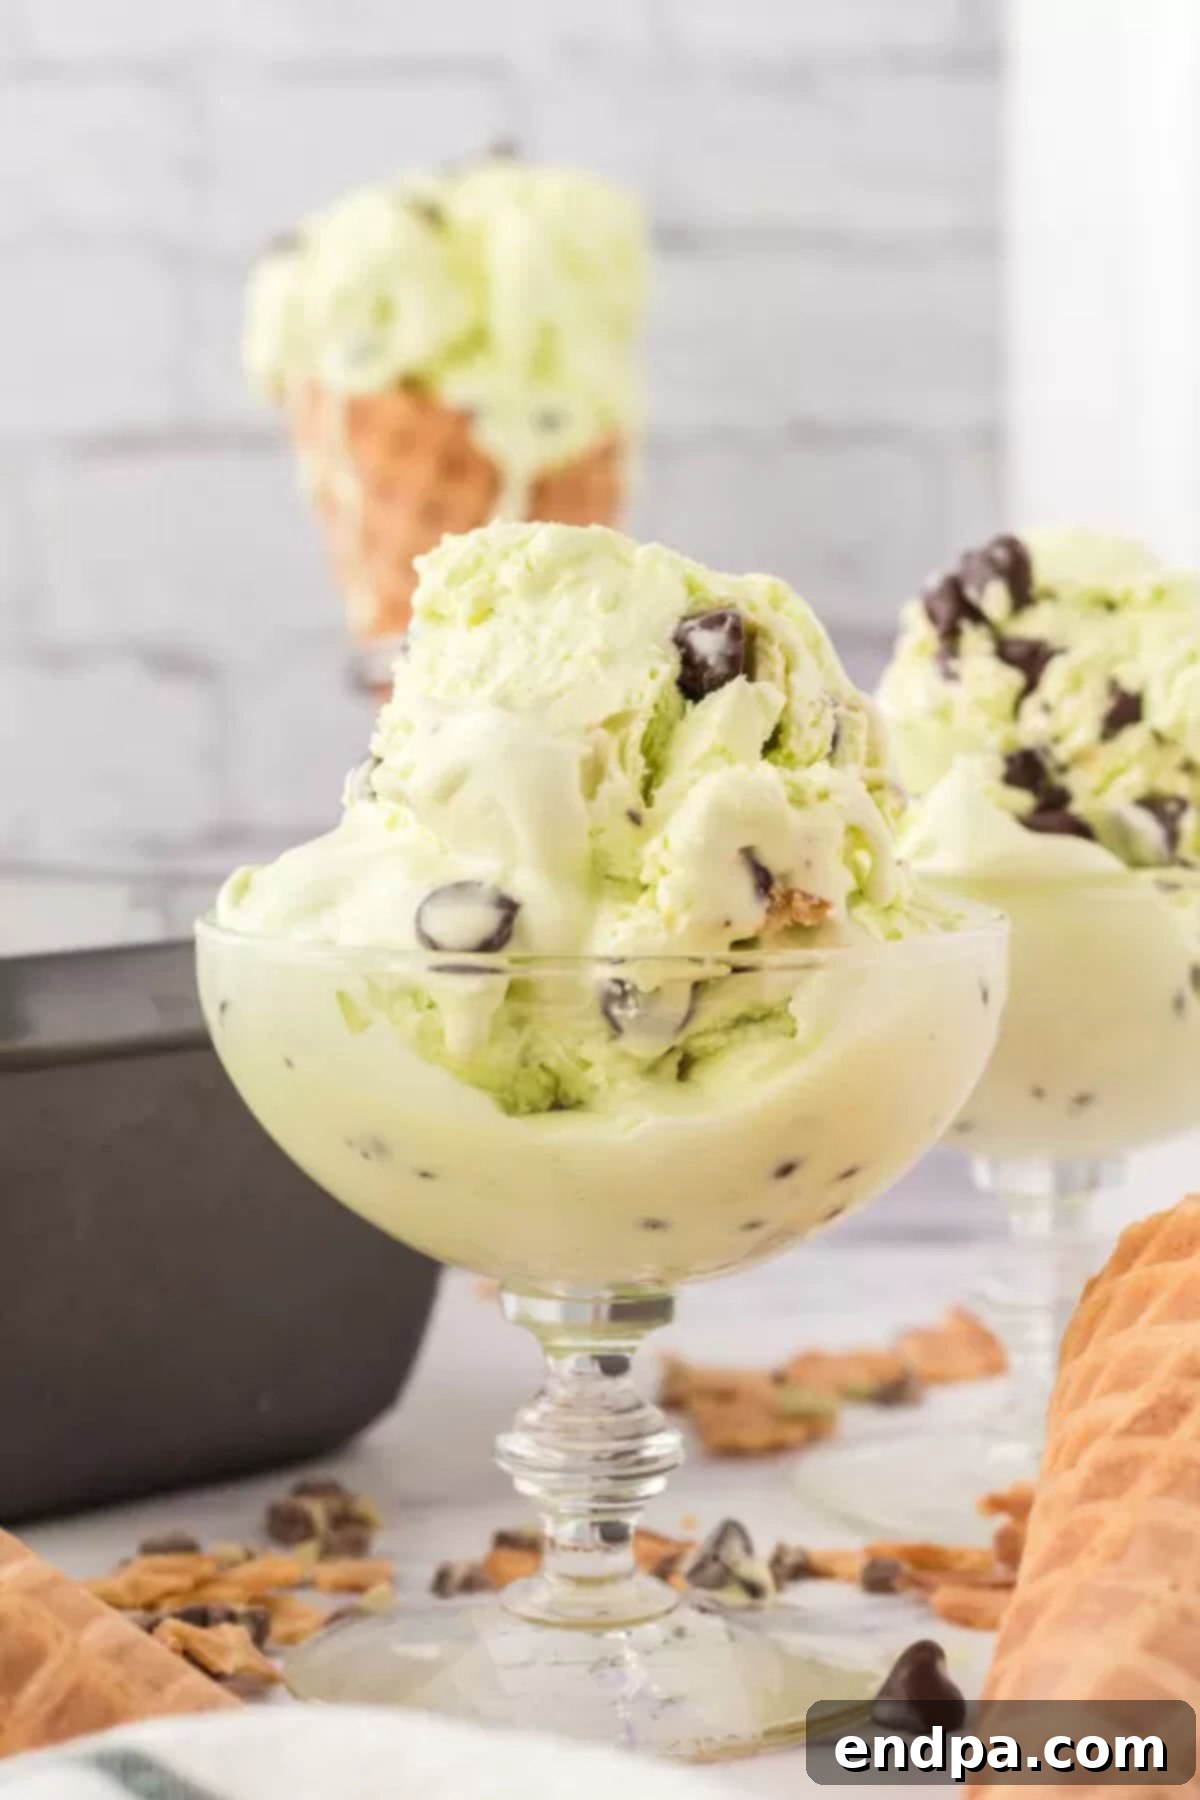
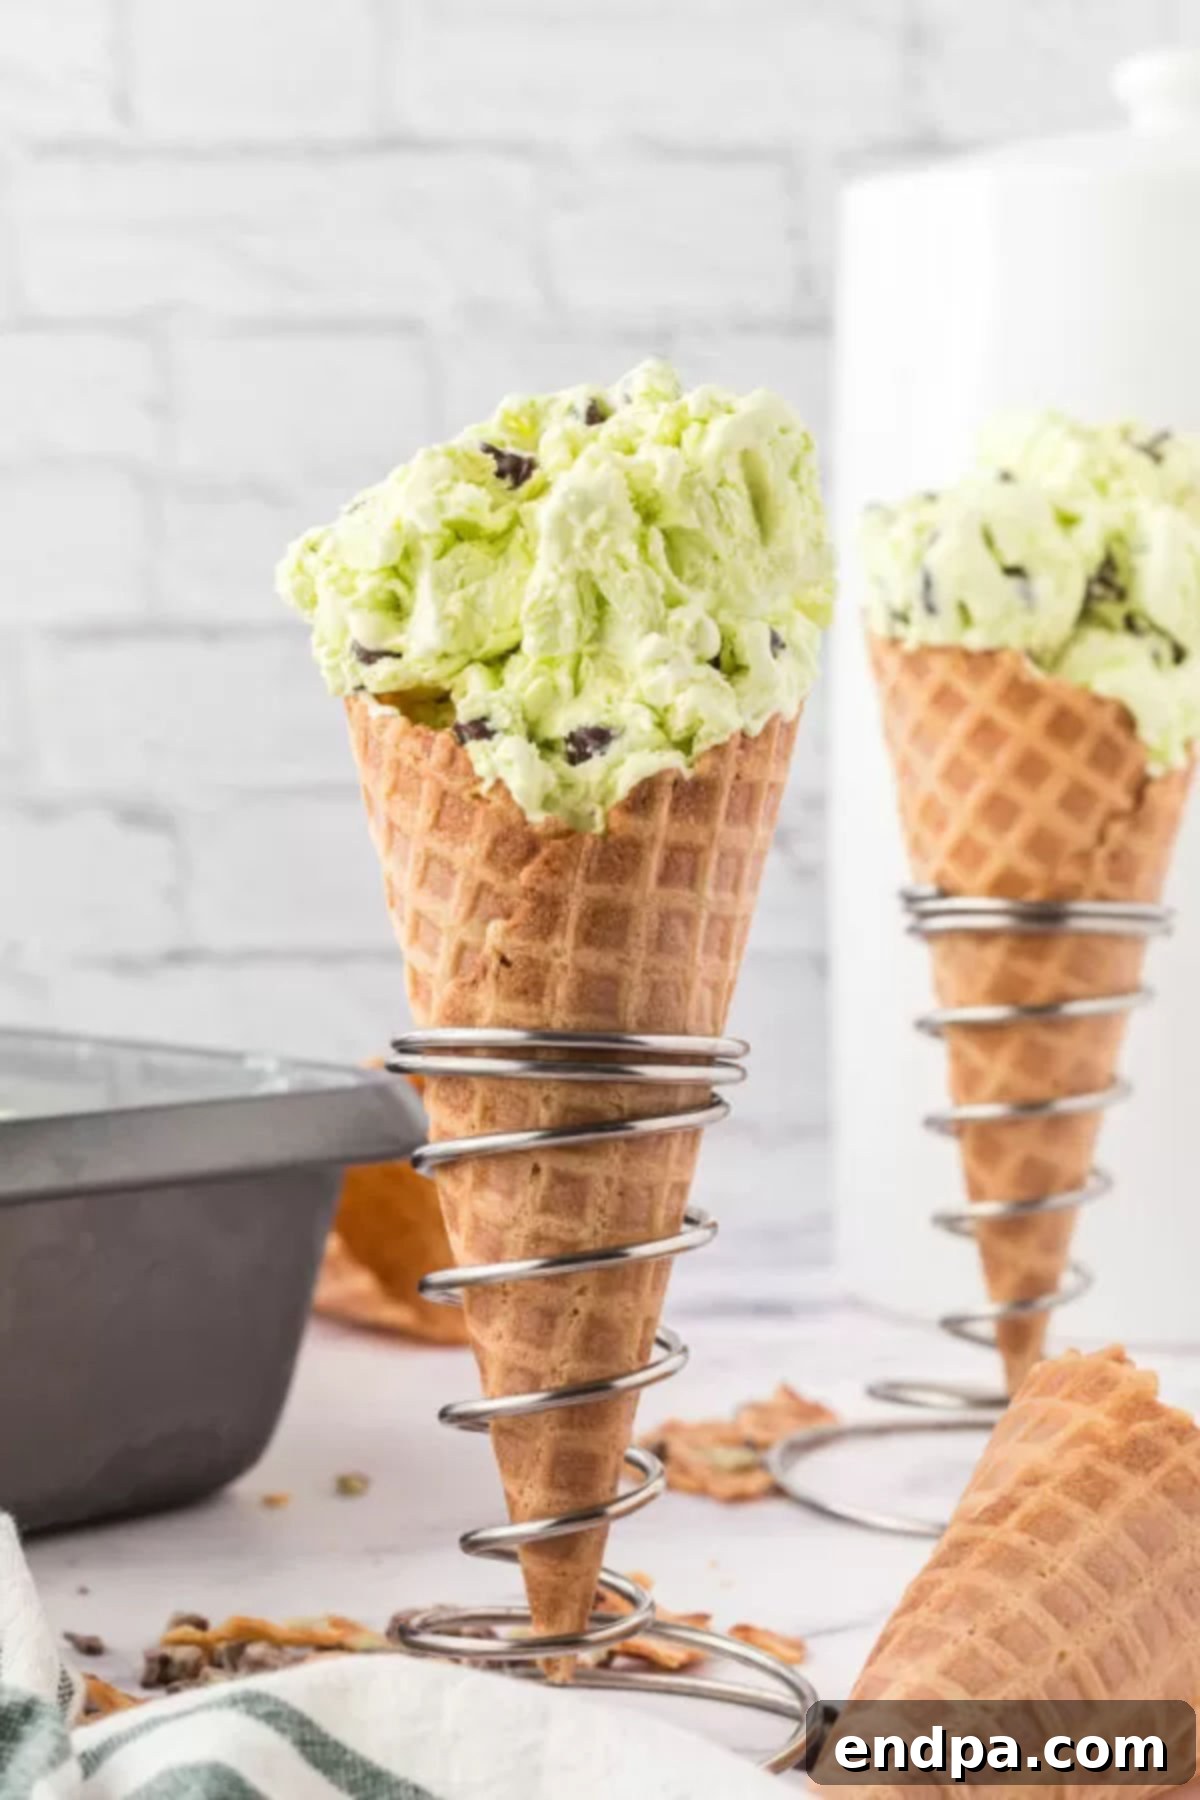
This ice cream is delicious served in classic dessert cups, elegant parfait glasses, or even simple small bowls. However, for a truly whimsical and satisfying experience, my children and many other fans agree that it’s best enjoyed in a crispy waffle cone or a sturdy waffle bowl. The crunch of the cone provides a wonderful textural contrast to the smooth ice cream.
Don’t hesitate to pile on your favorite toppings! A generous dollop of homemade Whipped Cream instantly adds a cloud-like lightness, and a bright red cherry on top completes the classic sundae look. For the ultimate chocolate lover, a drizzle of warm hot fudge sauce or a sprinkle of chocolate cookie crumbs can turn a simple scoop into an extraordinary dessert.
Expert Tips for No-Churn Ice Cream Success
Achieving perfectly creamy, scoopable, and flavorful no-churn ice cream consistently is easier with a few insider tips. Keep these in mind to ensure your mint chocolate chip creation is nothing short of spectacular:
- Achieving the Perfect Mint Flavor: While pure peppermint extract is highly recommended for that classic taste, if you’re in a pinch or prefer a milder, more confectionery mint flavor, you can melt down Andes mints in a saucepan and mix them into the ice cream base. Be aware that this might result in a less vibrant green color and a slightly less potent mint flavor, but it will still be delicious!
- Customizing the Green Hue: The amount of green food coloring is entirely up to your aesthetic preference. Start with a few drops and gradually add more, folding gently after each addition, until you achieve your desired shade. Remember, the color might deepen slightly as it freezes.
- The Power of Vanilla Extract: While not listed as a core 5th ingredient, adding a teaspoon of good quality vanilla extract (in addition to or alongside the peppermint) can enhance the overall flavor profile, adding a subtle warmth and depth that complements both the mint and chocolate.
- Importance of Quality Ingredients: Since there are so few ingredients, the quality of each one really shines through. Opt for good quality heavy whipping cream, a reliable brand of sweetened condensed milk, and chocolate chips that you genuinely enjoy eating. This directly impacts the final taste and texture of your ice cream.
- Gentle Folding for a Creamy Texture: The key to no-churn ice cream’s creaminess is maintaining the air incorporated during the whipping of the heavy cream. When adding the sweetened condensed milk, extract, and chocolate chips, use a light, folding motion with a spatula. Avoid vigorous stirring, which can deflate the cream and lead to a denser, icier texture.
- Patience with Freezing Time: While the ice cream might appear firm after 4-6 hours, allowing it to freeze overnight often yields the best texture for scooping. A longer freeze ensures it’s thoroughly set, reducing iciness and making it easier to serve.
- Start with Chilled Ingredients: For optimal whipping, ensure your heavy whipping cream is very cold. You can even place your mixing bowl and whisk attachment in the freezer for 10-15 minutes before you start. Cold equipment helps the cream whip faster and achieve stiffer peaks, contributing to a lighter, airier ice cream.
- Preventing Ice Crystals: To avoid undesirable ice crystals, make sure your ice cream is covered tightly when freezing. If using plastic wrap, press it directly onto the surface of the ice cream before putting on the lid of your container. This minimizes exposure to air, which is the main culprit for freezer burn and crystallization.
- For Easier Scooping: If your ice cream becomes rock hard in the freezer, let it sit on the counter for 5-10 minutes before attempting to scoop. You can also run your ice cream scoop under hot water for a few seconds before each scoop to make it glide through the ice cream more smoothly.
Frequently Asked Questions (FAQs)
How long does homemade ice cream last in the freezer?
Homemade no-churn ice cream is generally best enjoyed within 1 to 2 weeks of making it. While it won’t spoil quickly, its texture and freshness will begin to degrade after this period, potentially leading to more ice crystals and a less desirable consistency. Always store it in an airtight container or a loaf pan tightly covered with plastic wrap and foil to maintain its quality.
How can I prevent freezer burn?
Freezer burn occurs when ice cream is exposed to air, causing moisture to evaporate and ice crystals to form. To prevent this, ensure your ice cream container is truly airtight. If using a loaf pan, press a layer of plastic wrap directly onto the surface of the ice cream, then cover the entire pan with a lid or a layer of aluminum foil. This dual layer of protection is highly effective.
Can I substitute heavy whipping cream?
Unfortunately, for this no-churn recipe, heavy whipping cream is essential. Its high-fat content is what allows it to whip up and hold air, providing the necessary volume and creamy texture without an ice cream maker. Lighter creams, half-and-half, or milks will not whip correctly and will result in an icy, hard dessert rather than smooth ice cream.
Do I need an electric mixer?
An electric stand mixer or a handheld electric mixer is highly recommended for whipping the heavy cream to stiff peaks. While it’s technically possible to do by hand with a whisk, it requires significant effort and time to achieve the desired consistency. An electric mixer ensures consistent results and saves you a lot of arm work!
How can I make my no-churn ice cream softer or firmer?
The firmness of your ice cream largely depends on the freezing time and the fat content. For a softer consistency, you can slightly reduce the freezing time or allow it to temper on the counter for 5-10 minutes before serving. For a firmer ice cream, ensure it freezes for at least 6-8 hours, or preferably overnight. If your ice cream consistently turns out too hard, ensure you’re using full-fat heavy whipping cream and not over-whipping it.
More Delicious Homemade Ice Cream Recipes to Try
If you loved making this no-churn mint chocolate chip ice cream, you’re in luck! The world of homemade ice cream is vast and exciting. Here are some other fantastic recipes to explore, many of which also utilize the convenient no-churn method:
- No-Churn Peach Ice Cream
- Homemade Cookies and Cream Ice Cream
- Kool-Aid Ice Cream
- Cookie Monster Ice Cream
- No-Churn Vanilla Ice Cream
- How to Make Ice Cream Cake
Craving More Mint? Explore These Mint Dessert Recipes
If the refreshing flavor of mint is what you truly adore, why stop at ice cream? Mint pairs wonderfully with chocolate in a variety of other delightful desserts. Extend your minty adventures with these fantastic recipes:
- Mint Chocolate Chip Cookies Recipe
- Andes Mint Cookies Recipe
- Mint Chocolate Brownies
We absolutely love hearing from you! Once you’ve had a chance to try this incredibly easy and satisfying no-churn mint chocolate chip ice cream recipe, please take a moment to leave a comment and a star rating. Your feedback helps other dessert enthusiasts discover and enjoy this delicious treat!
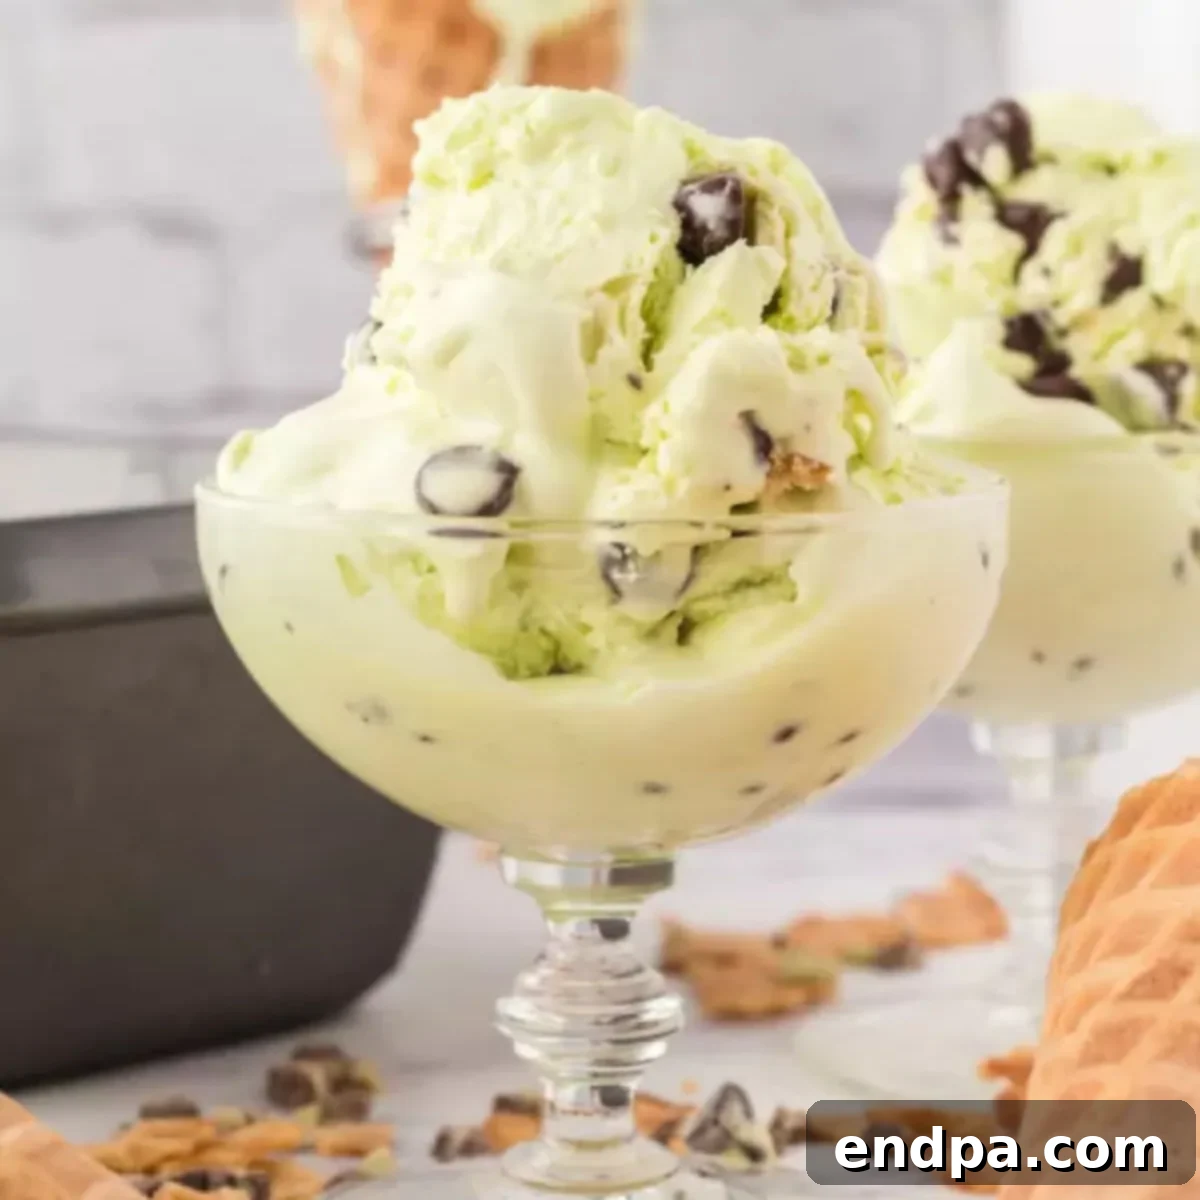
Mint Chocolate Chip Ice Cream Recipe
Prep Time: 10 mins
Allow to set in freezer: 6 hrs
Total Time: 6 hrs 10 mins
Servings: 6
Cuisine: American
Course: Dessert
Calories: 695kcal
Author: Carrie Barnard
Ingredients
- 2 cups heavy whipping cream
- 1 ½ cups sweetened condensed milk
- 1 cup semi-sweet chocolate chips
- 1 tsp peppermint extract
- ½ tsp green food coloring gel
Instructions
- Whip the heavy cream in a medium-sized bowl using an electric mixer until the cream forms stiff peaks.
- Gently fold in the sweetened condensed milk and peppermint extract until well combined.
- Add the chocolate chips and green food coloring. Gently fold again until the chocolate chips are evenly distributed throughout the ice cream mixture and the color is consistent.
- Pour the ice cream mix into a 9×11 inch loaf pan (or other freezer-safe container) and sprinkle the top with an extra handful of chocolate chips or chocolate chunks.
- Cover the pan tightly with plastic wrap, pressing it directly onto the surface of the ice cream, and allow it to set in the freezer for 4-6 hours (or ideally overnight) before serving.
Recipe Notes
- If peppermint extract is unavailable, you can melt Andes mints and mix them into the ice cream for a chocolate-mint flavor, though the mint intensity may be milder.
- Dark chocolate chips are a delicious alternative if you prefer a richer chocolate flavor.
- For beautiful chocolatey swirls, gently fold in your favorite hot fudge sauce into the mixture before freezing.
- Proper storage in an airtight container or covered with plastic wrap will help keep your homemade ice cream fresh and free of freezer burn, allowing it to last for about two weeks.
- Adjust the amount of green food coloring to achieve your desired shade.
Nutrition Facts
Calories 695kcal, Carbohydrates 60g, Protein 10g, Fat 48g, Saturated Fat 29g, Polyunsaturated Fat 2g, Monounsaturated Fat 14g, Trans Fat 1g, Cholesterol 136mg, Sodium 130mg, Potassium 514mg, Fiber 2g, Sugar 53g, Vitamin A 1385IU, Vitamin C 2mg, Calcium 288mg, Iron 2mg
Pin This Now to Remember It Later
Pin Recipe
