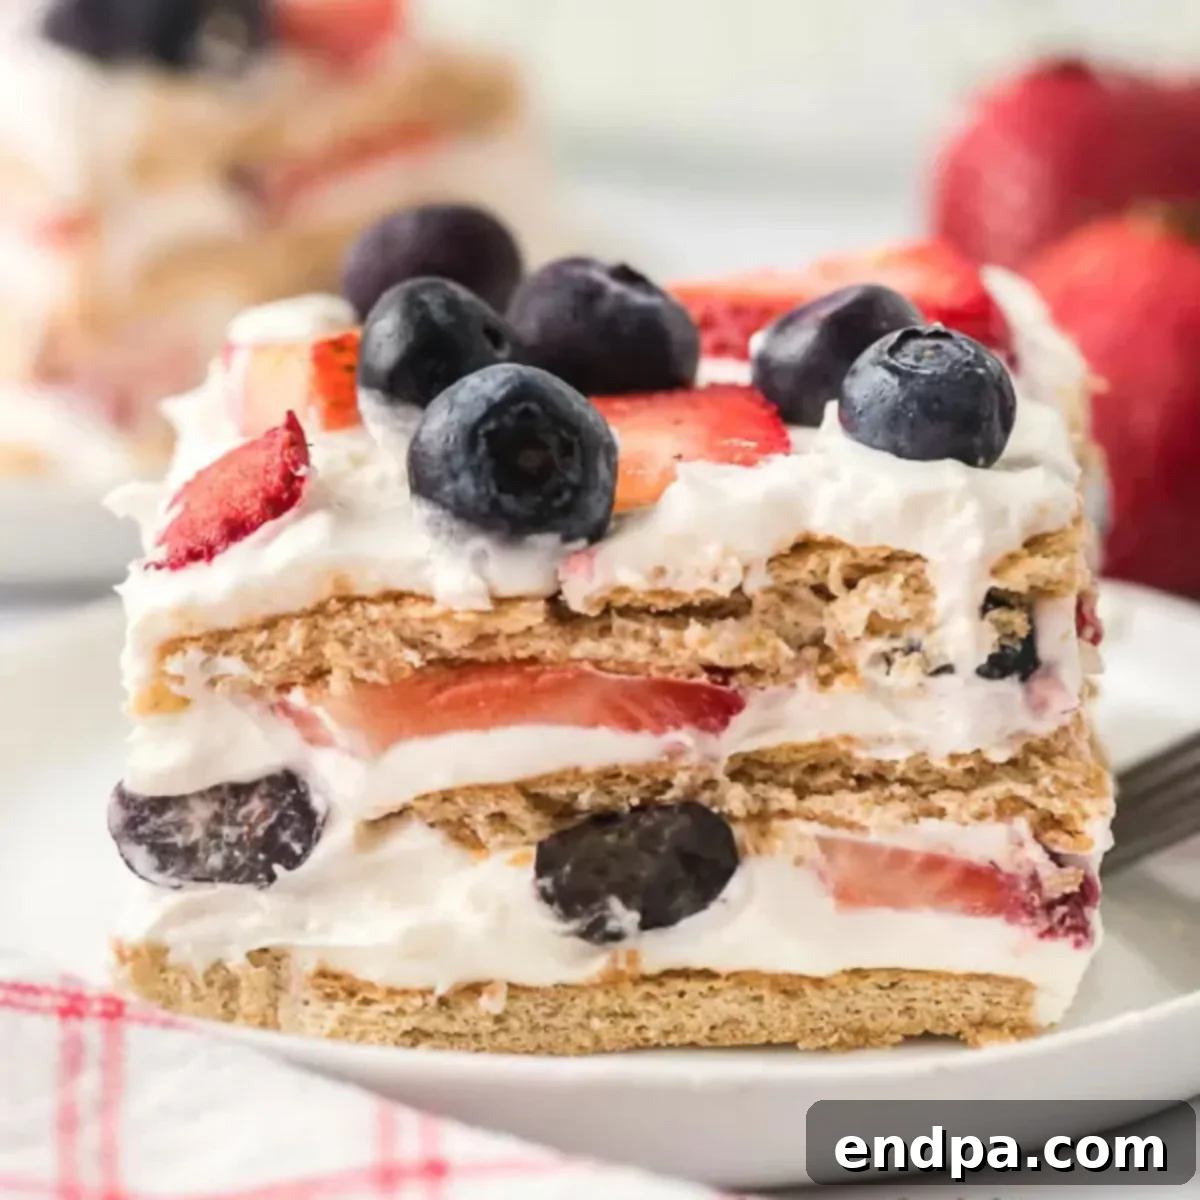
Prepare to delight your taste buds and impress your guests with this stunning Red, White, and Blue Icebox Cake. With its vibrant layers of fresh berries and luscious cream, this no-bake dessert is an absolute showstopper, perfect for any patriotic celebration or a simple summer gathering. It’s incredibly easy to assemble, making it an ideal treat for busy hosts who want a dessert that looks sophisticated but requires minimal effort. The creamy filling, decadent yet surprisingly light, perfectly complements the crisp graham cracker layers that soften beautifully as they chill, creating a cake-like texture without ever turning on your oven. This dessert truly embodies the spirit of summer: fresh, vibrant, and effortlessly delicious.
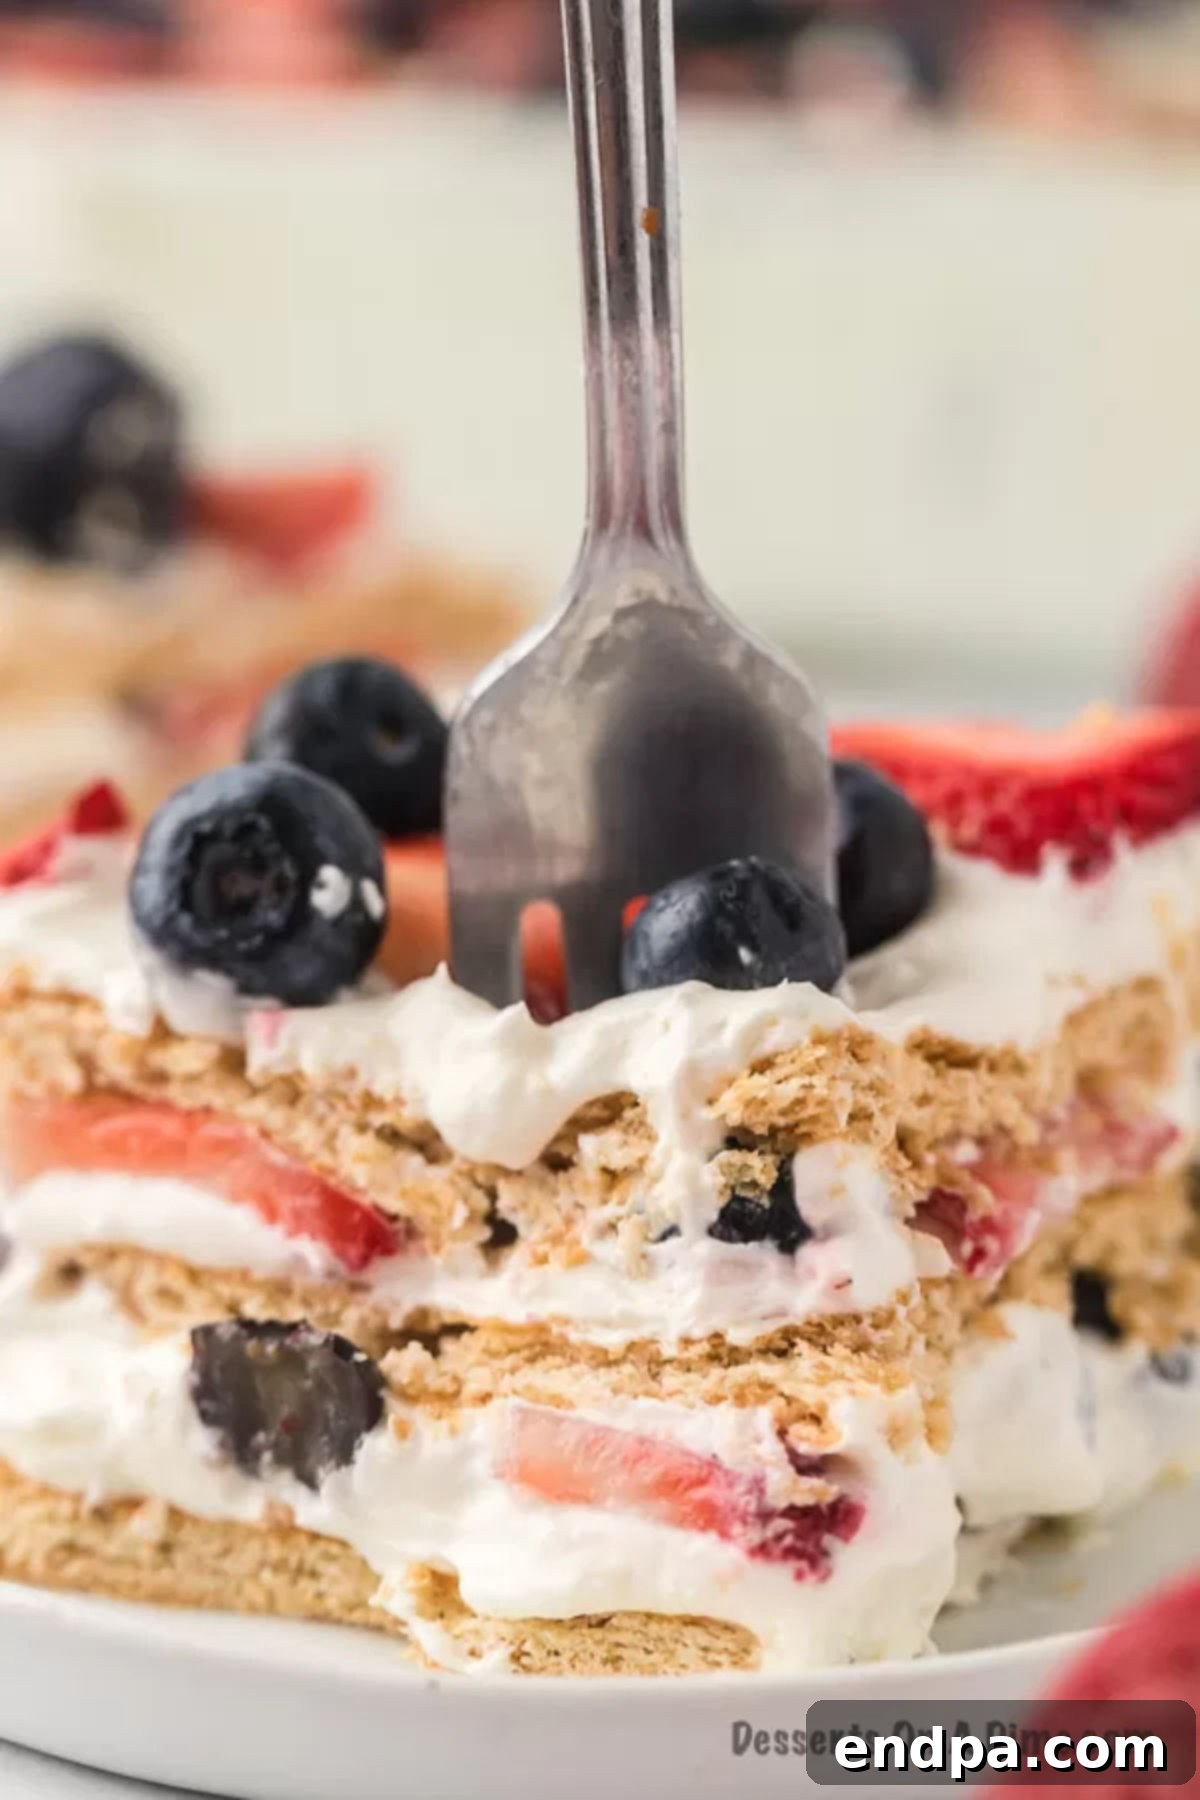
There’s something wonderfully nostalgic about an icebox cake. Many of us grew up enjoying these simple yet satisfying no-bake desserts, and they remain a beloved classic for good reason. This particular red, white, and blue version adds a festive flair, making it an absolute essential for holidays like 4th of July, Memorial Day, or Labor Day. Its effortless preparation means you can spend more time celebrating and less time in the kitchen. Pair it with other easy treats like 4th of July Chocolate Dipped Pretzel Rods for a complete dessert spread that everyone will adore.
Table of contents
- Why We Adore This Patriotic Dessert
- What Exactly Is an Icebox Cake?
- Key Ingredients for Your Icebox Cake Masterpiece
- Creative Variations and Additions
- Step-by-Step: How to Make Red White and Blue Icebox Cake
- Pro Tips for Icebox Cake Perfection
- Storage and Make-Ahead Suggestions
- How Long Does Icebox Cake Remain Fresh?
- More Red White and Blue Desserts to Explore
- Red White and Blue Icebox Cake Recipe Card
Why We Adore This Patriotic Dessert
There are countless reasons why the Red, White, and Blue Icebox Cake holds a special place in our hearts and on our summer tables. First and foremost, its sheer visual appeal is unmatched. The distinct layers of vibrant red strawberries, bright blue blueberries, and creamy white filling create a stunning patriotic display that instantly brightens any dessert spread. This makes it an absolute favorite for our annual 4th of July cookouts and Memorial Day gatherings.
Beyond its beauty, the flavor profile is simply divine. Fresh berries burst with natural sweetness and a hint of tartness, perfectly balancing the rich, smooth, and decadent cream cheese mixture. It’s a dessert that feels indulgent without being heavy, a refreshing contrast to many baked goods during the warmer months. The magic of an icebox cake lies in its simplicity – using readily available, everyday ingredients to create something extraordinary. The graham crackers soften just enough to become tender and cake-like, absorbing the flavors of the creamy layers and fruit juices, transforming into a truly unique texture that melts in your mouth.
Another fantastic aspect is its no-bake nature. This means you can whip up a spectacular dessert without ever needing to turn on your oven, keeping your kitchen cool even on the hottest summer days. It’s an incredibly versatile recipe that can be customized to suit various tastes and dietary needs, making it a crowd-pleaser for everyone from picky eaters to gourmet enthusiasts. Plus, it’s a fantastic make-ahead option, as it only gets better with a few hours (or even overnight) in the refrigerator, allowing the flavors to fully meld together. This convenience is a game-changer when you’re planning a holiday feast or a backyard barbecue.
What Exactly Is an Icebox Cake?
An icebox cake is a classic no-bake dessert that traces its origins back to the early 20th century, becoming especially popular during the Great Depression when refrigerators (or “iceboxes”) became more common. It’s a testament to culinary ingenuity, transforming simple pantry staples into a delightful treat without the need for baking. At its core, an icebox cake is characterized by layers of cookies or crackers, alternating with layers of whipped cream or a creamy filling, and often includes fruit.
The magic happens during the chilling process. As the cake rests in the refrigerator, the moisture from the creamy filling and fruit is gradually absorbed by the cookies or graham crackers. This absorption softens them, transforming their crisp texture into something wonderfully tender and cake-like. The longer it chills, the more pronounced this transformation becomes, allowing the flavors to meld beautifully and the entire dessert to set into a sliceable confection.
Historically, popular variations included Nabisco’s Famous Chocolate Wafer Cake, but the concept is highly adaptable. You can use a variety of cookie bases, from chocolate wafers and vanilla wafers to gingersnaps or, as in this recipe, classic graham crackers. The filling can range from simple whipped cream to cream cheese mixtures, puddings, or even sweetened condensed milk blends. The beauty of an icebox cake lies in its effortless elegance and the delightful surprise of its no-bake simplicity. It truly is an easy dessert that is perfect for any occasion, offering a refreshing alternative to traditional baked cakes, especially when the weather warms up.
Key Ingredients for Your Icebox Cake Masterpiece
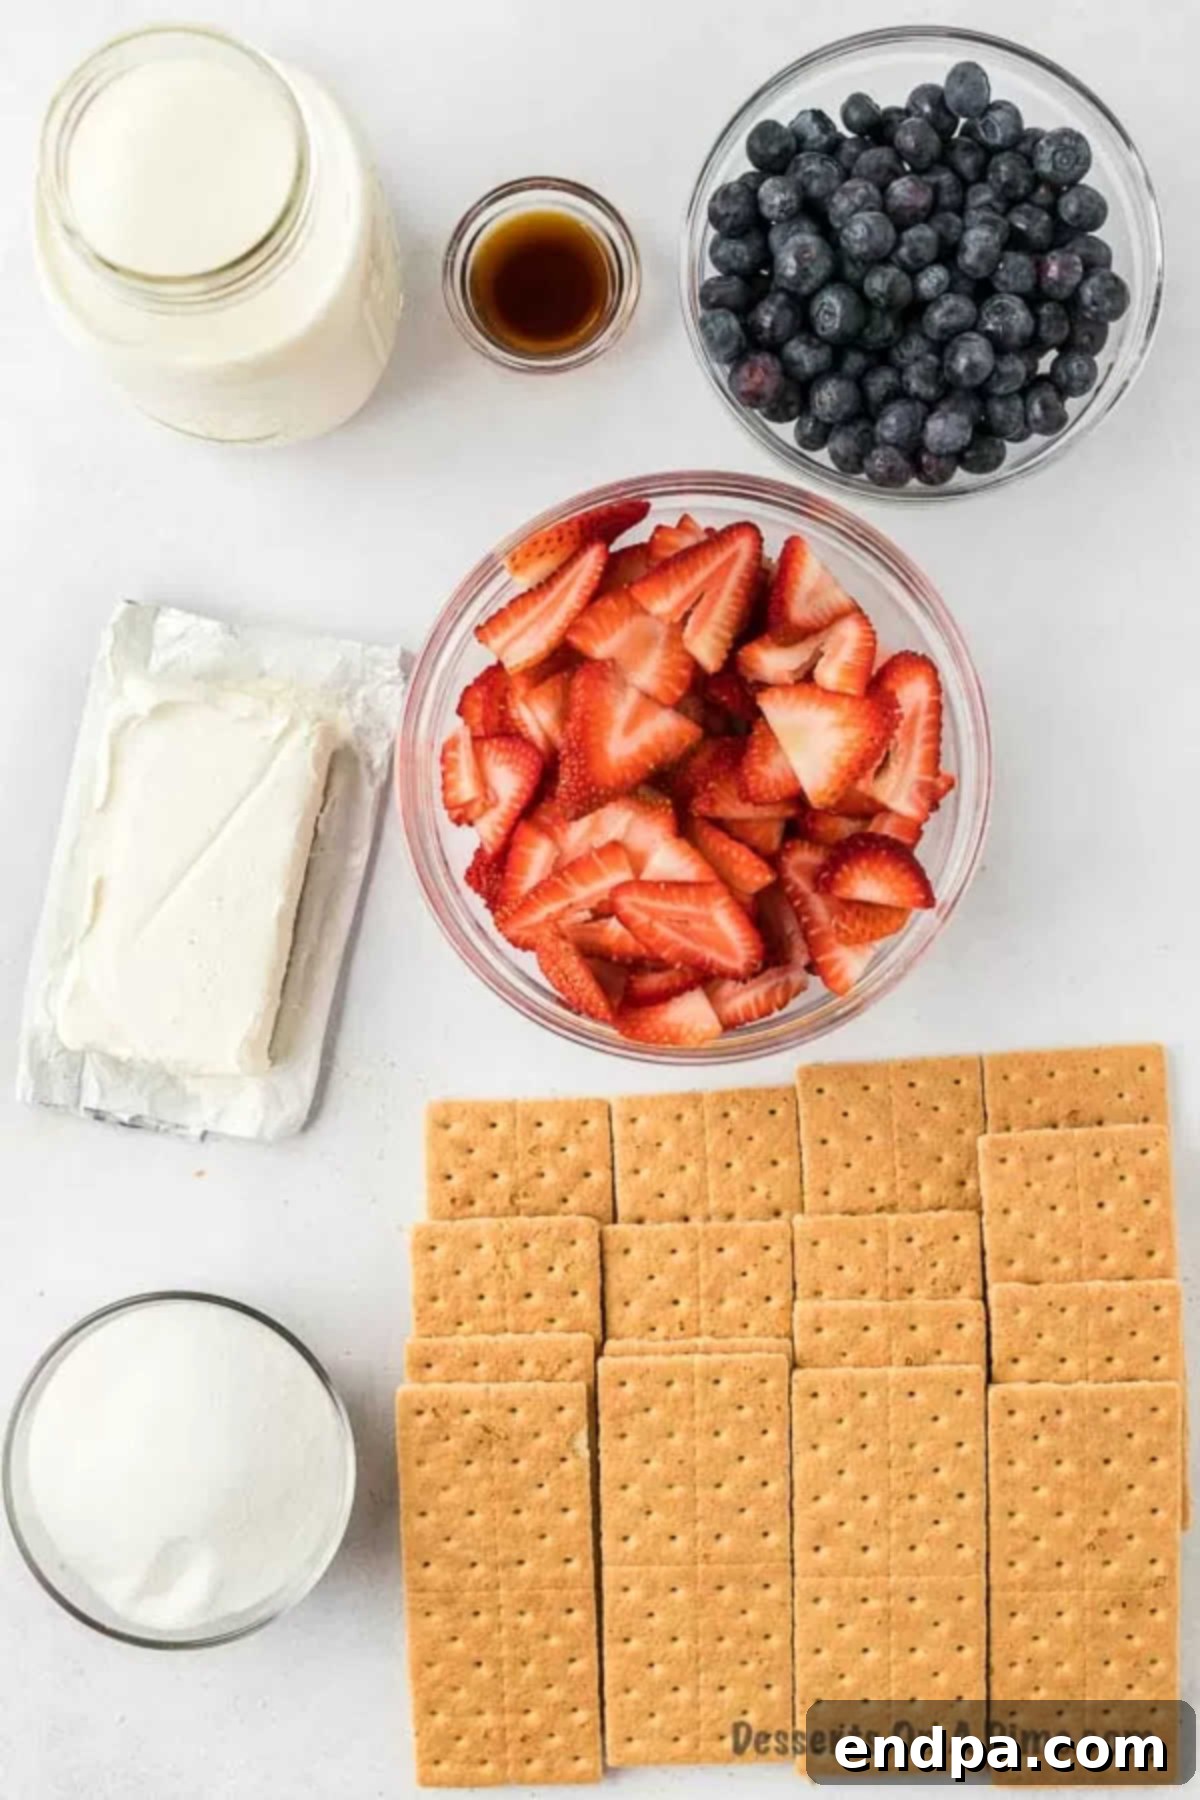
Creating this stunning icebox cake relies on a few simple, high-quality ingredients. Here’s a closer look at what you’ll need and why each component is essential:
- Cream Cheese: This is the foundation of our rich and tangy cream filling. Using full-fat cream cheese is recommended for the best texture and flavor. It’s crucial that the cream cheese is softened at room temperature before mixing. This ensures it combines smoothly with the sugar and other ingredients, preventing any lumps and creating a silky, creamy consistency. Cold cream cheese will result in a lumpy filling, so plan ahead!
- Heavy Whipping Cream: This ingredient is vital for creating the light, airy, and fluffy texture of our filling. Make sure your heavy whipping cream is very cold; ideally, keep it in the fridge until you are absolutely ready to use it. Cold cream whips up faster and holds its shape much better than warmer cream, giving your cake its desirable structure and volume. Do not substitute with regular milk or half-and-half, as they will not whip properly.
- Granulated Sugar: Sugar sweetens the cream cheese mixture, balancing the tanginess of the cream cheese and enhancing the overall dessert’s flavor. Adjust the amount to your personal preference, but the ¾ cup specified in the recipe provides a perfectly balanced sweetness that complements the fresh fruit.
- Vanilla Extract: Pure vanilla extract is key to adding depth and warmth to the cream filling. Its aromatic notes enhance all the other flavors, making the dessert taste richer and more complex. While imitation vanilla can be used, pure vanilla offers a superior taste.
- Graham Crackers: These form the “cake” layers and are integral to the icebox cake experience. We typically use classic honey graham crackers for their mild sweetness and sturdy yet porous texture, which is perfect for absorbing moisture. However, feel free to experiment with chocolate or cinnamon graham crackers for a different flavor profile. The crackers soften beautifully as they chill, taking on a tender, cake-like consistency.
- Fresh Blueberries: Providing a burst of juicy sweetness and that essential blue color, fresh blueberries are non-negotiable for this patriotic cake. Choose plump, firm berries for the best taste and texture.
- Fresh Strawberries: These contribute the vibrant red hue and delightful sweetness, along with a slight tartness that brightens the overall flavor. Ensure they are ripe, firm, and thinly sliced to layer evenly and release their juices effectively.
You’ll find the complete, precise measurements for these ingredients in the detailed recipe card at the bottom of the page.
Creative Variations and Additions
While the classic Red, White, and Blue Icebox Cake is perfection in itself, this recipe is incredibly flexible, allowing for numerous delicious variations and additions. Feel free to get creative and tailor it to your taste or what you have on hand:
- Pudding Mixes: For an extra layer of flavor and creaminess, incorporate instant pudding mix into your filling. A packet of vanilla, cheesecake, or even white chocolate instant pudding mix can be blended directly into the cream cheese and heavy cream mixture. This not only adds flavor but also helps to stabilize the filling, ensuring a firmer set.
- Cool Whip: If you’re looking for an even lighter and quicker filling, Cool Whip can be a fantastic addition or substitute. You can fold thawed Cool Whip into the cream cheese mixture, or even mix it with instant pudding mix to create a delightfully creamy and airy layer. This offers a different texture and a slightly sweeter profile.
- Other Berries & Fruits: Don’t limit yourself to just strawberries and blueberries! For a different color scheme or flavor, consider adding raspberries, blackberries, or even thinly sliced kiwi (for green, if you’re not aiming for patriotism). Just be mindful of fruits with high water content, as they can make the cake too wet if not drained properly.
- Cookie Base Alternatives: While graham crackers are traditional, you can swap them out for other types of cookies. Vanilla wafers, chocolate wafers, shortbread cookies, or even thin crisp ginger snaps would work wonderfully, each lending a unique flavor and texture to the final dessert.
- Flavor Extracts: Beyond vanilla, a touch of almond extract, lemon extract, or even orange extract could add an interesting twist to the cream filling, complementing the berries beautifully. Start with a small amount and adjust to taste.
- Citrus Zest: For a bright, fresh note, add a tablespoon of lemon or orange zest to your cream cheese mixture. This subtle addition can lift the entire flavor profile.
- Chocolate: For chocolate lovers, consider sprinkling mini chocolate chips or finely chopped white chocolate between layers, or even drizzling melted chocolate over the top for a more decadent finish.
- Toppings: Before serving, elevate your cake with various toppings. A dusting of powdered sugar, more fresh berries, a scattering of patriotic sprinkles, or even a few mint leaves can add visual appeal and extra flavor.
Step-by-Step: How to Make Red White and Blue Icebox Cake
Creating this magnificent icebox cake is a breeze! Follow these simple steps for a truly impressive no-bake dessert:
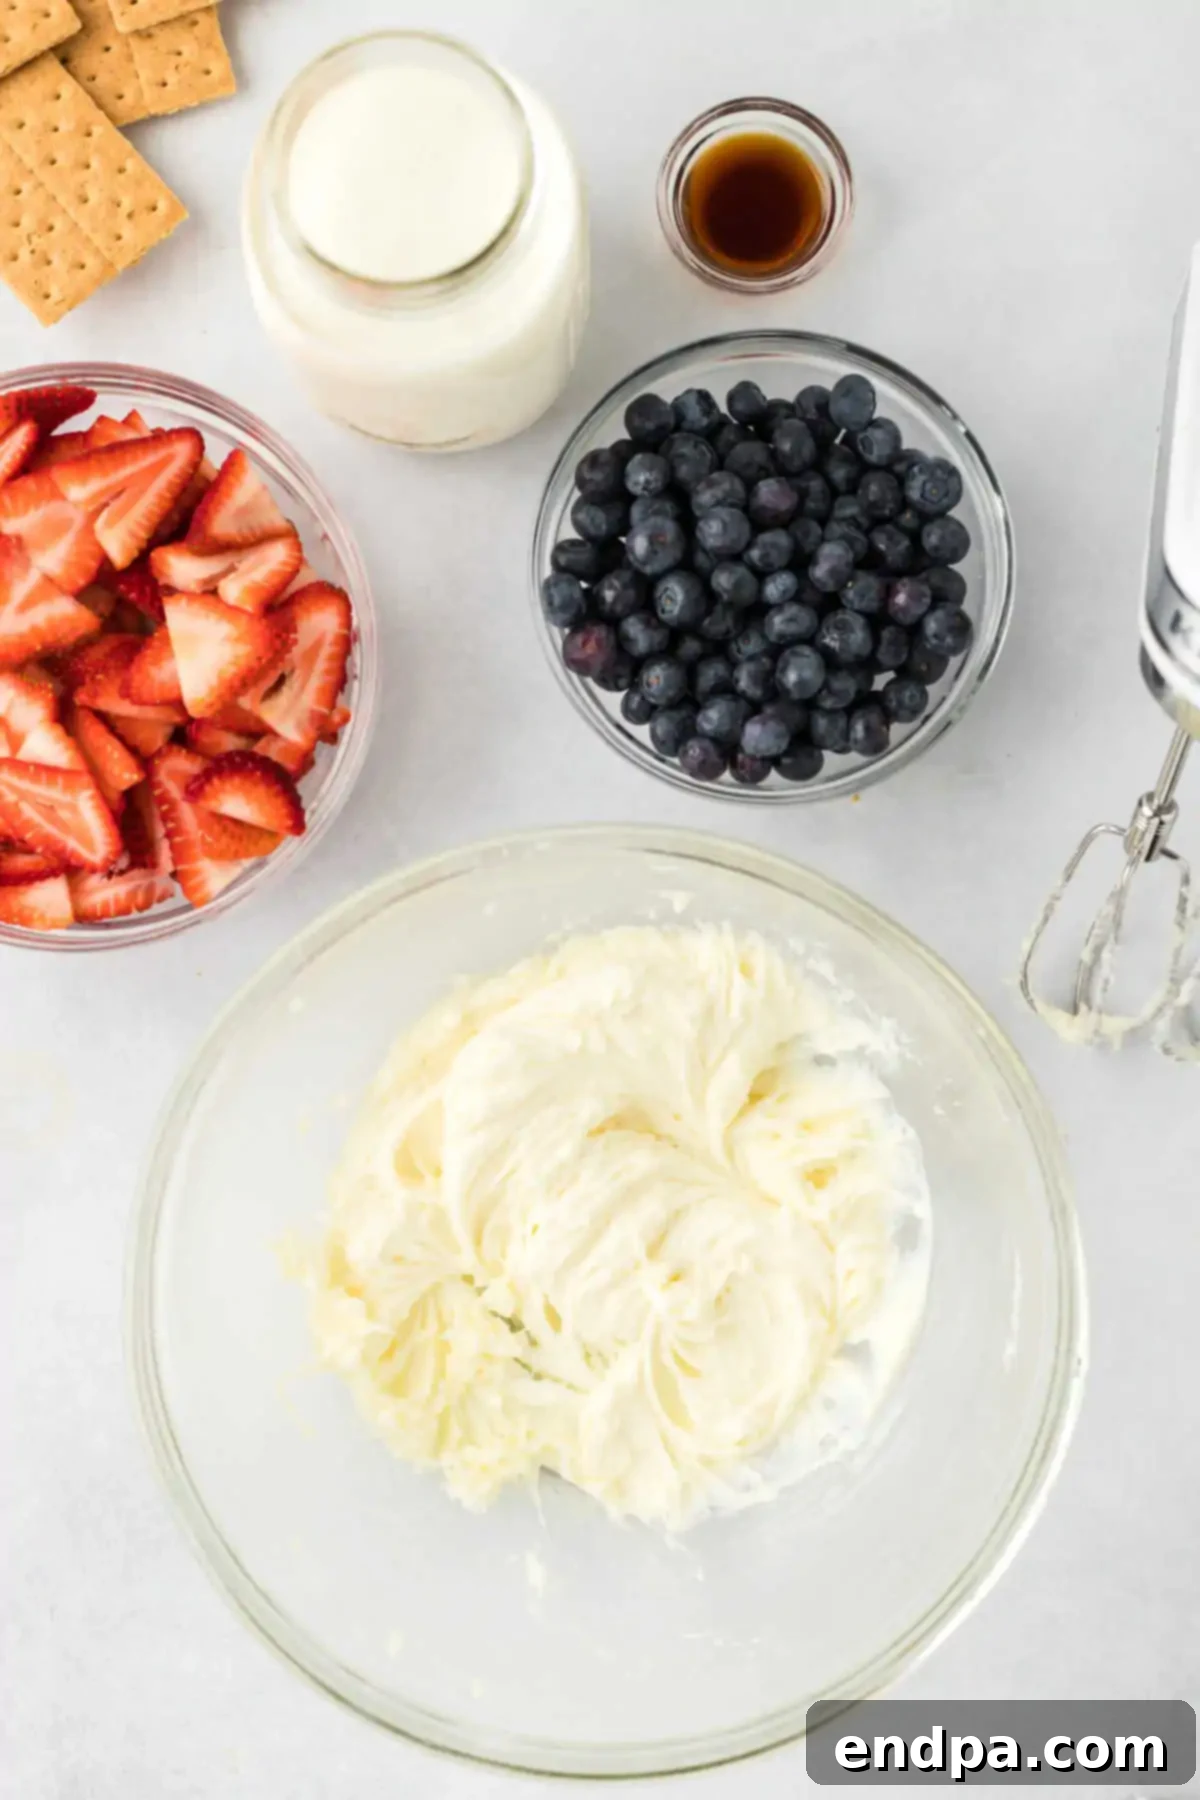
Step 1: Prepare the Cream Cheese Mixture. In a large mixing bowl, combine the softened cream cheese and granulated sugar. Using an electric mixer (either a stand mixer with a paddle attachment or a handheld mixer), beat the ingredients together on medium speed until the mixture is completely smooth and creamy. Ensure there are no lumps of cream cheese remaining for a perfect texture. Scrape down the sides of the bowl as needed to incorporate everything evenly.
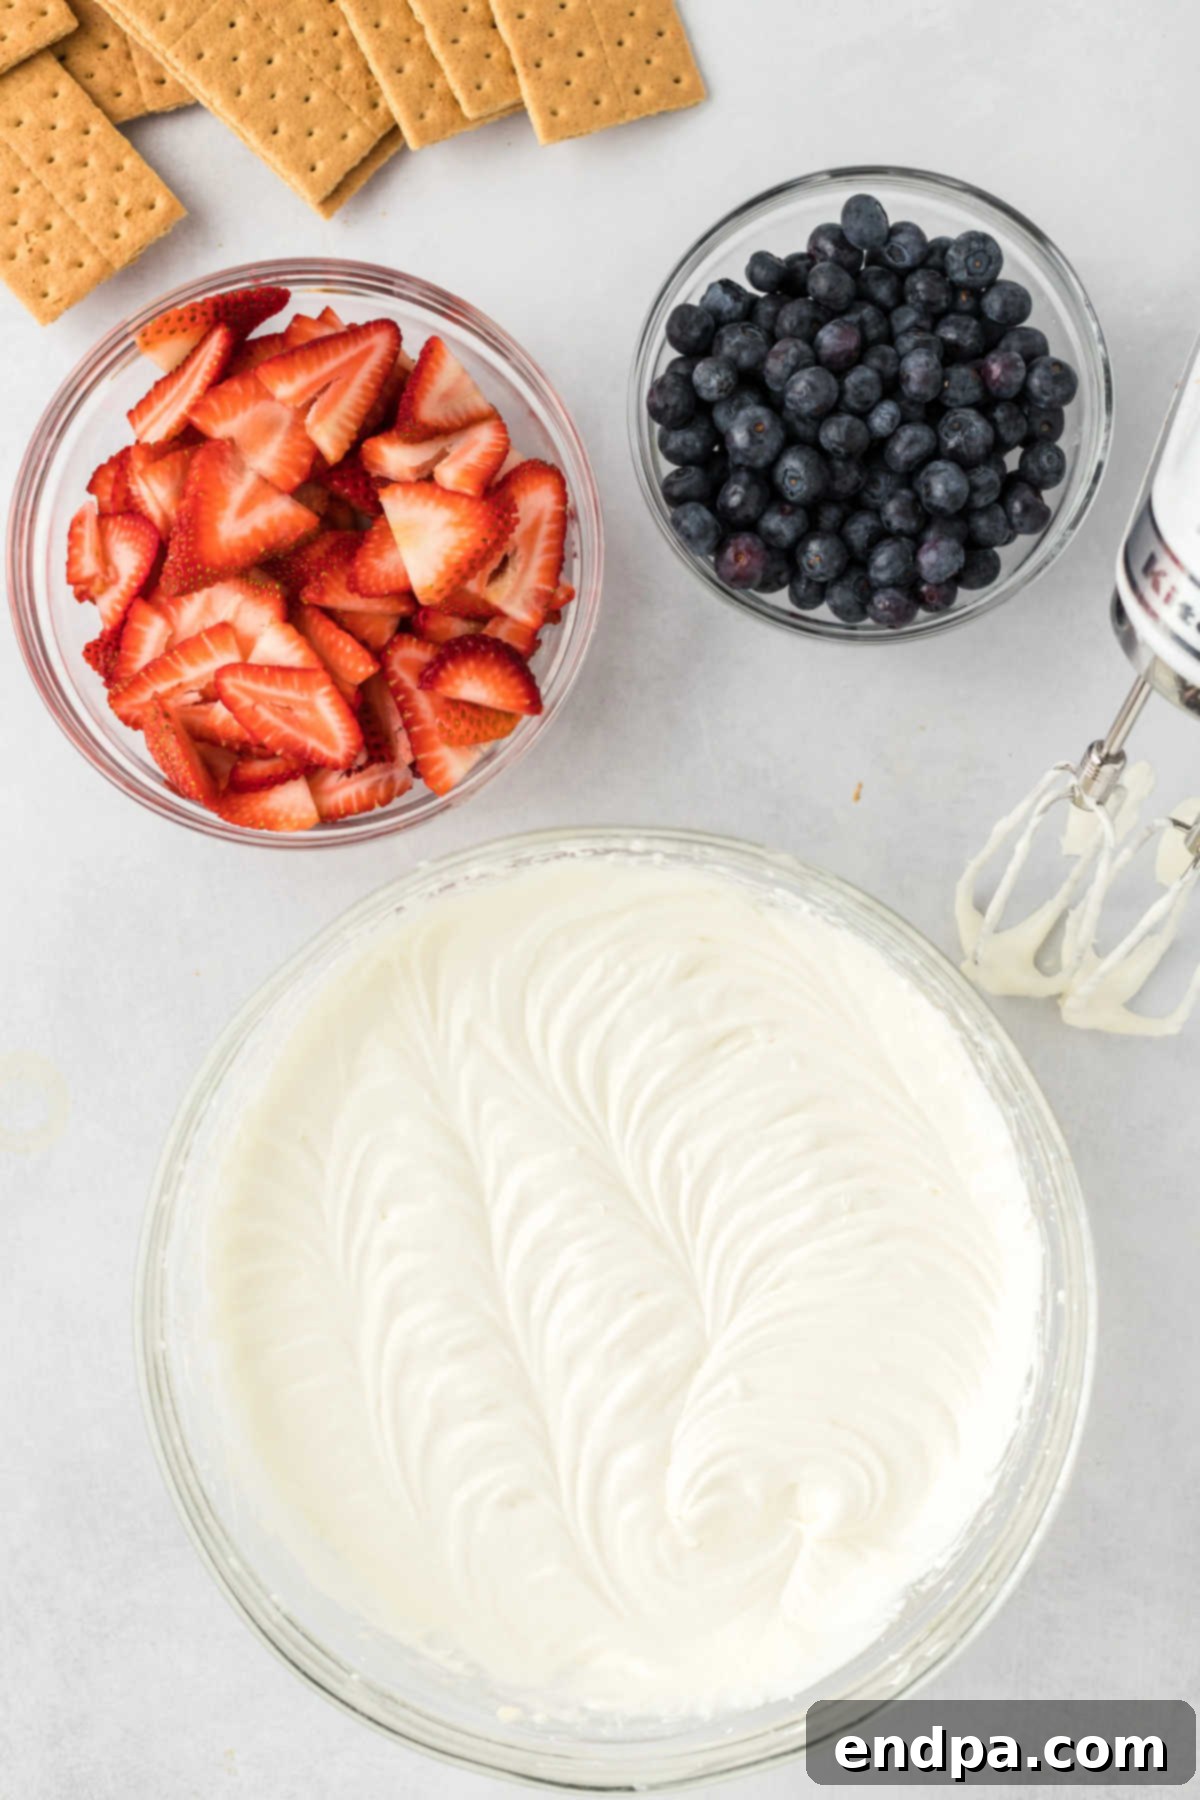
Step 2: Whip the Cream Filling. To the cream cheese mixture, add the very cold heavy whipping cream and vanilla extract. Begin beating on low speed, gradually increasing to medium-high. Continue to beat until the mixture thickens significantly and soft, stiff peaks form. This means when you lift the beaters, the mixture holds its shape but the tips curl slightly. Be careful not to overbeat, as this can turn the cream grainy. Set this luscious cream filling aside.
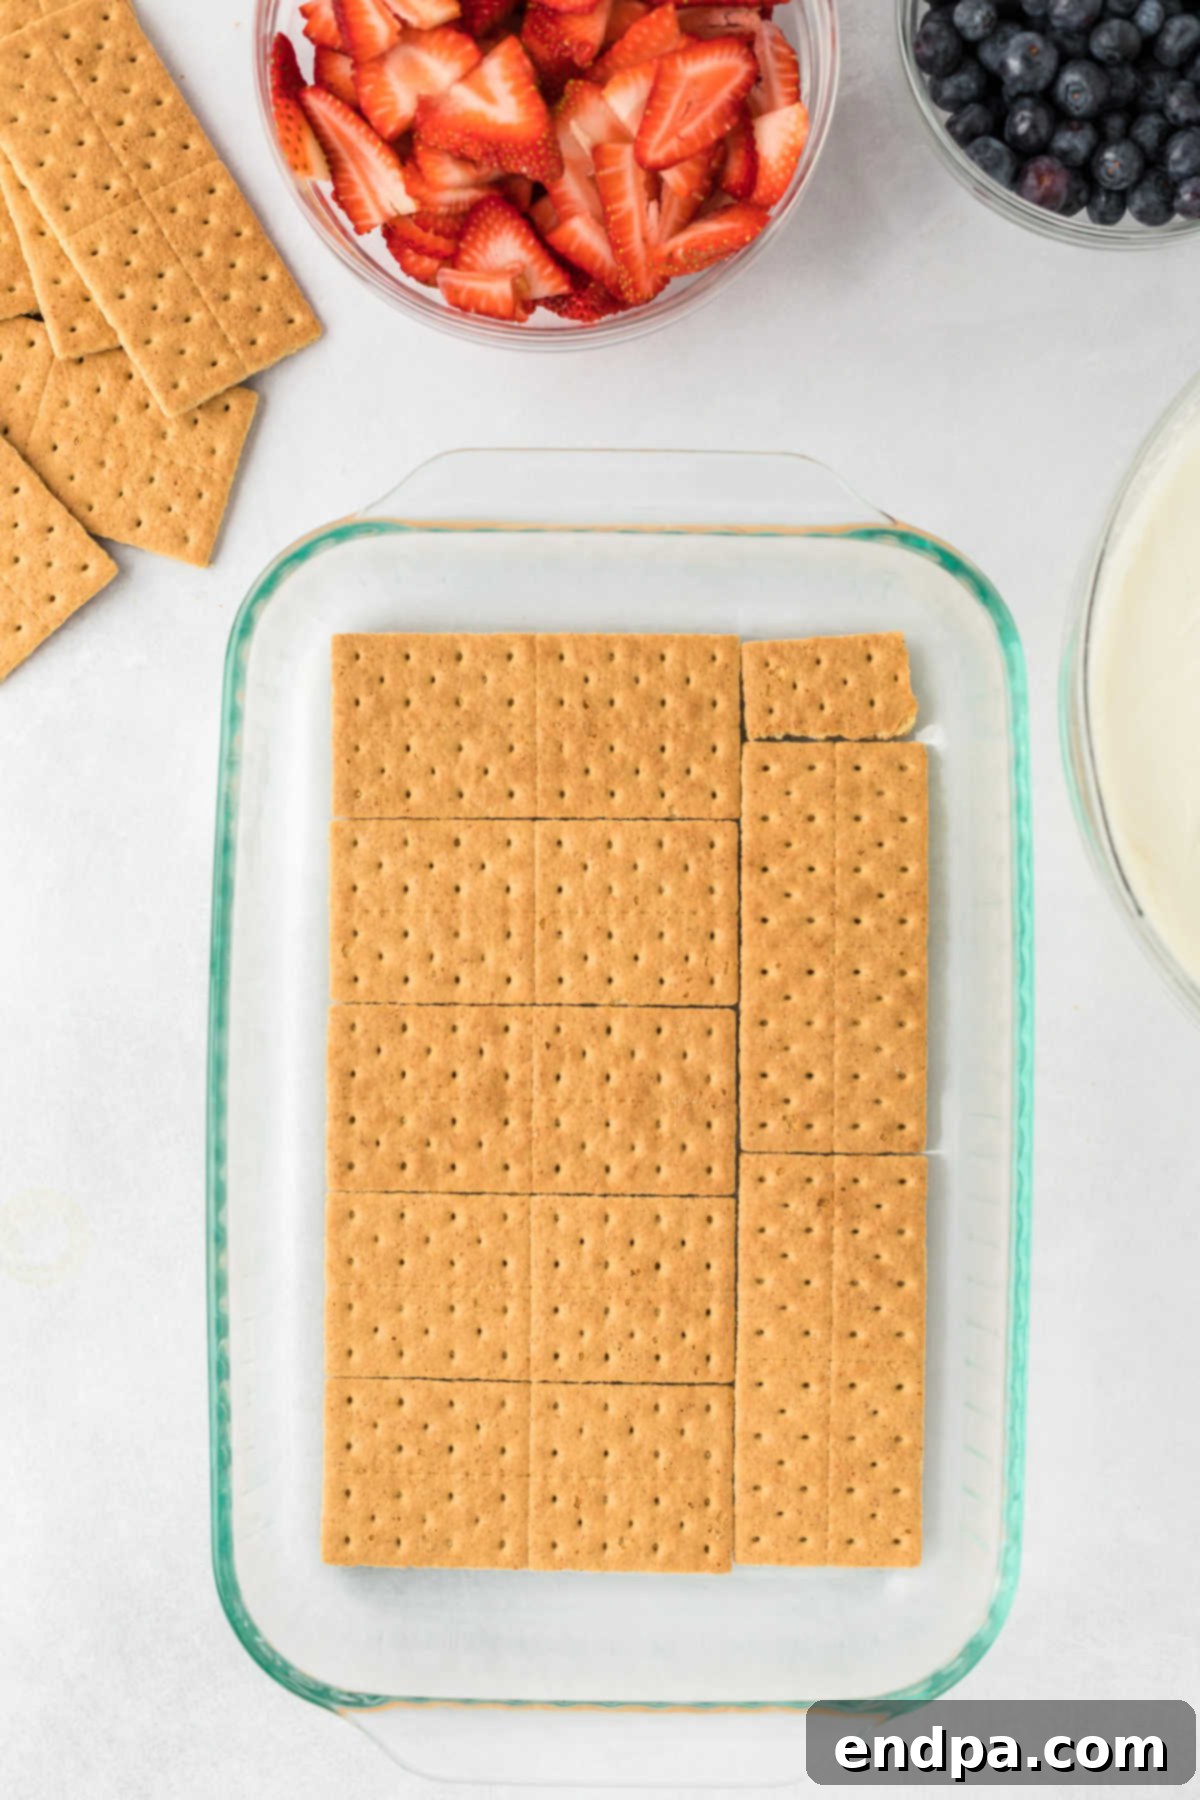
Step 3: Lay the Graham Cracker Base. Take a 9×13 inch baking pan. Arrange a single layer of graham crackers evenly across the bottom of the pan. You may need to break some crackers into smaller pieces to fill any gaps and create a solid, continuous base. This layer will become the bottom “cake” of your dessert.
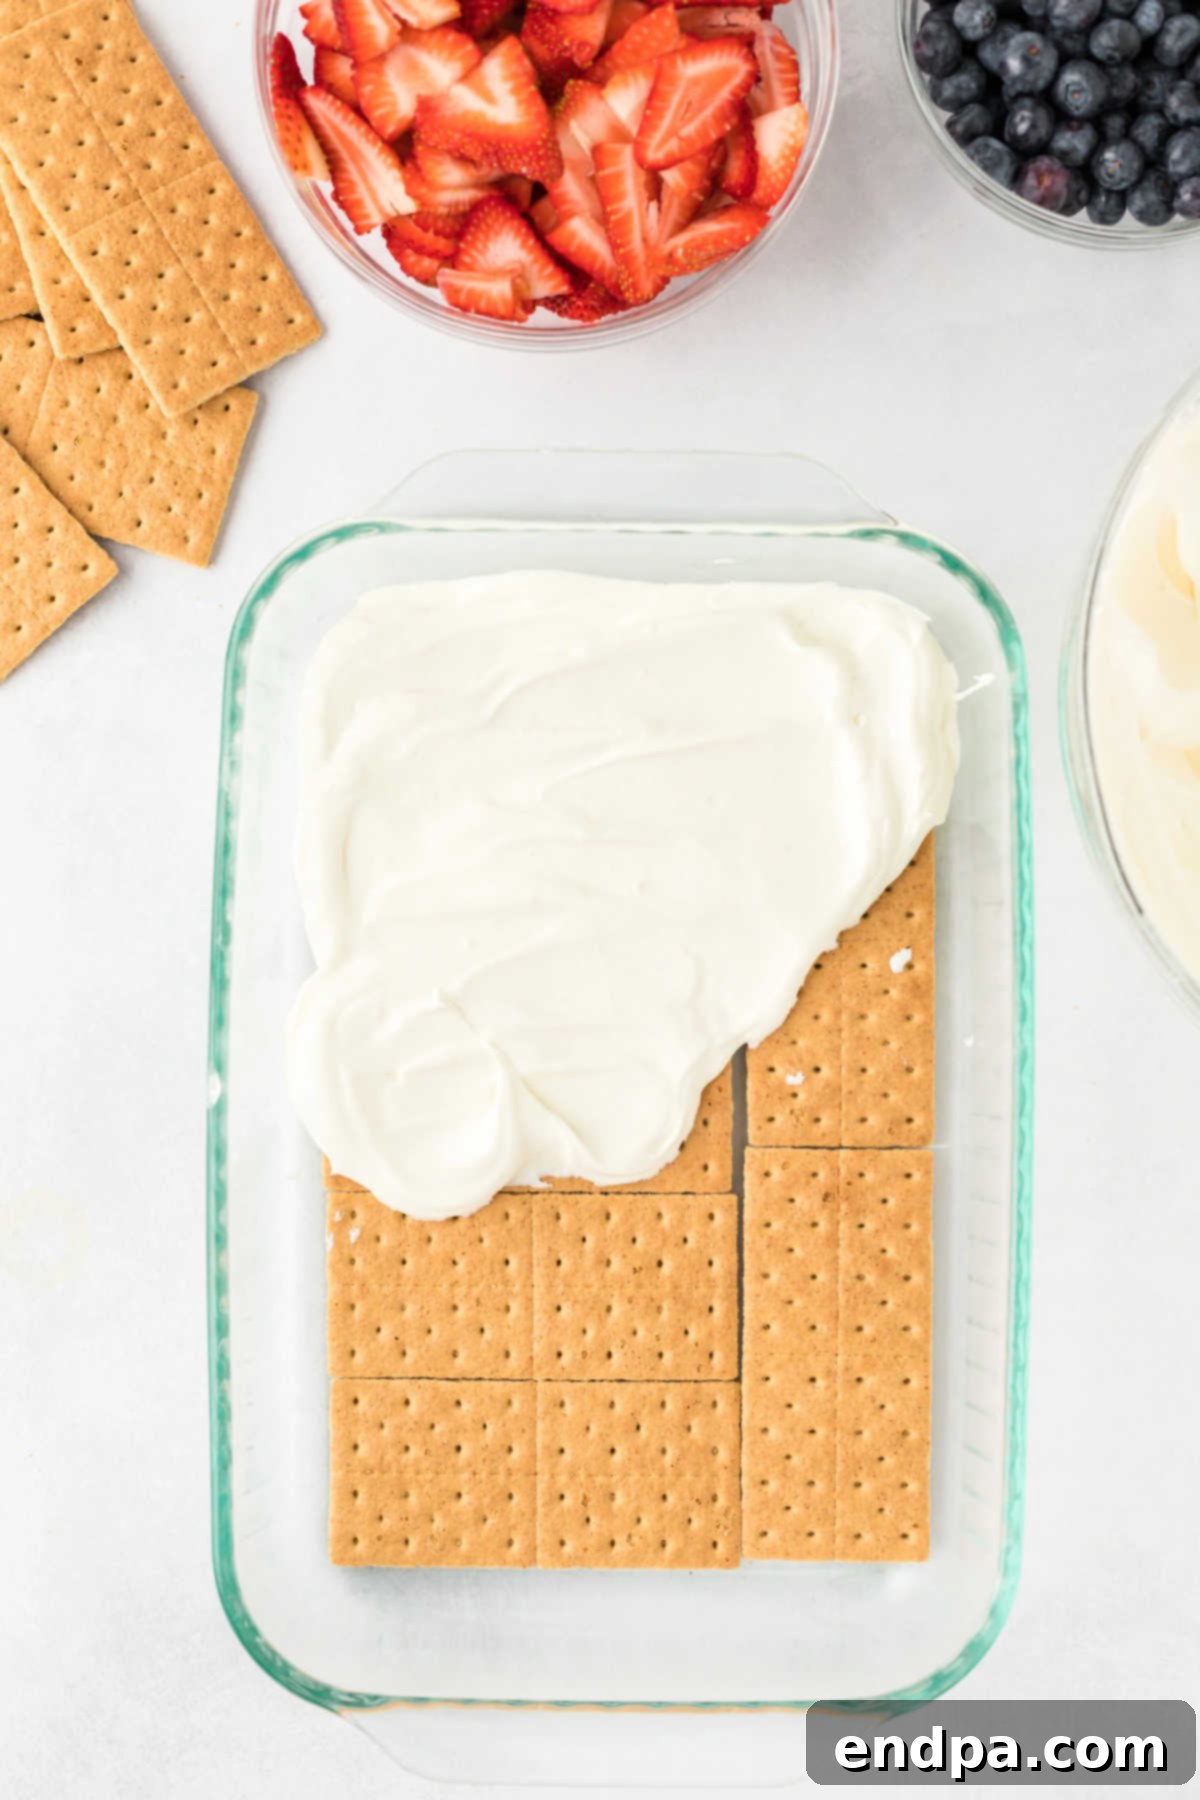
Step 4: Add the First Cream Layer. Gently spread one-third of the prepared cream cheese mixture evenly over the layer of graham crackers. An offset spatula works perfectly for this, ensuring a smooth, consistent layer that covers every part of the crackers. Be careful not to disturb the cracker layer underneath.
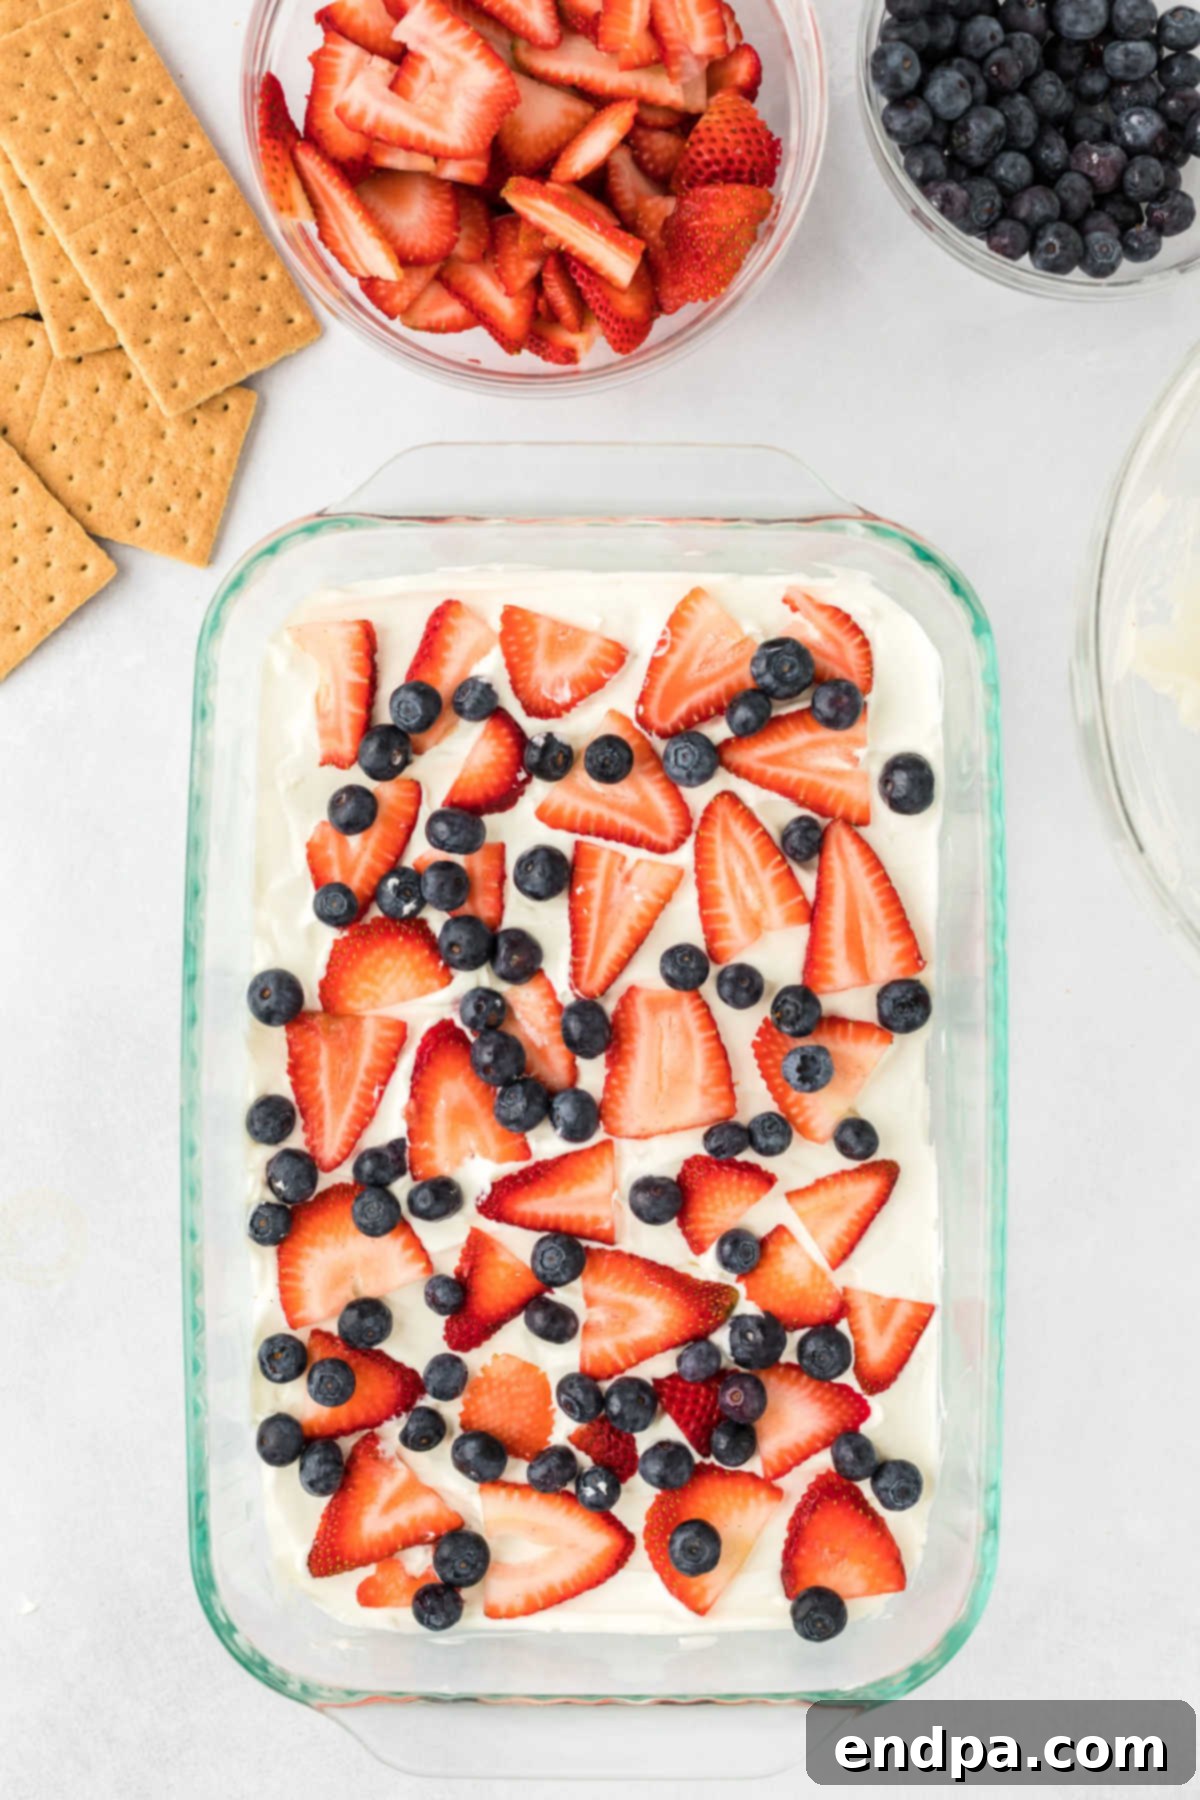
Step 5: Introduce the Berries. Now, it’s time to add the first layer of patriotic color. Evenly sprinkle half a cup of fresh blueberries and one cup of thinly sliced strawberries over the cream cheese layer. Distribute them well so that each slice of cake will have a good amount of fruit.
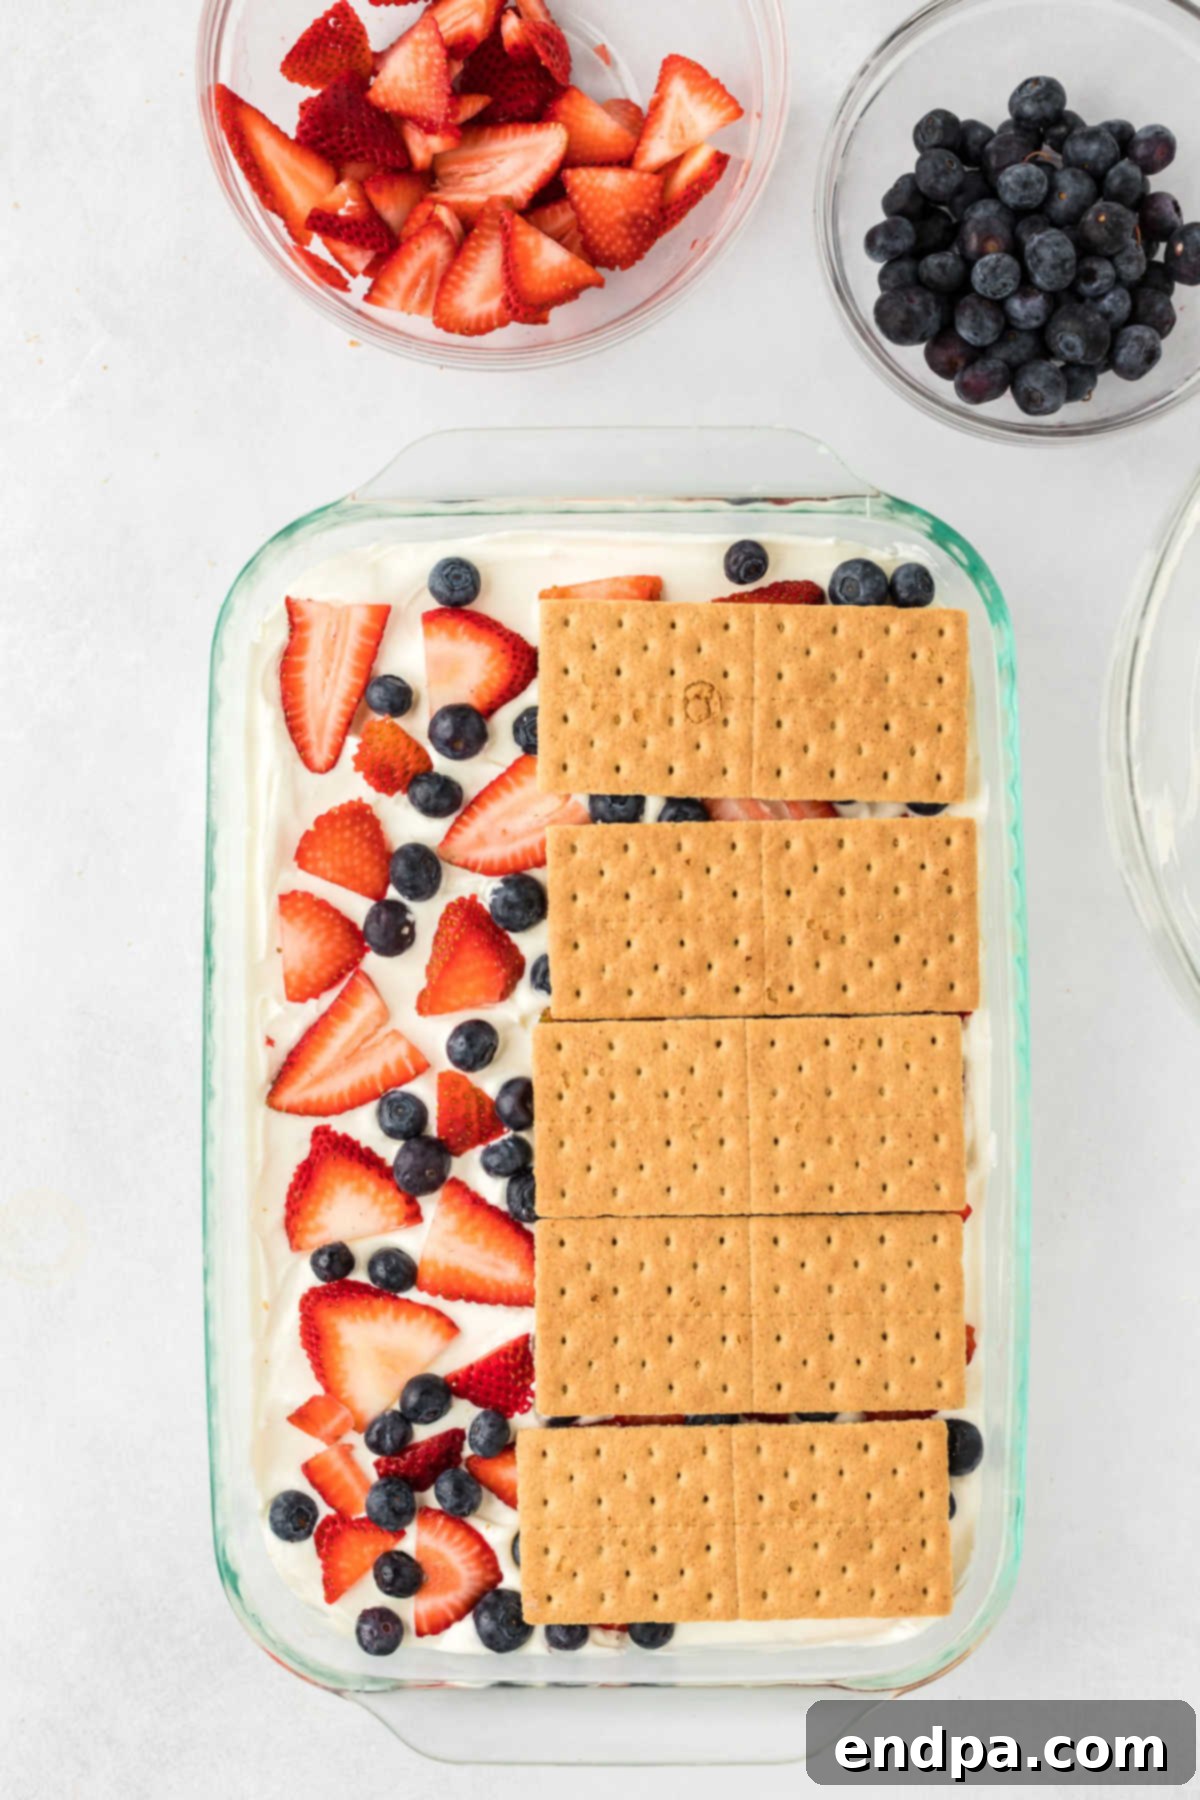
Step 6: Repeat the Layers. Place another single layer of graham crackers over the berries. Then, spread another one-third of the cream cheese mixture over the crackers, followed by another half cup of blueberries and one cup of sliced strawberries. Repeat this layering process one more time, ending with a layer of graham crackers and the final third of the cream mixture.
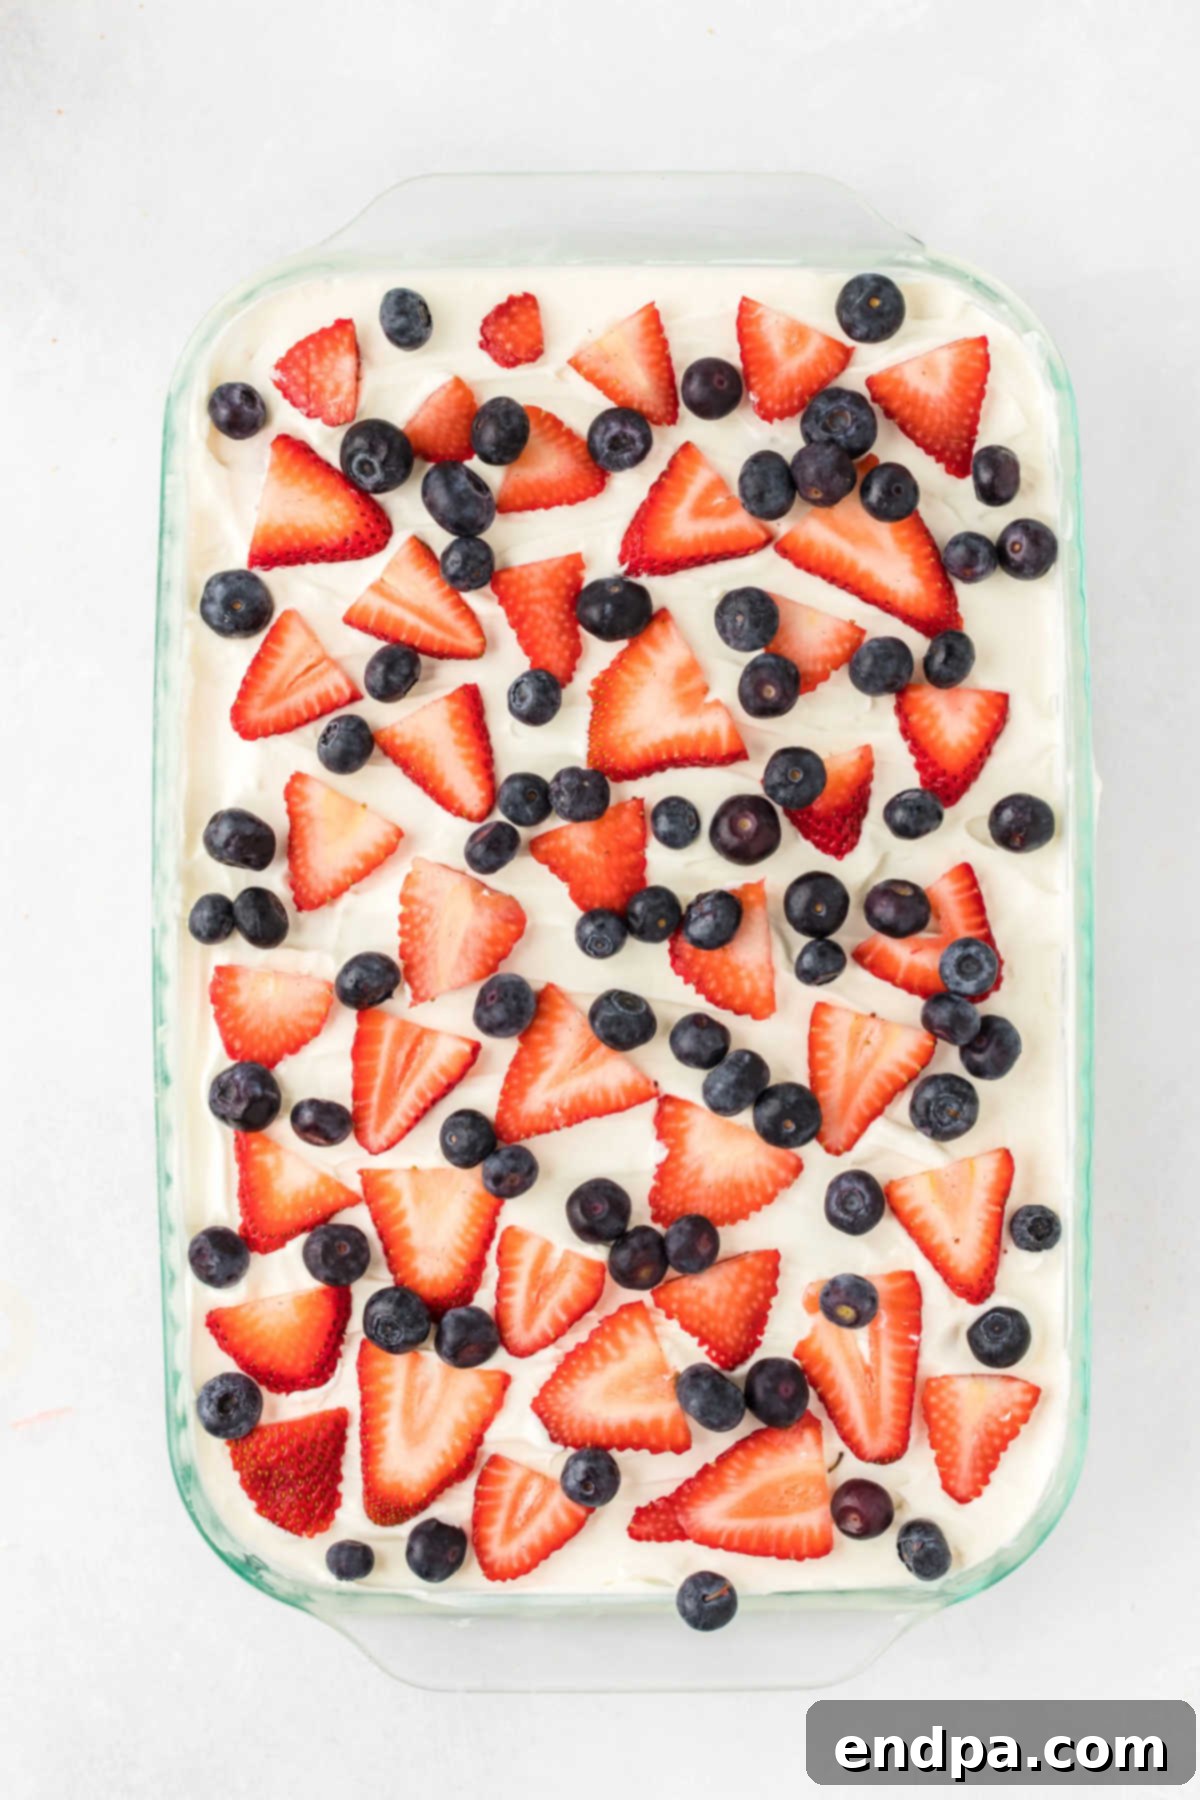
Step 7: Final Decoration. For the top, artistically arrange the remaining strawberries and blueberries. You can create a pattern, like an American flag with stripes of red and blue, or simply sprinkle them generously for a beautiful, colorful finish. This is where you can let your creativity shine!
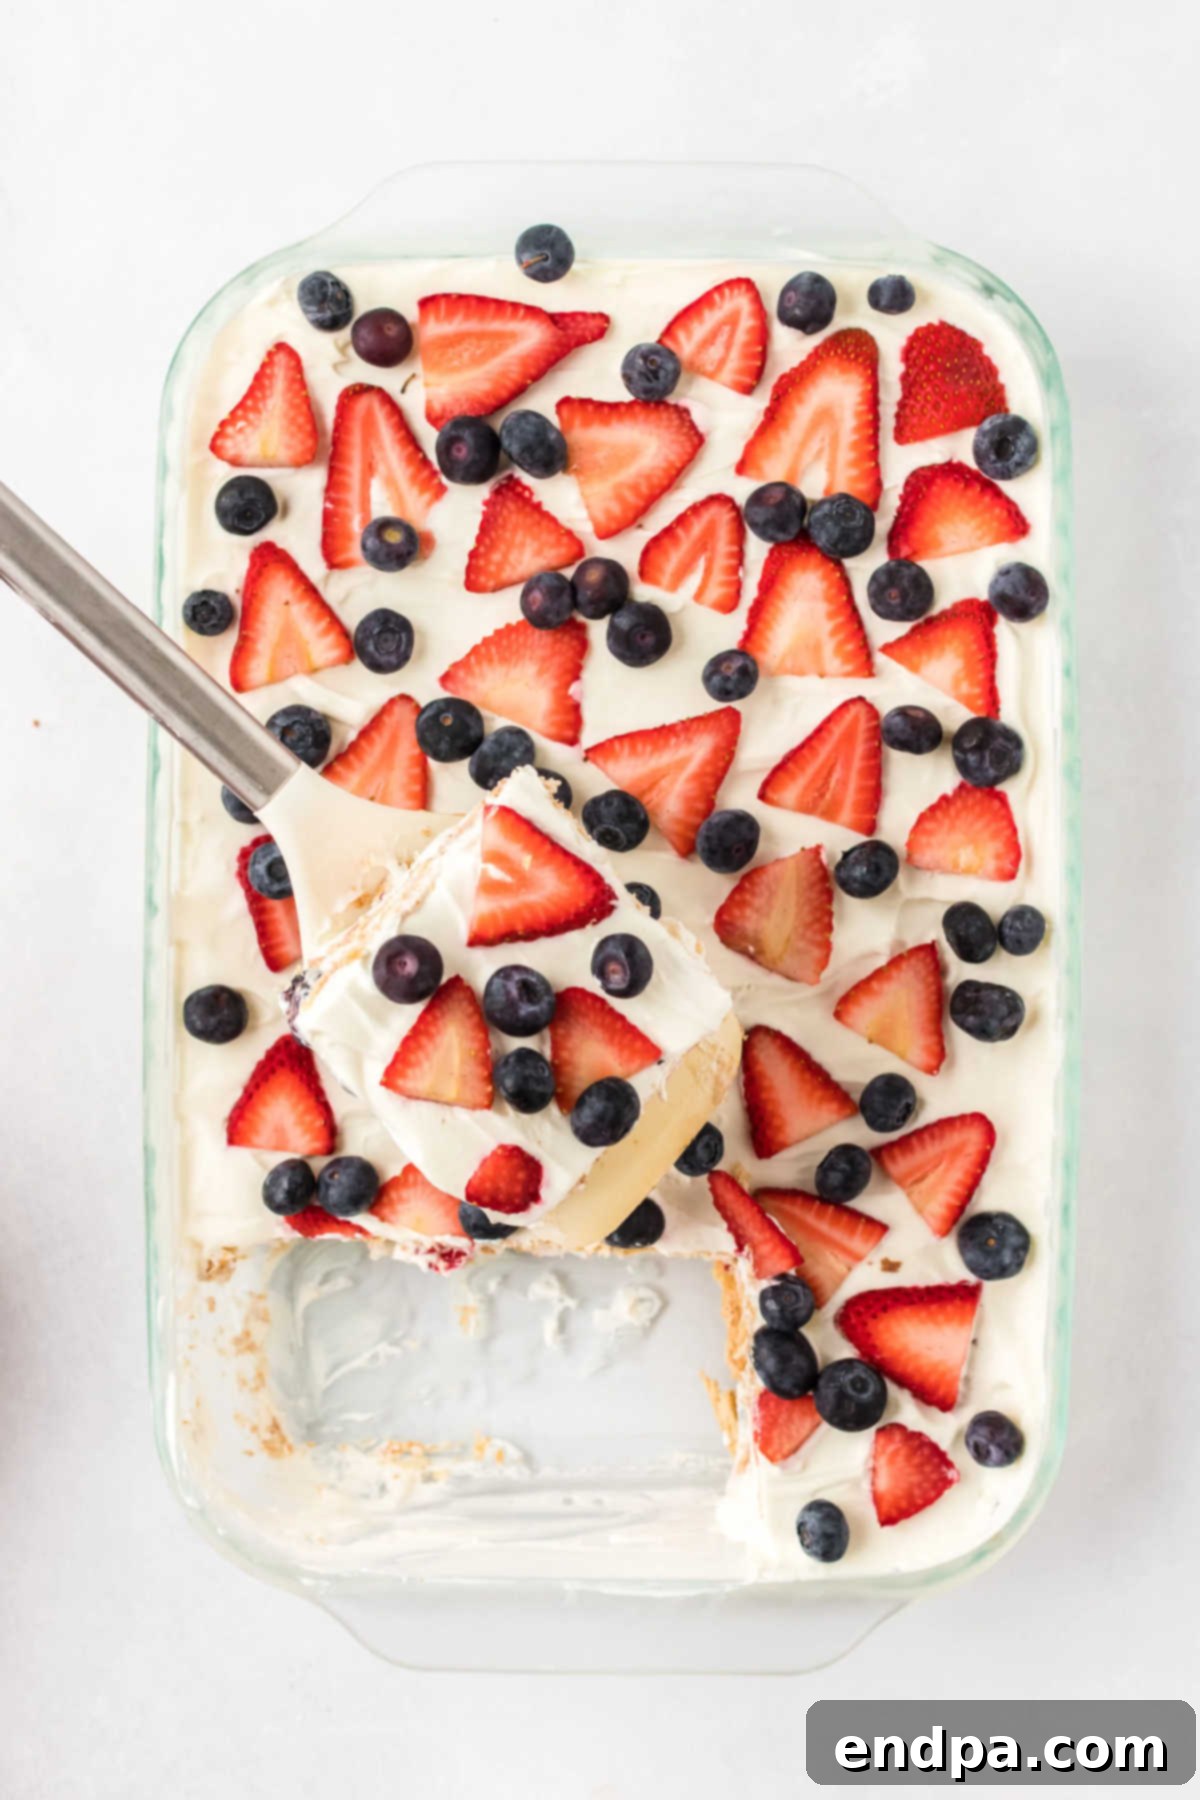
Step 8: Chill and Serve. Cover the baking dish tightly with plastic wrap and refrigerate for at least 2 to 4 hours. For the best results, chill overnight. This crucial step allows the graham crackers to soften into a cake-like consistency and the flavors to fully meld together. Once thoroughly chilled, slice and serve your magnificent Red, White, and Blue Icebox Cake!
Pro Tips for Icebox Cake Perfection
Achieving the perfect Red, White, and Blue Icebox Cake is easy with a few expert tips. These suggestions will help ensure your dessert is incredibly delicious, beautifully presented, and holds its shape flawlessly:
- Optimal Chilling Time is Key: While 2-4 hours of refrigeration will allow the cake to set, making it the night before is highly recommended. The extra time (8-12 hours) truly allows the graham crackers to absorb the moisture from the cream mixture and fruit juices, transforming them into a wonderfully tender, cake-like texture. This extended chilling also gives all the flavors a chance to fully meld and deepen, resulting in a more harmonious and delicious dessert.
- Cream Cheese Temperature Matters: Always ensure your cream cheese is thoroughly softened at room temperature before you begin mixing. This is crucial for achieving a smooth, lump-free cream filling. Cold cream cheese will be difficult to beat and will likely result in a grainy or uneven texture. Take it out of the refrigerator at least 30-60 minutes before you plan to start.
- Keep Heavy Cream Cold: Conversely, heavy whipping cream needs to be as cold as possible to whip properly. Don’t remove it from the refrigerator until you are just about to add it to the cream cheese mixture. Cold cream incorporates air more efficiently, resulting in light, fluffy peaks that provide the perfect structure for your cake.
- Use the Right Tools for Mixing: For best results, use a stand mixer with a paddle or whisk attachment, or a high-quality handheld electric mixer. This ensures that the cream cheese and sugar are fully combined until smooth, and that the heavy cream is whipped to the correct consistency. Manual whisking can be tiring and may not achieve the desired airy texture.
- Even Spreading is Essential: When spreading the cream cheese mixture, aim for an even layer over the graham crackers. An offset spatula is an excellent tool for this, as it allows you to gently distribute the cream without tearing the crackers. An even spread ensures that every part of the graham cracker layers has enough moisture to soften properly.
- Fresh Berries for Best Consistency: Always opt for fresh, ripe strawberries and blueberries. Frozen berries can release too much water as they thaw, potentially making your cake soggy. If you must use frozen, thaw them completely and drain any excess liquid before adding them to the cake.
- Perfect Slicing: For clean slices, use a sharp, thin knife. You can run the knife under hot water and wipe it clean between each slice to ensure smooth, neat cuts, showcasing those beautiful layers.
Storage and Make-Ahead Suggestions
One of the best features of icebox cakes is their fantastic make-ahead potential. This dessert actually benefits from resting in the refrigerator, allowing the flavors to deepen and the textures to meld beautifully. You can easily prepare this Red, White, and Blue Icebox Cake a day in advance, which is perfect for holiday entertaining or busy weekends. The graham crackers will soften to a perfectly cake-like consistency, and the creamy filling will become firmer and more intensely flavored.
To store any leftover icebox cake, or if you’ve made it ahead of time, ensure it is kept in an airtight container in the refrigerator. This will prevent it from absorbing any unwanted odors from the fridge and keep the layers moist and fresh. A simple piece of plastic wrap pressed directly onto the surface of the cake can also help prevent the top from drying out if you’re keeping it in the baking dish.
How Long Does Icebox Cake Remain Fresh?
For the best quality, flavor, and texture, we highly recommend serving this Red, White, and Blue Icebox Cake within 2 to 3 days of preparation. While it might still be safe to eat for a little longer, beyond this timeframe, the graham crackers can become overly soft and mushy, losing their delightful cake-like consistency. The fresh berries may also start to break down and release too much liquid, which can affect the overall texture and appearance of the cake. Keeping it properly covered in an airtight container will help maximize its freshness within this recommended window.
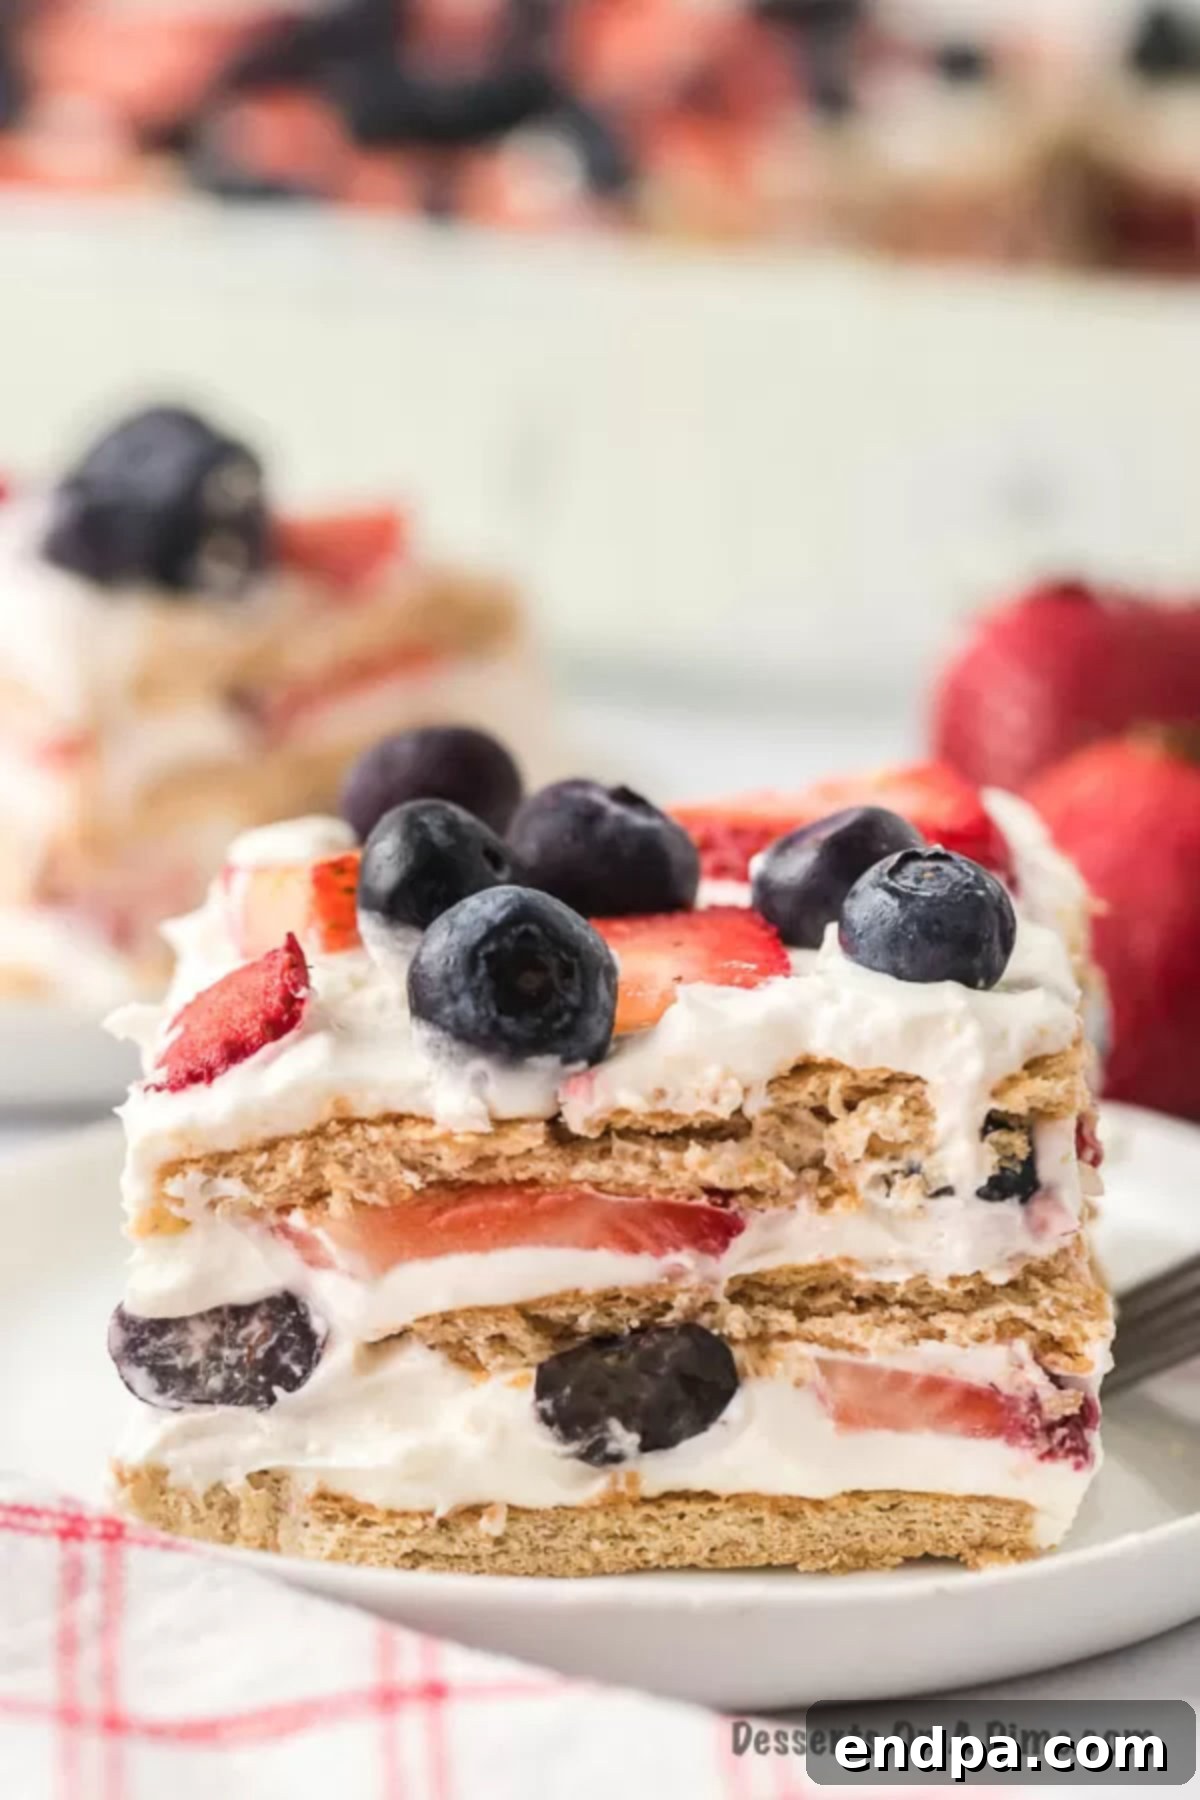
More Red White and Blue Desserts to Explore
If you love patriotic desserts as much as we do, you’re in luck! Here are some other festive red, white, and blue treats that are perfect for celebrating any occasion:
- 4th of July Ice Cream Sandwich Recipe
- Red White and Blue Bark Recipe
- How to Make Red, White, and Blue Jello
- 4th of July Fruit Kabobs
- Red White and Blue Crinkle Cake Mix Cookies
- 4th of July Poke Cake
Whip up this easy and impressive patriotic dessert today for your next celebration or simply to enjoy a refreshing summer treat. Its delightful layers and fresh flavors are sure to make it a new family favorite. Once you try it, we’d love to hear from you – leave a comment and a star rating to share your experience!
Red White and Blue Icebox Cake Recipe Card
This beautiful no-bake cake features vibrant layers of fresh berries and a rich, creamy filling, making it the ultimate summer dessert for any occasion.
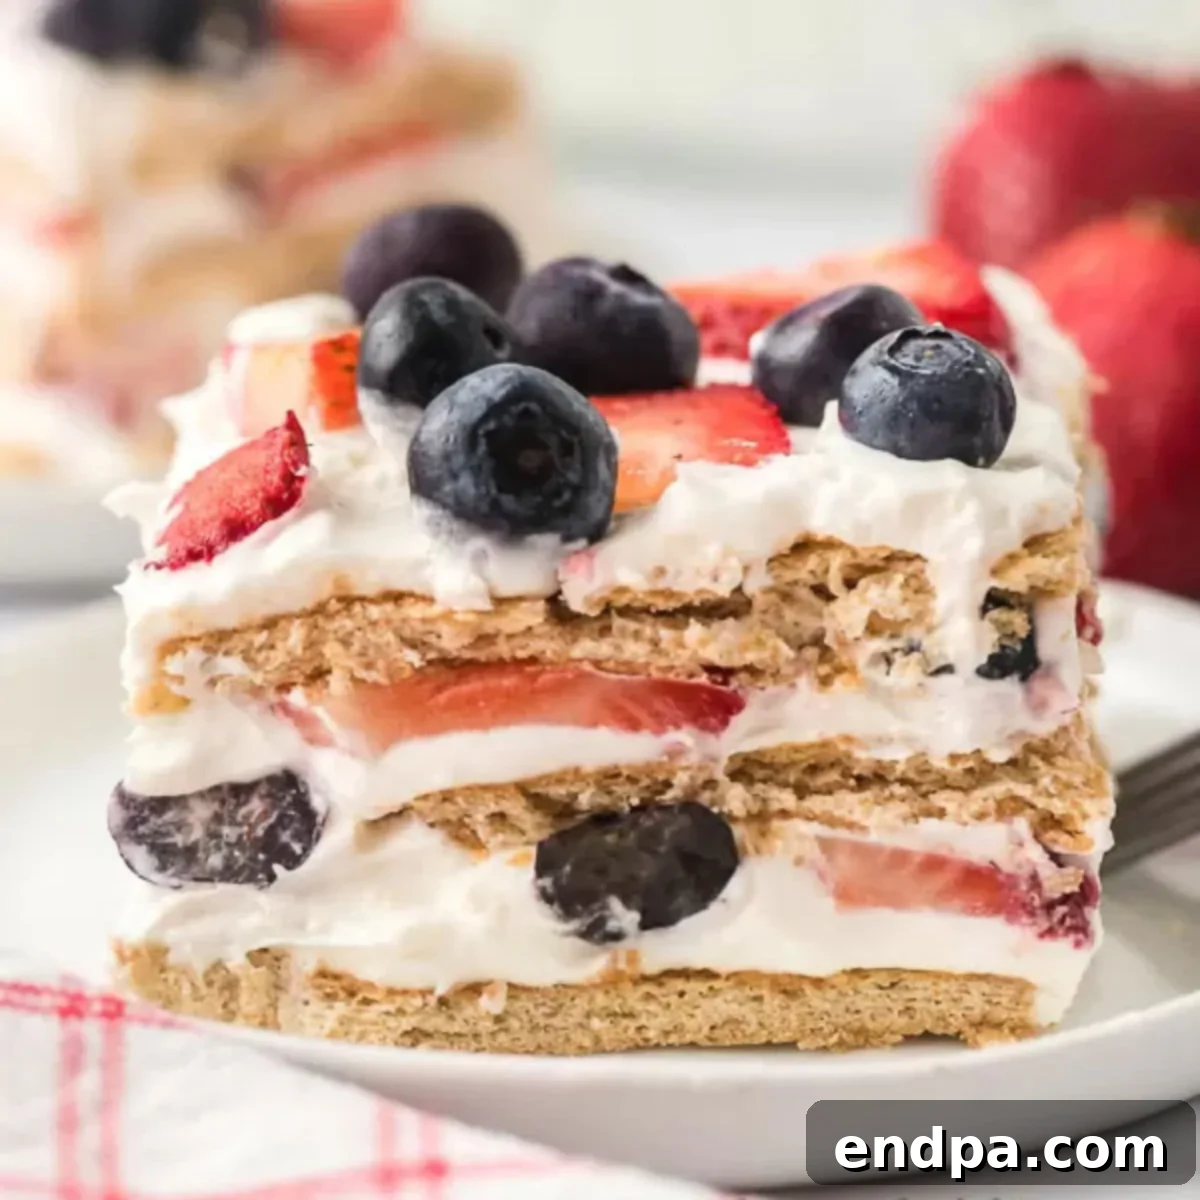
Red White and Blue Icebox Cake
⭐ Rating: 4.78 from 9 votes
The layers of Red White and Blue Icebox Cake look stunning. Family and friends will love this dessert with fresh berries. The pudding mixture is so decadent but not heavy at all. It is the perfect Summertime treat.
- Prep Time: 20 mins
- Refrigerate: 2 hrs
- Total Time: 2 hrs 20 mins
- Servings: 12
- Cuisine: American
- Course: Dessert
- Calories: 540 kcal
- Author: Carrie Barnard
Ingredients
- 1 8-ounce package cream cheese, softened
- 3 ½ cups heavy whipping cream, very cold
- ¾ cups granulated sugar
- 1 tablespoon vanilla extract (pure recommended)
- 1 14-ounce box graham crackers (honey, chocolate, or cinnamon)
- 2 cups blueberries, divided
- 3 cups strawberries, thinly sliced and divided
Instructions
- In a large bowl, cream the softened cream cheese and sugar together until smooth and lump-free.
- Add the cold heavy whipping cream and vanilla extract to the mixture. Beat until the mixture begins to thicken and forms soft, stiff peaks. Set aside.
- Place a single layer of graham crackers on the bottom of a 9×13 inch baking pan, breaking pieces as needed to fill gaps.
- Gently spread one-third of the cream cheese mixture evenly over the graham crackers.
- Top this layer with ½ cup of blueberries and 1 cup of thinly sliced strawberries.
- Repeat the layering process two more times: another layer of graham crackers, followed by one-third of the cream mixture, then ½ cup blueberries and 1 cup sliced strawberries.
- For the top layer, arrange the remaining strawberries and blueberries creatively across the top (e.g., in a patriotic pattern or sprinkled throughout).
- Cover the pan tightly with plastic wrap and refrigerate for at least 2 to 4 hours, or preferably overnight, to allow the layers to settle and soften.
Recipe Notes
Refrigerate any leftovers in an airtight container for up to 3-4 days for best quality. For optimal flavor and texture, chilling overnight is highly recommended.
Nutrition Facts
Calories: 540kcal, Carbohydrates: 49g, Protein: 6g, Fat: 37g, Saturated Fat: 21g, Cholesterol: 118mg, Sodium: 329mg, Potassium: 220mg, Fiber: 3g, Sugar: 26g, Vitamin A: 1324IU, Vitamin C: 24mg, Calcium: 101mg, Iron: 2mg
