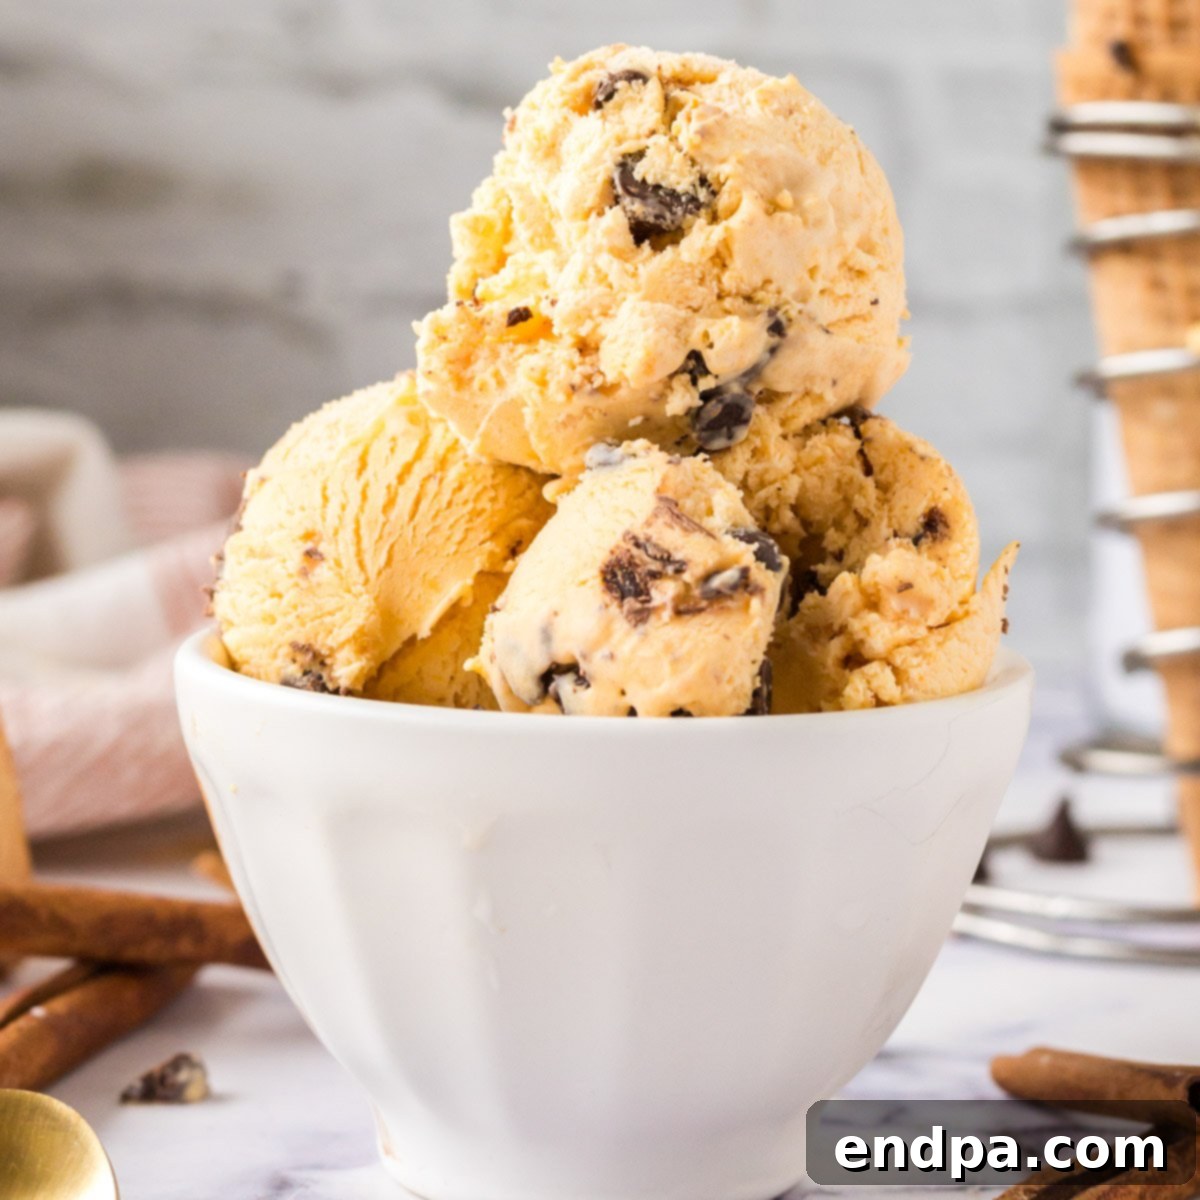
Pumpkin Chocolate Chip Ice Cream is the ultimate fall indulgence, a creamy, spiced delight that perfectly captures the essence of the autumn season. This no-churn recipe makes it incredibly easy to create a rich, smooth, and utterly irresistible dessert right in your own kitchen, without the need for an expensive ice cream maker or complicated egg mixtures. Imagine spoonfuls of velvety pumpkin-infused ice cream, generously studded with melty semi-sweet chocolate chips, creating a harmonious blend of flavors and textures that will tantalize your taste buds.
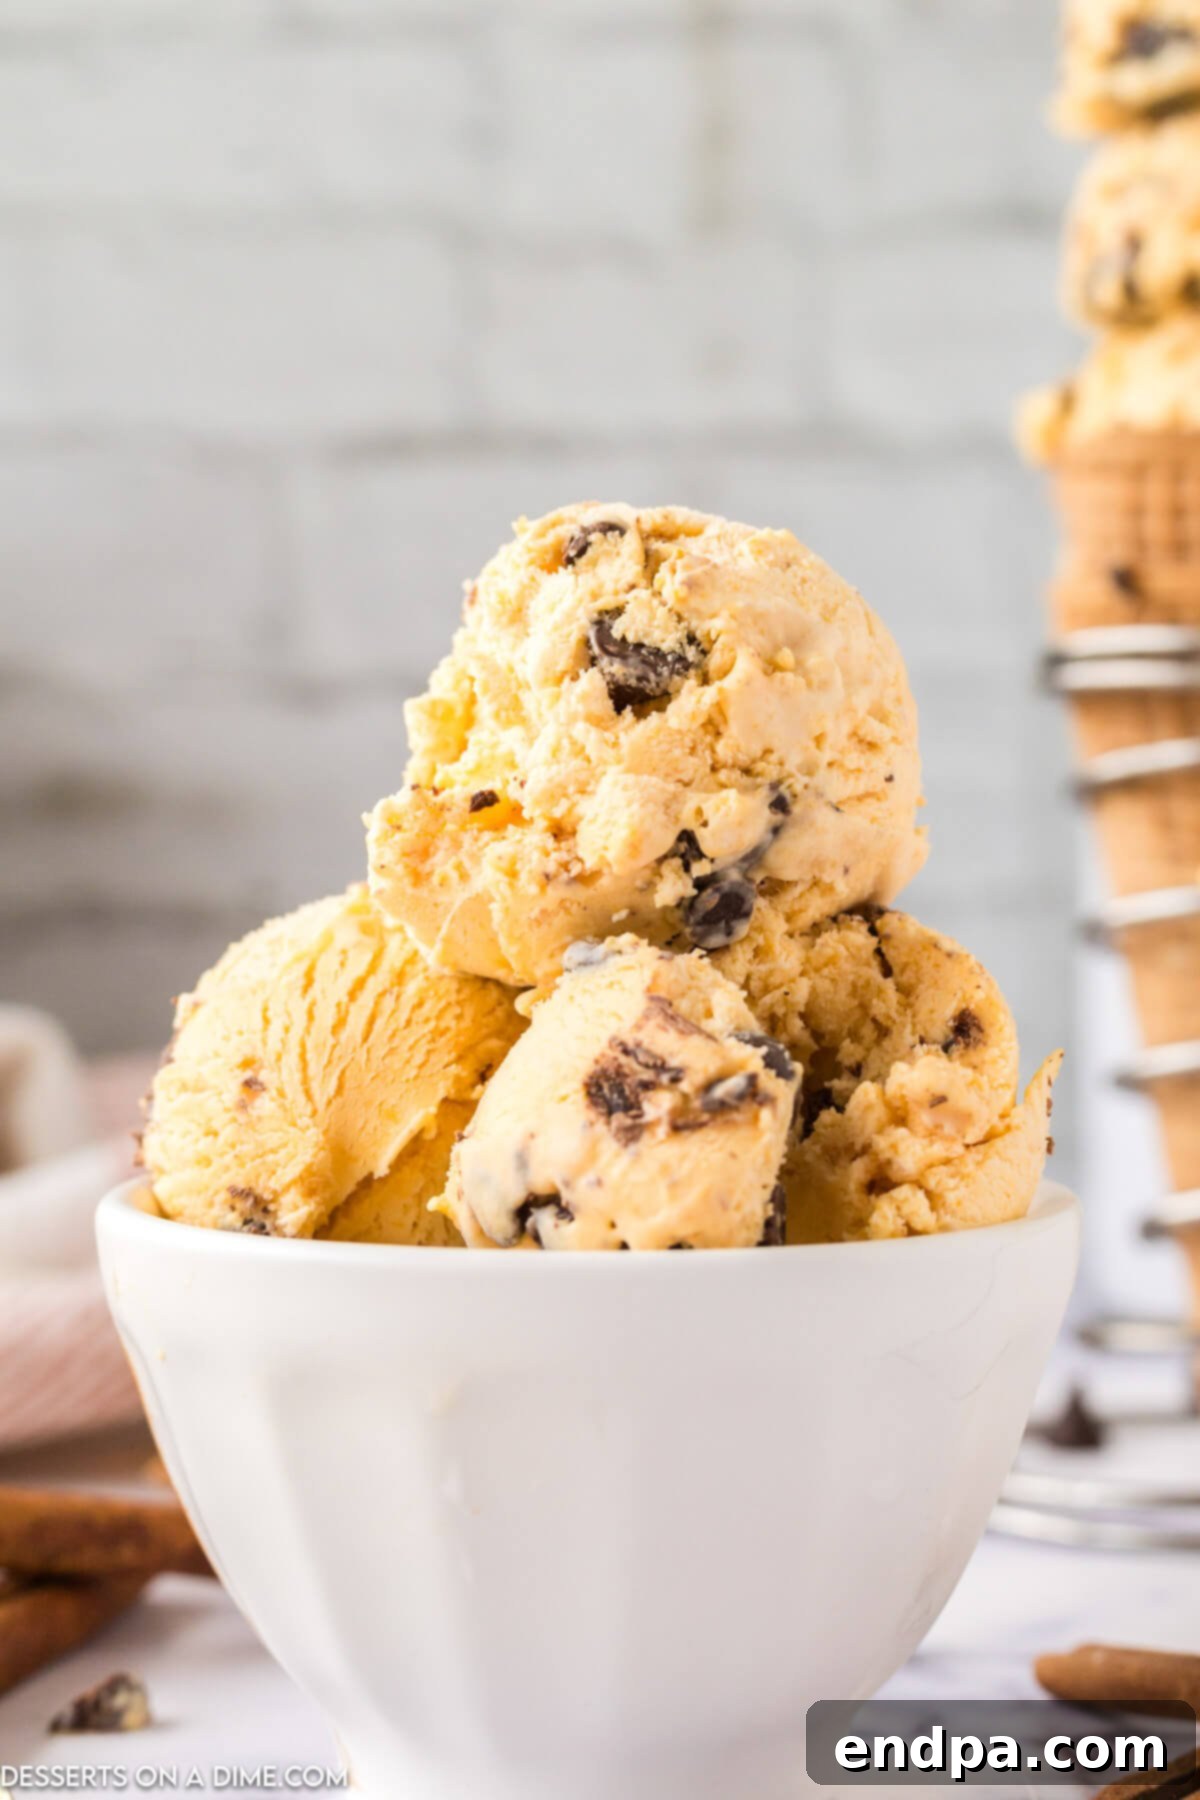
This delightful dessert is more than just a sweet treat; it’s an experience. The warm, inviting notes of pumpkin pie spice dance beautifully with the deep, comforting flavor of pumpkin puree, while the chocolate chips add bursts of sweetness and a satisfying textural contrast. It’s a seasonal favorite that elevates any occasion, whether you’re hosting a festive fall gathering, enjoying a quiet evening at home, or simply craving a taste of autumn’s finest flavors. Forget the long queues at ice cream parlors; with this simple recipe, you can craft a gourmet-quality dessert that’s tailor-made for cozy moments.
Unlike traditional ice cream recipes that often require tempering egg yolks and specialized equipment, our no-churn method keeps things straightforward and accessible. This means less time in the kitchen and more time enjoying this decadent treat with friends and family. While we also love our Classic Pumpkin Ice Cream Recipe, the addition of chocolate chips in this version introduces a whole new level of deliciousness, making it an absolute must-try. If you’re a fan of luscious frozen desserts, you might also enjoy our Homemade Salted Caramel Ice Cream and Snickers Ice Cream Recipe for other fantastic homemade options.
For those who can’t get enough of pumpkin, be sure to explore other delightful recipes like Pumpkin Whoopie Pies to keep the autumnal vibes going strong. This Pumpkin Chocolate Chip Ice Cream is not just a recipe; it’s a celebration of fall’s best flavors, transformed into a cool, refreshing, and utterly satisfying dessert that everyone will adore.
Table of contents
- Why We Love This
- Ingredients for No-Churn Pumpkin Chocolate Chip Ice Cream
- Delicious Variations and Customizations
- Step-By-Step Instructions to Make Your Ice Cream
- Expert Tips for Perfect No-Churn Ice Cream
- How to Serve Pumpkin Chocolate Chip Ice Cream
- Storage Solutions for Homemade Ice Cream
- More Easy Homemade Ice Cream Recipes
- FAQ About No-Churn Pumpkin Ice Cream
Why We Love This Easy No-Churn Pumpkin Chocolate Chip Ice Cream
There are countless reasons why this Pumpkin Chocolate Chip Ice Cream has become a staple in our fall dessert repertoire. Its simplicity, combined with its incredible flavor profile, makes it a true winner. Here’s a closer look at what makes this recipe so special:
- Effortless Preparation (No Ice Cream Maker Needed!) – One of the biggest advantages of this recipe is its no-churn nature. You don’t need any specialized equipment like an ice cream maker, making it accessible to anyone. It’s incredibly simple to prepare, requiring minimal effort and just a few basic kitchen tools, perfect for a quick, delicious dessert.
- Irresistible Seasonal Flavor – This ice cream truly captures the spirit of autumn. The rich, earthy taste of pumpkin combined with the cozy warmth of pumpkin pie spices creates a flavor profile that is both comforting and exhilarating. It’s like a taste of fall in every spoonful, making it ideal for holiday gatherings or simply enjoying the season.
- Luxuriously Creamy Texture – Despite being a no-churn recipe, this ice cream boasts a remarkably smooth and rich consistency that melts delightfully in your mouth. The whipped heavy cream provides an airy base that freezes beautifully, yielding an ice cream that feels incredibly indulgent without the fuss.
- Delightful Chocolatey Bites – The semi-sweet chocolate chips are a game-changer, adding bursts of intense chocolate flavor and a pleasant textural contrast to the smooth pumpkin ice cream. They melt slightly upon contact with your tongue, creating a truly irresistible experience that balances the spice of the pumpkin perfectly.
- A Versatile Dessert for Any Occasion – This ice cream is incredibly versatile. It’s perfect for scooping into classic cones, elegant bowls, or even serving alongside other fall desserts like warm apple pie, pumpkin cheesecake, or even just a simple slice of pound cake. Its vibrant color and festive flavor make it a wonderful addition to any dessert table.
- Pure, Simple Indulgence – This recipe allows you to enjoy the beloved flavors of pumpkin and chocolate in a cool, refreshing, and surprisingly easy-to-make treat. It requires no large eggs, reducing prep time and making it friendly for those with egg sensitivities. It’s a simple yet sophisticated way to satisfy your sweet tooth and embrace the flavors of the season.
Ingredients for No-Churn Pumpkin Chocolate Chip Ice Cream
Crafting this incredible ice cream requires just a handful of simple ingredients, each playing a crucial role in achieving its signature creamy texture and robust flavor. You’ll be amazed at how such minimal components can produce such a delicious result. Here’s what you’ll need:
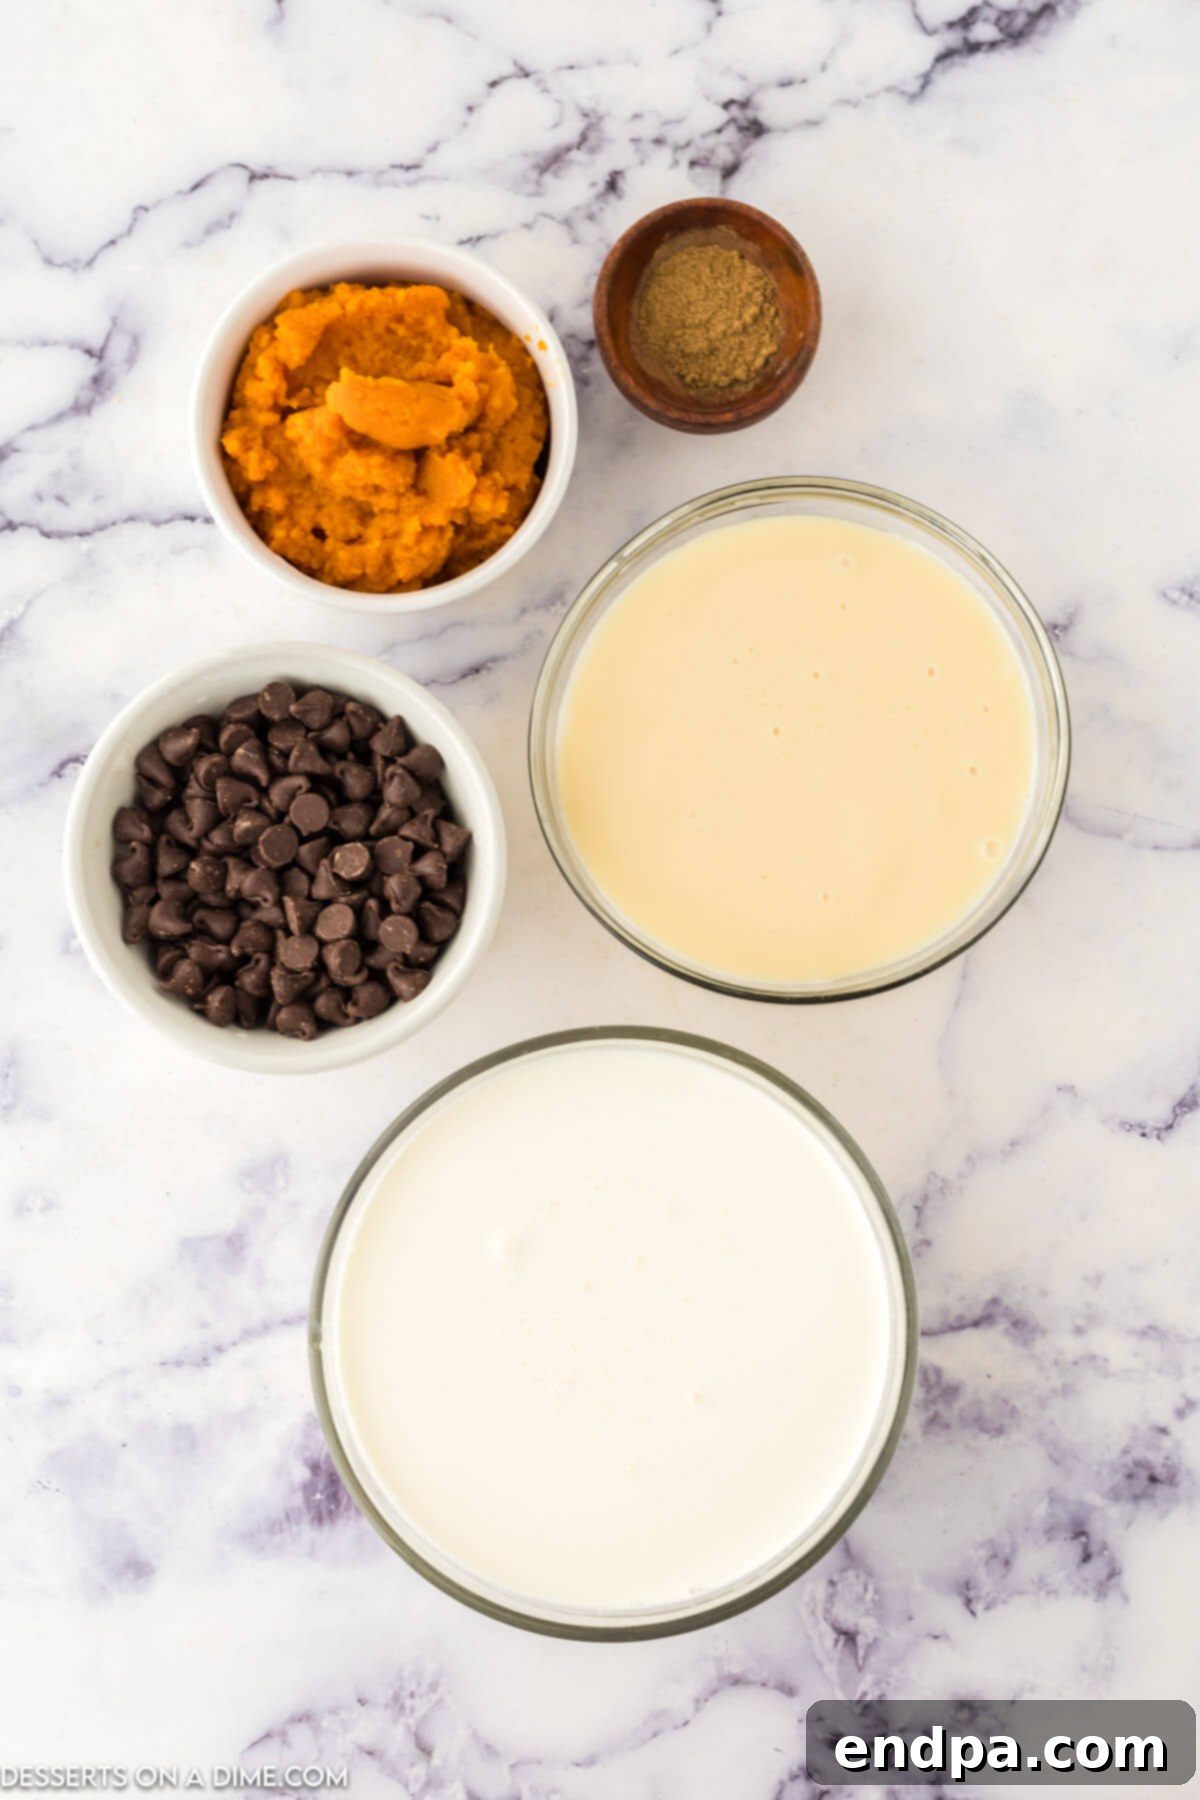
- Heavy Whipping Cream: This is the foundation of our no-churn ice cream, providing the essential fat content that, when whipped, creates a light, airy, and incredibly rich base. It’s crucial for achieving that signature creamy, melt-in-your-mouth texture without any churning.
- Sweetened Condensed Milk: This magical ingredient serves multiple purposes. It adds the perfect amount of sweetness, eliminates the need for granulated sugar, and, most importantly, contributes to the ice cream’s smooth, scoopable consistency. Its thick, syrupy nature helps prevent ice crystals from forming, ensuring a velvety finished product.
- Pumpkin Puree: The star of the show! Pure pumpkin puree imparts its characteristic earthy flavor and beautiful orange hue. Make sure you use 100% pure pumpkin puree, not pumpkin pie filling, which already contains spices and sweeteners.
- Pumpkin Pie Spice: This blend of warm, aromatic spices (typically cinnamon, nutmeg, ginger, and cloves) is essential for enhancing the pumpkin flavor and giving the ice cream its comforting, autumnal essence. It’s what makes it taste like fall in a bowl.
- Semi-Sweet Chocolate Chips: These little gems are folded in to provide delightful bursts of chocolate flavor and a lovely textural contrast. Semi-sweet chips are ideal as they offer a balanced sweetness that complements the pumpkin without overpowering it.
Delicious Variations and Customizations
One of the joys of making homemade ice cream is the freedom to customize it to your heart’s content. This Pumpkin Chocolate Chip Ice Cream recipe is a fantastic starting point, but don’t hesitate to experiment with these variations to create your own unique twist:
- Homemade Pumpkin Pie Spice: If you don’t have pre-made pumpkin pie spice or prefer to fine-tune the flavor, you can easily make your own. Simply combine equal parts ground cinnamon, ground cloves, ground nutmeg, and ground ginger. You can adjust the ratios to suit your preference, perhaps adding a touch more cinnamon for a warmer flavor.
- Alternative Chocolate Choices: While semi-sweet chocolate chips are a classic choice, feel free to experiment with other types of chocolate. For a richer, more intense chocolate experience, consider using dark chocolate chips or even finely chopped dark chocolate bars. White chocolate chips would offer a sweeter, creamier contrast, while milk chocolate chips would be perfect for those who enjoy a milder chocolate flavor.
- Pumpkin Chocolate Chip Cookie Crumble: Take this ice cream to the next level by folding in crumbled pumpkin chocolate chip cookies. This adds an incredible chewy texture and doubles down on the pumpkin and chocolate goodness, creating a truly decadent dessert.
- Spice it Up Even More: For an extra layer of deep fall flavors, consider adding other spices to the mixture. A pinch of brown sugar can add a molasses-like richness, while a teaspoon of pure vanilla extract will enhance all the other flavors. A dash of ground ginger or extra cinnamon and nutmeg can provide a more pronounced spice profile, making this ice cream even more aromatic and delicious.
- Nutty Additions: Toasted chopped pecans or walnuts would add a wonderful crunch and earthy flavor that pairs beautifully with pumpkin and chocolate.
- Swirls of Flavor: After pouring the mixture into the pan, gently swirl in some caramel sauce, dulce de leche, or even a spiced cream cheese frosting for an extra layer of decadence.
- Dairy-Free Option: For those avoiding dairy, you can experiment with full-fat coconut cream (chilled overnight) instead of heavy whipping cream, and a dairy-free sweetened condensed milk alternative.
Step-By-Step Instructions to Make Your Ice Cream
Making this homemade Pumpkin Chocolate Chip Ice Cream is surprisingly simple and requires no specialized skills. Just follow these easy steps to create a delightful dessert that tastes like it came from a gourmet ice cream parlor.
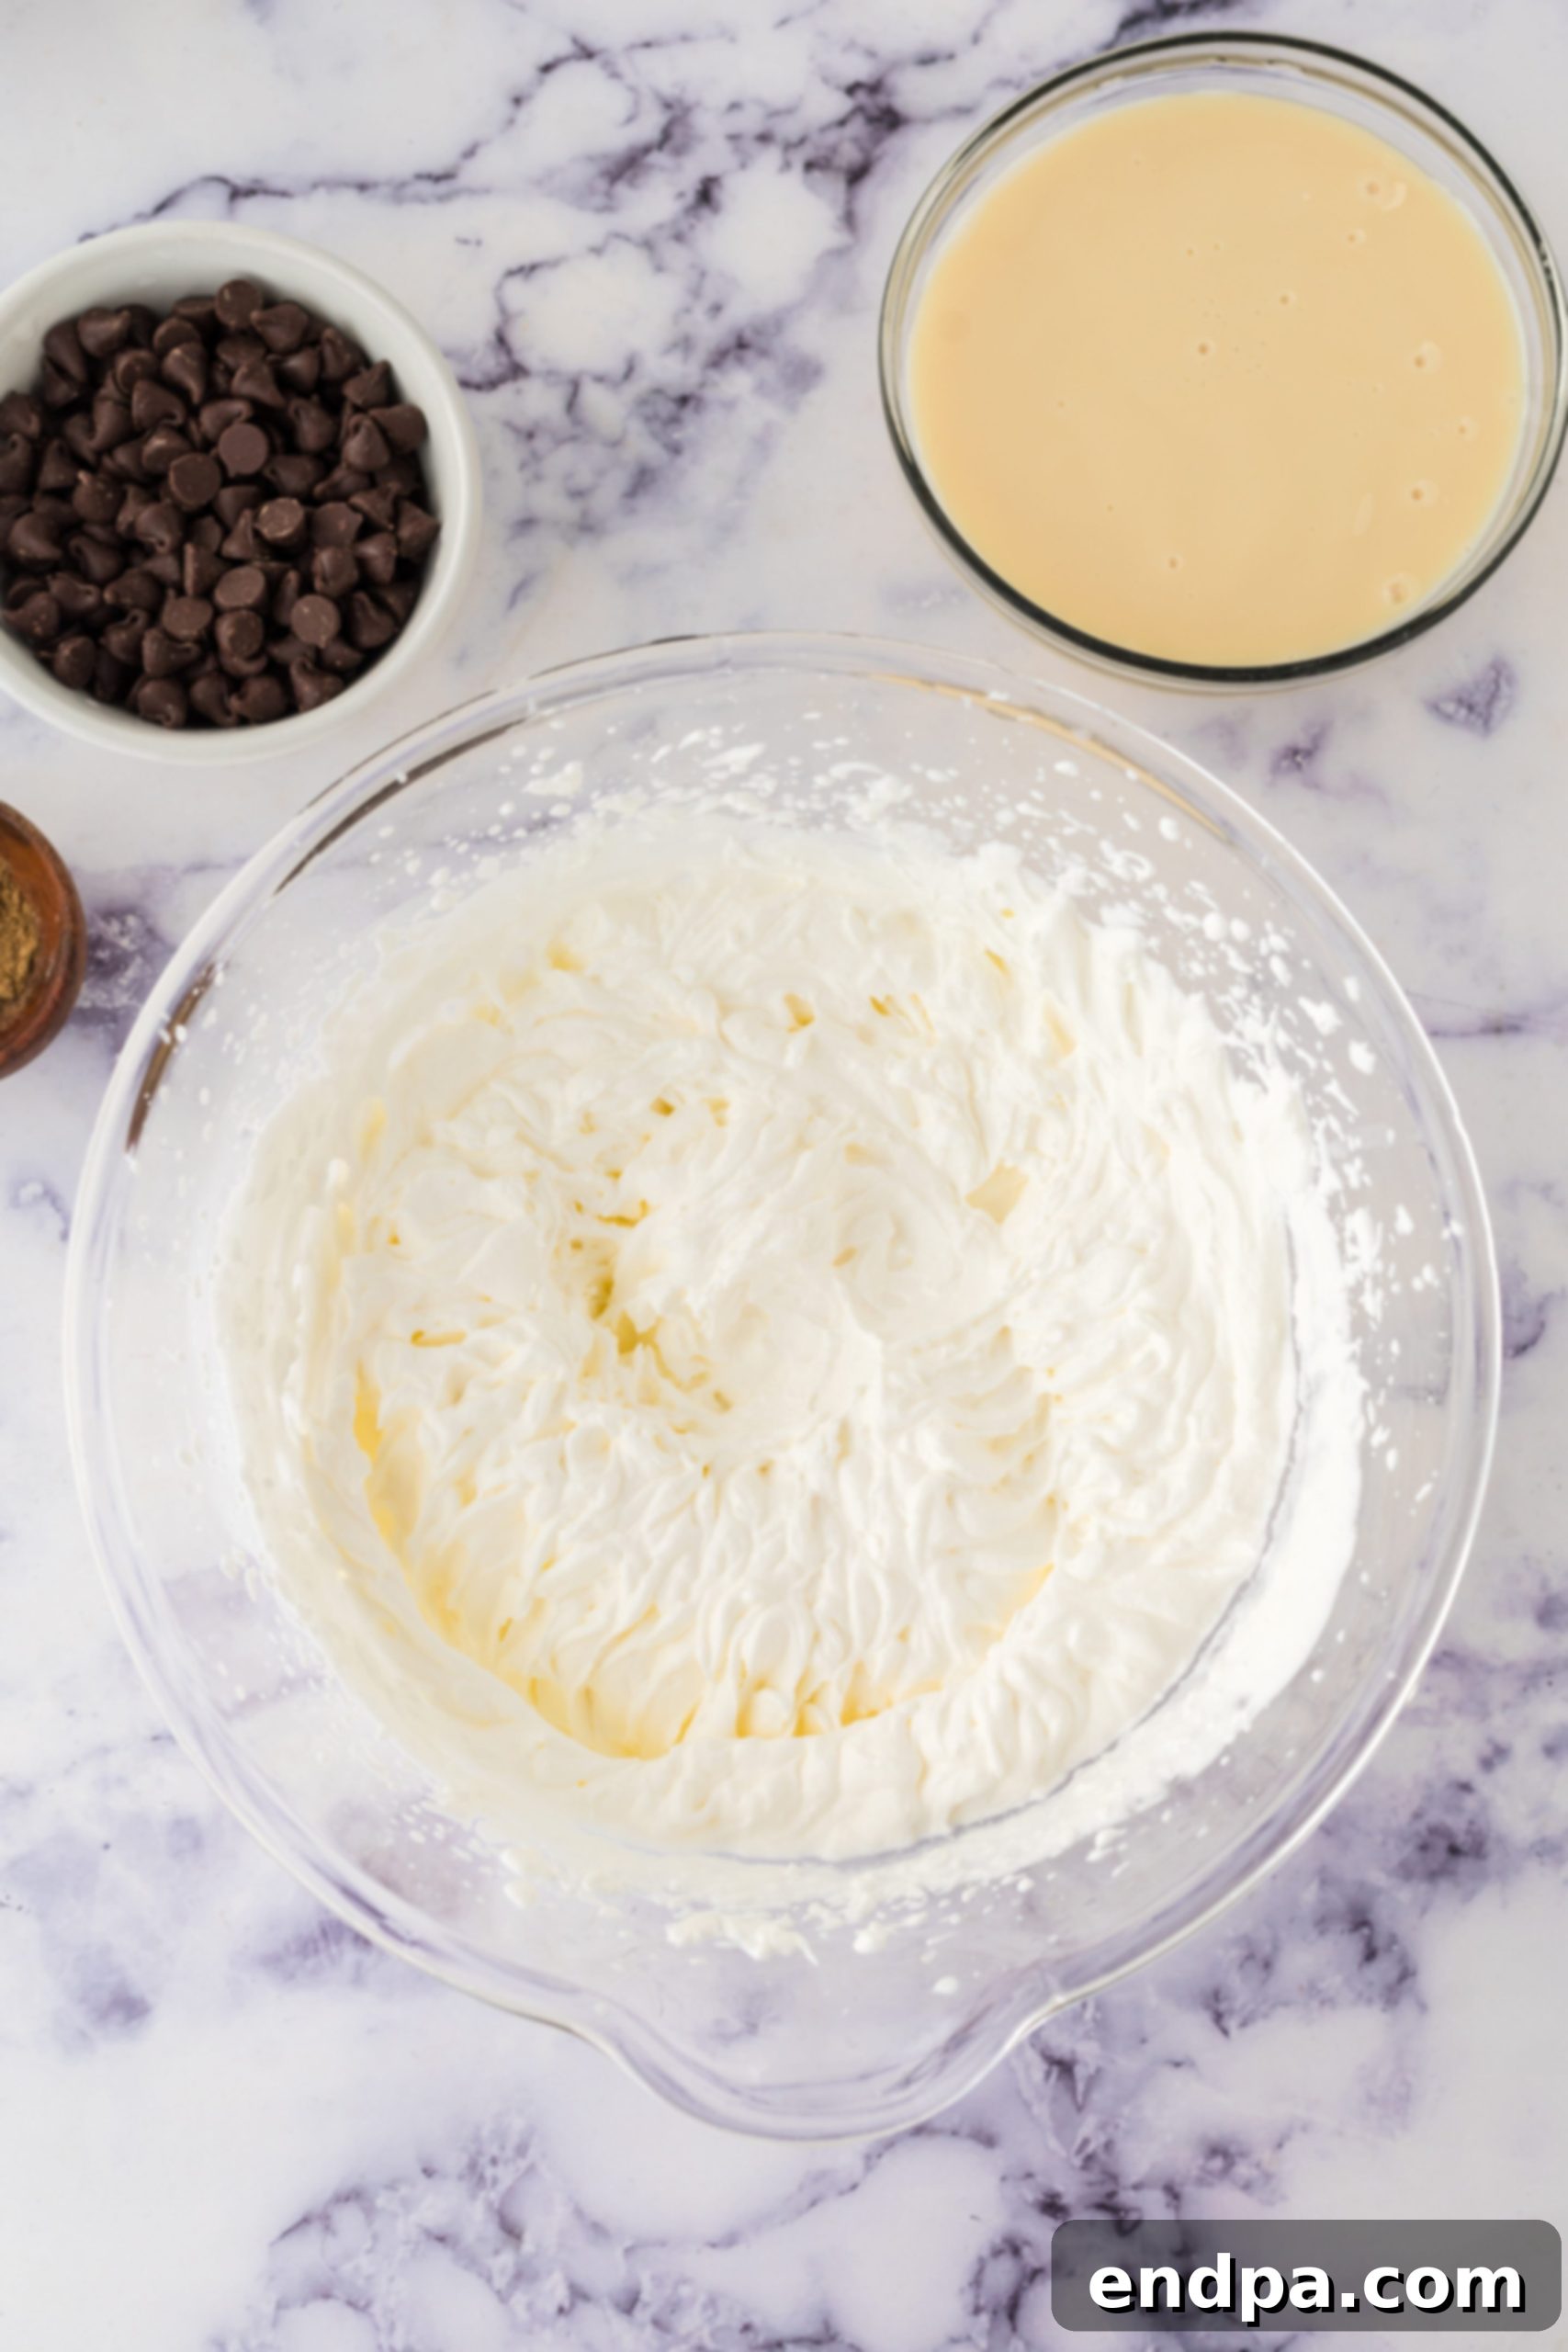
Step 1: Whip the Heavy Cream. Begin by pouring your cold heavy whipping cream into a large mixing bowl. Using an electric hand mixer (or a stand mixer with a whisk attachment), whip the cream on medium-high speed until it forms stiff, free-standing peaks. This is a crucial step as it incorporates air, creating the light and airy base for your no-churn ice cream. Ensure the peaks are firm enough to hold their shape when the beaters are lifted.
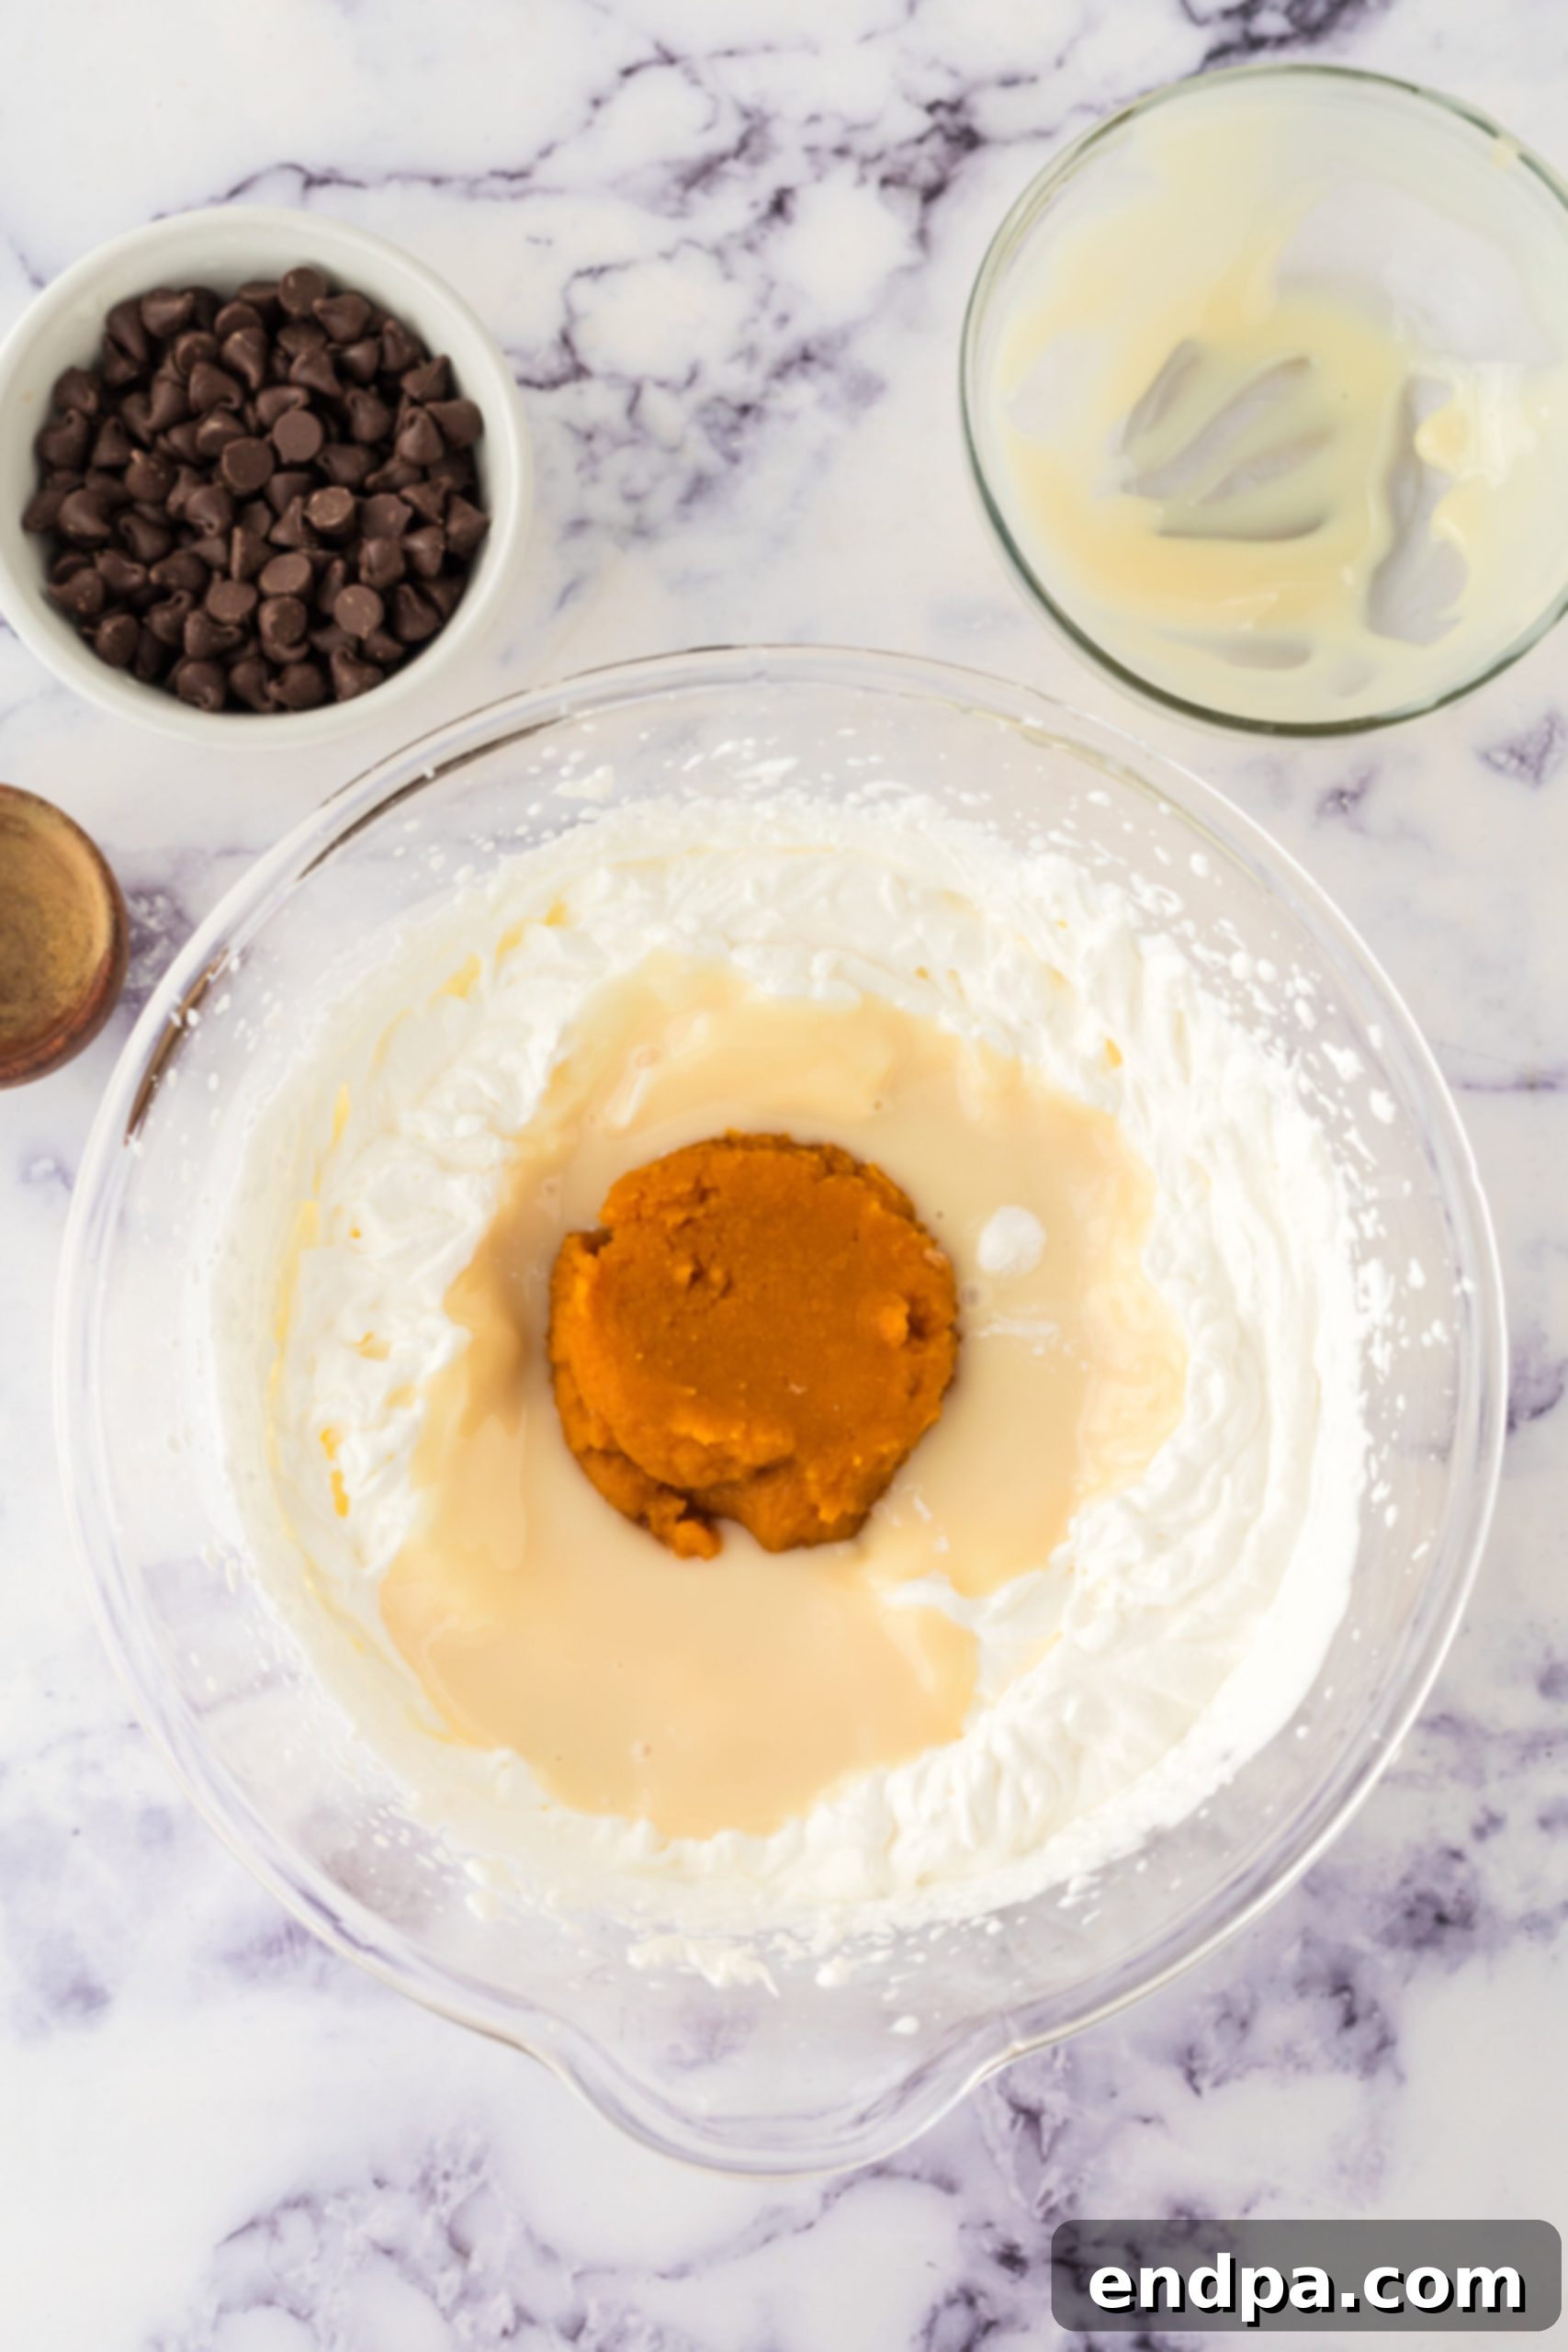
Step 2: Gently Fold in Pumpkin Mixture. Once your heavy cream has reached stiff peaks, it’s time to introduce the flavors. Add the pumpkin pie spice, pumpkin puree, and sweetened condensed milk to the whipped cream. Using a large spatula or whisk, gently fold these ingredients into the whipped cream until they are just combined. Be careful not to overmix, as you want to preserve as much air in the whipped cream as possible for that classic creamy ice cream texture.
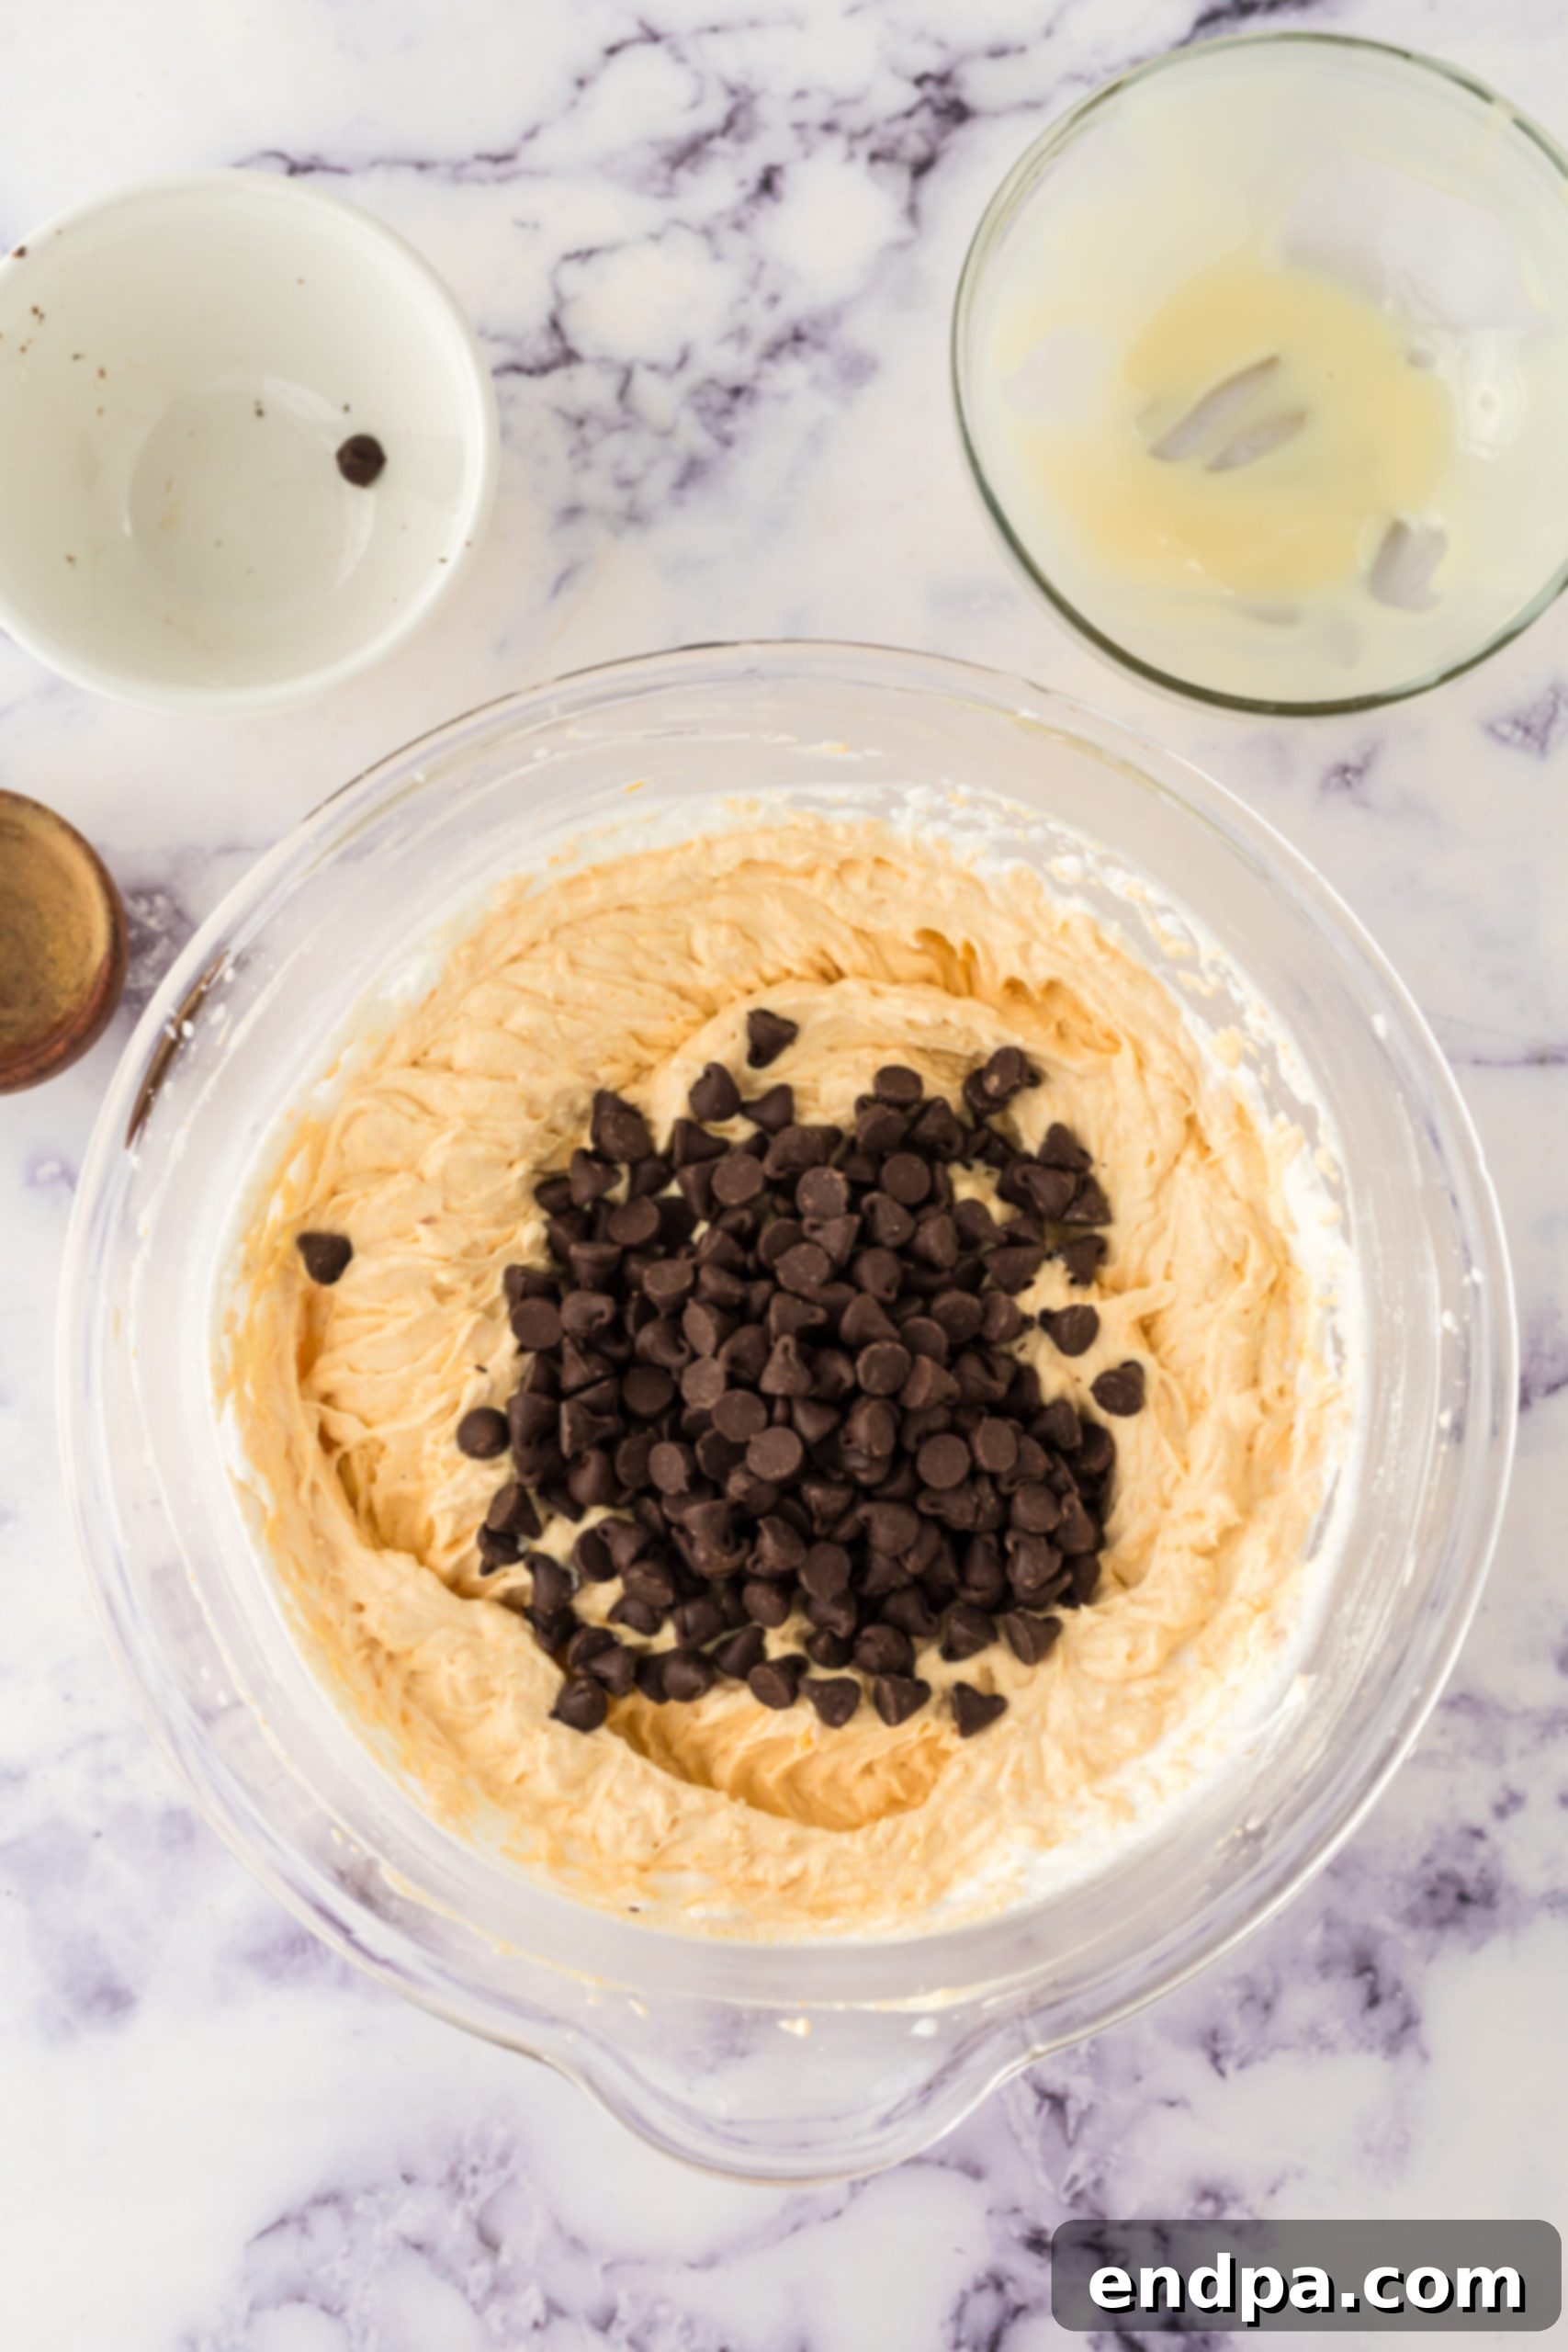
Step 3: Incorporate the Chocolate Chips. Now for the delicious chocolatey bits! Add the semi-sweet chocolate chips to your pumpkin ice cream base. Using your large spatula or spoon, carefully fold the chocolate chips into the mixture. Continue folding until they are evenly distributed throughout the creamy pumpkin base, ensuring every scoop will have a generous amount of chocolate goodness.
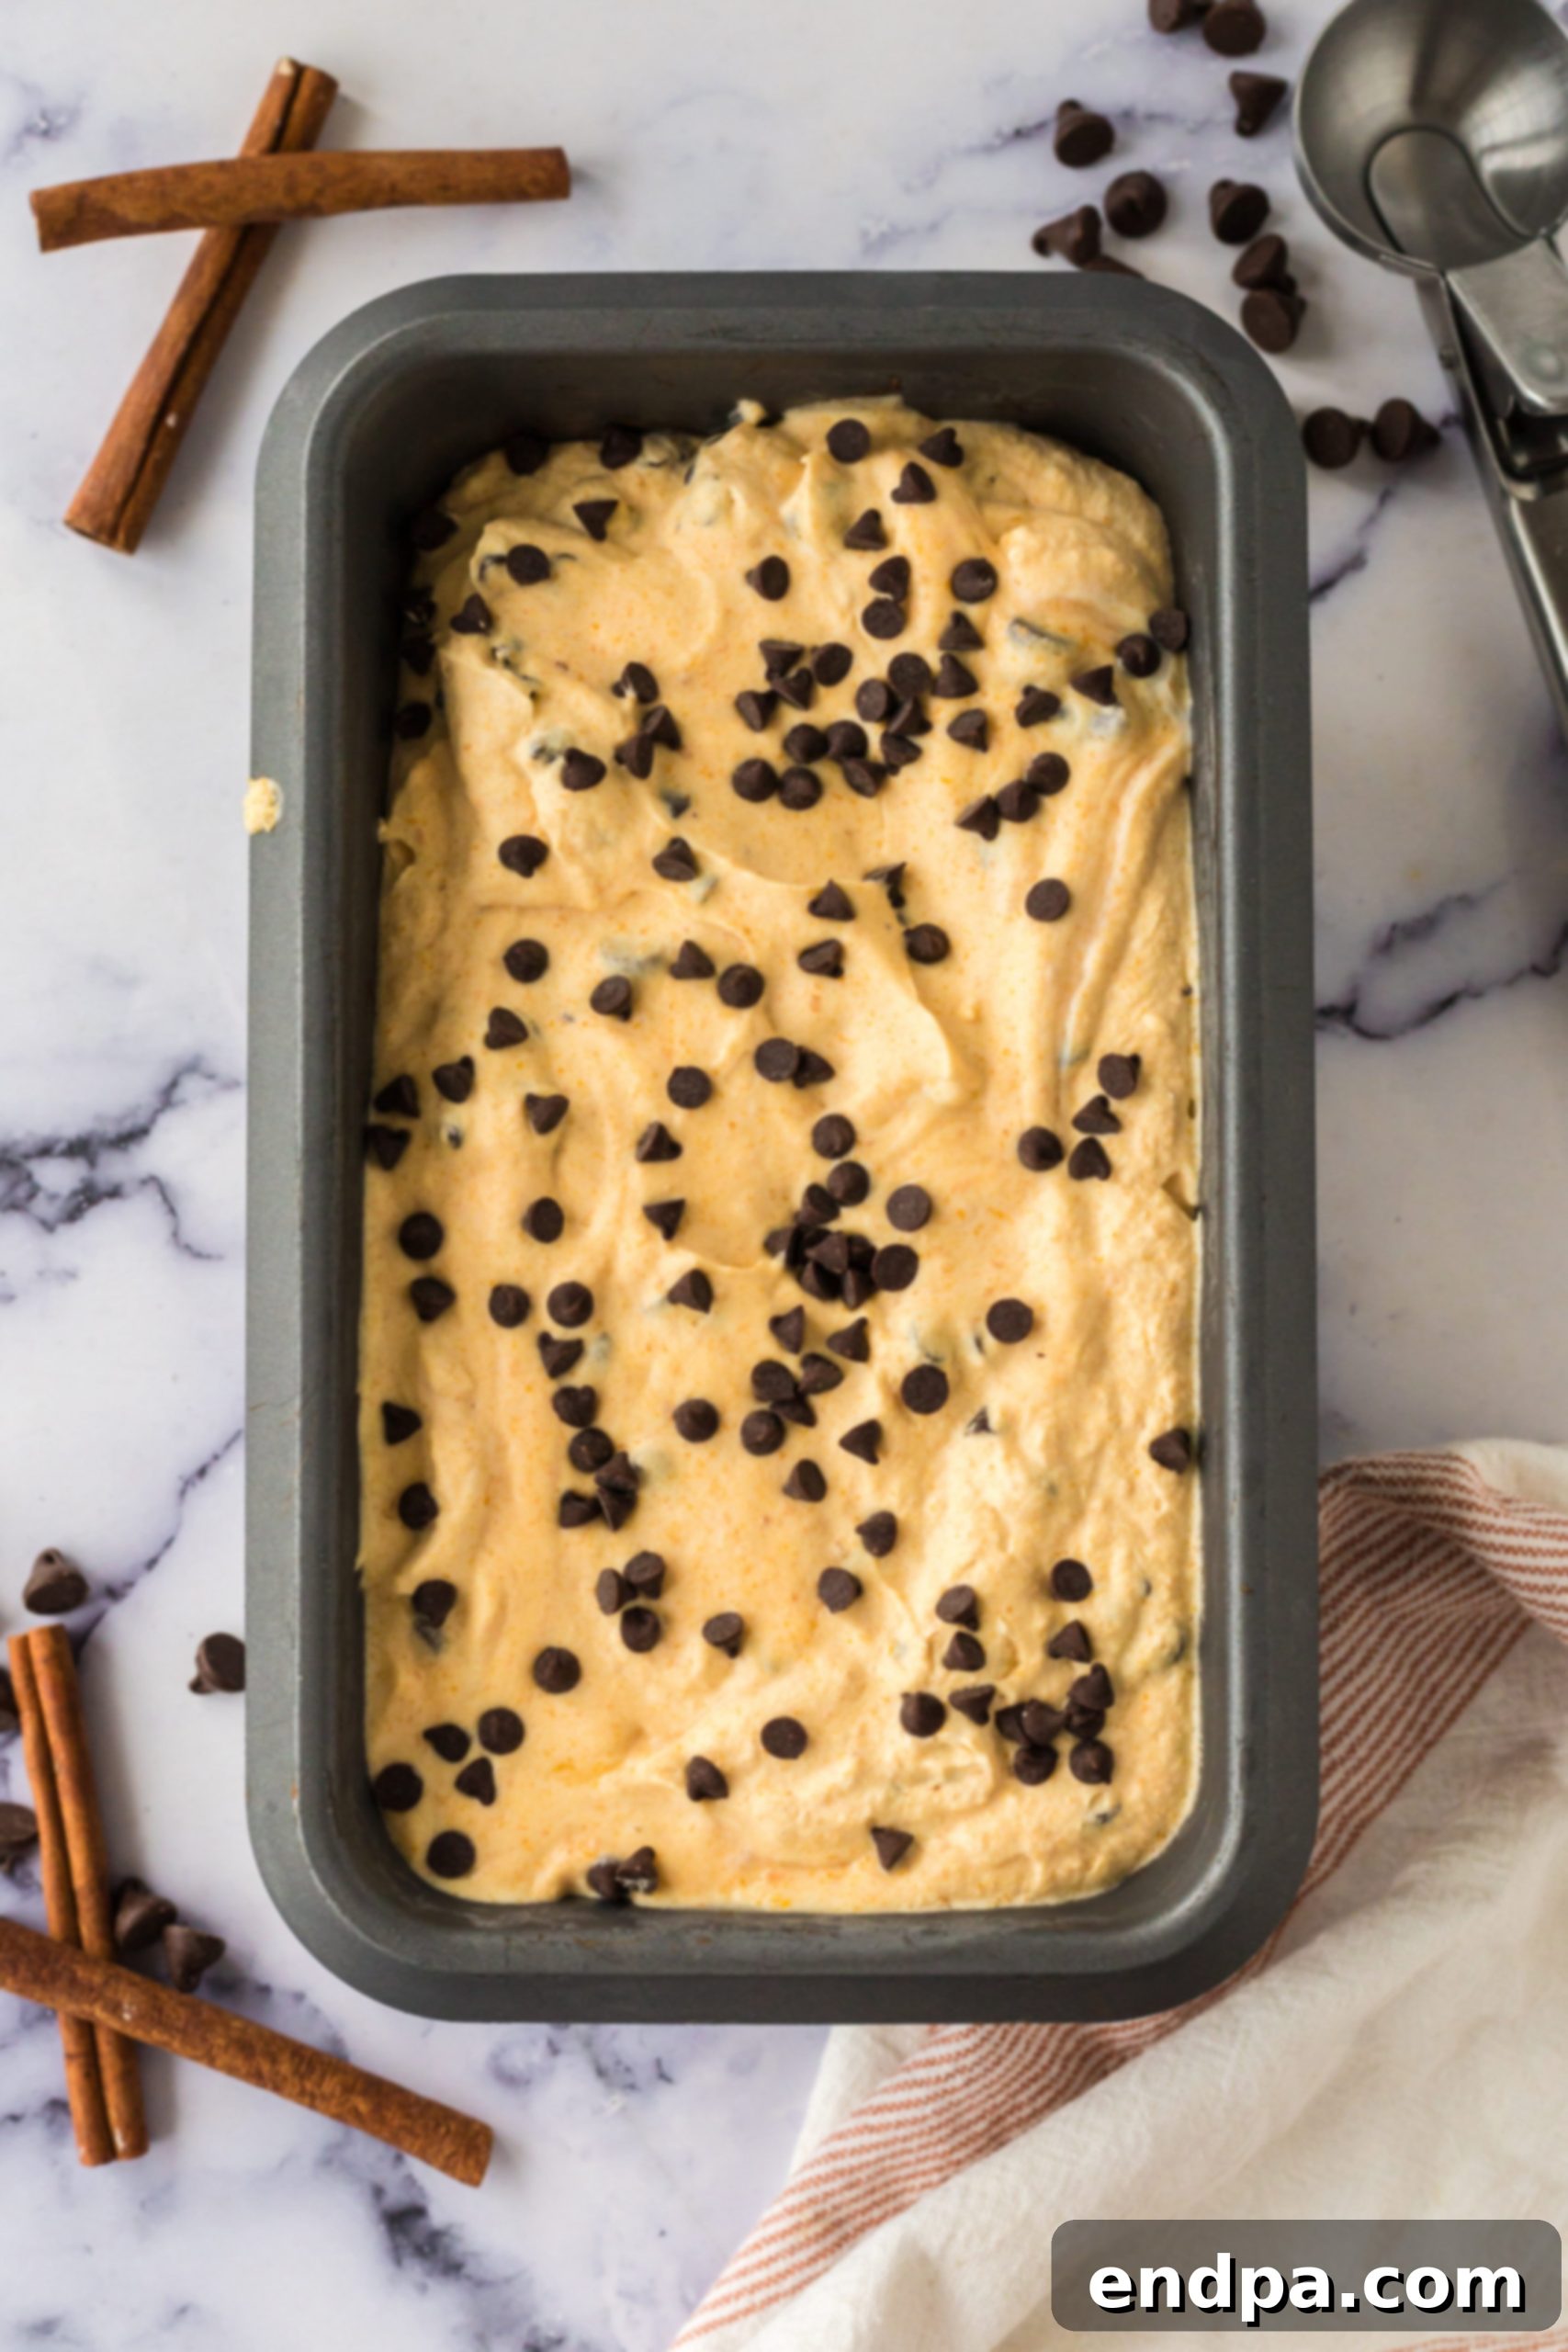
Step 4: Freeze and Set. Pour the entire ice cream mixture into a 9×5 inch loaf pan or a medium-sized glass dish. Smooth the top with your spatula. Cover the pan tightly with plastic wrap, pressing it directly onto the surface of the ice cream to prevent ice crystals from forming. Place the covered pan in the freezer for a minimum of 5 hours. For best results and a firmer consistency, freezing overnight is recommended.
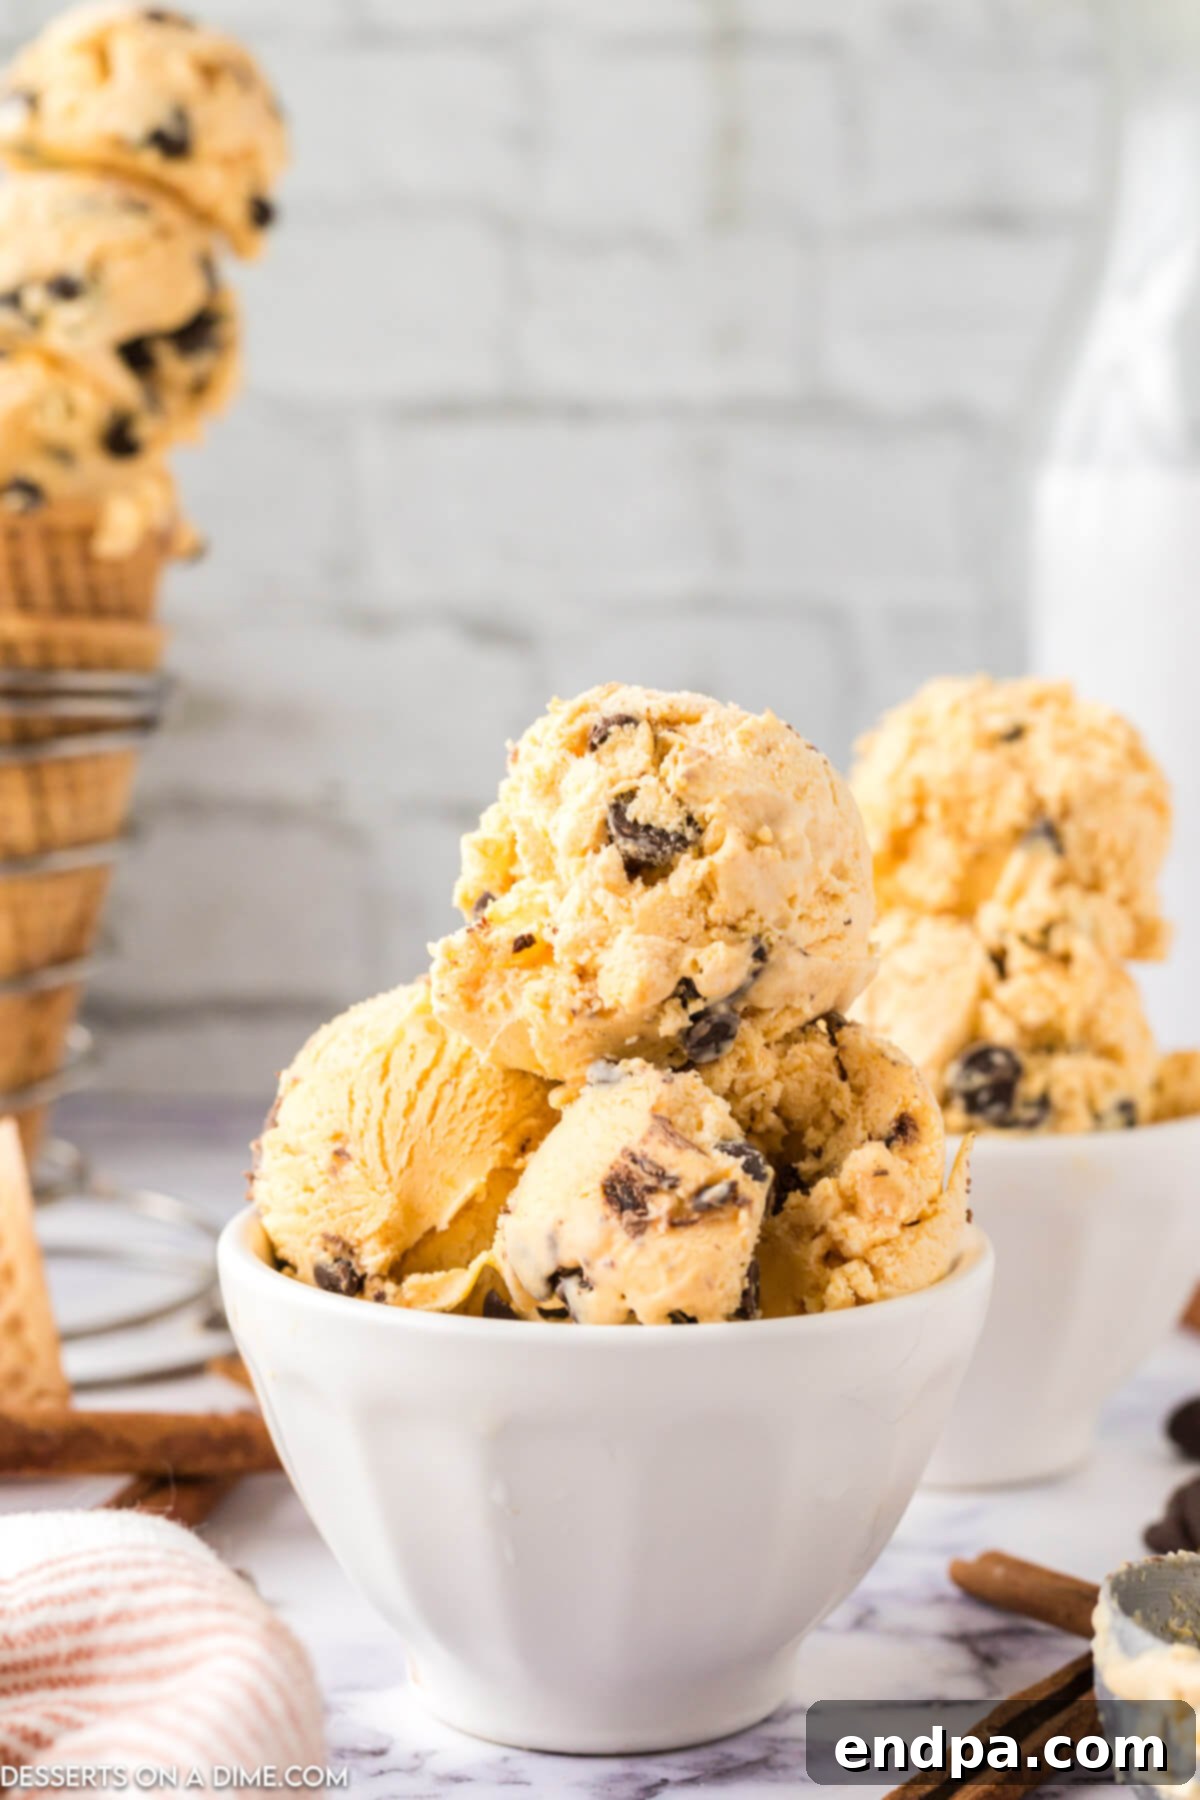
Step 5: Serve and Savor. Once the ice cream is properly frozen, remove it from the freezer. If it has been frozen overnight, you might need to let it sit on the counter for a few minutes (5-10 minutes) to soften slightly before scooping. Use an ice cream scoop to serve generous portions and enjoy your homemade Pumpkin Chocolate Chip Ice Cream!
Expert Tips for Perfect No-Churn Ice Cream
Achieving a perfectly creamy and delicious no-churn ice cream is simple, but a few expert tips can elevate your results. Keep these pointers in mind for the best Pumpkin Chocolate Chip Ice Cream every time:
- Proper Freezing Time is Key: While the minimum freeze time is 5 hours, this is when the ice cream will be just firm enough to serve. For a truly firm, scoopable consistency that resembles traditional ice cream, it’s highly recommended to freeze it overnight. If frozen overnight, allow the ice cream to sit at room temperature for 5-10 minutes before scooping. This brief softening period will make it much easier to scoop and enjoy.
- Gentle Mixing is Essential: When combining the sweetened condensed milk, pumpkin puree, and pumpkin pie spice with the whipped cream, it is crucial to mix until *just combined*. Overmixing can deflate the whipped cream, causing you to lose the air that creates the light, creamy texture. Use a large spatula and fold gently to maintain as much volume as possible. Stiff whipped cream is the secret to a luscious, airy no-churn ice cream.
- Always Use Canned Pumpkin Puree: For this recipe, ensure you are using 100% pure canned pumpkin puree, not pumpkin pie filling. Pumpkin pie filling contains added sugars, spices, and sometimes even thickeners, which will alter the flavor and consistency of your ice cream significantly. Pure pumpkin puree provides the authentic pumpkin flavor and allows you to control the spice level.
- The Power of Sweetened Condensed Milk: Sweetened condensed milk is not just for sweetness; it’s a magical ingredient for no-churn ice cream. Its high sugar and fat content, along with its thick consistency, helps to prevent the formation of large ice crystals. This results in the smooth, velvety, and scoopable texture that makes no-churn ice cream so delightful. Do not substitute it with evaporated milk or regular milk.
- Keep Ingredients Cold: For the best results when whipping heavy cream, ensure it is very cold. Cold cream whips up faster and holds its stiff peaks more effectively. If possible, chill your mixing bowl and whisk attachment in the freezer for 10-15 minutes before whipping.
- Preventing Ice Crystals During Storage: To keep your homemade ice cream smooth and free of ice crystals during storage, always press a piece of plastic wrap directly onto the surface of the ice cream before covering the container. This creates a barrier against air and moisture, preserving its creamy texture.
How to Serve Pumpkin Chocolate Chip Ice Cream
This Pumpkin Chocolate Chip Ice Cream is incredibly versatile and can be enjoyed in many delicious ways. Here are some serving suggestions to make your dessert experience even more special:
- Classic Scoops: The simplest and often best way to enjoy this ice cream is in a bowl, allowing the flavors to shine on their own.
- Ice Cream Sandwiches: Sandwich a scoop between two homemade pumpkin chocolate chip cookies or soft ginger snaps for a truly autumnal ice cream sandwich.
- Sugar Cones or Waffle Bowls: Serve it in crispy sugar cones or elegant waffle bowls for a delightful hand-held treat.
- Decadent Sundae: Create an epic sundae by topping your ice cream with warm caramel sauce, a dollop of whipped cream, a sprinkle of toasted pecans, and a drizzle of The BEST Homemade Hot Fudge Sauce.
- Pie Companion: Pair it with a slice of warm apple pie, pecan pie, or even a classic pumpkin pie for an extra layer of flavor and a comforting contrast of temperatures.
- Coffee or Hot Chocolate Enhancer: Add a scoop to a mug of hot coffee, espresso, or hot chocolate for a delightful and indulgent beverage.
Storage Solutions for Homemade Ice Cream
Proper storage is essential to keep your homemade Pumpkin Chocolate Chip Ice Cream tasting fresh and maintaining its creamy texture. Here’s how to store it effectively:
- Freezer Storage: Transfer the ice cream to an airtight container. This is crucial for preventing freezer burn and absorbing odors from other foods in your freezer. It will keep well in the freezer for up to 2 weeks, though it’s often best enjoyed within the first week for optimal freshness and texture.
- Preventing Ice Crystals: To keep the ice cream smooth and free of ice crystals, always press a piece of plastic wrap directly onto the surface of the ice cream before sealing the container with its lid. This barrier prevents air from reaching the surface, which is the main cause of ice crystal formation. As an alternative, you can also use parchment paper pressed onto the surface.
- Thawing for Serving: If the ice cream has been frozen for an extended period or overnight, it may become quite firm. For easier scooping and the best texture, let the ice cream sit at room temperature for about 5 to 10 minutes before you plan to serve it. This short period allows it to soften slightly, making it perfectly scoopable.
More Easy Homemade Ice Cream Recipes
If you’ve fallen in love with the simplicity and deliciousness of no-churn ice cream, there’s a whole world of flavors to explore! Expand your frozen dessert repertoire with these other fantastic and easy homemade ice cream recipes:
- Twix Ice Cream Recipe
- No Churn Strawberry Ice Cream Recipe
- Strawberry Cheesecake Ice Cream Recipe
- Hot Chocolate Ice Cream
- Birthday Cake Ice Cream Recipe
FAQ About No-Churn Pumpkin Chocolate Chip Ice Cream
Here are some common questions about making and enjoying this easy homemade pumpkin ice cream:
- What is “no-churn” ice cream?
No-churn ice cream is a type of homemade ice cream that doesn’t require an ice cream maker. It typically relies on whipped heavy cream folded with sweetened condensed milk to create a creamy base that freezes into a scoopable consistency. This method makes homemade ice cream accessible to everyone, regardless of equipment. - Can I use fresh pumpkin instead of canned puree?
While fresh pumpkin can be used, it needs to be cooked and pureed to a very smooth consistency first, then thoroughly drained of any excess moisture. Canned pumpkin puree is highly recommended for its convenience and consistent texture, which is crucial for the ice cream’s final smoothness. Make sure it’s 100% pure pumpkin, not pie filling. - Why is my no-churn ice cream icy?
Icy ice cream usually results from too much water content or not enough fat/sugar. Ensure you use heavy whipping cream (not half-and-half or milk), and sweetened condensed milk (do not substitute). Also, be careful not to overmix the ingredients once the pumpkin mixture is added, as this can deflate the whipped cream and lead to a less creamy texture. Covering the ice cream surface directly with plastic wrap during freezing also helps prevent ice crystals. - How long does homemade no-churn ice cream last?
When stored properly in an airtight container with plastic wrap pressed onto the surface, this ice cream typically lasts in the freezer for up to 2 weeks. Beyond that, its texture and flavor may start to degrade. - Can I make this recipe ahead of time for a party?
Absolutely! No-churn ice cream is perfect for making ahead. Prepare it a day or two before your event, ensuring it has ample time to freeze completely (preferably overnight). This allows you to serve a perfectly set, delicious dessert without any last-minute stress. - What kind of chocolate chips are best?
Semi-sweet chocolate chips offer a balanced flavor that complements pumpkin well. However, you can experiment with dark chocolate chips for a richer, more intense chocolate flavor, or milk chocolate chips for a sweeter, milder taste. Mini chocolate chips can also be used for a more even distribution throughout the ice cream.
We invite you to try this easy pumpkin chocolate chip ice cream recipe and experience the cozy flavors of fall in a refreshing new way. We can’t wait for you to share your thoughts in the comments below!
Pin
Pumpkin Chocolate Chip Ice Cream
Equipment
- Large mixing bowl
- Electric hand mixer
- 9×5 inch loaf pan
- Plastic wrap
- Ice cream scoop
- Large spoon or spatula
Ingredients
- 2 cups heavy whipping cream
- 14 ounce sweetened condensed milk
- 1 cup pumpkin puree
- ½ tablespoon pumpkin pie spice
- 1 cup semi-sweet chocolate chips
Instructions
- In a large mixing bowl, use an electric hand mixer to whip the heavy cream until stiff peaks form. This means the cream should hold its shape when you lift the beaters.
- Gently fold in the pumpkin pie spice, pumpkin puree, and sweetened condensed milk into the whipped cream. Mix until just combined, taking care not to deflate the airy cream.
- Using a large spatula or spoon, carefully fold in the semi-sweet chocolate chips until they are evenly distributed throughout the pumpkin mixture.
- Pour the ice cream mixture into a 9×5 inch loaf pan or a medium glass dish. Cover the surface directly with plastic wrap, then place it in the freezer for at least 5 hours, or preferably overnight, to set completely.
- Once firm, scoop and serve your delicious homemade Pumpkin Chocolate Chip Ice Cream. Enjoy!
Recipe Notes
To maintain the creamy texture, avoid overmixing the pumpkin puree and condensed milk into the whipped cream; mix only until just combined to preserve air. For an alternative, you can create your own pumpkin pie spice by combining equal parts cinnamon, cloves, nutmeg, and ginger. Feel free to substitute semi-sweet chocolate chips with dark chocolate chips for a richer flavor.
The sweetened condensed milk is essential not only for sweetness but also for contributing to the creamy, velvety texture by inhibiting ice crystal formation. Ensure you use pure canned pumpkin puree, not pumpkin pie filling, for the best flavor and consistency.
Nutrition Facts
Pin This Now to Remember It Later
Pin Recipe
