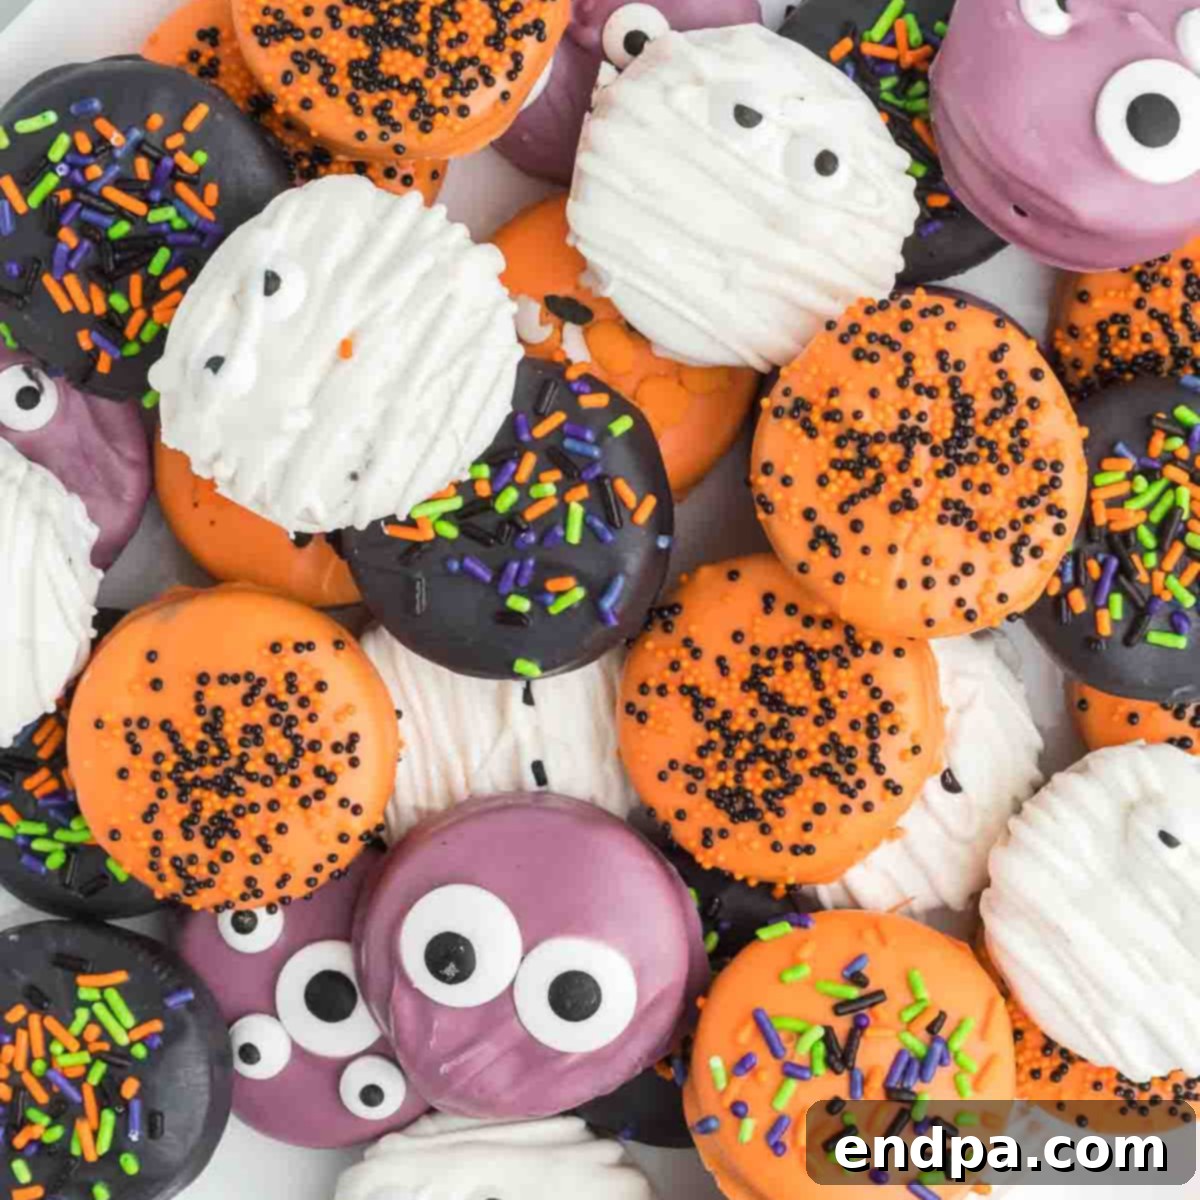
Halloween Chocolate Covered Oreos are the ultimate festive and fun treat for the spooky season. This incredibly simple, no-bake dessert is perfect for anyone looking to add a touch of Halloween magic to their celebrations without spending hours in the kitchen. In just minutes, you can transform ordinary Oreo cookies into eye-catching, delicious masterpieces that will delight both kids and adults alike. Whether you’re aiming for spooky monsters, cute mummies, or vibrantly colored delights, this recipe offers endless possibilities for creative expression.
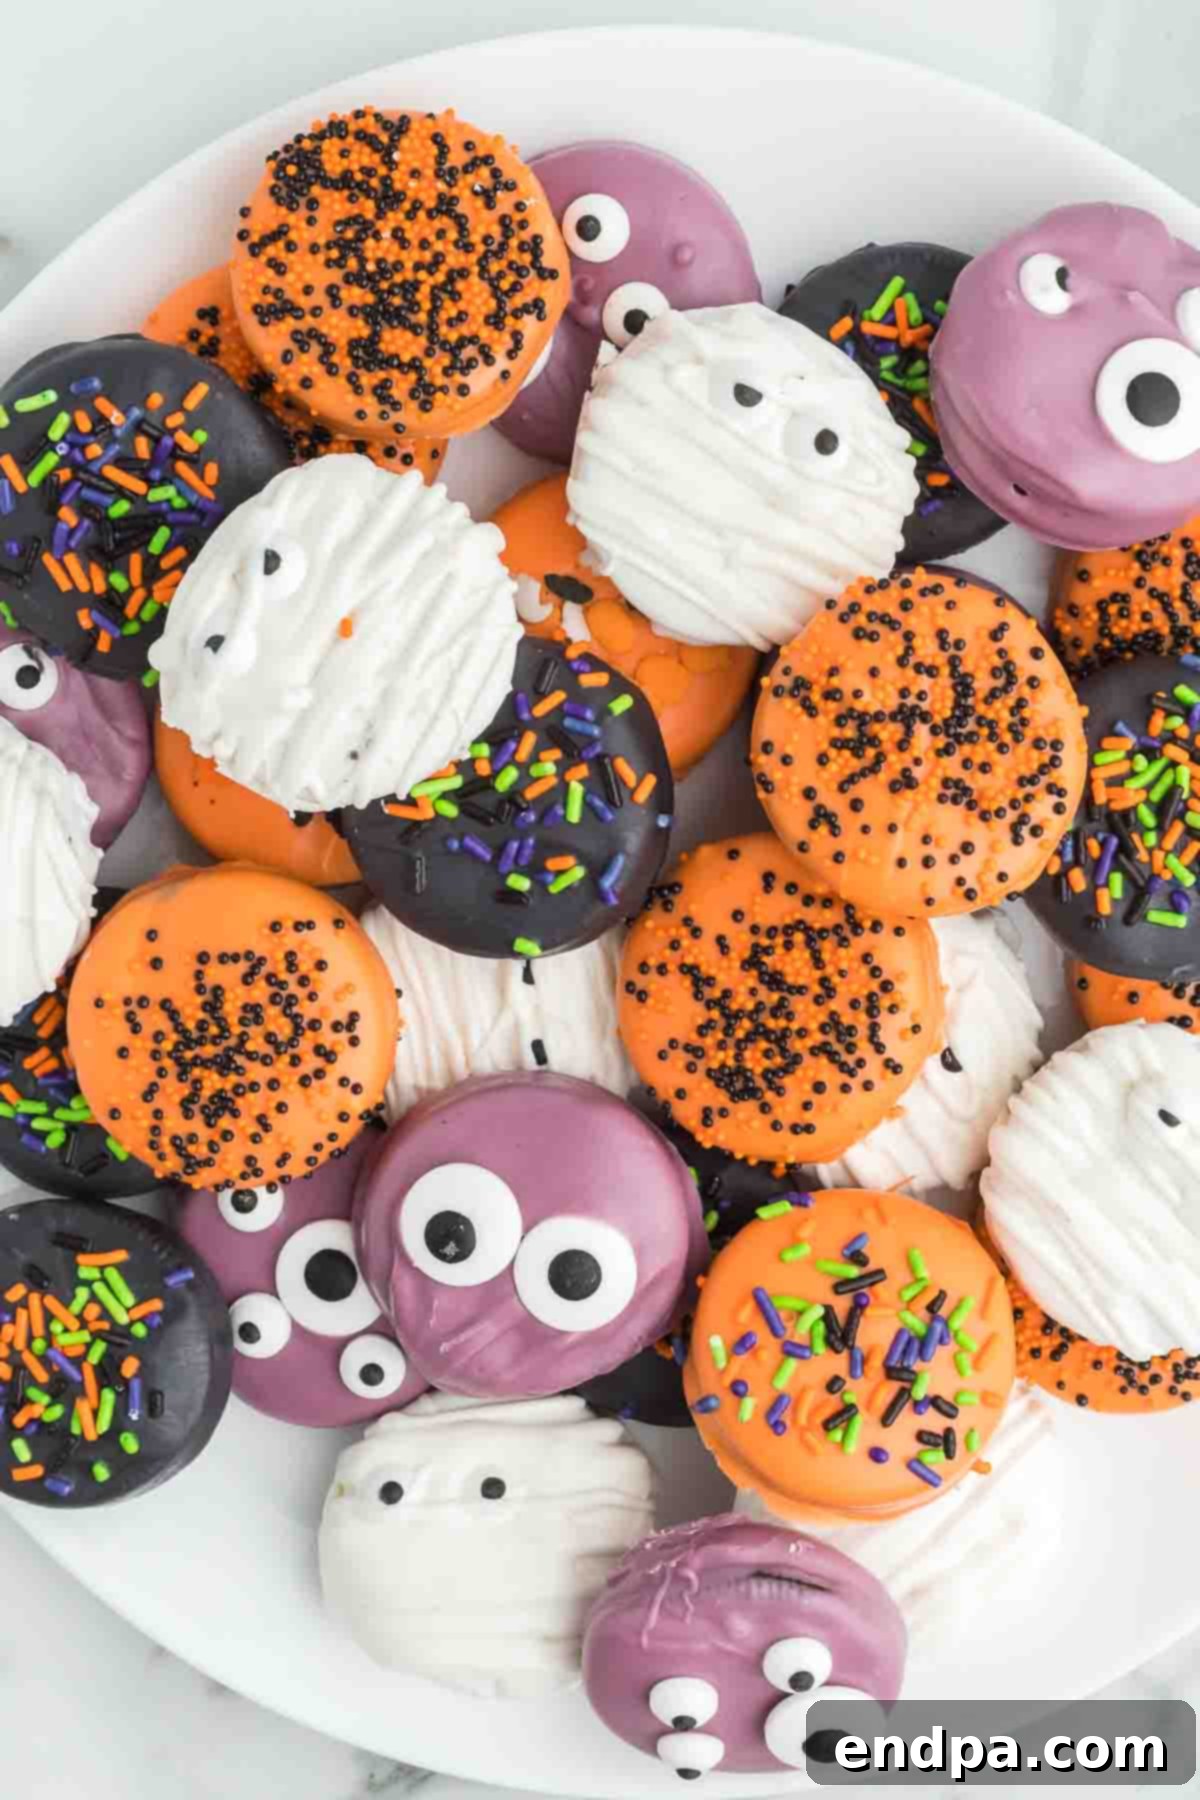
These chocolate-covered Oreos are not only a joy to eat but also incredibly easy to prepare, making them an ideal activity for family fun. With just a few ingredients, you can conjure up a variety of designs, from wickedly spooky to adorably cute. If you’re planning to host a Halloween party, this recipe doubles as a fantastic interactive activity that guests of all ages can enjoy. Imagine the laughter and creativity as everyone dips, decorates, and devours their custom spooky treats!
Making Halloween Chocolate Covered Oreos has become a beloved tradition in our home, much like preparing any of our favorite no-bake Halloween treats. The anticipation from the kids to help out each year is palpable, creating cherished family memories. If you share our love for hassle-free, no-bake desserts, you’ll definitely want to explore other delightful recipes such as Halloween Dirt Cups, Monster Donuts, or Easy Halloween Witch Hats. Each offers a unique way to celebrate the season with minimal effort and maximum flavor.
For those who enjoy a bit of baking, we also recommend trying our Halloween Cake Pops or The Best Monster Cupcakes Recipe, which are equally enchanting and perfect for adding to your Halloween dessert spread.
Table of Contents
- Why You’ll Adore This Easy Recipe
- Essential Ingredients for Your Spooky Oreos
- Creative Variations & Topping Ideas
- Step-by-Step Guide to Dipping and Decorating
- How to Make Spooky Monster Halloween Oreos
- How to Create Adorable Mummy Chocolate Covered Oreos
- Expert Decorating Tips for Perfect Oreos
- Storage Best Practices
- More Must-Try Halloween Desserts
- Halloween Chocolate Covered Oreos Recipe Card
Why You’ll Adore This Easy Recipe
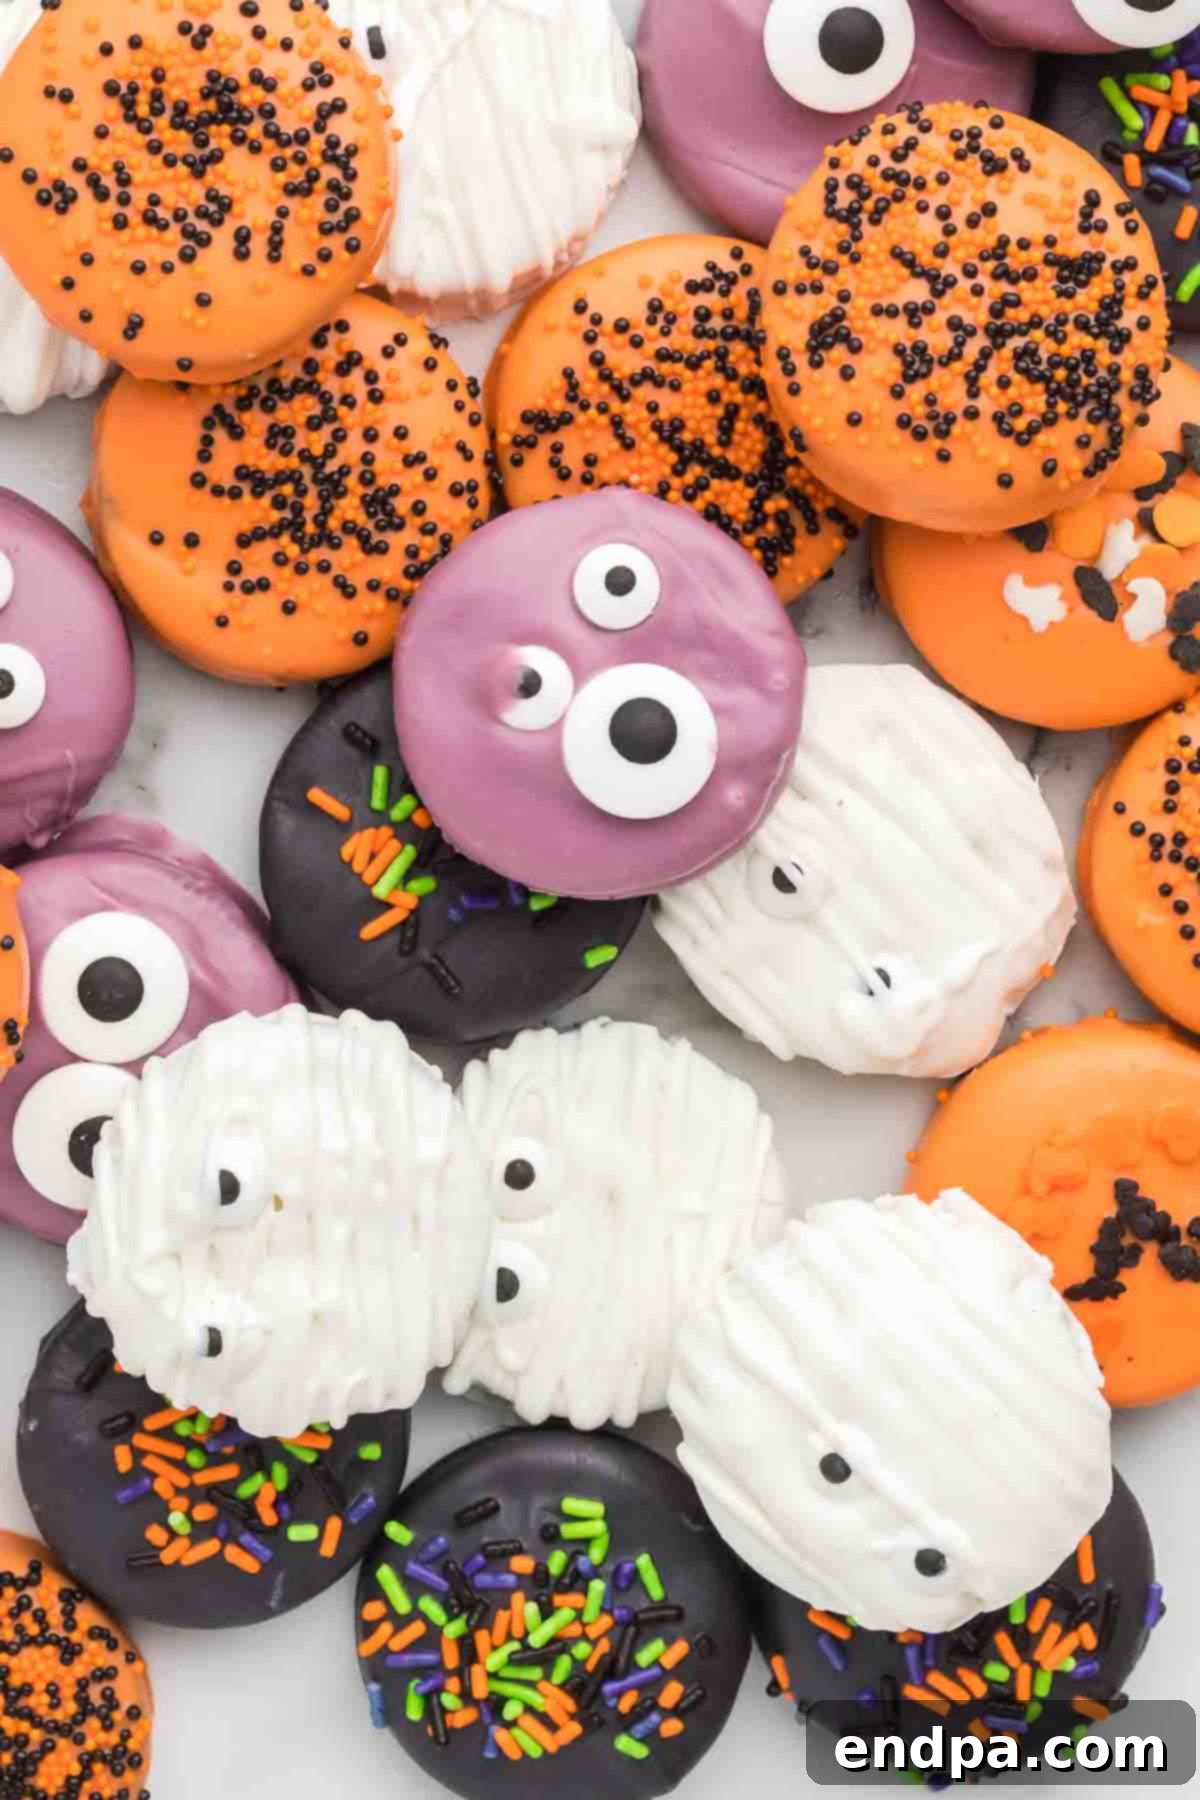
We absolutely love making Halloween Chocolate Covered Oreos because the recipe is incredibly straightforward and allows for a wide array of creative variations. It’s astonishingly easy to craft charming Mummy Oreos or fun Monster Oreos, transforming simple cookies into delightful Halloween characters. Beyond the themed creations, we also enjoy simply topping some with a generous sprinkle of festive Halloween sprinkles for a burst of color and crunch.
This recipe truly stands out as a fantastic choice if you’re seeking a budget-friendly Halloween treat that doesn’t compromise on fun or flavor. The ingredients are readily available, and the process is so quick that you can whip up a large batch for a party or a smaller one for a family movie night with minimal effort. It’s the perfect blend of simplicity, versatility, and seasonal cheer!
Essential Ingredients for Your Spooky Oreos
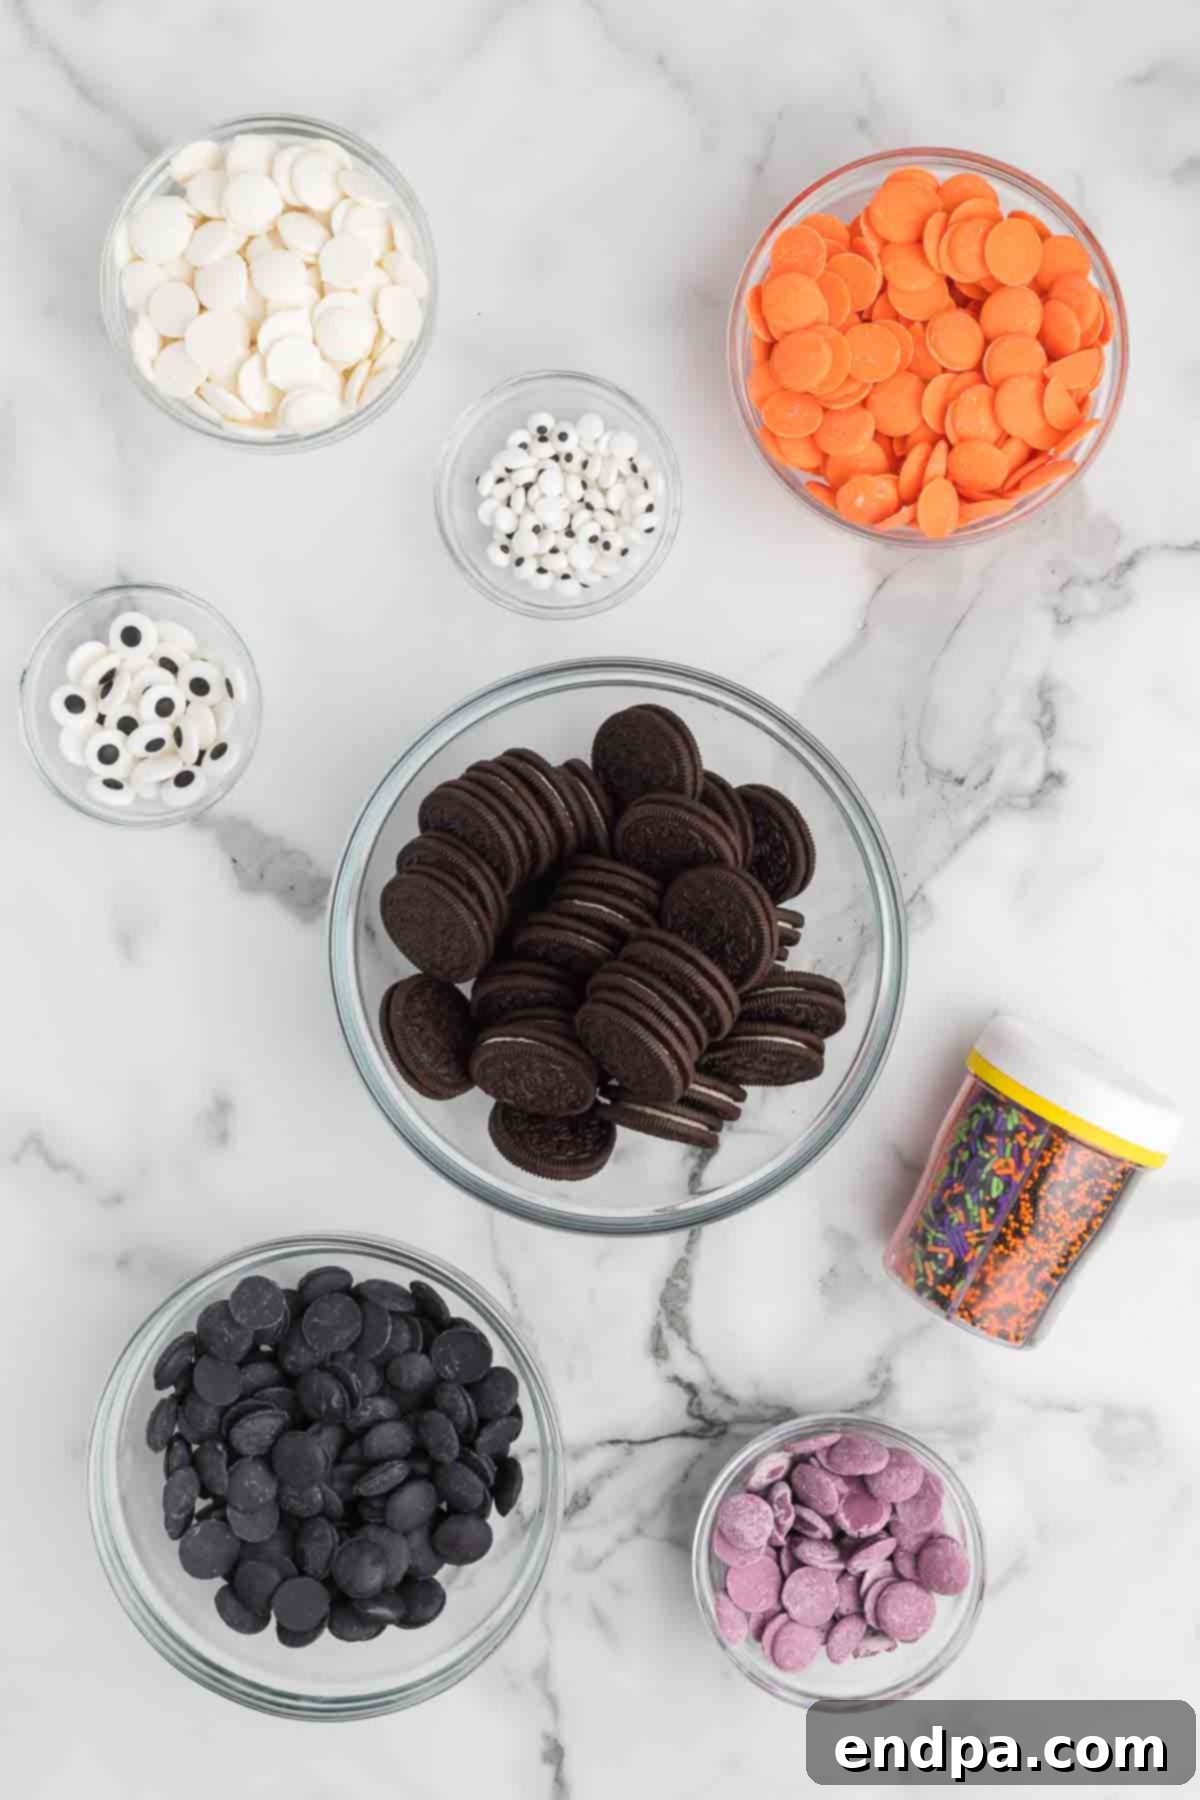
- Oreo Cookies: For the best results, we recommend using regular Oreo cookies. While double-stuffed Oreos are delicious, their thicker cream filling can sometimes make them a bit more challenging to dip and fully coat evenly in candy melts.
- Candy Melts: You’ll want an assortment of festive colors to bring your Halloween creations to life. We typically use White, Black, Orange, and Purple candy melts. These vibrant colors are usually easy to find in the baking aisle of your local craft store or supermarket, especially during the Halloween season. Candy melts provide a smooth, easy-to-work-with coating that sets quickly and beautifully.
- Halloween Sprinkles: Unleash your creativity with a variety of Halloween-themed sprinkles! Whether you prefer classic orange and black jimmies, spooky bat shapes, or ghastly ghost figures, choose any type that will make your cookies extra festive and fun.
- Candy Eyes: These are absolutely essential for giving your monster and mummy Oreos their unique, often comical, personalities. They instantly complete the look and add that special touch of whimsy and spookiness that makes these treats so irresistible.
For a detailed list of quantities and the full recipe instructions, please scroll down to the recipe card at the bottom of this post.
Creative Variations & Topping Ideas
The beauty of Halloween Chocolate Covered Oreos lies in their adaptability. You can easily customize this recipe to suit your taste, theme, or the ingredients you have on hand. Here are some fantastic ideas to inspire your next batch of spooky treats:
- Alternative Chocolate Coatings: Instead of candy melts, you can certainly use chocolate chips for dipping. Melted chocolate is always a delicious choice! Feel free to use milk chocolate, semi-sweet chocolate, or even dark chocolate for a richer flavor profile. Ensure you temper the chocolate properly for a smooth, shiny finish, or simply melt it carefully for a rustic look.
- Oreo Cookie Varieties: Don’t limit yourself to just traditional Oreos! Experiment with different types of Oreo cookies to add unique flavors and textures. Some delectable ideas include Golden Oreos for a vanilla base, Peanut Butter Oreos for a nutty twist, or even Mint Oreos for a surprising flavor combination. Double Stuffed Oreos can also be used if you prefer a thicker cookie.
- Exciting Toppings: The possibilities for toppings are virtually endless! While Halloween sprinkles and candy eyes are classics, consider other fun additions like crushed cookie pieces (from different flavored Oreos!), pretzel bits for a sweet and salty crunch, mini chocolate chips, chopped nuts, or even candy corn for an extra festive touch. You could also drizzle contrasting colored candy melts over the top for an artistic finish.
- Experiment with Candy Melt Colors: Beyond the traditional orange, black, white, and purple, explore other vibrant candy melt colors. Green could be used for slime-themed Oreos or Frankenstein monsters, while bright yellow could create glowing ghoulish cookies. Mixing and matching colors can lead to endless new creations.
- Food Coloring Fun: If you’re using white chocolate or white candy melts, food coloring can be your best friend. Use oil-based food coloring (specifically designed for chocolate) to dye your white chocolate any color you desire. You can then drizzle these colored chocolates on top of your dipped cookies for intricate patterns, or even create marbled effects.
Step-by-Step Guide to Dipping and Decorating
Making Halloween Chocolate Covered Oreos is a straightforward process, perfect for engaging aspiring young chefs. Follow these simple steps to create your delightful spooky treats:
- Step 1: Prepare Your Workspace. Begin by lining a baking sheet with parchment paper or wax paper. This crucial step prevents the dipped Oreos from sticking and makes for easy cleanup once they’ve set.
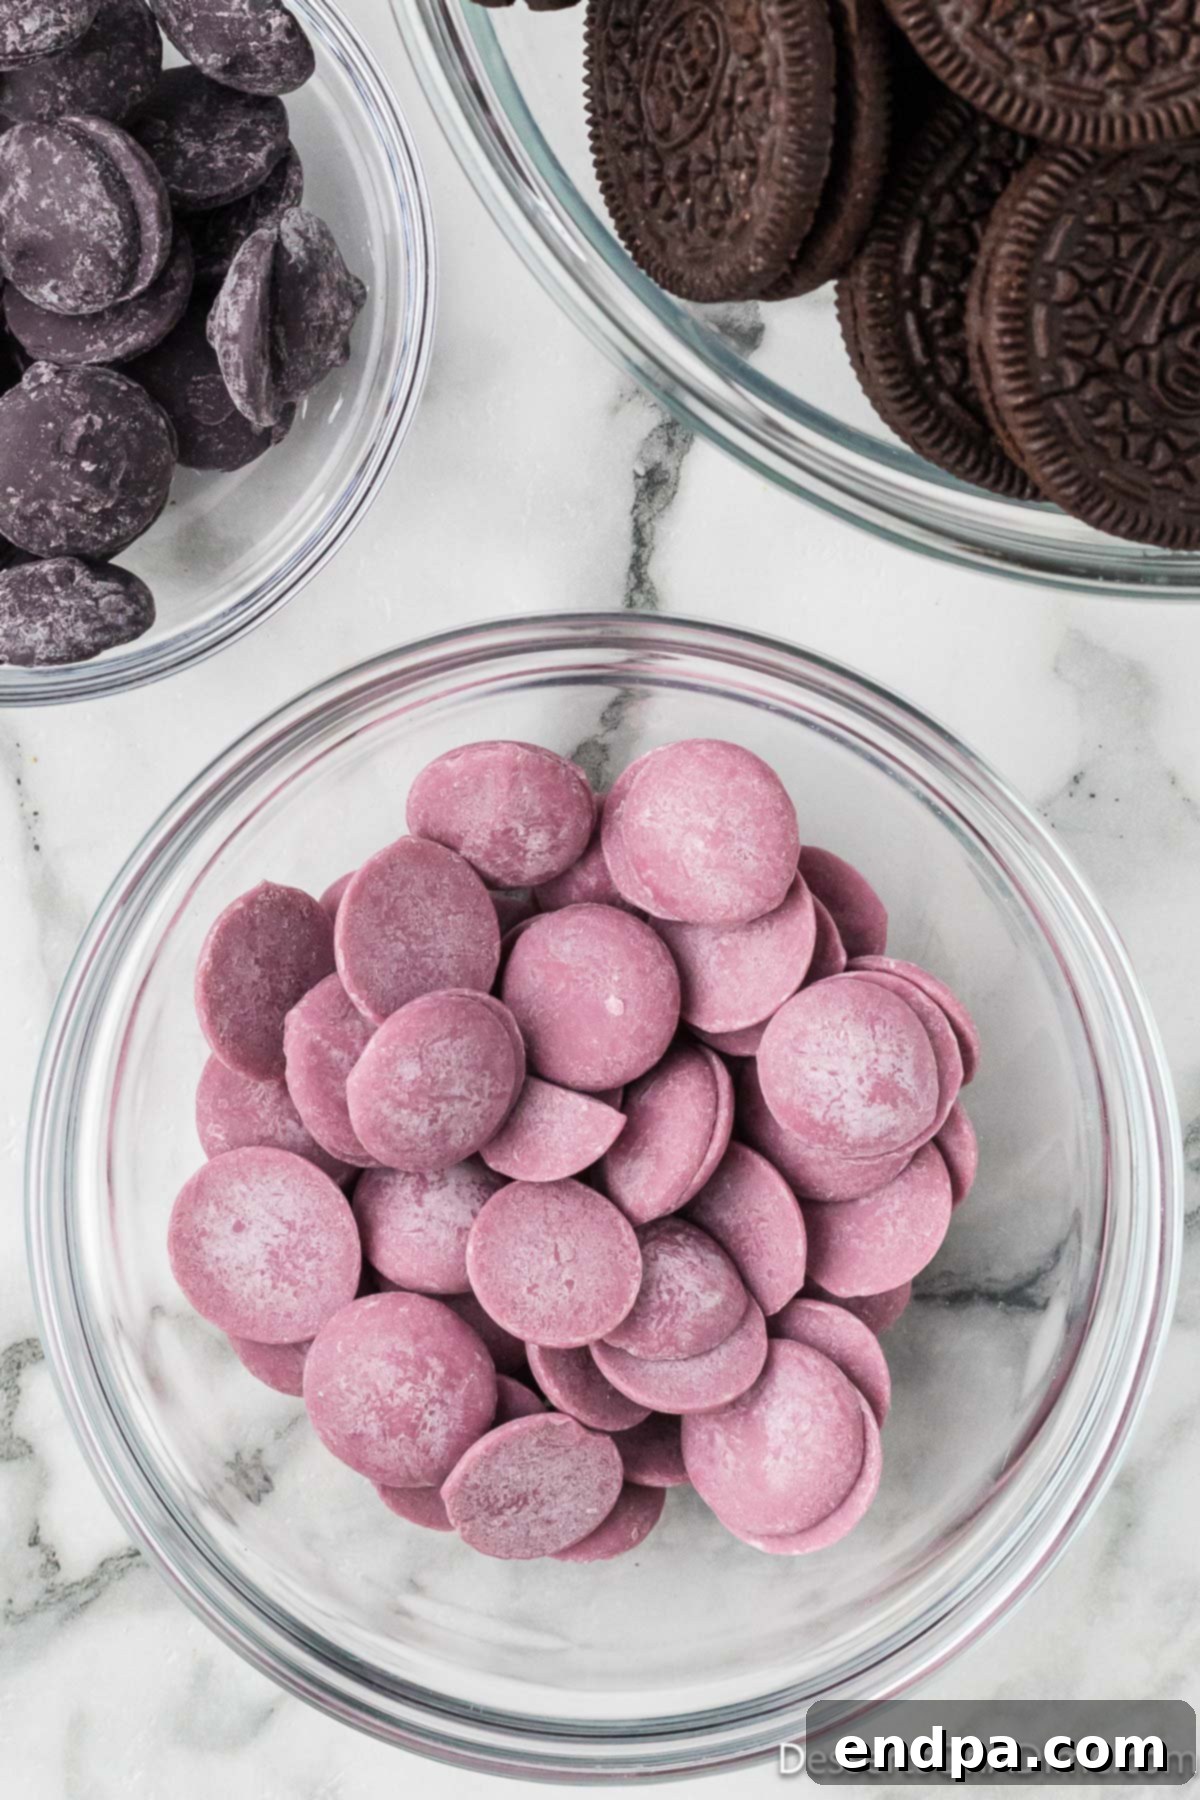
Step 2: Ready the Candy Melts. You will need several microwave-safe bowls, one for each color of candy melts you plan to use. Place each color of candy melts into its own separate bowl, ensuring no colors mix at this stage.
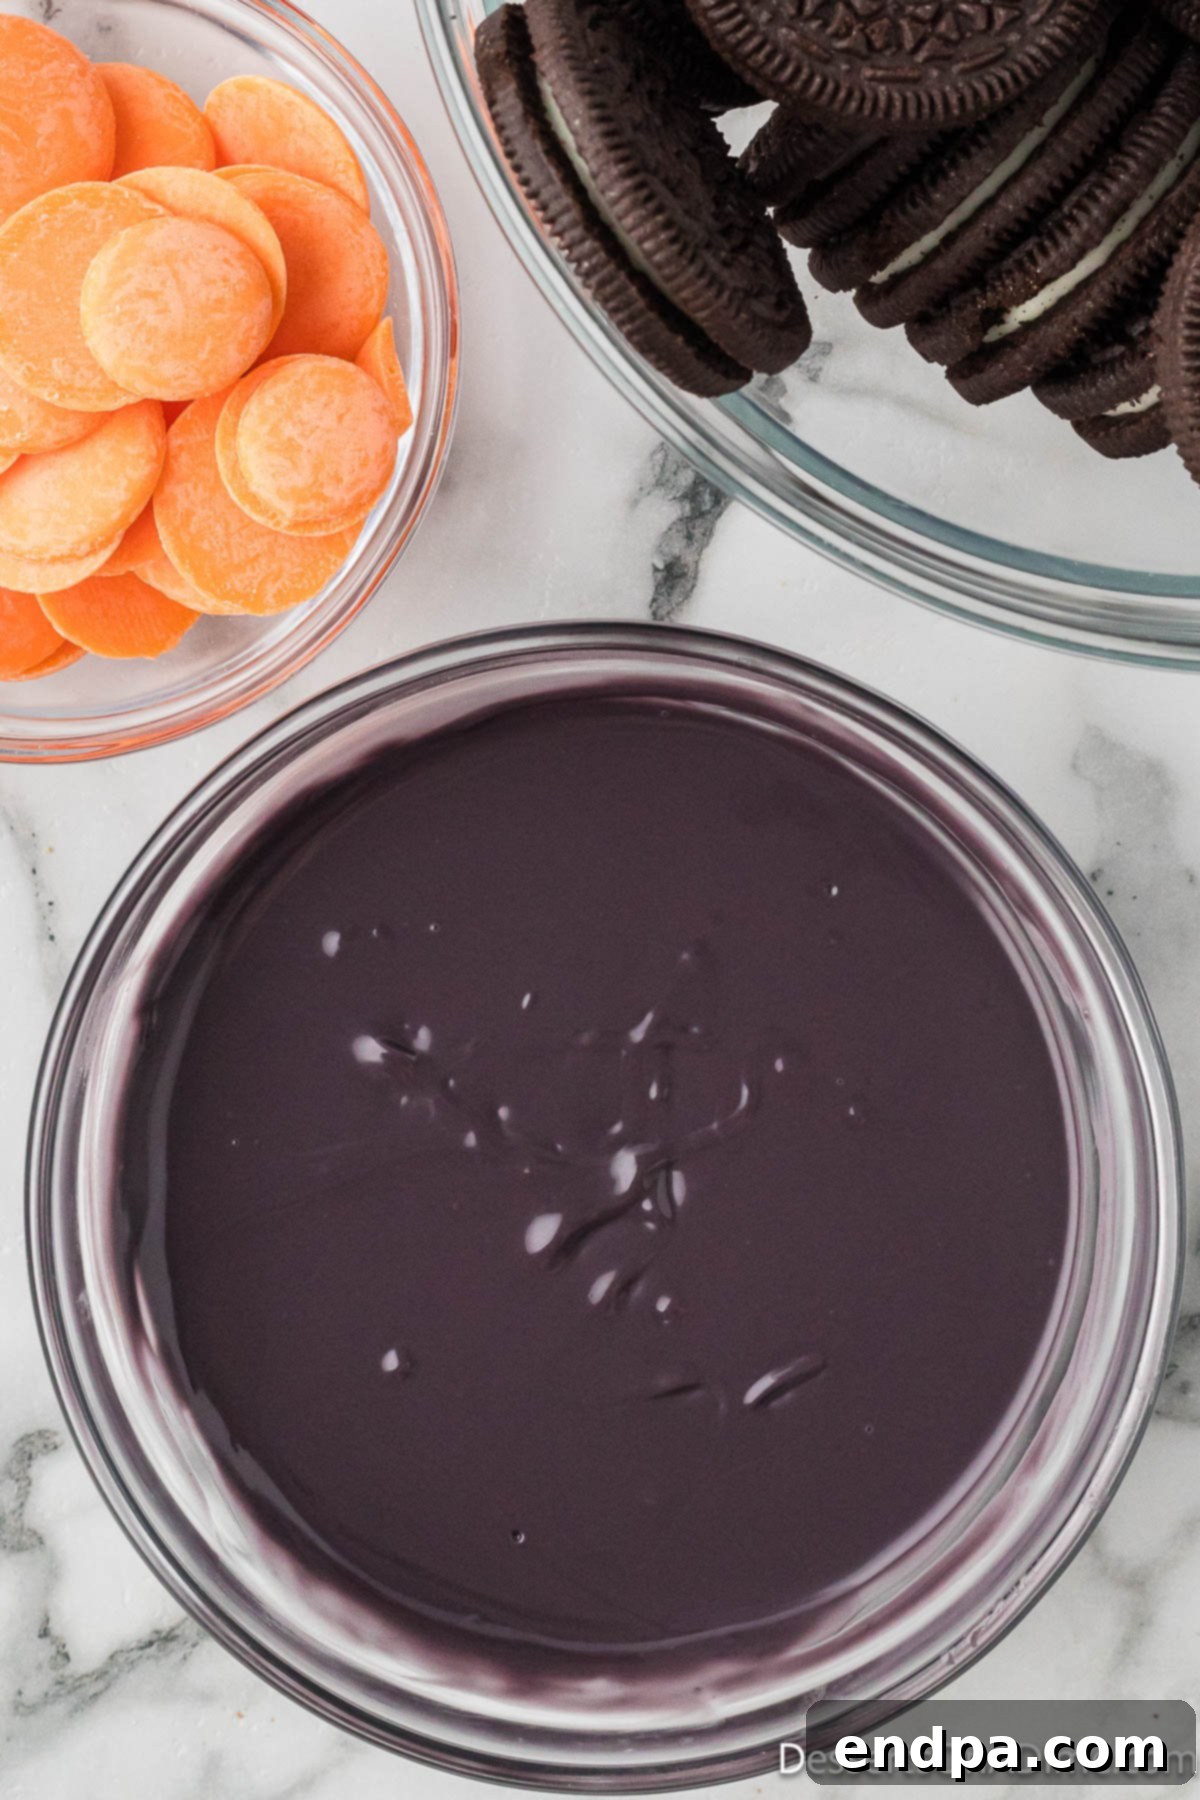
Step 3: Melt the Candy. Heat the candy melts in the microwave in 30-second intervals. After each interval, remove the bowl and stir thoroughly. Continue this process until the candy melts are completely smooth and melted, being very careful not to overheat them, which can cause them to seize.
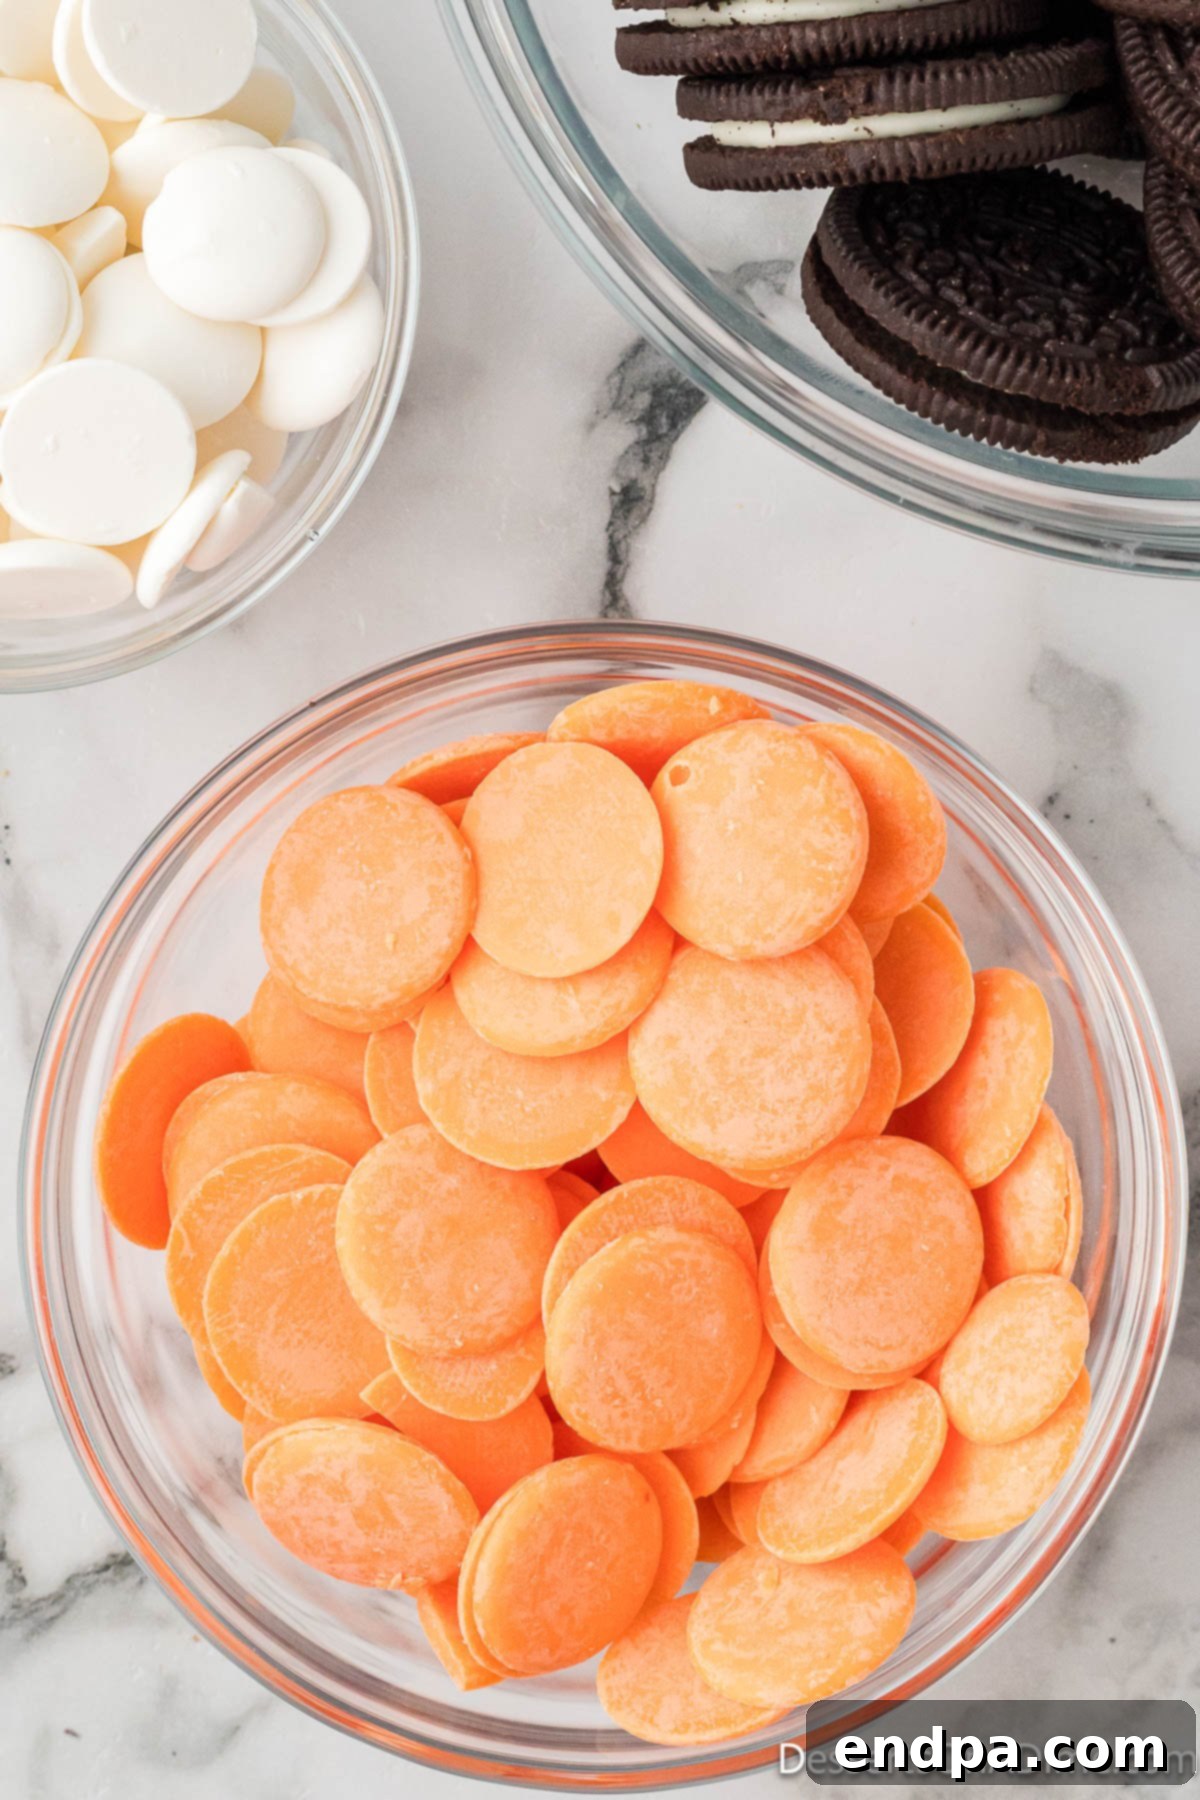
Step 4: Repeat for All Colors. Continue melting all the different colors of candy melts you plan to use, following the same 30-second interval method to ensure they are all perfectly smooth and ready for dipping.
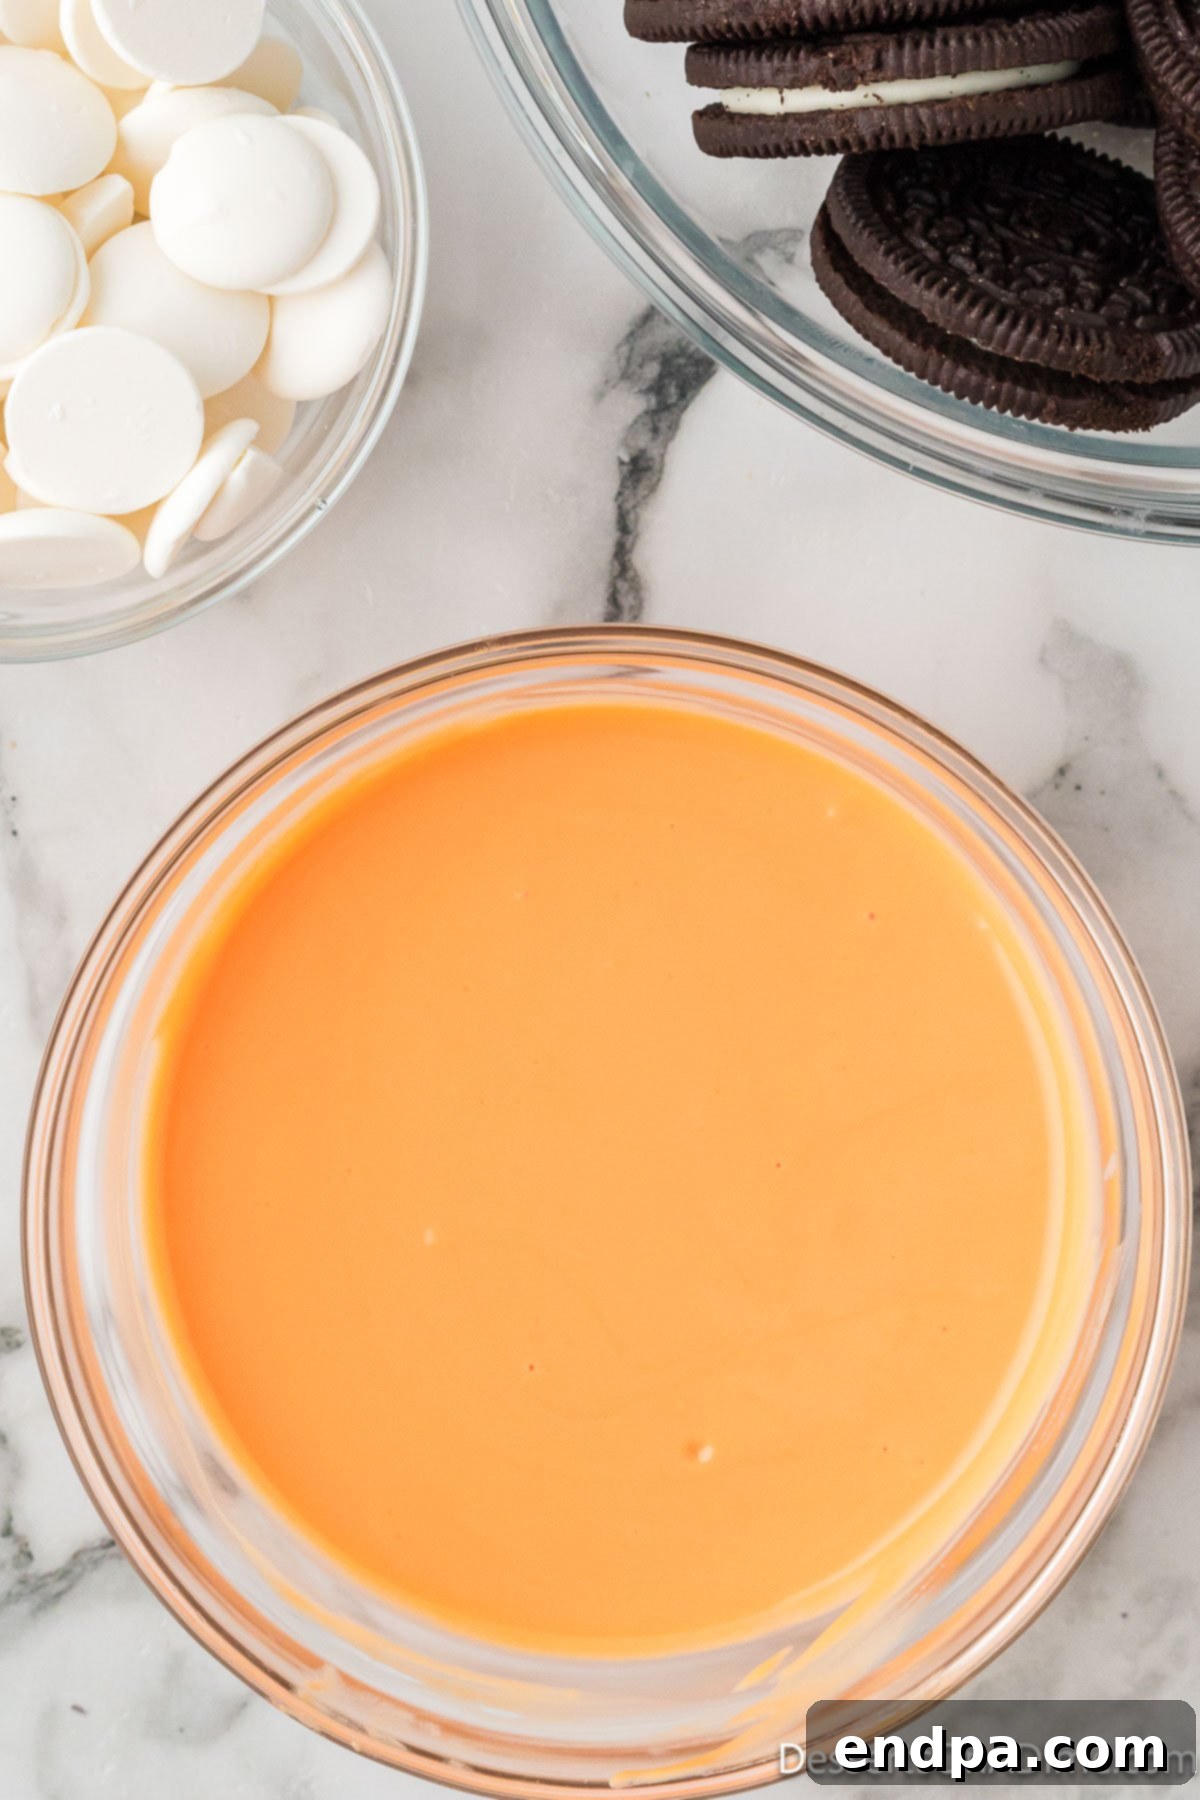
Step 5: Ensure Smooth Consistency. Heat in intervals of 30 seconds, stirring consistently, until each bowl of candy melts is completely and uniformly melted, with no lumps remaining. Maintain a keen eye to avoid scorching.
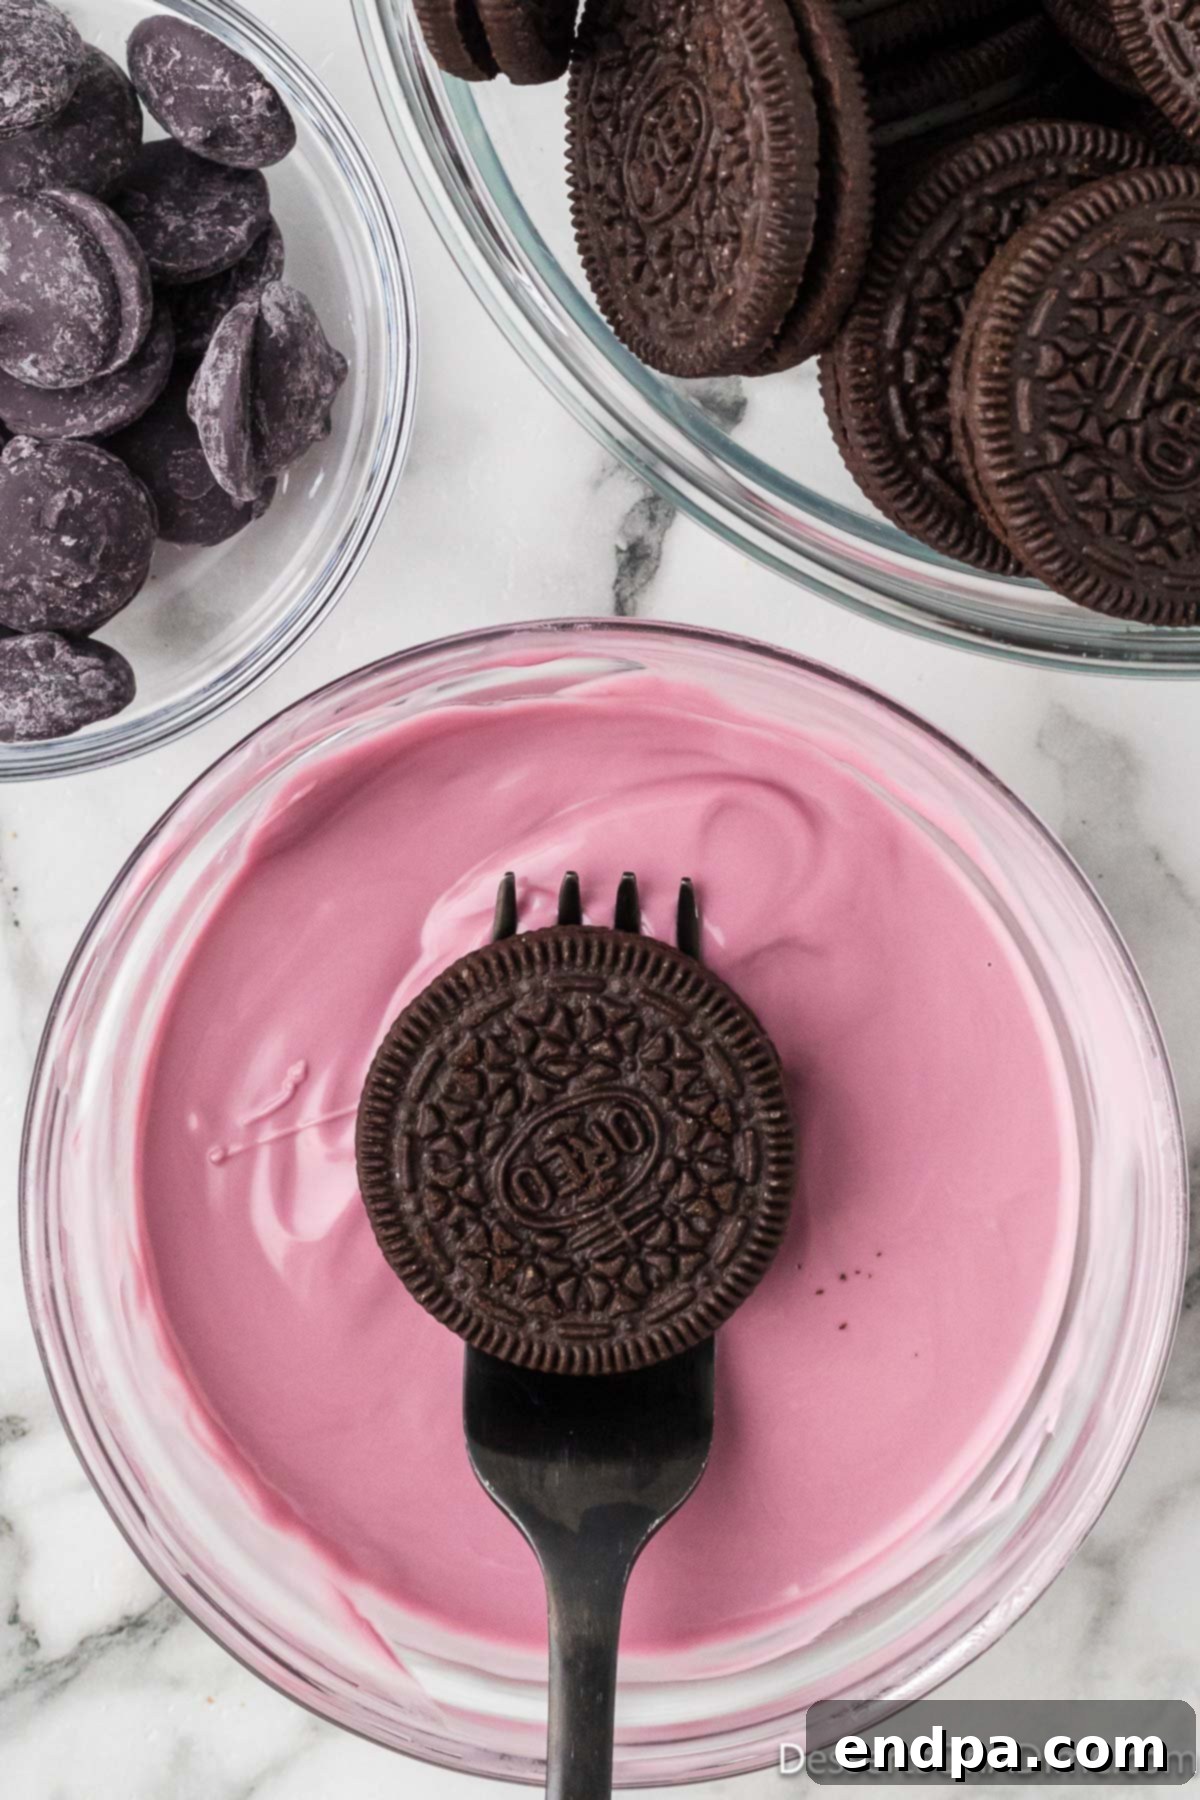
Step 6: Dip the Oreos. Begin the dipping process! Carefully place an Oreo cookie into the melted candy. Use a fork or a dipping tool to fully submerge the Oreo and then gently lift it out, allowing excess coating to drip off.
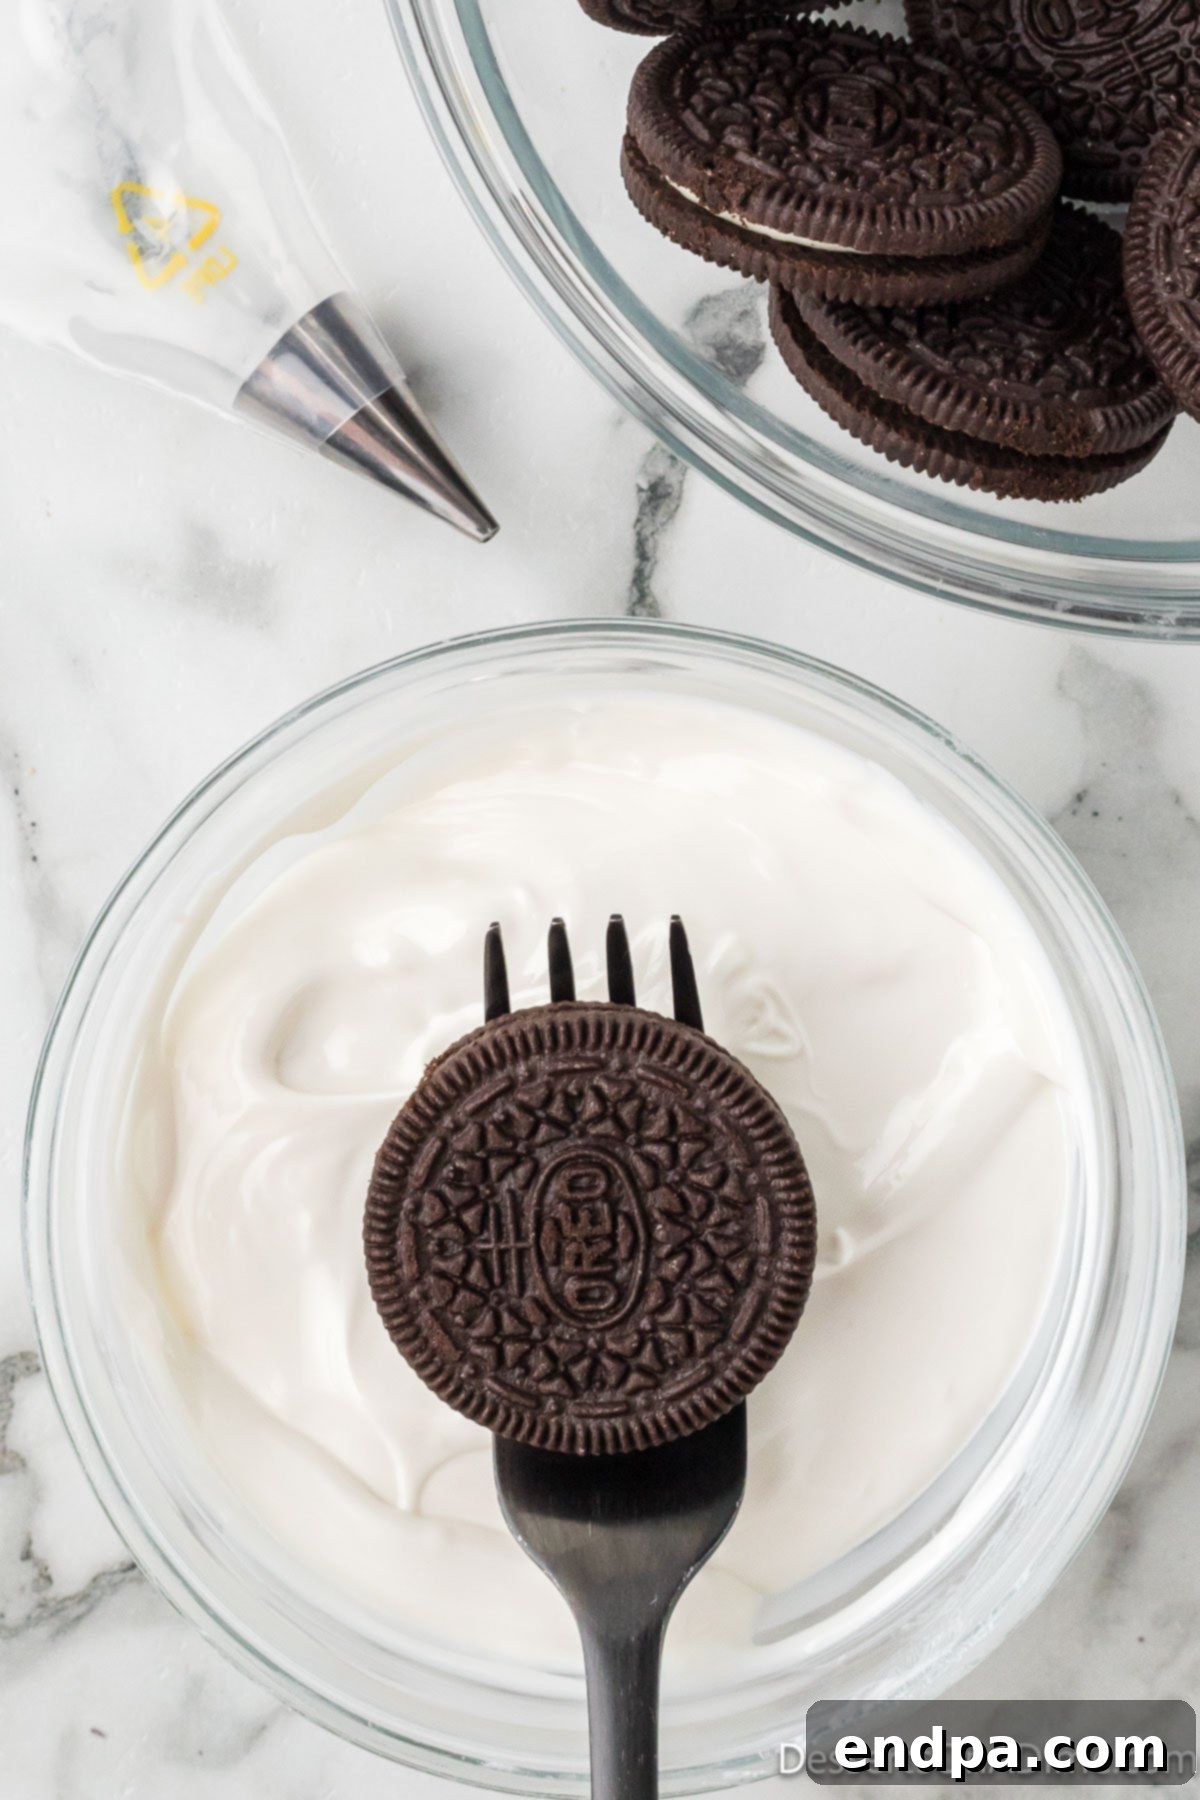
Step 7: Vary the Colors. Continue to dip the remaining Oreos into all the different colors of melted candy melts. This creates a vibrant assortment of treats, perfect for any Halloween spread.
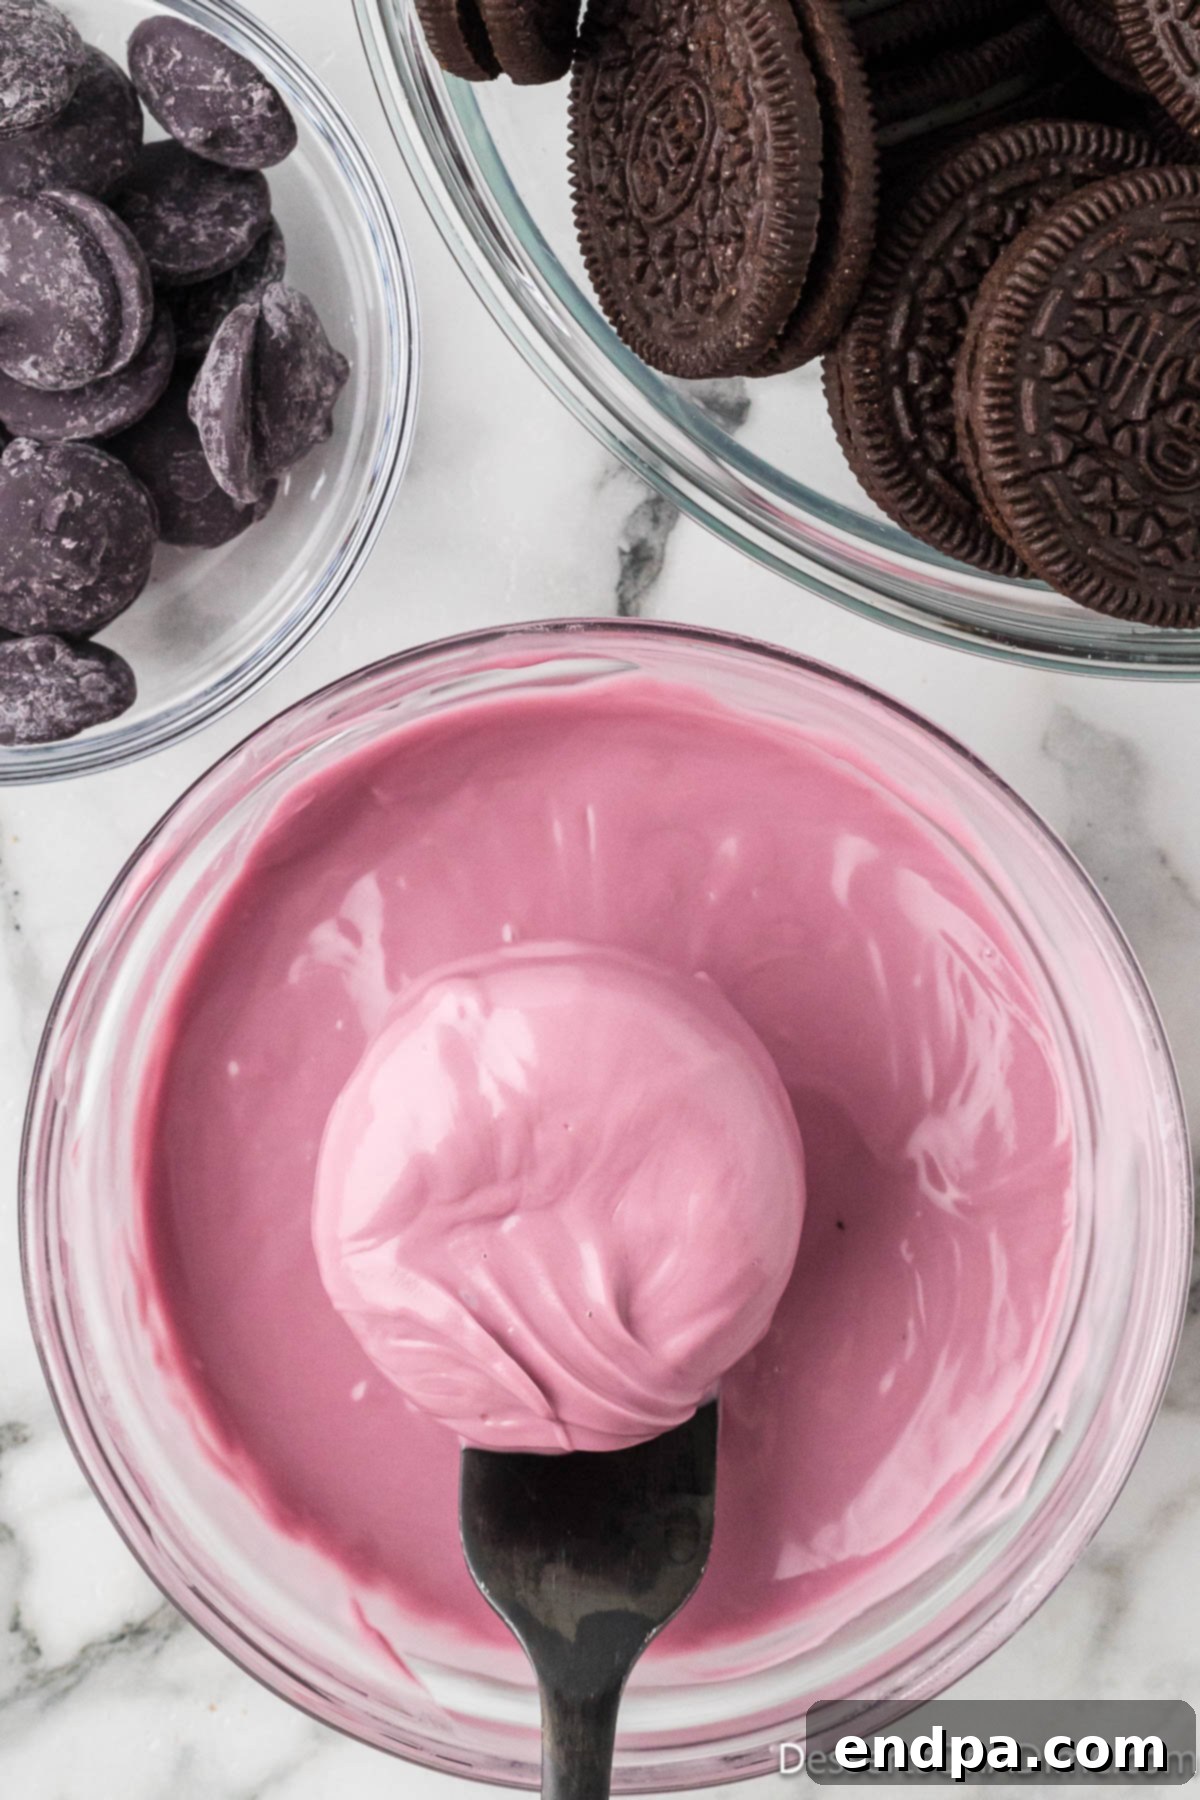
Step 8: Remove Excess Coating. While the Oreo is still on the fork, gently tap the fork against the side of the bowl. This helps to remove any excess candy coating, ensuring a smooth and even finish on your cookie.
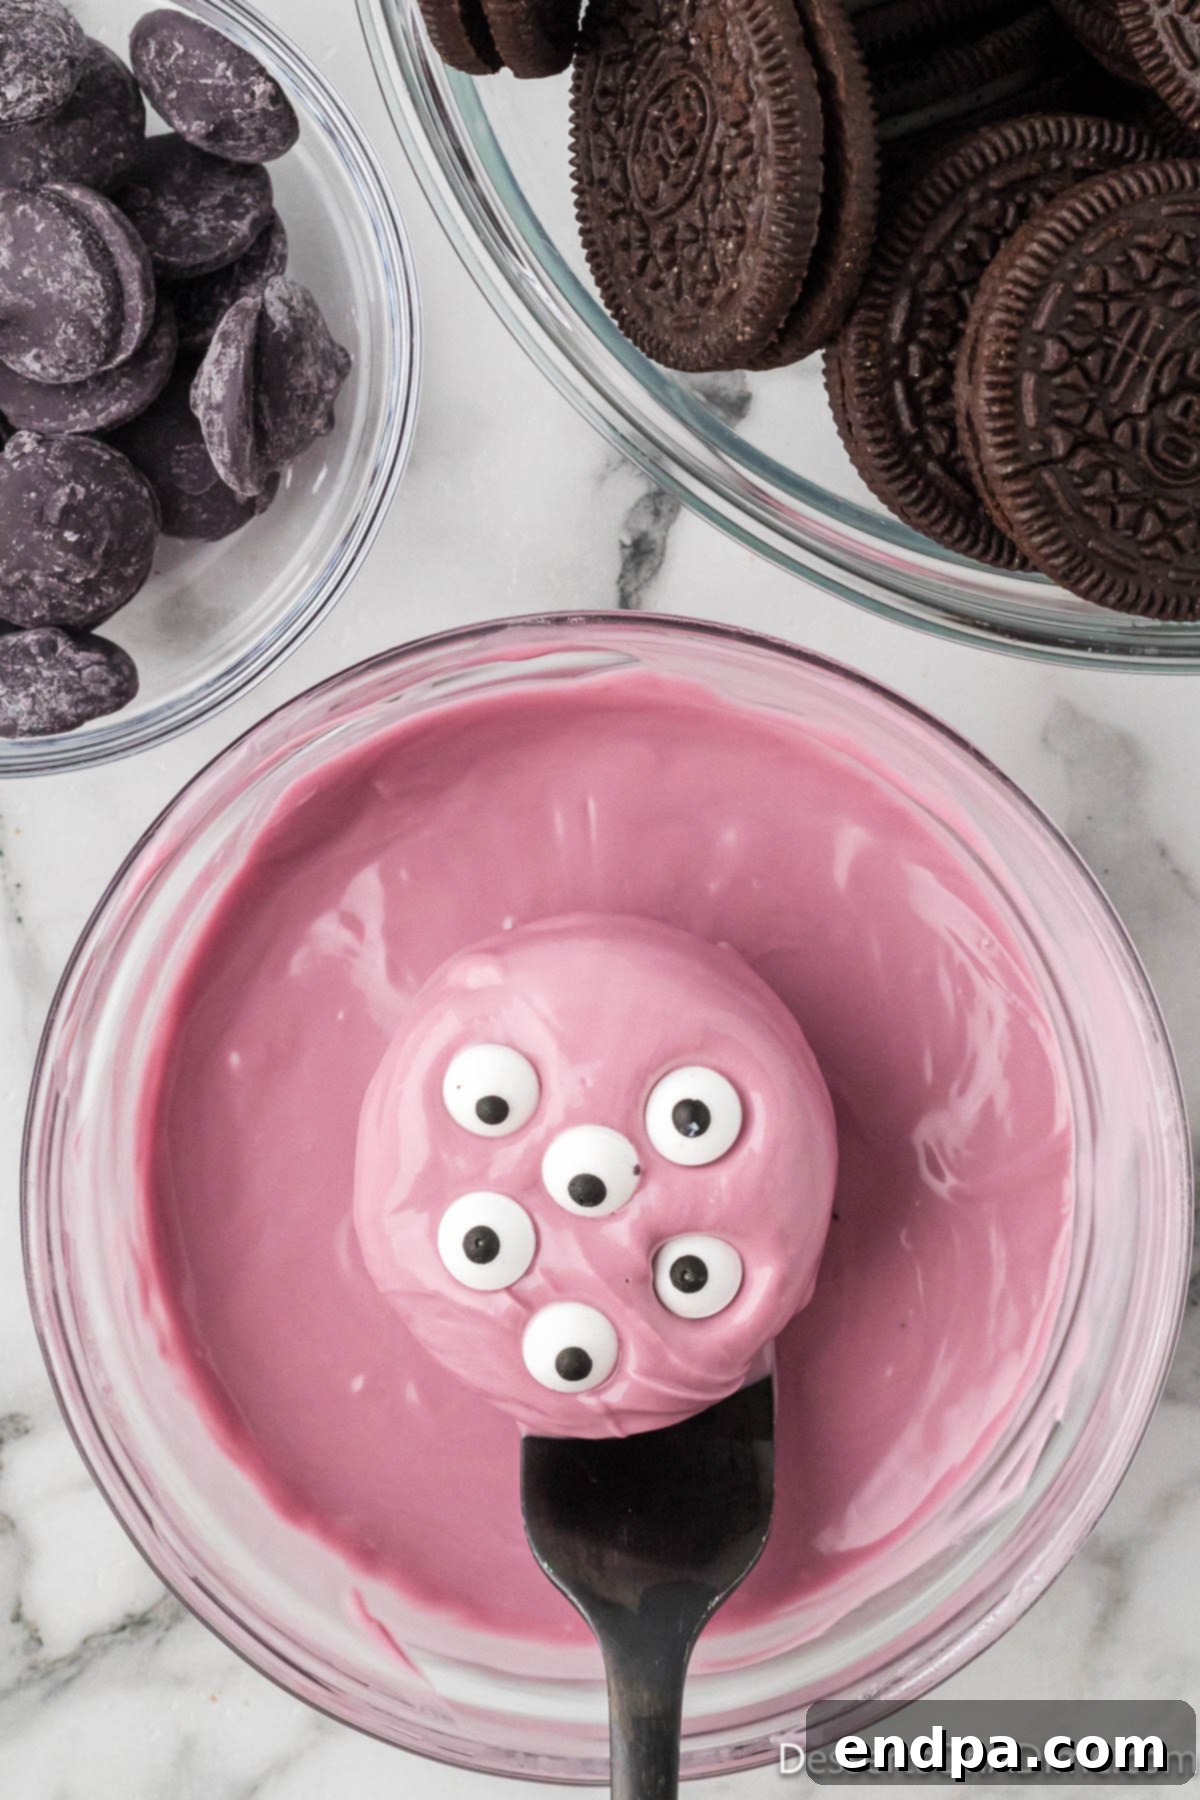
Step 9: Add Toppings Promptly. Immediately after dipping, place the Oreos onto your prepared baking sheet. While the candy coating is still wet, swiftly add your chosen toppings, such as candy eyes. If you wait too long, the coating will set, and the toppings won’t stick.
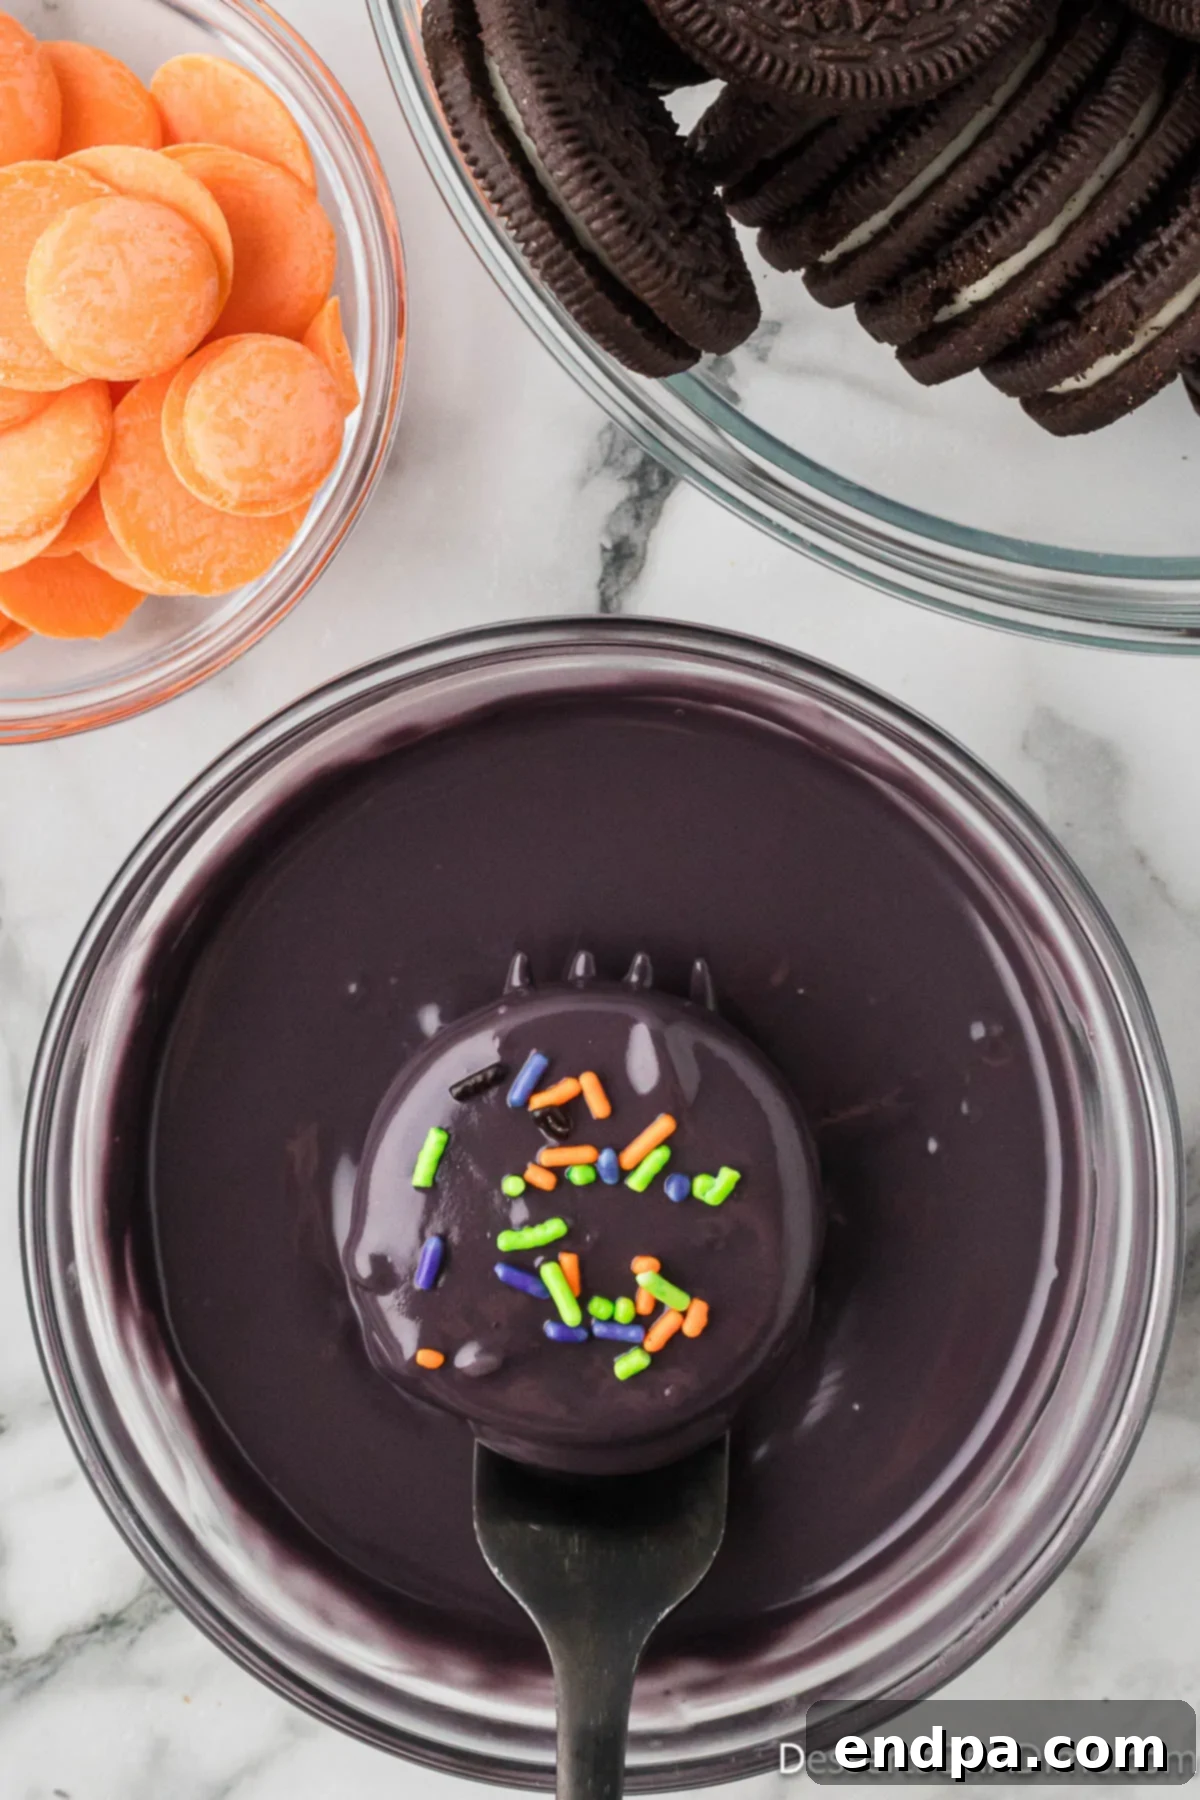
Step 10: Sprinkle Generously. For some cookies, liberally apply Halloween sprinkles while the coating is still tacky. These add a fantastic texture and a burst of color.
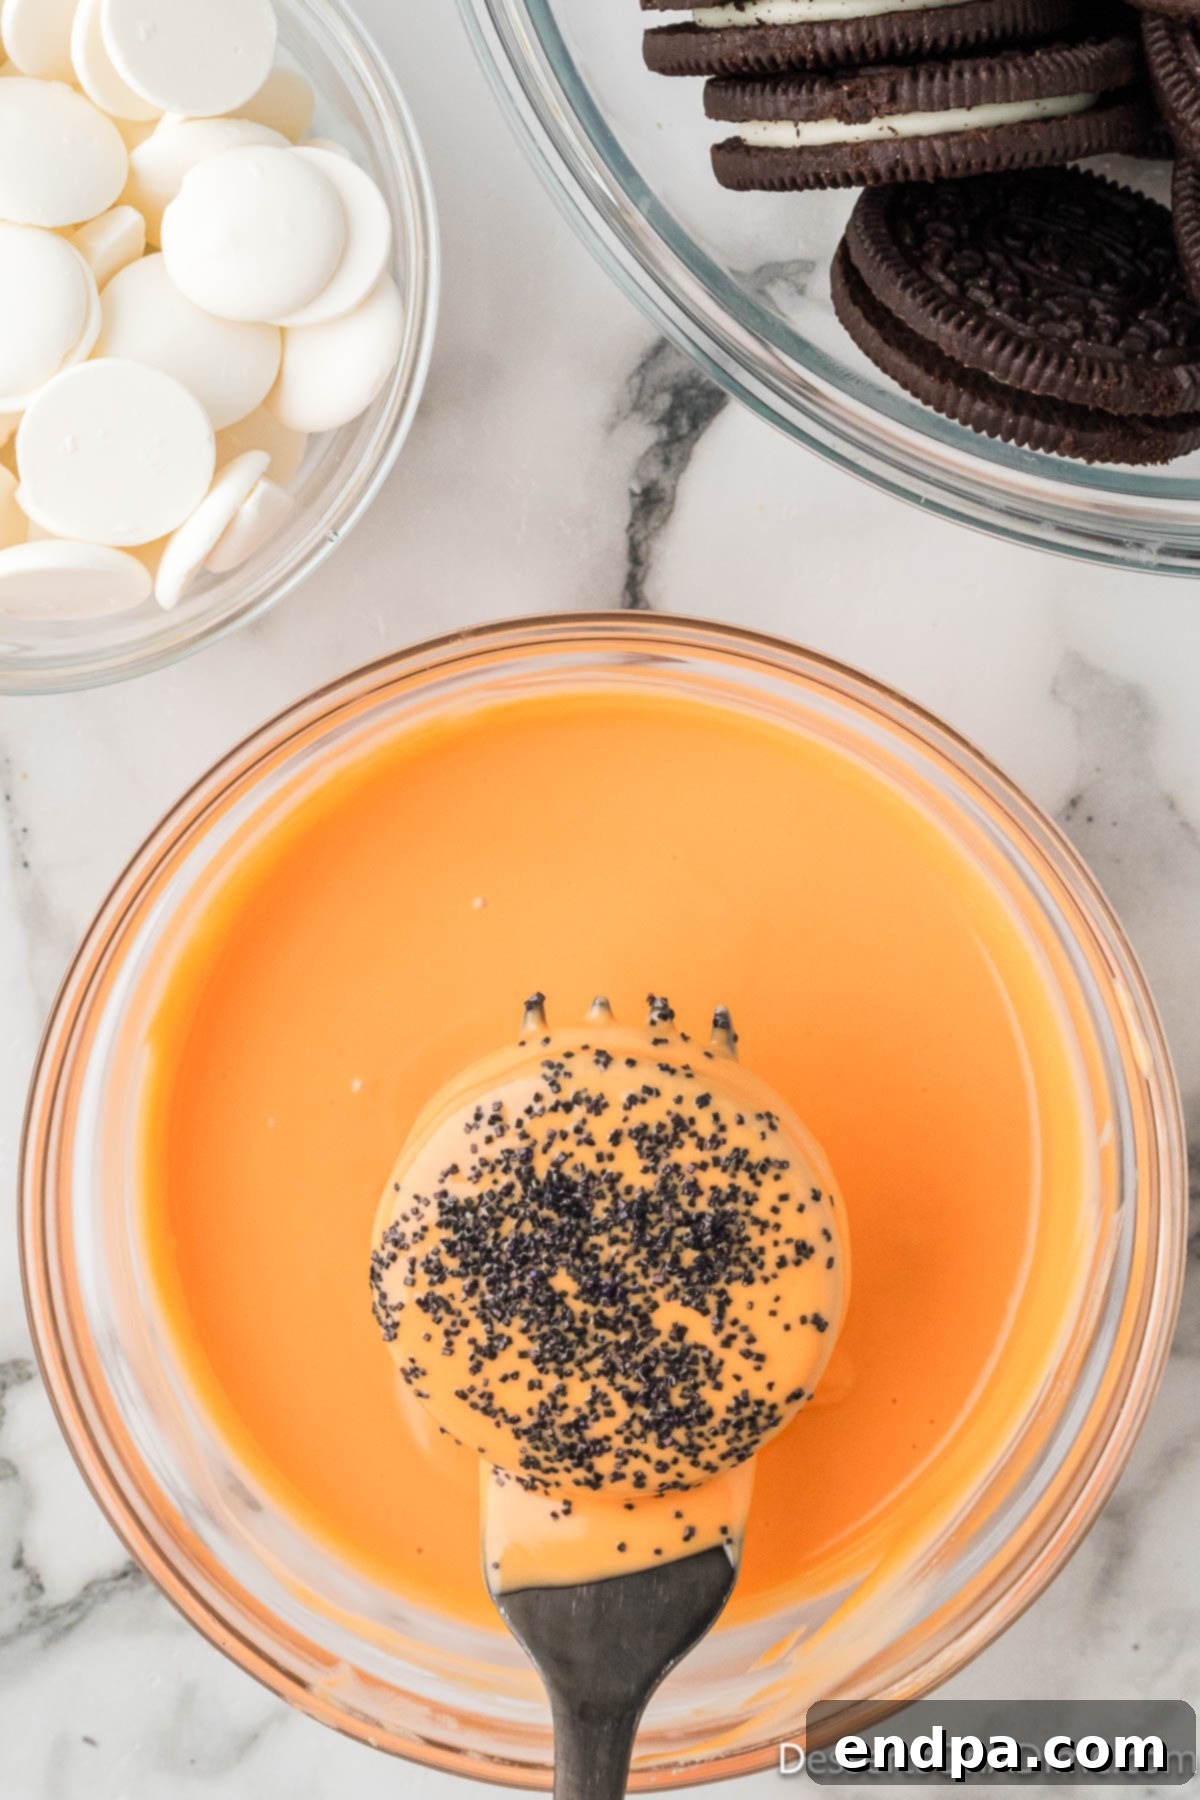
Step 11: Create Assorted Looks. Feel free to add a variety of toppings to different colored Oreos. Mix and match sprinkles, candy eyes, and other small Halloween candies to create a truly diverse and exciting collection of treats.
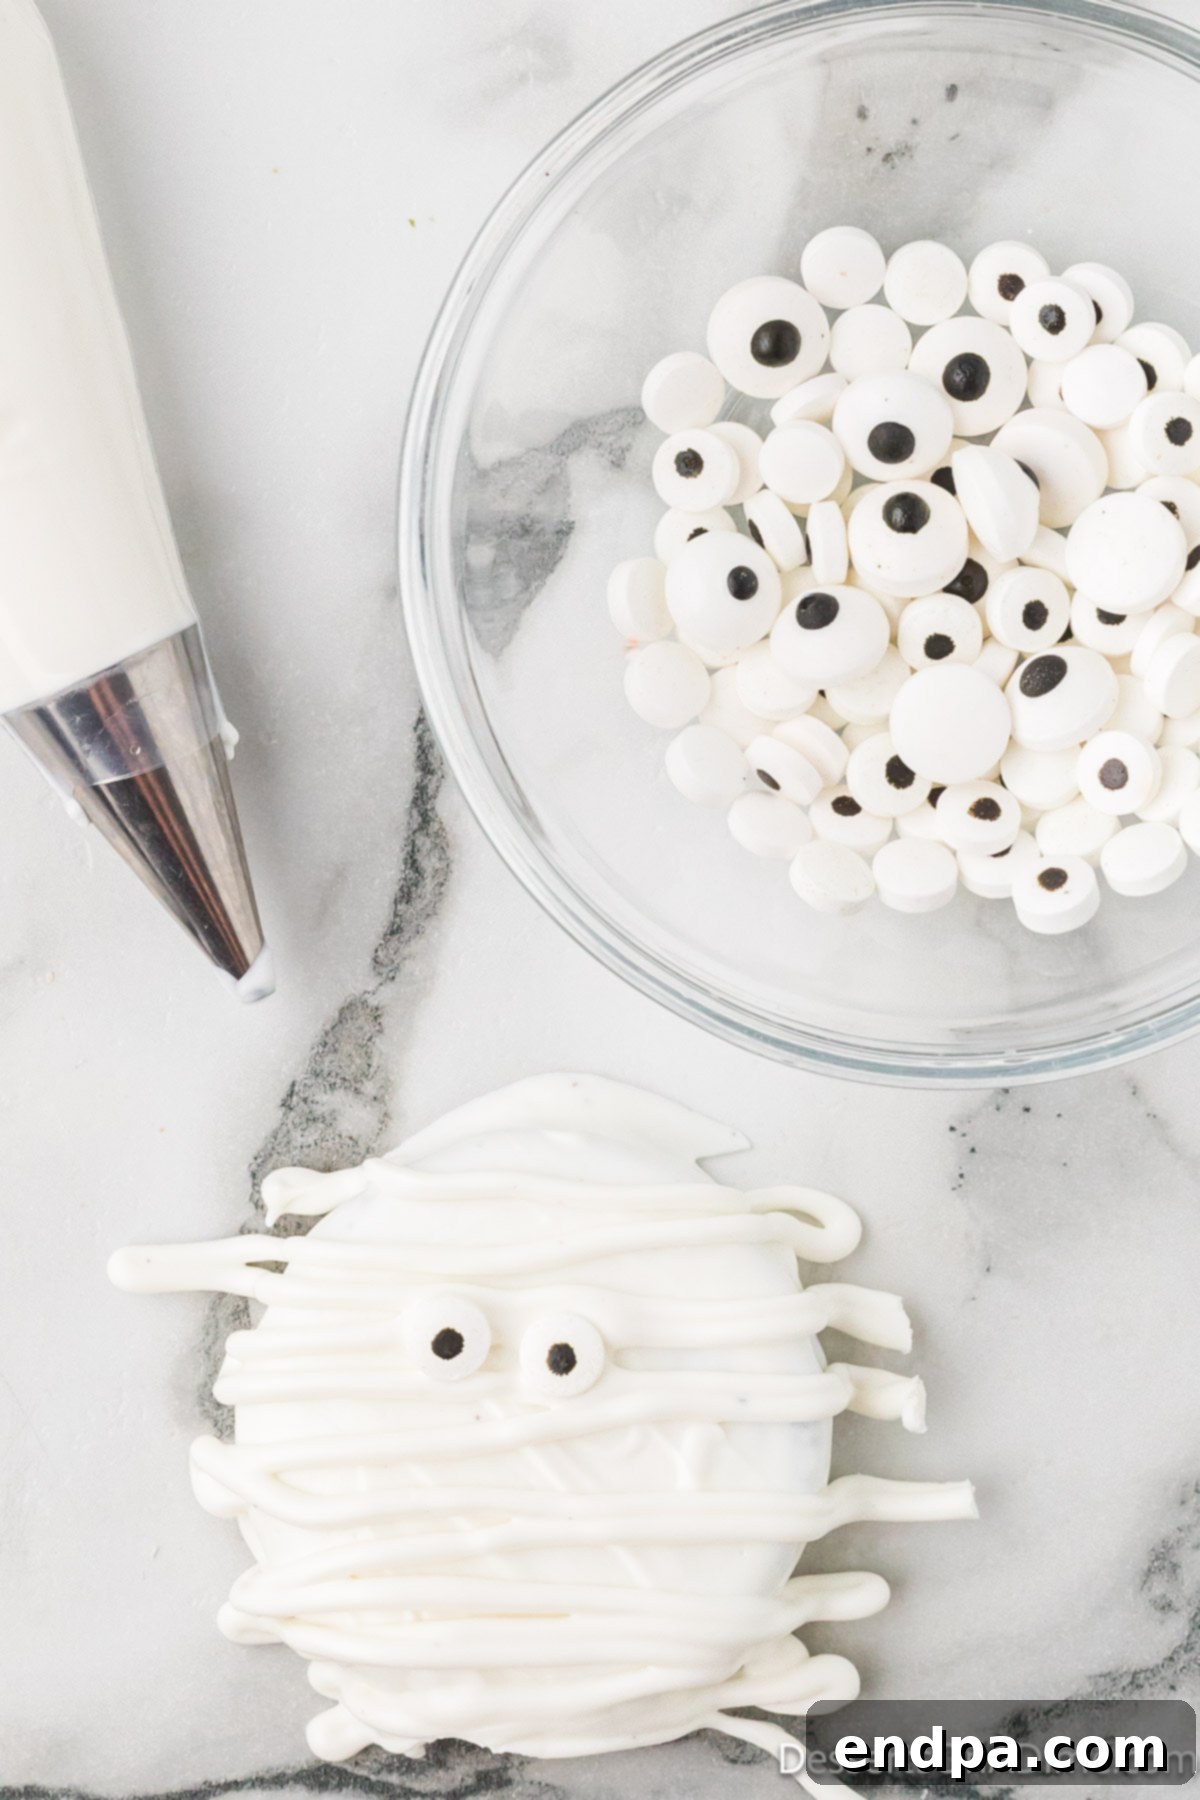
Step 12: Craft Mummy Cookies. To make mummy cookies, after dipping in white candy melts, drizzle additional melted white candy back and forth over the cookie to create the appearance of bandages. Don’t forget to place two candy eyes before the drizzle sets to complete the mummy face.
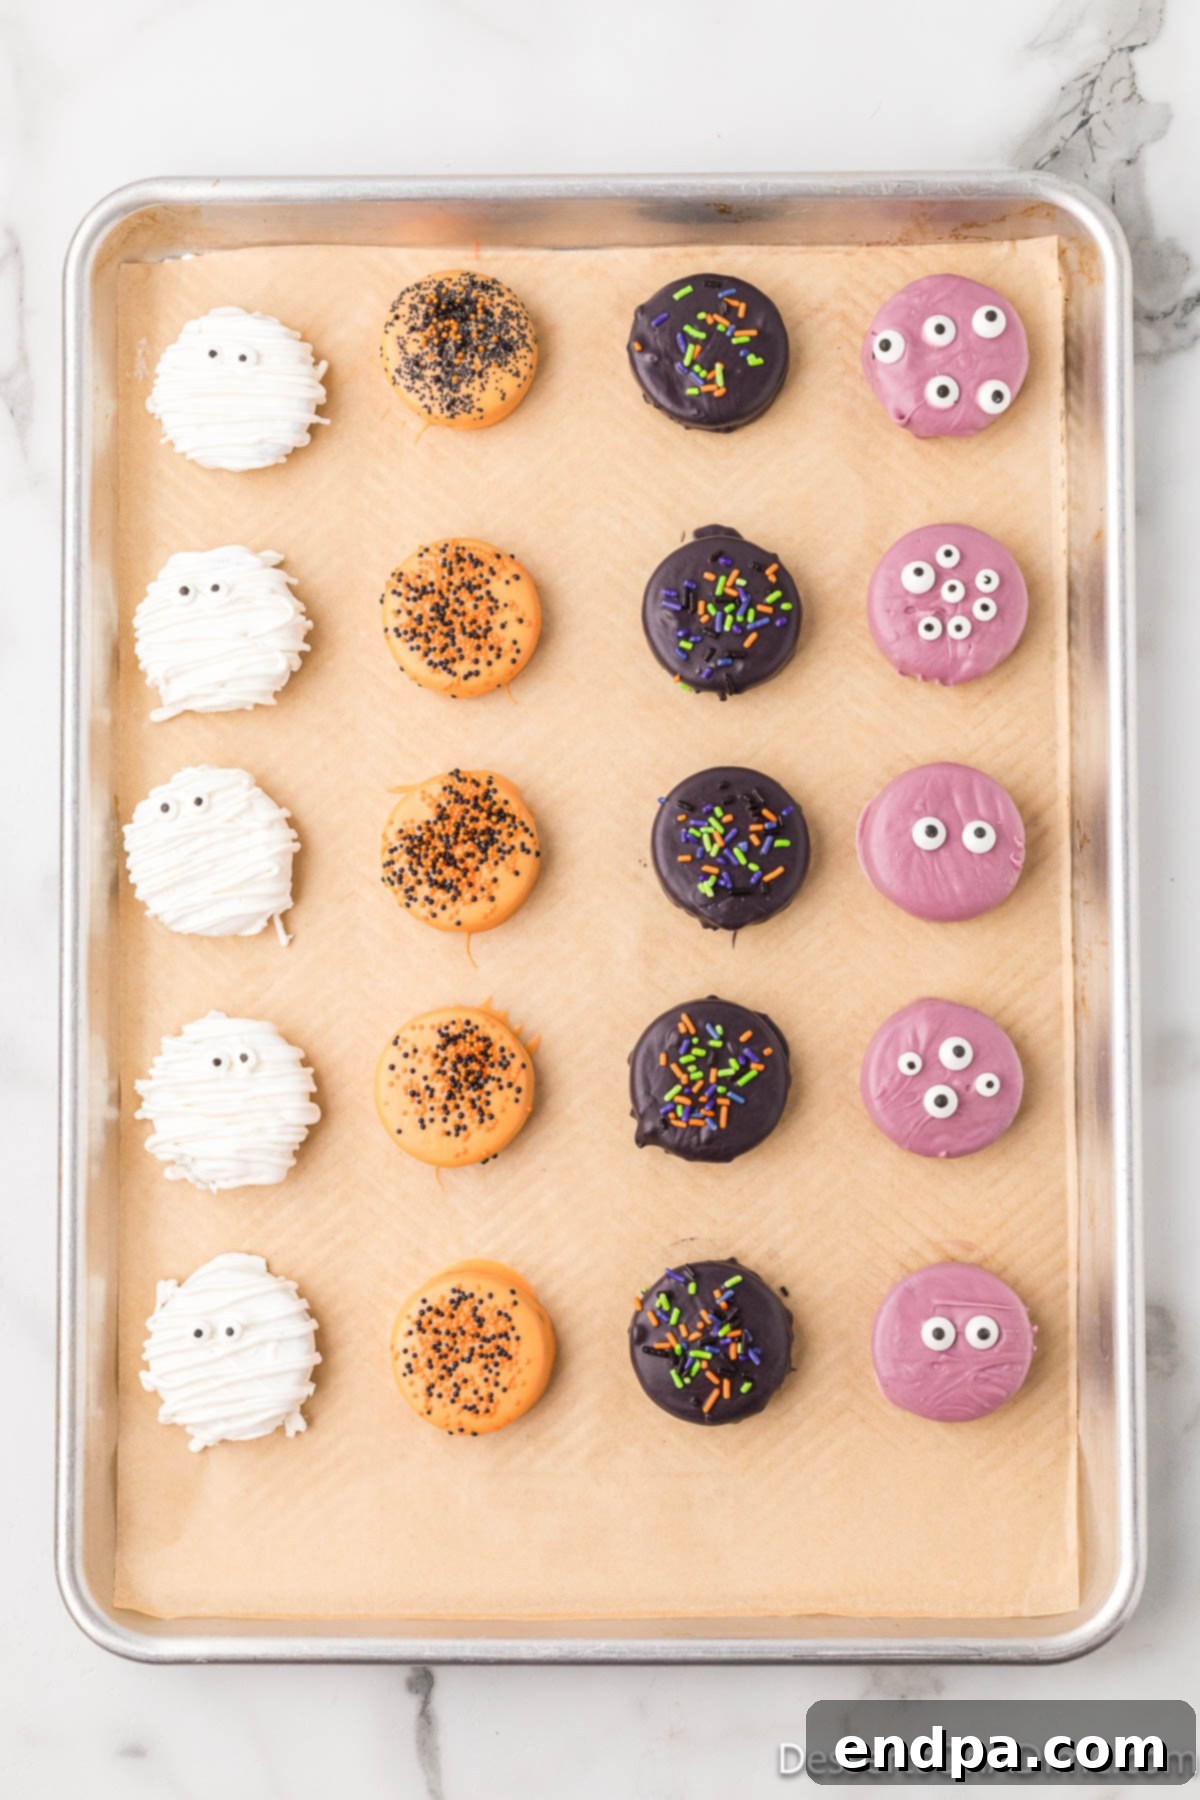
Step 13: Allow to Dry and Set. Once all your Oreos are dipped and decorated, let them sit undisturbed at room temperature for approximately 1 hour. This allows the candy coating to fully set and harden, ensuring your beautiful creations are ready to handle and enjoy!
How to Make Spooky Monster Halloween Oreos
Creating adorable or terrifying monster-themed Oreos is a fantastic way to unleash your creativity for Halloween. Here’s a simple guide to bringing your edible monsters to life:
- Melt Your Chosen Color: Start by melting your desired candy melts in the microwave. Green, purple, or even orange candy melts work wonderfully for monsters. Remember to heat in short 30-second intervals, stirring diligently after each, to prevent burning and achieve a smooth consistency.
- Dip the Oreos: Carefully dip each Oreo cookie into the melted candy, ensuring it’s fully coated. Lift it out with a fork, tapping gently to remove any excess coating.
- Transfer to Baking Sheet: Place the freshly coated cookie onto your parchment or wax paper-lined baking sheet.
- Add Candy Eyeballs: Before the candy coating has a chance to set (this is crucial!), immediately place one or two candy eyeballs onto each cookie. You can position them centrally for a cyclops look or spaced apart for a more traditional monster face.
- Let Them Dry: Allow the monster Oreos to sit at room temperature until the candy coating is completely hardened. Once set, they are ready to be stored or devoured!
For an extra touch of pop culture fun, you can even use green candy melts and place just one large candy eyeball on the covered Oreo. This design cleverly resembles Mike Wazowski from Disney Pixar’s “Monsters Inc.” If your kids are fans of the movie, this specific monster Oreo variation is sure to be a huge hit!
How to Create Adorable Mummy Chocolate Covered Oreos
Mummy Oreos are a classic and charming Halloween treat that are incredibly easy to make. Here’s how you can wrap up your Oreos in spooky, sweet bandages:
- Prepare White Candy Melts: Melt white candy melts in the microwave, using the same 30-second interval method described above. Stir well after each interval until the candy is perfectly smooth and fluid.
- Dip the Oreos: Dip each Oreo cookie into the melted white candy, ensuring it’s fully covered. Lift with a fork, tapping off any excess.
- Place Eyes on Wet Coating: Transfer the dipped Oreo to your wax paper-lined baking sheet. Immediately, before the white coating sets, place two candy eyeballs onto the cookie where the mummy’s face would be.
- Drizzle the Bandages: To create the mummy bandages, take a clean fork, dip it into the melted white candy, and drizzle it back and forth over the cookie in a zig-zag pattern. Continue until you are satisfied with the mummy-like appearance.
- Piping Bag Alternative: For more precise “bandages,” you can transfer some of the melted white candy melts into a ziploc bag. Snip a tiny corner off the bag, and then pipe thin lines back and forth over the cookie, crisscrossing them for an authentic wrapped look.
- Allow to Set Completely: Let your mummy Oreos sit at room temperature until the candy coating and drizzles are completely dry and firm before handling or storing them.
Expert Decorating Tips for Perfect Oreos
Achieving perfectly coated and decorated Halloween Oreos is simple with a few insider tricks. Keep these expert tips in mind for flawless results every time:
- Eliminate Excess Coating: After dipping each Oreo, gently tap the edge of your fork against the side of the bowl. This technique helps to remove any excess candy melt, ensuring a smooth, thin, and even coating without unsightly drips or puddles.
- Melt One Color at a Time (or in Batches): To maintain optimal consistency and temperature, it’s best to melt your candy melts in separate microwave-safe bowls. If you’re working with many colors, melt one or two at a time and replenish as needed to ensure the candy is always warm and fluid for dipping.
- Apply Toppings Swiftly: Timing is crucial when adding sprinkles, candy eyes, or other decorations. These toppings must be added immediately after dipping the Oreo, while the candy coating is still wet and tacky. If you wait too long, the coating will begin to set, and your decorations won’t adhere properly.
- Prepare Your Pan in Advance: Always start by lining your baking sheet with a sheet of parchment paper or wax paper. This simple step is a game-changer for several reasons: it prevents the dipped cookies from sticking, makes for incredibly easy removal, and significantly simplifies cleanup by catching any stray drips.
- Maintain Melt Temperature: If your candy melts start to thicken as you work, pop them back into the microwave for another 10-15 seconds, stirring well. A consistent, fluid texture is key for smooth dipping.
Storage Best Practices
Proper storage ensures your Halloween Chocolate Covered Oreos remain fresh and delicious for longer. Once your cookies are completely dry and the candy coating has fully set, carefully transfer them into an airtight container. To prevent them from sticking together or damaging their delicate decorations, it’s advisable to separate layers with sheets of wax paper.
These festive treats can be stored at room temperature for up to 2 weeks. There’s no need to refrigerate them, as this can sometimes cause the chocolate to bloom or become chalky. However, it’s important to keep them away from direct sunlight or any warm areas, such as near a hot oven, as excessive heat will cause the candy coating to melt and ruin their beautiful appearance.
Frequently Asked Questions About Halloween Chocolate Covered Oreos
- Can I use regular chocolate chips instead of candy melts?
- Yes, you can! Regular chocolate chips (milk, semi-sweet, or dark) work well. For the best results, add a teaspoon of coconut oil or shortening per cup of chocolate chips when melting. This will help thin the chocolate, making it smoother for dipping and easier to achieve a shiny, firm coating when set.
- How do I prevent the chocolate from cracking?
- Cracking usually happens if the chocolate is too thick or if there’s a significant temperature change. Ensure your candy melts are fully smooth and not too thick for dipping. Also, let the cookies set at room temperature rather than rushing them in the fridge, which can cause condensation and eventual cracking.
- My candy melts are too thick. How can I thin them?
- If your candy melts are too thick, you can thin them by adding a very small amount of vegetable shortening or a specialized candy oil (like paramount crystals). Start with 1/2 teaspoon per cup of candy melts and stir well until you reach the desired consistency. Avoid adding water or dairy products, as this will cause candy melts to seize.
- How far in advance can I make these?
- Halloween Chocolate Covered Oreos can be made up to 2 weeks in advance. Store them in an airtight container at room temperature, layered with wax paper, to maintain their freshness and appearance.
- Are these suitable for children to help make?
- Absolutely! This is a fantastic kid-friendly recipe. Children can help with dipping (with supervision for hot chocolate), adding sprinkles, and placing candy eyes. It’s a fun, engaging, and creative activity for the whole family.
- Can I freeze chocolate covered Oreos?
- While not strictly necessary, you can freeze them for longer storage. Place the fully set cookies in an airtight freezer-safe container, separated by wax paper. They can be frozen for up to 2-3 months. Thaw them gradually in the refrigerator before bringing them to room temperature to prevent condensation.
More Must-Try Halloween Desserts
If you loved making these festive Oreos, you’re in for a treat! Explore more of our fantastic Halloween dessert recipes:
- Halloween Pretzel Monster Eyeballs
- Spooky Halloween Puppy Chow Recipe
- Halloween Chocolate Covered Strawberries
- Fast and Easy Halloween Treats Collection
- Creepy-Crawly Halloween Spider Cookies Recipe
- Classic Halloween Puppy Chow Recipe
We hope you have a spooktacular time creating these Halloween Chocolate Covered Oreos and many more of our delicious holiday treats. We love hearing from you!
Pin
Halloween Chocolate Covered Oreos Recipe
Ingredients
- 1 pkg Oreos 14 oz.
- 1 White candy melts 6 oz.
- 1 Black candy melts 6 oz.
- 1 Orange candy melts 6 oz.
- 1 Purple Candy Melts 6 oz
- Halloween Sprinkles
- Candy Eyes
Instructions
- Line a baking sheet with parchment paper or wax paper.
- Place each of the candy melts in a separate microwave safe bowl. Heat in 30 second intervals, stirring after each interval until fully melted. Be careful not to over heat.
- Then place an Oreo in the melted candy and use a fork to remove the Oreo carefully.
- While the Oreo is on the fork gently tap the fork against the side of the bowl to remove any excess candy from the Oreo.
- Then place the Oreos on the baking sheet and top with the Halloween sprinkles and candy eyes before they dry.
- Let them sit at room temperature for approximately 1 hour to set and then enjoy!
Nutrition Facts
Pin This Now to Remember It Later
Pin Recipe
