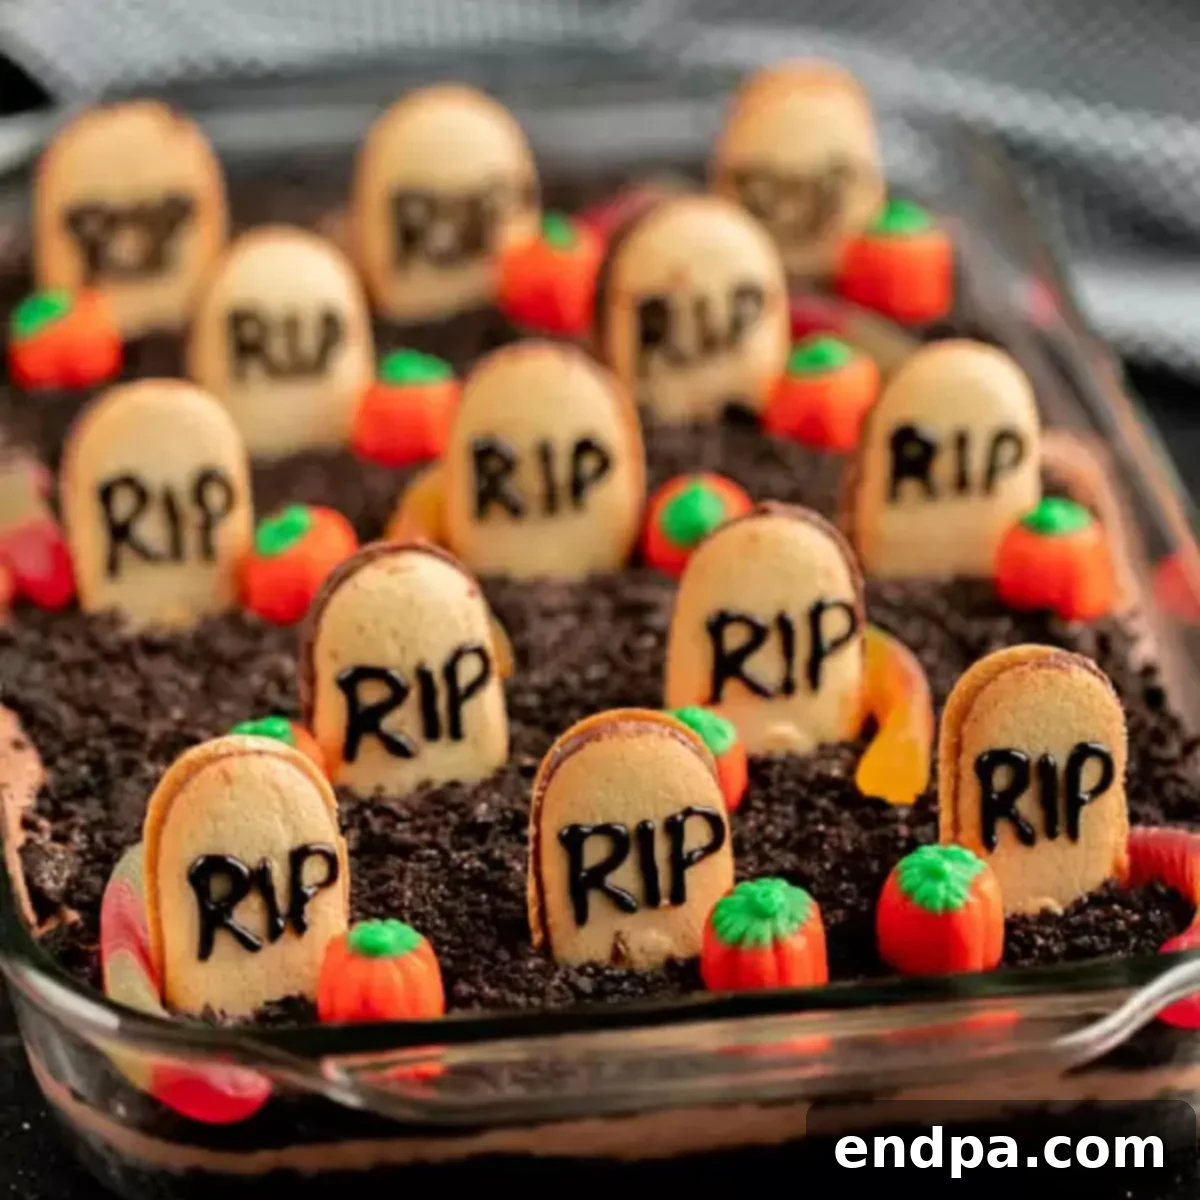
Get ready to unearth the most delightfully eerie dessert for your Halloween celebrations! This enchanting **Halloween Dirt Cake Recipe** transforms simple ingredients into a festive masterpiece, perfect for any spooky gathering. Imagine layers of rich, creamy chocolate pudding and crushed Oreo cookies, artfully arranged to mimic freshly turned earth. Adorned with playful gummy worms, vibrant candy pumpkins, and distinctive tombstone cookies, this no-bake treat captures the spirit of the season with charm and deliciousness. Whether you call it a graveyard cake or simply a Halloween classic, it’s guaranteed to be a hit at your next party, bringing smiles and a touch of spooky fun to all your guests.
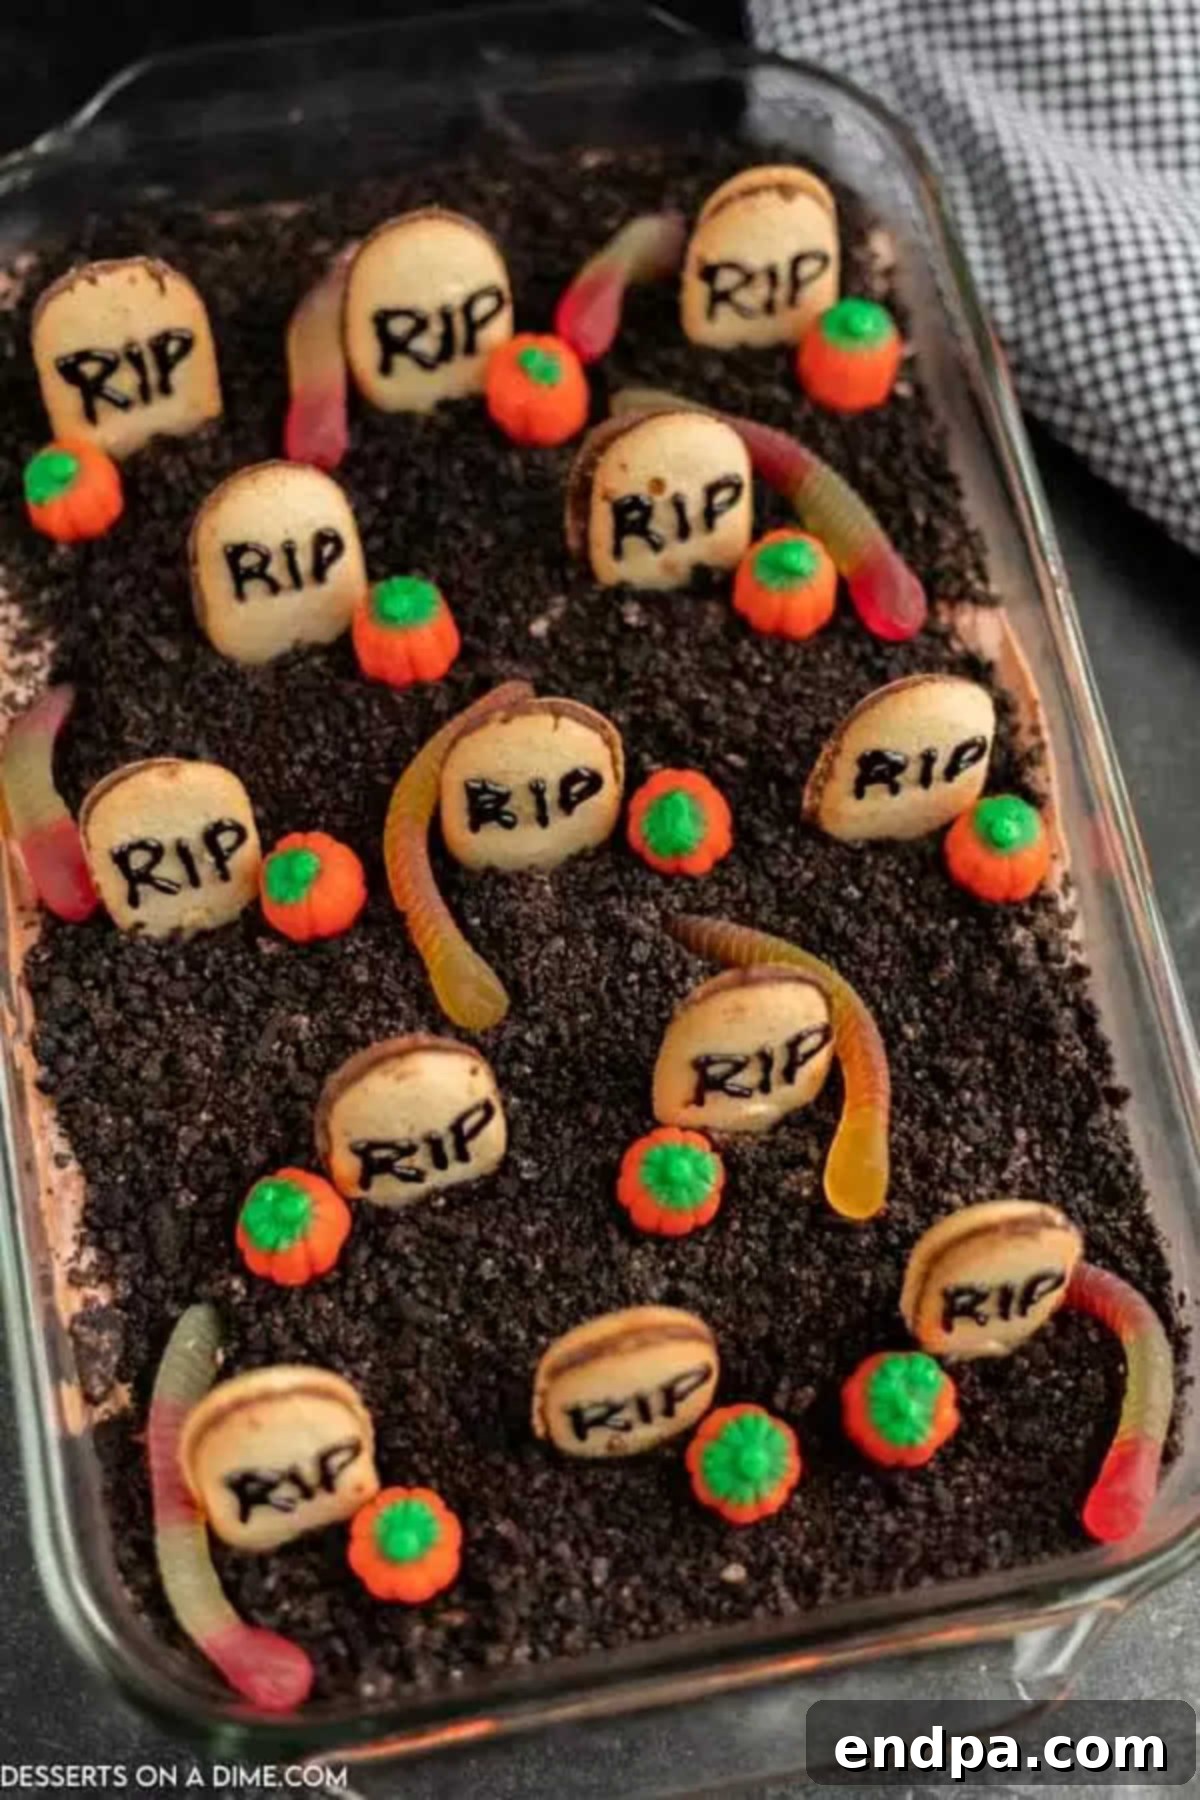
Our family has long cherished the simple pleasure of a classic Dirt Cake. There’s something irresistibly comforting about the combination of creamy pudding and crunchy Oreo crumbs that appeals to everyone. This year, we decided to give our beloved dessert a spooky twist, creating a Halloween-themed version that turned out even more adorable and fun than we imagined! It’s surprisingly easy to assemble, and the charming tombstone cookies truly complete the ghoulish graveyard look. Alongside this festive dessert, we’ve also been whipping up other favorite Halloween treats for years, including Frankenstein Rice Krispie Treats, playful Halloween Monster Eyeballs, and delightful Halloween Cake Pop Recipes. This year, the Halloween Dirt Cake is taking center stage as our go-to no-bake masterpiece.
Table of contents
- Why You’ll Love This Spooky Halloween Dirt Cake
- The Magic Behind Graveyard Dirt Cake
- Key Ingredients for Your Creepy Creation
- Step-By-Step Guide to a Spooktacular Cake
- Bringing Your Graveyard to Life: Decoration Tips
- Serving Suggestions for Your Halloween Bash
- Storage & Make-Ahead Advice
- Expert Tips for a Frightfully Delicious Outcome
- More Spine-Chilling Halloween Desserts
Why You’ll Love This Spooky Halloween Dirt Cake
There are countless reasons why this Halloween Dirt Cake will become your new favorite holiday tradition. First and foremost, it’s an absolute breeze to prepare. Unlike many elaborate Halloween treats, this recipe requires no baking, making it perfect for busy schedules or for involving little hands in the kitchen. The combination of the rich, velvety pudding mixture with the delightful crunch of Oreo crumbs creates an incredible texture and flavor profile that everyone adores. Its inherent appeal lies in its simplicity yet impressive presentation.
We love making traditional dirt cake throughout the year – perhaps you’ve even tried our cheerful Easter dirt cake? Now, as autumn leaves fall and spooky season approaches, it’s the perfect time to craft a version for Halloween. This no-bake dessert is a fantastic alternative to more complicated Halloween treats, allowing you more time to enjoy the festivities. Its playful, creepy aesthetic makes it an ideal centerpiece for any Halloween party, captivating both children and adults. If you’re a fan of whimsical and delicious treats, you might also enjoy our Candy Cane Cookies (for a different holiday, but equally fun!) or our creative Monster Donuts.
The Magic Behind Graveyard Dirt Cake
The concept of dirt cake is wonderfully versatile, making it perfectly suited for a Halloween makeover. The crushed Oreo cookies naturally resemble dark, crumbly earth, providing the ideal canvas for a spooky graveyard scene. The creamy pudding layer serves as the rich foundation beneath the “dirt,” offering a sweet and satisfying contrast to the cookie crunch. With a few simple decorations, this dessert transforms from a classic treat into an imaginative edible landscape, complete with looming tombstones and crawling critters. It taps into the playful side of Halloween, allowing for endless creativity in its presentation, ensuring that each cake becomes a unique, edible work of art. This delightful dessert isn’t just about taste; it’s about creating an experience that enhances the festive spirit, making it a memorable part of your Halloween celebration year after year.
Key Ingredients for Your Creepy Creation
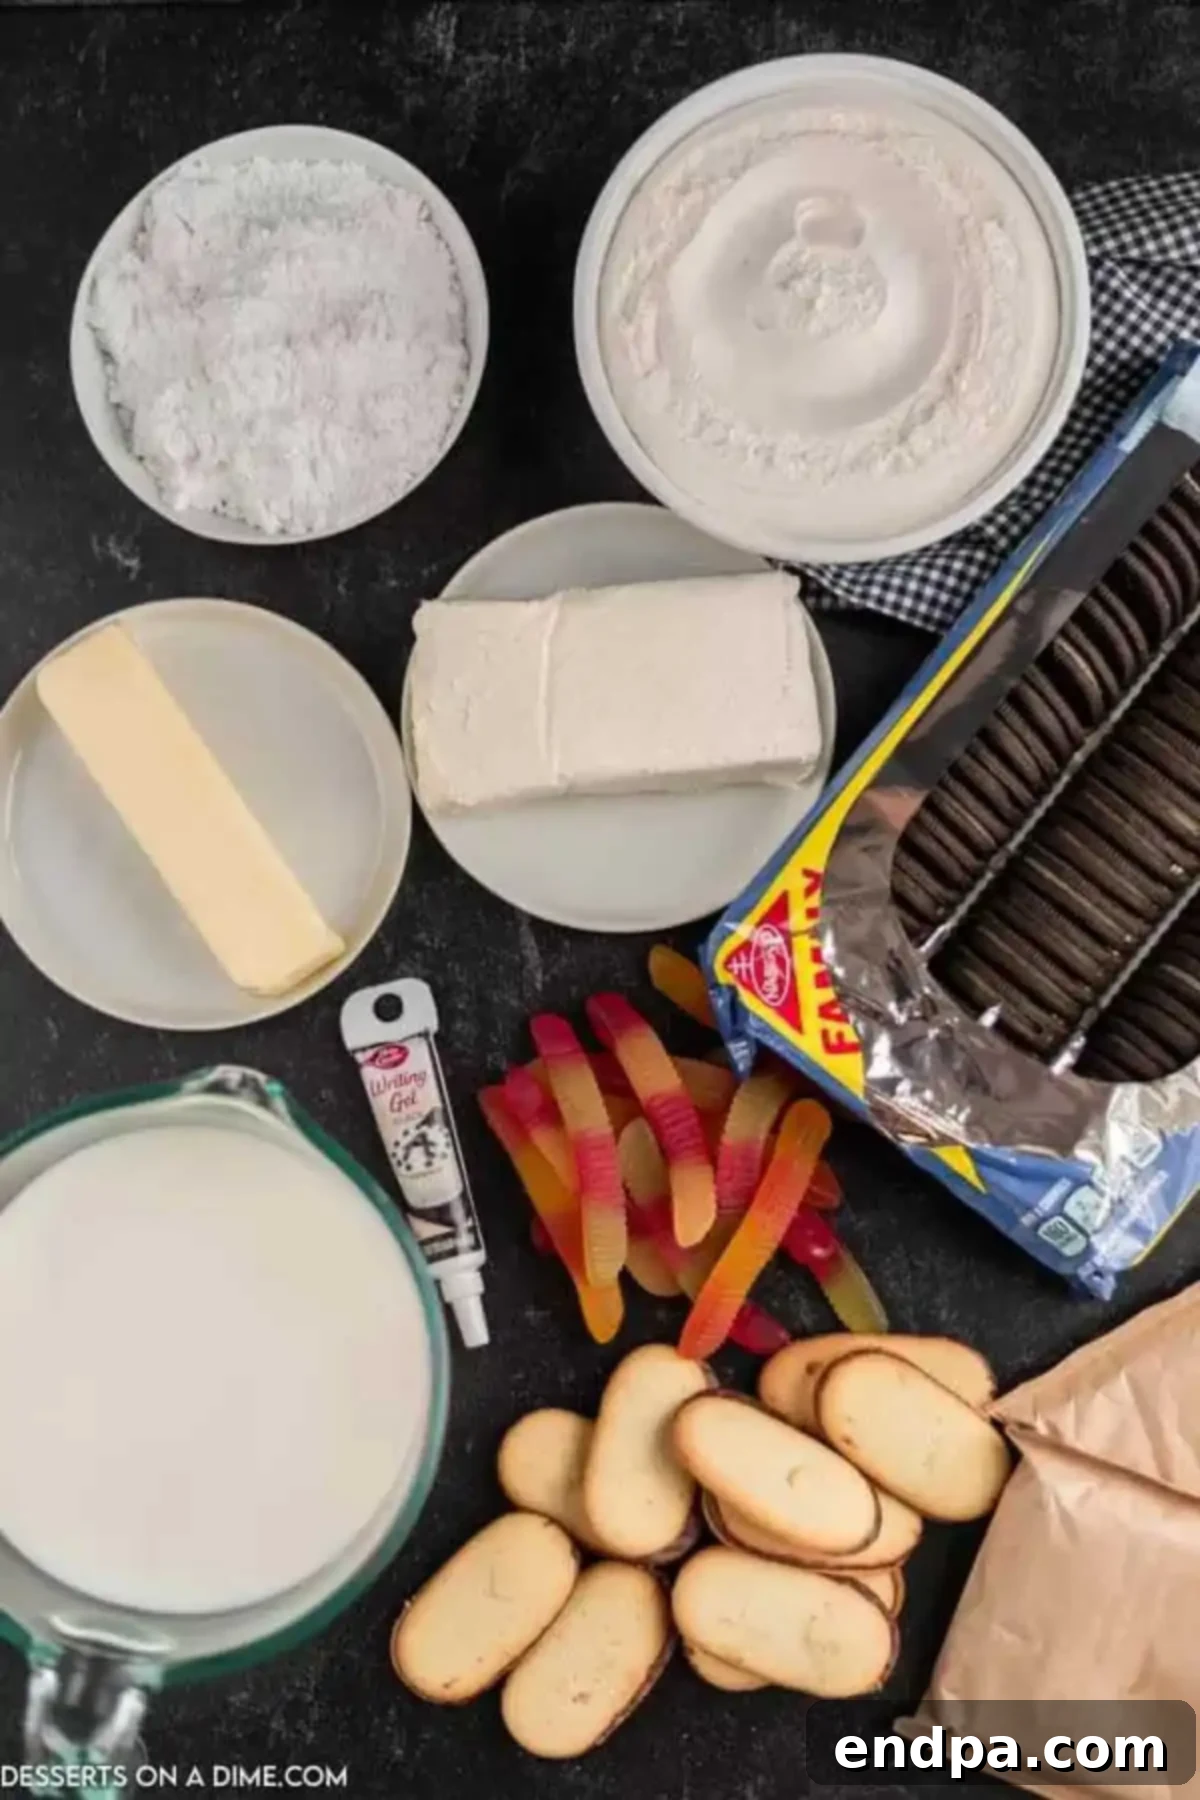
- Oreo Cookies: Opt for regular Oreos, not double-stuffed. Their classic chocolatey crunch is essential for creating the perfect “dirt” texture, providing a delightful contrast to the creamy filling.
- Cream Cheese: Ensure it’s softened at room temperature. This is crucial for achieving a smooth, lump-free, and creamy base for the pudding mixture, adding a slight tang that balances the sweetness.
- Butter: Like the cream cheese, softened butter blends beautifully, contributing to the rich, smooth texture of the dessert’s filling. Make sure it’s softened, not melted, for the best consistency.
- Powdered Sugar: Sifting the powdered sugar beforehand is highly recommended. This step removes any lumps, ensuring a silky-smooth cream cheese mixture that melts in your mouth.
- Cool Whip: This light and airy whipped topping adds a wonderful fluffiness to the dessert. If you prefer, you can substitute with Homemade Whipped Cream Recipe for an even richer flavor.
- Instant Chocolate Pudding Mix: A critical component! Make sure you grab *instant* pudding mix, as the cook-and-serve variety will not set properly for this no-bake recipe. Two boxes ensure ample chocolatey goodness.
- Milk: Whole milk will yield the richest, creamiest filling. However, if you prefer a lighter dessert, reduced-fat milk can be used without significantly compromising the taste or texture.
- Milano Cookies: These elegant Pepperidge Farm cookies are the secret to crafting realistic, sturdy tombstones. Their rectangular shape is ideal for decorating with spooky messages.
- Gummy Worms and Candy Pumpkins: These playful additions are optional but highly recommended for enhancing the graveyard theme. Gummy worms add a creepy-crawly element, while candy pumpkins bring a pop of festive color. For extra ghostly fun, consider adding ghost peeps!
- Wilton Black Writing Icing: This essential decorating tool allows you to easily write “R.I.P.” or other spooky messages on your Milano cookie tombstones. You can typically find it in the baking aisle of most grocery stores.
You’ll find the complete, detailed list of ingredients with specific measurements in the recipe card towards the bottom of the page.
Step-By-Step Guide to a Spooktacular Cake
Creating this fun Halloween Dirt Cake is simpler than you might think! Follow these easy steps to assemble your eerie graveyard dessert:
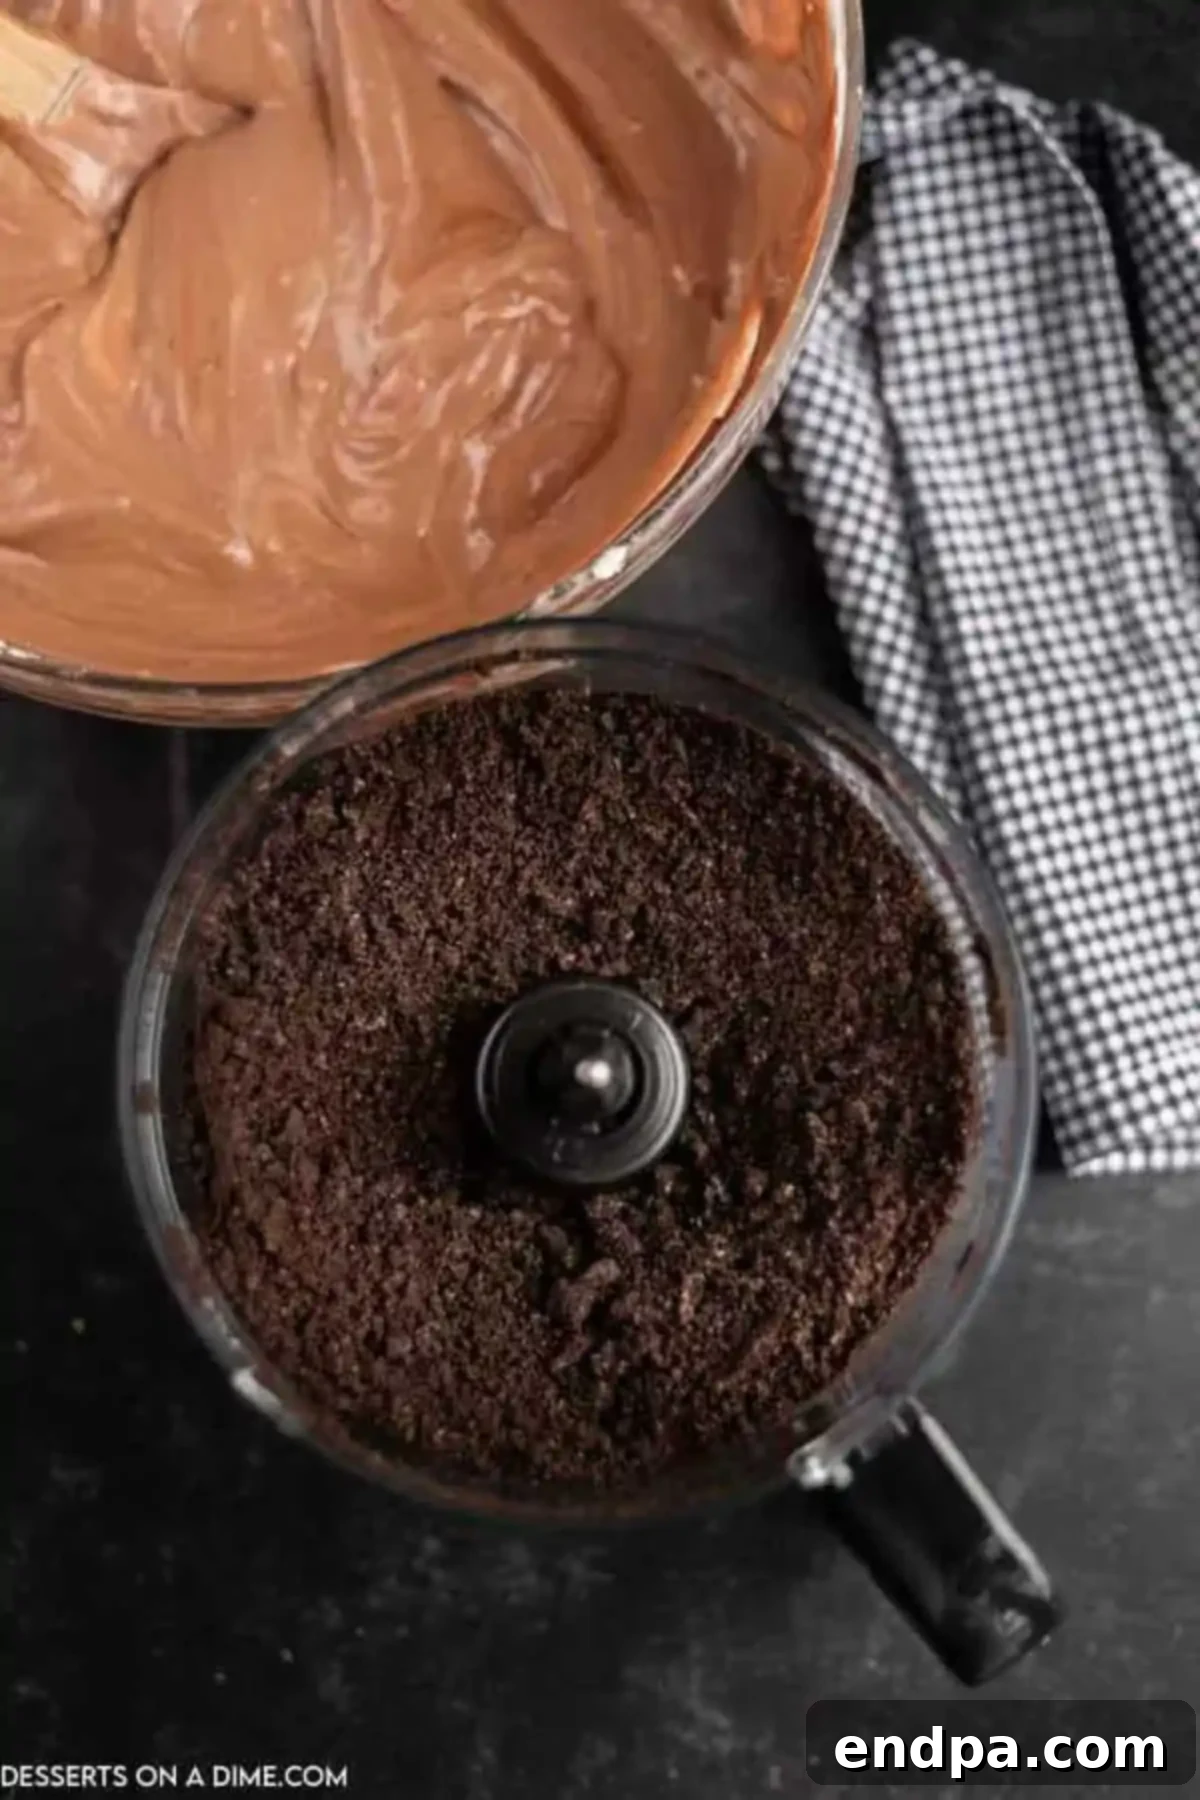
Step 1: Prepare the “Dirt.” First, take your entire package of Oreo cookies and crush them thoroughly. You can achieve this easily by using a food processor or a blender until fine crumbs are formed, resembling rich, dark soil. This will be the iconic “dirt” layer of our cake.
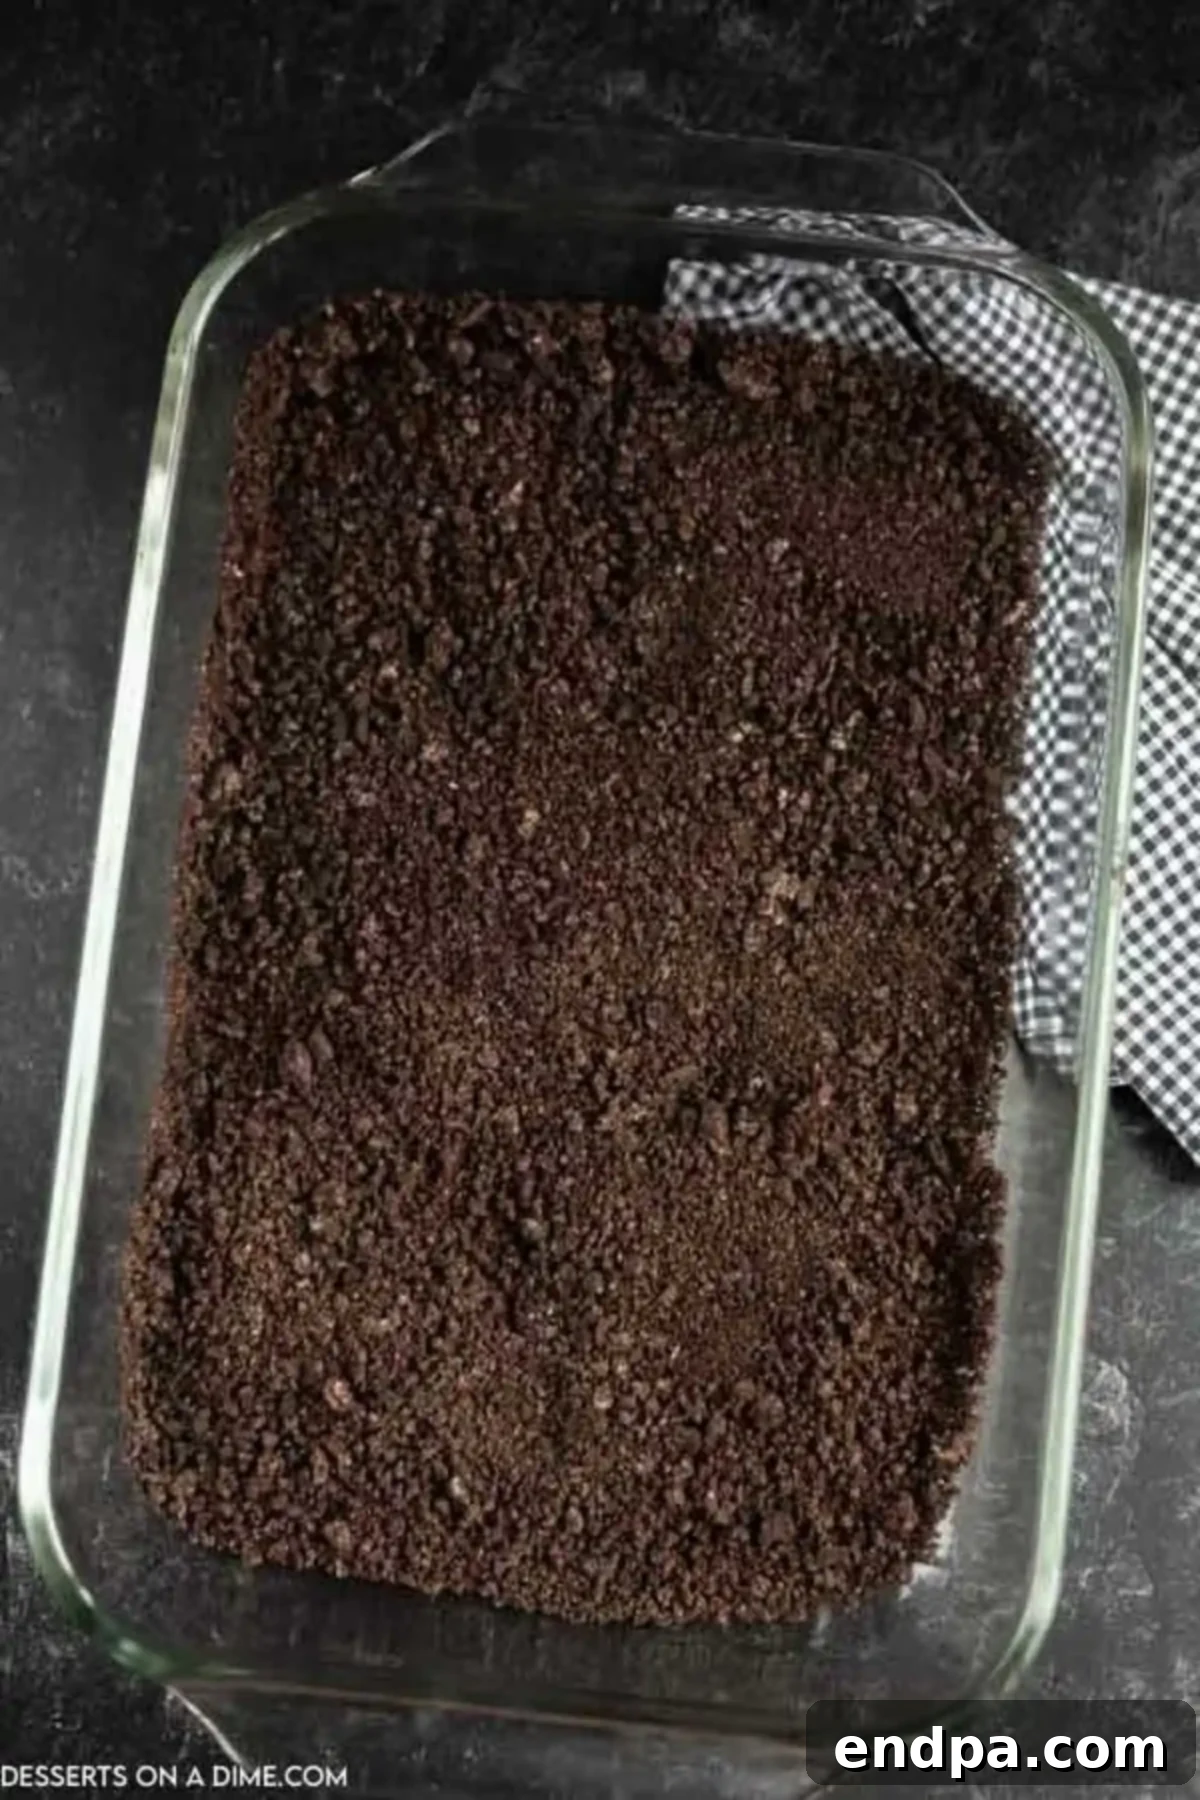
Step 2: Create the Base. Once your Oreos are crushed, reserve about one-third of the crumbs for the top layer. Then, evenly spread the remaining two-thirds of the Oreo crumbs across the bottom of a 9×13 inch baking dish. This forms the foundation of your graveyard.

Step 3: Prepare the Creamy Layer. In a large mixing bowl, combine the softened cream cheese and softened butter. Beat them together using a hand mixer or stand mixer until the mixture is completely smooth and creamy. Next, gradually add the powdered sugar, mixing until well incorporated, then gently fold in the Cool Whip until the mixture is light and airy. This creates a rich, sweet, and slightly tangy layer.
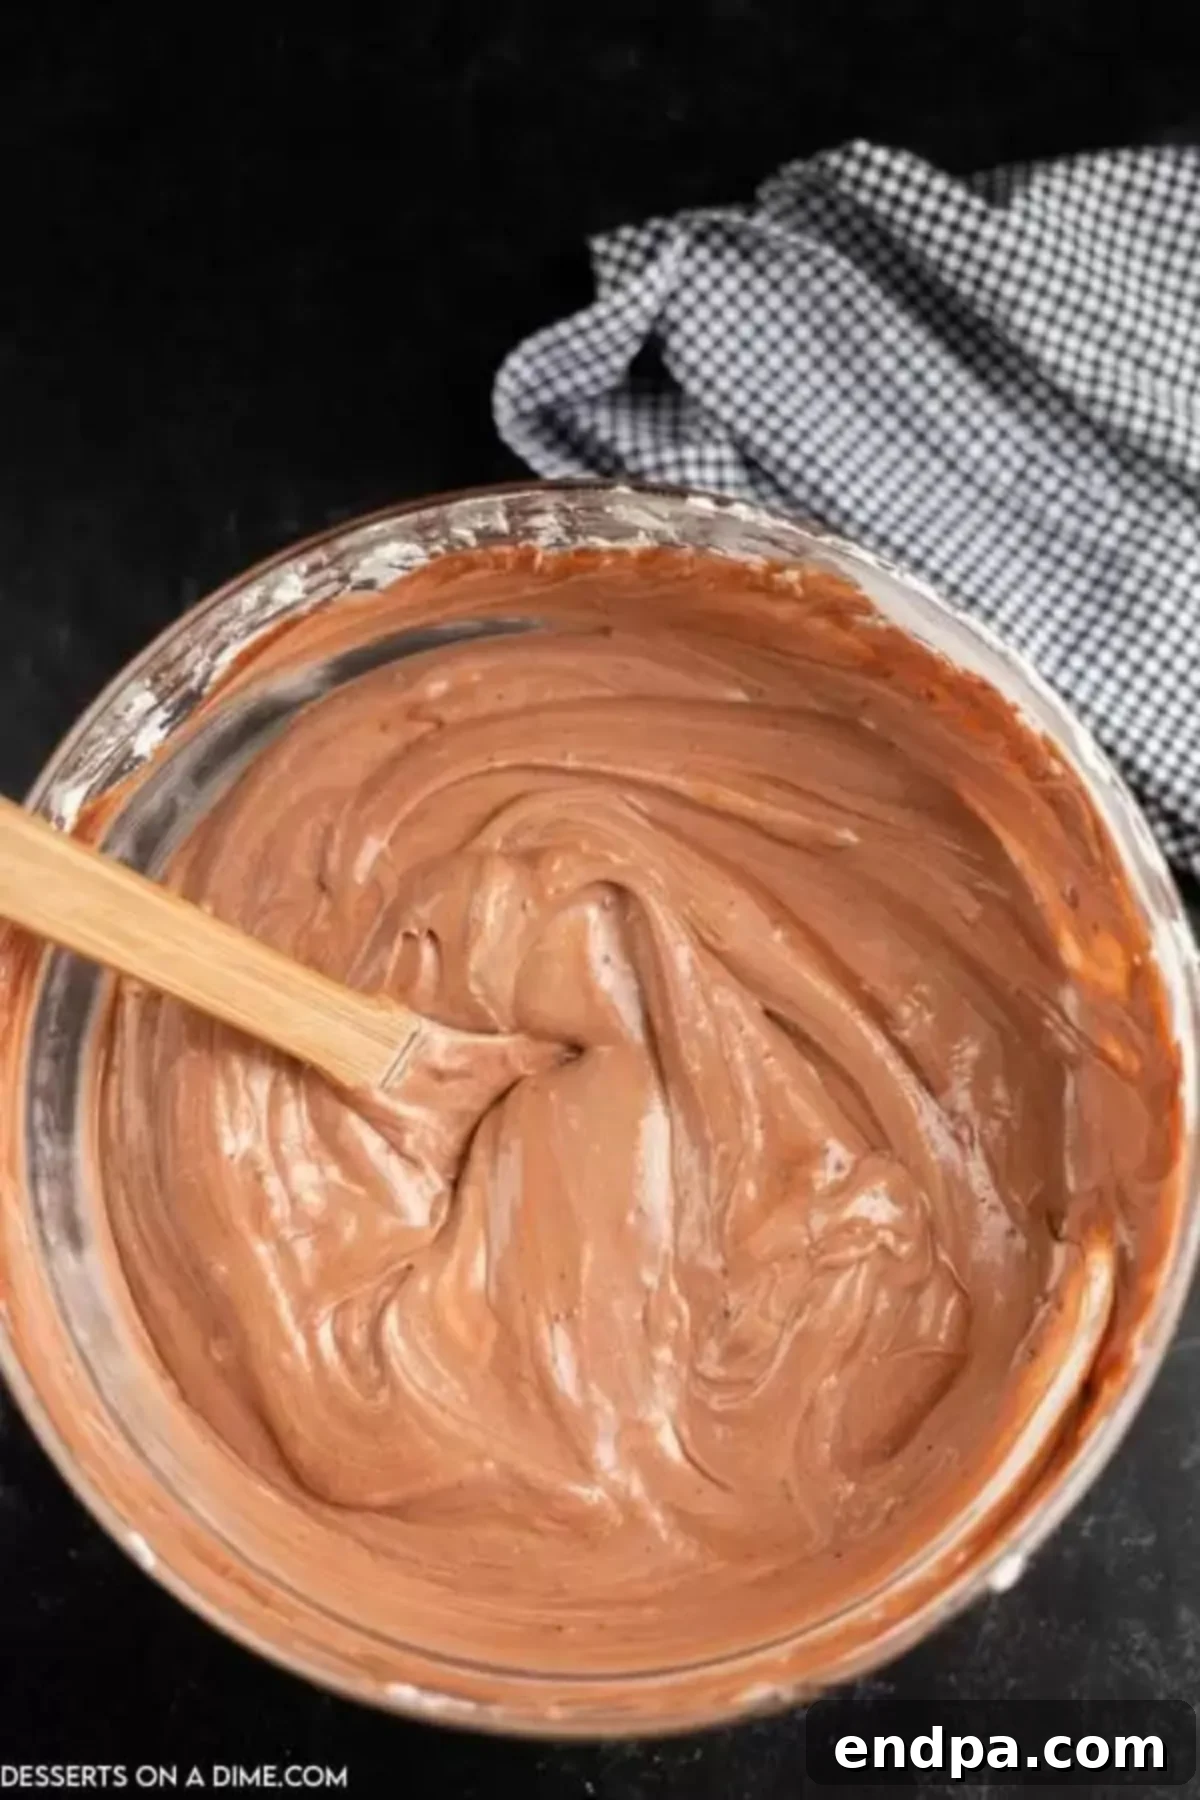
Step 4: Mix the Pudding. In a separate, medium-sized bowl, whisk together the cold milk and the instant chocolate pudding mixes until they are fully combined and begin to thicken. This should only take a couple of minutes. Once thickened, gently fold this chocolate pudding mixture into the cream cheese mixture prepared in Step 3 until no streaks remain and it’s uniformly combined. This forms the decadent pudding filling.
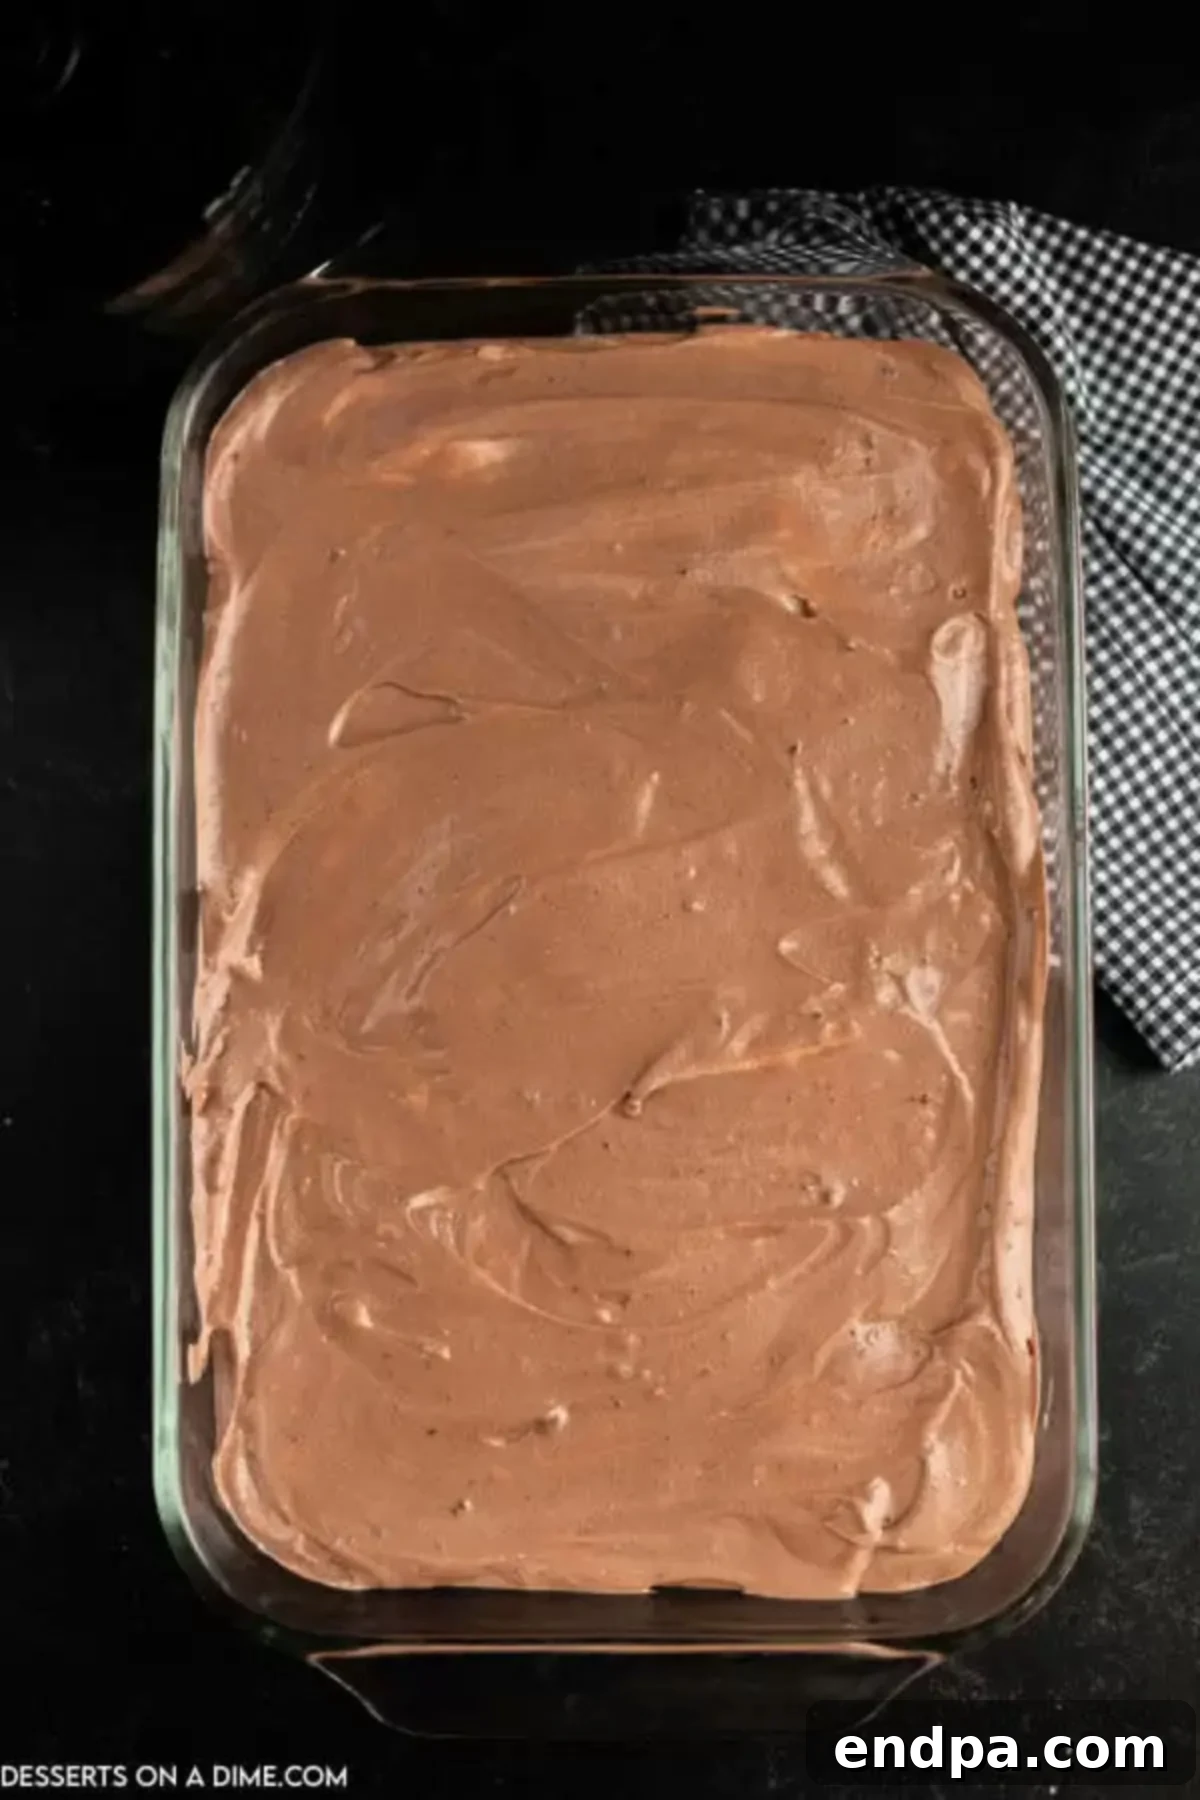
Step 5: Layer the Dessert. Carefully pour the combined pudding and cream cheese mixture over the crushed Oreos in the 9×13 inch pan. Use a spatula to gently spread it out into an even layer, ensuring it covers all the cookie crumbs. Try not to disturb the bottom layer too much.
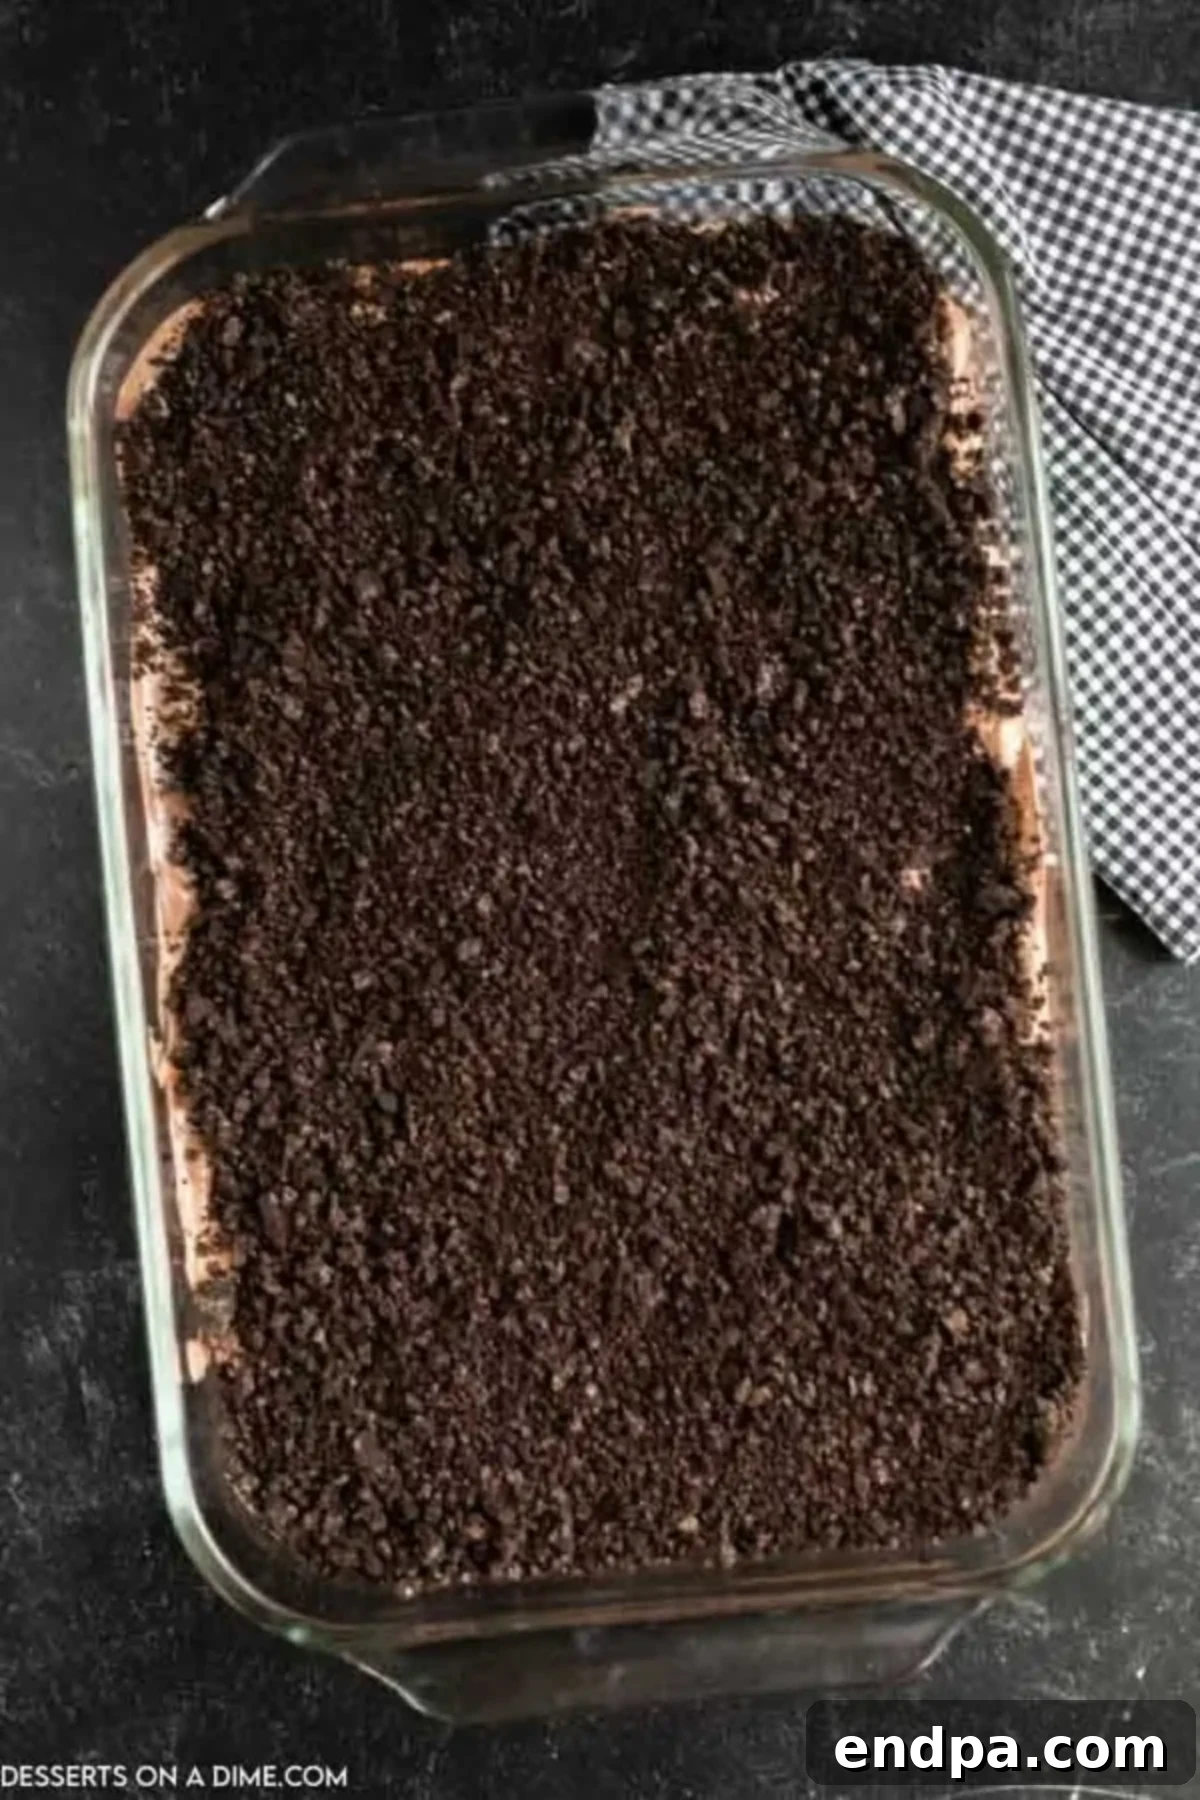
Step 6: Final Touches and Chill. Finally, sprinkle the remaining reserved crushed Oreos generously over the top of the pudding layer. This creates the final, deep “dirt” layer for your graveyard. Cover the dish tightly with plastic wrap and refrigerate for a minimum of 2 hours, or ideally longer, to allow the cake to set properly and the flavors to meld beautifully. Chilling is essential for the best texture and taste!
Bringing Your Graveyard to Life: Decoration Tips
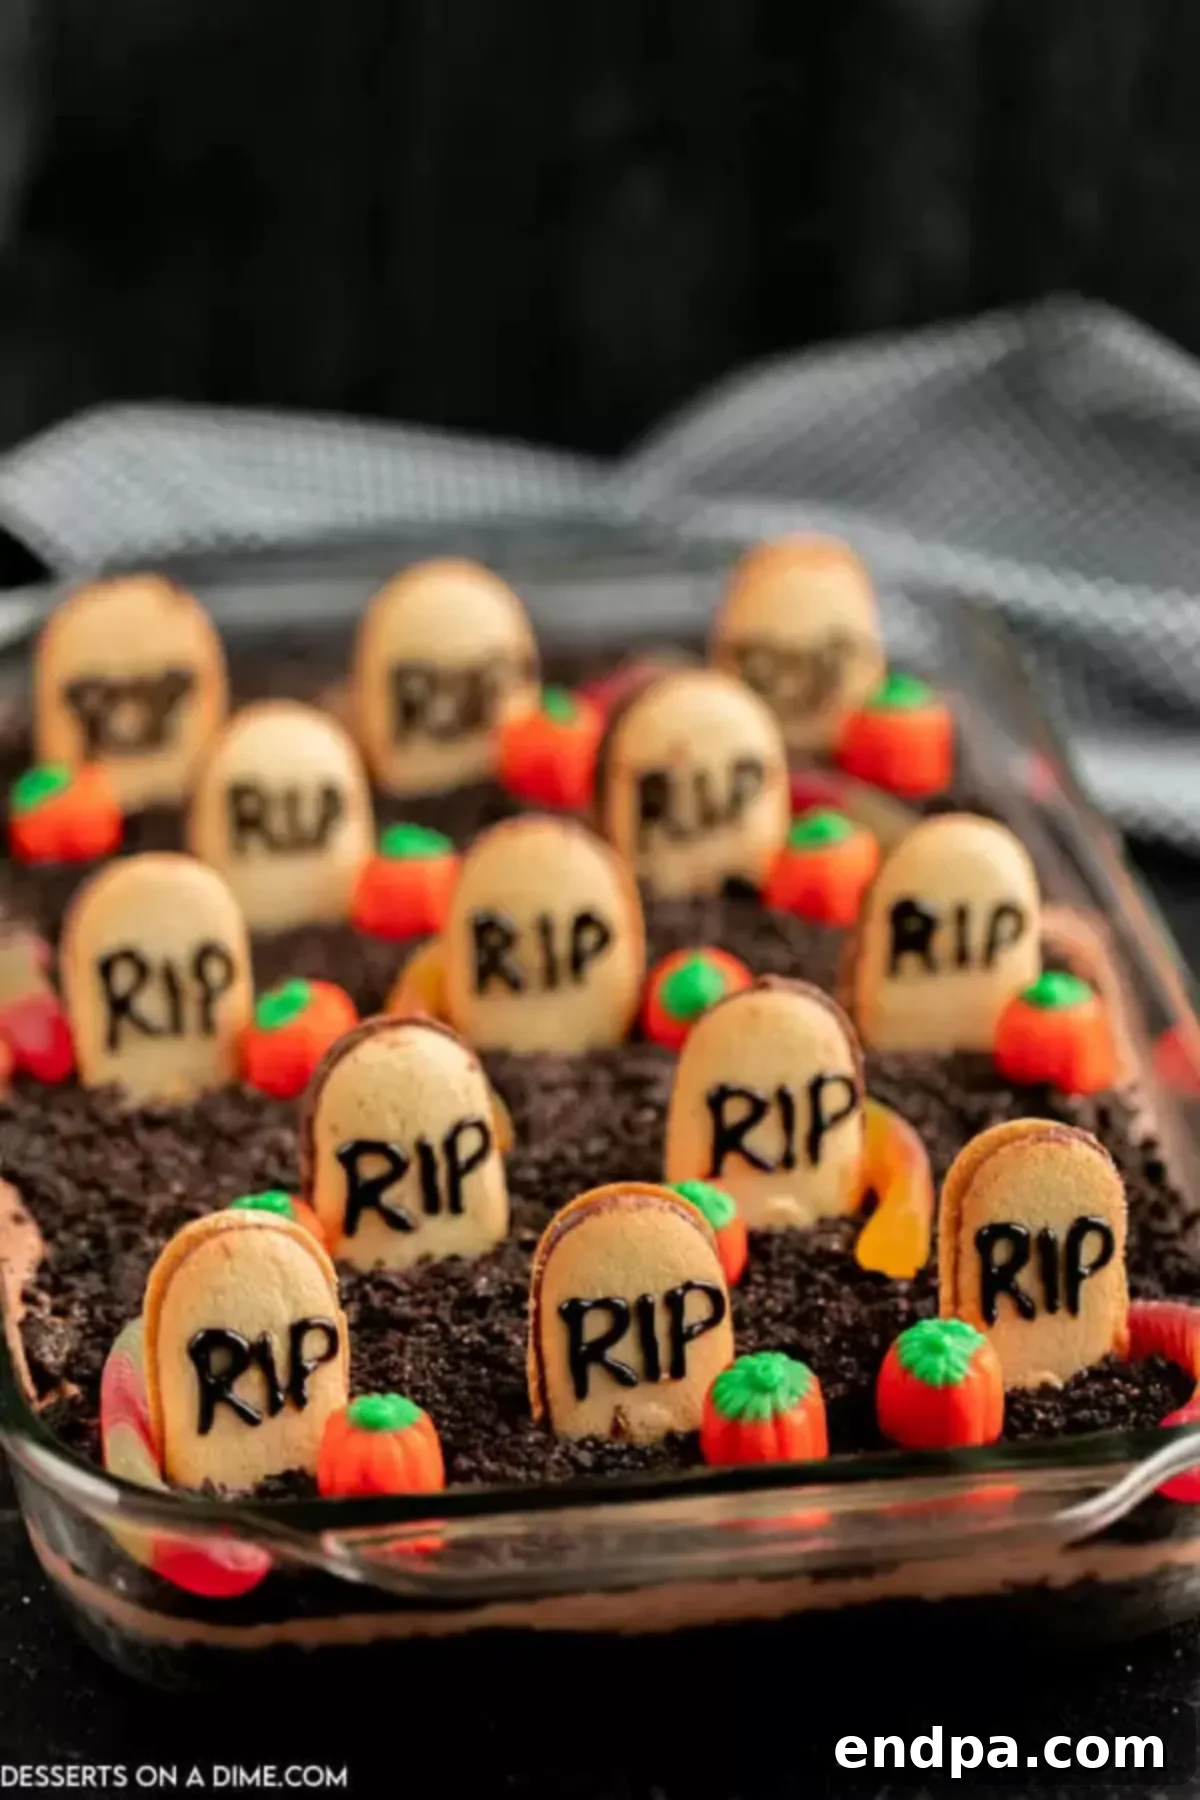
The real fun of the Halloween Dirt Cake comes in the decorating! Right before you’re ready to serve, gather your spooky embellishments and transform your chilled dessert into a captivating graveyard scene. Begin by preparing your Milano cookie tombstones: use the Wilton black writing icing to carefully write “R.I.P.” on the top half of each cookie. You can also get creative with other spooky phrases like “Boo!” or simple cross designs.
Once your tombstones are ready, strategically place them upright into the “dirt” layer of the cake. Position them unevenly, as if they’ve been there for ages, to add to the authentic graveyard aesthetic. Next, scatter the gummy worms around and on top of the tombstones, making them appear as if they’re crawling out of the earth. Add pops of color and festive charm with the candy pumpkins, placing them at the base of the tombstones or along the edges of the dish. For extra frightful flair, consider adding miniature chocolate spiders, ghost-shaped marshmallows, or a drizzle of green or red gel icing for a “slime” or “blood” effect. A dusting of cocoa powder or edible black glitter can also enhance the “dirt” appearance. Let your imagination run wild to create a truly unique and memorable Halloween spectacle!
Serving Suggestions for Your Halloween Bash
Once your Halloween Dirt Cake is fully decorated and chilled, it’s ready to be the star of your spooky spread! This dessert is incredibly versatile in how it can be served. For a traditional party setting, simply bring the entire 9×13 inch dish to the table and let guests spoon out their desired portions. The visual impact of the full graveyard scene is truly impressive and will draw everyone in.
Alternatively, for a kid-friendly option or to simplify serving at a large gathering, consider preparing individual portions. Layer the crushed Oreos, pudding mixture, and decorations in clear plastic cups or small glass jars. This not only makes for adorable individual “graveyard cups” but also minimizes mess and makes it easier for guests to grab and enjoy. For an extra touch, you can place a small plastic shovel or spoon in each cup, enhancing the “digging for dirt” theme. Pair this delightful dessert with spooky-themed beverages, like green punch or a non-alcoholic “witch’s brew,” to complete your Halloween party menu. No matter how you serve it, this Halloween Dirt Cake is sure to be a frightfully delicious crowd-pleaser!
Storage & Make-Ahead Advice
Proper storage is key to keeping your Halloween Dirt Cake fresh and delicious. After serving, cover any leftovers tightly with plastic wrap or aluminum foil. Make sure the wrap is pressed directly onto the surface of the cake to prevent it from drying out or absorbing refrigerator odors. Place the covered pan in the fridge, where it will remain fresh for up to 2 days. While the cake itself holds up well, do note that the Oreo cookies on top, as well as the decorations like Milano cookies and gummy worms, may become a bit softer or soggy over time due to moisture. For the best texture and appearance, it’s always ideal to decorate the cake just before serving.
This dessert is also an excellent make-ahead option, which is a huge bonus when planning for a busy Halloween party! You can prepare the entire cake – including all the layers of Oreo crumbs and pudding – up to 1 week in advance. Simply cover it tightly and store it in the refrigerator. The key is to *wait to add the decorations* (tombstone cookies, gummy worms, candy pumpkins, etc.) until you are ready to serve. This ensures that your edible graveyard scene looks as fresh and crisp as possible for your guests, allowing you to focus on other party preparations on the big day.
Expert Tips for a Frightfully Delicious Outcome
- Experiment with Flavors: While traditional Oreos and chocolate pudding are classic, don’t hesitate to get creative! You can easily change up the flavor profile by using different types of Oreos, like Golden Oreos, and pairing them with vanilla or white chocolate pudding for a lighter, “sandy” graveyard effect. Consider pumpkin spice Oreos for an autumnal twist or even mint Oreos for a ghoulish green layer!
- Strategic Make-Ahead Planning: As mentioned, this cake is perfect for making ahead. Assemble all the layers and let it chill in the fridge for up to a week. This allows the flavors to truly meld and the pudding to set perfectly. Just remember: hold off on placing the tombstone cookies, gummy worms, and candy pumpkins until just an hour or so before your party to keep them looking fresh and firm.
- No Food Processor? No Problem!: If you don’t have a food processor or blender, you can still achieve perfectly crushed Oreos. Simply place the cookies in a large Ziploc bag, seal it tightly (removing as much air as possible), and use a rolling pin, the back of a sturdy spoon, or even your hands to crush them into fine crumbs. It’s a great way to release some stress!
- Choose the Perfect Pan: A standard 9×13 inch baking dish is ideal for this recipe, creating enough servings for a crowd. If you’re transporting the dessert to a potluck or party, consider using a baking dish with a fitted lid to make transportation a breeze and keep your creation secure.
- Consider Disposable Pans for Convenience: For ultimate ease, especially if you’re taking this dessert to a cookout or a large party where you might not want to worry about getting your dish back, disposable aluminum pans are a fantastic option. They save on cleanup and give you one less thing to think about.
- Individual Servings for Controlled Portions: For children’s parties or to simply offer more elegant, portion-controlled servings, use clear plastic cups or small mason jars. Layer the dirt cake ingredients directly into these cups, then decorate each one individually. This is not only adorable but also prevents sticky serving spoons and ensures everyone gets a perfectly composed mini-graveyard.
- Personalize Your Graveyard: Beyond standard gummy worms and pumpkins, consider adding other spooky candies like candy corn, chocolate eyeballs, ghost-shaped marshmallows, or small plastic spiders. You can even use crumbled graham crackers mixed with green food coloring for mossy patches around the tombstones.
More Spine-Chilling Halloween Desserts
If you’re looking to expand your collection of spooky treats, here are some other fantastic Halloween dessert ideas that are sure to delight:
- Halloween Spider Cookies
- Mummy Cake Pops Recipe
- Halloween Marshmallows
- 49 No Bake Halloween Treats
- Fast and Easy Halloween Treats
- Halloween Cake Pops Recipe
We encourage you to get creative and customize this Halloween Dirt Cake with whatever spooky candies and decorations you have on hand. It’s a recipe that invites personalization and fun! If you decide to make this enchanting dessert, please share your experience and leave a comment below – we’d absolutely love to hear how your graveyard cake turned out. It’s truly such a fun and delicious project!
Halloween Dirt Cake
Layers of Oreo cookies and pudding topped with gummy worms, pumpkins and tombstone cookies make this Halloween Dirt Cake Recipe so much fun. Make this graveyard cake for your Halloween party.
15 mins
2 hrs
2 hrs 15 mins
12
American
Dessert
518
Carrie Barnard
Ingredients
- 1 packaged Oreos 15.5 oz
- 8 oz Cream Cheese softened
- 1/2 cup Butter softened
- 1 cup Powdered Sugar
- 16 oz Cool Whip
- 2 boxes of Instant Chocolate Pudding Mix 3.3 oz each
- 3 cups Milk
- 1 package Milano Cookies
- Gummy Worms and Candy Pumpkins optional
- Wilton Black Writing Icing
Instructions
- Crush the Oreos in a food processor or blender. Reserve about 1/3 of the crushed Oreos. Place the remaining 2/3 of the crushed Oreos in the bottom of a 9X13 pan and spread evenly.
- In a large bowl, cream together the softened cream cheese and butter with a hand-held mixer or stand mixer until smooth and fluffy. Then mix in the powdered sugar until fully combined, followed by folding in the Cool Whip until light and airy.
- In a separate bowl, whisk together the cold milk and the instant chocolate pudding mixes until they thicken.
- Gently fold the pudding mixture into the cream cheese mixture until thoroughly combined and smooth.
- Pour this combined mixture evenly over the Oreo crust in the 9X13 pan.
- Sprinkle the reserved crushed Oreos over the top of the pudding layer to create the “dirt” effect.
- Cover the dish with plastic wrap and refrigerate for a minimum of 2 hours, or until thoroughly chilled and set.
- Just before serving, decorate the cake. Write “R.I.P.” or other spooky messages on the Milano cookies with the black icing. Place these decorated cookies upright in the cake to resemble tombstones. Arrange gummy worms and candy pumpkins around the tombstones and over the “dirt” for a complete graveyard scene.
- Serve and enjoy your festive Halloween Dirt Cake!
Recipe Video
Nutrition Facts
Carbohydrates 64g,
Protein 8g,
Fat 27g,
Saturated Fat 14g,
Trans Fat 1g,
Cholesterol 82mg,
Sodium 390mg,
Potassium 232mg,
Fiber 1g,
Sugar 41g,
Vitamin A 656IU,
Calcium 152mg,
Iron 4mg
Pin This Now to Remember It Later
Pin Recipe
