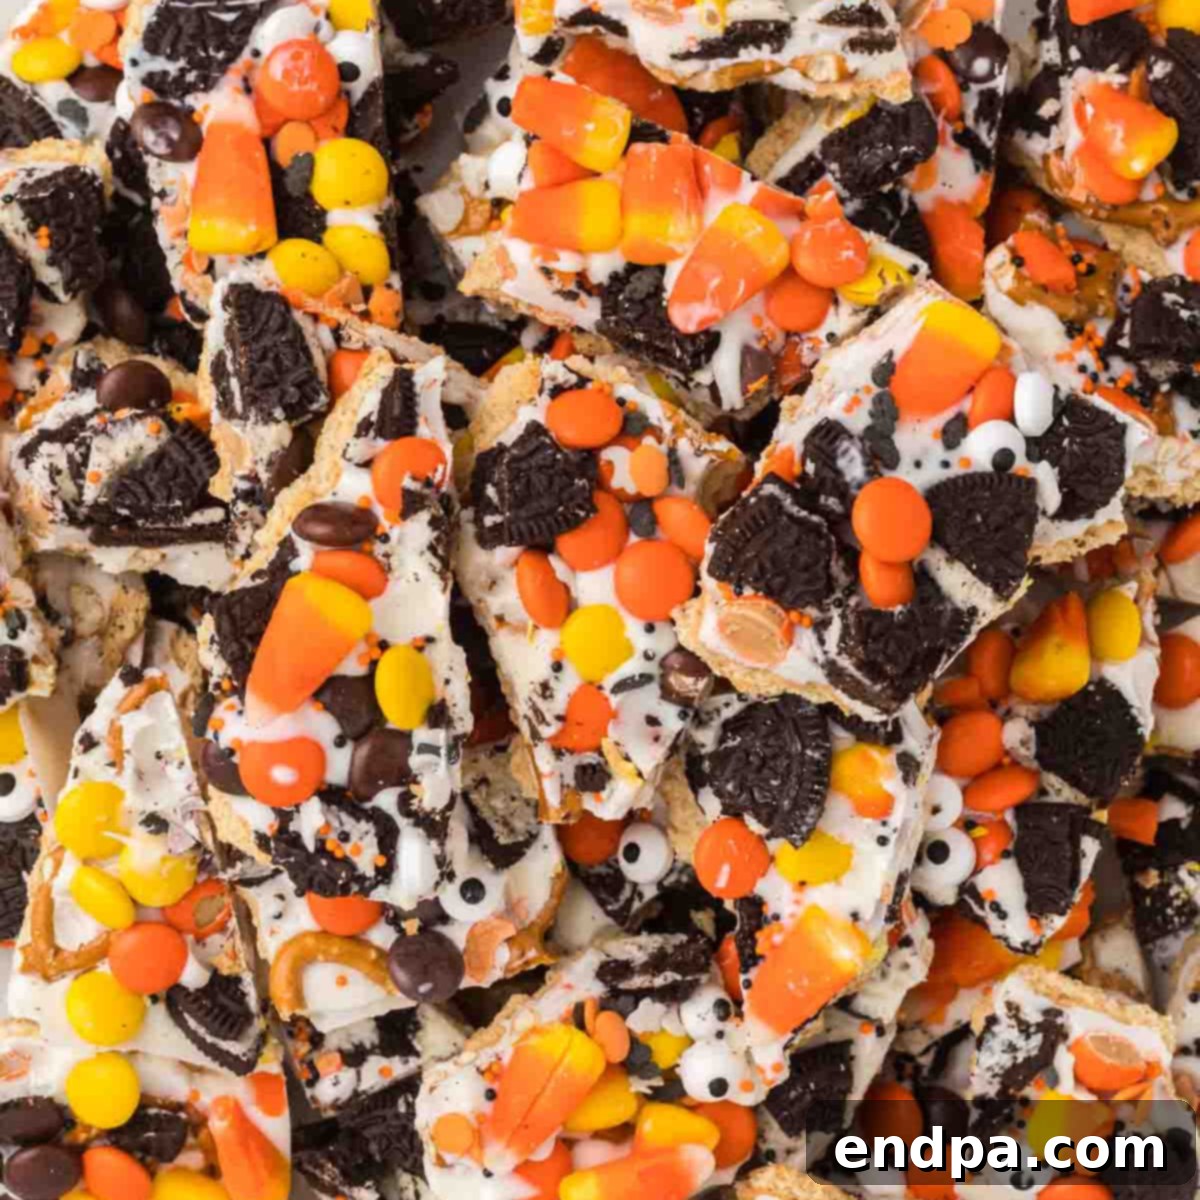
Get ready for some spooky fun with this incredible Halloween Bark Recipe! It’s a vibrant, no-bake treat crafted from rich melted chocolate, an assortment of festive candies, and playful sprinkles. Not only is it incredibly easy to prepare, but it also delivers a burst of color and flavor, making it the perfect addition to any Halloween party, a delightful homemade gift, or a simple yet special dessert for your family. Prepare to impress everyone with this delightfully spooky confection!
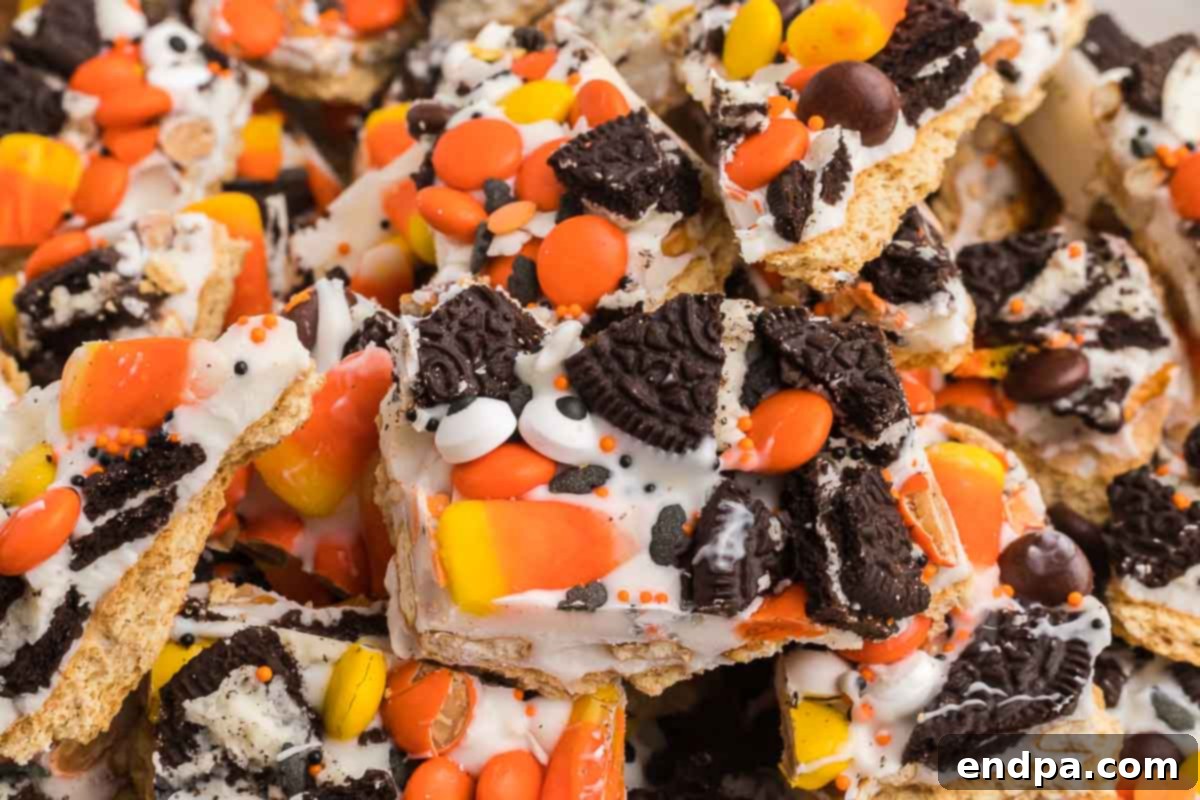
Halloween Bark isn’t just a dessert; it’s a celebration in itself. This festive and incredibly easy no-bake Halloween treat brings together creamy swirls of melted chocolate with an exciting medley of crunchy add-ins and vibrant candy decorations. It’s a whimsical, spooky twist on the classic chocolate bark, offering a delightful blend of textures and flavors in every bite. The best part? Despite its impressive appearance, this dessert comes together in mere minutes, making it ideal for even the busiest Halloween enthusiasts.
This simple chocolate bark recipe is an absolute must-have for your Halloween festivities. Whether you’re hosting a grand party, looking to enhance your dessert table, or preparing thoughtful homemade gifts in little treat bags, this bark fits the bill perfectly. Both children and adults will be enchanted by the harmonious combination of smooth chocolate, satisfyingly crunchy cookies, and delightfully chewy candies. It’s a sensory experience that captures the essence of Halloween joy.
What is Halloween Bark?
Chocolate bark is a simple confection made by spreading melted chocolate thinly and topping it with various ingredients before allowing it to set. Halloween bark takes this concept and infuses it with all the fun and fright of the season! Typically featuring white or dark chocolate as its base, it’s adorned with a variety of Halloween-themed candies, sprinkles, cookies, and other spooky edibles. The beauty of bark lies in its versatility and ease of creation, allowing for endless customization to match your personal taste and holiday spirit. It’s a canvas for creativity, resulting in a unique and delicious treat every time.
Why We Love This Spooky Sweet Treat
- Effortlessly Quick and Simple: Forget about complex baking steps! This recipe requires zero oven time. All you need to do is melt your chosen chocolate, spread it out, and then let your creativity shine with decorations. It’s perfect for last-minute party preparations or spontaneous holiday fun.
- Festive and Unmistakably Fun: With its bright candy colors, whimsical candy eyeballs, and an array of spooky sprinkles, this bark is the quintessential Halloween delight. It truly embodies the playful spirit of the holiday, making it a standout on any treat table.
- A Perfect Activity for Kids: Involving children in the kitchen has never been easier or more enjoyable! This recipe is incredibly forgiving, allowing kids to freely add toppings and personalize their bark without the pressure of perfection. It’s almost impossible to mess up, ensuring a successful and fun decorating experience for little hands.
- Infinitely Customizable for Every Palate: The possibilities are endless when it comes to customizing your Halloween Bark. Mix in your family’s favorite candies, crunchy cookies, salty pretzels, or a blend of everything for unique flavor combinations and textures. Each batch can be a new adventure!
- Ideal for Any Halloween Gathering: Once set, simply break the bark into irregular, rustic pieces. It’s an excellent treat to serve at Halloween parties, potlucks, or school events. For an extra special touch, wrap individual pieces in cellophane bags tied with festive ribbons to create charming party favors or thoughtful homemade gifts.
Essential Ingredients for Your Halloween Bark
Creating this delightful Halloween bark requires just a few key ingredients, each playing a crucial role in delivering that perfect balance of sweetness, crunch, and festive appeal. Here’s what you’ll need:
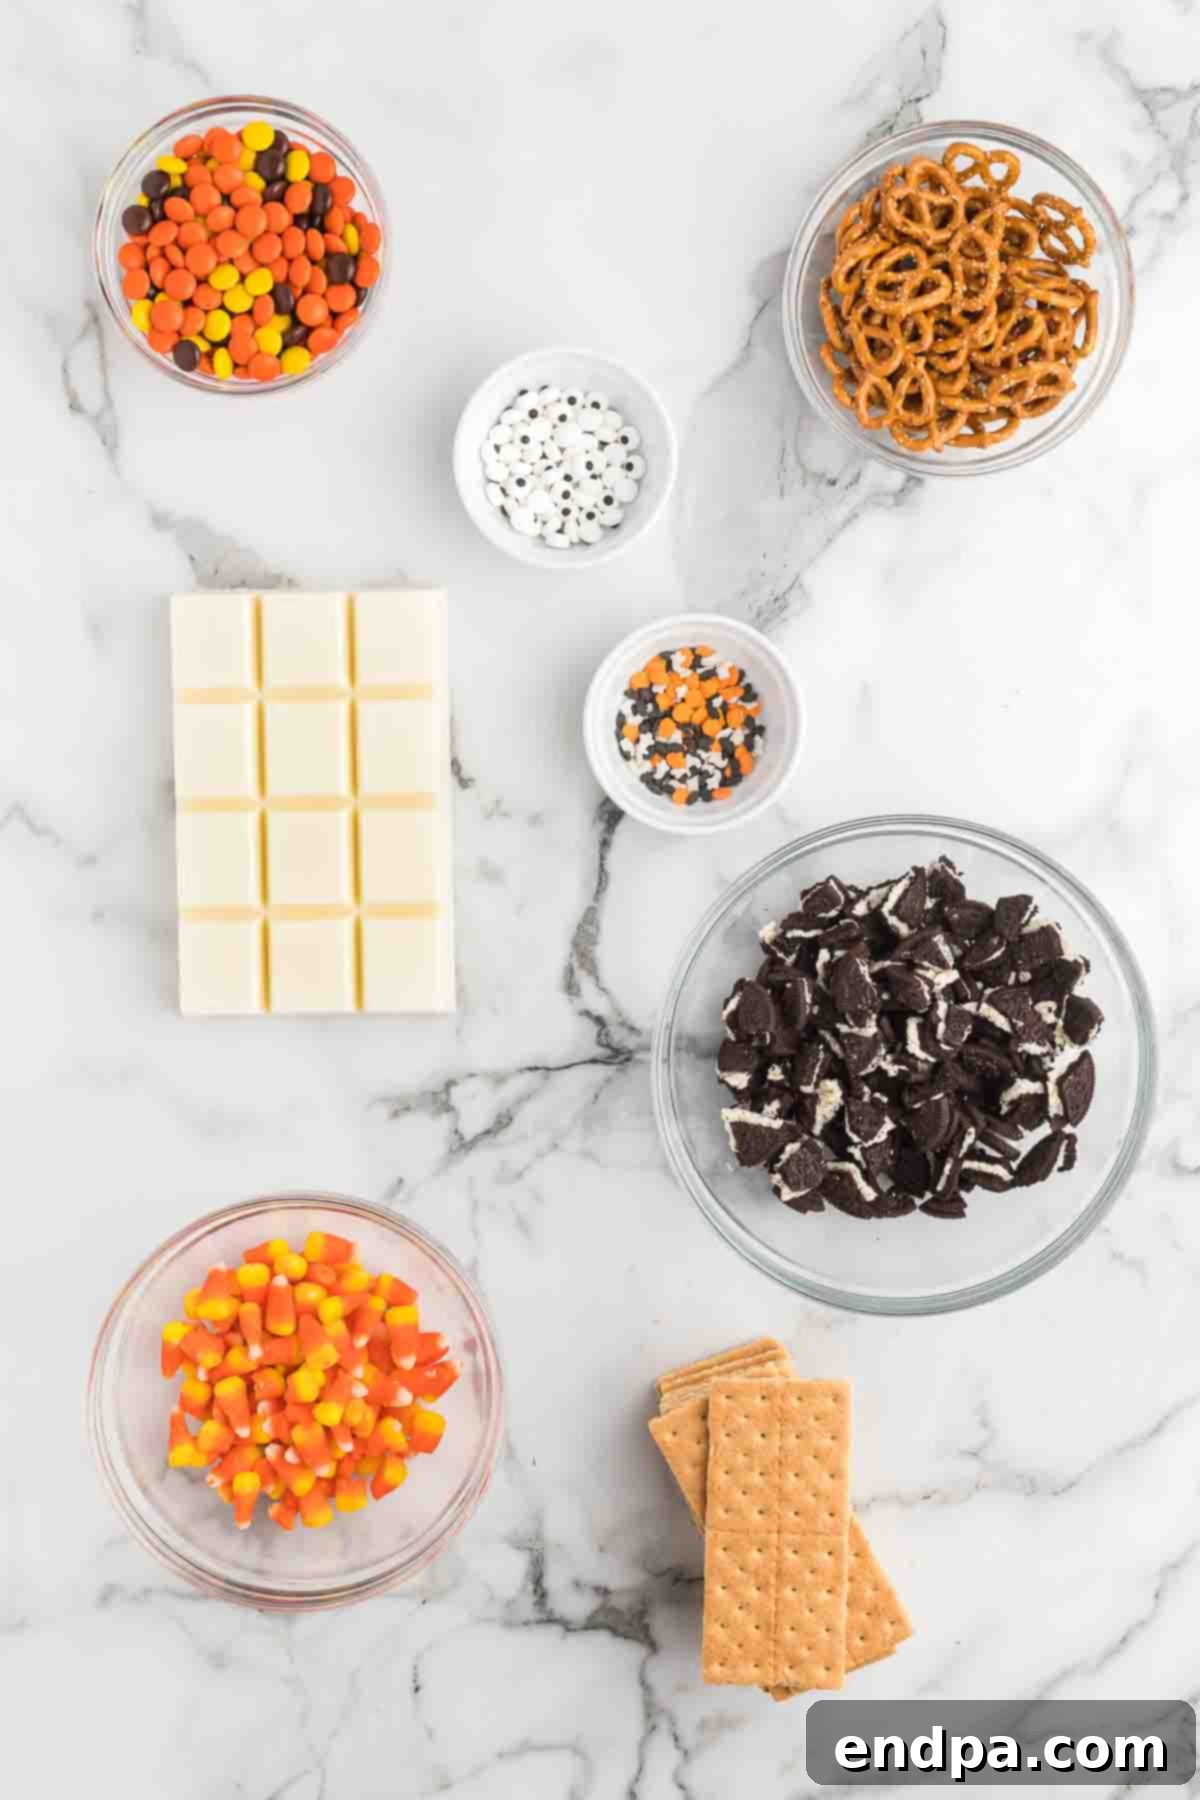
- Graham Crackers: These form the foundational layer of our bark, offering a wonderful, subtly sweet crunch that complements the richer toppings. They provide a sturdy base that holds all the delightful elements together.
- White Almond Bark: This provides the smooth, creamy canvas that binds all the ingredients. Almond bark melts beautifully, sets quickly, and has a delightful vanilla flavor that pairs well with almost any topping. While similar to white chocolate, it’s specifically formulated for easy melting and a stable set.
- Oreos, chopped into pieces: Crushed or roughly chopped Oreos introduce an irresistible chocolatey crunch and pockets of creamy filling. They add a beloved flavor and texture contrast that makes each bite exciting.
- Reese’s Pieces: For a pop of classic peanut butter flavor and iconic Halloween colors—orange, yellow, and brown—Reese’s Pieces are a must. They add a chewy texture and a burst of nutty sweetness.
- Halloween Sprinkles: These are essential for that festive visual appeal! Choose a mix of bright and spooky colors, shapes, or themes (ghosts, bats, pumpkins) to instantly transform your bark into a holiday masterpiece.
- Candy Eyes: Give your bark a fun, monster-like, or ghoulishly cute appearance with these edible candy eyeballs. They add a whimsical touch that kids absolutely adore.
- Mini Pretzel Twists: To perfectly balance the sweetness of the chocolate and candies, mini pretzel twists provide a delightful salty crunch. This sweet and salty combination is always a winner!
- Candy Corn: A quintessential Halloween candy, candy corn adds another layer of seasonal sweetness and a distinctive chewy texture. Its iconic colors enhance the festive look of the bark.
These ingredients come together to create a Halloween Bark that is not only visually stunning but also incredibly delicious. Feel free to adjust quantities based on your preferences, ensuring a treat that’s uniquely yours. For the complete recipe instructions and precise measurements, please refer to the detailed recipe card below.
Creative Variations for Your Halloween Bark
The beauty of Halloween Bark lies in its adaptability. While the classic recipe is fantastic, don’t hesitate to experiment with these exciting variations to create a treat that perfectly suits your taste or party theme. Each modification can bring a unique twist to your spooky confection:
- White Chocolate Base: If you prefer the distinct flavor of white chocolate over almond bark, it’s a fantastic substitute. White chocolate chips or bars can be melted in the microwave in 30-second intervals, stirring thoroughly after each to prevent burning, until smooth and creamy. This offers a richer, more traditional chocolate flavor.
- Vibrant Colored Chocolate Drizzle: Elevate the visual appeal by drizzling different colored candy melts over your bark. Festive shades like bright green and classic orange can create a striking contrast against a white or dark chocolate base, making your bark even more eye-catching. Simply melt small amounts of candy melts and use a spoon or a piping bag to create intricate patterns.
- Nutty Crunch: For those who love a bit of healthy fat and earthy flavor, sprinkle chopped walnuts, pecans, or almonds over the melted chocolate. The nuts add a wonderful depth of flavor and a satisfying crunch that beautifully contrasts with the smooth chocolate.
- Peanut Butter Dream: Transform your bark into a peanut butter lover’s paradise by using melted peanut butter morsels for the base layer instead of white chocolate or almond bark. The rich, nutty flavor of peanut butter combined with sweet and salty toppings is an unbeatable combination that truly stands out.
- Decadent Caramel Swirl: For an extra layer of indulgence, drizzle warm caramel syrup generously over the set or semi-set bark. The gooey sweetness of the caramel adds a luxurious touch that pairs wonderfully with both chocolate and a hint of saltiness.
- Seasonal Adaptations: This versatile bark recipe isn’t just for Halloween! Easily adapt it for other holidays by simply swapping out the Halloween-themed candies and sprinkles for seasonal alternatives. Think red and green for Christmas, pink and red for Valentine’s Day, or pastel colors for Easter.
- Fruity Freshness: Introduce a hint of tartness and chewiness by sprinkling dried fruits such as cranberries, apricots, or cherries on top. Their vibrant colors and distinct flavors offer a delightful contrast to the sweet chocolate and candies, adding a sophisticated touch.
As you can see, there are countless ways to customize this recipe, allowing you to cater to any preference or utilize whatever ingredients you have readily available. Don’t be afraid to get creative and make this treat truly your own!
Easy Step-By-Step Instructions for Halloween Bark
Creating this festive Halloween bark is incredibly simple and quick. Follow these straightforward steps to achieve a deliciously spooky treat:
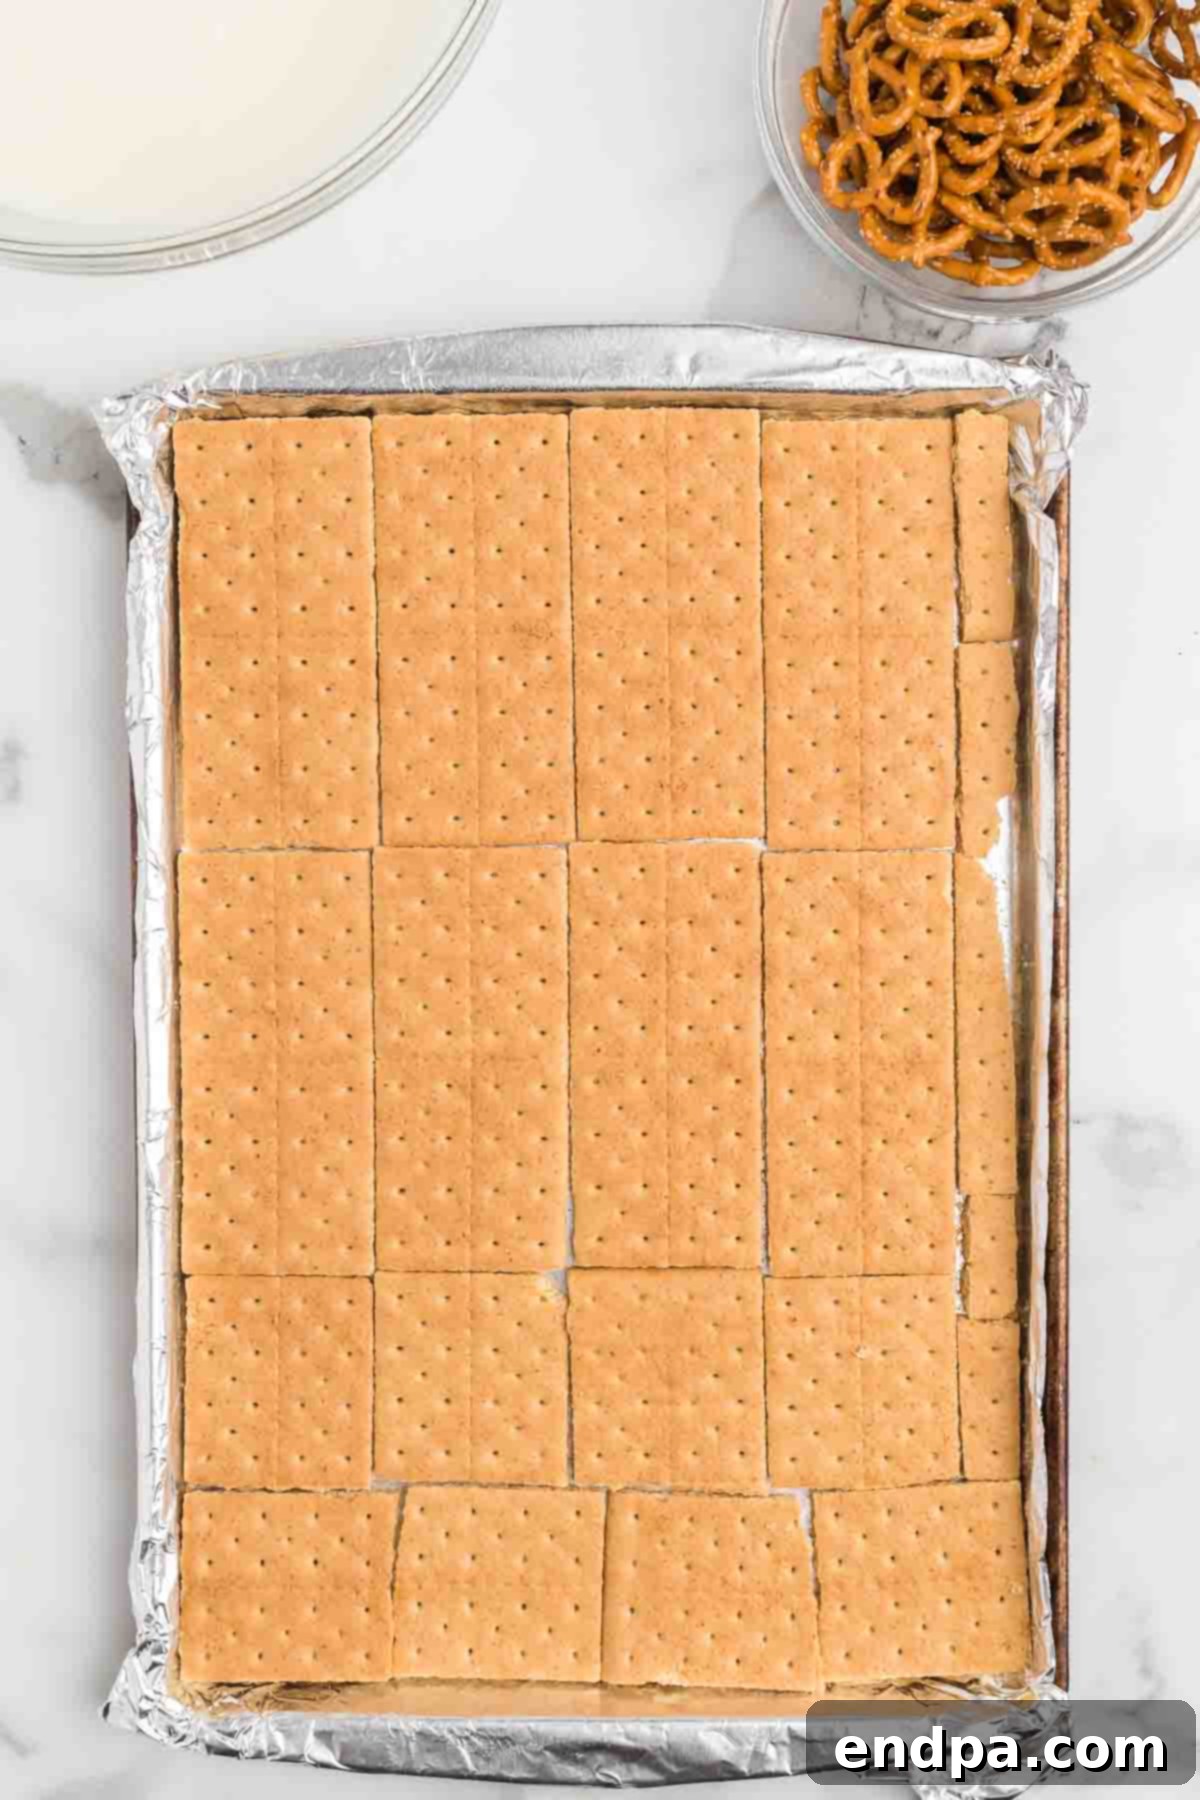
Step 1 – Prepare Your Pan: Begin by lining a standard jelly roll pan (or baking sheet) with aluminum foil. This step is crucial for easy removal of the finished bark. Once lined, lightly spray the foil with a non-stick cooking spray to ensure nothing sticks. Next, arrange the graham crackers in a single layer to cover the bottom of the pan. Don’t worry if you need to break some crackers to fit snugly; uniformity isn’t key here.
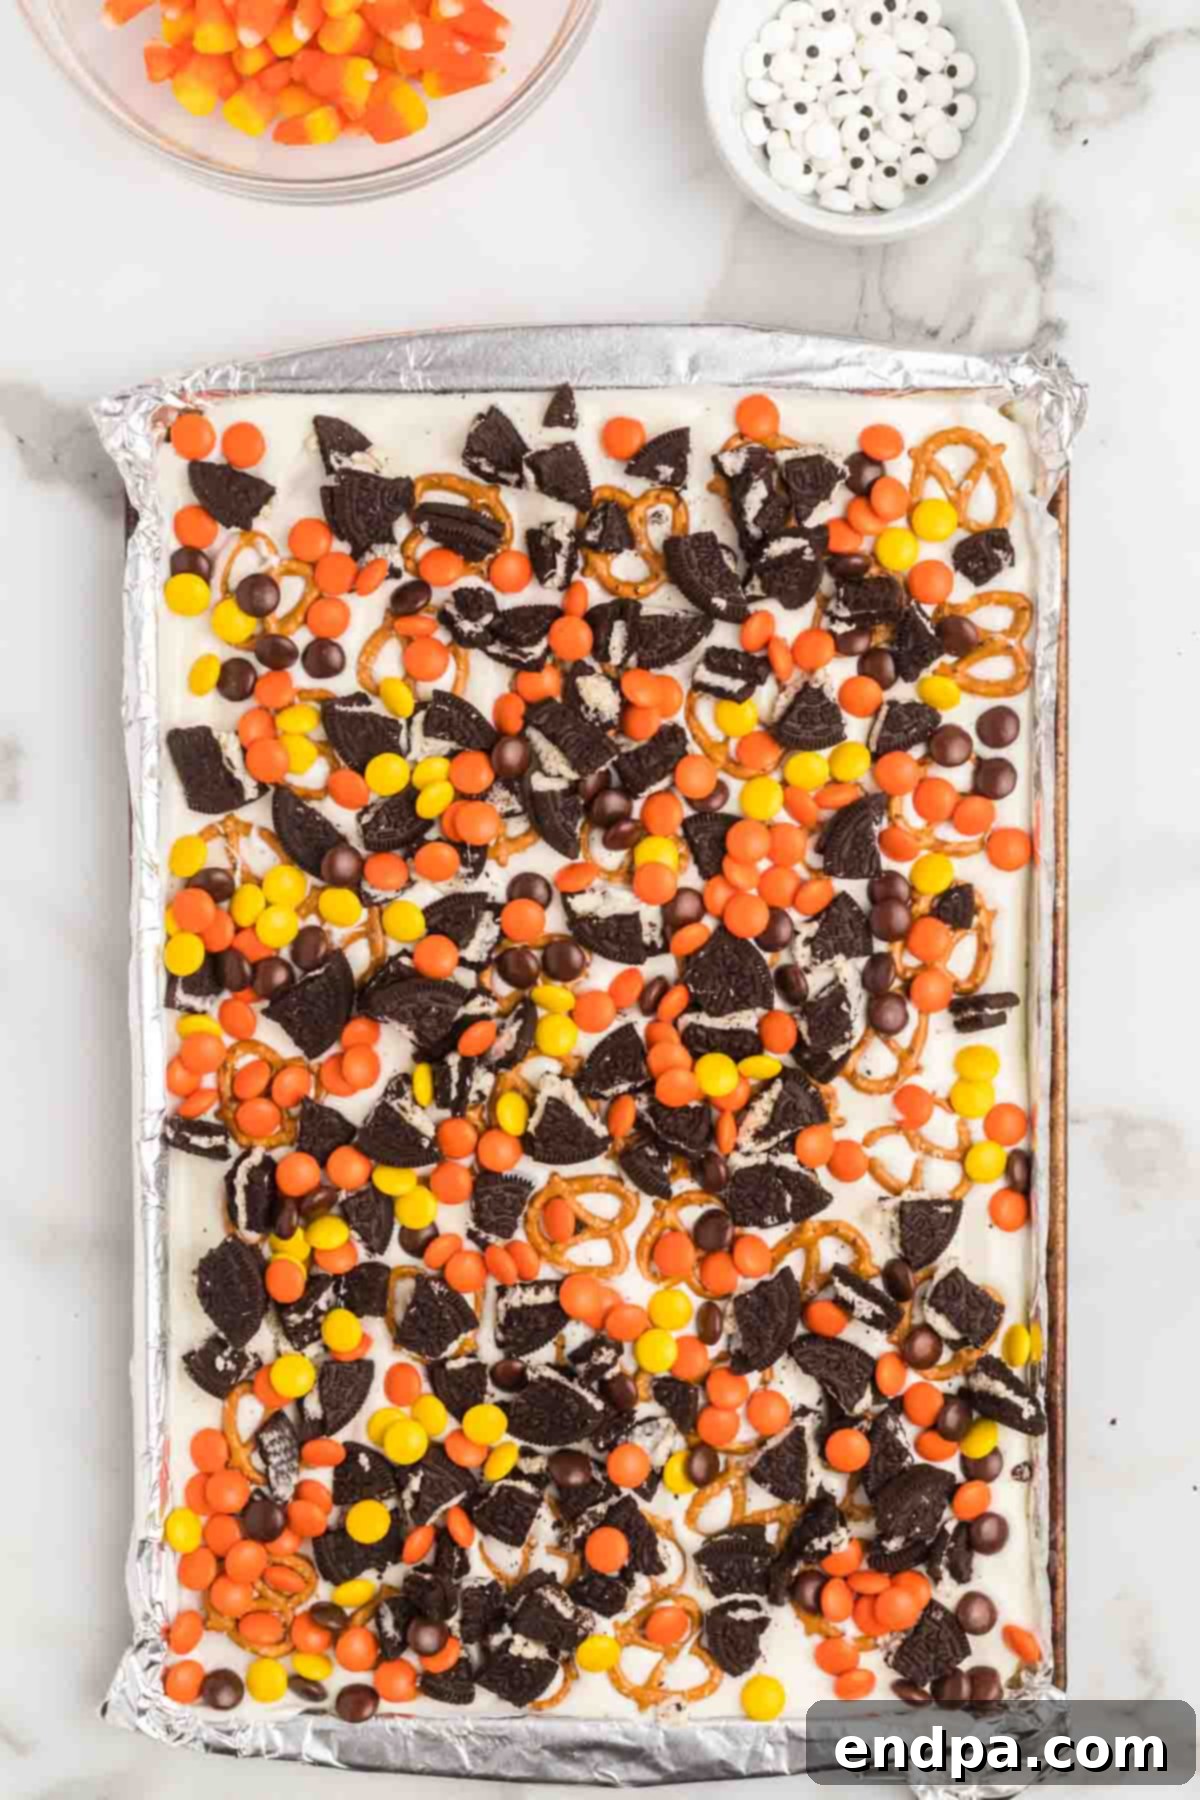
Step 2 – Melt and Decorate: Melt the white almond bark according to package directions. This usually involves microwaving in short intervals, stirring frequently, until smooth and completely melted. Once melted, pour the almond bark evenly over the graham cracker base, using a spatula to spread it smoothly to the edges. While the chocolate is still wet, generously sprinkle the pretzel twists, chopped Oreo pieces, Reese’s Pieces, Halloween sprinkles, candy eyes, and candy corn evenly over the surface. Gently press down on the larger toppings to ensure they adhere well to the melted bark. Immediately place the pan into the refrigerator to chill for 30-60 minutes, or until the almond bark is completely hardened and firm.
Once your Halloween Bark is fully set, simply remove it from the refrigerator, lift the foil, and break it into irregular, bite-sized pieces. Serve immediately and enjoy your deliciously spooky homemade treat!
Expert Tips for Perfect Halloween Bark
Achieving the perfect Halloween Bark is easy with a few simple tricks. These pro tips will help ensure your bark is not only delicious but also visually stunning and hassle-free to make:
- Always Line Your Pan: This is a non-negotiable step! Whether you use parchment paper or wax paper, lining your baking sheet ensures that the bark can be lifted out effortlessly once it has hardened. This prevents sticking and makes cleanup a breeze.
- Master the Slow Melt: When melting your almond bark (or white chocolate), patience is key. Use the microwave in short 30-second intervals, stirring diligently after each interval. This slow and gentle melting process prevents the chocolate from scorching, which can result in a grainy texture or a burnt taste.
- Speed is Your Friend When Topping: Chocolate sets quickly! Once you’ve melted and spread your bark base, work swiftly to add all your desired toppings. The melted chocolate acts as the “glue,” so you want to place your decorations before it begins to firm up.
- Gentle Pressure for Toppings: For larger toppings like pretzel twists or Oreo pieces, a light press into the melted chocolate is sufficient. This ensures they are securely embedded and won’t fall off once the bark hardens, without disturbing the smooth chocolate layer too much.
- Unleash Your Creativity with Toppings: Don’t feel limited to the listed ingredients! This is your chance to customize. Consider adding other Halloween favorites like chocolate M&M’s, gummy worms for a creepy-crawly effect, mini marshmallows, or different themed sprinkles to perfectly match your party’s aesthetic.
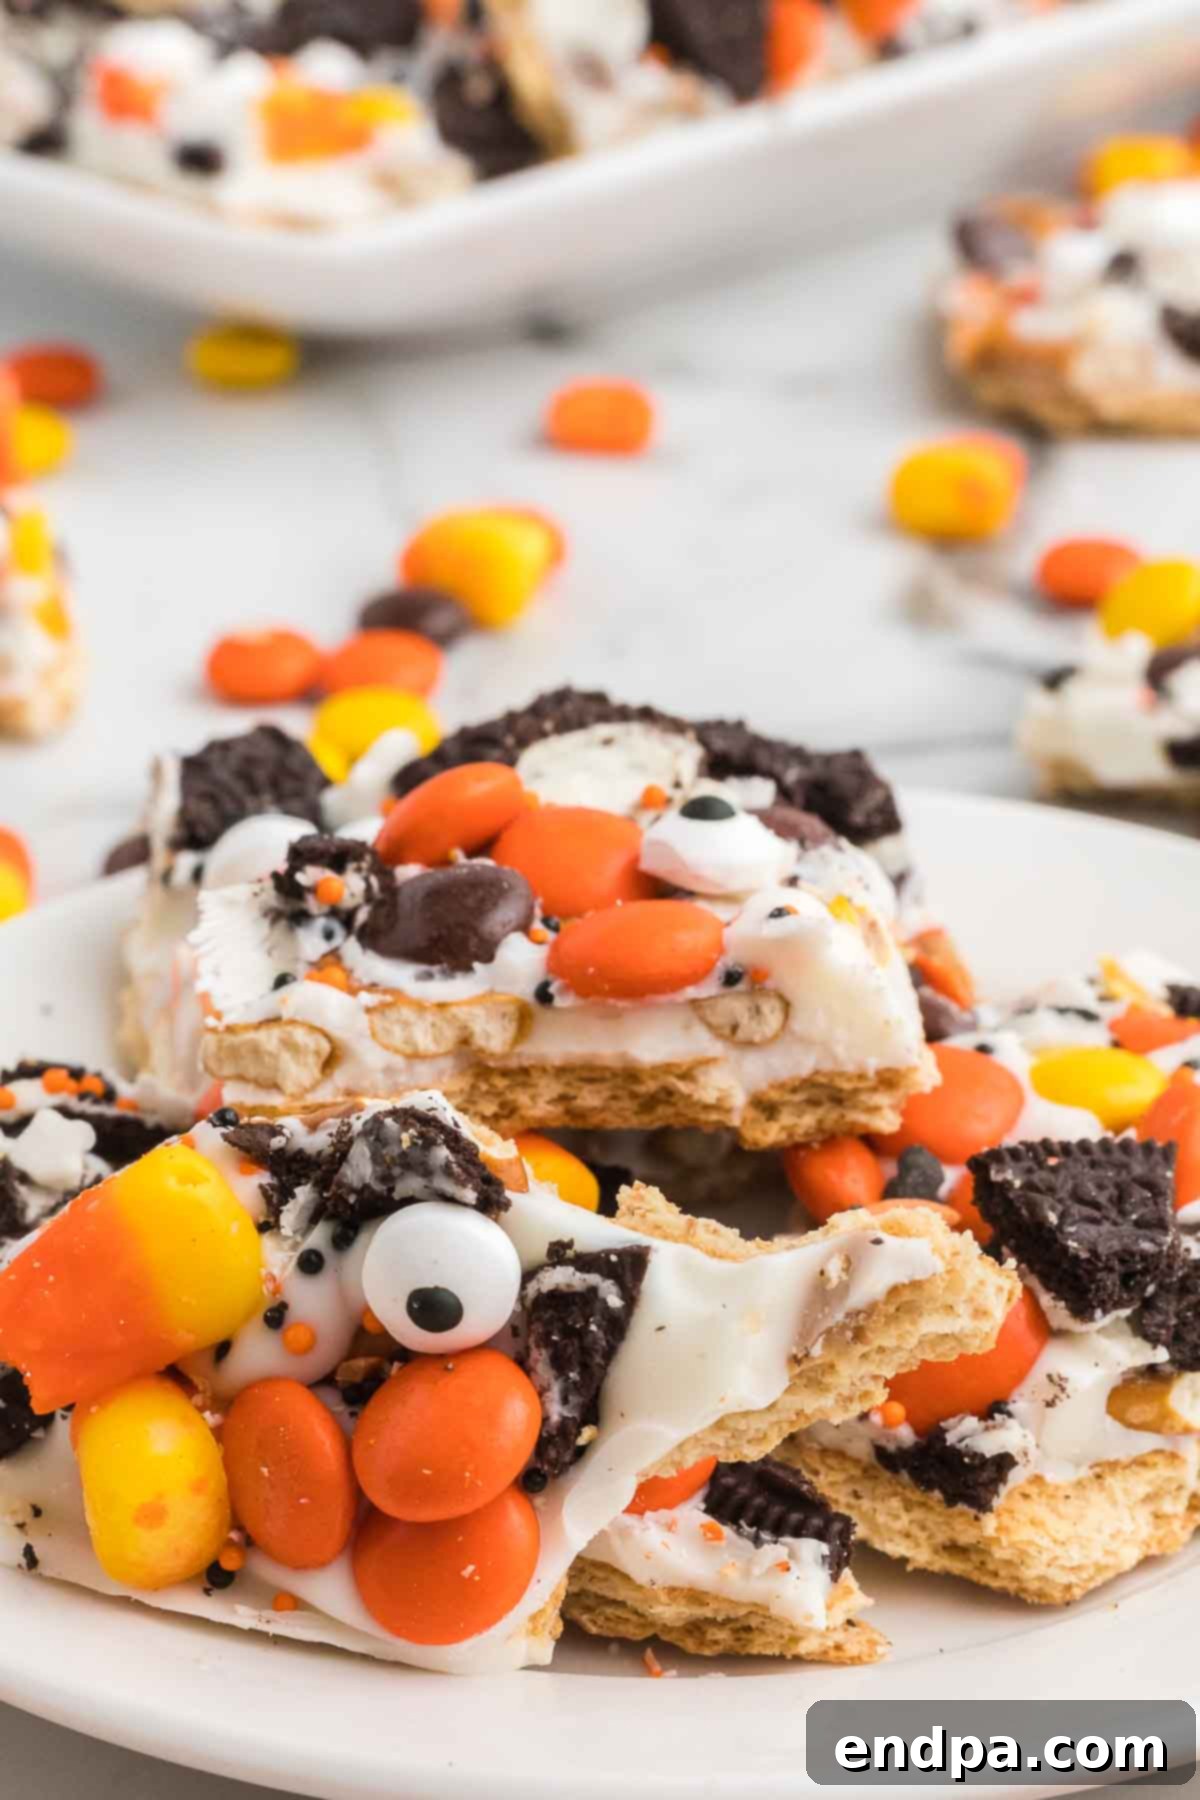
- Achieve the Rustic Look: Once your bark is fully set and firm, resist the urge to cut it into perfect squares. The charm of chocolate bark lies in its irregular, “shattered” appearance. Break it into random shards to achieve that fun, rustic, and authentically homemade Halloween look.
- Ensure Full Cooling: For the best snap and easiest breaking, make sure your bark is thoroughly chilled and completely hardened. Rushing this step might result in a softer, messier bark.
- Proper Storage for Freshness: Once broken, store your bark in an airtight container to maintain its freshness and prevent it from absorbing other odors. This also helps keep the chocolate firm and prevents any toppings from getting soft.
Beyond the Basics: More Spooky Topping Ideas
While our core recipe provides a fantastic foundation, the world of Halloween bark toppings is truly limitless! Get inspired by these additional ideas to make your bark even more unique and delicious:
- Peanut Butter Cups: Whether you use mini peanut butter cups whole or break larger ones into smaller pieces, their creamy peanut butter and chocolate combination is a crowd-pleaser and adds a rich, distinct flavor.
- Assorted Chocolate Chips: Diversify your chocolate profile by adding dark chocolate chips, milk chocolate chips, or semi-sweet chocolate chips. You can sprinkle them on top for extra texture or even melt some to create a contrasting drizzle.
- Halloween Themed M&M’s: These colorful candies are perfect for adding a smooth chocolate crunch and a burst of seasonal color. Look for bags of M&M’s specifically designed for Halloween with orange, brown, and black variations.
- Crushed Candy Bars: Get creative with your favorite Halloween candy bars! Break up Hershey Bars, Kit Kats, Butterfingers, Heath Bars, or any other chocolate bar you love into small pieces and scatter them over the bark. This is a great way to use up leftover trick-or-treat candy.
- Gummy Worms or Spiders: For a truly “creepy-crawly” effect, embed gummy worms or small gummy spiders into the melted chocolate. Their chewy texture and playful shapes are perfect for a spooky theme.
- Mini Marshmallows: A handful of mini marshmallows can add a soft, chewy texture and a sweet, fluffy contrast to the bark. They look particularly eerie peeking out from a dark chocolate base.
- Spooky Candied Nuts: Roast some nuts (like almonds or pecans) and toss them with a little sugar and cinnamon, or even a touch of red food coloring for a “bloody” effect, before sprinkling them on.
- Edible Glitter or Dust: For an extra touch of magic and sparkle, finish your bark with a dusting of edible glitter or pearl dust. This can make your treats look truly enchanting under party lights.
Storing Your Halloween Bark for Lasting Freshness
Proper storage is essential to keep your Halloween Bark fresh, crisp, and delicious for as long as possible. Follow these guidelines to enjoy your spooky treat for days or even weeks:
Room Temperature Storage:
- Store your Halloween bark in an airtight container at room temperature for up to 1 week.
- Ensure it’s kept in a cool, dry place, away from direct sunlight or any heat sources, which could cause the chocolate to melt or soften.
- If you’re stacking pieces of bark, place a sheet of parchment paper or wax paper between each layer. This prevents the pieces from sticking together and preserves their individual integrity.
Refrigerator Storage:
- For extended freshness, especially in warmer climates, refrigerate the bark in an airtight container for up to 2 weeks.
- A common occurrence with refrigerated chocolate is “bloom,” where a slight white or grayish coating may develop on the surface. This is caused by sugar or fat crystals rising to the surface and does not affect the taste or safety of the chocolate, though it might alter the appearance slightly.
Freezer Storage:
- To keep your Halloween Bark fresh for even longer, you can freeze it for up to 2 months.
- Place the bark pieces in a sealed freezer-safe bag or an airtight container. Make sure to remove as much air as possible to prevent freezer burn.
- When you’re ready to enjoy it, simply thaw the bark at room temperature for about 15-30 minutes before serving. This allows it to soften slightly and regain its original texture.
More Delightful Halloween Treat Recipes to Try
If you’re looking for more ways to celebrate the spooky season with delicious treats, here are some other fantastic Halloween recipes you’ll love. These are perfect for expanding your party menu or just enjoying some festive fun at home:
- Easy Halloween Spider Cookies
- Halloween Dirt Cups
- Halloween Dirt Cake Recipe
- Halloween Marshmallows
- Halloween Monster Eyeballs
- Easy Halloween Treats
- Spider Web Cupcakes
- Halloween Puppy Chow Recipe
- Witch Hat Cookies
We hope you enjoy whipping up a batch of this spooky, colorful, and utterly delicious Halloween Bark for your upcoming festivities! It’s a treat that’s sure to bring smiles and a touch of magic to your celebration. Don’t forget to experiment with your favorite toppings and make it truly your own.
Happy Halloween and happy snacking!
Halloween Bark
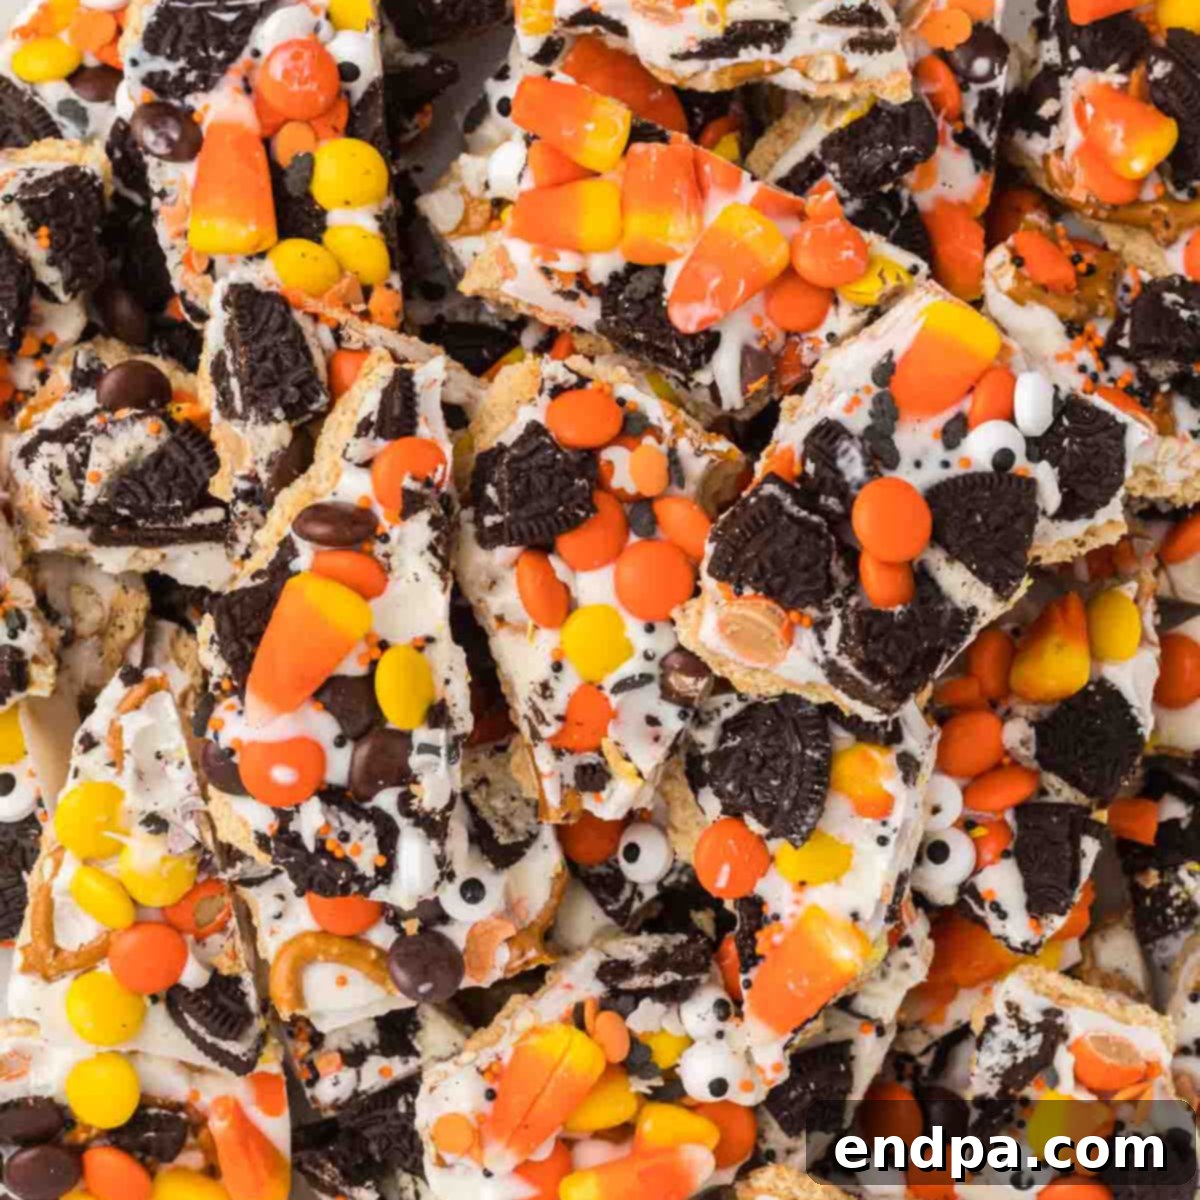
Halloween Bark is an incredibly simple, no-bake treat loaded with vibrant candy, rich chocolate, and sweet graham crackers. This recipe for chocolate bark is perfect for quick holiday fun and guaranteed to be a hit!
Prep Time: 15 mins
Chill Time: 30 mins
Total Time: 45 mins
Servings: 24 pieces
Cuisine: American
Course: Dessert, Snack
Calories: 279 kcal per serving (estimated)
Author: Carrie Barnard
Ingredients
- 16 Graham Crackers
- 1 pkg White Almond Bark
- 15 Oreos, chopped into pieces
- 1 bag Reese’s Pieces
- Halloween Sprinkles (generous amount)
- 1 pkg Candy Eyes
- 1 cup Mini Pretzel Twists
- 1 cup Candy Corn
Instructions
- Melt the almond bark in the microwave according to package instructions until it’s fully melted and creamy. Typically, this involves heating in 30-second intervals and stirring until smooth.
- Line a jelly roll pan (baking sheet) with aluminum foil and lightly spray the foil with non-stick cooking spray.
- Arrange the graham crackers in a single layer to line the bottom of the pan. Break some crackers as needed to cover the entire base.
- Pour the melted almond bark evenly over the top of the graham crackers and use a spatula to spread it out smoothly.
- While the almond bark is still wet, generously sprinkle the pretzel twists, chopped Oreo pieces, Reese’s Pieces, Halloween sprinkles, candy eyes, and candy corn evenly on top. Lightly press down on the ingredients to ensure they stick to the melted bark.
- Place the pan in the refrigerator for 30-60 minutes, or until the almond bark is completely hardened and firm.
- Once set, remove from the refrigerator and break the bark into smaller, irregular pieces to serve and enjoy!
Recipe Notes
- Feel free to use any of your favorite Halloween candies or sprinkles to top this bark with.
- You can substitute white chocolate chips for almond bark, or even use chocolate almond bark if you prefer a darker chocolate base.
- Store any leftover bark in an airtight container at room temperature for up to 1 week. If you live in a hotter climate, store the bark in the refrigerator to prevent melting.
Nutrition Facts (per serving, estimated)
- Calories: 279 kcal
- Carbohydrates: 42g
- Protein: 2g
- Fat: 11g
- Saturated Fat: 9g
- Polyunsaturated Fat: 1g
- Monounsaturated Fat: 2g
- Trans Fat: 1g
- Sodium: 159mg
- Potassium: 59mg
- Fiber: 1g
- Sugar: 31g
- Vitamin A: 1IU
- Vitamin C: 1mg
- Calcium: 11mg
- Iron: 2mg
