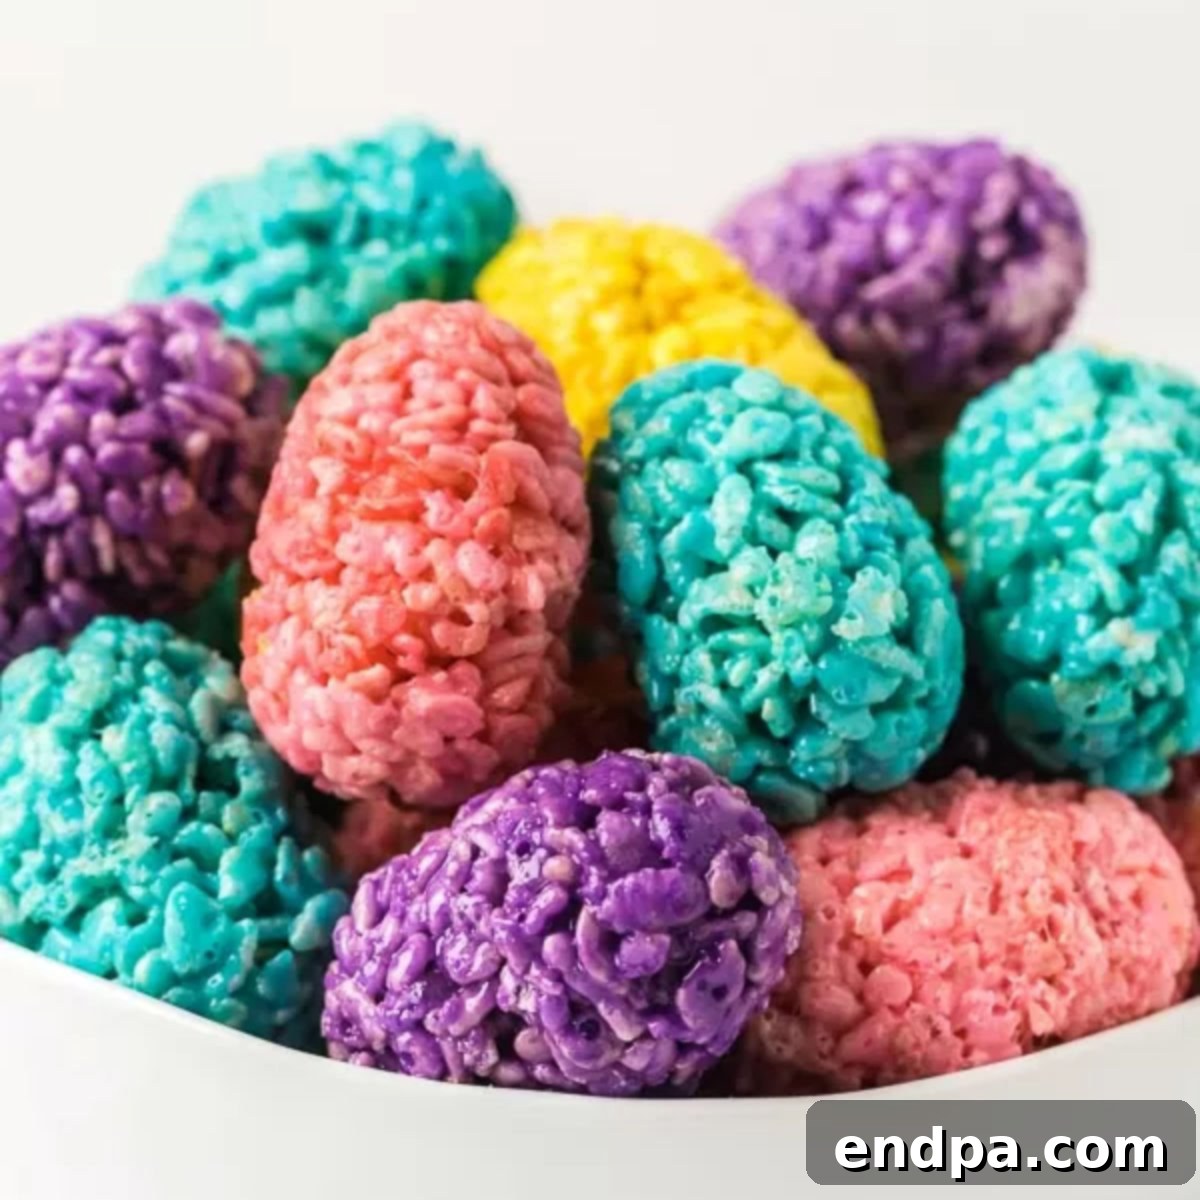
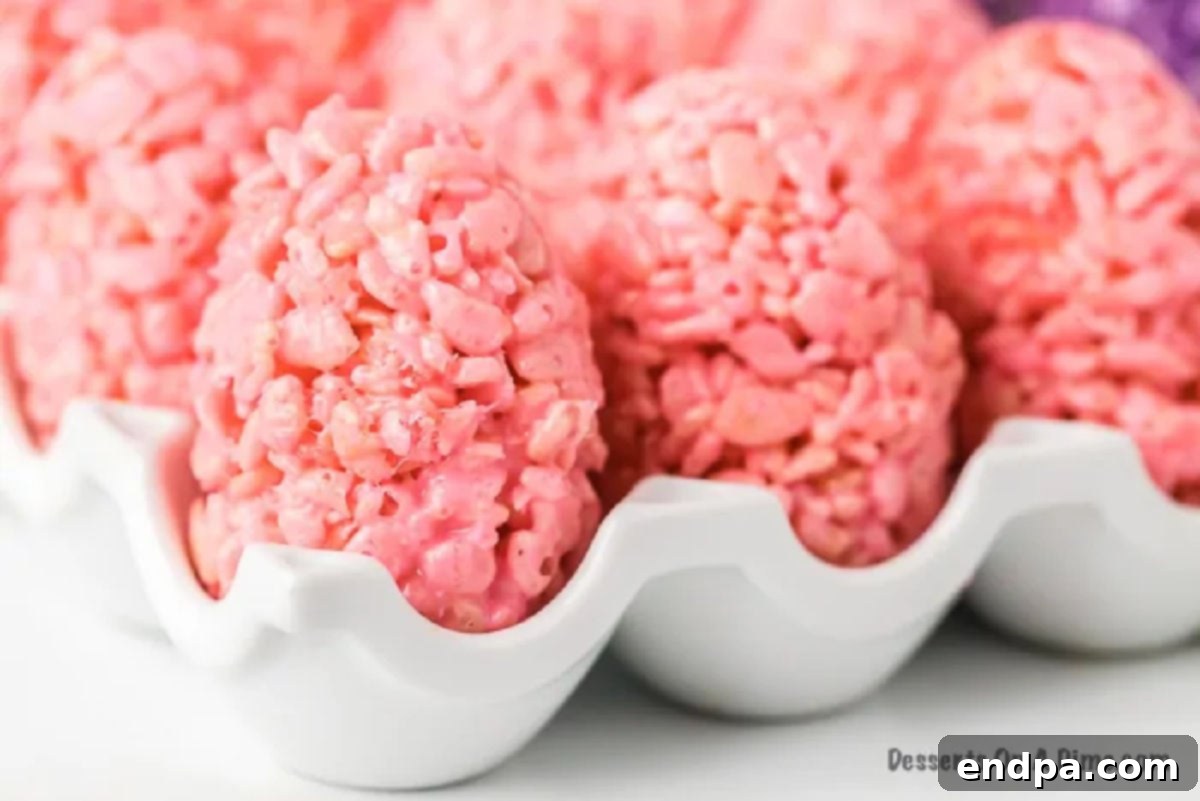
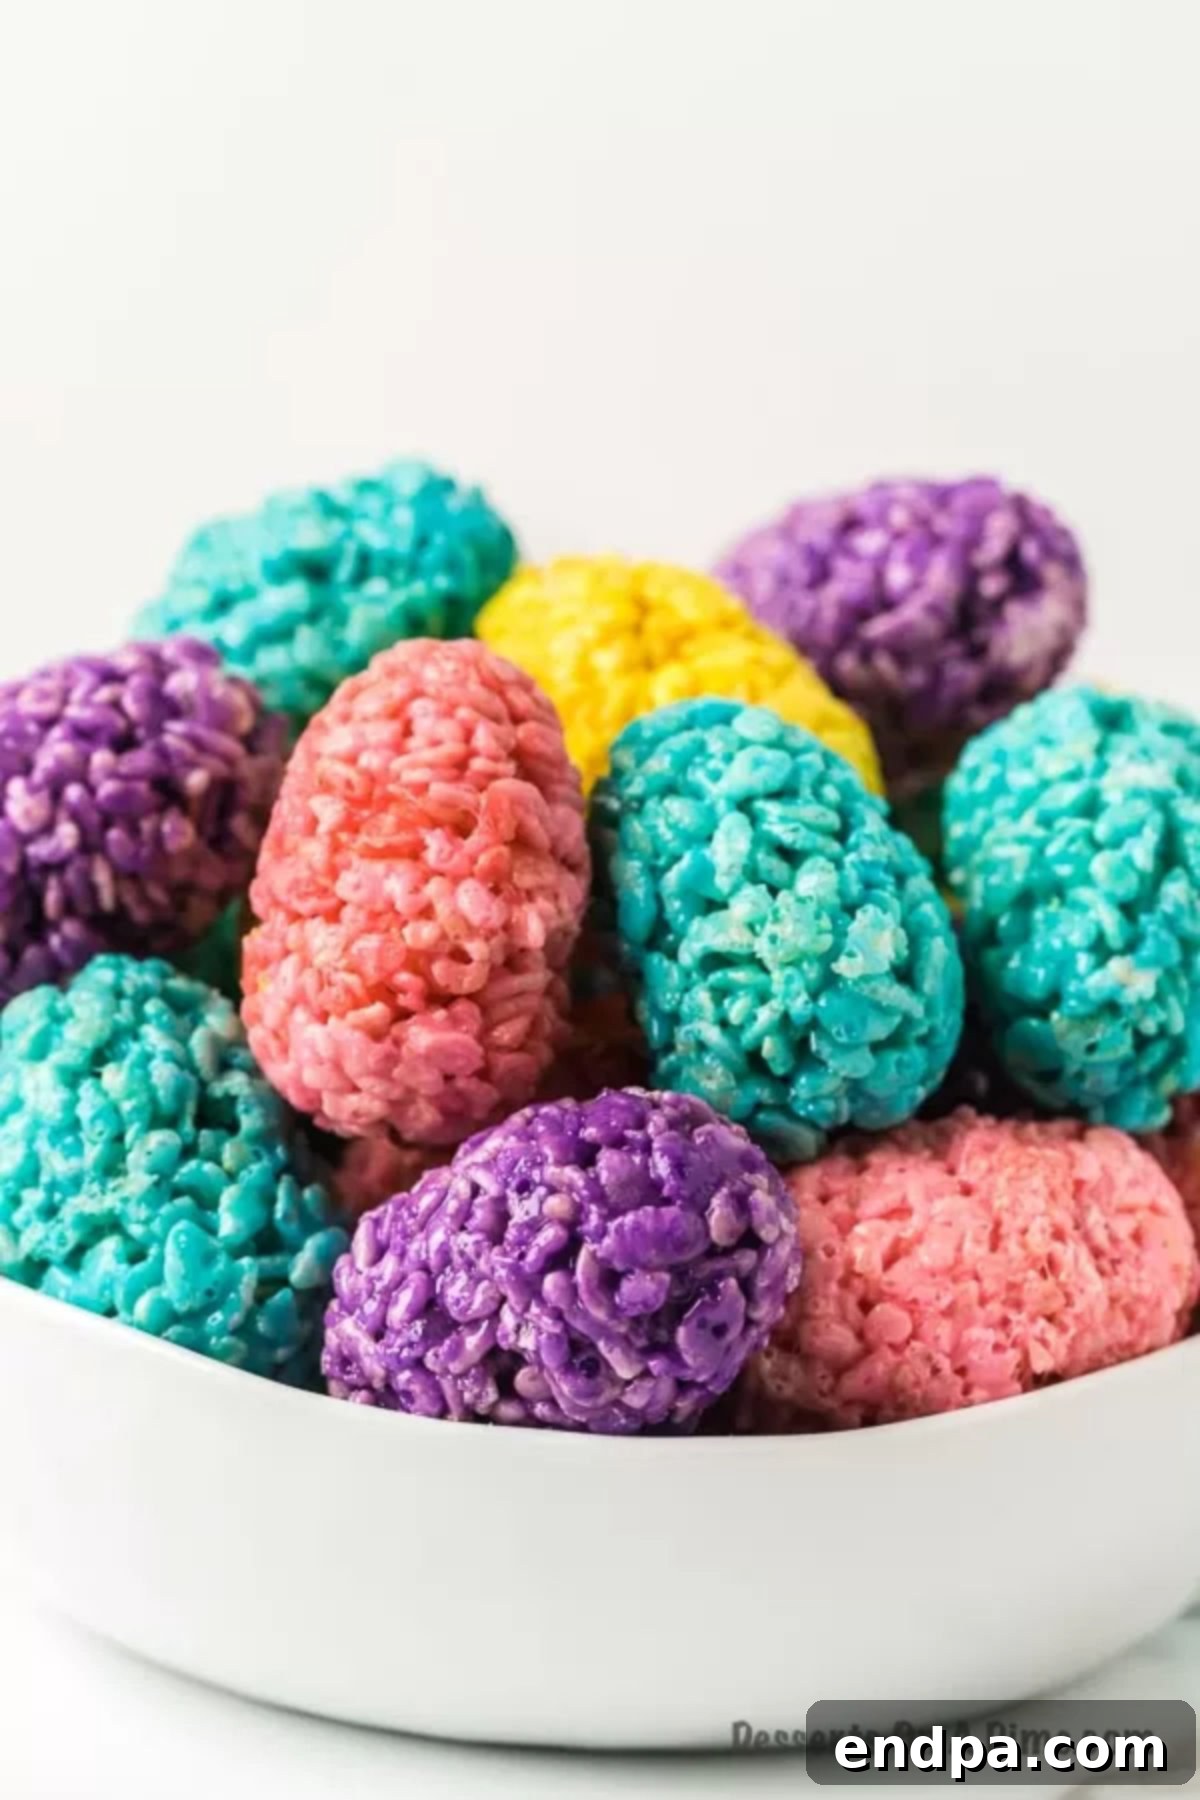
Easter Egg Rice Krispie Treats are more than just a dessert; they are a vibrant, cheerful, and incredibly easy way to celebrate the spring season. Perfect for Easter gatherings, family brunches, or simply a fun afternoon activity with the kids, these festive treats bring smiles to faces of all ages. Their colorful appearance and delightful crispy-chewy texture make them an irresistible addition to any Easter basket or dessert spread. Get ready to transform simple ingredients into a dazzling array of edible Easter eggs that everyone will adore!
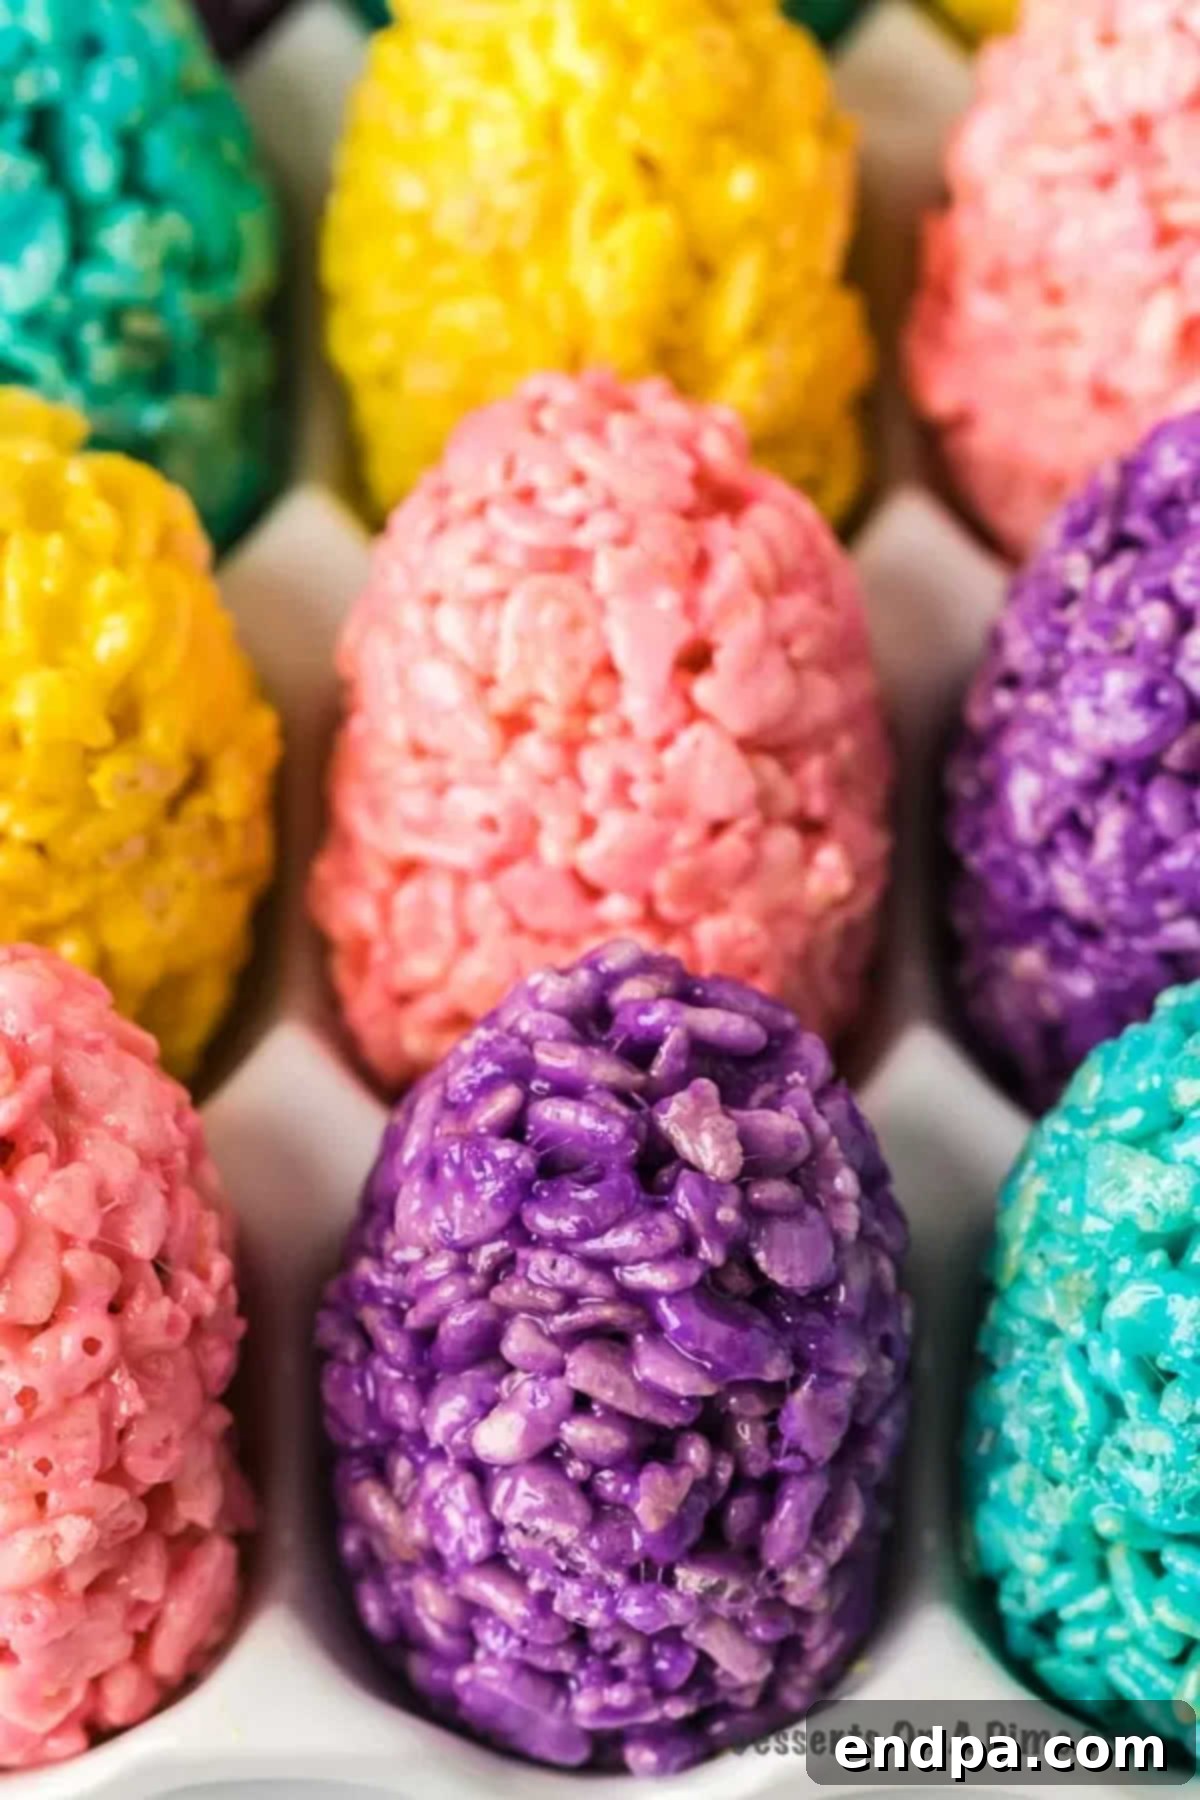
Making Rice Krispie Treats is an absolute blast, and their no-bake nature makes them incredibly simple to whip up. As one of our favorite no-bake dessert recipes, they offer a fantastic opportunity to get the whole family involved in the kitchen. From melting the marshmallows to shaping the colorful eggs, each step is engaging and provides a wonderful chance for creativity, especially for younger helpers.
Whether you’re hosting a grand Easter party, preparing a special treat for your family, or just looking for a delightful surprise, this easy Easter dessert is guaranteed to be a hit. The charming egg shape is synonymous with Easter and instantly adds a festive touch to your celebration. With how straightforward this recipe is, you’ll even have plenty of time to explore other delightful Easter creations, such as Mini Easter Cheesecakes, adorable Bunny Butt Cupcakes, or decadent Easter Chocolate Covered Pretzels. Dive into the fun and create a memorable Easter spread!
Table of contents
- Why We Adore This Easy Easter Treat
- Essential Ingredients for Colorful Krispie Eggs
- Creative Variations and Festive Additions
- How to Make Dazzling Easter Egg Rice Krispie Treats
- Frequently Asked Questions About Easter Egg Rice Krispie Treats
- Pro Tips for Perfect Rice Krispie Eggs
- More Irresistible Easter Desserts
- Explore More Rice Krispie Treat Creations
Why We Adore This Easy Easter Treat
While dyeing traditional Easter eggs is a cherished activity, crafting these Rice Krispies Treat Easter Eggs offers a whole new level of fun and deliciousness! This recipe is the ultimate way to create lasting memories with your children. Imagine their excitement as they help mix vibrant colors into the gooey marshmallow base and then proudly shape their very own edible eggs.
The beauty of this recipe lies in its simplicity and versatility. You can easily customize the colors to match your Easter theme or let your kids pick their favorites, fostering their creativity. The combination of classic Rice Krispie Treat goodness with the playful Easter egg design makes this dessert truly special. It’s a wonderful sensory experience for little ones, from the sticky marshmallows to the crisp cereal, culminating in a treat that’s as delightful to look at as it is to eat. For an even deeper dive into the basic technique, you can always refer to our comprehensive guide on how to make perfect Rice Krispie Treats, ensuring a flawless foundation for your Easter creations.
Essential Ingredients for Colorful Krispie Eggs
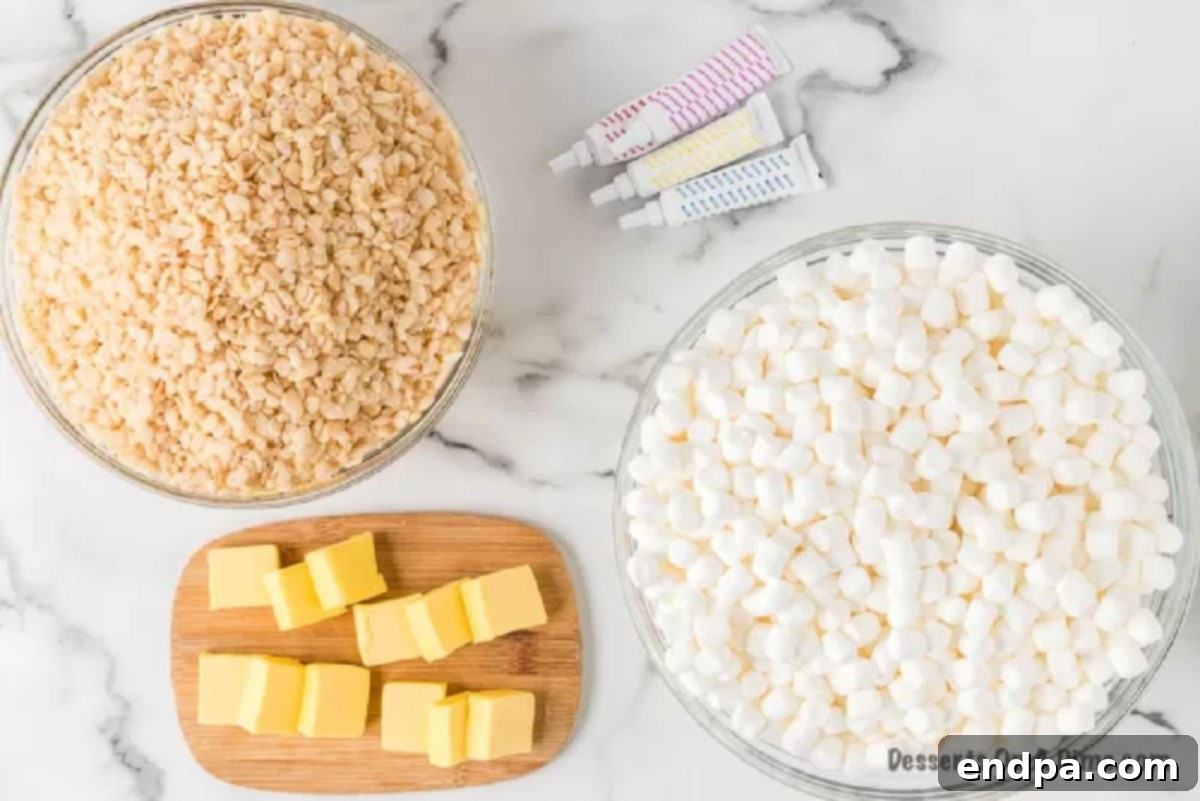
Gathering the ingredients for these delightful Easter Egg Rice Krispie Treats is quick and easy. You’ll need just a few staple items to bring these colorful confections to life:
- Mini Marshmallows: These are the heart of any good Rice Krispie Treat, providing that essential gooey, binding texture. Mini marshmallows melt more quickly and evenly than their larger counterparts, making them ideal for this recipe. Ensure they are fresh for the best results.
- Butter: A touch of butter adds richness and helps prevent the treats from becoming too sticky. It also contributes to the overall flavor and chewiness. Unsalted butter is generally preferred, but salted can be used if you like a slight contrast.
- Rice Krispies Cereal: The iconic crispy texture comes from this classic cereal. Make sure your cereal is fresh to guarantee maximum crunch. Stale cereal will result in less satisfying treats.
- Pink, Purple, Yellow, and Blue Food Coloring: These vibrant colors are what truly transform your treats into festive Easter eggs. Gel food colorings are often recommended over liquid drops as they provide more intense color without altering the consistency of the marshmallow mixture. Feel free to experiment with other pastel shades like green or orange, or even mix colors to create unique hues.
The complete recipe with precise measurements and detailed instructions can be found in the comprehensive recipe card below. With these simple ingredients, you’re well on your way to creating stunning and delicious Easter treats!
Creative Variations and Festive Additions
One of the most exciting aspects of making Easter Egg Rice Krispie Treats is the endless possibilities for customization. Beyond the basic recipe, you can easily add extra flair and flavor to make each batch uniquely yours. Here are some fantastic ideas to get your creativity flowing:
- Sprinkles Galore: Before your shaped eggs fully set, shower them with a variety of festive sprinkles! Easter-themed sprinkles, pastel jimmies, nonpareils, or even edible glitter can add a beautiful sparkle and extra texture. You can roll the entire egg in sprinkles or just decorate a specific section for a more artistic touch.
- Decadent Dips with Candy Melts or Chocolate: Elevate your treats by dipping part of each egg in melted chocolate or colorful candy melts. White chocolate can be easily tinted with food coloring to match your Easter palette. Drizzle contrasting colors over the dipped eggs, or add mini chocolate chips for extra indulgence. You can also use milk or dark chocolate for a rich, classic flavor profile.
- Flavor Extracts: Introduce different flavor profiles by adding a few drops of food-grade extract to your melted marshmallow mixture. Vanilla extract is a classic, but consider almond extract for a delicate note, lemon extract for a bright, zesty twist, or even a hint of coconut for a tropical vibe. Add extracts sparingly and taste as you go.
- Edible Decorations: Once the eggs are set, get artistic with edible markers to draw patterns, stripes, or polka dots. You could also use small candy pieces, mini M&M’s, or even small royal icing decorations to create intricate designs, making each egg a miniature work of art.
- Adding Inclusions: Mix in other small, complementary ingredients with the Rice Krispies cereal. Think mini chocolate chips, chopped dried fruit, or even finely crushed candy (like M&M’s or pastel candies) for added texture and flavor directly within the treat itself.
These variations allow you to tailor your Easter Egg Rice Krispie Treats to any taste preference or party theme, making them even more special and memorable.
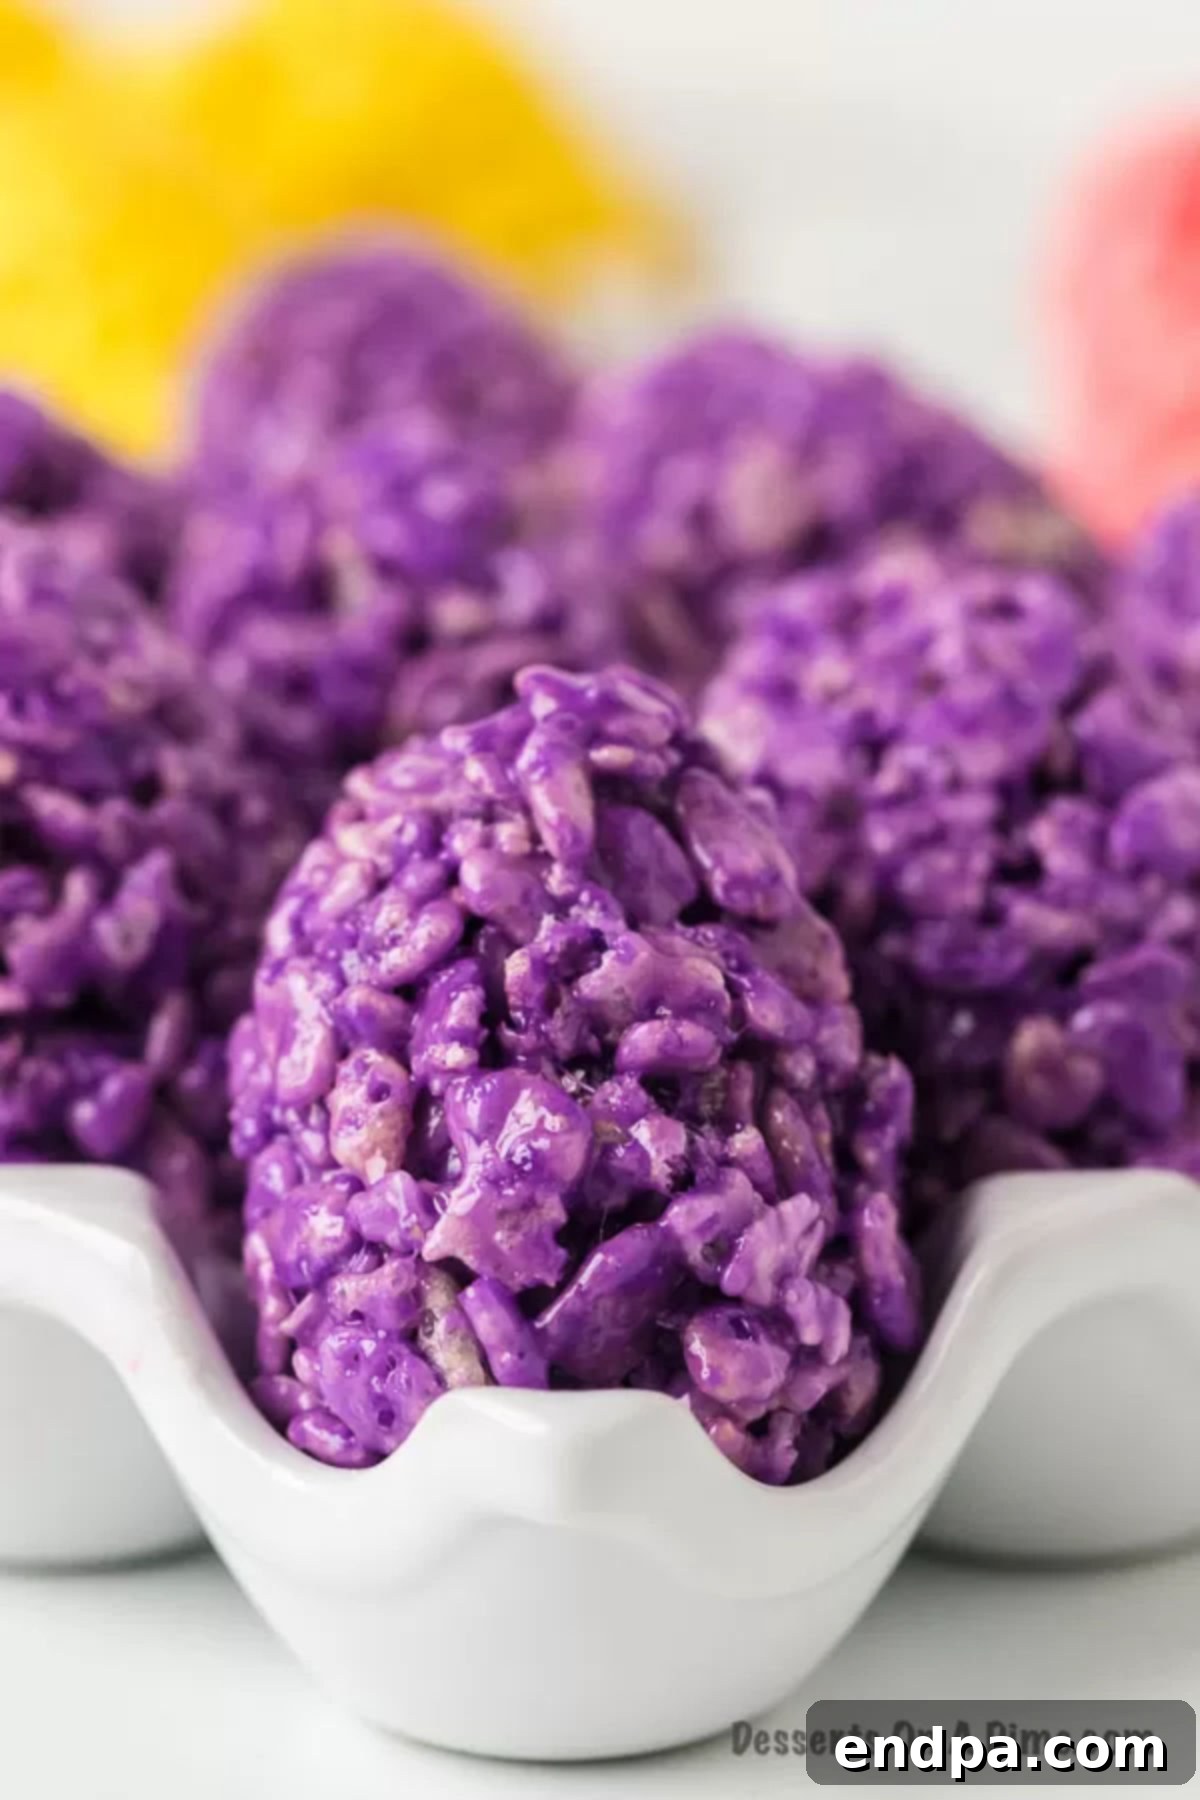
How to Make Dazzling Easter Egg Rice Krispie Treats
Crafting these adorable and delicious Easter Egg Rice Krispie Treats is a fun and straightforward process. To achieve a beautiful assortment of colors, you’ll need to prepare the Rice Krispie mixture in four separate batches, one for each vibrant color: pink, purple, yellow, and blue. This ensures each egg boasts a distinct and eye-catching hue.
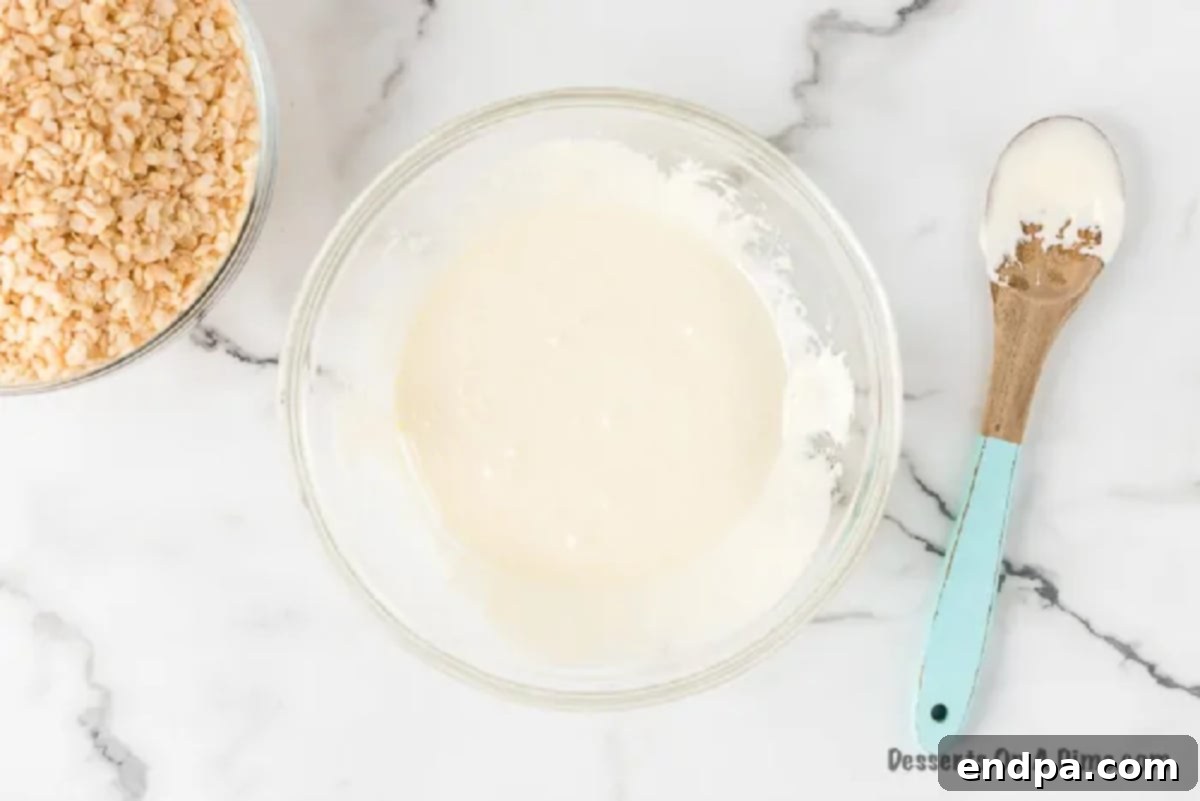
Step 1: Melt the Marshmallow Base. In a large, microwave-safe bowl, begin by melting 3 tablespoons of butter. Heat it in the microwave until fully melted, typically 30-60 seconds. Then, add 5 cups of mini marshmallows to the melted butter. Stir them together gently. Return the bowl to the microwave and heat in 30-second intervals, stirring thoroughly after each interval, until the marshmallows are completely melted and smooth. This gradual melting process prevents the marshmallows from overheating and becoming tough.
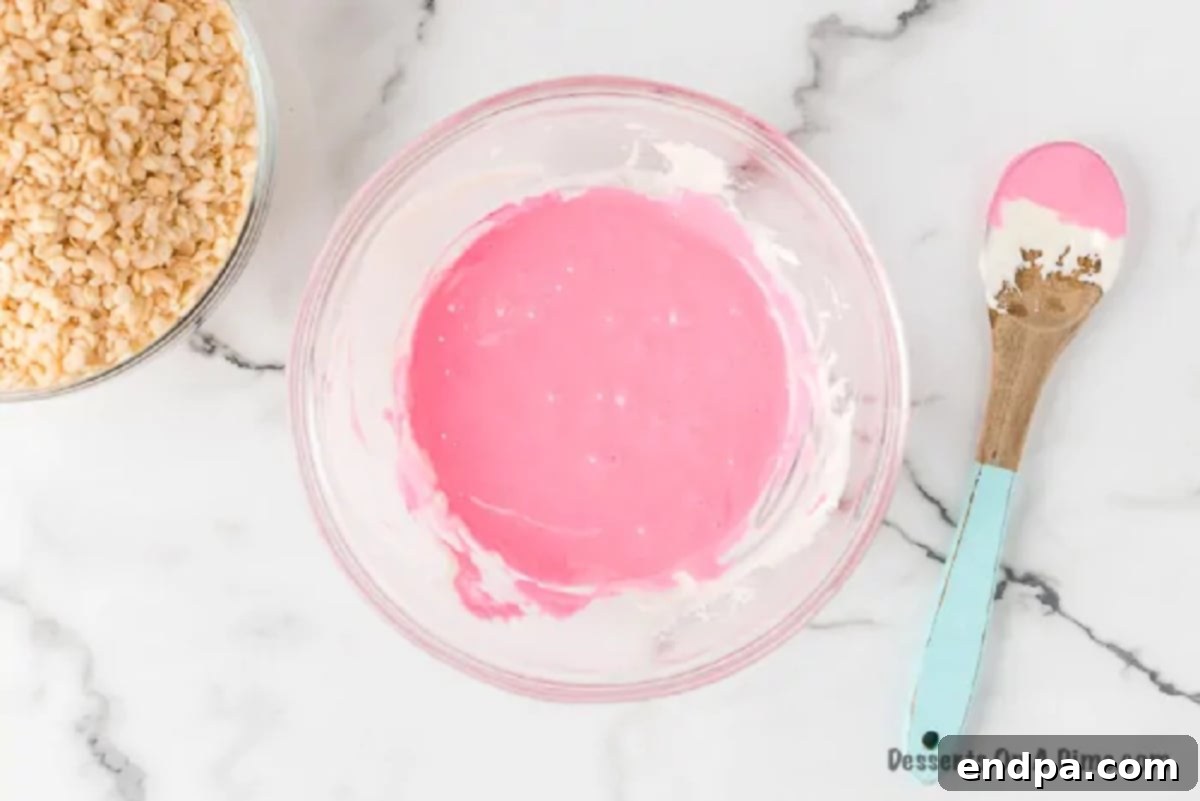
Step 2: Add Vibrant Color. Once your marshmallow mixture is silky smooth, it’s time to add the color. For your first batch, introduce a few drops of pink food coloring. Start with a small amount and gradually add more until you achieve your desired shade. Stir the coloring into the melted marshmallow mixture vigorously until the color is evenly distributed and vibrantly pink. This step is where the magic begins, transforming the plain white base into a festive hue.
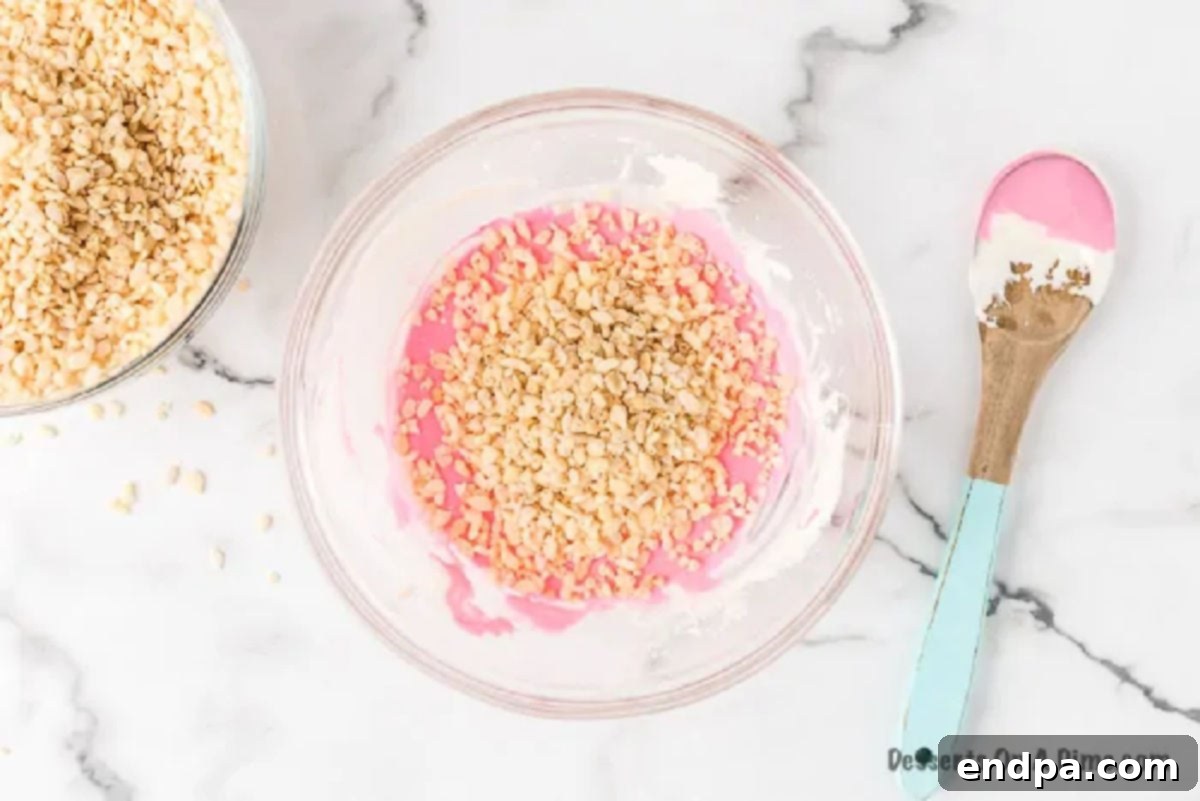
Step 3: Incorporate the Cereal and Repeat. Now, gently fold in 4 cups of Rice Krispies cereal into the colored marshmallow mixture. Stir carefully until every piece of cereal is thoroughly coated with the sweet, gooey marshmallow. Avoid over-mixing, as this can crush the cereal and reduce its desired crispiness. Once combined, spread this mixture evenly into a lightly greased baking pan or onto parchment paper to cool slightly. Repeat this entire process (Steps 1-3) three more times, using purple, yellow, and blue food coloring for each subsequent batch. This ensures you have a beautiful rainbow of colors ready for shaping.
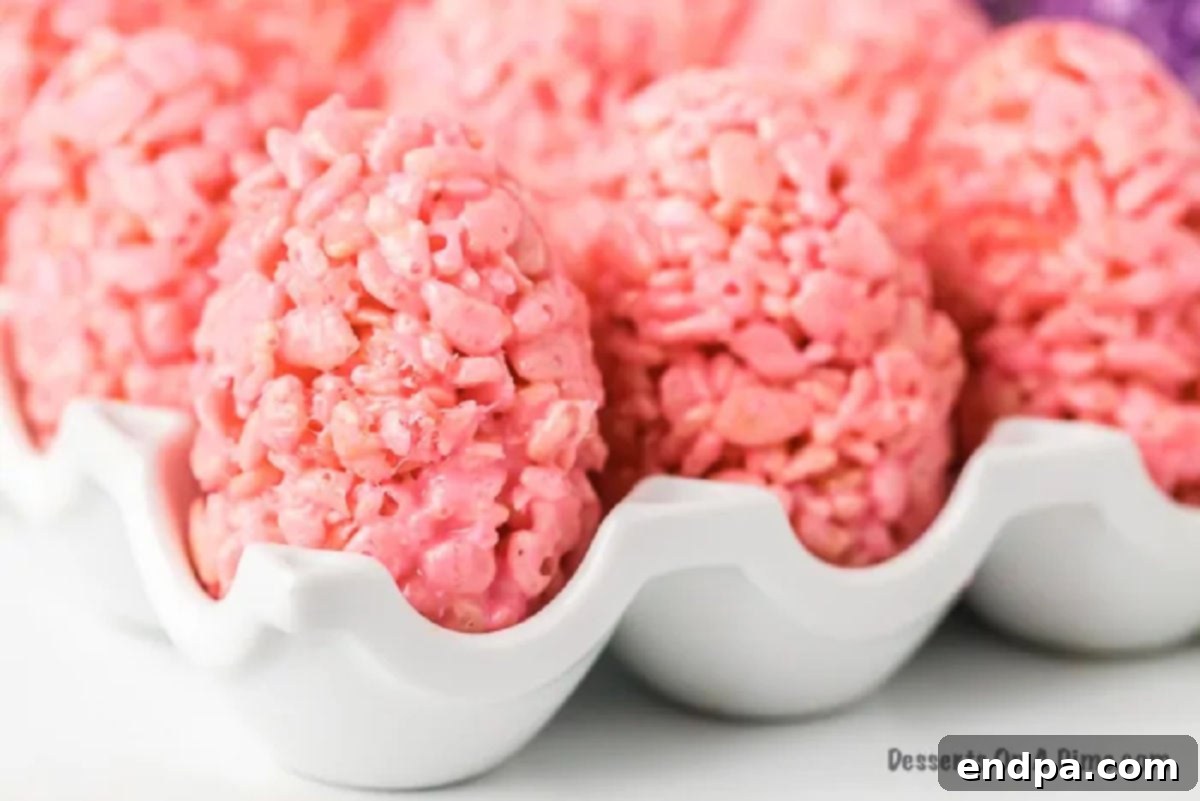
Step 4: Shape into Festive Easter Eggs. Allow each colored cereal mixture to cool slightly – it should be warm enough to be pliable but cool enough to handle without burning. This is the fun part! Lightly spray your hands with cooking spray or butter to prevent sticking, then grab a handful of the marshmallow mixture. Use your hands to gently compress and sculpt the mixture into the classic oval shape of an Easter egg. Don’t press too hard, as this can make the treats dense. If you find shaping difficult, plastic Easter egg molds can be a helpful guide. Continue until all the mixture is used up, creating a variety of colorful eggs. Once shaped, let them cool completely on parchment paper or a greased surface until firm. Then, they are ready to be admired and enjoyed!
Frequently Asked Questions About Easter Egg Rice Krispie Treats
No, it is generally not recommended to store Rice Krispie Treats in the refrigerator. Refrigeration can cause the marshmallows to harden significantly, making the treats tough and losing their signature soft, gooey texture. They are best kept at room temperature to maintain their delicious chewiness.
To keep your Easter Egg Rice Krispie Treats fresh and delightfully gooey, store them at room temperature in an airtight container. Make sure the container is sealed tightly to prevent air from drying them out. If you are stacking layers of treats, place parchment paper or wax paper in between them to prevent sticking. Stored properly, they will retain their optimal freshness for about 3-4 days.
Absolutely! These treats are perfect for making a day or two in advance. Since they store well at room temperature, you can prepare them, shape them, and have them ready to go without any last-minute stress. Just ensure they are stored in an airtight container as described above to maintain their freshness.
Several factors can contribute to hard Rice Krispie Treats. The most common culprits are overheating the marshmallows (either in the microwave or on the stovetop) or packing the mixture too tightly when shaping. Marshmallows cooked at too high a temperature or for too long can become brittle. When shaping, aim for a gentle compression rather than forceful squeezing to keep the treats light and airy.
Dealing with sticky marshmallow mixture is common! The best trick is to lightly spray your hands with cooking spray or rub them with a little butter before you start shaping. Reapply as needed. You can also dampen your hands with a little water, but cooking spray or butter usually works more effectively for a smoother shaping process.
Pro Tips for Perfect Rice Krispie Eggs
Achieving the perfect batch of gooey, crispy, and beautifully shaped Easter Egg Rice Krispie Treats is simple with these expert tips:
- Optimal Storage for Freshness: As mentioned, never refrigerate Rice Krispie Treats. They are best stored at room temperature in an airtight container. Placing parchment paper or wax paper between layers will prevent them from sticking together. Properly stored, they will remain delicious for about 3 to 4 days.
- The Art of Melting: When melting butter and marshmallows, always use low heat or short intervals in the microwave. High heat can cause the marshmallows to crystallize, resulting in hard and tough treats instead of the desired soft and gooey texture. Gentle heat ensures a smooth, pliable base.
- Embrace Gooey Goodness: The signature characteristic of a great Rice Krispie Treat is its gooey center. Storing them at room temperature is key to preserving this quality. Let them cool completely at room temperature, and you’ll be rewarded with delightfully soft and chewy treats.
- Shaping Secrets: The mixture can be quite sticky. To make shaping easier and mess-free, liberally spray your hands with cooking spray or lightly butter them before you begin. For perfectly uniform eggs, consider gently pressing the mixture into plastic Easter egg molds. Fill each half, then press them together, removing the treat once cooled slightly.
- Fresh Marshmallows are Key: The quality of your marshmallows significantly impacts the final texture. Always use fresh, soft marshmallows. Older, harder marshmallows won’t melt as smoothly and can result in a tougher treat. If you can squeeze them easily, they’re good to go!
- Don’t Over-Pack: When pressing the cereal mixture into your hands or molds, avoid compacting it too much. Gently press to form the shape; over-packing leads to dense, hard treats rather than light and airy ones.
- Even Coloring: For truly vibrant Easter eggs, add food coloring gradually and stir thoroughly after each addition. Gel food colorings are preferred as they produce richer colors with less product, minimizing any impact on texture.
- Cooling Patience: Allow your shaped Rice Krispie eggs to cool completely before storing or serving. This allows them to set properly and hold their shape. Rushing this step can lead to misshapen or overly soft treats.
By following these simple tips, you’re sure to create a batch of Easter Egg Rice Krispie Treats that are not only beautiful but also perfectly delicious every time!
More Irresistible Easter Desserts
Easter is a time for sweet treats and joyful gatherings! If you’re looking to expand your holiday dessert table beyond these delightful Rice Krispie Easter Eggs, here are some other fantastic recipes that are sure to impress your guests and add extra charm to your celebration:
- Easy Easter Chocolate Bark: A stunningly simple yet elegant dessert. This bark features layers of chocolate studded with festive candies and sprinkles, perfect for a quick and customizable treat.
- Classic Easter Rice Krispie Treats: For those who love the traditional square or rectangular treat but want an Easter twist, this recipe provides simple ways to decorate the classic Rice Krispie Treat for the holiday.
- Festive Peeps Rice Krispie Treats Recipe: Incorporate everyone’s favorite marshmallow chicks into your Rice Krispie treats for an extra soft and colorful twist. These are especially fun for kids!
- Traditional Italian Easter Cookies Recipe: If you’re looking for a more classic, baked option, these soft, glazed cookies are a wonderful choice, often adorned with colorful sprinkles.
- Decorated Easter Egg Sugar Cookies Recipe: Get creative with royal icing and sprinkles to decorate these delightful sugar cookies shaped like Easter eggs, a fun project for all ages.
- Gourmet Easter Chocolate Covered Oreos: Transform ordinary Oreos into extraordinary treats by dipping them in colored chocolate and adding festive decorations – quick, easy, and always a crowd-pleaser.
Each of these recipes offers a unique way to celebrate Easter with delicious, homemade goodness. Mix and match to create a truly spectacular dessert spread!
Explore More Rice Krispie Treat Creations
The versatility of Rice Krispie Treats extends far beyond Easter eggs! This beloved no-bake classic can be adapted into countless flavors and forms, making it a year-round favorite. If you’re eager to try more variations, these recipes offer exciting new twists on the familiar crispy treat:
- Peanut Butter Rice Krispie Treats: For peanut butter lovers, this recipe combines the classic crispy base with rich, creamy peanut butter for an irresistible flavor combination. It’s a delightful twist that adds depth and a comforting richness.
- The Ultimate Guide to Making Rice Krispie Treats: Master the fundamental techniques of this classic dessert with our comprehensive guide. Learn tips for the chewiest, goo-iest, and most flavorful traditional Rice Krispie Treats, perfect for any occasion.
- Neapolitan Rice Krispie Treats: Indulge in three delicious layers of flavor – chocolate, vanilla, and strawberry – all in one crispy treat! This recipe is a colorful and flavorful tribute to the classic ice cream, making for a truly impressive no-bake dessert.
- Discover the 25 Best Rice Krispie Treat Recipes: If you’re searching for even more inspiration, this collection offers a wide array of creative and delicious Rice Krispie Treat variations, ensuring there’s a perfect recipe for every taste and occasion.
From holiday-themed delights to everyday indulgences, Rice Krispie Treats continue to be a beloved dessert for their ease, versatility, and undeniable deliciousness. Happy treating!
Pin
Easter Egg Rice Krispie Treats
Ingredients
- ▢ 18 cups Mini Marshmallows
- ▢ 12 Tablespoons Butter
- ▢ 16 cups Rice Krispies Cereal
- ▢ Pink Purple, Yellow and Blue Food Coloring
Instructions
- To create a vibrant assortment of colors, prepare the Rice Krispie treats in 4 separate batches, one for each desired food coloring (pink, purple, yellow, and blue). This ensures distinct and beautiful hues for your Easter eggs.
- For the first batch, melt 3 tablespoons of butter in a large, microwave-safe bowl. Add 5 cups of mini marshmallows and stir gently. Heat in 30-second intervals in the microwave, stirring thoroughly between each interval, until the marshmallows are completely melted and smooth. This gradual approach prevents scorching and ensures a perfect gooey base.
- Introduce a few drops of pink food coloring to the melted marshmallow mixture. Stir vigorously until the color is evenly distributed and achieves your desired vibrant pink shade. Remember, gel food coloring often yields brighter results with less product.
- Gently stir in 4 cups of Rice Krispies cereal until it is completely coated with the pink marshmallow mixture. Be careful not to over-mix, which can crush the cereal. Spread this colorful mixture evenly into a lightly greased pan or onto parchment paper to begin cooling.
- Repeat the entire process (melting butter and marshmallows, adding color, and incorporating cereal) three more times, using purple, yellow, and blue food coloring for each subsequent batch. This will give you four distinct piles of colorful Rice Krispie mixture.
- Allow each batch of the Rice Krispie mixture to cool slightly. It should still be warm and pliable but cool enough to handle comfortably without burning your hands.
- Now for the most exciting part – shaping your Easter eggs! Prepare your hands by lightly spraying them with cooking spray or rubbing them with butter to prevent sticking.
- Grab a handful of one colored Rice Krispie mixture. Using your greased hands, gently compress and sculpt the mixture into the classic oval shape of an Easter egg. Avoid pressing too firmly, as this can lead to dense and hard treats.
- Once all your Rice Krispie Eggs are shaped, place them on parchment paper or a greased surface and allow them to cool completely at room temperature. This setting time is crucial for them to firm up and hold their beautiful form.
- Serve your delightful and colorful Easter Egg Rice Krispie Treats and enjoy the smiles they bring!
Recipe Video
Recipe Notes
Nutrition Facts
Pin This Now to Remember It Later
Pin Recipe
