Embrace the festive spirit and bring the magic of Starbucks right into your kitchen with this incredible copycat Starbucks Snowman Cookie Recipe. Imagine the delight on your loved ones’ faces as they bite into these charming, homemade treats. Not only are these adorable cookies a joy to make, but recreating them at home allows you to savor their deliciousness for a mere fraction of the price you’d pay at the coffee shop. Get ready to bake some holiday cheer!

The iconic Starbucks Snowman Cookies are a beloved staple of the holiday season. Their whimsical design and delightful flavor make them an instant favorite for kids and adults alike. We understand the allure of these festive cookies, and that’s precisely why we set out to perfect a homemade version that captures all the charm and taste of the original. This recipe transforms simple sugar cookies into edible works of art, adorned with smooth, vibrant royal icing that brings each snowman to life. It’s a wonderful activity to share with family, creating lasting holiday memories as you decorate these sweet masterpieces.
Baking homemade treats is not only a fantastic way to bond with family but also offers the incredible satisfaction of creating something truly special from scratch. These sugar cookies, enhanced with delectable royal icing, come together with surprising ease, proving that you don’t need to be a professional baker to achieve stunning results. We’re passionate about bringing beloved Starbucks favorites into the home kitchen, making gourmet experiences accessible and affordable for everyone. From rich brownies to zesty lemon loaves, the possibilities are endless.
Beyond these charming snowman cookies, explore our collection of other beloved Christmas desserts and Starbucks-inspired recipes. Your family will adore our homemade renditions, including the rich Copycat Starbucks Brownie Recipe, the refreshingly tangy Starbucks Lemon Loaf Recipe, the sweet Starbucks Lemon Cake Pop Recipe, and the decadent Starbucks Chocolate Cake Pops. As autumn turns to winter, don’t miss out on our seasonal delights like the warmly spiced Starbucks Pumpkin Scones Recipe and the comforting Starbucks Pumpkin Cream Cheese Muffins.
What You’ll Discover in This Post: Starbucks Snowman Cookie Guide
- Why You’ll Adore This Recipe
- Essential Ingredients for Success
- Kitchen Tools You’ll Need
- Creative Variations and Substitutions
- Step-by-Step Guide: How to Make Starbucks Snowman Cookies
- Storing Your Snowman Cookies
- Pro Tips for Perfect Cookies
- More Enchanting Snowman Desserts
- Full Starbucks Snowman Cookie Recipe Card
Why You’ll Adore This Copycat Starbucks Snowman Cookie Recipe
There are countless reasons why this homemade Starbucks Snowman Cookie recipe will become a cherished tradition in your household. From the sheer joy of creation to the delightful taste, every aspect of these cookies is designed to bring happiness:
- Significant Savings Compared to Starbucks. Indulge in these festive treats without breaking the bank. Making them at home offers substantial cost savings, allowing you to enjoy more cookies for less. The accumulated savings will quickly become apparent, especially during the holiday season when every penny counts.
- Unforgettable Fun and Festive Appeal. These charming snowman-shaped cookies are the epitome of holiday cheer. Baking and decorating them is a wonderfully engaging activity for the entire family, creating joyful memories and adding a personalized touch to your festive celebrations. Their whimsical appearance is perfect for Christmas parties, winter gatherings, or simply brightening a cozy evening at home.
- Achieve the Perfect Taste and Texture. Say goodbye to dry, bland cookies! Our recipe is meticulously crafted to ensure each cookie boasts an incredibly soft, tender texture that practically melts in your mouth, perfectly complemented by the rich, sweet flavor. The delicate balance of buttery cookie and smooth royal icing creates an irresistible treat that rivals, if not surpasses, the original Starbucks version.
- Personalized Holiday Gifting. Beyond serving, these homemade snowman cookies make exquisite, heartfelt gifts. Arrange them in beautiful tins or festive bags, and share the joy of your culinary creations with friends, neighbors, and teachers. A homemade gift carries a special sentiment that store-bought treats simply can’t match.
Essential Ingredients for Your Snowman Cookie Creation
Crafting the perfect Starbucks-style snowman cookie requires a thoughtful selection of ingredients. We’ve divided the list into two main categories: those for the cookie base and those for the vibrant royal icing. Using high-quality ingredients is key to achieving that signature delightful taste and texture.
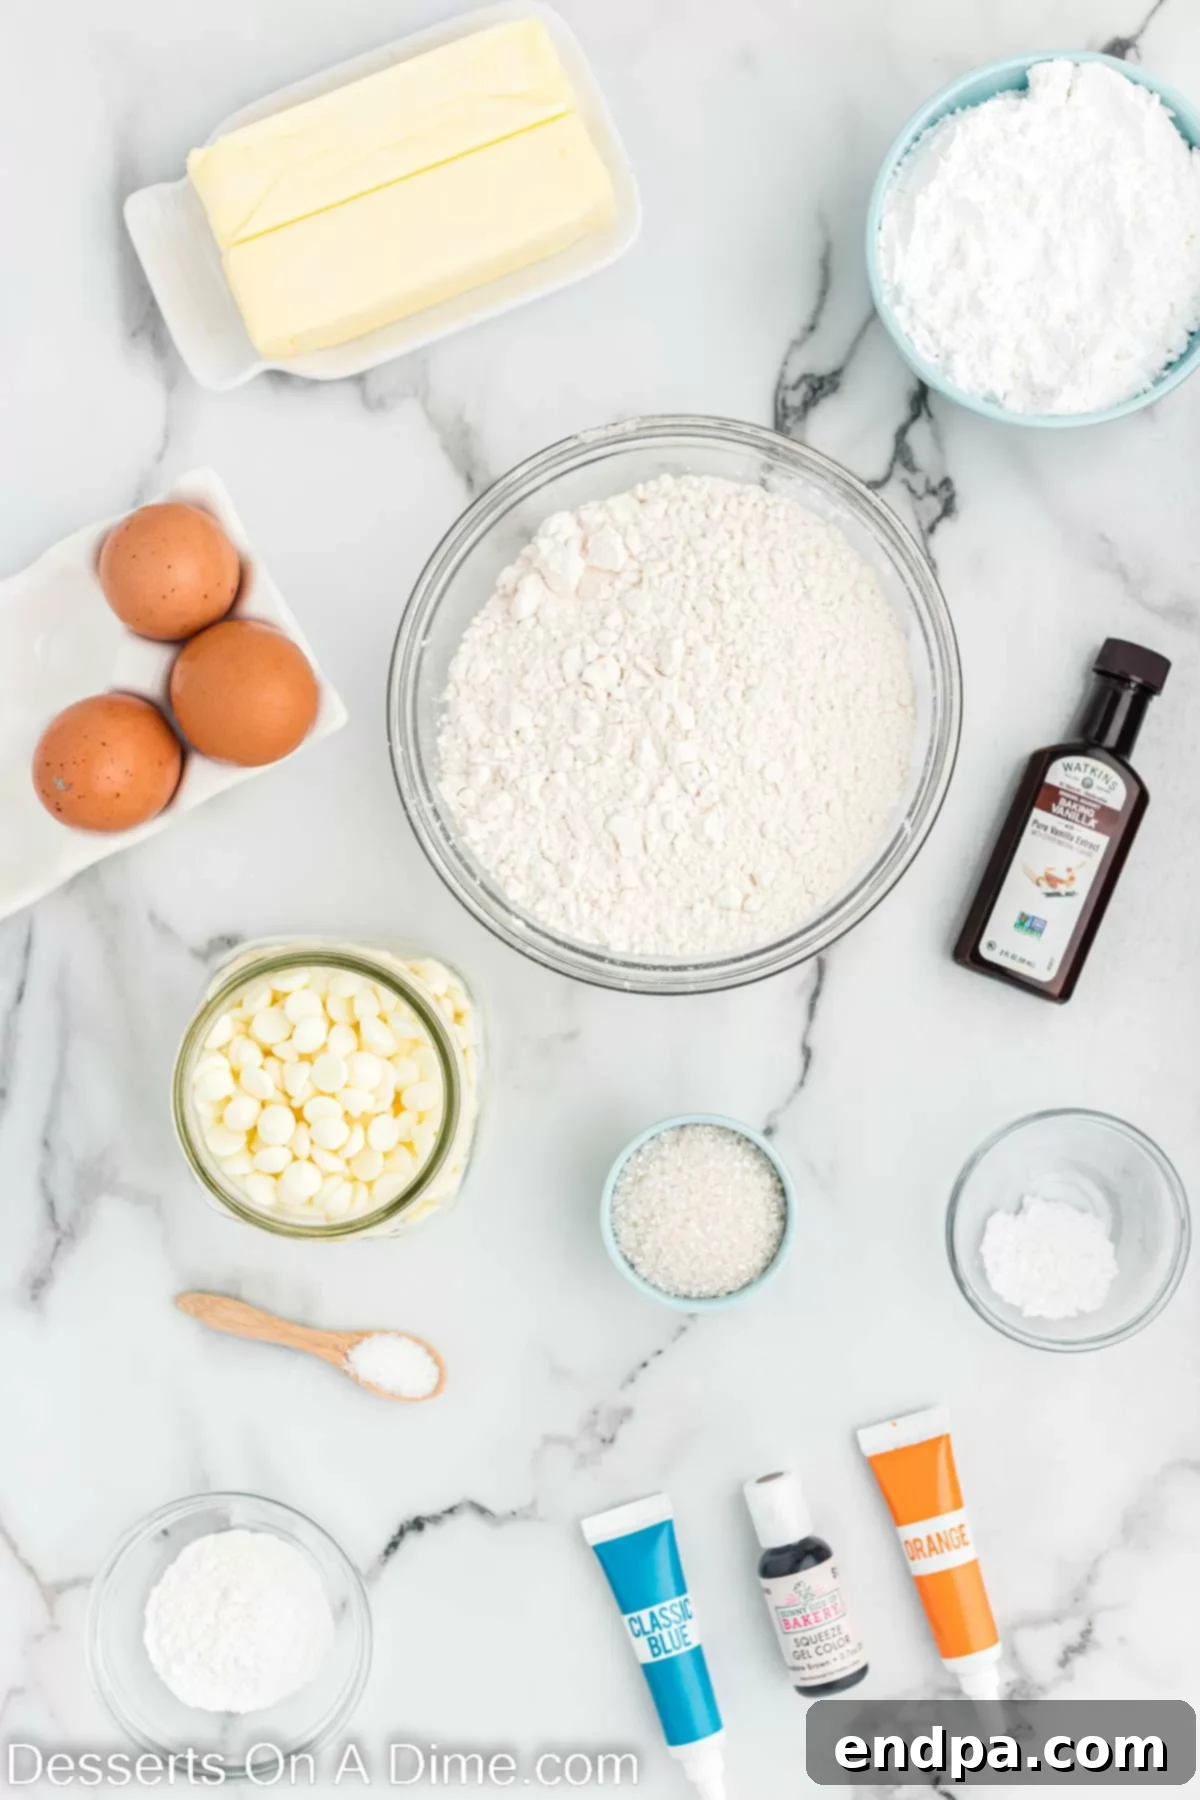
For the Tender Sugar Cookies:
- All-Purpose Flour: The foundation of our cookies. Always ensure you’re using all-purpose flour, not self-rising, as this recipe calls for a specific leavening agent. Proper measurement (spooned and leveled) is crucial for the correct cookie texture.
- Unsalted Butter: Softened to room temperature is paramount for a smooth, homogenous dough. This allows it to cream beautifully with the powdered sugar and melted chocolate, contributing to the cookies’ tender crumb and rich flavor.
- White Chocolate: Opt for a good quality white chocolate. The quality directly impacts the flavor profile of your cookies, adding a subtle richness and sweetness that truly elevates this recipe. You will undoubtedly taste the difference!
- Vanilla Extract: We highly recommend using pure vanilla extract. Its deep, aromatic flavor is essential in baking and provides a far superior taste compared to imitation vanilla.
- Baking Powder: Our chosen leavening agent that helps the cookies rise slightly and maintain a soft texture, preventing them from becoming too dense.
- Salt: A pinch of salt balances the sweetness and enhances all the other flavors in the cookie dough, making each bite more complex and satisfying.
- Powdered Sugar: Contributes to the cookies’ tender texture and delicate sweetness, dissolving smoothly into the dough for a uniform consistency.
- Large Egg: Acts as a binder, helping to hold the dough together and providing structure as the cookies bake. Ensure it’s at room temperature for optimal mixing.
For the Smooth Royal Icing Decorations:
- Egg Whites: These are the base for our sturdy royal icing, providing structure and shine. For safety, especially if serving to young children or pregnant individuals, consider using pasteurized egg whites.
- Powdered Sugar: The primary component of royal icing, giving it its characteristic smooth texture and sweet flavor. Sifting powdered sugar is recommended to prevent lumps.
- Cream of Tartar: A crucial stabilizer for the egg whites, helping them whip up to a stiff, glossy consistency and maintain their shape once applied to the cookies.
- Gel Food Coloring: You’ll need vibrant orange for the carrot nose, brown for the eyes and buttons, and blue for the earmuffs and scarf. Gel food colorings are highly concentrated, delivering rich colors without significantly altering the icing’s consistency, unlike liquid food colorings.
- White Sugar Sprinkles: These provide a delightful visual and textural element, mimicking fresh snow dusted at the base of your snowman cookies, adding an extra touch of winter charm.
For a complete, printable list with precise measurements, please refer to the detailed recipe card at the bottom of this page.
Essential Kitchen Tools for Your Baking Adventure
Having the right tools on hand will make the baking process smoother and more enjoyable. Here’s a list of what you’ll need to create your delicious Starbucks Snowman Cookies:
- Stand Mixer or Hand Mixer: Essential for creaming butter and sugar, and for whipping the royal icing to the perfect consistency. A stand mixer with a paddle attachment is ideal for the dough, and a whisk attachment for the icing.
- Microwave-Safe Bowl: For melting the white chocolate safely and efficiently.
- Mixing Bowls: Several bowls of various sizes for combining wet and dry ingredients, and for dividing and coloring the royal icing.
- Whisk and Rubber Spatulas: For initial mixing of dry ingredients and for scraping down the sides of bowls.
- Snowman Cookie Cutter: The star of the show! A good quality cookie cutter will ensure crisp, defined snowman shapes.
- Rolling Pin: For evenly rolling out your cookie dough.
- Baking Sheets: Sturdy baking sheets to ensure even heat distribution.
- Parchment Paper: Crucial for preventing sticking and for easy cleanup. It also helps cookies bake evenly.
- Wire Cooling Racks: For allowing your baked cookies to cool completely before decorating, preventing condensation and soggy bottoms.
- Piping Bags and Tips: Disposable piping bags make decorating easy. A Wilton #5 round tip (or similar small round tip) is excellent for creating fine details like eyes, buttons, and scarf edges.
- Small Bowls for Food Coloring: For dividing and coloring your royal icing.
Creative Variations and Smart Substitutions to Personalize Your Cookies
While the classic Starbucks Snowman Cookie is undeniably charming, don’t hesitate to unleash your creativity and customize these treats to your liking. Here are some ideas to inspire you:
- Experiment with Various Icing Colors: Feel free to expand beyond the traditional snowman colors. Introduce vibrant reds and greens for scarves and earmuffs to truly capture the Christmas spirit, or pastels for a softer winter wonderland theme. The possibilities are endless!
- Add a Touch of Edible Glitter: For an extra magical touch, incorporate edible glitter or sanding sugar into your decorations. A subtle dusting of iridescent glitter on the scarves or a shimmer on the “snow” can make these cookies truly sparkle.
- Accessorize Your Snowmen with Edible Embellishments: Get creative with additional details! Use mini chocolate chips for eyes or buttons, tiny candy pearls for unique accents, or even pretzel sticks for twig arms. For a sophisticated touch, create little hats using melted chocolate toppers or draw them directly with brown icing, giving each snowman a distinct personality.
- Flavorful Cookie Dough Variations: Infuse your cookie dough with other extracts for a different flavor profile. A hint of almond extract can add a sophisticated touch, while peppermint extract can evoke classic holiday flavors. Ensure any additional extracts are food-grade and used sparingly to avoid overpowering the delicate white chocolate flavor.
- Gluten-Free Option: For those with dietary restrictions, a 1:1 gluten-free all-purpose flour blend can often be substituted for regular flour. Always check the specific brand’s recommendations for best results in baking.
Step-by-Step Guide: How to Craft Your Own Starbucks Snowman Cookies
Follow these detailed instructions carefully to ensure your homemade Starbucks Snowman Cookies turn out perfectly soft, delicious, and beautifully decorated. Patience and attention to detail are key for best results!
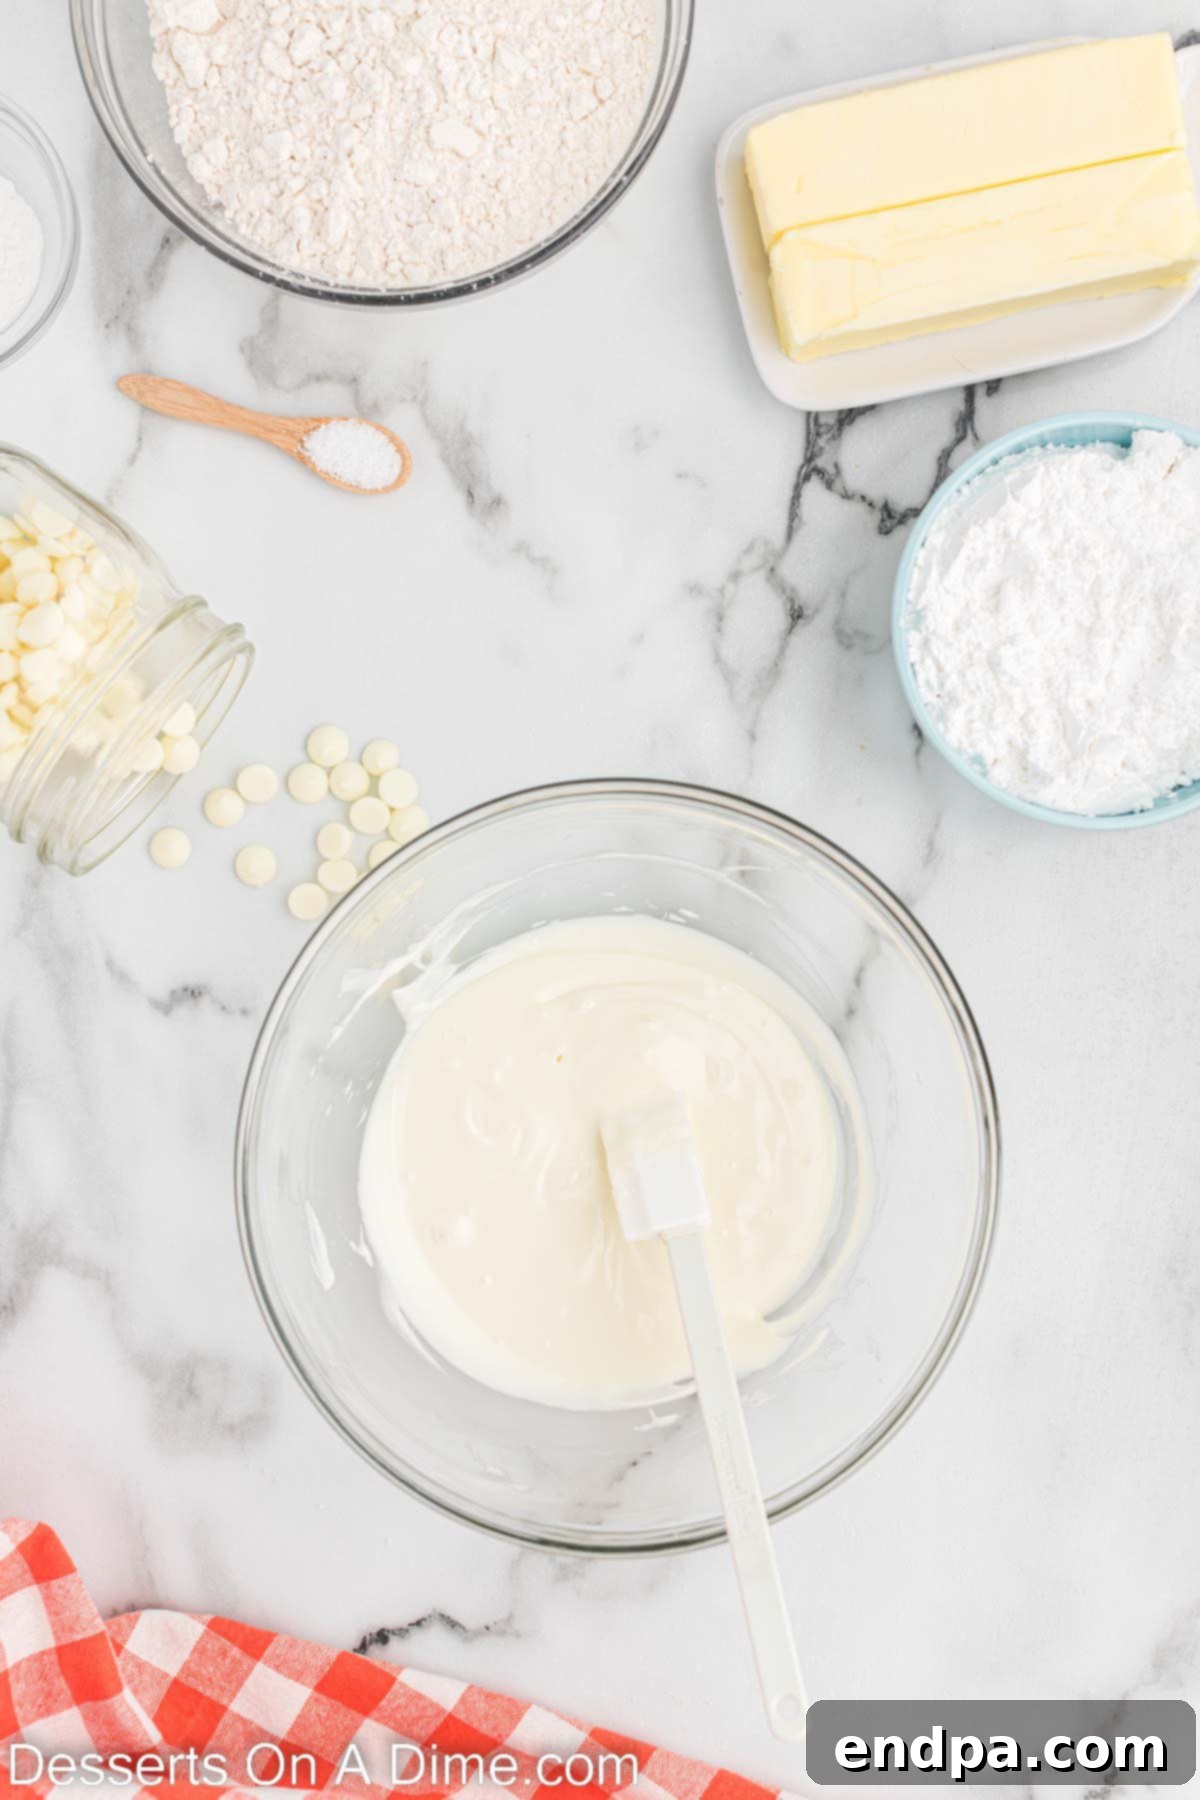
Step 1: Melt the White Chocolate. Begin by placing your quality white chocolate in a microwave-safe bowl. Heat it in short 20-second intervals, stirring thoroughly after each one, until the chocolate is completely smooth and melted. Be careful not to overheat it, as white chocolate can seize easily.
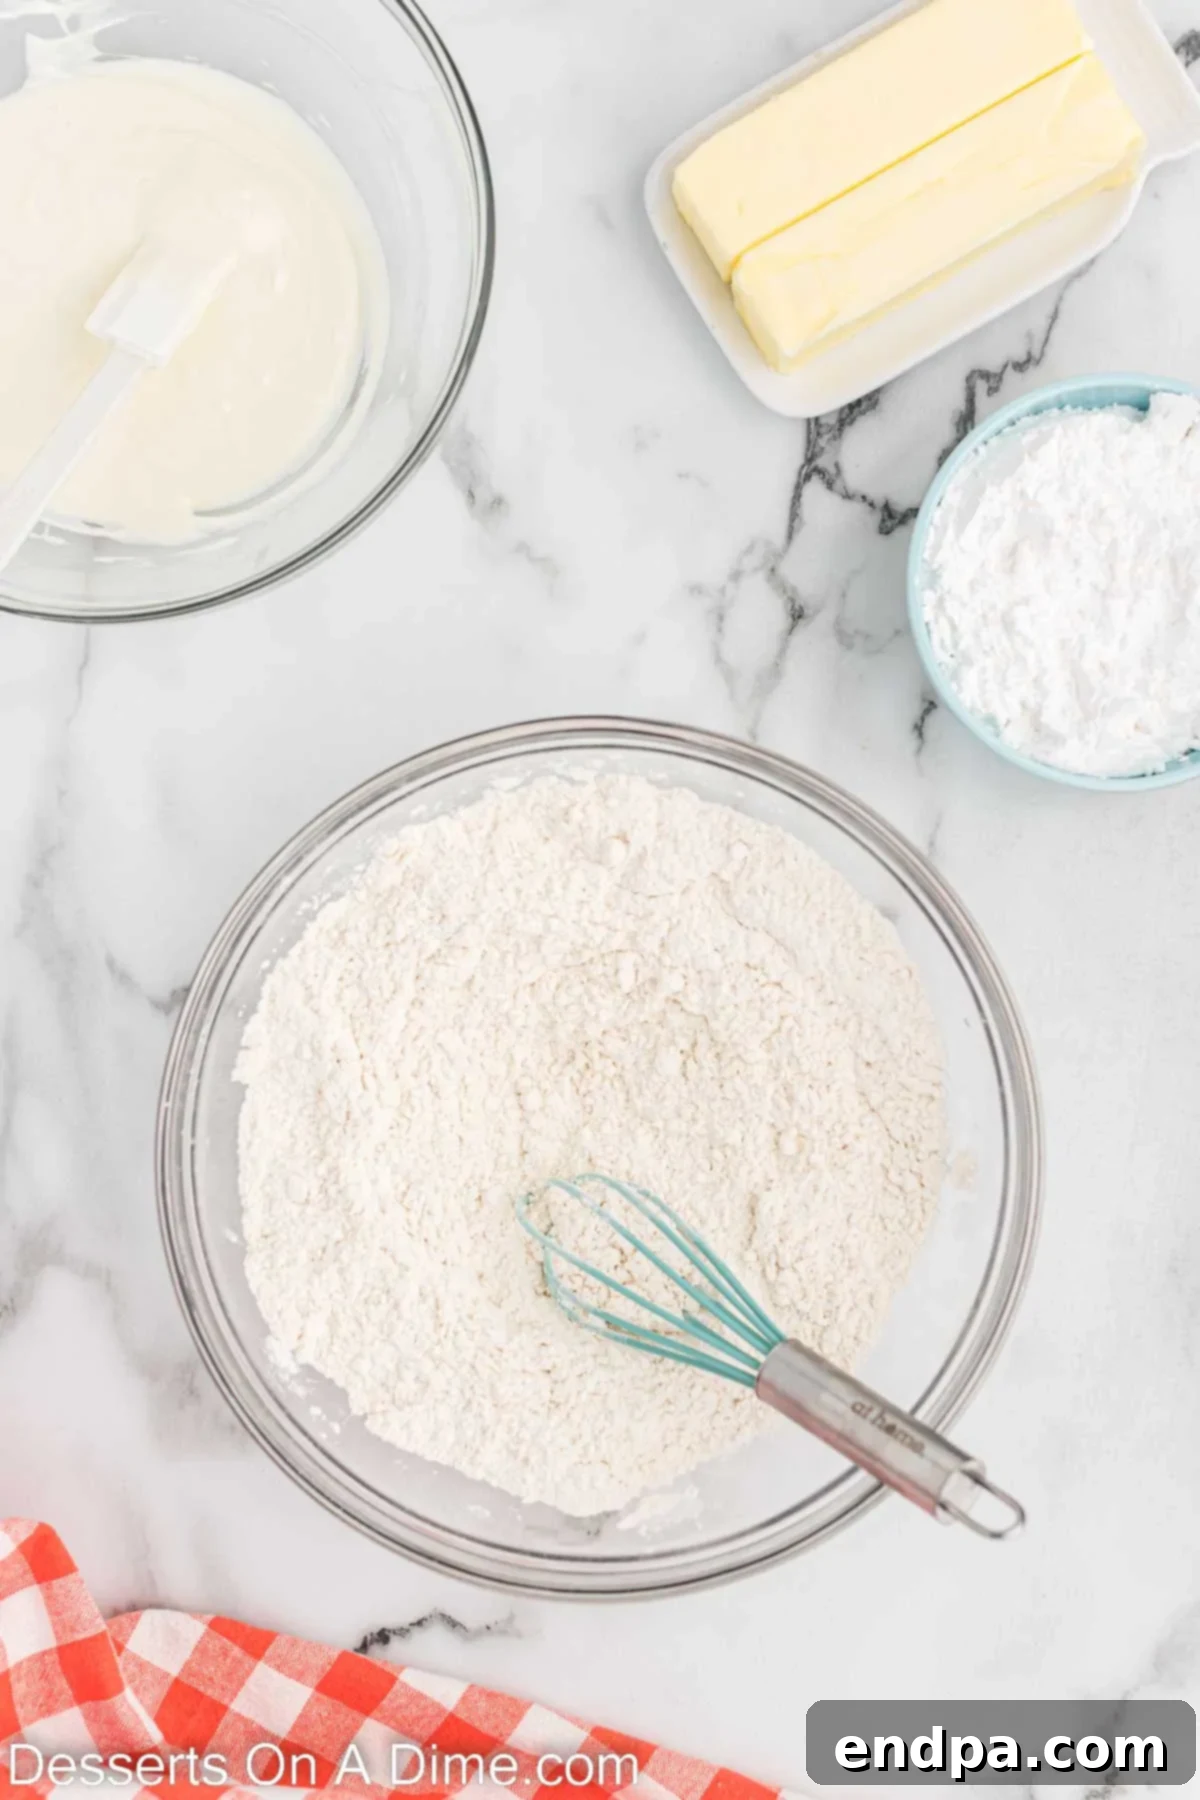
Step 2: Combine Dry Ingredients. In a separate, medium-sized bowl, whisk together the all-purpose flour, baking powder, and salt. Ensure these ingredients are well combined to distribute the leavening evenly throughout the dough. Set this mixture aside for later use.
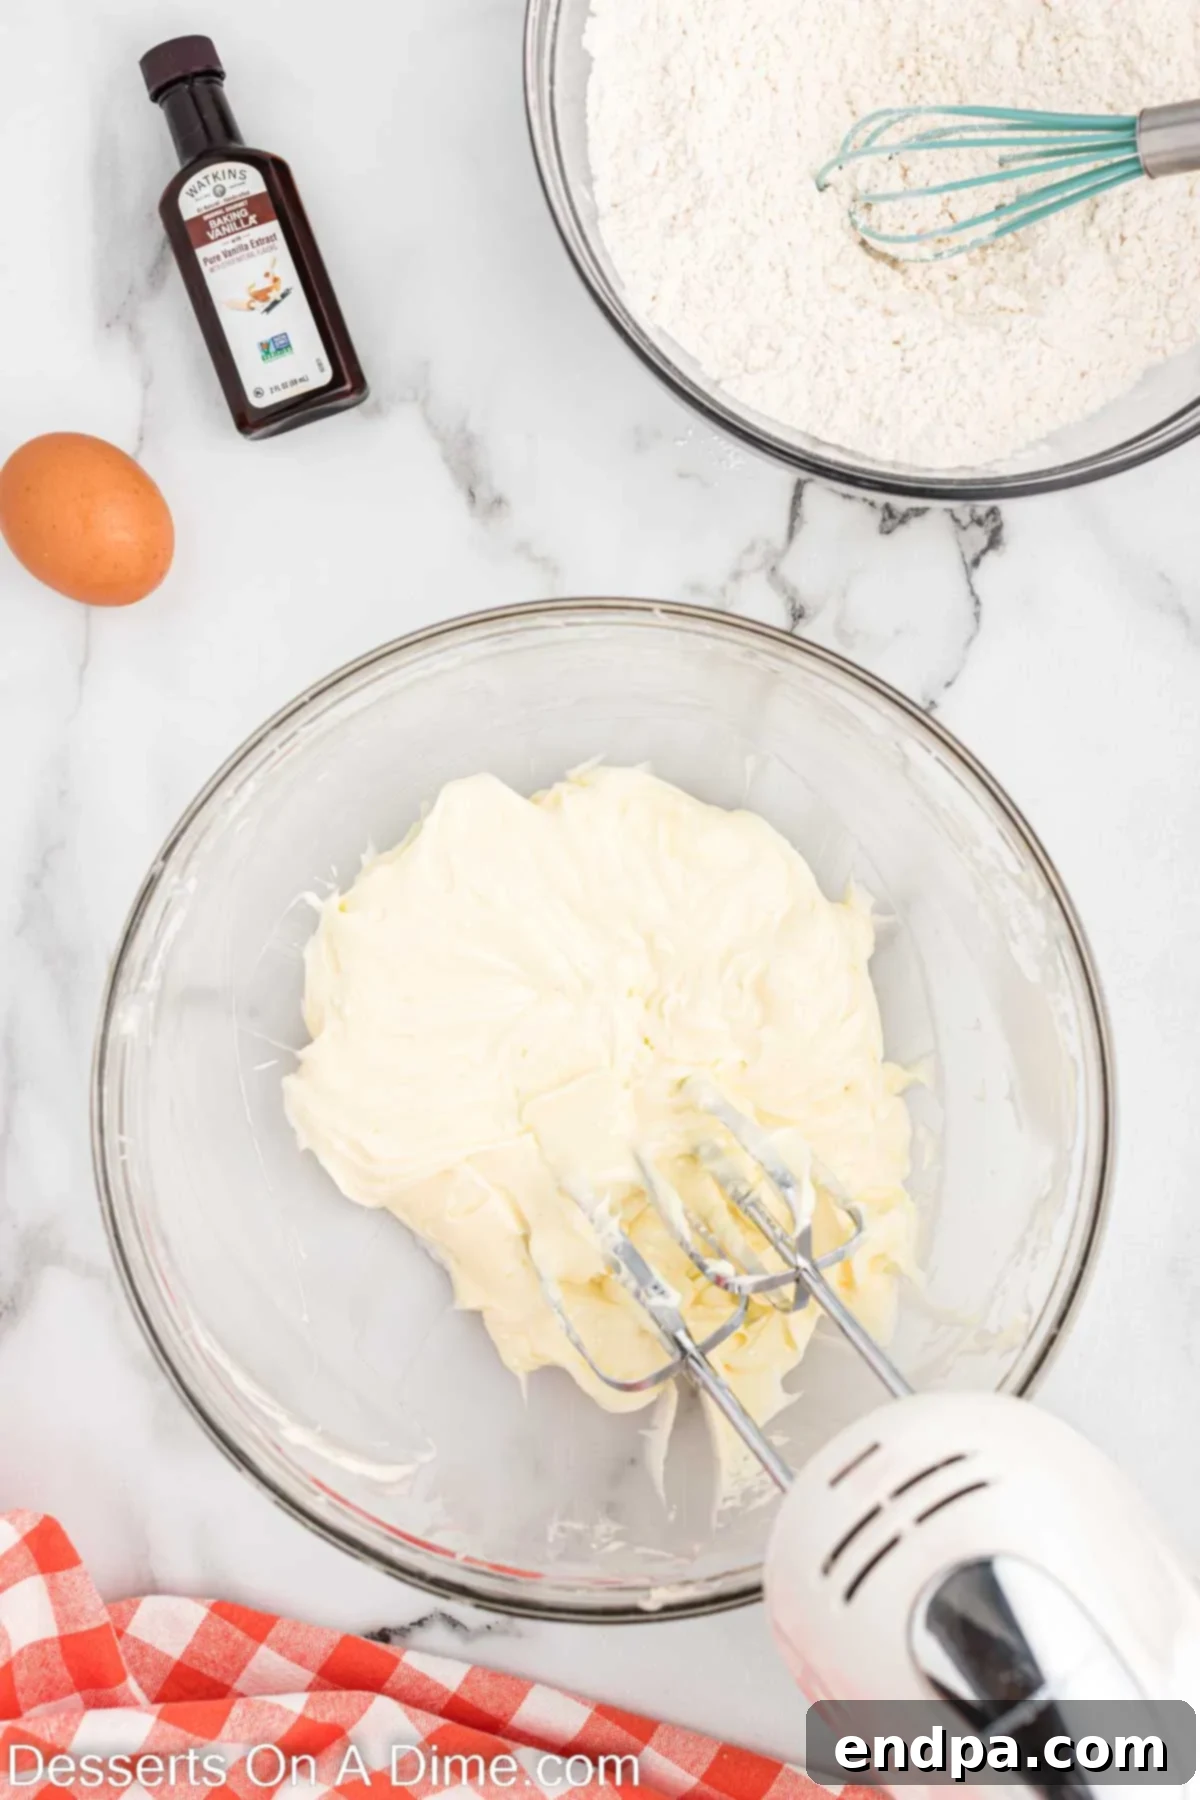
Step 3: Cream Wet Ingredients. In a large mixing bowl, using either a stand mixer with a paddle attachment or a hand mixer, beat together the melted white chocolate, softened unsalted butter, and powdered sugar. Continue to beat on medium-high speed until the mixture becomes wonderfully creamy, light, and fluffy, typically for 3-5 minutes. This creaming process incorporates air, resulting in a tender cookie.
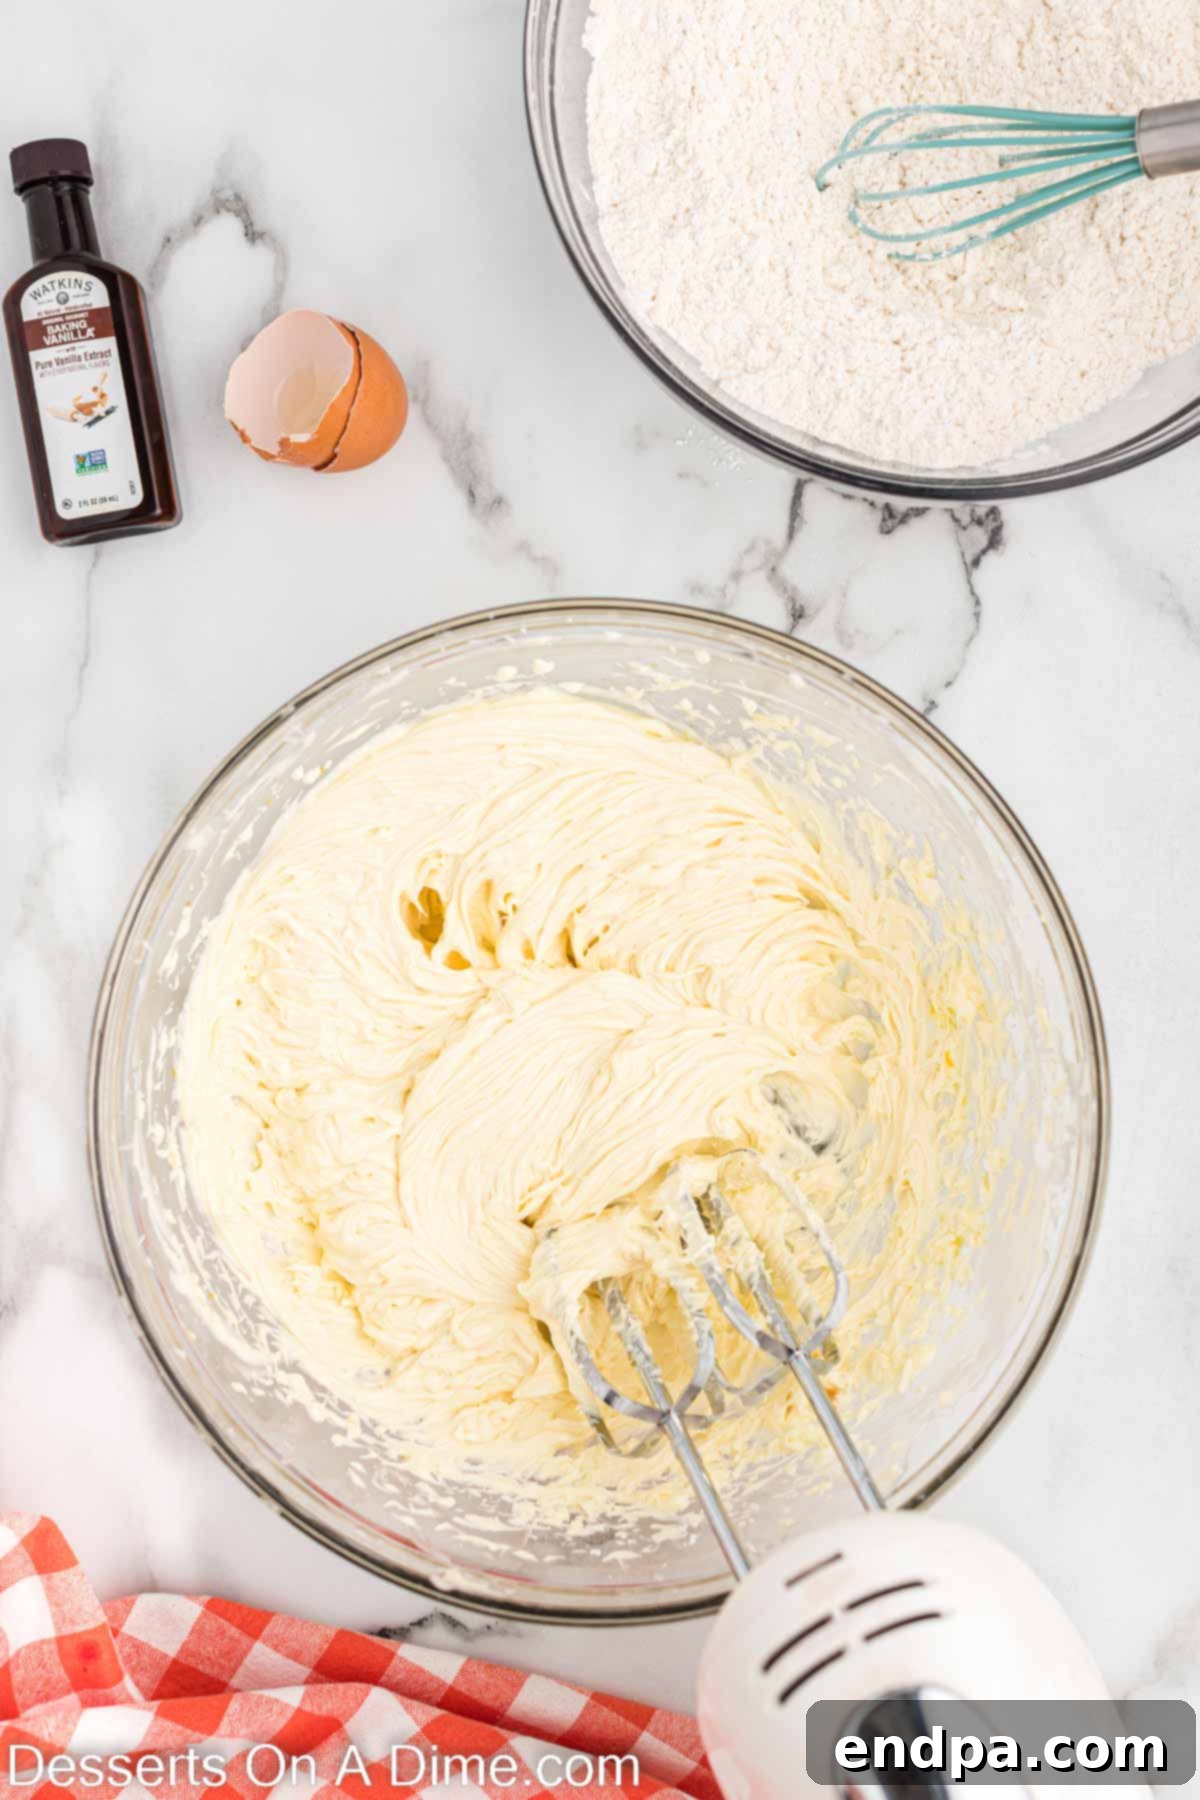
Step 4: Add Egg and Vanilla. Once the mixture is light and fluffy, add the large egg. Beat on high speed until it is fully combined and no streaks of egg yolk remain. Then, pour in the pure vanilla extract and mix until just incorporated. Avoid overmixing once the egg is added.
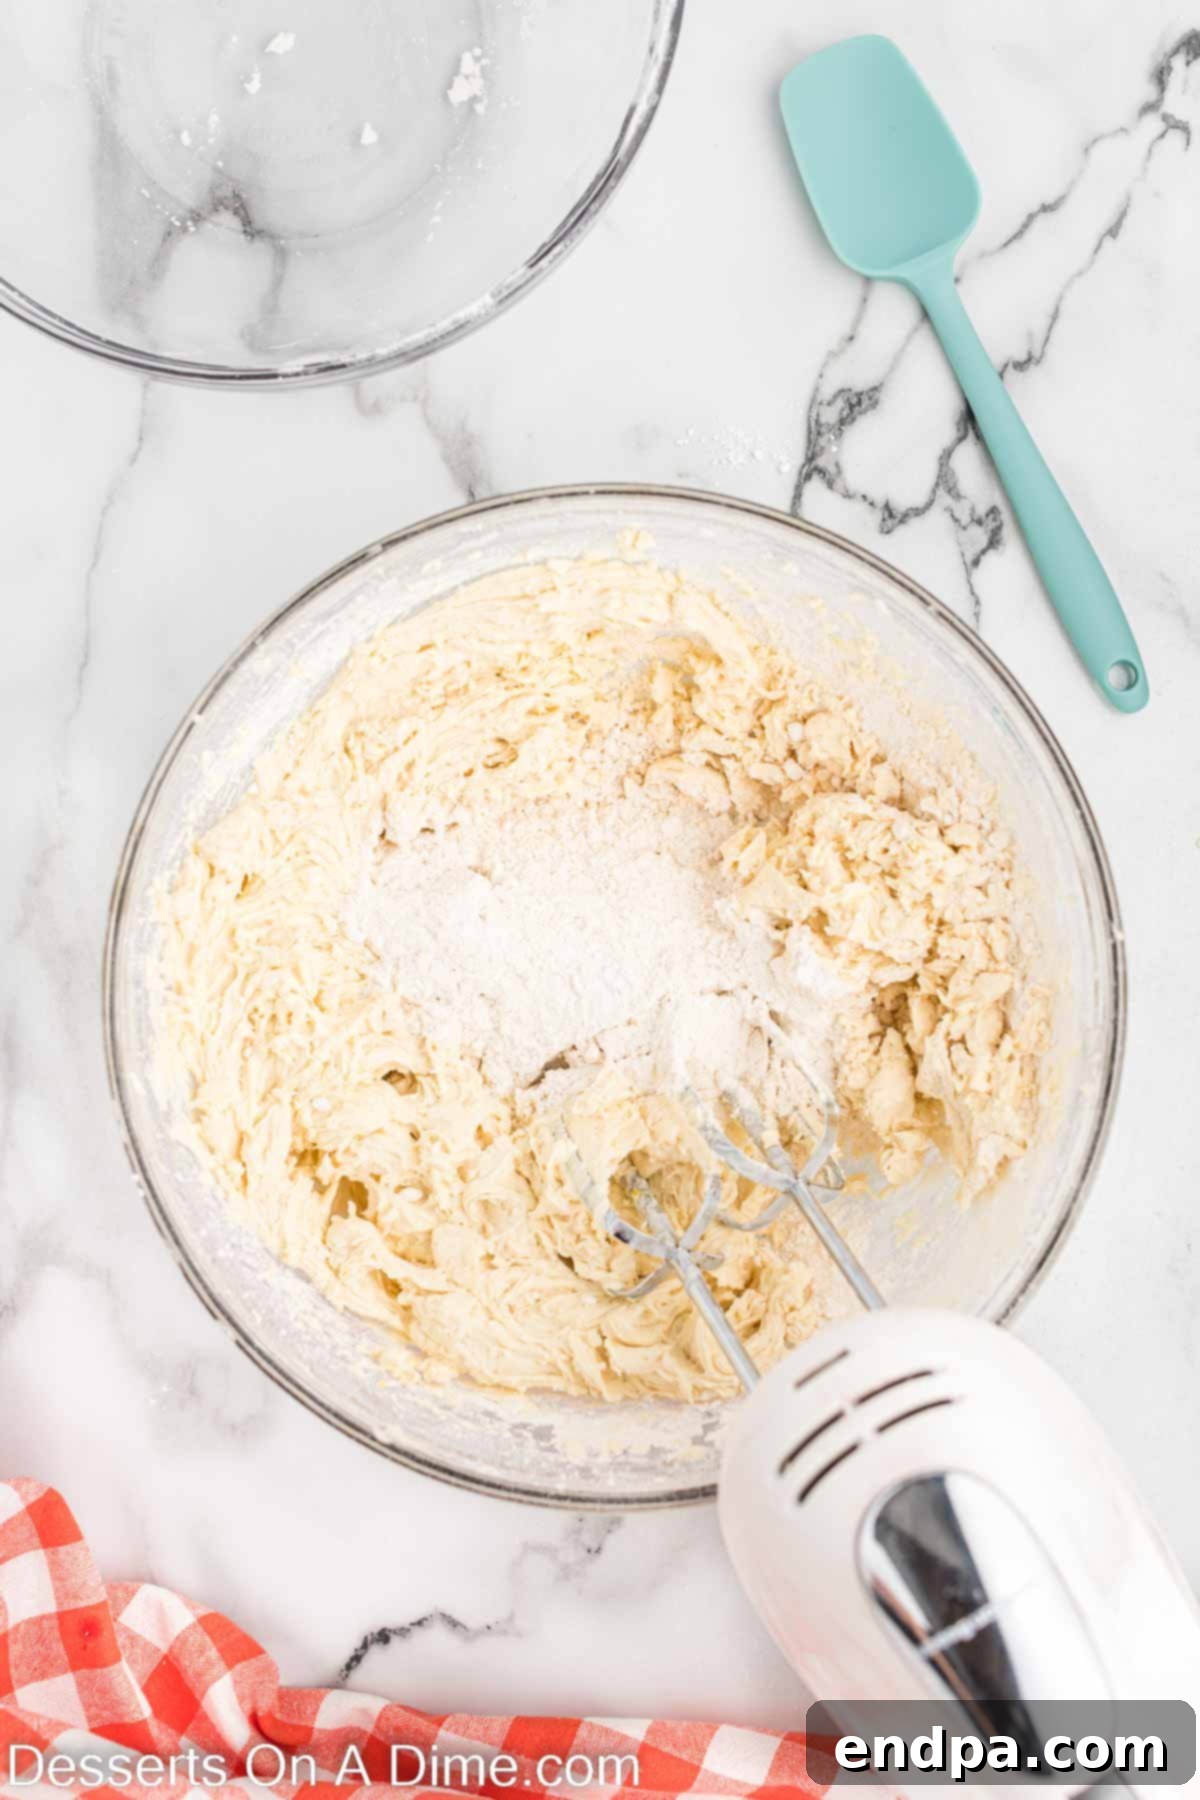
Step 5: Combine Wet and Dry Mixtures. Gradually add the whisked dry ingredients to the butter and chocolate mixture. Mix on low speed until they are just combined and a cohesive dough forms. It’s crucial not to over-mix at this stage, as over-developing the gluten can lead to tough, dense cookies rather than soft ones.
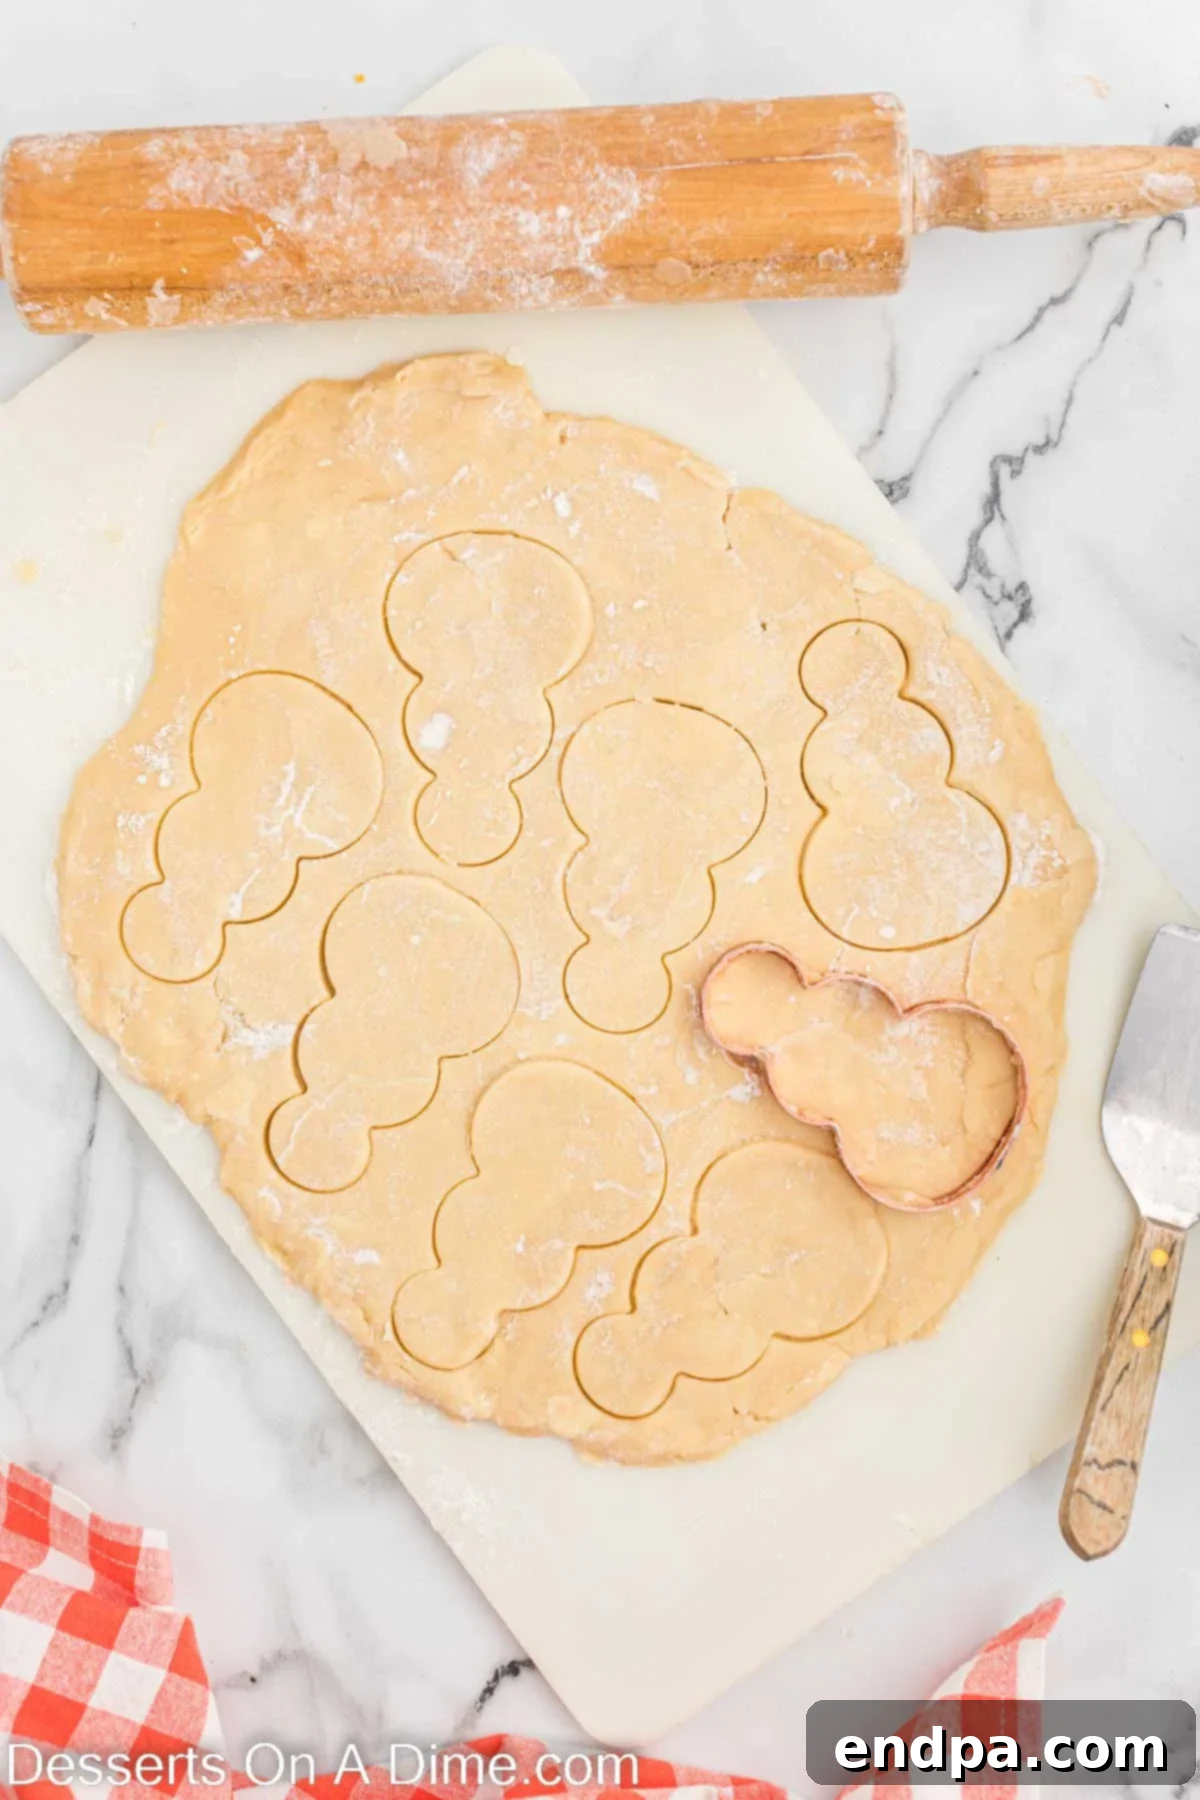
Step 6: Chill and Cut the Dough. Cover the dough with plastic wrap and refrigerate for at least 30 minutes to 1 hour. Chilling is essential; it firms up the dough, making it much easier to roll out and cut without sticking. Once chilled, lightly flour a clean surface and roll out the cookie dough to approximately ½ inch thick. Use your snowman cookie cutter to cut out the shapes, re-rolling scraps as needed until all dough is used. Take care not to overwork the dough when re-rolling.
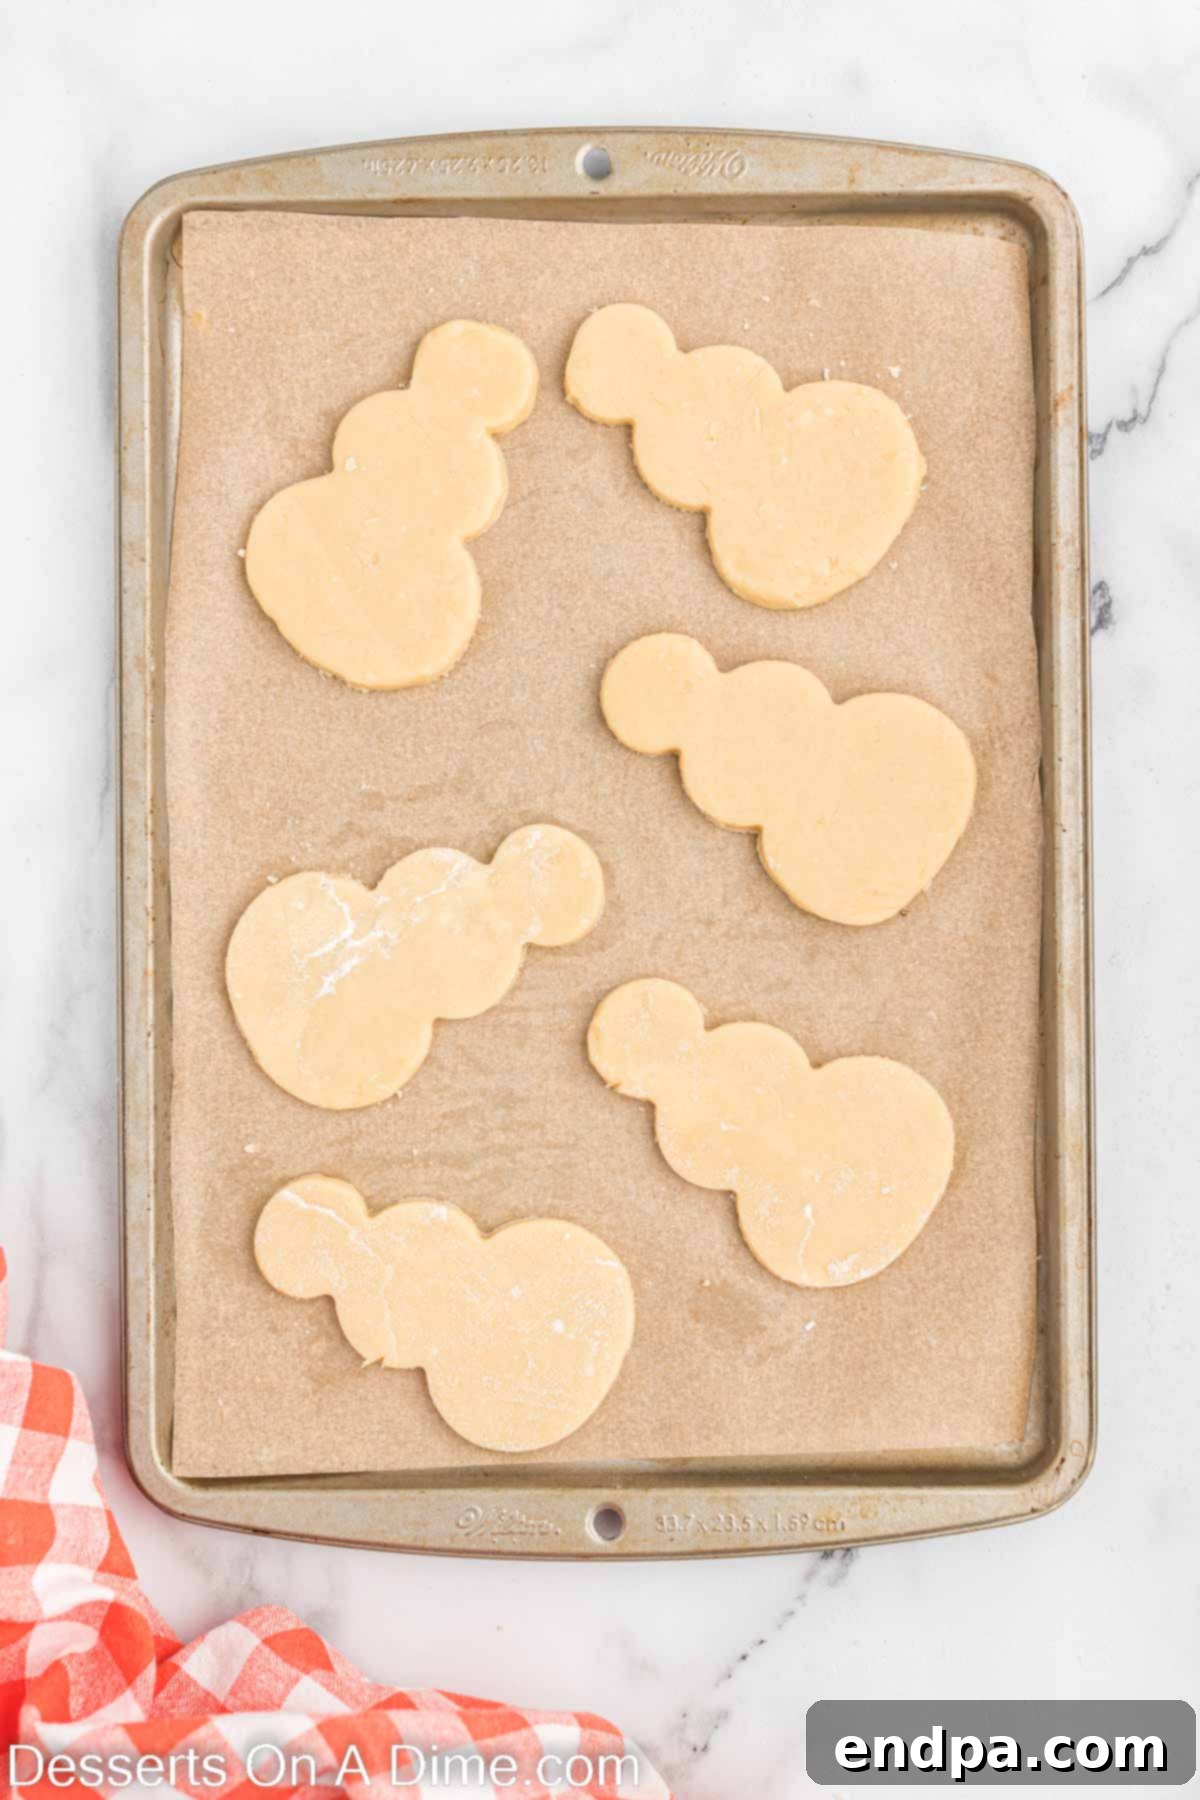
Step 7: Prepare for Baking. Preheat your oven to 350°F (175°C). Line your baking sheets with parchment paper; this prevents sticking and ensures easy transfer. Using a thin metal spatula, carefully transfer the cut snowman cookies to the prepared baking sheet, leaving about an inch between each cookie to allow for slight spreading.
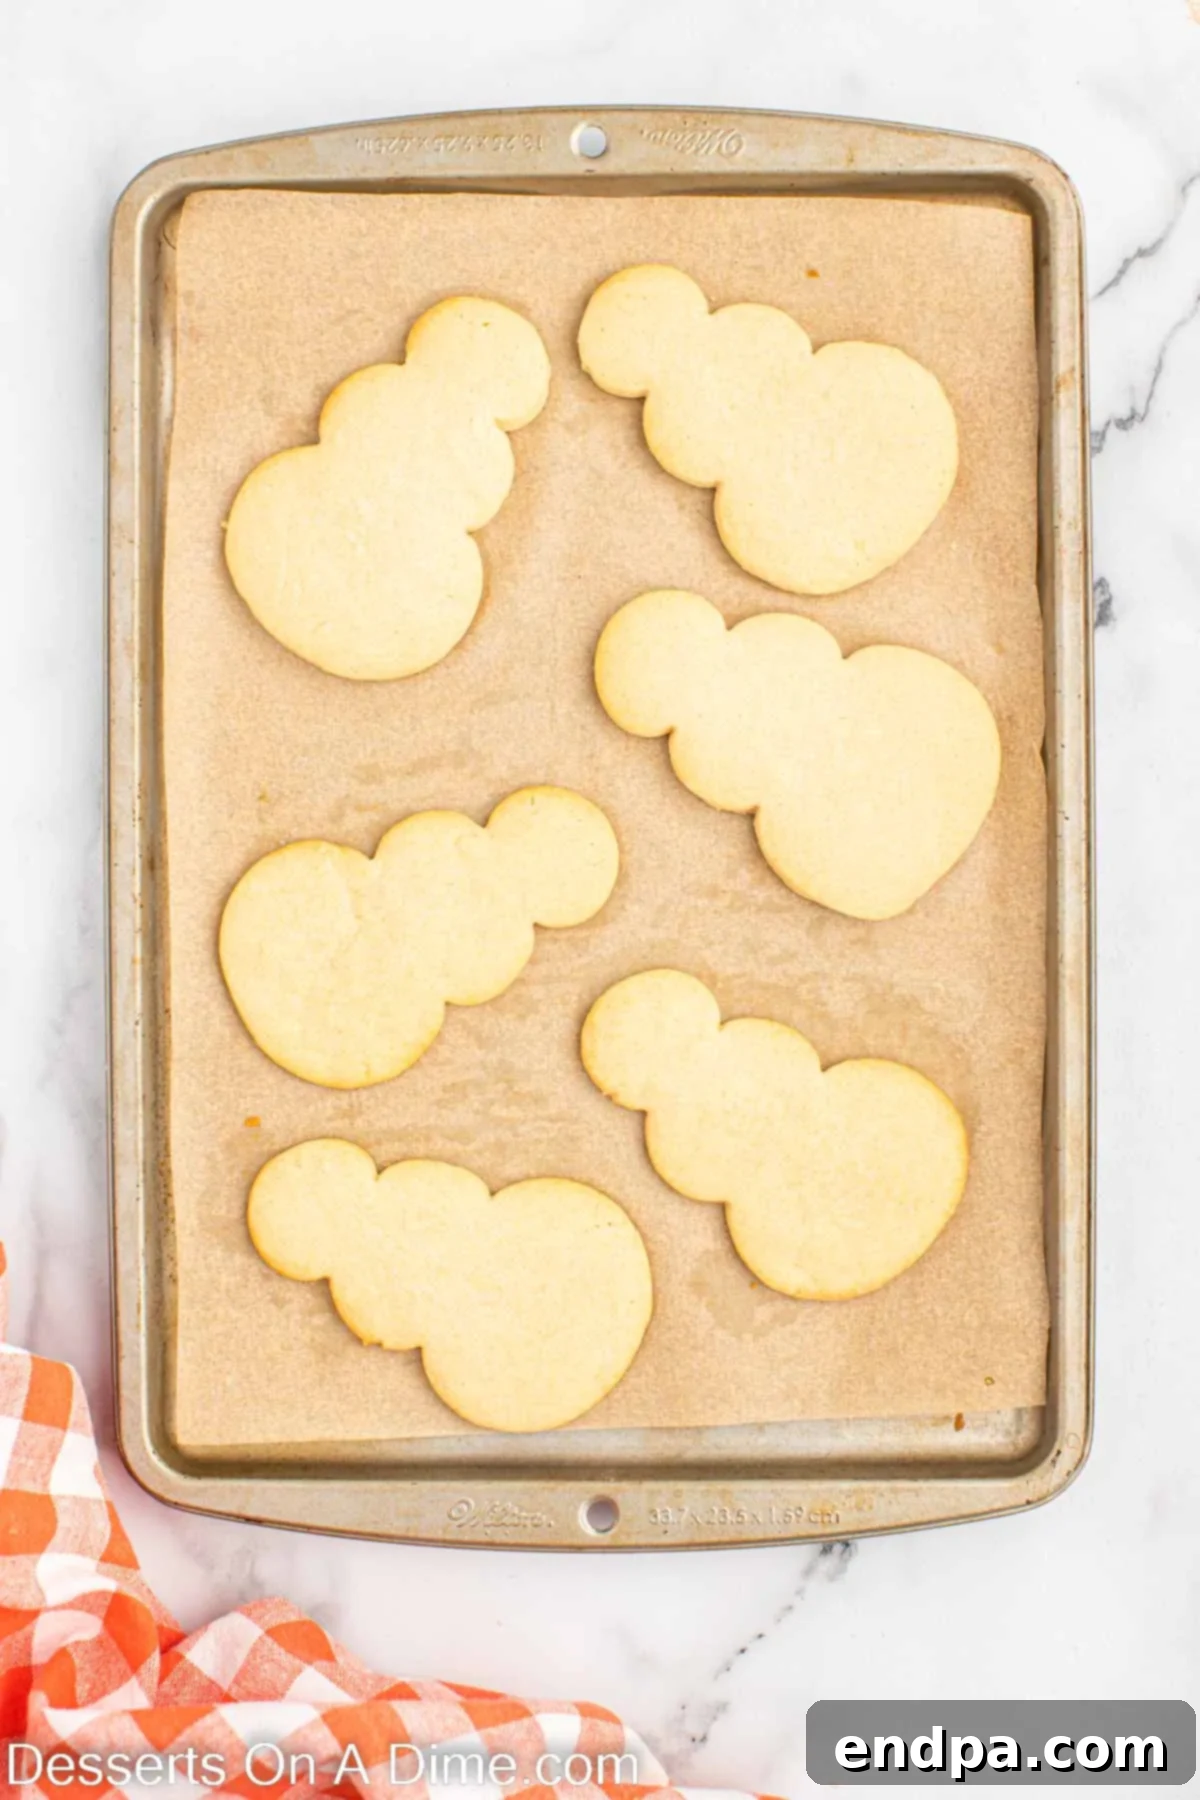
Step 8: Bake and Cool. Bake the cookies for approximately 10 minutes, or until the edges are just lightly browned and the centers are set. Watch them carefully to prevent overbaking. Allow them to cool on the baking sheet for a few minutes to firm up before carefully transferring them to a wire rack to cool completely. This full cooling period is essential before decorating.
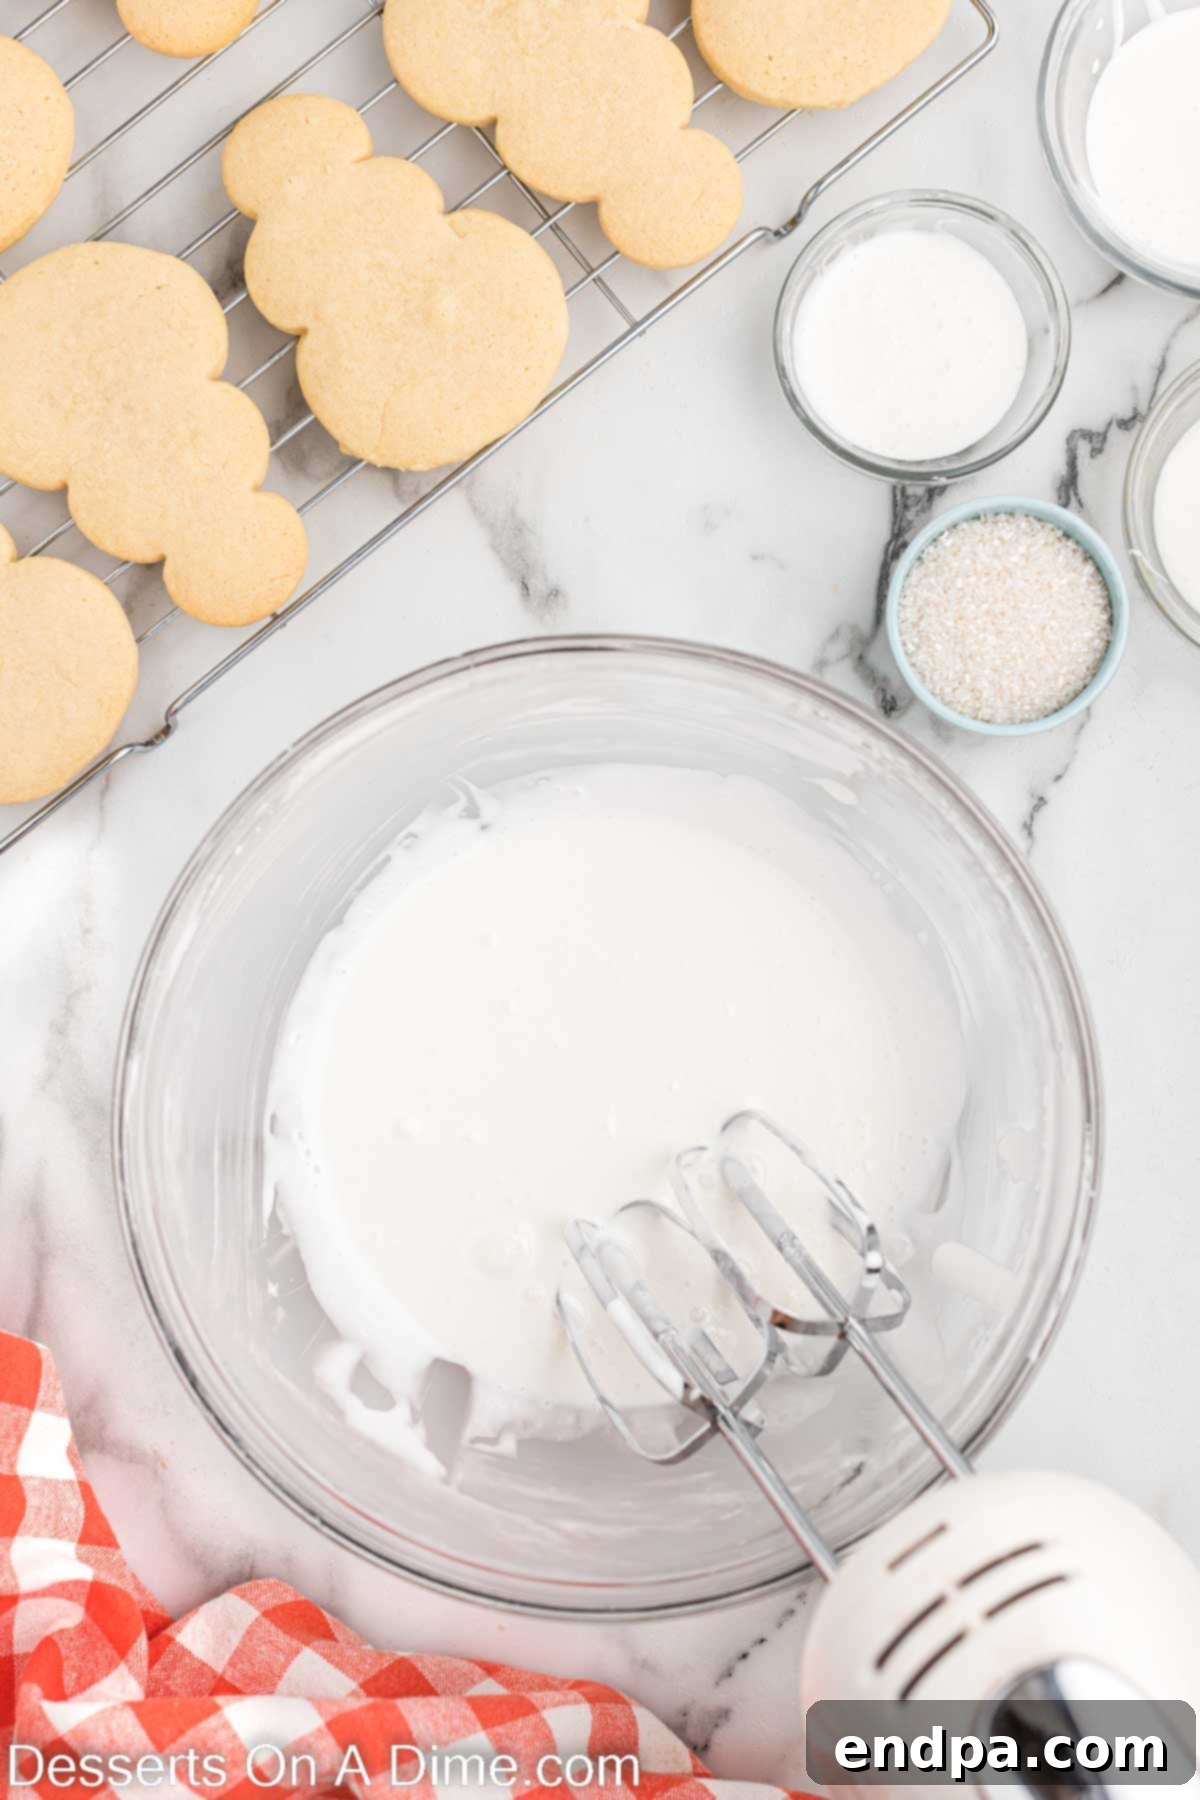
Step 9: Prepare the Royal Icing. While the cookies are cooling, combine the egg whites, powdered sugar, and cream of tartar in a mixing bowl. Using a hand mixer or the whisk attachment of a stand mixer, beat on medium speed for about 4 minutes, or until the icing is stiff, glossy, and holds its shape. If the icing seems too thin, add a little more powdered sugar (¼ cup at a time) until the desired consistency is reached. If it’s too thick, add a tiny amount of water (¼ tsp at a time).
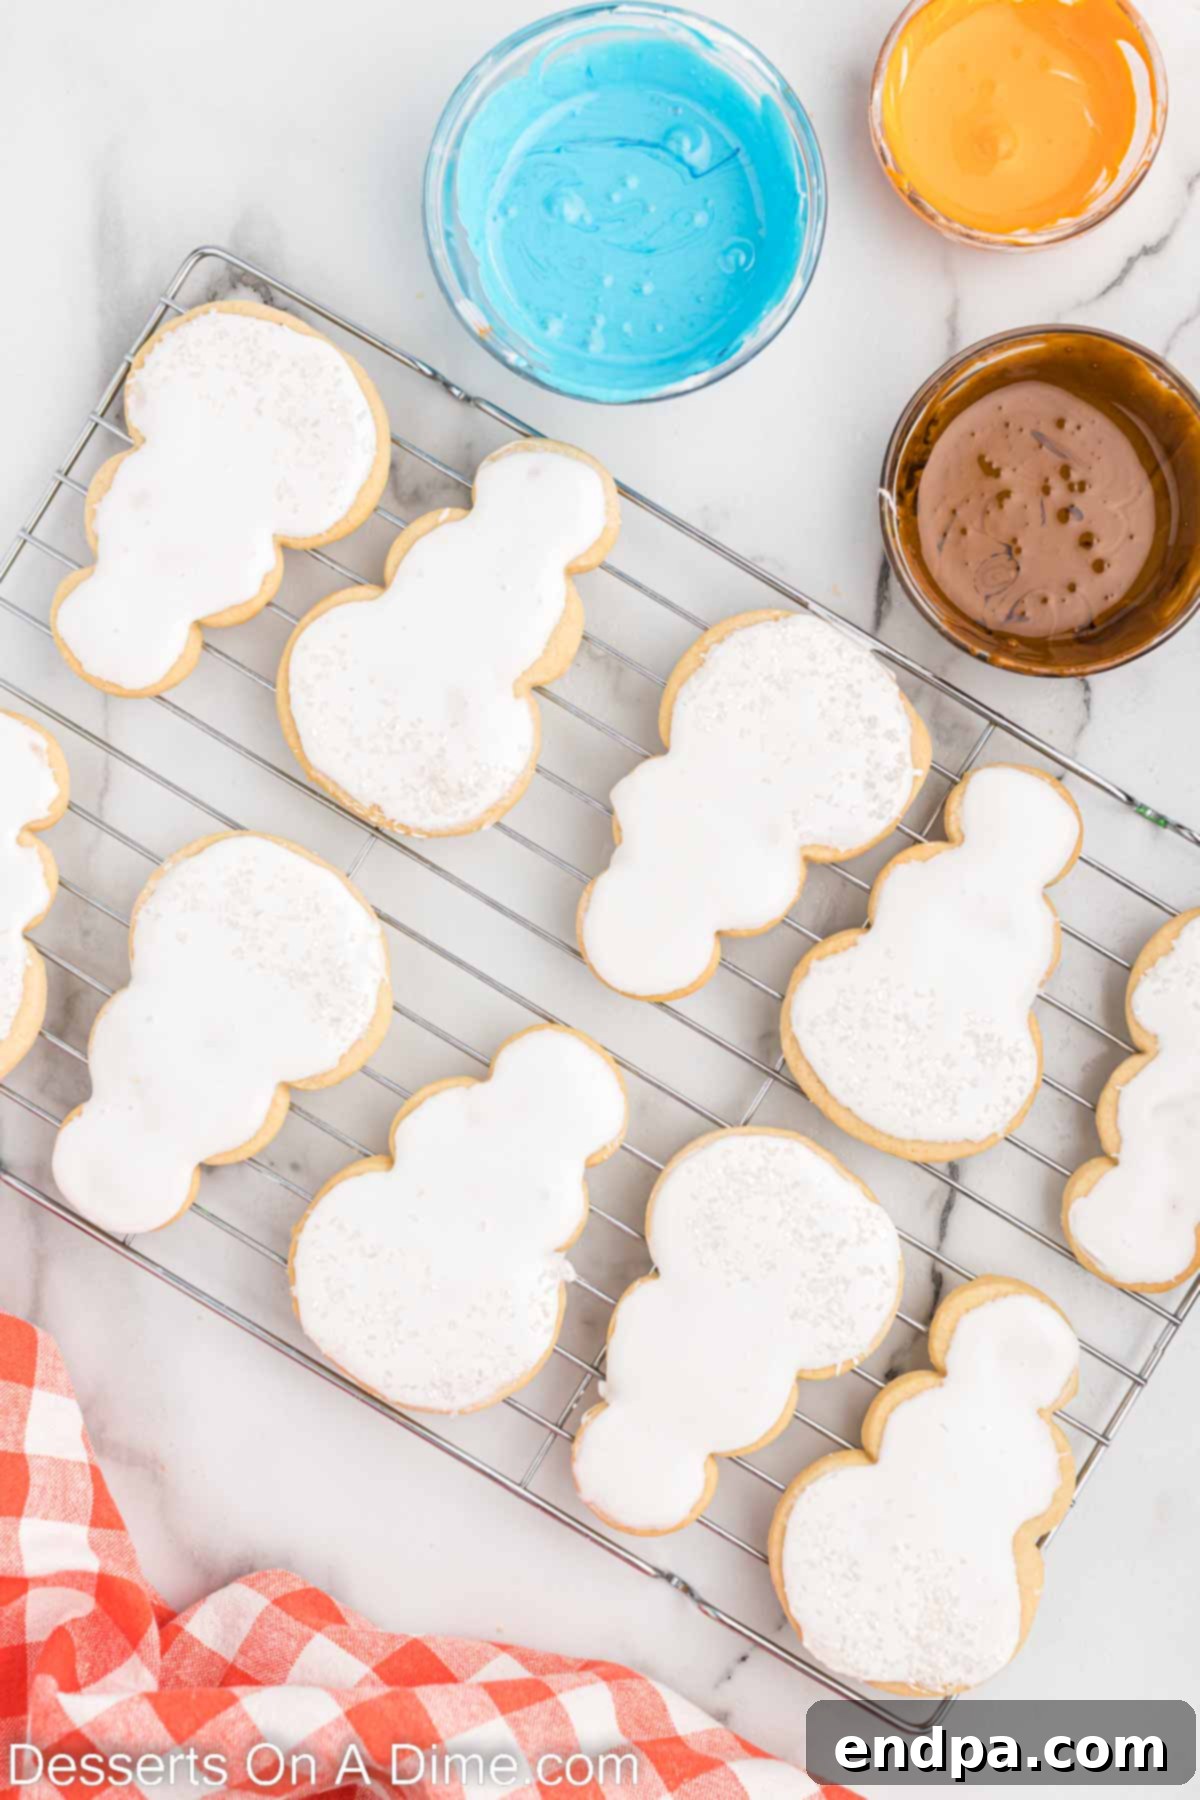
Step 10: Color the Icing. Get out three small bowls and carefully divide a portion of your prepared white royal icing into each. Leave the largest portion white for the base of your snowmen. Use gel food coloring to dye one portion orange for the carrot noses, one brown for eyes and buttons, and one blue for earmuffs and scarves. Mix each color thoroughly until you achieve your desired shade. Remember, gel colors are highly concentrated, so start with a tiny amount and add more if needed.

Step 11: Base Coat and “Snow.” Using the remaining white icing, generously coat the entire surface of each cooled snowman cookie. You can spread it with a small offset spatula or thin it slightly with a few drops of water and use it to flood the cookie for a perfectly smooth finish. Immediately after applying the white icing, gently sprinkle white sugar sprinkles onto the bottom portion of the cookies to create the illusion of freshly fallen snow. Allow this white icing layer to dry completely and harden, which can take several hours or even overnight, before proceeding with detailed decorations. This prevents colors from bleeding.

Step 12: Decorate Your Snowmen. Transfer each colored icing (orange, brown, and blue) into separate piping bags fitted with a small round tip, such as a Wilton #5. Now comes the fun part! Use the orange icing to pipe small carrot noses, the brown for dot eyes and buttons down the front, and the blue for creative earmuffs and scarves. Let your imagination guide you! After all the details are added, allow the cookies to set and dry completely for several hours (or overnight) to ensure the icing is fully hardened before stacking or serving. Once dry, your delightful Starbucks Snowman Cookies are ready to be admired and enjoyed!

Proper Storage for Maximum Freshness
To keep your delicious Starbucks Snowman Cookies fresh and flavorful for as long as possible, proper storage is key. After all the effort you’ve put into baking and decorating, you want them to last!
- Airtight Container: Always store leftover cookies in an airtight container at room temperature. This prevents them from drying out and helps maintain their soft texture and fresh taste.
- Layer with Parchment Paper: If stacking multiple layers of decorated cookies, place a sheet of parchment paper between each layer. This will protect the delicate royal icing decorations from smudging or sticking together.
- Shelf Life: When stored correctly, these cookies will remain fresh and delightful for up to 1 week. Beyond that, while still edible, their texture and flavor might begin to diminish.
- Freezing for Later: For longer storage, undecorated baked cookies can be frozen. Once completely cooled, wrap them tightly in plastic wrap, then place them in a freezer-safe bag or airtight container. They can be frozen for up to 3 months. Thaw at room temperature before decorating. You can also freeze fully decorated cookies, but be aware that slight color bleeding can sometimes occur during thawing, especially with dark icing colors.
Expert Tips for Perfect Snowman Cookies Every Time
Achieving bakery-quality snowman cookies at home is entirely possible with a few professional insights. Keep these tips in mind as you embark on your baking journey:
- Ensure Room Temperature Ingredients: This is a golden rule in baking, especially for butter and eggs. Room temperature butter creams smoothly with sugar, creating a light, airy base, and eggs incorporate more evenly, preventing a curdled mixture. Plan ahead and take these ingredients out of the fridge at least an hour before you start baking.
- Avoid Over-mixing the Cookie Dough: Once you add the flour to the wet ingredients, mix only until just combined. Over-mixing develops the gluten in the flour, which can lead to tough, chewy cookies instead of the desired tender, melt-in-your-mouth texture. A few streaks of flour are better than an overmixed dough.
- Do Not Overbake Your Cookies: Sugar cookies are meant to be soft. Overbaking can result in dry, hard cookies. Look for edges that are just barely golden and centers that appear set. They will continue to cook slightly from residual heat once removed from the oven.
- Allow Cookies to Cool Completely Before Decorating: This tip cannot be stressed enough! Applying royal icing to warm cookies will cause the icing to melt, slide off, and create a messy, unappealing finish. Patience is a virtue when it comes to decorating.
- Work with Royal Icing Patience: Royal icing requires time to dry and harden. If you’re layering colors or adding intricate details, allow each layer to dry thoroughly before adding the next. This prevents colors from bleeding into one another and ensures crisp lines. Placing them in front of a fan can speed up the drying process.
- Use Good Quality Food Coloring: For vibrant, true-to-life colors without diluting your icing, always opt for gel food coloring. Liquid food coloring can thin out your royal icing, making it harder to work with.

More Enchanting Snowman Desserts to Brighten Your Winter
If you’ve fallen in love with the charm of these snowman cookies, you’ll be thrilled to discover even more adorable snowman-themed treats perfect for the winter season. These recipes are sure to bring smiles and festive cheer:
- Snowman Chocolate Covered Oreos: An incredibly easy and delightful treat, perfect for last-minute holiday parties or as a fun activity with kids.
- Melted Snowman Oreo Balls: These whimsical treats are as delicious as they are cute, appearing as if a snowman has playfully melted into a puddle of deliciousness.
- Melted Snowman Bark: A simple yet visually stunning dessert, this bark combines the ease of chocolate bark with the festive fun of a melting snowman.
- Classic Snowman Sugar Cookies: If you’re looking for an alternative or another take on snowman cookies, this recipe offers a slightly different approach to create equally charming confections.
We encourage you to try this easy Starbucks snowman cookie recipe. We are confident that these delightful treats will become a cherished part of your holiday baking repertoire. Come back and leave a comment to share your experience and creations – we love hearing from our readers!

Starbucks Snowman Cookie
Rating: 4.55 out of 5 stars from 132 votes
Learn how to make copycat Starbucks Snowman Cookies for a fun and festive treat. Enjoy these adorable cookies at home for a fraction of the price and create lasting holiday memories!
Prep Time: 1 hour 20 mins
Cook Time: 10 mins
Total Time: 1 hour 30 mins
Servings: 12 cookies
Cuisine: American
Course: Dessert
Calories: 358 kcal
Author: Carrie Barnard
Ingredients
FOR THE COOKIES:
- 2 cups All Purpose Flour
- 1 cup unsalted butter, softened
- 6 oz White Chocolate
- 2 tsp baking powder
- 1 Tbsp Vanilla Extract
- ½ tsp salt
- ½ cup powdered sugar
- 1 Large Egg
FOR THE ROYAL ICING:
- 2 egg whites
- 1 cup powder sugar
- ½ tsp cream of tartar
- Orange, brown and blue gel food coloring
- White Sugar Sprinkles
Instructions
FOR THE COOKIES:
- Melt the white chocolate by placing it in a microwave-safe bowl and heating it in 20-second intervals, stirring after each interval, until fully melted and smooth.
- In a medium-sized mixing bowl, whisk together the flour, baking powder, and salt. Then set aside.
- In a separate large bowl, beat together the melted white chocolate, softened unsalted butter, and powdered sugar until creamy, light, and fluffy (about 3-5 minutes with a mixer).
- Add in the large egg and mix on high speed until thoroughly combined. Then add in the vanilla extract and mix until just incorporated. Continue mixing.
- Slowly add the dry flour mixture to the butter mixture, combining them gradually until just combined. Be careful not to over-mix the dough.
- Cover the dough with plastic wrap and refrigerate for 1 hour to allow it to firm up, making it easier to roll out and work with.
- Once chilled, roll out the dough onto a lightly floured surface until it is approximately ½ inch thick. Then use a snowman cookie cutter to cut out the cookies.
- Continue this process until all the dough is formed into cookies, re-rolling scraps as needed.
- Preheat the oven to 350°F (175°C). Line a cookie sheet with parchment paper. Using a metal spatula, carefully move the cut cookies to the parchment-lined cookie sheet.
- Bake for 10 minutes, or until the cookies are lightly browned around the edges (you’ll notice just a slight change of color).
- Let the cookies cool on the pan for 5 minutes before carefully transferring them to a wire rack to cool completely. Ensure the cookies have cooled completely before applying frosting, or the icing will melt off.
FOR THE ICING:
- Combine all icing ingredients (egg whites, powdered sugar, cream of tartar – except your food coloring) in a mixing bowl and beat on medium speed for 4 minutes, until the icing is stiff and glossy. If the icing is not stiff enough, add an additional ¼ cup of powdered sugar and beat further.
- Portion out small amounts of the white icing into separate bowls to dye brown, orange, and blue for the snowman decorations.
- Use the remaining white icing to coat the cookies for the white portion of the snowmen.
- Sprinkle white sugar sprinkles onto the bottom portion of the cookies to create a snowy effect. Let this white icing layer dry completely before you add the detailed decorations.
- Place the other colored icings (orange, brown, blue) into piping bags fitted with a small round tip (a Wilton #5 tip works well). Then use these colors to make the snowman’s face (eyes, mouth, carrot nose), buttons, earmuffs, and scarf.
- Allow all the icing to cool and set completely for several hours (or overnight) until hardened. Then the cookies are ready to serve and enjoy!
Recipe Notes
- Make sure that all your cookie ingredients are at room temperature before preparing the dough for optimal mixing and texture.
- Be careful not to over-mix the cookie dough once flour is added, as this can result in tough and dense cookies.
- Store leftover cookies in an airtight container at room temperature for up to 1 week to maintain freshness.
Nutrition Facts
Per Serving (1 cookie approx.):
- Calories: 358 kcal
- Carbohydrates: 40g
- Protein: 4g
- Fat: 20g
- Saturated Fat: 13g
- Polyunsaturated Fat: 1g
- Monounsaturated Fat: 5g
- Trans Fat: 1g
- Cholesterol: 57mg
- Sodium: 197mg
- Potassium: 103mg
- Fiber: 1g
- Sugar: 23g
- Vitamin A: 497 IU
- Vitamin C: 0.1mg
- Calcium: 78mg
- Iron: 1mg
Pin This Now to Remember It Later
