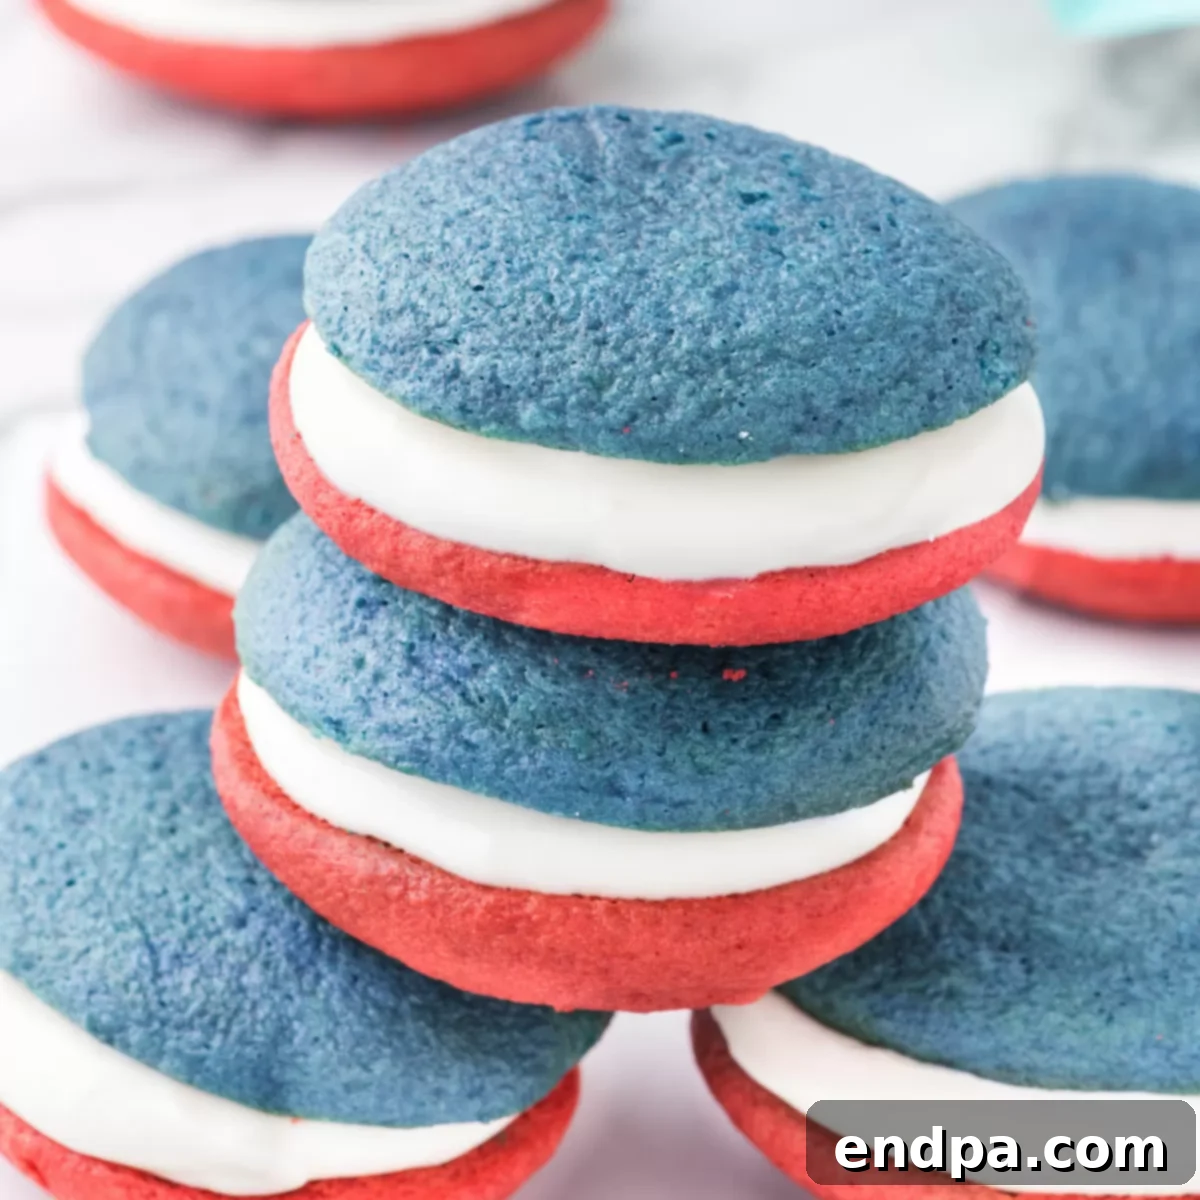
Celebrate America’s spirit with these vibrant, flavor-packed Patriotic Whoopie Pies! Bursting with creamy filling and showcasing the iconic red, white, and blue, these delightful treats are more than just a dessert – they’re a festive declaration. Perfect for your 4th of July barbecue, a solemn Memorial Day gathering, or any occasion that calls for a touch of American pride, these whoopie pies are guaranteed to be a hit. Their luscious marshmallow fluff filling sandwiched between soft, tender cake-like cookies creates an irresistible texture and a taste that evokes joyous celebrations. What makes them even better? They come together with surprising ease, proving that spectacular desserts don’t have to be complicated.
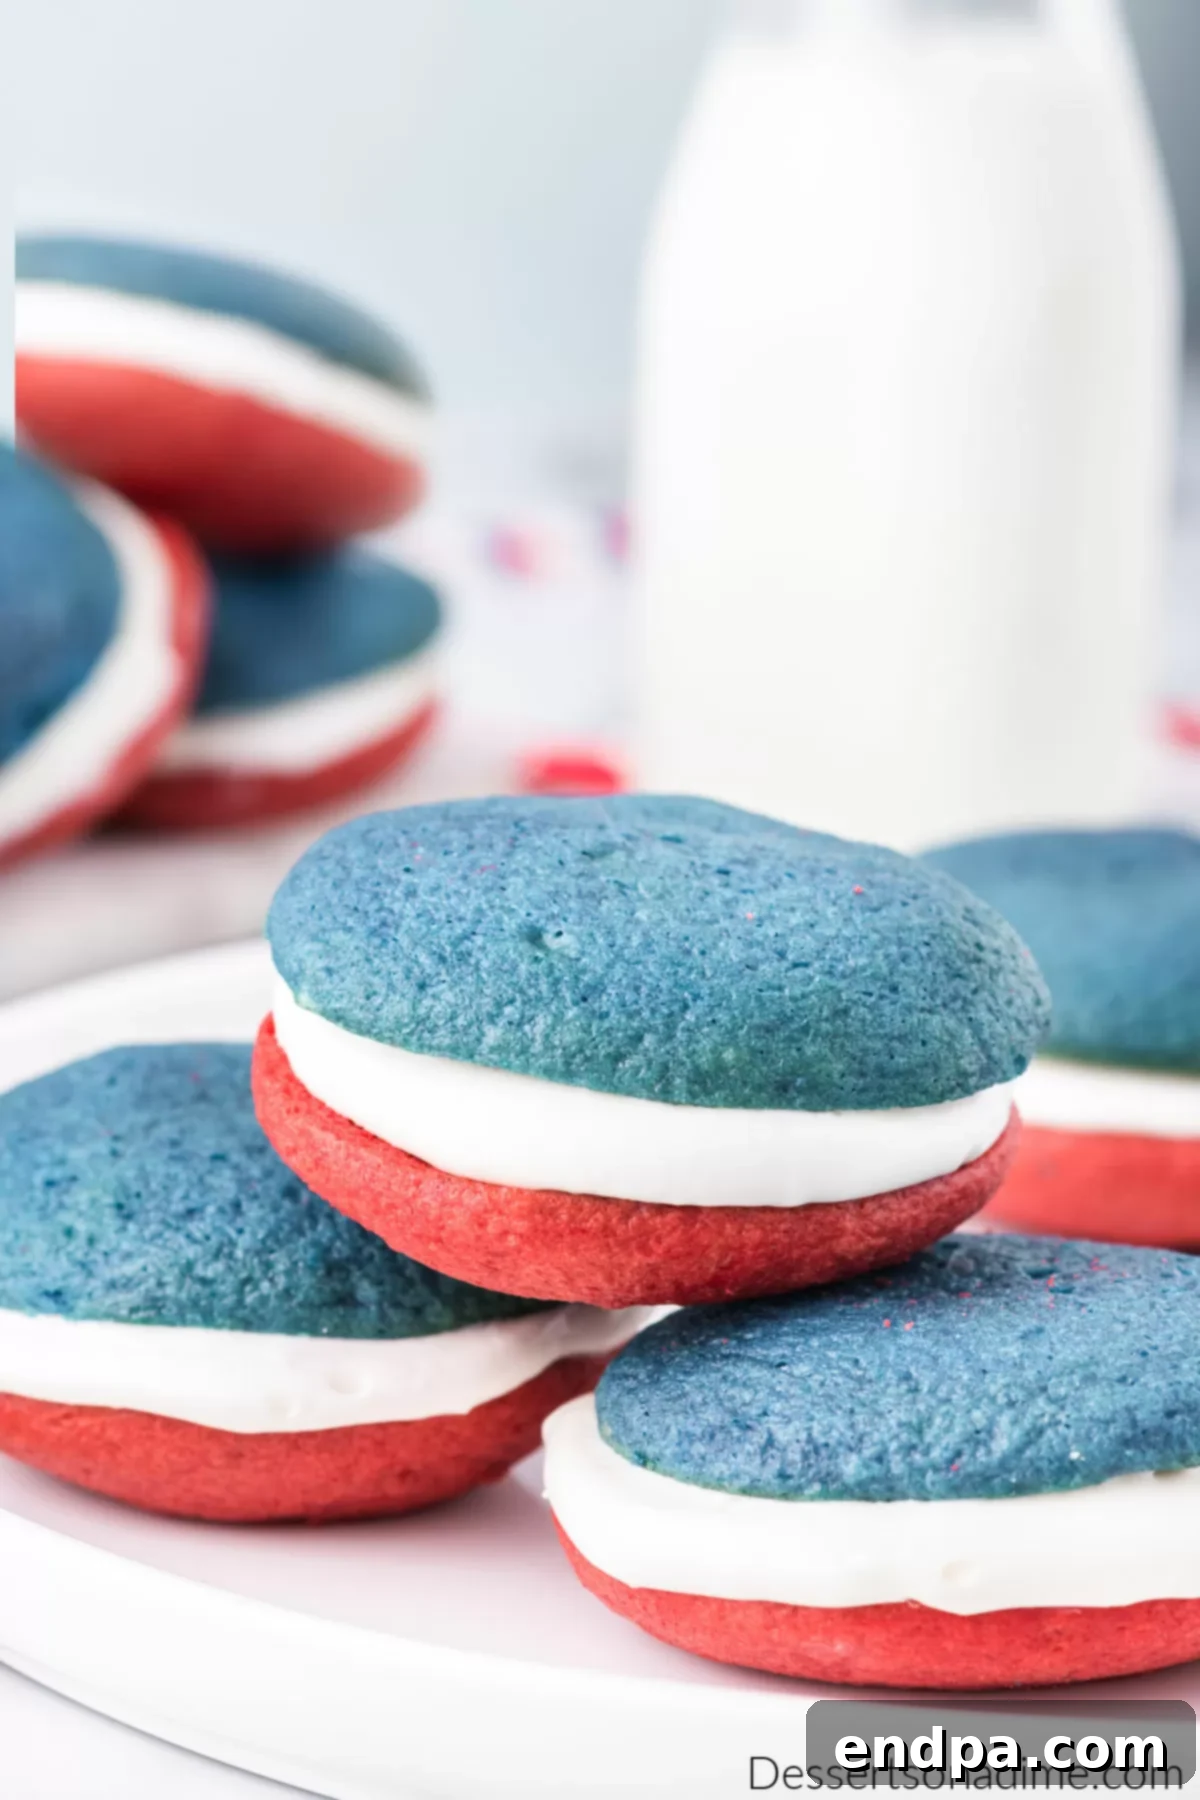
Whoopie pies, often dubbed “cookie sandwiches,” hold a special place in American baking, particularly in New England and Pennsylvania Dutch country. While their exact origin is debated, one popular tale suggests they were first made from leftover cake batter, sandwiched with a sweet filling, and packed into lunchboxes. Farmers, upon discovering these delightful treats, would exclaim “Whoopie!”, hence the name. Our patriotic version elevates this classic with eye-catching red and blue cake halves and a dreamy white marshmallow fluff filling, creating a dessert that’s both nostalgic and brilliantly festive. It’s a wonderfully simple dessert that becomes a cherished family tradition, perfect for holidays like Memorial Day, July 4th, Veterans Day, or even just a backyard picnic.
If you’re planning a full spread of patriotic themed treats, these whoopie pies fit right in alongside other favorites. Consider pairing them with 36 Red White and Blue Desserts for a truly spectacular display. Some excellent companions include Patriotic Oreo Balls and Red White and Blue Chocolate Covered Pretzels. For those who adore the traditional whoopie pie flavor, you might also enjoy our classic Whoopie Pie Recipe or even an American Flag Candy Charcuterie Board for a no-bake option. The beauty of these patriotic desserts lies in their versatility and their ability to bring a smile to everyone’s face, making any celebration feel extra special.
Table of Contents
- Why These Patriotic Whoopie Pies Are a Must-Try
- Essential Ingredients for Whoopie Pies
- For the Cake-Like Cookies
- For the Luscious Marshmallow Fluff Filling
- Creative Variations and Customizations
- Step-by-Step Guide to Making Patriotic Whoopie Pies
- Pro Tips for Perfect Patriotic Whoopie Pies
- FAQs About Patriotic Whoopie Pies
- Serving and Storage Suggestions
Why These Patriotic Whoopie Pies Are a Must-Try
This recipe truly stands out for its simplicity without sacrificing flavor or visual appeal. The genius behind it starts with a vanilla cake mix, which serves as a fantastic shortcut, significantly cutting down on prep time. This means you can whip up a batch of these beautiful patriotic whoopie pies even when you’re short on time but still want to impress your guests. The entire process, from mixing to baking and assembling, comes together so quickly, making it a perfect dessert for busy hosts. Imagine bringing these vibrant red, white, and blue treats to your 4th of July party or Memorial Day cookout – they’ll undoubtedly be the star of the dessert table! For an even more spectacular spread, consider serving them alongside fresh Red White and Blue Strawberries, creating a cohesive and mouth-watering theme.
Essential Ingredients for Whoopie Pies
For the Cake-Like Cookies
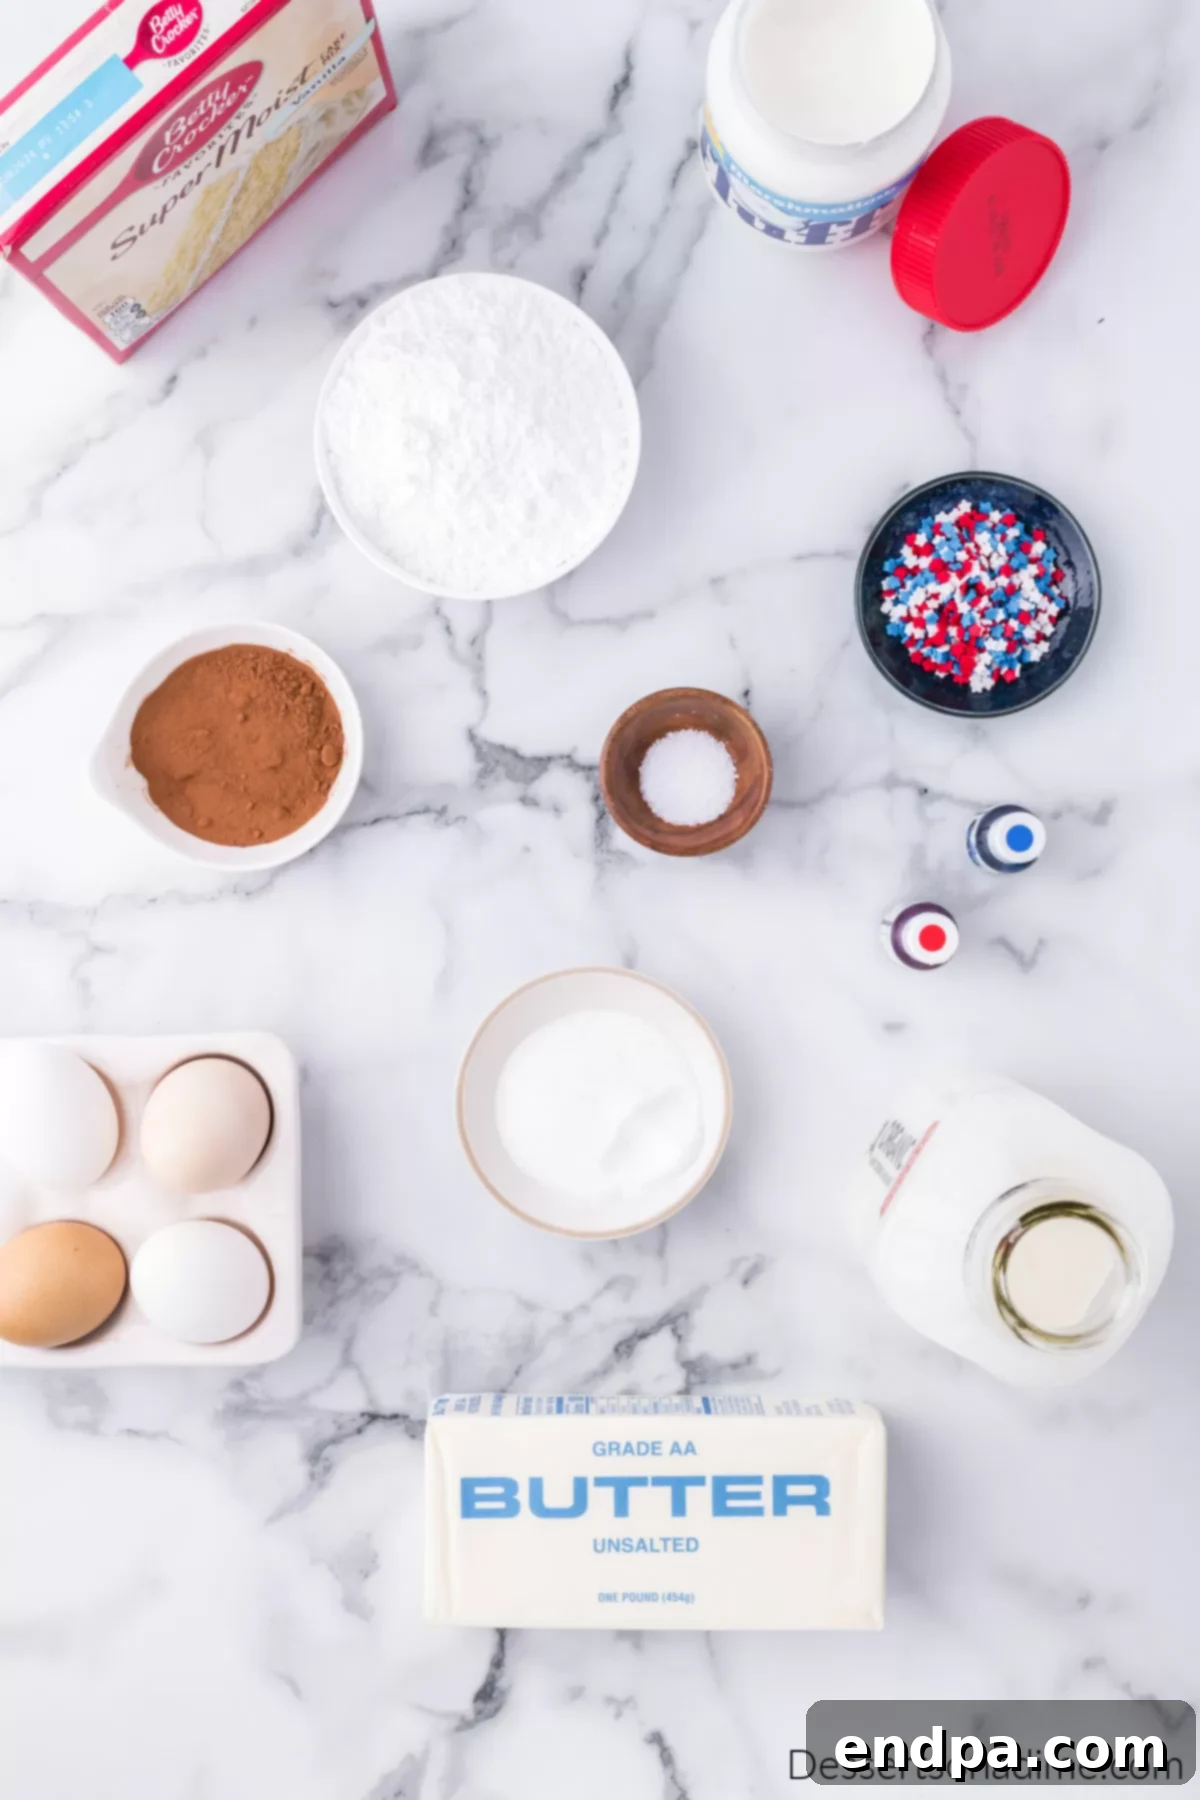
- Vanilla Cake Mix: A high-quality vanilla cake mix is your secret weapon for a light, fluffy, and consistently delicious whoopie pie base. While any brand works, using one you trust, like Betty Crocker, ensures excellent results. This shortcut makes the recipe incredibly approachable for bakers of all skill levels.
- Large Eggs: Always opt for room temperature eggs. Eggs at room temperature emulsify more easily with other ingredients, creating a smoother batter and a more tender crumb for your cookies. Simply let them sit on the counter for 30 minutes before baking.
- Milk: Like eggs, room temperature milk is crucial for a perfectly uniform batter. It prevents the batter from seizing and helps all ingredients blend seamlessly, contributing to the desirable soft texture of whoopie pies.
- Dutch Process Cocoa Powder: While this is a vanilla cake recipe, a small amount of Dutch process cocoa powder and sugar is added for depth of flavor and to create the perfect base for vibrant colors. Dutch process cocoa is less acidic, resulting in a richer, darker color and a smoother flavor profile.
- Red and Blue Gel Food Coloring: For truly vibrant and patriotic hues, gel food coloring is highly recommended over liquid drops. Gel colors are concentrated, allowing you to achieve intense shades without altering the batter’s consistency. A little goes a long way!
For the Luscious Marshmallow Fluff Filling
- Unsalted Butter: Using unsalted butter gives you complete control over the saltiness of your filling. Ensure it’s softened to room temperature for optimal creaming, which is essential for a light and airy texture.
- Powdered Sugar: Also known as confectioners’ sugar, this fine powder dissolves beautifully into butter, creating a smooth and silky frosting. Sifting it before use is a non-negotiable step, especially if it’s lumpy, to prevent any grainy texture in your creamy filling.
- Marshmallow Fluff: The star of the filling, marshmallow fluff provides that iconic, chewy, and sweet stickiness that defines a classic whoopie pie. While store-bought fluff is perfectly convenient, you can also try making Homemade Marshmallow Fluff for an extra layer of freshness and flavor.
- Pinch of Salt: A tiny bit of salt in the filling helps to balance the sweetness, enhancing all the flavors without making the filling overtly salty.
Creative Variations and Customizations
One of the joys of baking whoopie pies is how adaptable they are. While the red, white, and blue theme is a classic, don’t hesitate to get creative with these variations:
- Sprinkle Spectacle: Elevate the festive look by adding patriotic sprinkles to your cookie batter before baking, or press them into the sides of the assembled whoopie pies. Red, white, and blue star-shaped sprinkles or jimmies add a delightful crunch and extra visual flair.
- Filling Fanfare: While marshmallow fluff is traditional, feel free to experiment with other creamy fillings. A rich Homemade Cream Cheese Frosting offers a tangy counterpoint, while a classic buttercream or even a berry-flavored whipped cream could provide a delightful twist.
- Flavor Infusion: Add a touch of extract to your cake batter for extra flavor. A hint of almond, lemon, or even a subtle berry extract could complement the vanilla base beautifully.
- Chocolate Drizzle: For an extra touch of indulgence, once assembled, drizzle melted white chocolate over the finished whoopie pies. You can even tint a portion of the white chocolate with blue food coloring for a continuation of the patriotic theme.
- Mini Whoopie Pies: Use a smaller cookie scoop to create bite-sized versions, perfect for party platters or when you want just a tiny taste of this delightful dessert. Adjust baking time accordingly.
Step-by-Step Guide to Making Patriotic Whoopie Pies
Follow these detailed steps to create your own batch of stunning Patriotic Whoopie Pies:
- Step 1: Prepare for Baking. Begin by preheating your oven to 350° F (175° C). Line a large baking sheet (or multiple sheets, depending on batch size) with parchment paper. This prevents sticking and ensures easy removal of your delicate cookies.
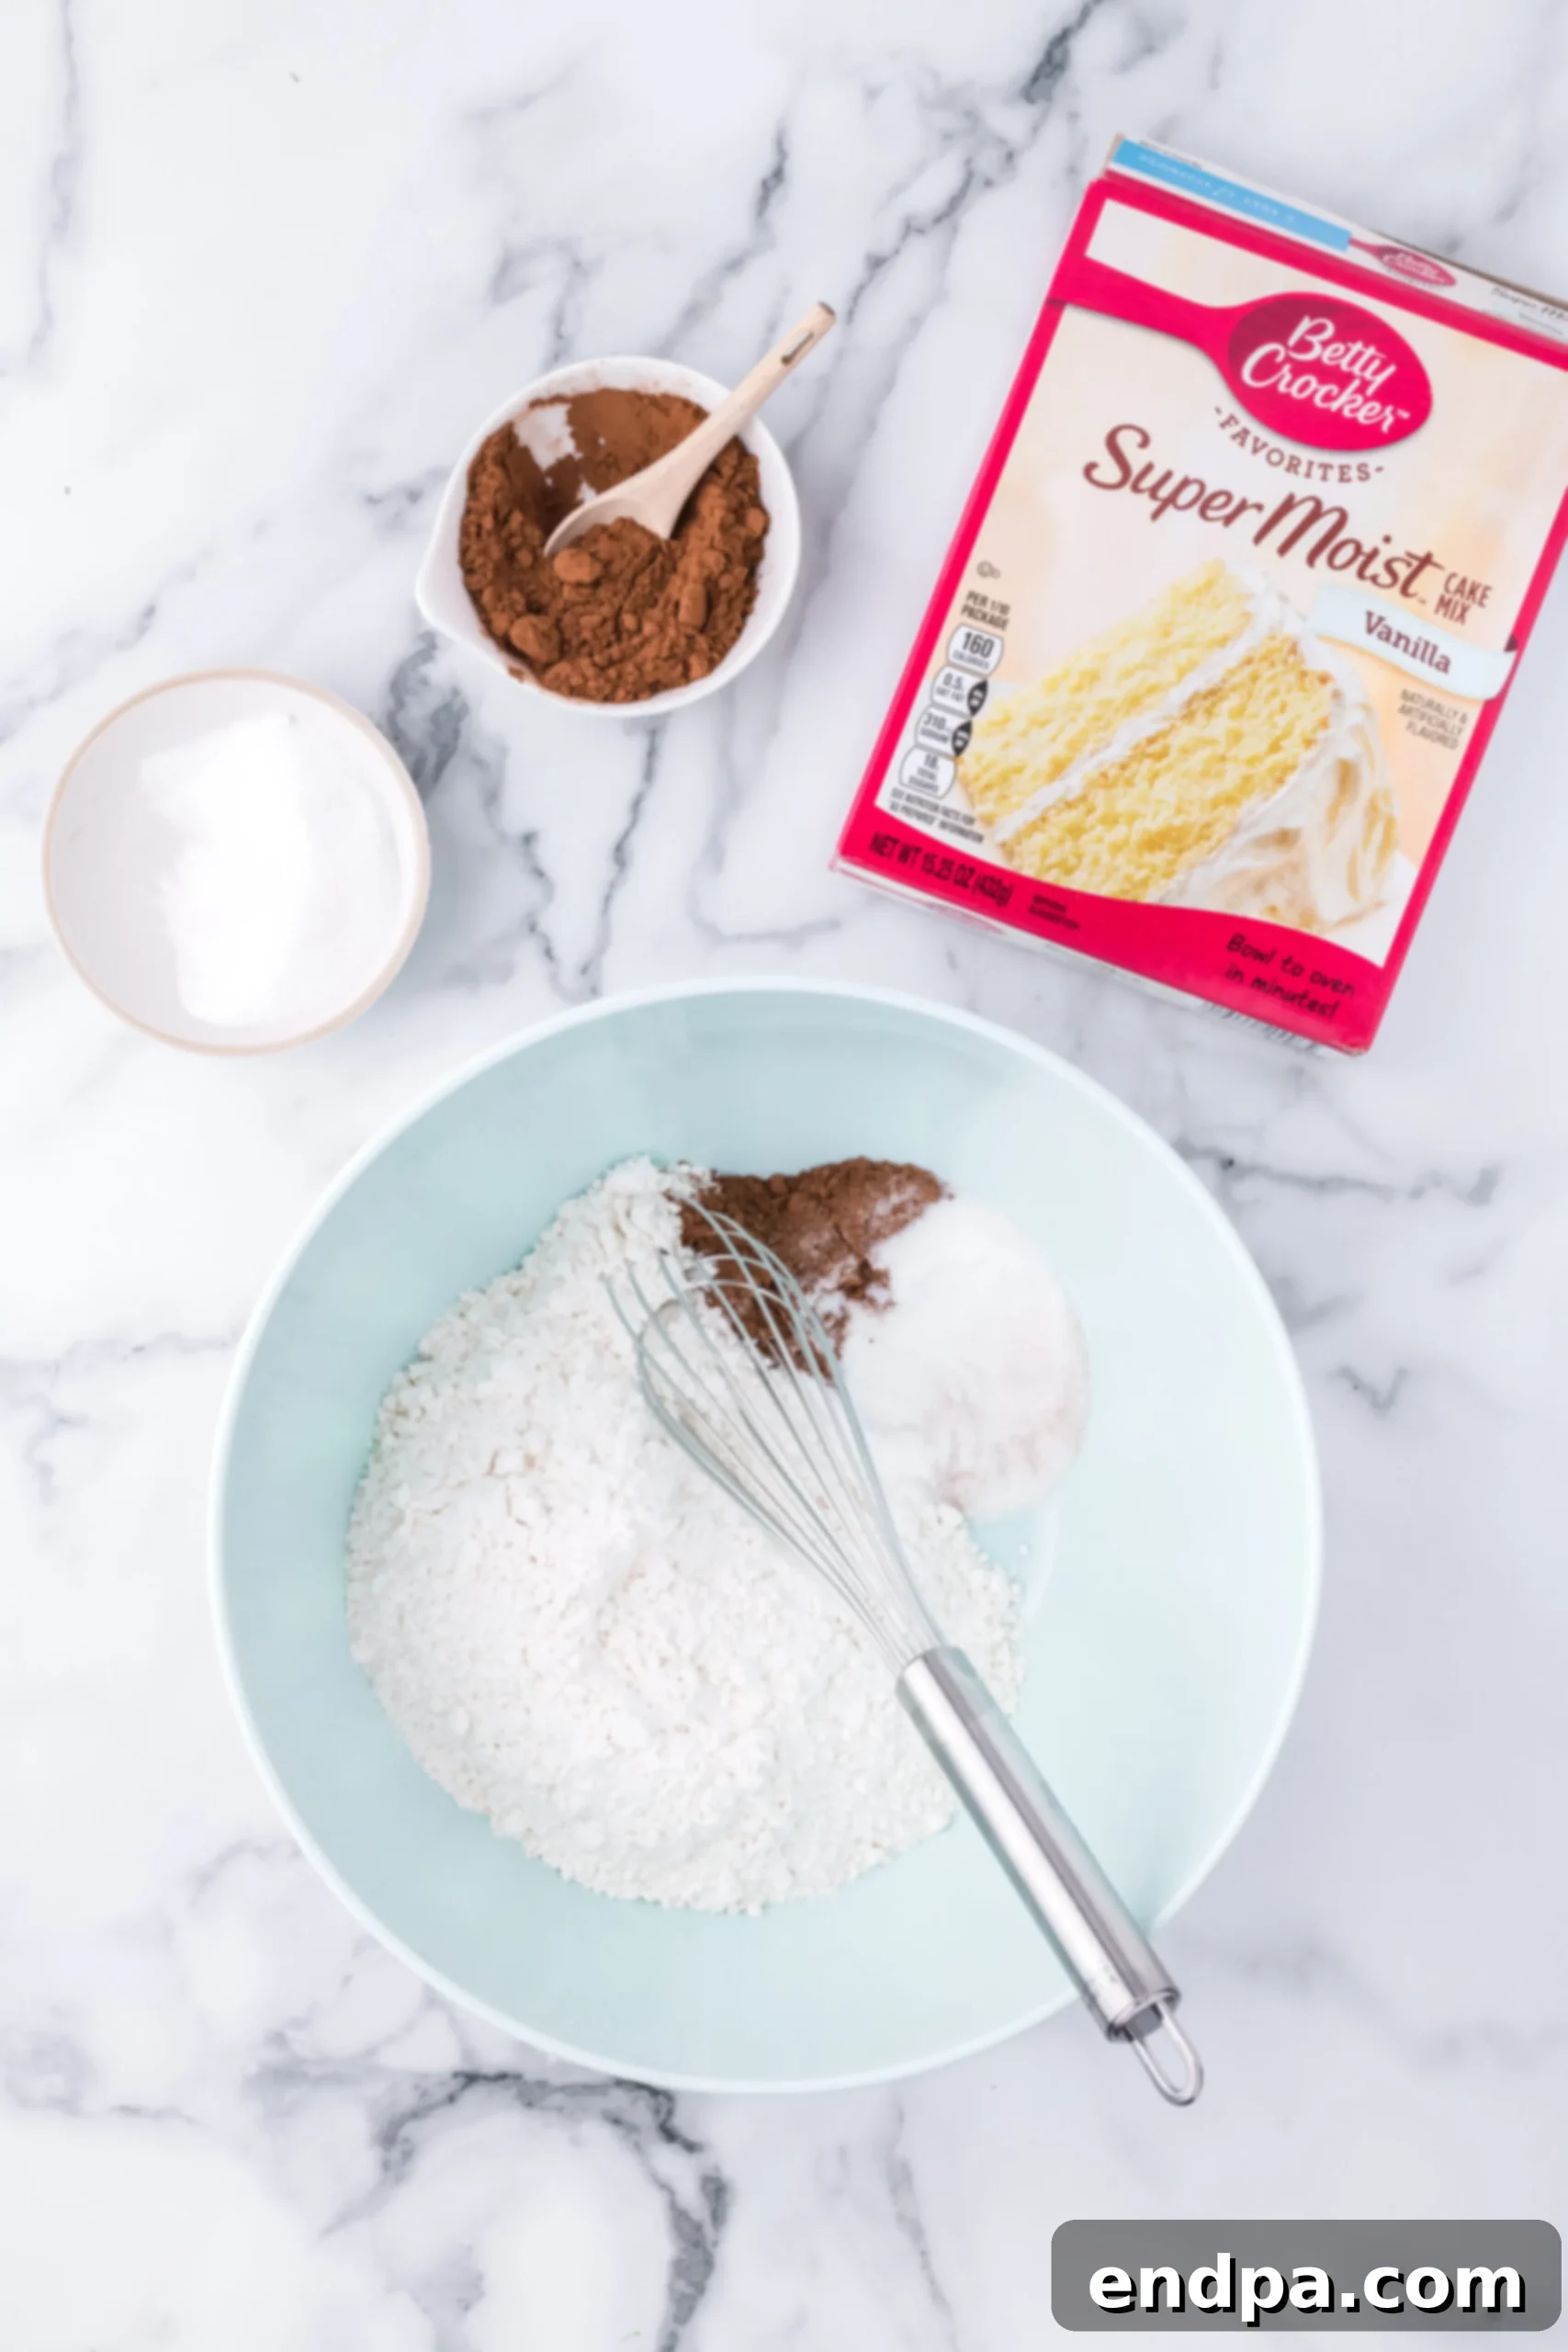
Step 2: Combine Dry Ingredients. In a large mixing bowl, empty the entire contents of your vanilla cake mix. Whisk in the Dutch process cocoa powder and granulated sugar, ensuring all clumps are removed for a smooth, even base. This initial whisking helps distribute the added ingredients evenly.
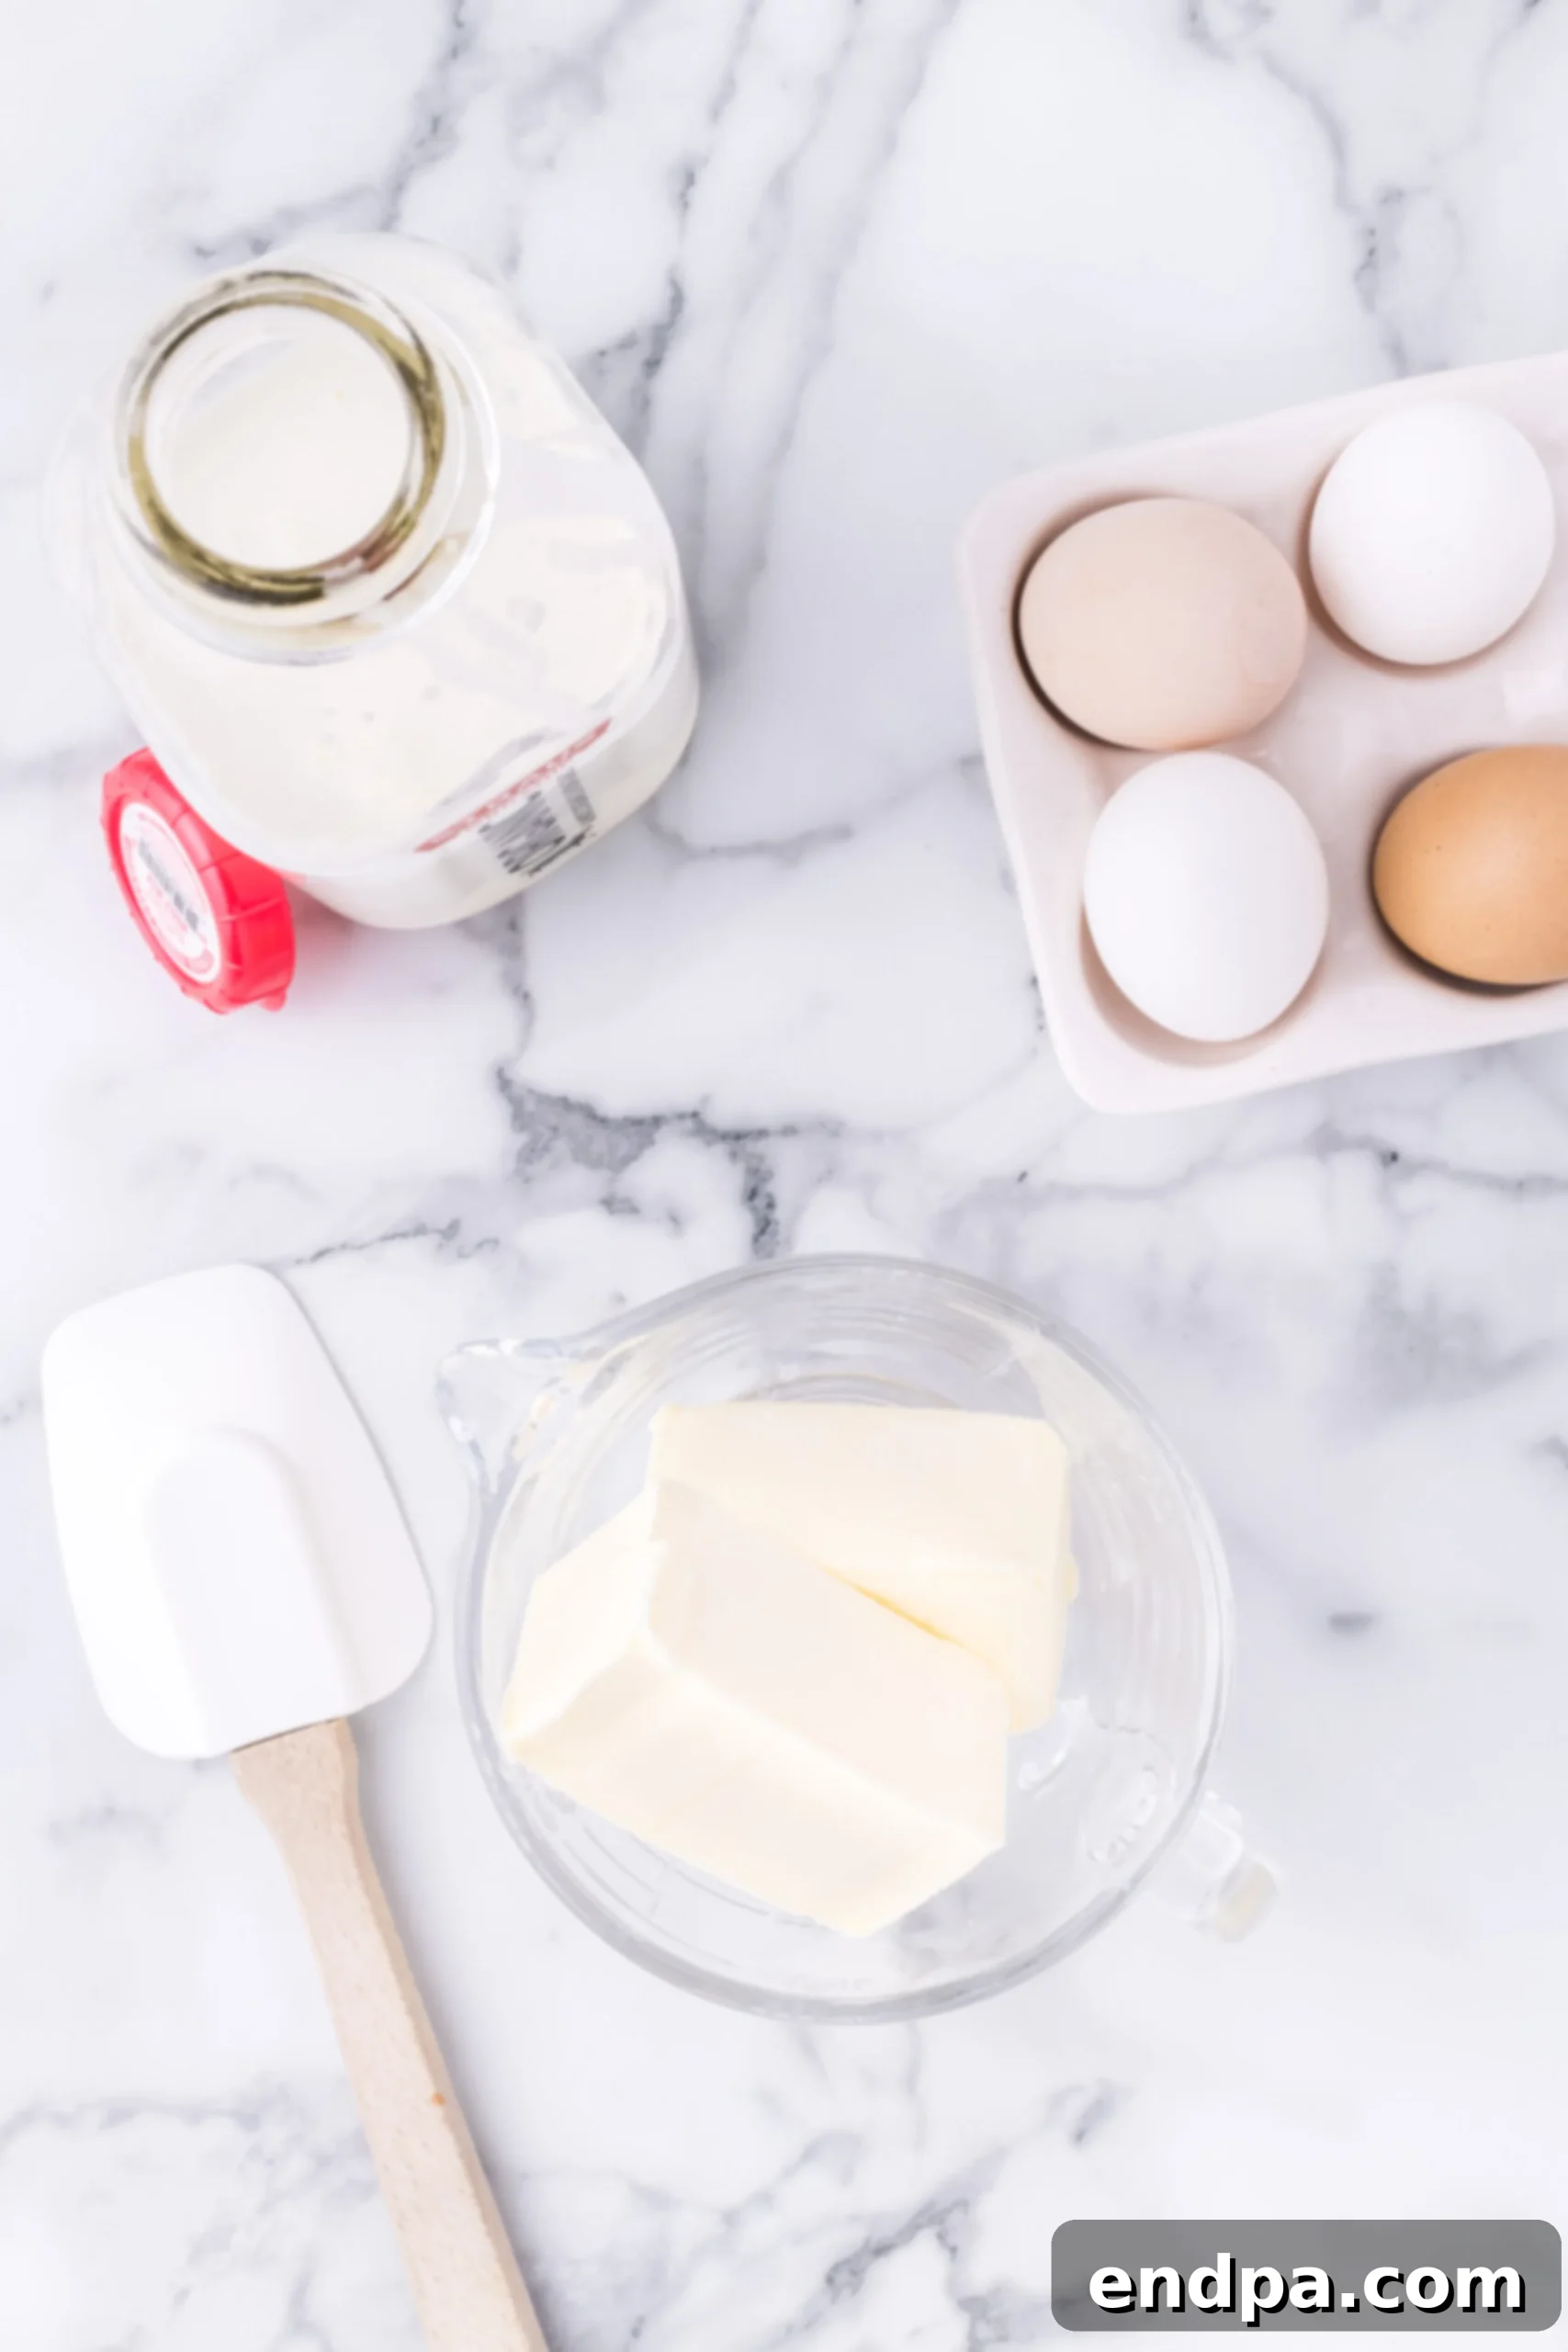
Step 3: Prepare Wet Ingredients. Melt the butter in a microwave-safe bowl until just liquid (about 30-45 seconds on high). Add the room temperature eggs and milk to the melted butter. Stir these wet ingredients gently until they are just combined.
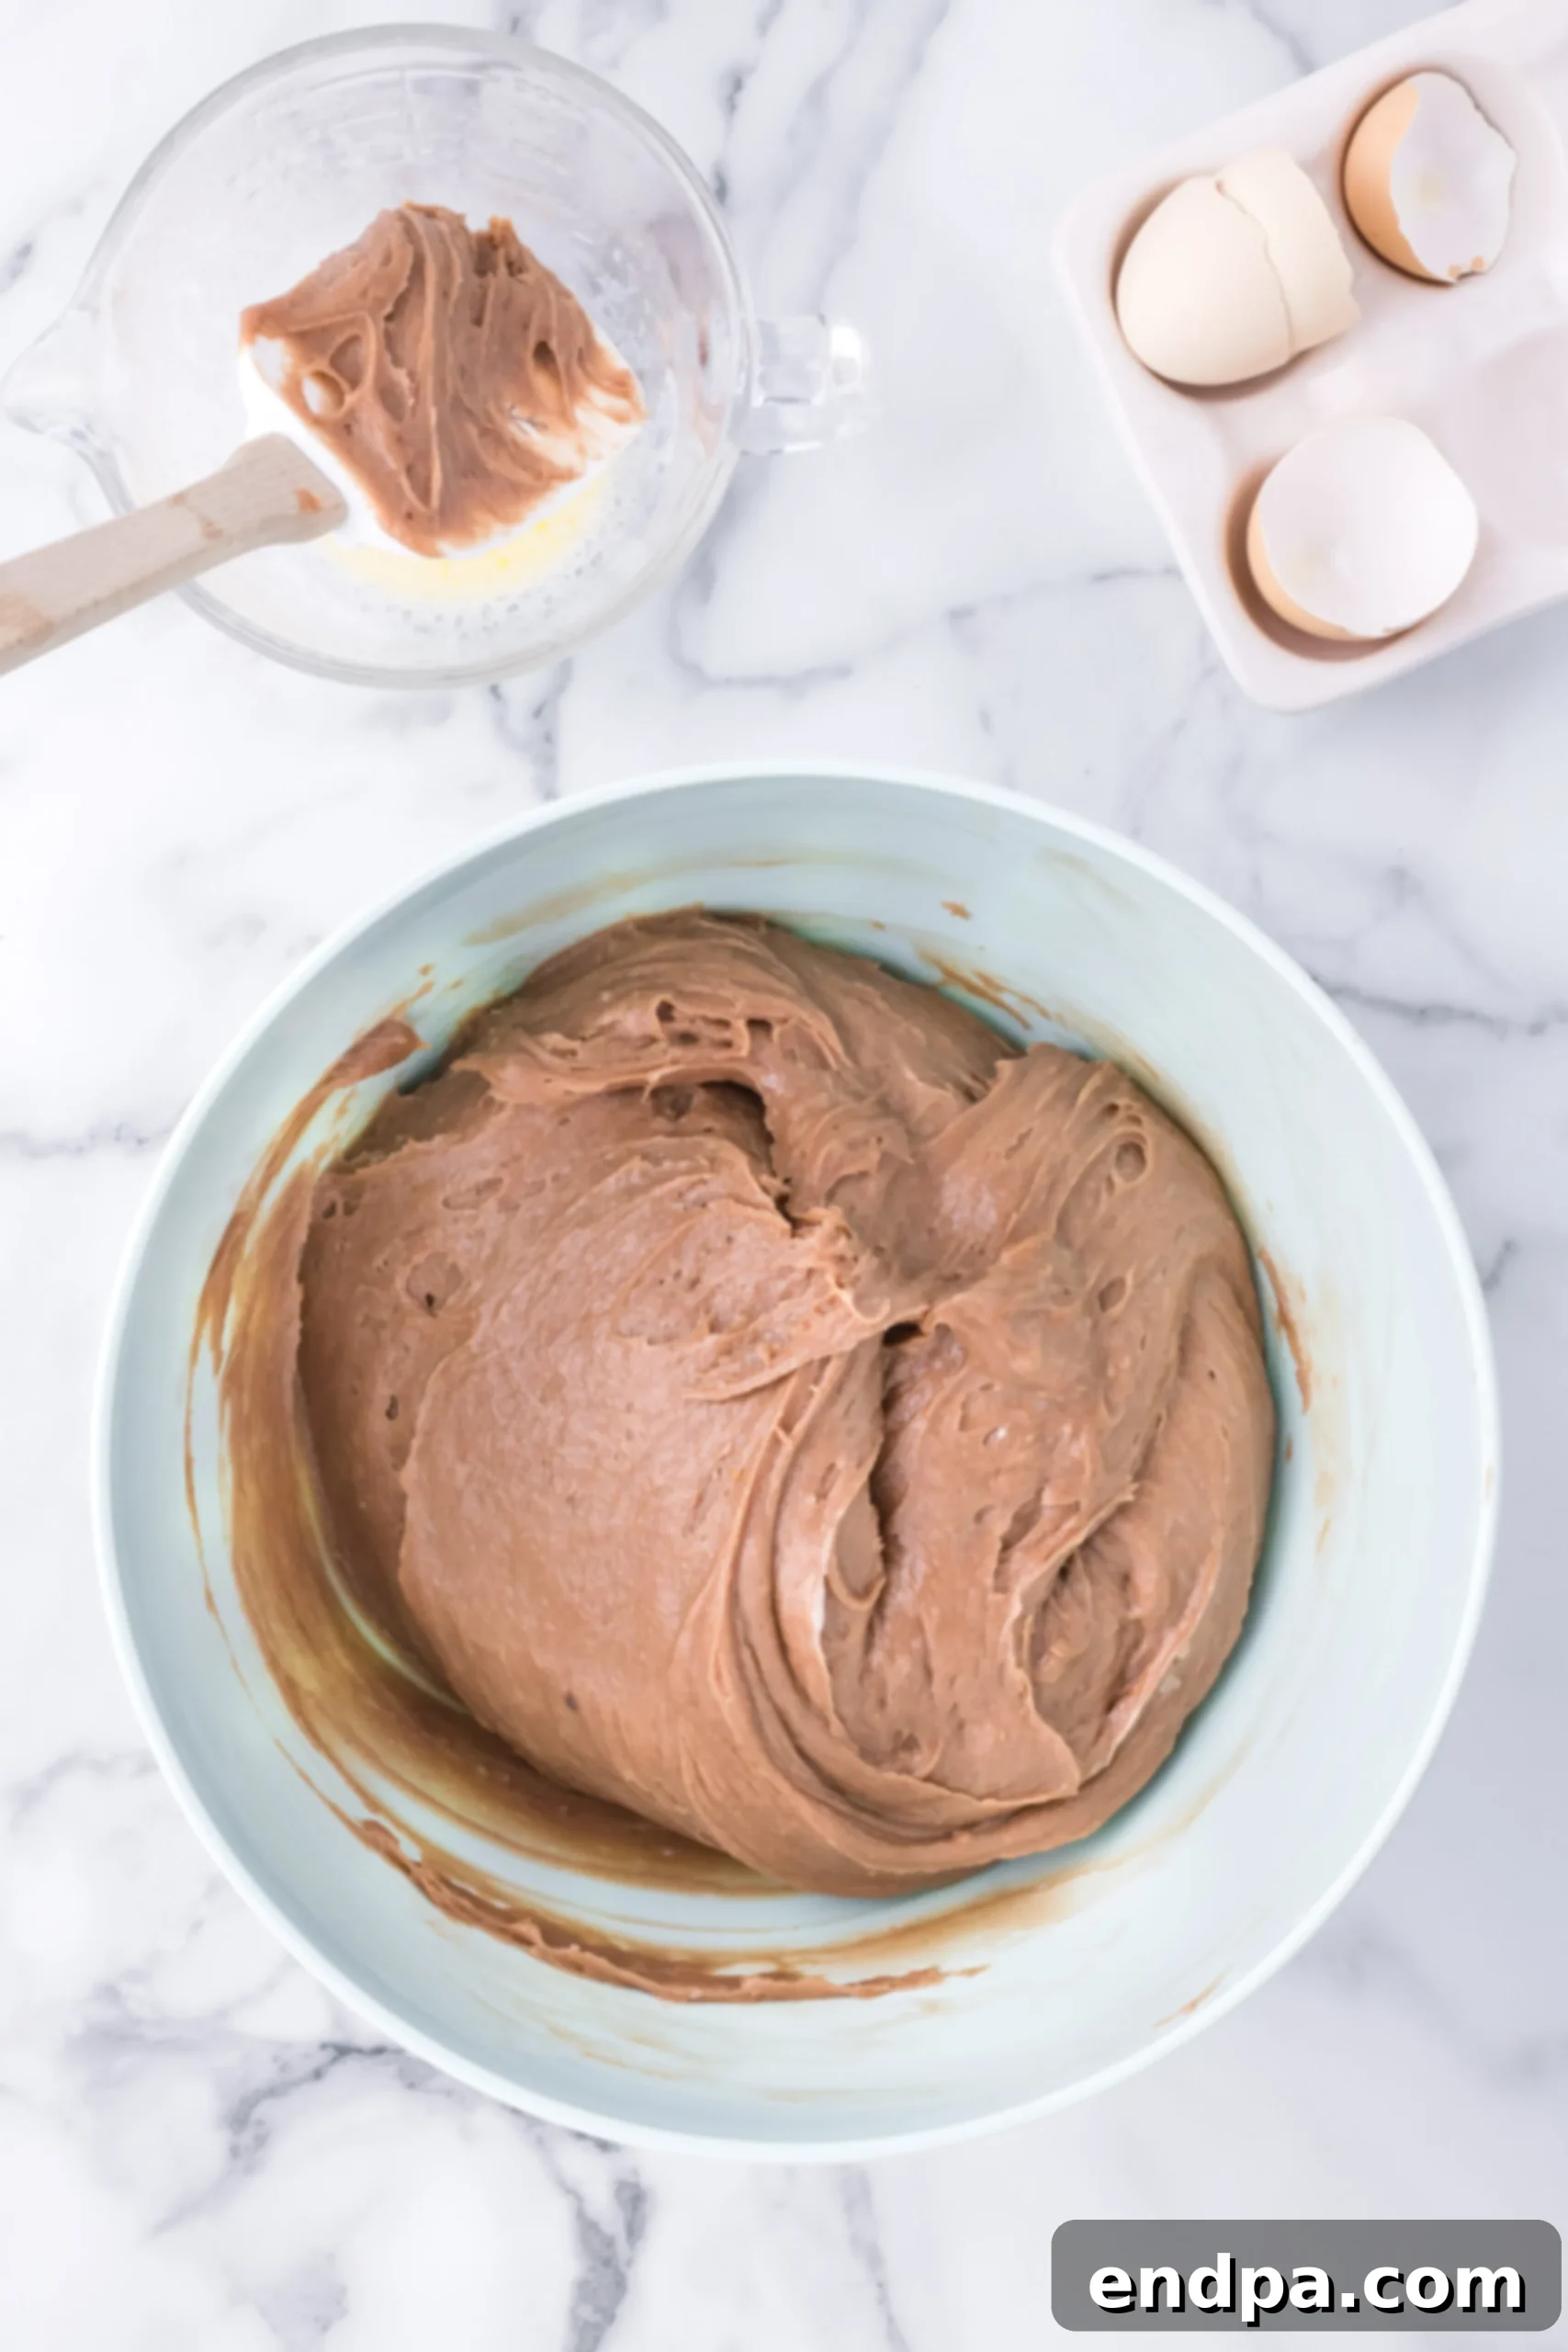
Step 4: Mix Batter. Pour the prepared wet ingredient mixture into the bowl with the dry ingredients. Using an electric mixer on medium speed, or by hand, mix until just combined and smooth. Be careful not to overmix, as this can lead to a tough cookie texture.
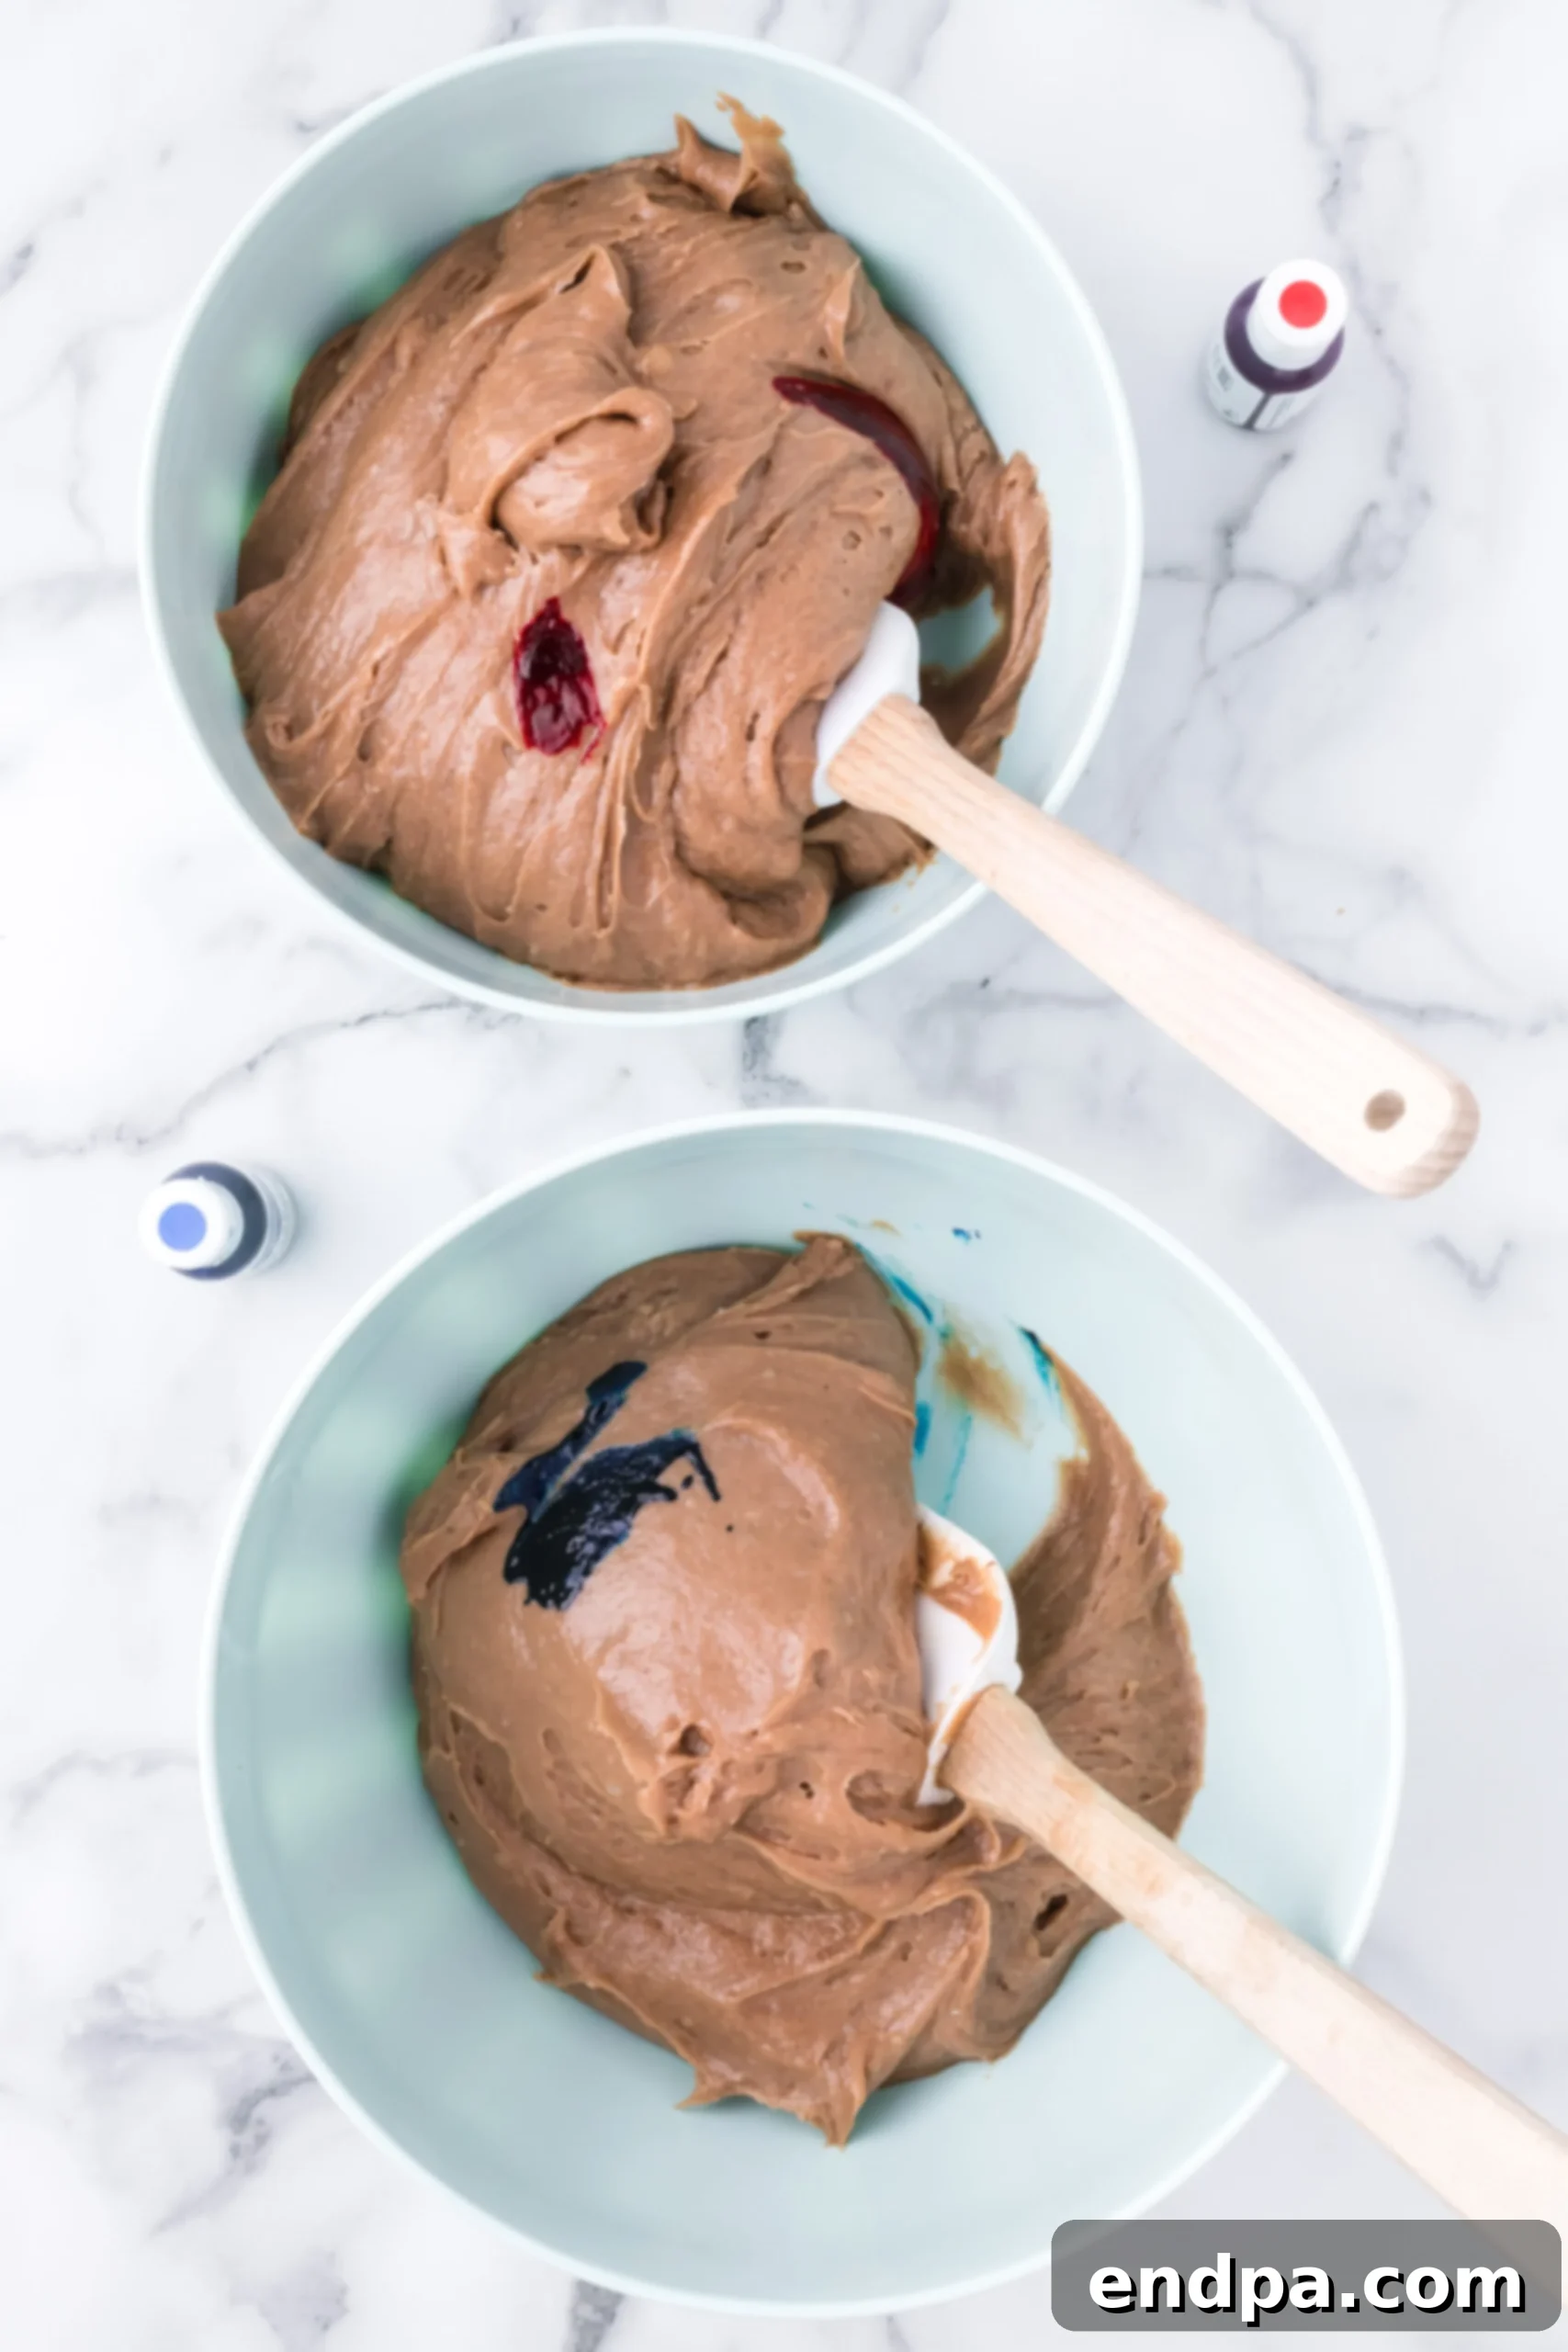
Step 5: Color the Batter. Divide the batter evenly between two separate medium bowls. Add red gel food coloring to one bowl and blue gel food coloring to the other. Start with approximately ½ teaspoon of gel color per bowl and stir to evenly combine, adding more if necessary to achieve your desired vibrant shade. Scrape down the sides of the bowls to ensure all batter is colored.
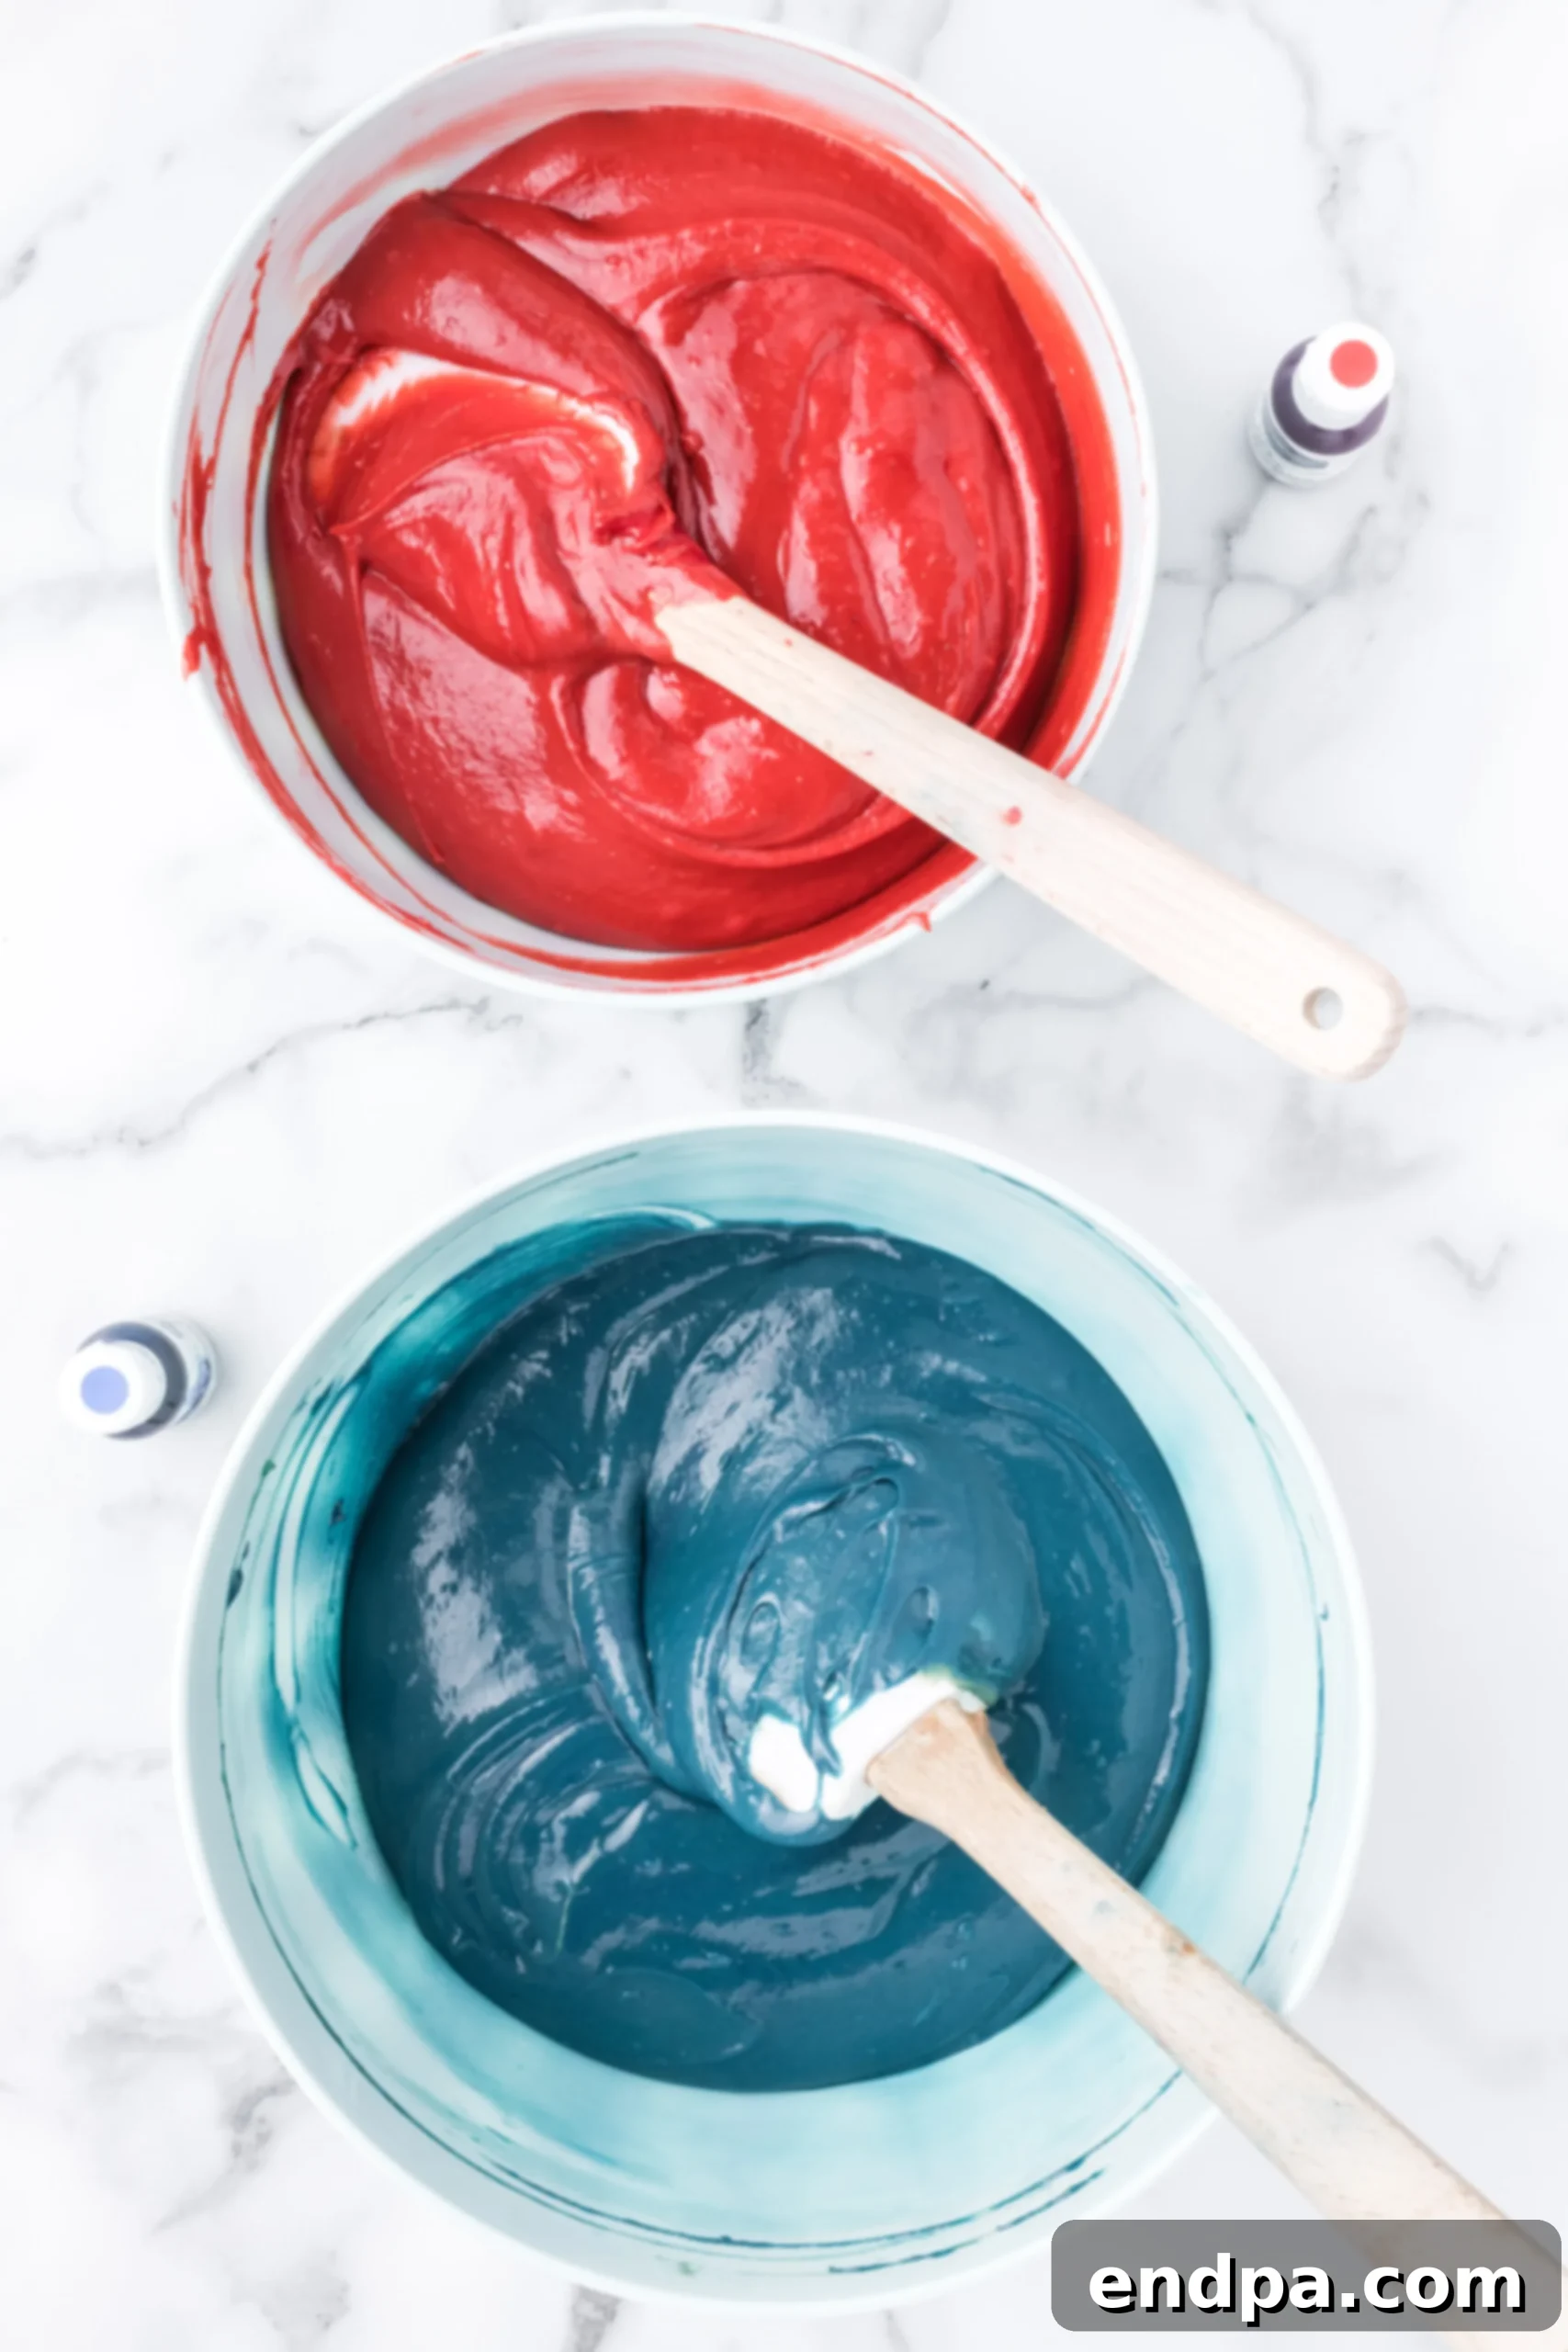
Step 6: Chill the Batter. Once your batters are beautifully colored, place both bowls in the refrigerator to chill for 15-20 minutes. This chilling step is crucial as it helps the batter firm up, preventing the cookies from spreading too much during baking and ensuring a perfect whoopie pie shape.
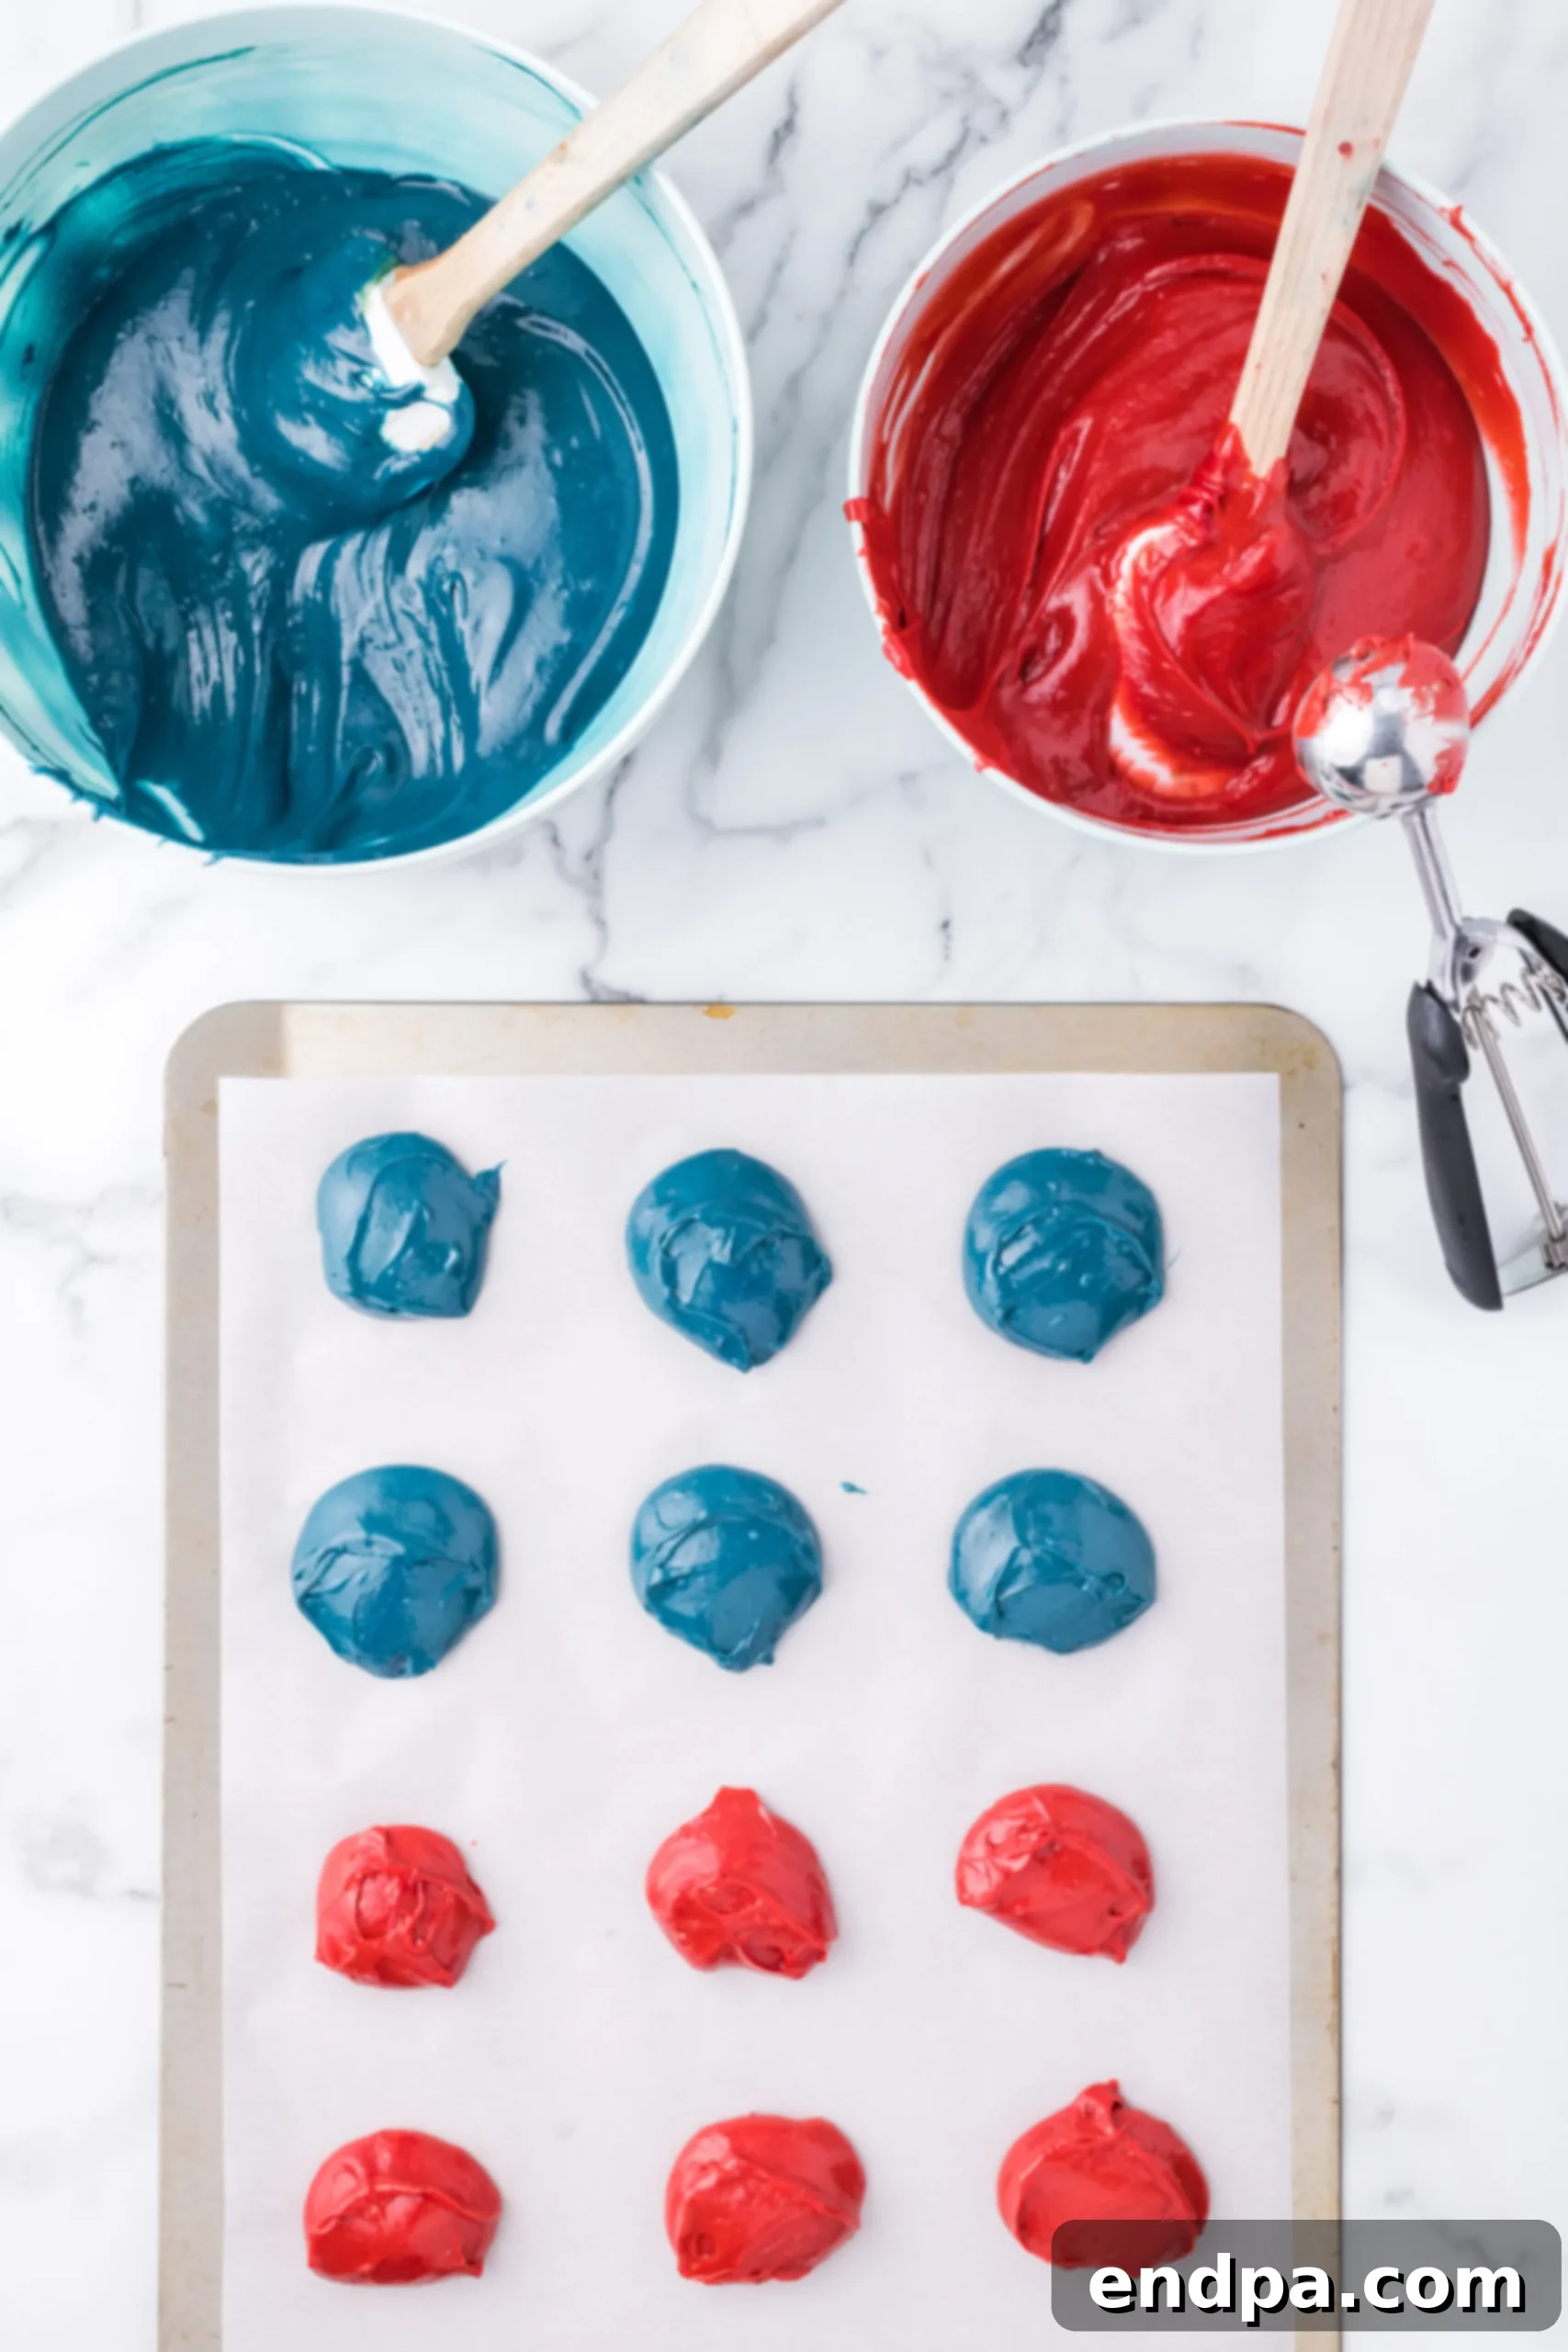
Step 7: Scoop and Bake. Using a small-sized cookie scoop (about 1.5 tablespoons), drop spoonfuls of the chilled batter onto the prepared baking sheets. Leave about 2 inches of space between each cookie to allow for slight spreading. Bake for approximately 6 minutes, or until the tops puff up and gently spring back when lightly touched. Avoid overbaking to maintain their soft texture and vibrant color.
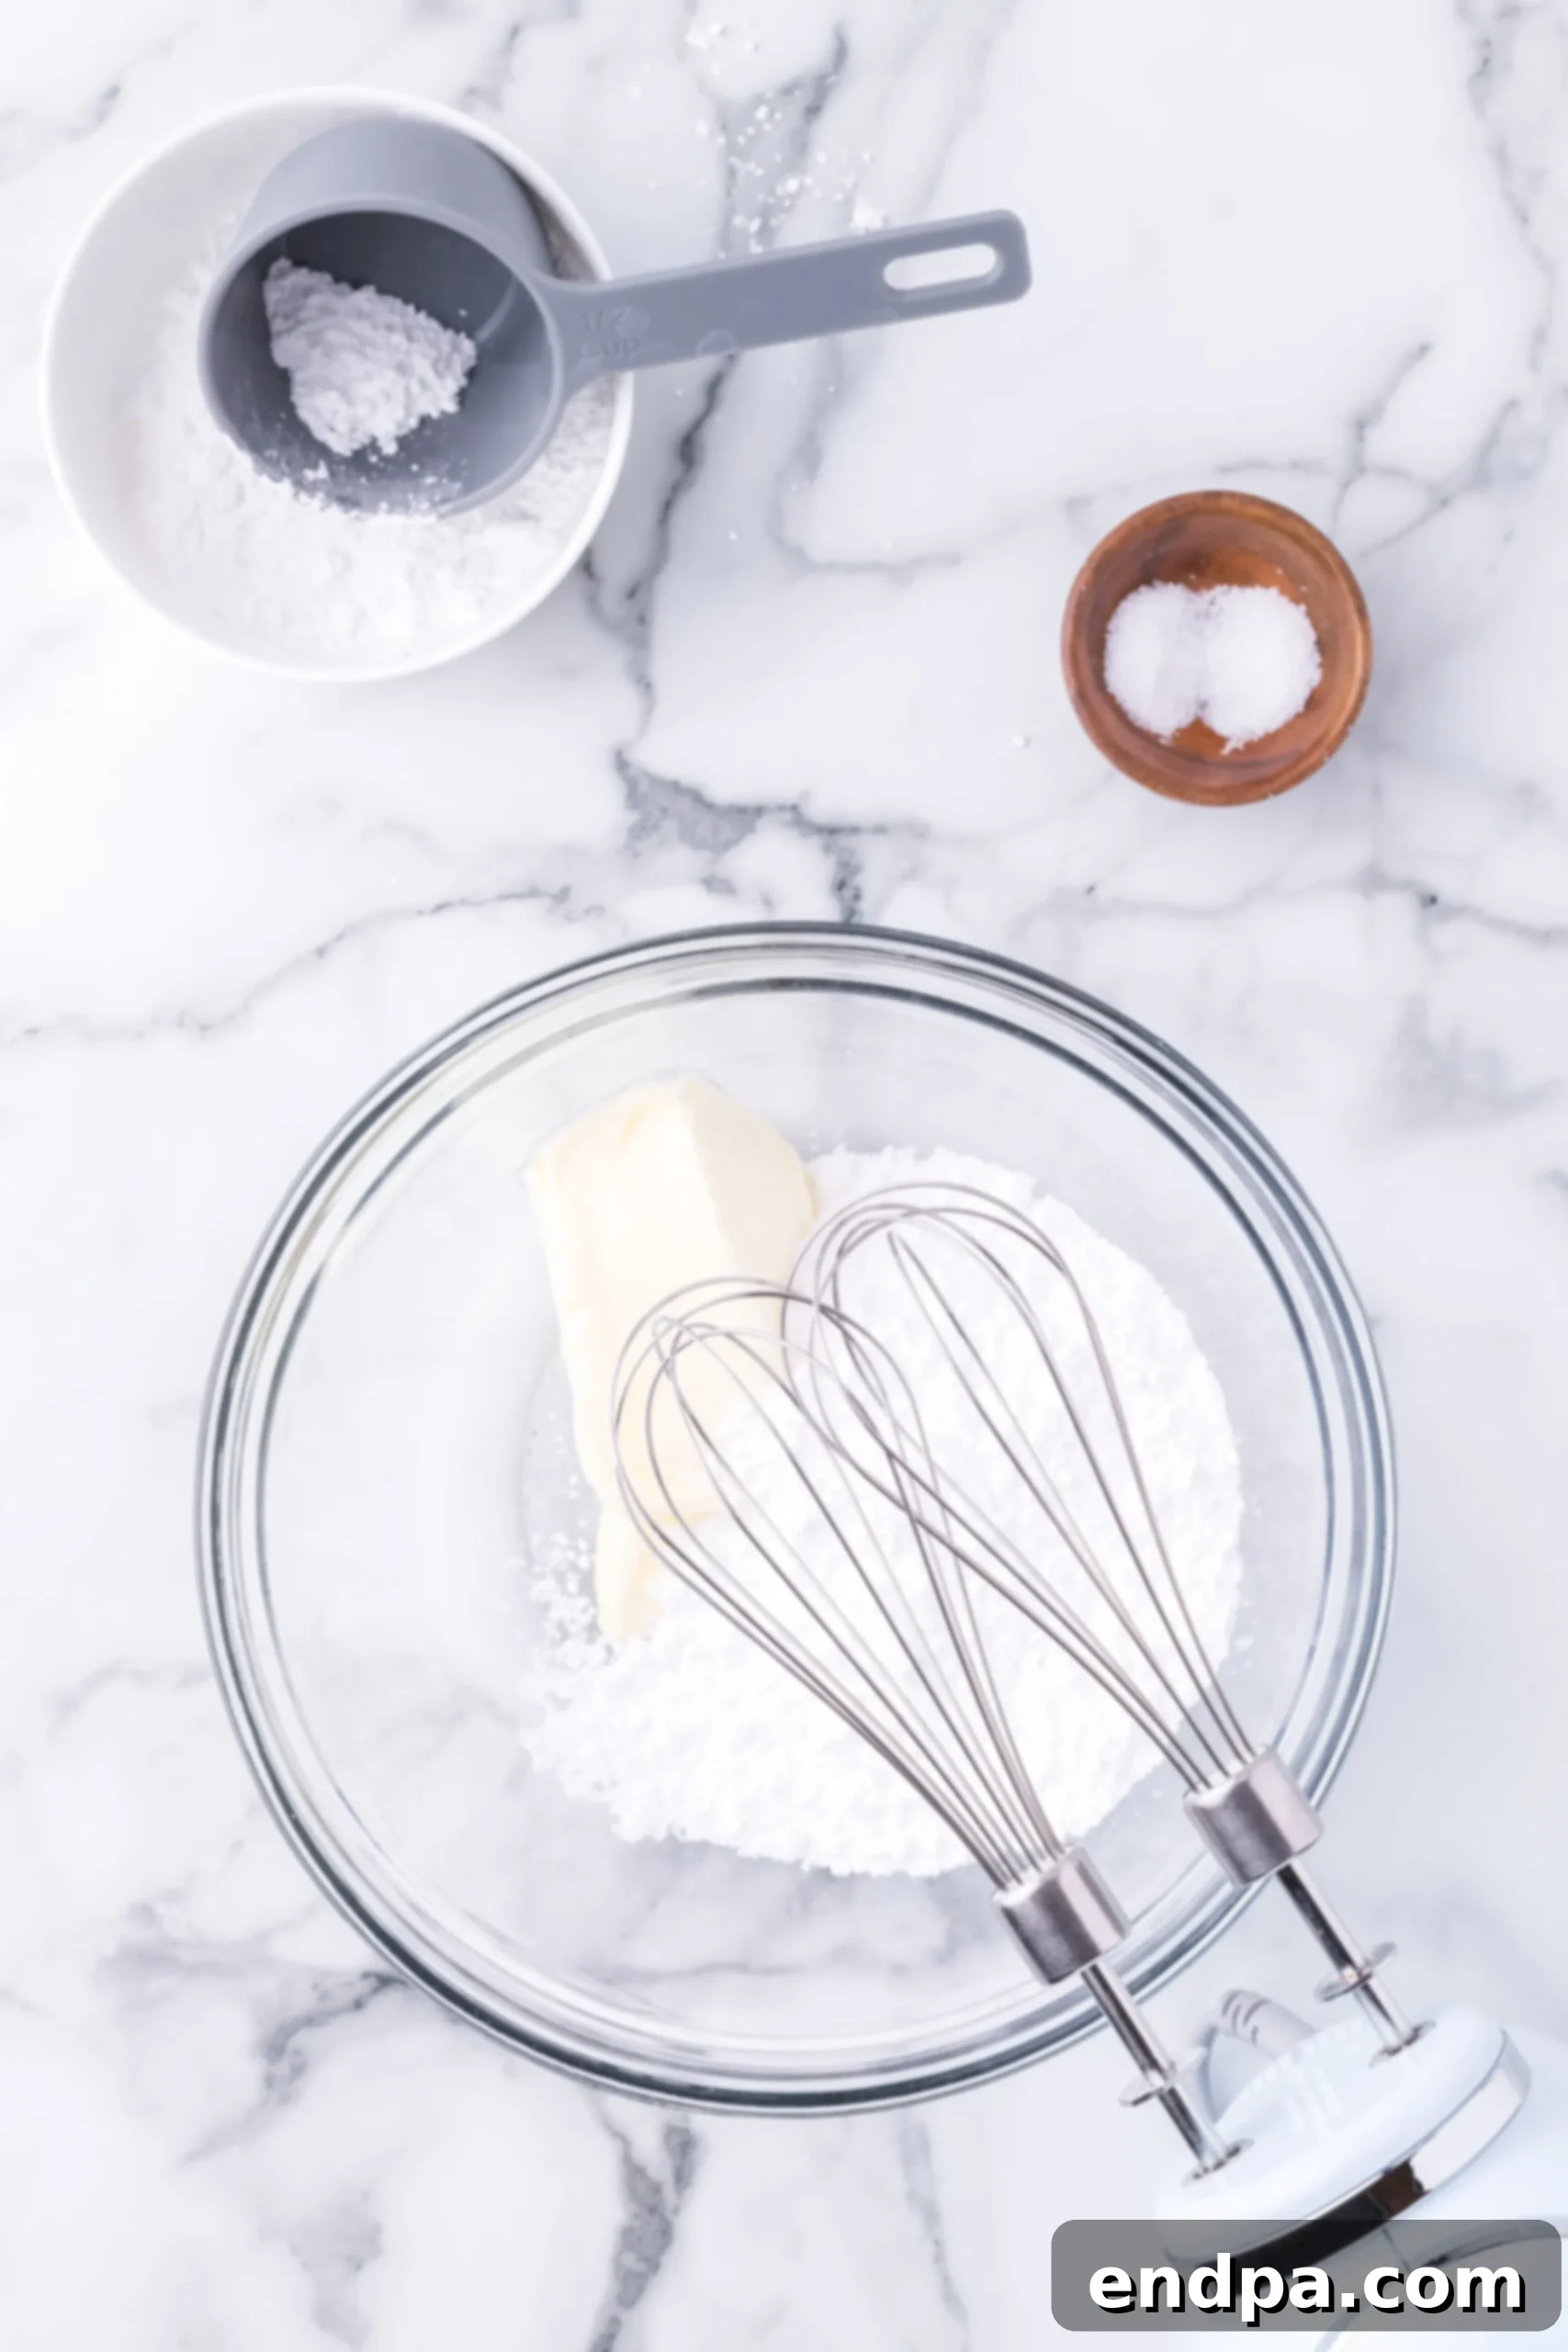
Step 8: Cool Cookies & Start Filling. Once baked, remove the cookies from the oven and let them cool completely on a wire rack. While they cool, begin preparing your luscious marshmallow fluff filling. In a medium bowl, combine the softened unsalted butter and sifted powdered sugar.
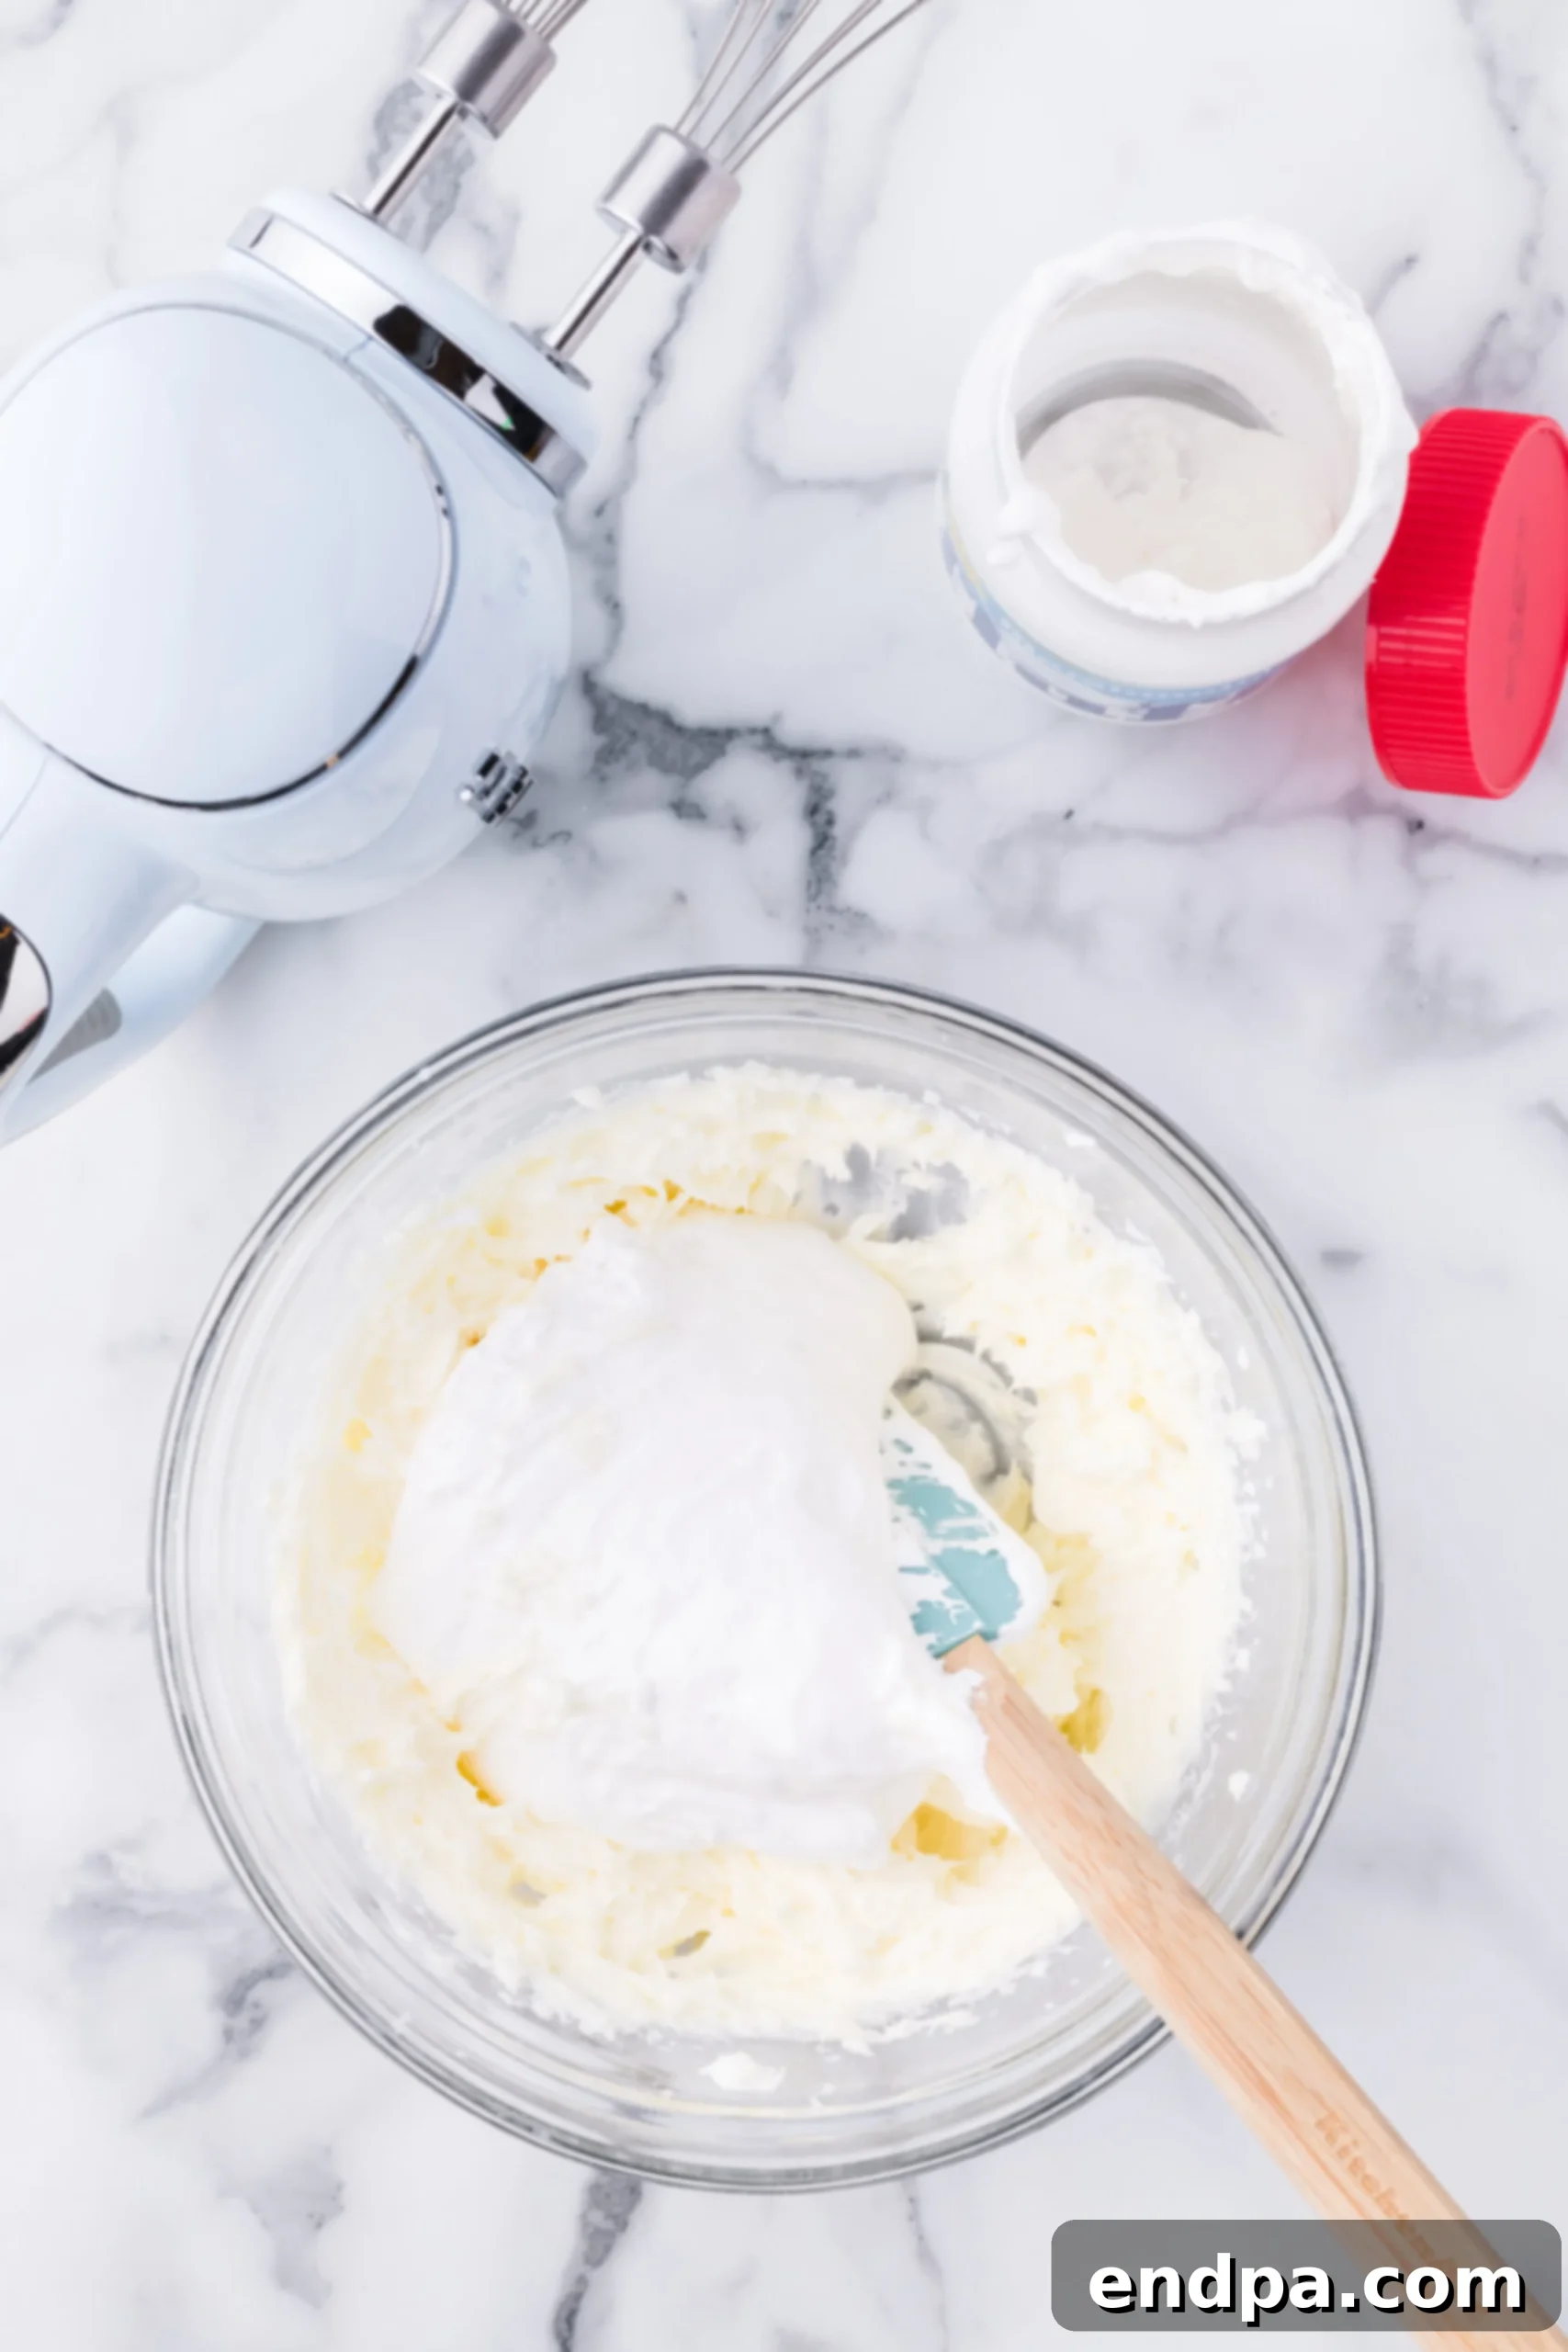
Step 9: Create the Fluffy Filling. Using a hand mixer or a stand mixer with a paddle attachment, cream together the butter, powdered sugar, and a pinch of salt until the mixture is light, fluffy, and smooth (this usually takes about 3 minutes). Then, gently fold in the 2 cups of marshmallow fluff until just incorporated. Chill the filling for about 10 minutes to help it firm up slightly for easier assembly.
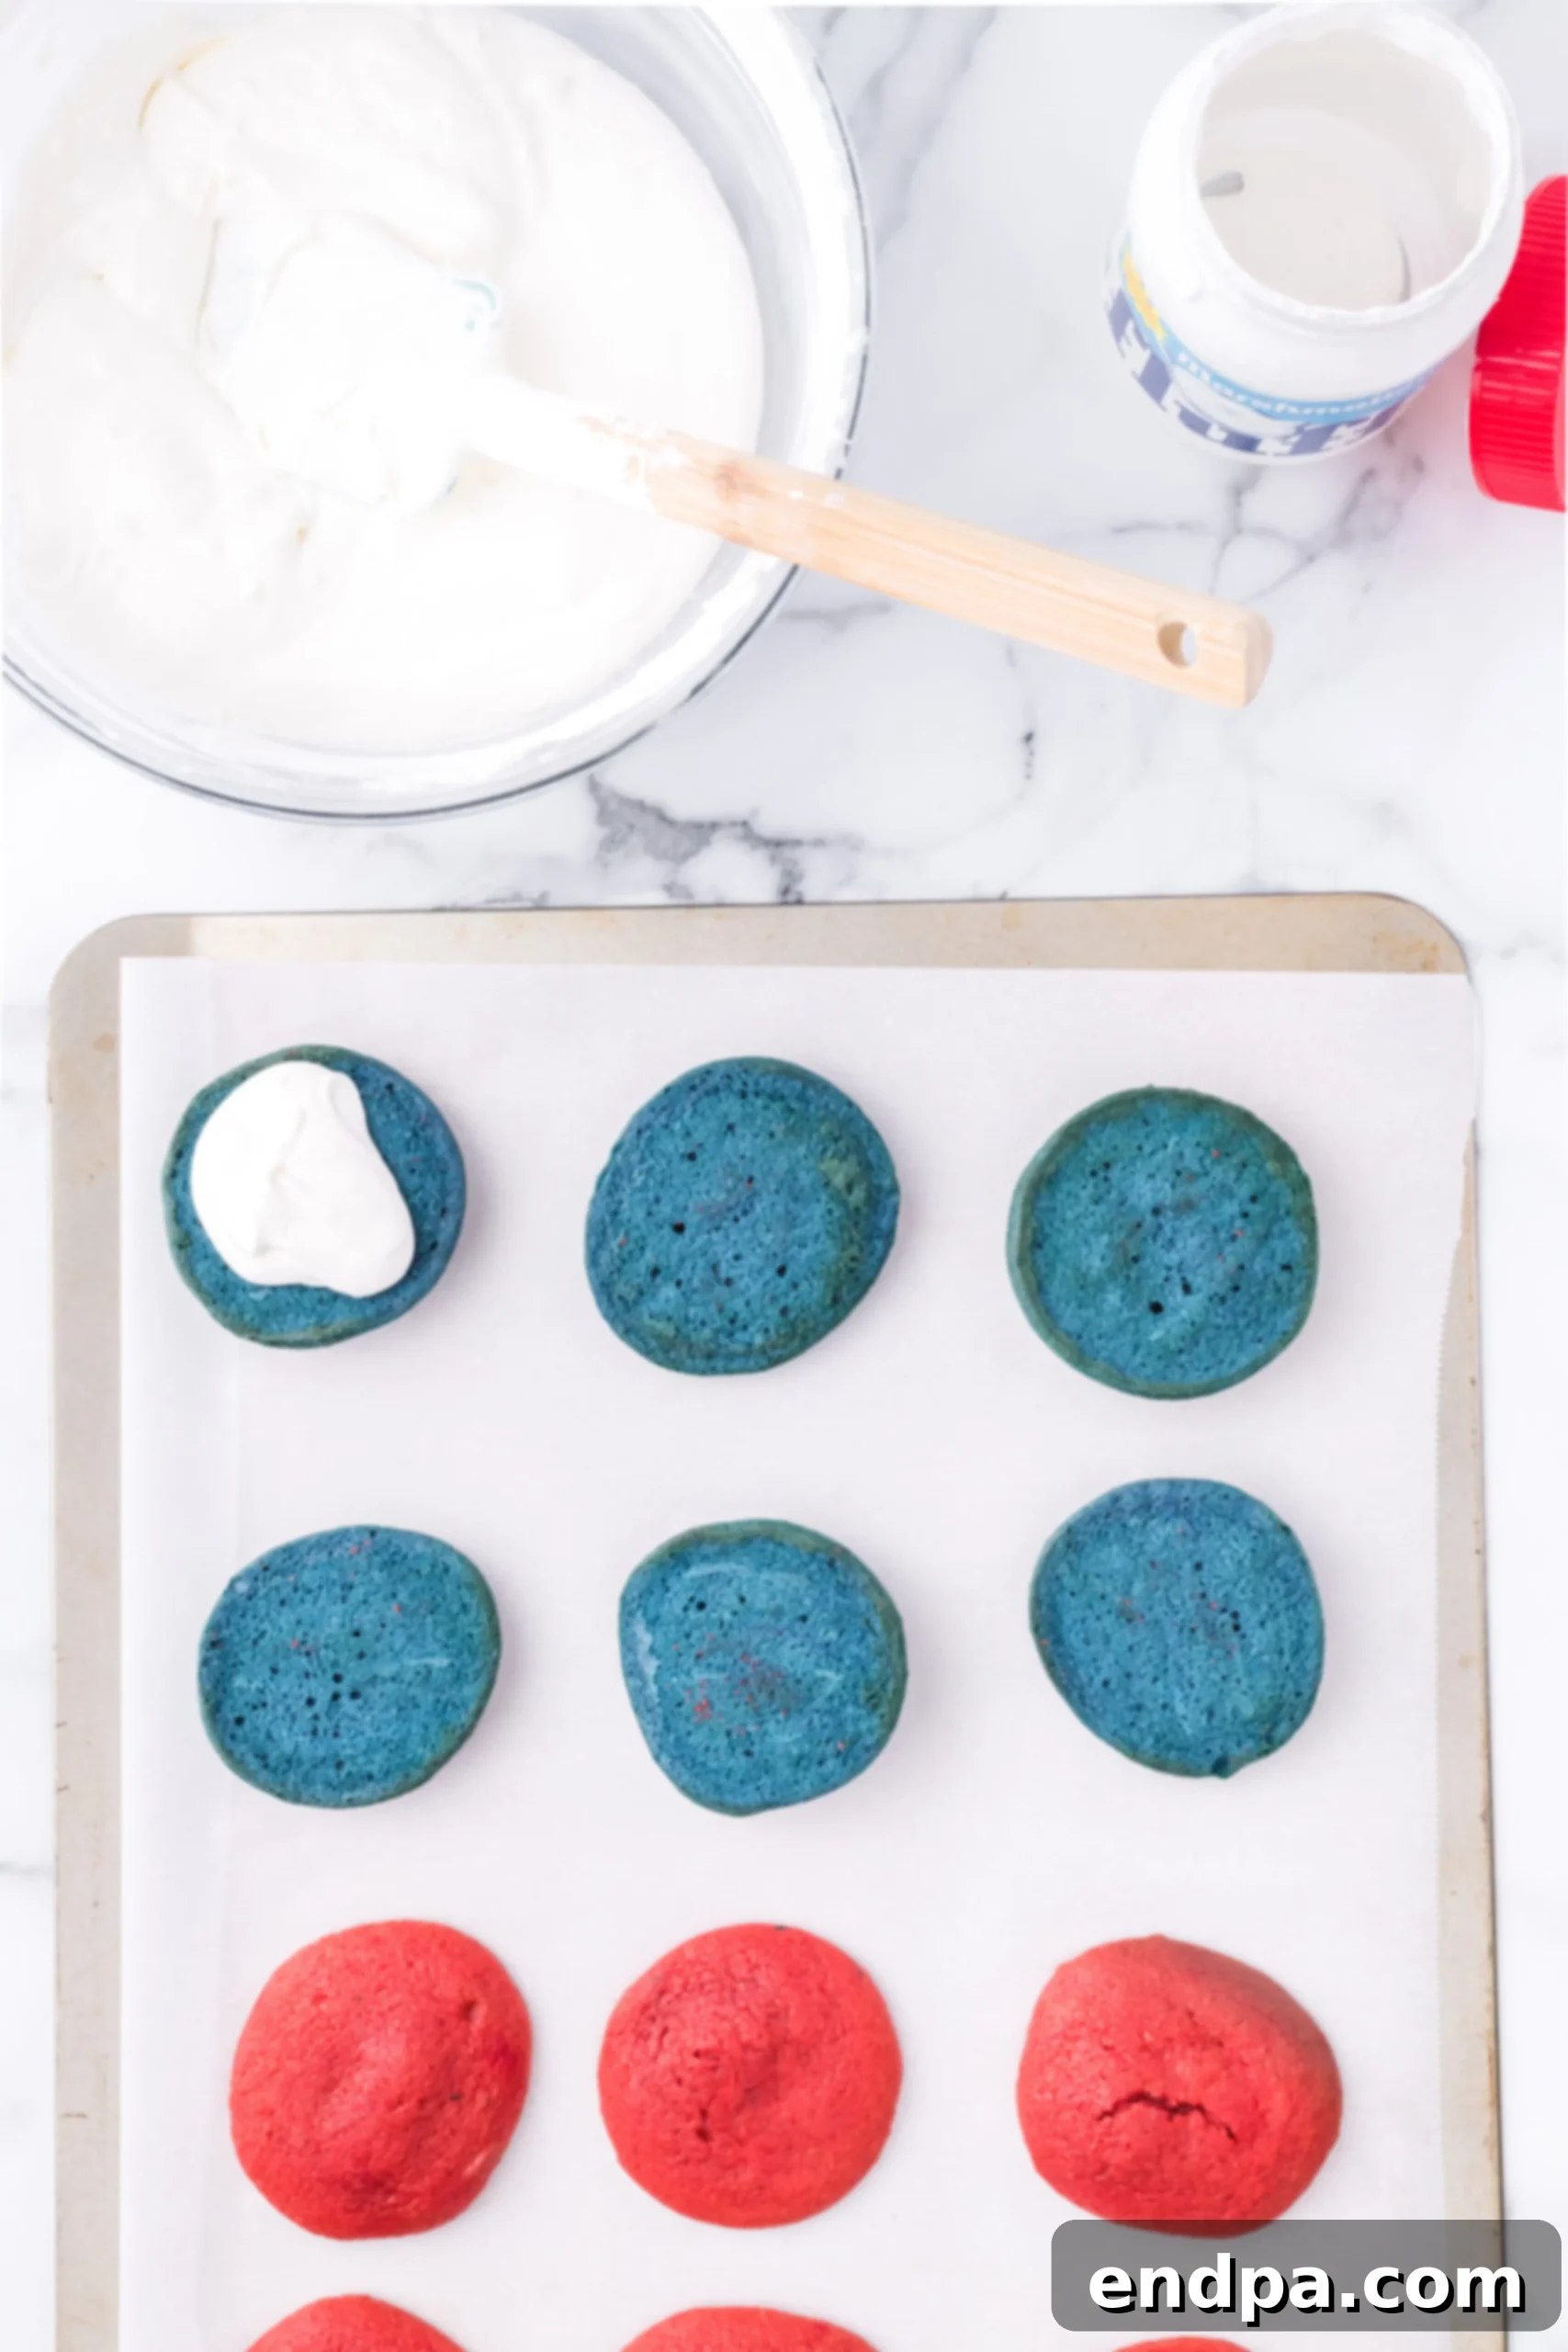
Step 10: Assemble the Whoopie Pies. Once the cookies are completely cool and the filling has slightly firmed, spread a generous dollop of marshmallow filling onto the flat underside of half of your colored cookies. Aim for an even layer that goes almost to the edge.
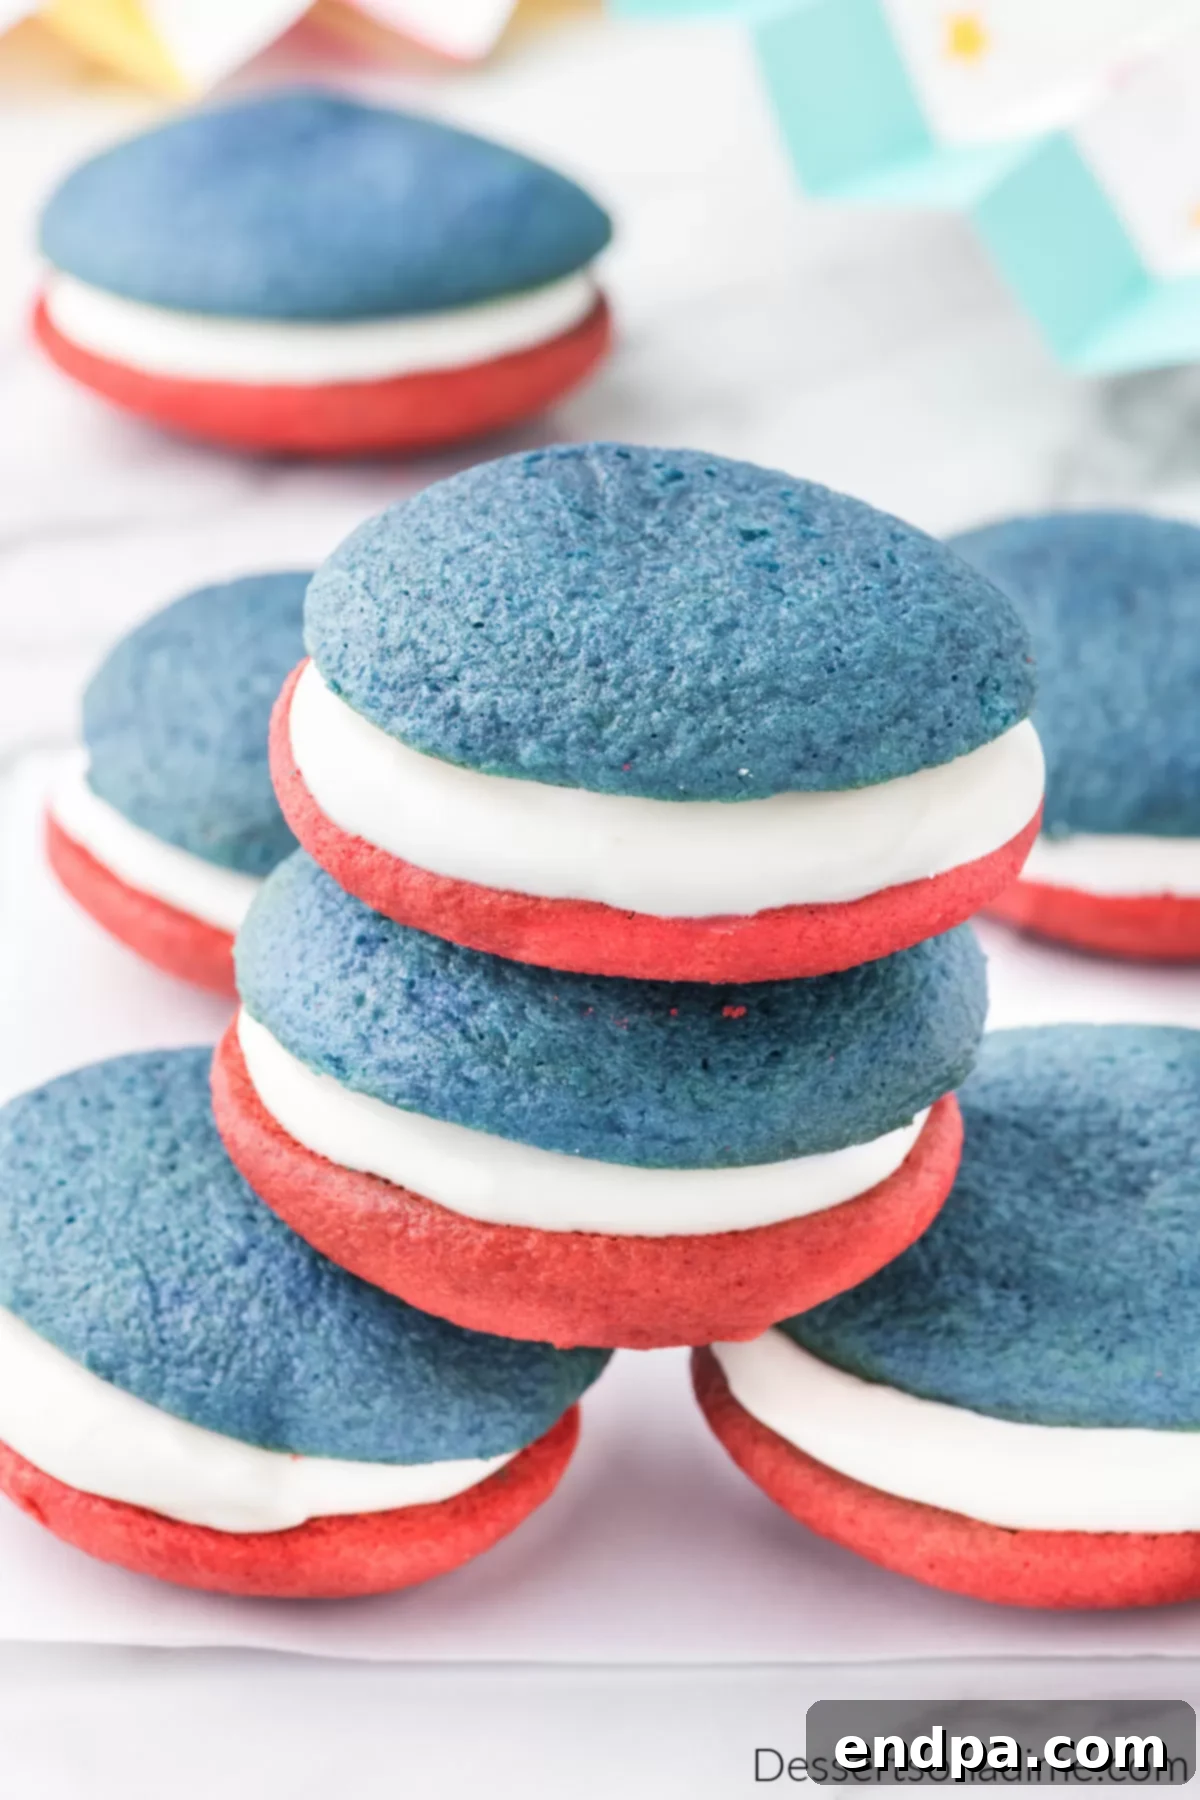
Step 11: Create the Sandwich. Gently top each filled cookie with another cookie, pressing down just enough to create a sandwich without forcing the filling to ooze out excessively over the edges. You can mix and match colors, perhaps a red cookie with a blue, or keep it uniform for a bold look. Repeat until all whoopie pies are assembled.
Pro Tips for Perfect Patriotic Whoopie Pies
Achieving whoopie pie perfection is easier than you think with these expert tips:
- Sift Your Cocoa Powder: Even though it’s a small amount, sifting the Dutch process cocoa powder and powdered sugar for the filling is crucial. This removes any lumps, ensuring a uniformly smooth batter and creamy filling, which are hallmarks of a great whoopie pie.
- Avoid Overmixing the Batter: When combining wet and dry ingredients for the cookies, mix just until no dry streaks remain. Overmixing develops the gluten in the flour, resulting in a tougher, chewier cookie rather than the desired soft, cake-like texture.
- Chill Your Baking Sheets: To prevent your cookies from spreading too thin and losing their shape, chill your baking sheets in the refrigerator for about 10-15 minutes before scooping the batter onto them. A cool surface helps the butter in the batter solidify slightly, keeping the cookies from flattening out immediately in the oven.
- Don’t Over-Stir the Filling: Once you fold in the marshmallow fluff, mix only until it’s just incorporated. Over-stirring can break down the structure of the fluff and butter, leading to a runny filling that will make your whoopie pies messy and difficult to assemble.
- Consider Poking Holes: For perfectly rounded whoopie pie tops, some bakers recommend gently poking a small hole in the center of each scooped batter portion before baking. This helps release air and can prevent the cookies from developing a pointed or triangular top.
- Watch Baking Time Carefully: Six minutes is often the sweet spot, but ovens vary. Keep a close eye on your cookies. Baking them too long, especially the blue ones, can cause the edges to brown and lose their vibrant color, turning them a less appealing blue/brown. They should be just set and spring back when lightly touched.
- Cool Completely: This cannot be stressed enough – ensure your cookies are completely cool before attempting to fill them. Warm cookies will melt the filling, leading to a runny, messy, and structurally unsound whoopie pie.
- Use a Piping Bag for Filling: For a cleaner and more professional look, transfer your marshmallow fluff filling to a piping bag (with or without a star tip) and pipe it onto the cookies. This allows for precise control and a consistent amount of filling on each whoopie pie.
FAQs About Patriotic Whoopie Pies
The most common reason for oozing filling is not allowing the cake halves to cool completely before assembling. Warm cookies will melt the filling. Additionally, overmixing the filling can make it too runny, so ensure it’s fluffy but not overbeaten, and chilling it can help it firm up.
It’s best to stick with Dutch process cocoa powder for this recipe. Dutch process cocoa is alkalized, meaning it has a neutral pH and doesn’t contain leavening agents. Regular cocoa powder is acidic and reacts with baking soda to create lift. Since your cake mix already contains leavening, using regular cocoa powder might cause too much rise, making the cakes too airy and compromising their signature soft texture.
Whoopie pies are best stored in an airtight container, preferably between sheets of parchment paper to prevent sticking. Place them in the refrigerator, especially if your kitchen is warm or if they contain dairy-based fillings. Avoid using plastic wrap directly on the pies, as it can stick to the soft cake and tear it. They generally last for 3-5 days in the fridge.
Yes, you can! The cake halves can be baked a day in advance and stored in an airtight container at room temperature. The filling can also be made a day ahead and stored in the refrigerator. Just let the filling come to room temperature for about 15-20 minutes and give it a quick whisk to re-fluff before assembling the pies.
Absolutely! Whoopie pies freeze beautifully. Wrap individual pies tightly in plastic wrap, then place them in an airtight freezer-safe container or bag. They can be frozen for up to 1-2 months. Thaw them in the refrigerator overnight or at room temperature for a few hours before serving.
Serving and Storage Suggestions
These Patriotic Whoopie Pies are best served chilled or at room temperature. Arrange them on a festive platter for an impressive display at any holiday gathering. To keep them fresh and delicious, store them in an airtight container in the refrigerator for up to 3-5 days. If stacking, place parchment paper between layers to prevent them from sticking together. For longer storage, individual whoopie pies can be wrapped in plastic and frozen for up to two months. Simply thaw in the refrigerator or at room temperature before enjoying.
More Easy Patriotic Recipes
Easy 4th of July Desserts
Patriotic Rice Krispie Treats
Easy Candy
Patriotic Crockpot Peanut Clusters
Cakes
Red White and Blue Icebox Cake
Easy 4th of July Desserts
Red White and Blue Bark
There’s nothing quite like biting into a soft, sweet, and festive Patriotic Whoopie Pie. With their vibrant colors and delightful marshmallow cream filling, they are a true celebration in every bite. Whether you’re making them for a holiday or simply to enjoy a taste of Americana, this recipe offers a simple yet impressive way to indulge. Give them a try, and let us know what you think in the comments below!
Pin
Patriotic Whoopie Pies
30
6
36
20
American
Dessert
182
Carrie Barnard
Ingredients
Cake:
- 1 teaspoon Dutch process cocoa powder
- 2 teaspoons sugar
- 1 box vanilla cake mix I used Betty Crocker’s
- 4 large eggs room temperature
- 2 sticks 1 cup unsalted butter, melted
- ⅓ cup milk room temperature
- Red and blue gel food color
Filling:
- 1 stick ½ cup unsalted butter, room temperature
- 1¼ cups 141 g powdered sugar
- pinch of salt
- 2 cups Marshmallow Fluff
Instructions
- Preheat oven to 350° F (175° C) and line a large cookie sheet with parchment paper.
- In a large mixing bowl, empty the contents of the vanilla cake mix.
- Whisk in cocoa powder and sugar, removing any clumps.
- Melt butter in a microwave-safe bowl, on high for about 30-45 seconds. Add eggs and milk and stir to combine.
- Pour the egg mixture into the dry ingredients and stir by hand or with an electric mixer on medium speed, making sure that any clumps are dissolved. Do not overmix.
- Divide your batter evenly between two bowls and add red food color gel to one bowl and blue to the other until you have reached the desired shade (approximately ½ teaspoon of food color gel per bowl). Stir to evenly combine color.
- Chill the colored batters for 15-20 minutes.
- Using a small-sized cookie scoop, drop batter onto the prepared cookie sheet spacing them about 2 inches apart.
- Bake for 6 minutes or until the tops puff up and spring back when touched.
- Remove from oven and let completely cool on a wire rack while making the filling.
- To make the filling, cream room temperature butter, powdered sugar, and a pinch of salt with a hand mixer until light and fluffy (about 3 minutes). Fold in marshmallow fluff and chill for 10 minutes.
- Spread marshmallow filling onto the underside of half the colored cookies and top with the remaining half. Make sure not to press down too hard so the filling doesn’t ooze out over the edges.
Nutrition Facts
Calories
182
kcal
,
Carbohydrates
40
g
,
Protein
2
g
,
Fat
2
g
,
Saturated Fat
1
g
,
Polyunsaturated Fat
0.3
g
,
Monounsaturated Fat
1
g
,
Trans Fat
0.1
g
,
Cholesterol
33
mg
,
Sodium
194
mg
,
Potassium
36
mg
,
Fiber
0.3
g
,
Sugar
27
g
,
Vitamin A
58
IU
,
Vitamin C
0.01
mg
,
Calcium
67
mg
,
Iron
1
mg
Pin This Now to Remember It Later
Pin Recipe
