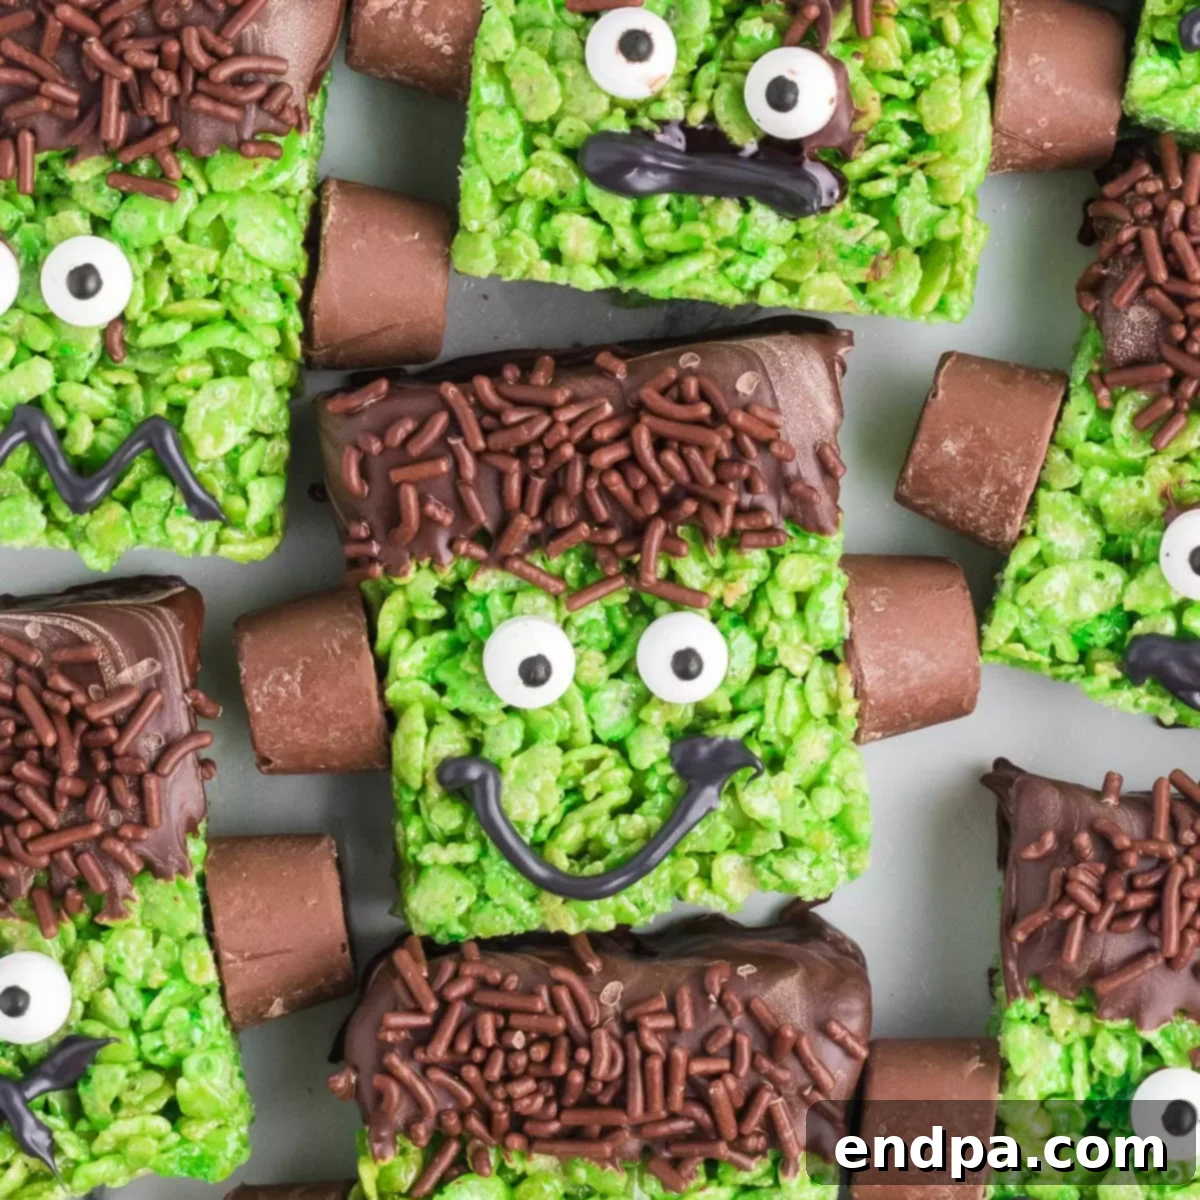
Spooky & Sweet: How to Make Easy Frankenstein Rice Krispie Treats for Halloween
Prepare for a monstrously good time this Halloween with our incredibly easy and fun Frankenstein Rice Krispie Treats recipe! This classic no-bake dessert gets a vibrant, spooky makeover, transforming into the perfect festive treat for any Halloween party, school event, or just a fun family activity. Forget complicated baking; these delightful green monster treats are simple to create, taste absolutely fantastic, and will surely be the star of your spooky celebrations.
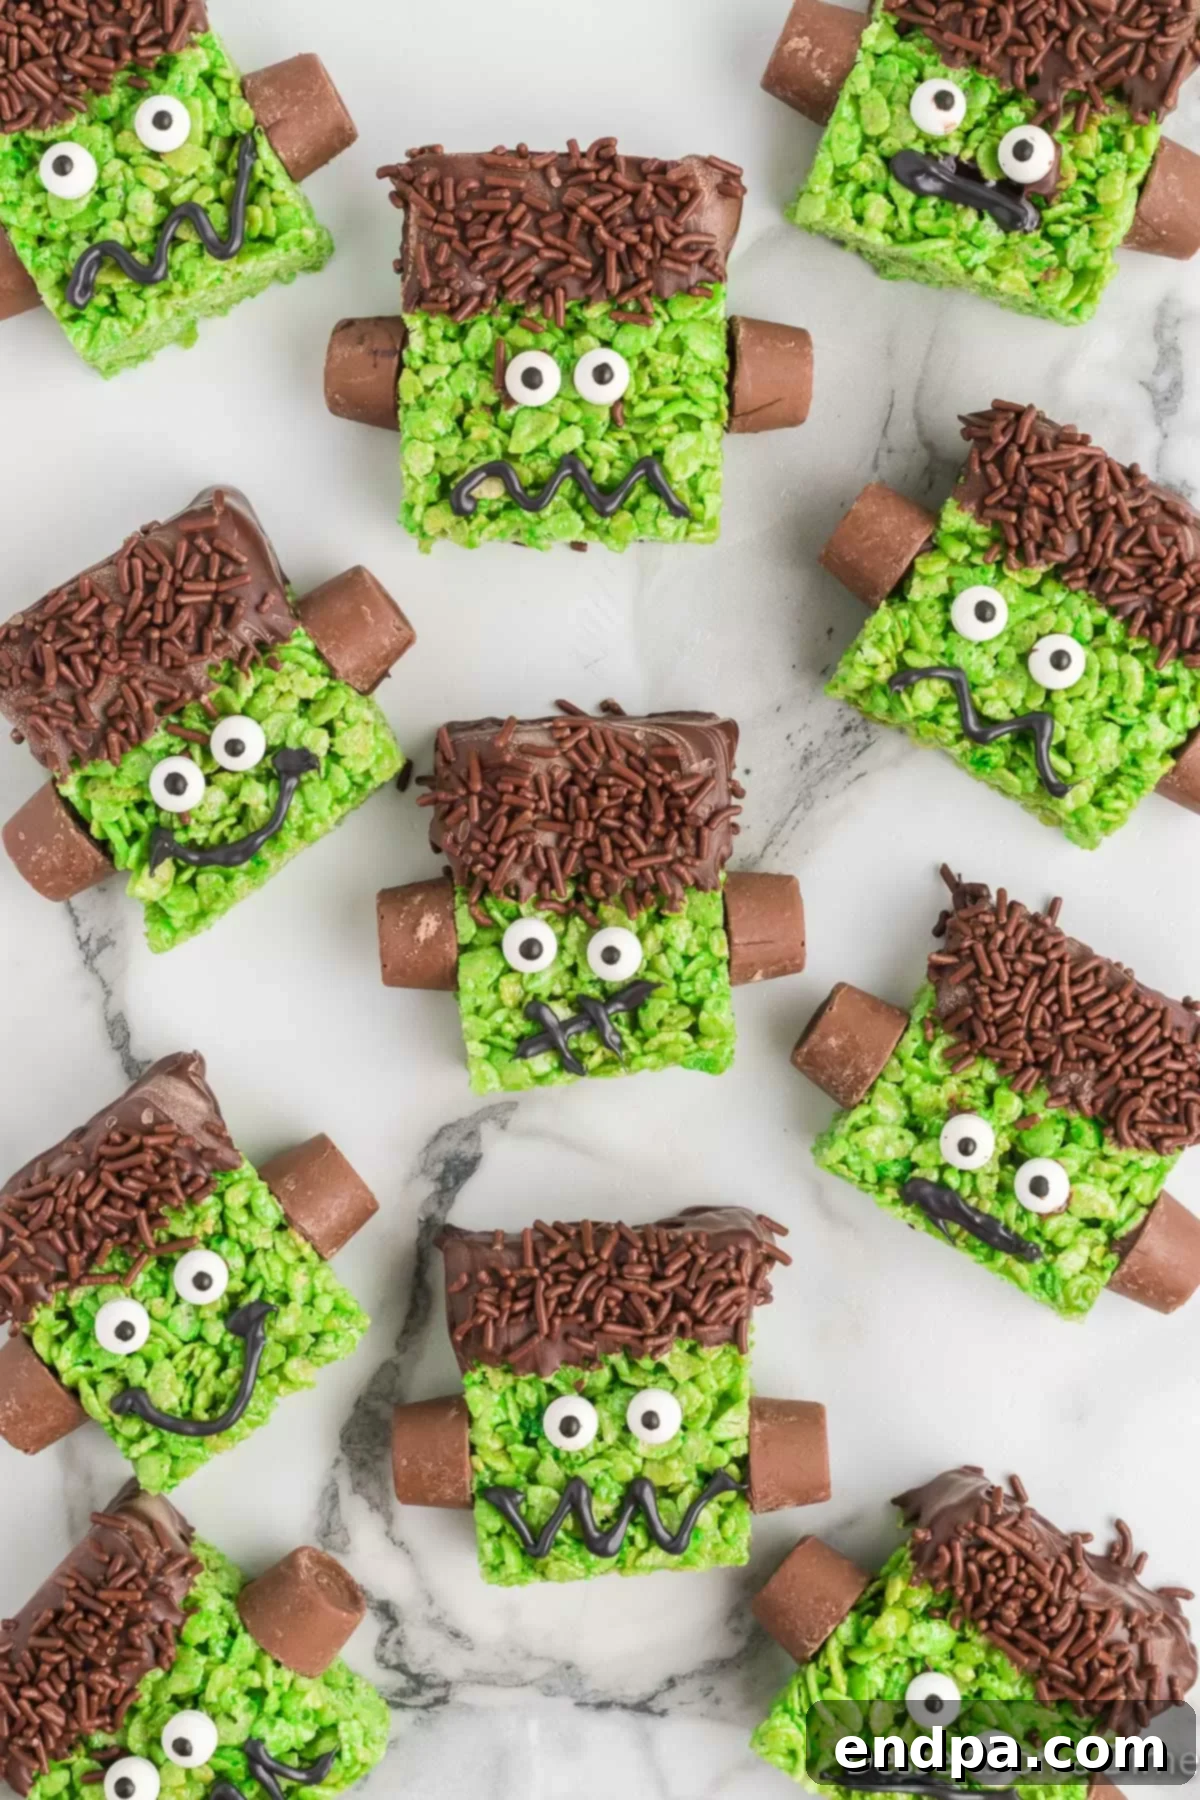
If you’re a fan of homemade Rice Krispie Treats, you’ll adore this playful twist. With just a few basic ingredients and some creative decorating, you can turn ordinary cereal bars into adorable, yet spooky, Frankenstein monsters. These vibrant green delights are not only visually appealing but also offer that beloved chewy, sweet marshmallow flavor everyone craves. They’re a fantastic alternative or addition to other seasonal favorites like Monster Eyeball Rice Krispie Treats or Monster Donuts, ensuring your Halloween spread is both diverse and delicious.
Get ready to impress your guests and delight the kids with these irresistibly easy Frankenstein treats. This recipe is destined to be a Halloween hit, year after year!
Table of Contents
- Why These Frankenstein Rice Krispie Treats Are a Must-Make
- Essential Ingredients for Your Frankenstein Treats
- Creative Variations and Decoration Ideas
- Step-by-Step Guide to Making Frankenstein Rice Krispie Treats
- Storage and Make-Ahead Tips
- Expert Tips for Perfect Frankenstein Treats
- Frequently Asked Questions about Frankenstein Rice Krispie Treats
- More Spooktacular Rice Krispie Treat Recipes
- Other Easy Halloween Dessert Ideas
- The Ultimate Frankenstein Rice Krispie Treats Recipe
Why These Frankenstein Rice Krispie Treats Are a Must-Make
There are countless reasons why these delightful Frankenstein Rice Krispie Treats should be at the top of your Halloween treat list. They combine ease, fun, and deliciousness into one perfect package, making them an ideal choice for busy families and party hosts alike.
- Effortlessly Easy No-Bake Dessert: This recipe falls into the popular no-bake dessert category, which means no oven time is required. This is a huge advantage, especially when preparing multiple dishes for a Halloween gathering or simply looking for a quick treat. The simple melting and mixing process makes it accessible even for novice cooks.
- Kid-Friendly Fun: Kids absolutely love helping out in the kitchen, and this recipe offers plenty of opportunities for them to get involved. From stirring the green marshmallow mixture to the exciting final step of decorating each Frankenstein face, children will have a blast. This hands-on experience not only creates delicious treats but also makes lasting Halloween memories.
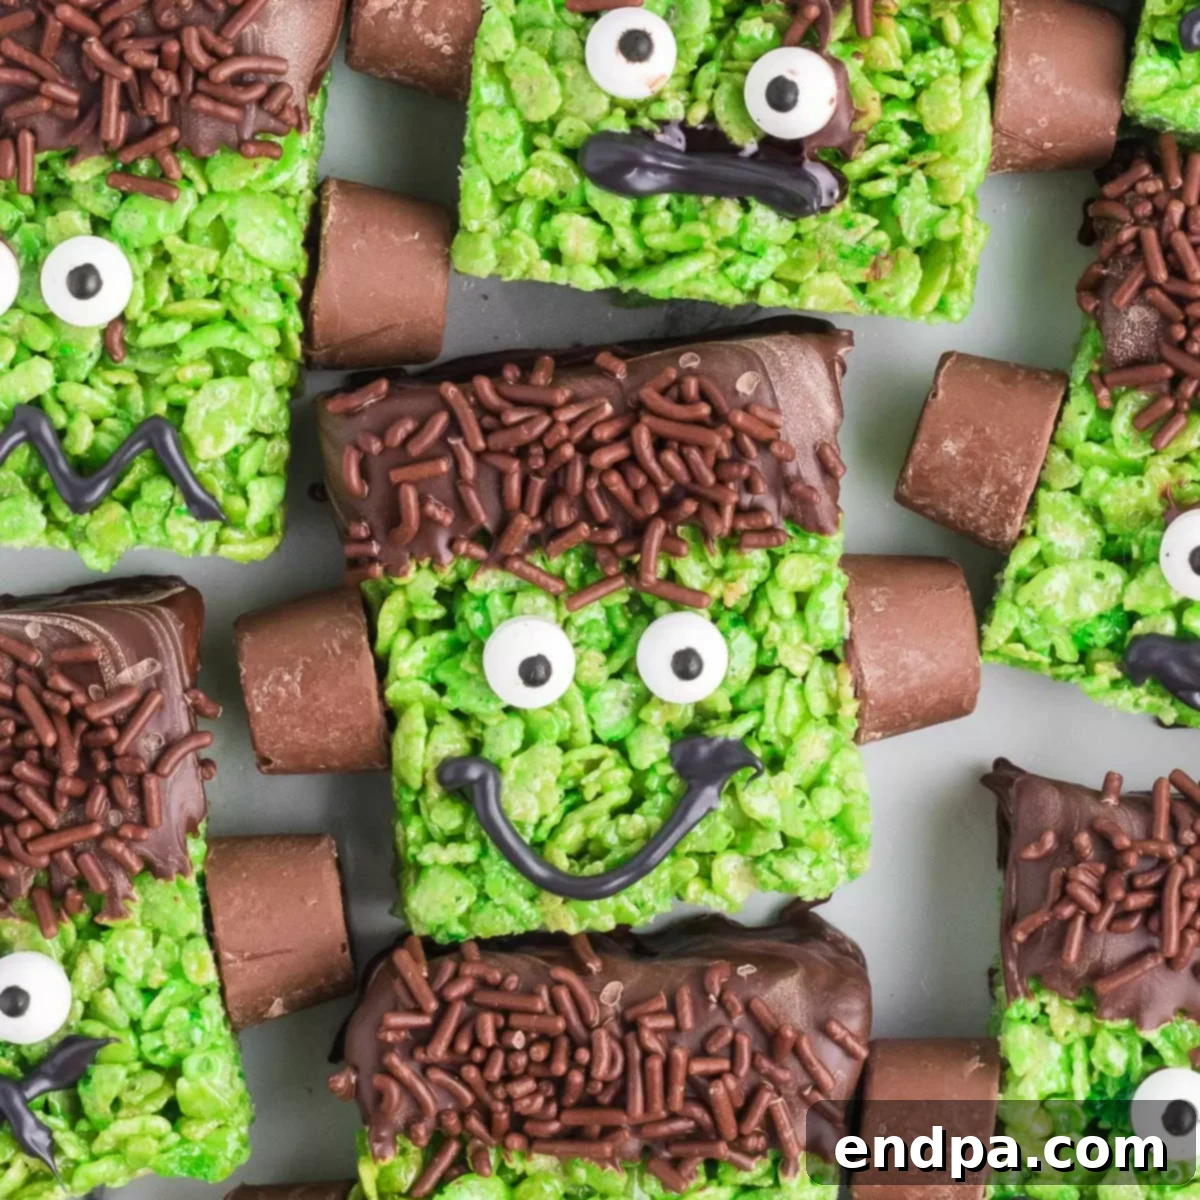
- Vibrantly Festive Appearance: The bright green hue, coupled with the playful candy eyes and chocolate “hair,” makes these treats instantly recognizable as Frankenstein monsters. Their festive look ensures they stand out on any Halloween dessert table, drawing smiles and gasps of delight from all ages. They are truly Instagram-worthy!
- Classic Comfort Taste: At their core, these are classic Rice Krispie Treats – a beloved childhood favorite known for its crispy, chewy texture and sweet marshmallow flavor. The addition of chocolate and candy decorations only enhances this familiar comfort, making them universally appealing.
- Quick to Prepare: From start to finish, you can have a batch of these Halloween Rice Krispie treats ready in under an hour, not including cooling time. This makes them perfect for last-minute party contributions or spontaneous spooky snacking.
For more fun dessert ideas, check out our easy Cake Pop Recipe!
Essential Ingredients for Your Frankenstein Treats
Crafting these adorable Frankenstein Rice Krispie Treats requires a straightforward list of ingredients, most of which you likely already have in your pantry. The key is using fresh, quality ingredients to ensure the best texture and flavor for your spooky creations.
- Rice Krispie Cereal: The foundation of our treats! Ensure your rice cereal is fresh and crispy for that signature crunch. Stale cereal will result in a less satisfying texture.
- Butter: We highly recommend using real unsalted butter for the richest flavor. It helps create a smooth marshmallow mixture and prevents sticking.
- Marshmallows: Mini marshmallows are our preferred choice because they melt quickly and evenly, creating a perfectly cohesive base for your treats. A 10 oz package is usually sufficient.
- Green Gel Food Coloring: This is what gives our Frankensteins their iconic green skin! Gel food coloring is superior to liquid coloring as it provides a more vibrant, concentrated color without altering the consistency of the marshmallow mixture. Start with a few drops and add more until you achieve your desired “monster green.”
- Chocolate Chips: You can use regular semi-sweet or mini chocolate chips for dipping the tops of your treats to create Frankenstein’s “hair.” Dark chocolate also works wonderfully for a richer flavor contrast.
- Candy Eyes: These edible candy eyeballs are crucial for bringing your Frankenstein monsters to life! They add a playful and spooky touch.
- Rolos: These chocolate and caramel candies are perfectly sized and shaped to serve as the iconic “bolts” on Frankenstein’s neck, adding a touch of edible detail.
- Black Writing Gel: A tube of store-bought black writing gel makes drawing the mouths and stitches on your Frankenstein treats incredibly easy. This ensures neat and consistent details for each monster.
- Brown Sprinkles (optional, for hair texture): While not strictly necessary, brown sprinkles can be added to the melted chocolate “hair” for extra texture and a more defined hairline.
You can find the exact measurements and full recipe details in the recipe card at the bottom of the page.
Creative Variations and Decoration Ideas
While the classic Frankenstein Rice Krispie Treat is fantastic on its own, there are many ways to customize and get creative with this recipe. These variations allow you to tailor the treats to your specific taste, dietary needs, or simply to add more unique flair to your Halloween party spread.
- Homemade Candy Eyes: If you can’t find store-bought candy eyes, don’t worry! You can easily make your own. Simply cut mini marshmallows into thin circles and gently press them onto the bars. Then, use a small dot of black writing gel to create the pupils for each eye. This adds a charming, rustic touch.
- Experiment with Different Faces: Give each Frankenstein a distinct personality! Vary the placement of the candy eyes (wide apart, close together, slightly askew), and draw different mouth shapes – a straight line for serious Frankenstein, a jagged line for spooky, or a small curve for a friendly monster. You can even add scars or stitches using the black writing gel for extra detail.
- Alternate “Hair” Toppings: Instead of melted chocolate, consider using green candy melts or even black candy melts for Frankenstein’s hair. You could also use crushed chocolate cookies (like Oreos) for a crumbly, textured hairline.
- Frankenstein Rice Krispie Treat Pops: For an extra fun and easy-to-serve treat, insert lollipop sticks into the cooled and cut Rice Krispie treats before decorating. Once decorated, wrap them individually in cellophane bags and tie with a festive ribbon. These make fantastic party favors or treats for trick-or-treaters (if individually wrapped).
- Time-Saving Store-Bought Treats: If you’re truly short on time, you can purchase pre-made Rice Krispie Treats. Simply unwrap them and proceed with the decorating steps as usual. This is a great shortcut for busy schedules without sacrificing the fun.
- Chocolate Rice Krispies Cereal: For a different flavor profile and a darker “monster” look, substitute regular Rice Krispie cereal with chocolate Rice Krispies cereal. If you go this route, you can skip the green food coloring entirely, allowing the chocolate cereal to create a unique dark green/brown monster. It tastes delicious and offers a cool, distinct appearance.
- Add Flavored Extracts: A few drops of peppermint or almond extract can be added to the melted marshmallow mixture for an extra layer of flavor. Ensure it complements the chocolate!
- Different “Bolt” Candies: While Rolos are perfect, you could also use small chocolate-covered pretzels or even chocolate covered caramel squares cut into smaller pieces for Frankenstein’s neck bolts.
Step-by-Step Guide to Making Frankenstein Rice Krispie Treats
Creating these festive Frankenstein treats is a straightforward process that’s enjoyable for all skill levels. Follow these simple steps for perfectly gooey, crispy, and spooky Halloween delights.
- Step 1. Prepare Your Pan: First, lightly spray a 9×13 inch baking pan with a non-stick cooking spray. This crucial step prevents the sticky marshmallow mixture from adhering to the pan, making removal and cutting much easier. Set the prepared pan aside.
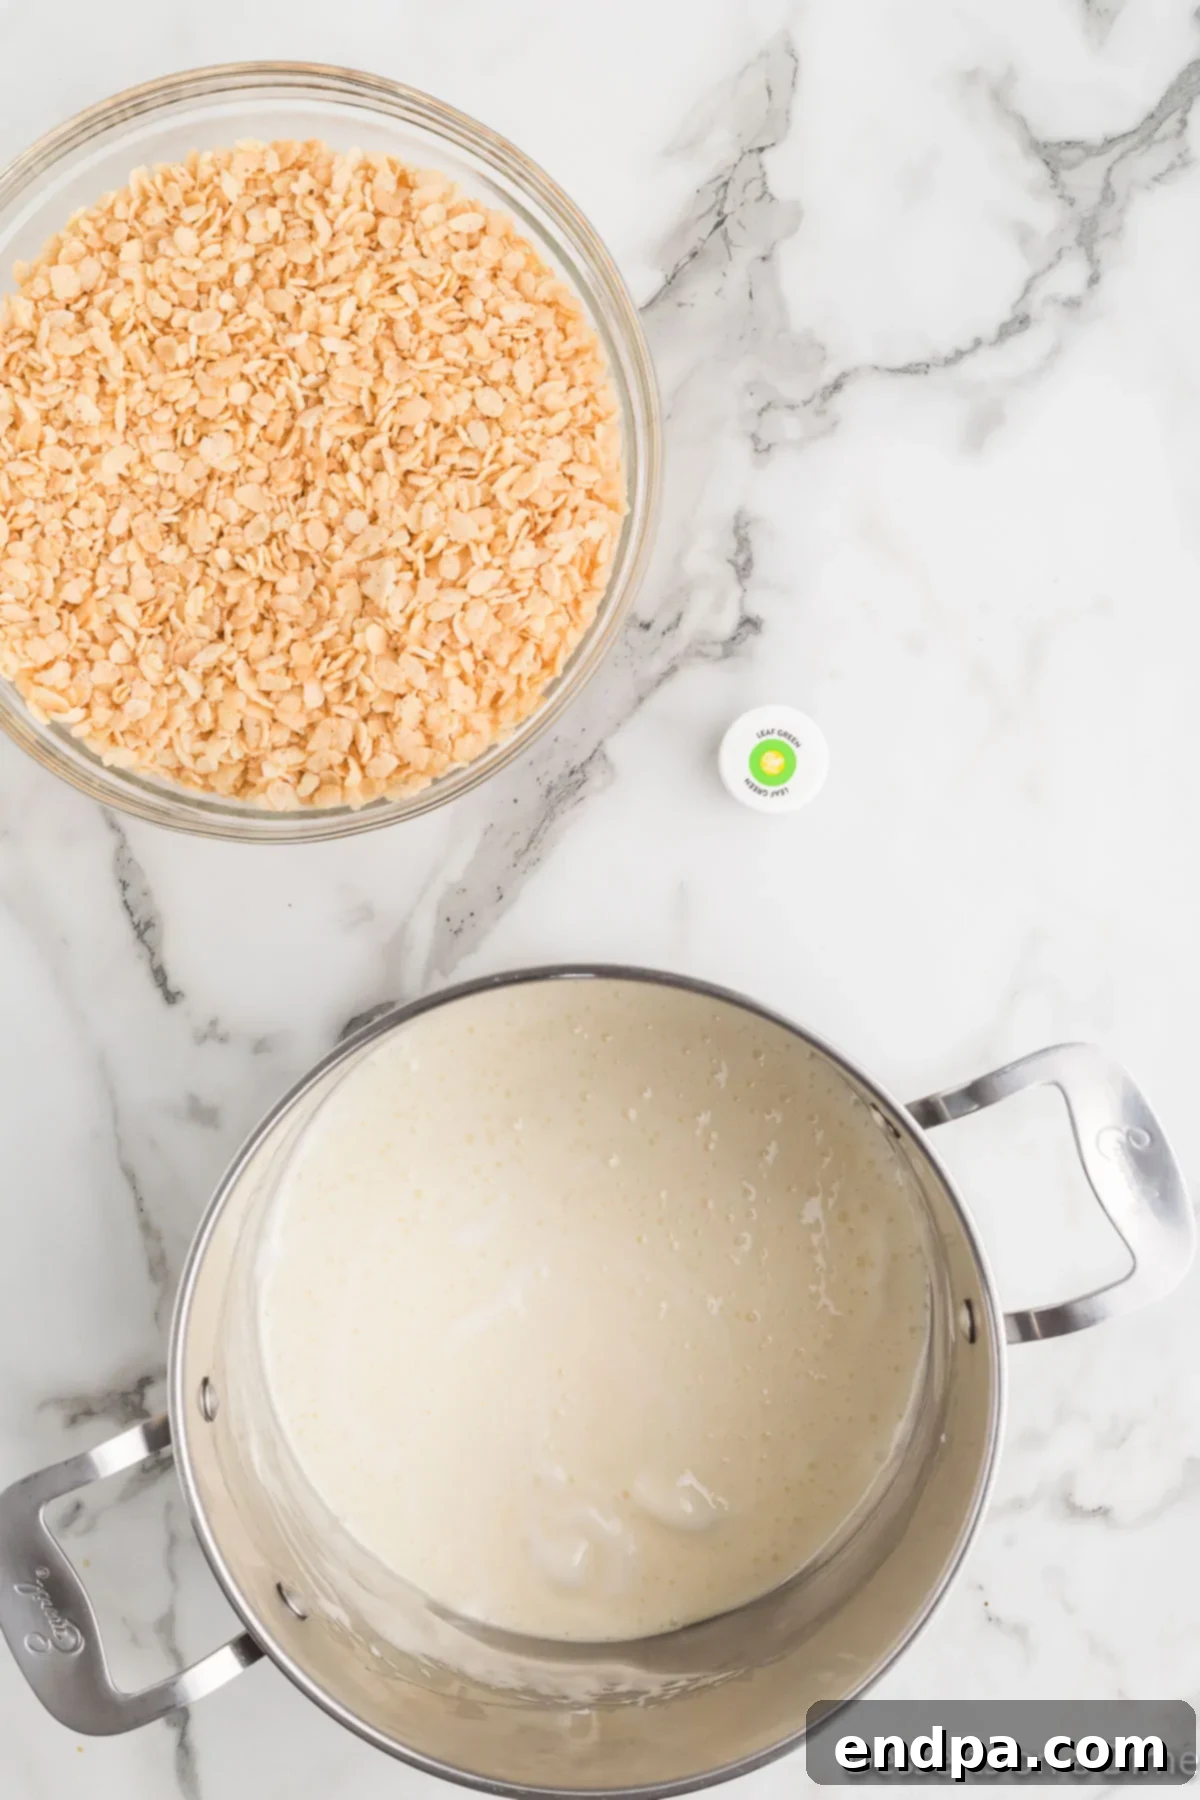
Step 2. Melt Marshmallows and Butter: In a large, heavy-bottomed pot or saucepan, combine the butter and mini marshmallows. Melt these ingredients together over low heat, stirring frequently with a spatula or wooden spoon. Low heat is essential to prevent the marshmallows from burning or becoming too stiff, which can make your treats hard. Continue stirring until the mixture is smooth and completely melted.
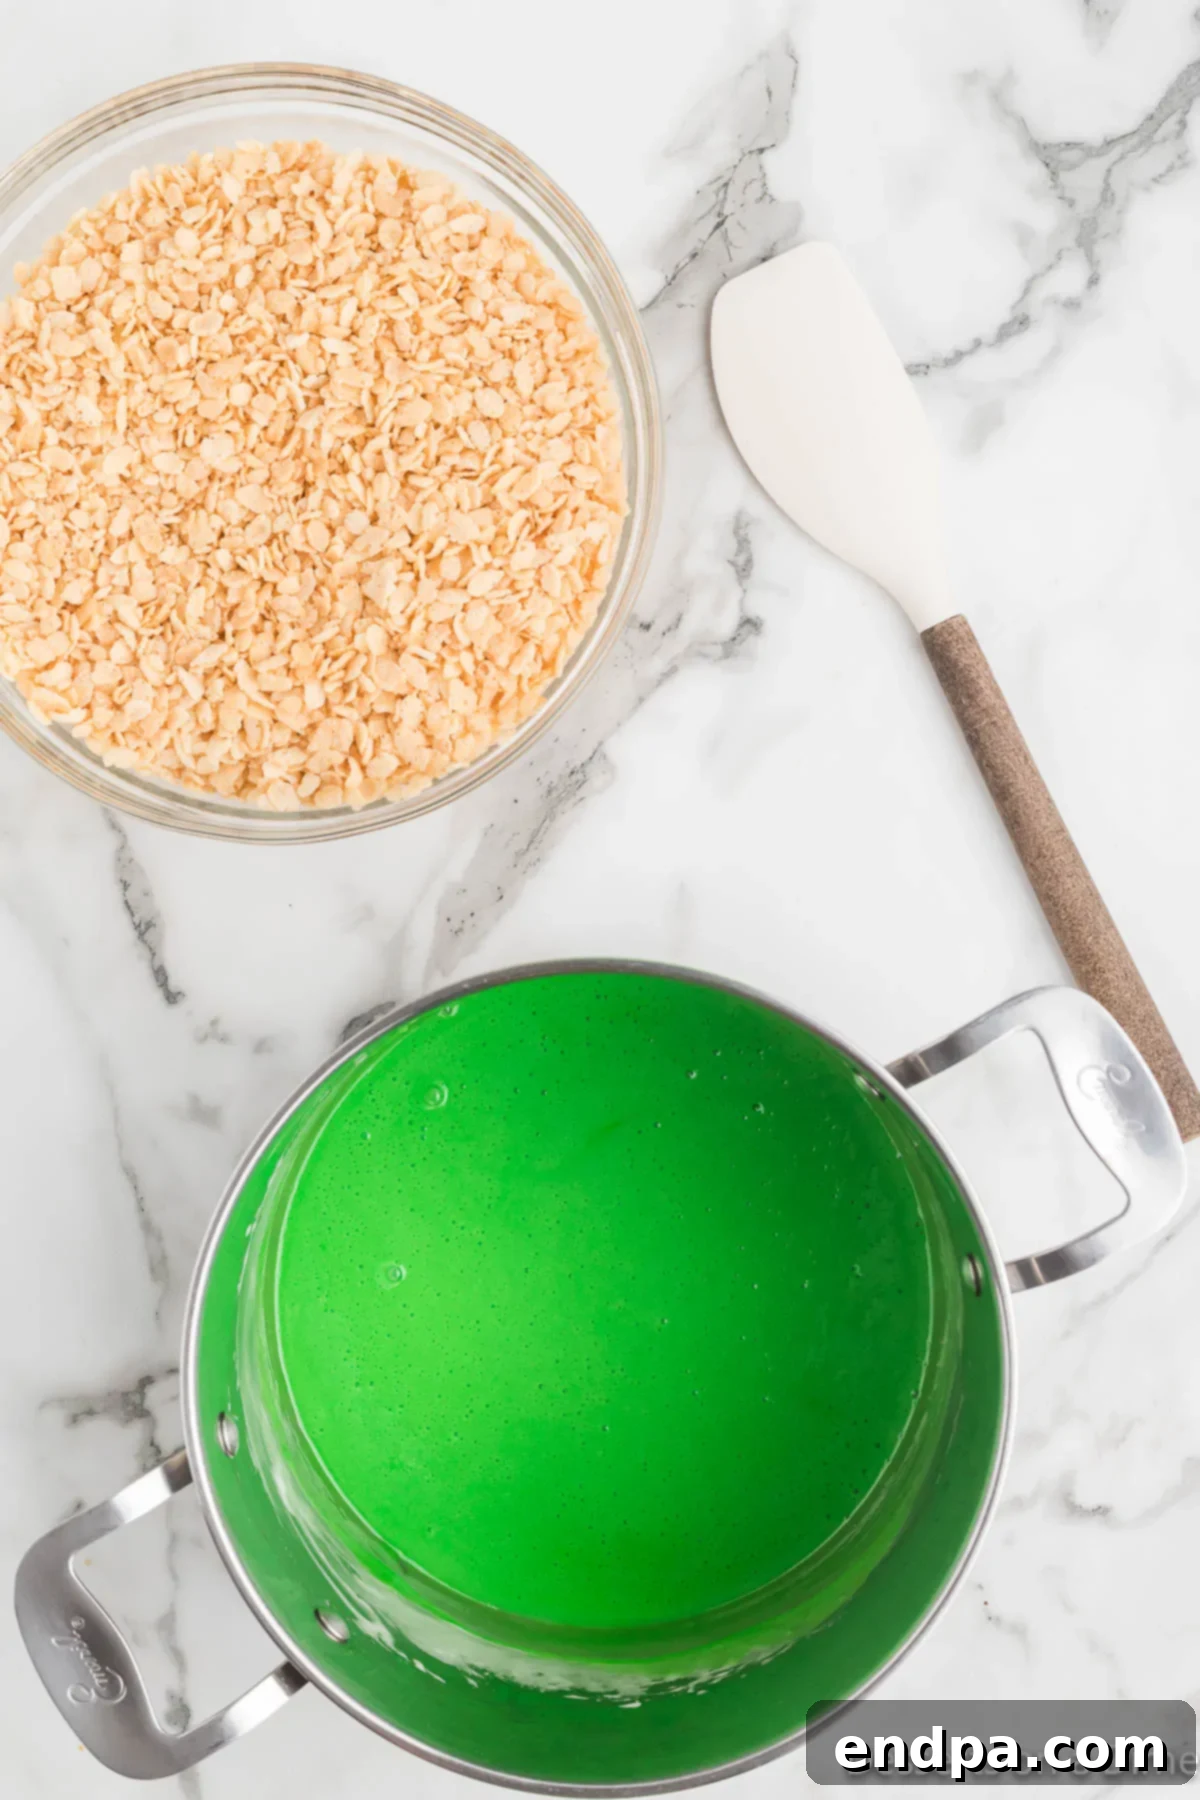
Step 3. Color the Marshmallow Mixture: Once the butter and marshmallows are fully melted and combined into a smooth liquid, remove the pot from the heat. This prevents the food coloring from being exposed to excessive heat, which can sometimes dull the color. Add several drops of green gel food coloring to the mixture. Stir continuously until the color is evenly distributed and you achieve a vibrant “Frankenstein green.” You can add more drops for a deeper shade, if desired.
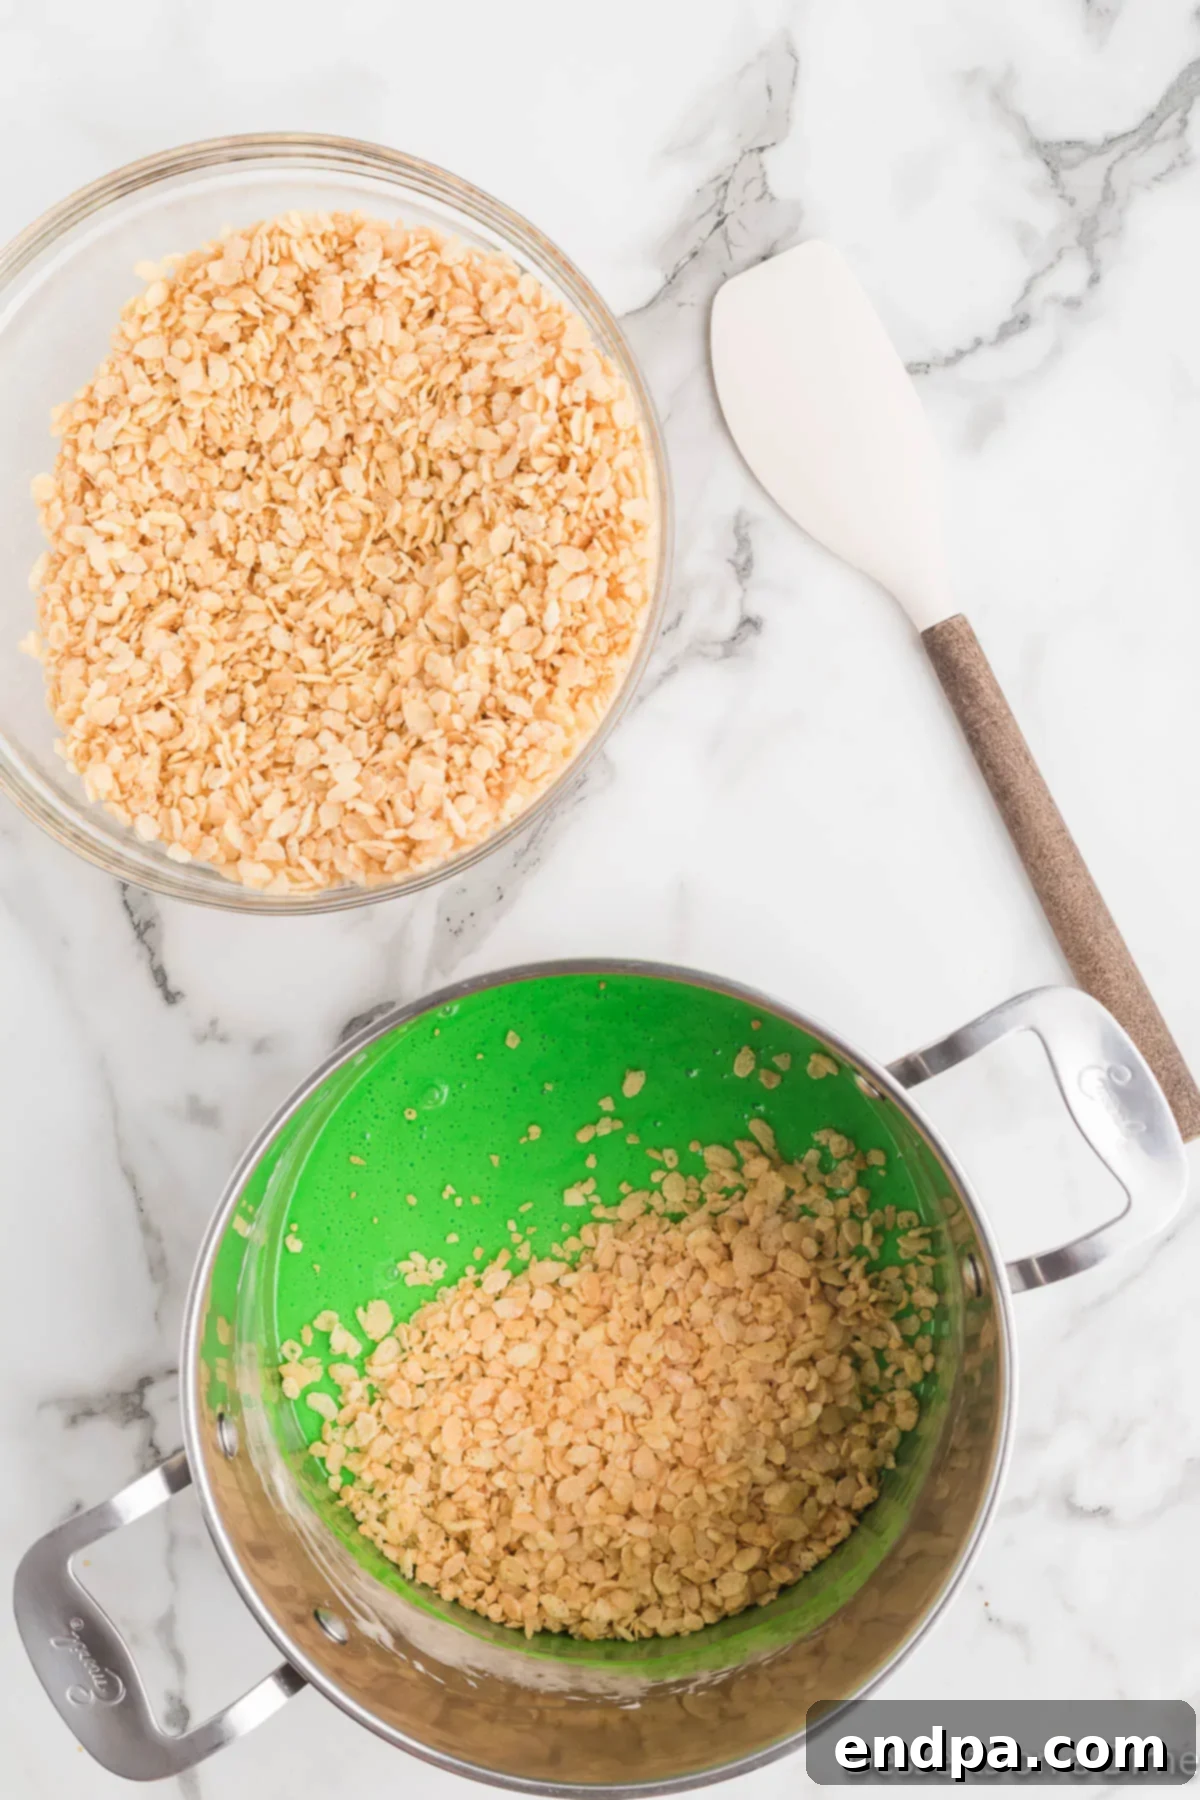
Step 4. Incorporate the Cereal: Gradually add the Rice Krispie Cereal to the green marshmallow mixture. Using a large spoon or spatula, gently fold the cereal into the mixture. Mix until every piece of cereal is thoroughly coated with the sticky marshmallow. Be careful not to overmix, as this can crush the cereal and make the treats dense.
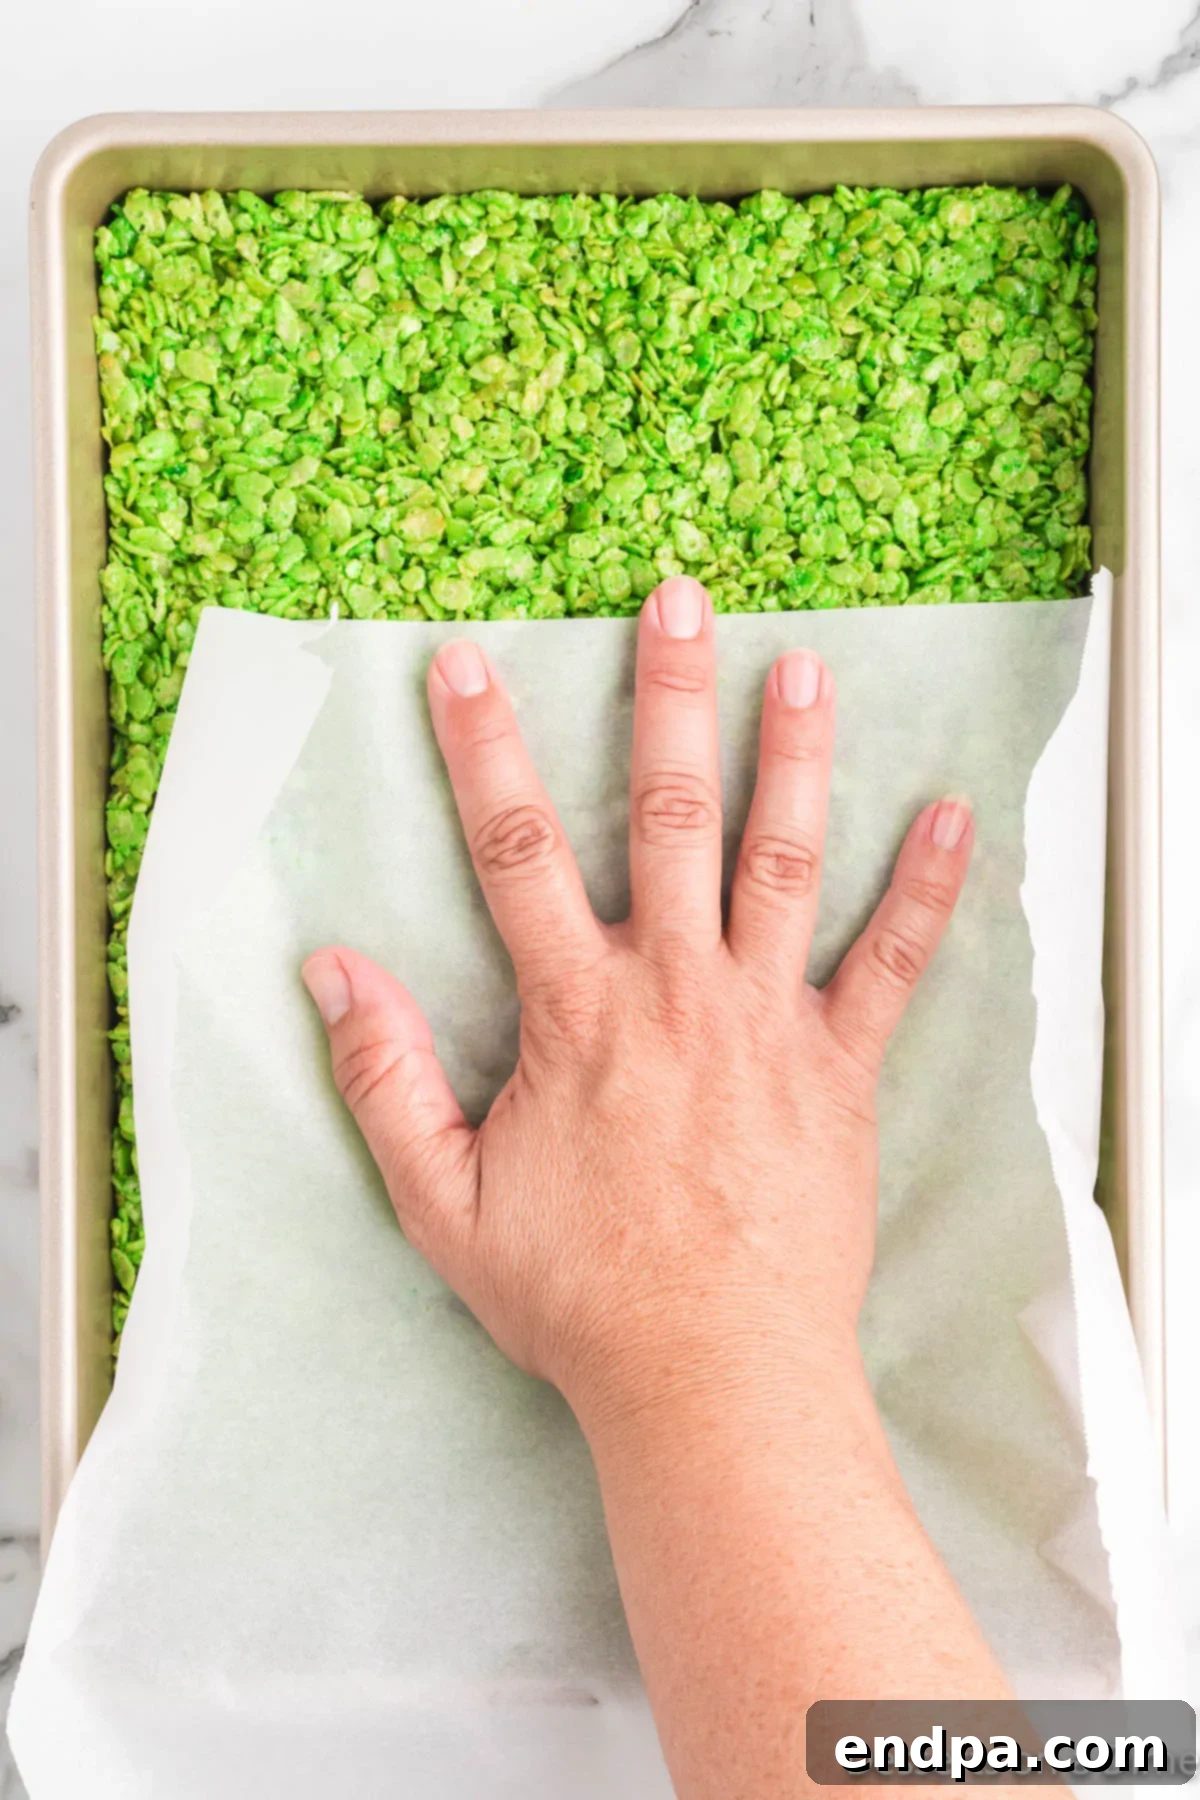
Step 5. Press into the Pan: Transfer the coated cereal mixture into your prepared 9×13 inch baking dish. For best results, lightly spray a piece of parchment paper or wax paper with non-stick cooking spray and use it to gently press the mixture evenly into the pan. Avoid packing the mixture too firmly, as this can result in hard, dense treats rather than light and chewy ones. Allow the treats to cool completely at room temperature before proceeding.
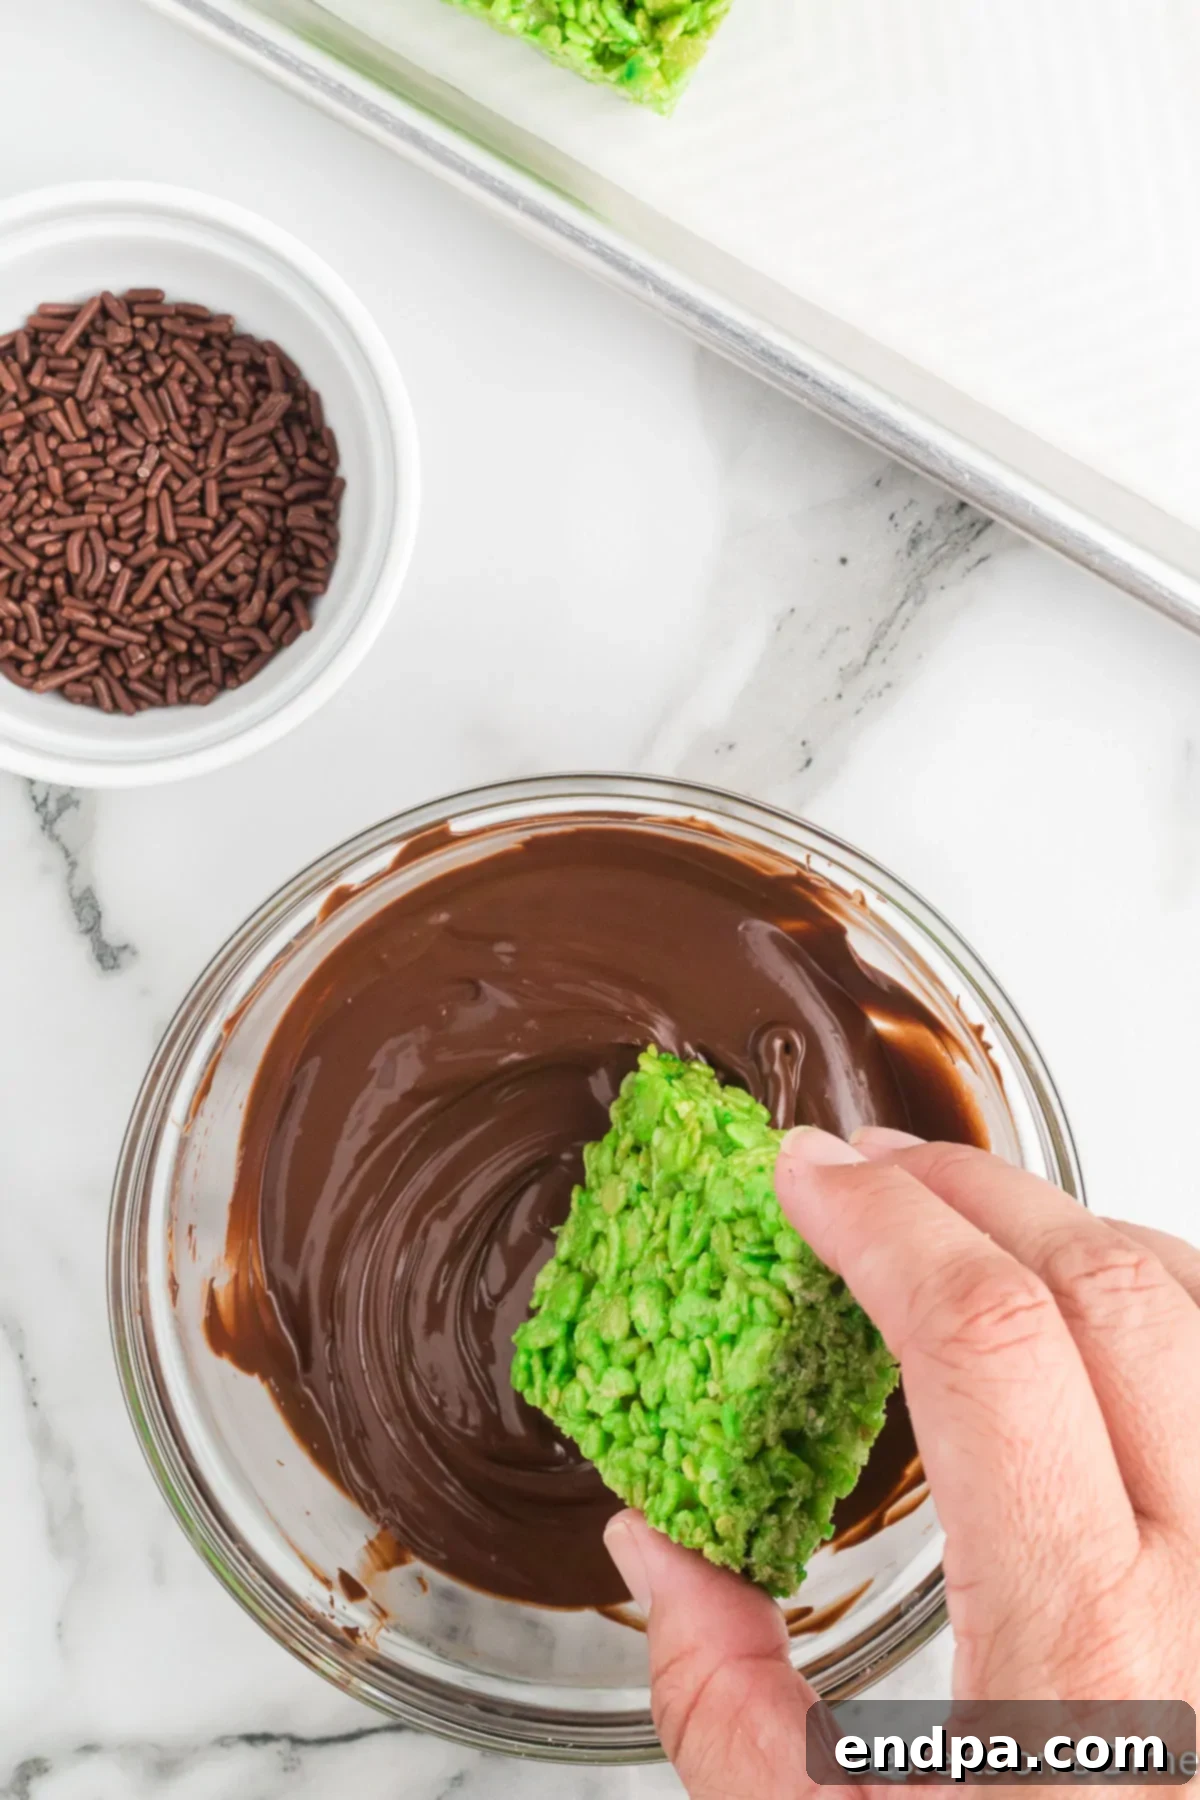
Step 6. Melt and Dip Chocolate for Hair: Once the Rice Krispie treats have cooled and set, cut them into individual rectangles. Line a separate baking sheet with parchment paper. In a microwave-safe bowl, melt your chocolate chips. Heat in 30-second intervals, stirring well after each interval, until the chocolate is smooth and fully melted. Dip the top of each Rice Krispie treat into the melted chocolate to create Frankenstein’s “hair,” then place them on the lined baking sheet.
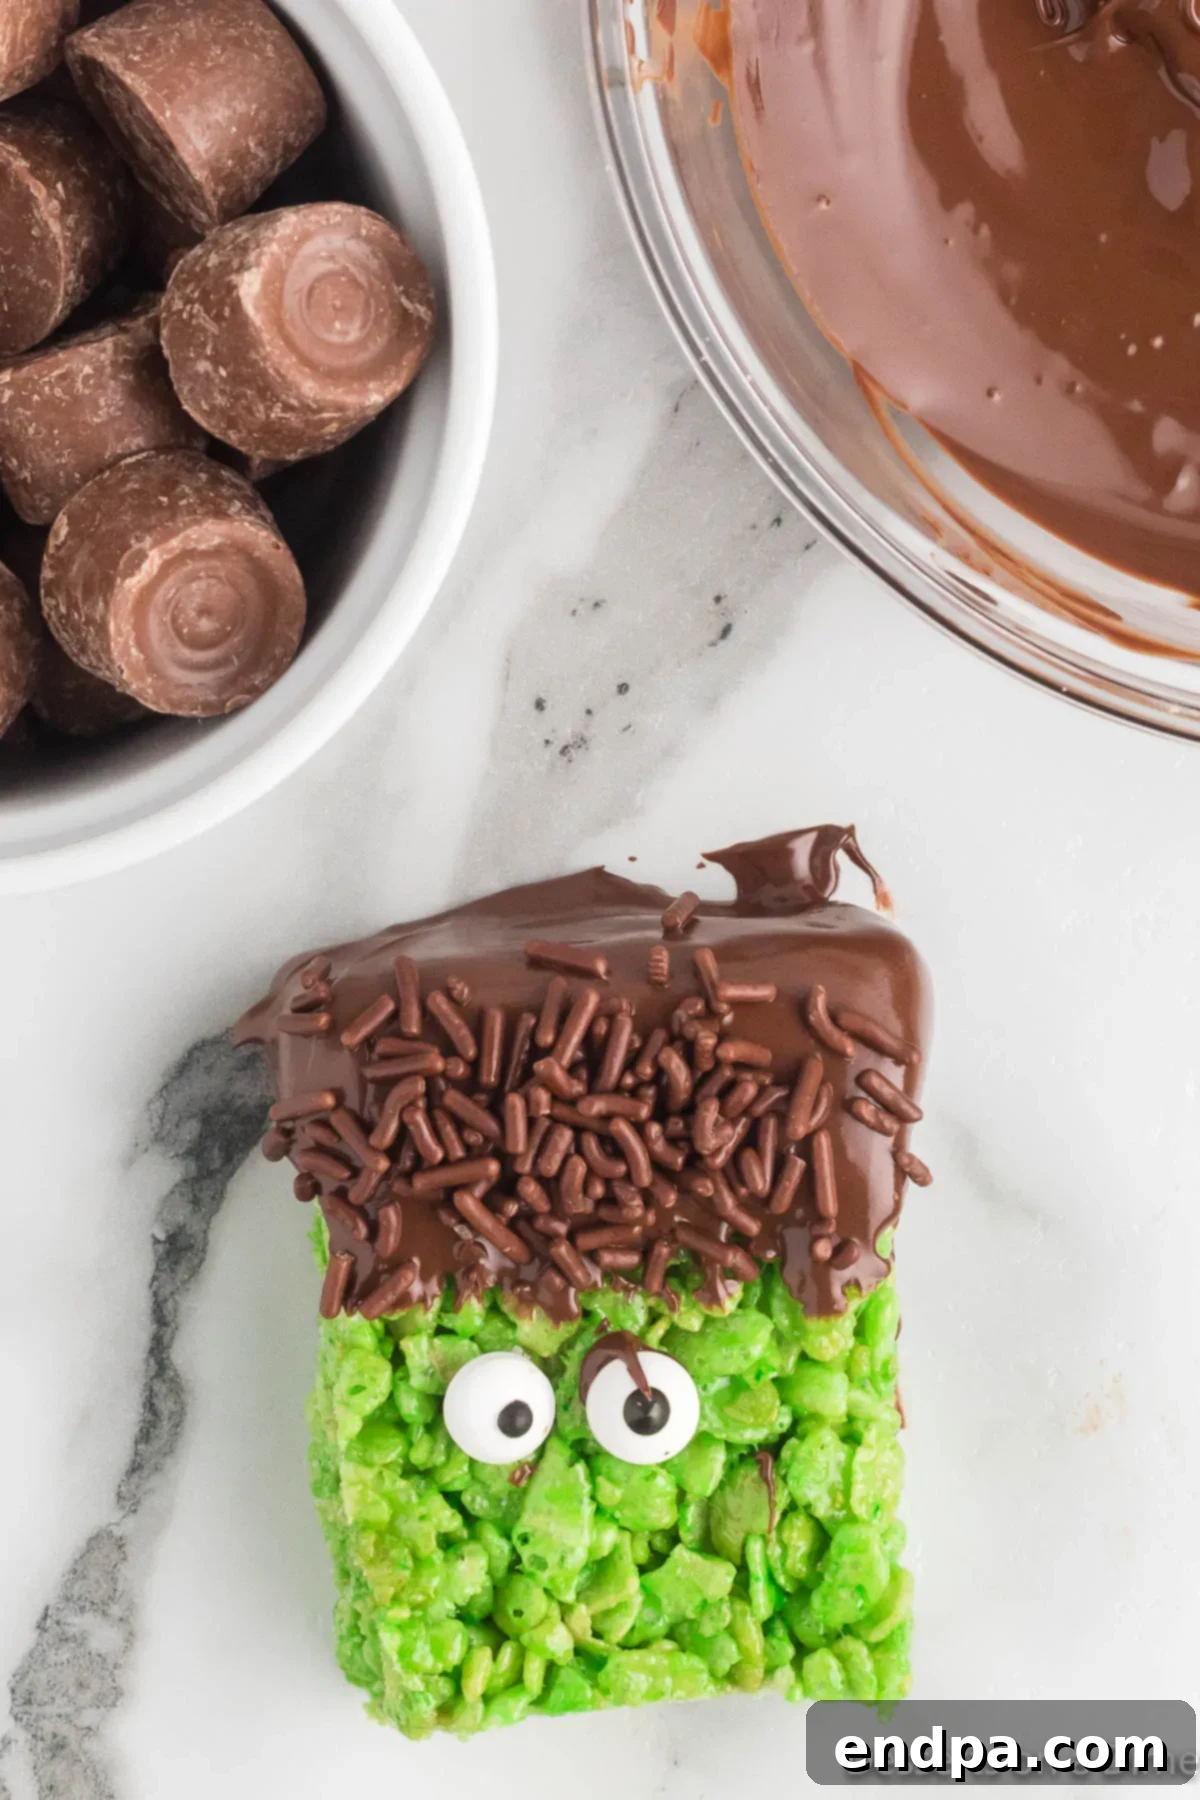
Step 7. Decorate Your Monsters: While the chocolate is still wet, immediately sprinkle some brown sprinkles onto the chocolate “hair” for added texture. Use a small dab of the remaining melted chocolate (or a dot of writing gel) as “glue” to attach two candy eyes and two Rolos (for the neck bolts) onto each treat. Finally, use the black writing gel to draw the mouths and any desired stitches on your Frankenstein monsters. Allow all the decorations to set completely at room temperature for 30-60 minutes before serving. Then, your spooky and sweet creations are ready to enjoy!
Storage and Make-Ahead Tips
Proper storage is key to keeping your Frankenstein Rice Krispie Treats fresh and delicious for days. These treats are best enjoyed when they are soft and chewy, so avoid refrigeration if possible.
- Room Temperature Storage: Store your decorated Frankenstein Rice Krispie Treats in an airtight container at room temperature. They will remain wonderfully fresh and chewy for up to 3-4 days. Placing them in the refrigerator can cause them to harden and alter their desirable soft texture.
- Freezing for Longer Storage: For extended storage, these treats can be frozen for up to 4 months. Before freezing, ensure the treats are completely set and all chocolate and decorations are firm. To prevent them from sticking together, place a sheet of wax paper or parchment paper between each layer of treats in your airtight freezer-safe container. When ready to enjoy, simply remove them from the freezer and let them thaw at room temperature for about 30 minutes to an hour before serving.
- Make-Ahead Planning: These treats are perfect for making in advance! You can prepare and decorate them 1-2 days before your Halloween party, saving you precious time on the day of the event. Just remember to store them correctly.
Expert Tips for Perfect Frankenstein Treats
Achieving perfectly chewy and visually appealing Frankenstein Rice Krispie Treats is simple with a few insider tricks. These tips will help ensure your spooky creations are a resounding success every time.
- Allow Adequate Setting Time: Patience is a virtue, especially with no-bake treats. After decorating, let your Frankenstein treats sit undisturbed at room temperature for at least 30 to 60 minutes. This allows the melted chocolate, candy eyes, and Rolos to firmly set in place, preventing any decorations from falling off when handled.
- Start with Less Food Coloring: Green gel food coloring is potent. Begin by adding just a few drops to your marshmallow mixture, then stir well. Assess the color, and add more drops gradually until you achieve your desired vibrant green hue. It’s always easier to add more color than to correct an overly dark batch.
- Use Parchment Paper for Pressing: When pressing the cereal mixture into the baking pan, lightly spray a piece of parchment paper or wax paper with non-stick cooking spray. Place this greased side down over the mixture and use your hands to gently press it evenly into the pan. This technique prevents the sticky mixture from adhering to your fingers and ensures a smooth, even surface.
- Gentle Pressure is Key: Resist the urge to pack the cereal mixture too firmly into the pan. Over-compressing the treats will make them hard and dense, losing that signature light, airy, and chewy texture. Aim for gentle, even pressure to distribute the mixture.
- Decorate the Flatter Side: The side of the Rice Krispie treats that was pressed down into the pan will typically be flatter and smoother than the top. Use this flatter side as the “face” for your Frankenstein monsters. Icing, melted chocolate, and other toppings will adhere better and look neater on a smooth, flat surface.
- Melt Chocolate in Intervals: To prevent your chocolate from burning or seizing, always melt chocolate chips in a microwave-safe bowl in short 30-second intervals. After each interval, remove the bowl and stir thoroughly. Continue this process until the chocolate is smooth and fully melted. This gradual heating ensures a perfectly tempered, dippable chocolate.
- Fresh Ingredients Matter: Ensure your marshmallows are fresh and soft, and your Rice Krispie cereal is crisp. Stale ingredients can negatively impact the texture and overall quality of your treats.
- Clean Cuts: For neat, uniform rectangles, use a sharp knife that has been lightly coated with non-stick spray or butter before cutting. This helps the knife glide through the sticky treats without dragging or tearing.
Frequently Asked Questions about Frankenstein Rice Krispie Treats
Here are some common questions about making and enjoying these fun Halloween treats:
Can I use large marshmallows instead of mini marshmallows?
Yes, you can! If using large marshmallows, you’ll need approximately 40 large marshmallows to equal a 10 oz bag of mini marshmallows. Large marshmallows might take a little longer to melt, but the result will be the same delicious, gooey base for your treats.
Can I make these treats gluten-free or vegan?
To make these treats gluten-free, ensure your rice crisp cereal is certified gluten-free (some brands contain malt flavoring derived from barley). For a vegan version, you would need to use vegan marshmallows (which are gelatin-free) and a plant-based butter substitute. Also, ensure your chocolate chips and candy decorations are vegan-friendly.
How far in advance can I make Frankenstein Rice Krispie Treats?
You can make these treats up to 3-4 days in advance if storing them at room temperature in an airtight container. For longer storage, you can freeze them for up to 4 months. This makes them an excellent make-ahead option for busy Halloween preparations.
What if my Rice Krispie treats are too hard or too soft?
If your treats are too hard, it’s usually due to overcooking the marshmallows or packing the mixture too firmly into the pan. Ensure you melt marshmallows over low heat and press gently. If they are too soft, it might be that not enough cereal was used, or the butter-to-marshmallow ratio was slightly off. Try to stick to the measurements in the recipe card.
Can I use different candies for Frankenstein’s bolts?
Absolutely! While Rolos are perfect for their shape, you could experiment with other small, round, or square chocolate candies. Chocolate-covered caramel squares cut in half or even mini chocolate bars could work in a pinch. The goal is to create that distinct neck bolt appearance.
More Spooktacular Rice Krispie Treat Recipes
If you loved making these Frankenstein treats, you’ll enjoy exploring other creative Rice Krispie treat recipes perfect for any occasion:
- Monster Rice Krispie Treats
- Pumpkin Rice Krispie Treats
- M&M Rice Krispy Treats
- Easy Rice Krispie Treat Pumpkins
- Rice Krispie Treats with Marshmallow Fluff
Other Easy Halloween Dessert Ideas
Looking for more simple and fun treats to round out your Halloween party menu? These recipes are sure to be a hit:
- Halloween Donuts
- Easy Halloween Sugar Cookies
- Halloween Chocolate Covered Oreos Recipe
- Halloween Cake Pops
Kids and adults alike will be absolutely delighted with these festive and unique Frankenstein Rice Krispie Treats. They offer a perfect blend of spooky fun, classic flavor, and incredible ease, making them a go-to Halloween dessert. Give them a try for your next Halloween celebration and watch them disappear! Please share your thoughts and leave a comment once you do!
Pin
Frankenstein Rice Krispie Treats
Make Frankenstein Rice Krispie Treats for an easy Halloween treat. Turn this traditional dessert into a festive and fun Halloween treat for parties.
Ingredients
- 6 cups Rice Krispie Cereal
- 3 tbsp Butter
- 1 pkg Marshmallows 10 oz
- Green Gel Food Coloring
- 1 cup Chocolate Chips
- Brown Sprinkles
- 24 Candy Eyes
- 24 Rolos
- Black Writing Gel
Instructions
- Spray a 9X13 pan with a non-stick cooking spray and set aside.
- Place the butter and marshmallow in a large saucepan and melt butter over low heat stirring frequently.
- Once the ingredients are melted and combined, remove from heat. Add in the green gel food coloring until the mixture is a vibrant green coloring.
- Gradually stir in the Rice Krispie Cereal. Mix until the cereal is coated in the marshmallow and butter mixture.
- Press the mixture into the 9X13 pan or baking sheet. I spray a piece of parchment paper with non-stick spray and use that parchment paper to press the cereal down into the baking dish.
- Let the Rice Krispie treats cool completely at room temperature.
- Cut into small rectangles. Line a baking sheet with parchment paper.
- Melt the chocolate chips in a microwave safe bowl by heating it in 30 second intervals, stirring after each interval, until fully melted.
- Dip the top of each of the Rice Krispie treats in the melted chocolate and place on the baking sheet. Top the melted chocolate with the brown sprinkles.
- Use the remaining melted chocolate as glue to put the candy eyes and rolls on each of the Rice Krispie treats.
- Use the black writing gel to draw the mouth of each of the Rice Krispies treats.
- Let them sit at room temperature for 30-60 minutes until all the chocolate is set. Then they are ready to serve and enjoy!
Recipe Notes
Store in an airtight container at room temperature for up to 3-4 days.
