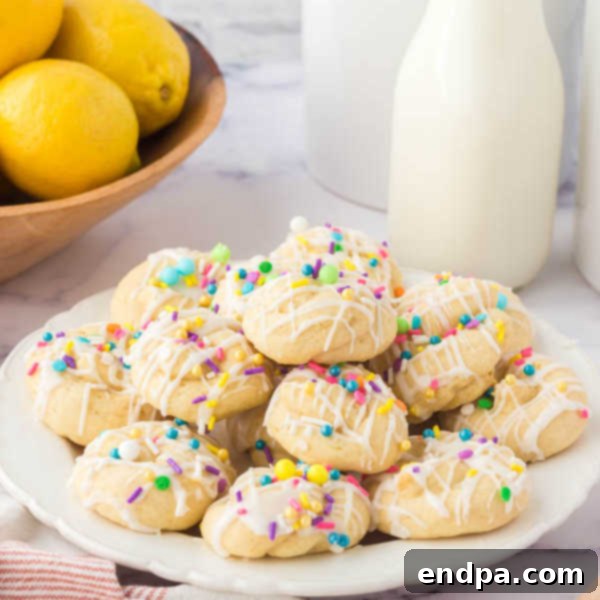
Welcome to a delightful journey into the heart of Italian culinary tradition with our irresistible Italian Easter Cookies. These charming knot cookies are more than just a dessert; they’re a celebration of spring, family, and timeless flavors. Each bite offers a delicate hint of sweetness, beautifully complemented by a bright, zesty lemon glaze, all crowned with festive pastel sprinkles. Easy to prepare and visually stunning, they’re the perfect addition to any Easter gathering or spring brunch.
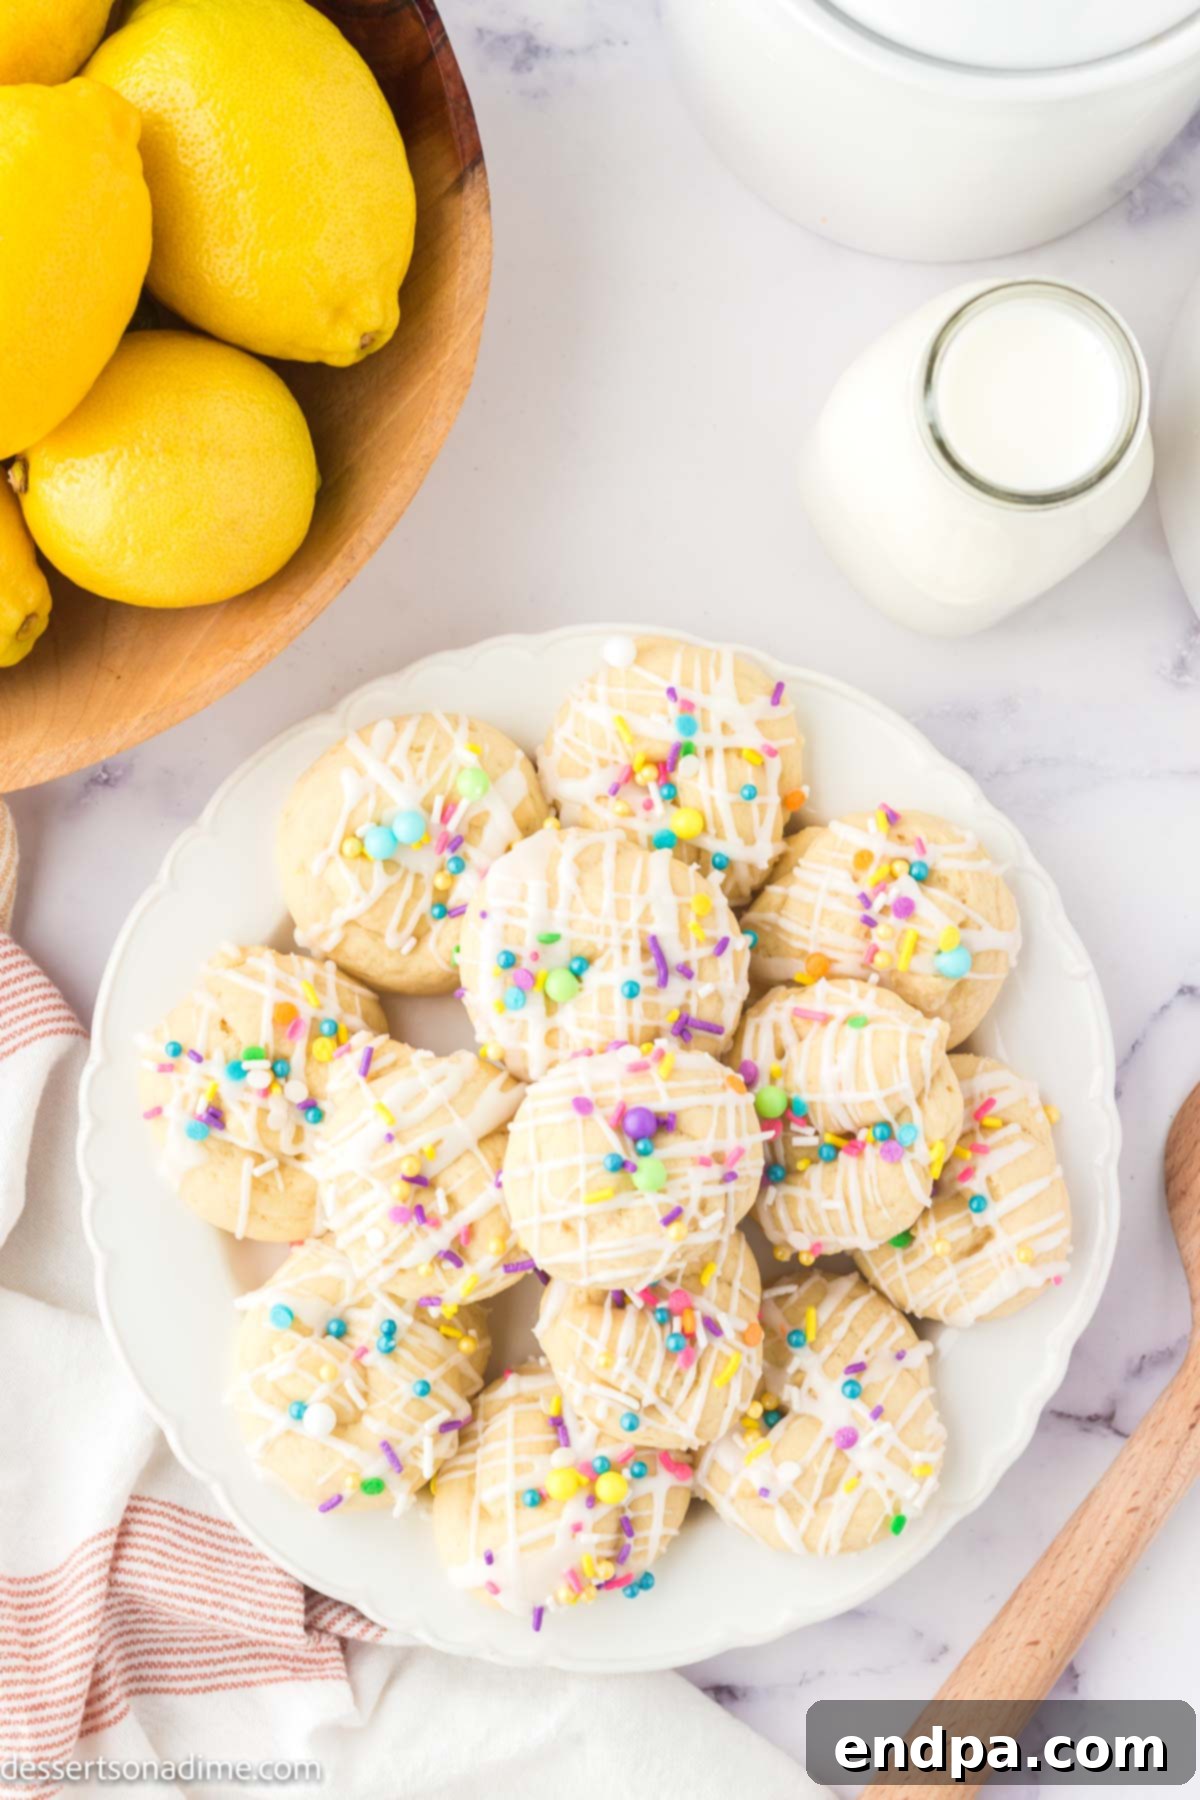
These beautiful Italian Easter Cookies bring joy to any table, making them an ideal choice among easy Easter desserts. Their vibrant appearance and exquisite taste have made them a cherished recipe in my family for many years. Whether you’re hosting a grand Easter lunch, a casual get-together, or simply looking for a delightful treat, these cookies are guaranteed to impress. Beyond these lovely knots, I also enjoy preparing other festive sweets like Easter Cookie Cake, whimsical Peeps Rice Krispie Treats, and classic Easter Rice Krispie Treats. For those seeking another taste of authentic Italian indulgence, our Cannoli Cake is a must-try.
Table of Contents
- Why You’ll Adore These Cookies
- Essential Ingredients
- For the Cookies
- For the Glaze
- Creative Variations and Substitutions
- Step-by-Step Guide: Crafting Italian Easter Cookies
- Storing Your Easter Cookies
- Chef’s Tips for Perfection
- More Irresistible Easter Dessert Recipes
Why You’ll Adore These Cookies
These Italian Easter Cookies stand out for their perfectly balanced flavor profile. Unlike many overly sweet American desserts, traditional Italian cookies offer a subtle sweetness that allows the nuanced flavors of their ingredients to truly shine. This makes them versatile enough to be served not only as a delightful after-dinner treat but also as an elegant accompaniment to a festive brunch spread. The star of the show, a vibrant and fresh lemon glaze, infuses each cookie with an irresistible citrus tang that brightens every bite.
These delectable delights are a staple around Easter time, cherished for generations. You might recognize them by their traditional names, such as “Taralli Dolci” or “Uncinetti.” The latter, derived from the Italian word for crochet, aptly describes their signature knot shape, reminiscent of intricate crochet work. This unique form adds to their charm and makes them instantly recognizable. The cheerful pastel sprinkles, a hallmark of Easter festivities, transform these simple cookies into a visual feast, perfectly capturing the spirit of spring and renewal. The smooth, simple powdered sugar glaze provides the ideal canvas for these colorful decorations, enhancing both their flavor and their festive appeal. Truly, every element comes together to create a delicious and memorable cookie experience.
Essential Ingredients
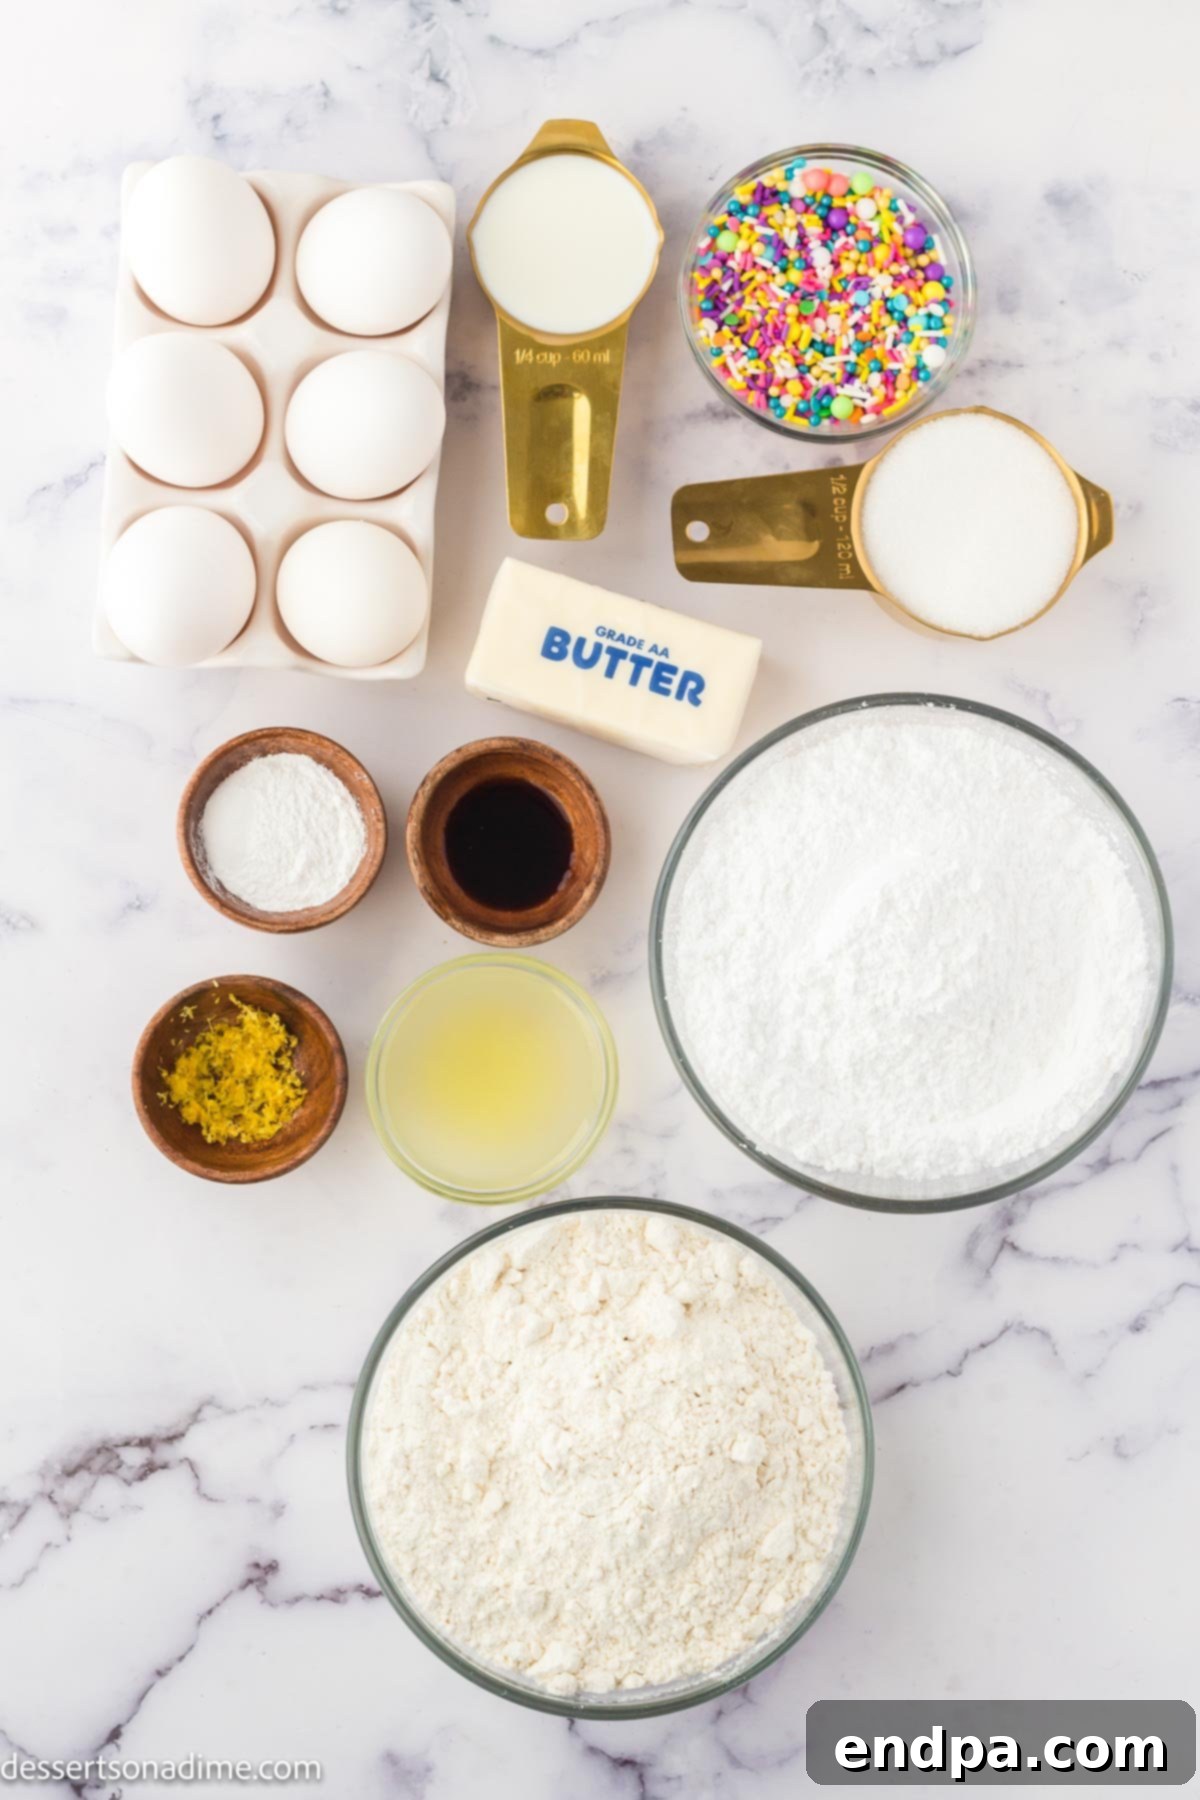
Crafting these exquisite Italian Easter Cookies requires a handful of basic ingredients, each playing a crucial role in achieving their distinctive flavor and texture. For precise measurements and the full recipe card, please refer to the bottom of this page.
For the Cookies
- Butter: Always ensure your butter is softened to room temperature. This is key for proper creaming with sugar, leading to a light and airy cookie texture.
- Vanilla Extract: For the most authentic and rich flavor, opt for pure vanilla extract. It adds a warm, aromatic depth that complements the lemon beautifully.
- Lemon Zest: This ingredient is vital! The finely grated zest of fresh lemons provides an intense, bright citrus taste that truly defines these cookies, without adding extra liquid.
- All-Purpose Flour: The foundation of our dough, providing structure and body.
- Granulated Sugar: For a gentle sweetness that doesn’t overpower the lemon.
- Large Eggs: Binders that contribute to the dough’s richness and help achieve a tender crumb.
- Baking Powder: Our leavening agent, ensuring the cookies rise to a delightful, slightly airy consistency.
- Milk: Adds moisture to the dough, creating a supple texture that’s easy to work with.
- Salt: A pinch of salt enhances all the other flavors, balancing the sweetness and brightening the citrus notes.
For the Glaze
- Powdered Sugar: Also known as confectioners’ sugar, this forms the base of our smooth, pourable glaze. It’s important to sift it before use to eliminate any lumps, ensuring a silky finish.
- Lemon Juice: Freshly squeezed lemon juice is paramount here. Its bright, tangy flavor is the perfect counterpart to the cookie’s subtle sweetness and the powdered sugar’s richness. Avoid bottled lemon juice for the best results.
- Milk: A small amount of milk helps achieve the desired consistency for the glaze, making it easy to spread or drizzle without being too thick.
- Multi-Color Pastel Sprinkles: These are the finishing touch, adding a vibrant, festive look that is characteristic of Easter celebrations.
Creative Variations and Substitutions
While the classic Italian Easter Cookie recipe is undoubtedly perfect, there are many ways to personalize these delightful treats to suit your taste or occasion. Don’t hesitate to experiment with these simple variations:
- Experiment with Different Extracts: The flavor profile of these cookies can be beautifully altered with different extracts. Beyond the classic vanilla, consider adding almond extract for a nutty depth, anise extract for a traditional Italian touch often found in biscotti, or even a pure lemon extract if you desire an even more intense citrus punch. For a complex flavor, you might enjoy combining both vanilla and almond extracts in the cookie dough, creating a rich, aromatic base.
- Seasonal Sprinkles for Year-Round Enjoyment: While these are traditionally Italian Easter cookies, their deliciousness means you’ll want to enjoy them far beyond spring. Simply swap the pastel Easter sprinkles for other types of sprinkles to match any holiday or celebration. Think red and green for Christmas, red, white, and blue for patriotic holidays, or even simple rainbow sprinkles for birthdays. This easy substitution transforms them into a versatile cookie for any time of year.
- Add a Pop of Color with Food Coloring: Elevate the visual appeal of your glaze by adding a few drops of food dye. Any soft, pastel shade reminiscent of Easter eggs would be absolutely stunning. A pale pink, light blue, mint green, or soft yellow glaze can make your cookies even more captivating and festive. Start with a tiny drop and add more gradually until you achieve your desired hue.
Step-by-Step Guide: Crafting Italian Easter Cookies
Making these charming Italian Easter Cookies is a rewarding experience. Follow these detailed steps to create a batch of perfectly tender, lemon-glazed knot cookies.
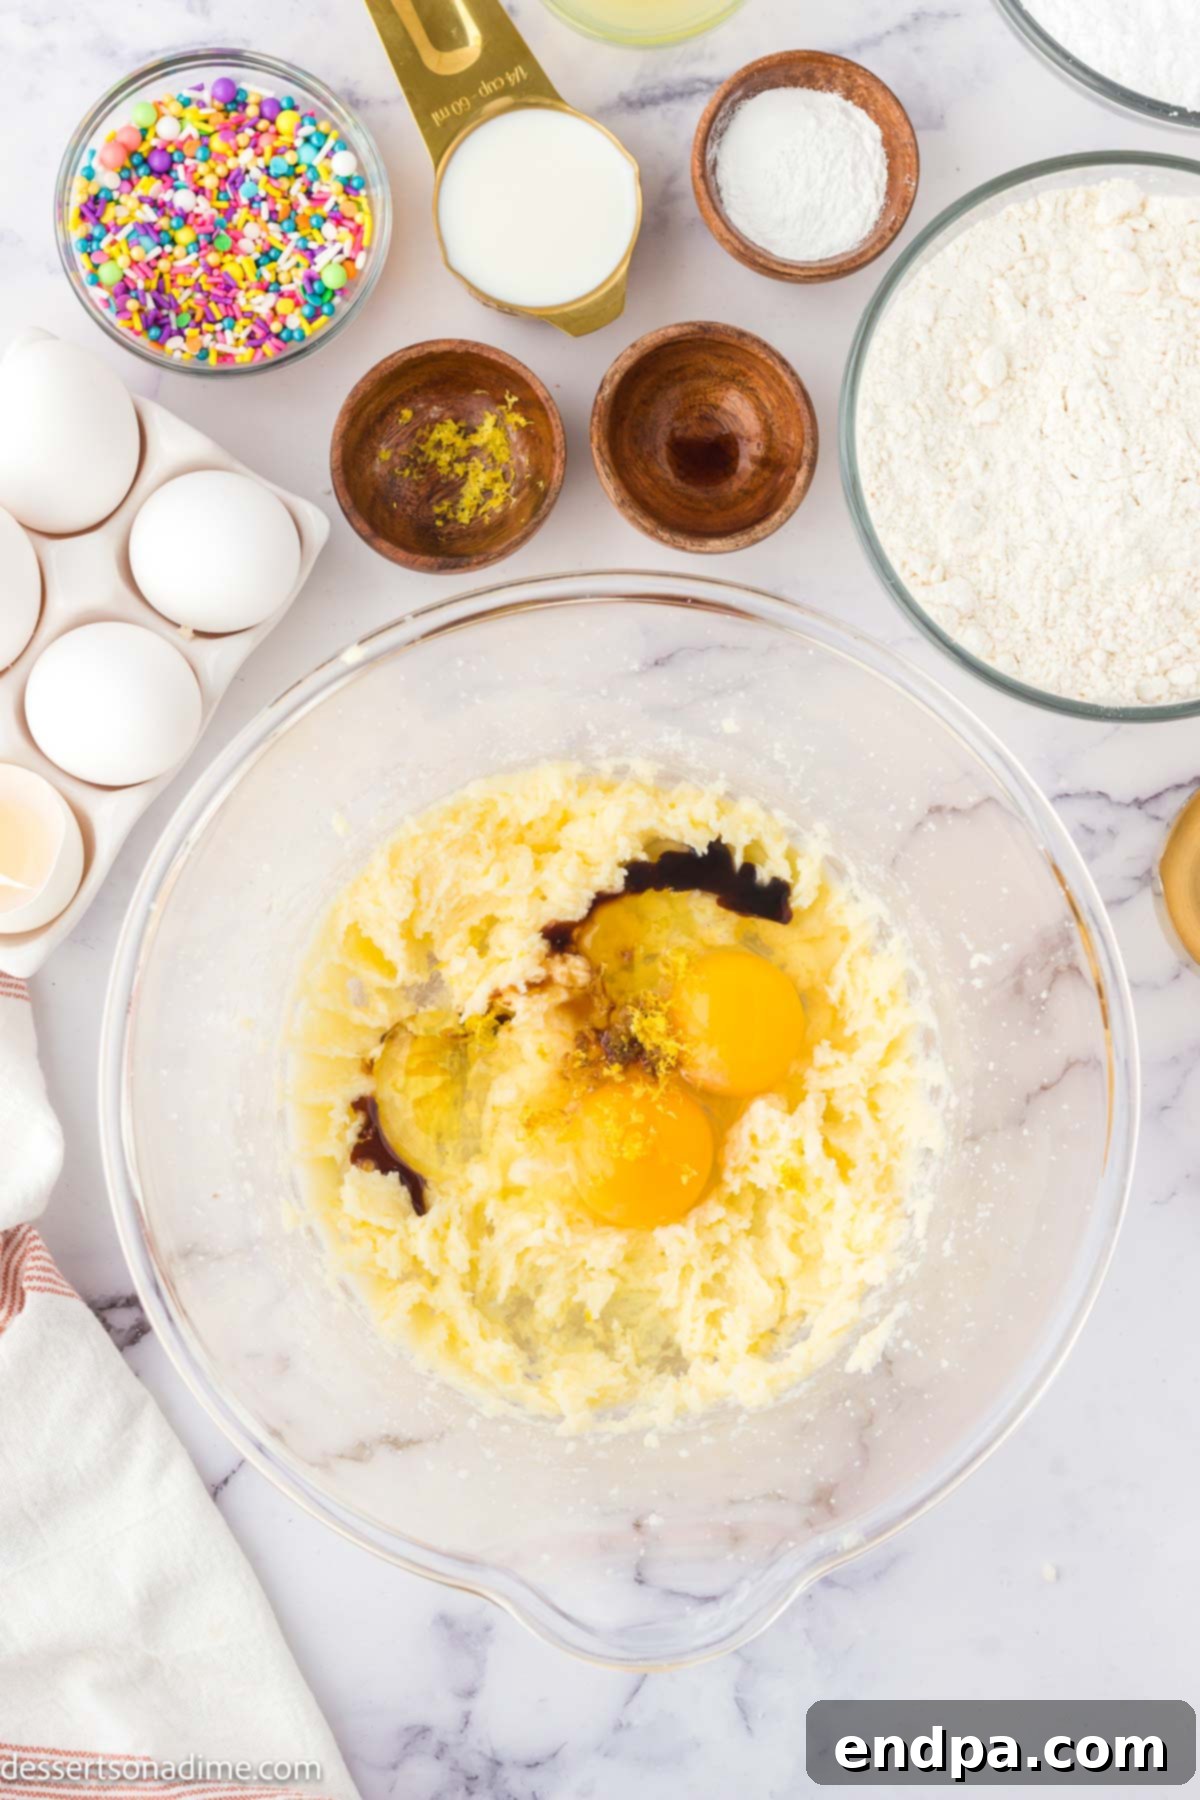
Step 1: Cream the Wet Ingredients. Begin by creaming together the softened butter and granulated sugar. Use either a stand mixer fitted with a paddle attachment or a hand mixer. Beat on medium speed until the mixture is light, fluffy, and pale in color. This process incorporates air, which contributes to the cookies’ tender texture. Next, beat in the eggs one at a time, ensuring each is fully incorporated before adding the next. Finally, mix in the vanilla extract and fresh lemon zest until just combined. The mixture should be smooth and fragrant.
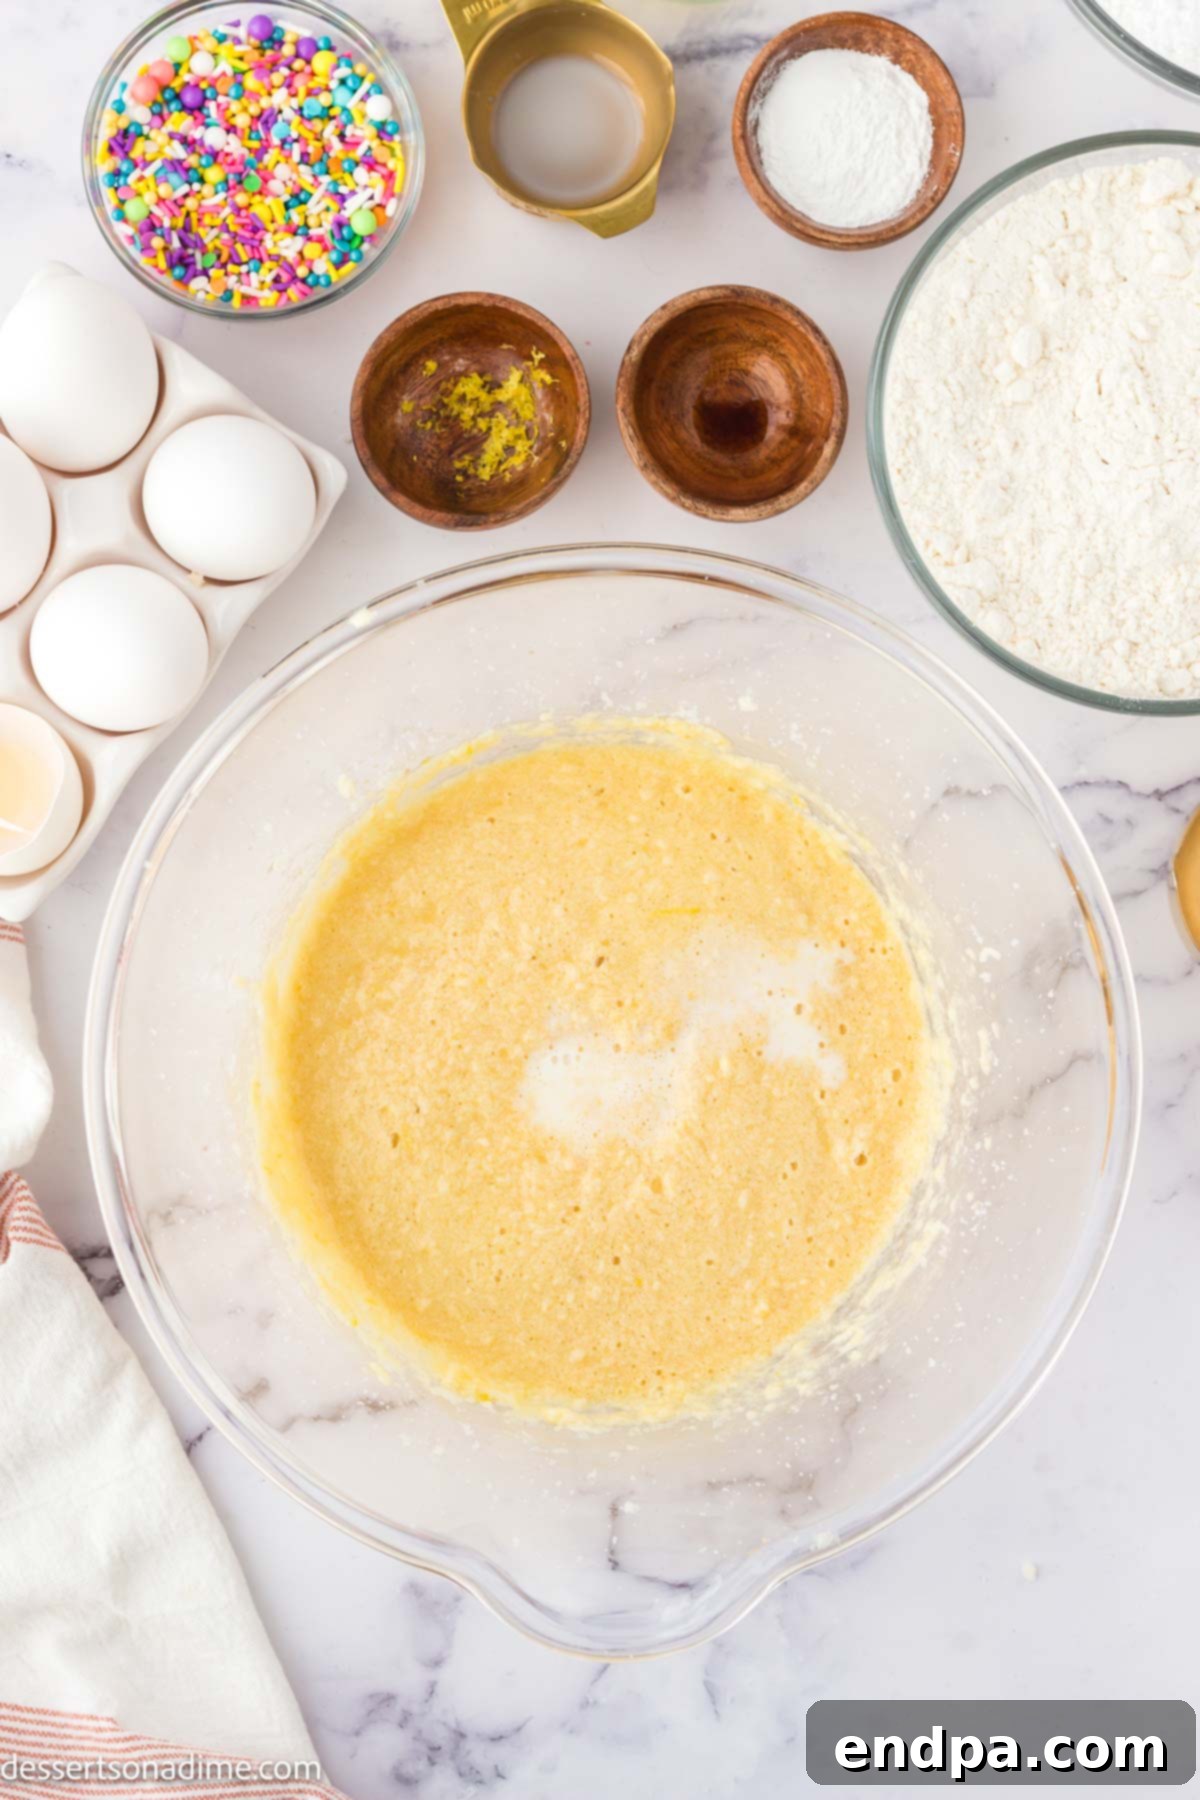
Step 2: Incorporate the Milk. With the mixer running on low speed, slowly pour the milk into the butter and sugar mixture. Continue to mix until the milk is fully combined and the batter appears homogeneous. This step adds essential moisture to the dough, making it supple and easy to handle later on.
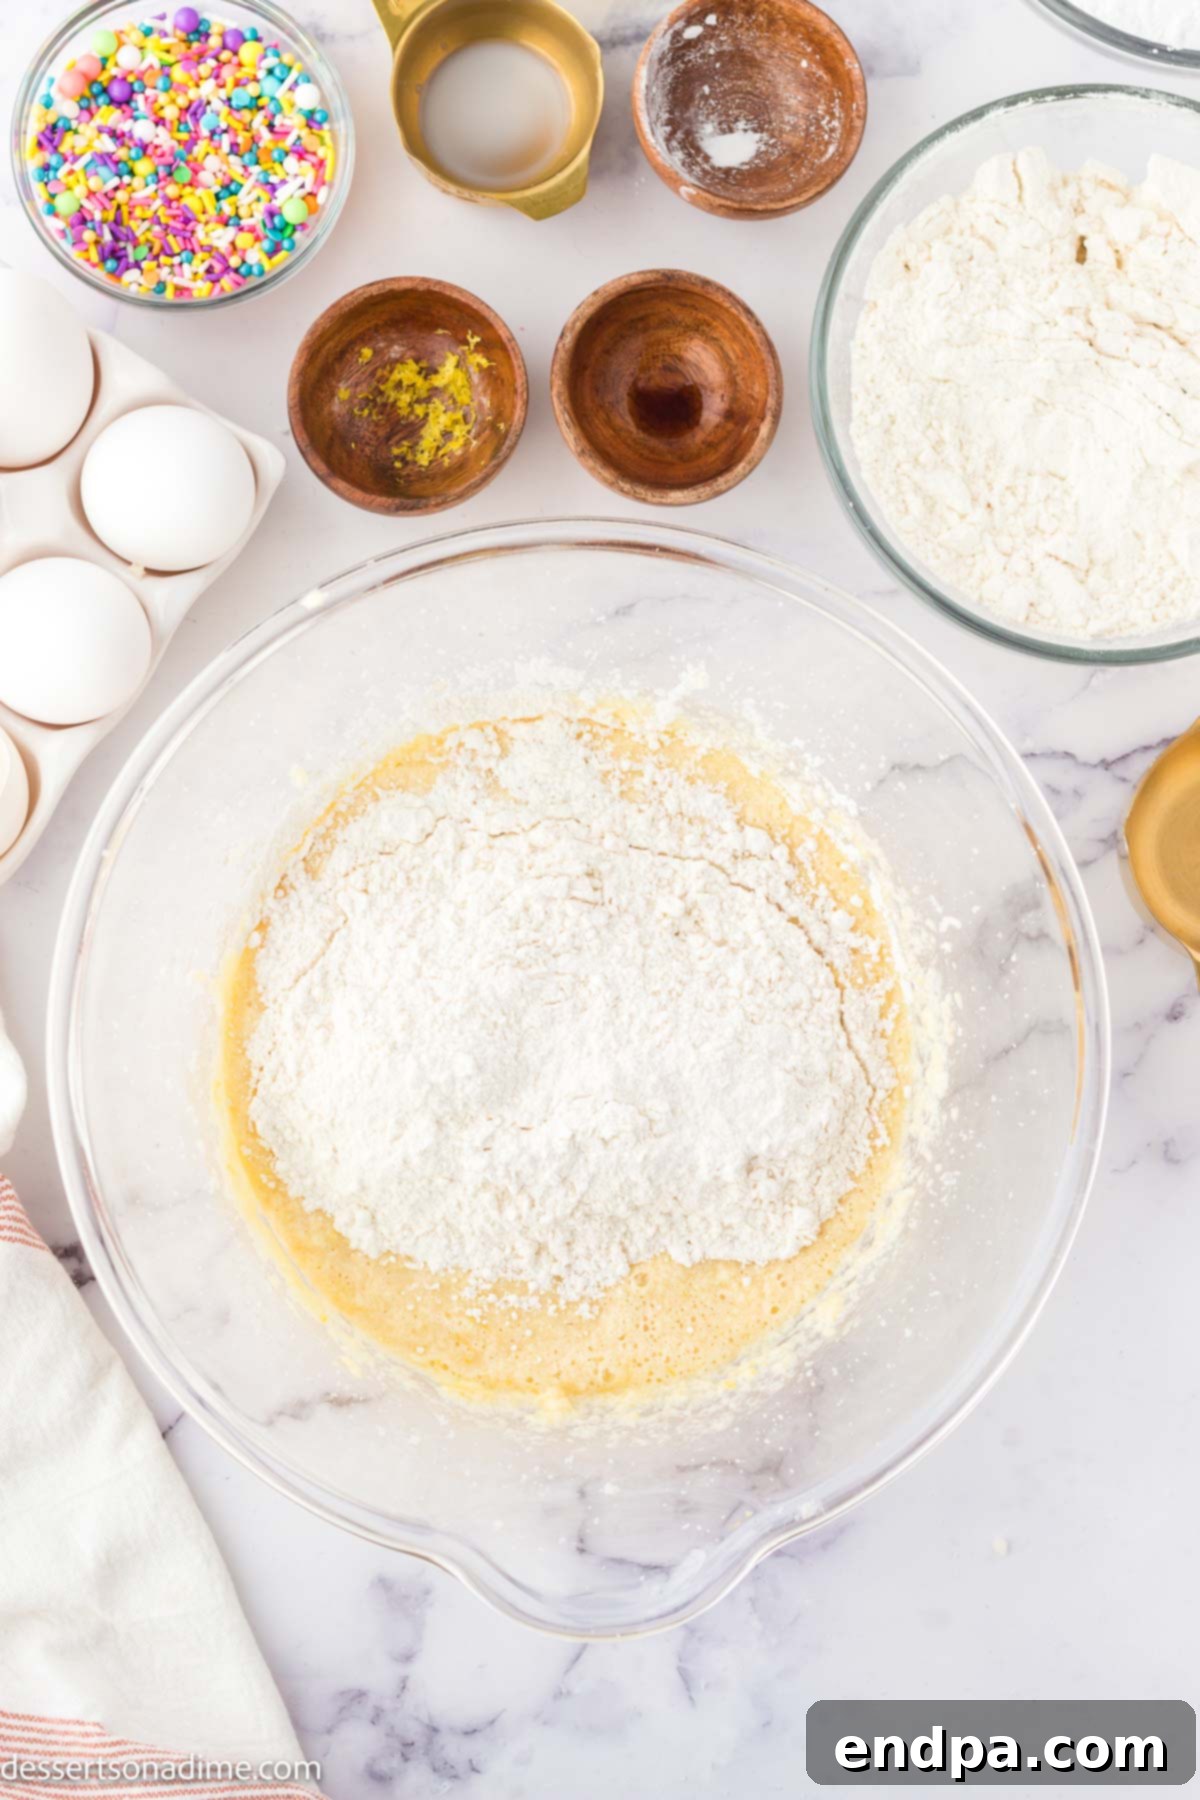
Step 3: Combine Dry Ingredients. In a separate, medium-sized bowl, whisk together the all-purpose flour, baking powder, and salt. Ensure these dry ingredients are thoroughly combined to guarantee even distribution throughout the dough and proper leavening.
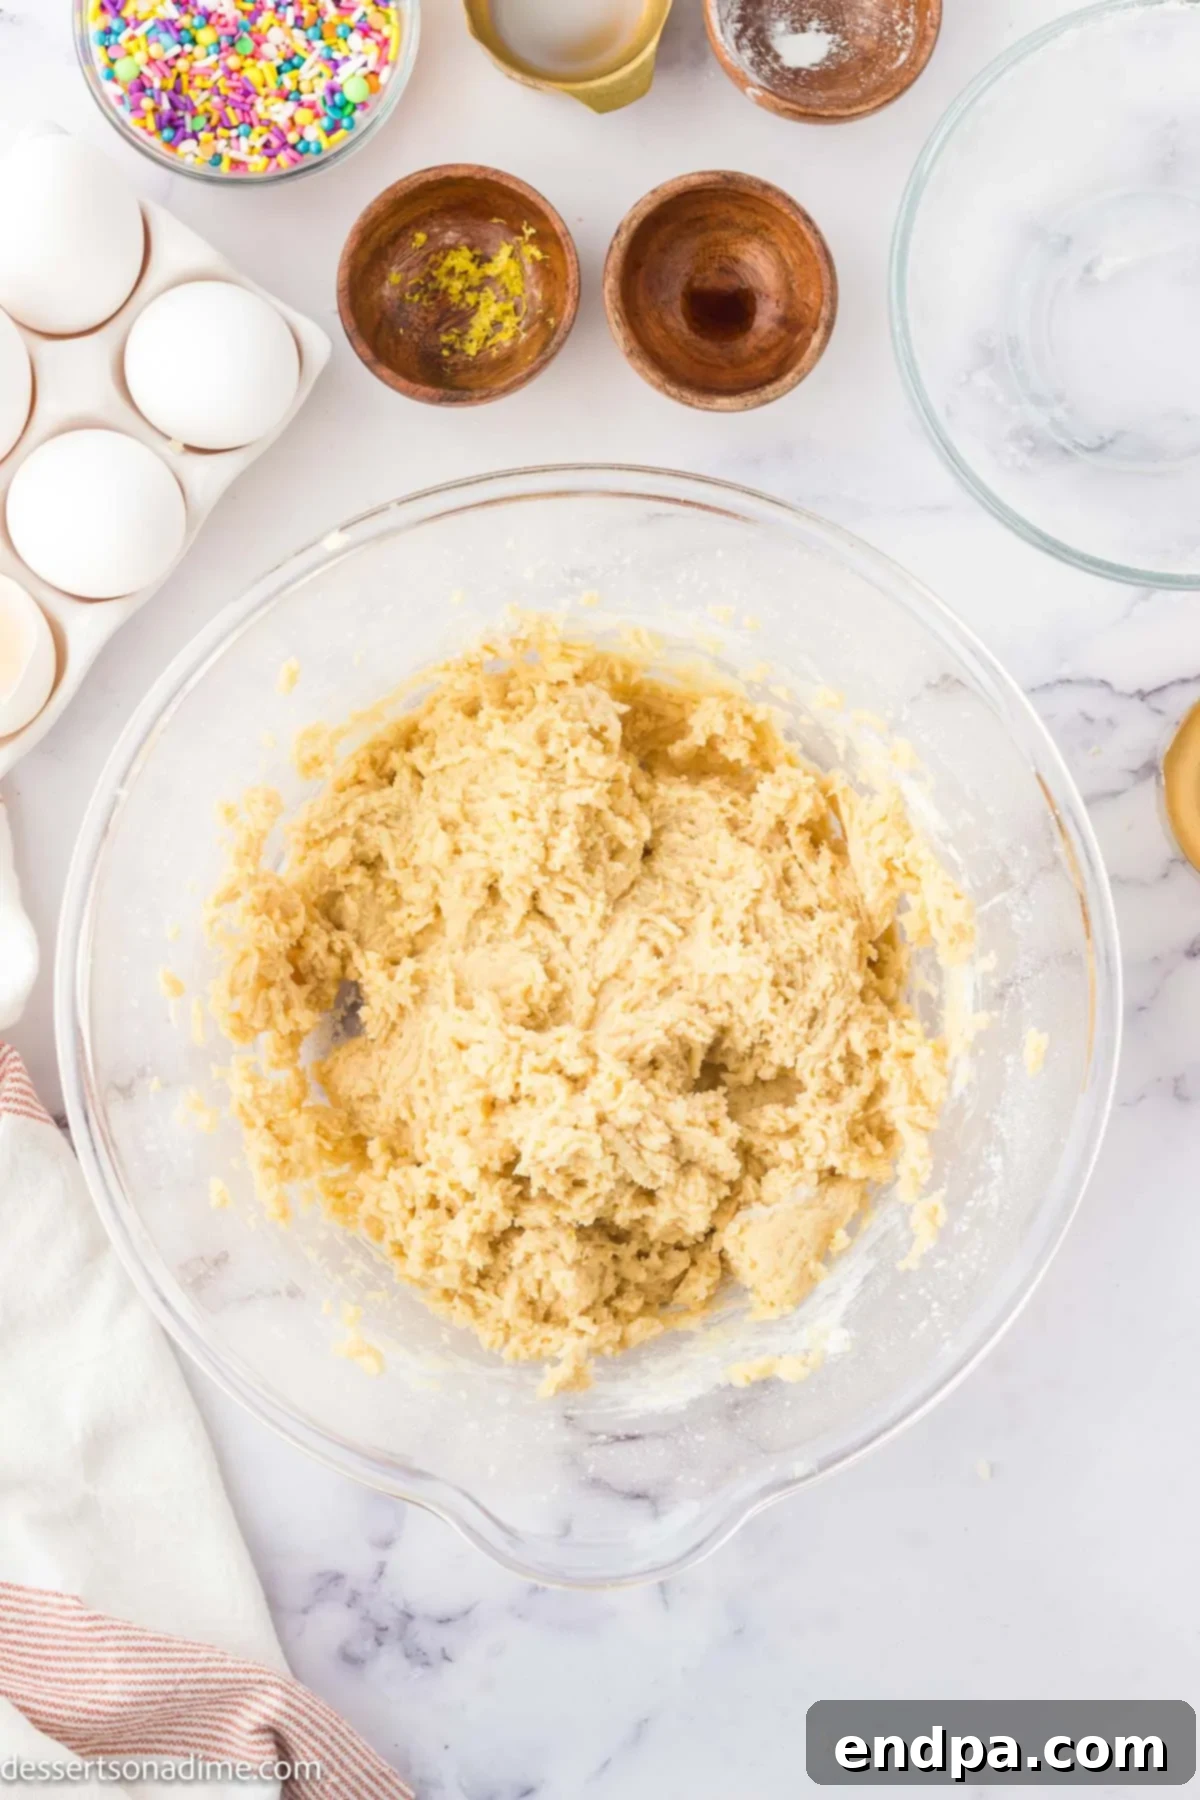
Step 4: Form the Dough and Chill. Gradually add the combined dry ingredients to the wet mixture, mixing on low speed until just combined. Be careful not to overmix the dough, as this can lead to tough cookies. Stop mixing as soon as no streaks of flour remain. Once the dough comes together, cover the bowl tightly with plastic wrap and refrigerate it. Chilling the dough for at least an hour, or ideally overnight, helps it firm up, making it much easier to handle and preventing it from spreading too much during baking. It also allows the flavors to meld beautifully.
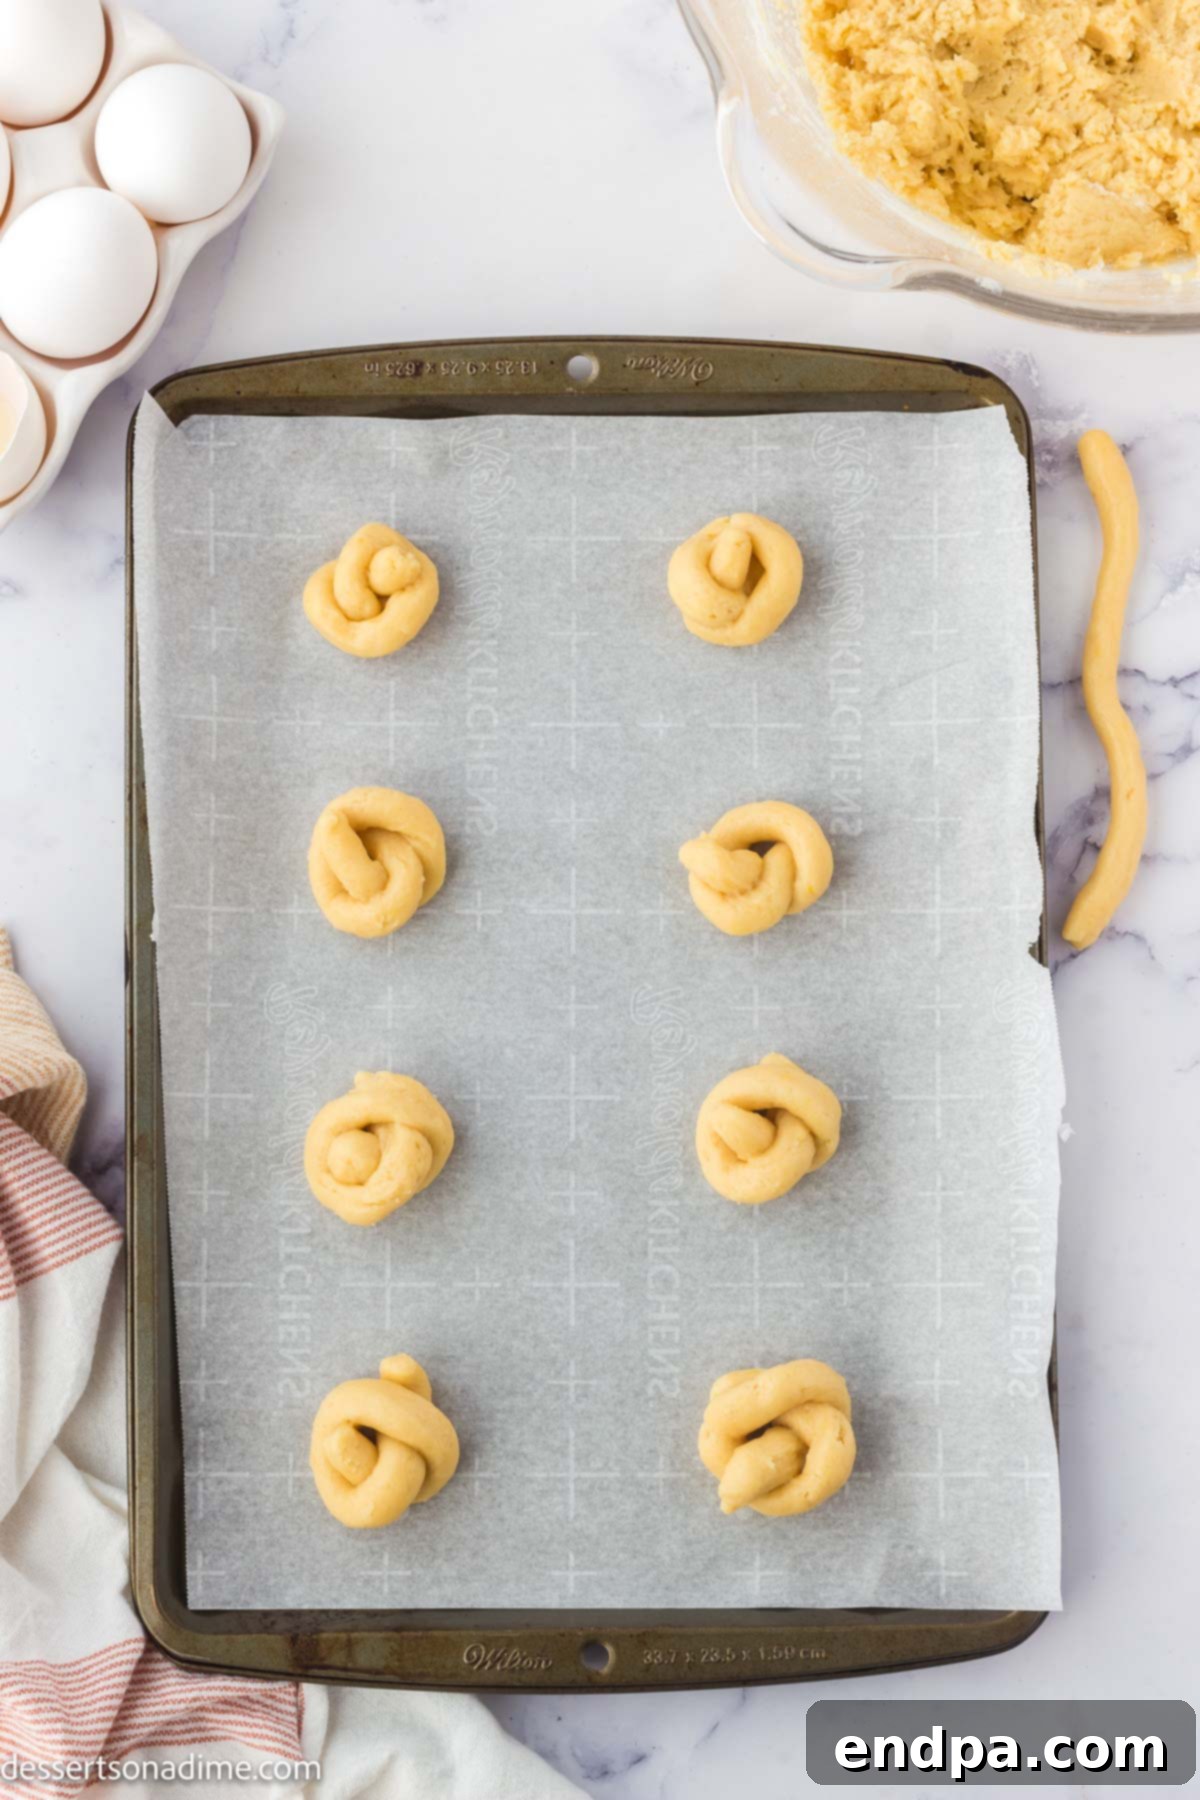
Step 5: Shape the Cookies. Once the dough is thoroughly chilled, preheat your oven to 300°F (150°C) and line a baking sheet with parchment paper. Take small pieces of the cookie dough and roll them between your palms or on a lightly floured surface into thin ropes, approximately 5 to 6 inches long. Remember, these ropes should be relatively thin, as the cookies will expand and rise as they bake. Carefully form each rope into a knot shape, gently pressing the ends together to secure them. Place the formed knot cookies about an inch apart on your prepared baking sheet.
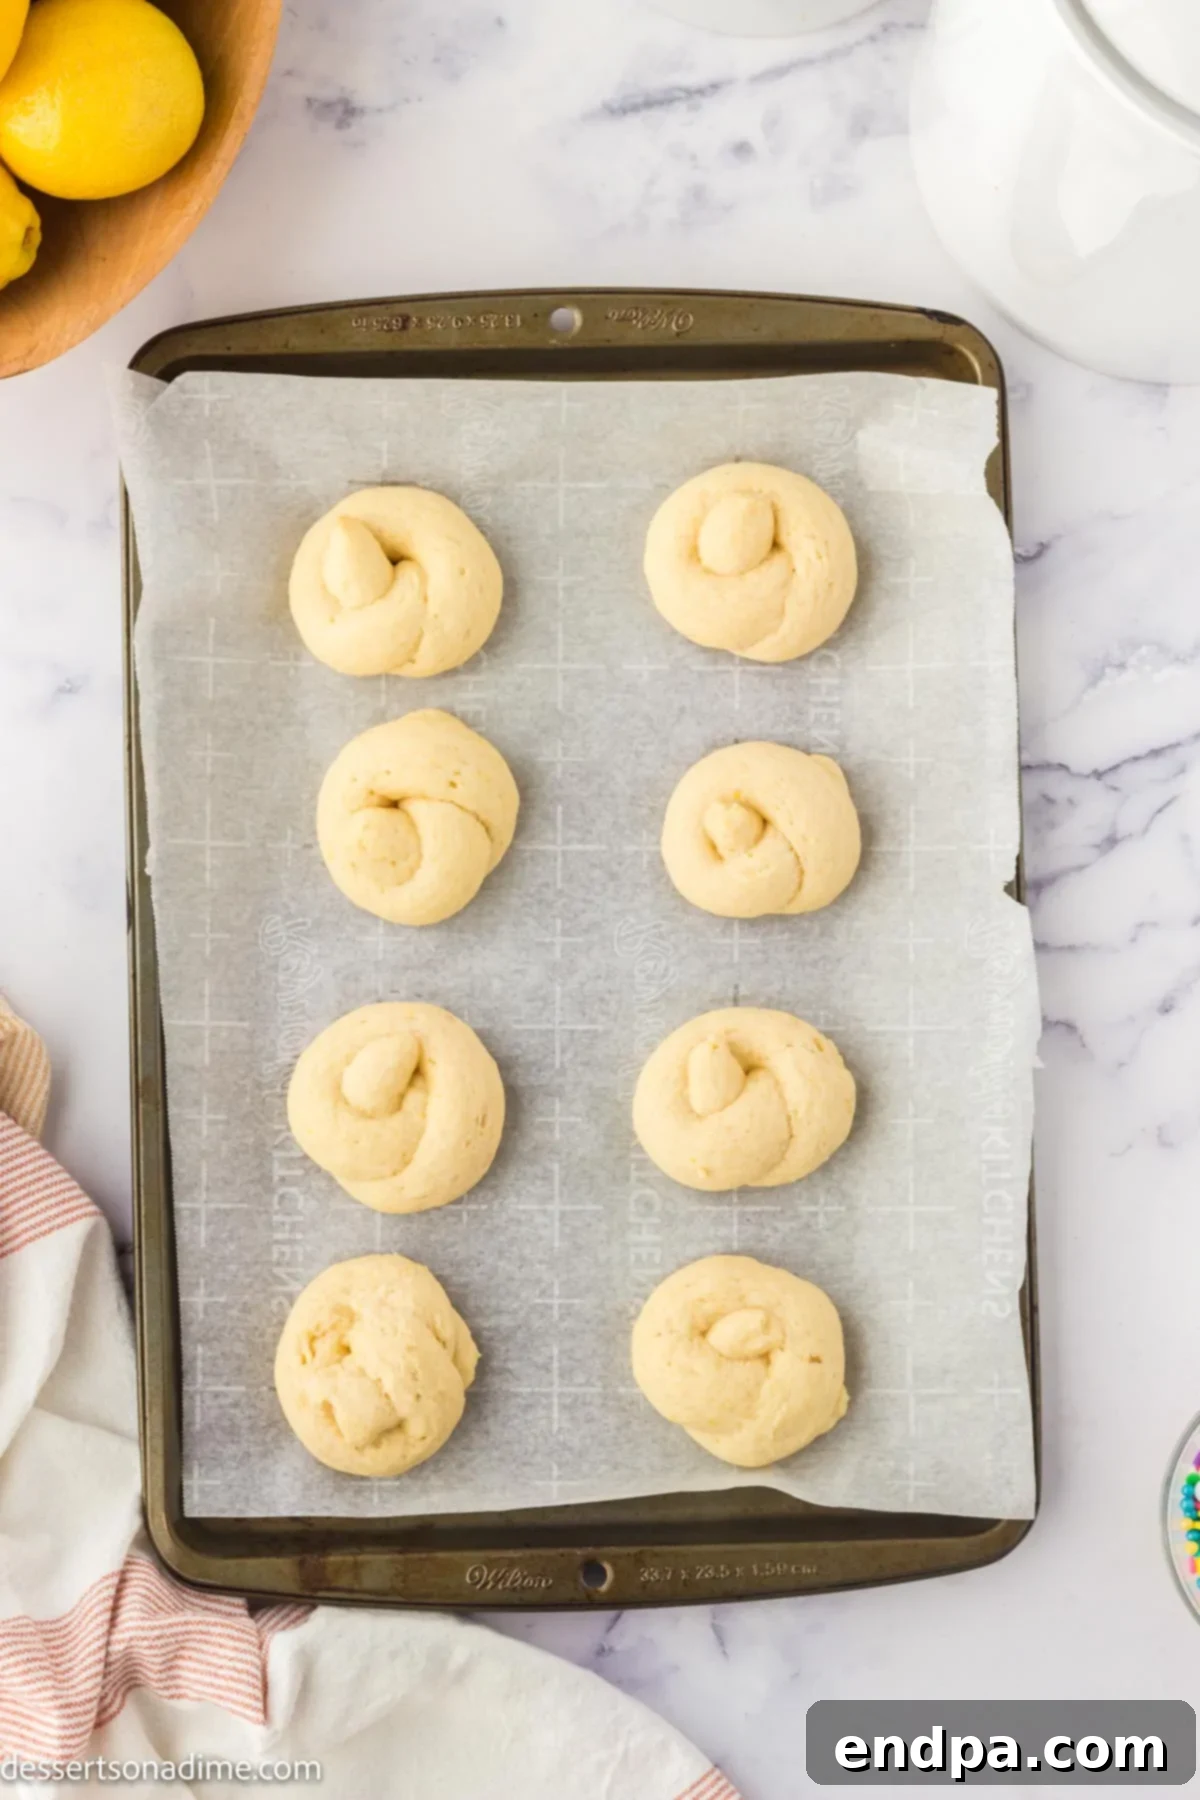
Step 6: Bake the Cookies and Prepare the Glaze. Bake the cookies in the preheated oven for 15 to 18 minutes, or until they are lightly golden brown around the edges. While the cookies are baking, seize this opportunity to prepare your luscious lemon glaze. In a medium bowl, whisk together the sifted powdered sugar, fresh lemon juice, and a tablespoon of milk until the mixture is completely smooth and free of lumps. Adjust the consistency with a tiny bit more milk or powdered sugar if needed, aiming for a thick yet pourable glaze.
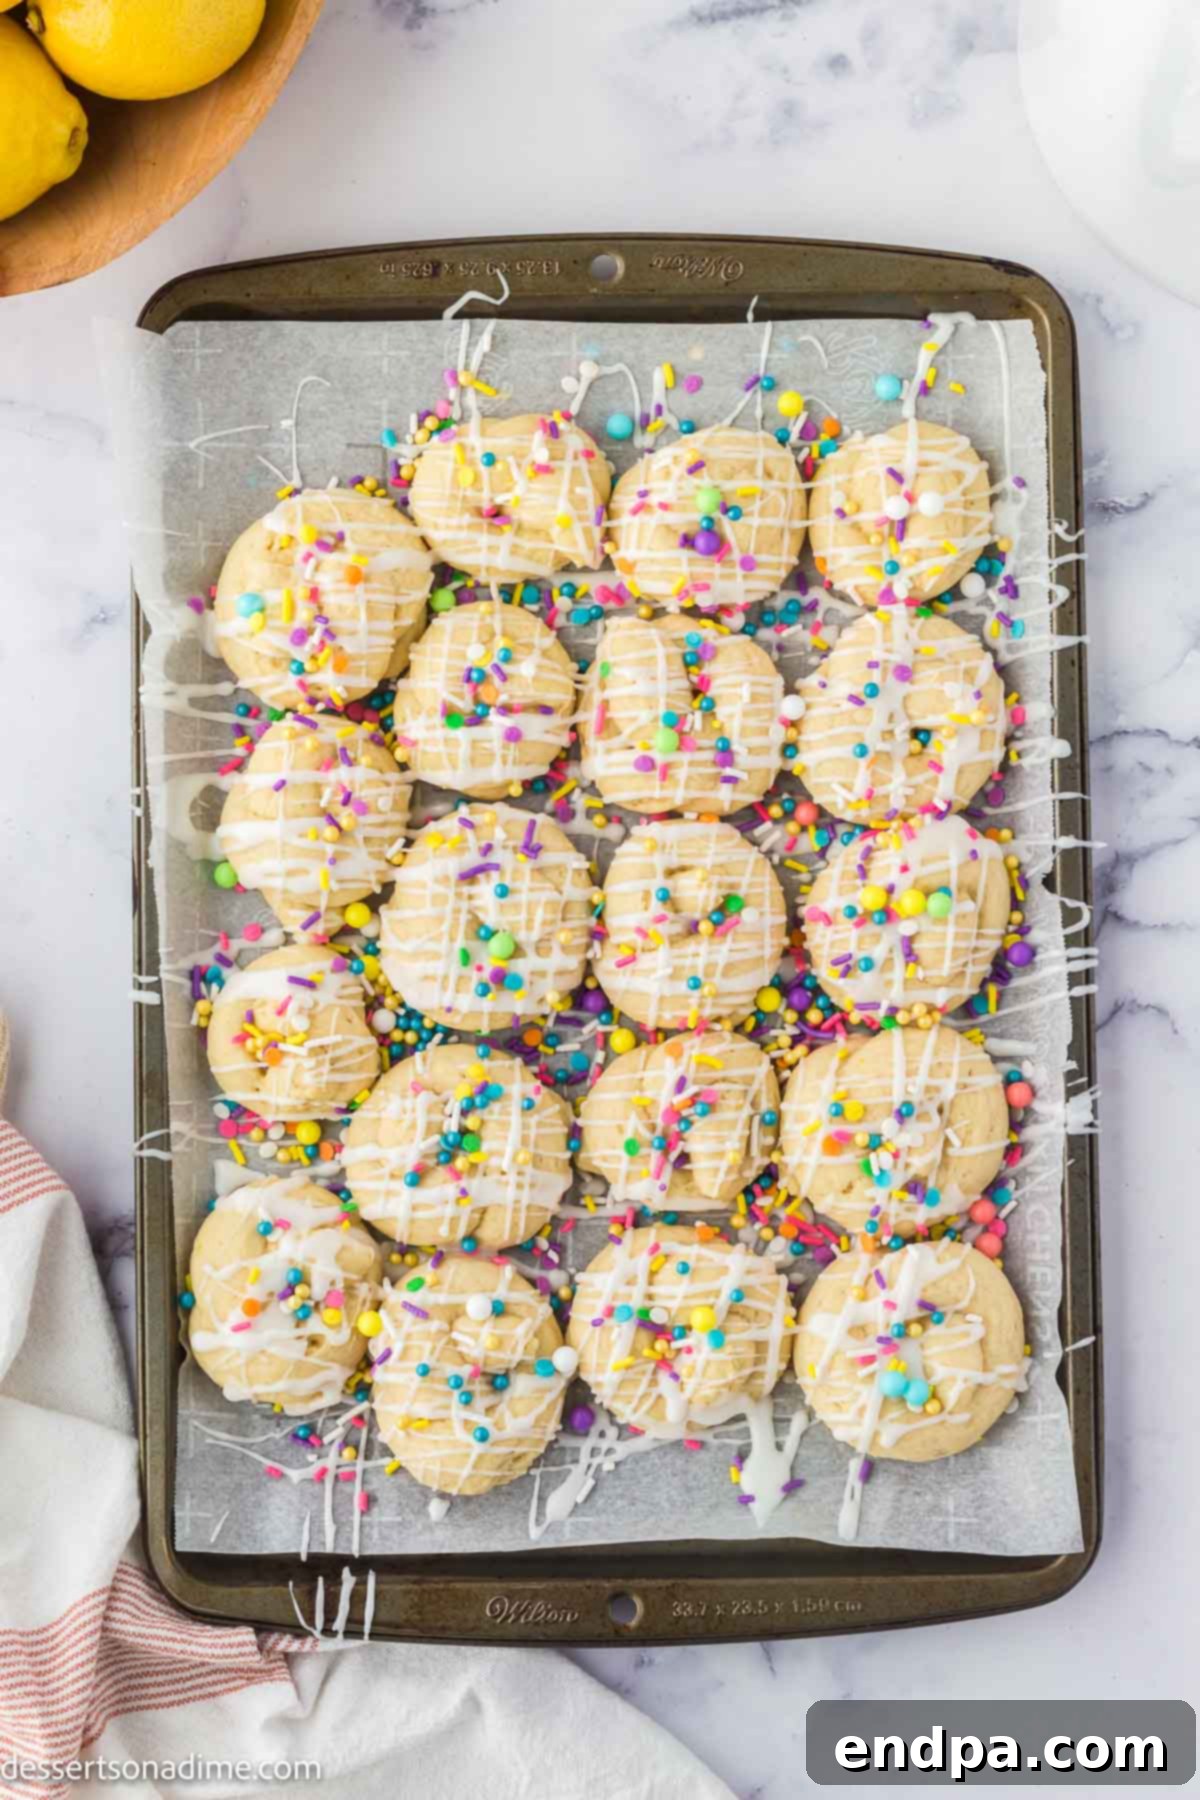
Step 7: Glaze and Decorate. Once baked, remove the cookies from the oven and let them cool on the baking sheet for about 5 minutes before carefully transferring them to a wire rack to cool completely. This cooling process is crucial before glazing. Once the cookies are cool to the touch, generously dip each one into the lemon glaze, or use a spoon to drizzle the glaze over the tops. Ensure an even coating. Immediately after glazing each cookie, sprinkle it with your desired pastel sprinkles before the glaze has a chance to set.
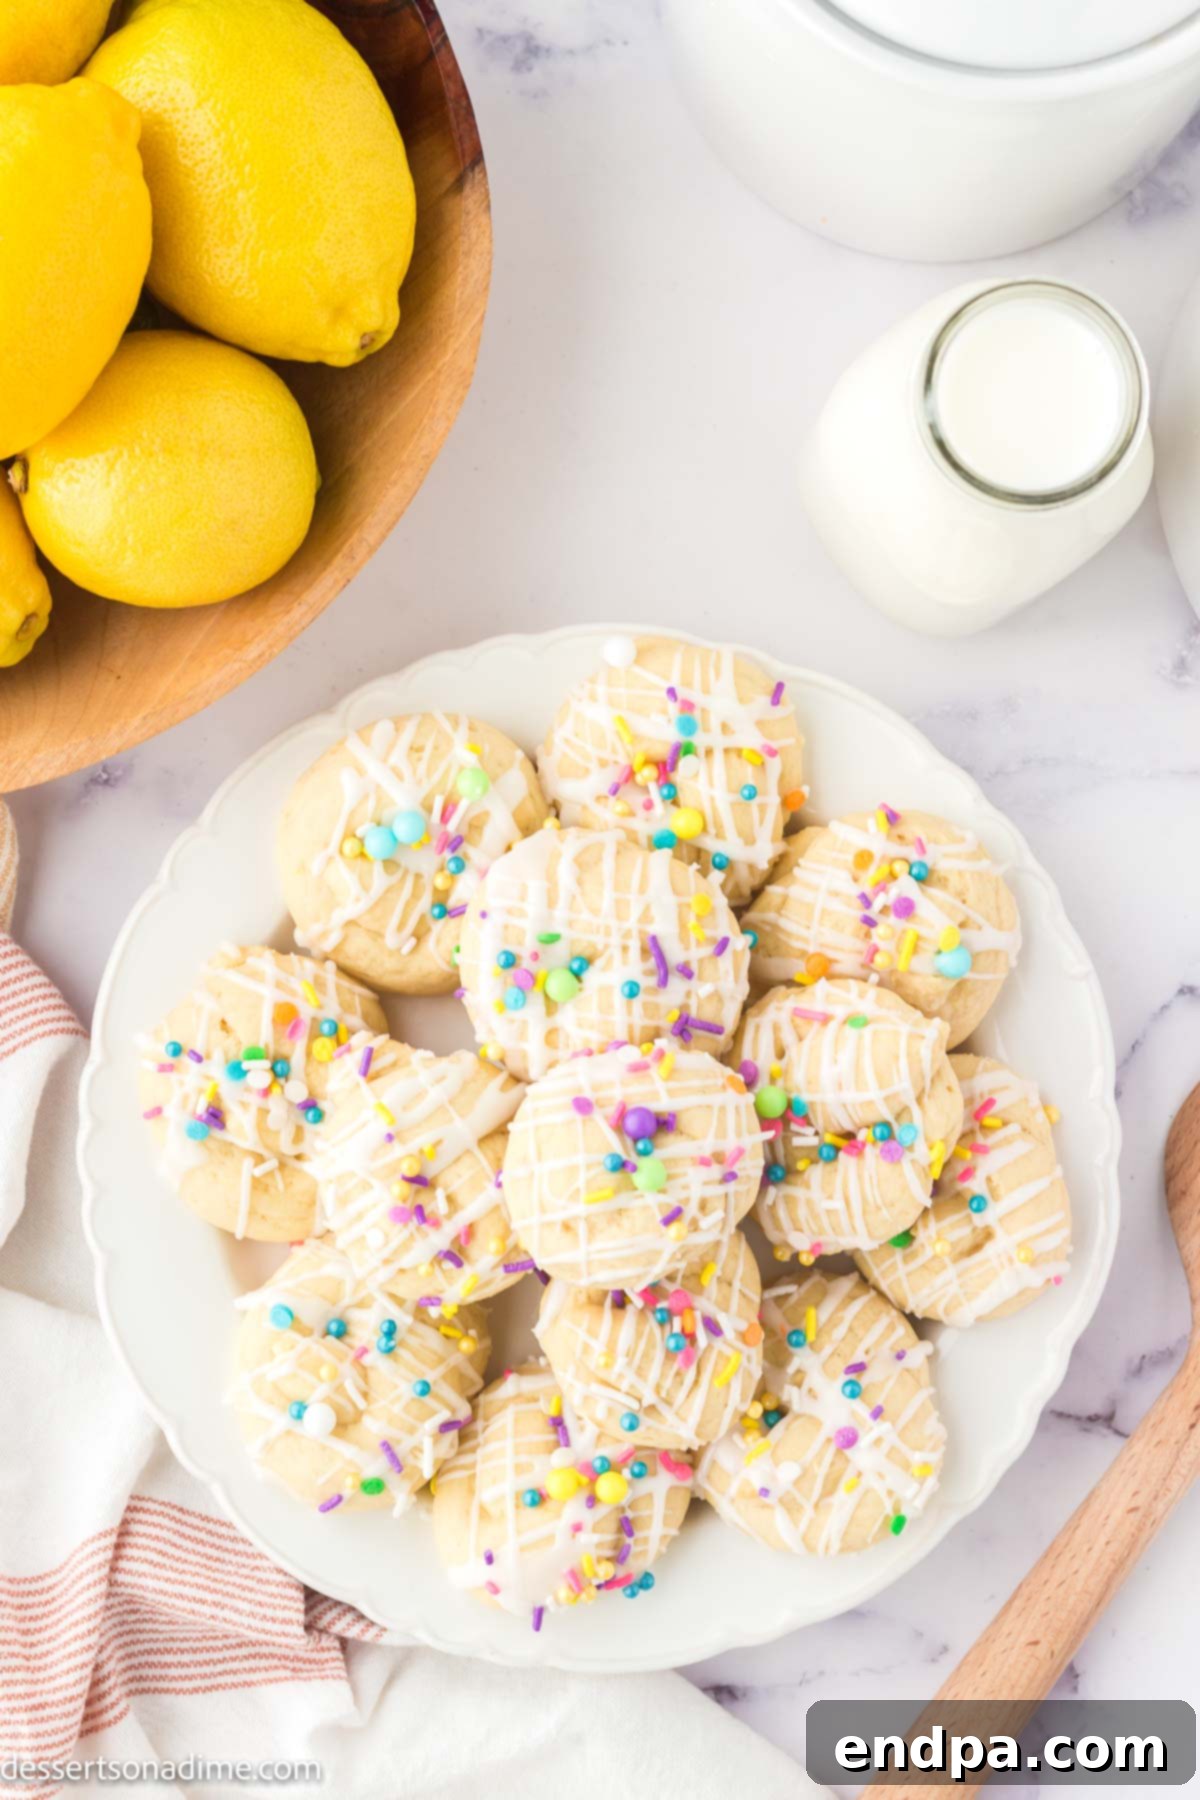
Step 8: Serve and Enjoy! Allow the glaze to fully set and harden on the cookies, which typically takes about 30 minutes to an hour, depending on humidity. Once the glaze is firm, arrange your beautifully decorated Italian Easter Cookies on a platter and prepare to delight your guests. These vibrant, citrusy treats are perfect for any Easter celebration or simply as a special homemade indulgence.
Storing Your Easter Cookies
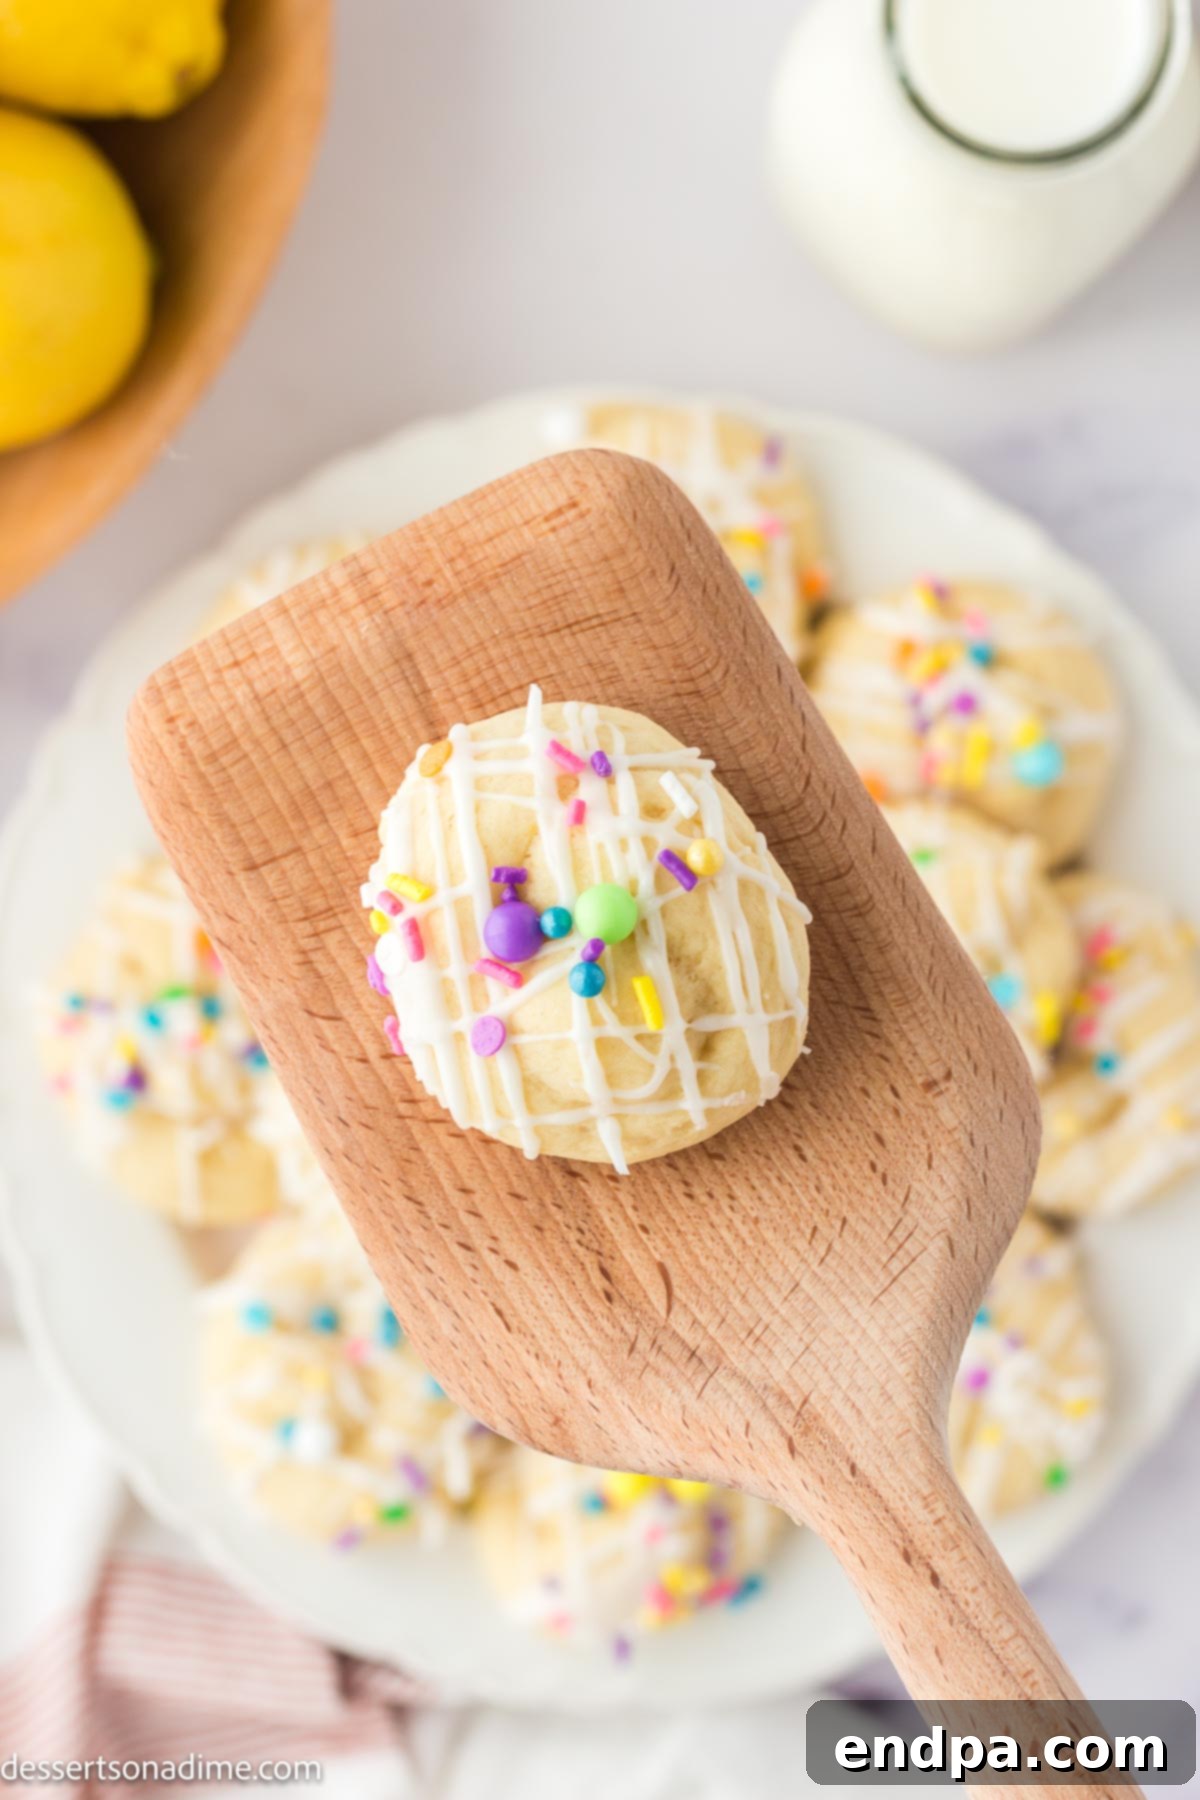
Proper storage is key to keeping your Italian Easter Cookies fresh and delicious for as long as possible. Once the glaze has completely set and hardened, transfer the cookies to an airtight container. They will maintain their freshness and delightful flavor for up to one week at room temperature.
It is absolutely crucial to wait until the cookies are entirely cool and the glaze is firm before storing them. If you seal them in a container too soon, the moisture can cause the cookies to stick together, making a sticky mess and potentially ruining their beautiful appearance. You’ve put so much effort into making them pretty, you definitely don’t want to mess up your gorgeous cookies!
For an extra tip to help keep your cookies wonderfully moist, consider placing a slice of fresh bread in the container along with them. The bread will absorb any excess moisture, preventing the cookies from drying out and staying soft and delicious for longer.
Chef’s Tips for Perfection
Achieving bakery-quality Italian Easter Cookies is easier than you think with a few simple expert tips:
- Line Baking Sheets for Easy Cleanup: Always line your baking sheets with parchment paper or a silicone baking mat. This not only prevents the cookies from sticking but also makes cleanup incredibly easy, especially when dealing with the potential drips from the glaze and scattered sprinkles. It also helps ensure even baking and a consistent golden-brown bottom.
- Add Sprinkles Immediately: The powdered sugar icing sets surprisingly quickly. To ensure your festive sprinkles adhere beautifully and don’t just fall off, it’s essential to add them immediately after you’ve applied the glaze to each cookie. Work quickly, glazing one cookie at a time and then sprinkling, before moving on to the next.
- Roll the Ropes Thin: When forming the cookie dough into ropes, remember that these cookies will expand and rise considerably in the oven. To achieve the classic, elegant knot shape without them becoming too bulky, aim to roll the dough ropes quite thin. If the ropes are too thick, your knots will appear large and less defined after baking, compromising their delicate appearance. Practice makes perfect when it comes to uniform rope thickness.
More Irresistible Easter Dessert Recipes
Looking for more ways to sweeten your Easter celebration? Explore these other fantastic dessert recipes that are perfect for the holiday:
- Easter Chocolate Covered Oreos
- Birds Nest Cookies Recipe
- Easter Dirt Cups Recipe
- Best Easter Dessert Recipes
- Easter Bunny Chow
- Crock Pot Easter Candy Clusters
I genuinely can’t wait for you to try making these Italian Easter Cookies. Their charming appearance and delightful lemon flavor are sure to bring a smile to everyone’s face. Please leave a star rating once you’ve had a chance to bake and enjoy them!
Pin
Italian Easter Cookies
Ingredients
FOR THE COOKIES:
- 2 1/2 cup All Purpose Flour
- 1/2 cup Butter softened
- 1/2 cup Granulated Sugar
- 3 Large Eggs
- 2 tsp Vanilla Extract
- Zest of 1 Lemon
- 1 Tbsp Baking Powder
- 1/4 cup Milk
- 1/4 tsp Salt
FOR THE GLAZE:
- 2 cups Powdered Sugar sifted
- 2 Tbsp Lemon Juice fresh
- 1 Tbsp Milk
- Multi-Color Pastel Sprinkles
Instructions
- In the bowl of a stand mixer or with a hand mixer, beat together the softened butter and granulated sugar until thoroughly creamed, light, and fluffy.
- Add the large eggs one at a time, mixing well after each addition. Then, stir in the vanilla extract and fresh lemon zest until fully combined.
- Pour in the milk and continue to mix on low speed until it is completely incorporated into the wet ingredients.
- In a separate bowl, whisk together the all-purpose flour, baking powder, and salt. Gradually add these dry ingredients into the wet mixture, mixing on low speed until just combined. Be careful not to overmix the dough.
- Cover the cookie dough tightly with plastic wrap and refrigerate for at least 1 hour, or preferably overnight, to allow it to firm up and flavors to develop.
- When ready to bake, preheat your oven to 300°F (150°C) and line a large baking sheet with parchment paper.
- Take small portions of the chilled dough and roll them into thin ropes, approximately 5-6 inches in length (remember they will rise, so keep them thin). Form each rope into a knot and place them onto the prepared baking sheet. Bake for 15-18 minutes, or until the edges are lightly golden brown.
- Allow the baked cookies to cool on the baking sheet for 5 minutes, then transfer them to a wire rack to cool completely before glazing.
- While the cookies cool, prepare the glaze. In a bowl, whisk together the sifted powdered sugar, fresh lemon juice, and milk until smooth and pourable.
- Once the cookies are completely cool, dip or drizzle each cookie with the lemon glaze. Immediately top with your multi-color pastel sprinkles before the glaze sets.
- Allow the glaze to harden before serving. Enjoy your beautiful and delicious Italian Easter Cookies!
Recipe Notes
Nutrition Facts
Pin This Now to Remember It Later
Pin Recipe
