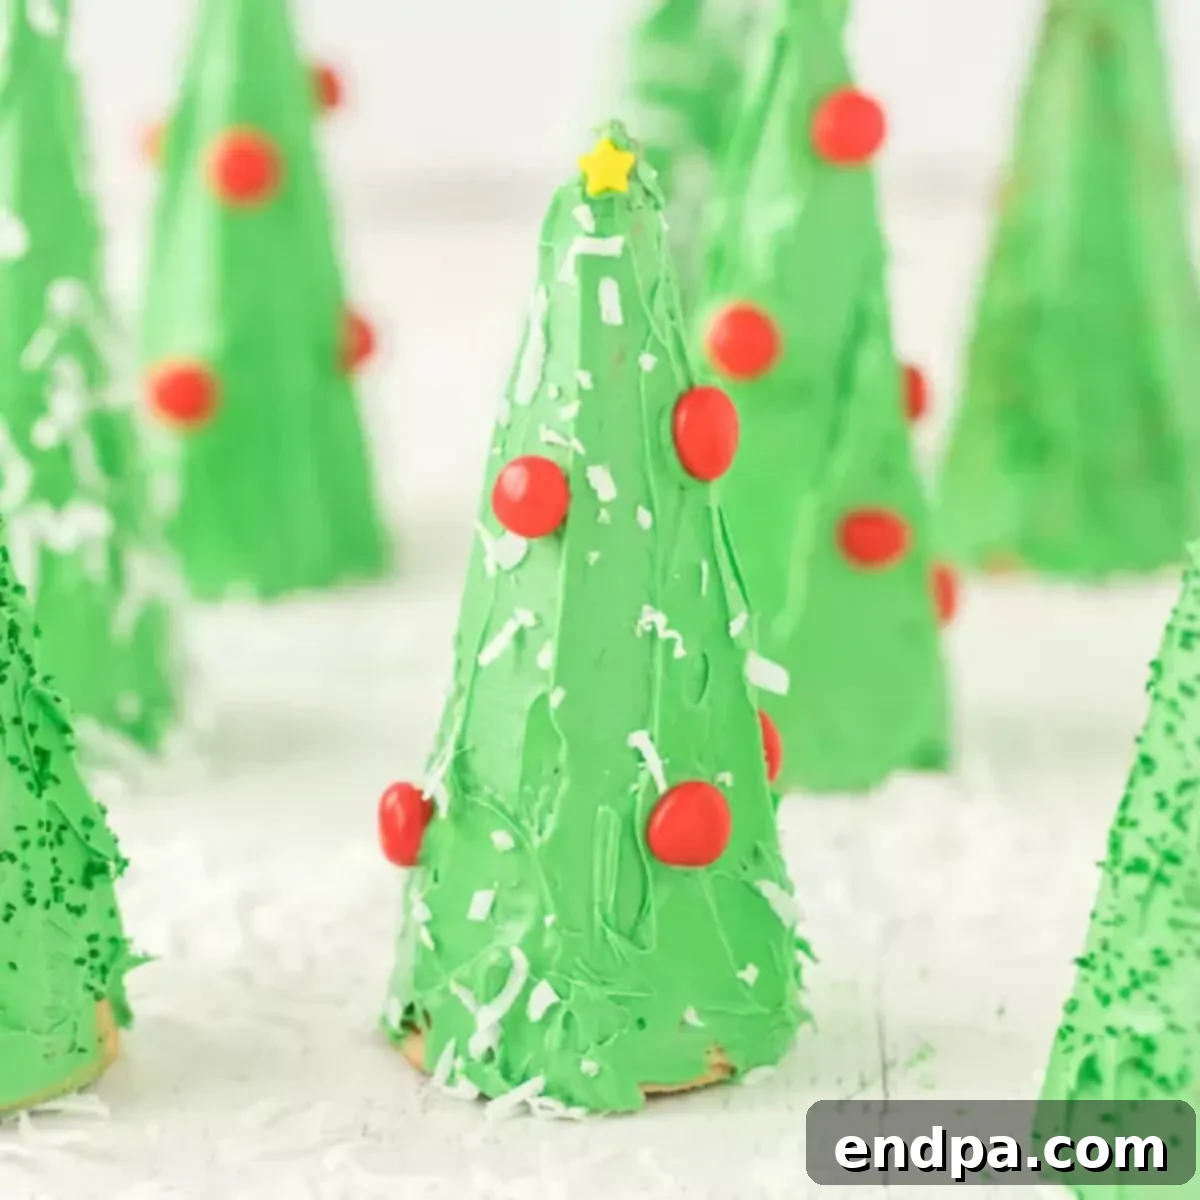
Festive Fun: Easy Ice Cream Cone Christmas Trees for the Holidays
Get ready to sprinkle some holiday magic with these delightful Ice Cream Cone Christmas Trees! This engaging activity is a fantastic way to involve children in the festive spirit, creating edible masterpieces that are as fun to make as they are to eat. These charming sugar cone Christmas trees are not only a delicious treat but also serve as a captivating centerpiece or party favor, making them absolutely perfect for holiday gatherings and school events.
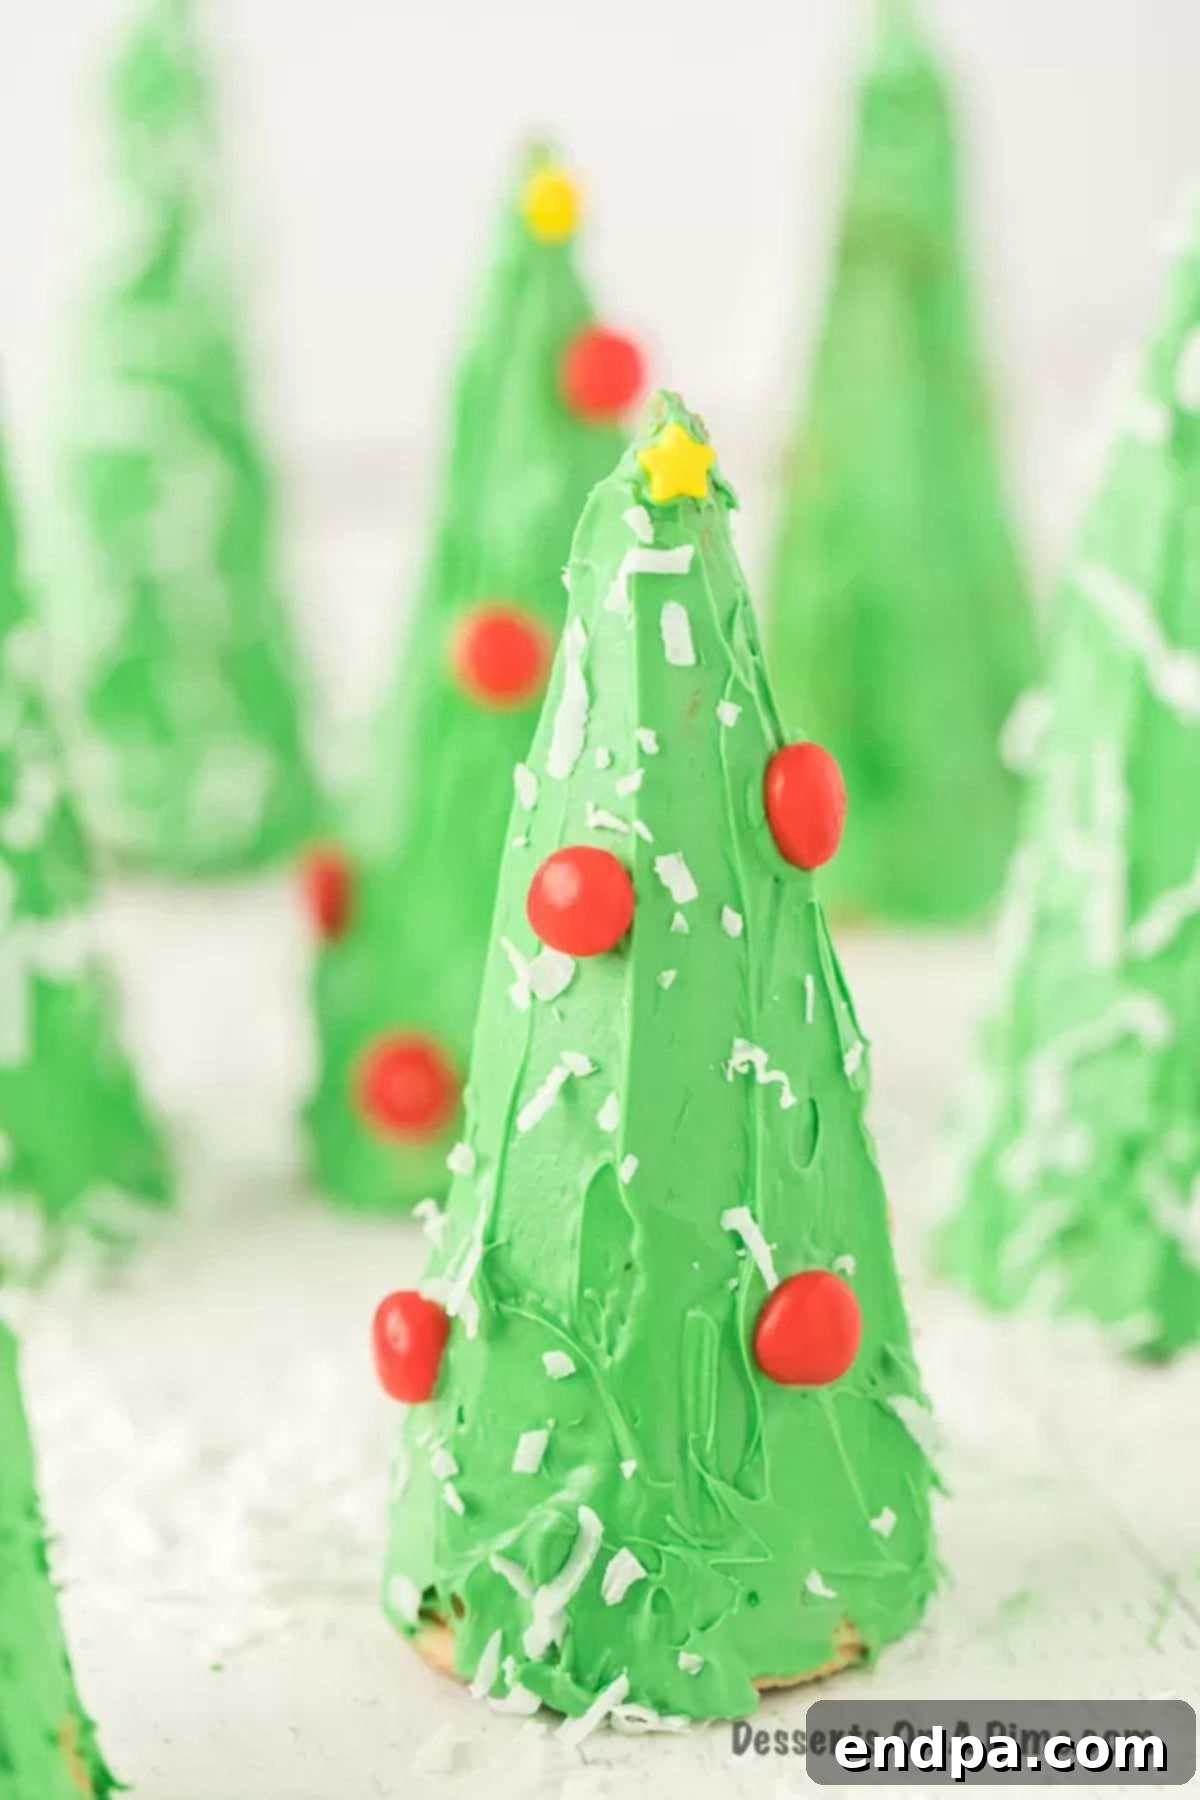
As a busy parent, I constantly seek simple yet memorable activities that bring joy to our holiday traditions. These Ice Cream Cone Christmas Trees tick all the boxes! Their straightforward preparation makes them ideal for little hands, fostering creativity and providing cherished family bonding moments. It’s a tradition my kids look forward to every year, transforming ordinary sugar cones into miniature winter wonderland trees.
Beyond these charming cone trees, our family also loves creating other festive delights like Christmas Tree Brownies, a scoop of creamy Christmas Ice Cream, and wonderfully chewy Christmas Tree Rice Krispie Treats. Each recipe adds its unique flavor of joy to our holiday celebrations, making the season truly special.
What You’ll Find in This Post: Crafting Ice Cream Cone Christmas Trees
- What are Ice Cream Cone Christmas Trees?
- Ingredients for Your Festive Cones
- Creative Variations for Your Cone Trees
- How to Make Ice Cream Cone Christmas Trees: A Step-by-Step Guide
- Frequently Asked Questions
- Pro Tips for Perfect Cone Christmas Trees
- More Enchanting Christmas Desserts
- Ice Cream Cone Christmas Trees Recipe Card
What are Ice Cream Cone Christmas Trees?
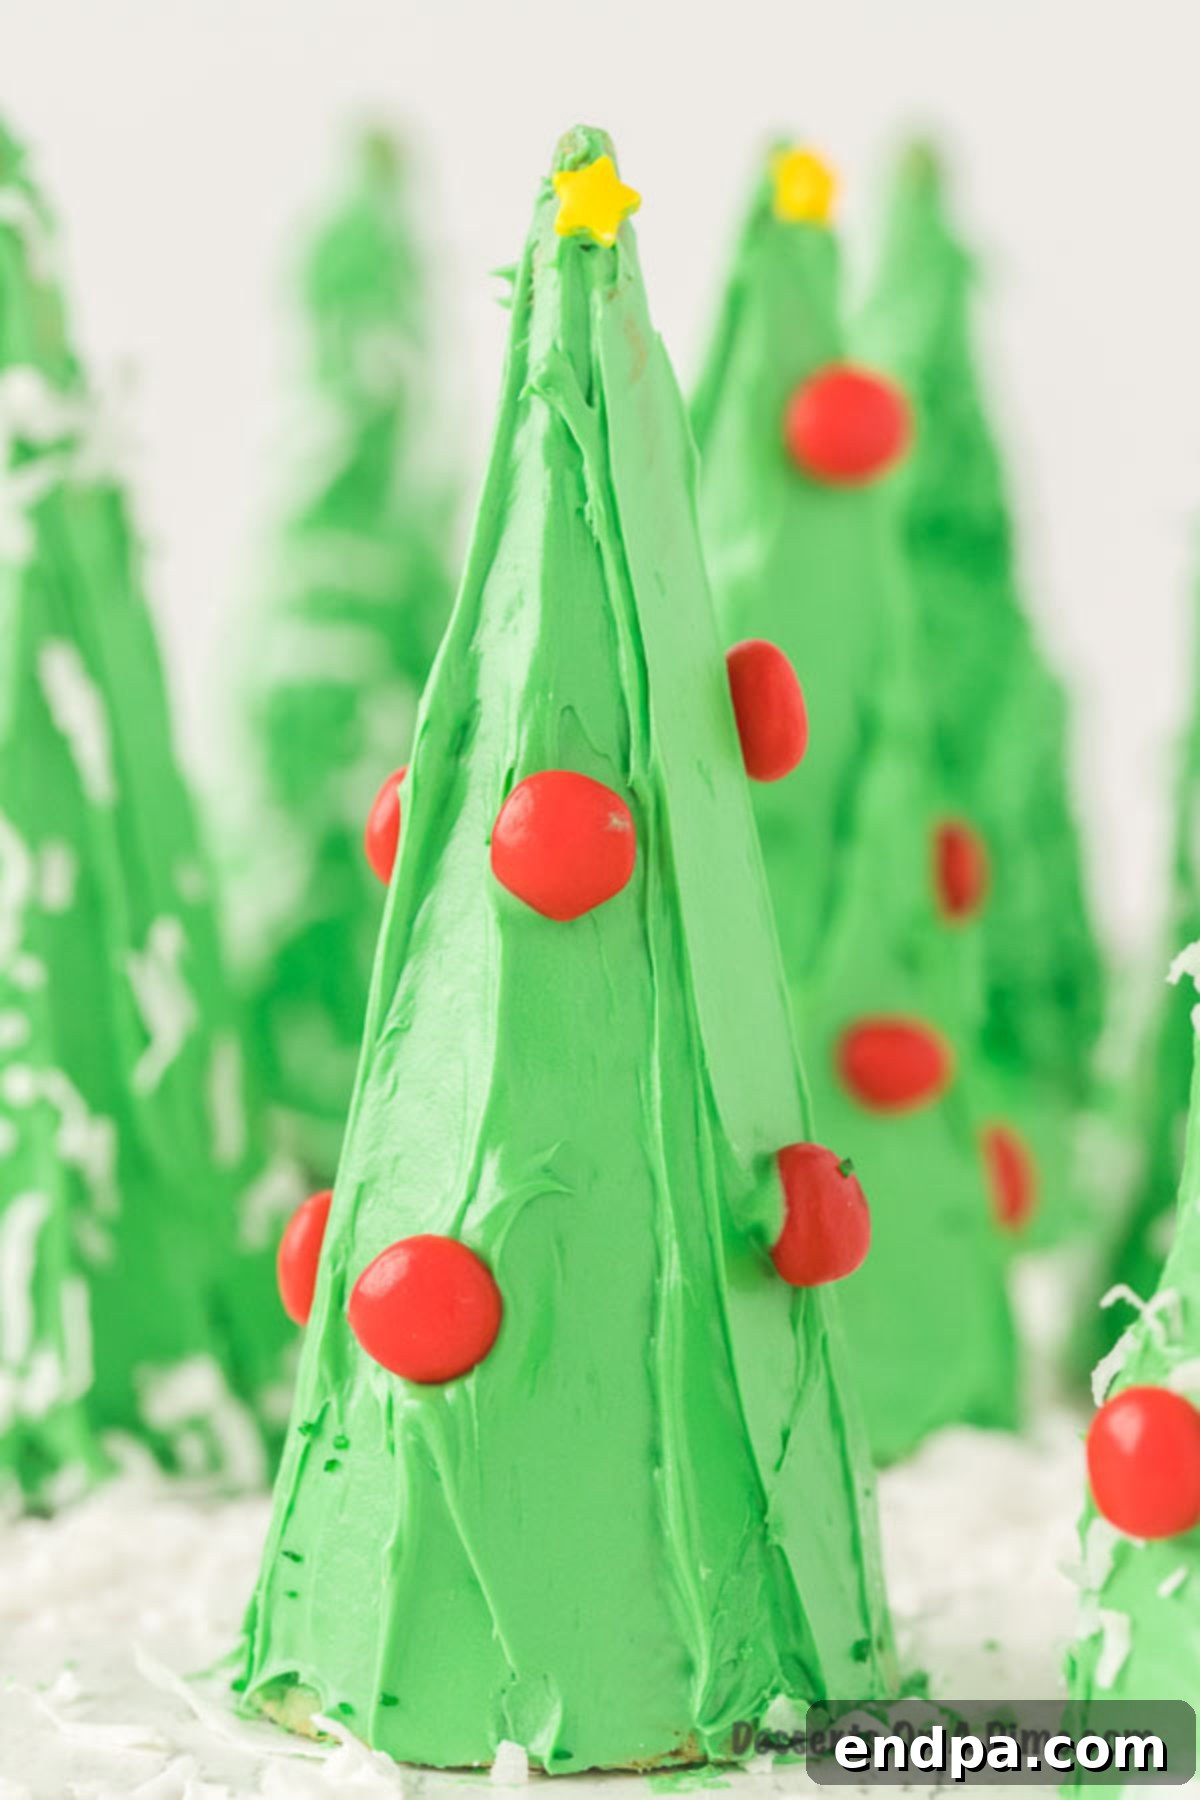
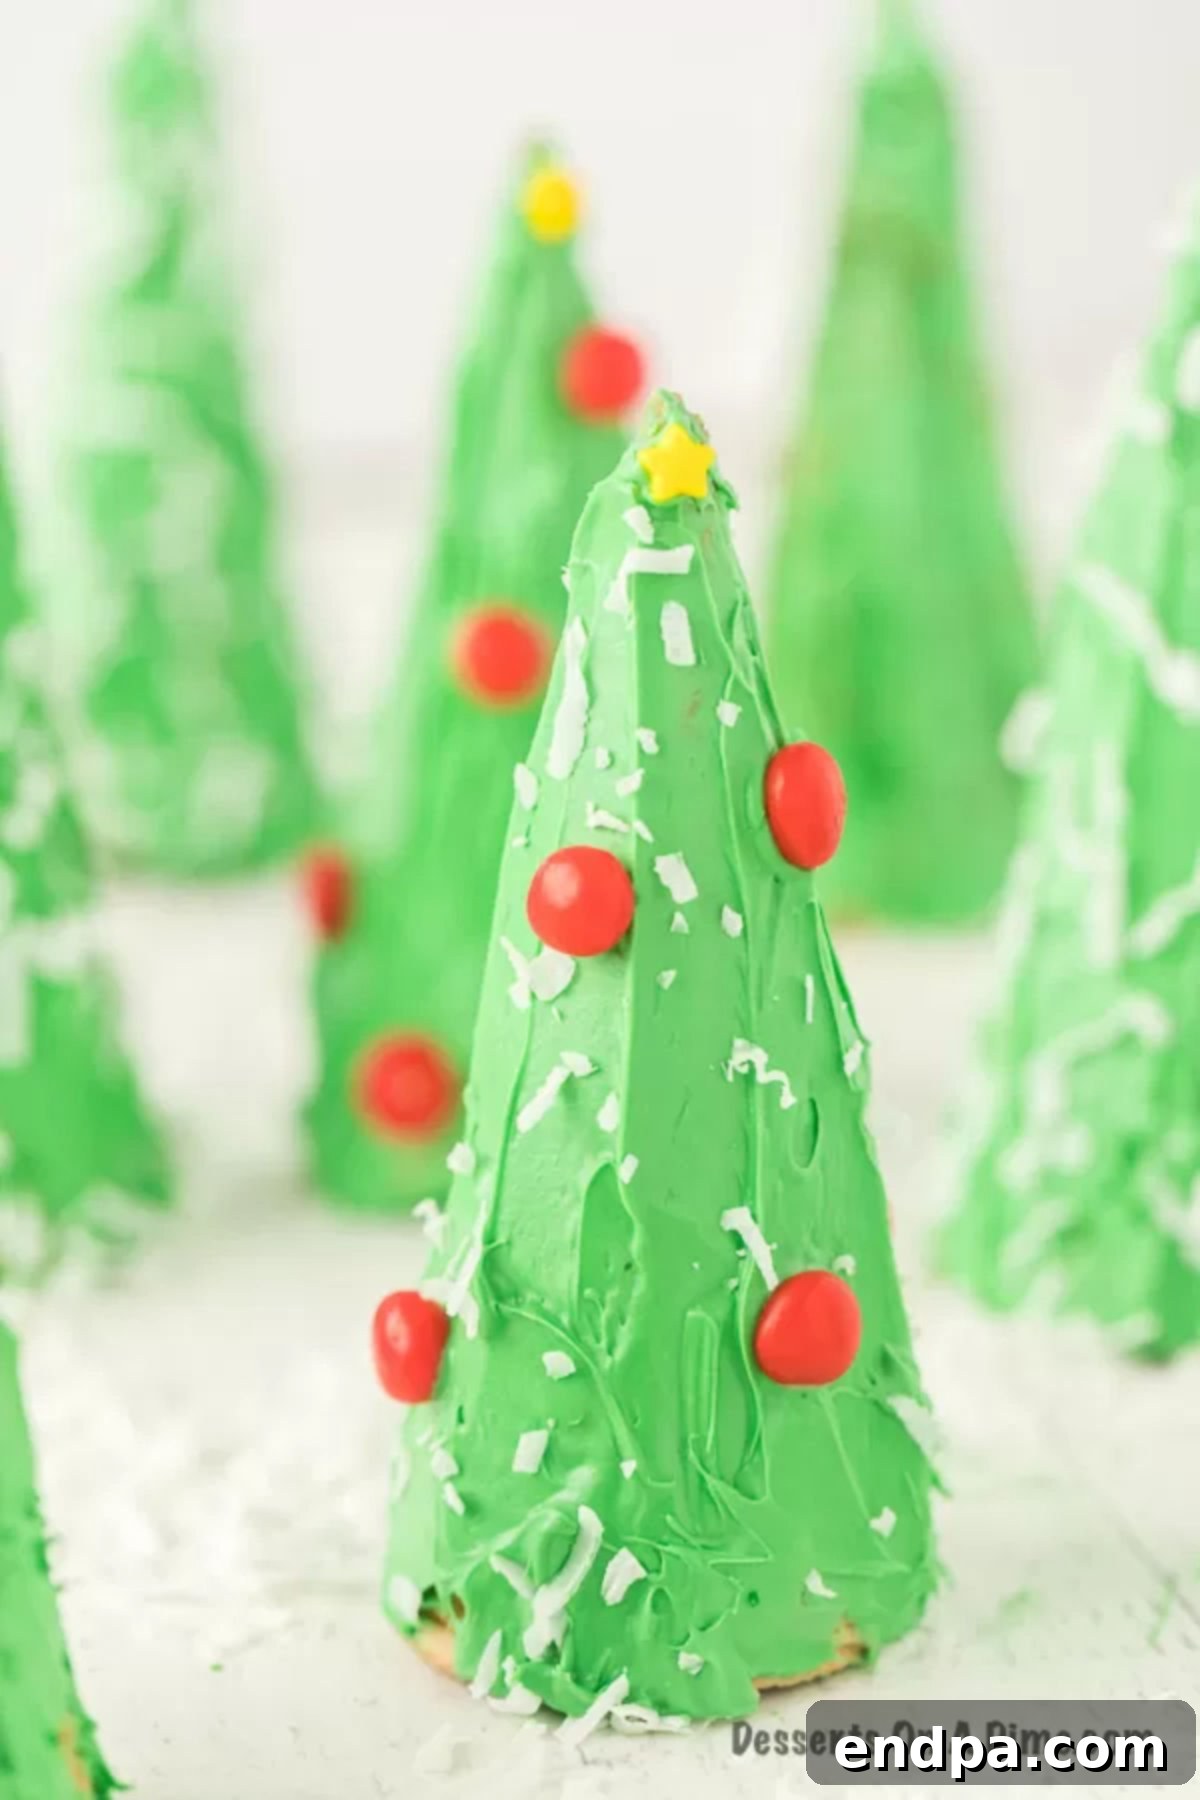
At their heart, Ice Cream Cone Christmas Trees are charming, edible holiday decorations constructed from simple sugar cones. These cones are ingeniously flipped upside down to mimic the iconic conical shape of a Christmas tree. Each “tree” is then generously coated in a vibrant green frosting, transforming it into a festive evergreen canvas. The real magic happens next, as they are adorned with an array of colorful candies and delightful toppings, replicating shimmering ornaments and glistening snow.
The beauty of these candy-covered creations lies in their versatility. You can use various confectionery items to serve as the “ornaments,” adding a unique touch to each tree. Shredded coconut is a popular choice to give the trees a frosted, snow-covered appearance, instantly transporting you to a winter wonderland. This entire process offers a wonderful opportunity to unleash creativity, making every tree a unique reflection of the decorator’s imagination.
These festive treats are also an excellent solution for utilizing leftover holiday candy. Smaller candies like mini M&M’s, colorful Skittles, or bite-sized Reese’s Pieces are perfect for scattering across the green frosting, resembling tiny, sparkling baubles. For an extra touch of seasonal cheer, crushed candy canes can be sprinkled on top, adding a refreshing peppermint flavor and a lovely red-and-white visual appeal. The simplicity and customizable nature of this Christmas dessert make it a beloved tradition for families year after year.
Essential Ingredients for Your Festive Cone Trees
Creating these delightful Christmas Cone Trees requires only a handful of readily available ingredients. The beauty of this recipe lies in its simplicity, making it accessible for bakers of all ages and skill levels. You’ll primarily need items that are easy to find at any grocery store, ensuring a stress-free preparation process during the busy holiday season.
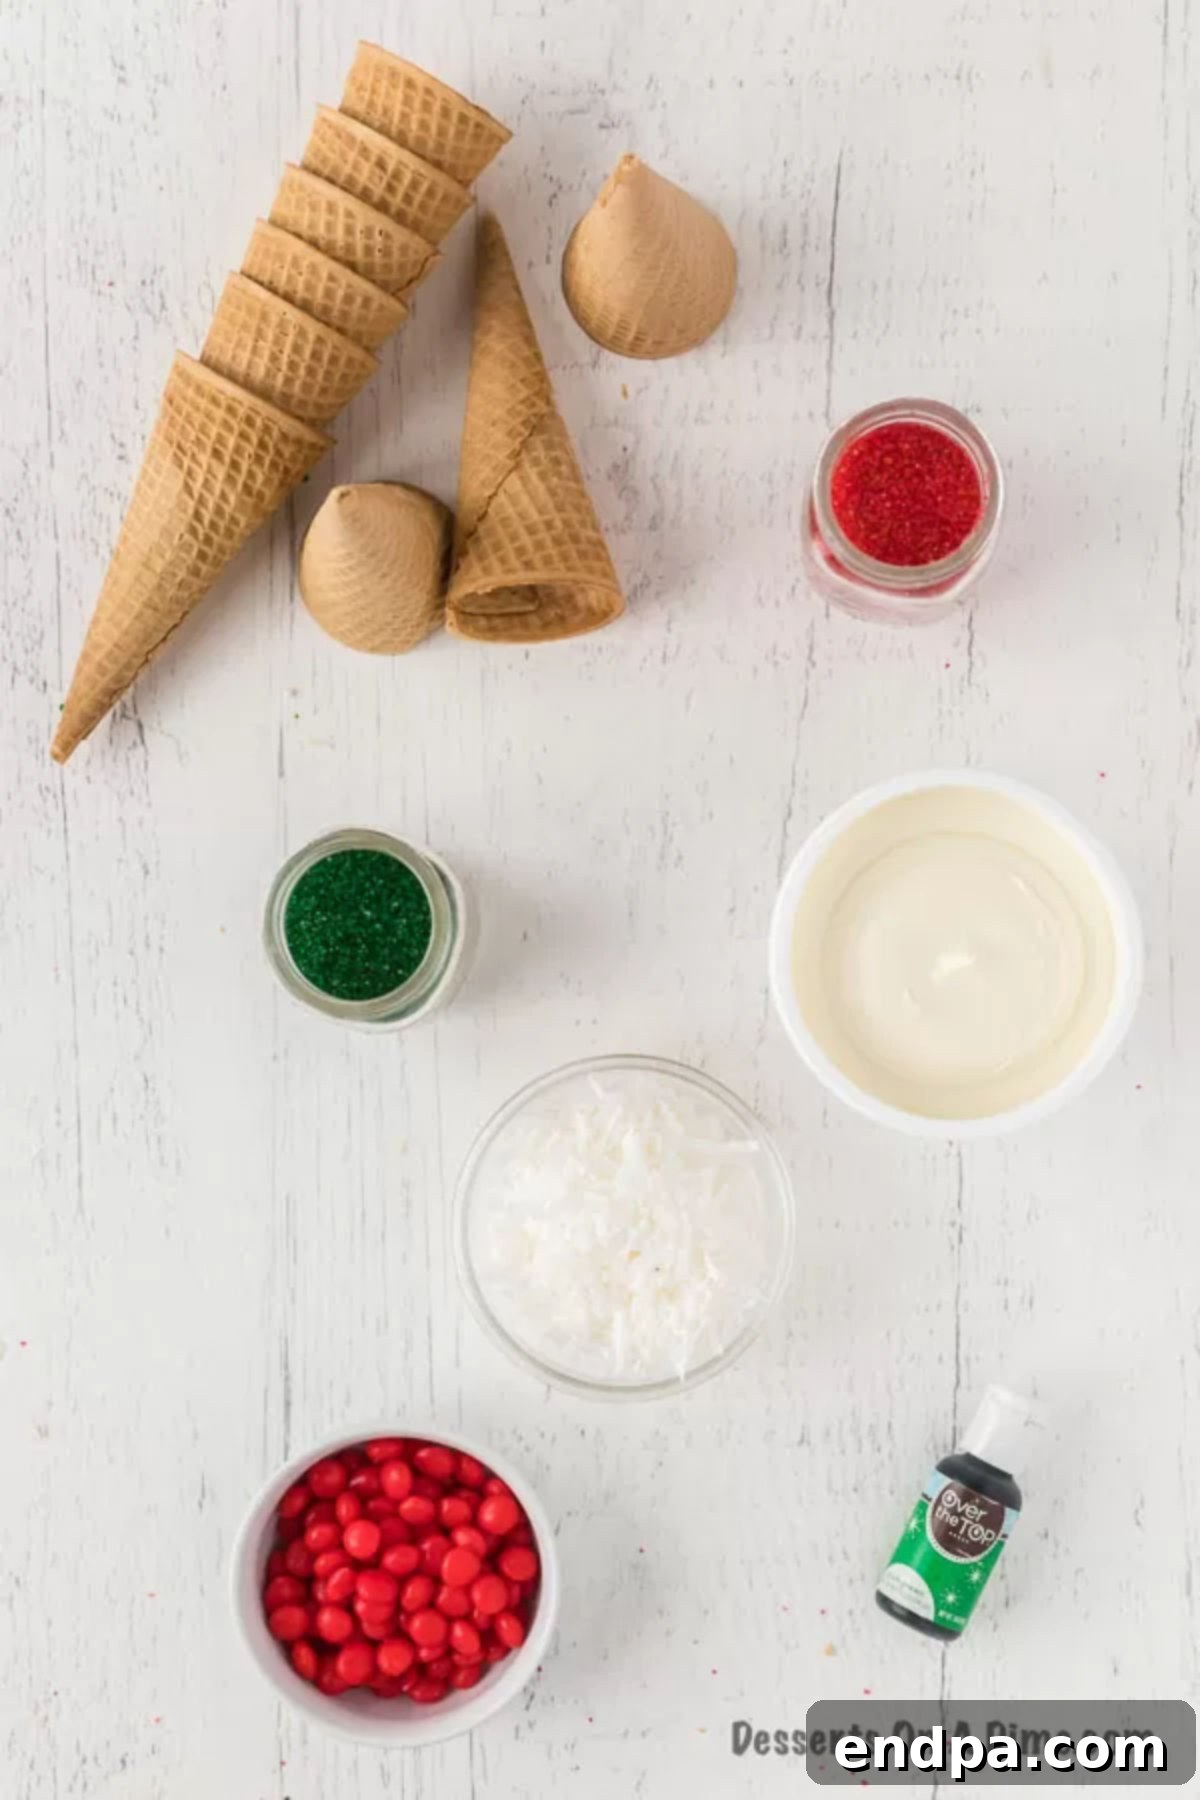
- Sugar Ice Cream Cones: Opt for the traditional pointy sugar cones, as their conical shape naturally resembles a Christmas tree. Waffle cones can work for a broader base, but sugar cones offer that classic, elegant tree silhouette.
- Tub of White Frosting: A store-bought tub of vanilla or white frosting is your best friend for convenience. It provides a smooth, easy-to-spread base for your decorations. If you prefer, homemade buttercream frosting works beautifully too.
- Green Gel Food Coloring: Gel food coloring provides a more vibrant and intense color with less product compared to liquid food coloring, preventing your frosting from becoming too thin. A bright, cheerful green will truly bring your trees to life.
- Assorted Candies: This is where the fun truly begins! Think of these as your “ornaments.” Small candies like M&M’s, Skittles, tiny gumdrops, sprinkles, mini chocolate chips, or even chopped licorice are fantastic choices. The more variety, the more unique each tree will be.
- Shredded Coconut: To create a magical snow effect, shredded coconut is ideal. Its texture and white color perfectly mimic freshly fallen snow, adding a touch of winter charm to your edible trees.
For specific measurements and a complete list of ingredients, you can find the detailed recipe card at the bottom of this post. Gather your supplies, and let’s get ready to transform them into holiday cheer!
Creative Variations: Personalize Your Cone Christmas Trees
One of the most exciting aspects of making Ice Cream Cone Christmas Trees is the endless possibilities for customization. While the classic green tree with candy ornaments is a timeless favorite, don’t hesitate to experiment with different toppings and techniques to create unique, personalized treats that reflect your style or a specific holiday theme. Here are some fantastic variations to inspire your holiday baking:
- Powdered Sugar Snowfall: Instead of shredded coconut, achieve a delicate, freshly fallen snow effect by dusting your frosted cones with confectioners’ sugar (powdered sugar). A small sieve or shaker makes for an even, elegant coating. This simple swap offers a different texture and a subtle sweetness that melts delightfully in your mouth.
- Store-Bought vs. Homemade Icing: While a tub of store-bought frosting offers unparalleled convenience, especially for busy holiday schedules, don’t shy away from homemade icing if you have the time and desire. A rich, creamy buttercream can elevate the flavor profile. For application, pastry bags or piping bags with various tips can create intricate patterns and textures, such as pine needle effects or swirled branches. However, for a kid-friendly project, a simple plastic knife or butter knife works perfectly for spreading, ensuring everyone can participate with ease.
- Candy Garland with Twizzlers or Licorice Whips: Add a playful touch by draping edible “garlands” around your trees. Thin strips of Twizzlers or colorful licorice whips can be gently coiled around the cone, mimicking the festive strands of garland found on real Christmas trees. You can even cut them into smaller pieces to create bows or ribbons.
- Gumdrop “Presents” at the Base: Place colorful gumdrops or other small, square-shaped candies around the bottom rim of the cone. These instantly transform into miniature “presents” nestled under the tree, adding another layer of decorative charm and a burst of fruity flavor.
- Sparkling Star Sprinkles: No Christmas tree is complete without a star on top! Finish each cone tree with a bright yellow or gold star-shaped sprinkle. You can also use a small piece of star-shaped candy or a tiny marshmallow cut into a star to crown your festive creation. This small detail truly completes the classic Christmas tree look.
- Alternative Colors: Why stick to green? Experiment with white frosting for a “snow-covered” tree, blue for a frosty winter theme, or even pink for a whimsical, fantastical tree. Use different food colorings to match your holiday decor or to simply unleash your imagination.
- Nutty Textures: For those who love a bit of crunch, finely chopped nuts (like pecans or walnuts) can be sprinkled over the frosting, either alone or mixed with other candies. This adds a delicious texture and a more rustic, natural look to your trees.
- Mini Cookie Base: To make your trees more stable and add another layer of treat, you can “glue” the base of the cone to a round cookie (like a shortbread or gingerbread cookie) using a dab of frosting before decorating. This also makes them easier to pick up and serve.
These variations are just starting points. Feel free to mix and match ideas, let your creativity flow, and most importantly, have fun creating your unique and delicious Ice Cream Cone Christmas Trees!
How to Make Ice Cream Cone Christmas Trees: A Step-by-Step Guide
Crafting these festive Ice Cream Cone Christmas Trees is a wonderfully simple and engaging activity, perfect for getting everyone in the holiday spirit. Follow these easy steps to create your own edible winter wonderland scene. Before you begin, gather all your ingredients and set up a clean workspace, perhaps covering it with wax paper or parchment paper for easy cleanup.
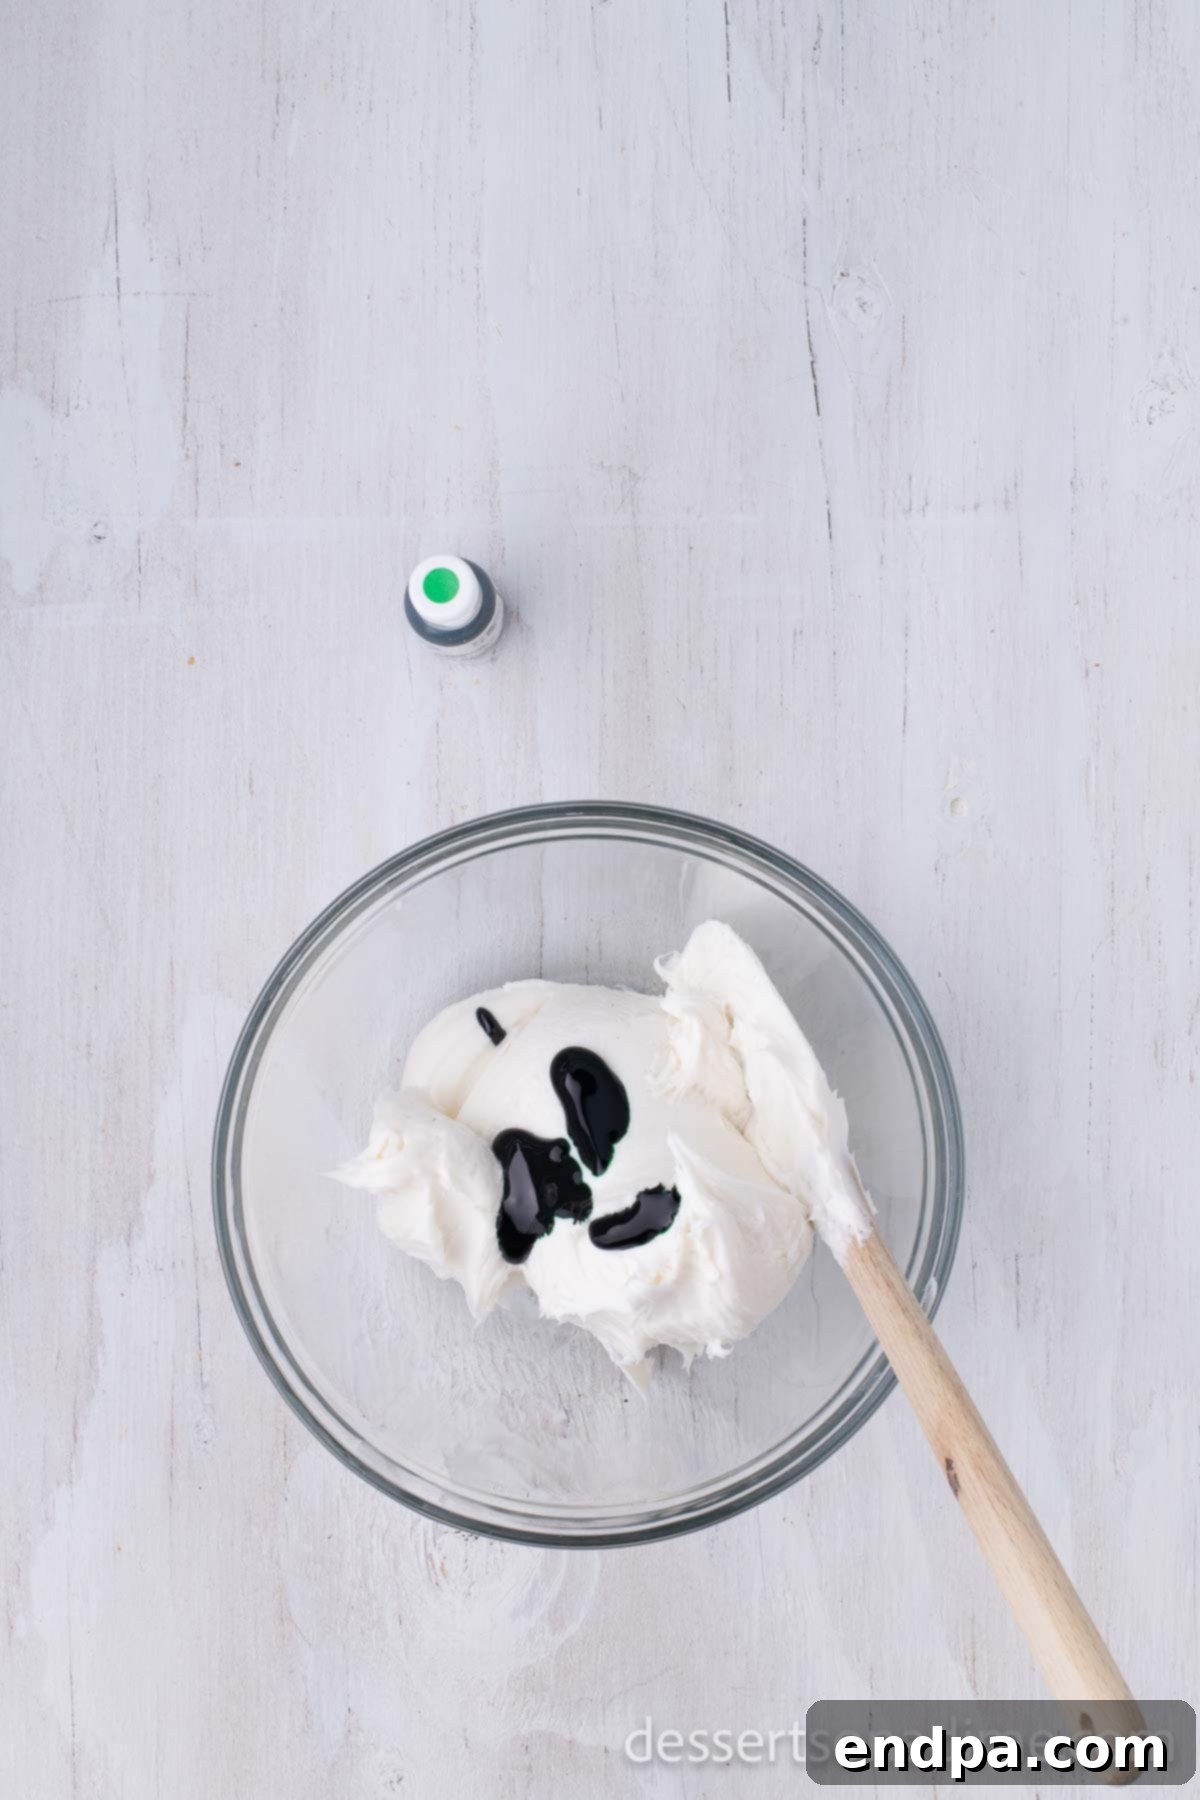
Step 1: Prepare Your Green Frosting. Take your tub of white frosting and transfer it into a mixing bowl. Add several drops of green gel food coloring. Begin mixing with a spoon or spatula, gradually adding more food coloring until you achieve your desired shade of vibrant Christmas green. Gel coloring provides rich color without thinning the frosting.
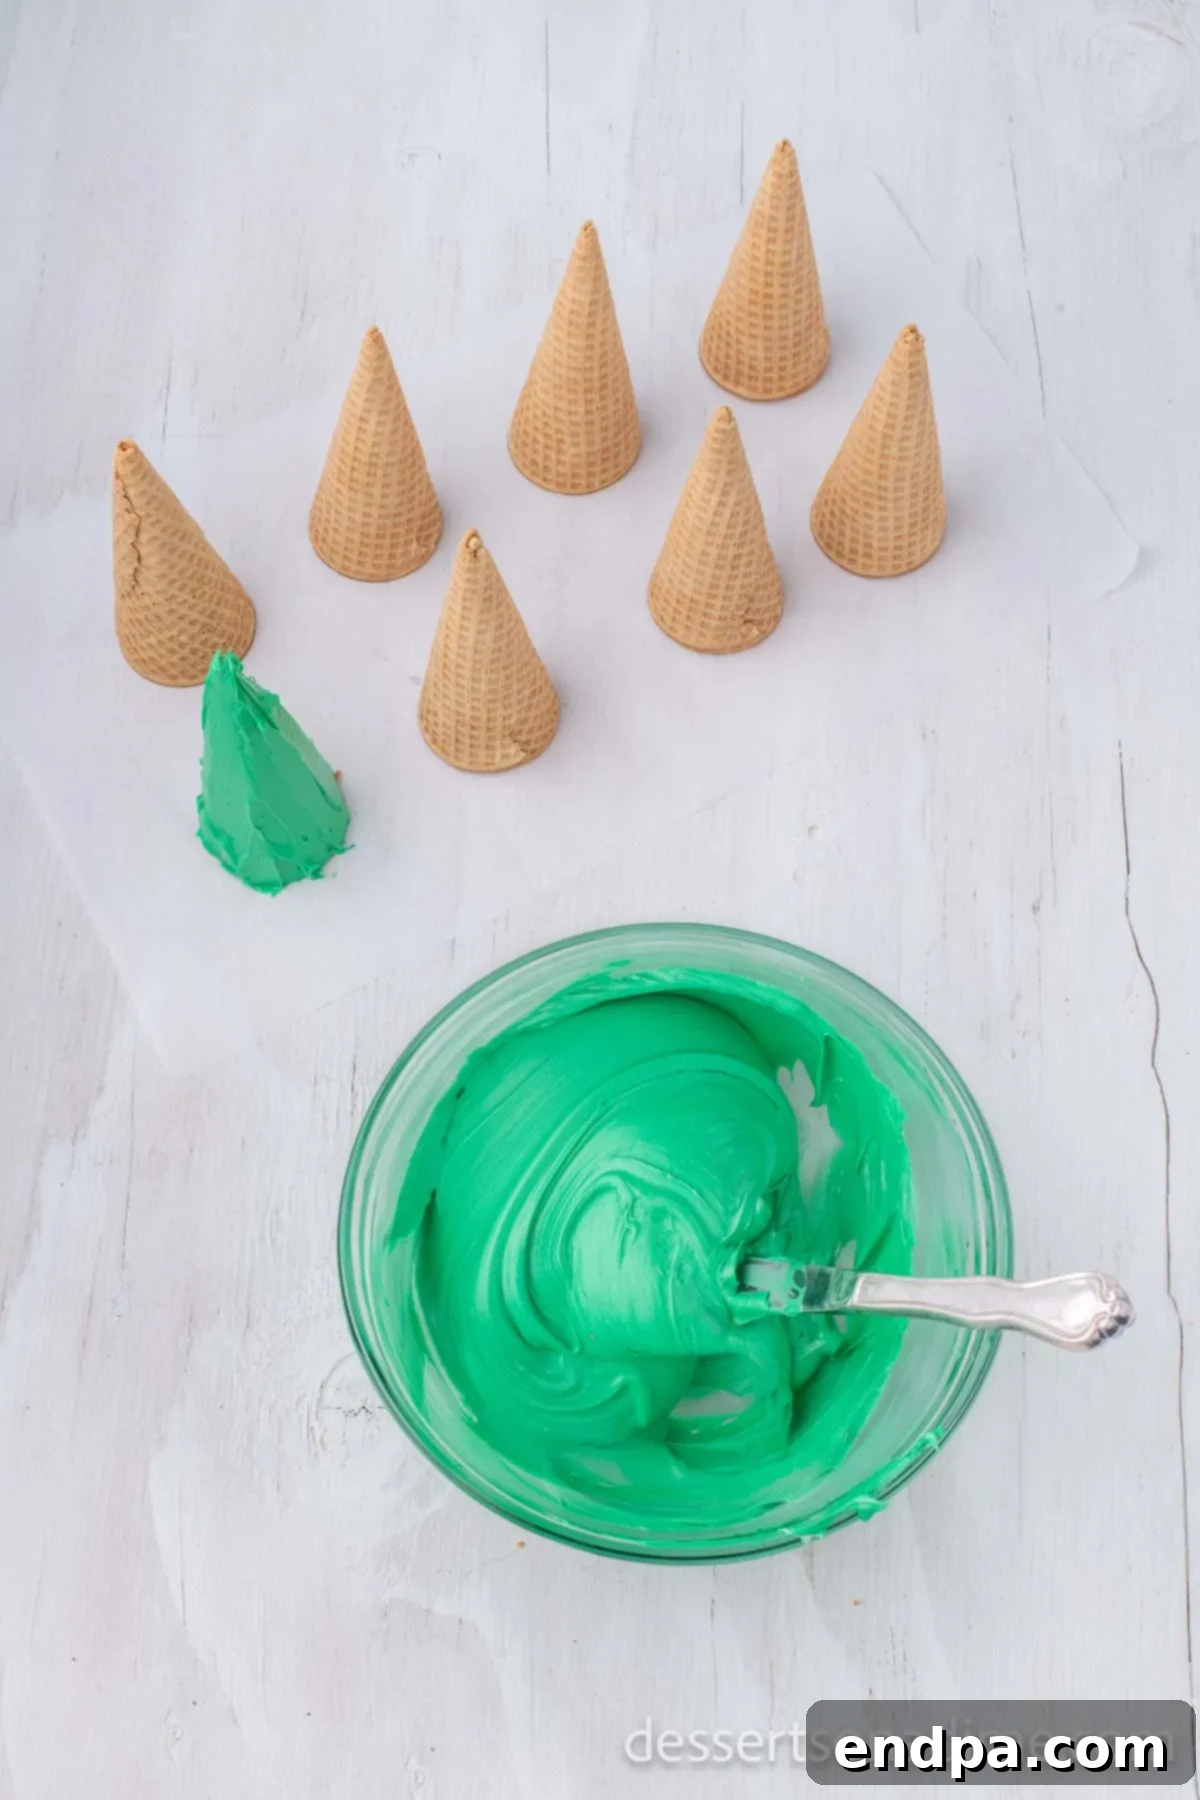
Step 2: Position the Ice Cream Cones. Line a baking sheet or a large platter with wax paper or parchment paper. Carefully place each sugar ice cream cone upside down on the prepared surface. This provides a stable base for decorating and makes the cone resemble a standing Christmas tree.
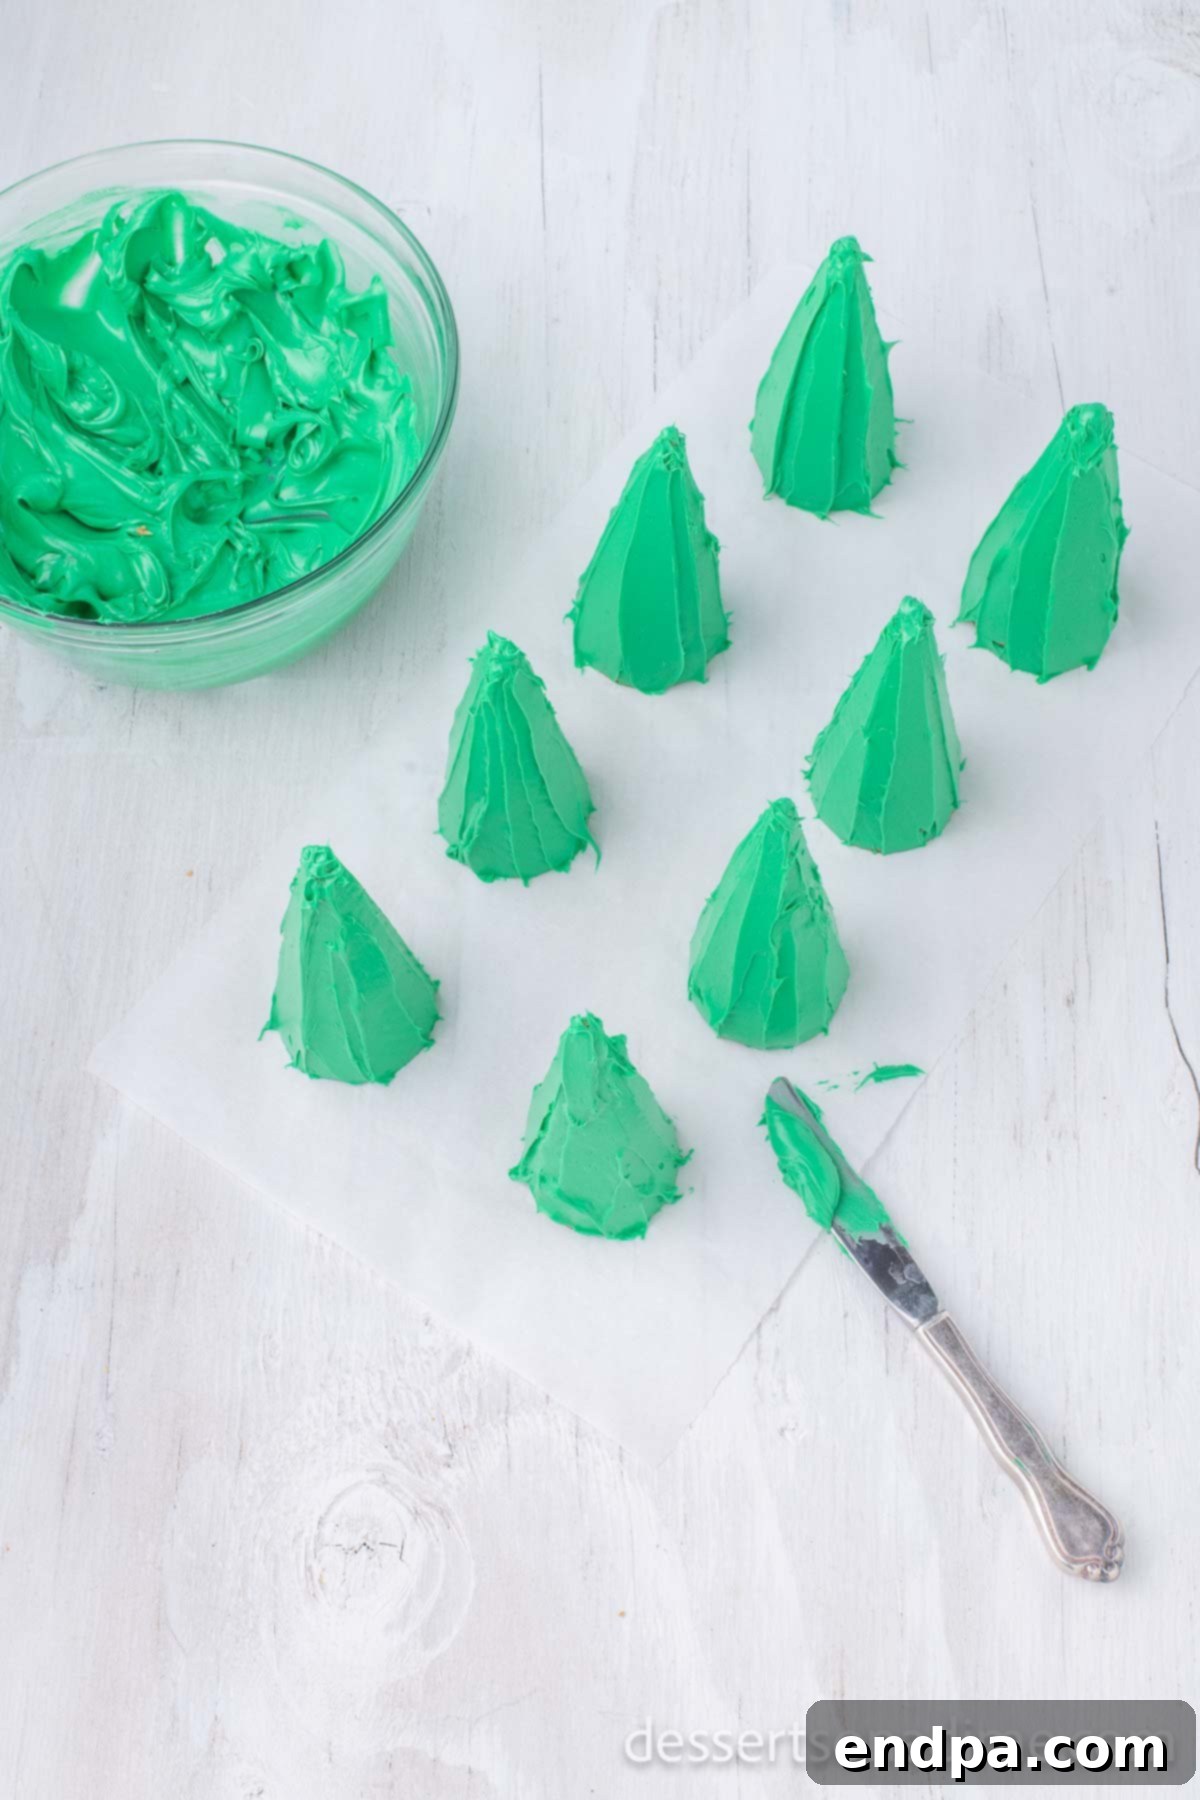
Step 3: Frost Your Trees. Using a butter knife, a small spatula, or a plastic knife (perfect for little decorators!), begin spreading the green frosting evenly over the entire outer surface of each inverted ice cream cone. Start from the base and work your way up to the tip, ensuring full coverage.
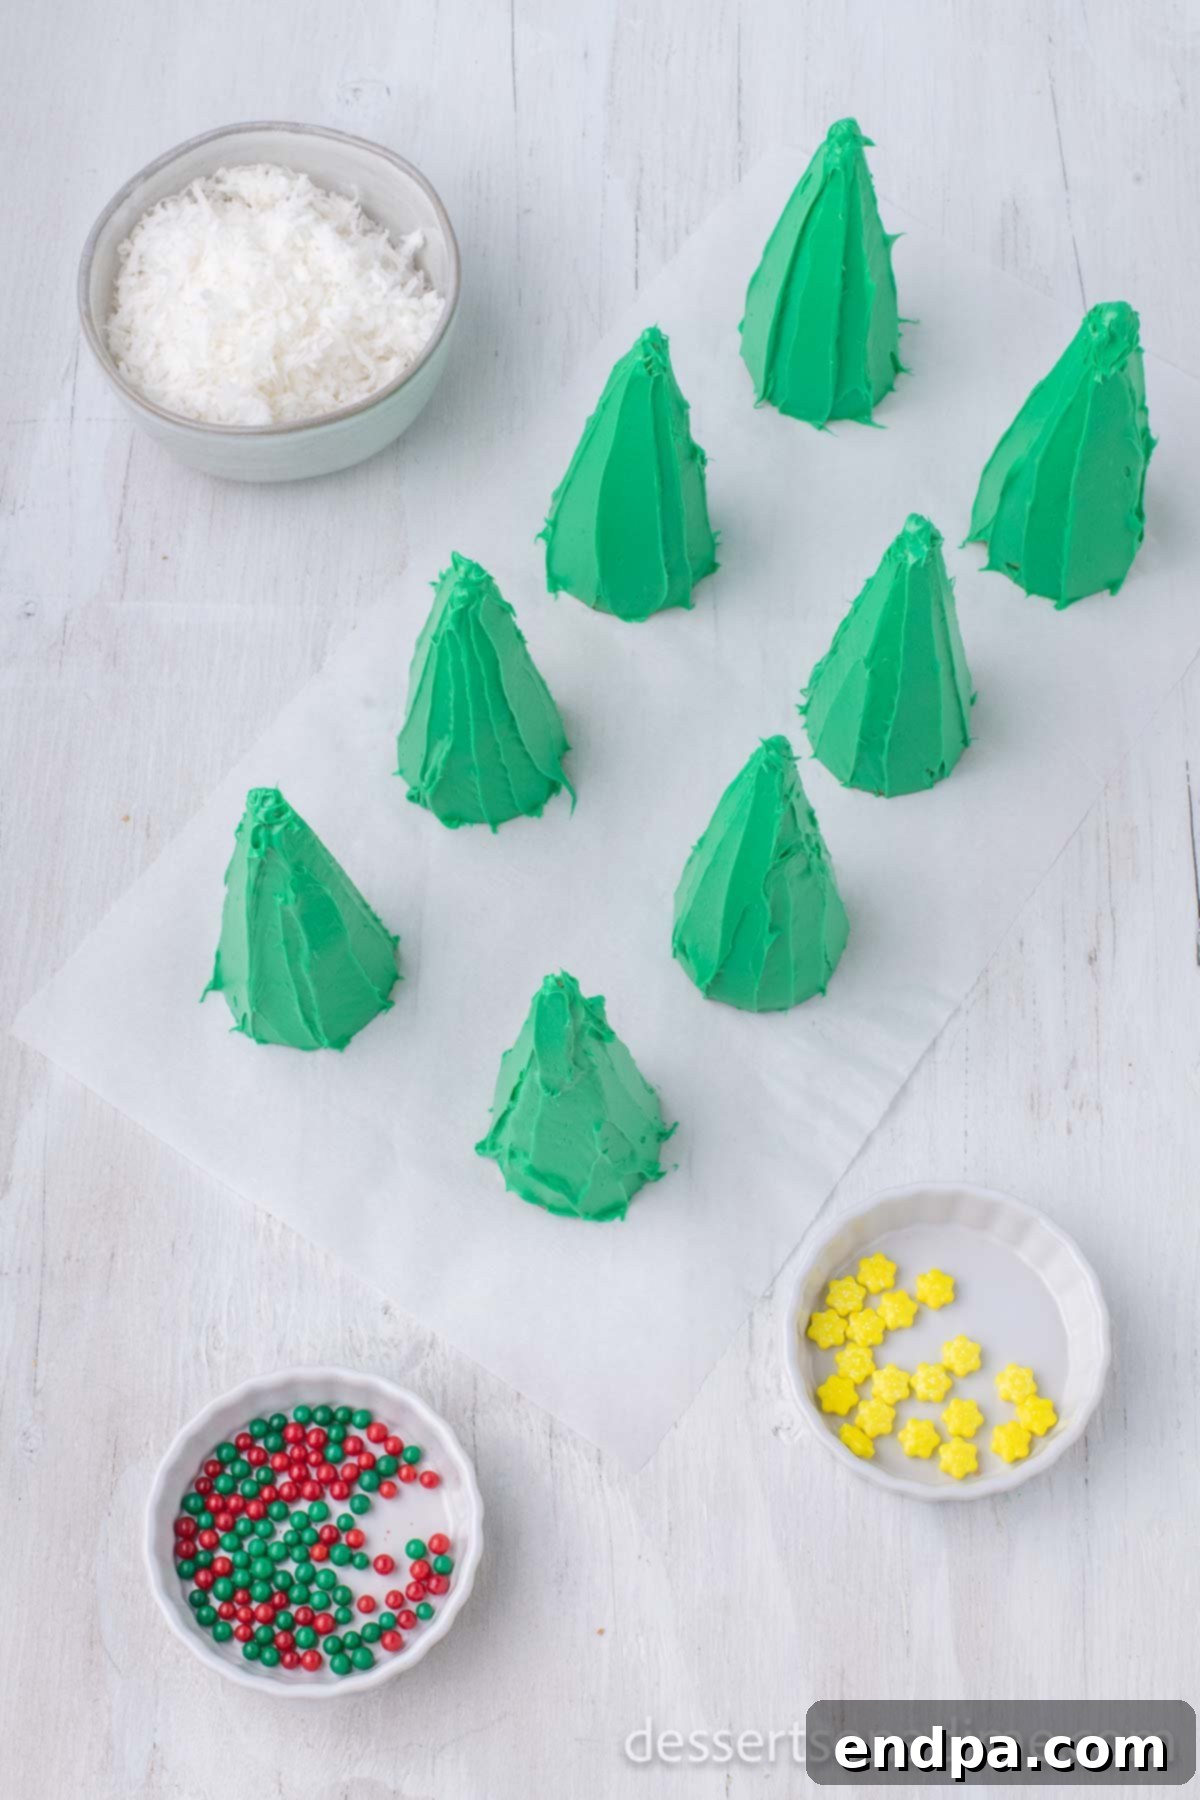
Step 4: Ensure Full Coverage. Continue to spread the frosting until the entire cone is covered in a smooth, vibrant green layer. The frosting should be thick enough to adhere firmly but not so excessive that it drips or slides off. This green base will be the “foliage” for your Christmas tree.
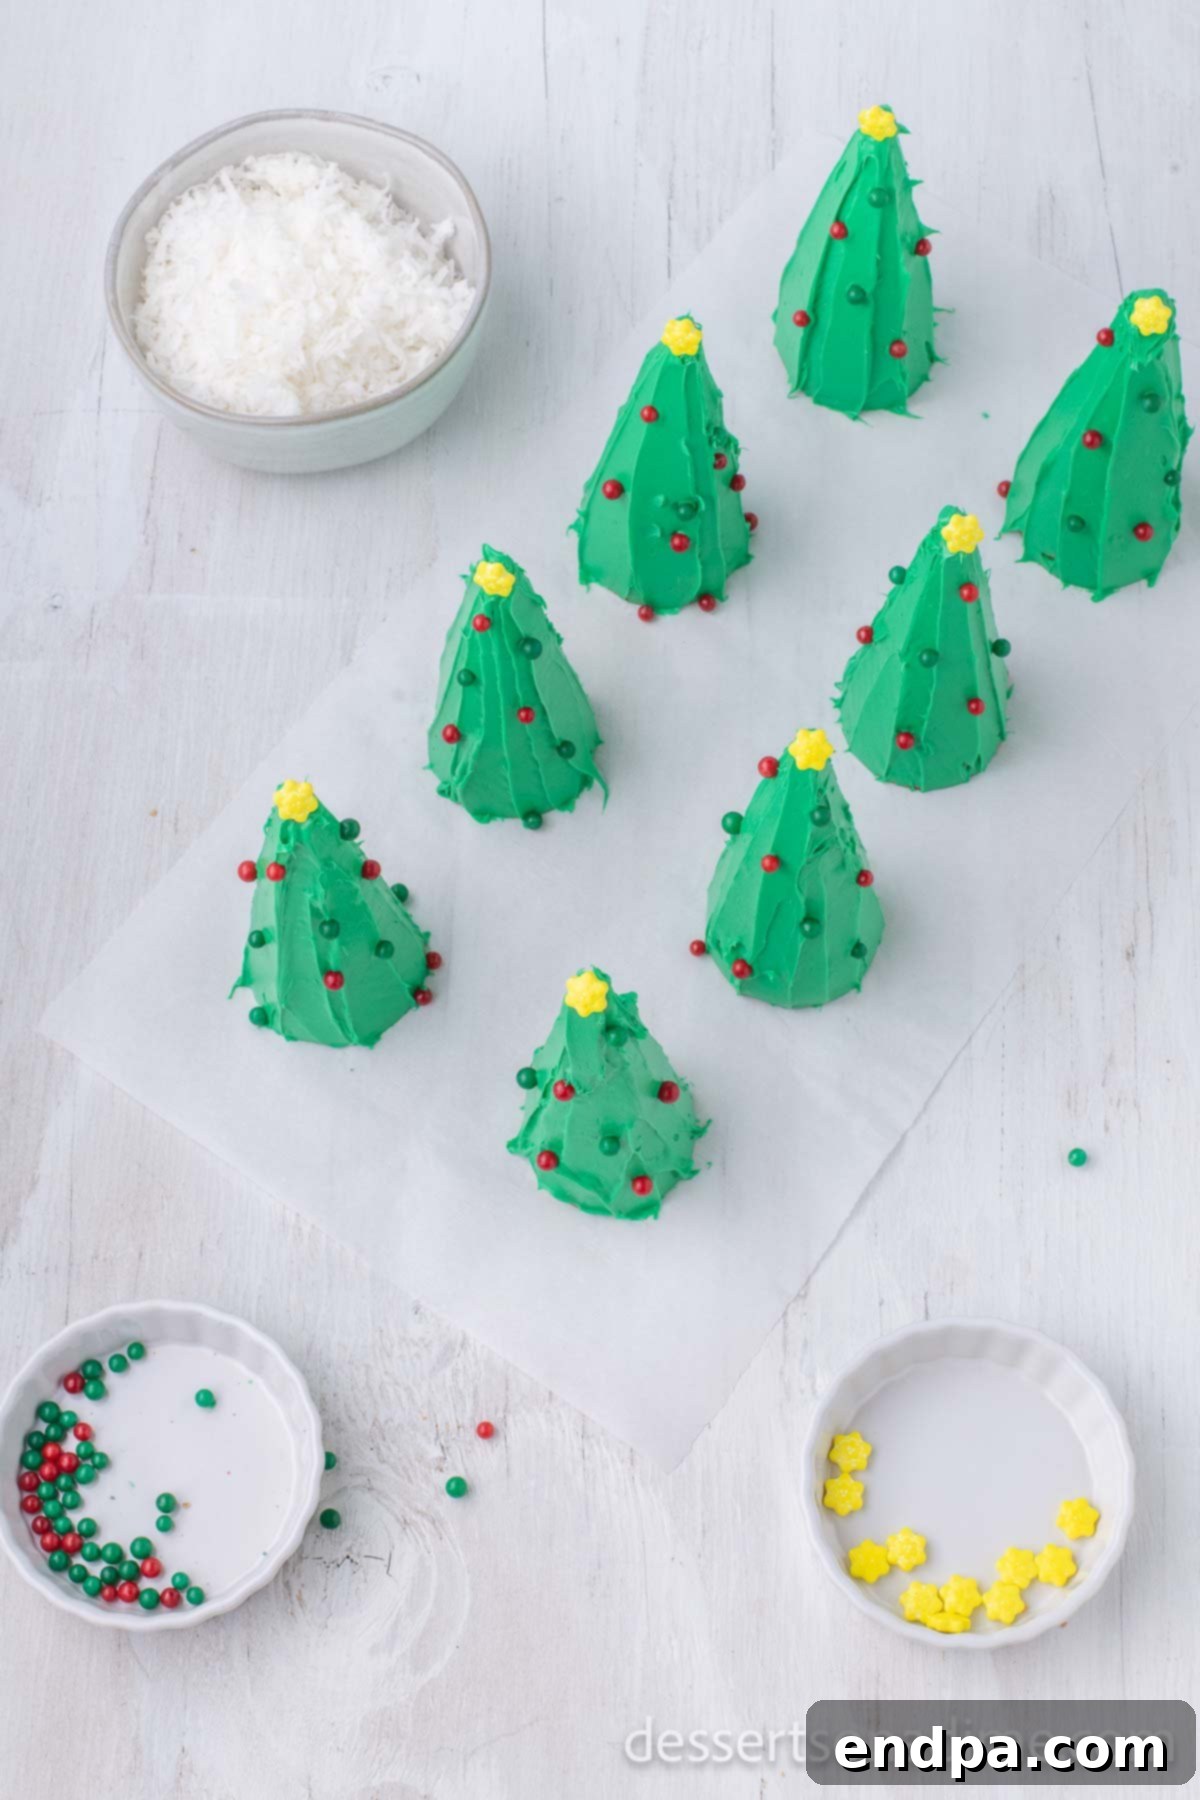
Step 5: Decorate with “Ornaments.” While the frosting is still wet and tacky, it’s time to add your decorations! Press assorted candies of your choice onto the green frosting. Scatter them randomly or arrange them in patterns to create the look of colorful ornaments. Encourage creativity and let everyone choose their favorite candies to personalize their tree.
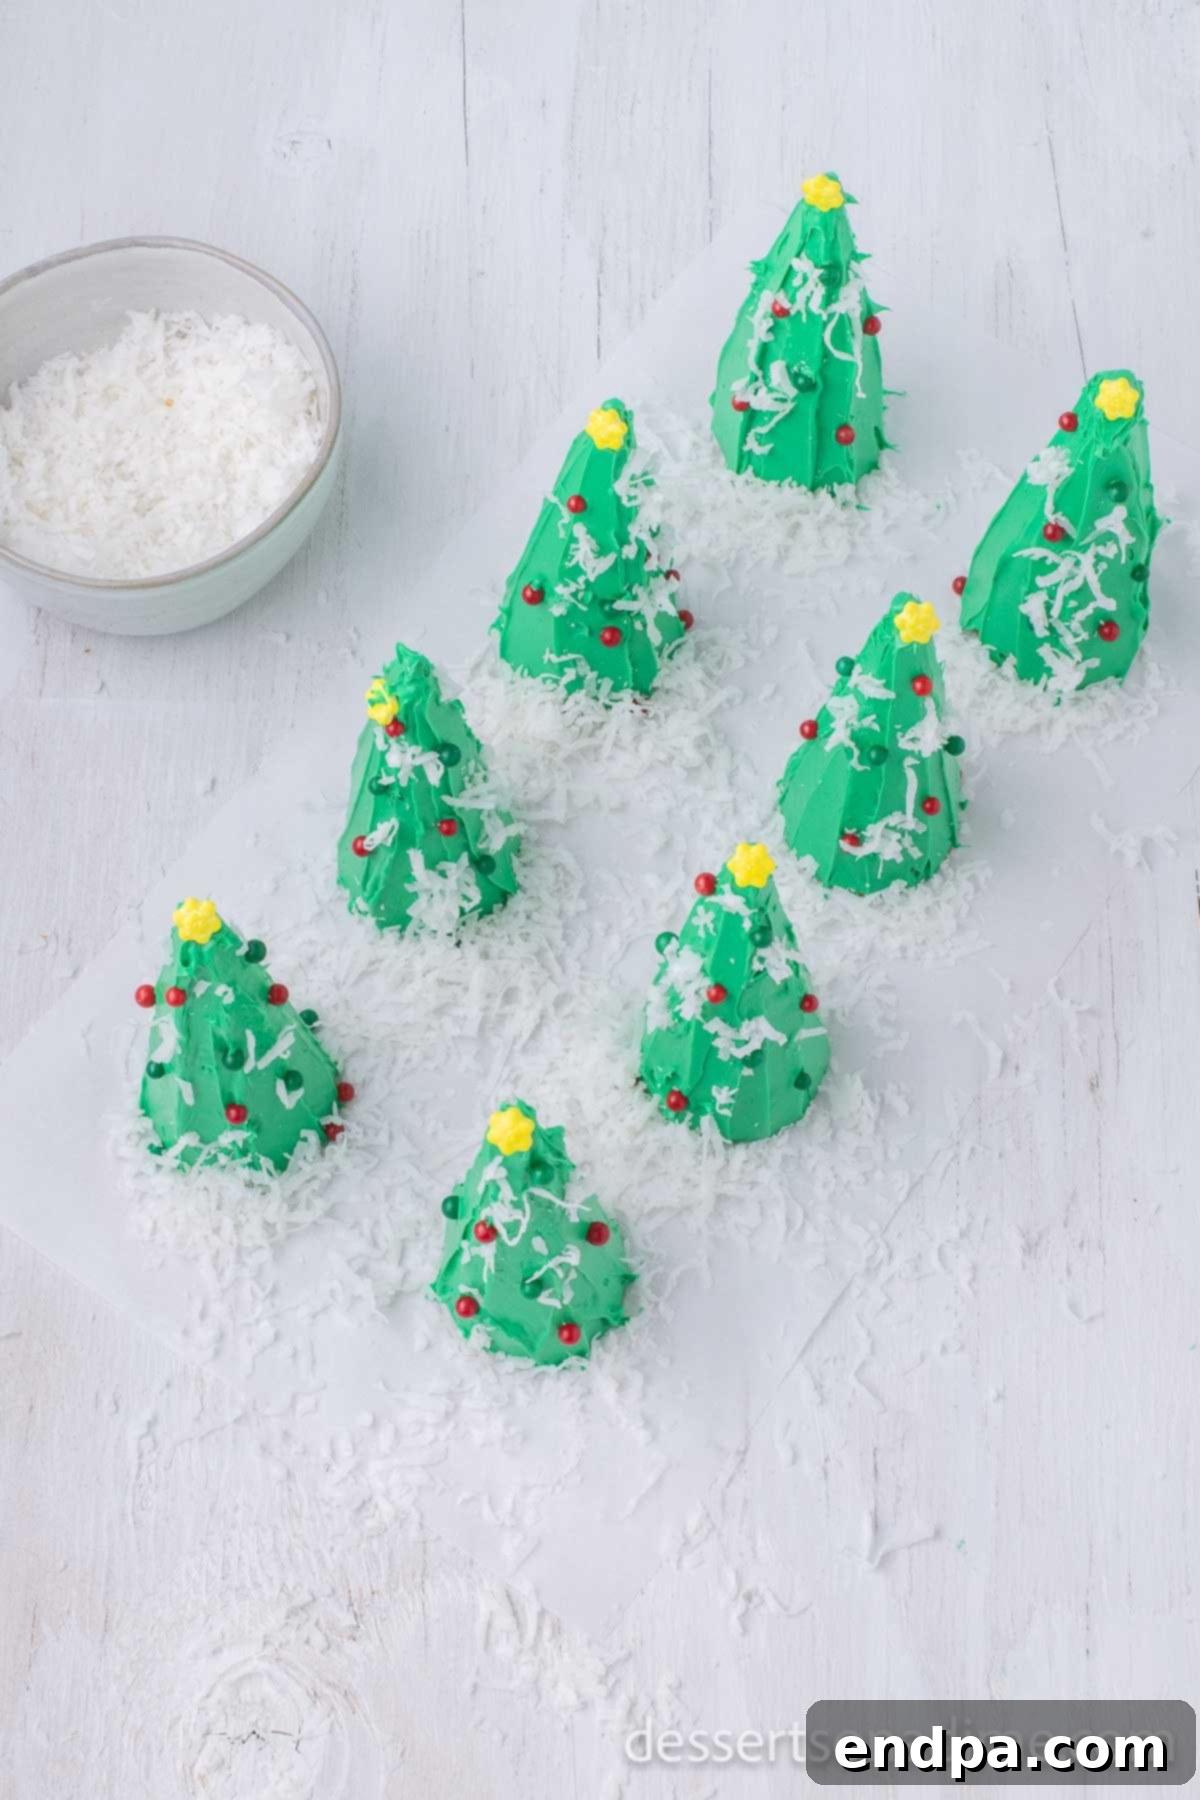
Step 6: Add the “Snow.” For a lovely snowy effect, gently sprinkle shredded coconut over the frosted and decorated cones. You can focus on the “branches” or create a snowdrift effect around the base. Once decorated, your adorable Ice Cream Cone Christmas Trees are ready to be admired and enjoyed! You can use them as festive decorations or simply as a delicious holiday treat.
Frequently Asked Questions About Ice Cream Cone Christmas Trees
Got questions about making or storing your festive Ice Cream Cone Christmas Trees? Here are some common inquiries to help you ensure a successful and delicious holiday treat experience.
Absolutely, yes! The entire creation is designed to be eaten. Kids especially love digging into the sweet sugar cones, luscious icing, and colorful candies. It’s a delightful combination of flavors and textures.
When properly stored in an airtight container at room temperature, these delightful treats will maintain their freshness and charm for up to 5 days. Ensure they are covered to prevent the frosting from drying out and the candies from losing their texture. Avoid refrigeration, as it can sometimes make the cones soggy.
Yes, you can! These are perfect for preparing a day or two in advance. Decorating them a day before your event allows the frosting to set nicely, making them easier to handle and transport. Just make sure to store them properly as mentioned above.
Pointy sugar cones are generally preferred because their shape naturally mimics a Christmas tree. Waffle cones can be used for a wider, more robust tree, but the classic sugar cone offers a more refined silhouette.
Absolutely! Homemade buttercream frosting works wonderfully and can often provide a richer flavor and smoother texture. Just ensure it’s firm enough to hold its shape once applied, as a very soft frosting might cause candies to slide off.
Pro Tips for Perfect Ice Cream Cone Christmas Trees
To ensure your Ice Cream Cone Christmas Trees turn out beautifully and stand strong through all your holiday festivities, keep these expert tips in mind. These small details can make a big difference in the success and enjoyment of your edible crafts.
- Decorate While Frosting is Fresh: The key to successful decoration is to work quickly after applying the frosting. Decorate your trees before the icing begins to set and harden. This ensures that all your candies, sprinkles, and shredded coconut adhere firmly to the “branches” and don’t fall off later.
- Smart Storage Solutions: If you plan to enjoy these delicious treats over several days, proper storage is crucial. Place the finished trees inside an airtight container. If you don’t have a container tall enough, wrap each tree individually in aluminum foil or plastic wrap. This prevents the cones from going stale and the frosting from drying out, keeping them fresh and tasty.
- Choose Appropriate Candy Sizes: When selecting your “ornaments,” avoid using very large or heavy pieces of candy. If the candies are too substantial, their weight can cause them to slide down or even fall off the frosted cone, especially if the frosting is still soft. Opt for lighter, smaller candies like mini M&M’s, sprinkles, or small chocolate chips for optimal adhesion and stability.
- Achieve Full, Even Frosting Coverage: Aim to cover the entire ice cream cone with frosting so that no part of the cone itself is visible. This creates a solid, vibrant green base that truly resembles a Christmas tree. However, exercise moderation – don’t apply an excessive amount of frosting. Too much icing can become heavy, causing it to slide off the cone, create a messy appearance, and make it difficult for candies to stick. A medium, even layer is perfect.
- Use a Stable Base: For easy handling and decorating, consider placing the inverted cone on a small paper plate or a cupcake liner. This helps catch any stray sprinkles or frosting drips, keeping your workspace cleaner.
- Chill Briefly to Set (Optional): If you find your frosting is a bit too soft, or if you’re in a warm environment, you can briefly chill the frosted cones in the refrigerator for 5-10 minutes *before* adding the decorations. This can help the frosting firm up slightly, providing a sturdier base for your candies.
- Experiment with Sprinkles: Beyond traditional candies, an assortment of Christmas-themed sprinkles can add incredible detail and sparkle. Look for star sprinkles, edible glitter, tiny nonpareils, or festive shaped sprinkles to give your trees an extra magical touch.
By following these pro tips, you’ll be well on your way to creating a batch of stunning and stable Ice Cream Cone Christmas Trees that will impress everyone this holiday season!
More Enchanting Christmas Desserts to Explore
If you’ve enjoyed making these delightful Ice Cream Cone Christmas Trees, you’re likely eager to add more festive treats to your holiday baking repertoire. The Christmas season is the perfect time to experiment with new flavors and fun, family-friendly recipes. Here are some other wonderful Christmas desserts that are sure to bring joy and deliciousness to your celebrations:
- Christmas Tree Cake Pops: These adorable bite-sized treats are essentially cake on a stick, decorated to look like miniature Christmas trees. They’re a hit at parties and offer a different texture and experience from a traditional cake.
- Easy Christmas Rice Krispie Treats: A classic favorite reinvented for the holidays! These chewy, marshmallowy treats can be molded into various festive shapes, colored with food dye, and adorned with sprinkles, making them incredibly versatile and fun to customize.
- Homemade Christmas Brownies: Rich, fudgy brownies topped with green frosting and festive decorations can easily transform into edible Christmas trees, wreaths, or even Santa hats. They’re a crowd-pleaser and wonderfully satisfying.
- Christmas Light Cookies: These creative cookies are decorated to look like colorful strings of Christmas lights, bringing a whimsical and bright touch to your dessert spread. They’re fun to decorate and taste as good as they look.
- Grinch Puppy Chow: A festive twist on the classic “Puppy Chow” or “Muddy Buddies.” This version features green-coated cereal with a touch of red candy hearts, perfectly embodying the Grinch’s iconic colors and a playful spirit.
Each of these desserts offers a unique way to celebrate the holiday season, from no-bake wonders to creative baking projects. Gather your loved ones and embark on a delicious journey through these festive treats!
Ice Cream Cone Christmas Trees Recipe
Ice Cream Cone Christmas Trees
Summary: Ice Cream Cone Christmas Trees make a fun activity for kids. These sugar cone Christmas trees are tasty and so fun for holiday parties.
Prep Time: 20 mins
Total Time: 20 mins
Servings: 8
Cuisine: American
Course: Dessert
Calories: 254 kcal
Author: Carrie Barnard
Ingredients
- 8 Sugar Ice Cream Cones (the pointy ones)
- 16 oz. Tub of White Frosting
- Green Gel Food Coloring
- Assorted Candies (for the ornaments)
- Shredded Coconut (for snow)
Instructions
- Dye the white frosting green with the green food coloring, mixing until the desired shade is achieved.
- Place the ice cream cones upside down on paper plates or a baking sheet lined with wax paper.
- Spread the green frosting evenly onto the outside of the ice cream cones using a butter knife or plastic knife.
- Decorate the frosted ice cream cones with various candies of your choice to resemble ornaments, or sprinkle with shredded coconut to look like snow.
- The ice cream Christmas trees are now ready to enjoy!
Nutrition Facts
Calories 254kcal, Carbohydrates 42g, Protein 1g, Fat 9g, Saturated Fat 2g, Polyunsaturated Fat 5g, Monounsaturated Fat 3g, Sodium 115mg, Potassium 24mg, Fiber 1g, Sugar 36g, Calcium 3mg, Iron 1mg.
Now it’s your turn to bring these adorable Ice Cream Cone Christmas Trees to life! This simple yet incredibly rewarding project is a fantastic way to create lasting holiday memories with your family. Whether you’re making them for a festive party, a fun activity with the kids, or simply to add a touch of edible charm to your home, they are sure to be a hit. We’d love to hear about your creations and any unique decorations you used. Please leave a comment below once you’ve crafted your own delightful batch!
