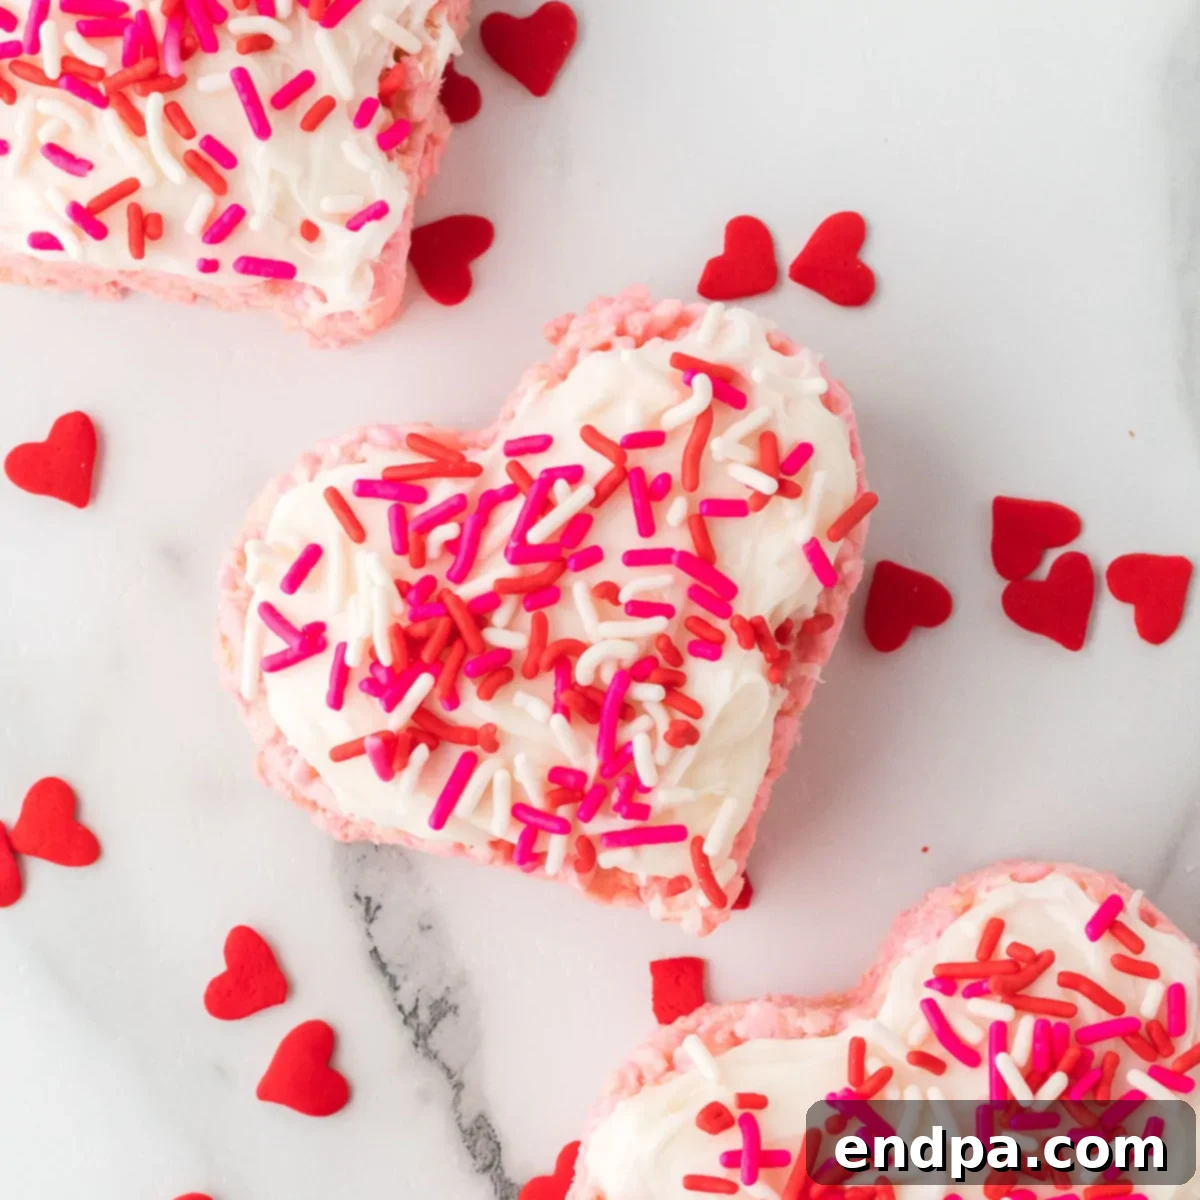
Welcome to the ultimate guide for crafting the most charming and delectable Valentine Rice Krispie Treats! These delightful, heart-shaped confections are more than just a dessert; they are a heartfelt expression, perfect for sharing love and sweetness on Valentine’s Day. Easy to make, incredibly versatile, and undeniably festive, this recipe transforms a classic favorite into a holiday masterpiece that promises to bring smiles to faces of all ages. Get ready to create ooey-gooey treats that are as visually appealing as they are delicious, making your Valentine’s celebration extra special.
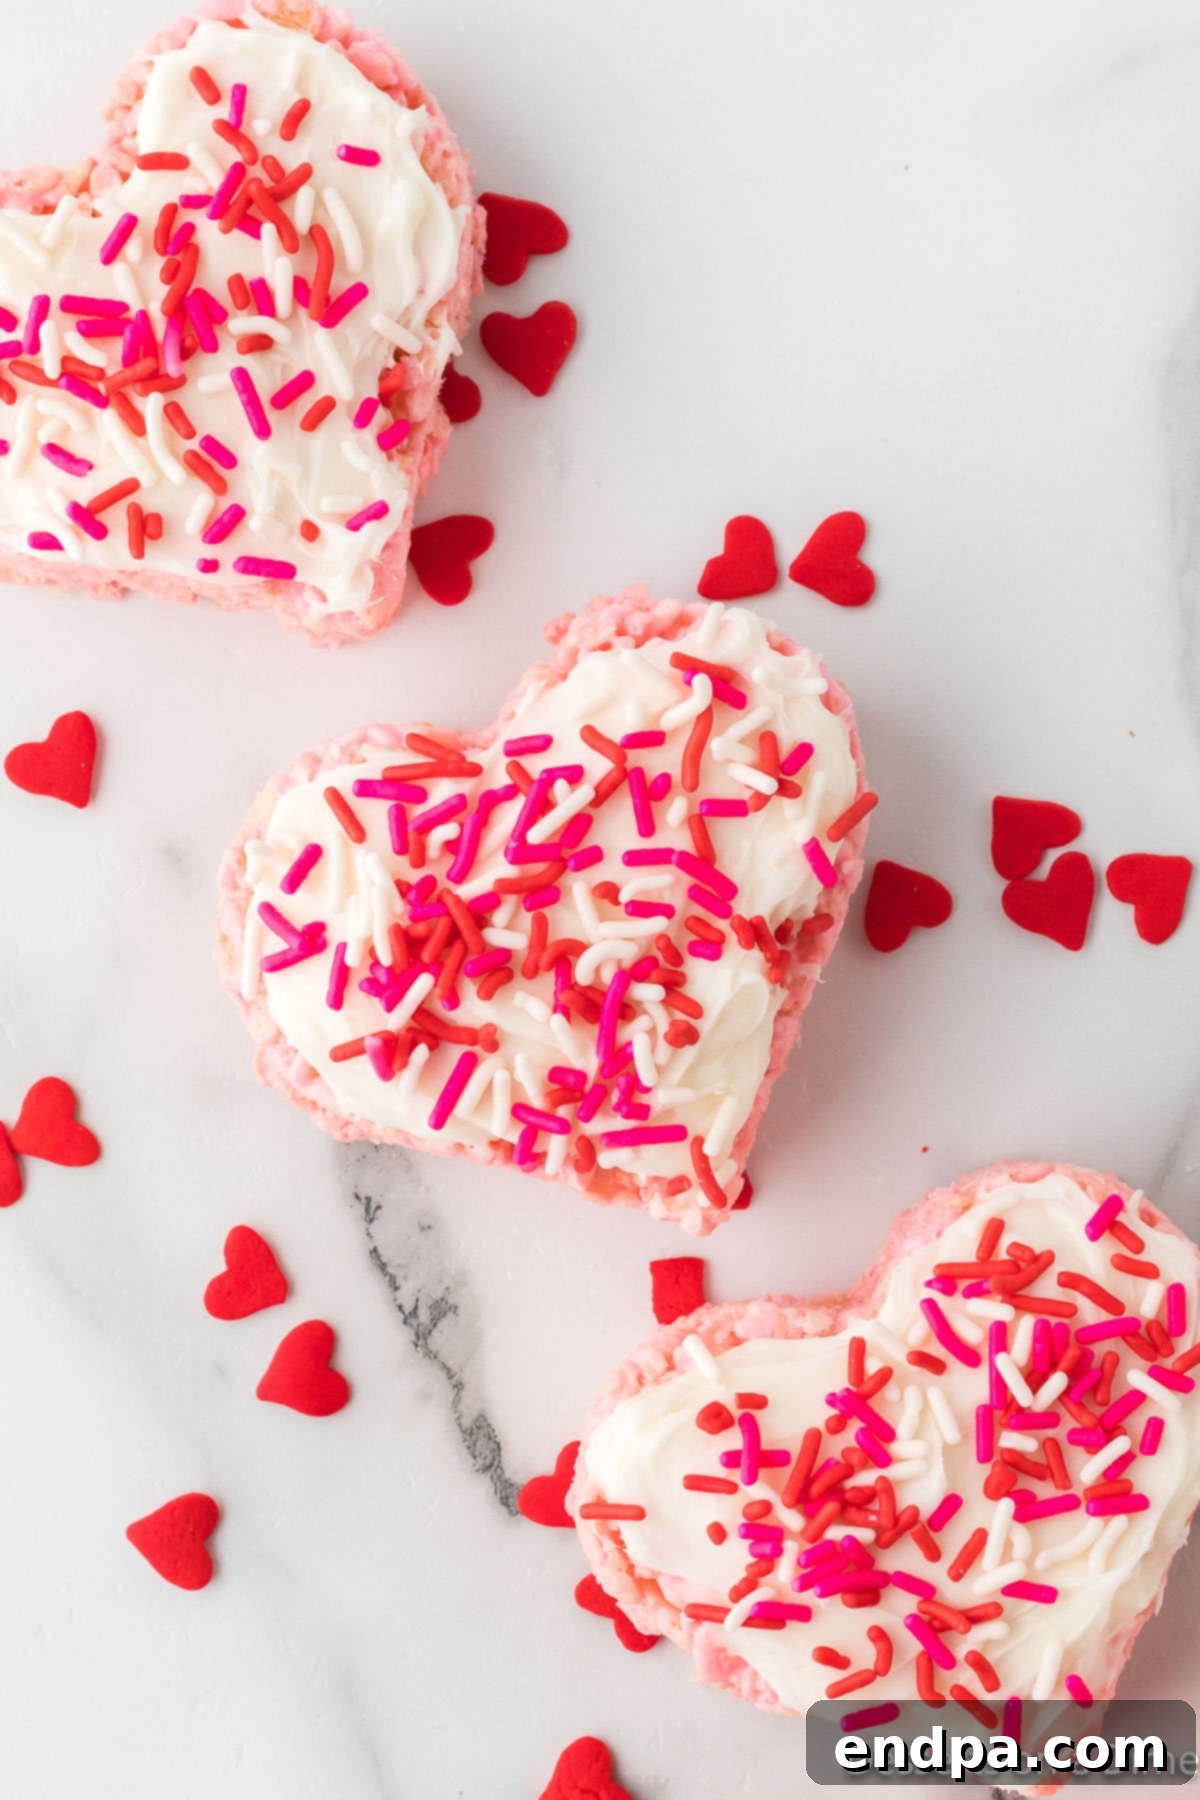
The iconic heart shape, coupled with vibrant pink icing and a sprinkle of festive colors, truly elevates these treats for Valentine’s Day. This recipe proudly stands as one of our most beloved easy no-bake dessert recipes. It’s designed for simplicity without compromising on holiday cheer or delightful flavor. From start to finish, the process is straightforward, yielding a dessert that looks impressive and tastes absolutely heavenly.
For busy individuals, especially parents, quick and easy recipes are invaluable. While these Valentine Rice Krispie Treats are a standout, you might also enjoy making Rice Krispies Cookies, enhanced with festive sprinkles for a charming Valentine’s touch. Another fantastic no-bake option to consider are Valentine Chocolate Covered Pretzels, offering a delightful crunch and a beautiful addition to any pink dessert platter or an array of heart-shaped desserts. These recipes ensure that you can whip up something special without spending hours in the kitchen, allowing more time to celebrate with loved ones.
Table of Contents
- Why We Adore This Recipe
- Essential Ingredients
- Creative Variations
- Storage and Freshness Tips
- More Valentine’s Day Desserts to Explore
- Discover More Rice Krispie Treats
Why We Adore This Recipe
Our Valentine Rice Krispie Treats hold a special place in our hearts for numerous reasons. Firstly, they are incredibly cost-effective, using simple pantry staples to create a memorable dessert. This makes them an ideal choice for large gatherings, school parties, or simply a sweet treat at home without breaking the bank. Beyond their affordability, the simplicity of preparation is a major draw. Even novice bakers can confidently tackle this recipe, achieving perfect, Instagram-worthy results every time. It’s an excellent activity for families, allowing children to participate in the festive fun of stirring, pressing, and decorating.
What truly sets these treats apart is their ability to transform the familiar, comforting flavors of classic Rice Krispie treats into something extraordinary for Valentine’s Day. The addition of color and shape elevates them from an everyday snack to a celebratory dessert. They are adored by kids and adults alike, making them a guaranteed hit at any Valentine’s Day event. The soft, chewy texture combined with the sweet, creamy frosting and playful sprinkles creates an irresistible combination that embodies the joy and sweetness of the holiday. Prepare to be showered with compliments when you present these charming, homemade tokens of affection.
Essential Ingredients
Crafting these delightful Valentine Rice Krispie Treats requires just a handful of simple ingredients, most of which you likely already have on hand. Quality ingredients, though basic, make a significant difference in the final taste and texture of your treats. Here’s what you’ll need to gather:
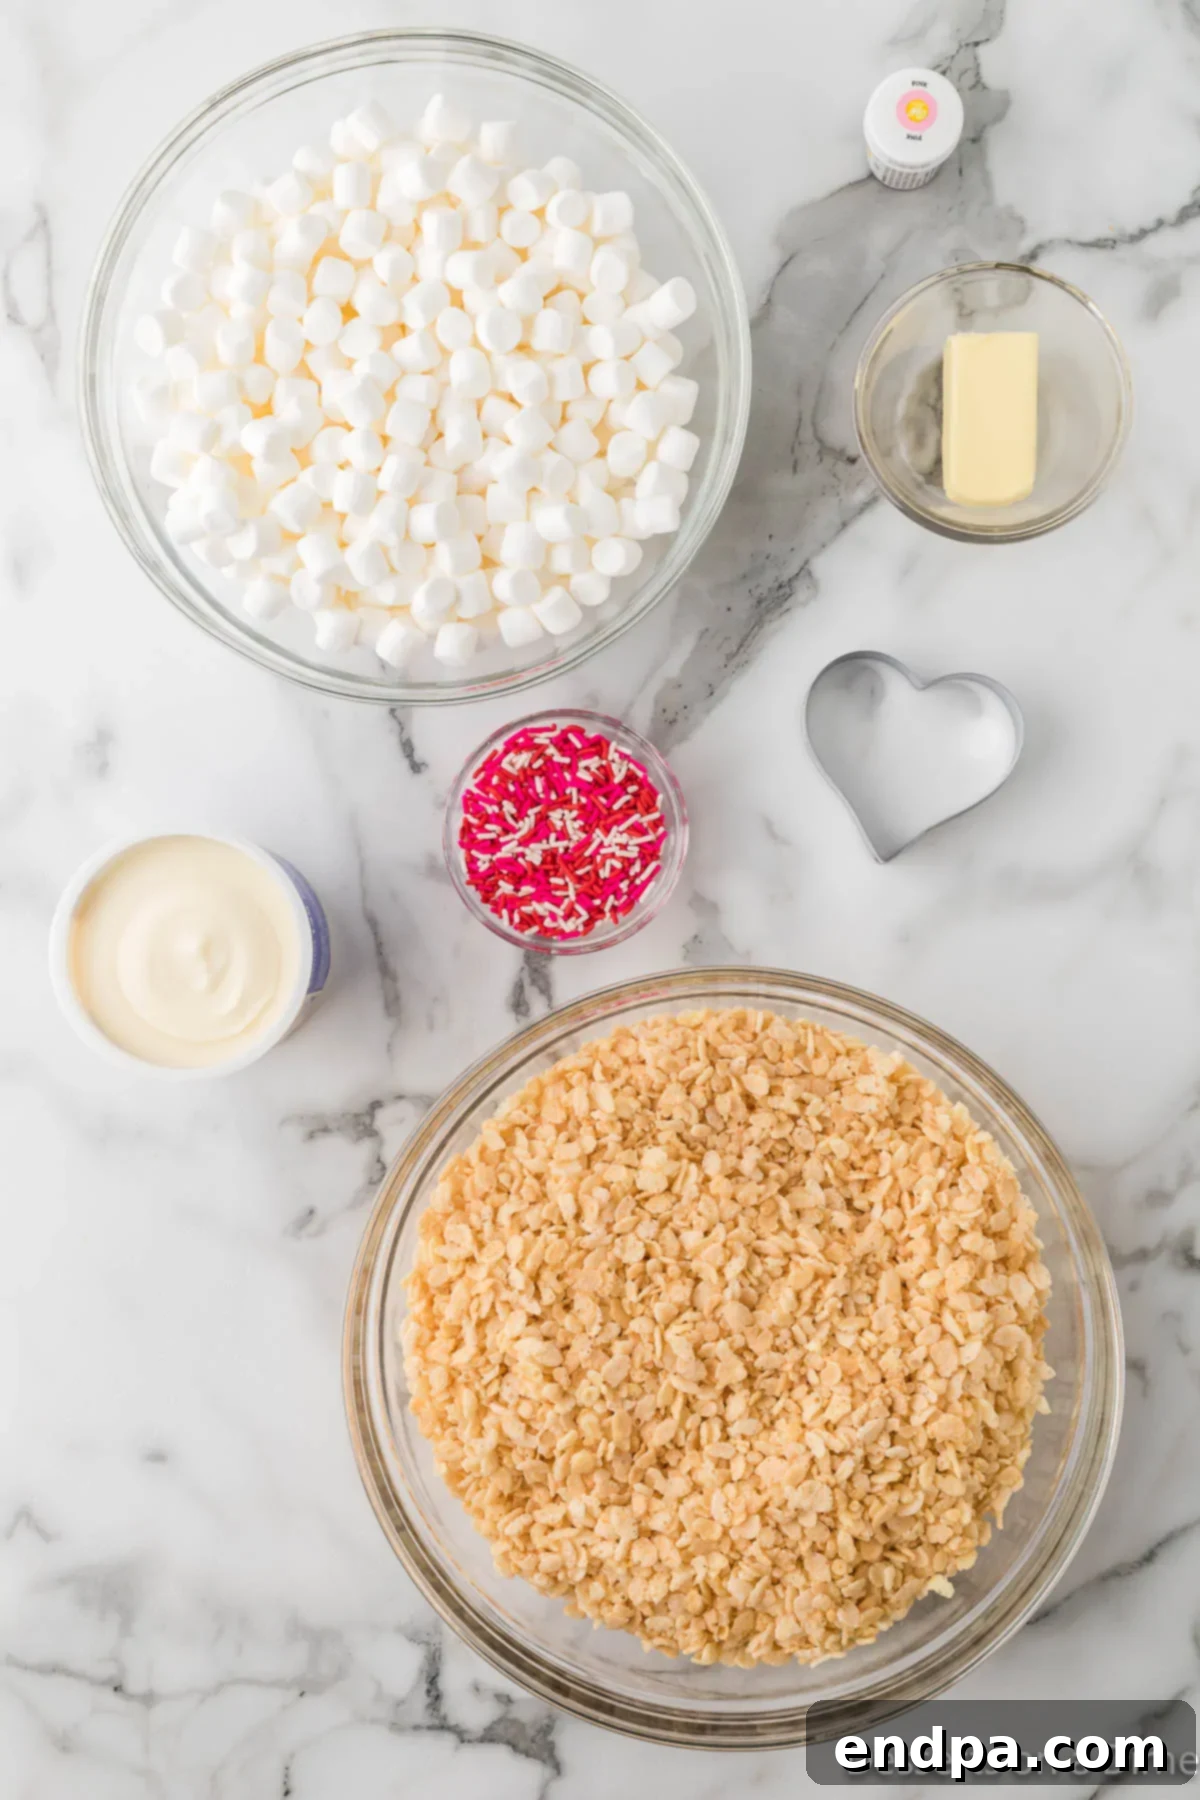
- Rice Krispie Cereal: The cornerstone of our treats. Choose a fresh box for optimal crispness.
- Mini Marshmallows: These melt more evenly and quickly than large marshmallows, ensuring a smooth, gooey binder. Fresh marshmallows are key for that perfect chewy texture.
- Unsalted Butter: Essential for richness and preventing the mixture from sticking. Unsalted butter allows you to control the overall saltiness of the treats.
- Red Food Coloring: To achieve that beautiful, festive pink hue. You can adjust the amount to get your desired shade, from a subtle blush to a vibrant rose.
- Heart Cookie Cutter: This is what gives our treats their signature Valentine’s Day shape. Various sizes can be used for different presentation styles.
- Pre-made Vanilla Frosting: A convenient choice for quick decoration. If you have a bit more time and prefer a homemade touch, our homemade cream cheese frosting is an amazing alternative that adds a tangy sweetness.
- Red, White, and Pink Sprinkles: These add a playful touch of color and texture, making the treats even more appealing. Feel free to use any Valentine’s themed sprinkles you love.
You’ll find the complete, detailed recipe list with precise measurements at the bottom of this article, along with comprehensive instructions to guide you every step of the way.
Creative Variations
One of the joys of making Valentine Rice Krispie Treats is how easily they can be customized to suit your taste, theme, or the ingredients you have on hand. Don’t hesitate to get creative with these delightful variations:
- Experiment with Different Sprinkles: While red, white, and pink sprinkles are classic for Valentine’s Day, don’t be afraid to branch out! Gold edible glitter, silver dragees, or even nonpareils in various shades can create a unique and elegant look. You could also choose sprinkles that match a specific party theme.
- Switch to Candy Melts for a Glaze: Instead of traditional frosting, consider drizzling melted candy melts over your heart-shaped treats. White, pink, or even red candy melts would look incredibly pretty and provide a slightly different texture and flavor profile. You can drizzle them in contrasting colors for a beautiful marbling effect, or even dip half the treat for a dramatic finish.
- Create Multi-Colored Hearts: For an even more vibrant display, divide your cereal mixture before adding food coloring. Make some batches a classic rosy pink with red food coloring, others a lighter, pastel pink, and perhaps leave some white or even add a touch of purple for a unique twist. This offers a lovely variety and makes your platter pop.
- Indulge in Homemade Icing: While store-bought frosting is convenient, homemade icing adds a gourmet touch. As mentioned, our cream cheese frosting is exceptional and pairs wonderfully with the sweet treats. Alternatively, a rich chocolate ganache or a simple buttercream tinted pink would also be incredibly yummy and elevate the flavor significantly.
- Add More Exciting Toppings: Beyond sprinkles, the possibilities for toppings are endless! Consider pressing mini chocolate chips, shaved white or dark chocolate, or even crushed Valentine M&M’s onto the frosting before it sets. Other delightful ideas include toasted coconut flakes for texture, finely chopped nuts for a savory contrast, or crushed hard candy for extra sparkle and flavor.
- Dip Them in Melted Chocolate: For an extra layer of decadence, dip your cooled heart treats into melted chocolate. You can fully coat them or just dip half, leaving the other half exposed. White chocolate chips, milk chocolate, or semi-sweet chocolate all work wonderfully. You can then add sprinkles on top of the melted chocolate before it sets for a professional finish.
- Transform into “Cake Pops” Style Treats: To make these perfect for gifting or serving at a party, insert a lollipop stick into the base of each heart after it has fully set. You can then individually wrap them in cellophane bags tied with a festive ribbon, creating charming grab-and-go treats that are sure to impress.
How to Make Valentine Rice Krispie Treats: A Step-by-Step Guide
Creating these delightful Valentine Rice Krispie Treats is a straightforward and fun process. Follow these detailed steps to achieve perfect, gooey, and festive results:
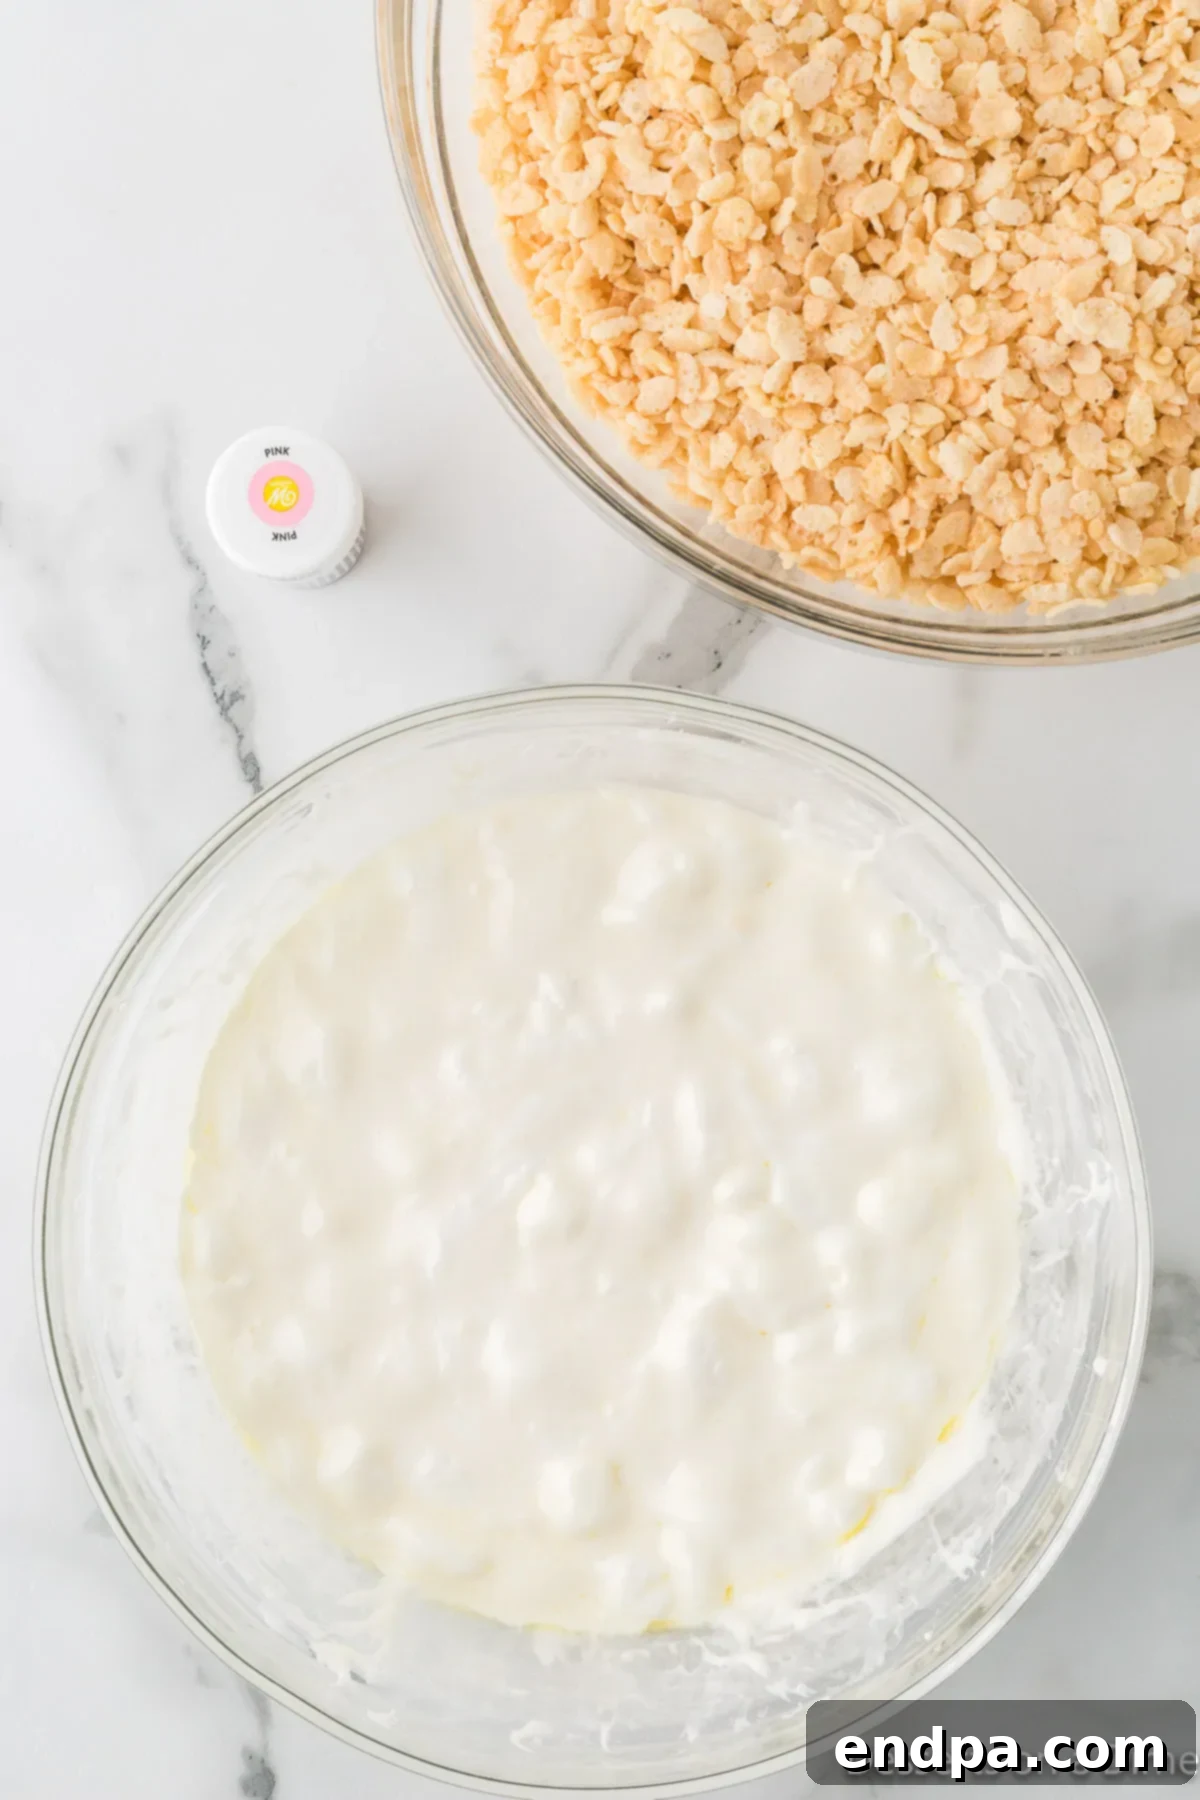
Step 1: Melt the Marshmallow Mixture. Begin by placing both the butter and the mini marshmallows into a large, microwave-safe bowl. Heat the mixture in 30-second intervals in the microwave, stirring thoroughly after each interval. Continue this process until the butter has completely melted and the marshmallows have puffed up and are smooth when stirred. This typically takes about 2 to 4 minutes, depending on your microwave’s power. Ensure there are no lumps for the best results. A well-melted base is crucial for evenly coated treats.
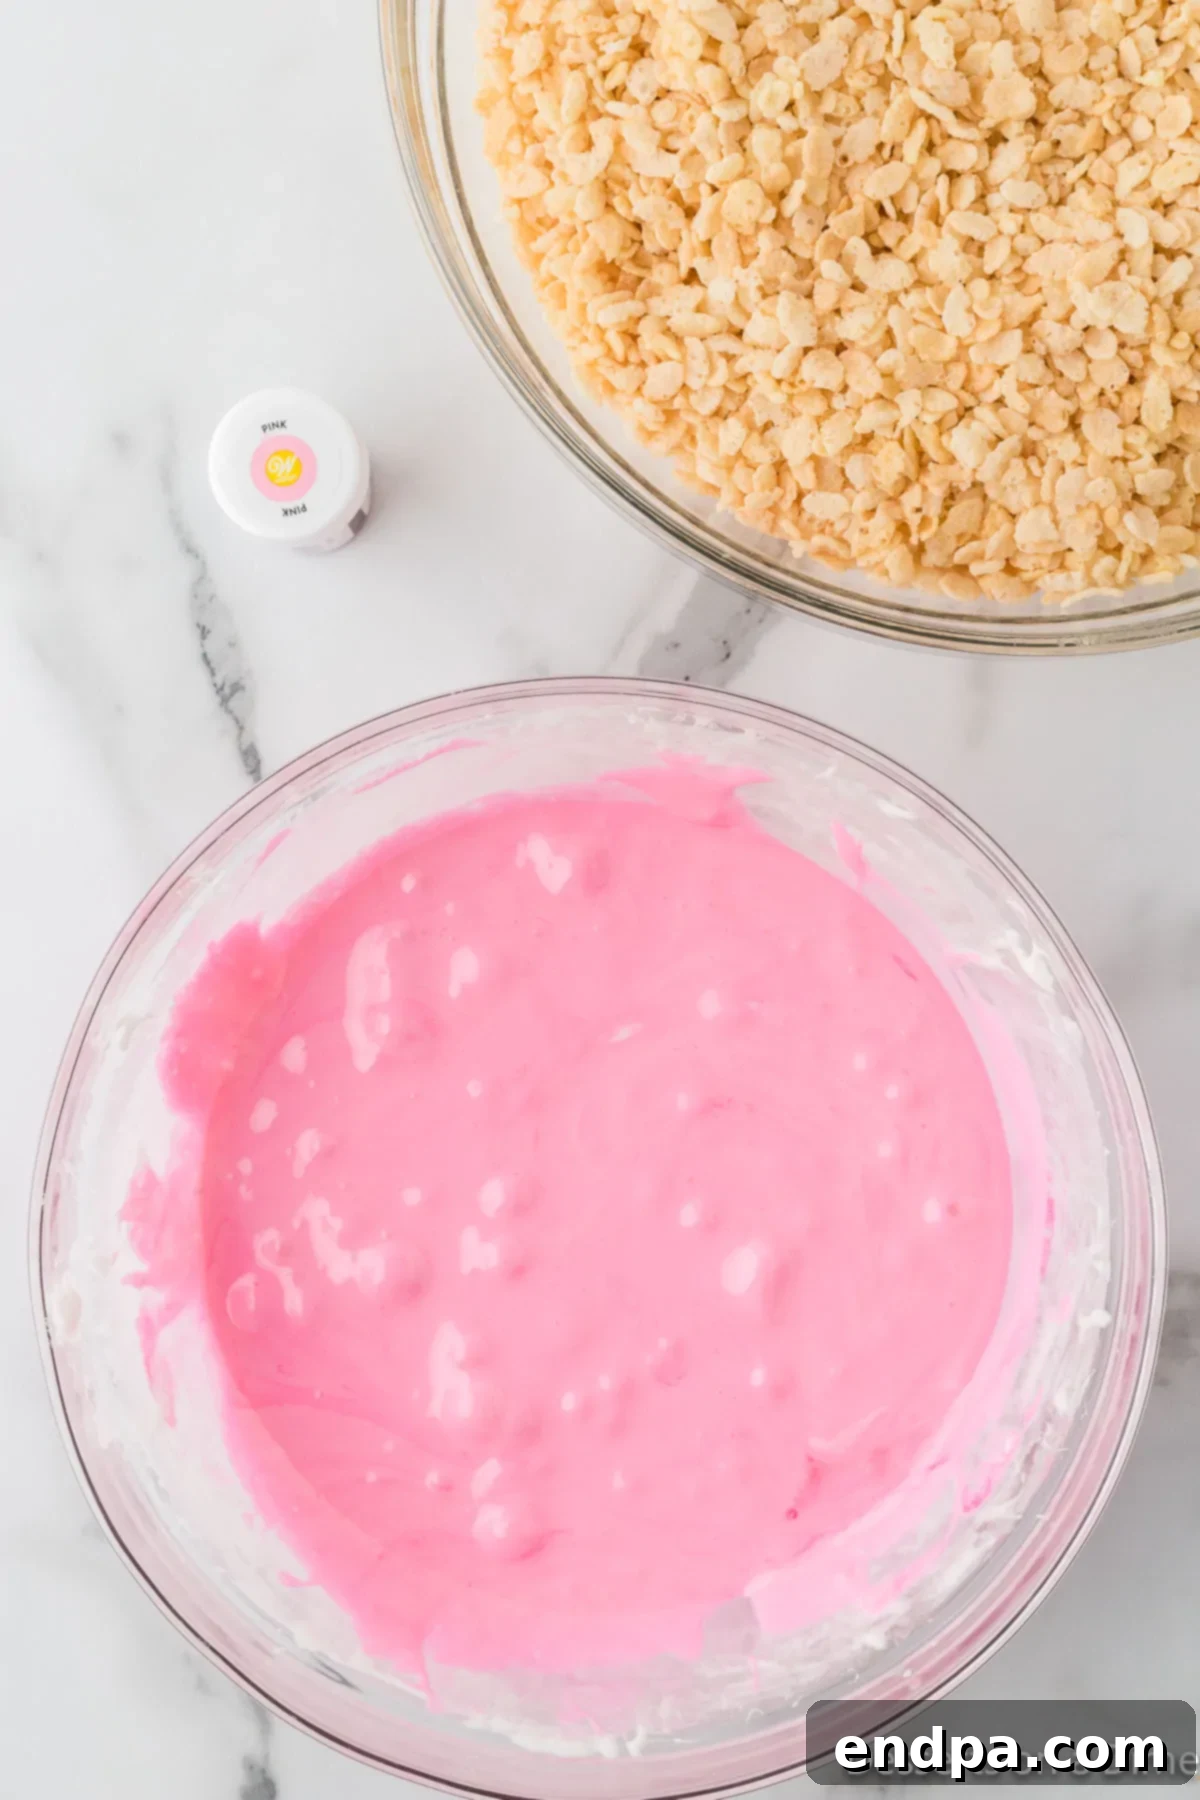
Step 2: Add Festive Color. Once your marshmallow and butter mixture is perfectly melted and smooth, it’s time to add the festive touch. Stir in 3 to 5 drops of red food coloring. Mix well until the color is evenly distributed and you achieve the desired shade of pink. For a deeper hue, add another drop or two, stirring after each addition. Remember, a little goes a long way, and you can always add more but can’t take it away!
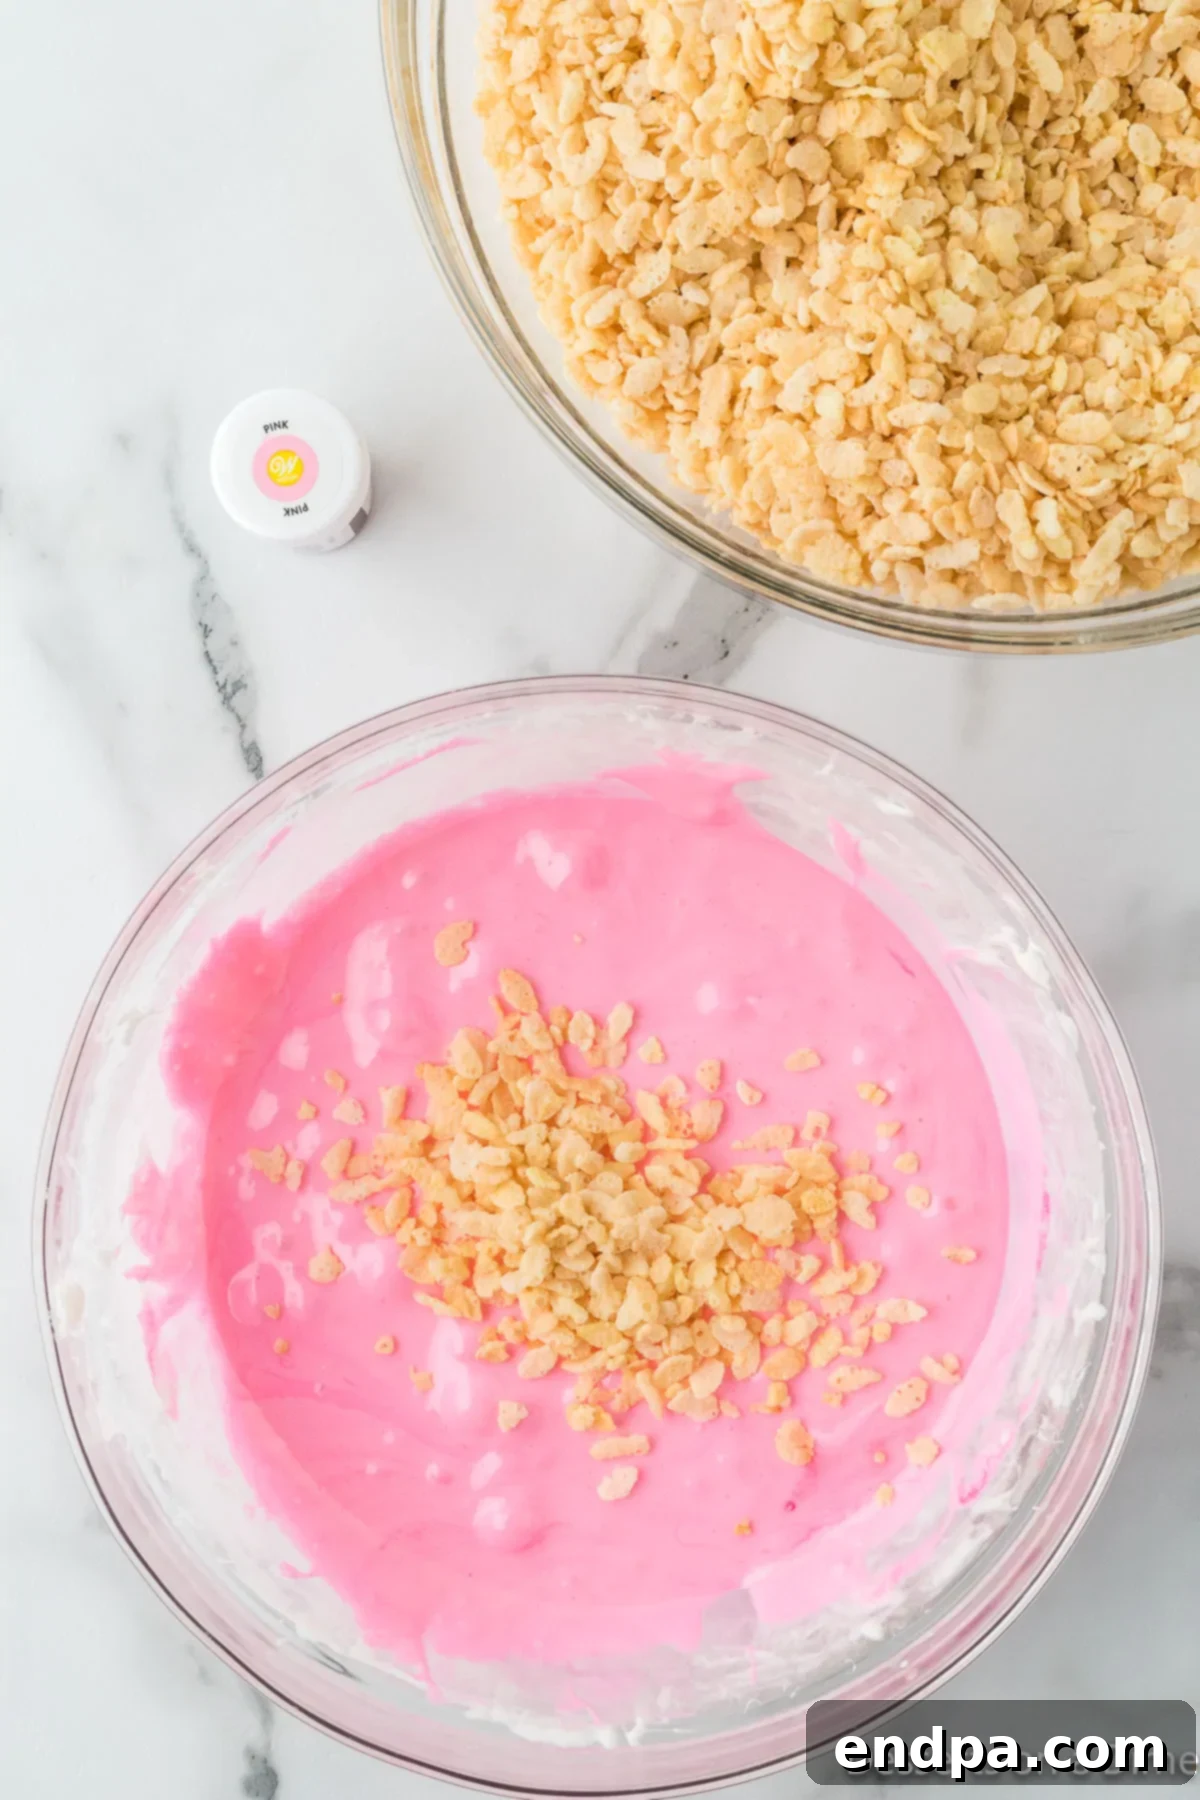
Step 3: Combine with Cereal. Immediately pour the Rice Krispie Cereal into the pink marshmallow mixture. Using a sturdy wooden spoon or a spatula, gently but thoroughly stir until every single rice krispie is well coated with the gooey marshmallow. Work quickly, as the mixture will become stickier and harder to stir as it cools. Ensure there are no dry spots of cereal left unmixed.
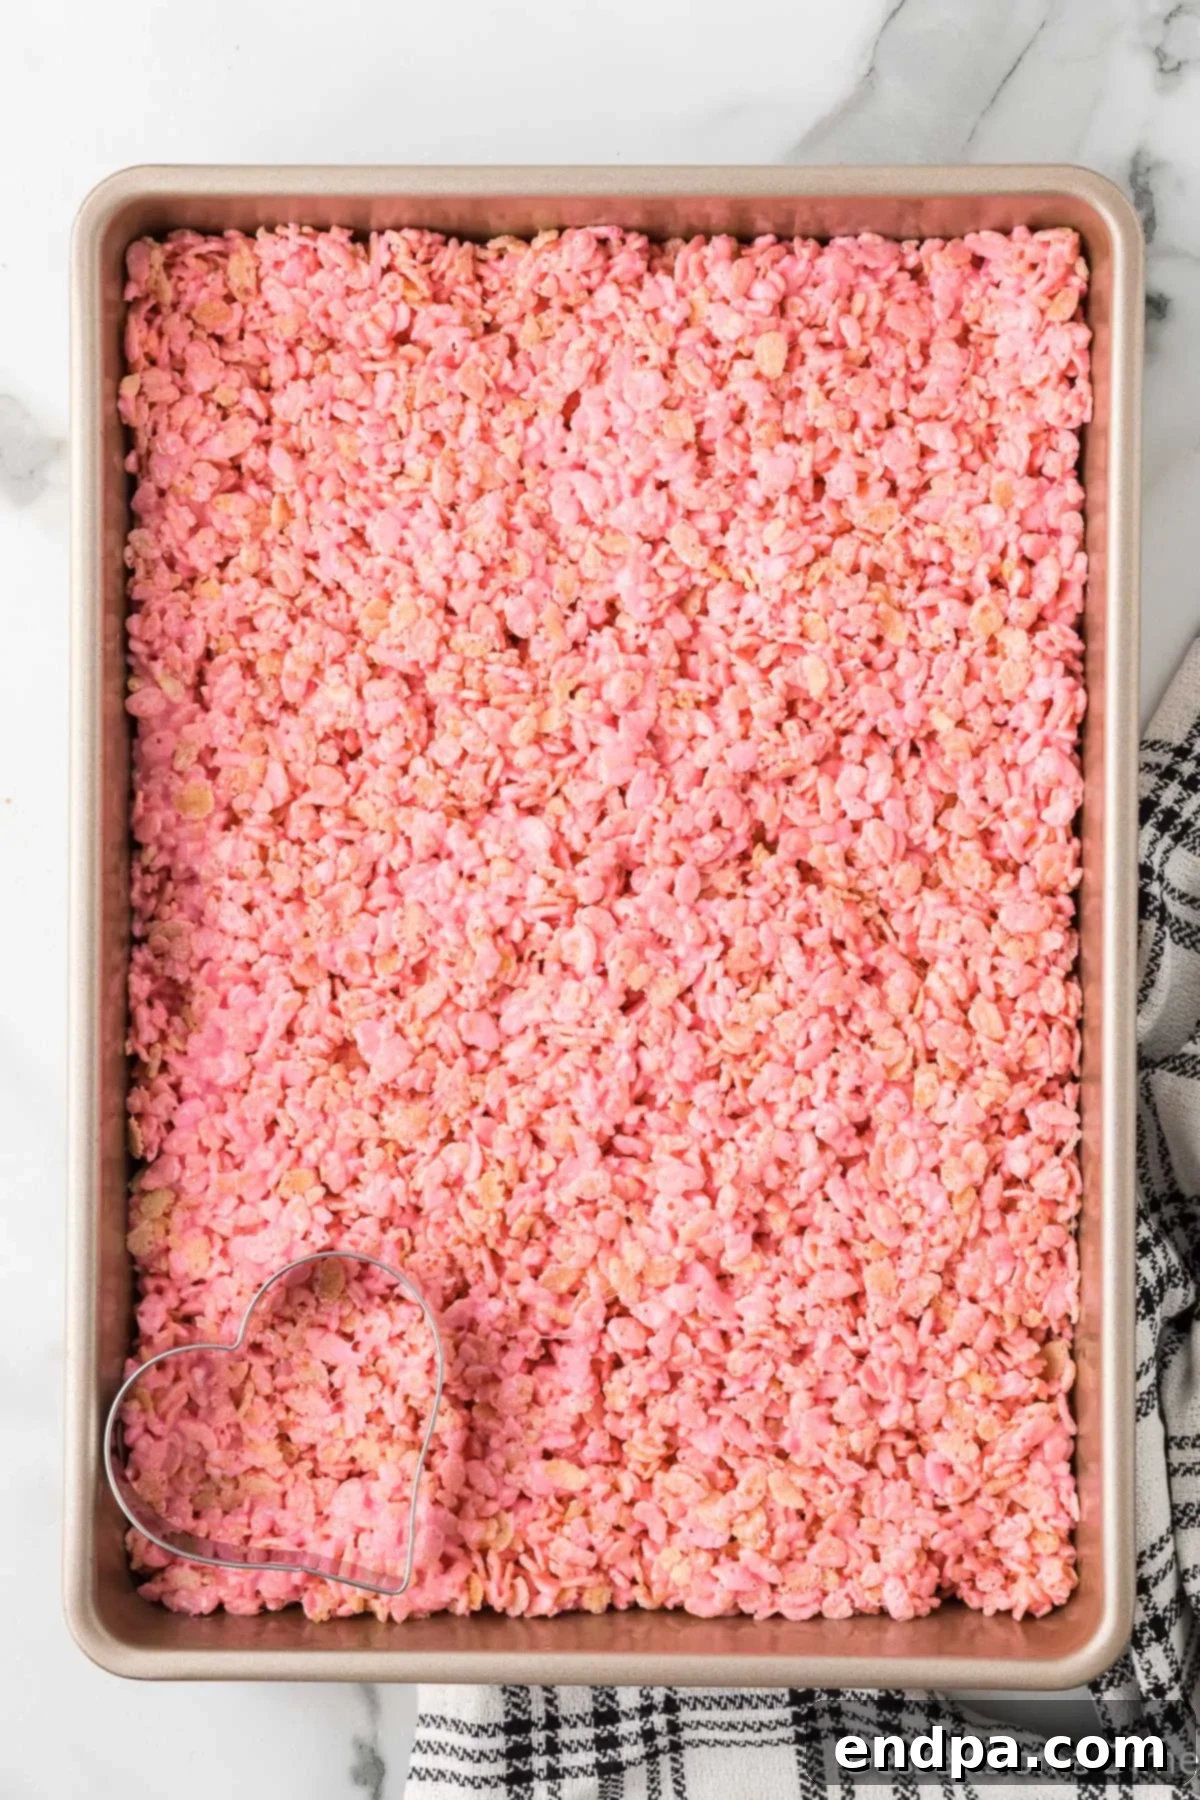
Step 4: Press into Pan and Set. Prepare a 9×13 inch baking pan by generously spraying it with non-stick cooking spray. Transfer the Rice Krispie mixture into the prepared pan. To press the mixture evenly and prevent sticking, spray a piece of parchment paper or wax paper with cooking spray and use it to gently press the mixture down into the pan. Avoid pressing too firmly, as this can make the treats hard. Aim for an even thickness across the entire pan. Allow the treats to set at room temperature for at least 1 hour, or until completely cool and firm.
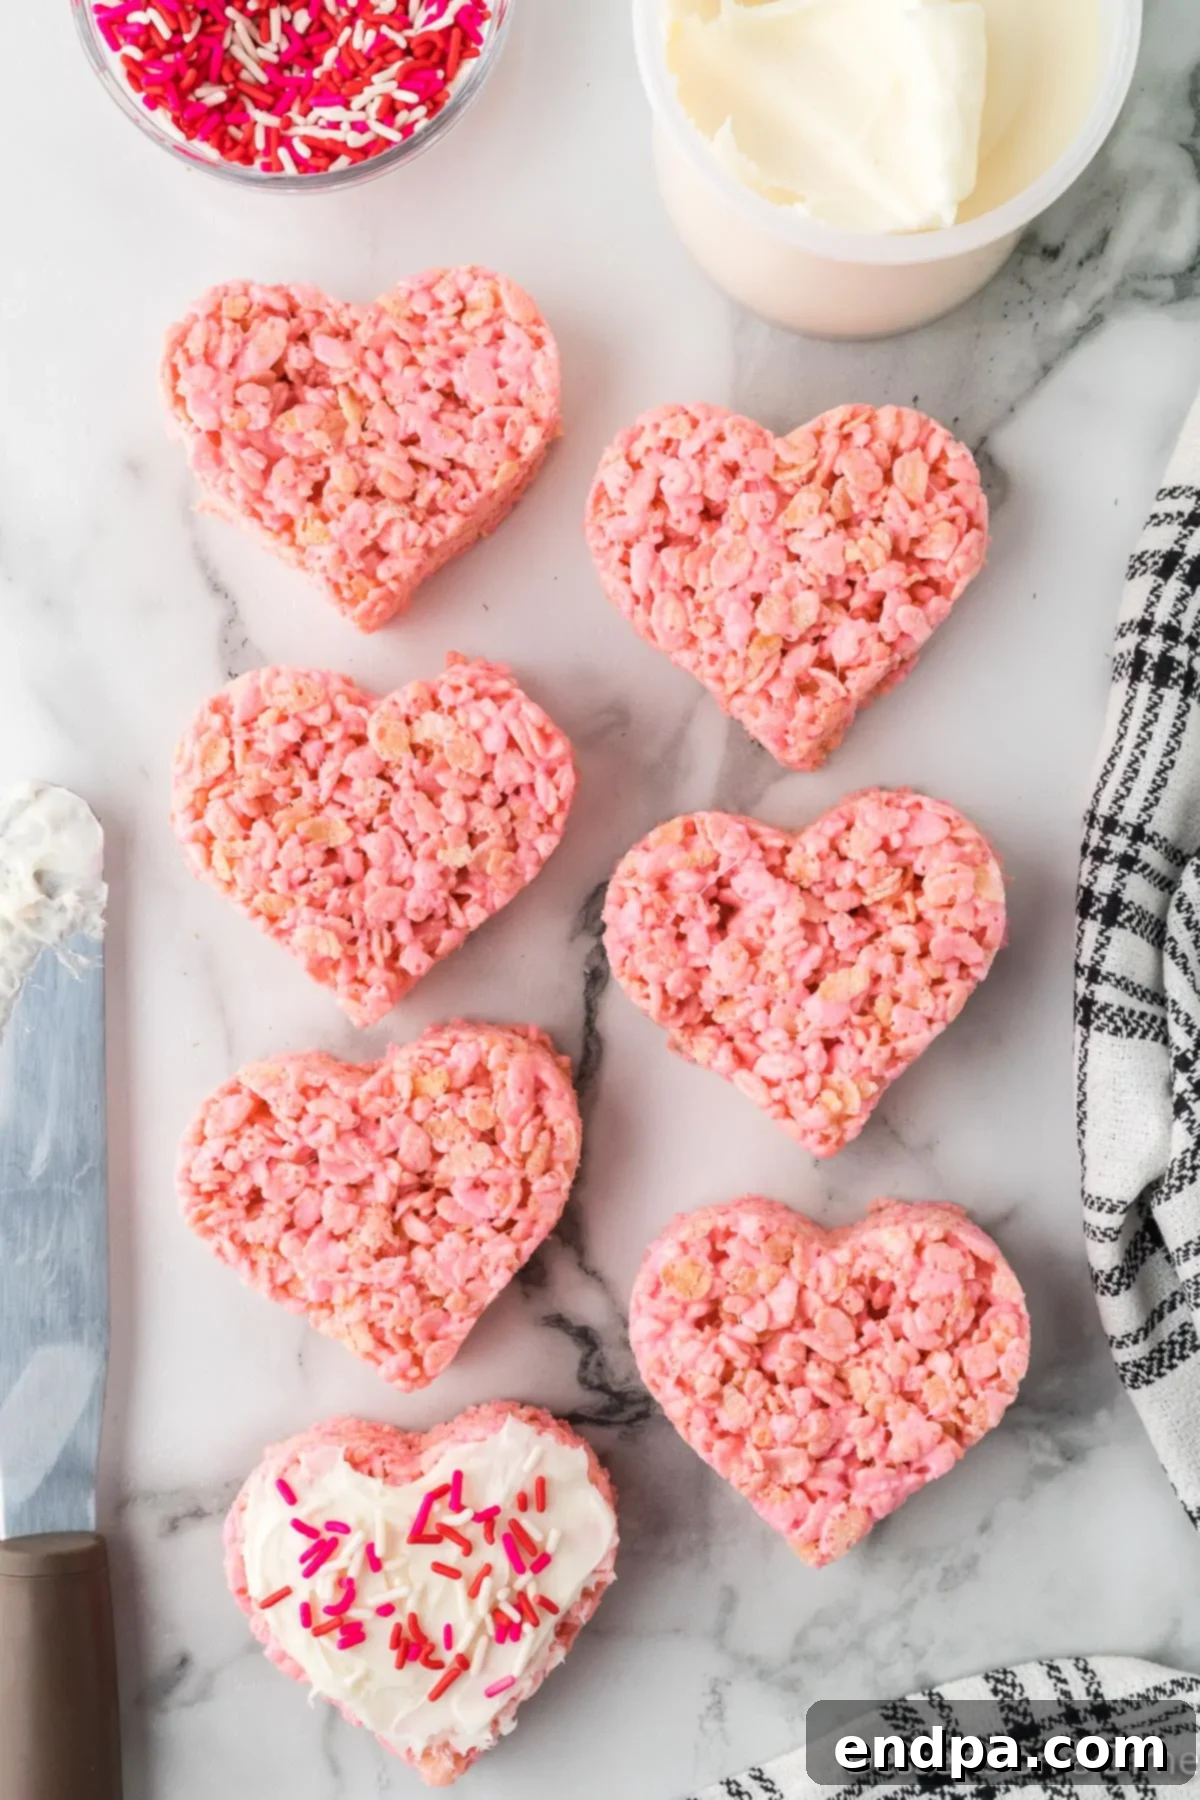
Step 5: Cut and Frost. Once the Rice Krispie mixture has fully set and cooled, it’s time to create your beautiful heart shapes. Lightly spray your heart-shaped cookie cutter with non-stick spray to prevent sticking. Press the cookie cutter firmly into the Rice Krispie slab to cut out individual hearts. Carefully remove each heart and place it on a serving platter or wire rack. Now, it’s time to add a generous dollop of vanilla frosting to the center of each heart. You can use a knife, an offset spatula, or even a piping bag for a neater finish.
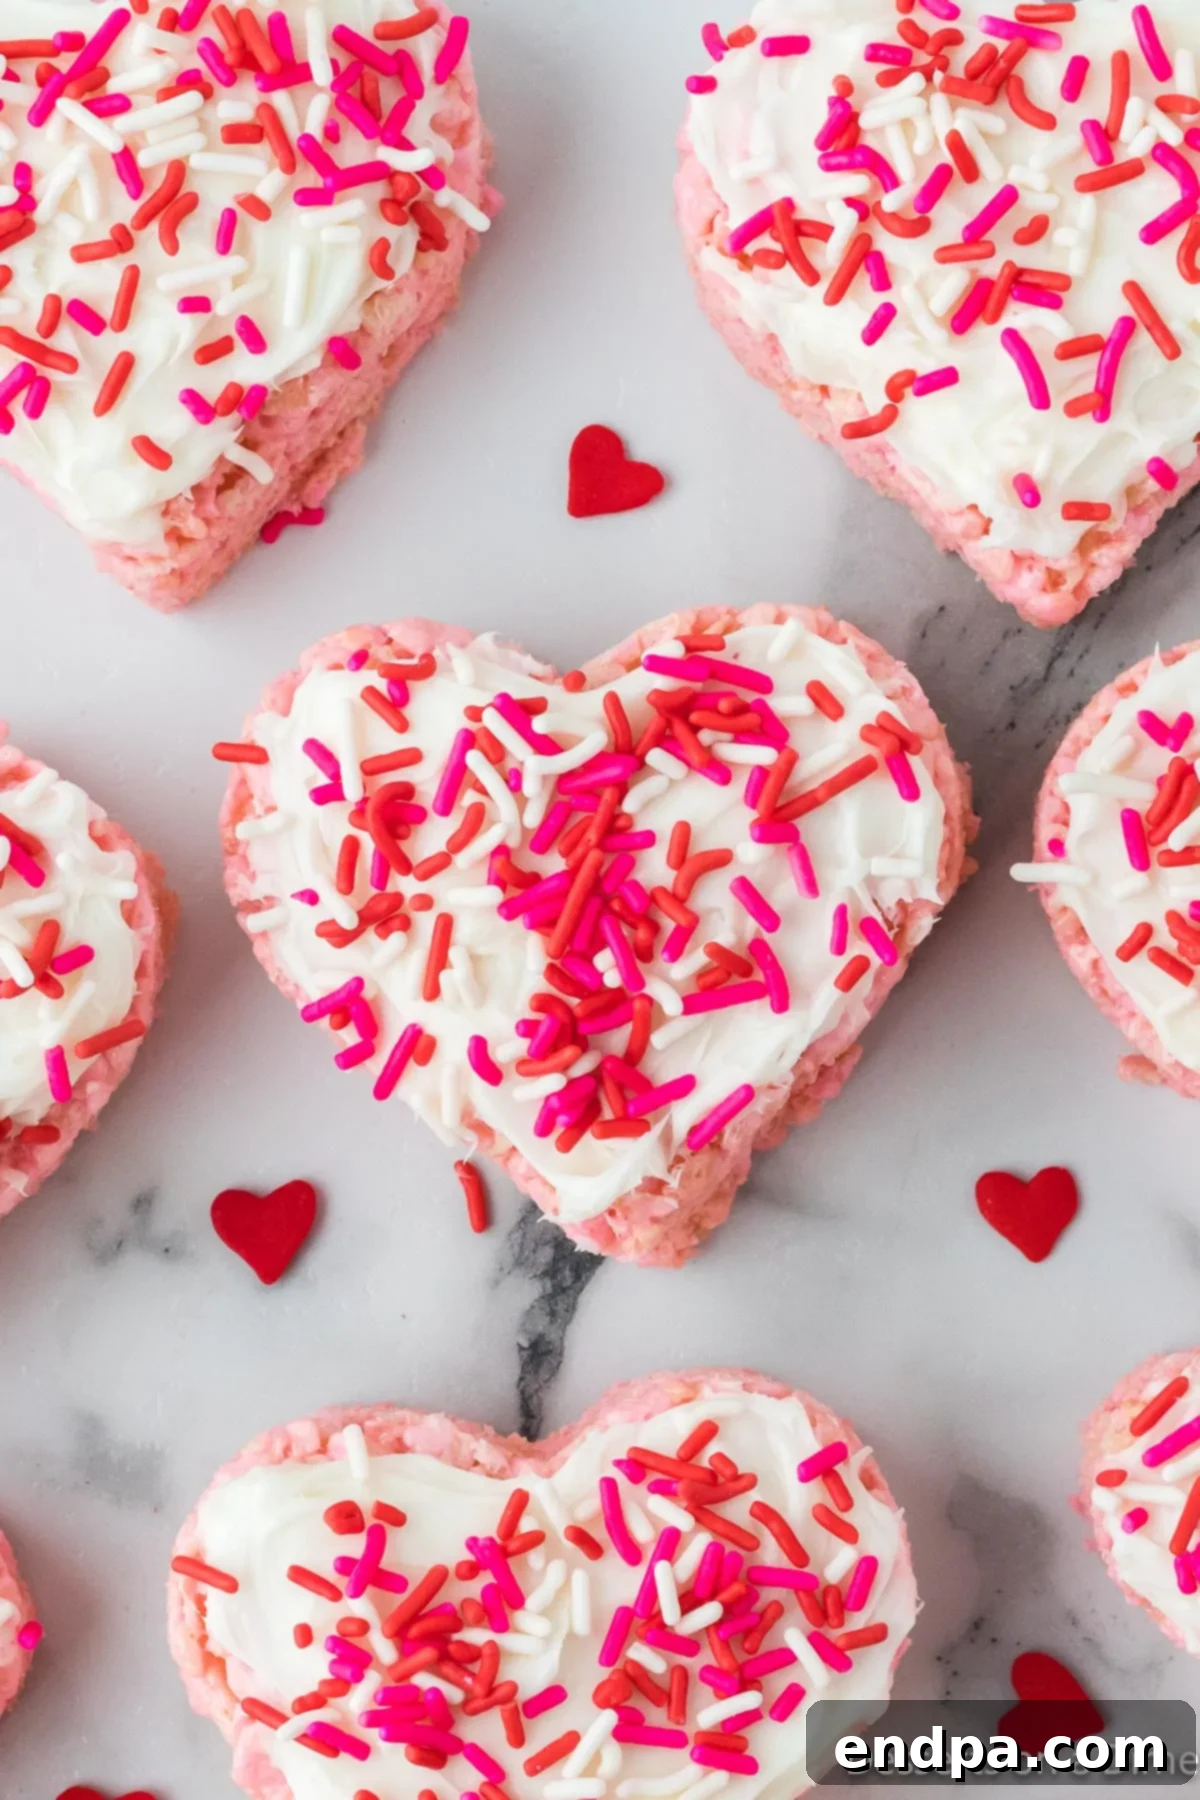
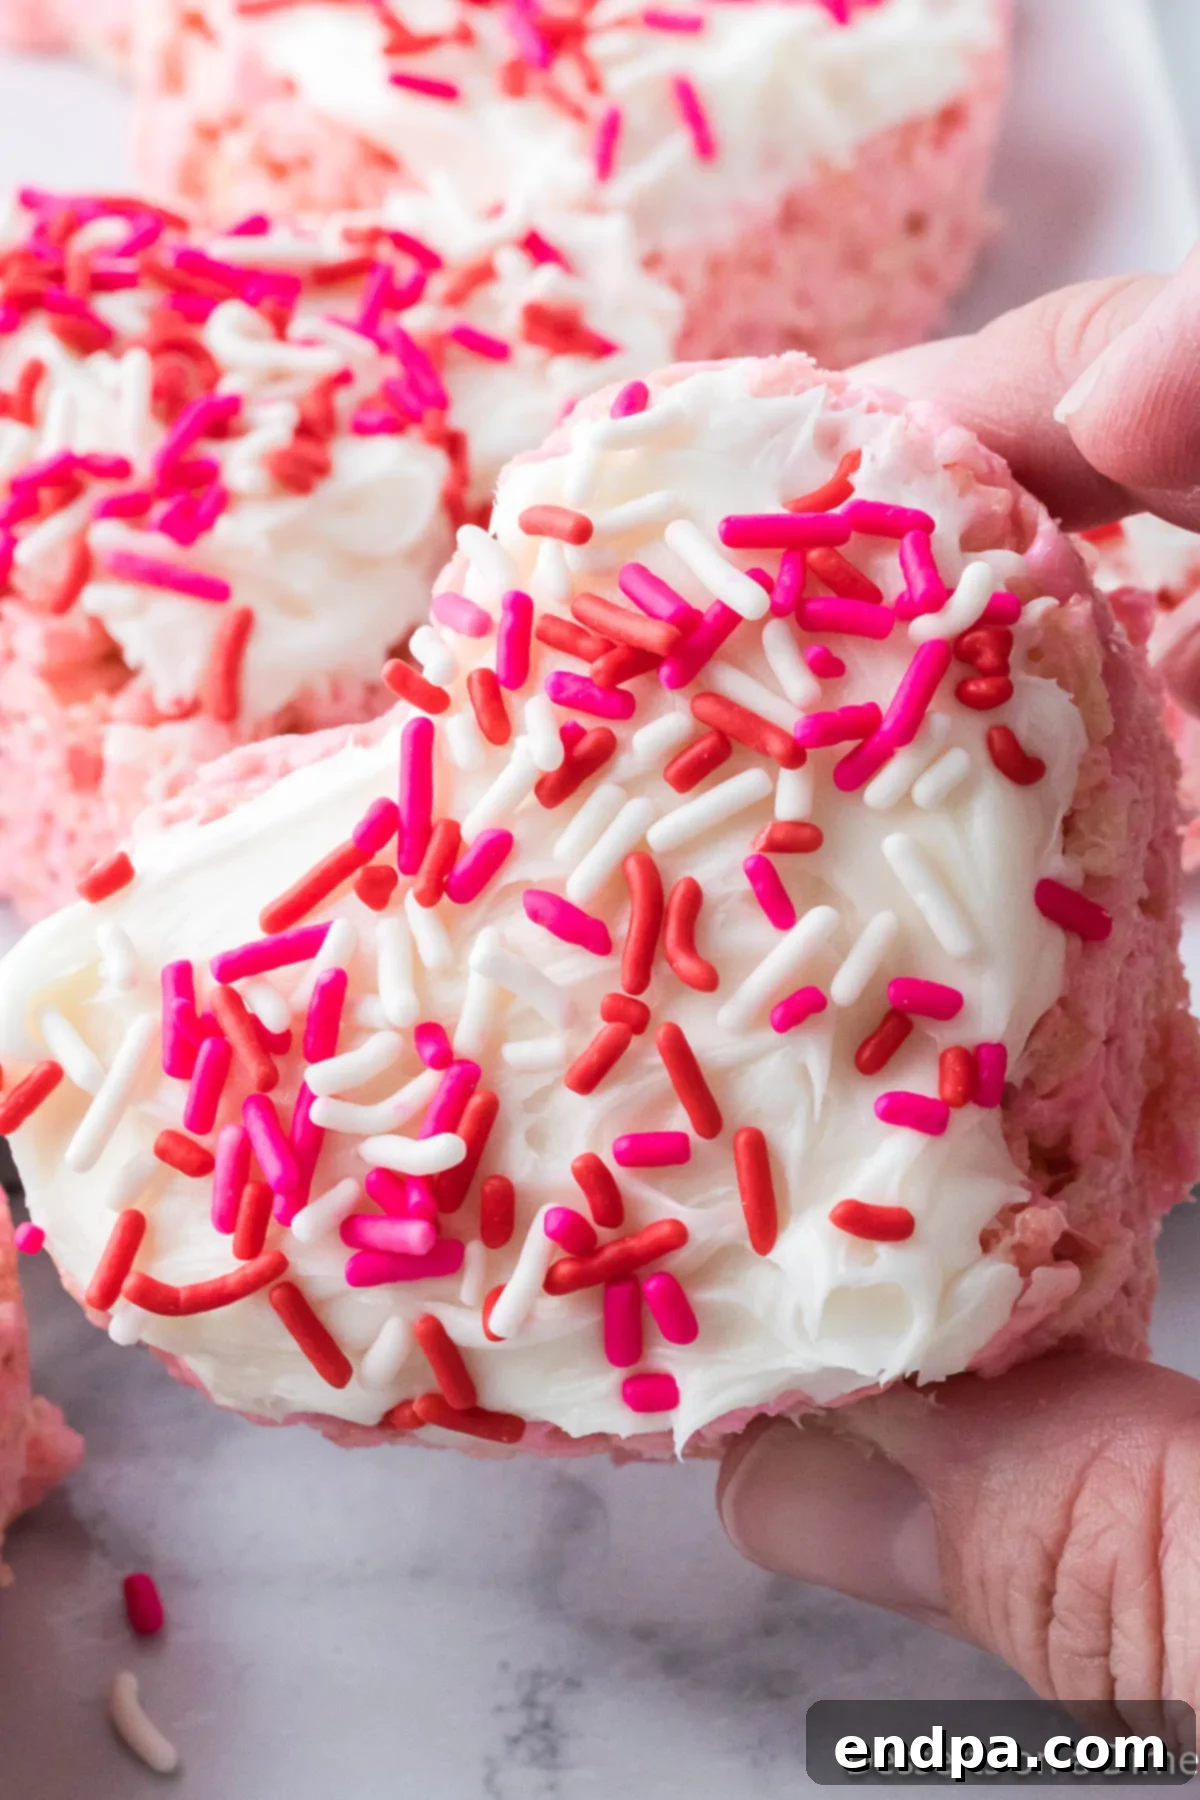
Step 6: Decorate and Serve. The final touch! Immediately after frosting each heart, generously sprinkle your chosen red, white, and pink sprinkles over the wet frosting. This ensures the sprinkles adhere well and creates a dazzling, festive appearance. Continue until all your heart-shaped treats are frosted and adorned. Arrange them beautifully on a tray and serve. Watch as these adorable Valentine Rice Krispie Treats disappear, bringing joy and sweetness to everyone who tries them!
Recipe Tips for Perfect Valentine Rice Krispie Treats
Achieving the perfect batch of Valentine Rice Krispie Treats is simple with a few helpful tips. These pointers will ensure your treats are consistently gooey, chewy, and irresistibly delicious:
- Selecting the Right Marshmallows: Always opt for fresh, soft mini marshmallows. Older or stale marshmallows can affect the texture, making the treats less pliable and more difficult to melt smoothly. Mini marshmallows melt more quickly and evenly, contributing to that signature gooey consistency.
- Greasing Your Tools is Key: Marshmallow mixture is notoriously sticky! Generously spray your mixing bowl, spatula, and even your hands (lightly) with non-stick cooking spray before you begin. This will make the mixing and pressing process significantly easier and less messy. Don’t forget to spray your cookie cutter as well to ensure clean cuts.
- Combining the Mixture Effectively: When folding the Rice Krispie cereal into the marshmallow mixture, work quickly but gently. Use a sturdy wooden spoon or a heat-resistant spatula, as the mixture is thick and sticky. Ensure every piece of cereal is coated without overmixing, which can crush the cereal and compromise the texture.
- Avoid Over-Pressing the Treats: When pressing the mixture into the baking pan, be gentle. Using a piece of parchment paper or wax paper (lightly sprayed with cooking spray) to press down is a great trick. Pressing too firmly can compact the treats, making them dense and hard instead of light and chewy. You want an even layer, but not a brick!
- Letting Them Set Properly: Patience is a virtue here. Allowing your Rice Krispie treats to set at room temperature for at least an hour (or longer if needed) is crucial. This gives the marshmallow time to firm up just enough to be cut cleanly into shapes without falling apart, but still maintaining that gooey center. Avoid rushing this step by placing them in the fridge.
- Don’t Refrigerate the Treats for Setting: While it might seem like a shortcut, putting Rice Krispie treats in the refrigerator to speed up setting can actually dry them out and make them hard and less gooey. Room temperature is ideal for maintaining their perfect texture.
Storage and Freshness Tips
Proper storage is essential to keep your Valentine Rice Krispie Treats fresh, soft, and delicious for as long as possible. Follow these guidelines to ensure they remain delightful:
For immediate consumption within a few days, place the rice krispie treats inside an airtight container. This prevents them from drying out and becoming stale. To avoid sticking and preserve their delicate frosting and sprinkle decorations, we recommend placing a sheet of parchment paper in between layers of the treats if you need to stack them. Stored correctly at room temperature, these treats will remain fresh and delightfully gooey for up to a week. Remember, exposure to air is their enemy, so seal that container tightly!
If you need to extend their shelf life significantly, you can freeze them. This is an excellent option for making them ahead of time or enjoying them beyond the typical week. To freeze, first ensure the treats are completely cooled and the frosting is fully set. Wrap individual treats or small stacks tightly in plastic wrap, then place them in an airtight freezer-safe container or a heavy-duty freezer bag. They can be frozen for up to 3 months. When you’re ready to enjoy, simply remove them from the freezer and let them thaw at room temperature for an hour or two. They’ll regain their soft texture and delicious flavor, ready to be enjoyed as if freshly made.
More Valentine’s Day Desserts to Explore
Valentine’s Day is the perfect occasion to indulge in sweet treats and show your love through baking. If you’re looking for more delightful desserts to celebrate, beyond our charming Rice Krispie hearts, here are some fantastic ideas that are sure to spread joy:
- Strawberry Chocolate Bark Recipe: A simple yet elegant treat combining the fruity sweetness of strawberries with rich chocolate.
- Valentine’s Day Cake Pops: Bite-sized delights that are fun to make and even more fun to eat, perfect for parties.
- Valentine’s Day Dirt Cake Recipe: A playful, layered dessert featuring creamy pudding and crushed cookies, with a festive twist.
- Easy Valentines Day Cake Mix Cookies: Super simple cookies made from a cake mix, ideal for quick baking with impressive results.
- Valentine’s Day Cake Balls Recipe: Similar to cake pops but without the stick, these decadent bites are rich and customizable.
- Heart Shaped Brownies: Fudgy brownies cut into hearts, a classic favorite with a romantic touch.
Discover More Rice Krispie Treats
While our Valentine Rice Krispie Treats are a seasonal favorite, the world of Rice Krispie treats extends far beyond the basic recipe. The versatility of this simple cereal bar allows for endless flavor combinations and creative twists. If you’ve fallen in love with these treats and are eager to explore more, check out these exciting variations:
- Rice Krispie Treats with Marshmallow Fluff: Elevate the gooiness and marshmallow flavor with the addition of fluff for an extra soft texture.
- Peanut Butter Rice Krispie Treats Recipe: A delightful fusion of sweet and salty, perfect for peanut butter lovers.
- Neapolitan Rice Krispie Treats: Layered with chocolate, vanilla, and strawberry flavors, this treat is a nostalgic nod to the classic ice cream.
- Chocolate Peanut Butter Rice Krispie Treats: The ultimate indulgence for those who can’t get enough of the chocolate and peanut butter combination.
Each of these recipes offers a unique twist on the beloved Rice Krispie treat, proving just how adaptable and universally adored this dessert can be. Whether you’re craving something extra sweet, a nutty crunch, or a layered flavor experience, there’s a Rice Krispie treat variation waiting for you to discover.
We hope you thoroughly enjoy making these yummy heart-shaped Valentine Rice Krispie Treats today. They are truly a labor of love that is easy to achieve and delivers maximum joy. Once you’ve whipped up a batch, please do come back and leave a star recipe rating and let us know how much you loved them!
Pin
Valentine Rice Krispies
Ingredients
- 6 cup Rice Krispie Cereal
- 4 Tbsp Unsalted Butter
- 10 oz Mini Marshmallows
- Red Food Coloring
- Heart Cookie Cutter
- 8 oz pre-made Vanilla Frosting
- Red White and Pink Sprinkles
Instructions
- Place the butter and marshmallows in a large microwave-safe bowl. Heat in 30-second intervals, stirring thoroughly after each interval until the mixture is fully melted and smooth. This typically takes about 2-4 minutes.
- Stir in 3-5 drops of red food coloring until the mixture achieves your preferred shade of pink. Add more drops if a deeper color is desired.
- Next, add the Rice Krispie Cereal to the colored marshmallow mixture. Stir gently but quickly until all the cereal is well coated.
- Spray a 9×13 inch baking pan generously with non-stick cooking spray. Press the Rice Krispie mixture evenly into the pan. Use a piece of parchment paper, also sprayed with non-stick cooking spray, to gently press the mixture down to an even thickness.
- Allow the treats to set at room temperature for at least 1 hour, or until completely cool and firm enough to cut.
- Once set, lightly spray a heart-shaped cookie cutter with non-stick spray. Use it to cut out heart-shaped Rice Krispie treats from the slab.
- Top each heart-shaped treat with the pre-made vanilla frosting, spreading it gently. Immediately follow with a generous sprinkling of red, white, and pink sprinkles. Serve and enjoy!
Nutrition Facts
Pin This Now to Remember It Later
Pin Recipe
