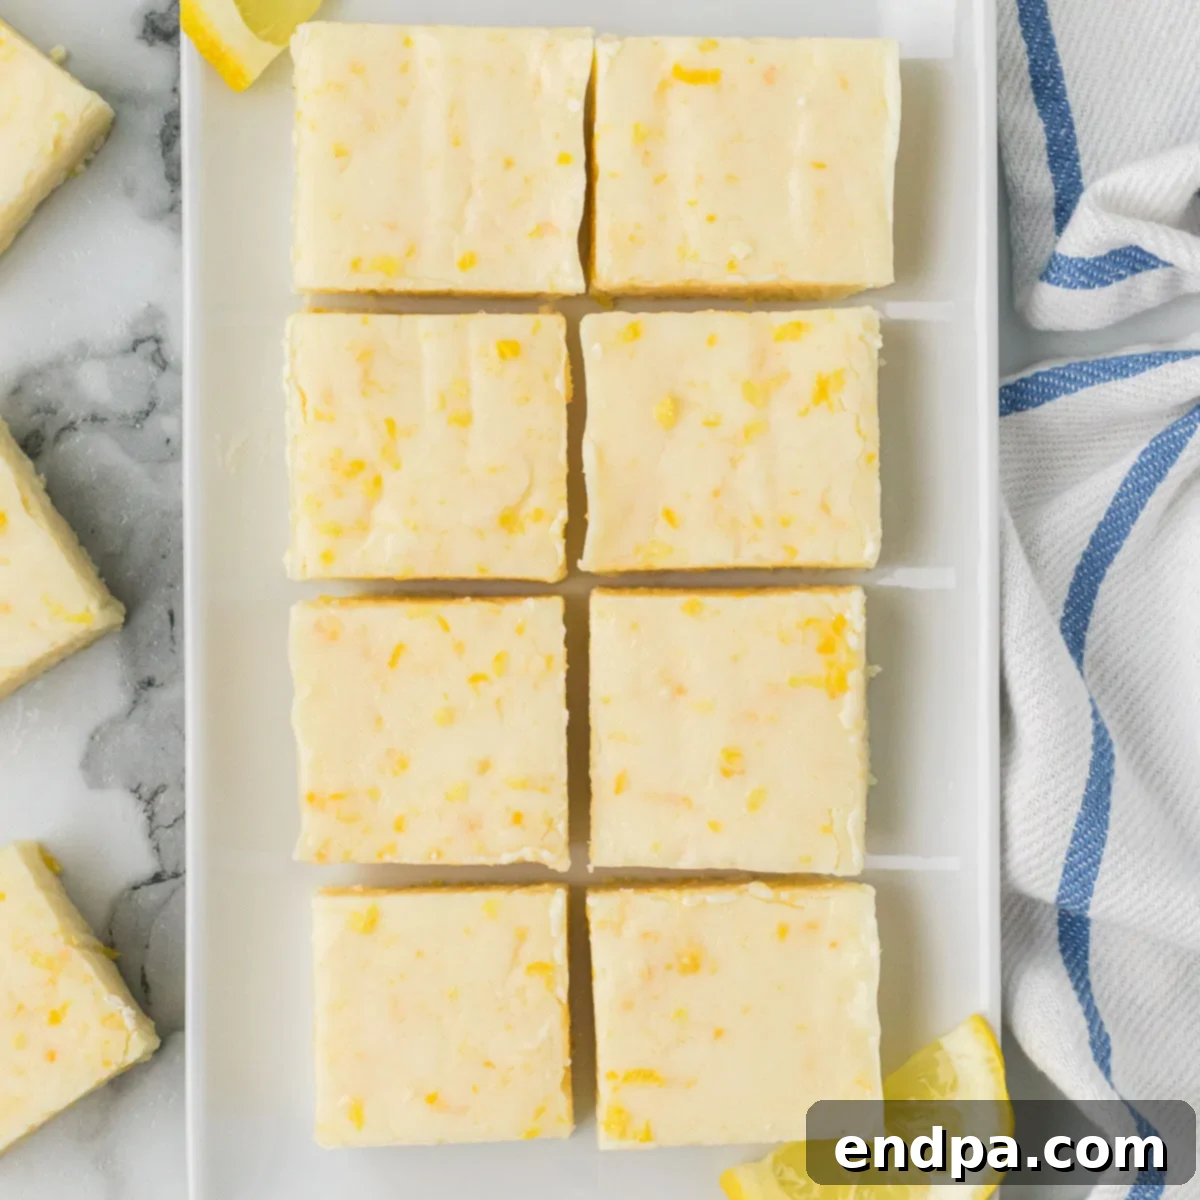
Unlock the secret to effortlessly delicious treats with this incredibly easy Lemon Fudge Recipe. Requiring just 5 simple ingredients and no fuss with a candy thermometer, this homemade fudge delivers an irresistibly creamy texture and a burst of vibrant, fresh lemon flavor. It’s the perfect dessert to brighten any day, offering a delightful twist on traditional fudge that’s both light and satisfying. Get ready to impress your friends and family with a confection that tastes gourmet but comes together with minimal effort.
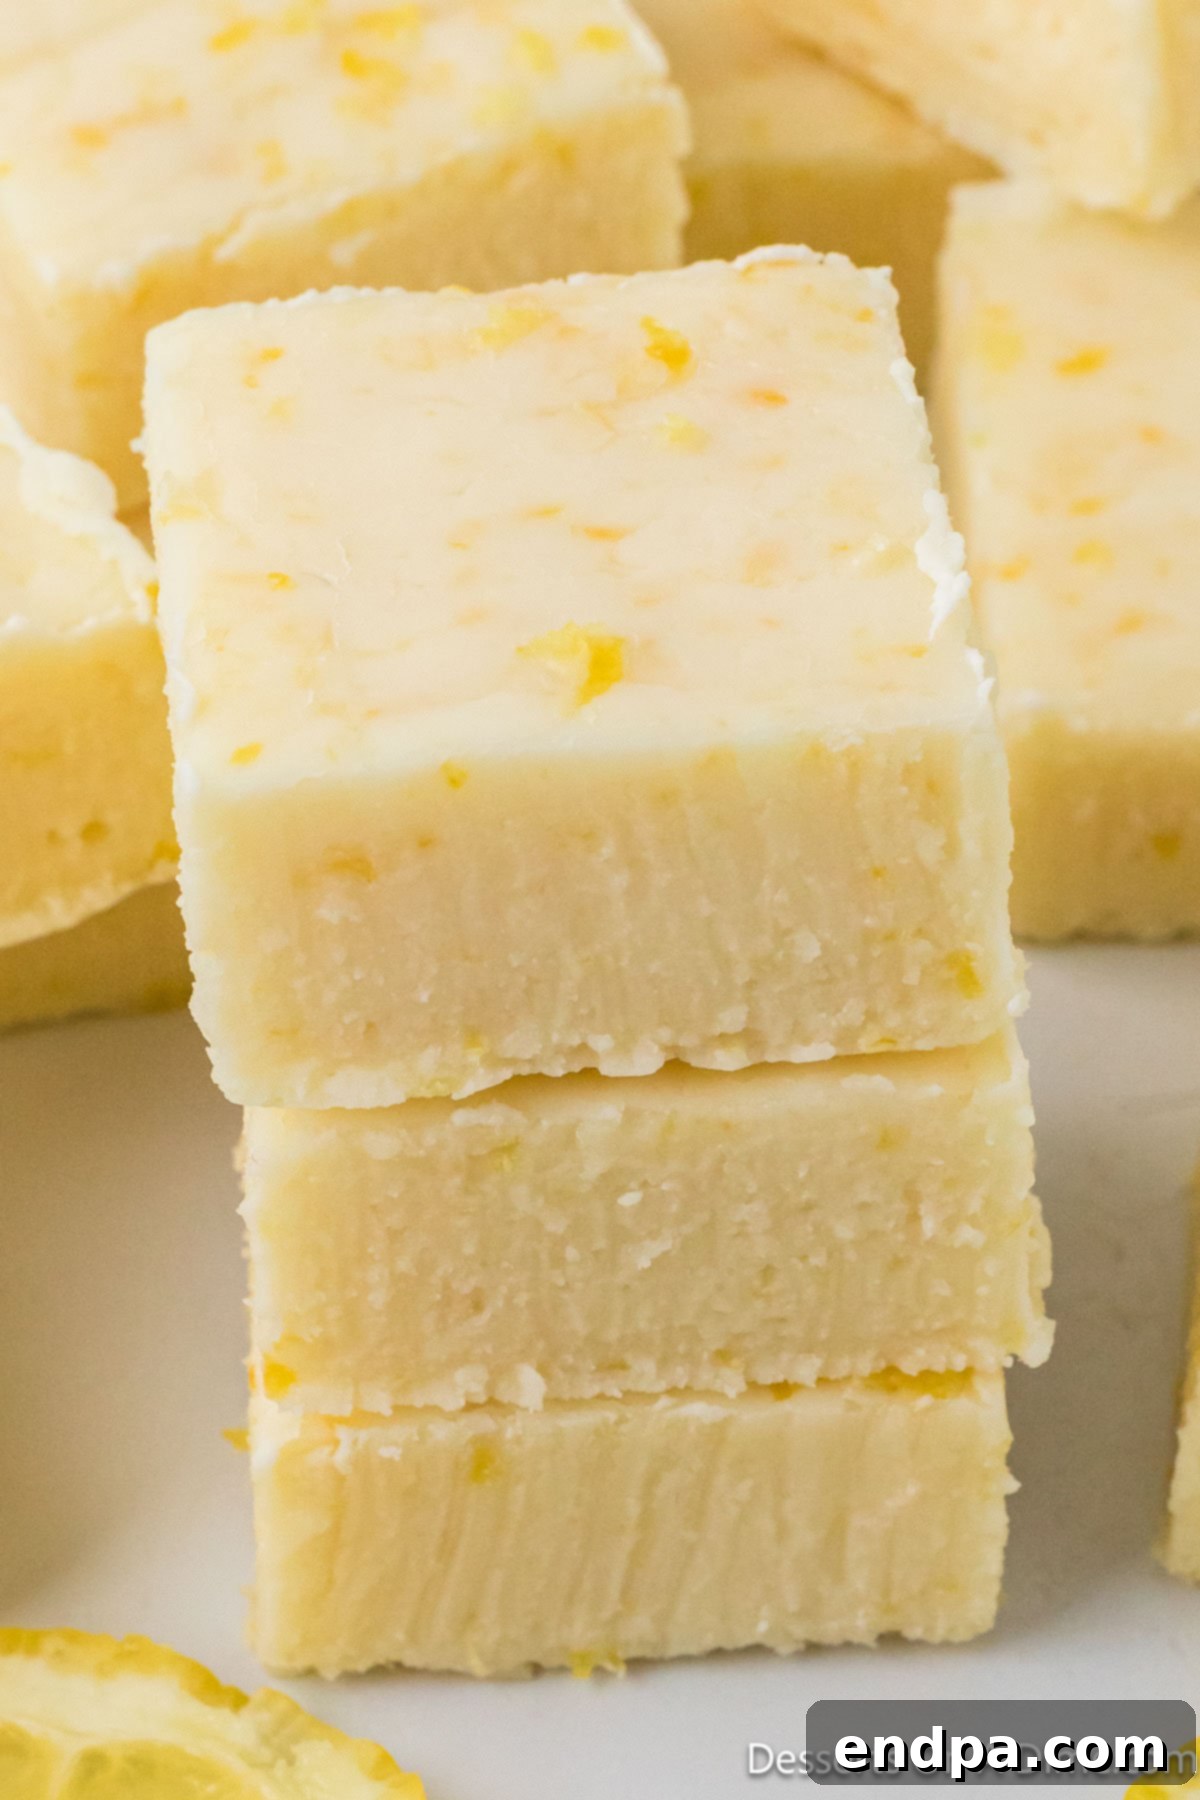
Fudge isn’t just for holidays; it’s a versatile treat that can be enjoyed all year long. While many think of rich, chocolatey variations, this lemon fudge recipe breaks the mold, offering a lighter, tangy alternative that’s especially refreshing. Its bright citrus notes make it an ideal choice for spring gatherings, summer picnics, or whenever you crave a sweet escape with a zesty kick. We adore experimenting with easy fudge recipes, and this lemon rendition quickly became a favorite, standing out as one of the Best Lemon Desserts we’ve ever created. If you love lemon as much as we do, you’ll also enjoy our Homemade Lemon Brownies.
Table of contents
- Why This Lemon Fudge Recipe is a Must-Try
- Essential Ingredients for Lemon Fudge
- Step-by-Step Guide to Making Lemon Fudge
- Expert Tips for Perfect Lemon Fudge
- Lemon Fudge FAQs
- Recipe Card: Easy Lemon Fudge
Why This Lemon Fudge Recipe is a Must-Try
This lemon fudge recipe isn’t just another sweet treat; it’s a revelation in simplicity and flavor. We’re confident you’ll fall in love with it for so many reasons, making it a staple in your dessert repertoire. First and foremost, its minimal ingredient list is a game-changer. With just five common items, you can whip up a batch of decadent fudge without a trip to a specialty store. This makes it incredibly accessible for home bakers of all skill levels, from beginners to seasoned pros looking for a quick fix.
Beyond its simplicity, the absence of a candy thermometer is a huge selling point. Traditional fudge often demands precise temperature control, which can be intimidating and lead to inconsistent results. This recipe eliminates that stress, relying on straightforward melting and stirring techniques that guarantee success every time. The outcome is consistently delicious, boasting a smooth, creamy texture that melts in your mouth and a vibrant lemon flavor that’s both refreshing and satisfying.
This fudge also shines as a versatile dessert. It’s light enough to be a refreshing palate cleanser after a heavy meal, yet rich enough to satisfy serious sweet cravings. Its cheerful yellow hue and tangy taste make it a fantastic addition to spring and summer celebrations, baby showers, or as a thoughtful homemade gift. Plus, it’s a wonderful way to utilize fresh lemons, bringing their bright, zesty essence to the forefront. It’s a delightful departure from heavier, chocolate-centric fudges, offering a unique and appealing flavor profile that stands out. We also adore other straightforward fudge recipes like Unicorn Fudge, Marshmallow Fluff Fudge, Butterfinger Fudge, and Butterbeer Fudge Recipe, but this lemon variation holds a special place for its unparalleled freshness.
Essential Ingredients for Lemon Fudge
Crafting this delightful lemon fudge requires only a handful of readily available ingredients, each playing a crucial role in achieving its signature creamy texture and bright, zesty flavor. Quality matters, even with a short ingredient list, so choose wisely for the best possible outcome.
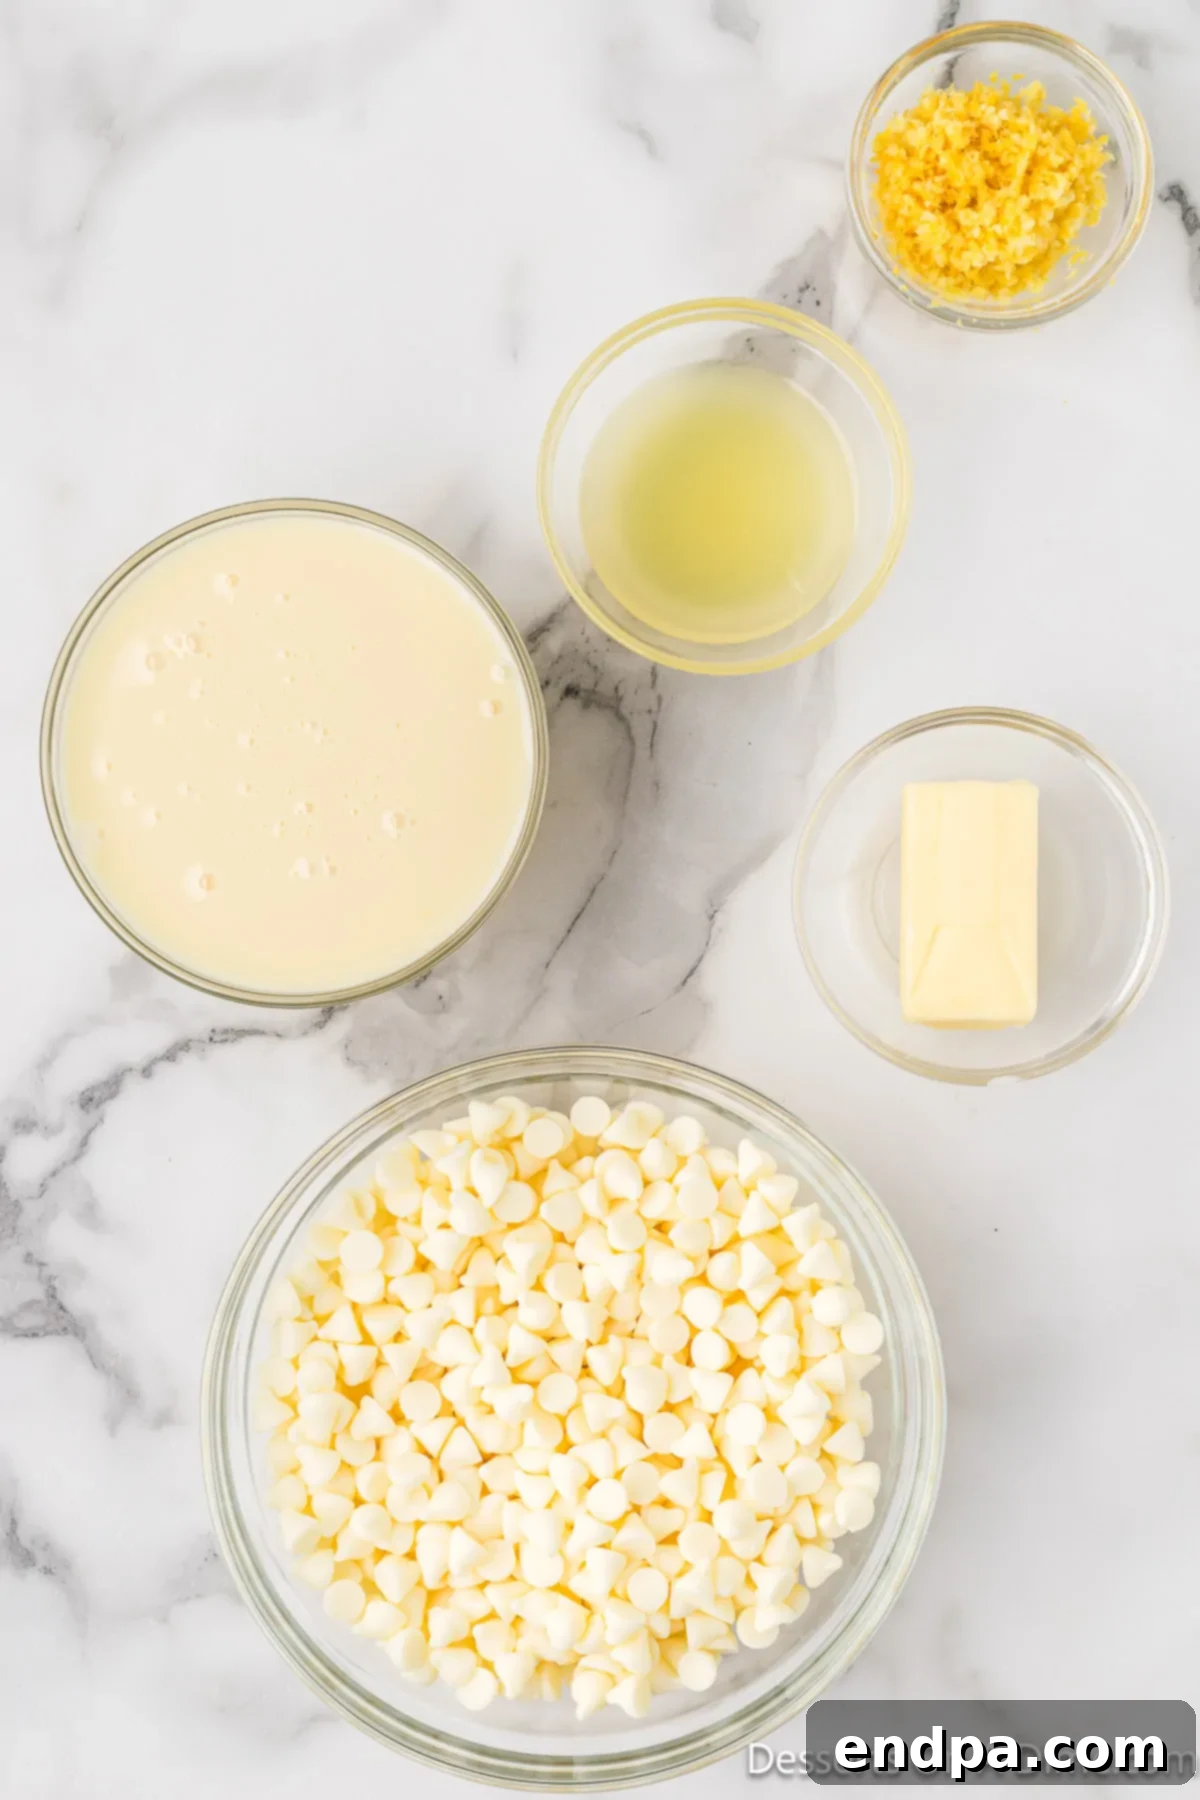
- White Chocolate Chips: The foundation of our creamy fudge. Using high-quality white chocolate chips is paramount here, as they provide the smooth base and sweetness that defines the fudge. Opt for a brand you trust, as inferior chocolate can lead to a grainy texture or a less appealing flavor. The quality of your white chocolate will directly impact the final taste and consistency of your lemon fudge.
- Sweetened Condensed Milk: This magical ingredient is what gives the fudge its signature sweetness and incredibly rich, dense, and creamy texture. It’s essential for achieving that perfect, melt-in-your-mouth consistency without needing a candy thermometer. Make sure you grab sweetened condensed milk, not evaporated milk, as they are not interchangeable in this recipe.
- Unsalted Butter: Butter adds richness and helps create that luxurious, smooth mouthfeel. We specify unsalted butter to give you full control over the salt content in your fudge. If you only have salted butter, you can use it, but consider omitting any additional salt you might add, although this recipe doesn’t call for it.
- Lemon Juice: The star of the show for that vibrant, tangy flavor. For the absolute best results, we highly recommend using freshly squeezed lemon juice. Bottled lemon juice can sometimes have a duller, less bright flavor profile. Fresh lemons provide a superior aroma and zest that truly elevates the fudge.
- Lemon Zest: This is where the intense lemon aroma and extra layer of citrusy zing come from. The oils in the zest carry a powerful flavor, far more concentrated than the juice alone. Be sure to zest only the bright yellow part of the lemon, avoiding the bitter white pith. This simple addition will make your lemon fudge exceptionally fragrant and flavorful.
You’ll find the complete, precise measurements and detailed instructions for this recipe in the dedicated recipe card located at the bottom of this page. This comprehensive guide will walk you through each step to ensure perfect lemon fudge every time.
Step-by-Step Guide to Making Lemon Fudge
Making this creamy, tangy lemon fudge is surprisingly simple, especially since it requires no special equipment like a candy thermometer. Follow these easy steps to achieve perfect results every time.
- Step 1: Prepare Your Baking Dish. Begin by lining an 8×8 inch baking pan with parchment paper. Ensure the parchment paper hangs over the sides, creating “handles” that will make it incredibly easy to lift the set fudge out of the pan later. A light spray of cooking oil beneath the parchment can help it stay in place if needed. This preparation step is crucial for a smooth removal and clean cuts.
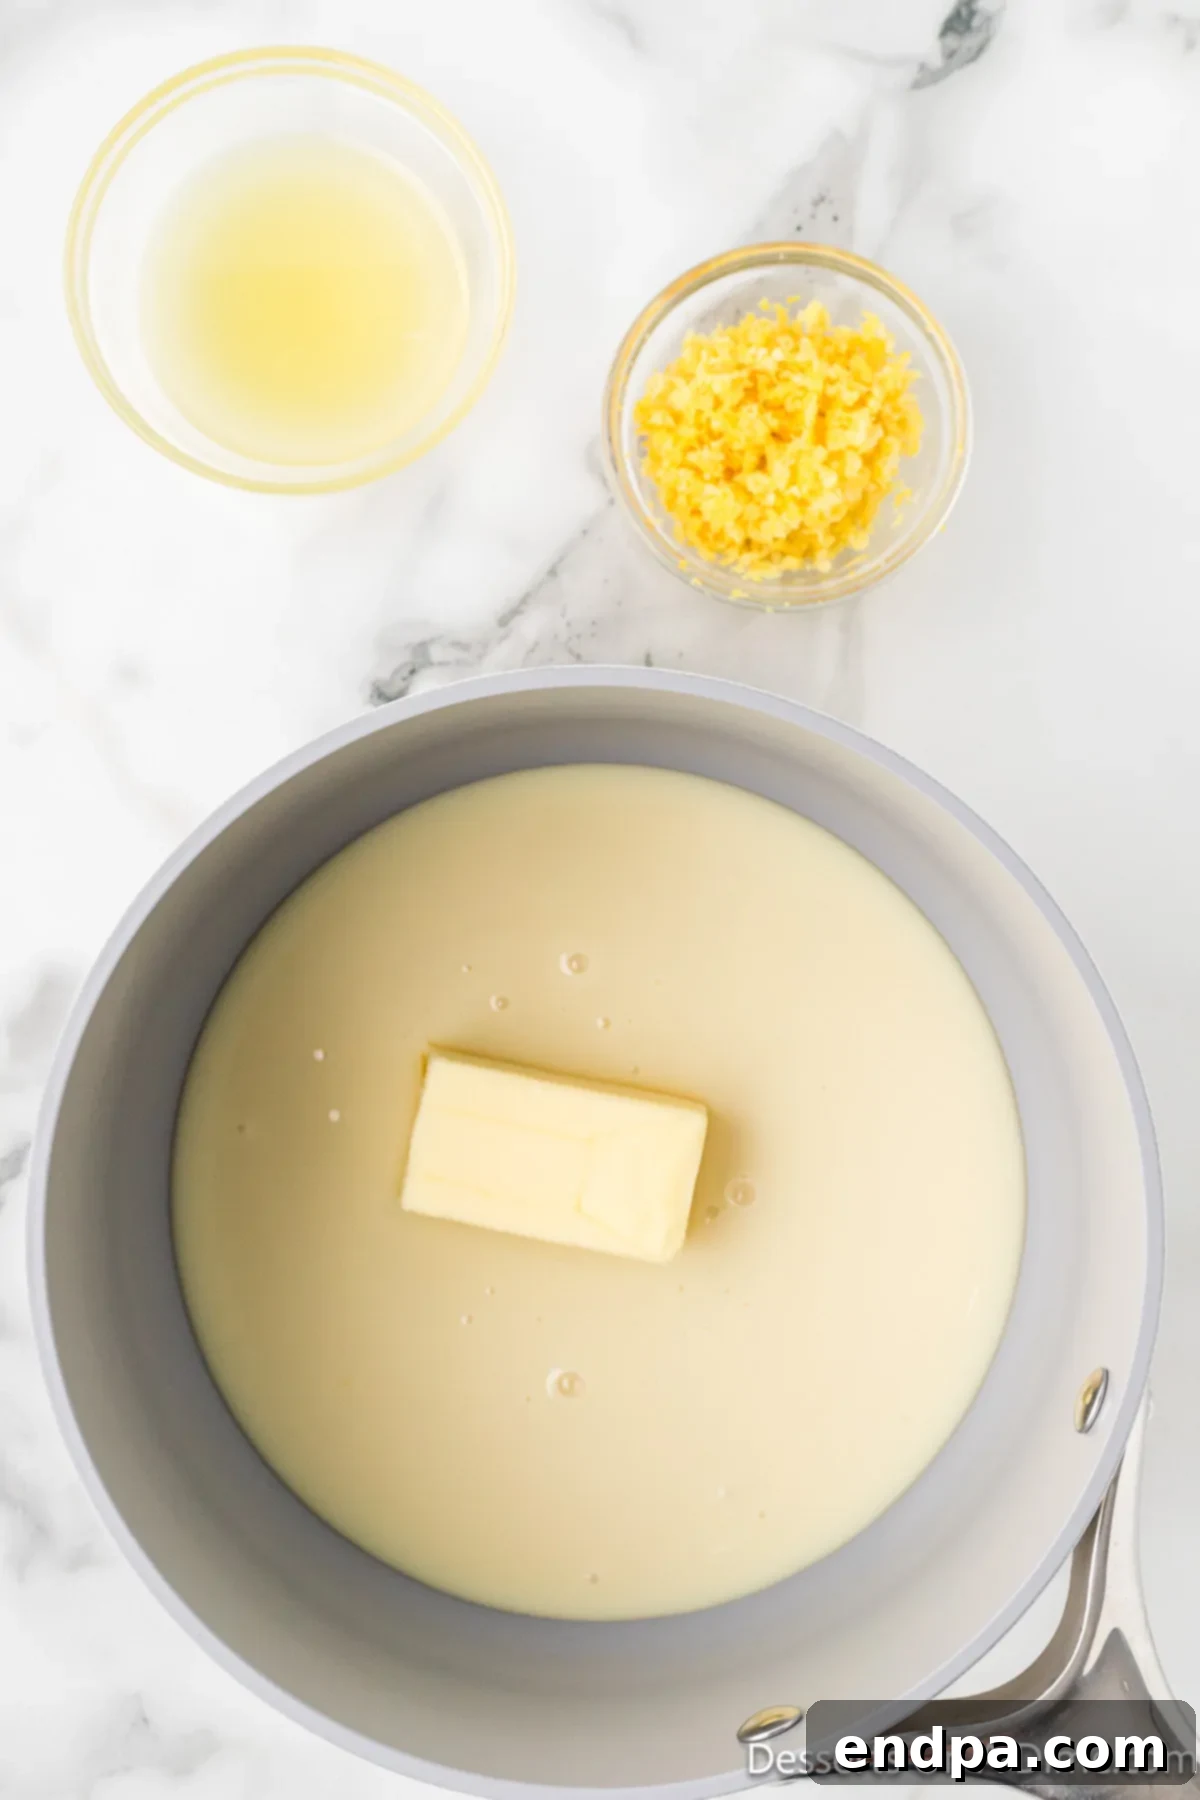
Step 2: Combine and Heat the Base Ingredients. In a medium saucepan, combine the sweetened condensed milk, unsalted butter, fresh lemon juice, and two tablespoons of the lemon zest. Place the saucepan over low to medium heat. The key here is gentle heat; avoid anything too high, which could scorch the milk or butter. This slow heating process allows the ingredients to melt and combine seamlessly.
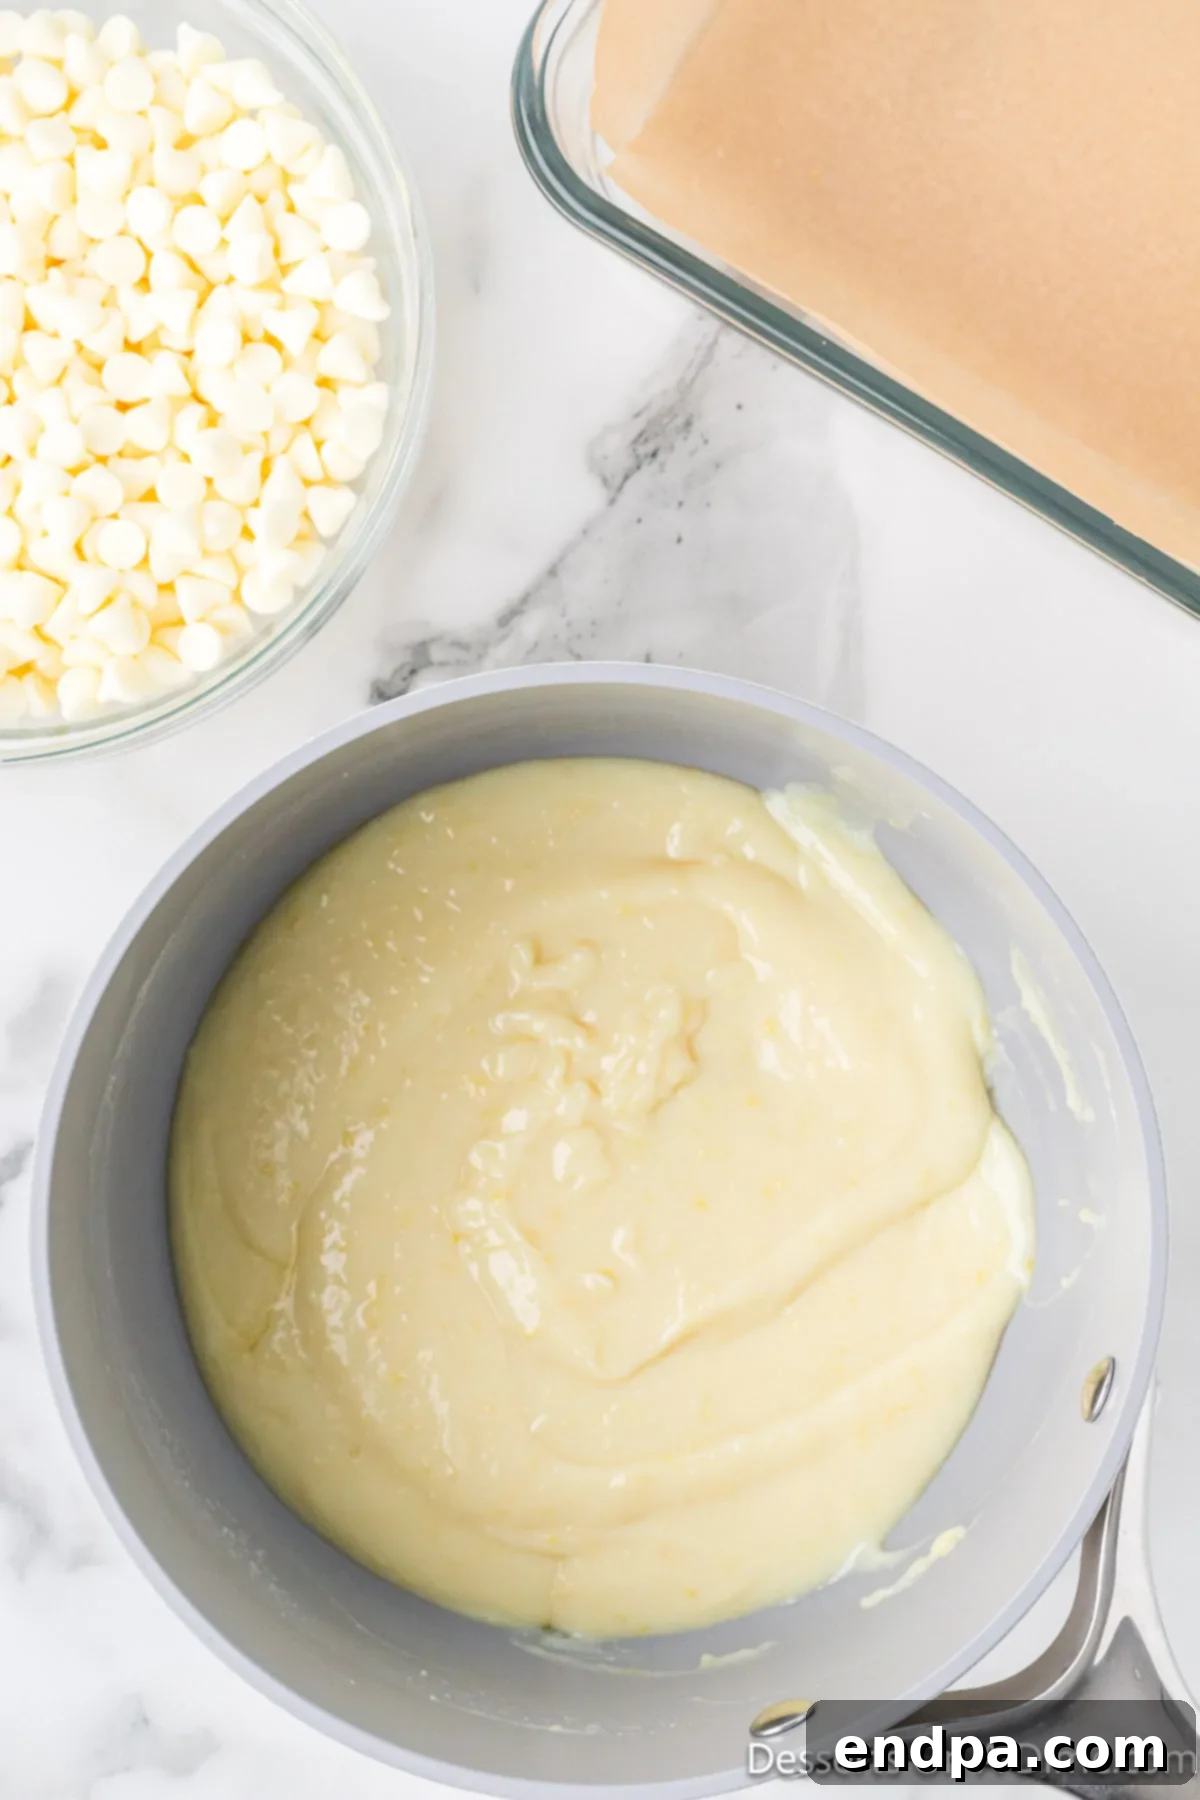
Step 3: Stir Until Fully Combined. Continuously stir the mixture as it heats. This prevents sticking and ensures all the butter and condensed milk integrate perfectly. Keep stirring until the ingredients are fully melted and smoothly combined into a homogeneous mixture. You’ll notice the mixture becoming slightly thicker and fragrant with lemon. This usually takes just a few minutes, so stay attentive.
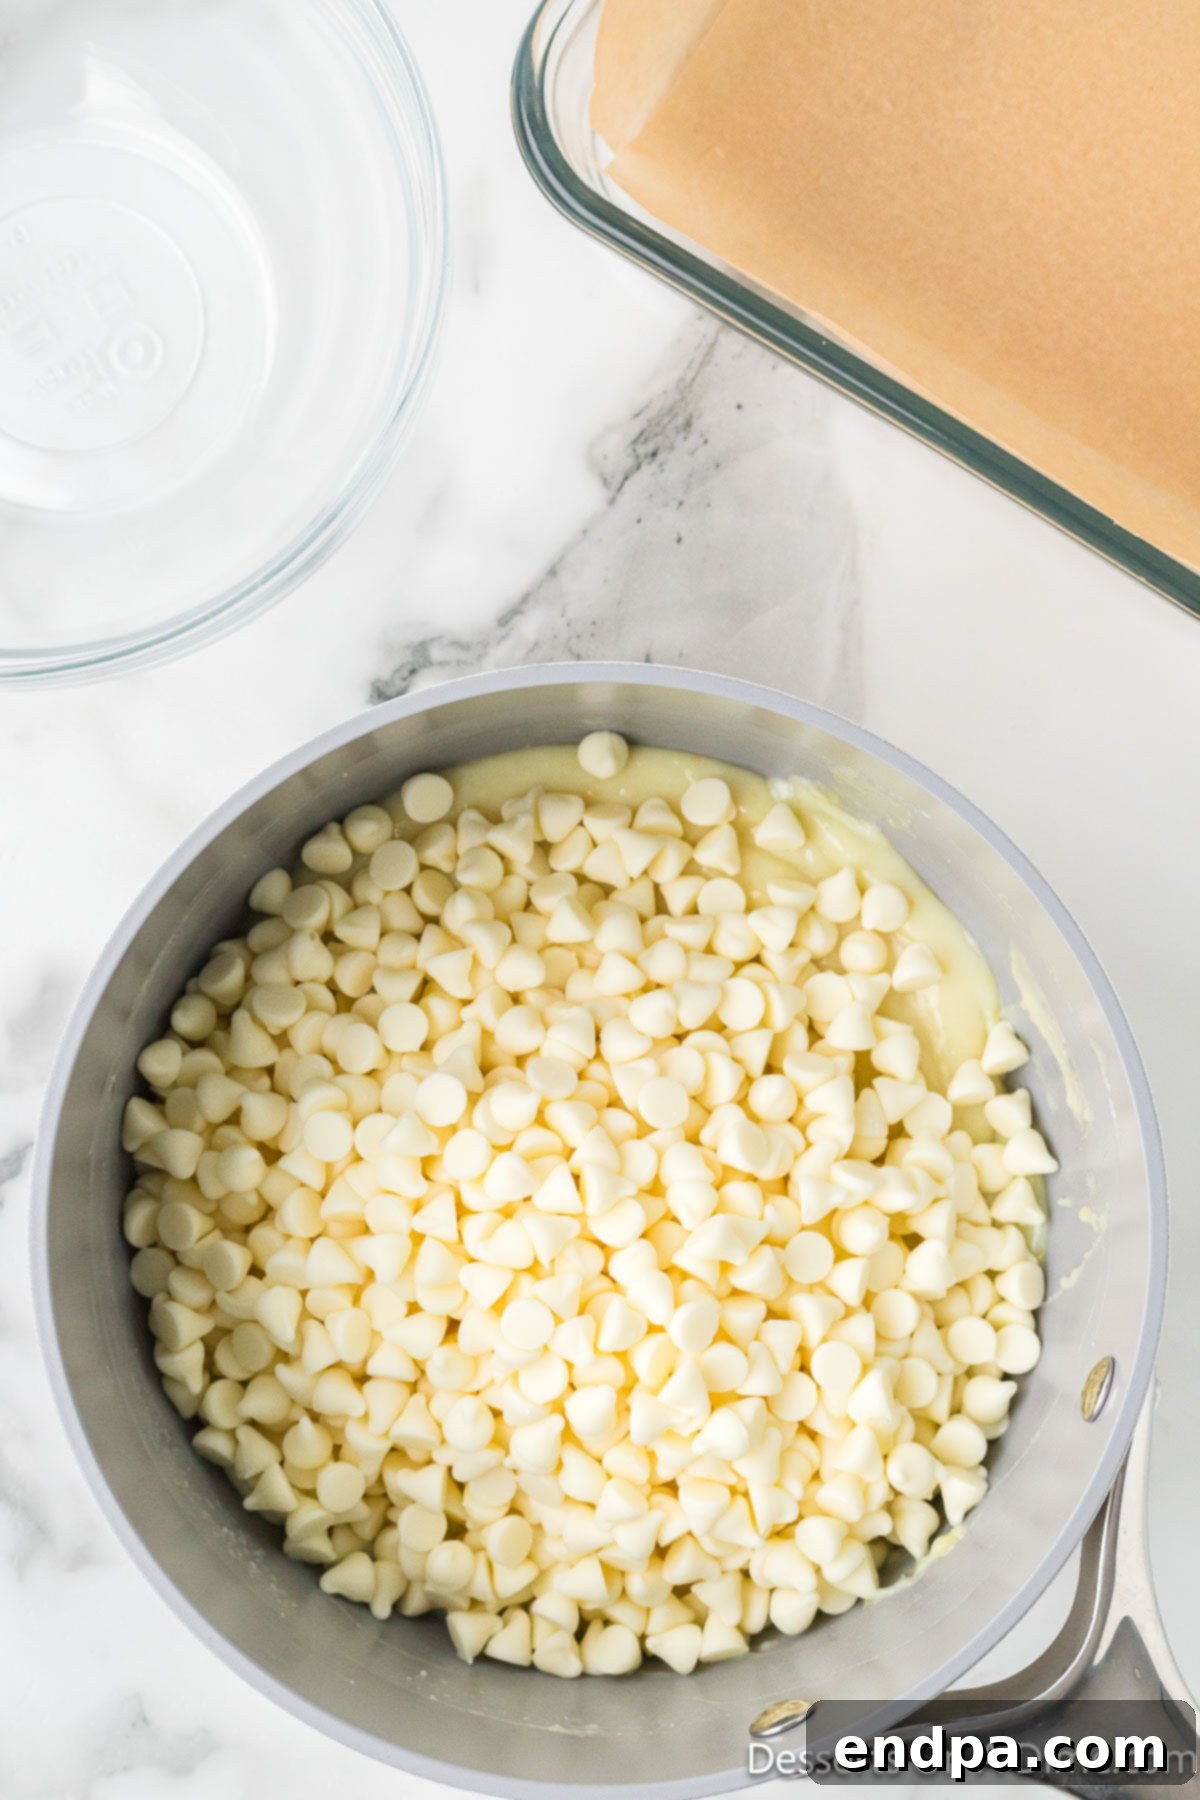
Step 4: Incorporate White Chocolate Chips. Once the base mixture is smooth and warm, remove the saucepan from the heat immediately. This step is critical; residual heat will melt the chocolate, but direct heat can cause it to seize or burn. Add all the white chocolate chips into the hot mixture. The warmth from the condensed milk and butter will be sufficient to melt the chocolate.
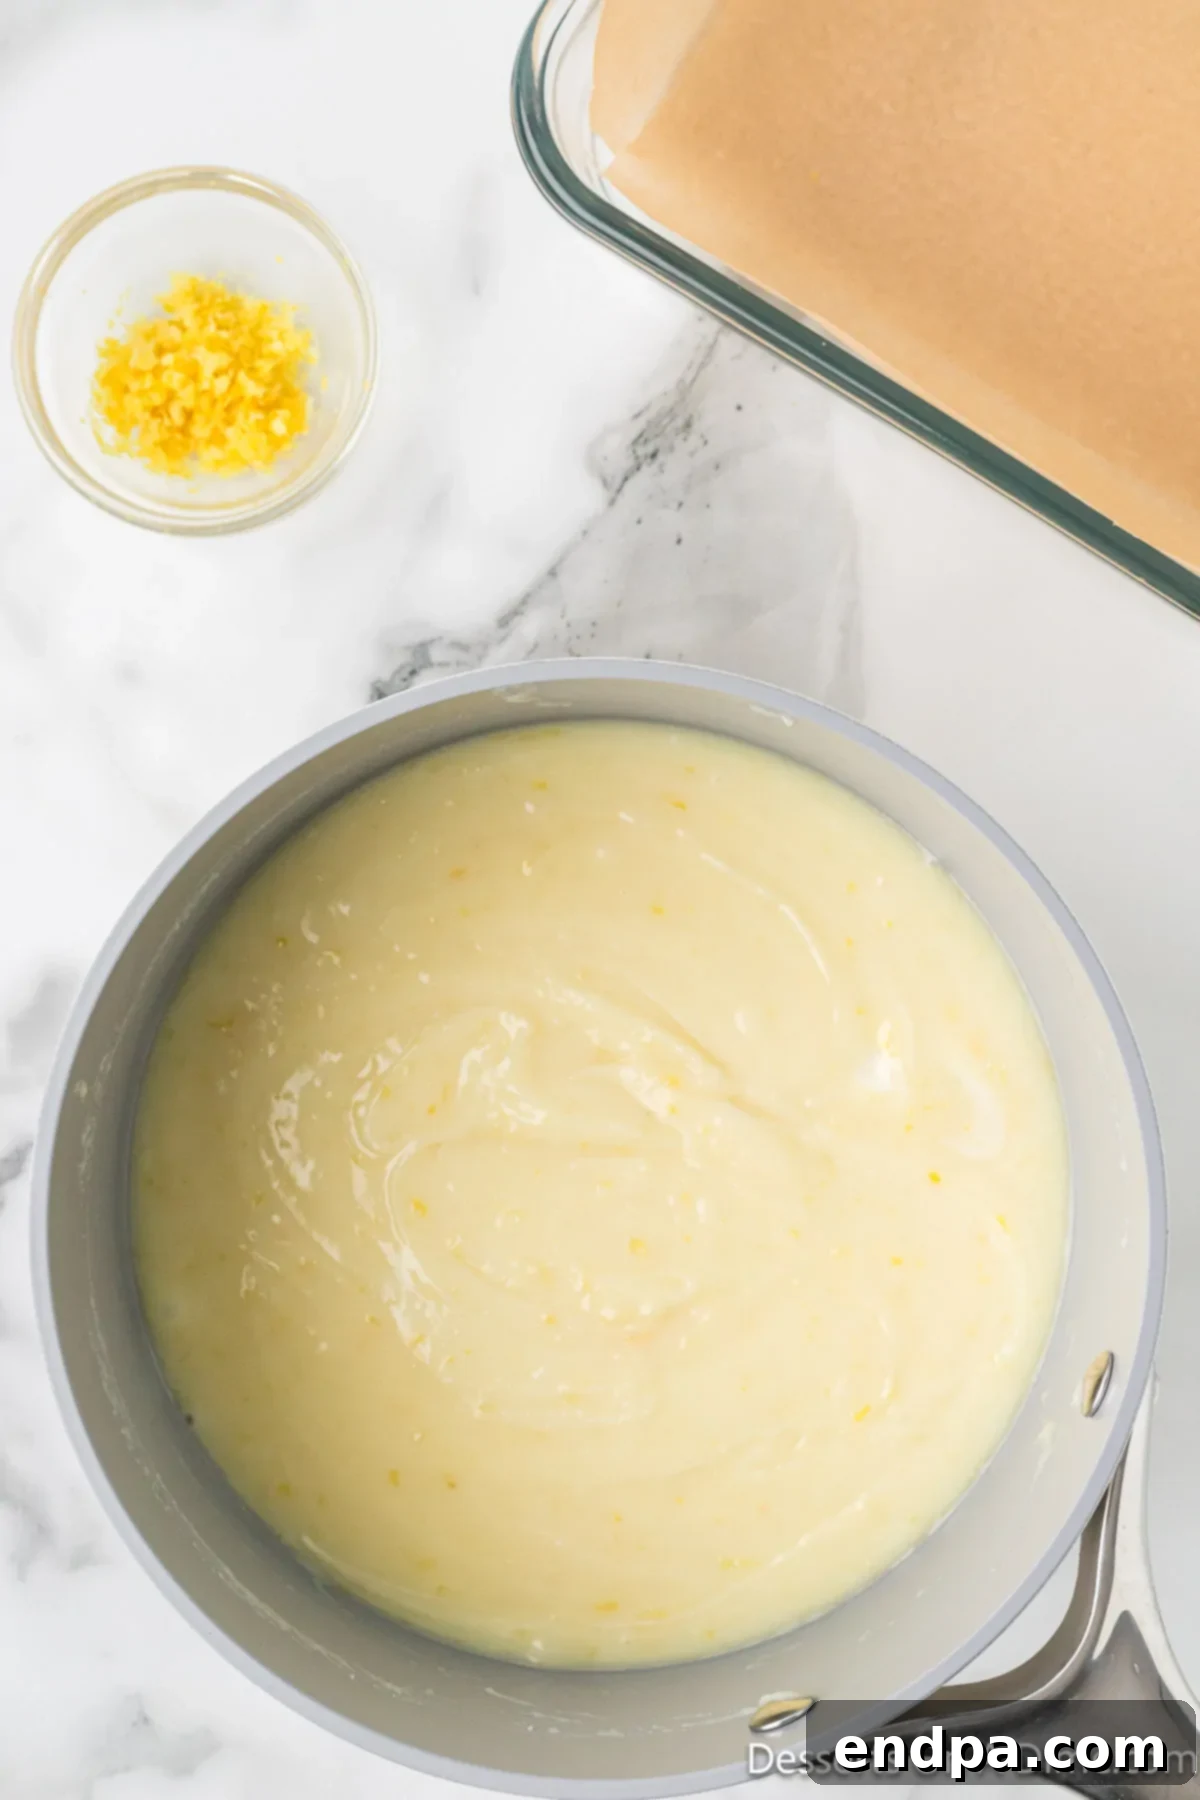
Step 5: Stir Until Completely Melted. Continue stirring vigorously until all the white chocolate chips have completely melted and are fully incorporated into the lemon mixture. The result should be a silky-smooth, glossy, and homogeneous fudge batter. There should be no lumps of chocolate remaining. This ensures a uniform texture in your finished fudge.
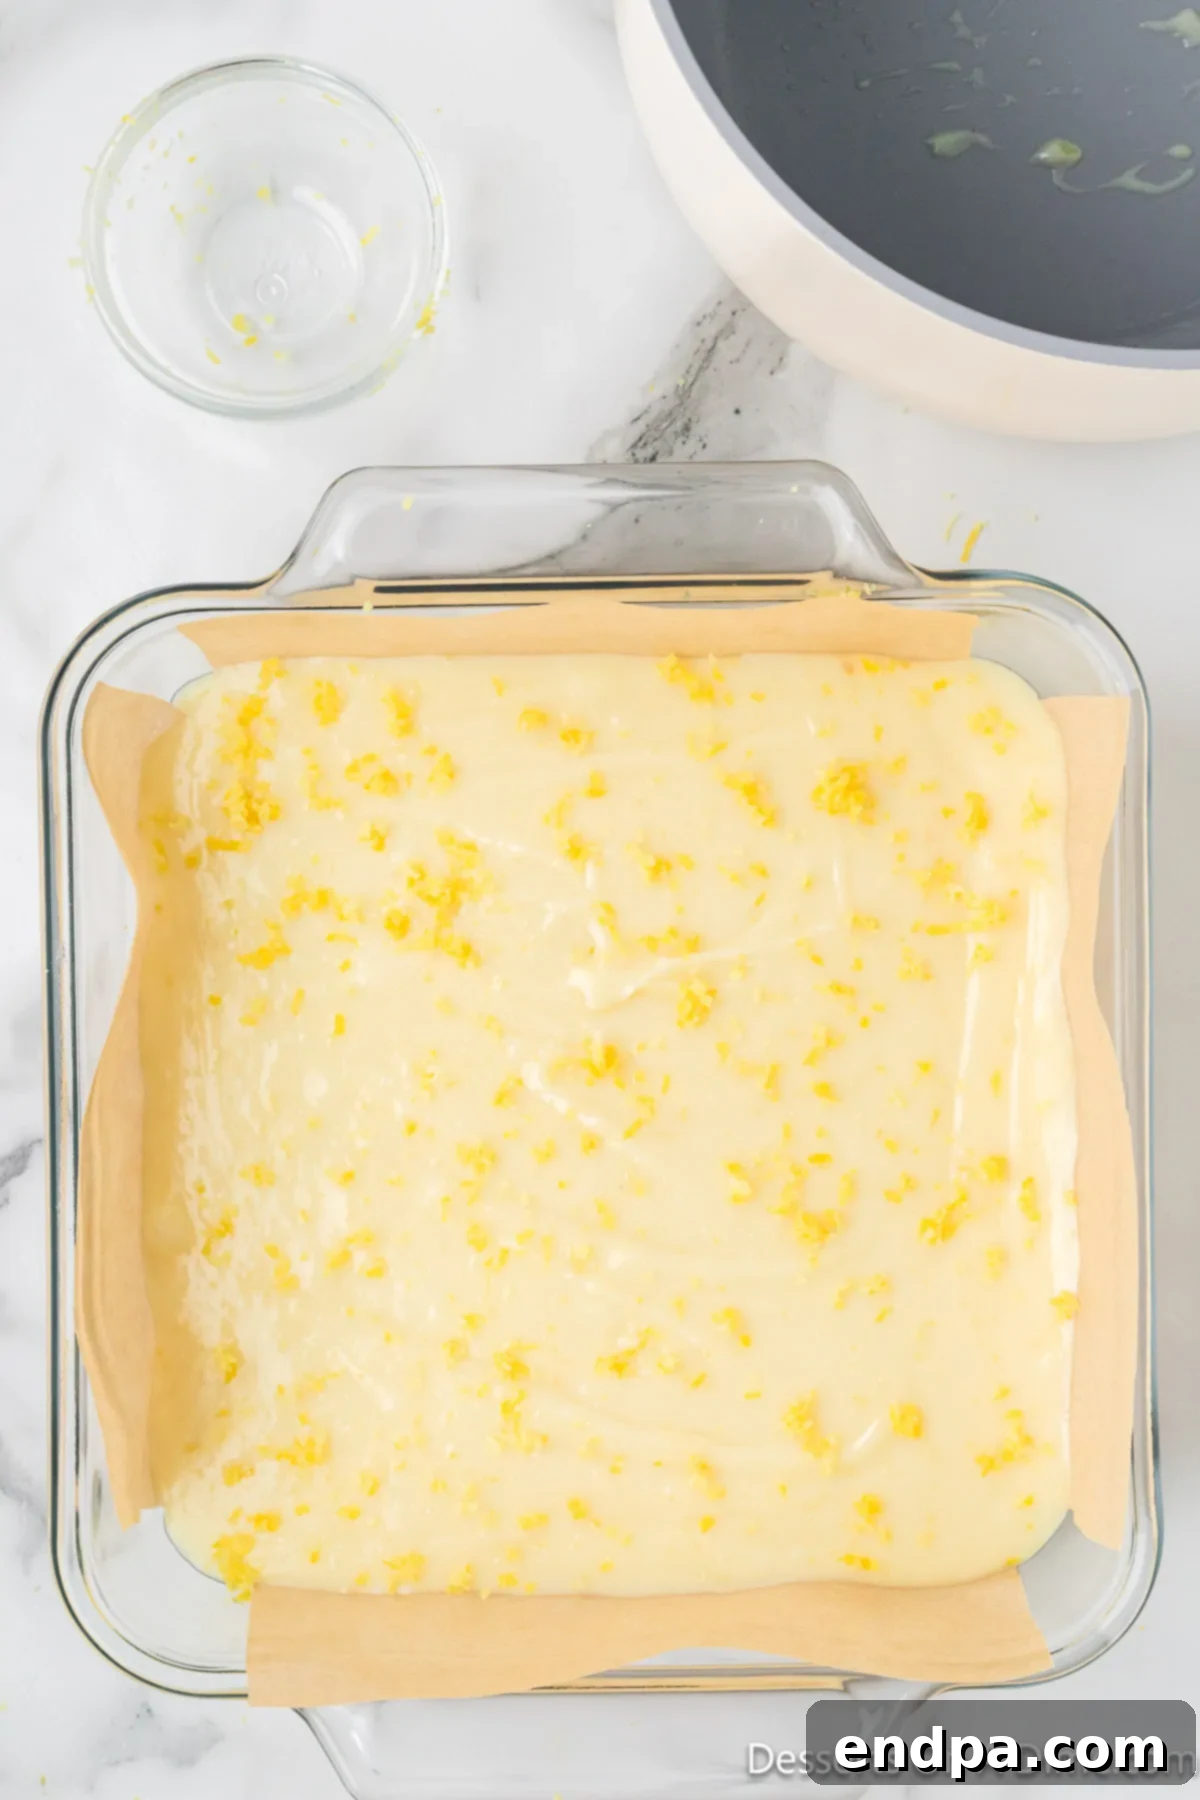
Step 6: Pour, Garnish, and Chill. Promptly pour the warm fudge mixture into your prepared baking dish. Spread it evenly using a spatula to create a smooth, flat surface. Immediately sprinkle the remaining lemon zest over the top. This not only adds a beautiful visual appeal but also enhances the fresh lemon aroma. Allow the fudge to cool completely at room temperature, then cover the pan with plastic wrap and transfer it to the refrigerator for a minimum of 4 hours, or preferably overnight, until it is fully set and firm.
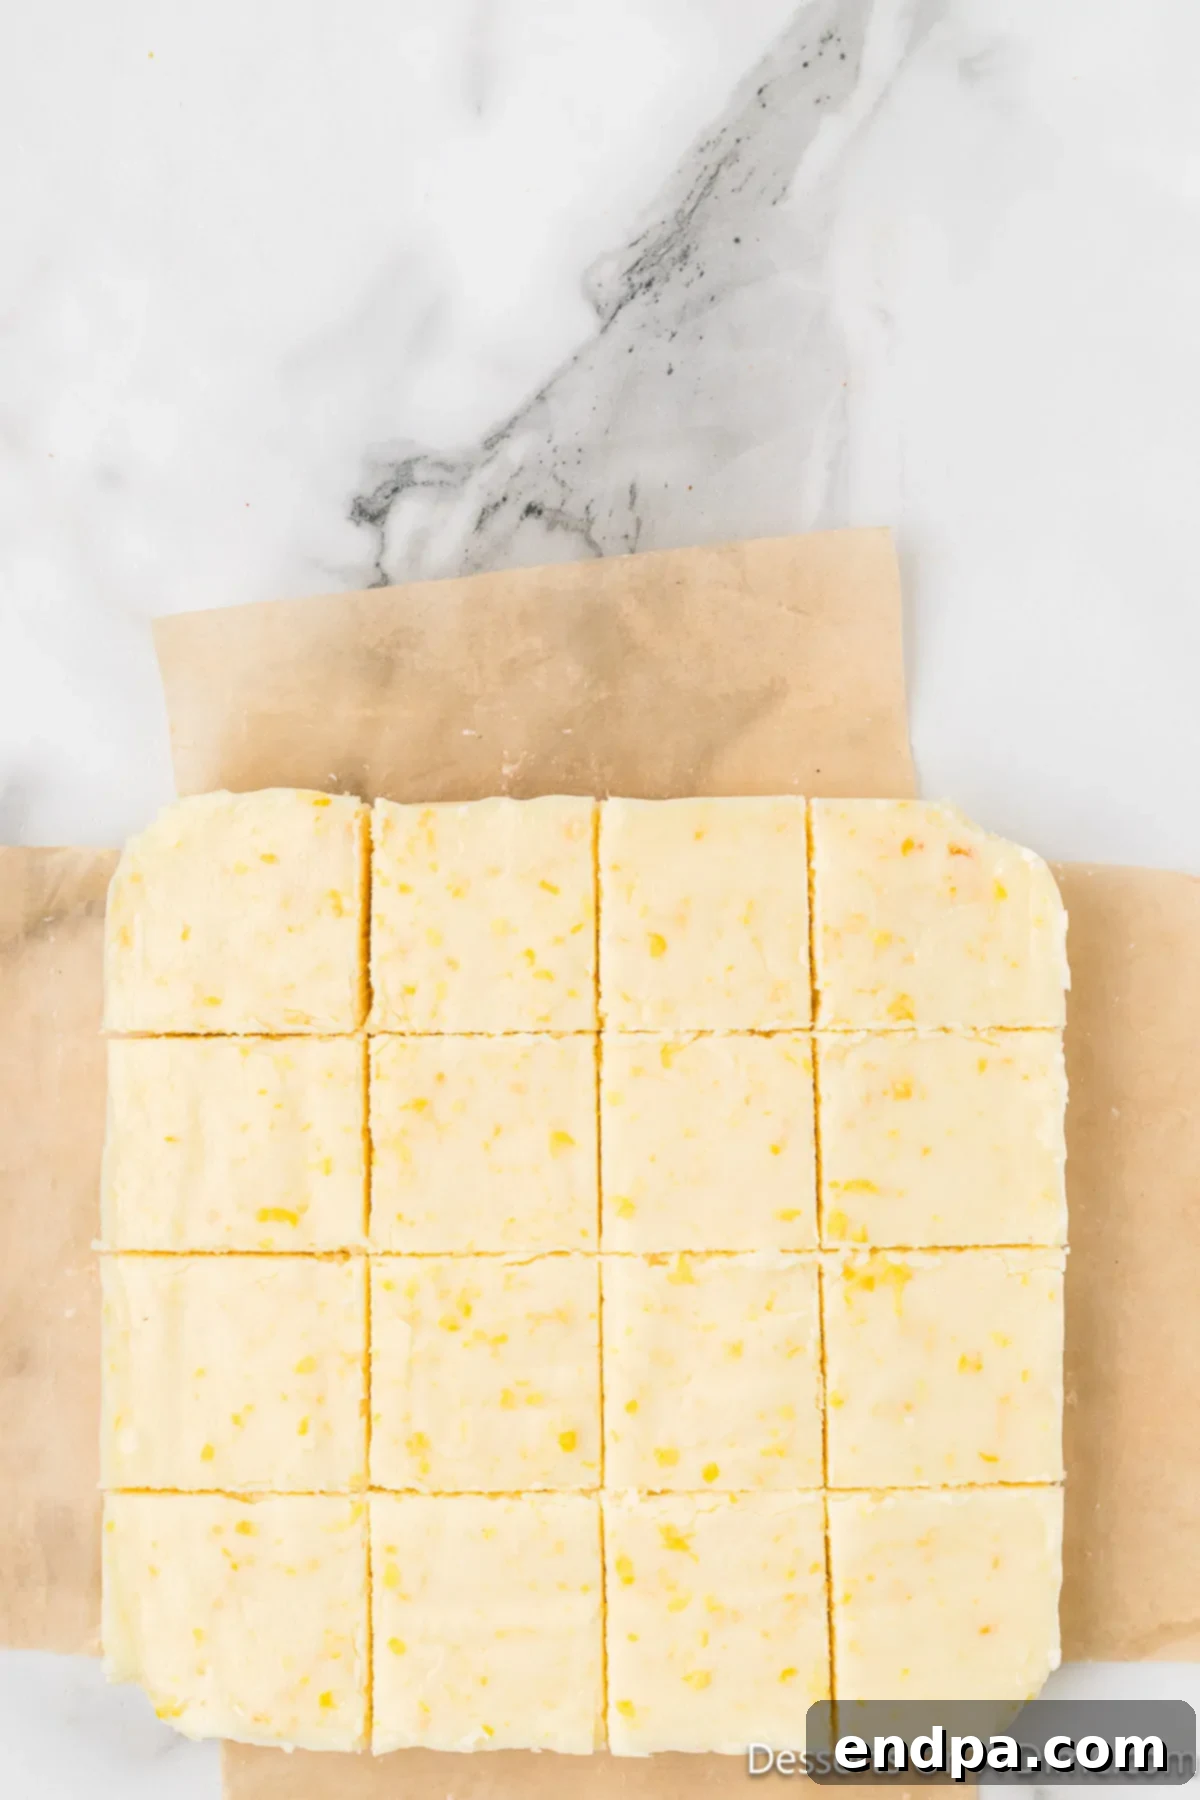
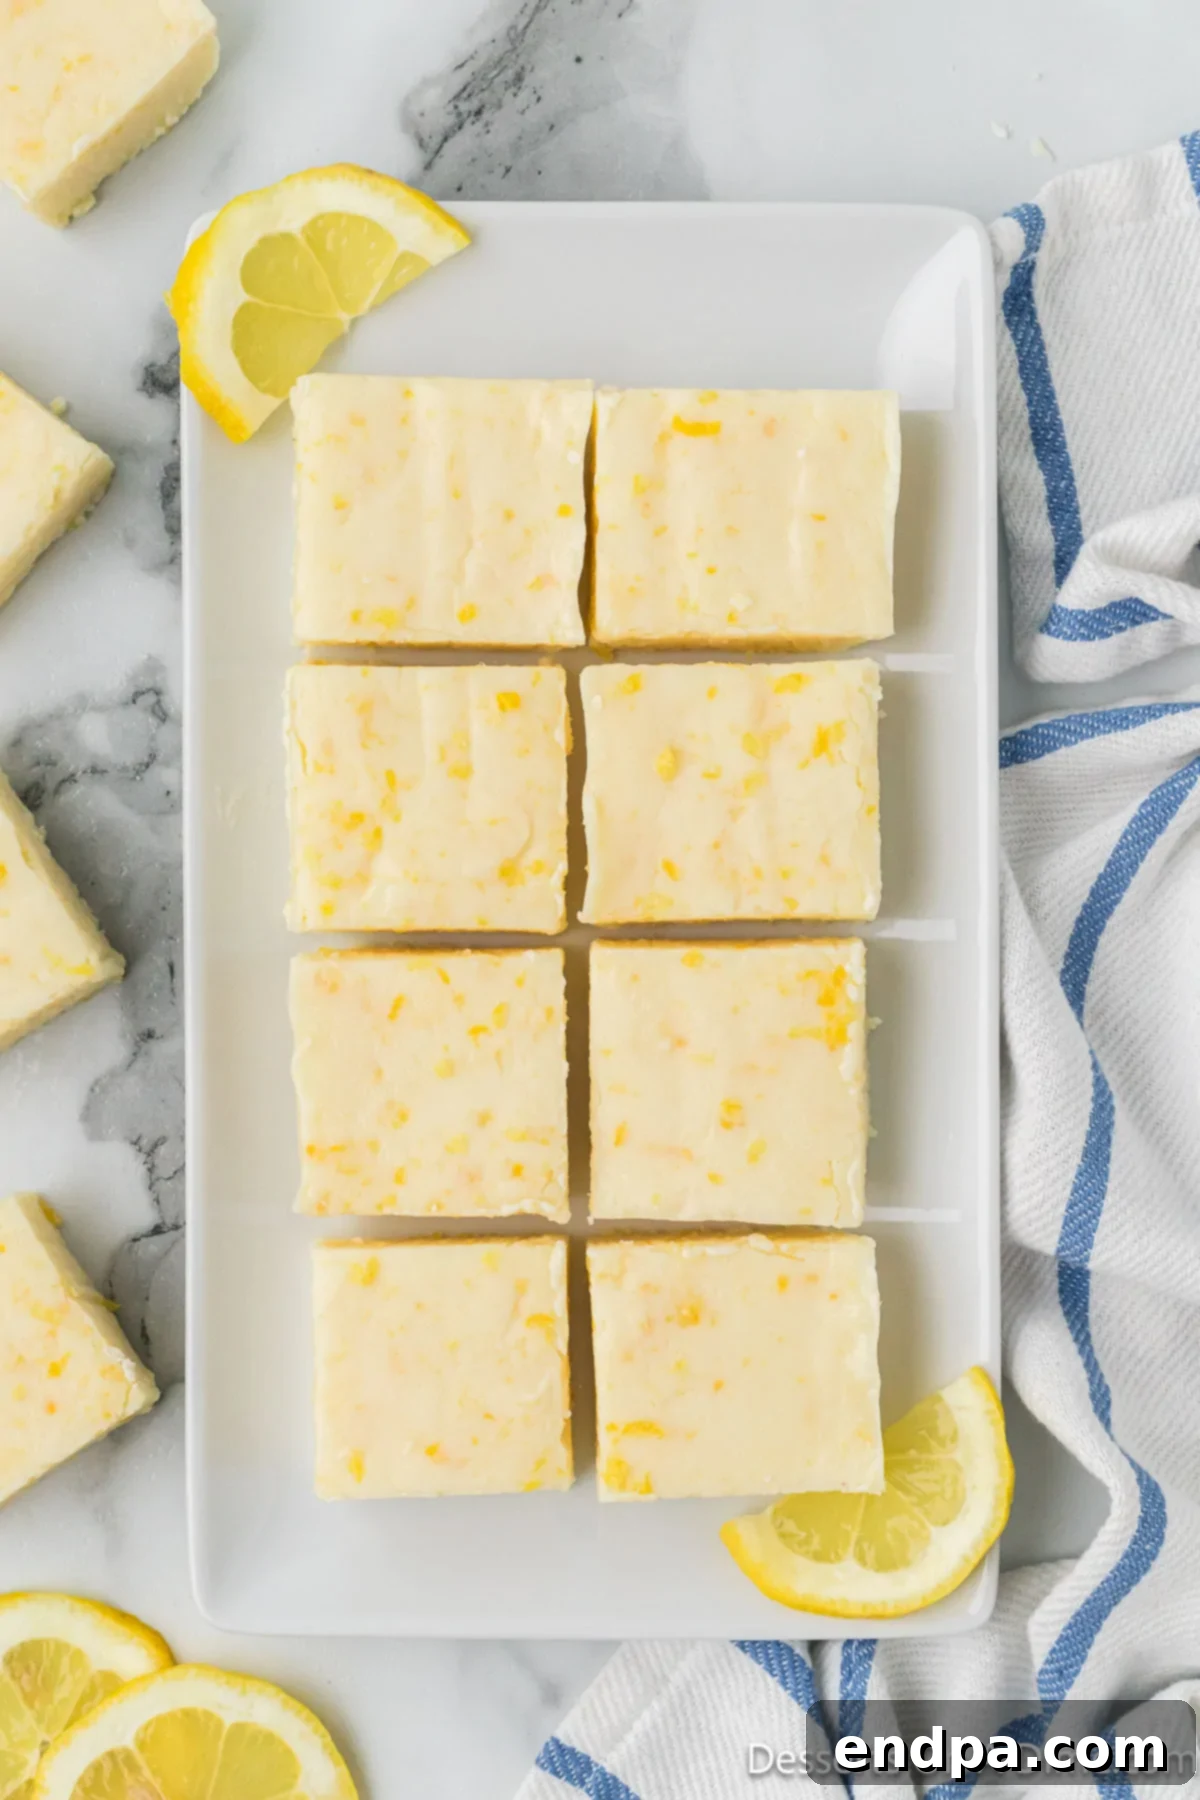
Step 7: Cut and Serve! Once the lemon fudge is thoroughly chilled and firm, lift it out of the pan using the parchment paper handles. Place it on a cutting board. Use a sharp knife to cut the fudge into desired squares or rectangles. For the cleanest cuts, wipe your knife with a damp cloth or dip it in warm water and dry it between each slice. This will prevent the fudge from sticking to the knife and ensure neat, professional-looking pieces. Now, your delightful homemade lemon fudge is ready to be enjoyed!
Expert Tips for Perfect Lemon Fudge
While this lemon fudge recipe is incredibly simple, a few expert tips can elevate your results from good to absolutely outstanding. Pay attention to these details, and you’ll consistently create flawless, creamy, and flavorful fudge.
- Allow to Cool Completely Before Refrigerating: Patience is a virtue when it comes to setting fudge. After pouring the mixture into the pan and sprinkling with zest, resist the urge to immediately transfer it to the refrigerator. Allowing the fudge to cool down naturally at room temperature first helps prevent condensation from forming on the surface, which can make the fudge sticky or grainy. This gradual cooling also contributes to a smoother, more even set. Once it’s no longer warm to the touch (typically 30-60 minutes), then it’s ready for its chill time in the fridge.
- Remove from Heat Before Adding Chocolate Chips: This is a crucial step to prevent your white chocolate from seizing, burning, or developing a grainy texture. White chocolate is delicate and can be temperamental with direct, high heat. By removing the saucepan from the stove before stirring in the chips, you rely on the residual heat of the sweetened condensed milk and butter mixture to gently melt the chocolate. This method ensures a silky-smooth, perfectly emulsified fudge base. Stir continuously until all chips are fully melted and the mixture is glossy.
- Don’t Use High Heat: When combining the sweetened condensed milk, butter, lemon juice, and zest, maintain a consistent low to medium heat. High heat can cause the bottom of the mixture to scorch, leading to an unpleasant burnt taste and a gritty texture. It can also cause the mixture to separate. Gentle heating ensures a uniform melt and allows the flavors to meld beautifully without compromising the integrity of the ingredients. Slow and steady wins the race for perfect fudge.
- Use Fresh Lemon: While bottled lemon juice is convenient, nothing beats the bright, intense flavor of fresh lemon juice and zest. The natural oils in fresh zest impart a powerful aroma and a vibrant taste that bottled alternatives simply cannot replicate. Invest in a fresh lemon or two; the difference in flavor will be well worth the effort.
- Precision in Cutting: For clean, professional-looking squares, use a sharp, thin-bladed knife. For the neatest cuts, wipe the knife clean with a damp paper towel or dip it into hot water and dry it between each slice. This technique prevents the fudge from sticking to the blade and creates crisp, defined edges, making your homemade fudge even more appealing.
- Storage is Key: Proper storage ensures your fudge remains fresh and delicious. Always store lemon fudge in an airtight container to prevent it from drying out or absorbing other odors from the refrigerator. Keep it chilled for optimal freshness and texture.
Lemon Fudge FAQs
Got questions about making, storing, or troubleshooting your lemon fudge? Here are some of the most common inquiries and their answers to help you achieve fudge perfection!
Once your lemon fudge has completely set and been cut into pieces, transfer any leftovers into an airtight container. This is crucial to prevent the fudge from drying out or absorbing unwanted odors from your refrigerator. Stored correctly in the fridge, your creamy lemon fudge will maintain its delicious flavor and texture for up to 5 days. For the best experience, allow it to come to room temperature for a few minutes before serving, as this enhances its creaminess.
Absolutely, lemon fudge freezes beautifully, making it an excellent dessert to prepare in advance. To freeze, ensure the fudge is completely set and cut into your desired serving sizes. Wrap individual pieces or small batches tightly in plastic wrap, then place them inside a freezer-safe bag or an airtight container. This double-layer protection helps prevent freezer burn. Your lemon fudge can be frozen for up to 3 months. When you’re ready to enjoy it, simply thaw it in the refrigerator overnight or at room temperature for a few hours. The texture and flavor will be just as delightful as freshly made.
Achieving perfectly neat squares of fudge is all about the right technique. First, ensure your fudge is thoroughly chilled and firm from the refrigerator – this makes it much easier to cut cleanly. Use a very sharp knife. For the cleanest possible cuts, wipe the knife blade clean with a damp paper towel after each slice. Alternatively, you can dip the knife into warm water, dry it quickly, and then make your cut. This warming and cleaning action helps glide the knife through the fudge without dragging or sticking, resulting in crisp, professional-looking edges.
If your lemon fudge isn’t setting, it’s usually due to an incorrect ratio of ingredients or insufficient cooling time. Double-check that you used sweetened condensed milk, not evaporated milk, as they have different consistencies. Also, ensure you used the exact measurements specified in the recipe. The fudge needs at least 4 hours, and ideally overnight, in the refrigerator to become firm. If it’s still soft after adequate chilling, try placing it in the freezer for an hour or two to help it firm up. If the issue persists, the proportions might have been off, and a new batch with careful measuring might be needed.
Yes, you can! If you desire a more vibrant yellow color for your lemon fudge, a few drops of yellow gel food coloring can be added. Stir it in when you incorporate the white chocolate chips. Start with a tiny amount and add more gradually until you achieve your desired shade. Gel food coloring provides intense color without altering the consistency of the fudge. This is a great way to enhance its visual appeal, especially for themed events or brighter presentations.
More Easy Fudge Recipes to Explore
Easy Fudge
Easy Rocky Road Fudge Recipe
Easy Fudge
3 Ingredient Oreo Fudge Recipe
Easy Candy
White Chocolate Peppermint Fudge Recipe
Easy Fudge
Chocolate Peanut Butter Fudge Recipe
There you have it – a simple, delightful, and incredibly flavorful Lemon Fudge recipe that’s sure to become a new favorite. This creamy, tangy treat is proof that you don’t need complex techniques or fancy equipment to create something truly special. So go ahead, whip up a batch of this light and creamy Lemon Fudge. We’re confident you’ll love its bright taste and satisfying texture. Please come back and leave a star recipe rating and comment to let us know how much you enjoyed it!
Pin
Lemon Fudge
Ingredients
- 3 cups White Chocolate Chips
- 1 can Sweetened Condensed Milk 14 ounce can
- 4 Tablespoons Unsalted Butter
- 3 Tablespoons Lemon Juice
- 3 Tablespoon Lemon Zest
Instructions
- Line an 8×8 inch baking pan with parchment paper, allowing some overhang on the sides for easy removal.
- In a medium saucepan, combine the sweetened condensed milk, unsalted butter, lemon juice, and 2 tablespoons of the lemon zest. Heat the mixture over low to medium heat, stirring constantly.
- Continue to stir and heat until all ingredients are fully combined and the mixture is smooth and slightly thickened. Do not boil.
- Remove the saucepan from the heat. Add the white chocolate chips and stir continuously until all the chocolate chips have completely melted and the mixture is smooth and glossy.
- Pour the melted fudge mixture into the prepared pan and spread it evenly. Immediately sprinkle the remaining lemon zest over the top. Allow the fudge to cool completely at room temperature, then cover the pan and refrigerate for at least 4 hours, or until firm.
- Once the fudge has fully set, use the parchment paper to lift it from the pan. Place on a cutting board and cut into squares using a sharp knife. Serve and enjoy!
Recipe Notes
Nutrition Facts
Pin This Now to Remember It Later
Pin Recipe
