Craving that iconic **Dairy Queen Ice Cream Cake** but want to save money and enjoy the satisfaction of making it yourself? Look no further! This comprehensive guide will show you how to create a homemade copycat Dairy Queen Ice Cream Cake that’s not only incredibly **easy to make** but also tastes absolutely phenomenal. Get ready to impress your family and friends with a dessert that rivals the original, perfect for any celebration or just a delightful treat.
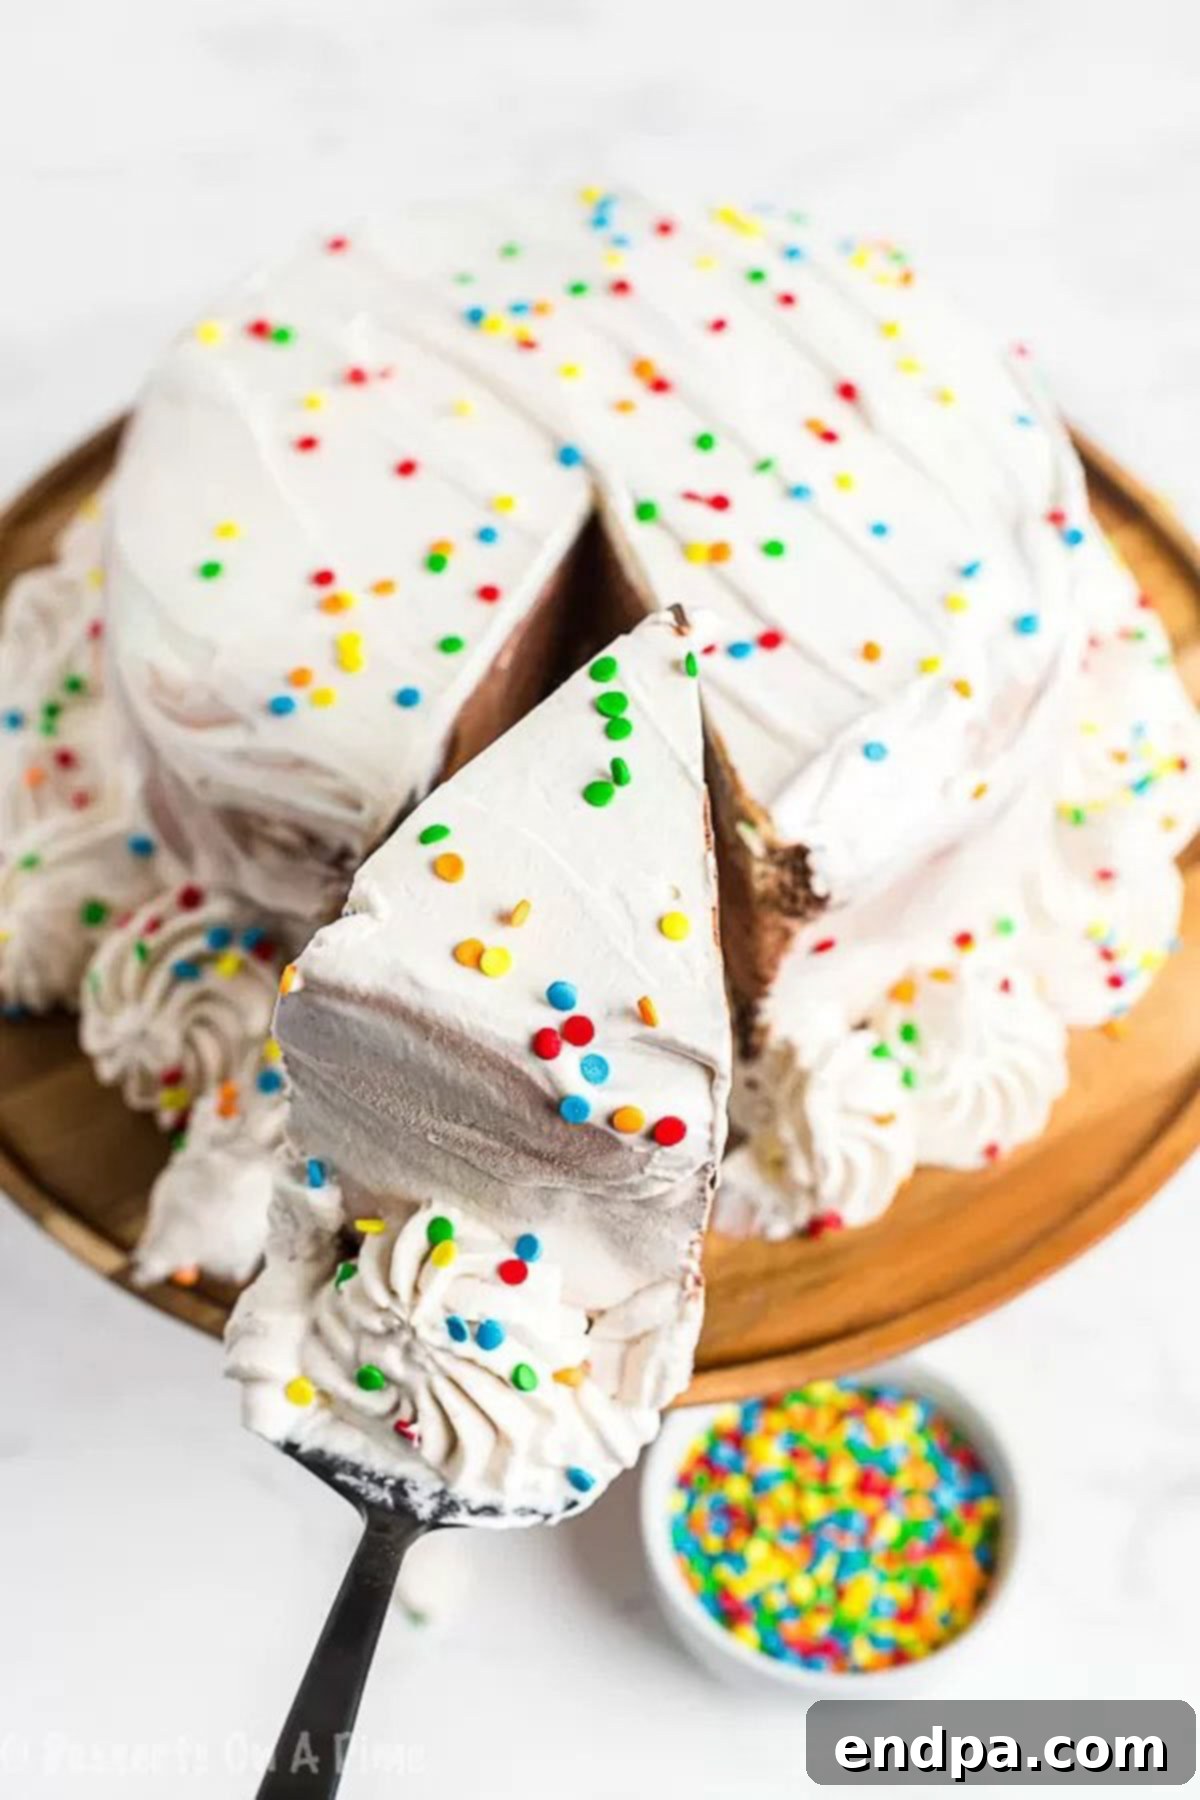
There’s a special joy in crafting desserts from scratch, and ice cream cakes are among our favorites due to their simplicity and crowd-pleasing appeal. Whether it’s for a birthday celebration, a special occasion, or simply a summer gathering, this decadent dessert is always a hit. We even adapt it for holidays, like our festive Christmas Ice Cream Cake. The allure of store-bought Dairy Queen ice cream cakes is undeniable, but their price tag can often be a deterrent. Imagine creating the same beloved flavors and textures right in your own kitchen, for a fraction of the cost, and with a personal touch that makes it even more special. This recipe allows you to do just that, bringing the magic of DQ home.
Beyond this classic, explore our collection of Best Ice Cream Desserts for more frozen delights. Kids particularly adore unique creations like our Homemade Rolled Ice Cream and the playful Puppy Chow Ice Cream. But for pure nostalgia and deliciousness, nothing quite beats a homemade Dairy Queen Ice Cream Cake.
Table of Contents: Your Guide to Perfect Ice Cream Cake
- Why This Homemade Ice Cream Cake Recipe Works
- Essential Ingredients for Your Dairy Queen Copycat Cake
- Creating the Perfect Whipped Cream Topping
- Creative Variations and Delicious Additions
- Step-by-Step Guide: How to Make Ice Cream Cake at Home
- Storing Your Homemade Ice Cream Cake
- Pro Tips for an Impeccable Ice Cream Cake
- Explore More Irresistible Ice Cream Cake Recipes
Why This Homemade Ice Cream Cake Recipe Works
Forget the trip to the store and the premium price tag. This homemade ice cream cake recipe is a game-changer. Every spoonful delivers the rich, decadent flavor and iconic texture you associate with Dairy Queen, making it an instant family favorite. It’s truly astonishing how closely this copycat version replicates the original, from the smooth ice cream layers to the irresistible fudge and cookie crunch. It’s a delightful project that yields incredibly satisfying results, proving that some of the best treats are made right in your kitchen. Pair it with a Dairy Queen Buster Bar Recipe for the ultimate throwback dessert experience.
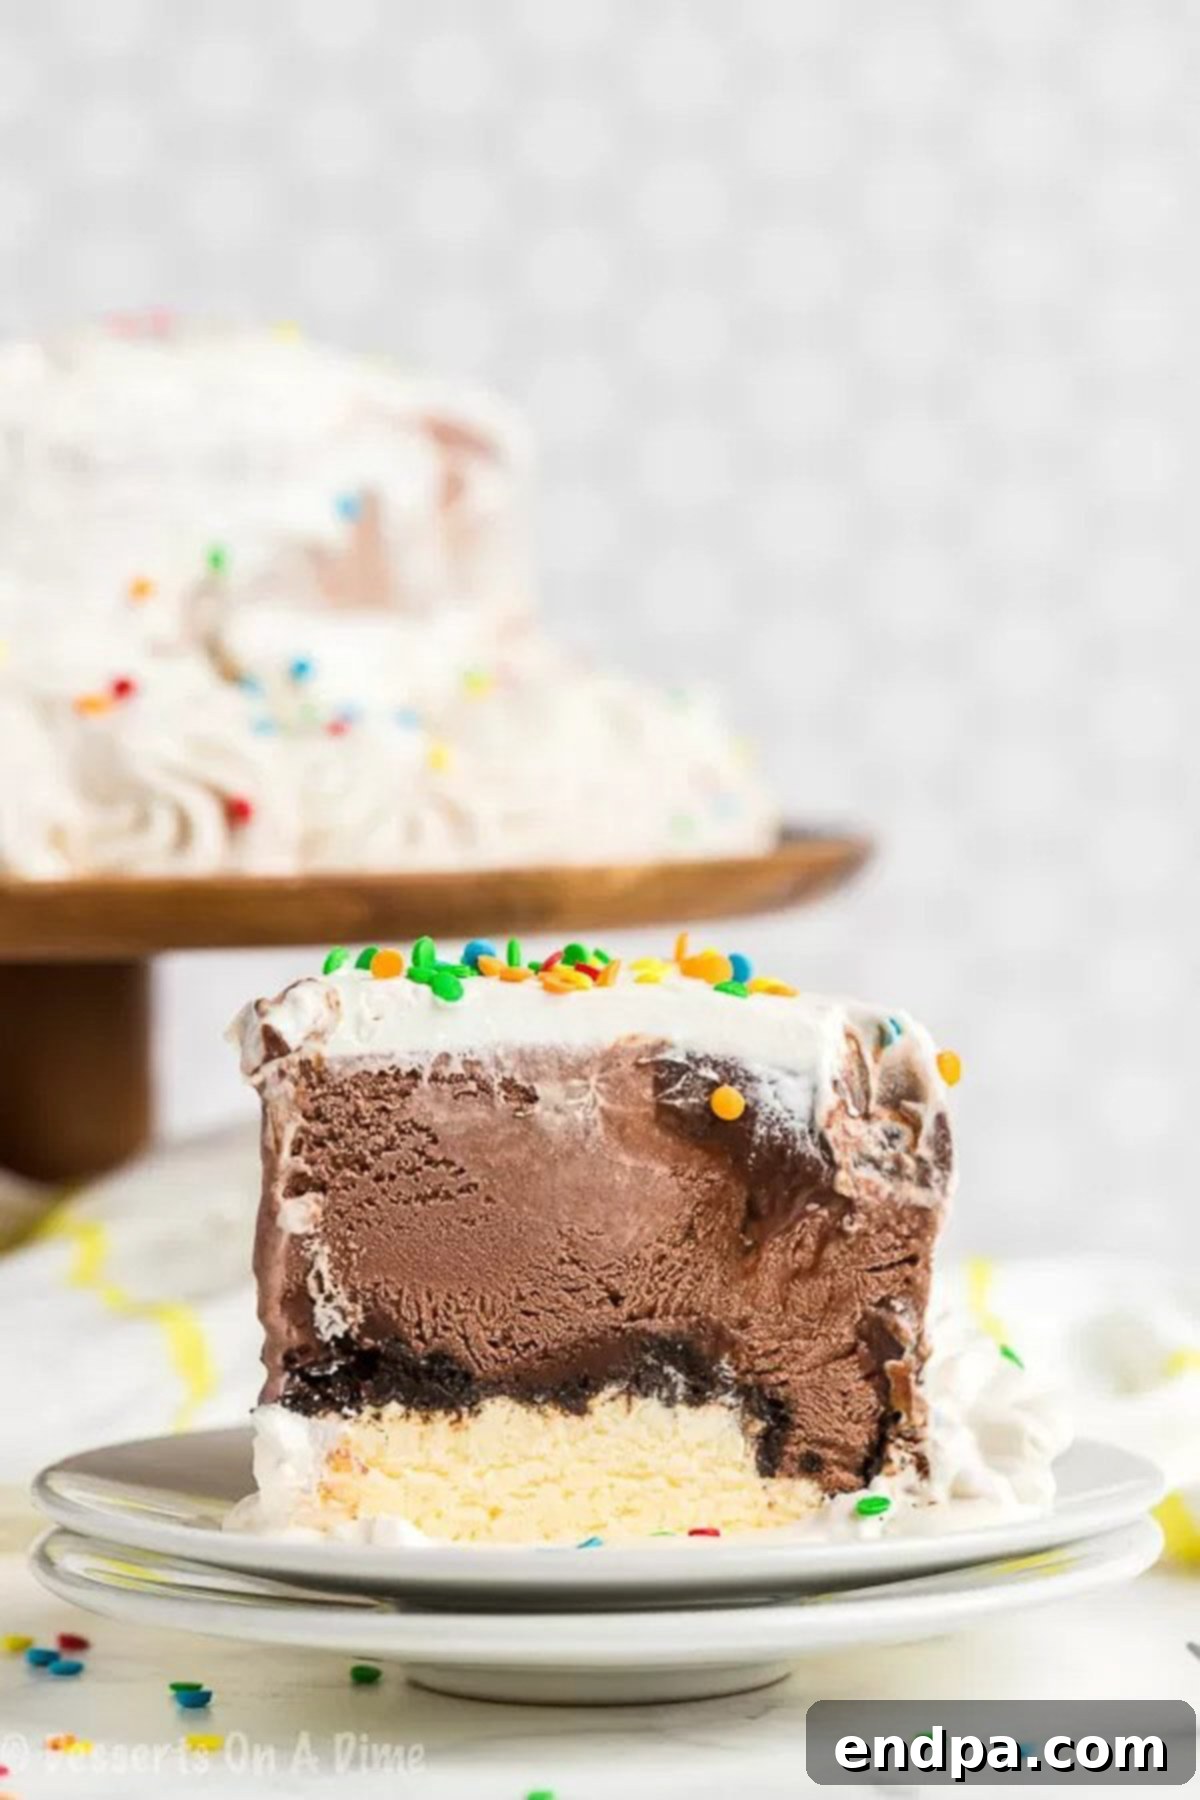
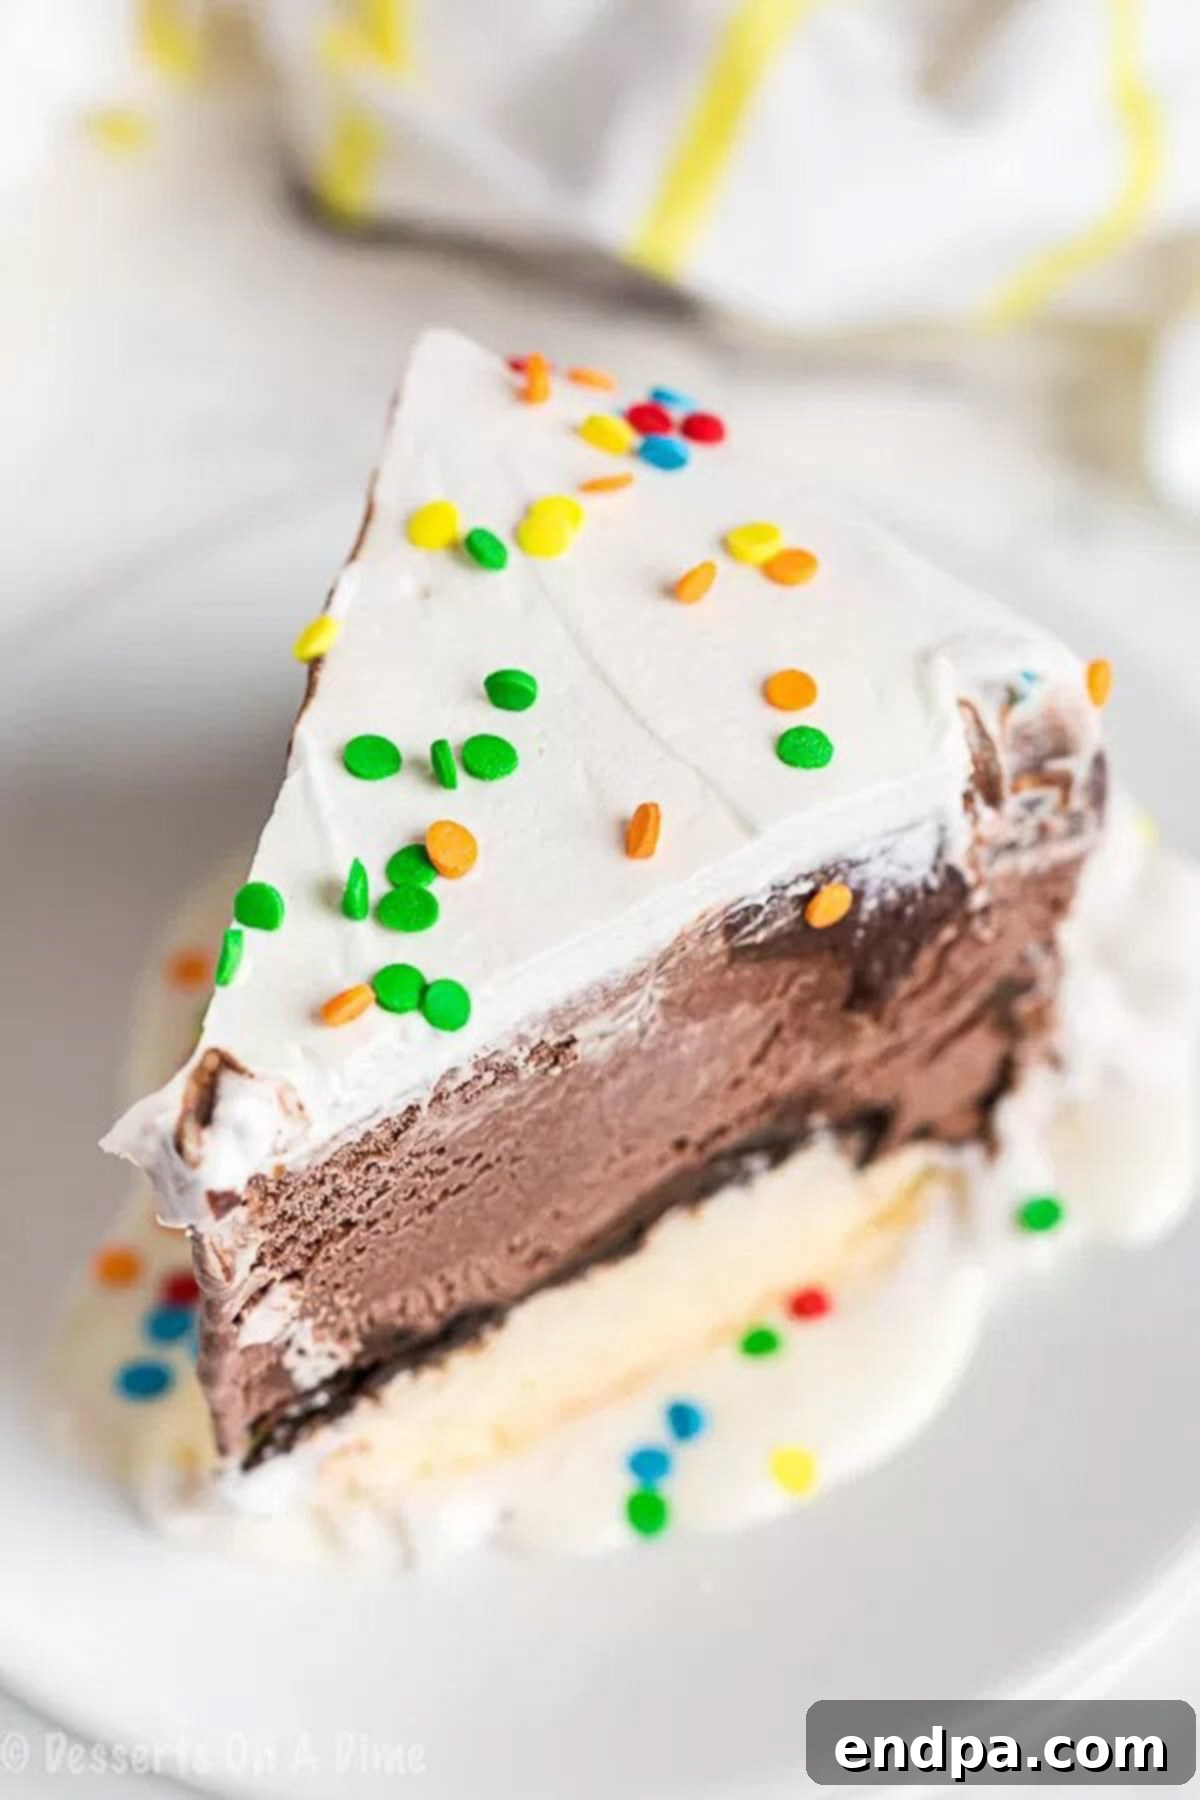
The magic lies in its perfect balance: luscious layers of softened chocolate and vanilla ice cream, separated by a crunchy ribbon of crushed Oreo cookies and a rich, gooey fudge sauce. Topped with a fluffy, homemade whipped cream, it’s a symphony of textures and flavors. This cake is not just for special occasions; it’s a fantastic dessert for casual summer gatherings, family dinners, or any time you crave a cool, sweet treat. Its year-round appeal makes it a versatile addition to your dessert repertoire, promising smiles and satisfaction with every bite.
Essential Ingredients for Your Dairy Queen Copycat Cake
Crafting this sensational ice cream cake requires just a few key ingredients. The beauty of this recipe is its simplicity, relying on readily available items to build complex flavors and textures. Quality ingredients will undoubtedly elevate your final product, but even standard pantry staples will yield a delicious result.
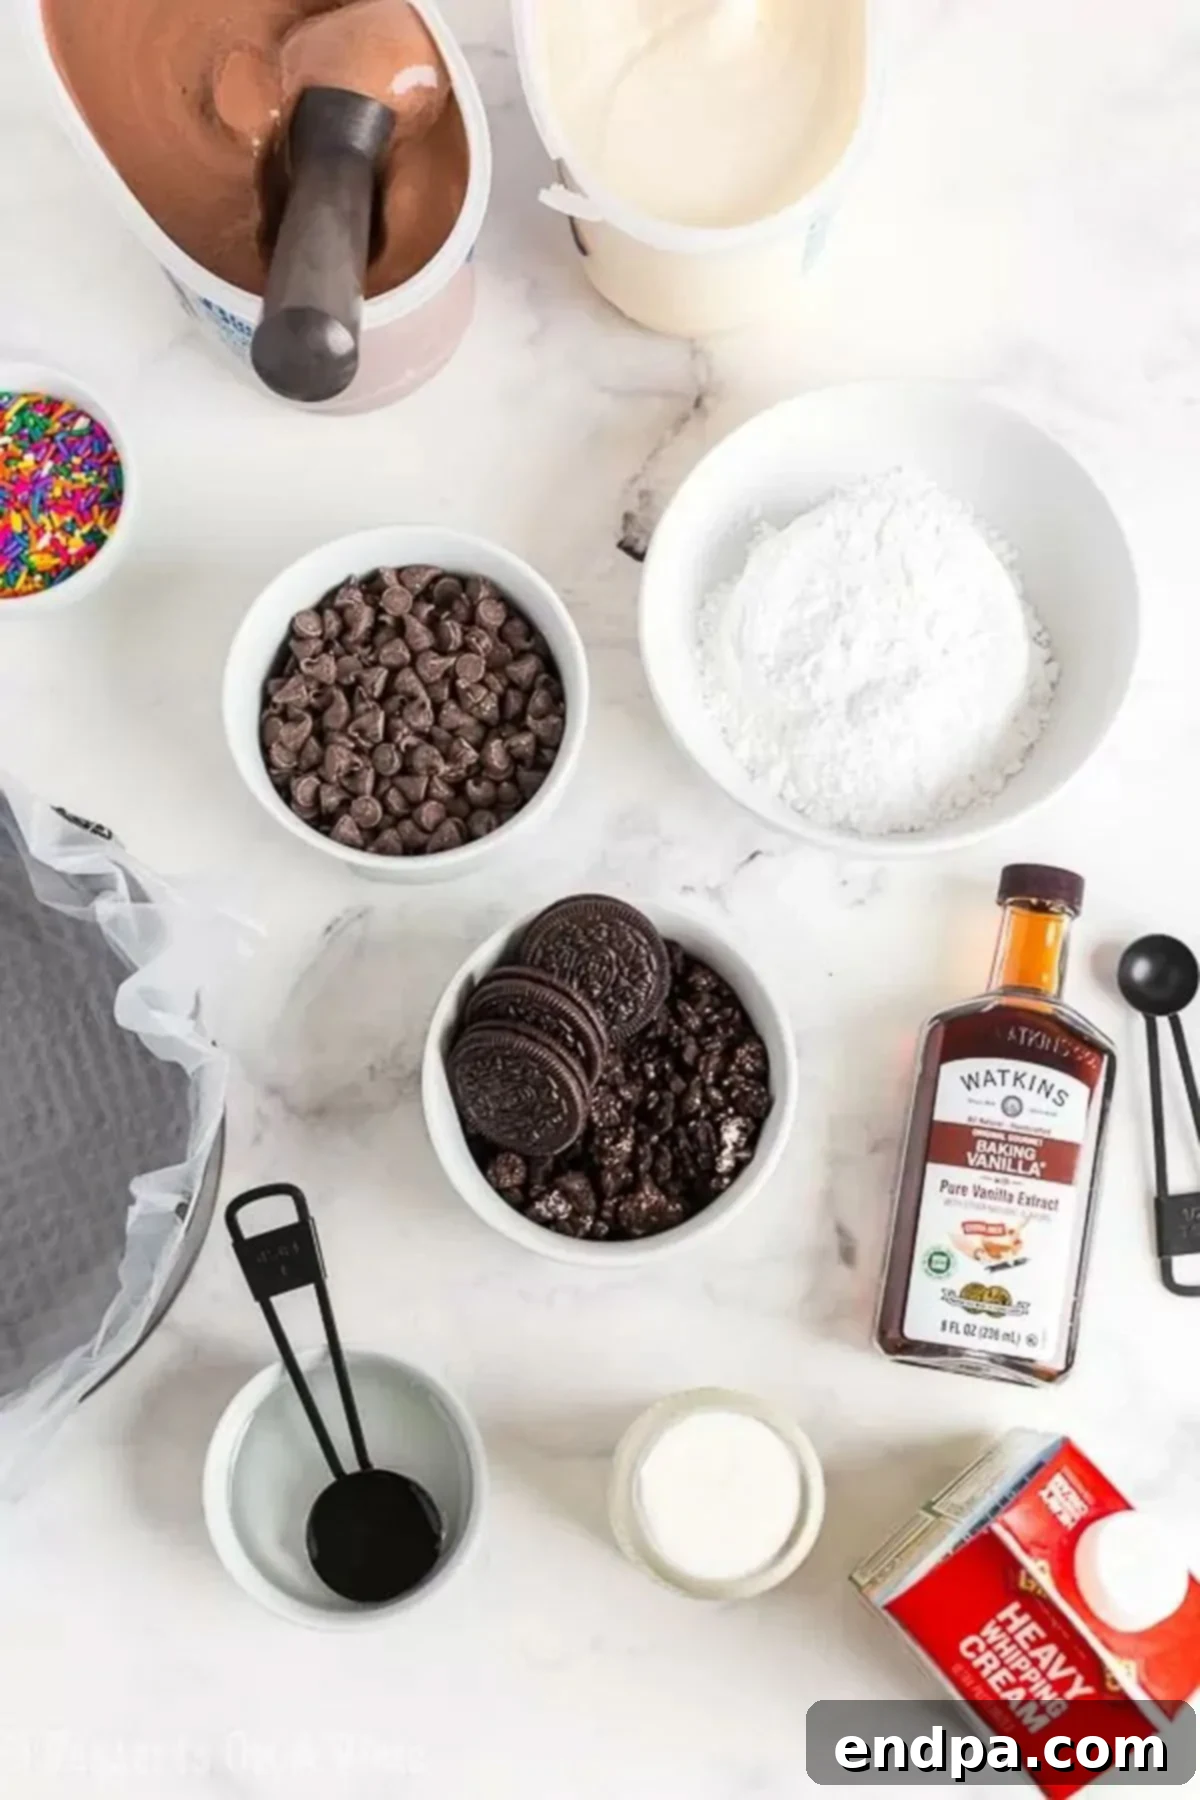
- Oreo Crumbs: For that signature crunchy center, we recommend using classic Oreo Cookies. Avoid double-stuffed varieties as they can alter the texture and sweetness of the cookie layer. You can easily crush them in a food processor or by placing them in a Ziploc bag and crushing them with a rolling pin.
- Vanilla Ice Cream: Choose your favorite brand of high-quality vanilla ice cream for a smooth, creamy layer. For an extra special touch, consider making your own with our No-Churn Vanilla Ice Cream recipe, which eliminates the need for an ice cream maker.
- Chocolate Ice Cream: Similarly, select a rich, flavorful chocolate ice cream. Our No-Churn Chocolate Ice Cream recipe is an excellent homemade alternative that’s surprisingly easy.
- Semi-Sweet Chocolate Chips: These are crucial for the luscious fudge layer. While semi-sweet is preferred, you can experiment with milk chocolate or dark chocolate chips to adjust the sweetness and intensity to your liking.
- Light Corn Syrup: This helps create the perfect consistency for the fudge, giving it that chewy, smooth texture characteristic of DQ’s fudge crunch.
- Vanilla Extract: Pure vanilla extract is always recommended for the best flavor, both in the fudge and the whipped cream. It enhances the sweetness and depth of the other ingredients.
Creating the Perfect Whipped Cream Topping
A homemade whipped cream topping is essential for that authentic Dairy Queen finish. It’s light, airy, and beautifully complements the rich ice cream and fudge layers.
- Heavy Whipping Cream: Ensure your heavy whipping cream is well-chilled before using. Cold cream whips up faster and holds its peaks better, resulting in a stable, fluffy topping.
- Powdered Sugar: Also known as confectioners’ sugar, this provides sweetness and helps stabilize the whipped cream. Sifting it before use prevents lumps and ensures a silky-smooth texture.
Creative Variations and Delicious Additions
One of the best parts about making your own ice cream cake is the freedom to customize it! Get creative with these variations and additions to make your Dairy Queen copycat truly unique.
- Seasonal or Themed Sprinkles: Tailor your cake to any event! Use red and green sprinkles for Christmas, pastels for Easter, or party-themed colors for birthdays.
- Alternate Ice Cream Flavors: While vanilla and chocolate are classic, don’t hesitate to substitute with your favorite flavors. Cookies and cream ice cream pairs wonderfully with the Oreo layer. No-Churn Strawberry Ice Cream can add a fruity twist, or try mint chocolate chip for a refreshing variant. The possibilities are endless!
- Add a Cake Layer: For those who love a bit of actual cake with their ice cream, simply bake a thin layer of chocolate or vanilla cake and place it between the ice cream layers. This adds another dimension of texture and flavor.
- Different Oreo Cookie Flavors: The world of Oreos has expanded! Experiment with birthday cake, red velvet, peanut butter, or even mint Oreos for a unique twist on the cookie crunch layer. Each flavor will infuse the cake with a distinct taste.
- Monochromatic Flavor Profile: If you’re a devout chocolate fan, use all chocolate ice cream for both layers. This creates an intensely rich chocolate experience that will delight any chocoholic.
- Extra Toppings: After frosting, drizzle with your favorite sauces like caramel, chocolate syrup, or a jar of hot fudge. You can also sprinkle with chopped nuts, mini chocolate chips, or extra cookie crumbs for added visual appeal and flavor.
- Candy Bar Mix-ins: Chop up your favorite candy bars (like Snickers, Reese’s, or Butterfingers) and sprinkle them over the fudge layer before adding the next ice cream layer for an extra sweet surprise.
Step-by-Step Guide: How to Make Ice Cream Cake
Making a homemade ice cream cake is simpler than you might think. Follow these detailed steps to assemble your delicious dessert with ease.
- Step 1: Prepare the Oreo Layer. Begin by crushing about 10 Oreo cookies until you have approximately 3/4 cup of fine crumbs. You can use a food processor for a quick, uniform crush or place them in a sturdy plastic bag and smash them with a rolling pin. Set these crumbs aside; they will form the delightful crunchy layer in your cake.
- Step 2: Line the Cake Pan. Select an 8×3 inch springform cake pan. This type of pan is ideal for ice cream cakes as it allows for easy removal. Line the entire pan with plastic wrap, ensuring it covers the bottom and extends generously over the sides. This overhang will serve as handles later to lift the cake out. Using two overlapping pieces of plastic wrap often works best for full coverage.
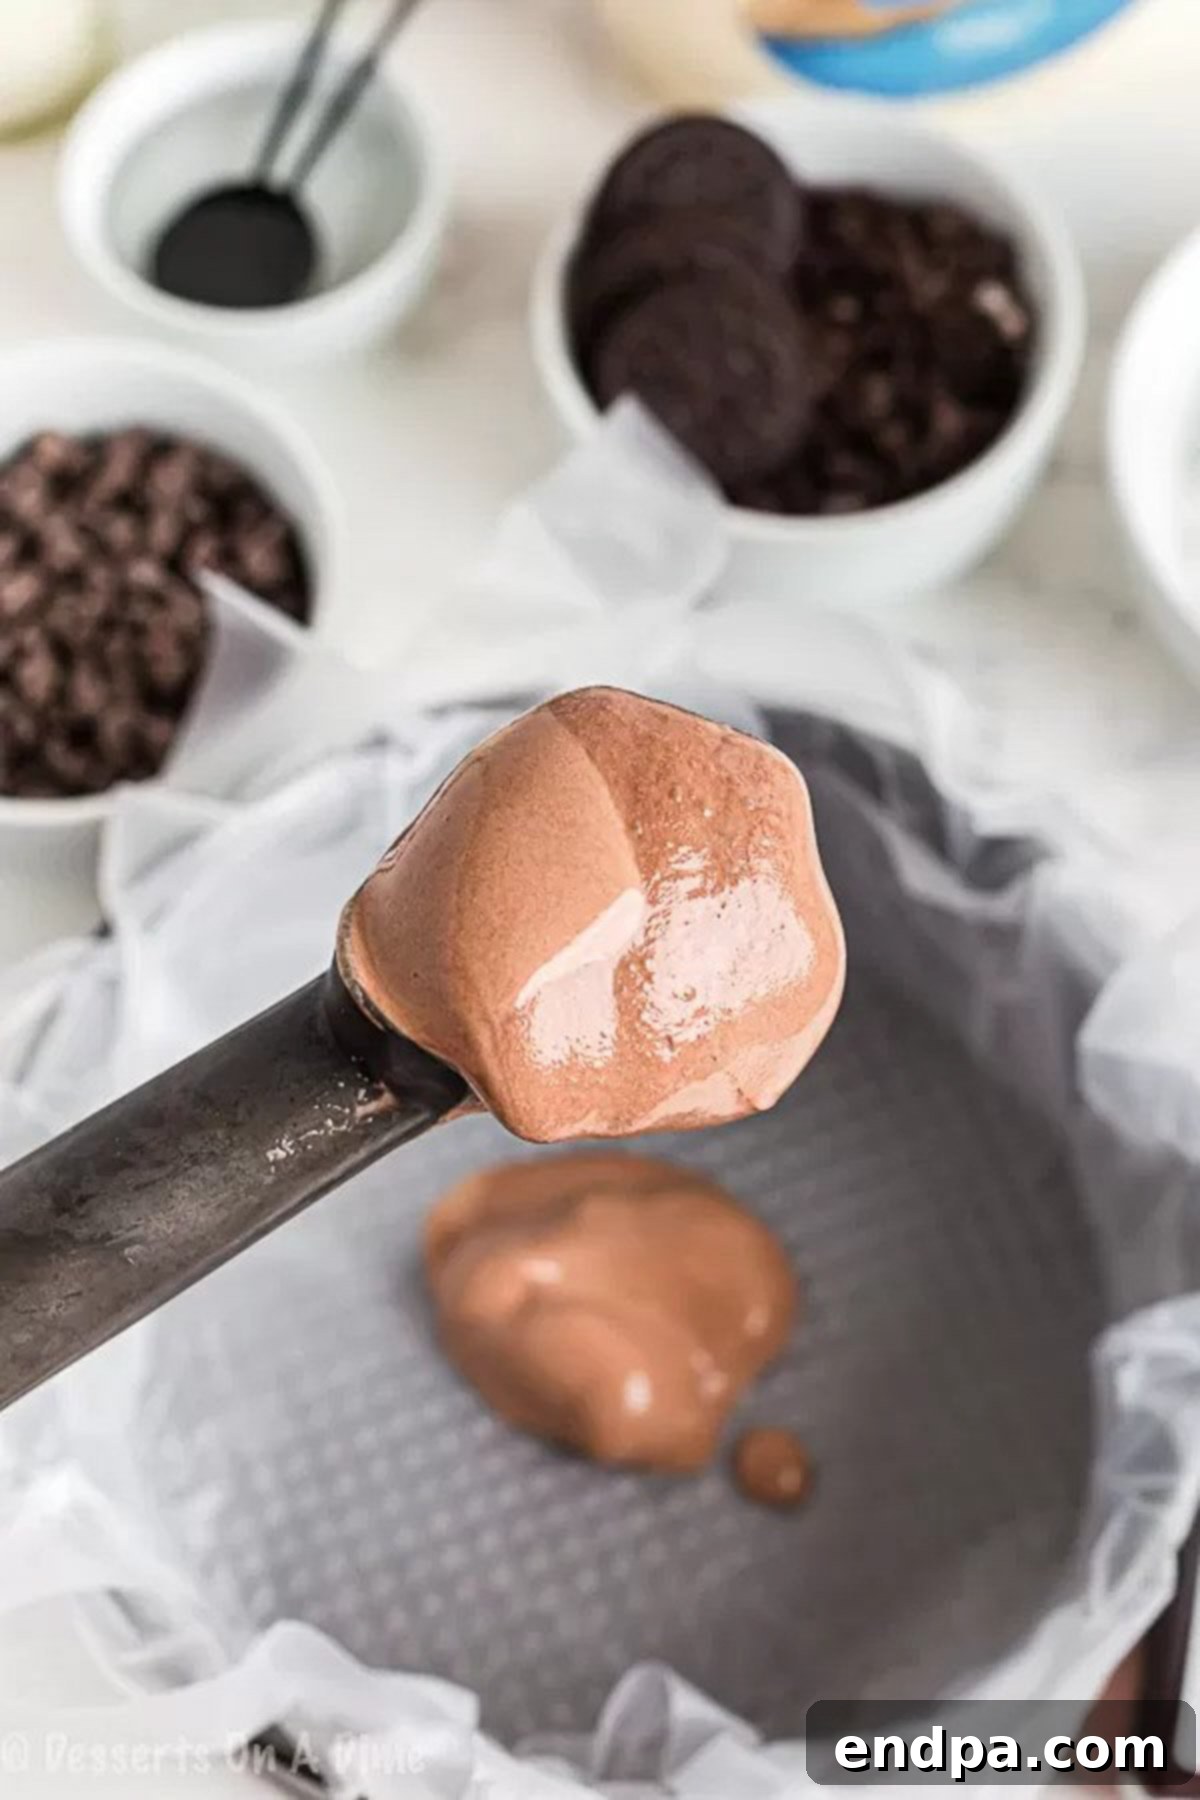
Step 3: Soften and Layer Chocolate Ice Cream. Take your chocolate ice cream out of the freezer and let it soften at room temperature for about 20 minutes. It should be soft enough to spread easily but not completely melted. Once softened, transfer the chocolate ice cream into the prepared cake pan. Use an offset spatula or the back of a spoon to spread it into an even, smooth layer across the bottom of the pan. Place the pan in the freezer for at least 30 minutes to allow this layer to firm up completely.
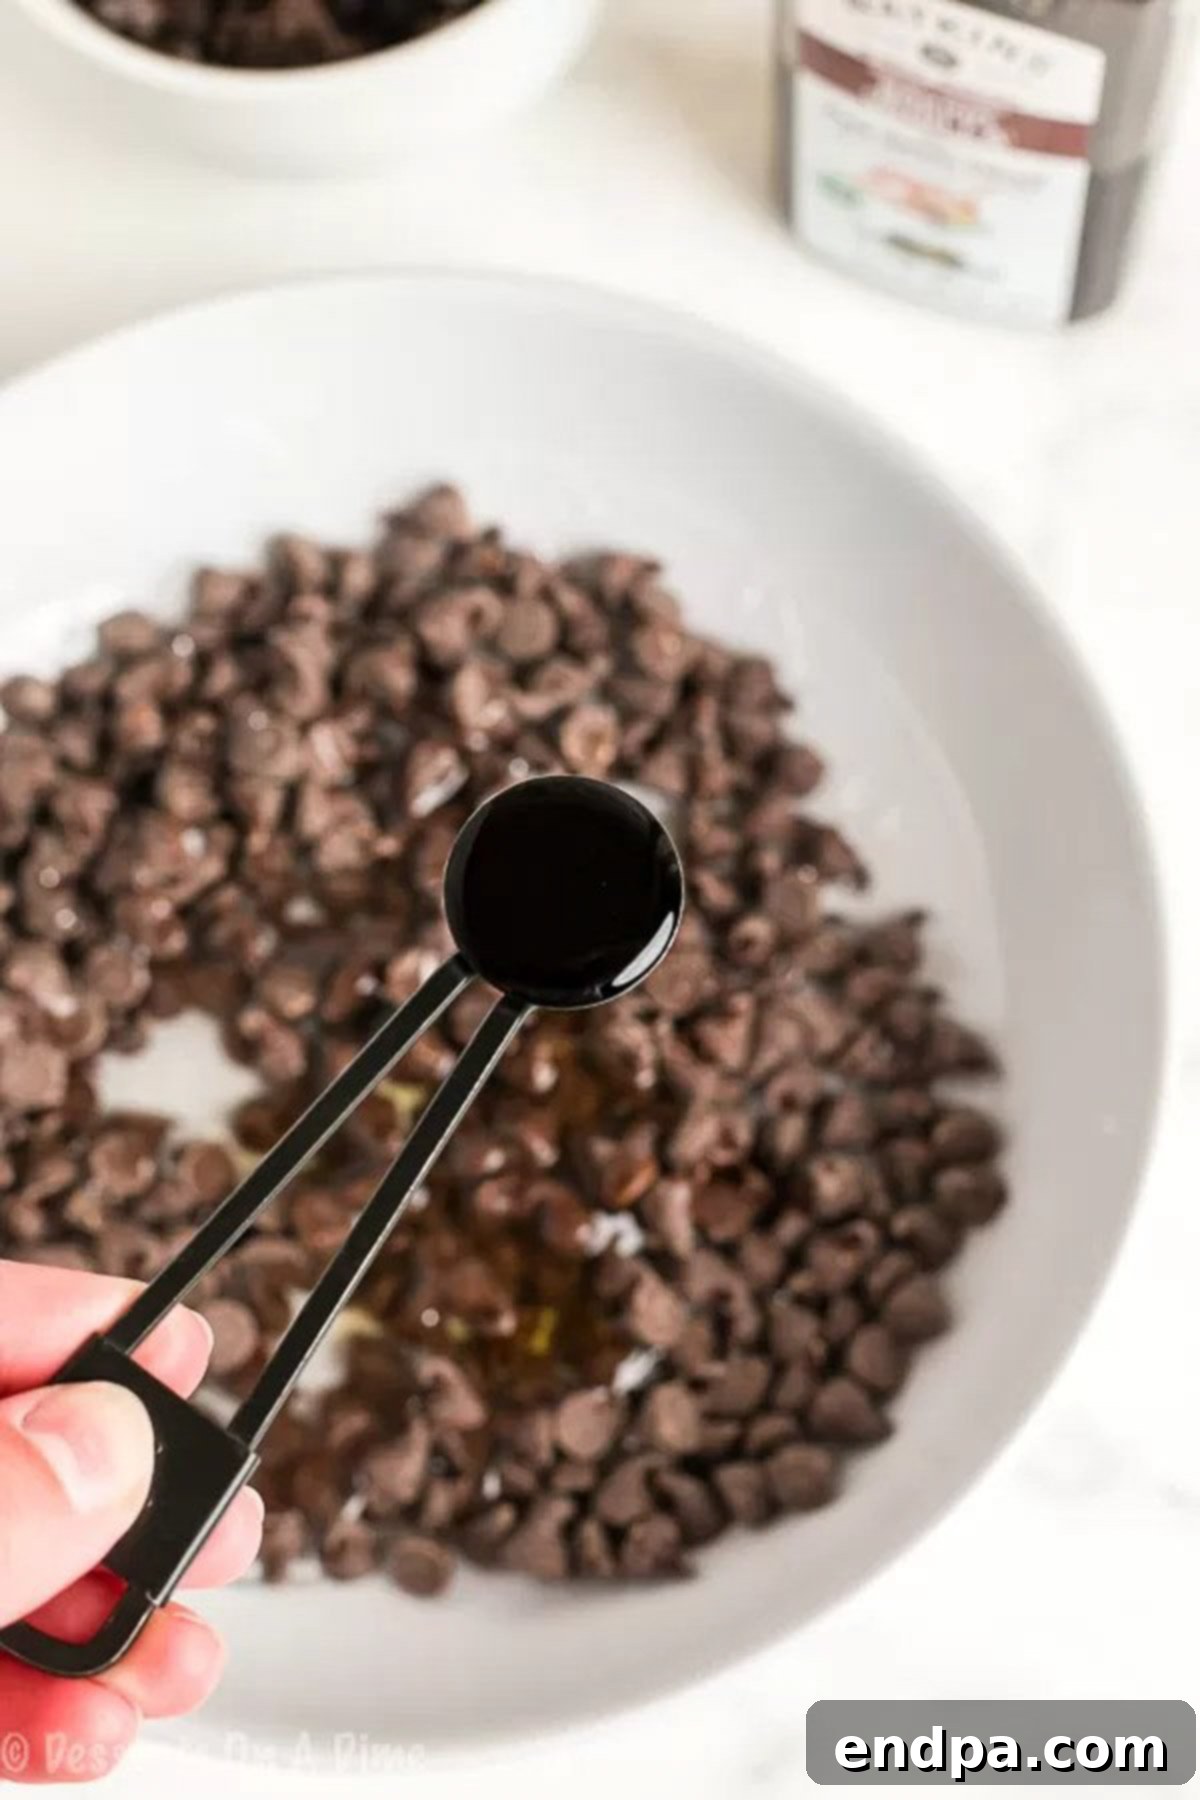
Step 4: Prepare the Hot Fudge Sauce. While the chocolate ice cream layer is freezing, prepare your homemade hot fudge sauce. In a medium-sized heatproof bowl, combine the semi-sweet chocolate chips, light corn syrup, and vanilla extract. This mixture will become the gooey, irresistible fudge layer. For an alternative, you can also use our Homemade Hot Fudge Sauce Recipe.
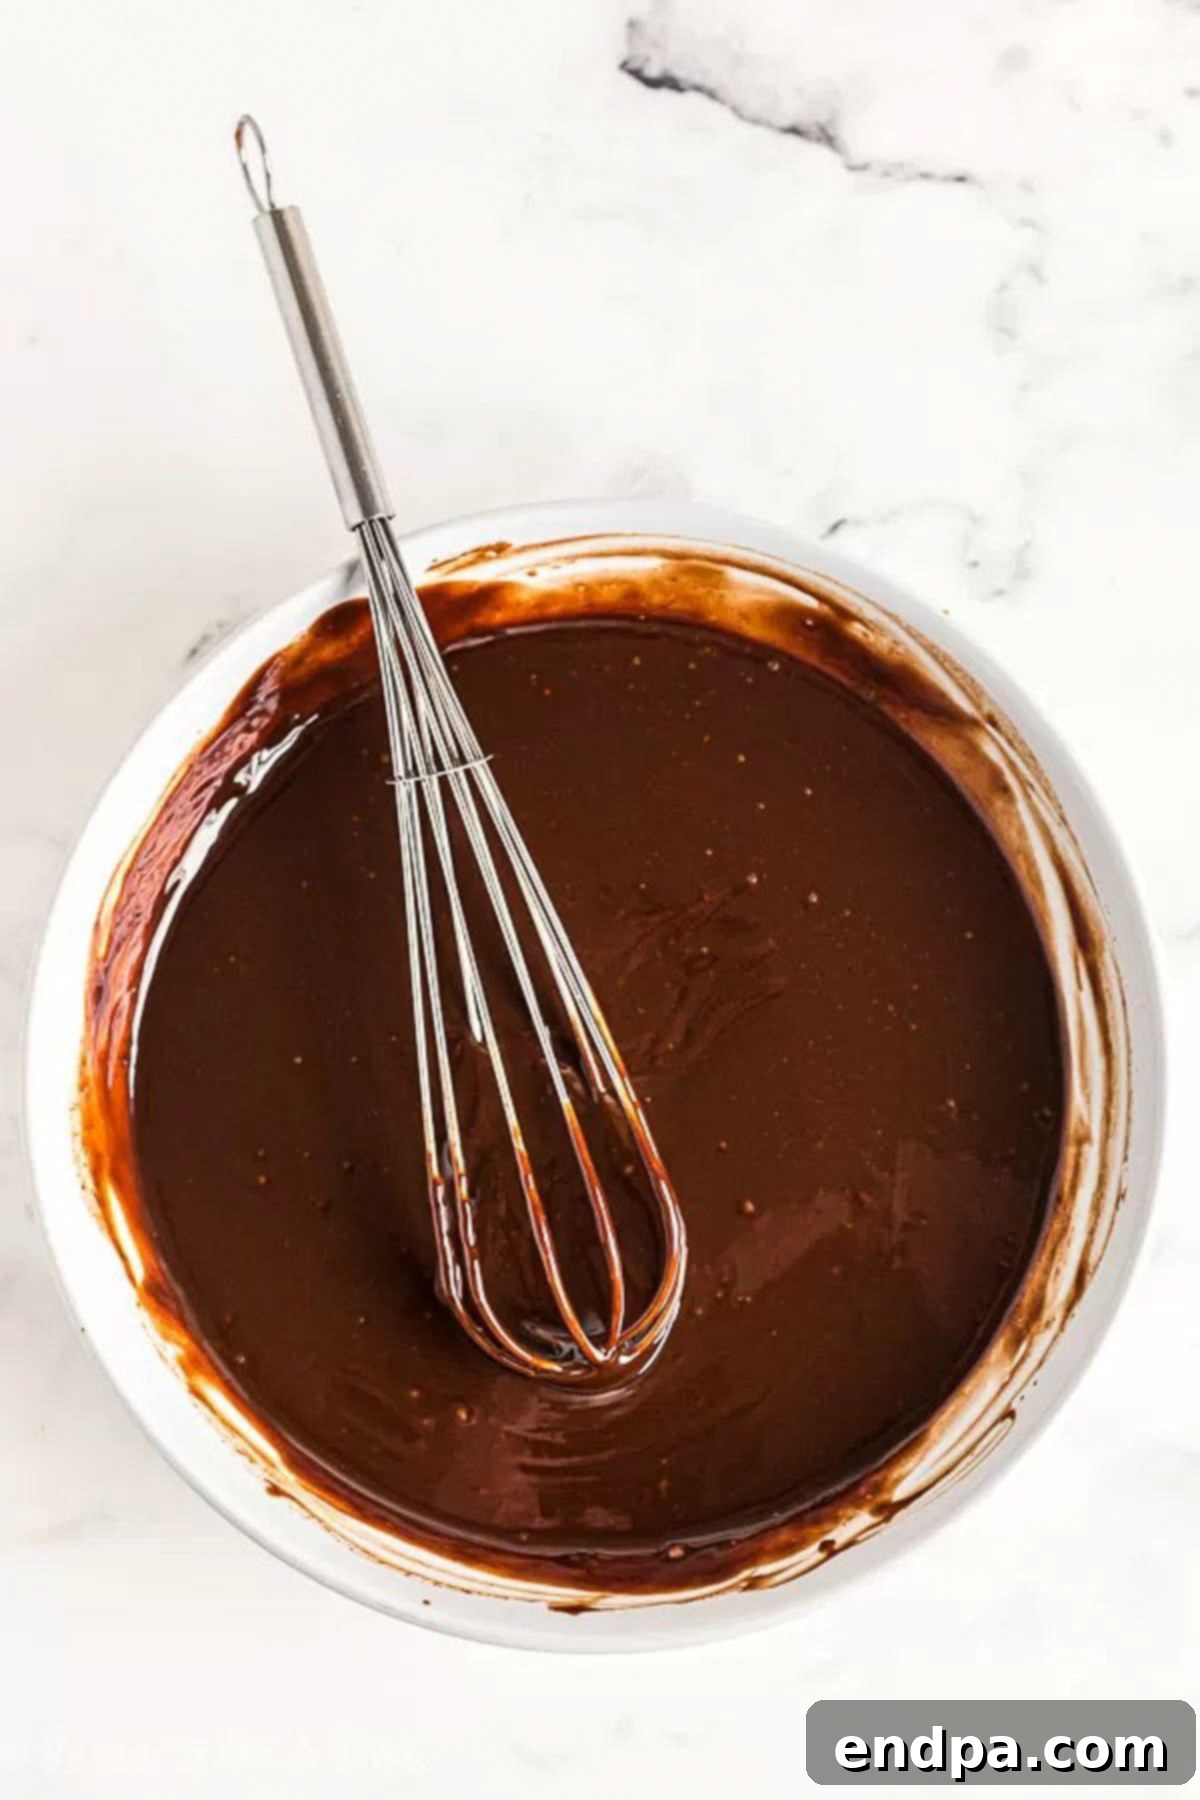
Step 5: Combine and Whisk the Fudge. Heat the 1/2 cup heavy whipping cream in a small saucepan over medium heat until it just begins to boil, or small bubbles form around the edges. Immediately pour the hot cream over the chocolate chip mixture in your bowl. Let it sit undisturbed for 2-3 minutes to allow the heat to melt the chocolate chips. Then, whisk the mixture vigorously until it is completely smooth and glossy, forming a rich, decadent fudge sauce.
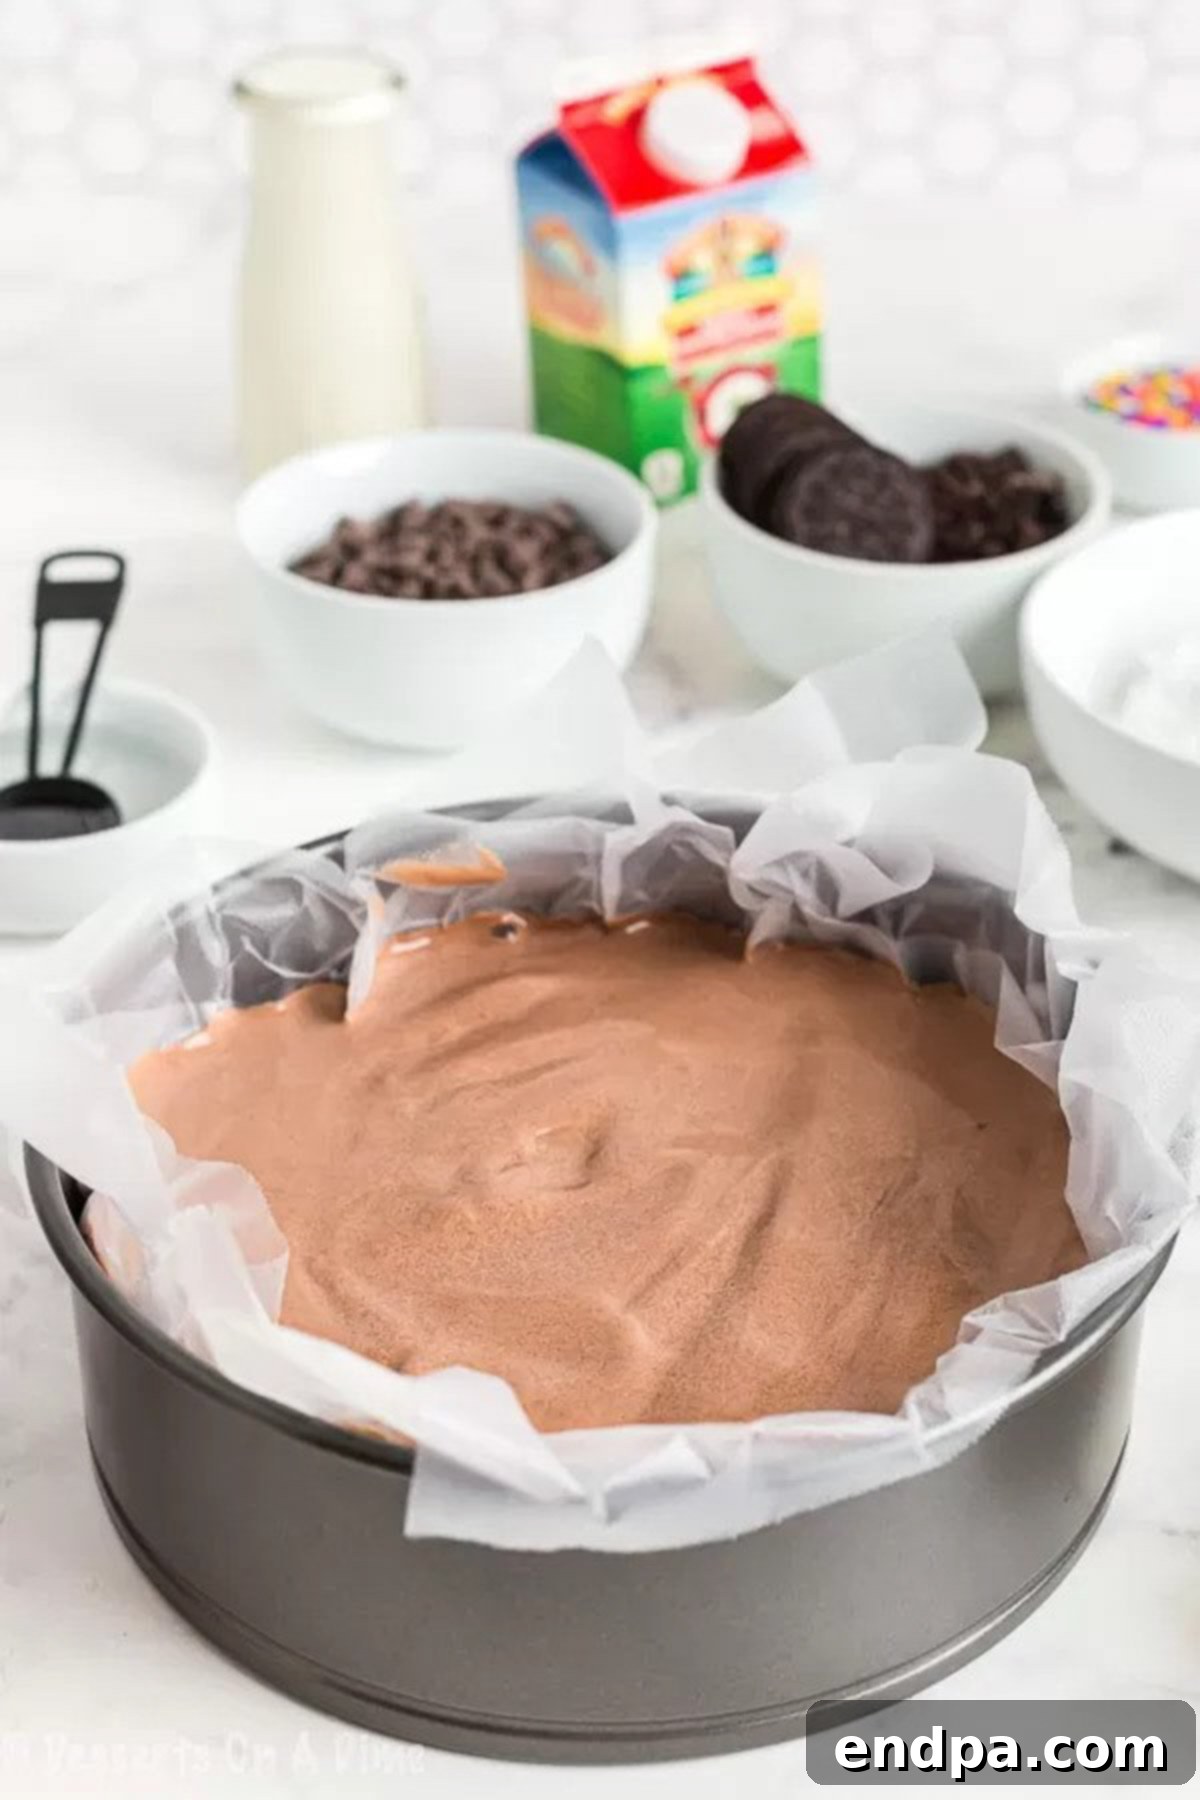
Step 6: Pour Fudge and Freeze. Remove the springform pan with the frozen chocolate ice cream layer from the freezer. Carefully pour the warm, melted chocolate fudge evenly over the hardened ice cream layer. Use the back of a spoon or an offset spatula to gently spread the fudge into an even layer, ensuring it covers the entire surface. Place the pan back into the freezer for approximately 10 minutes to allow the fudge layer to set slightly.

Step 7: Add Cookie Crumbs and Vanilla Ice Cream Layer. Once the fudge layer has set slightly, evenly sprinkle the reserved Oreo cookie crumbs over the fudge. This creates the iconic crunchy layer. Freeze for about 2 hours, or until the fudge and cookie layer are firm. About 15-20 minutes before you are ready for the next step, remove the vanilla ice cream from the freezer to soften. Once softened, spread the vanilla ice cream over the cookie crumb layer, creating the final ice cream layer. Return the cake to the freezer and allow it to freeze until completely firm, typically 2-3 hours or overnight. Once fully frozen, use the plastic wrap overhang to carefully lift the entire frozen cake out of the springform pan. Transfer it to a cardboard cake circle or a sturdy serving plate and place it back in the freezer.
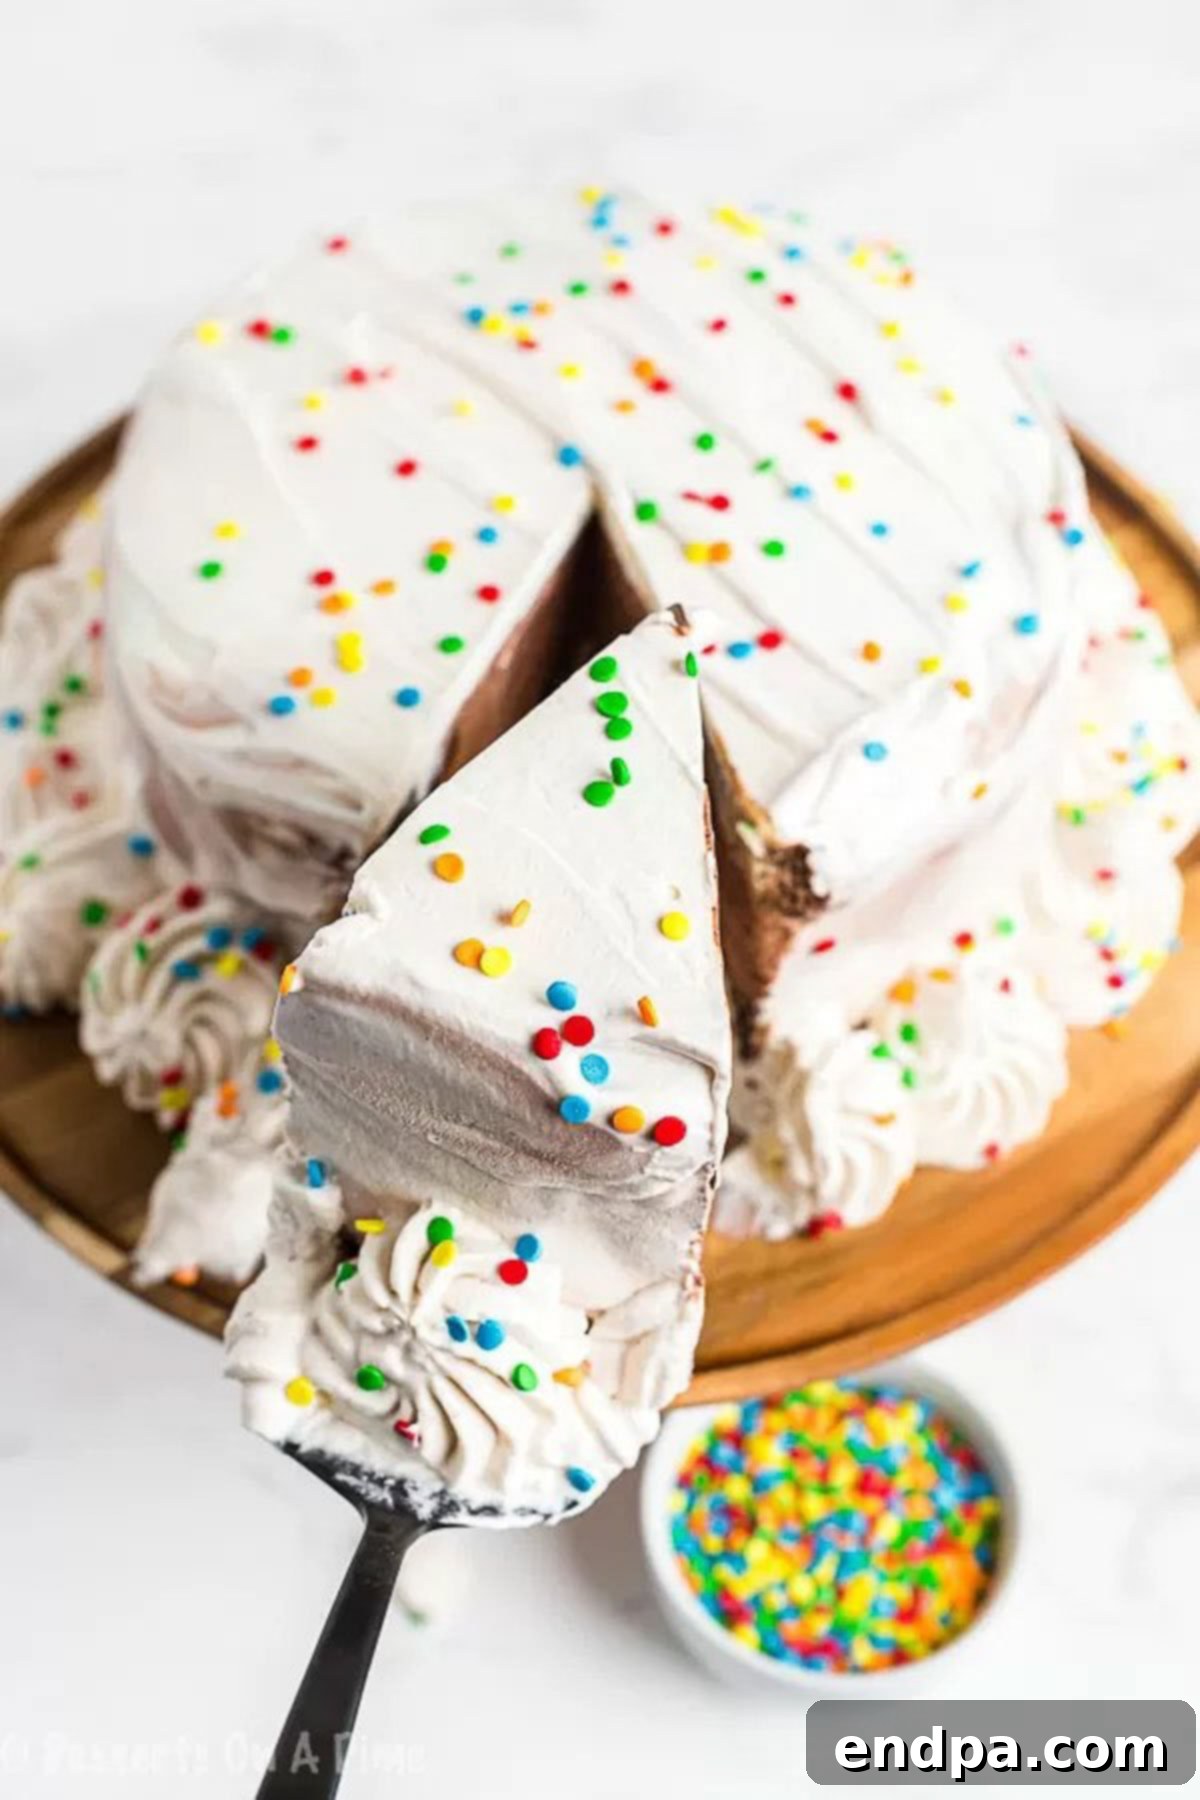
Step 8: Make and Frost with Whipped Cream. In a large mixing bowl, combine the cold heavy whipping cream, powdered sugar, and vanilla extract. Using an electric mixer, beat on high speed until stiff peaks form. The whipped cream should be thick and hold its shape. Remove the frozen cake from the freezer and, using an offset spatula, generously frost the entire cake with the homemade whipped cream. Decorate the cake as desired with sprinkles, extra cookie crumbs, or chocolate shavings. Finally, return the decorated cake to the freezer until you are ready to serve. For the best presentation, transfer it to a serving platter just before enjoying.
Storing Your Homemade Ice Cream Cake
Proper storage is key to maintaining the deliciousness and integrity of your homemade ice cream cake. After you’ve enjoyed a slice (or two!), ensure any leftover cake is immediately returned to the freezer. To prevent freezer burn and keep the cake fresh, cover it tightly with multiple layers of plastic wrap, pressing it gently against the whipped cream to eliminate air pockets. For even better protection, place the wrapped cake in an airtight container or a large freezer bag. When stored correctly, your ice cream cake will remain delicious for 4-5 days. Beyond this period, while still safe to eat, the texture and flavor might start to diminish. Always thaw briefly in the refrigerator for about 10-15 minutes before serving to ensure the ice cream is scoopable but not melted.
Pro Tips for an Impeccable Ice Cream Cake
Achieve professional-level results with these expert tips designed to make your homemade Dairy Queen Ice Cream Cake even more spectacular.
- Consider a Cake Base: For a twist, you can start with a thin layer of baked cake at the very bottom of your springform pan before adding the first ice cream layer. A chocolate or vanilla cake base provides a lovely textural contrast and an extra layer of flavor. Ensure the cake layer is cooled completely before adding ice cream.
- Freeze Each Layer Thoroughly: Patience is a virtue when making ice cream cakes. Ensure each layer (ice cream, fudge, cookie crumbs, and subsequent ice cream layers) is sufficiently frozen and firm before adding the next. This prevents bleeding between layers, creating those beautifully defined stripes that make the cake so visually appealing. Rushing this step can lead to a messy, unappealing cake.
- Soften Ice Cream Just Enough: The key to smooth, even ice cream layers is getting the consistency just right. Let your ice cream sit at room temperature for about 15-20 minutes. It should be soft enough to spread easily with a spoon or spatula but not melted or runny. If it becomes too soft, simply pop it back into the freezer for a few minutes.
- Achieve Clean Slices: To get those picture-perfect slices without tearing the cake, use a long, sharp knife. Dip the knife in hot water and wipe it clean between each cut. The heat from the blade will help it glide smoothly through the frozen layers, ensuring a neat, precise cut every time.
- Eliminate Air Pockets: As you spread each ice cream layer, gently press it down with your spatula or the back of a spoon. This helps to remove any trapped air pockets, ensuring a dense, uniform cake that won’t have unexpected holes or crumble when sliced.
- Chill Your Bowl for Whipped Cream: For the fluffiest, most stable whipped cream, chill your mixing bowl and whisk attachments in the freezer for 10-15 minutes before whipping the heavy cream. This helps the cream whip faster and achieve stiff peaks more easily.
- Decorate Quickly: Once you’re ready to frost and decorate, work quickly. Ice cream cakes begin to melt at room temperature, so minimize the time it spends out of the freezer. Have all your decorations ready to go before you take the cake out.
Explore More Irresistible Ice Cream Cake Recipes
If you loved making this Dairy Queen copycat, you’ll surely enjoy exploring other fantastic ice cream cake creations. These recipes offer a variety of flavors and styles, perfect for any occasion.
- Easy Ice Cream Cake Recipe
- Snickers Ice Cream Cake
- The Easiest Cookies and Cream Ice Cream Cake Recipe
- Oreo Ice Cream Cake Recipe
- Mint Chocolate Chip Ice Cream Cake
- Melted Ice Cream Cake Recipe
Pin
Dairy Queen Ice Cream Cake
1 hr
2 hrs
3 hrs
12
American
Dessert
857
Carrie Barnard
Ingredients
- Cake:
- 3/4 cup Oreo crumbs (about 10 Oreos crushed)
- 1.5 quart container vanilla ice cream
- 1.5 quart container chocolate ice cream
- 6 oz semi-sweet chocolate chips
- 3 tbsp light corn syrup
- 1/2 tsp vanilla extract
- 1/2 cup heavy whipping cream
- WHIPPED CREAM:
- 2 cups heavy whipping cream (cold)
- 1 cup powdered sugar
- 2 tsp vanilla extract
- Sprinkles (for decoration)
Instructions
- Crush the Oreos until fine crumbs are formed, then set aside.
- Line an 8×3 inch cake pan (preferably springform) with clear plastic wrap, ensuring it covers the bottom and hangs over the sides for easy lifting.
- Let the chocolate ice cream soften at room temperature for about 20 minutes. Spread the softened chocolate ice cream evenly into the prepared pan. Freeze for 30 minutes until firm.
- In a medium bowl, combine the semi-sweet chocolate chips, light corn syrup, and 1/2 tsp vanilla extract for the fudge layer.
- Heat 1/2 cup heavy whipping cream until it just begins to boil. Pour over the chocolate chip mixture. Let sit for 2-3 minutes, then whisk until smooth.
- Remove the cake pan with the chocolate ice cream from the freezer. Pour the warm chocolate fudge over the ice cream and spread into an even layer. Freeze for about 10 minutes to set.
- Sprinkle the Oreo cookie crumbles evenly over the set fudge layer. Freeze for about 2 hours, or until mostly firm.
- Soften the vanilla ice cream for about 20 minutes. Spread it over the cookie crumb layer. Freeze for 2-3 hours, or until completely firm.
- Using the plastic wrap, lift the frozen cake out of the pan. Place it on a cardboard cake circle or serving plate. Return to the freezer.
- For the whipped cream topping, beat 2 cups cold heavy whipping cream, 1 cup powdered sugar, and 2 tsp vanilla extract in a large mixer bowl on high speed until stiff peaks form.
- Frost the entire cake with the whipped cream, using an offset spatula. Decorate as desired with sprinkles or other toppings.
- Freeze the cake until ready to serve. For best quality, store well covered in the freezer and consume within 4-5 days.
Recipe Notes
Nutrition Facts
Calories: 857 kcal, Carbohydrates: 91g, Protein: 11g, Fat: 52g, Saturated Fat: 31g, Cholesterol: 161mg, Sodium: 254mg, Potassium: 669mg, Fiber: 4g, Sugar: 79g, Vitamin A: 1726 IU, Vitamin C: 2mg, Calcium: 324mg, Iron: 3mg
Pin This Now to Remember It Later
Pin Recipe
