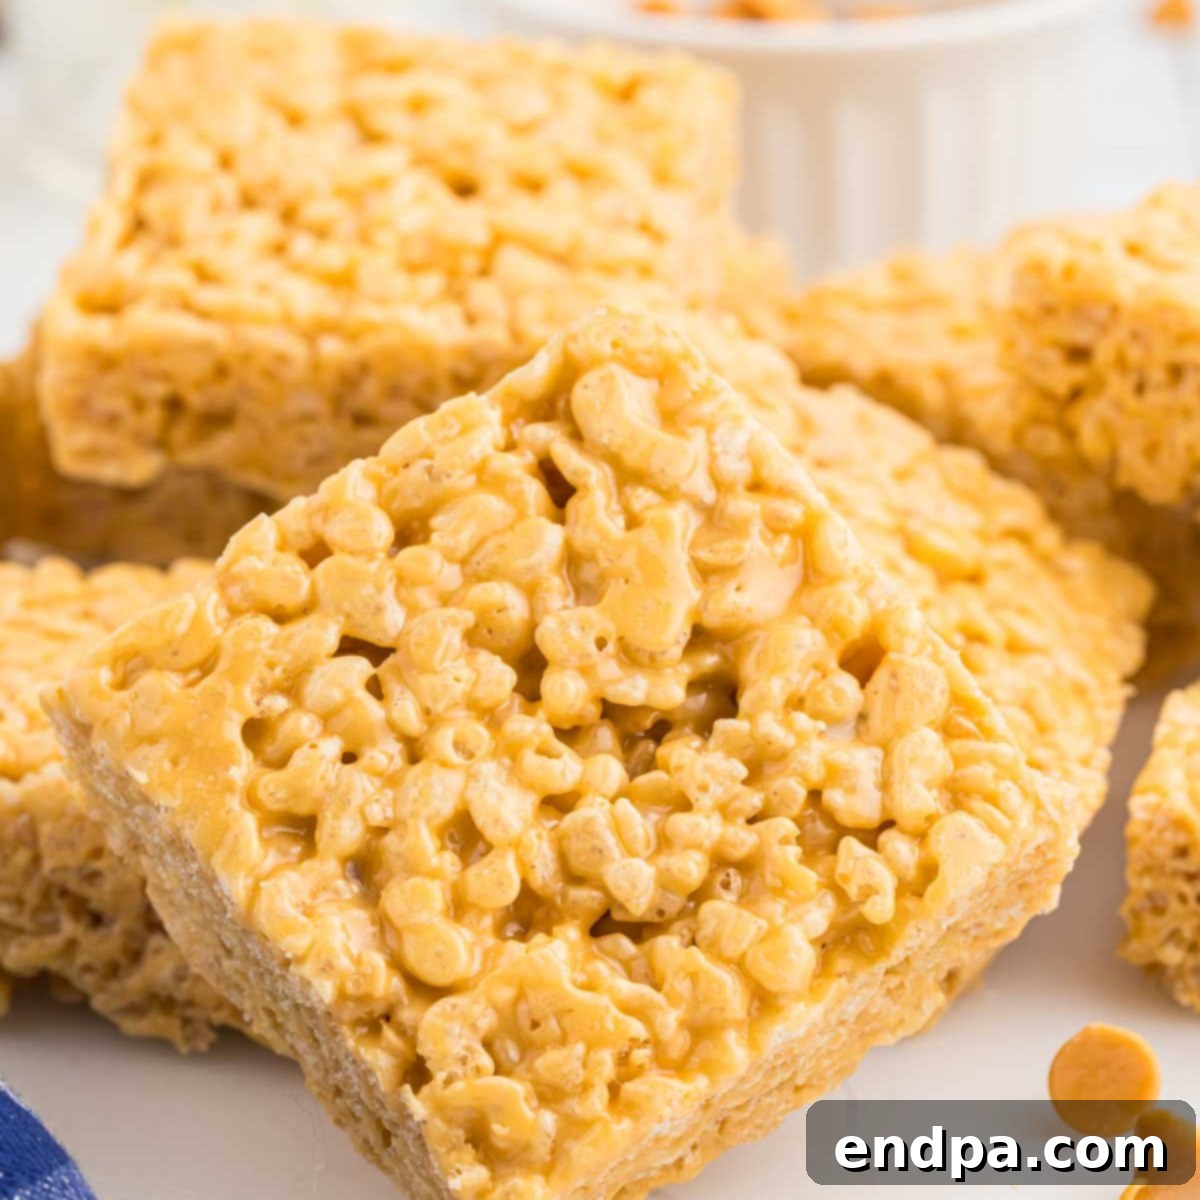
Prepare to be captivated by the truly unique and irresistible flavor of these Brown Butter Rice Krispie Treats. This isn’t just another twist on a classic; it’s an elevated experience. The rich, nutty notes of salted brown butter perfectly meld with the sweet, gooey marshmallows, creating a dessert that’s both familiar and wonderfully new. Each bite delivers a delightful combination of crispy cereal and buttery, sweet indulgence that will leave you craving more.
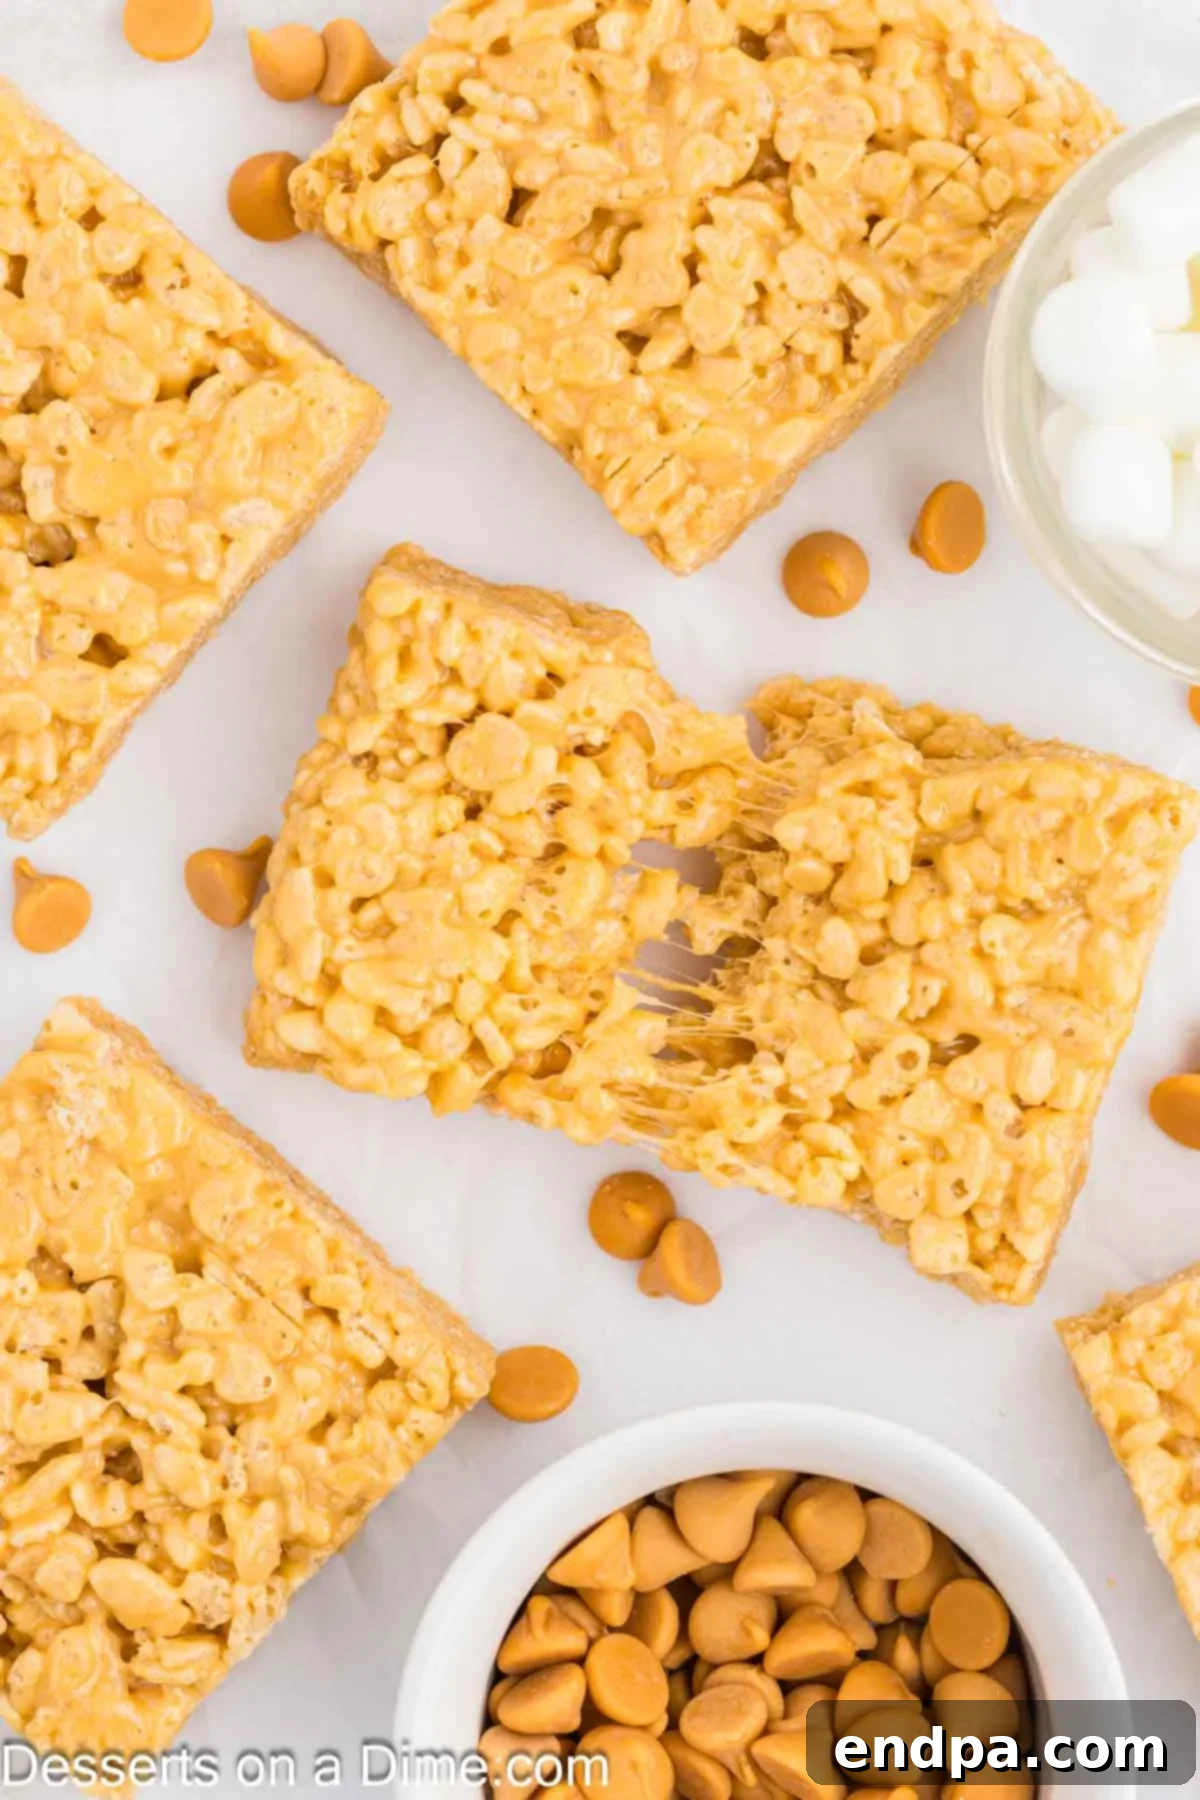
Brown Butter Rice Krispie Treats are the epitome of an easy no-bake dessert, offering a sophisticated upgrade to the beloved classic Rice Krispie Treats Recipe. What makes this recipe truly stand out is its simplicity combined with extraordinary results. You only need a handful of basic ingredients, but the transformation achieved by browning the butter adds a depth of flavor that is truly outstanding. It’s an effortless way to impress guests or treat your family to something special without spending hours in the kitchen.
Table of Contents
- Why These Treats Are a Must-Try
- Essential Ingredients
- Creative Variations
- Step-by-Step Guide to Making Brown Butter Rice Krispie Treats
- Mastering the Cut for Perfect Squares
- Frequently Asked Questions (FAQs)
- Pro Tips for Success
- Explore More Rice Krispie Treat Recipes
Why These Treats Are a Must-Try
Every single bite of these brown butter delights is an adventure in ooey-gooey perfection and rich, buttery bliss. The secret lies in the salted butter, which, when browned, develops a profound nutty aroma and complex taste profile that elevates the simple marshmallow and cereal combination to gourmet status. It truly makes a monumental difference, adding a depth of flavor that plain butter simply can’t achieve. This delightful transformation makes the treats incredibly addictive and a guaranteed crowd-pleaser.
Beyond their incredible taste, these treats are remarkably easy to prepare. The process of browning butter might sound intimidating, but it’s a straightforward technique that yields spectacular results. As the butter simmers, it releases a heavenly, nutty, and aromatic scent that fills your kitchen, building anticipation for the deliciousness to come. This quick and simple recipe is perfect for busy weeknights, last-minute gatherings, or whenever a craving for something sweet and comforting strikes. You can also savor the irresistible appeal of Rice Krispie cereal in other delectable forms, such as Avalanche Cookies and Salted Caramel Rice Krispie Treats, proving the versatility of this beloved cereal.
Essential Ingredients for Perfection
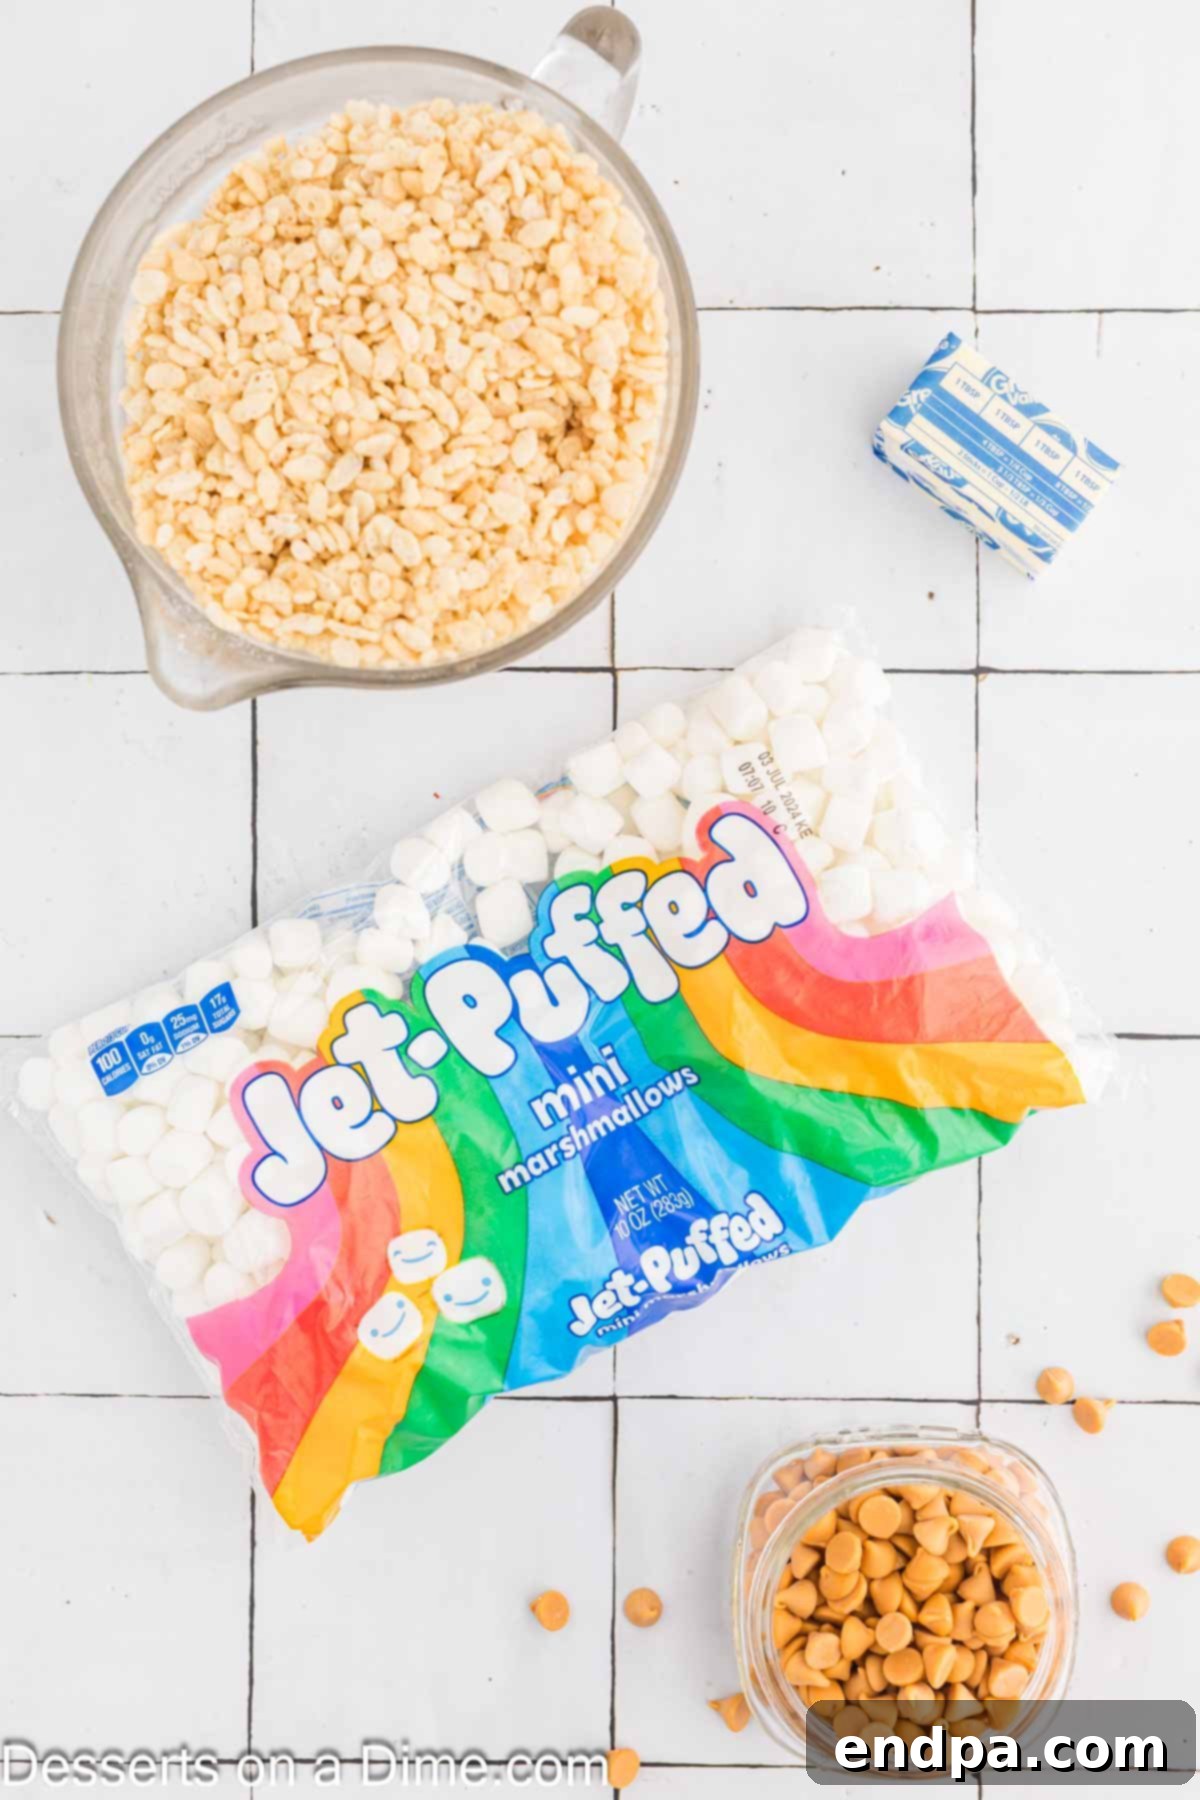
Crafting the perfect batch of Brown Butter Rice Krispie Treats requires just three core ingredients, each playing a crucial role in achieving that sought-after texture and flavor. Opt for quality ingredients to ensure the best possible outcome.
- Salted Butter: While unsalted butter can be used, salted butter is highly recommended. The subtle saltiness perfectly balances the sweetness of the marshmallows and enhances the nutty depth of the browned butter, creating a more complex and satisfying flavor profile. The salt also helps to cut through the richness, preventing the treats from being overly sweet. Approximately 6 tablespoons of butter will be needed for a standard batch.
- Mini Marshmallows: Miniature marshmallows are preferred for this recipe because they melt much more easily and evenly than their larger counterparts. This ensures a smooth, consistent marshmallow mixture that coats the cereal beautifully without clumping. Fresh marshmallows are key to achieving that desirable soft and gooey texture; stale marshmallows can lead to hard, brittle treats. You’ll typically need a 10-ounce bag.
- Rice Krispies Cereal: The foundation of our treats! Ensure your Rice Krispies cereal is fresh and crispy, not stale. The freshness of the cereal is paramount for achieving the signature “crispy” texture. Stale cereal will result in soft, soggy treats, which defeats the purpose. Around 6 cups of cereal is usually the right amount to strike a balance between cereal and marshmallow.
These three simple components, when combined with the specific technique of browning the butter, create a dessert that is far greater than the sum of its parts. For precise measurements, please refer to the detailed recipe card below.
Creative Variations to Elevate Your Treats
While the classic Brown Butter Rice Krispie Treat is heavenly on its own, it also serves as an excellent canvas for customization. Feel free to experiment with these variations to add your personal touch and create new flavor experiences:
- Chocolate Chips: For the chocolate lovers, incorporating 1 cup of chocolate chips or mini chocolate chips into the cereal mixture is a fantastic idea. Semi-sweet, milk, or even dark chocolate chips work wonderfully, adding pockets of melty, rich chocolate throughout the treats. White chocolate chips also offer a delightful contrast in flavor and color.
- Caramel Swirl: Introduce a luxurious caramel dimension by adding 1 cup of caramel baking chips to the mixture. These chips will melt alongside the marshmallows, creating a delicious caramel swirl that pairs exquisitely with the nutty browned butter. Alternatively, after pressing the mixture into the pan, drizzle warm caramel sauce over the top and swirl gently with a knife for a beautiful marbled effect.
- Marshmallow Fluff: For an even gooier and chewier texture, consider replacing a portion of the mini marshmallows with Homemade Marshmallow Fluff. Fluff creates a silkier, more elastic binder that some prefer. Experiment with ratios until you find your ideal level of chewiness.
- Flaky Sea Salt: A sprinkle of flaky sea salt (like Maldon) on top of the finished Rice Krispie mixture before it sets is a game-changer. The coarse salt crystals provide a delightful textural contrast and an extra pop of savory goodness that beautifully enhances the sweet and nutty notes, creating a sophisticated sweet-and-salty treat.
- Nutty Additions: Enhance the nutty flavor profile by stirring in 1/2 cup of finely chopped pecans, walnuts, or almonds into the cereal mixture. Toasting the nuts lightly before adding them will intensify their flavor.
- Spices and Extracts: A dash of cinnamon, nutmeg, or even a hint of cardamom can add warmth and complexity. A teaspoon of vanilla extract (added with the marshmallows) is always a welcome addition, and almond extract could complement the brown butter beautifully.
- Candy Mix-Ins: For a fun and colorful twist, fold in M&Ms, chopped candy bars, or sprinkles during the final mixing step. This is especially great for holiday-themed treats or birthday parties.
Step-by-Step Guide to Making Irresistible Brown Butter Rice Krispie Treats
Follow these detailed steps to create a batch of perfectly gooey and crispy brown butter treats. Precision in browning the butter is key to unlocking the exceptional flavor.
- Step 1: Prepare Your Pan. First, select your baking pan. For thicker, chewier bars, an 8×8-inch baking pan is ideal. If you prefer thinner, crispier bars, opt for a 9×13-inch pan. Prepare the pan thoroughly by spraying it generously with a non-stick cooking spray. You can also line it with parchment paper or aluminum foil, leaving an overhang on the sides, which will make it much easier to lift the entire block of treats out for cutting later. Set the prepared pan aside.
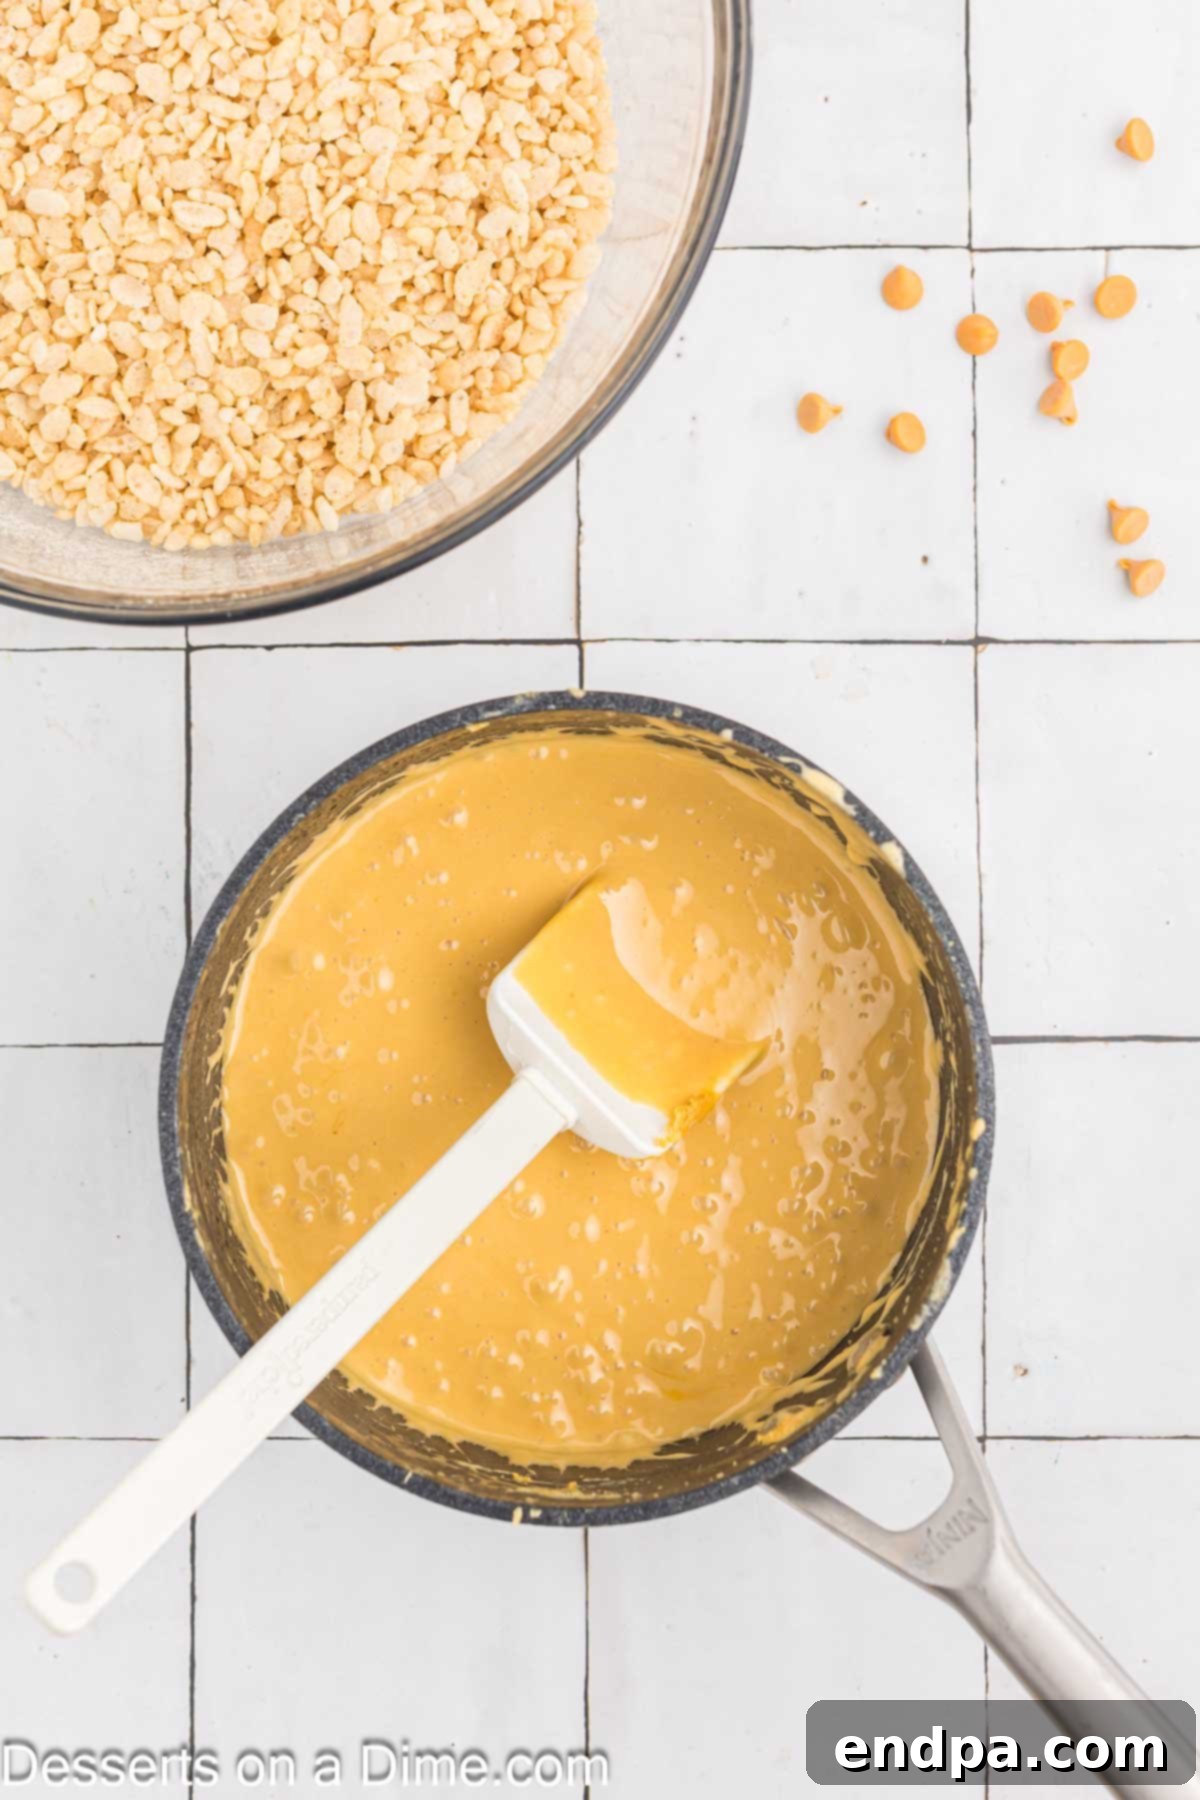
Step 2: Master the Brown Butter. Place the salted butter in a small, light-colored saucepan. A light-colored pan allows you to easily observe the color changes in the butter. Melt the butter over medium-low heat, stirring occasionally with a heat-resistant spatula or wooden spoon. The butter will first melt, then foam, and eventually turn a beautiful caramel color. Continue cooking, keeping a very close eye on it, until golden-brown flecks appear at the bottom of the pan and a distinct nutty aroma fills the air. This is brown butter perfection! Be vigilant, as butter can go from perfectly browned to burnt in a matter of seconds. Remove from heat immediately once it reaches the desired golden-brown color.
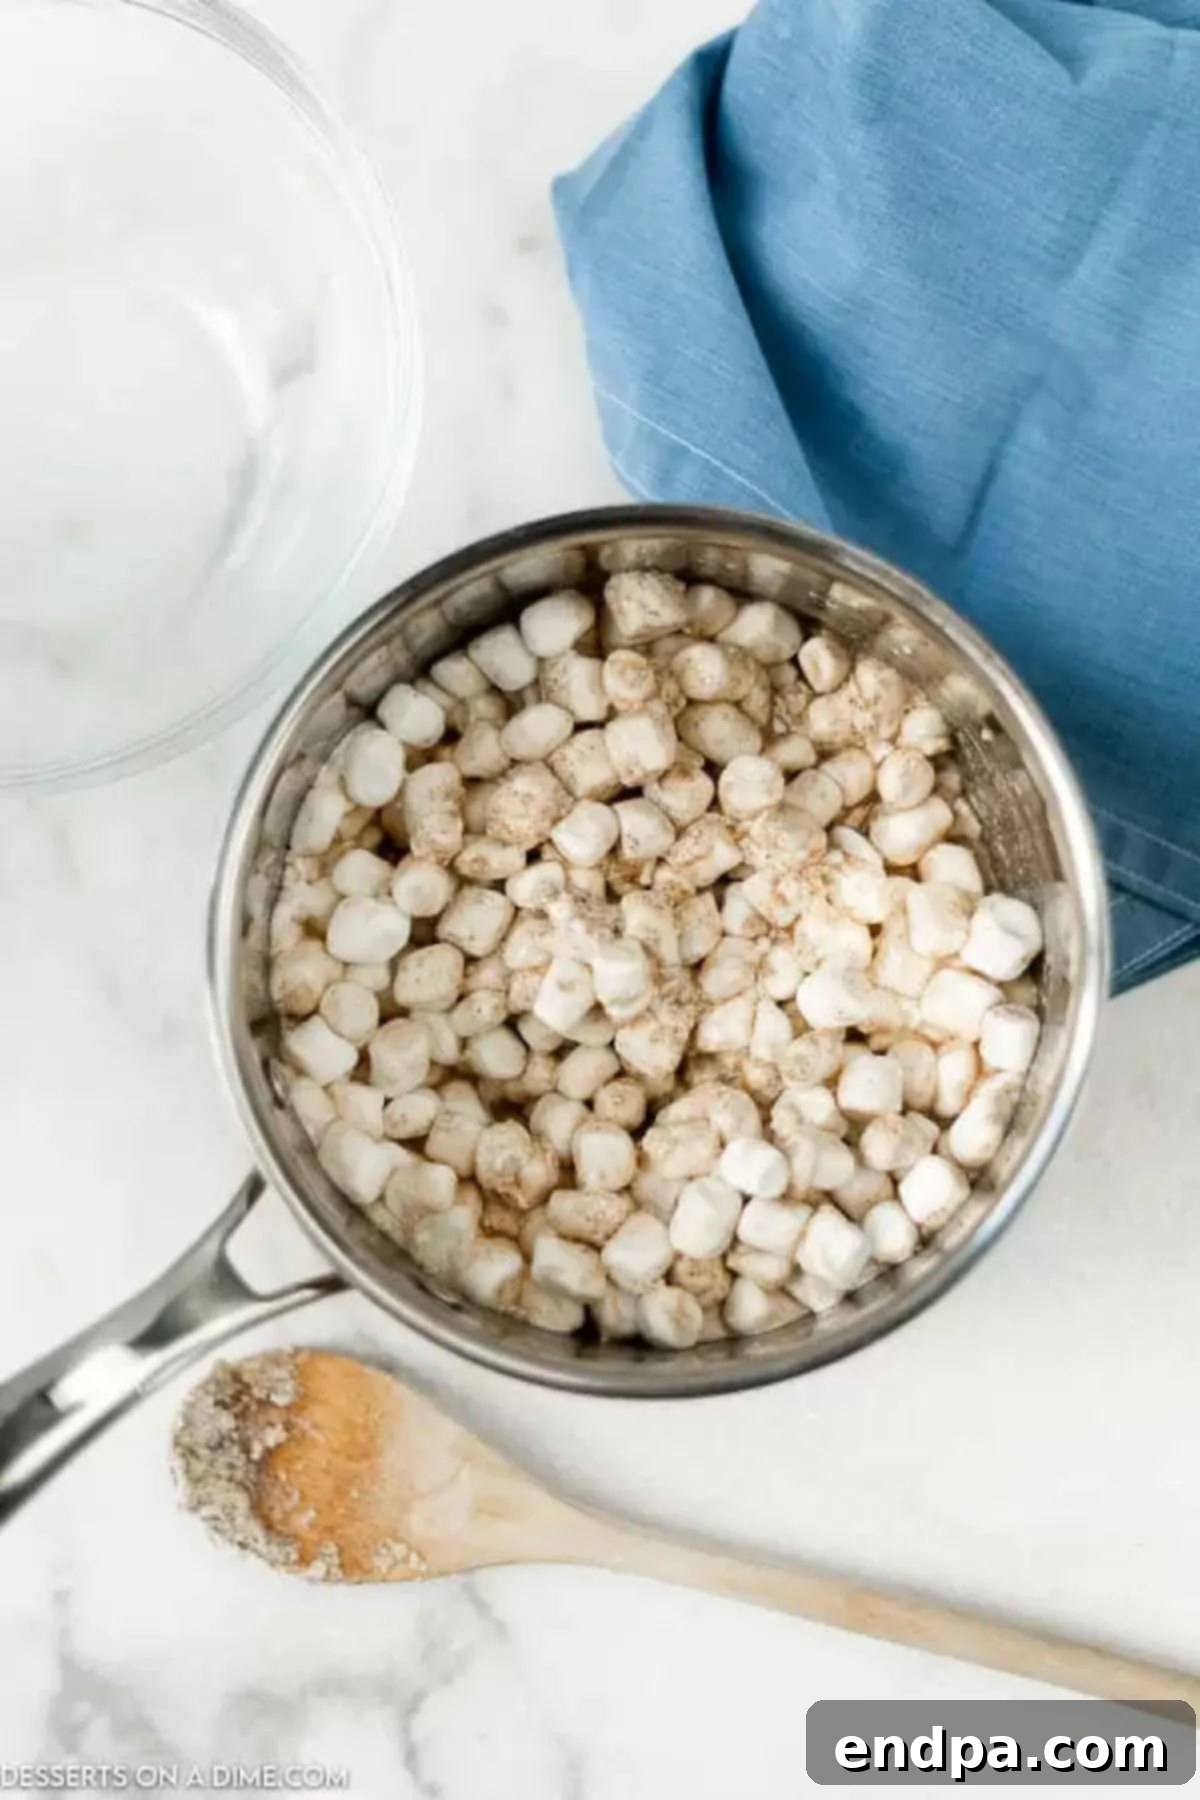
Step 3: Melt the Marshmallows. Immediately after browning the butter, lower the heat to its absolute minimum or remove the pan from the heat entirely to prevent scorching. Stir in the mini marshmallows. For more working room, you can carefully transfer the browned butter to a larger pot before adding the marshmallows. Continue to heat on very low heat, stirring constantly, until the marshmallows are completely melted and the mixture is smooth and velvety. Do not rush this step with high heat, as it can result in hard treats.
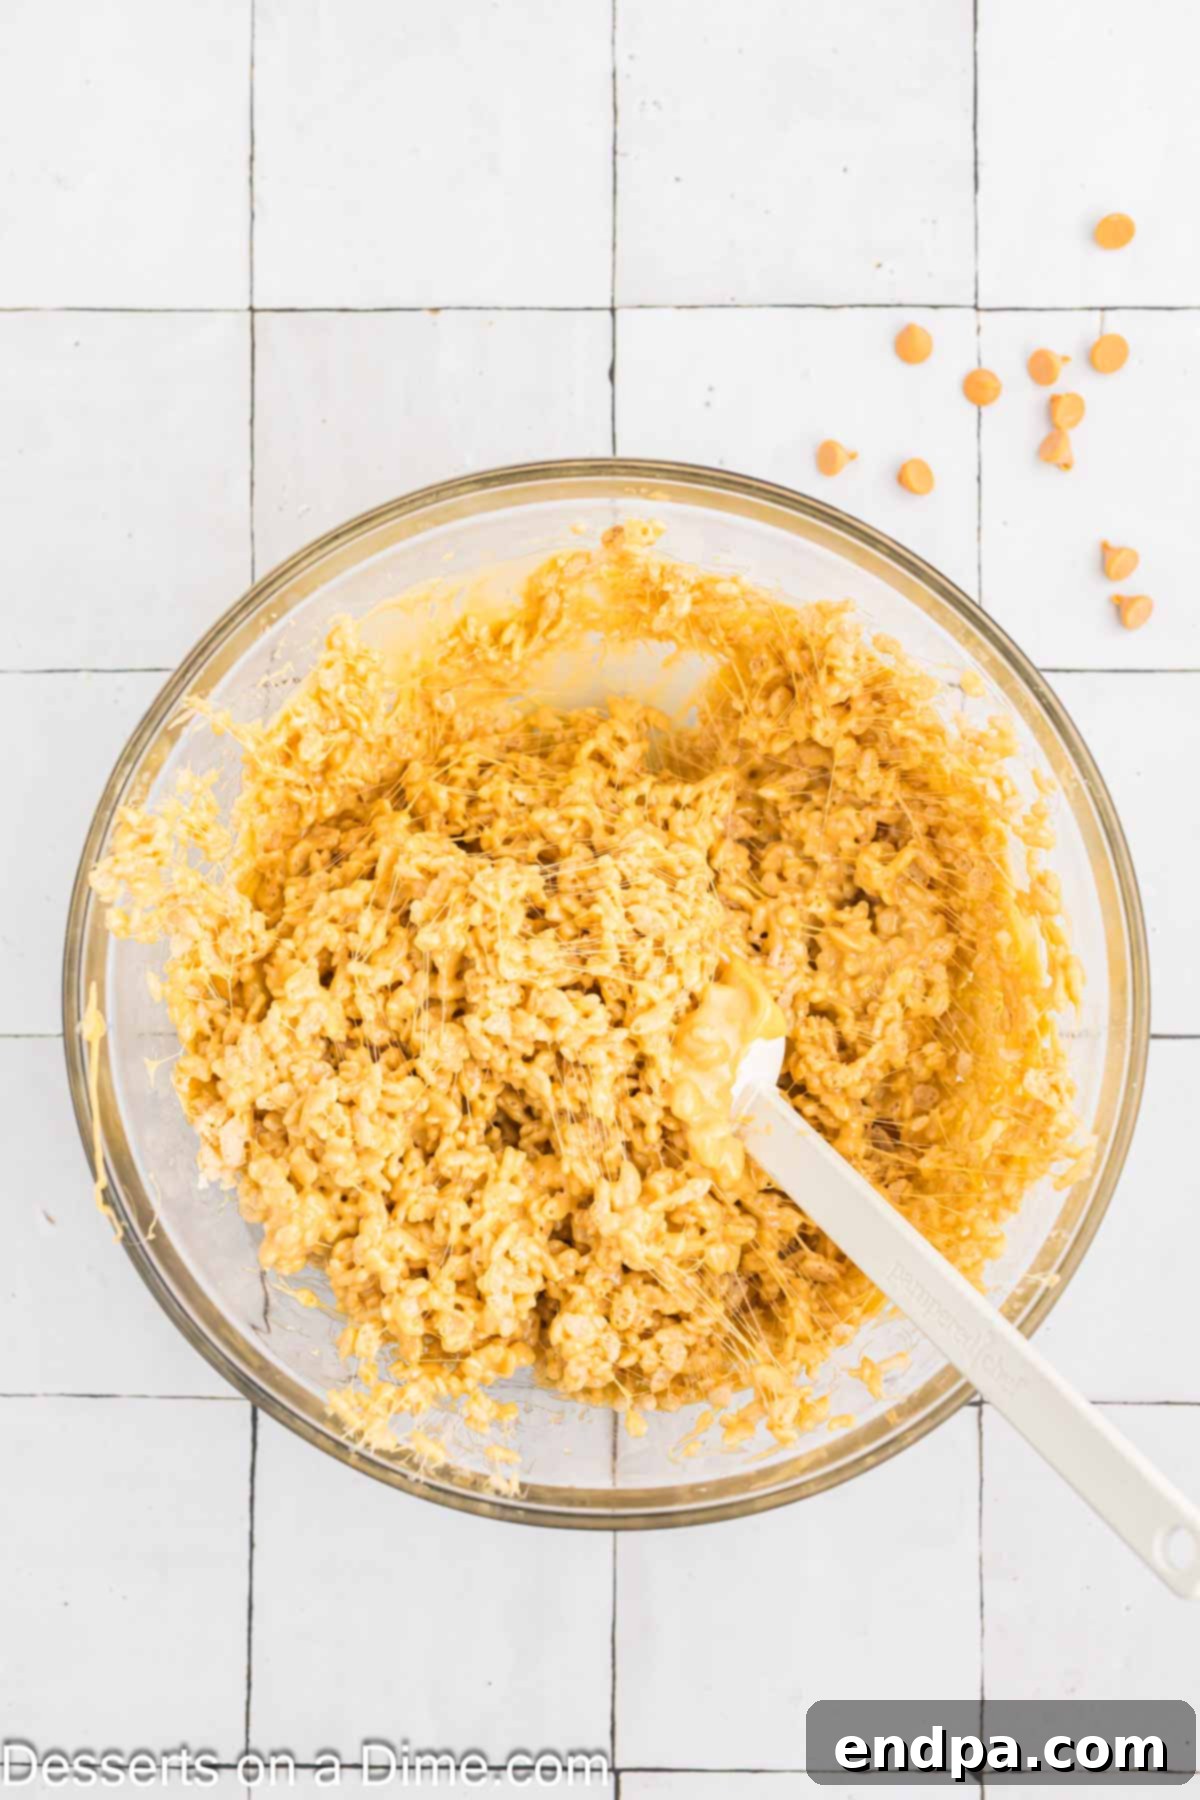
Step 4: Combine Cereal and Marshmallow. In a very large mixing bowl, measure out your fresh Rice Krispies cereal. Pour the warm, smooth marshmallow and brown butter mixture directly over the cereal. Using a sturdy spatula or wooden spoon (which you might want to spray lightly with cooking spray to reduce stickiness), gently but thoroughly fold the mixture until all the cereal is evenly coated. Work quickly but carefully to ensure everything is well-combined before the mixture cools and becomes too stiff.
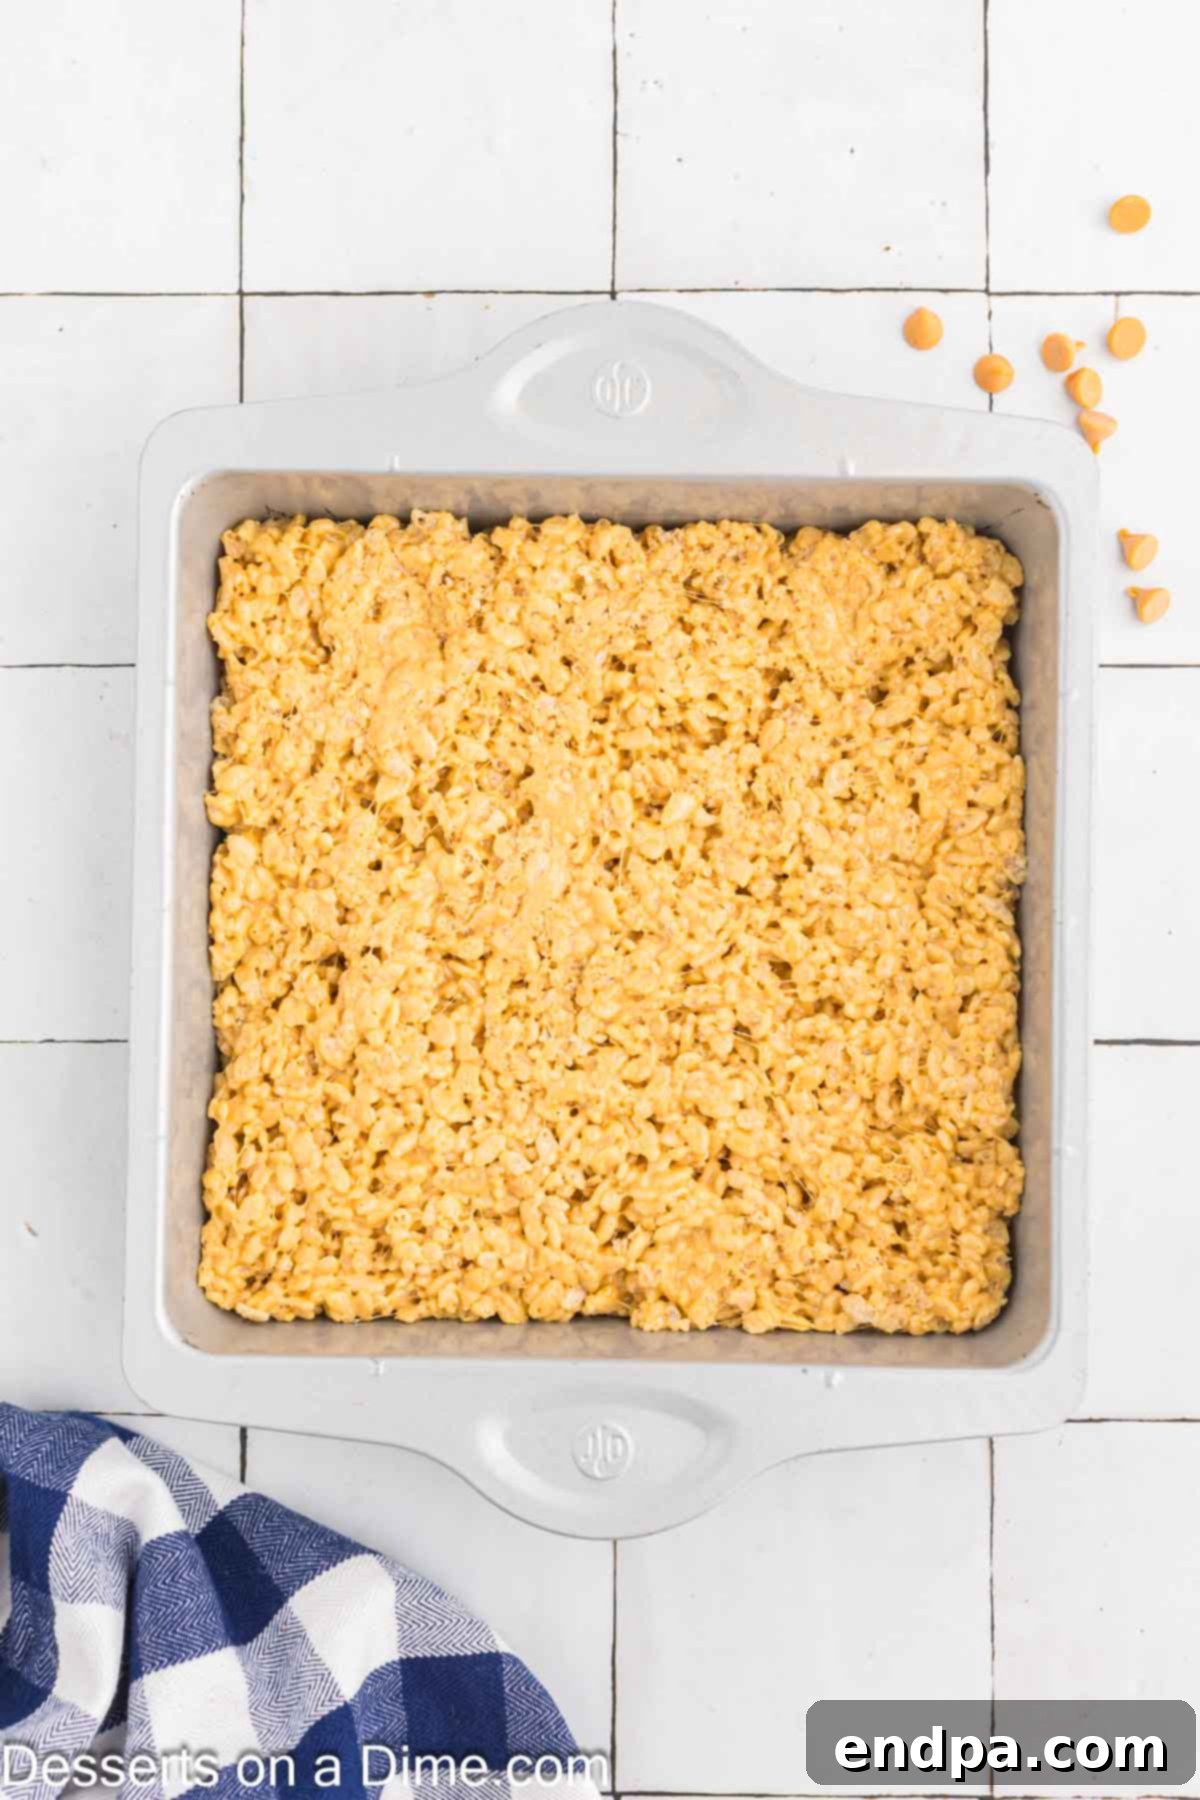
Step 5: Press and Set. Transfer the combined Rice Krispie mixture into your prepared baking pan. To press the mixture down evenly and without a sticky mess, take a piece of parchment paper and lightly spray one side with cooking spray. Place the sprayed side down over the mixture and use your hands to gently but firmly press the mixture into the pan. Avoid pressing too hard, as this can compress the cereal and result in dense, hard treats instead of light and crispy ones. Once pressed, allow the treats to set at room temperature for at least 30-60 minutes, or until fully cooled and firm enough to cut. Then, slice into your desired square or rectangular shapes.
Mastering the Cut for Perfect Squares
Achieving clean, perfectly shaped Rice Krispie Treats is not difficult, but it does require a few smart techniques. Follow these tips to ensure your treats come out looking as good as they taste:
- Allow Ample Setting Time: Patience is key! Do not rush the cutting process. It is absolutely crucial that the Rice Krispie mixture sets completely before you attempt to cut it into bars. If cut too soon, the treats will be too soft and sticky, making them difficult to shape and prone to falling apart. Allow them to cool at room temperature for at least 30-60 minutes, or even longer in a cool environment, until they are firm to the touch.
- Remove from Pan for Easier Cutting: For the cleanest cuts, I recommend removing the entire block of Rice Krispie Treats from the baking pan before slicing. If you lined your pan with parchment paper or foil with an overhang, simply lift the entire block out and place it on a sturdy cutting board. This gives you better control and a flat surface for precise cutting.
- Grease Your Knife (and Cutters!): The sticky nature of marshmallows means your knife can quickly become covered in goo, leading to messy, uneven cuts. To prevent this, lightly spray a sharp knife with non-stick cooking spray before each cut (or every few cuts). Wipe off any excess cereal or marshmallow build-up as needed and re-spray. If you’re using cookie cutters to create fun shapes, make sure to spray the inside of the cookie cutters as well to prevent sticking.
- Achieve Clean Cuts: Regularly wiping and re-spraying your knife is paramount. This simple step ensures that each slice is clean and defined, resulting in beautiful, perfectly portioned bars that are a joy to serve and eat. A warm knife can also help – quickly run your knife under hot water, dry it, and then spray before cutting.
Frequently Asked Questions (FAQs)
Here are answers to some common questions about making and storing Brown Butter Rice Krispie Treats to help you achieve the best results every time.
To maintain their optimal soft and gooey texture, store your Rice Krispie treats in an airtight container at room temperature. They will remain wonderfully fresh and soft for several days, typically up to 3-4 days. It is generally not recommended to refrigerate them, as the cold can cause them to harden and lose their signature chewiness.
While you can freeze the bars, be aware that their texture will change slightly upon thawing; they may not be quite as soft and gooey as freshly made treats. If freezing, place layers of bars between sheets of wax paper in a freezer-safe container to prevent sticking. Properly stored, they can keep in the freezer for up to 3 months. When you’re ready to enjoy them, simply thaw for 10 to 15 minutes at room temperature before serving.
Several factors can contribute to Rice Krispie treats losing their desirable soft and gooey texture and becoming hard:
- **Refrigeration:** As mentioned, refrigerating these treats is the most common culprit for hardening. The cold temperature solidifies the butter and marshmallow, making them dense and brittle.
- **High Heat:** Using excessive heat when melting the butter and marshmallows can cook the sugars too much, resulting in a firm, almost candy-like consistency once cooled. Always use low heat and stir constantly for a smooth, pliable mixture.
- **Stale Marshmallows:** Old or stale marshmallows lose their moisture and elasticity, which directly impacts the final texture of the treats. Always use fresh marshmallows for the best gooey results.
- **Over-mixing or Over-pressing:** Compacting the mixture too much into the pan or over-mixing can crush the cereal and squeeze out air, leading to a denser, harder bar. Gentle handling is key.
- **Age:** Even perfectly made treats will naturally start to harden over time as they lose moisture. They are truly best enjoyed within the first 2-3 days of making them.
If your Rice Krispie treats lack their signature crispness and turn out soggy, it usually points to one of a few common issues:
- **Too Much Butter or Marshmallow:** An imbalance in the ratio, particularly too much butter or marshmallow compared to cereal, can result in a softer, less crispy treat.
- **Stale Cereal:** Ensure your Rice Krispies cereal is fresh. Old or opened cereal can absorb moisture from the air, losing its crispness even before being added to the mixture.
- **Pressing Too Firmly:** As discussed, pressing the mixture too hard into the pan compacts the cereal, squeezing out air and making the treats dense and less airy-crisp.
- **Humidity:** High humidity can affect the crispness of cereal. Store cereal in an airtight container to keep it fresh.
This is a deceptively simple recipe, but paying close attention to these small details and following the instructions carefully will ensure delightfully crispy, gooey, and flavorful brown butter treats every time.
Pro Tips for Achieving Perfection
Even for a seemingly simple recipe like Rice Krispie Treats, a few expert tips can make all the difference, transforming a good batch into an absolutely incredible one:
- Lining the Pan: If you don’t have parchment paper or wax paper, lining your baking pan with aluminum foil is an excellent alternative. Always remember to generously spray the foil with non-stick cooking spray before adding the cereal mixture. This prevents sticking and makes lifting the cooled treats out of the pan a breeze.
- The Right Mixing Tool: A sturdy wooden spoon or a heat-resistant rubber spatula sprayed lightly with cooking spray is your best friend when mixing the cereal and marshmallow combination. The stickiness of the marshmallow mixture can be challenging, but a robust utensil won’t bend under the pressure, and the cooking spray significantly reduces the mess.
- Gentle Pressing is Crucial: This tip cannot be emphasized enough! Do NOT press the mixture too hard into the baking dish. Over-compressing the cereal will eliminate the air pockets, resulting in dense, hard, and chewy (in a bad way) Rice Krispie Treats. Aim for a gentle, even pressure that just smooths the top and holds the treats together, allowing them to retain their light and airy texture.
- Watch the Butter Closely: Browning butter is a culinary skill that takes practice, but it’s not difficult if you’re attentive. The key is to never walk away from it. Keep the heat at medium-low, stir frequently, and watch for the distinct color changes – from yellow to foamy, then to golden amber, and finally to a rich, nutty brown with delightful brown flecks at the bottom. The moment you smell that wonderful nutty aroma and see the color deepen, remove it from the heat immediately to prevent burning.
- Hands-On Pressing (The Clean Way): To press the mixture into the pan without getting sticky hands, either spray your hands directly with cooking spray or, even better, use a piece of wax paper or parchment paper that has been sprayed on one side. Place the sprayed side down on top of the mixture and use your palms to gently press it evenly into the pan. This technique is remarkably mess-free!
- Don’t Overcook Marshmallows: Once the butter is browned, add the marshmallows and melt them over very low heat, stirring continuously. High heat can cause the marshmallows to caramelize and become brittle when cooled, leading to hard treats. Slow and steady wins the race here.
- Serving Fresh: While they store well for a few days, Rice Krispie Treats are truly at their best when served within 24 hours of making them. Their crispness and gooeyness are unparalleled during this period.
Explore More Delicious Rice Krispie Treat Recipes
If you’ve fallen in love with these brown butter treats, you’ll surely enjoy exploring other creative variations of this beloved classic. The versatility of Rice Krispie Treats means there’s a flavor combination for everyone! Here are a few more recipes to inspire your next baking adventure:
- Snickerdoodle Rice Krispie Treats: A delightful blend of cinnamon sugar and classic crispiness.
- Peanut Butter Rice Krispie Treats: Rich, nutty, and utterly satisfying for peanut butter enthusiasts.
- Rice Krispie Treats with Marshmallow Fluff: Experience an extra level of gooeyness with marshmallow fluff.
- Neapolitan Rice Krispie Treats: Three delightful layers of chocolate, vanilla, and strawberry in one treat.
Give this recipe for the best brown butter Rice Krispie treats a try for an easy dessert or snack that promises to be a memorable hit. Once you make them, please come back and share your experience by leaving a comment and a star rating. We love hearing from you!
Brown Butter Rice Krispie Treats
The unique nutty flavor in these Brown Butter Rice Krispie Treats is simply irresistible. The salted brown butter blends perfectly with gooey marshmallows for a delicious, easy-to-make dessert.
- Prep Time:
- 15 minutes
- Total Time:
- 15 minutes
- Servings:
- 12 bars
- Cuisine:
- American
- Course:
- Dessert
- Calories:
- 179 kcal per serving
- Author:
- Carrie Barnard
Ingredients
- 6 Tbsp Salted Butter
- 10 oz Mini Marshmallows (about 6 cups)
- 6 cups Rice Krispies Cereal
Instructions
- Prepare an 8×8-inch baking pan by generously spraying it with a non-stick cooking spray. For easier removal, you can also line the pan with parchment paper or aluminum foil, leaving an overhang on the sides.
- In a small, light-colored saucepan, melt the 6 tablespoons of salted butter over medium-low heat. Stir occasionally. The butter will first melt, then foam, then turn a light caramel color. Continue cooking, watching very carefully, until golden-brown flecks appear at the bottom and a nutty aroma develops. Remove from heat immediately to prevent burning.
- Immediately reduce the heat to low (or remove from heat entirely) and stir in the 10 ounces of mini marshmallows. Continue heating on low, stirring constantly, until the marshmallows are completely melted and the mixture is smooth and velvety. Do not use high heat, as this can make your treats hard.
- In a large mixing bowl, place the 6 cups of Rice Krispies cereal. Pour the warm brown butter and marshmallow mixture evenly over the cereal.
- Using a sturdy spatula or wooden spoon (lightly sprayed with cooking spray), gently fold the mixture until all the cereal is thoroughly coated. Work quickly before the mixture cools and becomes difficult to manage.
- Transfer the mixture to the prepared baking pan. Lightly spray a piece of parchment paper or your hands with cooking spray, then use it to gently press the mixture evenly into the pan. Avoid pressing too firmly to ensure soft, chewy treats.
- Allow the treats to set at room temperature for at least 30-60 minutes, or until completely cooled and firm. Once set, lift the treats out of the pan (if using parchment/foil) and slice into 12 squares or desired shapes using a lightly greased knife. Serve and enjoy!
Nutrition Facts
(Per serving, approximate)
- Calories: 179 kcal
- Carbohydrates: 31g
- Protein: 1g
- Fat: 6g
- Saturated Fat: 4g
- Polyunsaturated Fat: 1g
- Monounsaturated Fat: 2g
- Trans Fat: 1g
- Cholesterol: 15mg
- Sodium: 143mg
- Potassium: 20mg
- Fiber: 1g
- Sugar: 15g
- Vitamin A: 1106 IU
- Vitamin C: 9mg
- Calcium: 3mg
- Iron: 4mg
Disclaimer: Nutritional information is an estimate and may vary based on specific ingredients and preparation methods.
Pin This Now to Remember It Later
Pin Recipe
