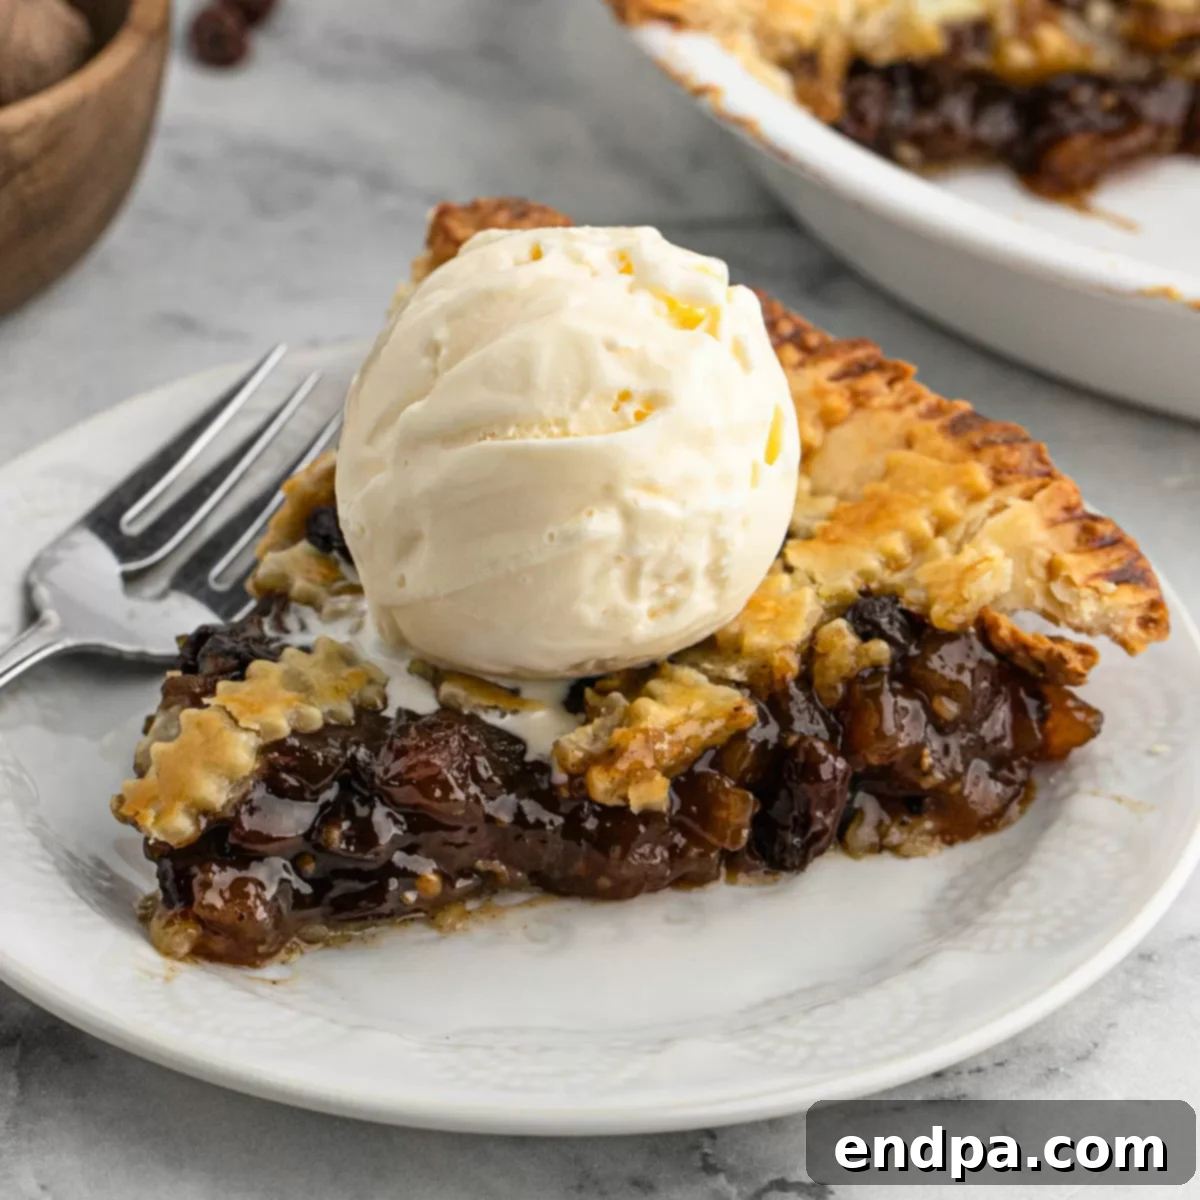
Classic Mincemeat Pie: A Timeless Holiday Tradition
Embrace the spirit of the holidays with a truly classic dessert: the traditional Mincemeat Pie. This cherished festive treat boasts a sweet, aromatic filling brimming with rich dried fruits, fragrant spices, and a comforting warmth that perfectly encapsulates the joy of the season. Each bite offers a delightful contrast between the buttery, flaky pie crust and the deeply flavorful, spiced fruit filling, making it an indispensable part of any holiday gathering.
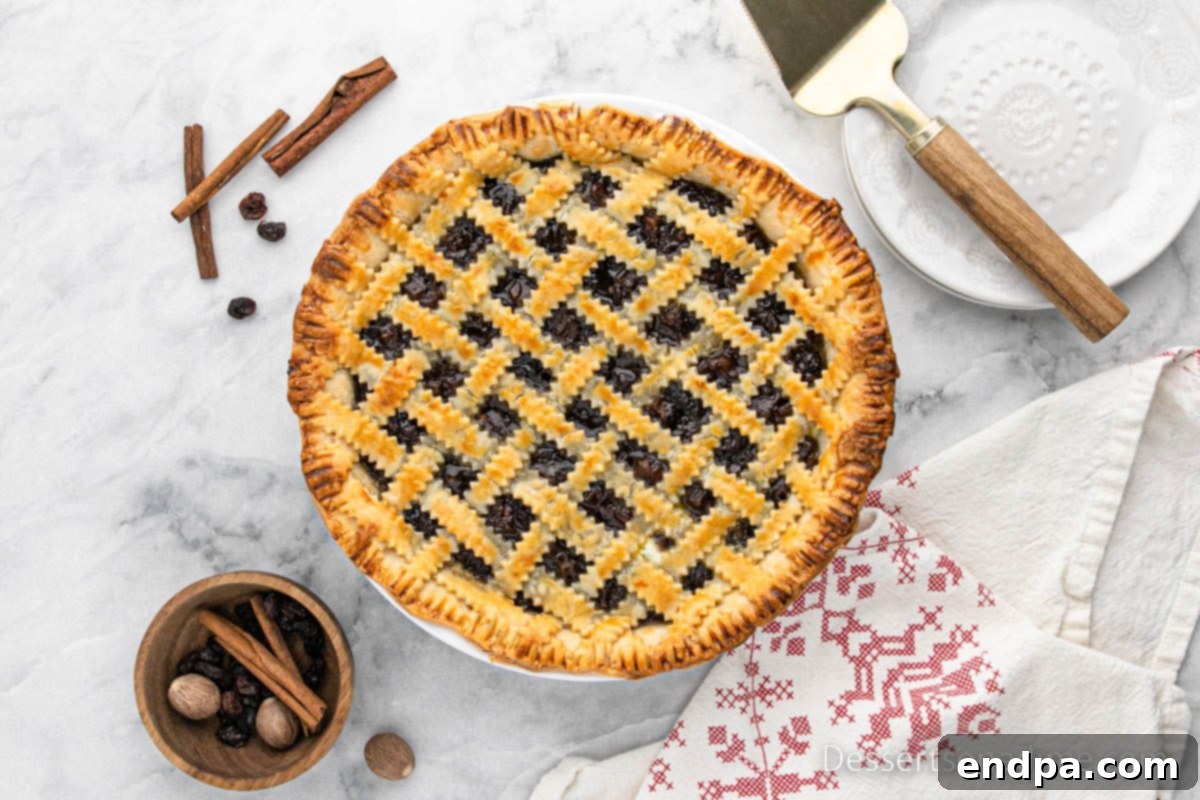
Whether you’re continuing a family tradition or starting a new one, this Mincemeat Pie recipe is designed for ease without compromising on authentic flavor. Using readily available ingredients, you can bring this iconic dessert to life in your own kitchen. It’s an ideal choice for a show-stopping centerpiece or a comforting treat to share with loved ones.
If you’re a pie enthusiast looking to expand your holiday baking repertoire, be sure to explore some of our other cherished recipes. We highly recommend our Butterscotch Pecan Pie, the delightful Buckeye Pie Recipe, and the incredibly simple No Bake Pumpkin Pie. For even more festive inspiration, browse our full collection of Christmas Pie Recipes. Over the years, we’ve also perfected favorites like the Sweet Potato Pecan Pie, the classic Karo Syrup Pecan Pie Recipe, and a comforting Butternut Squash Pie Recipe.
Table of Contents
- What Exactly Is Mincemeat Pie?
- Why You Will Love This Mincemeat Pie Recipe
- Simple Ingredients for Mincemeat Pie
- Mincemeat Pie Variations and Customizations
- Step-by-Step Guide to Baking Mincemeat Pie
- Pro Baking Tips for the Perfect Pie
- Make Ahead and Freezing Instructions
- Serving Suggestions
- Proper Storage for Freshness
- More Delightful Pie Recipes
- Mincemeat Pie Full Recipe Card
What Exactly Is Mincemeat Pie?
Mincemeat pie, with its rich history and evolving ingredients, is far more than just a dessert; it’s a culinary journey through centuries of tradition. Originating in medieval Europe, the earliest forms of “minced meat” pies were quite literally savory pies filled with finely chopped meat, suet, fruits, and a generous array of spices. The meat served as a preservative and was often combined with sweet elements to balance the strong flavors.
By the 17th century, especially in the United Kingdom, mincemeat pie became strongly associated with Christmas celebrations. While meat (often beef or mutton) was still a component, the fruit and spice content grew significantly. Over time, the meat element gradually diminished, and by the Victorian era, many recipes began omitting actual meat, evolving into the sweet, fruit-filled confection we recognize today. The term “mincemeat” now primarily refers to the finely “minced” or chopped fruit and spice mixture, rather than actual meat.
Modern mincemeat, whether homemade or store-bought, typically consists of a delectable blend of dried fruits like raisins, currants, and candied citrus peel, often combined with chopped apples, nuts (such as pecans), brown sugar, and a symphony of warm spices including cinnamon, nutmeg, mace, and cloves. A touch of brandy, rum, or orange juice is often added to deepen the flavors and provide a subtle tang. This aromatic filling, tucked into a buttery pie crust, delivers a complex and satisfying taste that is truly unique to the holiday season.
Why You Will Love This Mincemeat Pie Recipe
There are countless reasons why this Classic Mincemeat Pie will become a beloved staple in your holiday baking:
- Effortlessly Delicious: Utilizing convenient pre-made pie crusts and jarred mincemeat filling significantly cuts down on prep time, making this an accessible recipe for bakers of all skill levels. You get all the traditional flavor without the extensive labor.
- Rich & Complex Flavor: The filling is a harmonious blend of sweet dried fruits, crunchy nuts, and a fragrant medley of spices like cinnamon, nutmeg, and cloves. It’s a flavor profile deeply rooted in holiday tradition.
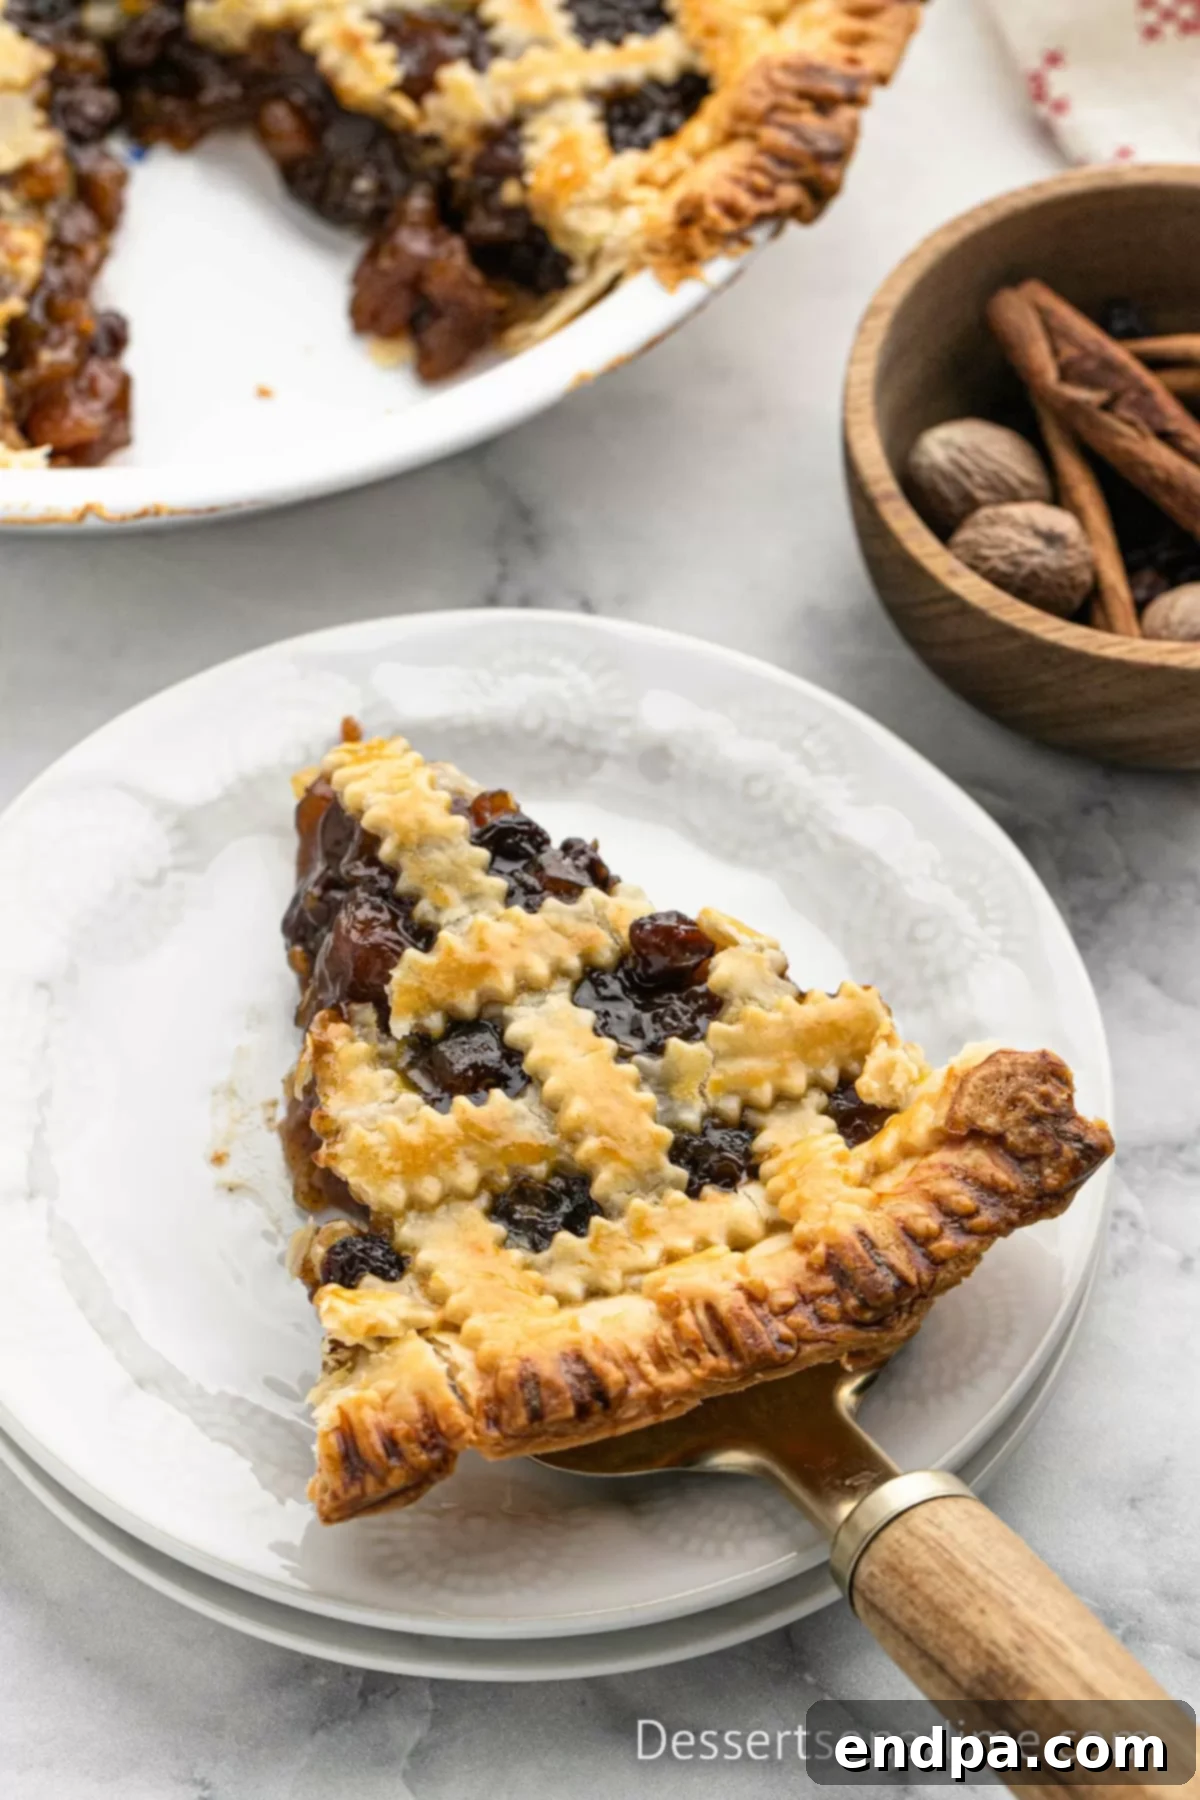
- Beautiful Presentation: The lattice top crust not only allows peeks of the glistening filling but also adds an elegant touch that will impress your guests. It’s a truly show-stopping dessert for any festive table.
- Versatile Serving Options: Enjoy it warm with a scoop of vanilla ice cream, or chilled with a dollop of fresh whipped cream. It’s equally delicious for dessert or a festive brunch.
- Make-Ahead Friendly: This pie can be prepared in advance and stored, or even frozen unbaked, making holiday meal planning much less stressful.
Simple Ingredients for Mincemeat Pie
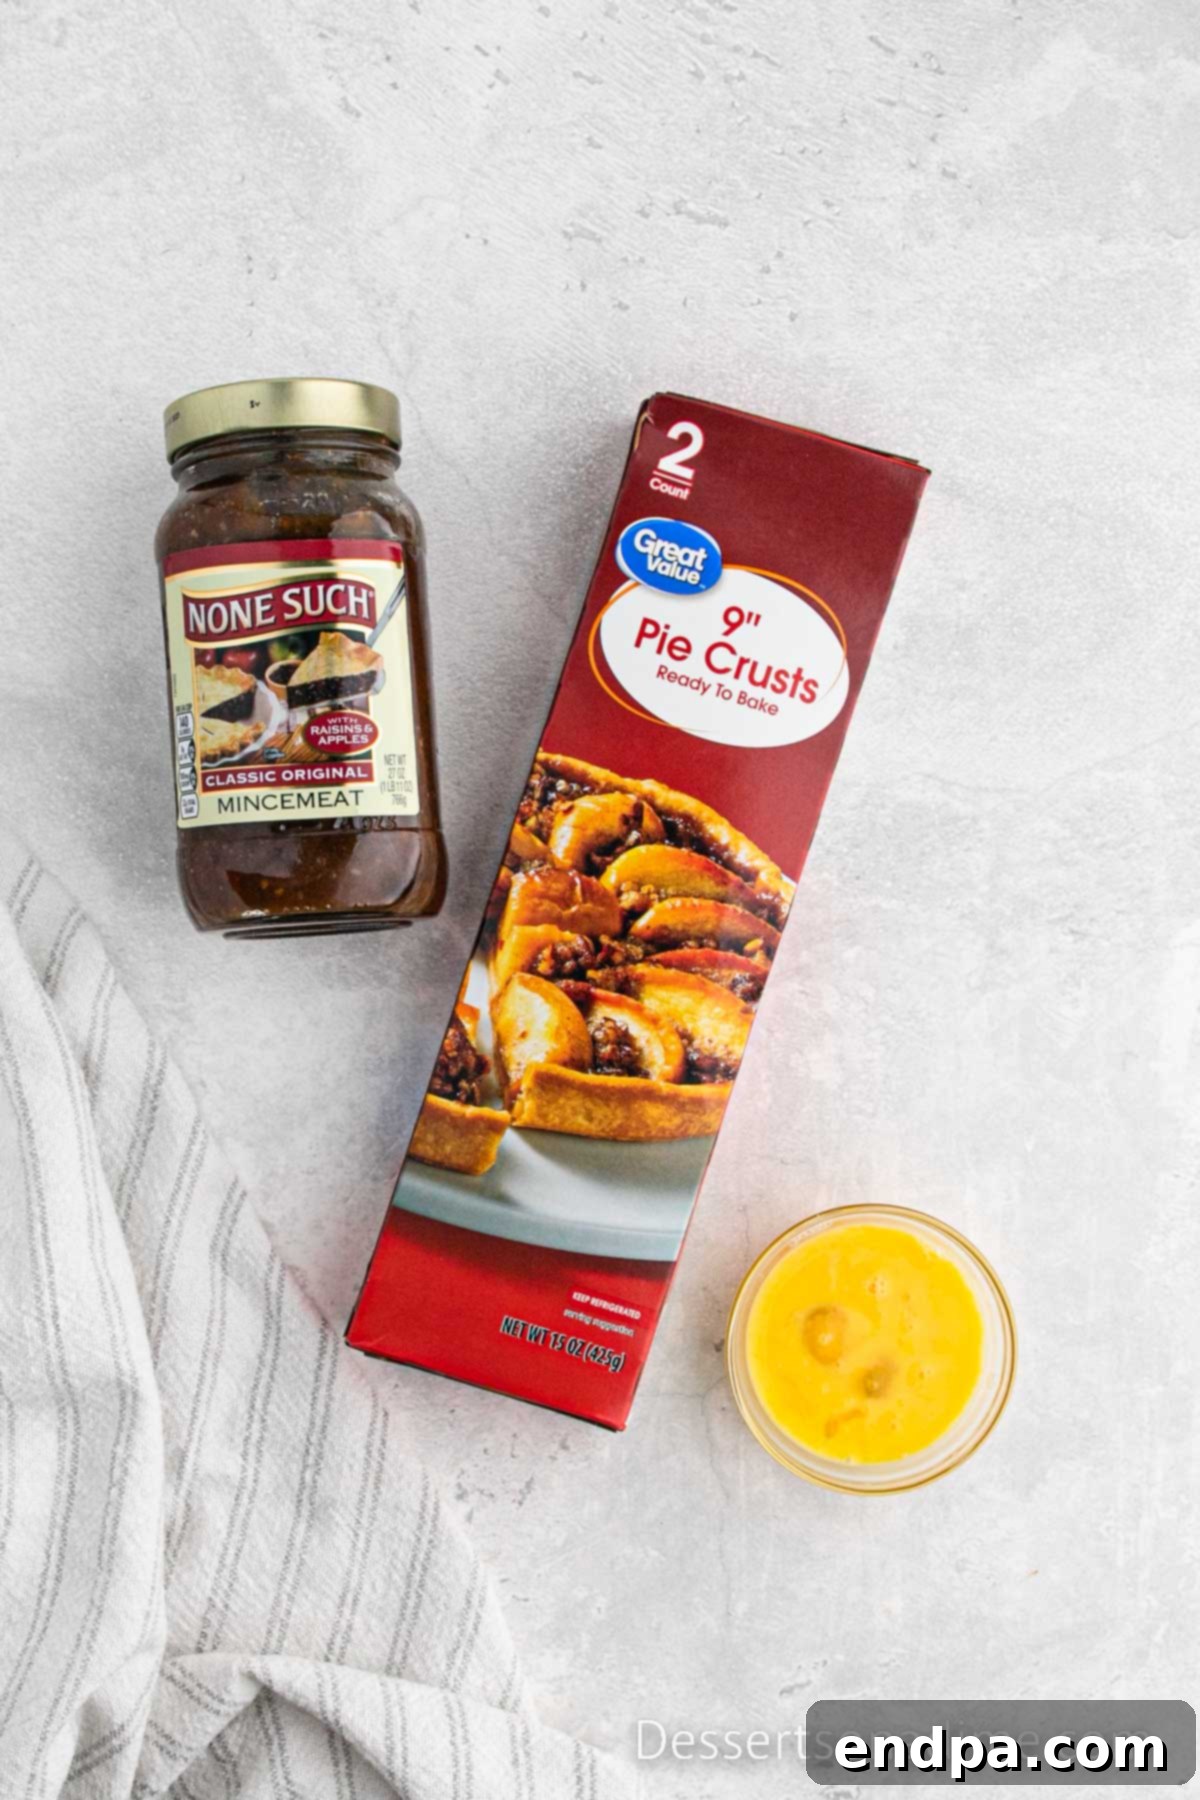
Crafting this delicious Mincemeat Pie requires just a few key components. The beauty of this recipe lies in its simplicity, relying on quality ingredients to deliver that classic holiday taste.
- Pre-made Pie Crusts: We recommend using two refrigerated pre-made pie crusts for ultimate convenience. These save a significant amount of time and effort while still delivering a wonderfully flaky, golden crust. If you prefer a homemade touch, you can easily substitute with your favorite 3 Ingredient Pie Crust Recipe or another trusted recipe. Look for pie crusts made with butter for the best flavor and texture.
- Mincemeat Filling & Topping (29 oz. jar): The star of the show! A good quality jarred mincemeat filling is packed with diced apples, raisins, currants, candied citrus peel, and a blend of aromatic spices. While traditional mincemeat historically contained meat, most modern jarred versions are purely fruit-based, sometimes with a touch of suet (which can be vegetarian or animal-derived). Check the label if you have dietary restrictions. This ready-made filling provides a shortcut to complex flavors.
- Large Egg: A single large egg, lightly beaten, serves a crucial role as an egg wash. Brushing it over the lattice top of your pie before baking helps achieve that beautiful golden-brown, slightly glossy finish and adds a subtle crispness to the crust.
These three simple ingredients come together to create a pie that tastes like you spent hours in the kitchen, making it perfect for busy holiday schedules.
Mincemeat Pie Variations and Customizations
One of the joys of baking is the ability to personalize recipes to your taste or dietary needs. This Mincemeat Pie recipe is wonderfully adaptable, allowing for several delightful variations:
- Vegetarian Option: While our filling does not contain meat, traditional mincemeat often uses beef suet, which is an animal fat. Many jarred mincemeat brands now offer vegetarian versions made with vegetable suet or butter. If you’re making mincemeat from scratch, simply substitute butter or a solid vegetable shortening for animal suet. Always check the ingredient label of store-bought mincemeat if you have specific dietary requirements.
- Homemade Pie Crust: For those who enjoy the process of scratch baking, swapping the store-bought refrigerated crust for a homemade version elevates the pie. A homemade crust allows you to control the ingredients and can offer an even flakier, richer texture. Our 3 Ingredient Pie Crust Recipe is a fantastic, simple starting point.
- Mini Mincemeat Pies: Create individual servings by baking these in small pie plates, mini tart tins, or even standard muffin tins. Mini pies are perfect for holiday parties, gifting, or portion control. Adjust baking time accordingly (typically 15-20 minutes for mini versions) and keep an eye on the crust to prevent over-browning.
- Homemade Mincemeat: If you have the time and desire for an extra-special touch, preparing your own mincemeat filling from scratch is incredibly rewarding. A classic homemade mincemeat recipe often includes finely diced Granny Smith apples, assorted raisins, dried cranberries, finely grated lemon and orange zest, chopped pecans or almonds, and a generous blend of cinnamon, nutmeg, and allspice, often steeped in brandy or rum for an extra layer of complexity. This allows for complete control over the flavor profile and freshness.
- Add a Splash of Liquor: For a more adult-oriented flavor, consider stirring a tablespoon or two of brandy, rum, or sherry into your jarred mincemeat filling before pouring it into the crust. This enhances the traditional flavor and adds depth.
- Nutty Additions: Boost the texture and flavor by adding an extra handful of finely chopped walnuts, pecans, or almonds directly to the mincemeat filling.
- Citrus Burst: Enhance the bright notes of the mincemeat by adding a teaspoon of fresh orange or lemon zest to the filling.
Step-by-Step Guide to Baking Mincemeat Pie
Follow these straightforward steps to create a perfect Mincemeat Pie that will impress everyone.
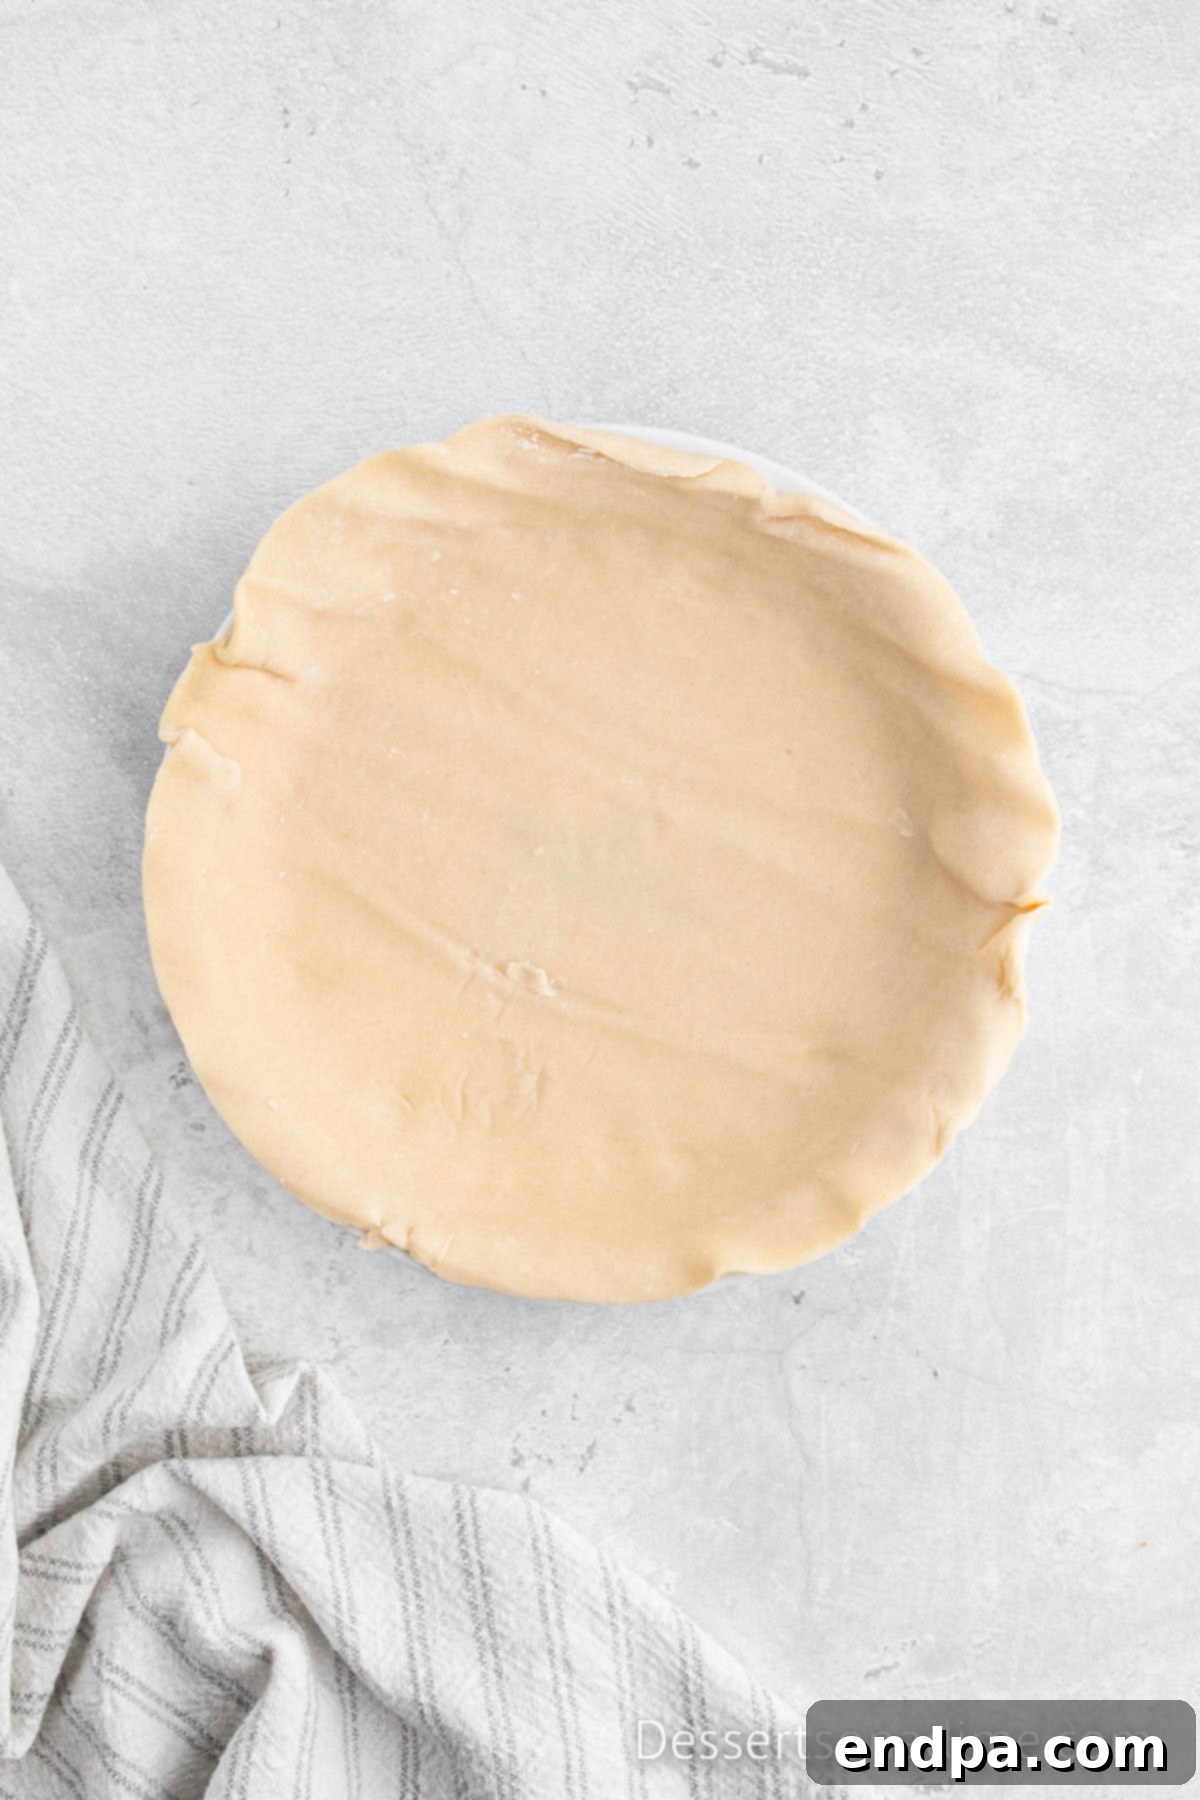
Step 1 – Prepare the Crust: Begin by preheating your oven to 425°F (220°C). Position an oven rack in the lowest third of your oven. Carefully unroll one of the chilled pre-made pie crusts and gently place it into a 9-inch pie plate. Press it evenly against the bottom and sides of the plate, ensuring there are no air bubbles.
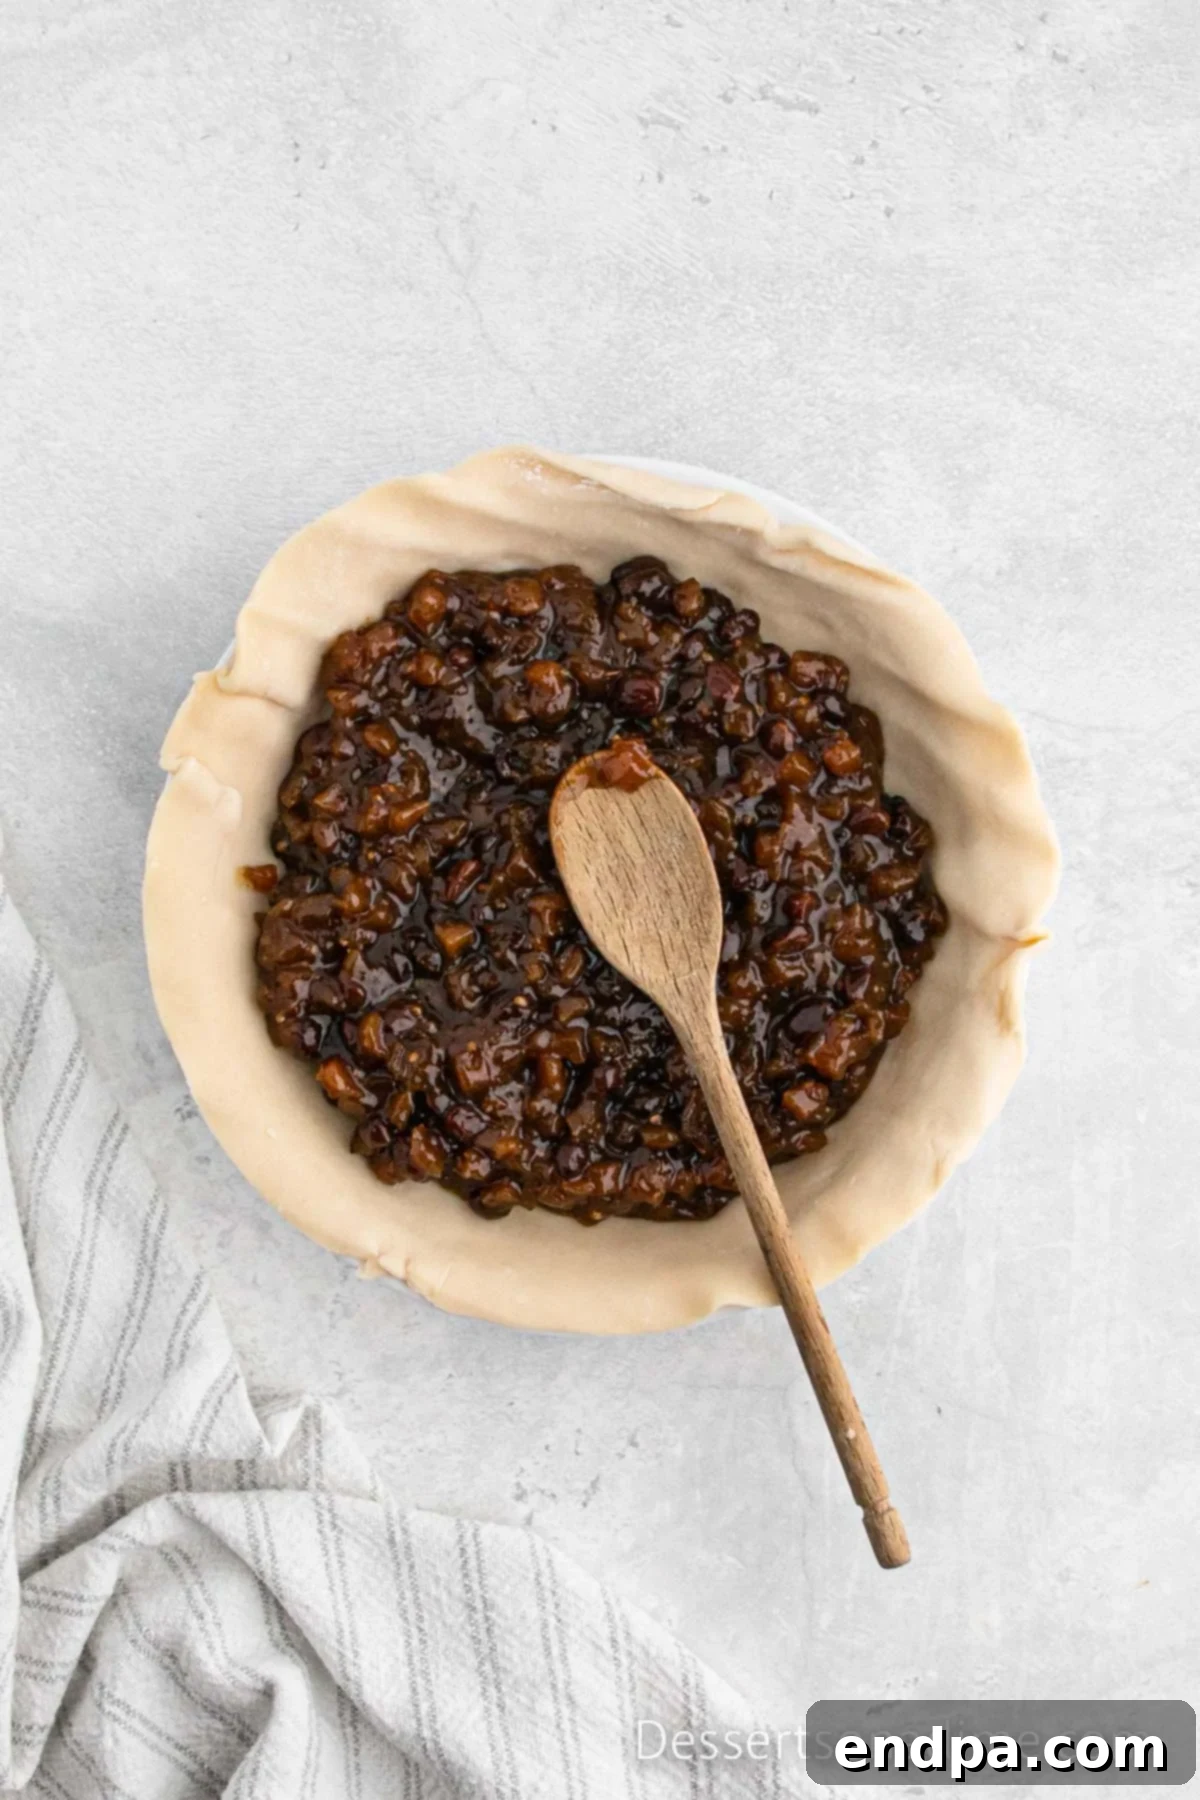
Step 2 – Add the Filling: Open your jar of mincemeat filling and pour it directly into the prepared pie crust. Use a spatula or the back of a spoon to spread the filling evenly across the bottom crust, ensuring it reaches all the edges.
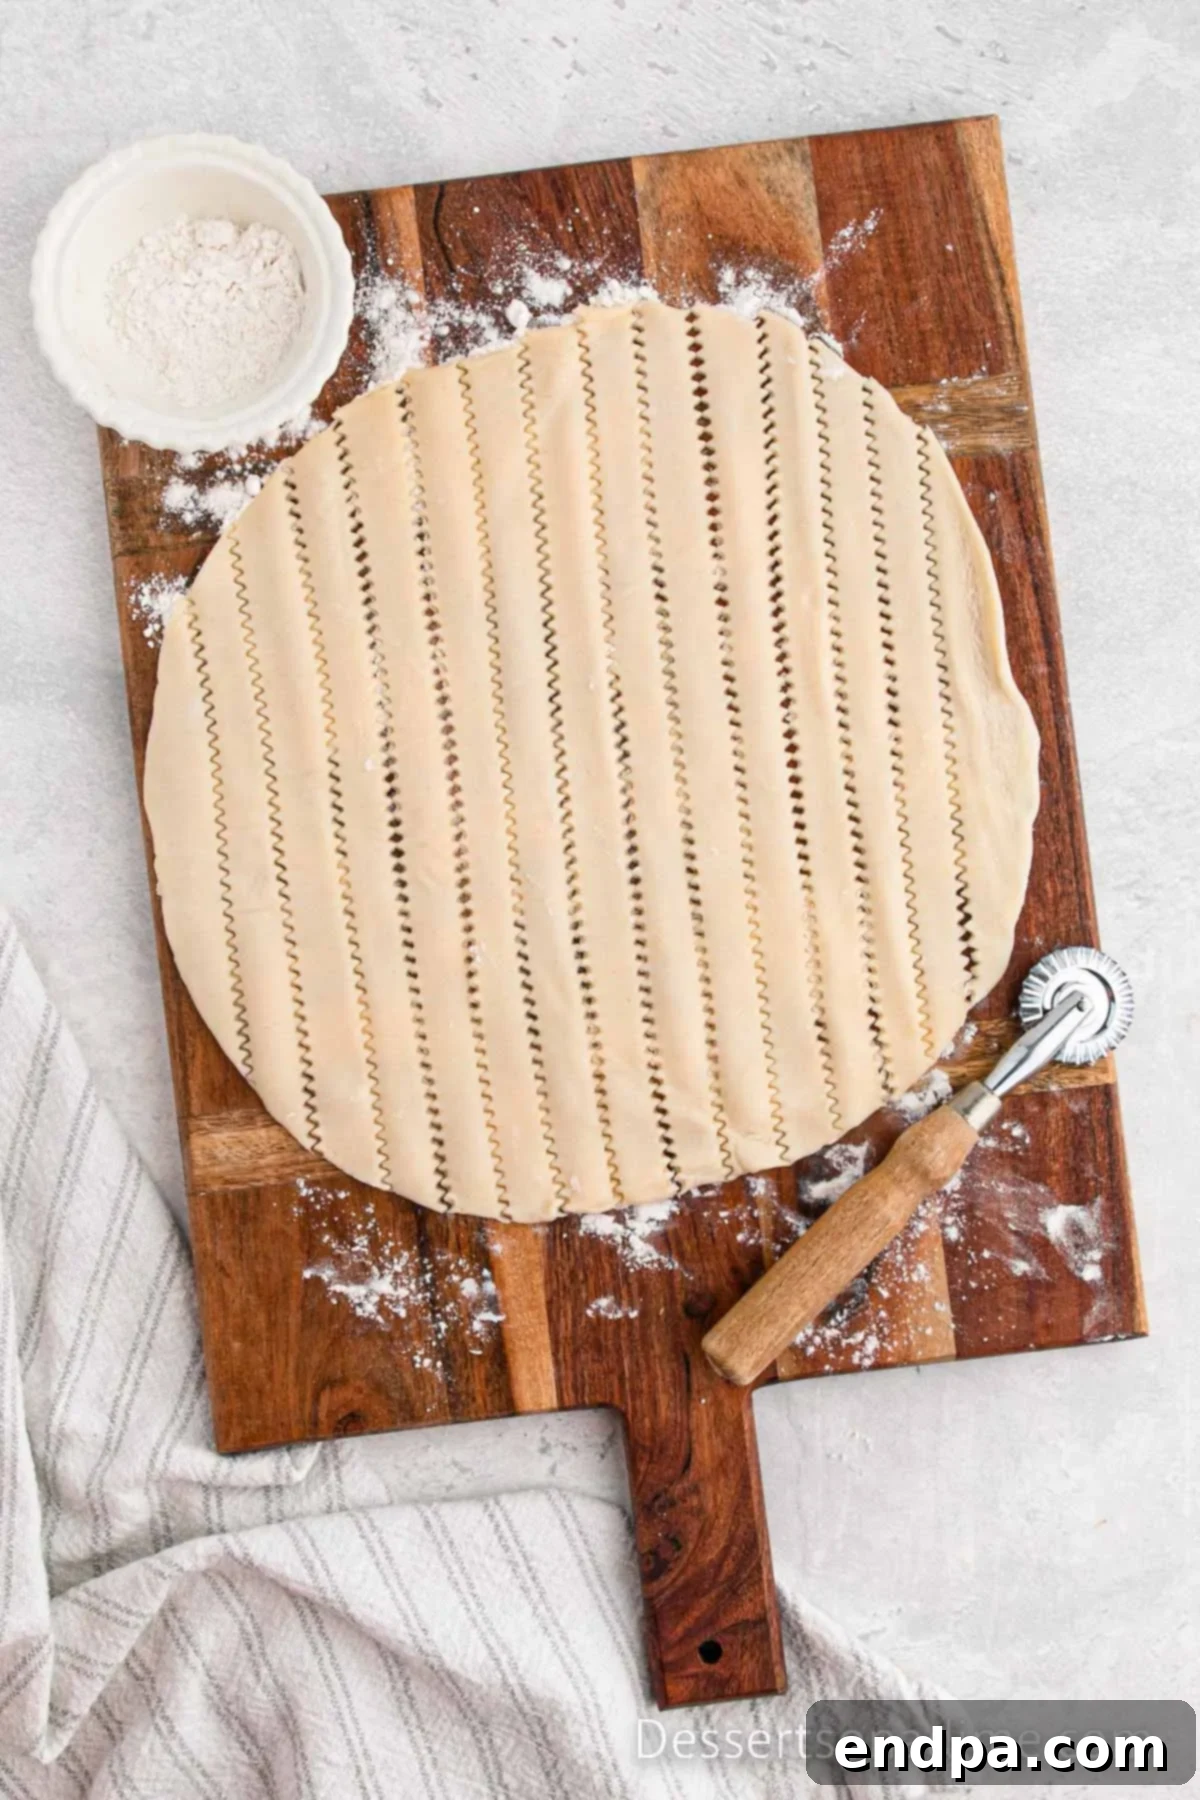
Step 3 – Prepare the Lattice Top: Lightly flour a clean work surface. Unroll the second chilled pie crust onto the floured surface. Using a pizza cutter, a sharp knife, or a pastry wheel, cut the pie crust into approximately 16 strips, each about ½ inch thick. Try to make them as uniform as possible for a neat lattice.
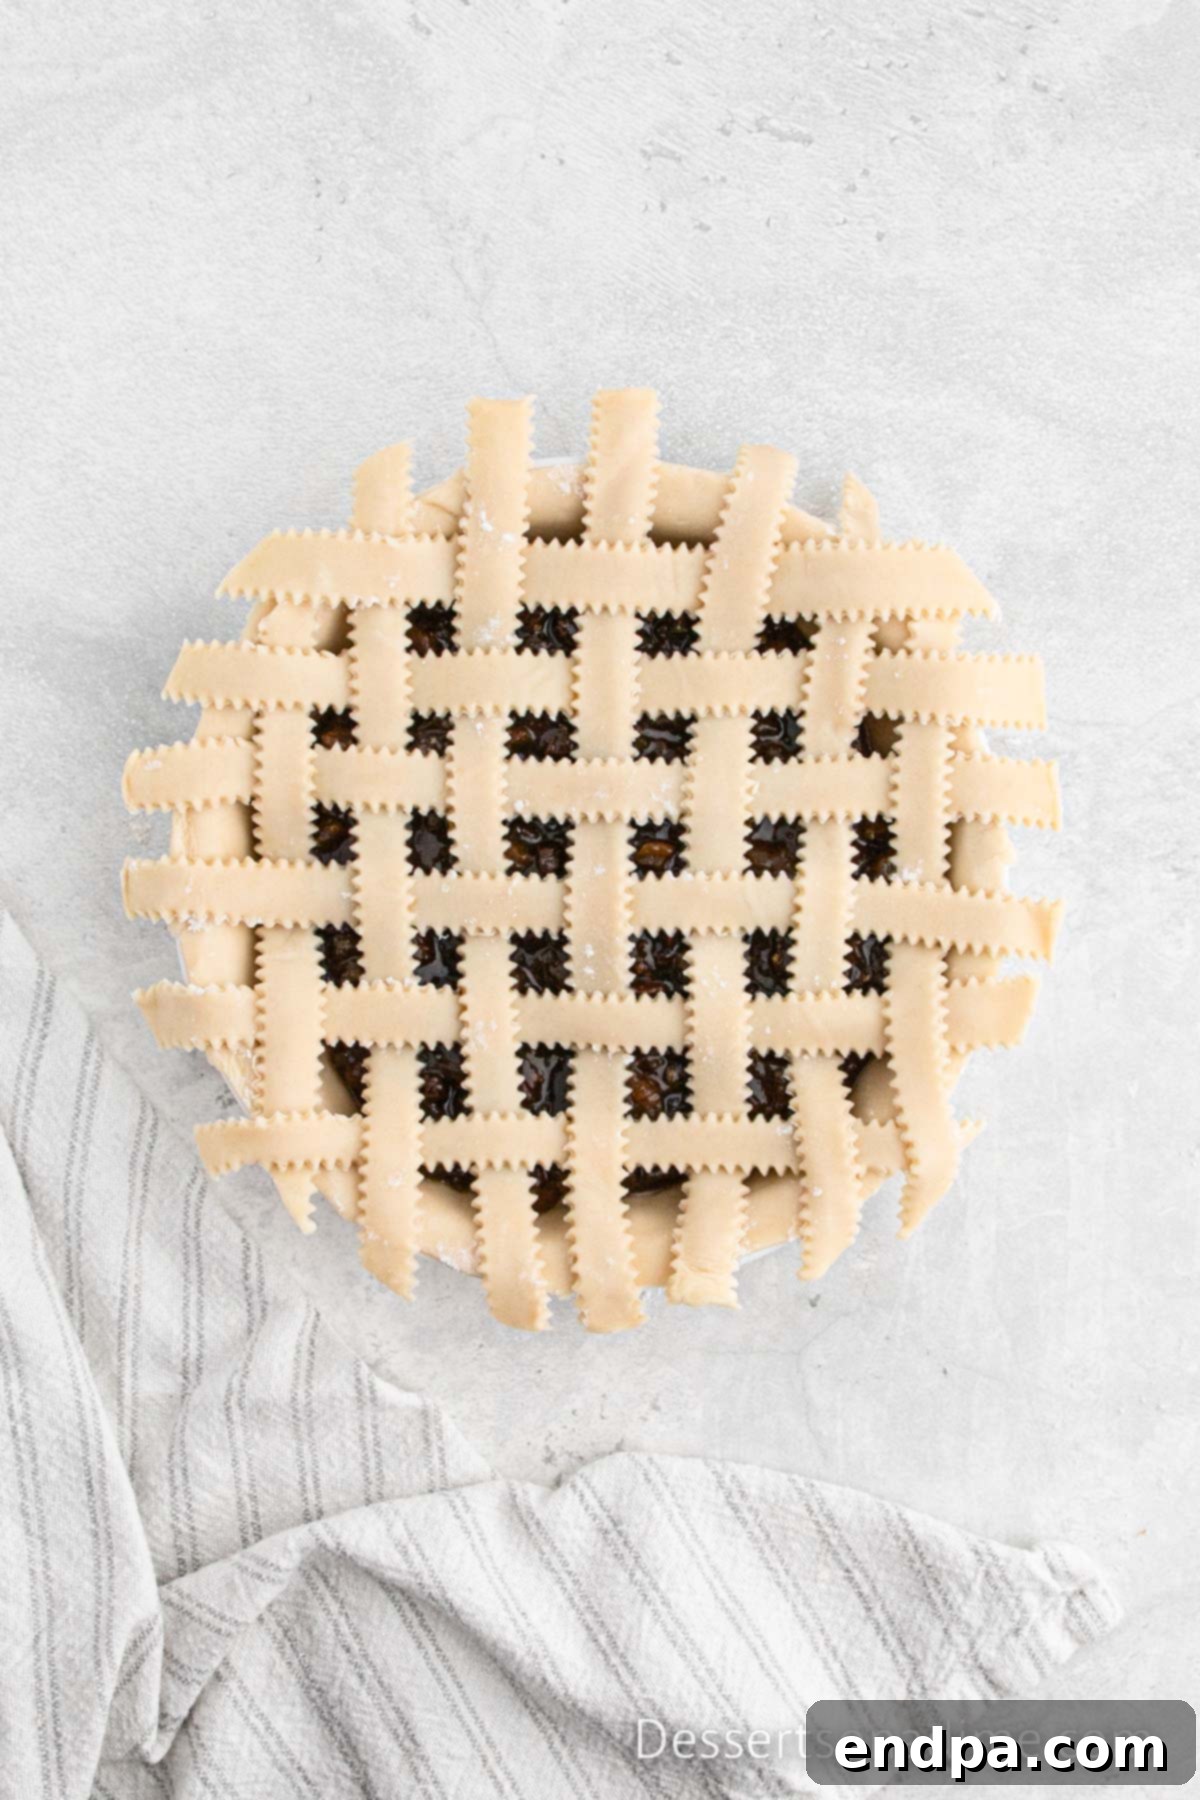
Step 4 – Create the Lattice: Carefully arrange half of the strips parallel across the filled pie. Then, gently fold back alternate strips to weave the remaining strips perpendicular over and under them, creating a classic lattice pattern. Once the lattice is complete, trim any excess dough overhang from the edges of the pie plate. For a decorative finish, crimp the edges of the dough with a fork or pinch them with your fingers to seal.
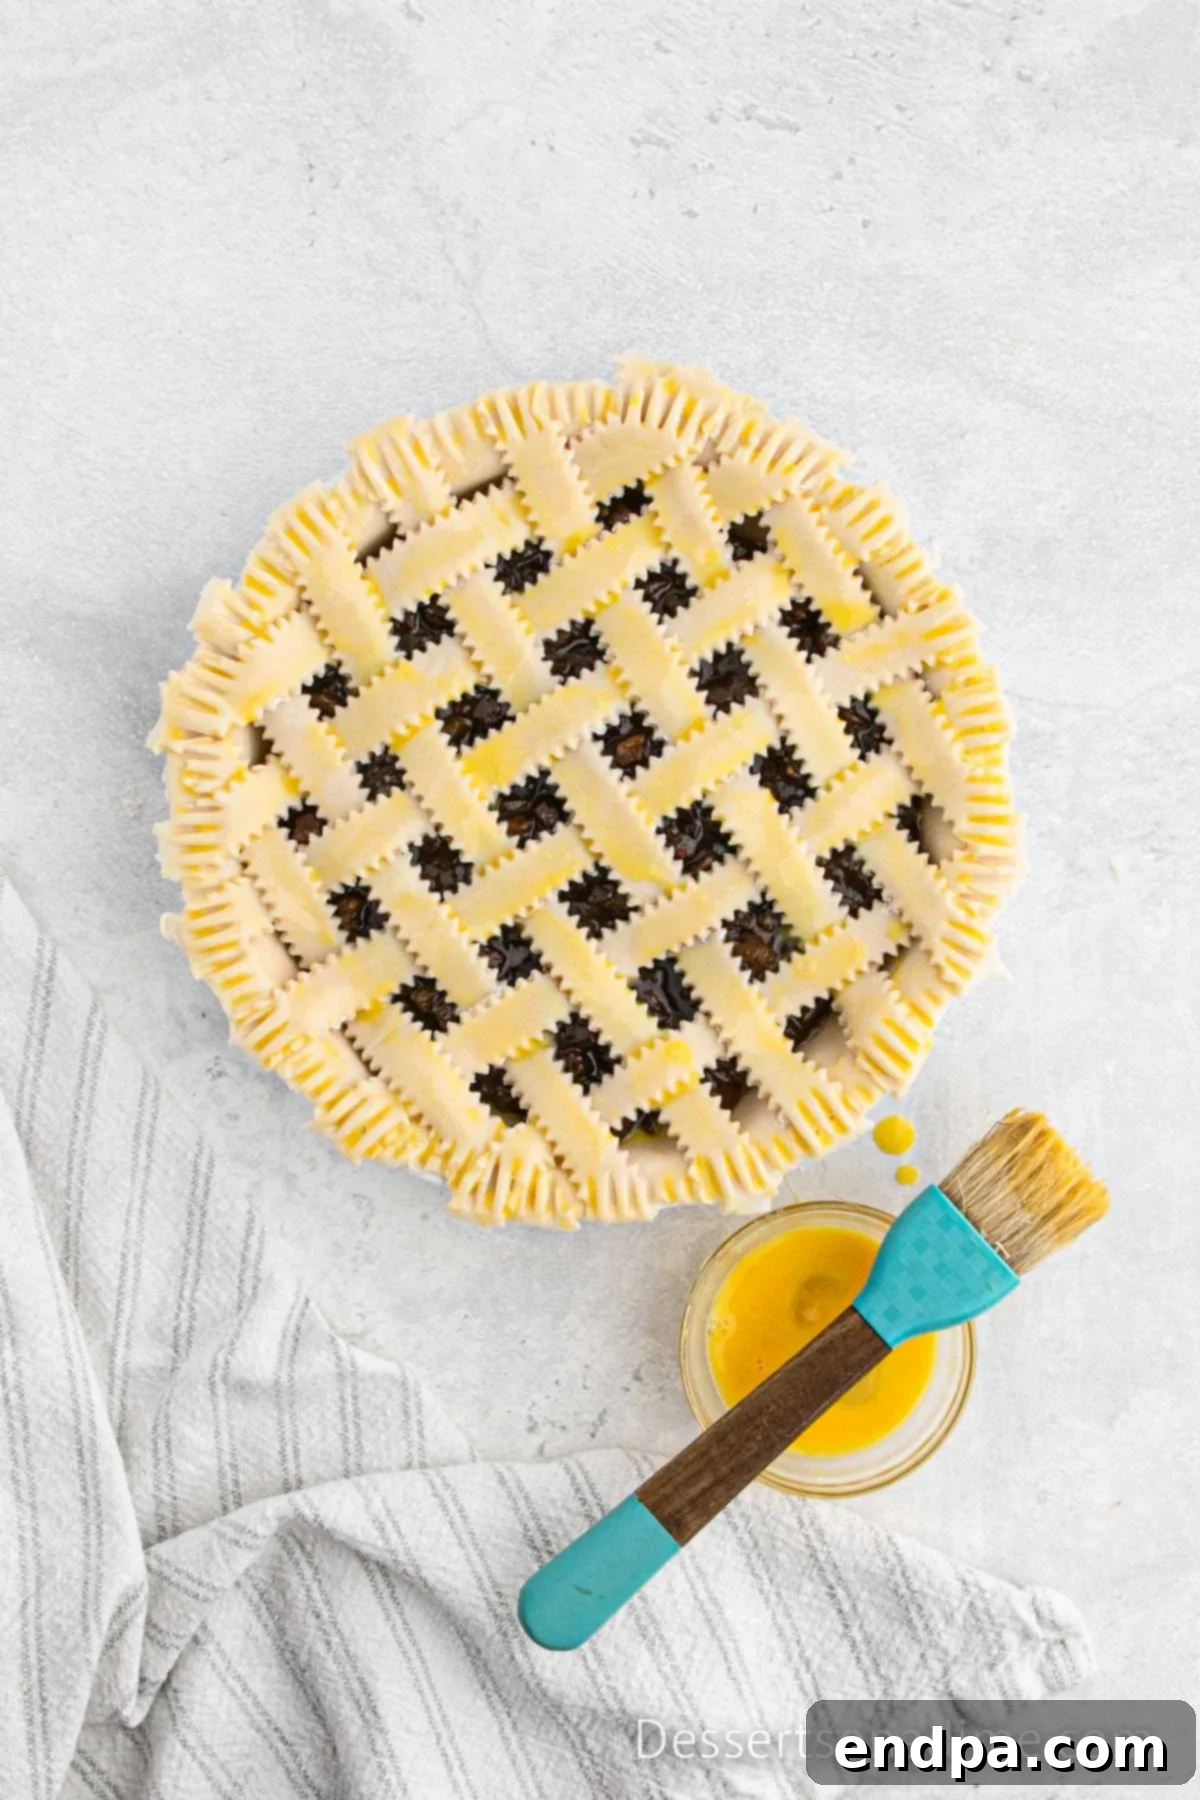
Step 5 – Apply Egg Wash & Protect Crust: In a small bowl, lightly beat the large egg. Using a pastry brush, gently and evenly brush the beaten egg over the entire lattice topping. This egg wash will give your pie a beautiful golden sheen. To prevent the crust from browning too quickly, loosely cover the edges of the pie crust with aluminum foil or a reusable pie crust shield.
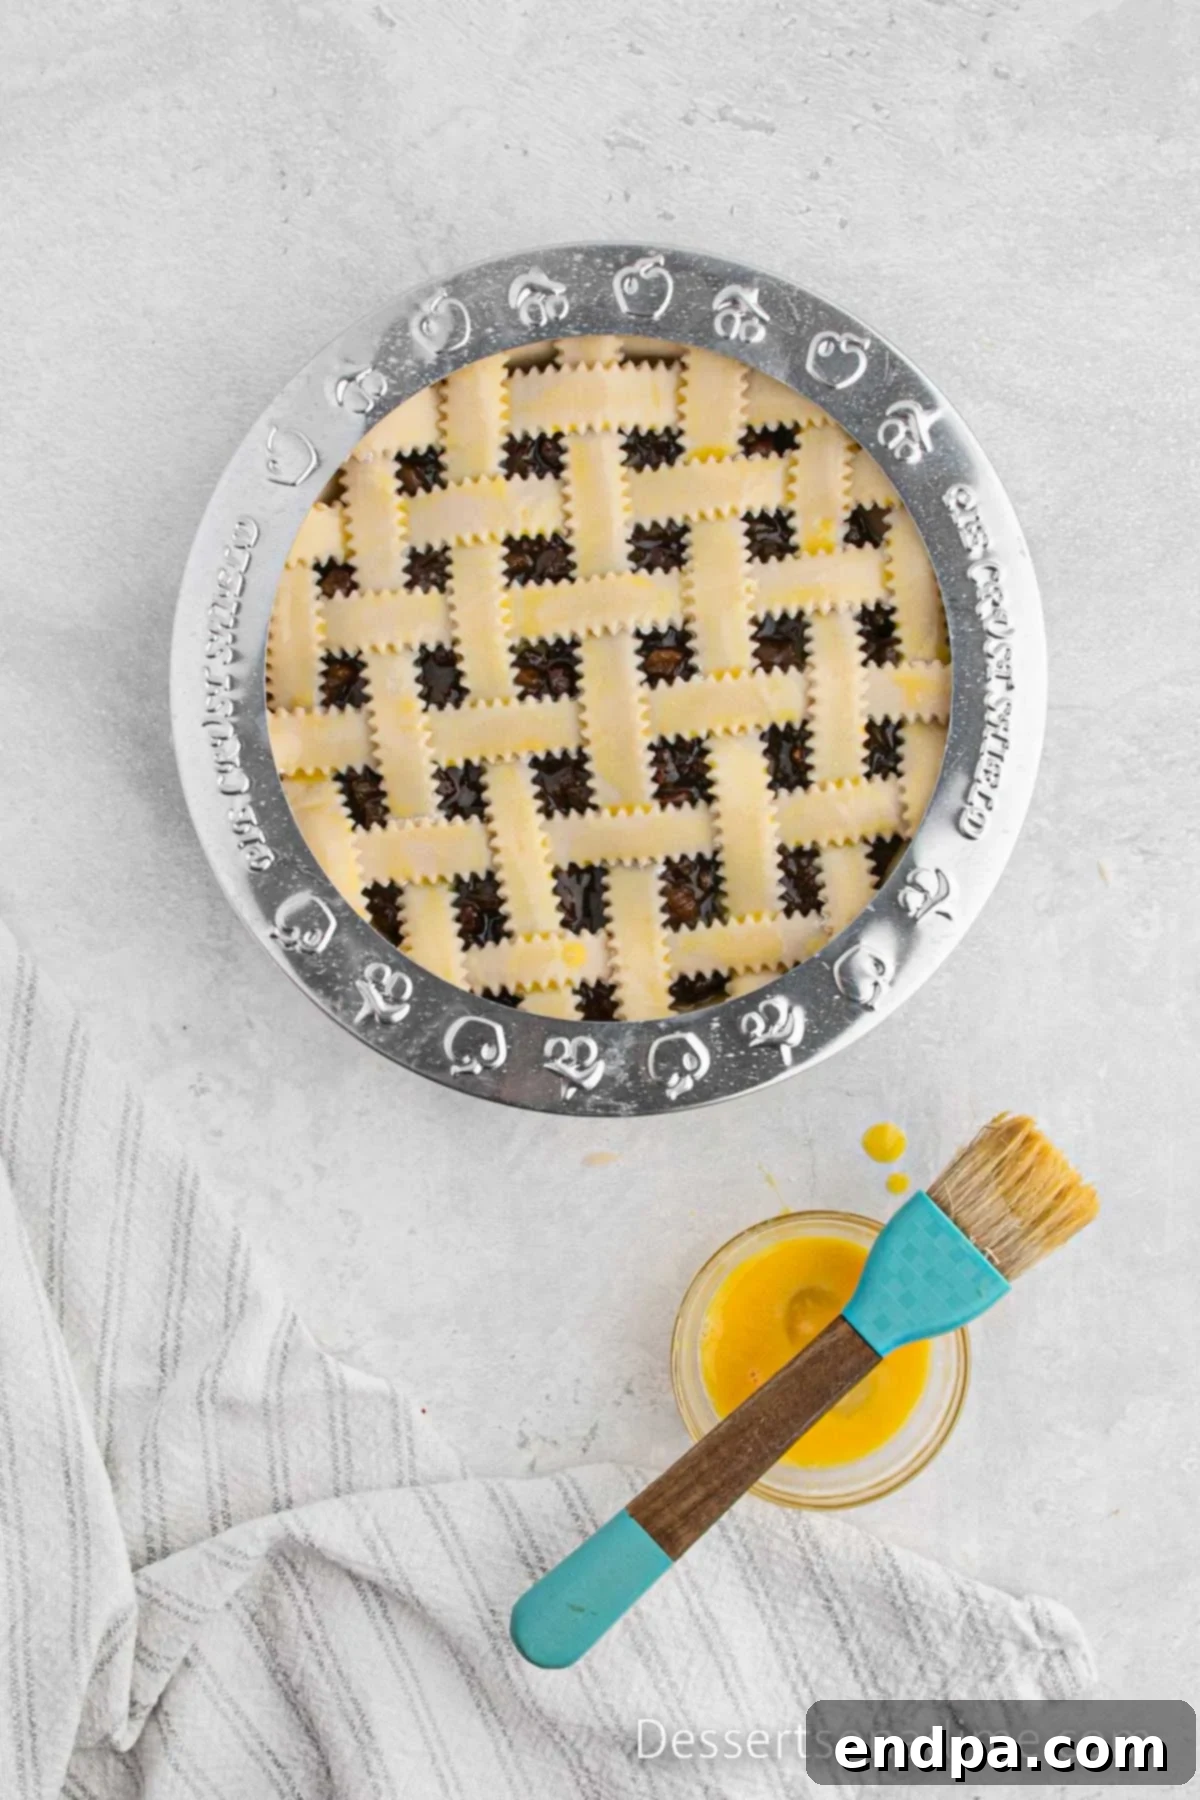
Step 6 – Bake the Pie: Place the covered pie into the preheated oven and bake for 30 minutes. After 30 minutes, remove the foil or pie crust shield and continue to bake for another 15-20 minutes, or until the lattice topping is beautifully golden brown and the filling is bubbly. The total baking time will be approximately 45-50 minutes. The internal temperature of the filling should be around 200-210°F (93-99°C).
Once baked, carefully remove the pie from the oven. Allow it to cool completely on a wire rack for at least 2-3 hours before slicing and serving. This cooling time is crucial for the filling to set properly, ensuring clean, perfect slices.
Pro Baking Tips for the Perfect Pie
Achieving a perfectly baked Mincemeat Pie is easy with these expert tips:
- Chill Your Crusts: Always work with cold pie crusts. This helps prevent the dough from shrinking and ensures a flaky texture. If your store-bought crusts feel warm, pop them back into the fridge for 10-15 minutes before handling.
- Prevent Over-Browning: If the edges of your pie crust or the lattice top start to brown too quickly during baking, gently place strips of aluminum foil or a pie crust shield around the perimeter. This protects the crust while allowing the filling to cook thoroughly.
- Preheat Properly: Ensure your oven is fully preheated to 425°F (220°C) before placing the pie inside. Starting at a higher temperature helps set the crust quickly and creates a crispier bottom. Placing the pie on the lowest rack initially also helps crisp up the bottom crust.
- Cool Completely Before Serving: This is a crucial step! While it’s tempting to cut into a warm pie, allowing it to cool completely on a wire rack (for at least 2-3 hours) is essential. This gives the fruit filling time to set, resulting in clean, firm slices rather than a runny mess.
- Even Baking: For uniform browning and cooking, rotate the pie halfway through the baking process. This helps account for any hot spots in your oven.
- Don’t Overfill: Be mindful not to overfill your pie crust, as this can lead to spillage during baking and a messy oven.
- Clean Cuts for Lattice: Use a ruler and a sharp pizza cutter or knife to ensure your lattice strips are uniform in width. This creates a more professional and visually appealing pie.
Make Ahead and Freezing Instructions
Mincemeat pie is an excellent choice for holiday baking because it can be prepared in advance, saving you valuable time during busy festive periods. This flexibility makes it a true kitchen hero!
- Baked Pie (Make Ahead): You can easily bake this pie the night before serving, or even up to 2 days in advance. Once baked, allow it to cool completely on a wire rack. Cover it loosely with plastic wrap or aluminum foil and store it at room temperature. The flavors will deepen and meld beautifully overnight, enhancing the overall taste.
- Unbaked Pie (Freezing): For long-term preparation, you can freeze the pie unbaked. Assemble the pie as directed, up to the point of applying the egg wash. Instead of baking, wrap the entire pie tightly in several layers of plastic wrap, then an additional layer of aluminum foil. Label with the date and freeze for up to 2 months.
- Baking from Frozen: When you’re ready to enjoy a frozen unbaked pie, do not thaw it first. Place the frozen pie directly into a preheated oven (still at 425°F/220°C). You will need to increase the baking time. Start with 45-50 minutes, keeping the edges shielded with foil, then remove the foil and continue baking for another 20-30 minutes, or until the crust is golden brown and the filling is bubbly and cooked through. Always check for doneness by observing the crust color and the bubbling of the filling.
Serving Suggestions
This classic Mincemeat Pie is wonderfully versatile and can be enjoyed in several delicious ways. It’s truly delightful served either warm or cold, making it perfect for any occasion.
- With Ice Cream: A scoop of creamy No-Churn Vanilla Ice Cream melting over a warm slice of pie is a classic combination that perfectly balances the rich, spiced filling.
- With Whipped Cream: A generous dollop of homemade whipped cream adds a light, airy contrast and a touch of elegance.
- With Custard or Brandy Butter: For a truly traditional British experience, serve mincemeat pie with warm pouring custard (crème anglaise) or a rich, homemade brandy butter.
- Coffee or Tea Pairing: Enjoy a slice with a hot cup of coffee, a festive spiced tea, or even a glass of mulled wine for an ultimate cozy treat.
Proper Storage for Freshness
To ensure your Mincemeat Pie remains fresh and delicious for as long as possible, follow these storage guidelines:
- Room Temperature: A baked mincemeat pie can be stored, loosely covered with plastic wrap or foil, at room temperature for up to 2 days. This is generally suitable due to the sugar content in the filling.
- Refrigerator: For extended freshness, transfer any leftover pie to an airtight container or cover it tightly with plastic wrap and aluminum foil. Store in the refrigerator for up to 4 days. Reheat individual slices gently in the microwave or oven for a warm dessert.
- Freezer (Baked Pie): To freeze a baked pie, ensure it has completely cooled. Wrap the entire pie or individual slices tightly in plastic wrap, then wrap again in aluminum foil. Freeze for up to 2 months. Thaw frozen slices overnight in the refrigerator, then warm gently before serving.
More Delightful Pie Recipes
If you’ve enjoyed baking this Mincemeat Pie and are eager to explore more delicious pie creations, check out these other easy and irresistible recipes from our collection:
- Crack Pie Recipe
- No Bake Hershey Pie Recipe
- Butterscotch Pie
- Salted Caramel Pumpkin Pie Recipe
- Butterscotch Cinnamon Pie
- Butterscotch Pecan Pie
We genuinely value your feedback! If you try this Mincemeat Pie recipe, please leave us a comment below and a star rating. Your insights help our community of bakers!
Mincemeat Pie Recipe
Mincemeat Pie is a traditional dessert flavored with a tasty combination of nuts, brown sugar, citrus, and more. It is baked in a pretty lattice pie crust with minimum prep work, perfect for any festive occasion.
30 mins
30 mins
1 hr
8
English
Dessert
512 kcal
Carrie Barnard
Ingredients
- 2 Pre-made Pie Crusts (refrigerated)
- 29 oz. Mincemeat Filling & Topping (jarred)
- 1 Large Egg (lightly beaten, for egg wash)
Instructions
- Preheat the oven to 425 degrees Fahrenheit (220°C) and move the oven rack to the lowest position in the oven.
- Place one of the chilled pie crusts in a 9-inch pie pan, gently pressing it against the bottom and sides.
- Pour the jarred mincemeat filling into the prepared crust and spread evenly.
- Lay out the other pie crust on a lightly floured work surface. Use a pizza cutter, sharp knife, or pastry wheel to cut the pie crust into 16 strips, each approximately ½ inch thick. Carefully thread the strips over and under one another to create a weave (lattice) topping on top of the pie. Trim off any excess dough overhang and crimp the edges of the dough with a fork or your fingers to seal.
- Gently brush the top of the lattice topping with the lightly beaten egg wash. Cover the edges of the crust with aluminum foil or a pie crust shield to prevent over-browning.
- Bake the pie for 30 minutes. After 30 minutes, remove the foil or pie crust shield and continue baking for another 15-20 minutes, or until the pie is golden brown and the filling is bubbly.
- Cool completely on a wire rack for at least 2-3 hours before slicing and serving. Enjoy!
Recipe Notes
Refrigerate any leftover pie, covered, for up to 3-4 days to maintain freshness.
While delicious served fresh, this pie can easily be made the night before serving, allowing the flavors to deepen.
Nutrition Facts
Calories: 512 kcal
Carbohydrates: 97g
Protein: 6g
Fat: 12g
Saturated Fat: 4g
Polyunsaturated Fat: 1g
Monounsaturated Fat: 5g
Trans Fat: 0.003g
Cholesterol: 20mg
Sodium: 755mg
Potassium: 49mg
Fiber: 3g
Sugar: 69g
Vitamin A: 30IU
Calcium: 11mg
Iron: 1mg
