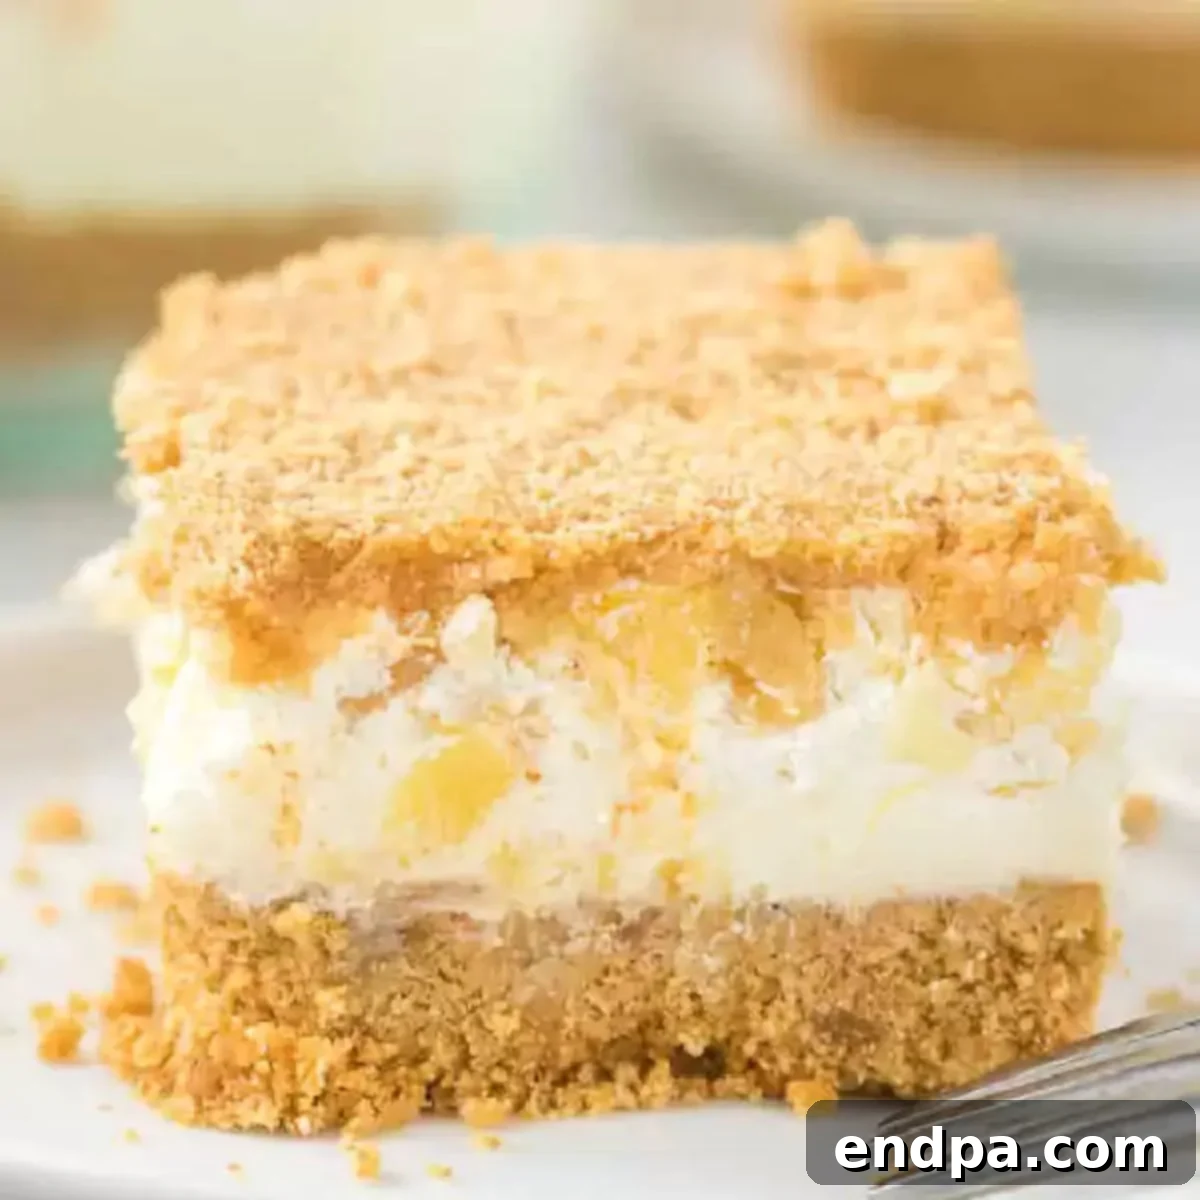
Indulge in a truly delightful and effortlessly prepared dessert with this exquisite Pineapple Dream Dessert. This beloved treat layers a buttery graham cracker crust with a light, creamy filling featuring crushed pineapple and a fluffy whipped topping. It’s the quintessential dessert for warm summer days, bustling potlucks, festive holidays, or any occasion that calls for a refreshing and satisfying sweet.
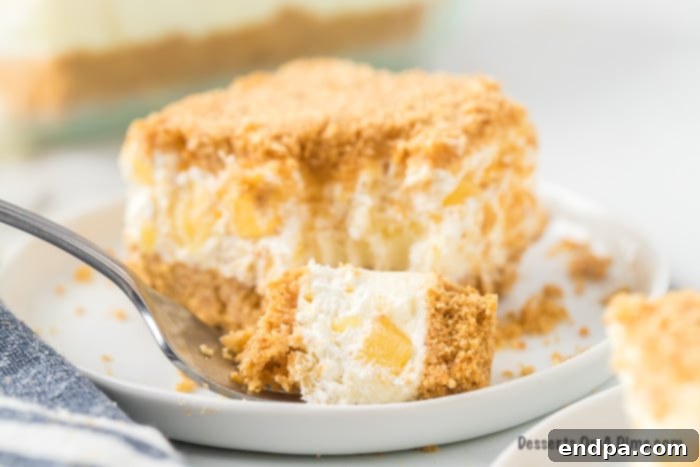
If your palate craves a dessert that is both light and wonderfully creamy, bursting with a refreshing tropical tang, then this Pineapple Dream Dessert is your perfect culinary match. Each bite offers a harmonious blend of textures and flavors: the delicate crunch of a buttery graham cracker crust, followed by a smooth, velvety cream cheese filling, all complemented by the sweet, juicy burst of crushed pineapple. This dessert doesn’t just taste good; it embodies pure joy and simplicity, making it an absolute must-try for dessert enthusiasts.
You’ll find yourself reaching for this recipe again and again, whether it’s the peak of summer, a casual backyard barbecue, a family gathering, or simply when you desire a sweet escape without extensive effort. This nostalgic recipe has graced family tables for generations, earning its place as a cherished favorite. Its timeless appeal and straightforward preparation ensure it remains a go-to option for creating memorable moments and satisfying sweet cravings. Prepare to discover why this easy pineapple dessert is truly a dream come true!
The delightful layered structure and classic graham cracker base bring to mind other beloved layered desserts, evoking a sense of sweet nostalgia and comfort that resonates with many. It’s a classic for a reason, promising a delightful experience with every spoonful.
Table of Contents
- Why We Love This Recipe
- Ingredients
- Crust
- Filling & Topping
- How to Make Pineapple Dream Dessert
- Pro Tips for Pineapple Dream Perfection
- Frequently Asked Questions (FAQs)
- More Irresistible Pineapple Desserts
Why We Love This Recipe
There are countless reasons why this Pineapple Dream Dessert stands out as a beloved treat, captivating hearts and taste buds alike. Its combination of simplicity, refreshing flavor, and universal appeal makes it a star at any gathering.
- Bright and Refreshing: The vibrant, sweet, and subtly tart flavor of crushed pineapple cuts through the richness of the creamy filling, creating a dessert that feels incredibly light and satisfying. Unlike heavier, dense desserts, this one leaves you feeling refreshed and delighted, making it especially perfect for warmer weather or after a hearty meal. Each bite is a little burst of tropical sunshine, invigorating your senses and leaving a pleasant finish.
- Classic Comfort and Nostalgia: This dessert possesses an undeniable retro charm, reminiscent of the cherished recipes often found in old family cookbooks or passed down through generations. It evokes warm memories of childhood summers, family picnics, and holidays spent together. It’s a taste of the past that continues to bring joy and comfort to new generations, making it more than just a dessert, but a sweet tradition.
- Effortlessly Simple Ingredients: Crafted from readily available pantry staples, this dessert is remarkably budget-friendly and easy to assemble. You won’t need to hunt for exotic items; simple ingredients like cream cheese, pineapple, graham crackers, and whipped topping come together to create something truly magical. This simplicity means less time shopping and more time enjoying, proving that extraordinary flavor doesn’t require complex components.
- Perfect for Any Occasion: Whether you’re hosting an elegant holiday dinner, contributing to a casual potluck, celebrating a birthday, or simply craving a sweet indulgence on a lazy afternoon, this dessert fits the bill perfectly. Its crowd-pleasing appeal ensures it’s always a hit, and its beautiful layered appearance makes it a stunning centerpiece for any dessert spread. Its versatility makes it a reliable choice no matter the event.
The Essential Ingredients for a Perfect Pineapple Dream
Creating this dreamy dessert requires a straightforward list of ingredients, each playing a crucial role in building its irresistible layers. Quality ingredients ensure the best possible flavor and texture.
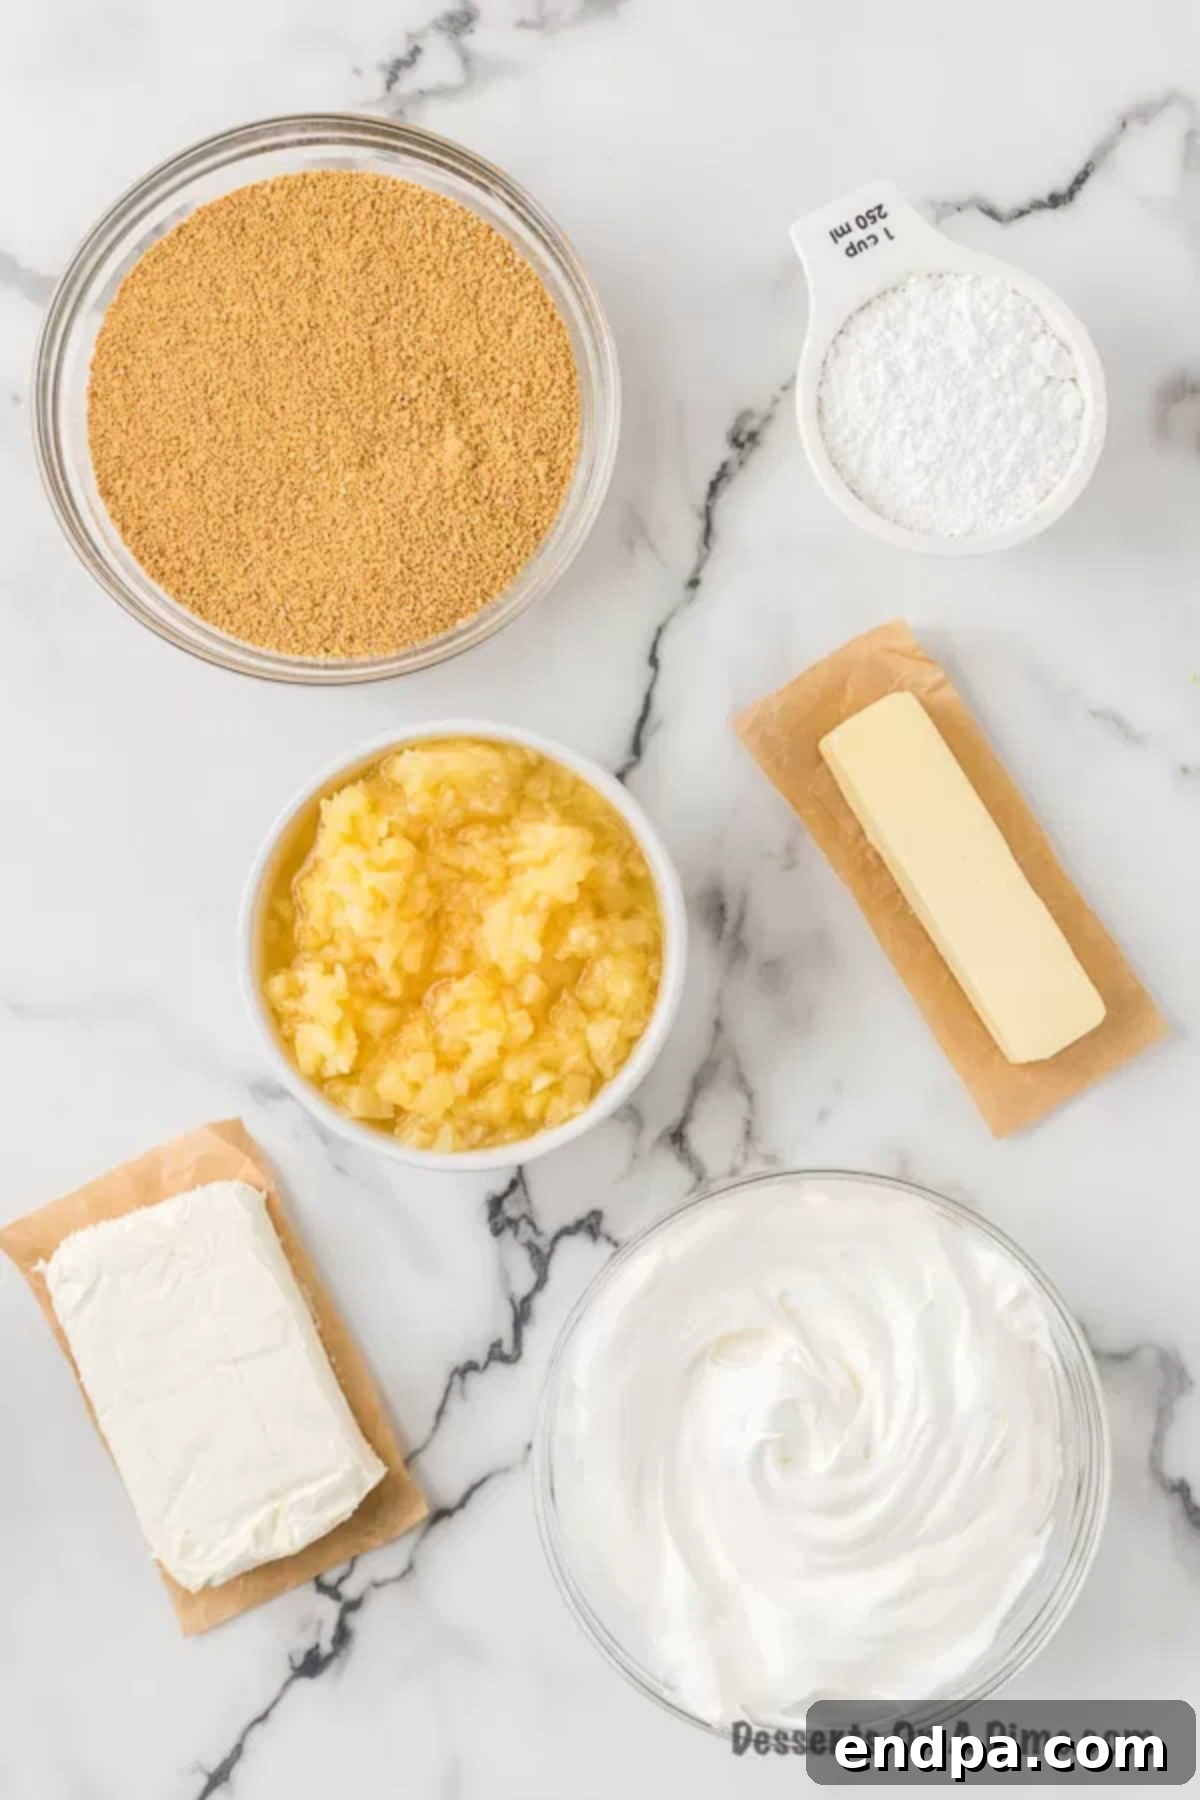
For the Golden Graham Cracker Crust
- Graham Cracker Crumbs: These form the sweet, slightly spiced, and crunchy foundation of your dessert. You can opt for convenience with pre-crushed crumbs, or for a fresher flavor and coarser texture, crush whole graham crackers yourself using a food processor or a zip-top bag and rolling pin. The goal is a fine, even crumb that will bind together beautifully.
- Unsalted Butter: Melted butter is the binding agent that holds the graham cracker crumbs together, creating a sturdy and flavorful crust. Using unsalted butter allows you to control the overall saltiness of the dessert, ensuring a perfectly balanced taste. Real butter also provides a richer flavor and better texture compared to margarine or butter substitutes.
For the Creamy Pineapple Filling & Topping
- Powdered Sugar (Confectioners’ Sugar): This fine sugar adds a delicate sweetness to the cream cheese layer, dissolving easily to ensure a smooth, lump-free texture. Sifting the powdered sugar before incorporating it is highly recommended, especially if it appears lumpy, to achieve the silkiest possible filling.
- Cream Cheese: The heart of the creamy layer. For optimal structure and luxurious richness, always use full-fat, block-style cream cheese. Whipped or tub-style cream cheese contains more air and moisture, which can result in a filling that is too soft and may not set properly. Ensure it is softened to room temperature for easier blending.
- Unsalted Butter (Softened): A small amount of softened unsalted butter is incorporated into the cream cheese layer to enhance its richness and contribute to a wonderfully smooth, stable texture. Just like with the crust, ensure it’s at room temperature for seamless blending with the cream cheese and powdered sugar.
- Whipped Topping (e.g., Cool Whip): This light and airy component provides fluffiness and a delightful, cloud-like texture to the creamy layer. Cool Whip or any store-brand non-dairy whipped topping works exceptionally well, adding a cool, refreshing element without the heaviness of traditional whipped cream. Ensure it is thawed completely before use.
- Crushed Pineapple: The star ingredient, bringing a vibrant burst of tropical sweetness and juicy texture. It is absolutely crucial to drain the crushed pineapple thoroughly. Excess moisture can make your dessert soggy and compromise the setting of the creamy layers, so press out as much liquid as possible before adding it to the mixture.
Optional Garnishes for a Festive Touch
- Toasted Coconut Flakes: Add a tropical flair and a delightful crunch by sprinkling toasted coconut flakes on top.
- Maraschino Cherries: For a pop of color and classic charm, place a few maraschino cherries on individual servings or dot them across the top.
- Fresh Mint Leaves: A sprig of fresh mint can add a sophisticated touch and a hint of fresh aroma.
- Extra Graham Cracker Crumbs: Reserve a small amount of crumbs to sprinkle as a final flourish for added texture and visual appeal.
Step-by-Step Guide: Crafting Your Pineapple Dream Dessert
Making this irresistible Pineapple Dream Dessert is a straightforward process, broken down into simple steps. Follow these instructions carefully to achieve a perfectly layered, creamy, and refreshing treat.
Preparing the Buttery Graham Cracker Crust
- Step 1: Preheat Oven & Prepare Pan. Begin by preheating your oven to 300°F (150°C). This ensures your crust bakes evenly.
- Step 2: Melt Butter & Combine with Crumbs. In a medium bowl, melt the unsalted butter until fully liquid. Once melted, stir in 2 cups of the graham cracker crumbs until they are thoroughly coated and moist. The mixture should resemble wet sand.
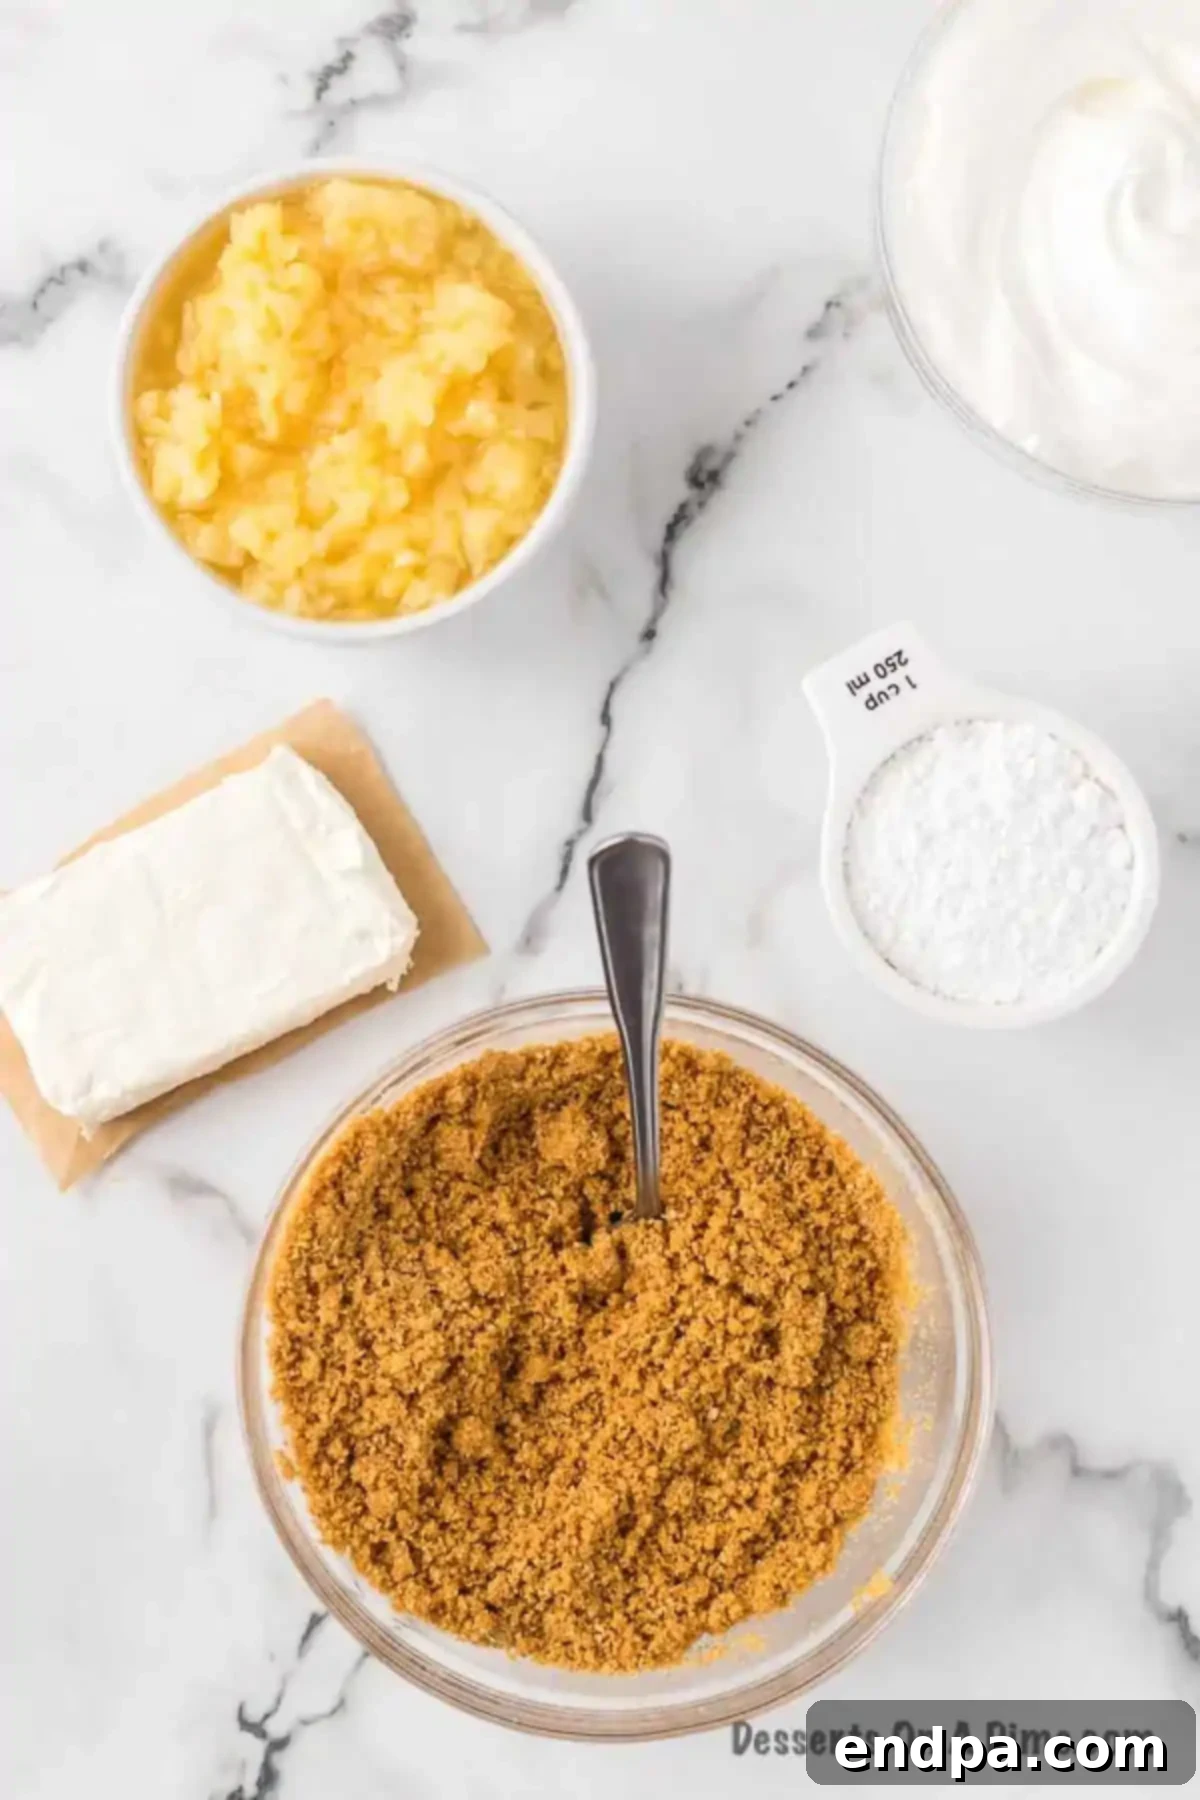
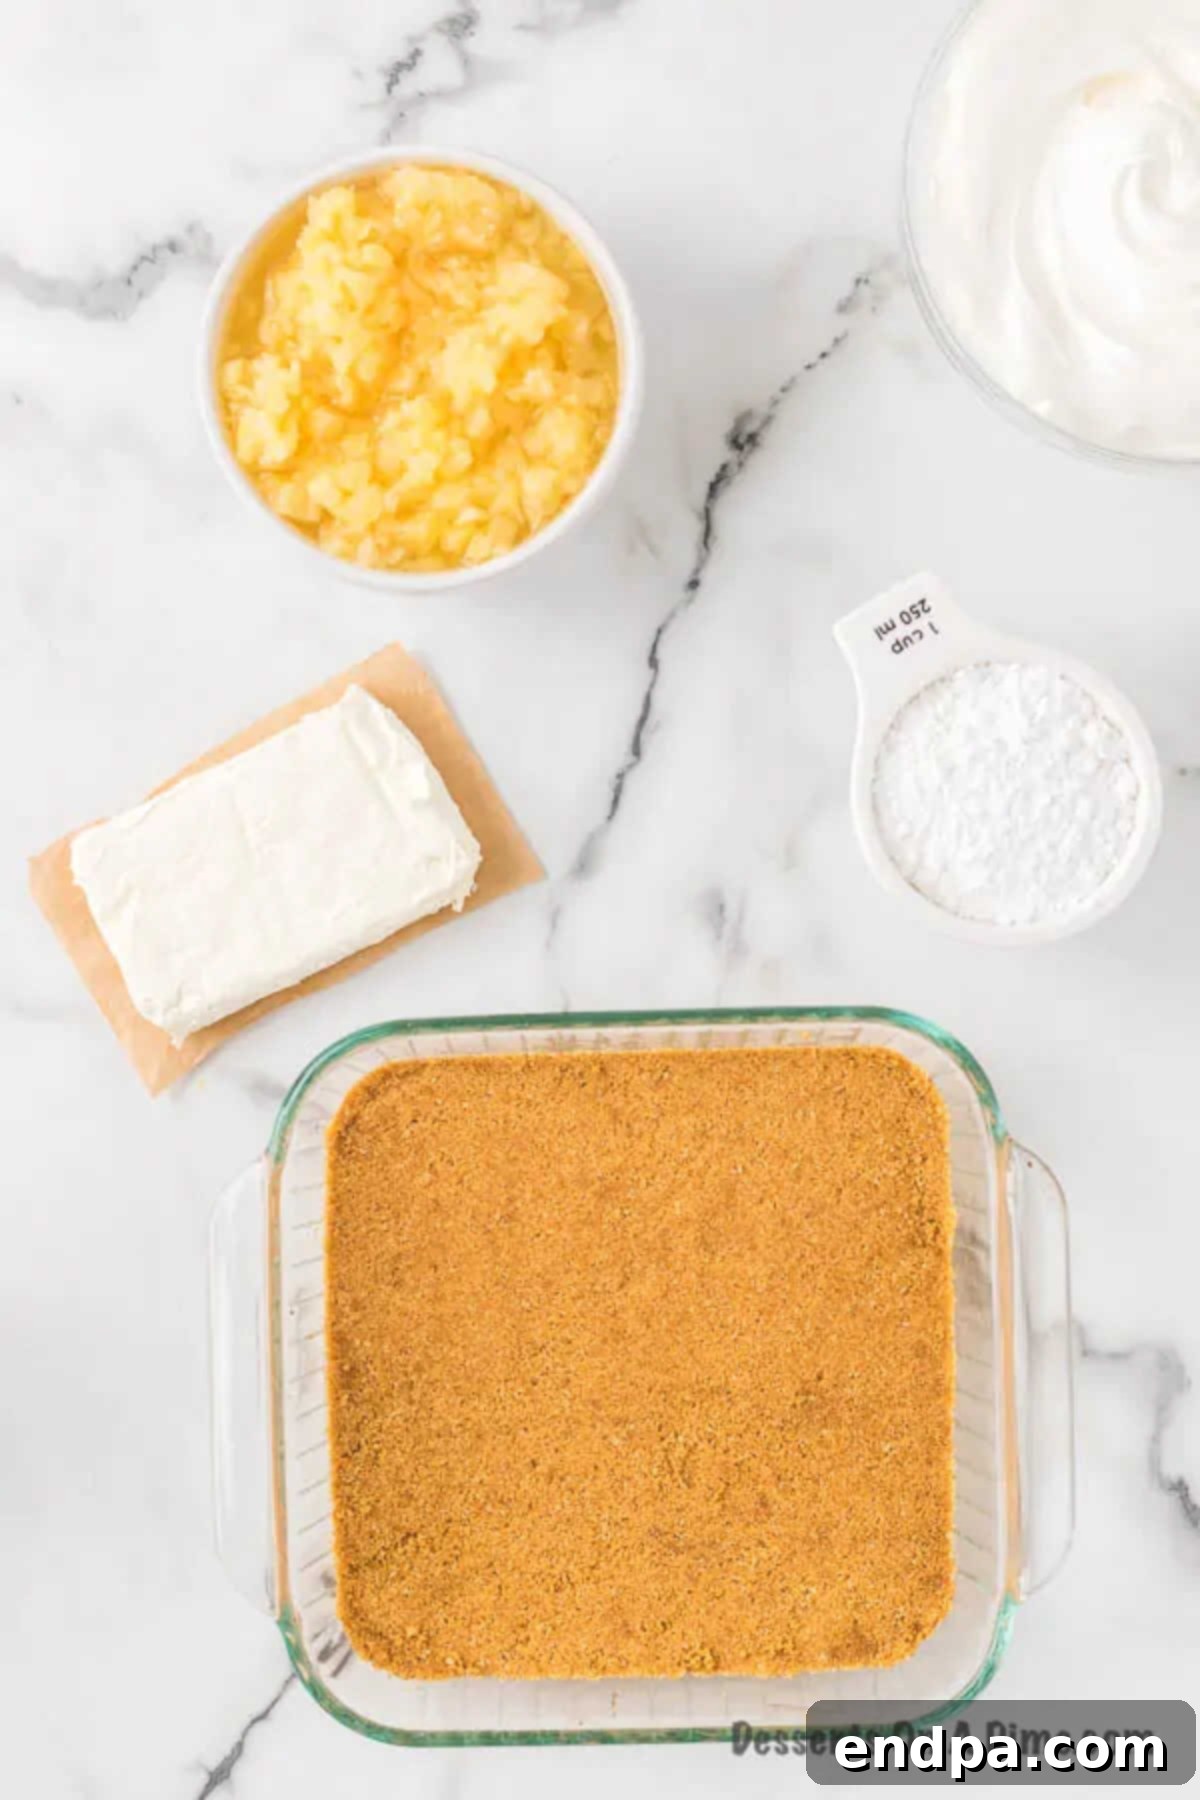
- Step 3: Press & Bake the Crust. Transfer the graham cracker mixture into a 9×9-inch baking pan. Using the bottom of a glass or your fingers, press the crumbs firmly and evenly across the bottom of the pan to form a compact crust. Bake for approximately 8-10 minutes, or until the edges are lightly golden and fragrant. Remove the pan from the oven and place it on a wire rack to cool completely. A completely cooled crust is essential before adding the filling to prevent melting.
Mixing the Luscious Cream Cheese Layer
- Step 4: Cream Cheese Base. While the crust cools, begin preparing the creamy pineapple layer. In a large mixing bowl, combine the softened cream cheese and the 1/2 cup softened unsalted butter. Using an electric mixer (either a handheld mixer or a stand mixer with the paddle attachment), beat the mixture on medium speed until it is light, fluffy, and completely smooth, with no lumps remaining. This might take a few minutes.
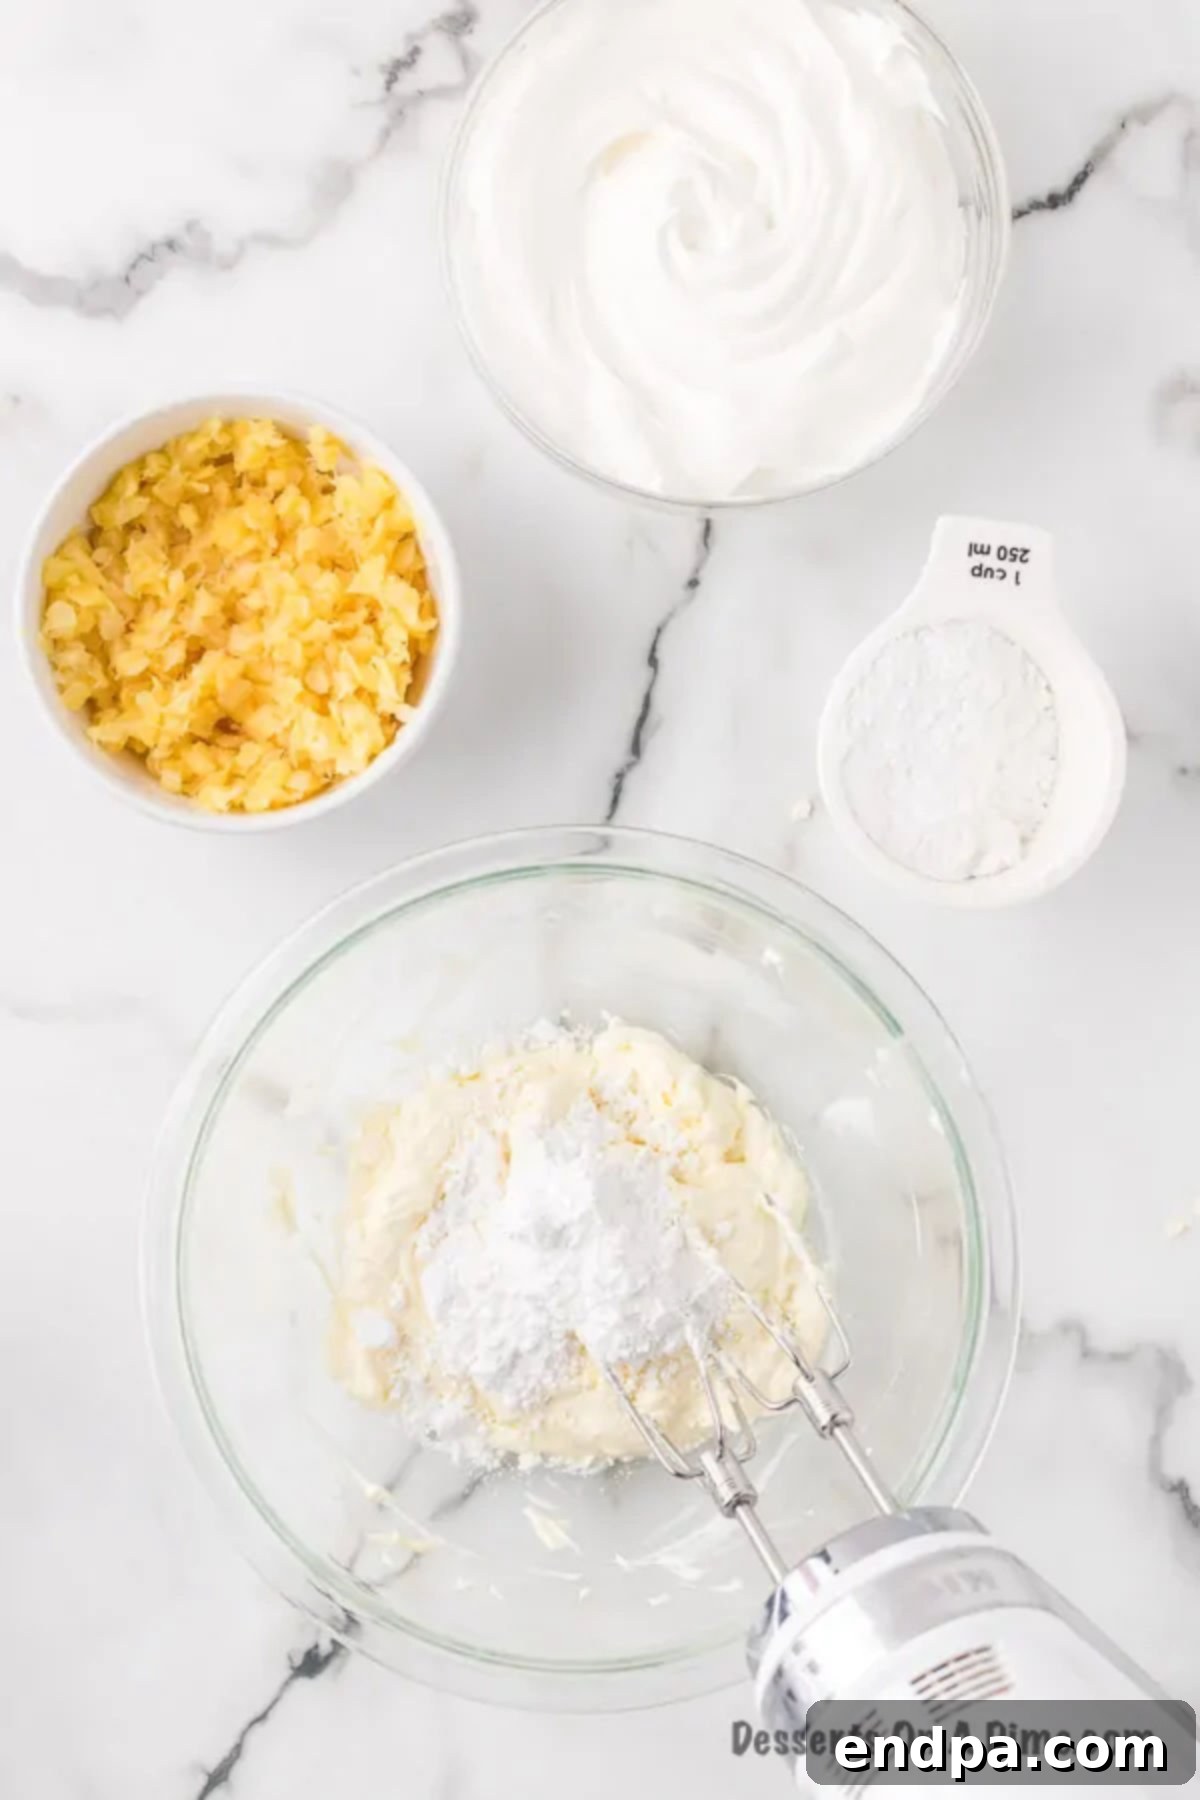
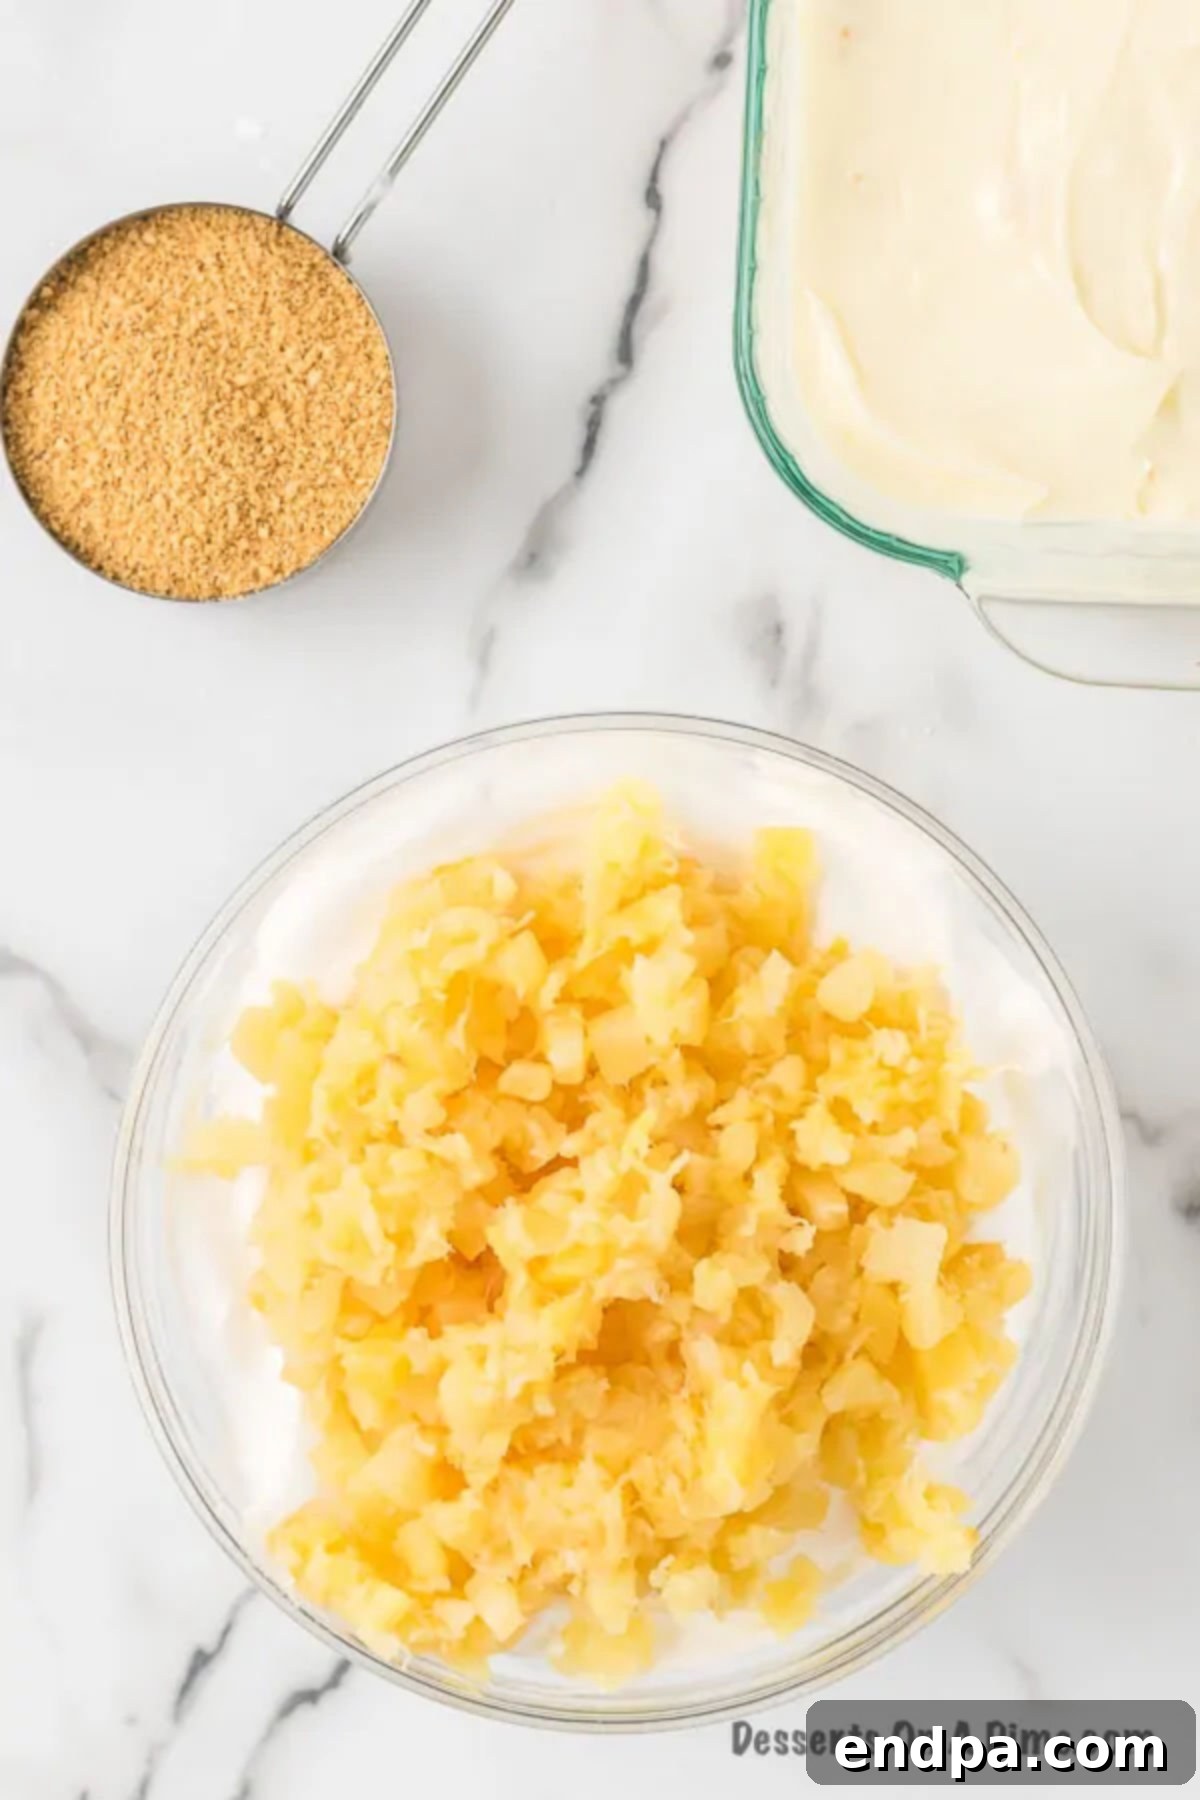
- Step 5: Incorporate Powdered Sugar & Pineapple. Gradually add the powdered sugar to the cream cheese mixture, beating well after each addition until it is fully incorporated and the mixture is smooth and velvety. Finally, gently fold in about 1 tablespoon of the thoroughly drained crushed pineapple by hand using a spatula. This gentle folding ensures the creamy texture remains intact without overmixing the pineapple. Set aside the remaining drained crushed pineapple for the topping.
Assembling the Dreamy Layers
- Step 6: Spread Cream Cheese Layer. Once the graham cracker crust is completely cooled, carefully spread the prepared cream cheese and pineapple mixture evenly over the crust. Use an offset spatula or the back of a spoon to create a smooth, consistent layer from edge to edge.
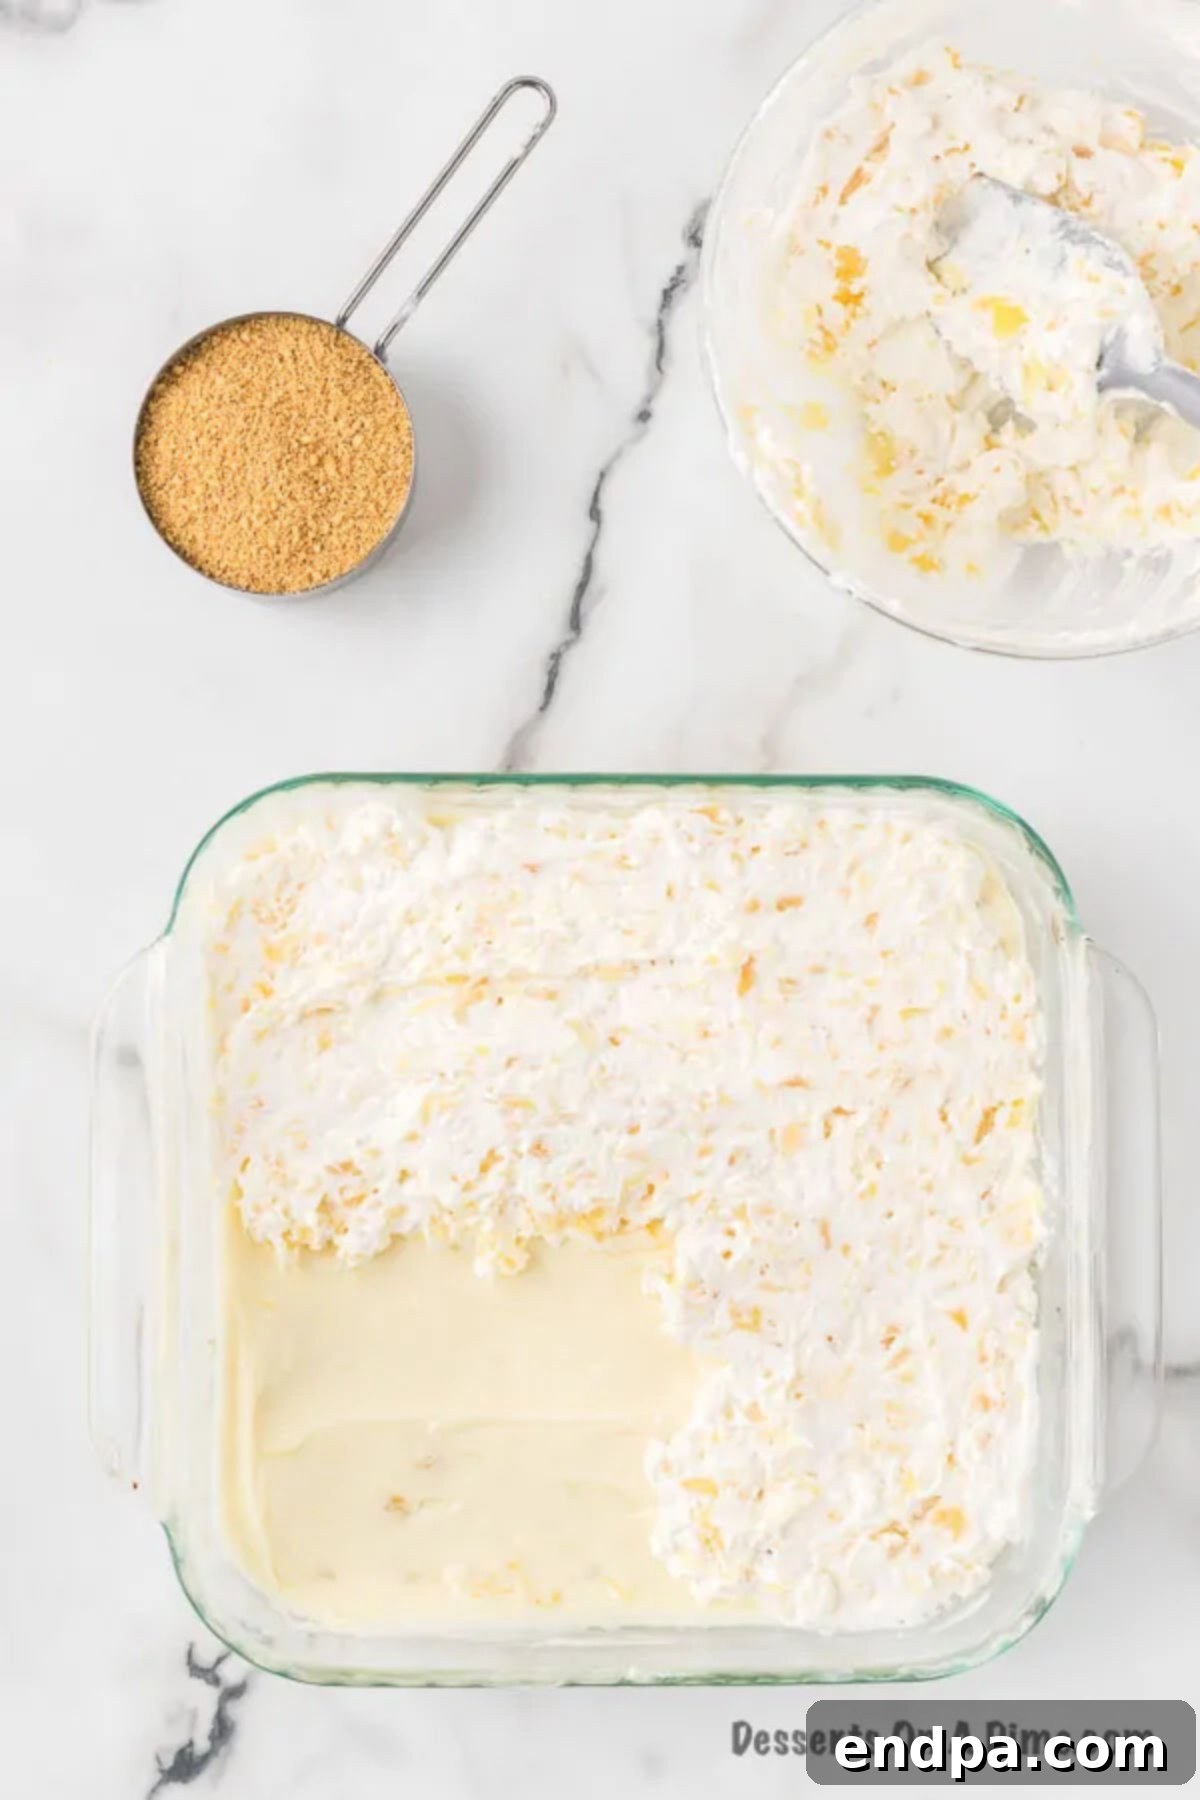
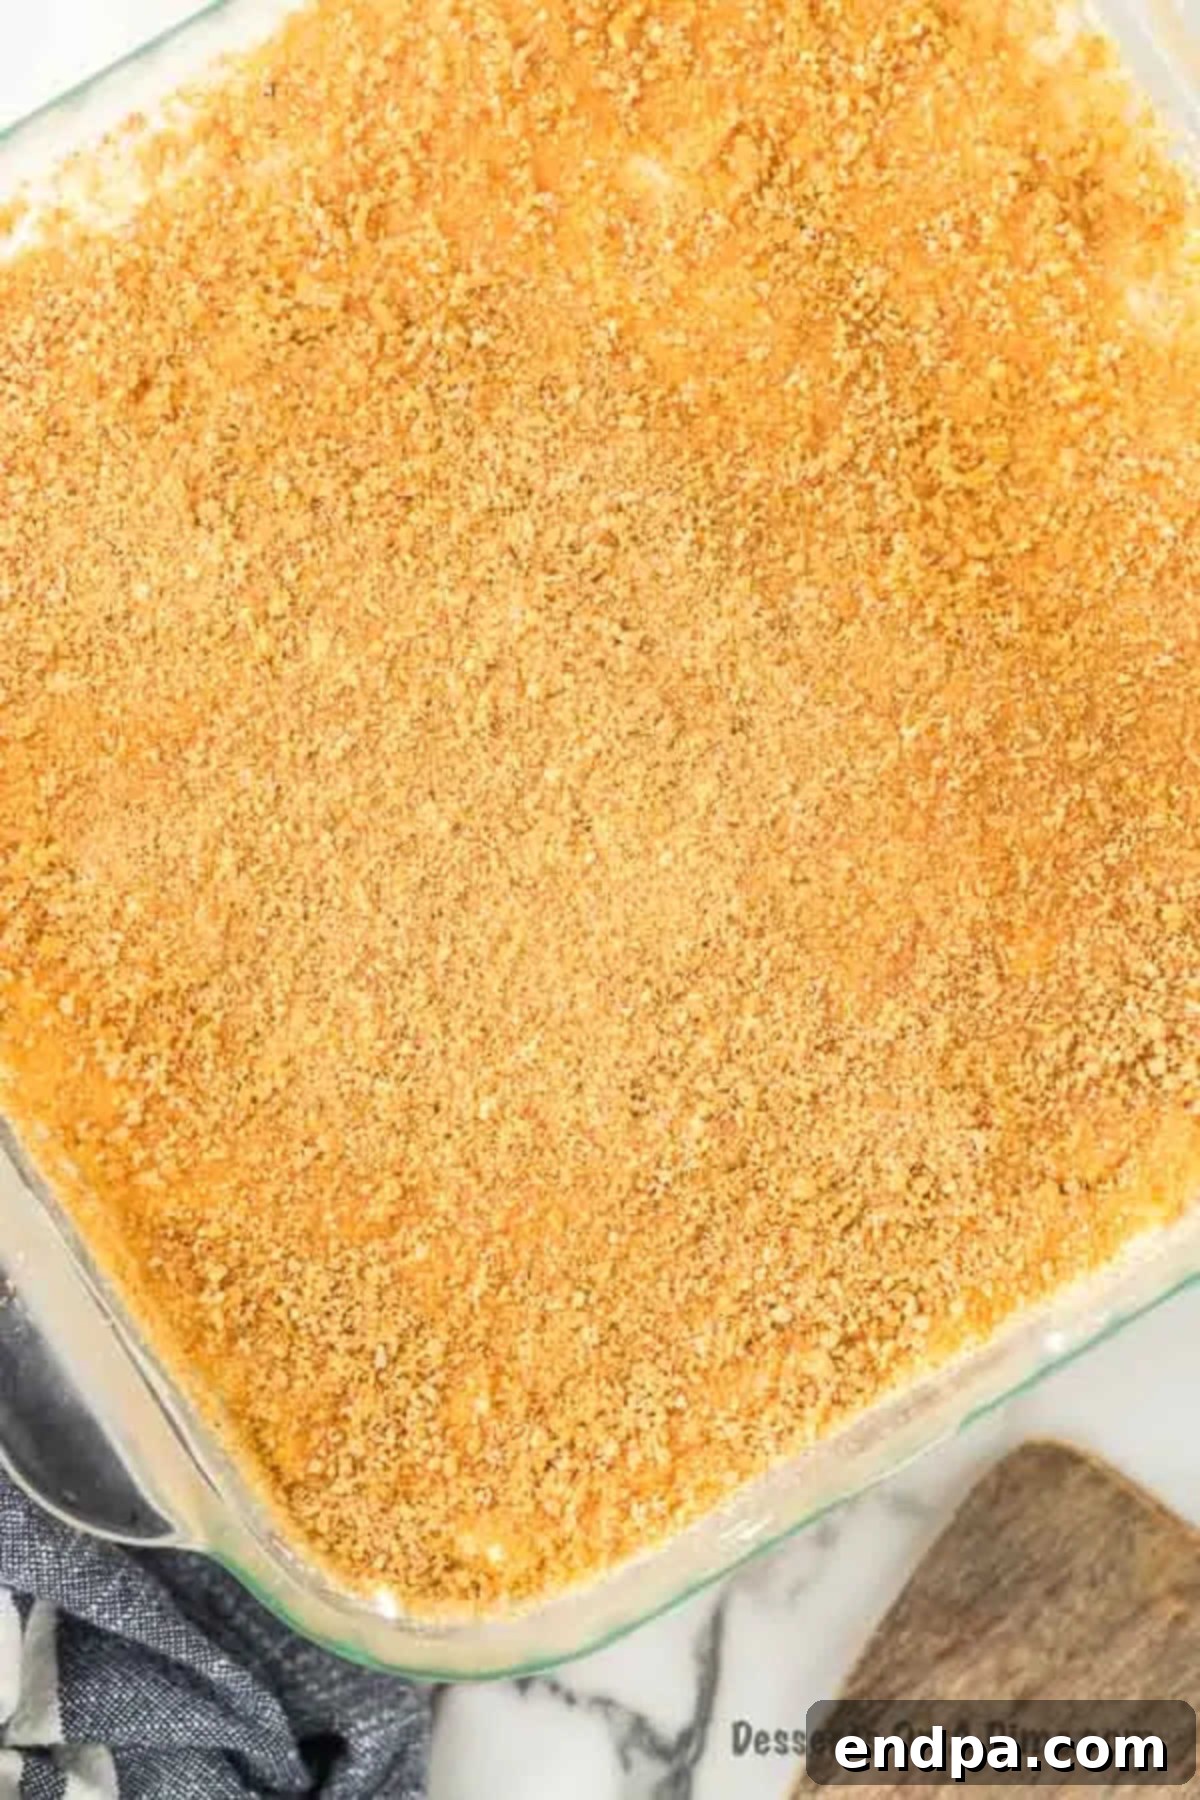
- Step 7: Create & Add Whipped Topping. In a separate bowl, gently combine the thawed whipped topping with the remaining thoroughly drained crushed pineapple. Carefully spoon and spread this fluffy pineapple-whipped topping mixture over the cream cheese layer, smoothing it out for a beautiful finish. For an extra touch of texture and presentation, sprinkle the remaining graham cracker crumbs over the top of the dessert.
The Final Chill and Serving
- Step 8: Refrigerate & Set. Cover the baking pan tightly with plastic wrap and refrigerate the assembled dessert for a minimum of 4 hours. For best results, and to allow the flavors to fully meld and the layers to set firmly, chilling it overnight is ideal. This crucial step ensures clean slices and maximum deliciousness.
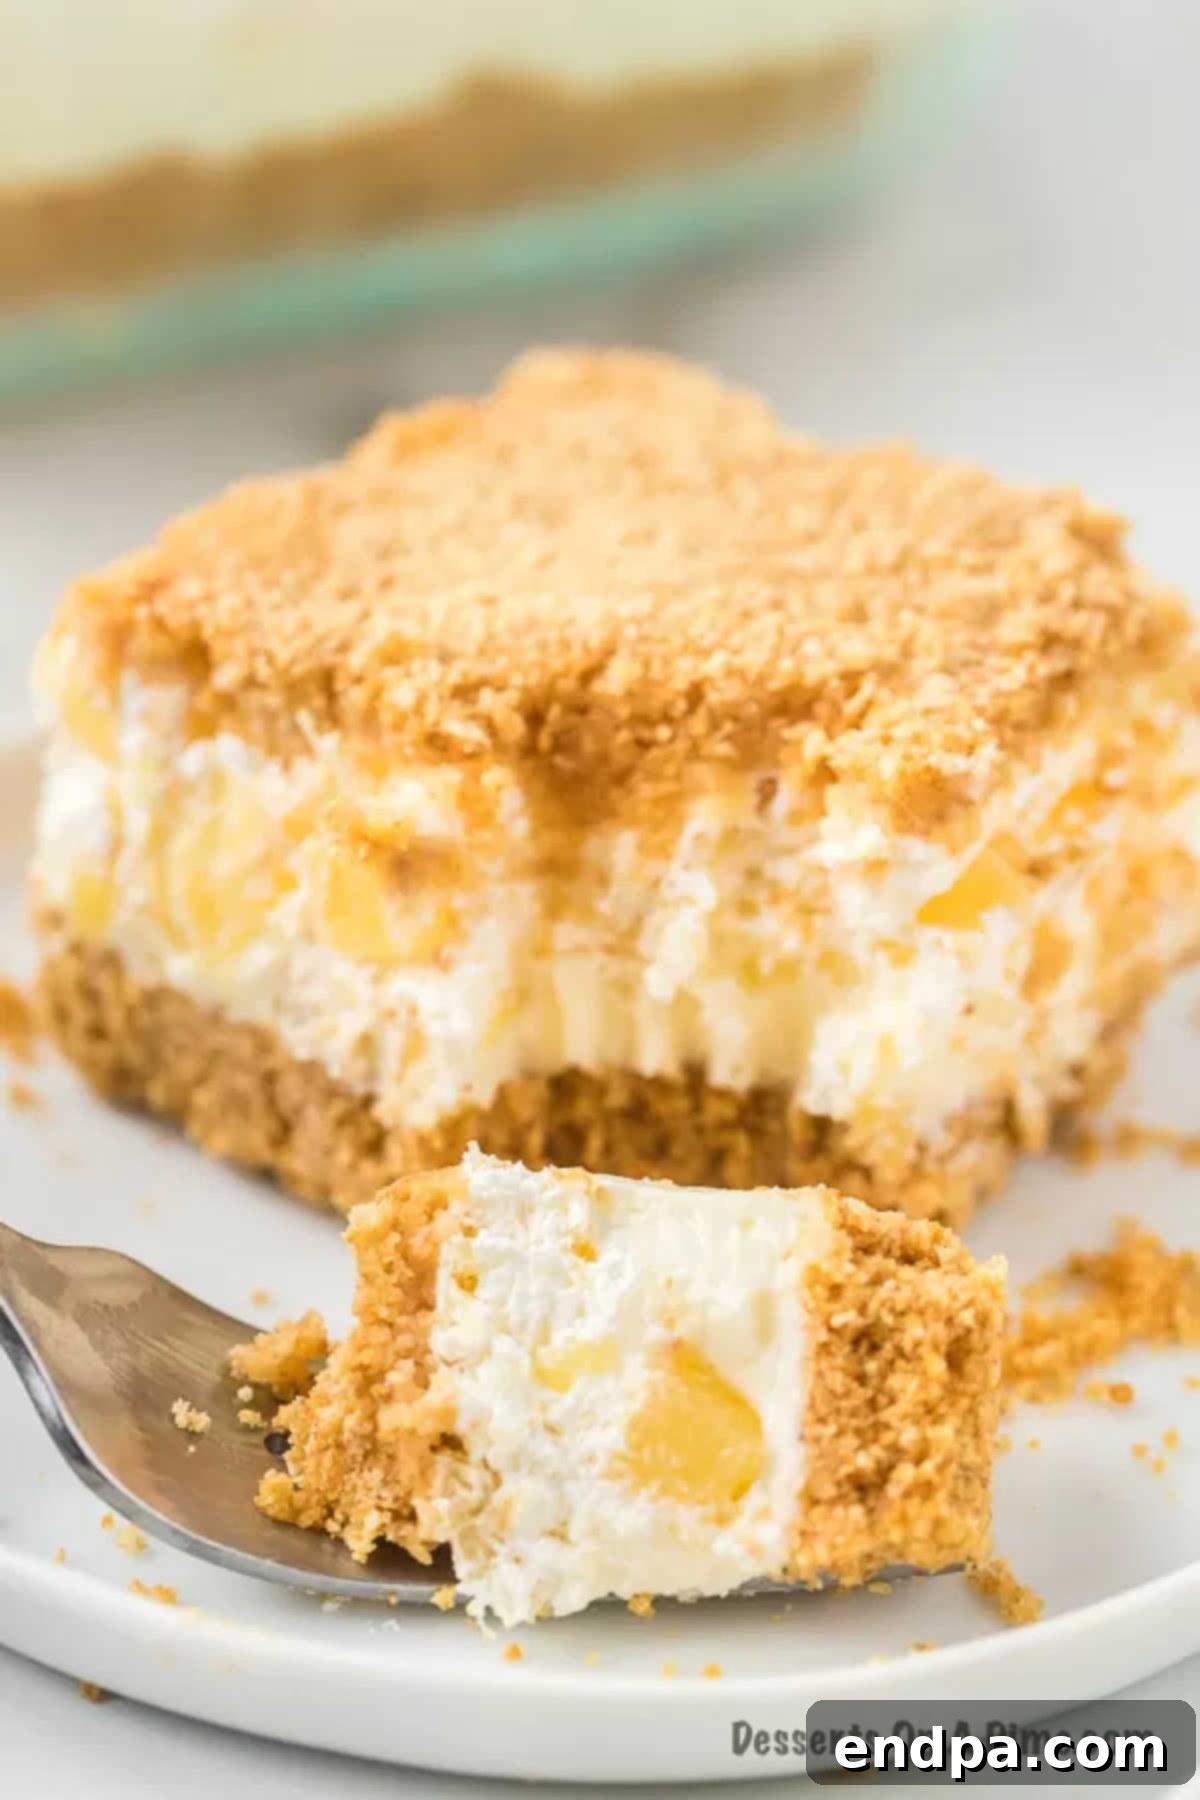
- Step 9: Slice & Serve. Once thoroughly chilled and set, remove from the refrigerator. For perfect, neat slices, run a sharp knife under warm water, wipe it dry, and then slice the dessert. Repeat this process for each cut. Serve chilled and enjoy this delightful Pineapple Dream Dessert!
Expert Tips for Pineapple Dream Dessert Perfection
Achieving a flawless Pineapple Dream Dessert is easy with a few insider tips. These suggestions will help you elevate your dessert from great to absolutely extraordinary.
- Embrace the No-Bake Option: For an even quicker and oven-free preparation, you can transform this into a no-bake dessert. Instead of baking the graham cracker crust, simply press it firmly into the pan and refrigerate it for at least 2 hours. This chilling period allows the butter to solidify, creating a wonderfully firm crust without needing heat. This is a fantastic option for hot days or when oven space is limited.
- Master Homemade Graham Cracker Crumbs: While store-bought crumbs are convenient, making your own offers superior freshness and control over texture. A food processor will yield fine, even crumbs in seconds. If you don’t have one, place the graham crackers in a sturdy zip-top bag, seal it, and crush them with a rolling pin or the bottom of a heavy pan until you reach your desired consistency.
- Avoid Overmixing the Cream Cheese Layer: When combining the cream cheese, butter, and powdered sugar, beat the mixture just until it is smooth and fluffy. Overmixing can incorporate too much air, which might lead to a softer, less stable filling that struggles to set properly once chilled. Stop mixing as soon as the ingredients are well combined and smooth.
- Fold in Pineapple by Hand: After preparing the creamy base, gently stir in the thoroughly drained crushed pineapple using a spatula. Resist the urge to use an electric mixer at this stage, as it can break down the pineapple pieces and compromise the light, airy texture of the cream cheese filling. Hand-folding ensures the pineapple is evenly distributed without deflating the mixture.
- The Pretzel Crust Twist: For a delightful sweet and salty flavor combination, consider swapping the graham cracker crust for a crushed pretzel crust. This variation adds an unexpected savory crunch that beautifully complements the sweet pineapple and creamy layers, similar to a classic pretzel salad. Adjust the butter and sugar slightly to taste.
- Crucial Chill Time is Key: This dessert relies heavily on adequate chilling. Refrigerate the fully assembled Pineapple Dream Dessert for at least 4 hours, but ideally overnight. This extended chill time is essential for the layers to set firmly, allowing for clean slices, and for the flavors to fully meld together, enhancing the overall taste experience.
- Choose the Right Baking Pan: While a 9×9-inch pan is standard, the material can make a difference. Glass or metal pans are recommended as they conduct cold better and help the crust set more effectively. Avoid using plastic containers for the initial setting as they may retain moisture and affect the crust’s texture, potentially making it soggy.
- Achieve Clean Slices Every Time: To get those picture-perfect, neat slices, use a sharp, thin-bladed knife. Before each cut, run the knife under warm water, then wipe it completely dry. The warm blade will glide through the creamy layers more easily, creating clean edges without dragging or sticking.
- Make Ahead and Storage: This dessert is an excellent make-ahead option. Assemble it the day before your event, chill it overnight, and it will be perfectly set and flavorful. Store any leftovers tightly covered in the refrigerator for up to 3-4 days. The flavors actually deepen over time, making leftovers equally delicious!
- Consider Freezing for Longer Storage: If you want to prepare this dessert well in advance or save leftovers for a longer period, it can be frozen. Once completely set and chilled, wrap the dessert tightly in plastic wrap, then an additional layer of aluminum foil. Freeze for up to 1 month. Thaw in the refrigerator overnight before serving.
Frequently Asked Questions (FAQs)
Here are answers to some common questions about making and enjoying Pineapple Dream Dessert:
Can I use fresh pineapple instead of canned?
While fresh pineapple offers a wonderful flavor, it contains enzymes that can break down dairy proteins, potentially preventing the cream cheese and whipped topping layers from setting properly. For this specific recipe, canned crushed pineapple (thoroughly drained) is highly recommended for its consistent texture and enzyme-neutralization through the canning process. If you insist on fresh, you would need to cook it first to deactivate the enzymes, which adds an extra step.
How long does Pineapple Dream Dessert last?
When stored properly in an airtight container in the refrigerator, Pineapple Dream Dessert will remain fresh and delicious for 3 to 4 days. The graham cracker crust might soften slightly over time, but the flavors will continue to meld beautifully.
Can I make this dessert sugar-free?
Yes, you can adapt this recipe to be sugar-free or low-sugar. Substitute regular powdered sugar with a powdered sugar substitute (like erythritol or monk fruit blend). Ensure you use a sugar-free whipped topping (such as sugar-free Cool Whip) and look for canned crushed pineapple packed in water or its own juice with no added sugar. Always check product labels for specific dietary needs.
What kind of cream cheese is best for this recipe?
For the best results and a firm, rich filling, always use full-fat, block-style cream cheese. Whipped cream cheese or cream cheese in tubs often contains more air and stabilizers, which can make your filling too soft and prevent it from setting correctly. Ensure the cream cheese is softened to room temperature for smooth blending.
Explore More Irresistible Pineapple Desserts
If you’ve fallen in love with the tropical sweetness of pineapple in this dream dessert, you’ll be thrilled to discover other fantastic recipes that celebrate this versatile fruit. Here are a few more pineapple-infused treats to tempt your taste buds:
- 2 Ingredient Pineapple Angel Food Cake Recipe: An incredibly simple yet satisfying cake that combines just two ingredients for a light and airy dessert.
- Baked Pineapple Dessert: A warm, comforting, and slightly caramelized baked treat that highlights the natural sweetness of pineapple.
- Dole Whip Recipe: Recreate the iconic Disney theme park treat at home with this refreshing, creamy, and dairy-free pineapple soft serve.
- Pineapple Upside Down Cupcakes: All the classic charm of a pineapple upside-down cake, perfectly portioned into delightful individual cupcakes.
- Cherry Pineapple Dump Cake: An incredibly easy, minimal-effort cake that combines fruit, cake mix, and butter for a bubbly, sweet result.
- Pineapple Poke Cake: A moist cake infused with a sweet pineapple sauce, topped with a luscious whipped topping, delivering a burst of tropical flavor in every bite.
Whip up this incredibly delicious and easy Pineapple Dream Dessert with minimal effort, and prepare for it to vanish quickly! Its refreshing layers and delightful flavors make it a crowd-pleasing favorite. Don’t forget to leave a comment and share your experience once you try this simple yet spectacular recipe.
Pineapple Dream Dessert
Ingredients
- For the Crust:
- 2 1/2 cup Graham Cracker Crumbs
- 1/2 cup unsalted Butter, melted
- For the Layers:
- 1 cup Powdered Sugar
- 1/2 cup unsalted butter, softened
- 8 oz cream cheese, softened
- 8 oz cool Whip, thawed
- 20 oz can of Crushed Pineapple, Drained Well
Instructions
- Preheat the oven to 300 degrees F (150°C).
- Melt the butter for the crust. Stir 2 cups of graham cracker crumbs into the melted butter until thoroughly combined. Press this mixture firmly into the bottom of a 9×9-inch baking pan. Bake for 8-10 minutes, then transfer to a wire rack to cool completely.
- In a large bowl, beat together the softened cream cheese and 1/2 cup softened unsalted butter using a handheld or stand mixer until smooth and creamy.
- Gradually add the powdered sugar to the cream cheese and butter mixture, beating until it is fully incorporated and the mixture is smooth and velvety.
- Gently stir in 1 tablespoon of the thoroughly drained crushed pineapple by hand using a spatula.
- Evenly spread this creamy mixture over the cooled graham cracker crust using a spatula.
- In a separate bowl, combine the thawed cool whip with the remaining drained crushed pineapple. Spread this mixture on top of the cream cheese layer in the pan.
- Top with the remaining 1/2 cup of graham cracker crumbs. Cover the pan and refrigerate for at least 4 hours, or ideally overnight, to allow the layers to set and flavors to meld.
- Slice, serve, and enjoy your delightful Pineapple Dream Dessert!
