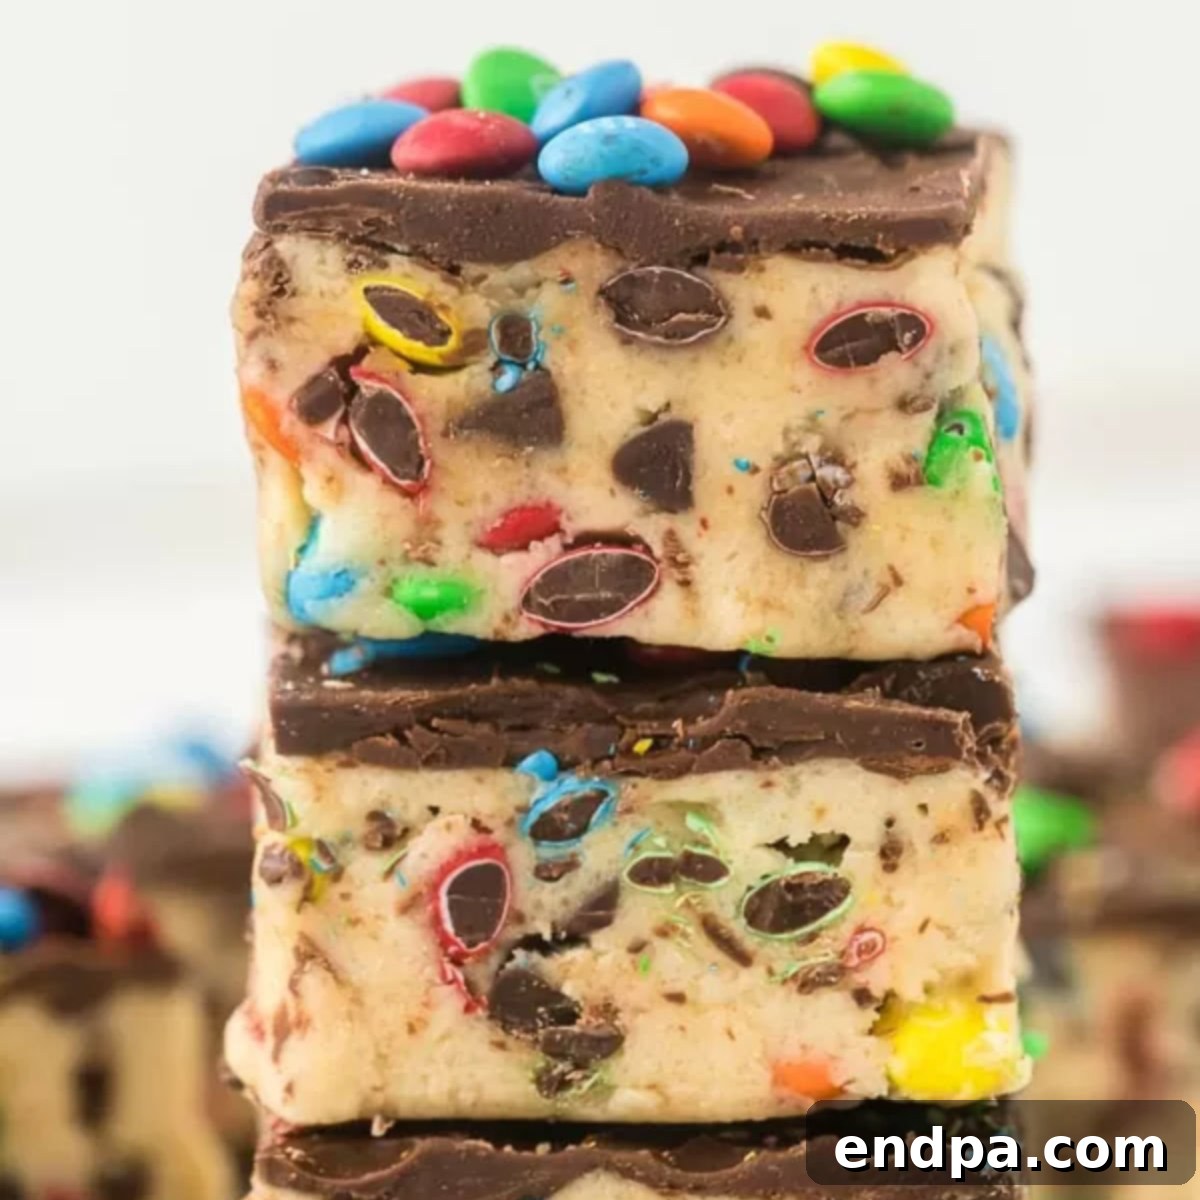
If you’re utterly obsessed with the irresistible taste of cookie dough, prepare to have your dessert dreams come true with these incredible no-bake Cookie Dough Bars. This recipe is an absolute game-changer, offering all the rich, sweet, and comforting flavor of homemade cookie dough, perfectly blended with chocolate chips and M&M’s, all without ever needing to turn on your oven. It’s truly a must-try for any cookie dough enthusiast!
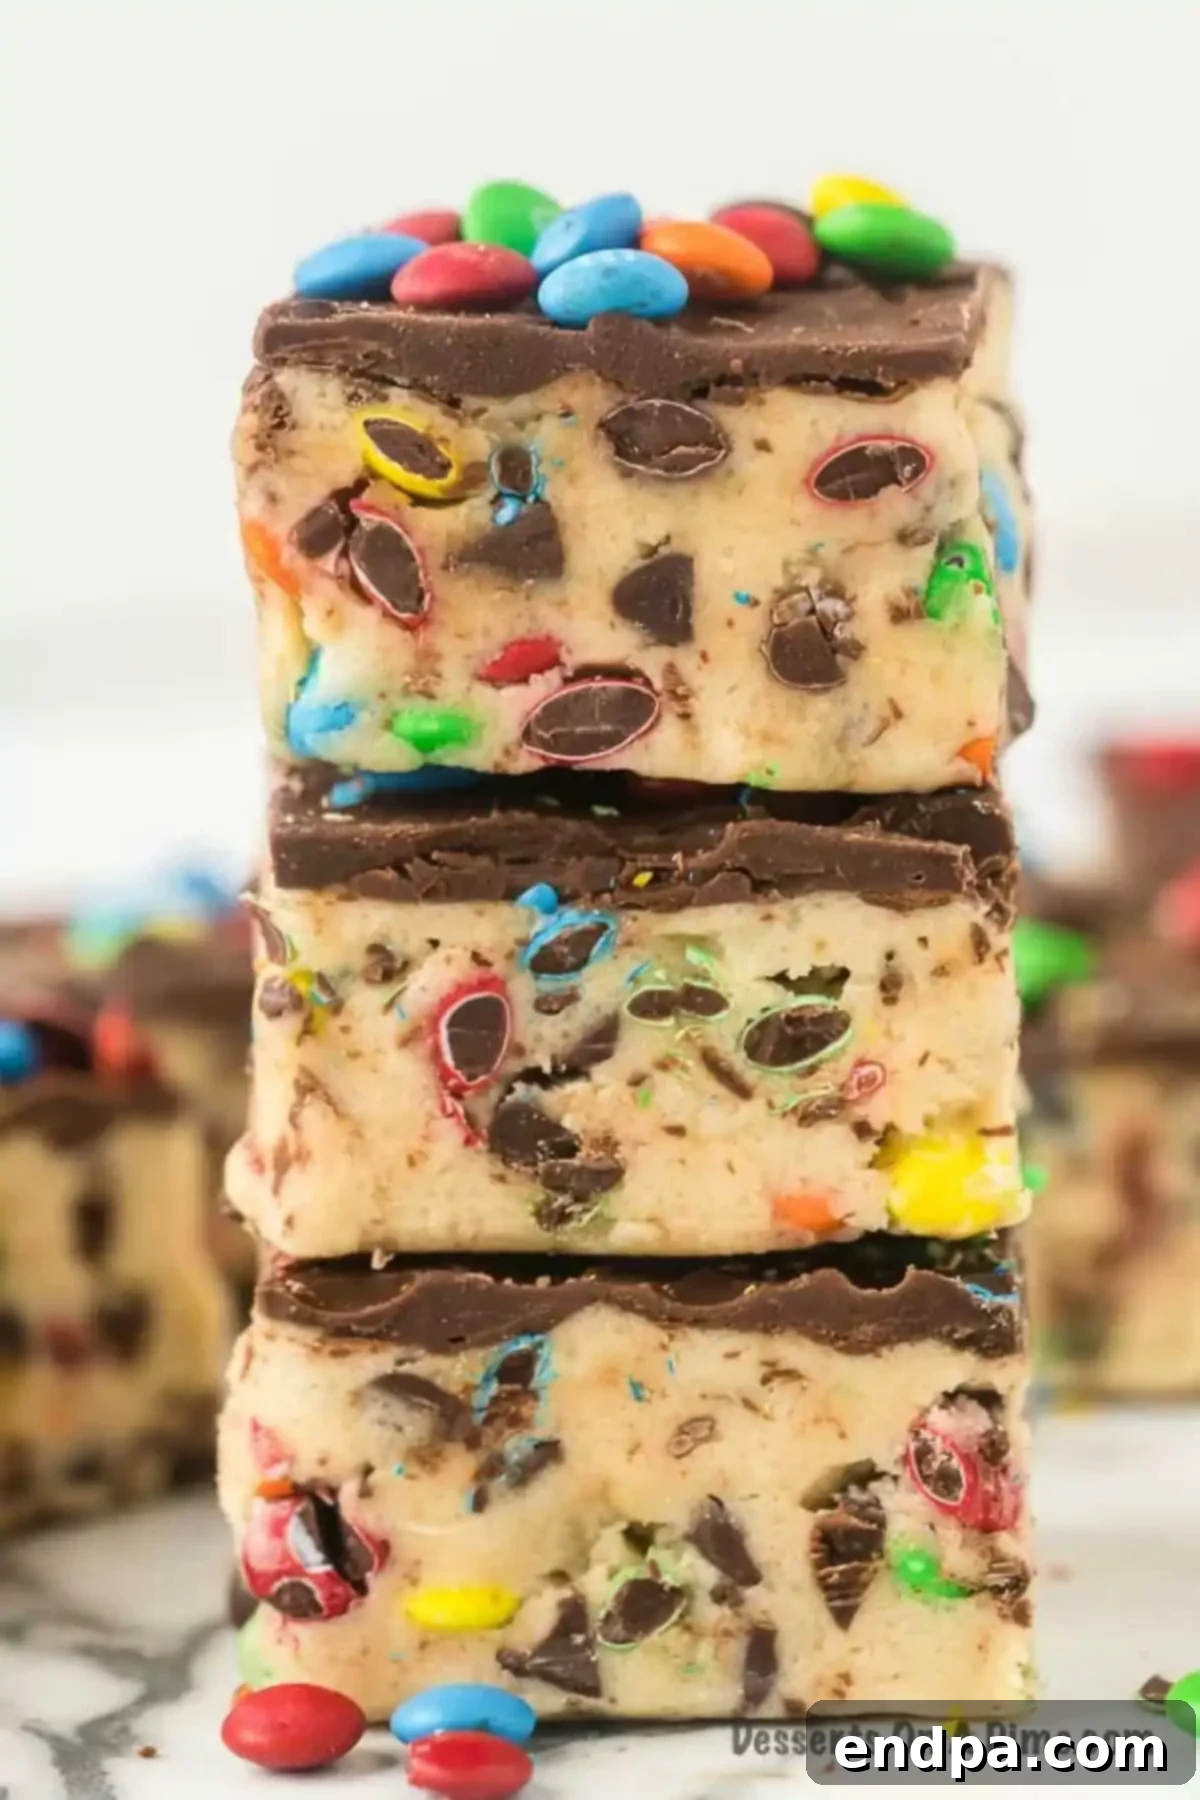
Everyone adores edible cookie dough, and these no-bake bars take that love to a whole new level. They represent the ultimate fusion of creamy, dreamy cookie dough, generously studded with miniature chocolate chips and vibrant M&M candies. What makes them even better? Their no-bake nature makes them ideal for busy schedules, warm weather, or simply when you crave a quick, satisfying dessert without the fuss. Just like our popular No Bake Chocolate Peanut Butter Bars, these cookie dough treats are designed for effortless indulgence.
These versatile Cookie Dough Bars are a fantastic standalone treat, and they taste just as wonderful if you prefer to omit the M&M’s and stick purely to chocolate. Kids especially go wild for these, and they’re always a hit alongside other family favorites like our delightful Monster Cookie Recipe or their gluten-free counterpart, Gluten Free Monster Cookies. For those who want to explore even more cookie dough creations, don’t miss our indulgent Deep Fried Cookie Dough.
Table of contents
- Why You’ll Love These No-Bake Cookie Dough Bars
- The Magic of Edible Cookie Dough
- Essential Ingredients for Perfect Cookie Dough Bars
- Unleash Your Creativity: Exciting Variations
- Step-by-Step Guide: Crafting Your Cookie Dough Masterpiece
- Pro Tips for Flawless Cookie Dough Bars
- Storage and Make-Ahead Instructions
- Beyond the Bars: Related No-Bake Delights
- More Irresistible Cookie Bar Recipes
Why You’ll Love These No-Bake Cookie Dough Bars
Every single bite of these cookie dough bars is pure bliss – rich, sweet, and utterly decadent. You’ll quickly discover why this no-bake recipe becomes a permanent fixture in your dessert rotation. They’re not just a snack; they’re the perfect dessert, a delightful treat for special occasions, or simply a way to brighten an ordinary day.
- Effortless Preparation: Skip the oven and complex baking steps. These bars are incredibly simple to make, perfect for novice bakers or anyone short on time.
- Crowd-Pleasing Favorite: Who doesn’t love cookie dough? These bars are guaranteed to be a hit with family and friends of all ages, making them ideal for parties, potlucks, or after-school treats.
- Customizable Fun: From various chocolate chips to different candies or sprinkles, the possibilities for customization are endless, allowing you to tailor them to any taste or holiday theme.
- Perfect for Any Occasion: Whether it’s a birthday celebration, a casual get-together, or a quiet evening at home, these bars fit right in. They’re especially refreshing during warmer months when you want a sweet treat without heating up your kitchen.
- Versatile Serving: Enjoy them on their own, or get creative! We often serve them with a scoop of vanilla ice cream, or even crumbled into pieces to mix into sundaes.
Speaking of easy, have you ever tried making cookie dough dip? It’s another fantastic, no-bake option that my kids adore for parties or just snacking. The world of cookie bar recipes truly offers endless possibilities for delicious, convenient desserts. And for another whimsical, kid-friendly treat, you might also enjoy our playful Unicorn Poop Cookies.
The Magic of Edible Cookie Dough
The allure of raw cookie dough is universal, evoking childhood memories and pure comfort. These no-bake bars capture that very essence, transforming it into a safe and shareable dessert. Unlike traditional cookie dough, this recipe omits eggs and heat-treated flour (though you can optionally toast your flour for extra peace of mind), making it perfectly safe to devour straight from the mixing bowl – and even better, pressed into delightful bars! It’s the ultimate guilt-free indulgence for any cookie dough cravings.
Essential Ingredients for Perfect Cookie Dough Bars
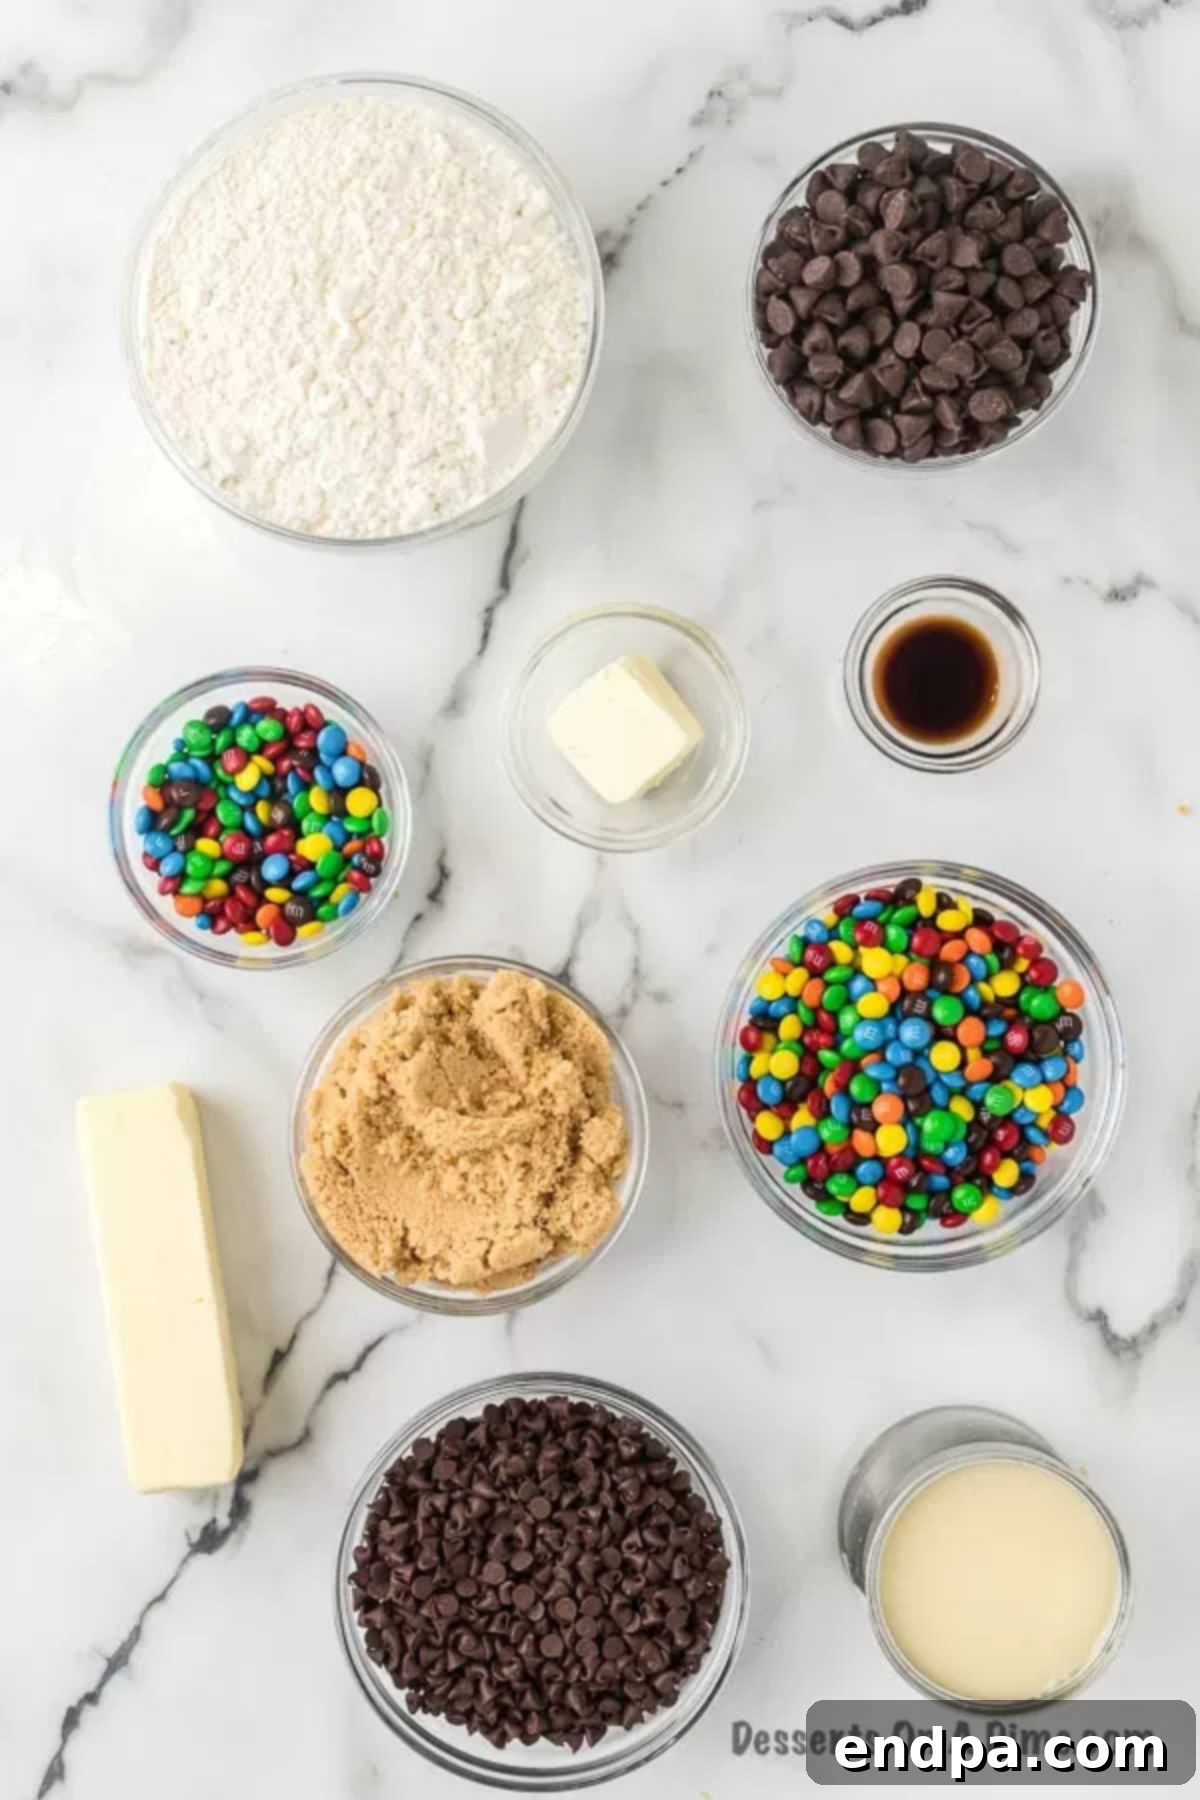
Crafting these delectable no-bake cookie dough bars requires a few simple, readily available ingredients. The quality of each component contributes to the rich flavor and perfect texture:
For the Irresistible Cookie Dough Base:
- Unsalted Butter (Softened): Using unsalted butter allows you to control the salt content in your recipe. Ensure it’s perfectly softened to achieve a smooth, creamy base when mixed with the sugar.
- Brown Sugar: This is key to that classic “cookie dough” flavor, providing moisture and a deep, molasses-like sweetness that white sugar alone cannot replicate.
- Vanilla Extract: A good quality vanilla extract enhances all the other flavors, adding a warm, aromatic note. Don’t skimp on this!
- All-Purpose Flour: While traditional cookie dough uses raw flour, for optimal safety, you can quickly heat-treat your flour by baking it at 350°F (175°C) for 5-7 minutes, or until it reaches 160°F (71°C), then allowing it to cool completely before use. This step is optional but recommended.
- Sweetened Condensed Milk: This magical ingredient binds the dough, adds incredible sweetness, and contributes to the wonderfully soft, chewy texture without needing to bake.
- Miniature Chocolate Chips: These little morsels are essential for that classic chocolate chip cookie dough experience. Mini chips distribute more evenly throughout the dough.
- Miniature M&M’s: For a pop of color, extra chocolatey goodness, and a delightful candy crunch.
For the Decadent Chocolate Topping:
- Chocolate Chips: You’ll need more chocolate chips for the smooth, melt-in-your-mouth topping. Semi-sweet or milk chocolate works beautifully here.
- Butter: A small amount of butter added to the chocolate chips creates a glossy, pliable ganache-like topping that sets perfectly.
- Mini M&M’s: An extra scattering of M&M’s on top adds visual appeal and another layer of texture.
A detailed list of exact measurements can be found in the recipe card at the bottom of the page.
Unleash Your Creativity: Exciting Variations
One of the best things about these cookie dough bars is how easily you can customize them to suit your taste or any occasion. Get creative and make them your own!
- Chocolate Chip Choices: While miniature chocolate chips are suggested, feel free to experiment! Substitute with dark chocolate chips for a more intense flavor, or use white chocolate chips for a creamier, sweeter profile. You can also use regular-sized chocolate chips if minis aren’t available – they’ll just provide bigger bursts of chocolate. A mix of milk, dark, and white chocolate morsels can create a delightful medley.
- Seasonal Sprinkles: Add a festive touch by sprinkling colorful jimmies or themed sprinkles over the chocolate topping before it sets. This is a fantastic way to adapt the bars for holidays like Christmas, Halloween, or birthdays. Think red and green for the holidays, orange and black for Halloween, or pastel colors for Easter!
- A Hint of Sea Salt: For a sophisticated twist that beautifully balances the sweetness, lightly sprinkle a pinch of flaky sea salt on top of the chocolate layer just before it hardens. The contrast of sweet and salty is truly addictive.
- Nutty Additions: Introduce a delightful crunch by folding in finely chopped nuts like pecans, walnuts, or almonds into the cookie dough. This adds texture and a rich, earthy flavor that complements the sweetness of the dough.
- Different Candies: While M&M’s are classic, why stop there? Substitute with Reese’s Pieces for a peanut butter explosion, chopped peanut butter cups, crushed Oreos, or even mini chocolate-covered pretzels for a salty-sweet crunch.
- Extract Enhancements: Beyond vanilla, consider adding a touch of almond extract, peppermint extract (especially around the holidays), or even a hint of espresso powder to deepen the chocolate flavor.
- Frosting Fun: Instead of a simple chocolate topping, you could spread a thin layer of cream cheese frosting or a rich chocolate buttercream over the cookie dough base before chilling, then drizzle with melted chocolate or sprinkles.
- Gluten-Free Option: To make these bars gluten-free, substitute the all-purpose flour with a high-quality 1:1 gluten-free baking flour blend. Ensure all other ingredients are certified gluten-free.
Step-by-Step Guide: Crafting Your Cookie Dough Masterpiece
Making these no-bake cookie dough bars is incredibly straightforward. Follow these simple steps for a truly delicious result:
- Step 1: Prepare Your Pan. Begin by lining an 8×8-inch baking pan with parchment paper or foil, making sure to leave an overhang on the sides. This overhang will serve as handles, making it incredibly easy to lift the finished bars out of the pan. Lightly spray the parchment paper or foil with a non-stick cooking spray to prevent sticking. Set the prepared pan aside.
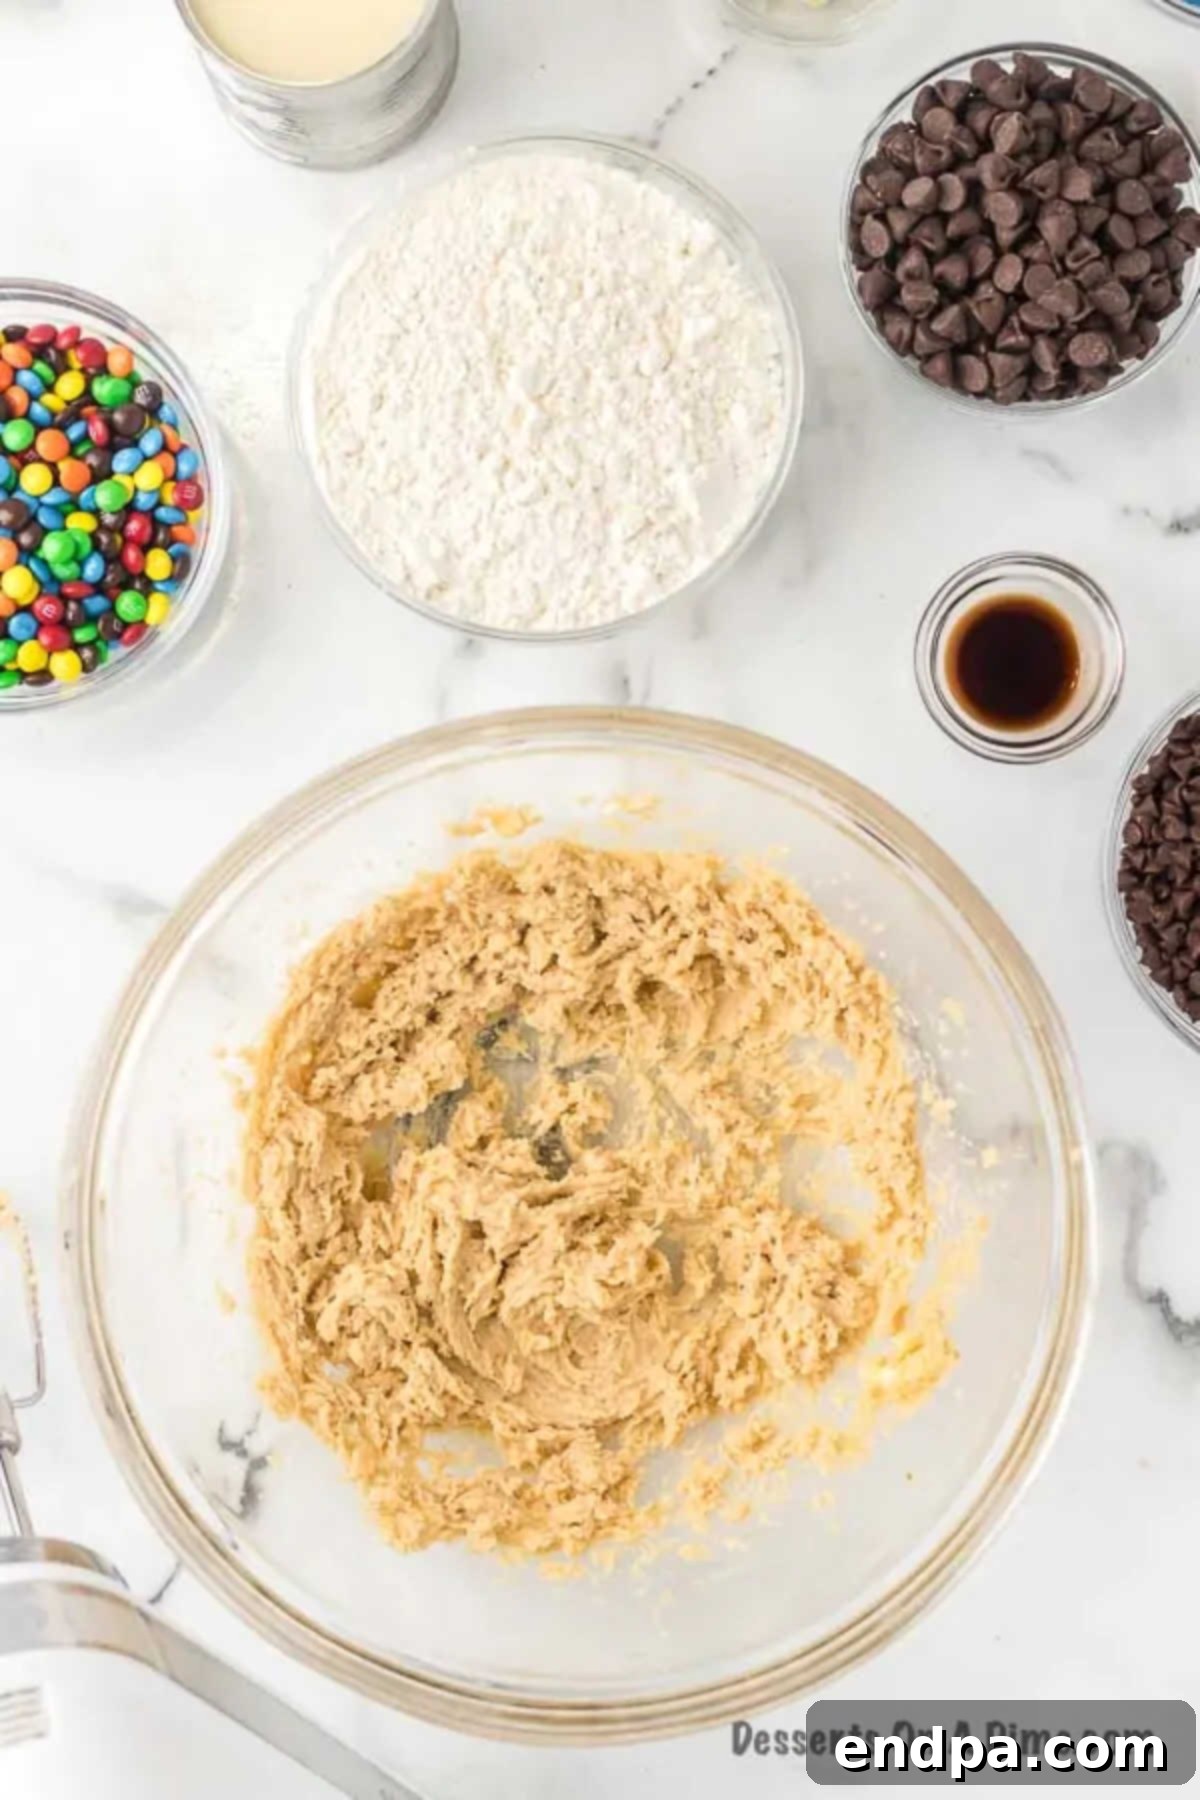
Step 2: Cream Butter and Sugar. In a large mixing bowl, combine the softened unsalted butter and brown sugar. Using either a handheld electric mixer or a stand mixer fitted with the paddle attachment, beat these ingredients together until the mixture is light, fluffy, and thoroughly combined. This creaming process ensures a smooth and well-incorporated cookie dough base.
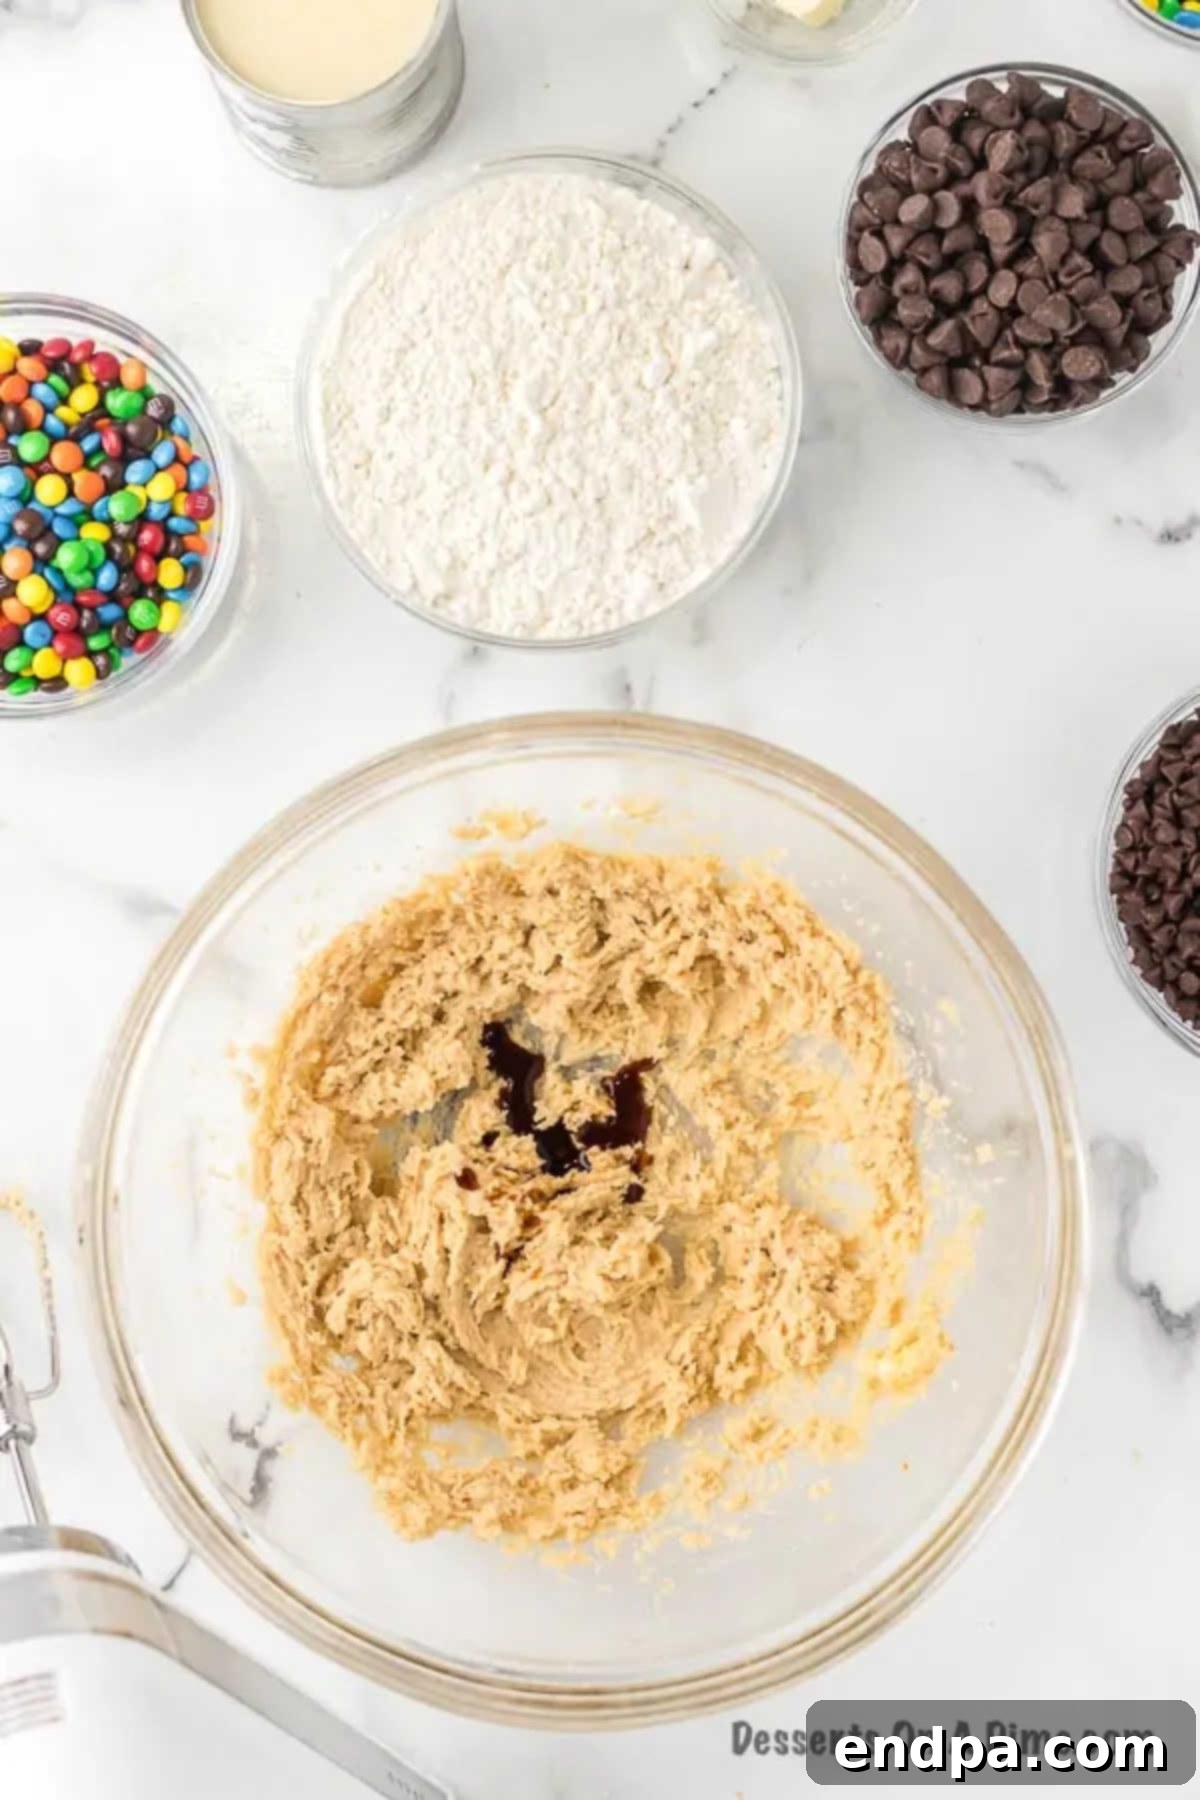
Step 3: Add Vanilla. Once the butter and sugar mixture is perfectly creamy, pour in the vanilla extract. Continue to mix for another minute or so, allowing the vanilla flavor to fully integrate and enhance the sweetness of the dough.
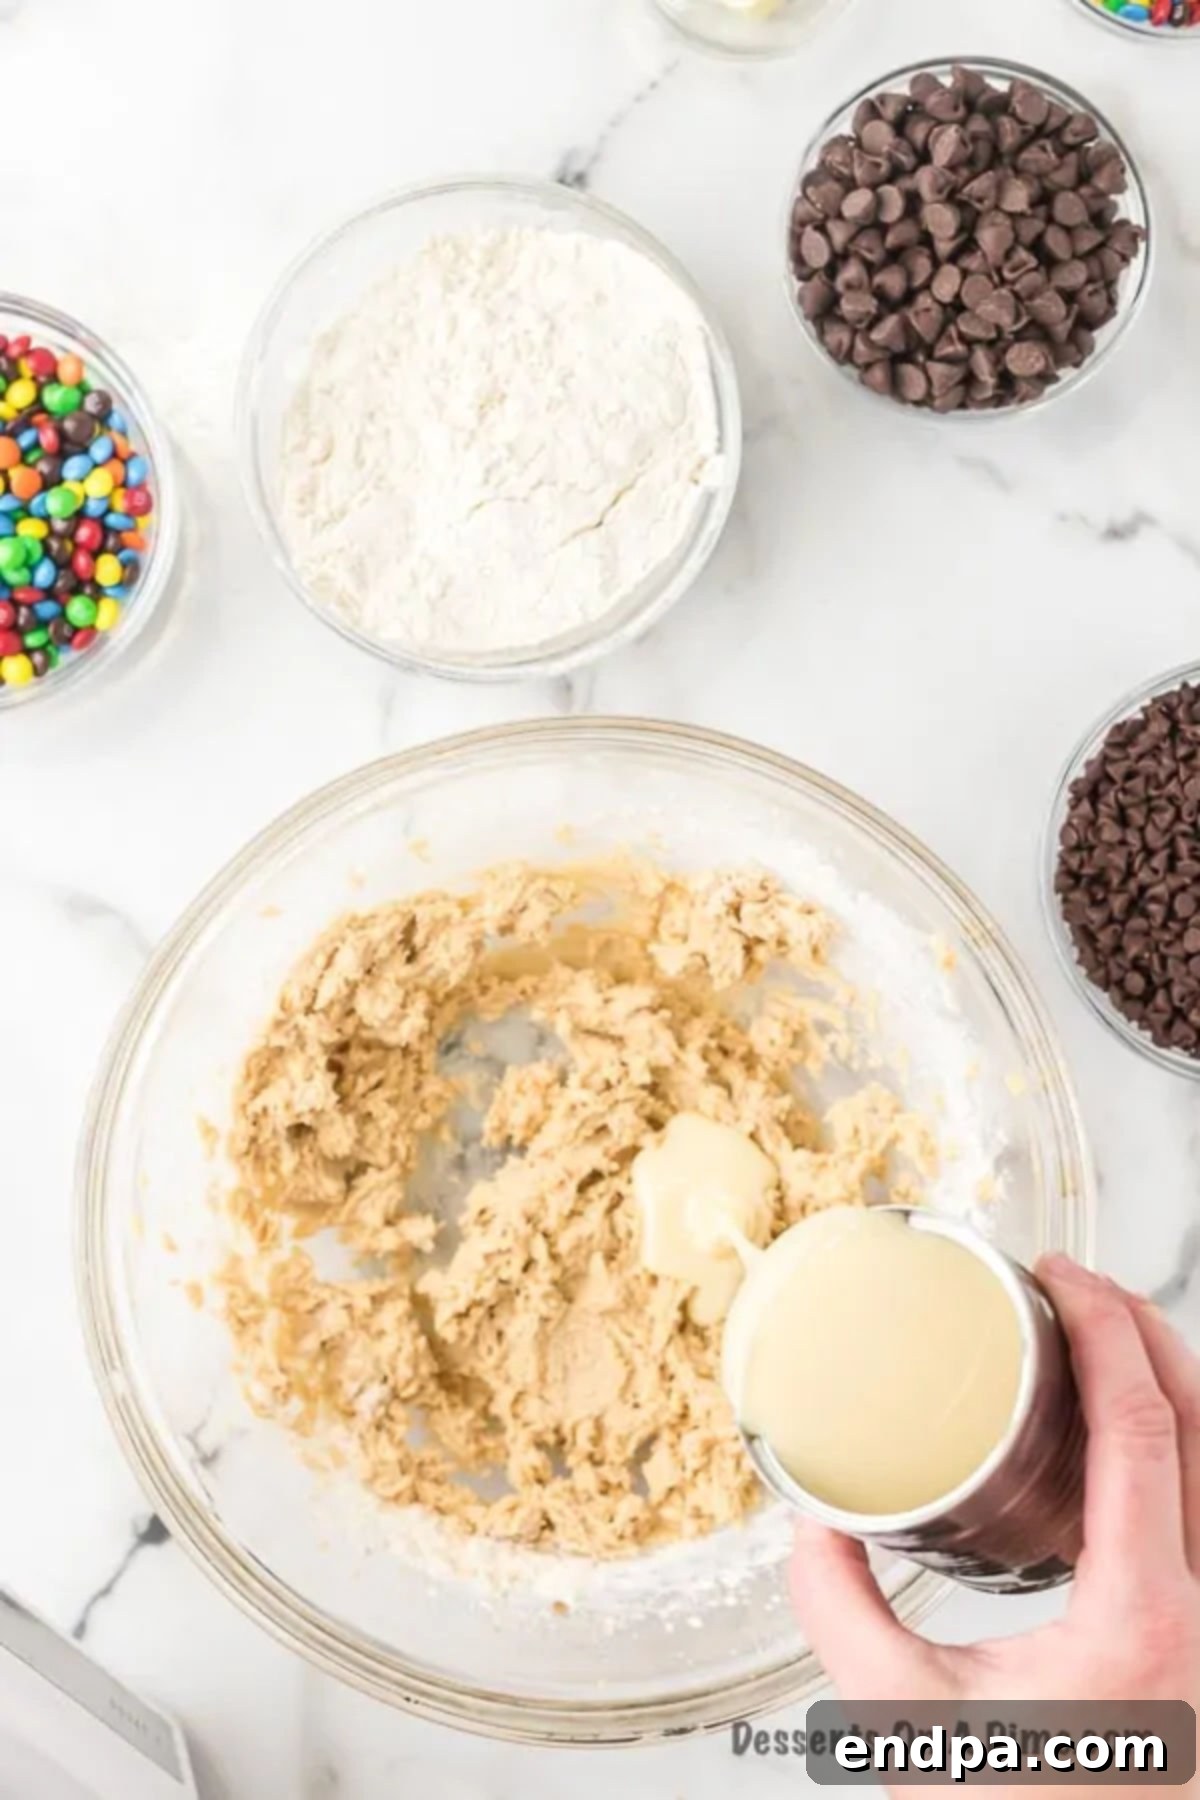
Step 4: Incorporate Dry and Wet Ingredients. Next, gradually add the all-purpose flour and sweetened condensed milk to the bowl. It’s best to alternate between these two ingredients, adding a little flour, mixing, then a little condensed milk, and mixing again. Continue this process until both ingredients are fully incorporated and a soft, pliable cookie dough forms. Be careful not to overmix; stop once the dough comes together.
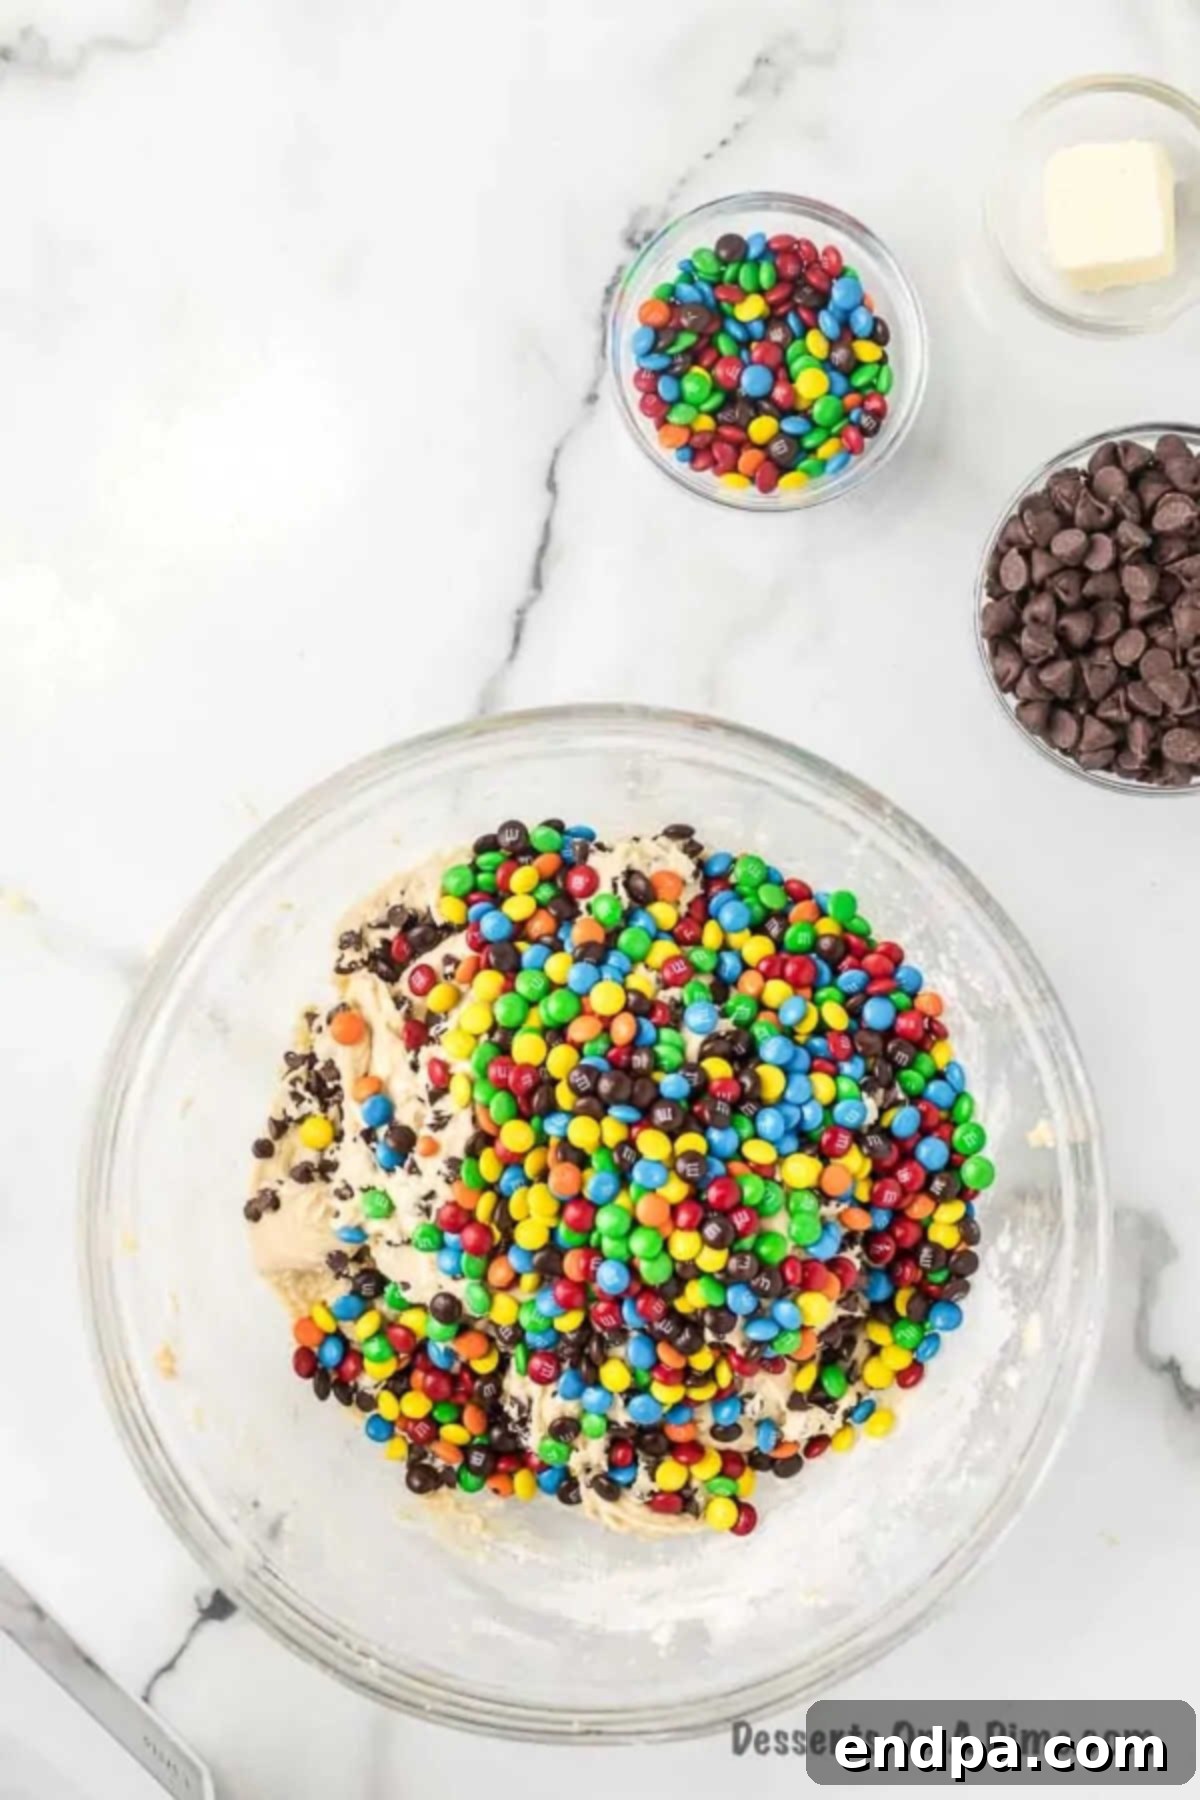
Step 5: Fold in Chocolate and M&M’s. Now for the fun part! Gently fold in the miniature chocolate chips and M&M’s by hand using a spatula. Mix until they are evenly distributed throughout the cookie dough. Mixing by hand prevents the candies from breaking apart and ensures a good texture.
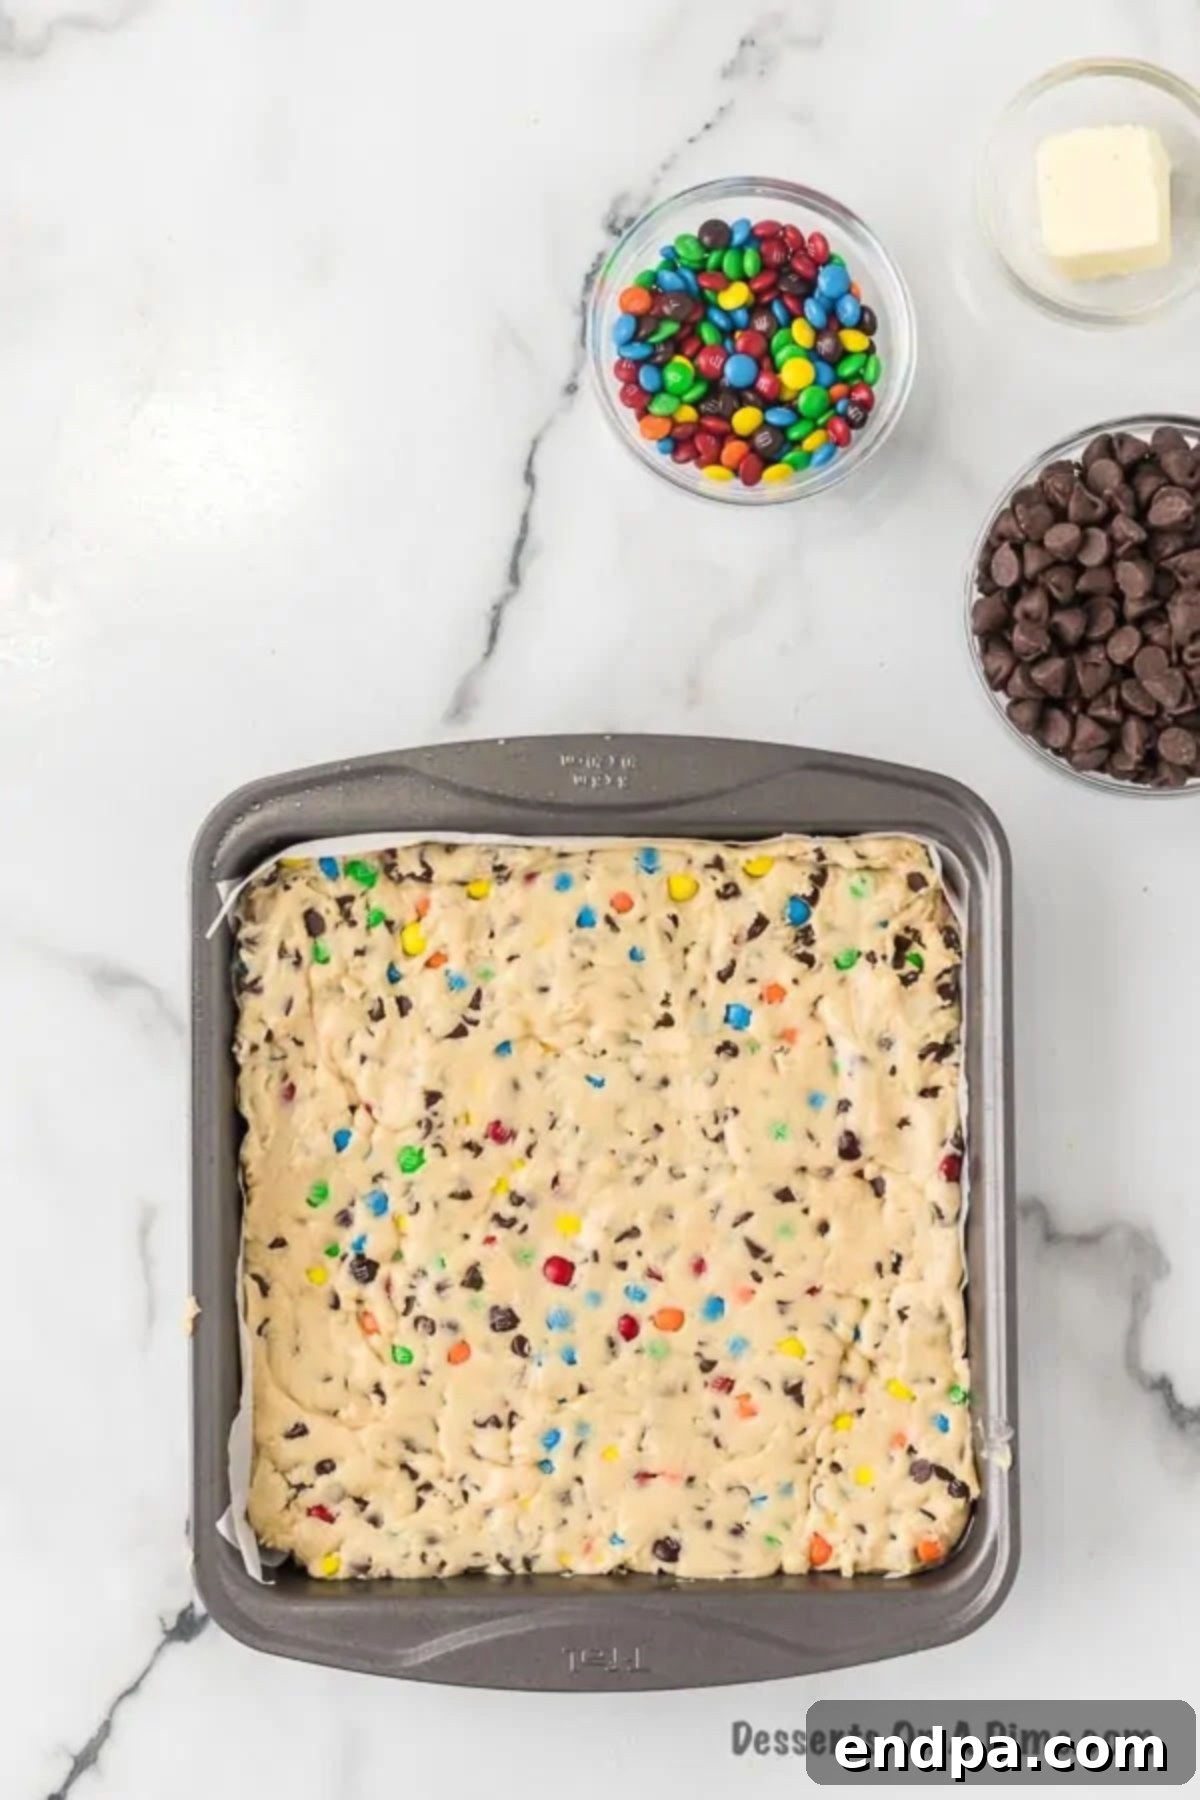
Step 6: Press into Pan and Chill. Transfer the cookie dough to your prepared 8×8-inch baking pan. Using your hands or the back of a spatula, firmly press the dough into an even, compact layer across the bottom of the pan. Ensure it’s smooth and flat. Place the pan in the freezer for about 30 minutes while you prepare the glorious chocolate topping.
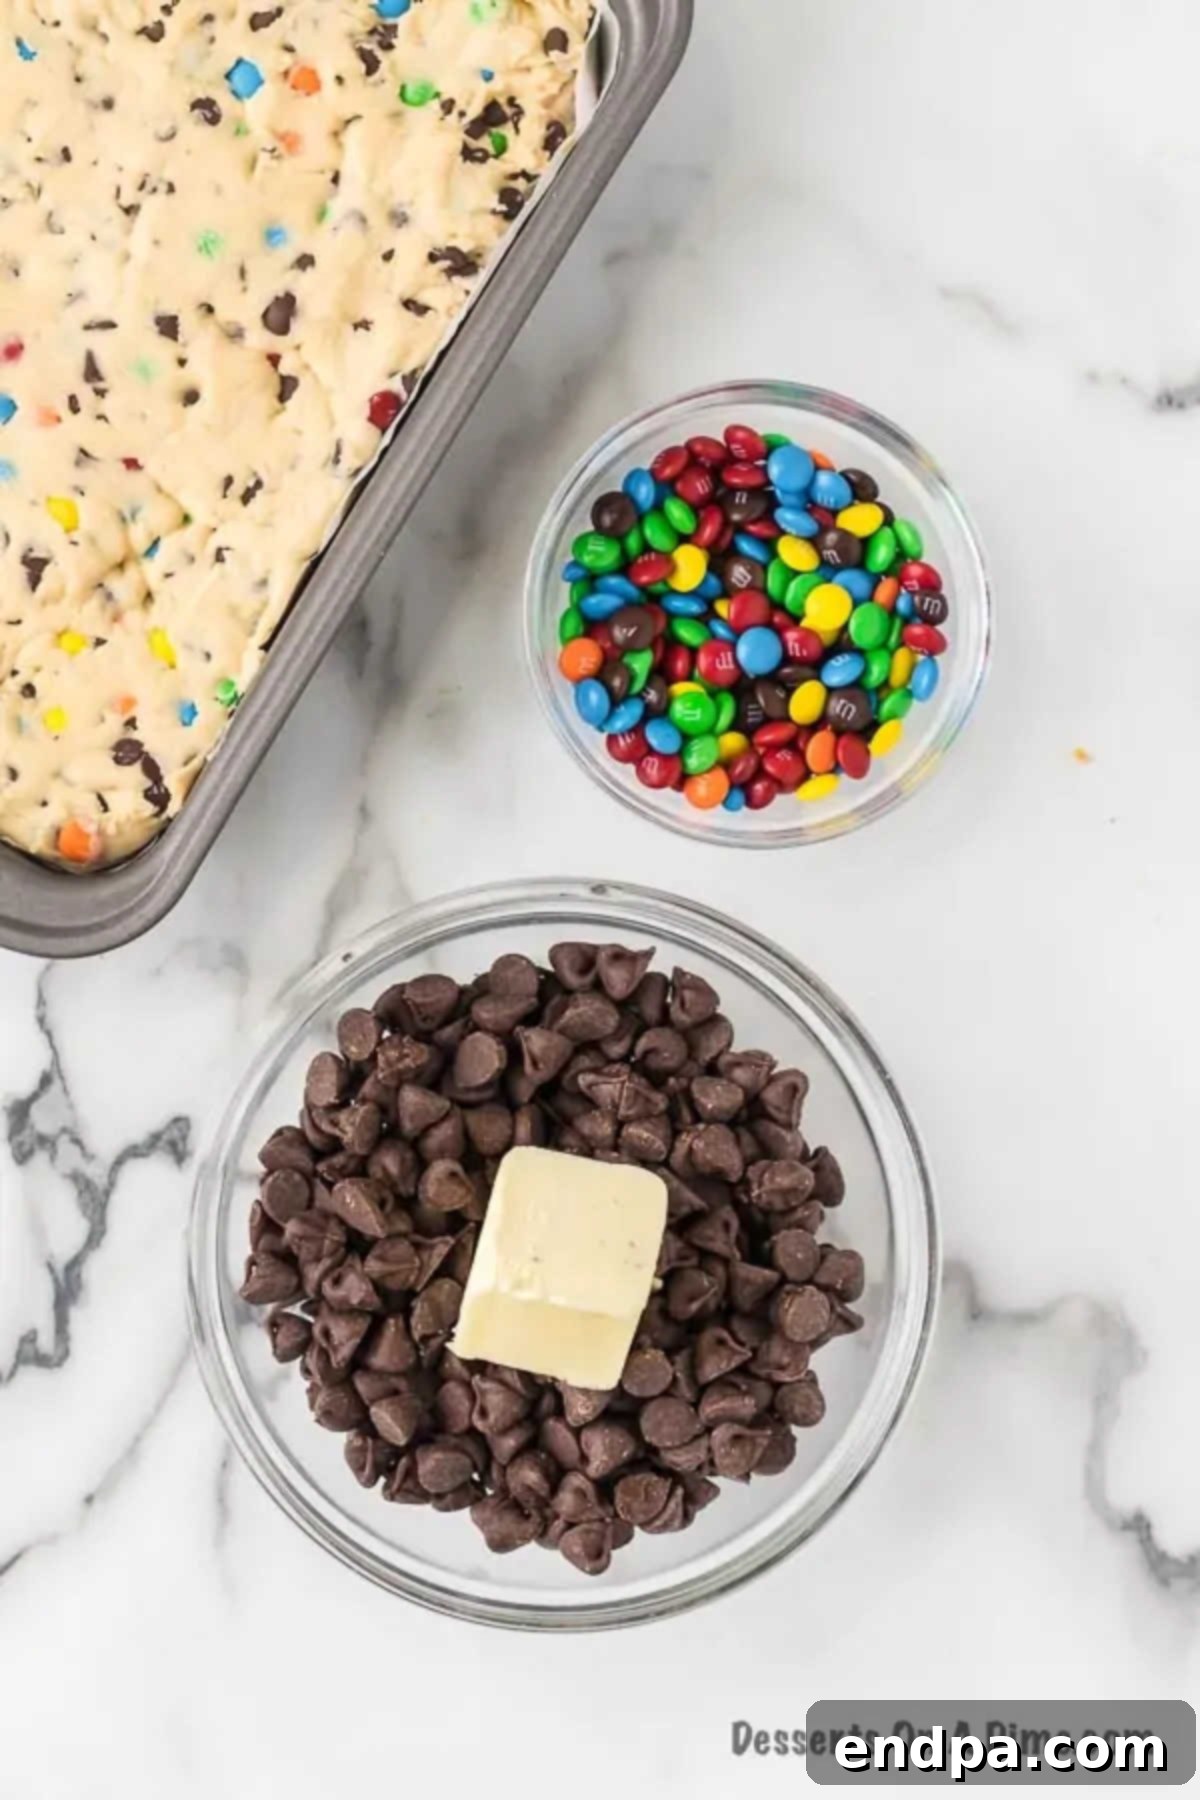
Step 7: Prepare the Chocolate Topping. In a microwave-safe bowl, combine the additional chocolate chips and butter. Microwave in short bursts, typically 30-second intervals, stirring well after each interval. This gradual melting process is crucial to prevent the chocolate from burning or seizing. Continue until the chocolate and butter are completely melted and smooth.
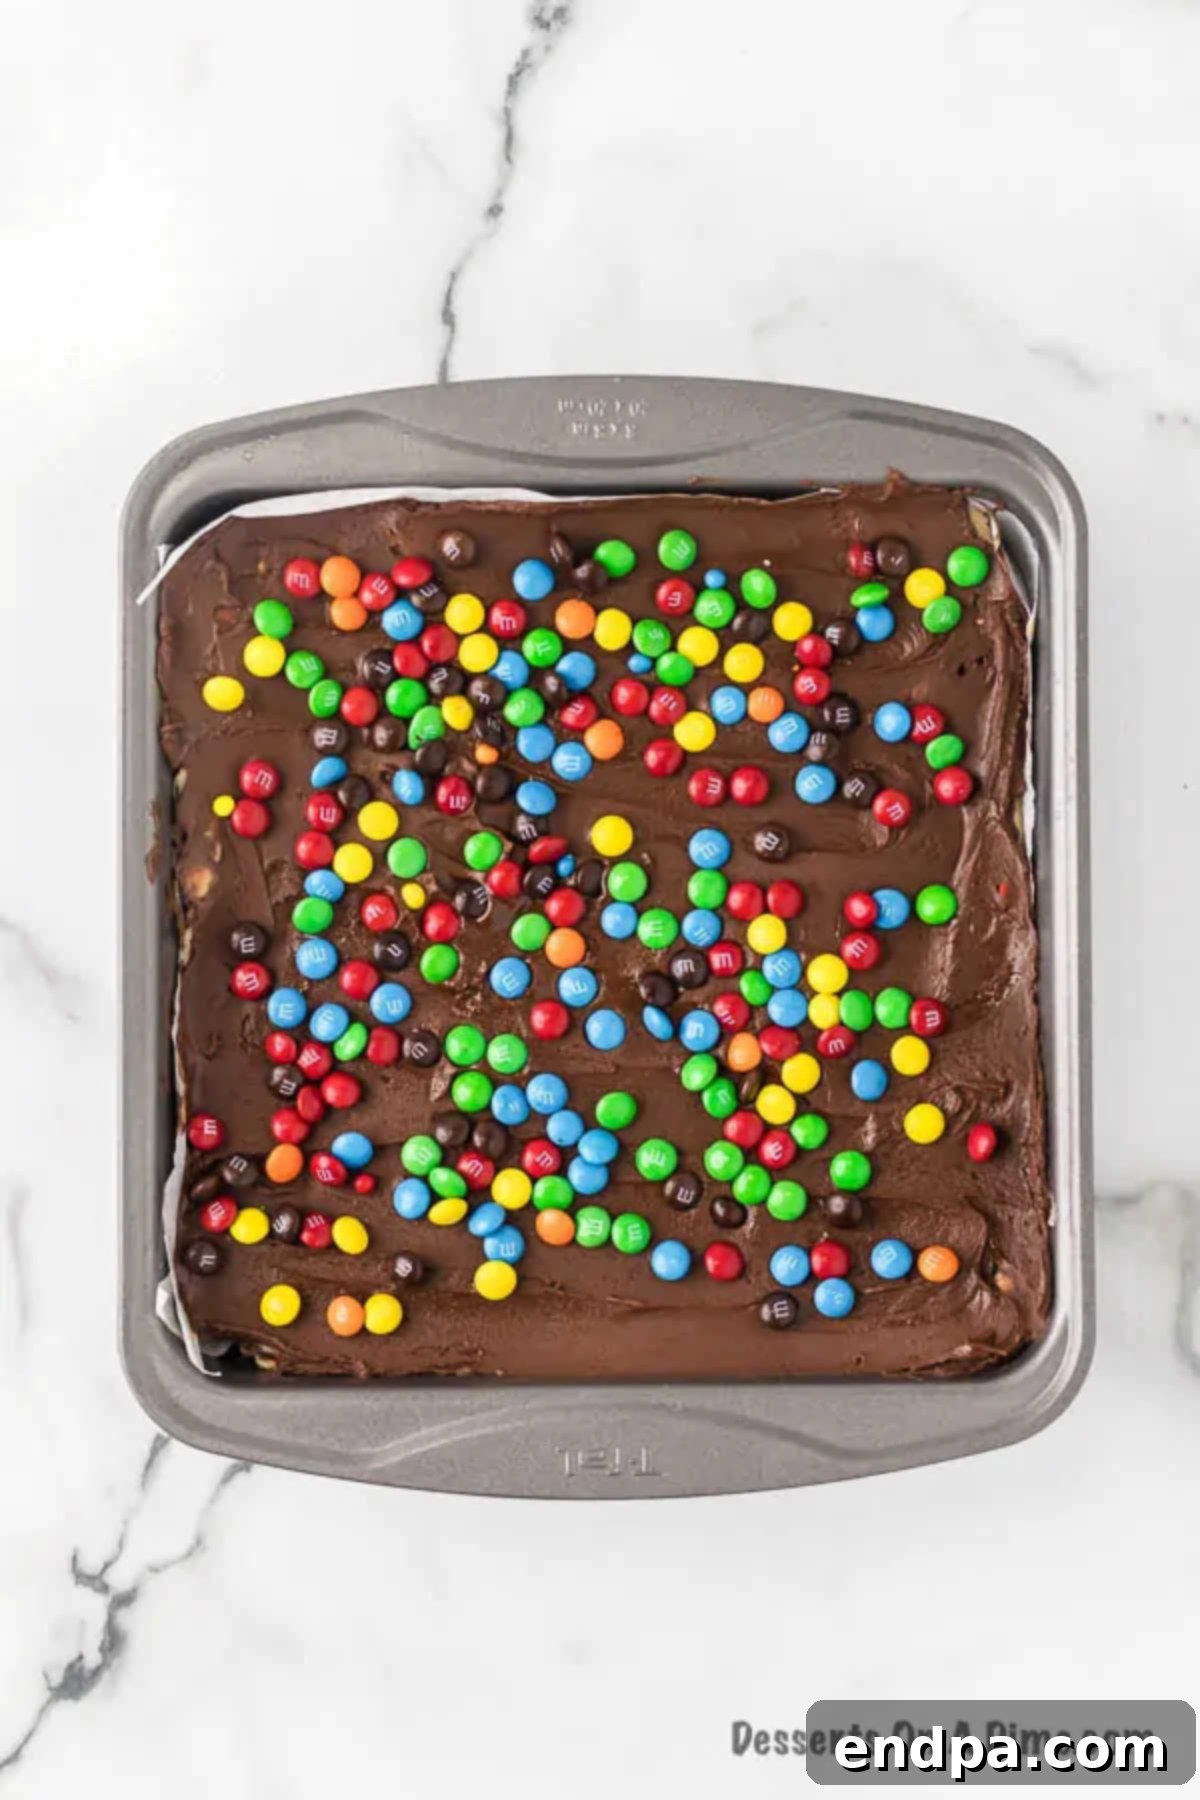
Step 8: Apply Topping and Finish. Once the chocolate topping is perfectly melted and smooth, pour it evenly over the chilled cookie dough layer in the pan. Use a spatula to gently spread it from edge to edge, ensuring a consistent layer. While the chocolate is still wet, press the remaining M&M’s gently into the melted chocolate for a beautiful and delicious finish.
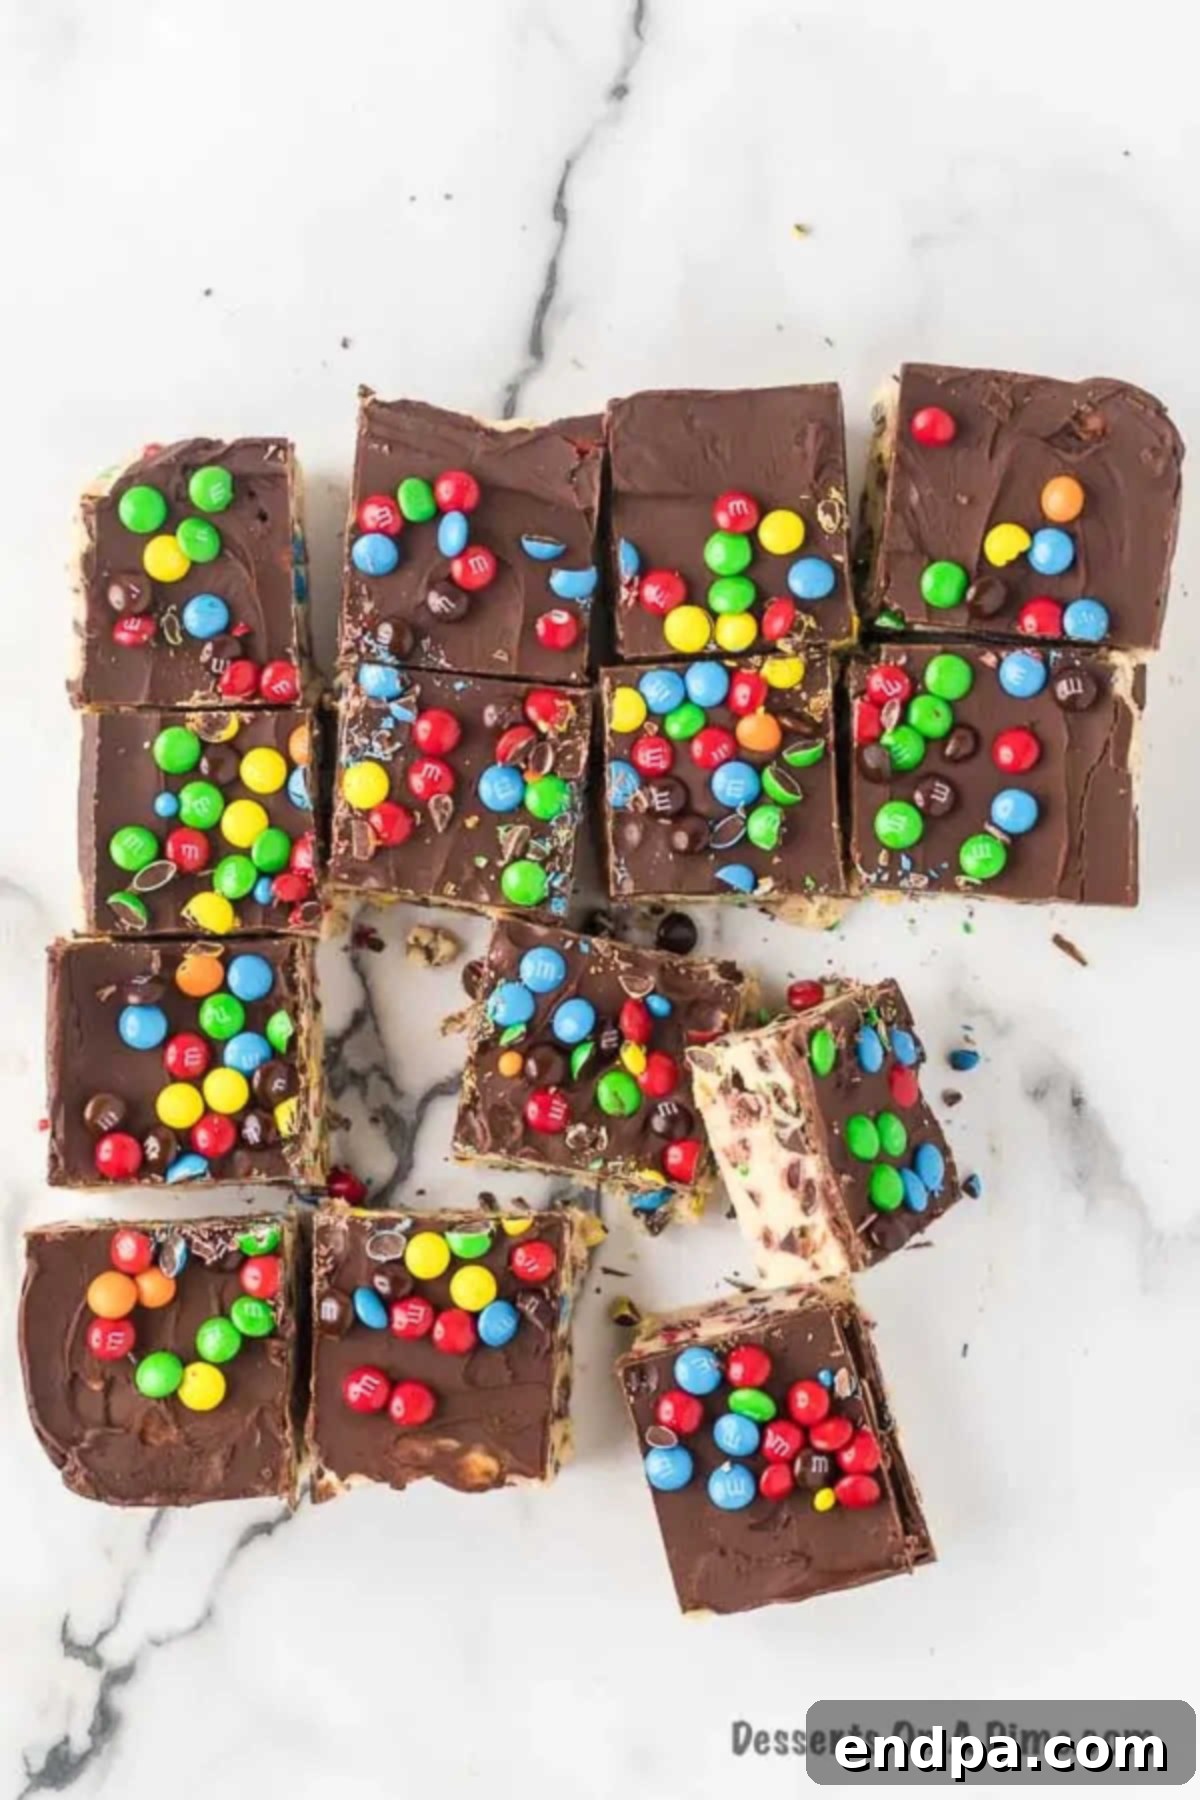
Step 9: Final Chill and Serve. Place the pan back into the refrigerator for at least 2 hours, or until the chocolate topping has completely hardened. This is essential for the bars to set properly and allow for clean cuts. Once chilled, use the parchment paper overhang to lift the entire slab out of the pan. Place it on a cutting board and slice into small, manageable squares. Keep the edible cookie dough bars chilled until you’re ready to serve and enjoy!
Pro Tips for Flawless Cookie Dough Bars
Achieving perfectly delicious and visually appealing cookie dough bars is easy with a few insider tricks. Here are some pro tips to ensure your no-bake treats turn out amazing every time:
- Achieve the Perfect Butter Consistency: Softened butter is key for a smooth, lump-free cookie dough base. If your butter is too cold, it won’t cream properly with the sugar. If it’s melted, your dough will be greasy. Aim for room temperature butter that gives slightly when pressed, but isn’t oily.
- Don’t Skip the Parchment Paper: Lining your pan with parchment paper is a non-negotiable step. It makes removing the bars incredibly easy and ensures a clean cut. The slight overhang acts as handles, allowing you to lift the entire slab out of the pan without any struggle, significantly simplifying cleanup.
- Evenly Press the Dough: When pressing the cookie dough into the pan, aim for an even layer. This ensures that each bar has a consistent thickness and texture. You can use your hands, the back of a spoon, or even a flat-bottomed glass to press and smooth the dough until it’s perfectly uniform.
- Chill Time is Crucial: Patience is a virtue, especially when it comes to chilling. The 30-minute freezer chill for the dough base, followed by at least 2 hours in the refrigerator for the finished bars, is vital. This allows the dough to firm up and the chocolate topping to set completely, making for clean cuts and preventing a gooey mess.
- Melting Chocolate with Care: When melting the chocolate for the topping, always use short intervals in the microwave and stir diligently between each. Chocolate can easily seize or burn if overheated. If you prefer, you can also melt the chocolate in a double boiler for a more controlled process.
- Serving Suggestions for Extra Decadence: While delicious on their own, these cookie dough bars can be elevated further. Serve them alongside a scoop of vanilla bean ice cream for an extra special treat. For a fun twist, break the bars into smaller pieces and mix them into ice cream for a homemade cookie dough ice cream experience.
- Customize Your Candies and Chips: Don’t be afraid to experiment with your favorite add-ins! Reese’s Pieces are a fantastic choice if you love the peanut butter and chocolate combination, or try chopped nuts, pretzels, or different flavored chocolate chips. White chocolate morsels mixed with milk chocolate create a delightful taste and visual contrast.
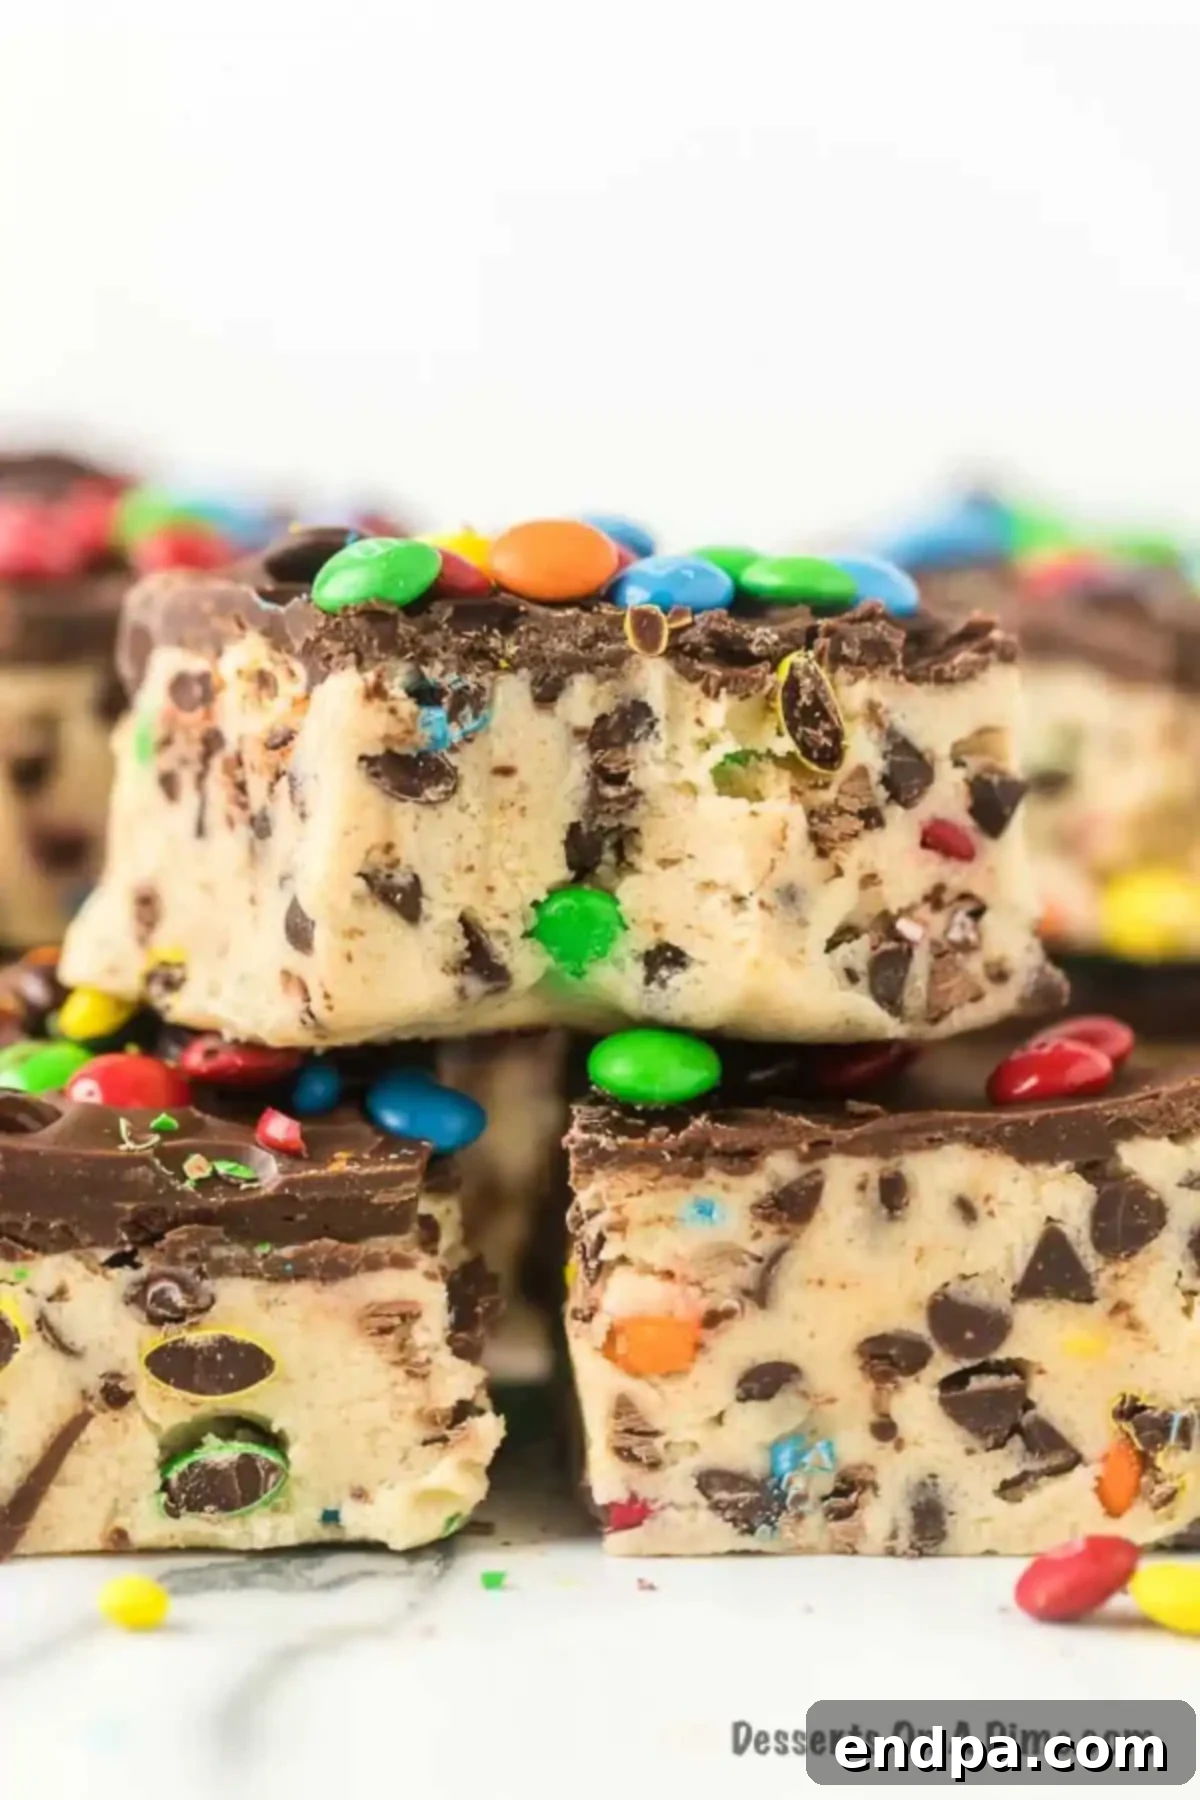
Storage and Make-Ahead Instructions
These No-Bake Cookie Dough Bars are wonderful for making in advance and storing, ensuring you always have a delightful treat on hand.
- Refrigerator: Once chilled and cut, store the bars in an airtight container in the refrigerator for up to 5-7 days. Lay parchment paper between layers of bars to prevent them from sticking together.
- Freezer: For longer storage, wrap individual bars tightly in plastic wrap, then place them in a freezer-safe airtight container or freezer bag. They can be frozen for up to 3 months. Thaw in the refrigerator or at room temperature for a short period before serving.
- Make Ahead: This recipe is perfect for preparing ahead of time. You can assemble the entire pan of bars, chill them, cut them, and then store them as described above. This makes them an excellent option for parties, holidays, or meal prep for sweet treats throughout the week.
Beyond the Bars: Related No-Bake Delights
If you’ve fallen in love with the convenience and deliciousness of these no-bake cookie dough bars, you’ll be thrilled to discover a world of other easy, oven-free desserts. Here are some more fantastic no-bake recipes to satisfy your sweet tooth:
- Lucky Charms Treats: A magically delicious, chewy treat that brings out the kid in everyone.
- Easy No Bake Cookies Recipe: A classic, simple chocolate and peanut butter oat cookie that comes together in minutes.
- No Bake Cinnamon Corn Flake Cereal Bars Recipe: Crispy, sweet, and spiced with cinnamon – a delightful twist on cereal bars.
- No Bake Cheerios Bars Recipe: A wholesome and quick snack or dessert that’s perfect for lunchboxes.
- Quick and Easy Fruity Pebble Bars Recipe: Bright, colorful, and bursting with fruity flavor – a fun treat for all ages.
More Irresistible Cookie Bars
For those who can’t get enough of convenient and delicious bar-style desserts, we have even more fantastic cookie bar recipes to explore. These are perfect for feeding a crowd, easy to transport, and always a delightful addition to any dessert spread:
- Sugar Cookie Bars Recipe: Soft, chewy sugar cookie base topped with fluffy frosting and sprinkles.
- Toll House Chocolate Chip Cookie Bars: All the classic flavor of chocolate chip cookies, but in an easy-to-make bar form.
- Magic Cookie Bars Recipe: A layered wonder with graham cracker crust, coconut, chocolate chips, and nuts, all bound by condensed milk.
- Cookie Dough Bars: Our star recipe, proving that edible cookie dough is best in bar form!
- Grinch Cookie Bars: A festive and fun green-colored cookie bar, perfect for holiday gatherings.
We are so excited for you to experience the joy of these homemade No-Bake Chocolate Chip Cookie Dough Bars. They are simple to make, incredibly delicious, and guaranteed to become a family favorite. Give them a try, and let us know what you think in the comments!
No-Bake Cookie Dough Bars
If you are crazy about cookie dough, these no-bake Cookie Dough Bars are a must-try. This recipe is incredibly easy to make and always a hit with everyone!
2 hrs 45 mins
0 mins
2 hrs 45 mins
24
American
Snack, Dessert
300
Carrie Barnard
Ingredients
For the Cookie Dough:
- 1/2 cup unsalted butter, softened
- 3/4 cup brown sugar (packed)
- 1 tsp vanilla extract
- 2 cups all-purpose flour (see note on optional heat-treatment for safety)
- 14 oz can sweetened condensed milk
- 1 cup miniature chocolate chips
- 1 cup miniature M&M’s
For the Topping:
- 1 cup chocolate chips
- 2 tablespoons butter
- 1/2 cup miniature M&M’s
Instructions
- Cover an 8×8-inch baking pan with parchment paper or foil, leaving an overhang on the sides. Lightly spray with a non-stick cooking spray. Set aside.
- In a large mixing bowl, beat together the softened brown sugar and butter with a handheld electric mixer or a stand mixer until light, fluffy, and creamy.
- Add the vanilla extract and beat for one more minute until fully incorporated.
- Gradually add the all-purpose flour and sweetened condensed milk, alternating between the two, until both have been completely added and a soft, cohesive dough forms. Do not overmix.
- By hand, gently stir in the miniature chocolate chips and M&M’s into the dough until evenly distributed.
- Press the cookie dough into an even layer in the prepared baking pan. Place the pan in the freezer for approximately 30 minutes while you prepare the topping.
- To make the topping, combine the chocolate chips and butter in a microwave-safe bowl. Microwave in 30-second increments, stirring well after each interval, until the mixture is completely melted and smooth.
- Pour the melted chocolate topping evenly over the chilled cookie dough layer. Spread it smoothly with a spatula. While the chocolate is still wet, press the additional M&M’s into the chocolate.
- Chill the bars in the refrigerator for at least 2 hours, or until the chocolate topping has completely hardened. Keep chilled until ready to serve.
- Once chilled, use the parchment paper overhang to lift the entire slab of bars from the pan. Place on a cutting board and cut into squares. Enjoy your delicious no-bake cookie dough bars!
Nutrition Facts
Calories: 300 kcal, Carbohydrates: 43g, Protein: 4g, Fat: 13g, Saturated Fat: 8g, Trans Fat: 1g, Cholesterol: 22mg, Sodium: 51mg, Potassium: 83mg, Fiber: 1g, Sugar: 33g, Vitamin A: 254IU, Vitamin C: 1mg, Calcium: 88mg, Iron: 1mg
