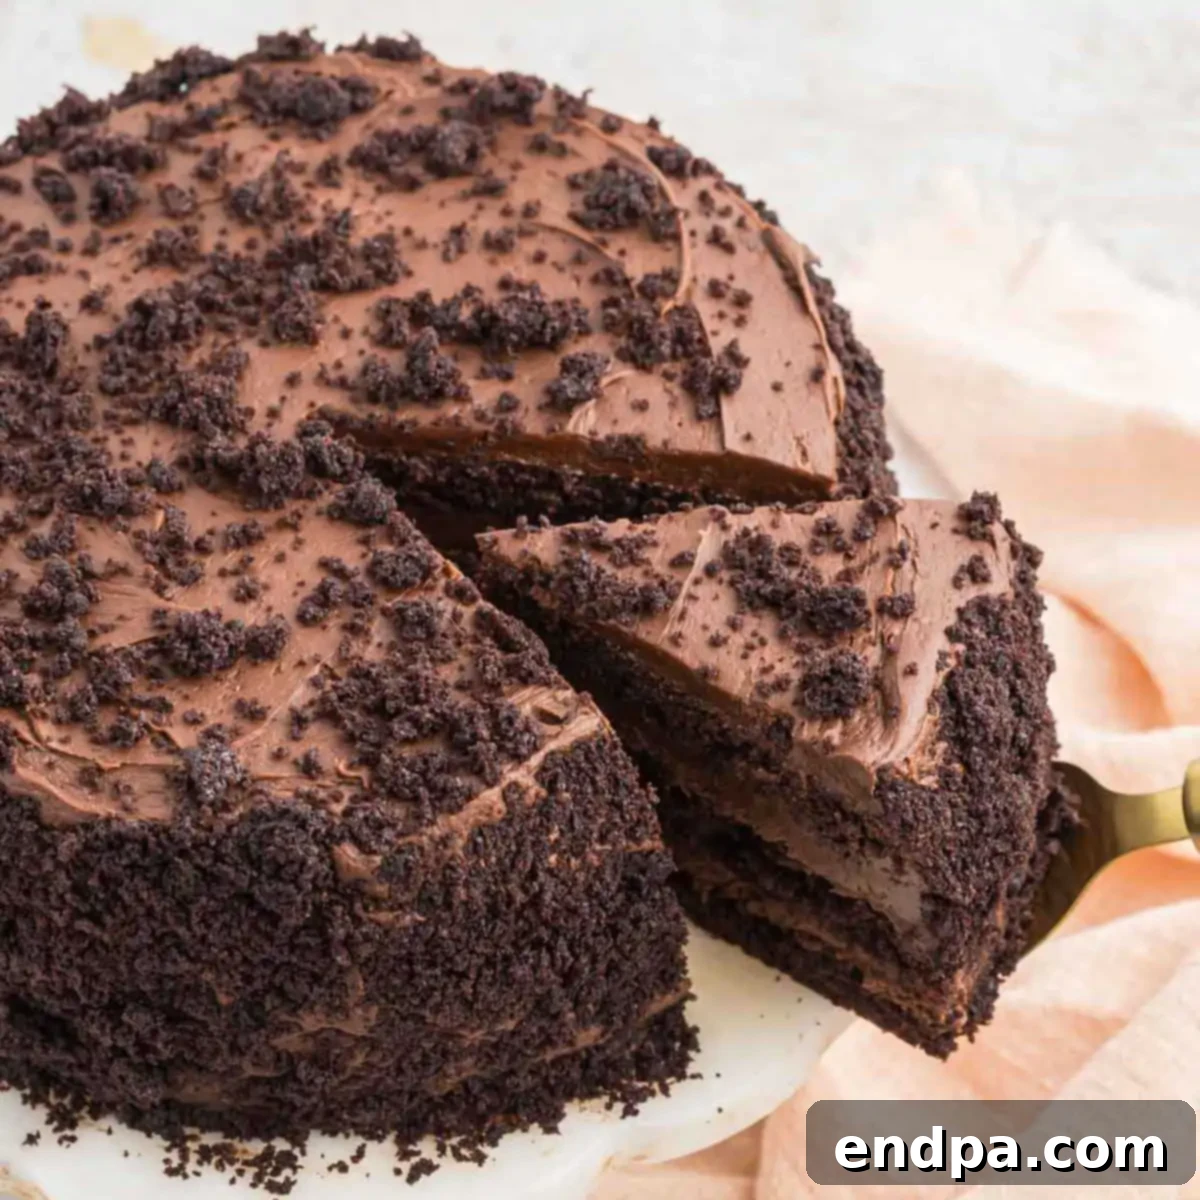
If you’re seeking the ultimate chocolate indulgence, a truly decadent and intensely moist chocolate cake, then Blackout Cake is an absolute culinary revelation. This classic dessert masterfully blends the deep richness of dark chocolate with the subtle depth of coffee and the tenderizing magic of buttermilk, creating an unforgettable flavor profile that tantalizes the taste buds. Each slice promises a luxurious experience, a celebration of all things chocolate, making it a must-try for any serious dessert enthusiast.
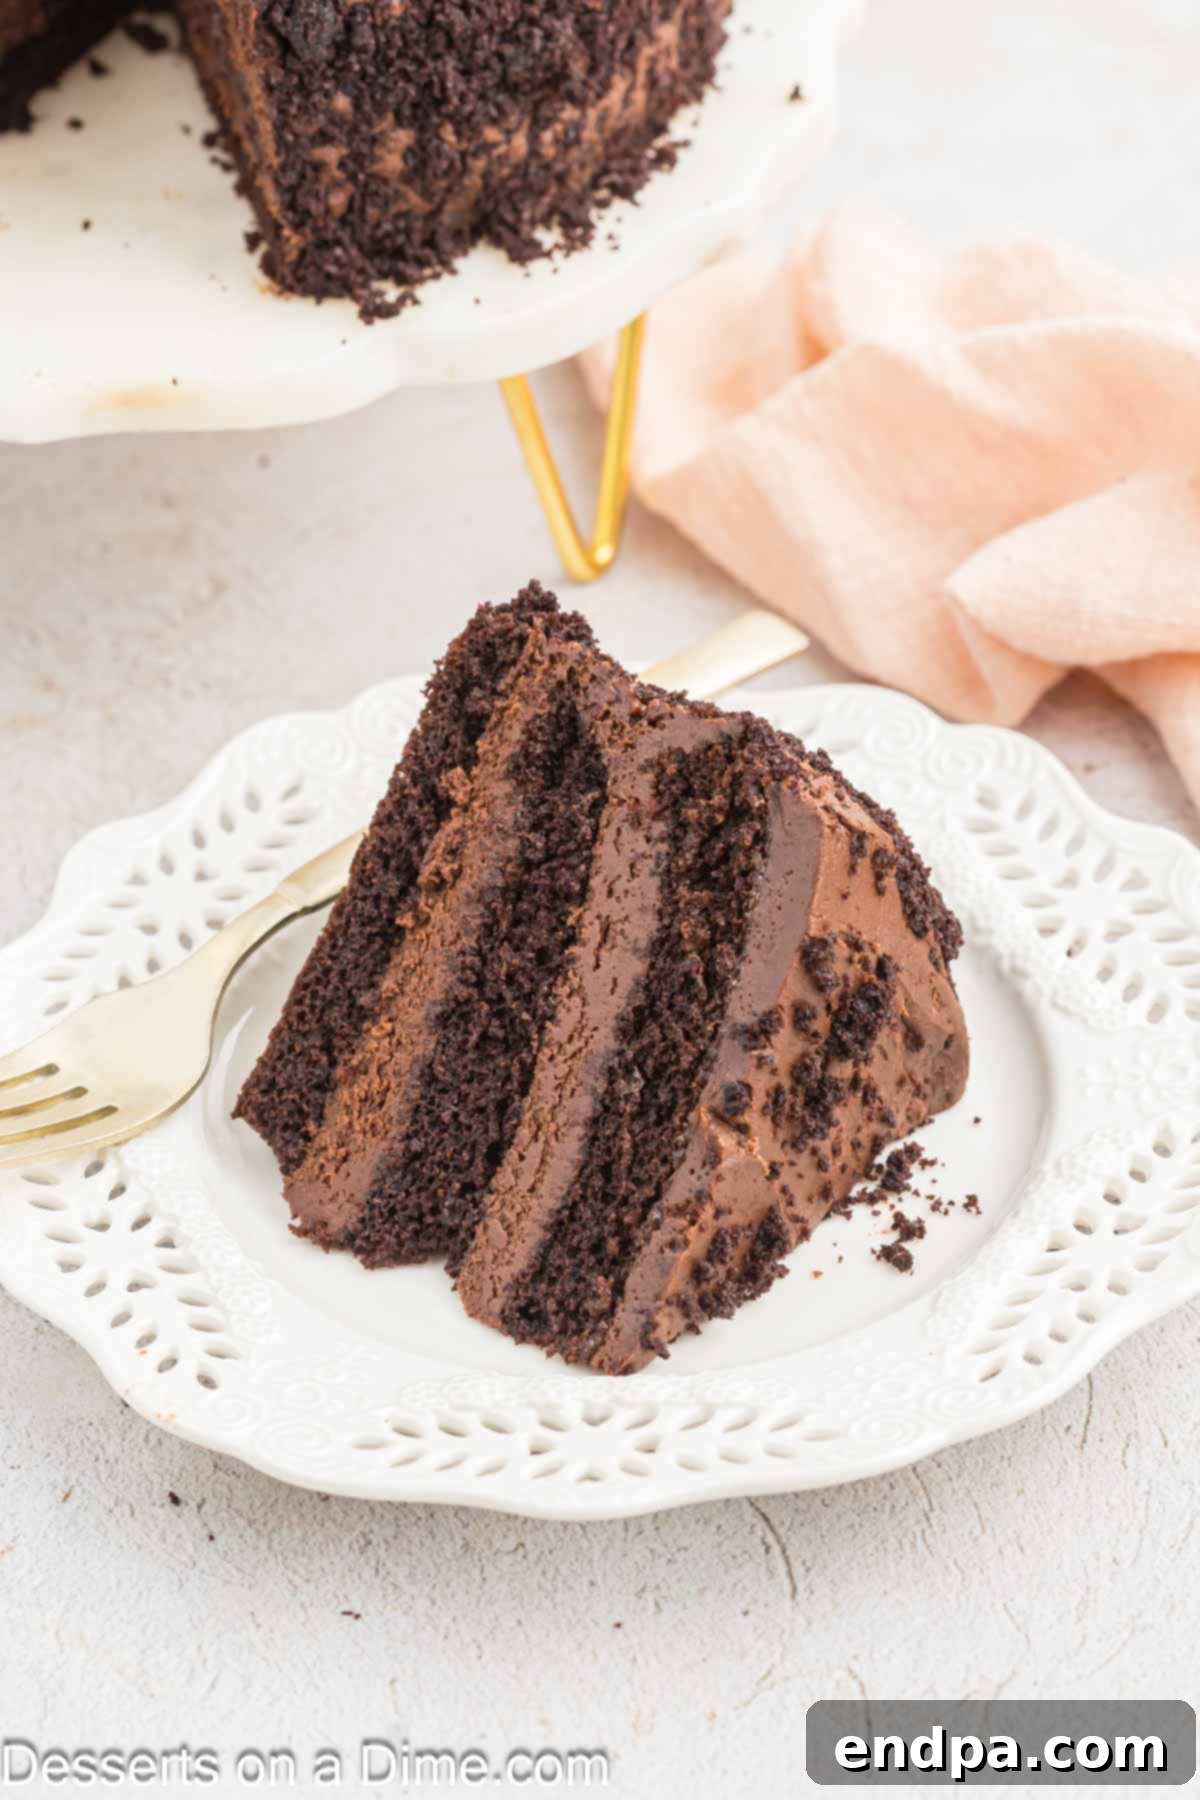
Chocolate lovers, prepare yourselves! This recipe is more than just a cake; it’s an experience. Every single bite of this incredible dessert is absolutely packed with a profound chocolate flavor, perfectly complemented by a luscious, velvety frosting. I’ve been perfecting this recipe for many years, and without fail, it remains the most requested dessert at every family gathering and special occasion. Its rich, deep flavor and irresistibly moist texture never disappoint, earning it a permanent spot among the best chocolate desserts you’ll ever encounter. The inclusion of strong coffee, both in the cake batter and the frosting, is key to its exceptional taste; it doesn’t make the cake taste like coffee, but rather intensifies and enriches the chocolate notes, elevating the overall flavor to new heights. If you enjoy rich chocolate desserts, you might also love my Guinness Chocolate Cake and Chocolate Icebox Cake.
Table of contents
- What is a Blackout Cake?
- Why This Blackout Cake is a Must-Bake
- Essential Ingredients
- Cake Ingredients
- Frosting Ingredients
- Step-By-Step Instructions
- Storage Tips
- Expert Baking Tips
What is a Blackout Cake?
This dessert is nothing short of extraordinary. You might also hear it referred to as a “Brooklyn Blackout Cake,” a name that carries a fascinating piece of history. This iconic cake originated in Brooklyn during World War II, a time when controlled outages, known as blackouts, were common to allow battleships to safely depart from the Brooklyn Navy Yard. It was during this era that Ebinger’s Bakery, a renowned German-owned establishment in Brooklyn, crafted this distinctive cake. Its creation was so memorable that Molly O’Neill later dedicated a section to its legacy in her acclaimed New York Cookbook.
A true Blackout Cake is characterized by its deep, dark chocolate flavor and incredibly moist texture, achieved through a delightful combination of rich Dutch-process cocoa powder, strong brewed coffee, and tangy buttermilk. The name “blackout” doesn’t just refer to its historical context; it also perfectly describes the cake’s intensely dark color and profound, all-encompassing chocolate flavor. Unlike some modern variations that incorporate chocolate pudding, this traditional recipe focuses on a purist approach, delivering a homemade taste so exceptional that everyone will believe it came straight from a gourmet bakery. The cake is further distinguished by being completely covered in rich frosting and then enveloped in its own cake crumbs, creating a uniquely textural and visually striking finish.
Why This Blackout Cake is a Must-Bake
There are countless reasons why this Blackout Cake recipe stands head and shoulders above other chocolate cakes. It’s more than just a dessert; it’s an experience designed to captivate your senses:
- Unparalleled Chocolate Intensity: We utilize unsweetened Dutch-process cocoa powder, known for its deep, less acidic chocolate flavor, ensuring a truly “blackout” chocolate experience in every bite.
- Incredibly Moist Texture: The combination of buttermilk and vegetable oil in the batter guarantees an exceptionally tender and moist crumb that practically melts in your mouth.
- Flavor Enhancement from Coffee: Don’t worry, your cake won’t taste like coffee! The strong brewed coffee works wonders by deepening and intensifying the natural chocolate flavors, making them even more pronounced and complex.
- Creamy, Dreamy Frosting: Our rich chocolate cream cheese frosting is the perfect counterpart to the cake layers. It’s smooth, decadent, and provides a beautiful tang that balances the sweetness.
- Signature Crumb Coating: The iconic cake crumb coating isn’t just for show; it adds an extra layer of texture and reinforces that pure chocolate flavor, making each slice uniquely satisfying.
- A Classic with a History: Baking this cake connects you to a delicious piece of Brooklyn history, sharing a story along with a phenomenal dessert.
Essential Ingredients
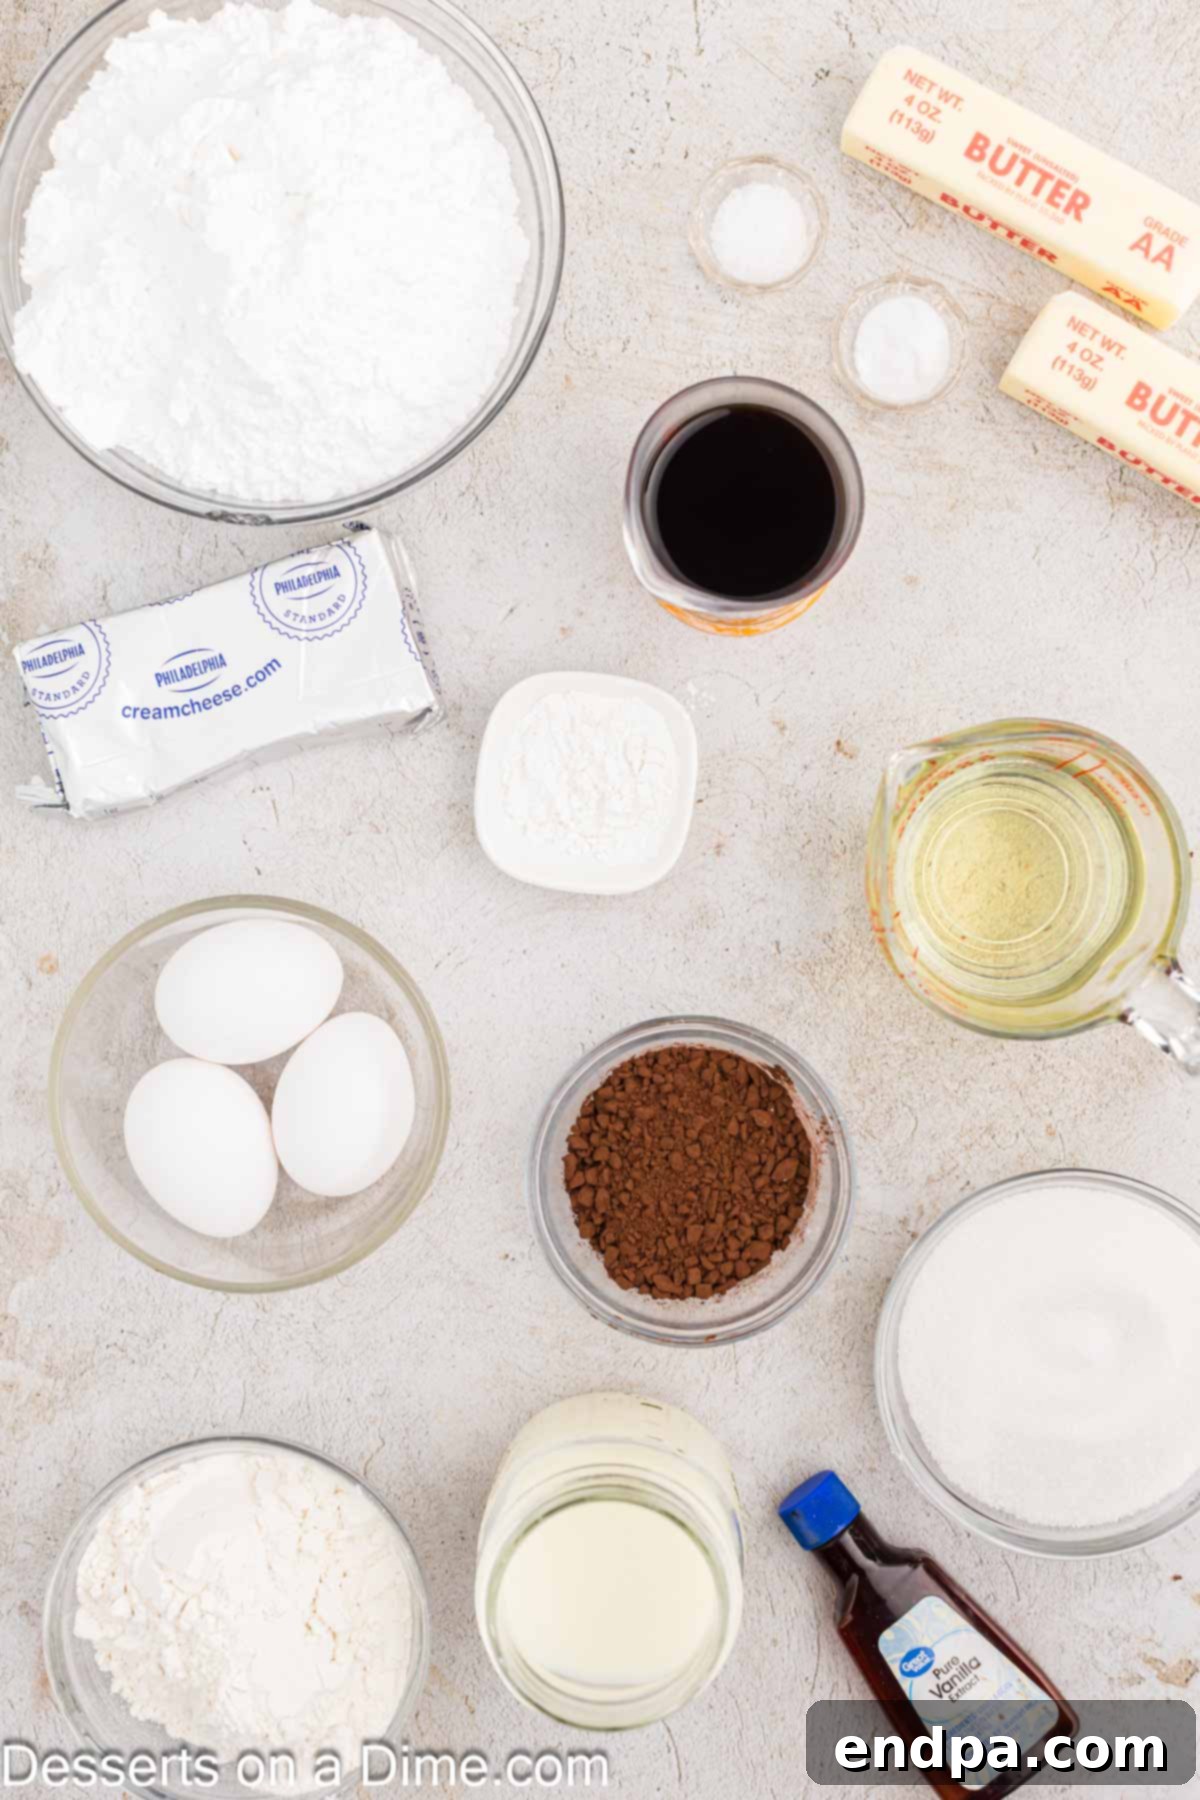
Cake
- All-Purpose Flour: For best results, spoon the flour lightly into your measuring cup and level it off with a straight edge or knife. Avoid packing the flour, as this can lead to a dense cake.
- Baking Soda: This leavening agent reacts with the acidic buttermilk to create a light and airy crumb. If you find yourself out, explore these baking soda substitutes.
- Baking Powder: Working alongside baking soda, baking powder provides an extra lift, ensuring a tender and perfectly risen cake.
- Unsweetened Dutch-Process Cocoa Powder: This is crucial for the cake’s signature dark color and rich, intense chocolate flavor. Dutch-process cocoa has been treated to reduce its acidity, resulting in a smoother, less bitter chocolate taste compared to natural cocoa.
- Granulated Sugar: Sweetens the cake and helps to keep it moist.
- Vanilla Extract: Always opt for pure vanilla extract for the best flavor, as it enhances the overall sweetness and chocolate notes without overpowering them.
- Vegetable Oil: Contributes significantly to the cake’s incredible moisture and tender texture, often producing a moister cake than butter alone.
- Large Eggs: Act as a binder, add richness, and help with the cake’s structure. For optimal emulsification and a smoother batter, allow the eggs to come to room temperature before using.
- Buttermilk: A cornerstone ingredient for its acidity, which reacts with baking soda to create lift, and its unique ability to tenderize the cake, resulting in an incredibly moist and subtly tangy crumb. If you don’t want to buy it, you can easily make your own buttermilk substitute. While whole milk can be used in a pinch, buttermilk truly yields the superior flavor and texture in this recipe.
- Strongly Brewed Coffee: The secret ingredient! It’s vital that the coffee is strong, as it doesn’t make the cake taste like coffee, but rather deepens and amplifies the chocolate flavor, making it incredibly rich and complex.
Frosting
- Unsalted Butter: The foundation of our creamy frosting. Ensure the butter is softened at room temperature for a smooth, lump-free consistency.
- Cream Cheese: Softened at room temperature, cream cheese adds a delightful tang and extra creaminess that beautifully balances the sweetness of the frosting.
- Unsweetened Cocoa Powder: Just like in the cake, unsweetened cocoa powder is essential for achieving a deep chocolate flavor and dark color in the frosting.
- Powdered Sugar: Also known as confectioners’ sugar, this provides the bulk and sweetness. Sift the powdered sugar before using to prevent lumps and ensure a silky-smooth frosting.
- Strongly Brewed Coffee: Again, coffee is crucial here. It enhances the chocolate flavor in the frosting, creating a more cohesive and intensely chocolatey experience throughout the entire cake.
- Vanilla Extract: Pure vanilla extract is a must to complement the chocolate and add a warm, aromatic depth to the frosting.
- Salt: A small amount of salt is vital to balance out the intense sweetness of the powdered sugar and chocolate, making the flavors pop.
Step By Step Instructions
Crafting this magnificent Blackout Cake is a rewarding process. Follow these detailed steps to ensure a perfect result:
- Step 1: Prepare Your Pans. Begin by preheating your oven to 350 degrees F (175 degrees C). Take two 8-inch round cake pans and generously coat them with non-stick cooking spray. For extra assurance and easy removal, you can also line the bottoms with parchment paper.
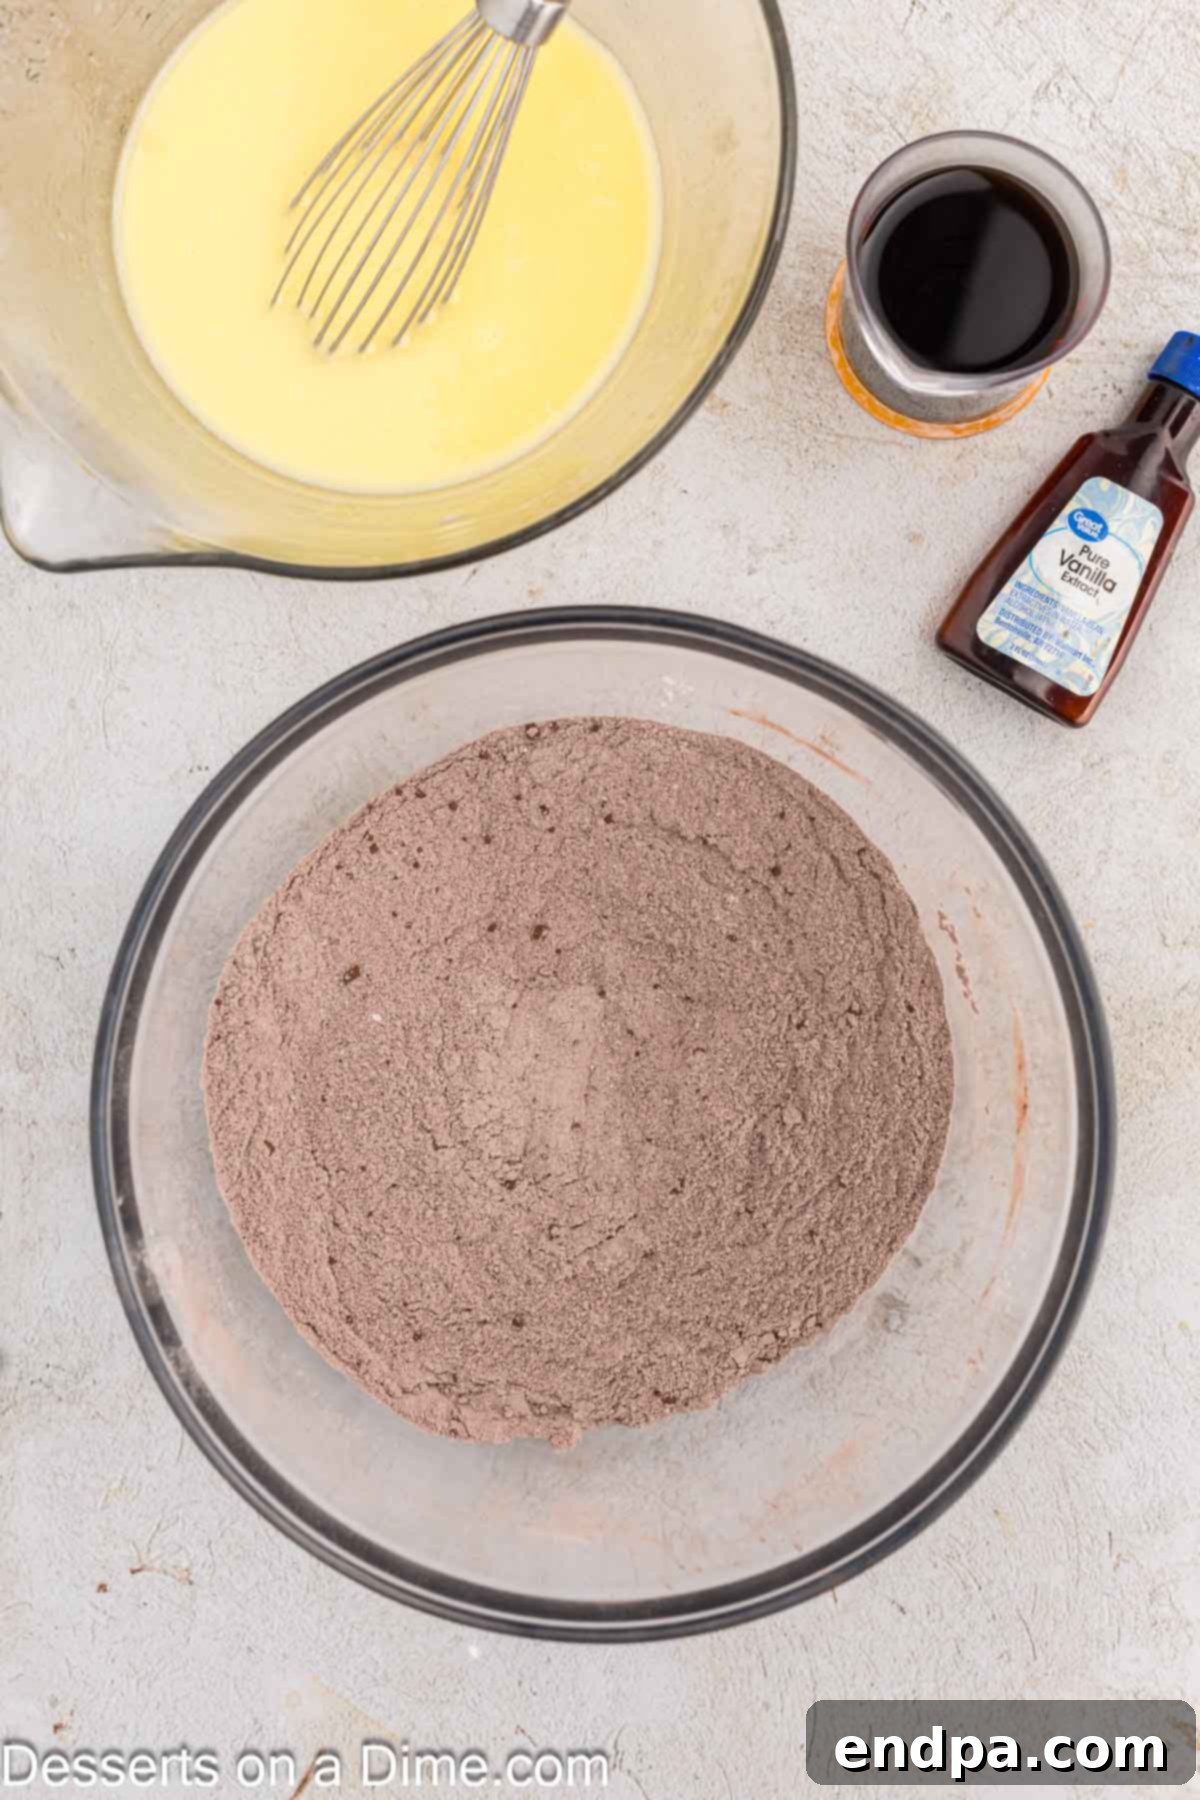
Step 2: Combine Dry Ingredients. In a large mixing bowl, whisk together the all-purpose flour, baking soda, baking powder, salt, granulated sugar, and unsweetened Dutch-process cocoa powder until thoroughly combined. Ensure there are no lumps of cocoa. Set this bowl aside.
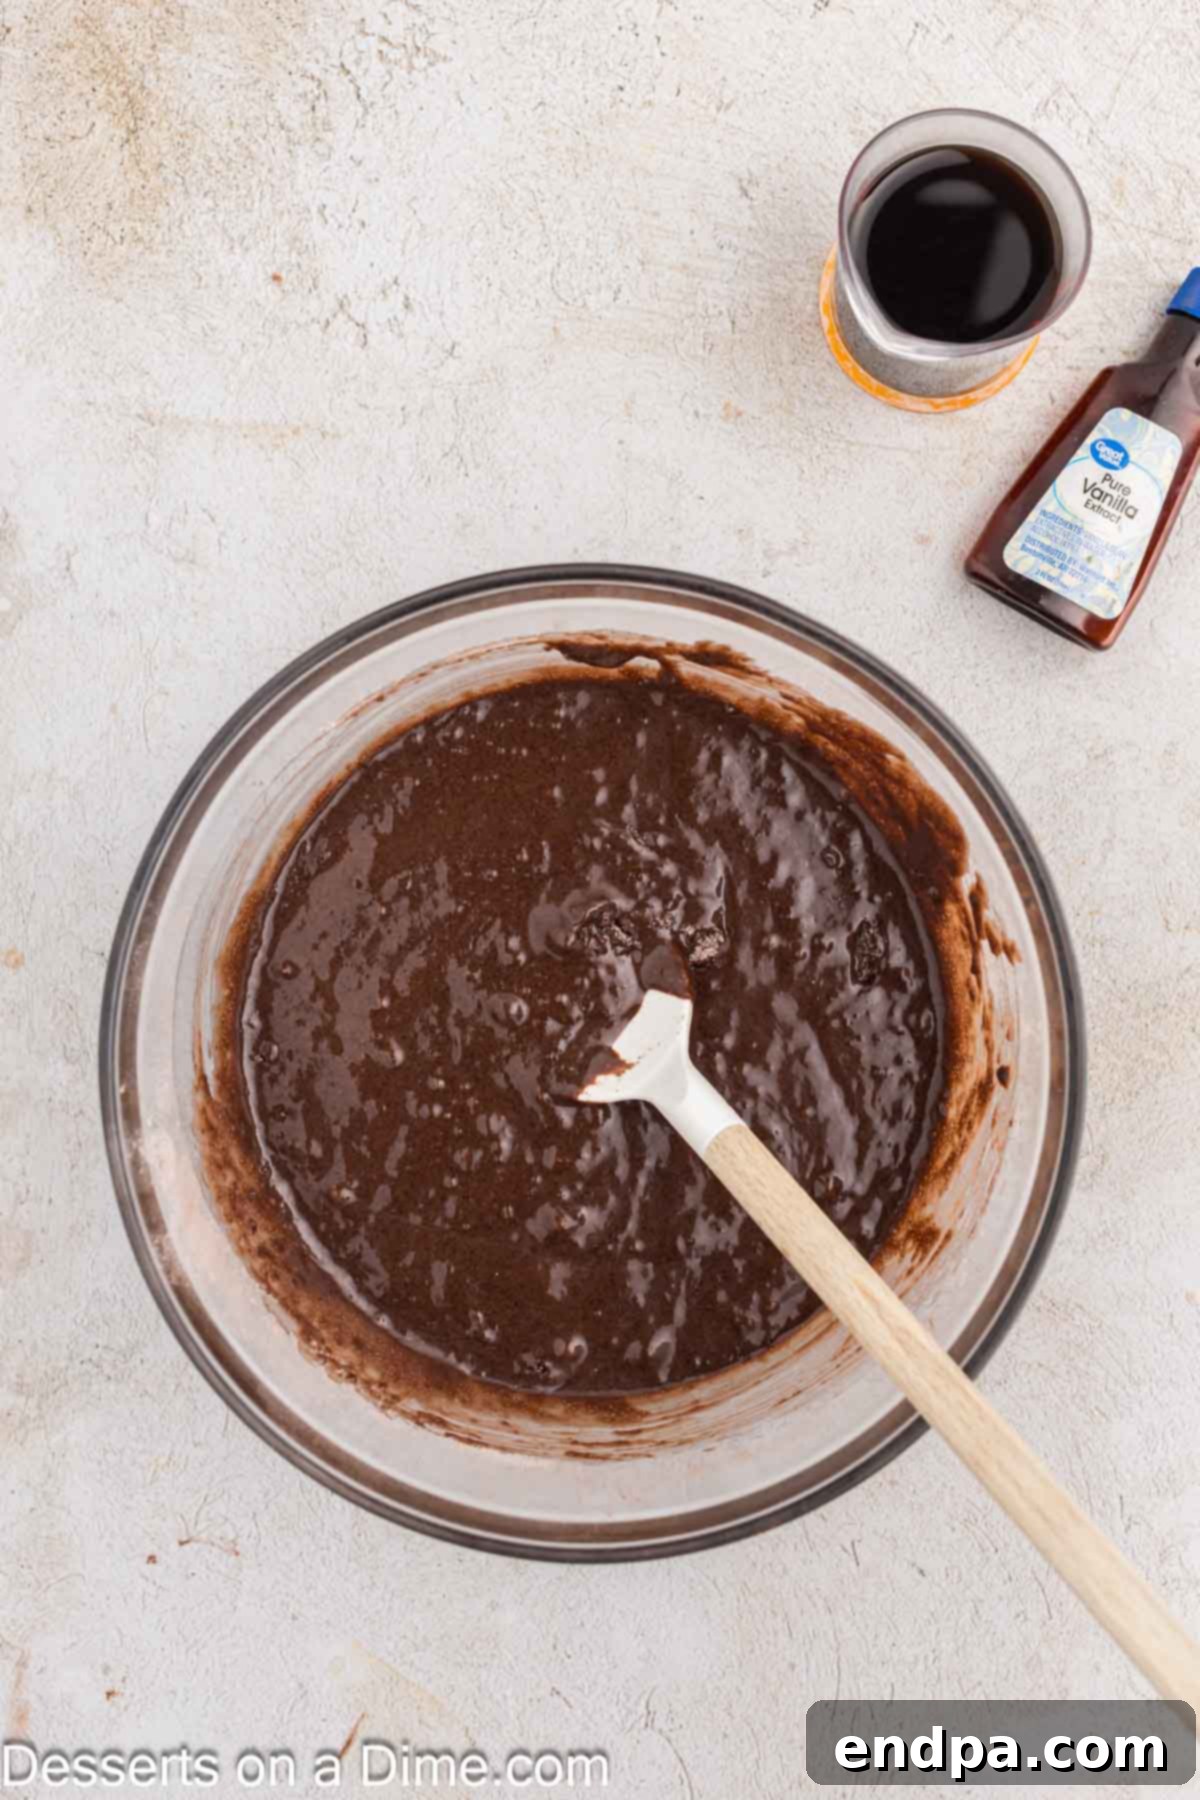
Step 3: Mix Wet into Dry. In a separate, medium-sized bowl, whisk together the vegetable oil, large eggs, vanilla extract, and buttermilk until smooth. Gradually pour the wet ingredients into the dry ingredients, stirring slowly until just combined. Overmixing can lead to a tough cake, so stop as soon as no dry streaks remain. Finally, stir in the strong brewed coffee until the batter is smooth and uniformly dark.
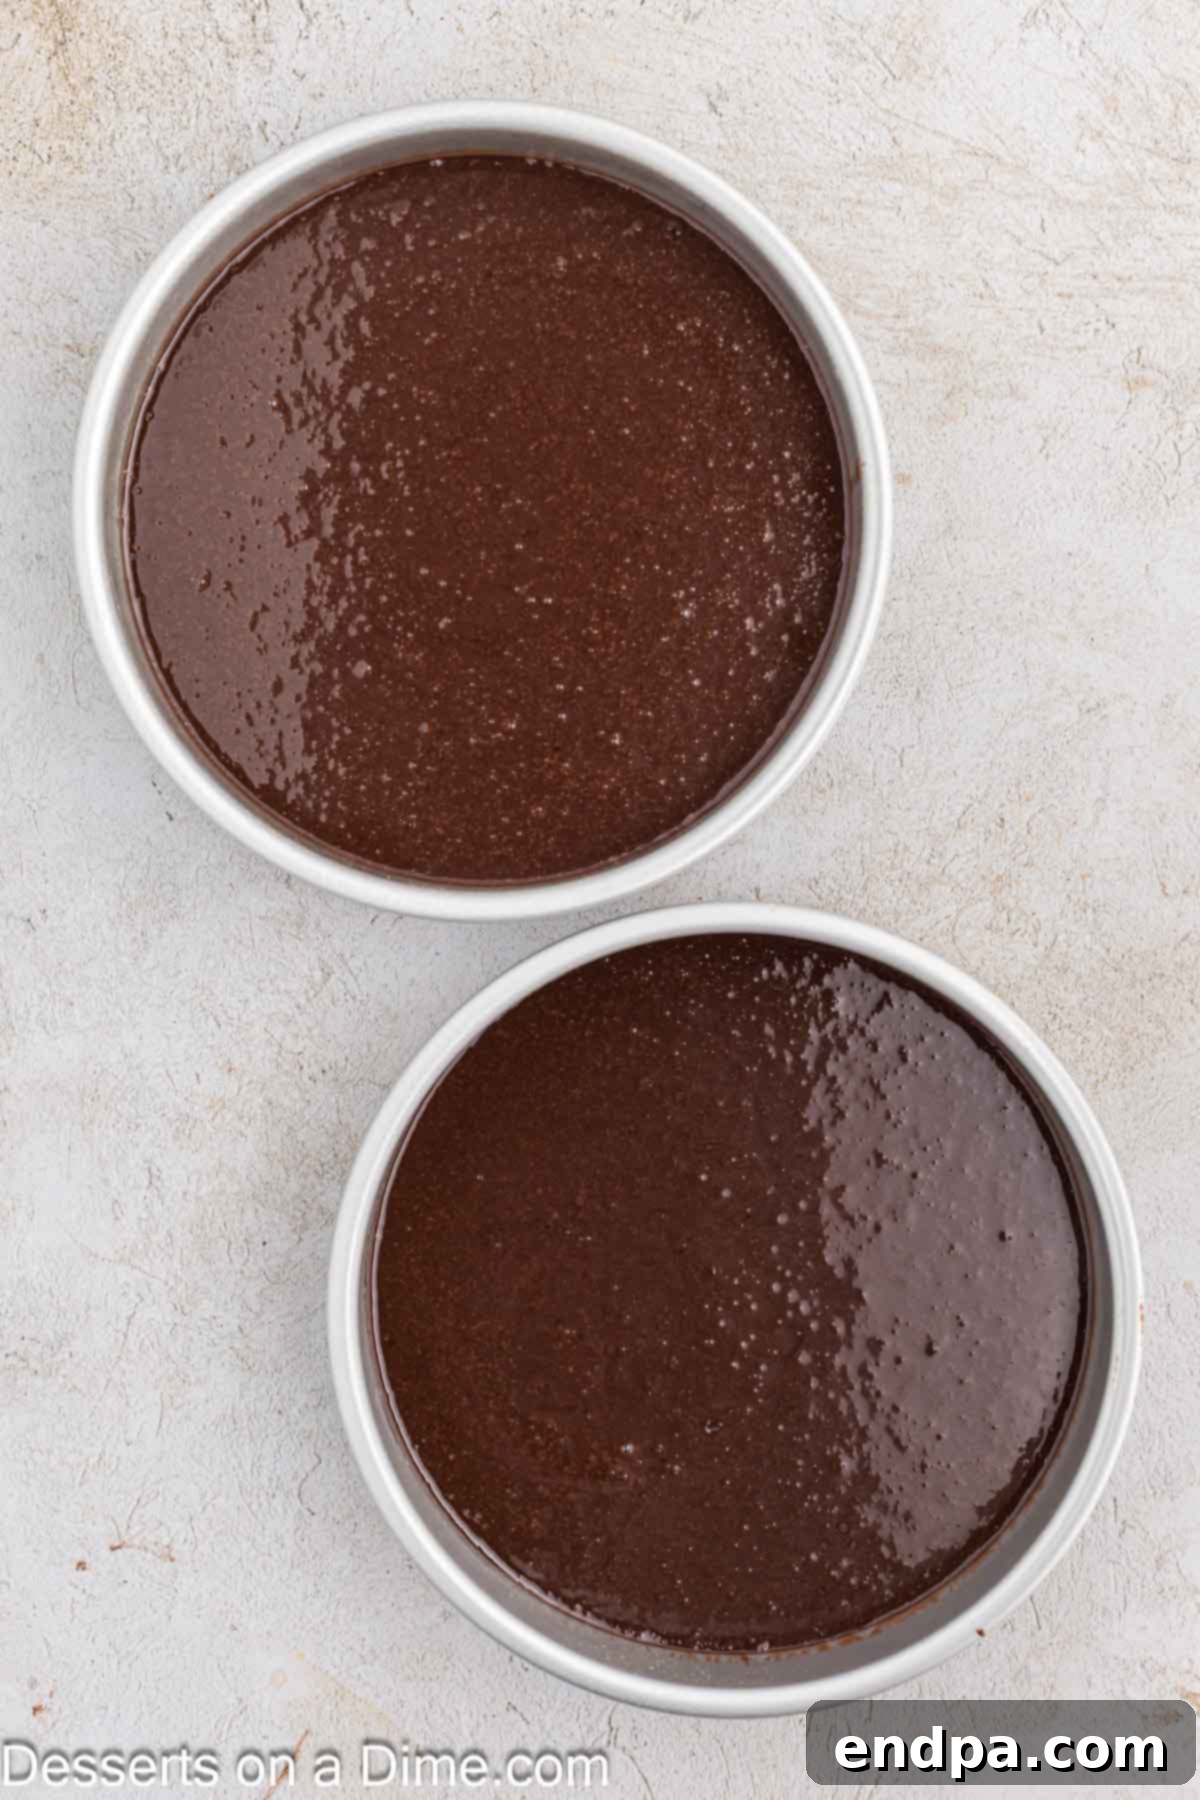
Step 4: Bake the Cakes. Evenly divide the rich chocolate batter between your two prepared 8-inch cake pans. Tap the pans gently on the counter a few times to release any air bubbles.
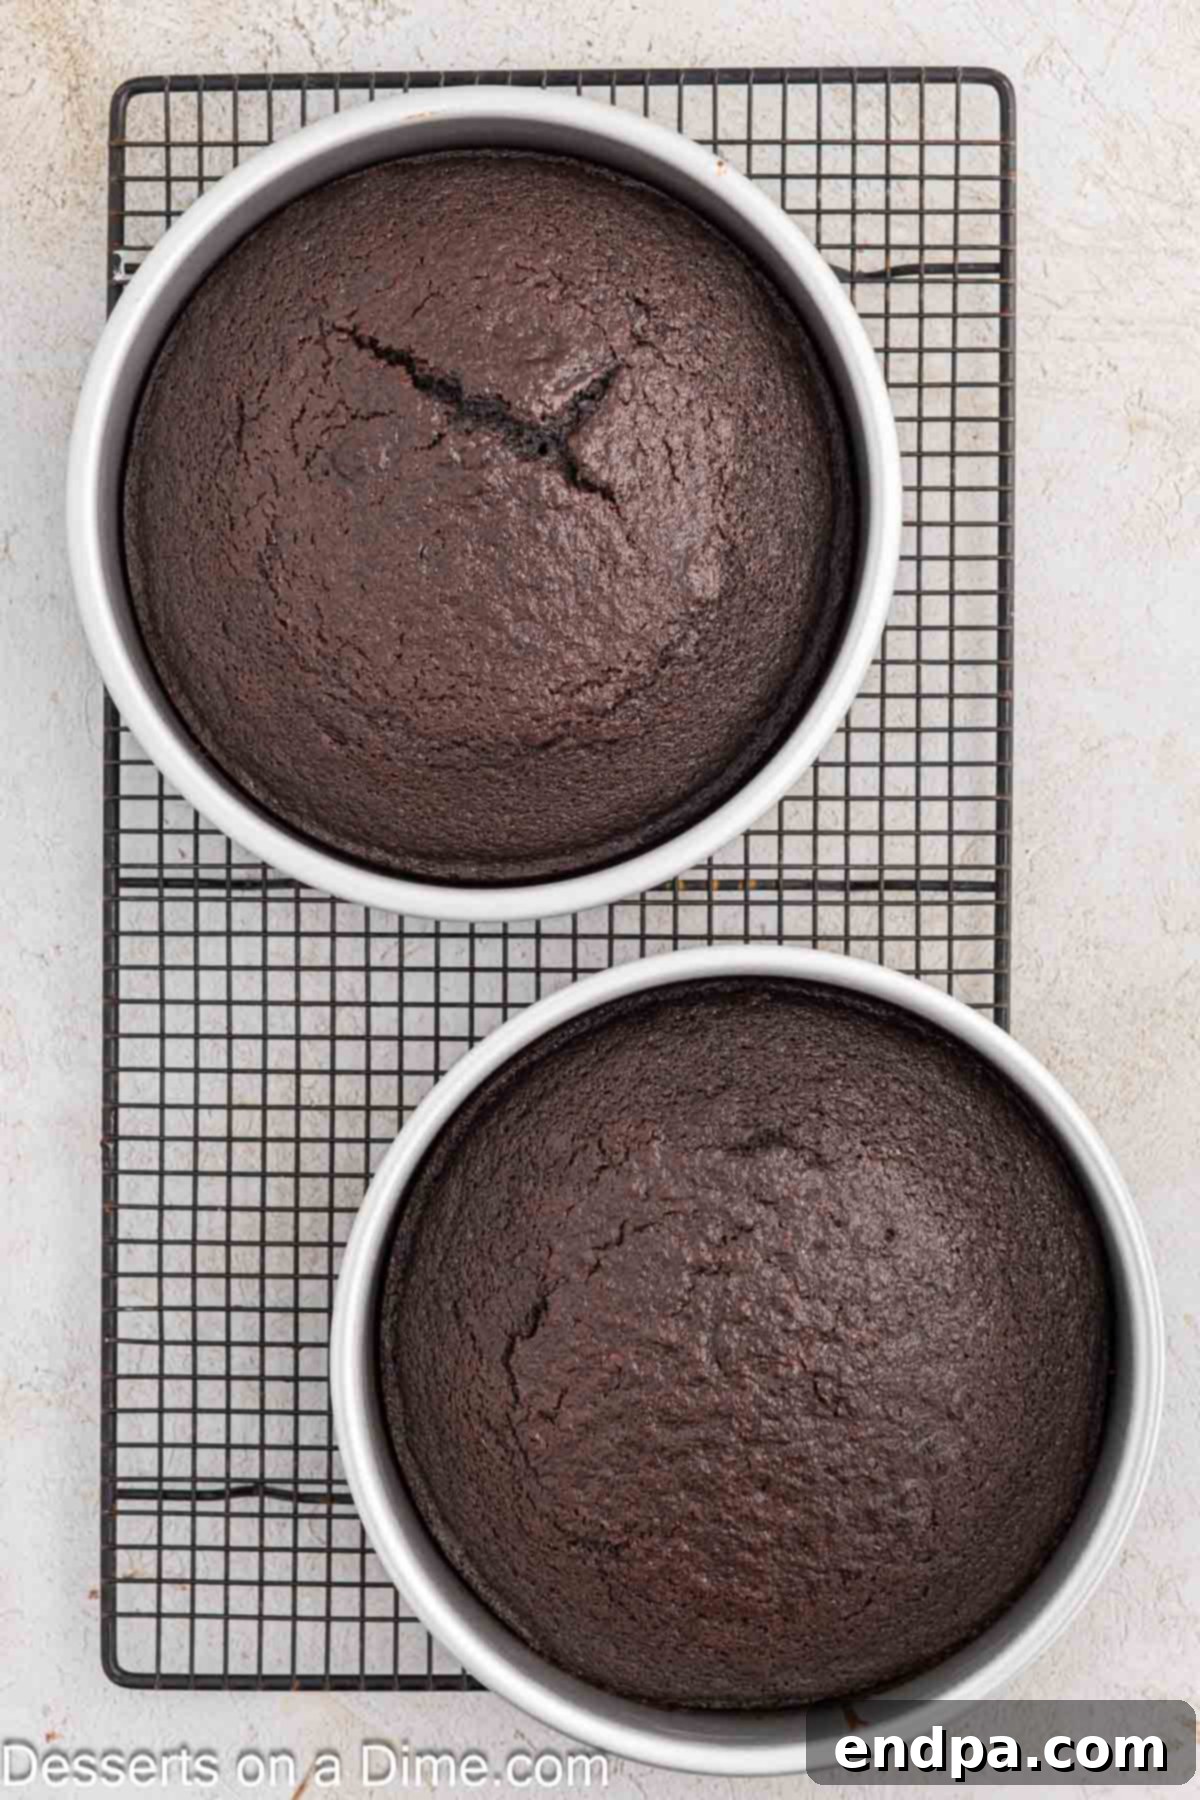
Step 5: Cool Completely. Bake for 30-35 minutes, or until a wooden toothpick inserted into the center of the cakes comes out clean. Once baked, remove the cakes from the oven and let them cool in their pans for at least 10 minutes. This allows them to set properly. After 10 minutes, carefully invert them onto a wire cooling rack to cool completely. Ensure the cakes are entirely cool before attempting to frost them, as warm cakes will melt your frosting.
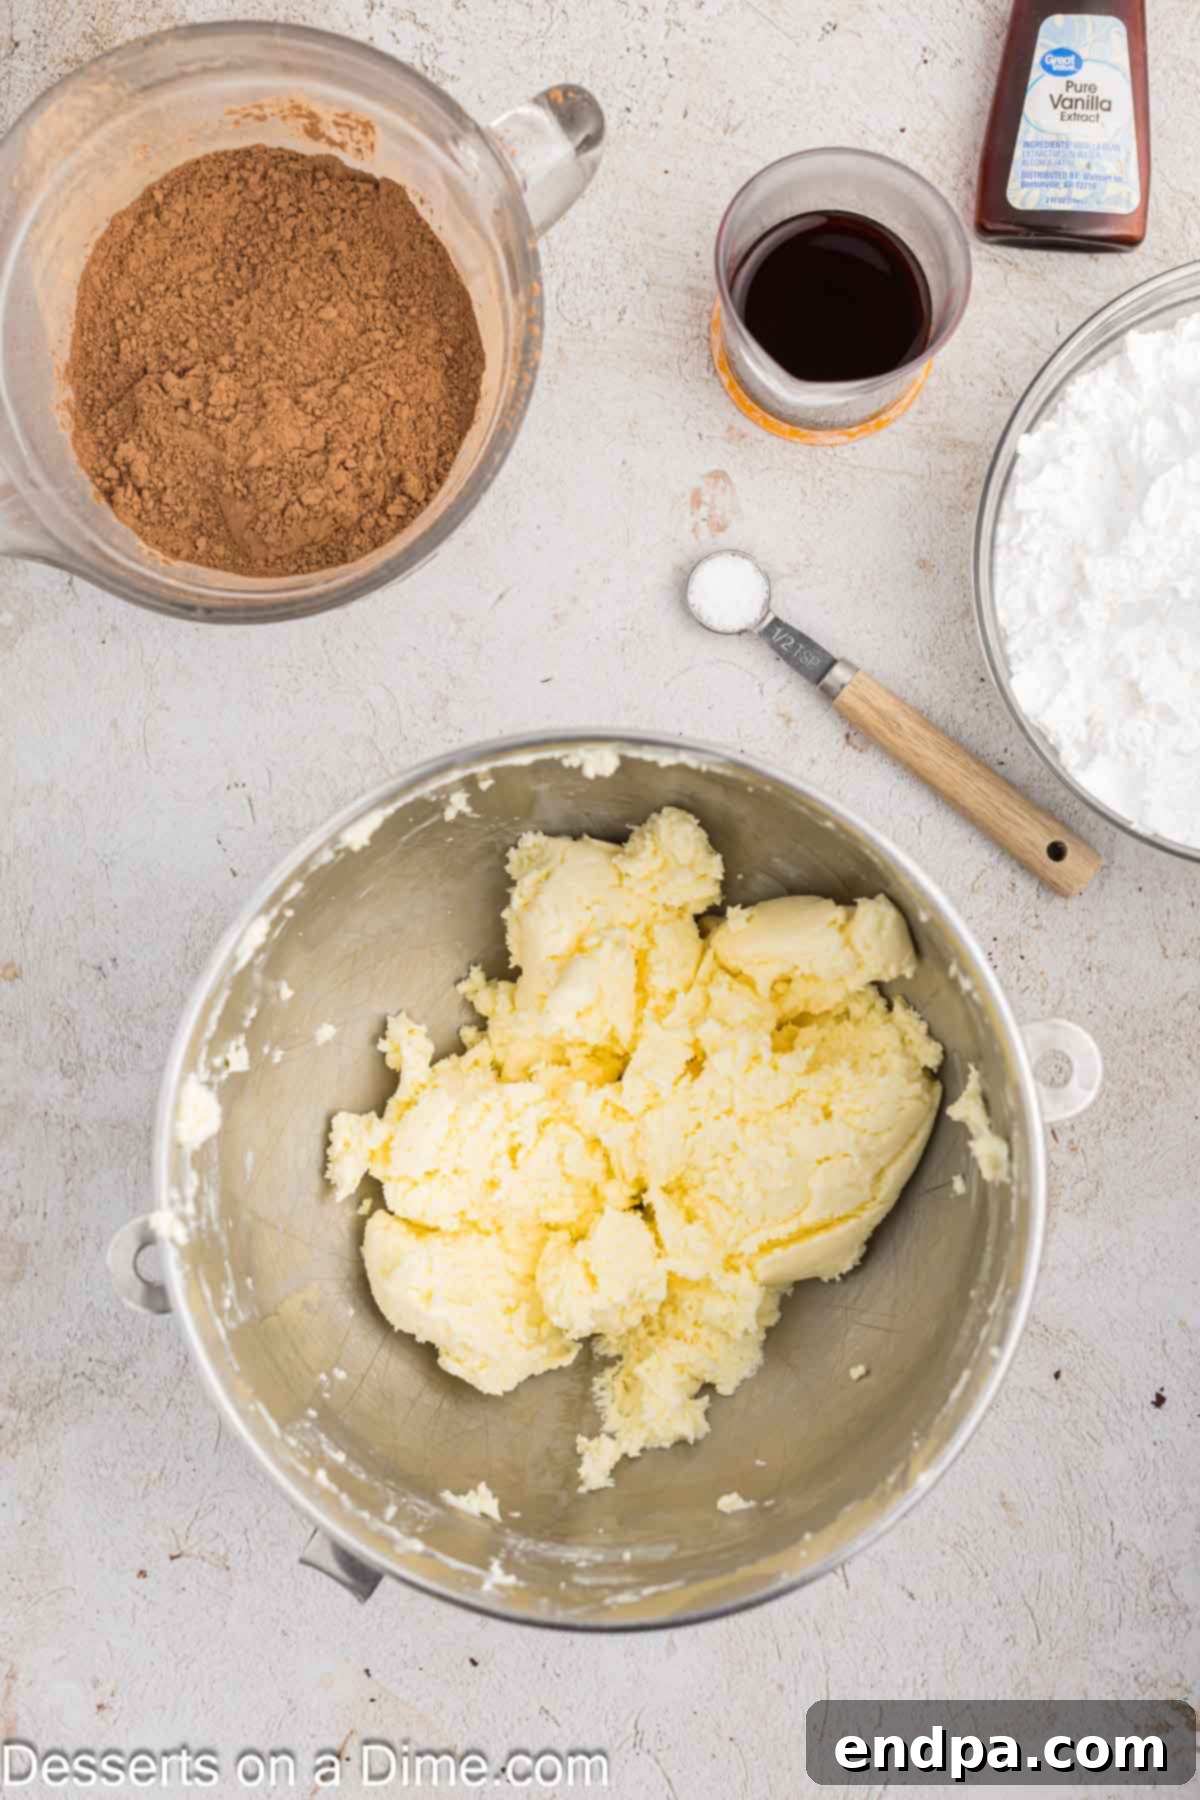
Step 6: Prepare the Frosting Base. While your cake layers are cooling, it’s time to make the decadent frosting. In the bowl of a stand mixer fitted with a paddle attachment, cream together the softened unsalted butter and softened cream cheese. Beat on medium-high speed until the mixture is light, fluffy, and perfectly smooth, scraping down the sides of the bowl as needed.
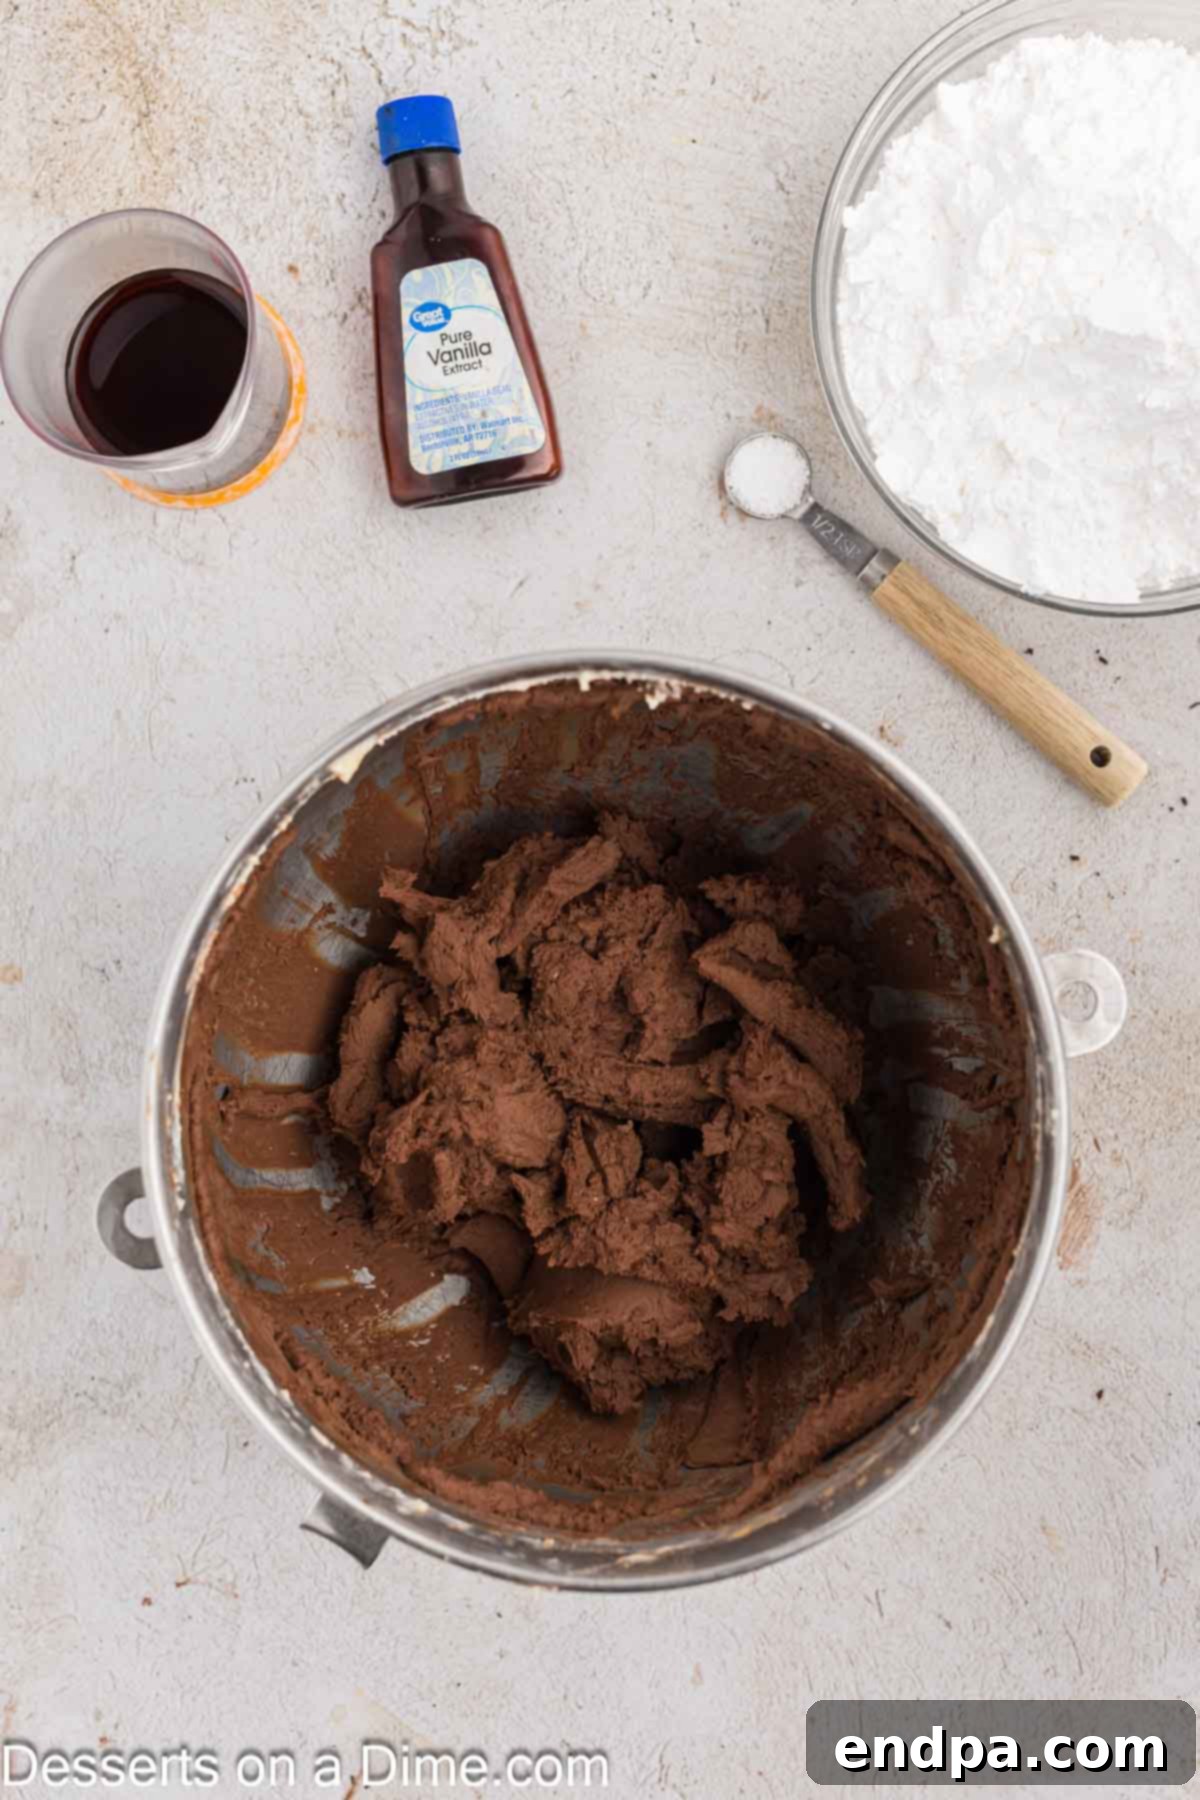
Step 7: Finish the Frosting. Reduce the mixer speed to low. Gradually add the unsweetened cocoa powder, mixing until just combined. Then, in several additions, incorporate the sifted powdered sugar, followed by the strong brewed coffee, vanilla extract, and salt. Mix on low speed until all ingredients are well combined and the frosting is smooth and creamy. Increase speed to medium-high for 1-2 minutes to ensure it’s perfectly light and airy.
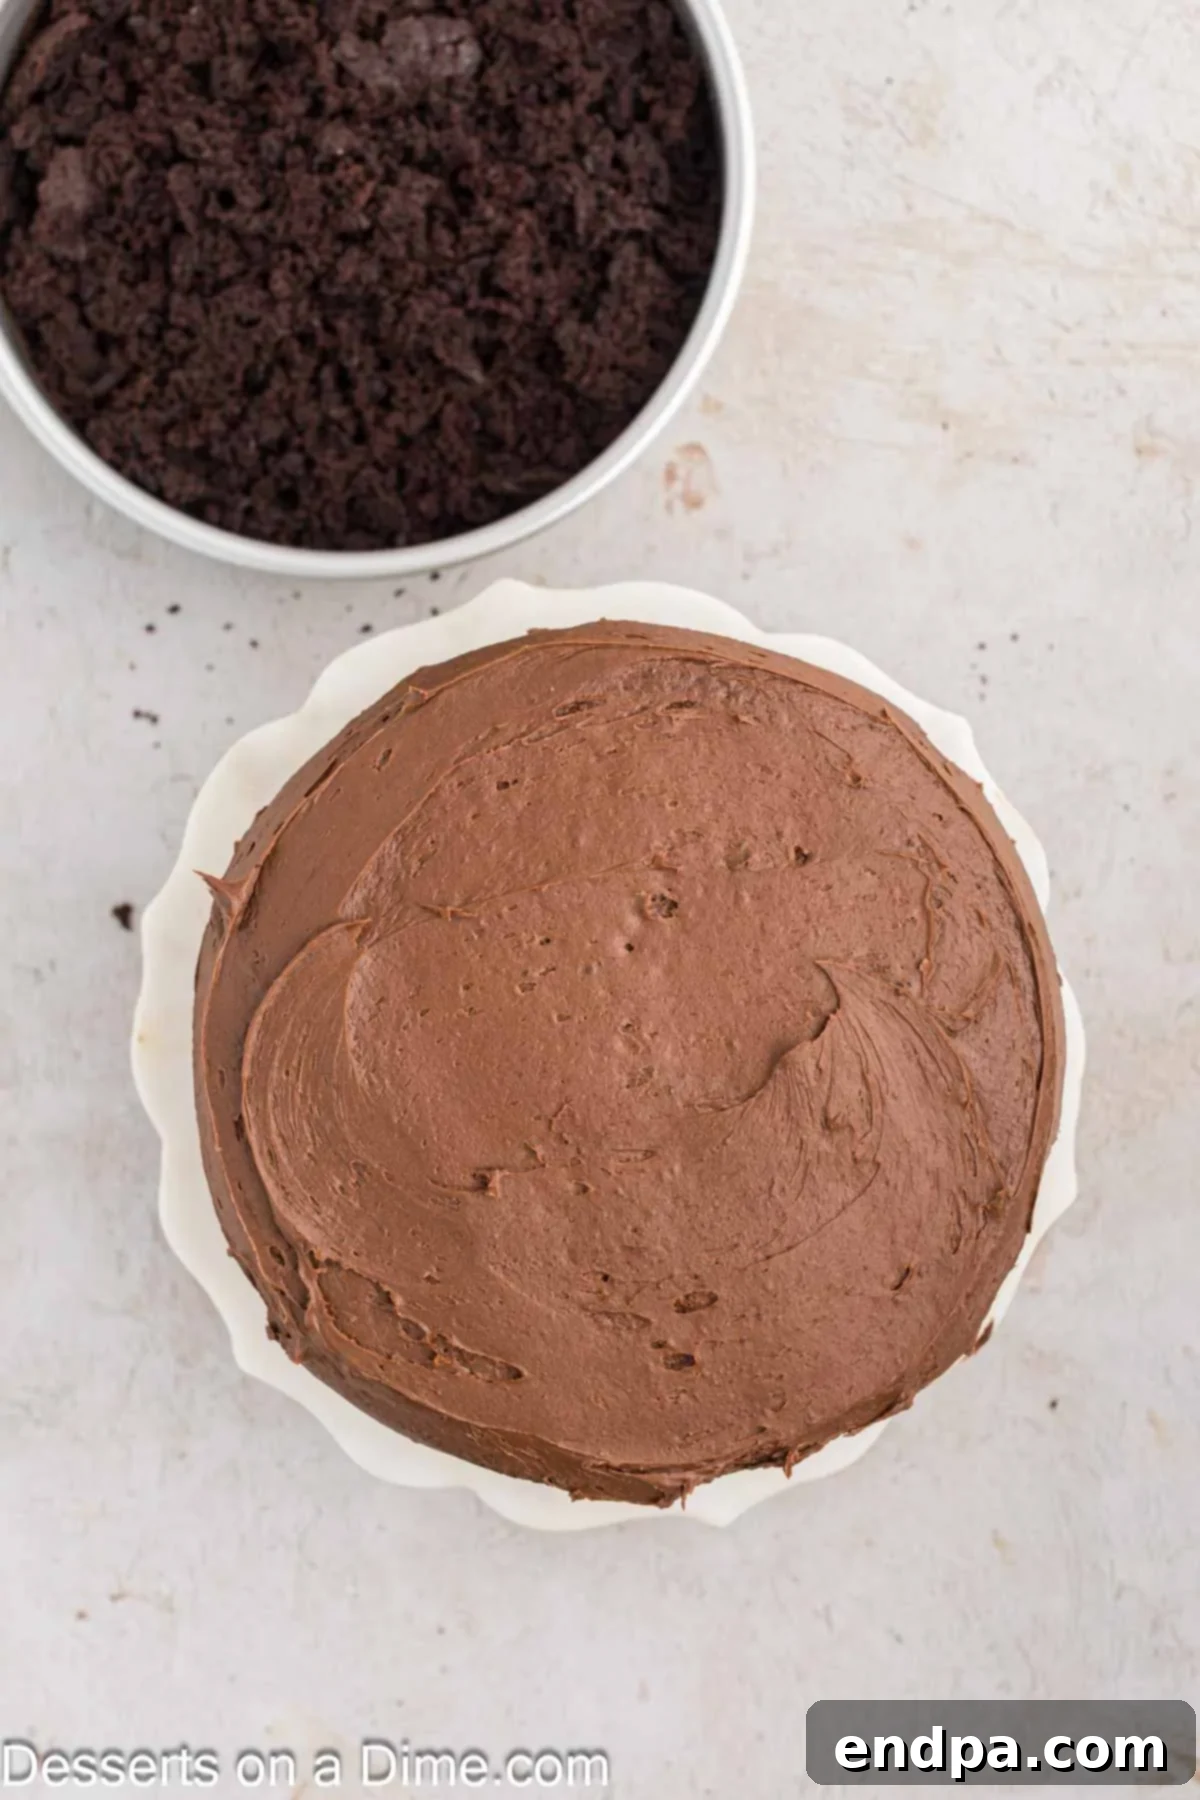
Step 8: Assemble the Cake. Once the cake layers are completely cool, use a sharp serrated knife to carefully level the tops if necessary, and then cut each cake layer in half horizontally. This will give you four thinner cake layers. Set one of these layers aside for crumbling. On a serving plate or platter, place one cake layer. Spread a thick, even layer of frosting over it. Repeat this process with two more cake layers, stacking them to create a three-layer cake. Finally, spread the remaining frosting generously over the top and sides of the entire cake, aiming for a smooth, even coating.
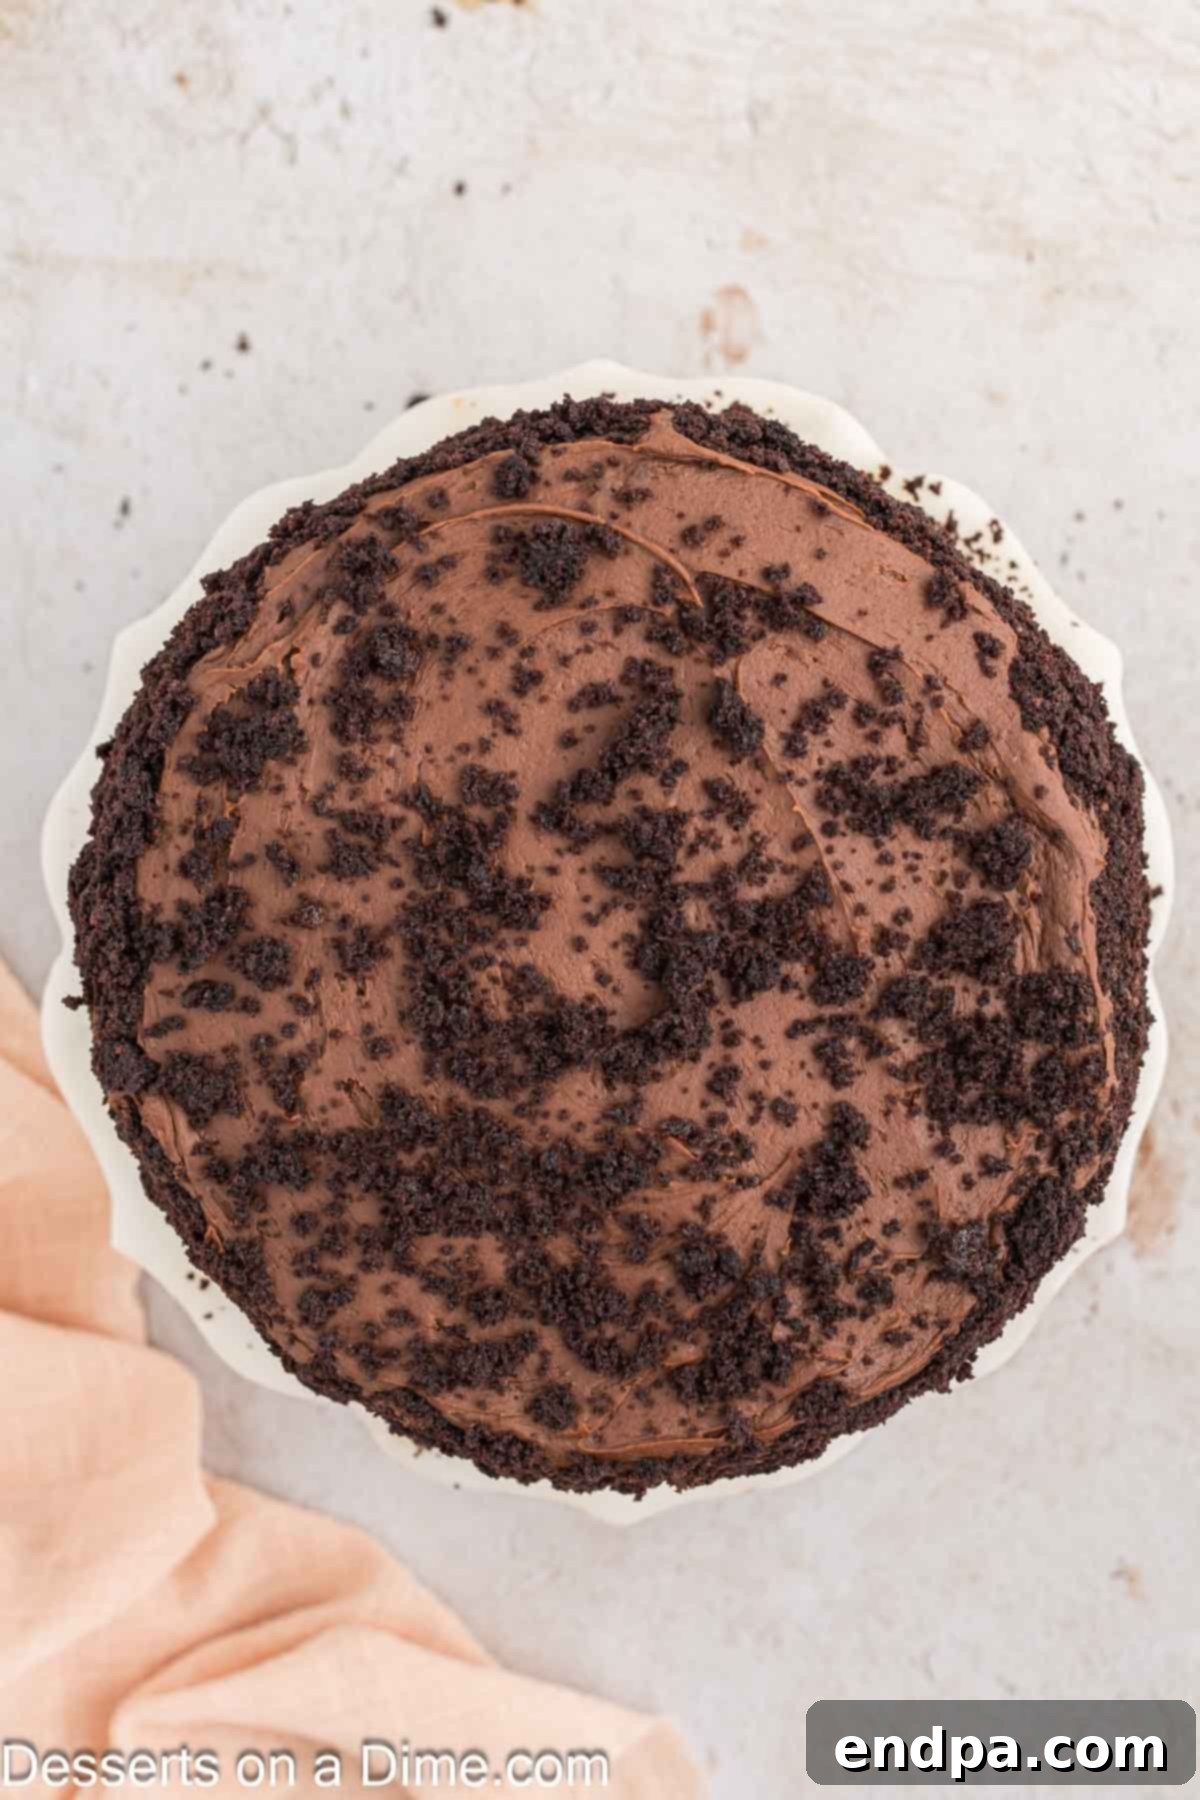
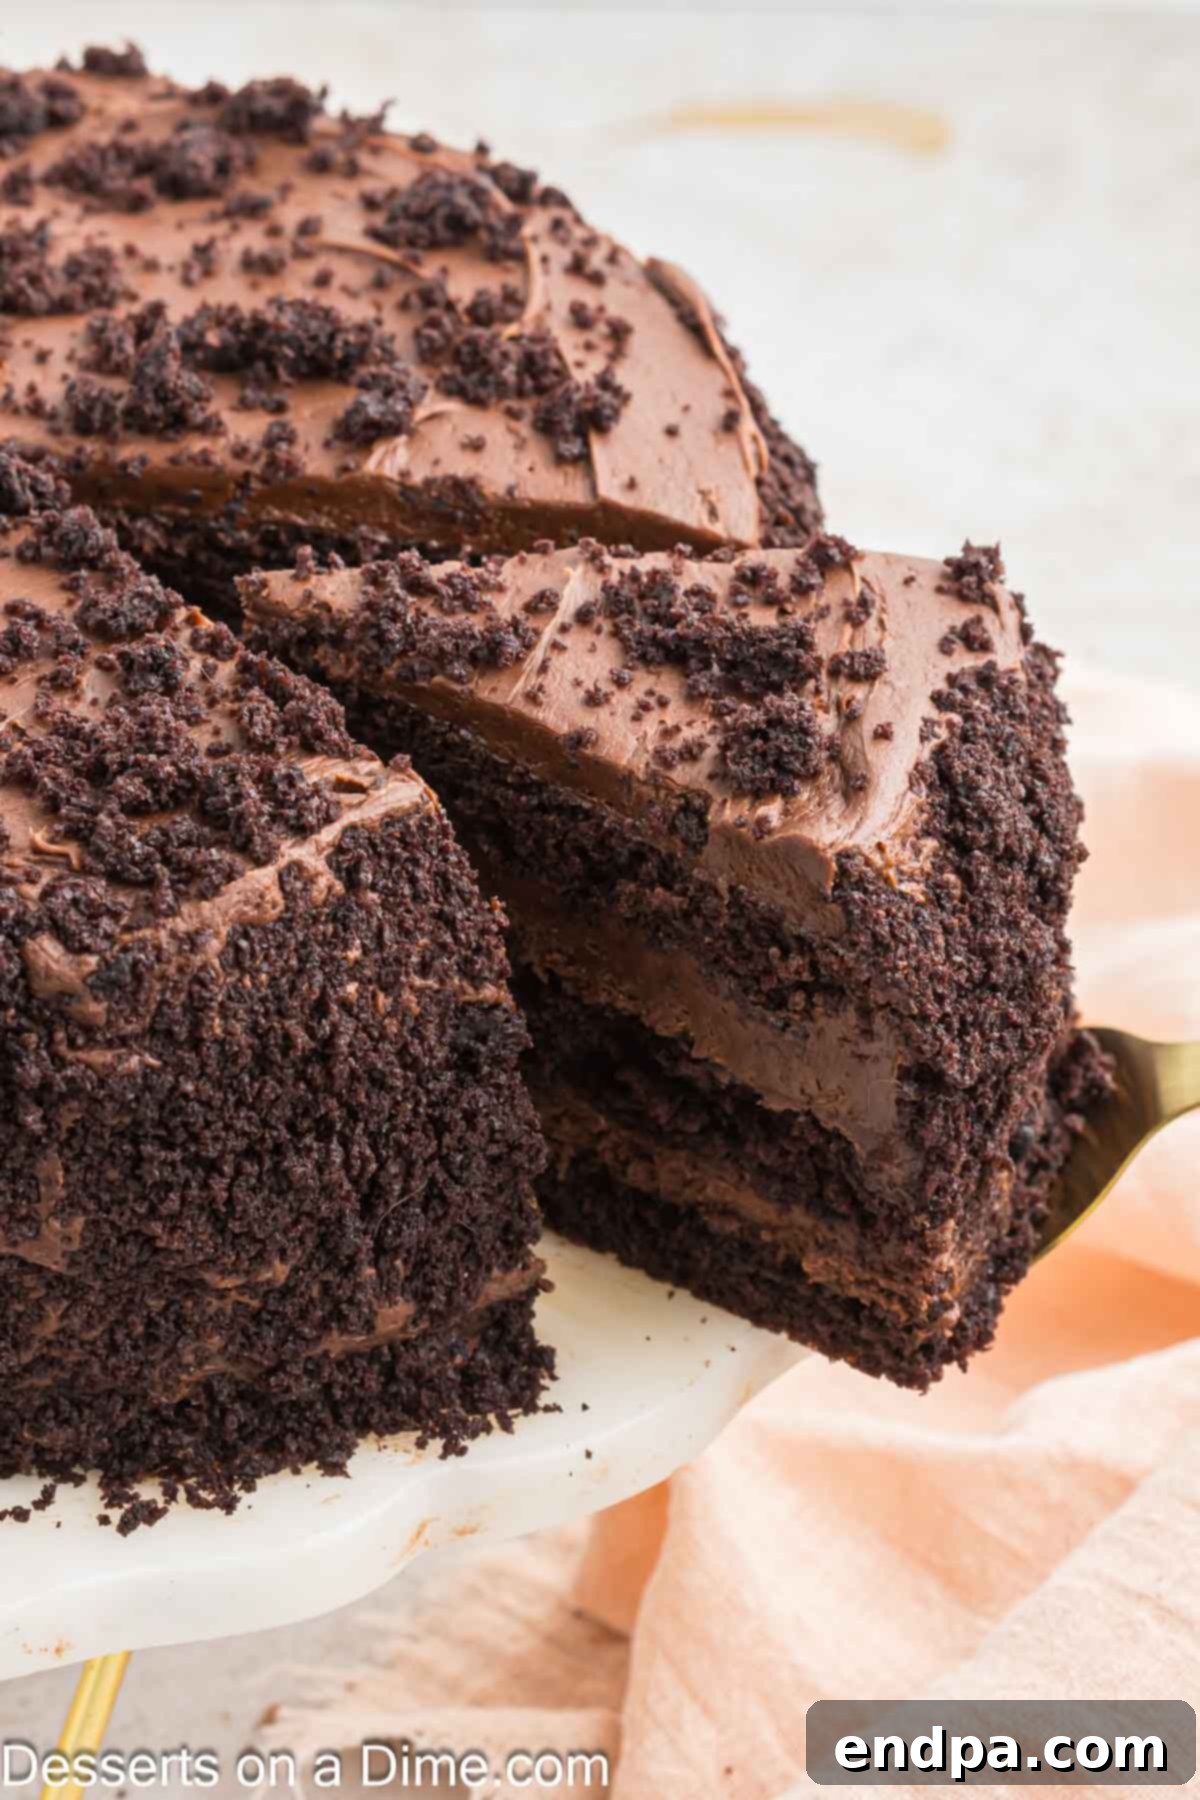
Step 9: Add the Signature Crumb Coat. Take the cake layer you set aside and crumble it thoroughly into fine crumbs. Gently press handfuls of these cake crumbs onto the sides of the frosted cake, working your way around until all sides are completely covered. Sprinkle a small amount of remaining crumbs over the top of the cake. Cover the cake loosely and refrigerate for at least 30 minutes to allow the frosting to set slightly, making it easier to slice. Your magnificent Blackout Cake is now ready to serve and enjoy! It pairs wonderfully with a scoop of No-Churn Vanilla Ice Cream.
Storage Tips
To keep your Blackout Cake fresh and delicious, store any leftovers in the refrigerator, tightly covered with plastic wrap, for up to 4-5 days. The flavors tend to meld and deepen beautifully over time.
Expert Baking Tips
- Embrace Dutch-Process Cocoa: For an authentic Blackout Cake, the use of unsweetened Dutch-process cocoa powder is non-negotiable. Its lower acidity and darker color provide the intense chocolate flavor and deep hue that define this cake. Do not substitute it with natural cocoa powder, as this will alter the taste and texture.
- Don’t Skip the Coffee: While you won’t taste coffee prominently, strong brewed coffee is the secret weapon for amplifying the chocolate flavor. It enhances the richness and complexity, making the chocolate truly “blackout.”
- Buttermilk for Ultimate Moisture: Buttermilk is truly a must-have ingredient. Its acidity reacts with the leavening agents, creating a lighter, more tender crumb, and it imparts an unparalleled moisture and a subtle, delicious tang to the cake.
- Room Temperature Ingredients are Key: Ensure your butter, cream cheese, and eggs are at room temperature. This allows them to cream together more smoothly, creating a more cohesive batter and frosting without lumps, leading to a superior final texture.
- Do Not Overmix: Mix the cake batter only until the dry ingredients are just combined. Overmixing can develop the gluten in the flour, resulting in a dense, tough cake rather than a moist and tender one.
- Perfect Crumb Coating Alternatives: If you find yourself short on cake crumbs for the signature coating, don’t despair! Crushed Oreo cookies (without the cream filling) or even chocolate wafers can be a fantastic substitute. Use a food processor for quick and uniform crumbling.
- Ensure Even Baking: For easy removal and a beautiful cake, consider lining the bottoms of your cake pans with parchment paper in addition to greasing them. This prevents sticking and ensures your layers come out perfectly.
- Pan Size Matters: This recipe is designed for two 8-inch cake pans, which will give you thick, impressive layers when sliced horizontally. If you only have 9-inch pans, you can use them, but be aware that your cake layers will be thinner, and the baking time might be slightly reduced. Keep an eye on the toothpick test!
More Delicious Chocolate Cake Recipes
Cakes
Easy Chocolate Cake
Cakes
Chocolate Poke Cake
Cakes
Chocolate Bundt Cake Recipe
Don’t hesitate any longer! Try this luscious Blackout Cake Recipe today and discover your new favorite chocolate dessert. Its deep flavor and tender crumb are sure to impress.
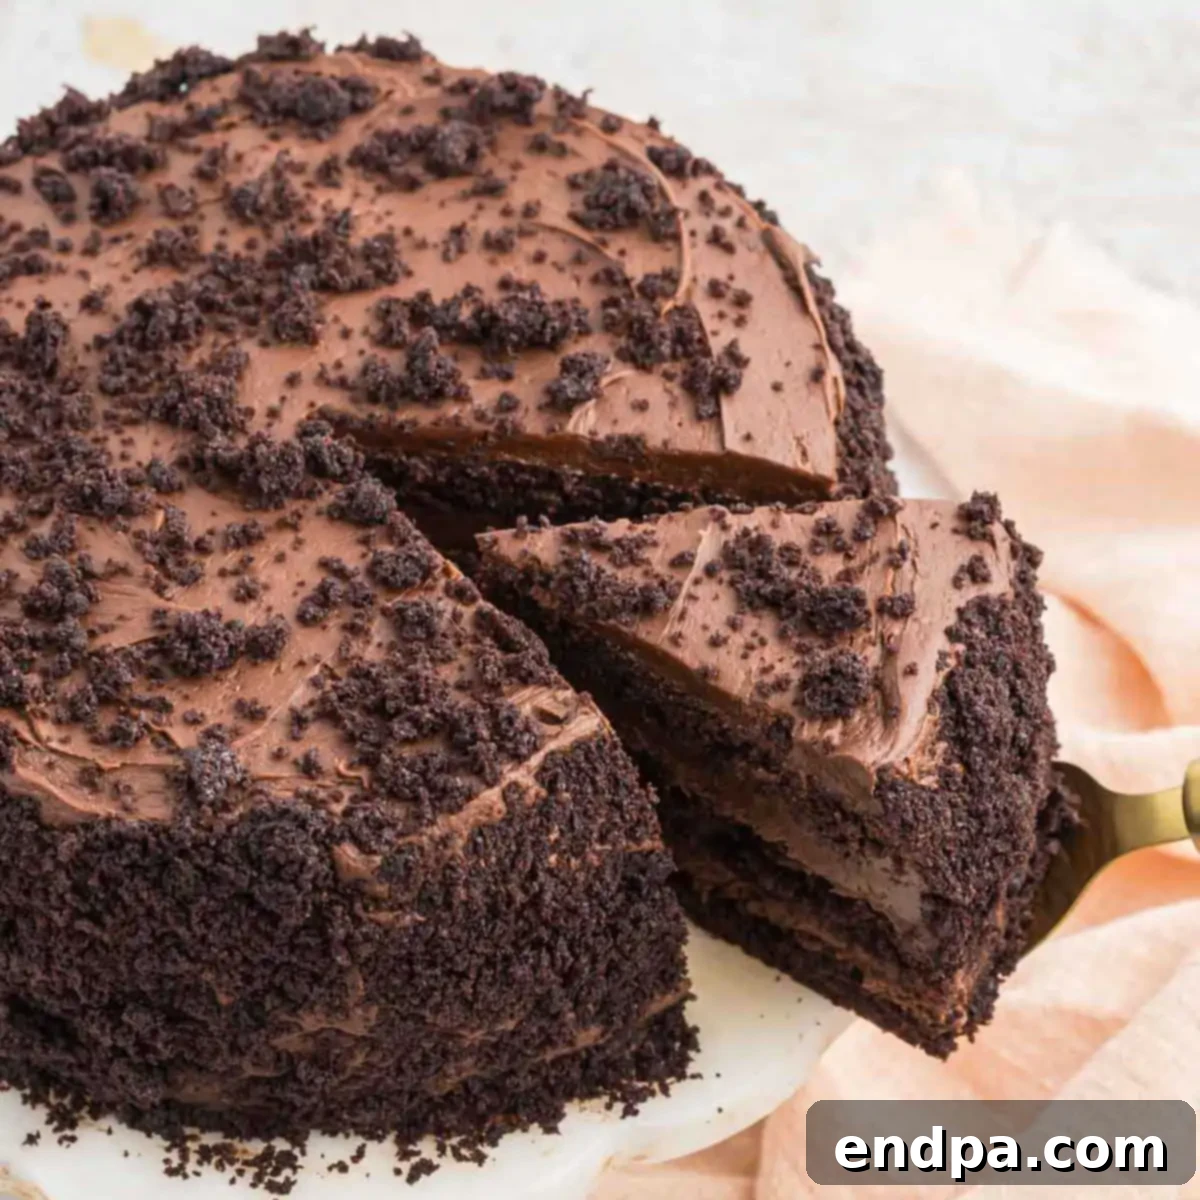
Blackout Cake
If you are looking for a decadent and moist chocolate cake recipe, Blackout Cake is a must try. It’s infused with dark chocolate, coffee and buttermilk for a rich flavor.
20 mins
35 mins
30 mins
1 hr 25 mins
12
American
Dessert
Carrie Barnard
Ingredients
For the Cake:
- 2 cups All-Purpose Flour
- 1 teaspoon Baking Soda
- 2 teaspoons Baking Powder
- 1 teaspoon Salt
- 2 cups Granulated Sugar
- 1/2 cup Unsweetened Dutch-Process Cocoa Powder
- 2 teaspoons Vanilla Extract
- 3/4 cup Vegetable Oil
- 3 Large Eggs
- 1 cup Buttermilk
- 1/2 cup Strongly Brewed Coffee
For the Frosting:
- 1 1/2 cups Unsalted Butter, softened
- 8 ounces Cream Cheese, softened
- 1 1/2 cups Unsweetened Cocoa Powder
- 6 cups Powdered Sugar
- 1/4 cup Strongly Brewed Coffee
- 1 tablespoon Vanilla Extract
- 1/2 teaspoon Salt
Instructions
For the Cake:
- Preheat the oven to 350 degrees F (175 degrees C) and spray two 8-inch cake pans with non-stick cooking spray.
- In a large mixing bowl, whisk together the flour, baking soda, baking powder, salt, sugar, and cocoa powder. Set aside.
- In a separate bowl, whisk together the oil, eggs, and buttermilk.
- Slowly stir the wet ingredients into the dry ingredients until just combined. Mix in the strong brewed coffee until combined and smooth.
- Pour the batter evenly into the prepared pans.
- Bake for 30-35 minutes or until a toothpick inserted into the center of the cakes comes out clean.
- Let the cakes sit in the pans for 10 minutes, then carefully invert them onto a cooling rack to cool completely before topping with the frosting.
For the Frosting:
- Cream together the butter and cream cheese in the bowl of a stand mixer fitted with a paddle attachment until light and fluffy.
- Reduce the mixer speed to low and mix in the cocoa powder until combined.
- Then add in the powdered sugar, coffee, vanilla extract, and salt. Mix until well combined and smooth.
To Assemble:
- Use a sharp serrated knife to level the cakes and cut each cake in half horizontally. Set one of the cake layers aside.
- Layer the three other cakes on a serving plate or platter, applying a thick layer of frosting in between each cake layer.
- Spread frosting generously on top and the sides of the cake.
- Crumble the remaining cake layer. Take a handful of cake crumbs and press them into the sides of the cake, ensuring to cover all sides.
- Sprinkle a small amount of crumbs on the top.
- Cover and refrigerate for 30 minutes, then the cake is ready to serve and enjoy!
Recipe Notes
Refrigerate any leftover cake, covered, for up to 4-5 days. It’s often even better the next day!
Nutrition Facts
Carbohydrates 120g,
Protein 8g,
Fat 47g,
Saturated Fat 22g,
Polyunsaturated Fat 9g,
Monounsaturated Fat 12g,
Trans Fat 1g,
Cholesterol 123mg,
Sodium 736mg,
Potassium 324mg,
Fiber 6g,
Sugar 94g,
Vitamin A 1055IU,
Calcium 116mg,
Iron 3mg
