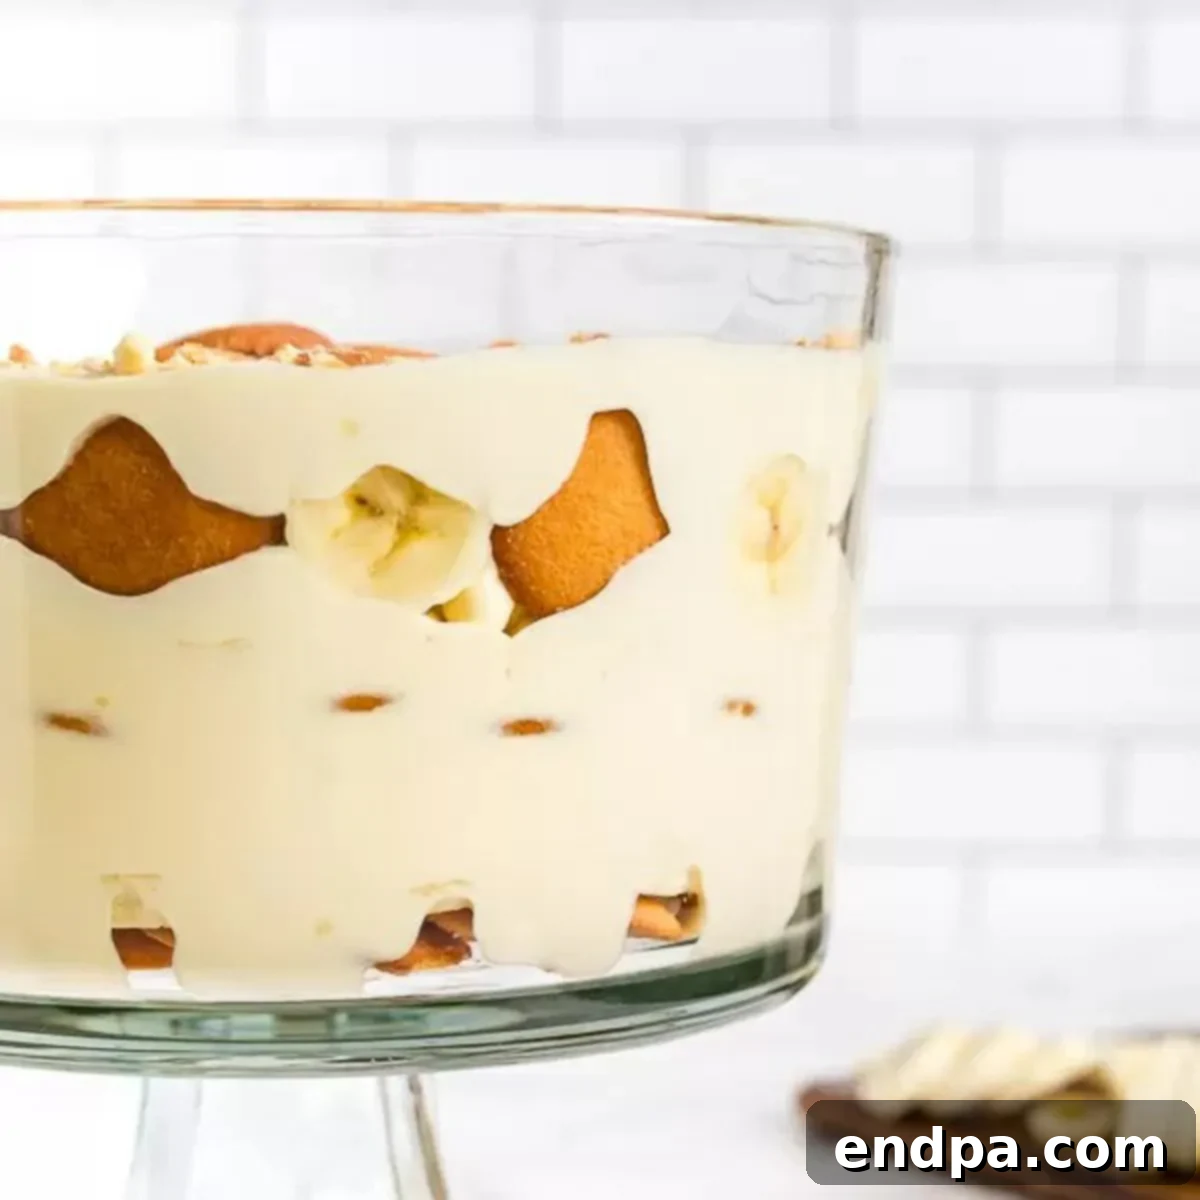
Easy Banana Pudding Recipe: A Classic No-Bake Delight for Any Occasion
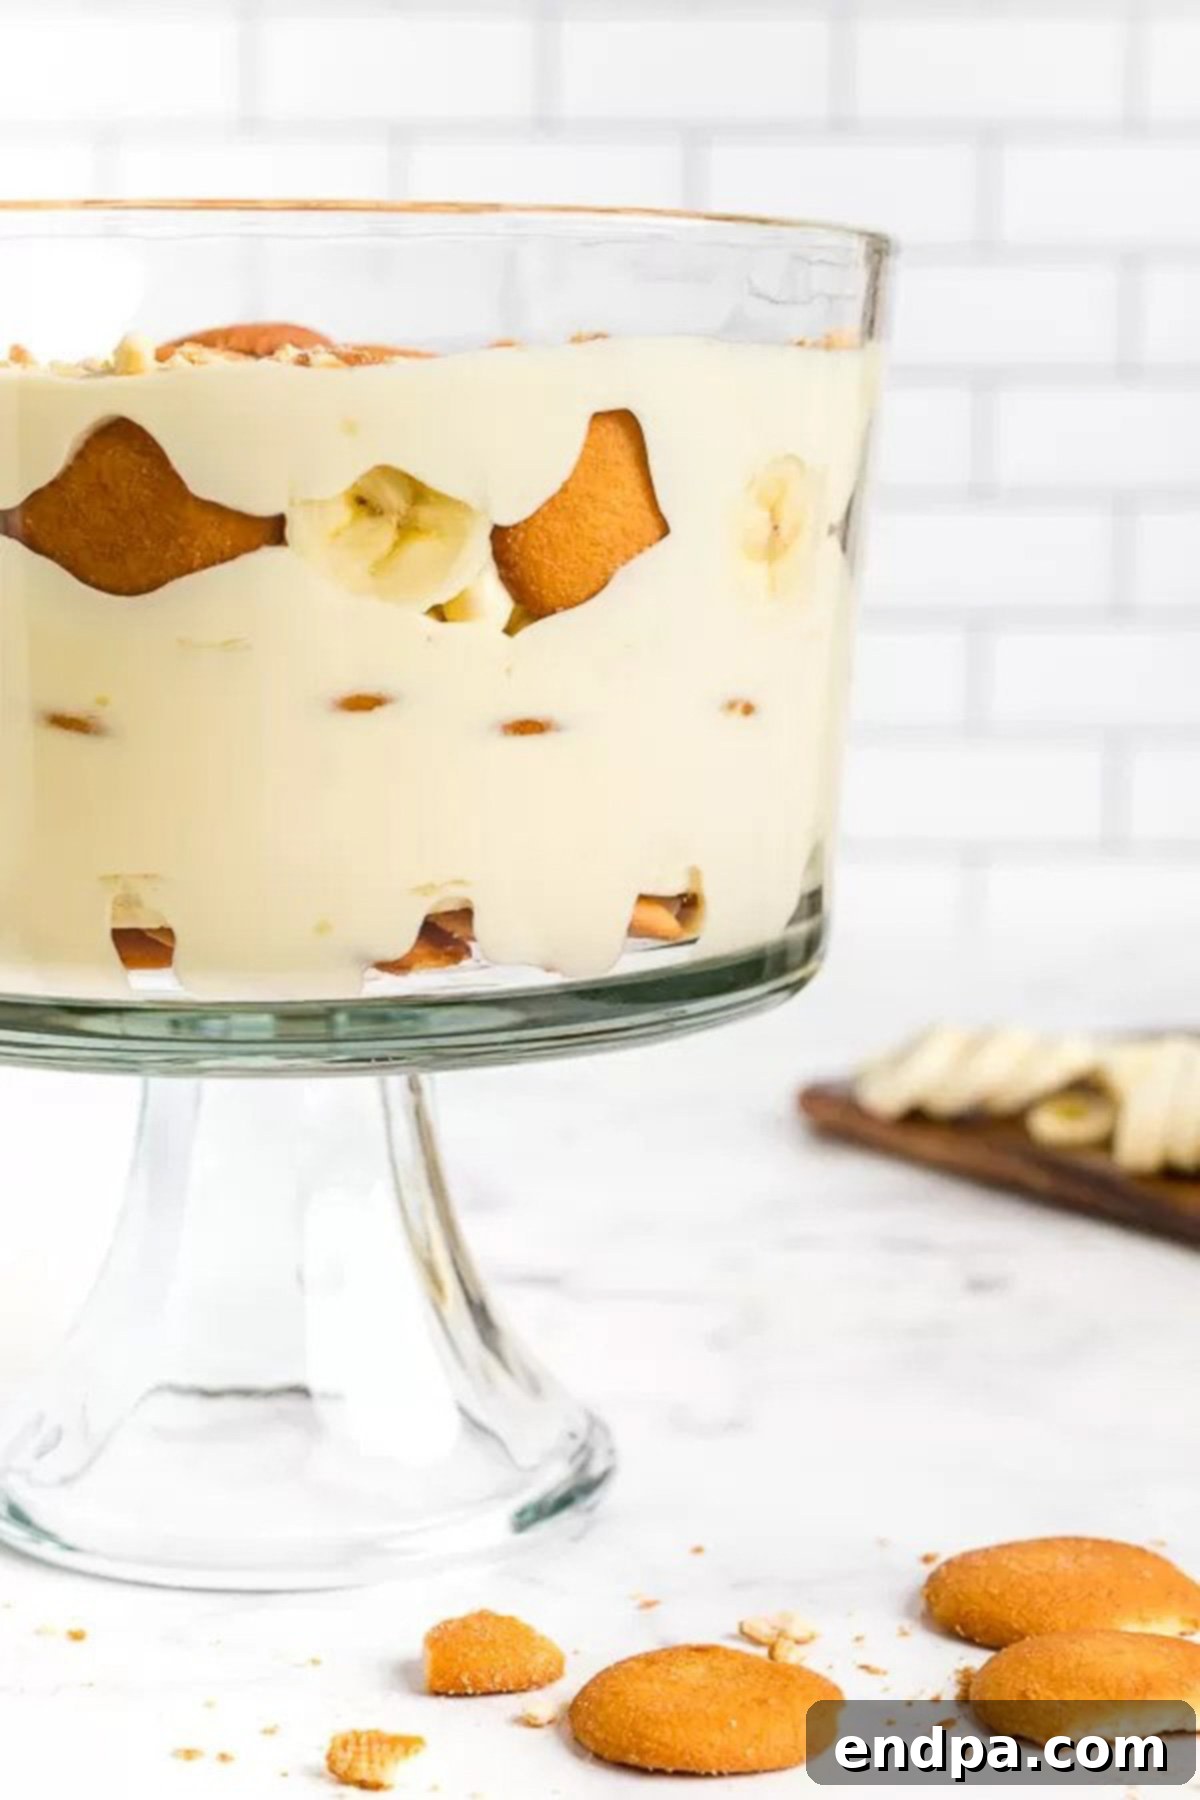
There are few desserts that evoke the same sense of nostalgic comfort as a classic Banana Pudding. This creamy, dreamy confection has been a staple in Southern kitchens for generations, gracing picnic tables, holiday gatherings, and Sunday lunches with its irresistible charm. Our Easy Banana Pudding Recipe captures all the beloved flavors and textures of this timeless dessert, promising to become a new family favorite that’s both simple to prepare and utterly delicious.
Imagine luscious layers of rich vanilla pudding, perfectly ripe banana slices, and crunchy-yet-soft vanilla wafers, all crowned with billows of fluffy whipped cream. Each spoonful offers a harmonious blend of creamy sweetness and delicate crunch, making it a truly satisfying treat. The magic happens as the vanilla wafers gently soften, absorbing the pudding’s flavor and transforming into a cake-like texture that’s simply divine. Plus, when assembled in a clear trifle dish, the distinct layers create a visually stunning presentation that’s sure to impress your guests, making it an ideal dessert for any special occasion or simply a delightful weeknight indulgence.
If you’re a fan of no-bake desserts that deliver big on flavor without requiring hours in the kitchen, this recipe is tailor-made for you. It’s a fantastic alternative to baked goods, offering a refreshing and light option, especially during warmer months. Beyond this traditional recipe, we also enjoy exploring variations like Banana Pudding Poke Cake and Paula Deen Banana Pudding for when we want to switch things up a bit.
Table of contents
- Why This Recipe is a Must-Try
- Essential Ingredients for the Best Banana Pudding
- How to Make Easy Banana Pudding: Step-by-Step
- Storage and Make-Ahead Tips
- Pro Tips for Perfect Banana Pudding
- Frequently Asked Questions About Banana Pudding
- Beyond the Classic: More Banana Desserts to Love
Why This Recipe is a Must-Try
Our easy banana pudding recipe stands out for several compelling reasons, making it an absolute must-try for both seasoned bakers and novice dessert enthusiasts:
- Effortless Preparation: Forget complicated techniques and endless ingredient lists. This recipe is designed for simplicity, allowing you to create a show-stopping dessert with minimal fuss. It’s a perfect option when you need a delicious treat but are short on time.
- Unforgettable Flavor Profile: The harmonious blend of creamy vanilla pudding, naturally sweet bananas, and tender vanilla wafers creates a flavor experience that is rich, comforting, and incredibly satisfying. It hits all the right notes for a classic Southern dessert.
- Visually Stunning Layers: When assembled in a clear dish, the distinct layers of pudding, bananas, and wafers create a beautiful, elegant presentation. It’s a dessert that looks as good as it tastes, perfect for entertaining or as a centerpiece for any meal.
- Family-Friendly Fun: The straightforward steps make this recipe suitable for all ages. Kids can easily assist with layering the wafers and bananas, turning dessert preparation into a fun, collaborative activity.
- Versatility for Any Occasion: Whether it’s a casual family dinner, a festive potluck, a summer BBQ, or a special holiday celebration, banana pudding is always a welcome addition. Its universal appeal ensures it will be enjoyed by everyone.
If you enjoy the delightful combination of banana and pudding, you might also love our Banana Pudding Fluff for another light and airy dessert option.
Essential Ingredients for the Best Banana Pudding
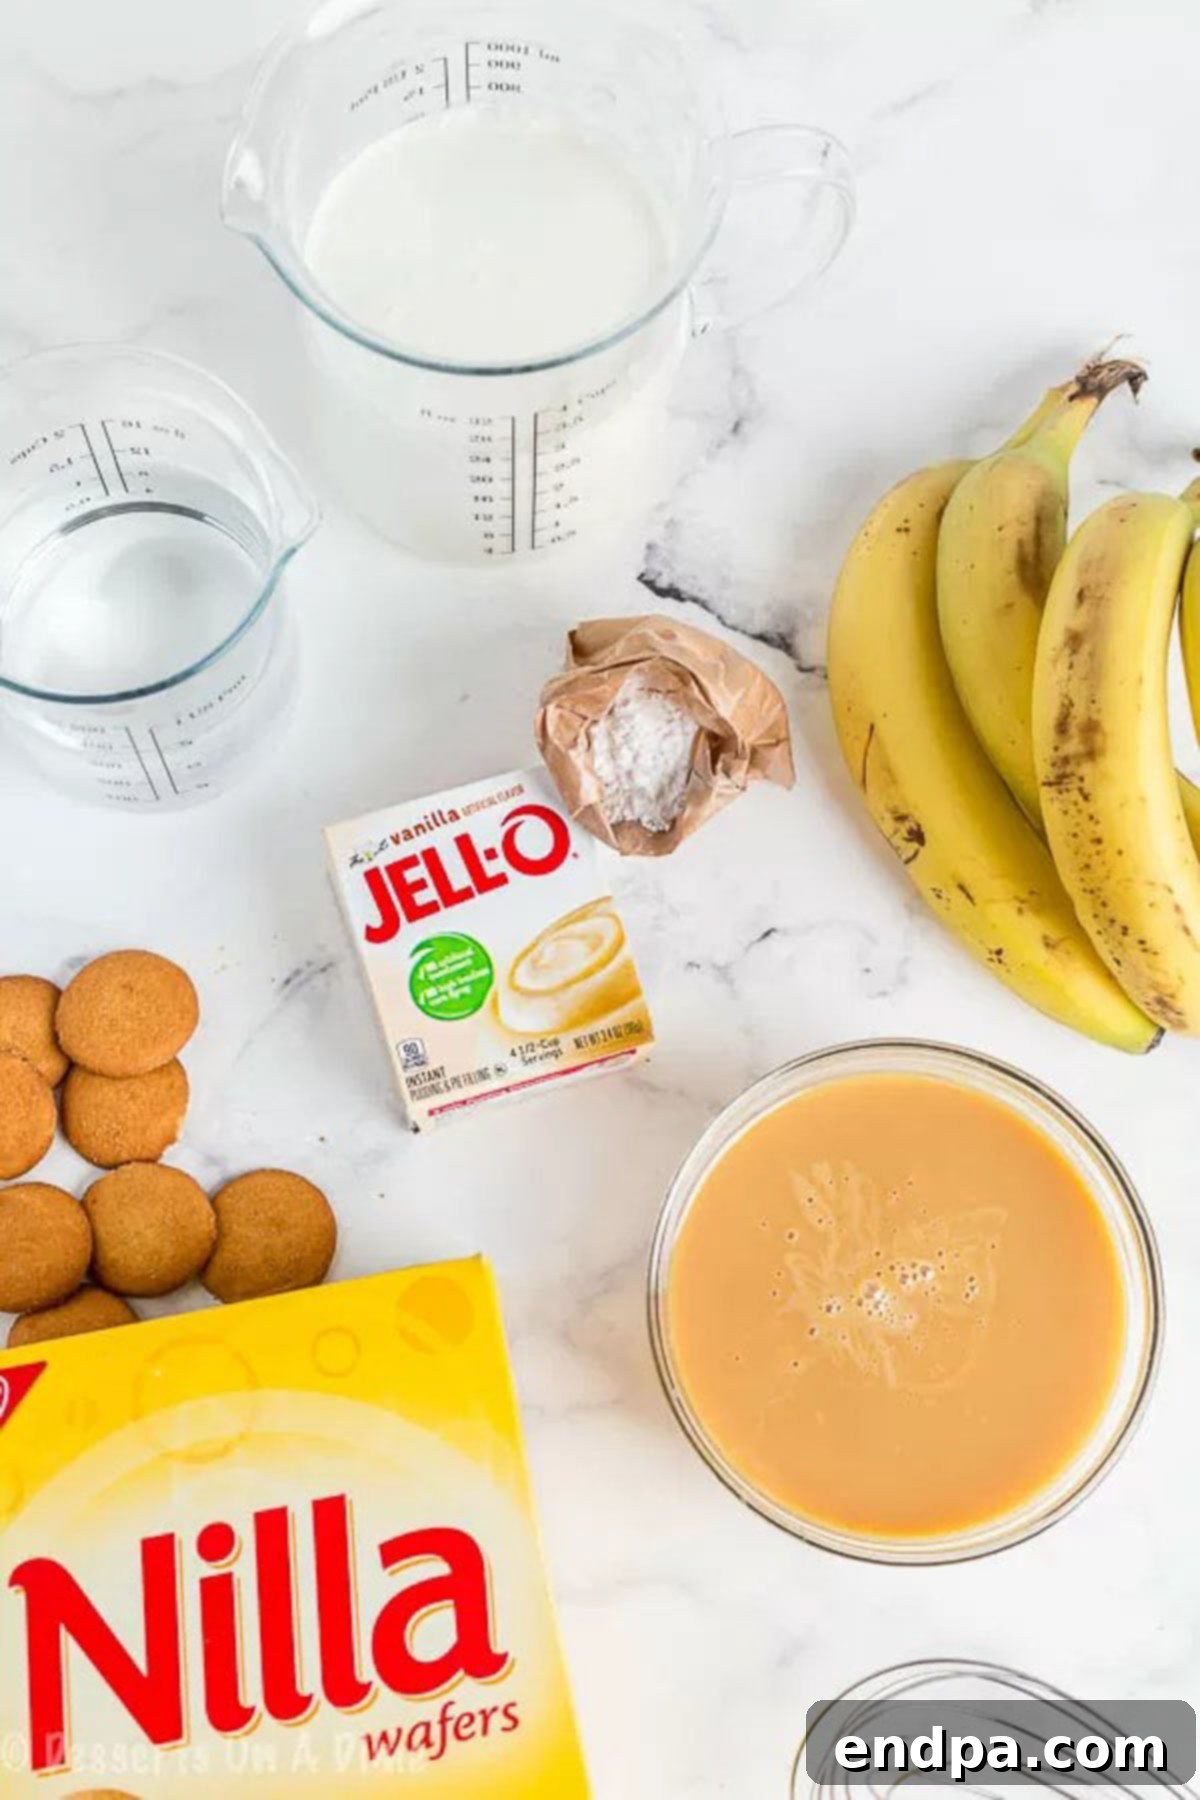
Creating truly delicious banana pudding starts with selecting the right ingredients. Each component plays a vital role in achieving that perfect creamy texture and classic flavor:
- Sweetened Condensed Milk: This ingredient is the secret to the pudding’s incredible richness and sweetness. It provides a dense, creamy base that’s unparalleled. Do not confuse it with evaporated milk, as they are very different products. A standard 14-ounce can is usually perfect for this recipe.
- Instant Vanilla Pudding Mix: For ultimate ease and speed, instant pudding mix is a fantastic choice. It helps create a thick, stable pudding base without any cooking required. While you can opt for a homemade vanilla pudding from scratch, the instant variety simplifies the process significantly. Ensure you use the “instant” type, not the cook-and-serve.
- Heavy Cream: Whipped heavy cream is crucial for achieving the light, airy, and luscious texture of the final pudding mixture. Make sure your heavy whipping cream is well-chilled before whipping to ensure it forms stiff peaks effectively. As an alternative, you can use store-bought cool whip or other whipped toppings if you prefer, though homemade whipped cream offers a superior fresh taste and texture.
- Sliced Ripe Bananas: The star of the show! Choose bananas that are ripe but still firm, with only a few small brown spots. Overly ripe bananas can become mushy and discolored too quickly in the pudding. We recommend slicing them uniformly for even distribution and presentation.
- Nilla Wafers: These iconic vanilla wafers are traditional for a reason. They soften beautifully in the pudding, creating a cake-like texture that’s integral to the banana pudding experience. You can also experiment with other vanilla wafer cookies or even shortbread cookies for a slightly different take.
The precise quantities for all these ingredients can be found in the detailed recipe card at the bottom of this page, ensuring you have everything you need for this delightful dessert.
How to Make Easy Banana Pudding: Step-by-Step
Crafting this delicious no-bake banana pudding is incredibly straightforward. Follow these simple steps for a dessert that’s guaranteed to be a hit:
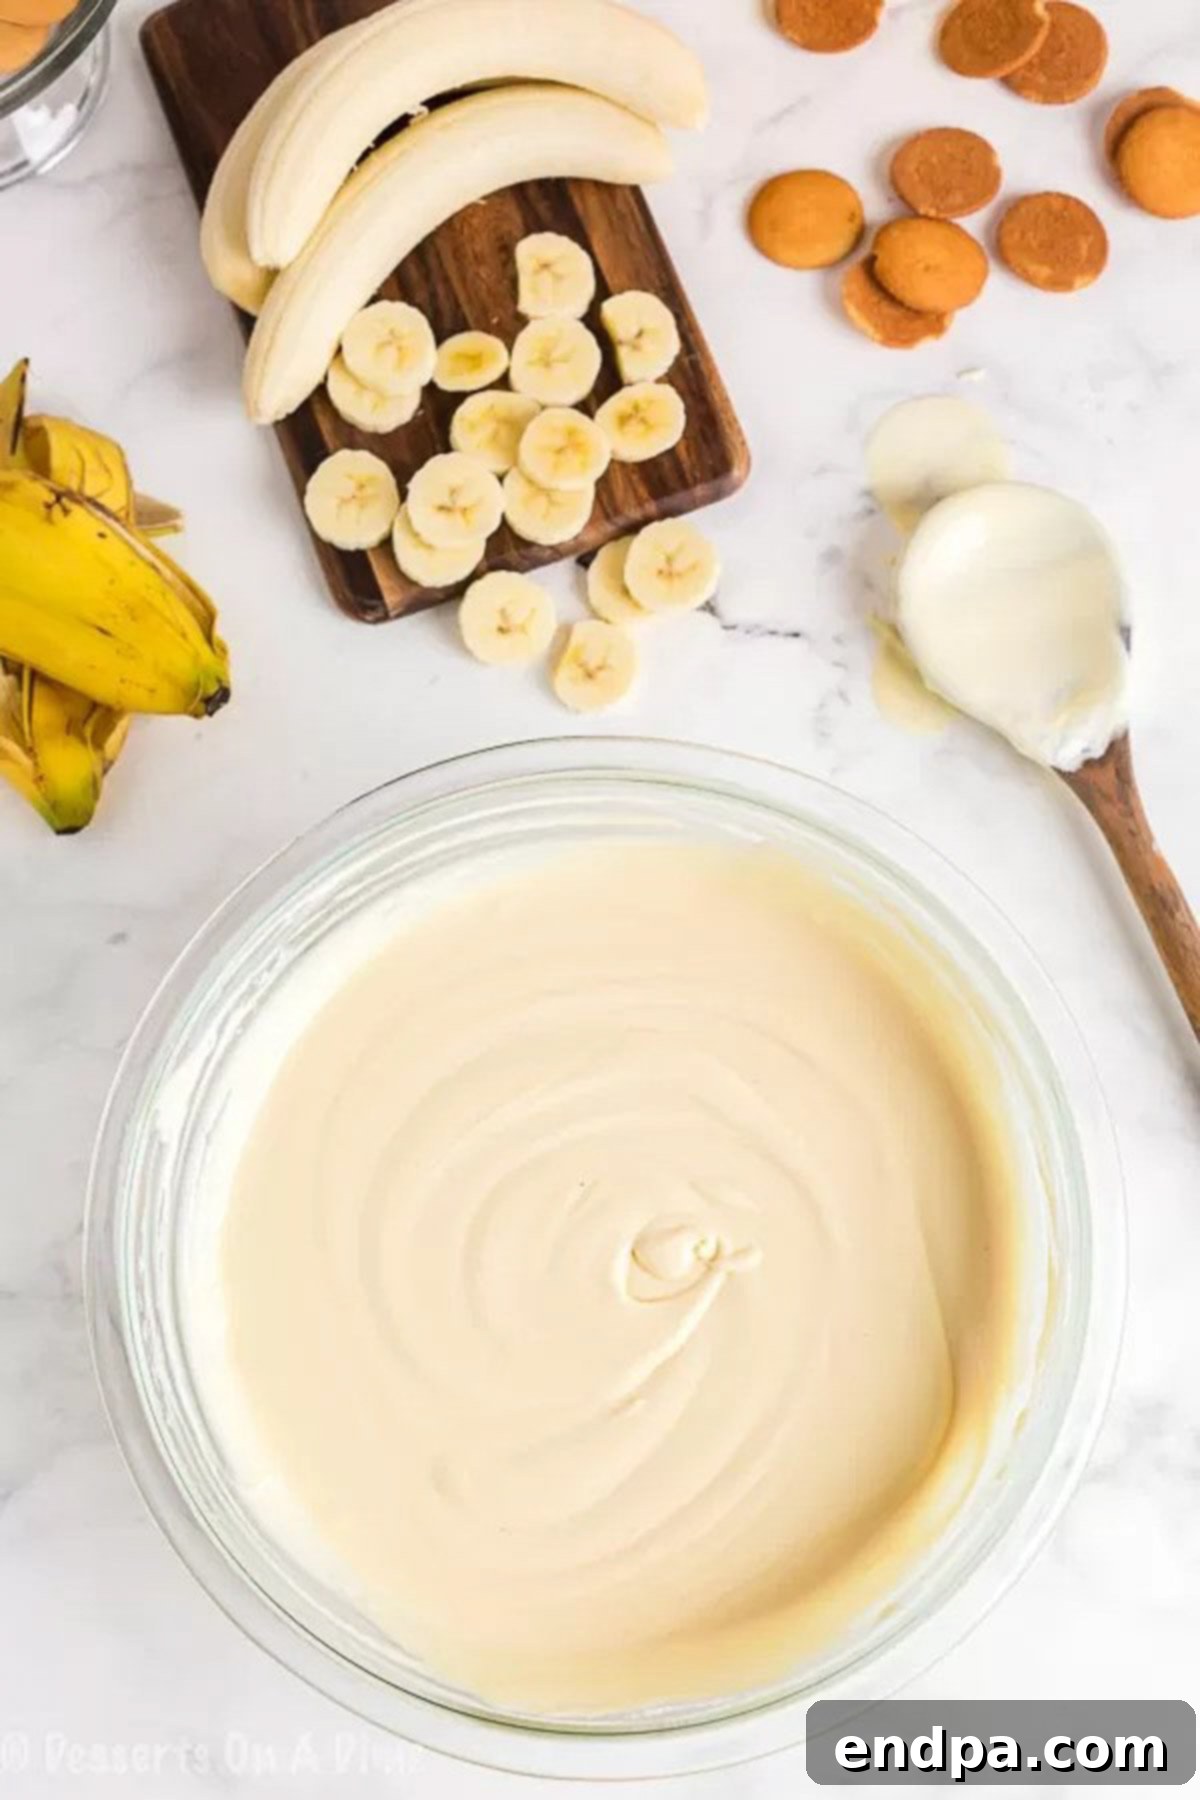
Step 1: Prepare the Pudding Base. In a large mixing bowl, combine the sweetened condensed milk with the ice-cold water. Using a hand mixer or a stand mixer, beat these two ingredients together until they are fully smooth and well-incorporated, typically about 1 minute. Next, add the instant vanilla pudding mix to the bowl. Continue to beat with the mixer until the pudding mix is completely dissolved and the mixture begins to thicken. Cover the bowl with plastic wrap and refrigerate for a minimum of 3-4 hours, or ideally, overnight. This crucial chilling time allows the pudding to set properly and prevents it from being watery.
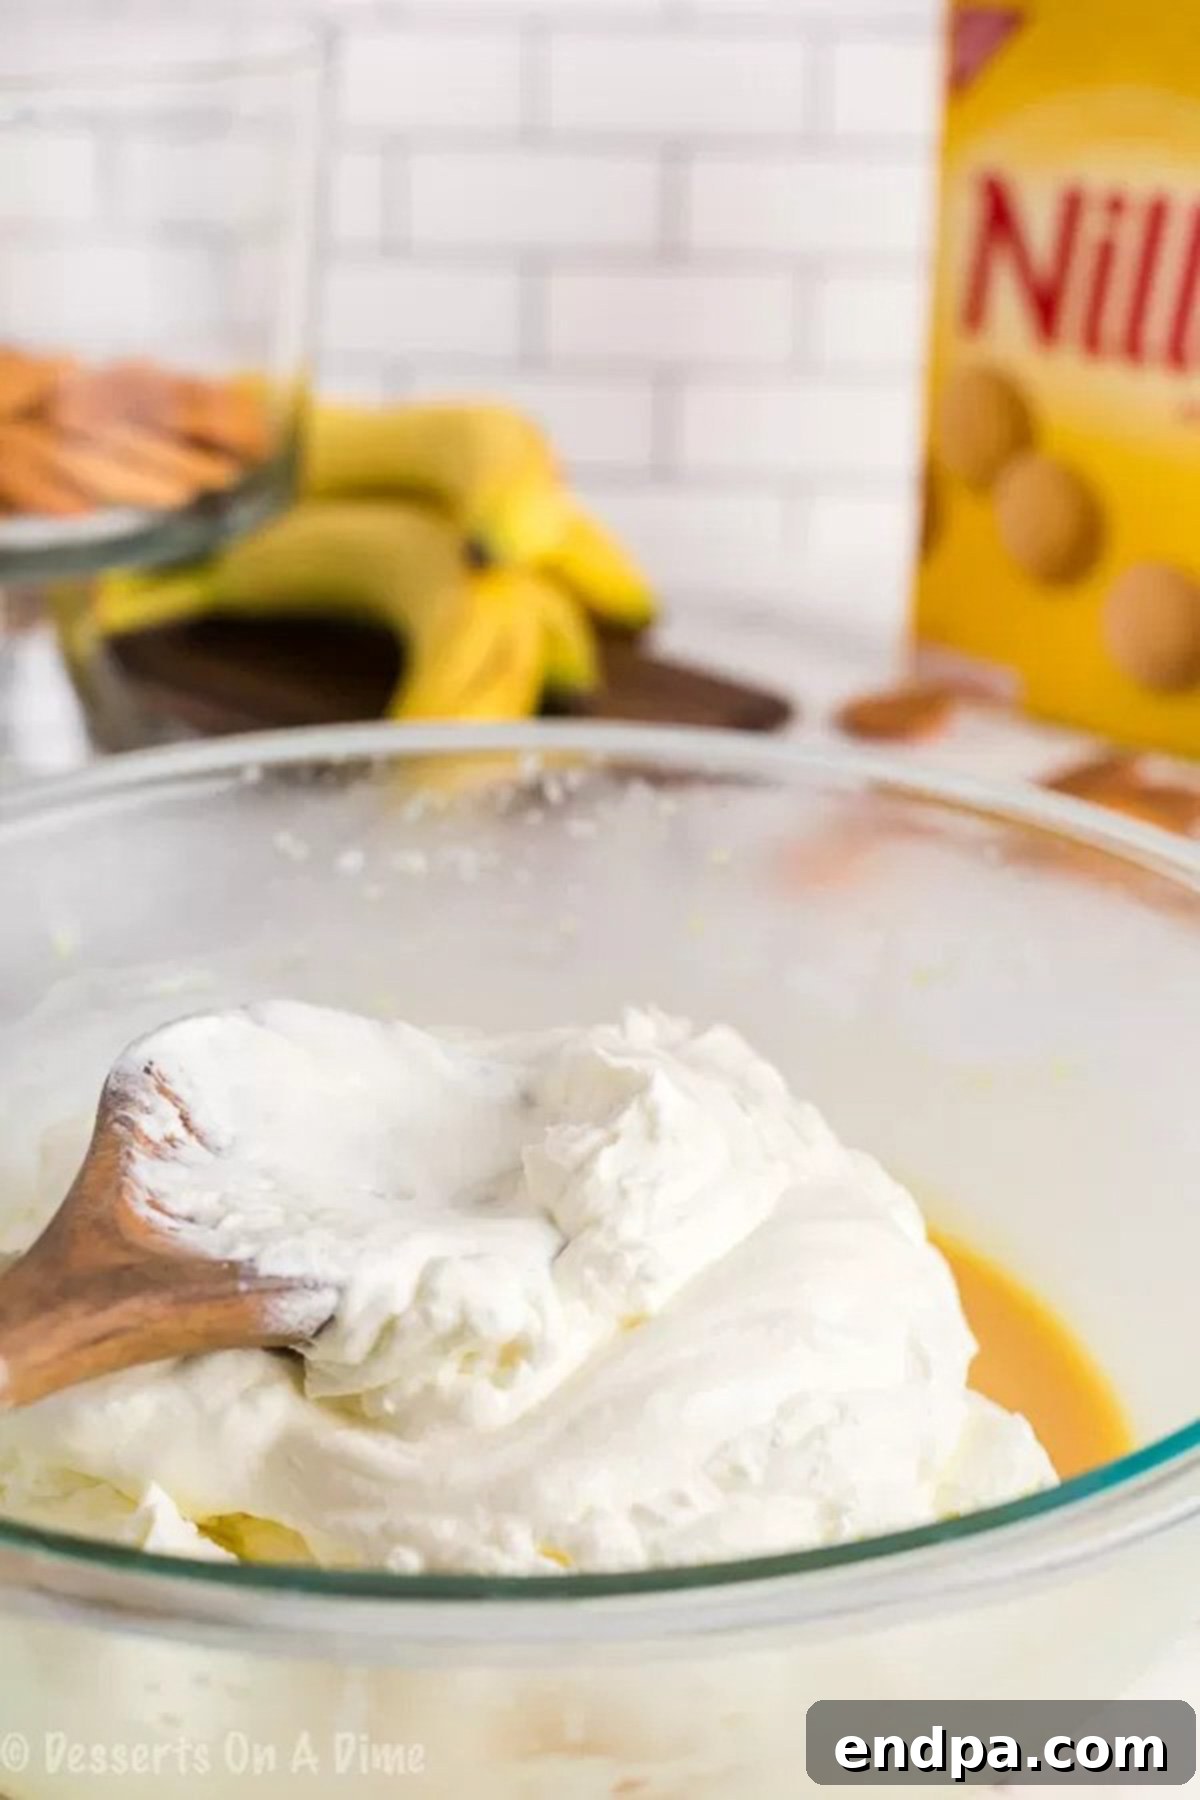
Step 2: Whip the Heavy Cream. In a separate, chilled large bowl (a cold bowl helps the cream whip faster), pour in the heavy cream. Using your mixer, whip the heavy cream on high speed until stiff peaks form. The cream should be firm enough to hold its shape when the beater is lifted. Once your pudding mixture has thoroughly chilled and set, gently fold the whipped cream into the prepared pudding mixture. Use a spatula to carefully combine, ensuring no streaks of plain pudding remain, resulting in a light and airy consistency.
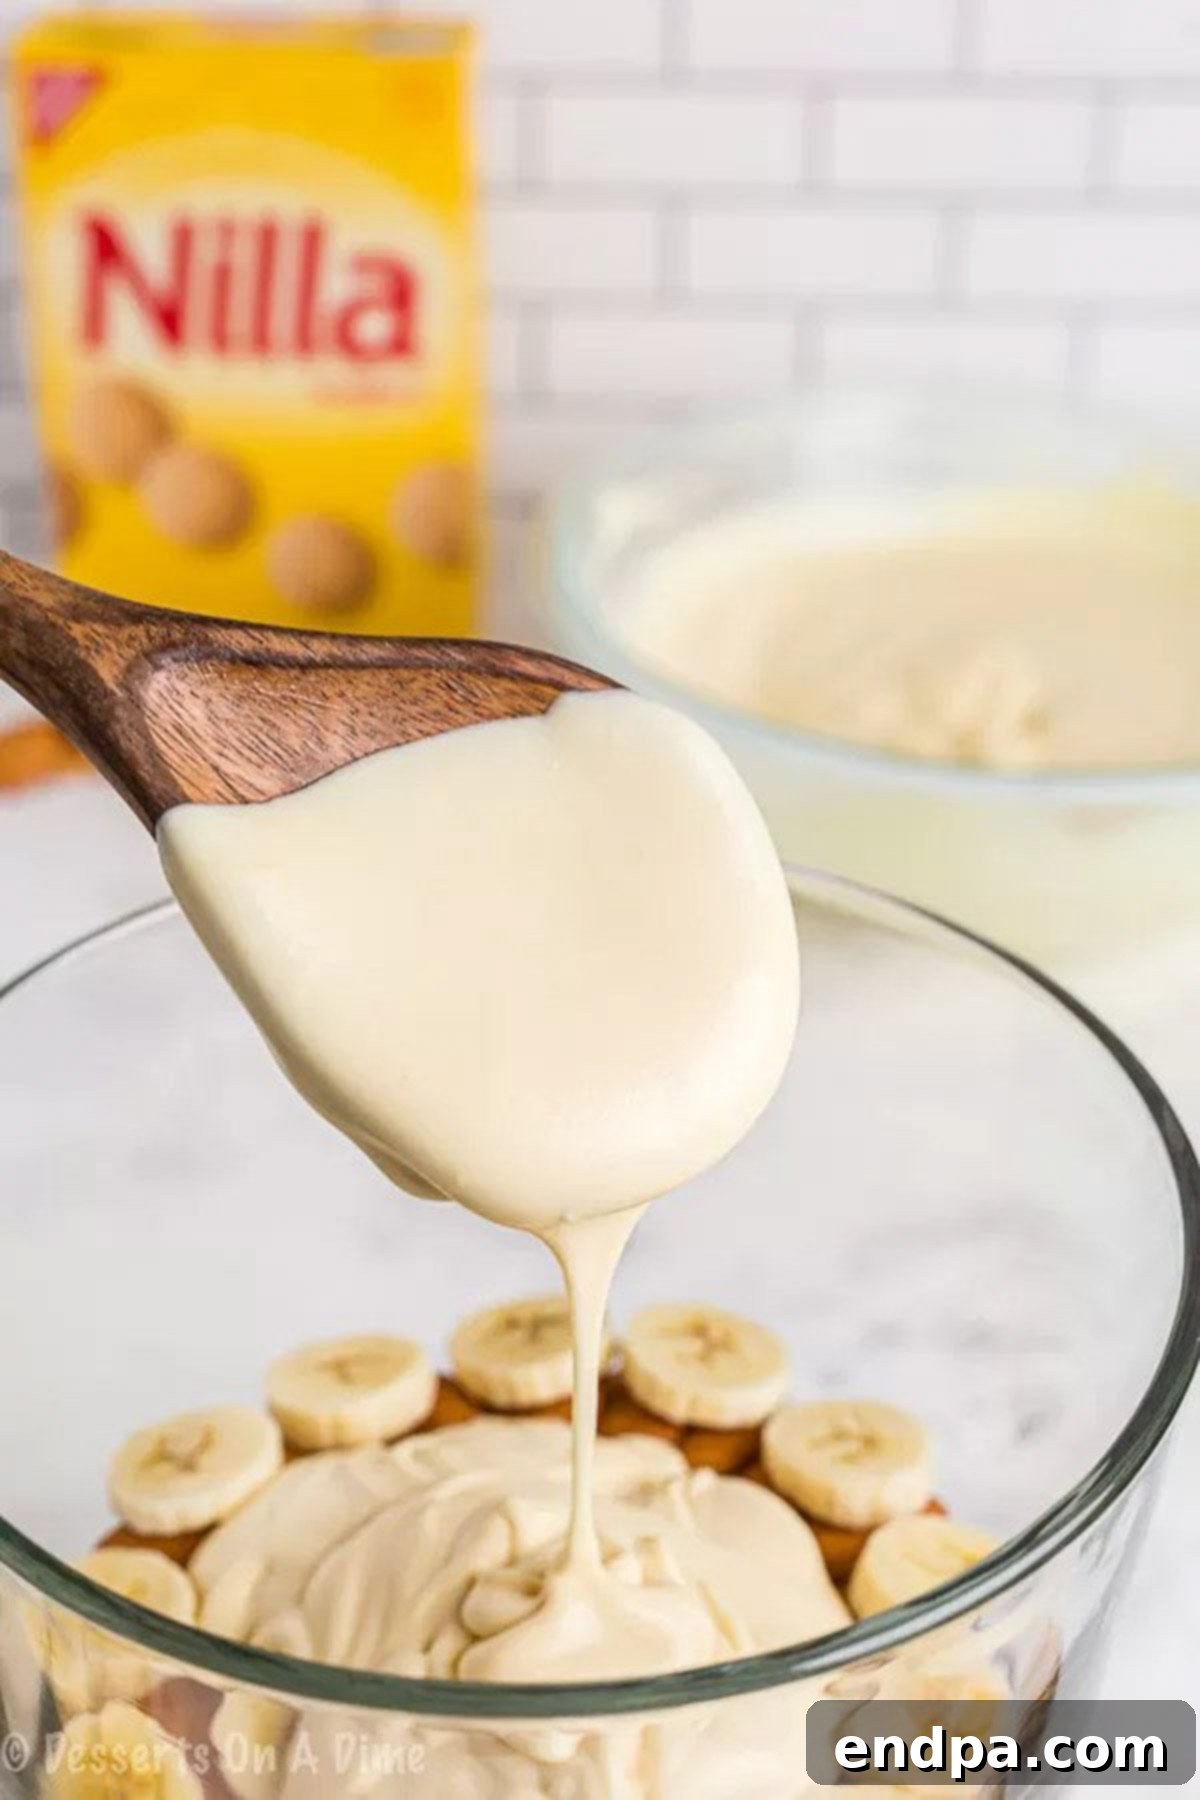
Step 3: Begin Layering. Now comes the fun part – assembling your beautiful dessert! If using a trifle dish, arrange approximately one-third of your Nilla wafers in a single layer at the bottom, overlapping them slightly if needed to cover the base. Next, evenly distribute one-third of your sliced bananas over the wafers. Finally, spoon half of your creamy pudding mixture over the bananas, spreading it gently to form an even layer. This creates the foundational layer of your banana pudding masterpiece.
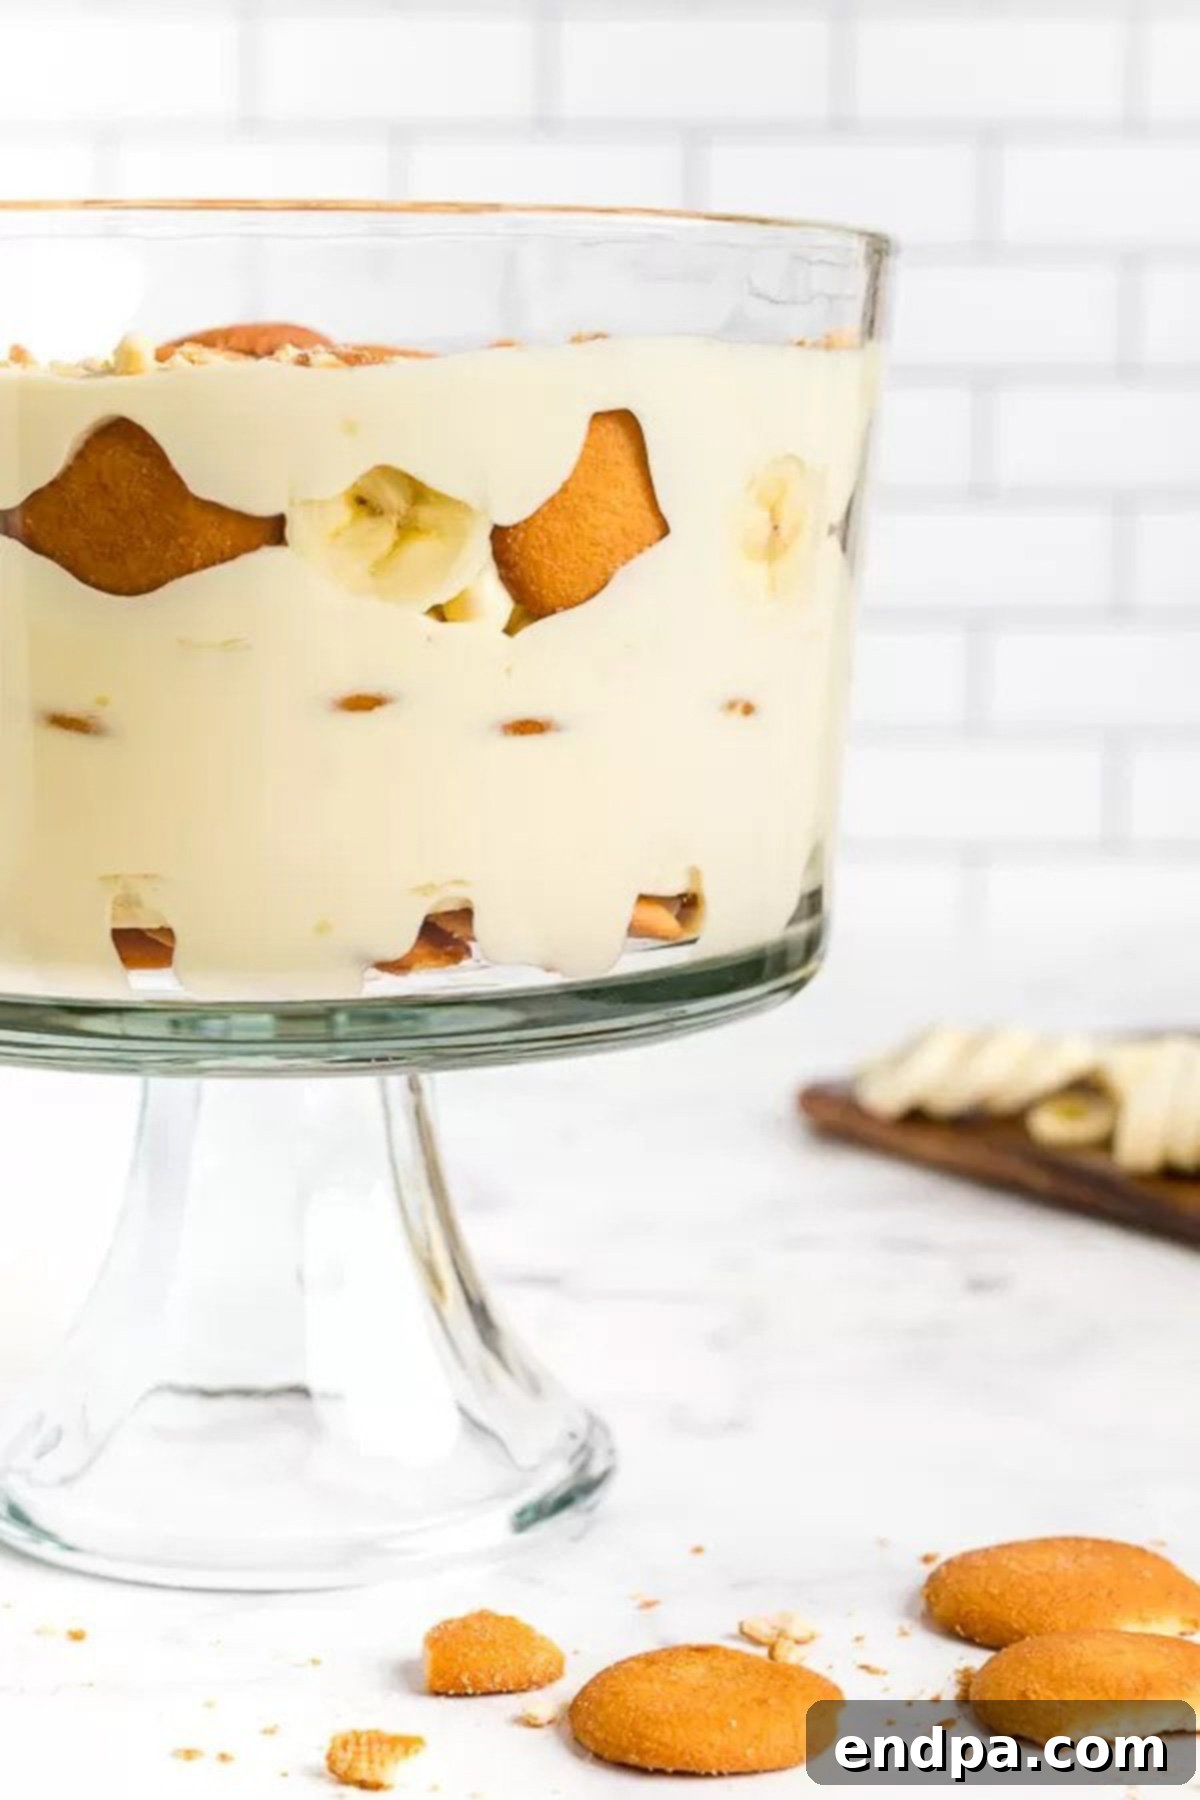
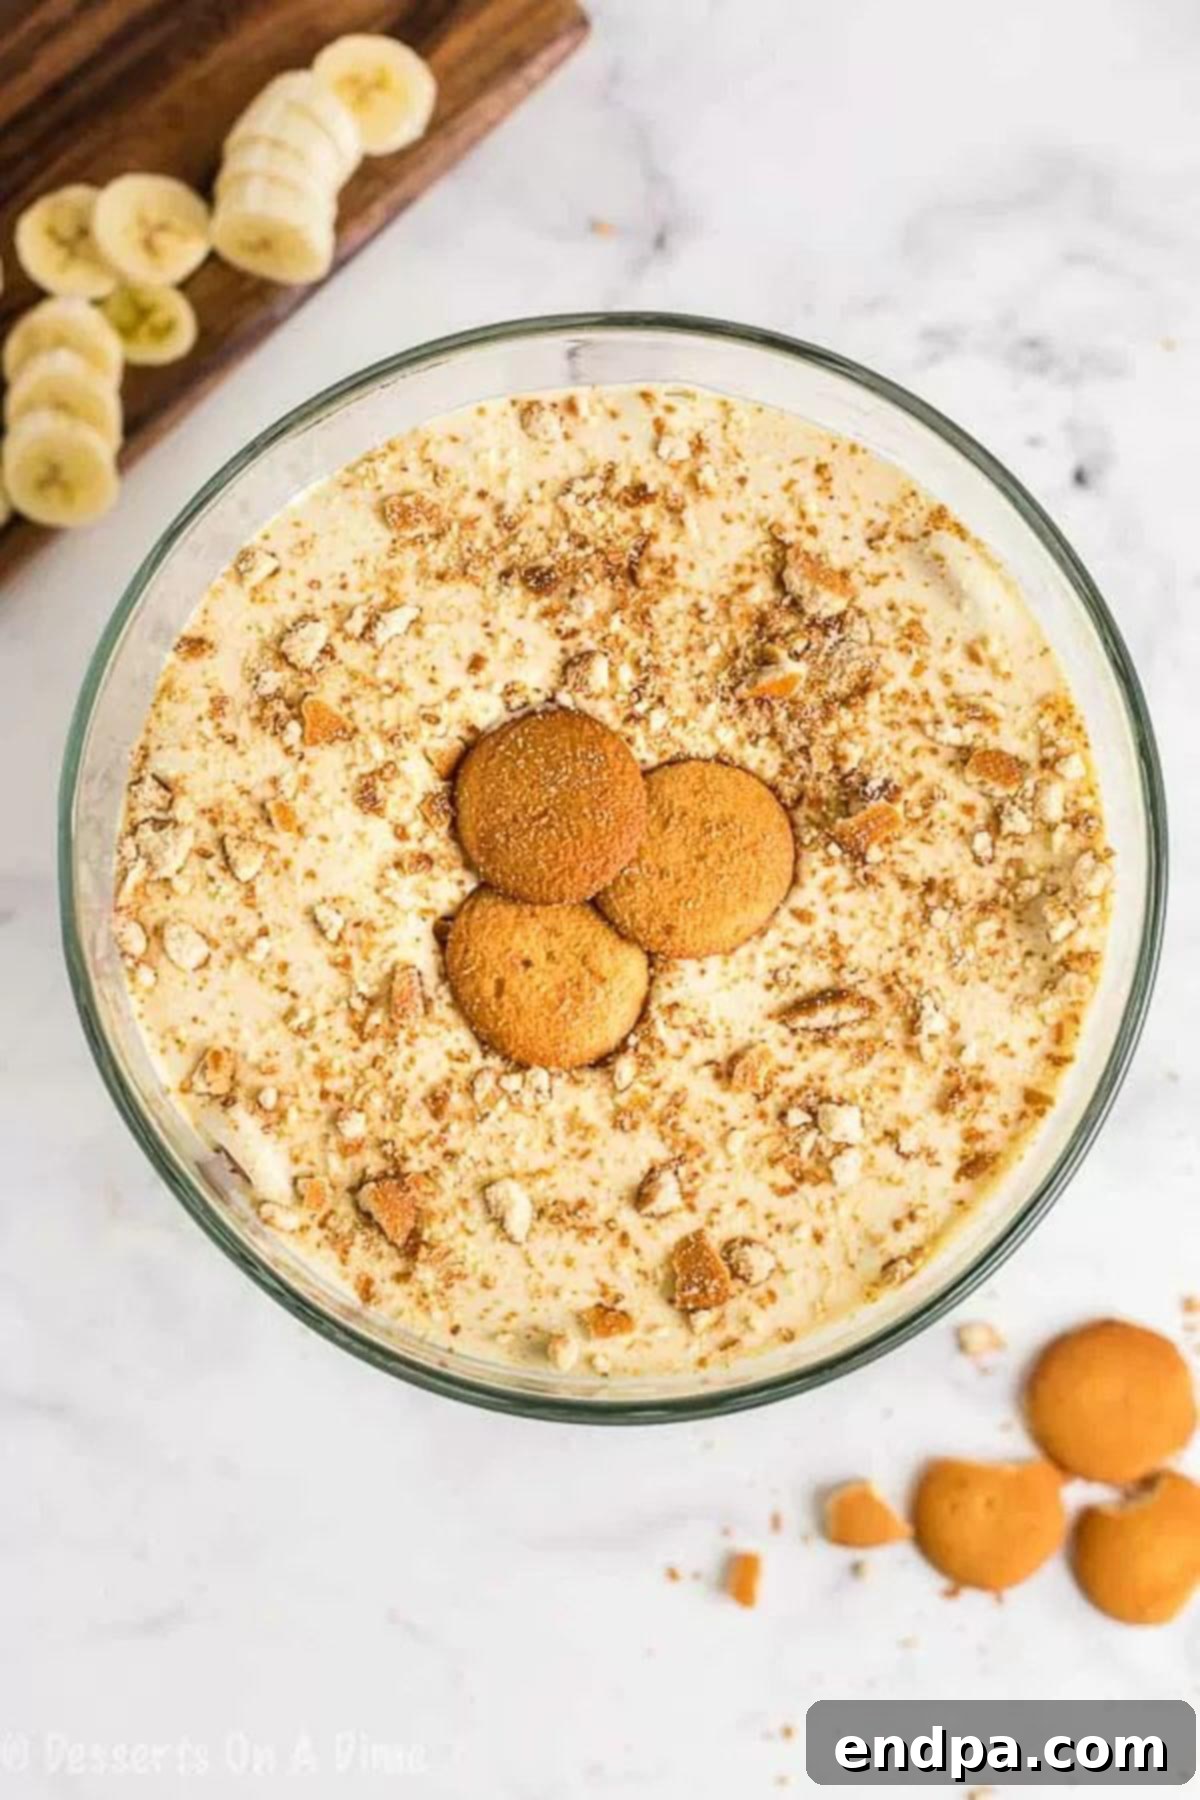
Step 4: Complete and Chill. Repeat the layering process. Add another one-third of the Nilla wafers, followed by another one-third of the sliced bananas, and then the remaining half of the pudding mixture. For the final layer, arrange the last one-third of the Nilla wafers or crush some wafers to create crumbs for a decorative topping. Cover the trifle dish tightly with plastic wrap. It’s essential to allow the pudding to chill in the refrigerator for at least 4 hours, or preferably 6-8 hours, before serving. This chilling time is crucial for the flavors to meld beautifully and for the wafers to soften to that delightful cake-like consistency.
Storage and Make-Ahead Tips
Proper storage is key to enjoying your banana pudding, and making it in advance is highly recommended for optimal flavor and texture.
- Refrigeration: Store any leftover banana pudding in the refrigerator. Ensure it’s tightly covered with plastic wrap or in an airtight container to prevent it from absorbing other food odors and to maintain its freshness.
- Shelf Life: When stored correctly, banana pudding will last approximately 2-3 days in the refrigerator. Beyond this time, the bananas will start to soften excessively and develop brown spots, which, while still safe to eat, may not be as visually appealing or palatable.
- Preventing Banana Browning: To minimize banana browning, toss the sliced bananas very lightly in a tiny amount of lemon juice (about ½ teaspoon per 4 cups of bananas). Be careful not to use too much, as it can subtly alter the pudding’s flavor. Another tip is to layer the bananas just before the final chill, reducing their exposure to air.
- Make-Ahead Benefits: We highly recommend preparing this banana pudding a day in advance. Allowing it to refrigerate overnight gives all the flavors ample time to marry and deepen, resulting in a more complex and satisfying taste. More importantly, it provides enough time for the vanilla wafers to fully soften, transforming them into that irresistible cake-like consistency that makes banana pudding so beloved. While it’s good the same day, it truly shines the next!
- Freezing: While you *can* freeze banana pudding, the texture may change upon thawing, particularly the bananas becoming softer. If you wish to freeze it, ensure it’s in an airtight, freezer-safe container. For more detailed information, see our guide on Can you freeze Banana Pudding?
Pro Tips for Perfect Banana Pudding
Elevate your banana pudding from good to absolutely exceptional with these expert tips:
- Ensure Pudding Mixture is Cool: Before you even think about folding in your whipped cream, confirm that your initial pudding mixture is thoroughly chilled and set. Adding whipped cream to warm or unset pudding will result in a runny, disappointing dessert. Patience here is paramount!
- Refrigerate Overnight for Best Results: While 4 hours of chilling is the minimum, an overnight refrigeration (6-8 hours or more) truly works wonders. This extended chill time allows the vanilla wafers to fully absorb the pudding’s moisture, transforming them into a tender, cake-like layer, and gives all the flavors ample time to meld together for a richer, more cohesive taste.
- Choose the Right Bananas: Select bananas that are ripe but firm, with yellow skins and perhaps a few small brown specks. Avoid green, unripe bananas (they lack sweetness) and overly brown, mushy bananas (they’ll disintegrate in the pudding and brown too quickly).
- Add a Splash of Vanilla Extract: To enhance the warm, classic vanilla flavor, consider adding a teaspoon of pure vanilla extract to your pudding mixture along with the instant pudding mix. This simple addition deepens the flavor profile beautifully.
- Experiment with Toppings: While Nilla wafers are traditional, feel free to get creative with your garnishes. A sprinkle of toasted pecans, a drizzle of caramel sauce, or a dusting of cinnamon can add an extra layer of flavor and visual appeal.
- Consider Individual Servings: For parties or meal prep, try assembling the banana pudding in individual clear plastic cups or small mason jars. This makes serving a breeze and offers a charming presentation.
- Don’t Overmix the Pudding: Once the instant pudding mix is added, beat until just combined and thickened. Overmixing can sometimes cause the pudding to become too thin or lose its smooth texture.
Frequently Asked Questions About Banana Pudding
Banana Pudding is a beloved classic Southern dessert, known for its delectable layers. It typically consists of a creamy, sweet vanilla custard (often made with instant pudding for ease), slices of fresh, ripe bananas, and crispy vanilla wafers. These elements are layered in a clear dish, often a trifle bowl, allowing the beautiful strata to be admired. The dessert is traditionally topped with a generous dollop of whipped cream or a meringue. As it chills, the vanilla wafers soften, absorbing the pudding’s moisture and transforming into a delightful cake-like texture, which is a hallmark of this comforting treat.
Keeping bananas from browning is a common concern. A simple and effective trick is to lightly toss your sliced bananas in a tiny amount of lemon juice before layering them. About ½ teaspoon of lemon juice per 4 cups of sliced bananas is usually sufficient. The acidity of the lemon juice helps to slow down the oxidation process that causes browning. Be cautious not to use too much, as it can subtly introduce a tart flavor. Another method is to ensure you layer the bananas quickly and keep the dessert covered tightly when chilling, minimizing air exposure.
Absolutely, making banana pudding in advance is highly recommended for the best results! In fact, many enthusiasts argue that it truly tastes best when made a day ahead. This extended chilling time (ideally 6-8 hours or even overnight) serves two important purposes: it allows the vanilla wafers ample time to soften and become delightfully cake-like, and it gives all the individual flavors of the pudding, bananas, and cream a chance to meld and deepen. While it’s certainly good if served after the minimum chill time, the overnight soak transforms it into something truly spectacular. I’ve served it the same day, and it was good, but never as good as when I made it the night before.
If your banana pudding isn’t thickening as desired, there are a few reasons and solutions. When using instant pudding mix, ensure you use ice-cold water or milk, as cold liquid is essential for the pudding’s setting properties. Also, make sure you beat the pudding mix thoroughly for the recommended amount of time, and most importantly, allow sufficient refrigeration time – at least 3-4 hours, or preferably overnight. If your mixture still seems thin, some recipes suggest briefly heating the pudding mix with milk for about 15 minutes before chilling, which can help activate thickeners. However, for instant pudding, the primary solution is usually proper mixing and extended chilling.
Banana pudding is wonderfully versatile when it comes to serving. While a stunning glass trifle dish showcases the layers beautifully, you have many other great options:
- 9×13 Baking Dish: If you don’t have a trifle dish, a glass 9×13 baking dish works perfectly. You can easily adjust the layering to create two main layers instead of three, or simply fill it as you would a trifle dish.
- Individual Cups: For parties or portion control, assemble the pudding in clear plastic cups, small mason jars, or stemless wine glasses. This makes for an elegant presentation and allows guests to easily grab and enjoy.
- Plastic Container for Potlucks: When taking the dessert to a potluck or gathering, a large plastic container with a lid is incredibly practical for transport and serving.
- Disposable Pans: For ultimate convenience, especially if you’re gifting the dessert or don’t want to worry about getting your dish back, disposable aluminum pans are a fantastic choice. While not as pretty, they are incredibly convenient for cleanup.
Each option provides a delicious way to enjoy this classic dessert!
Beyond the Classic: More Banana Desserts to Love
If you find yourself with extra bananas or simply can’t get enough of their sweet, tropical flavor, explore these other fantastic banana-infused dessert recipes:
- Banana Pudding Cookies Recipe
- Magnolia Bakery Banana Pudding Recipe
- Cheesecake Pudding (a creamy, dreamy alternative)
- Easy Banana Cake Recipe
- Banana Split Cake Recipe
We truly hope you enjoy making this delightful homemade Banana Pudding recipe. It’s a taste of Southern comfort that’s sure to bring smiles to everyone around your table. Please feel free to leave a comment once you’ve tried it – we’d love to hear your thoughts!
Pin
Easy Banana Pudding Recipe
4.89 from 9 votes
Ingredients
- 14 ounces sweetened condensed milk 1 can
- 1 1/2 cups ice cold water
- 3.4 ounces vanilla instant pudding mix 1 box
- 3 cups heavy cream
- 4 cups sliced ripe bananas
- 12 ounces Nilla Wafers 1 box
Instructions
- In a large bowl, beat together the sweetened condensed milk and water until well combined – about 1 minute.
- Add the pudding mix and beat well until fully dissolved and the mixture begins to thicken.
- Cover and refrigerate for 3-4 hours to overnight. It is very important to allow the proper amount of time for the pudding mixture to set. It will be watery if you don’t let it set up long enough.
- In a large, chilled bowl, whip the heavy cream until stiff peaks form. Gently fold the whipped cream into the pudding mixture until no streaks of pudding remain.
- To assemble dessert, use a trifle dish or a 9×13 glass baking dish.
- Arrange ⅓ of the Nilla wafers covering the bottom, overlapping if necessary. Next, layer ⅓ of the bananas, and ½ of the pudding mixture. Repeat two more times, garnishing with additional wafers or wafer crumbs on the top layer. Cover tightly and allow to chill in the fridge for at least 4 hours – or up to 8 hours for best results.
Recipe Notes
Nutrition Facts
Calories: 517kcal,
Carbohydrates: 59g,
Protein: 6g,
Fat: 30g,
Saturated Fat: 17g,
Cholesterol: 93mg,
Sodium: 230mg,
Potassium: 370mg,
Fiber: 2g,
Sugar: 40g,
Vitamin A: 995IU,
Vitamin C: 6mg,
Calcium: 135mg,
Iron: 1mg
