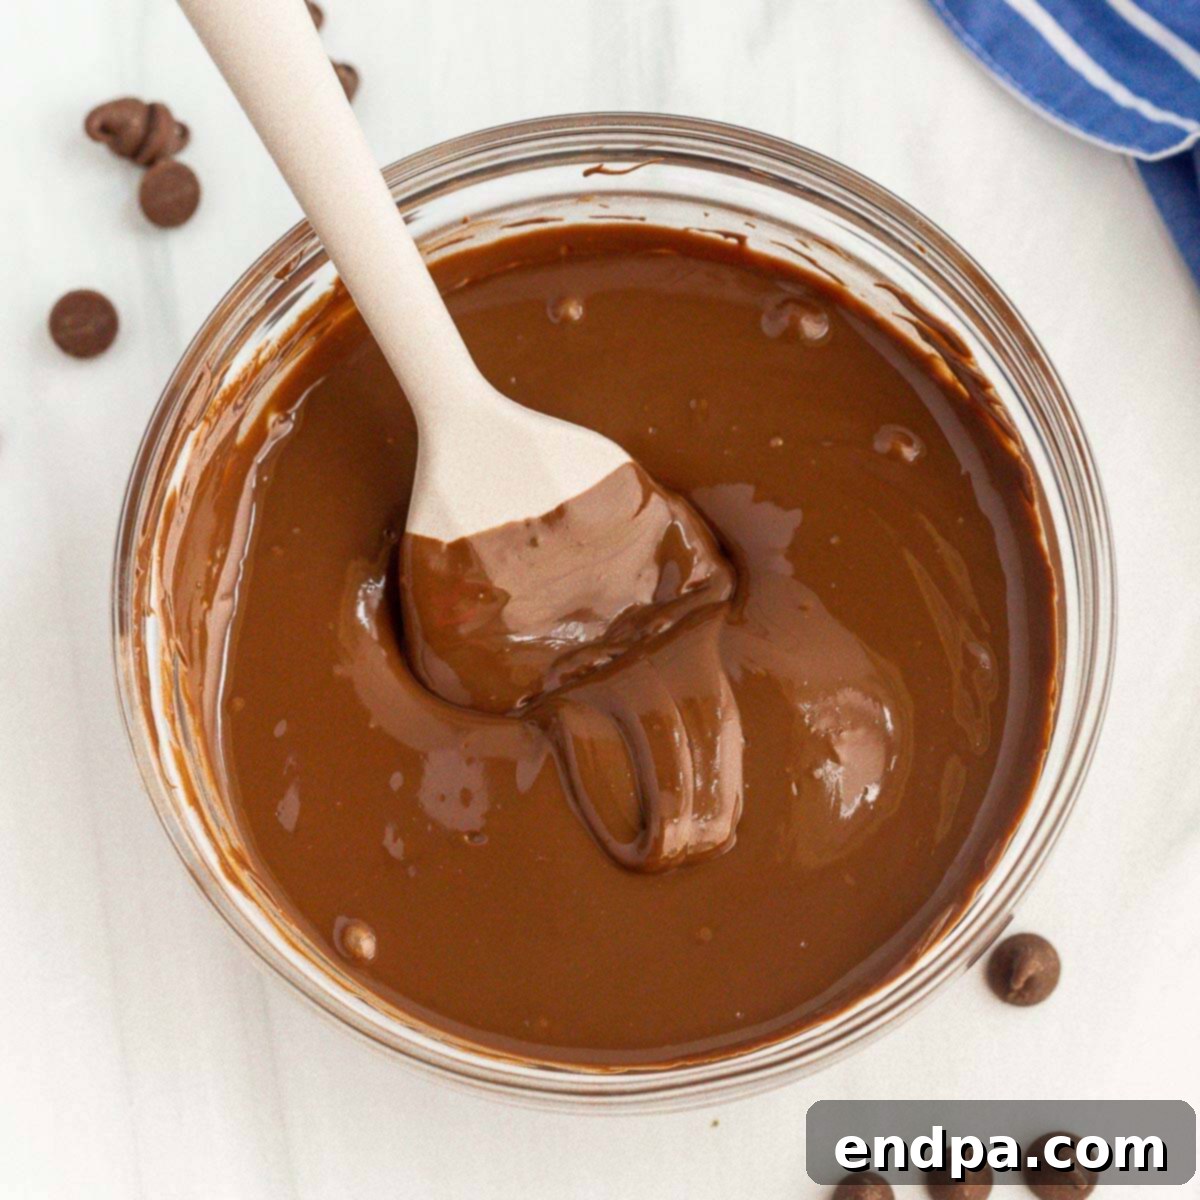
Unlock the secrets to perfectly melted chocolate chips, whether you prefer the speed of the microwave or the gentle heat of a stovetop double boiler. This comprehensive guide provides foolproof, easy-to-follow instructions designed to help you achieve beautifully smooth, creamy melted chocolate every single time, without the common pitfalls of scorching or seizing.
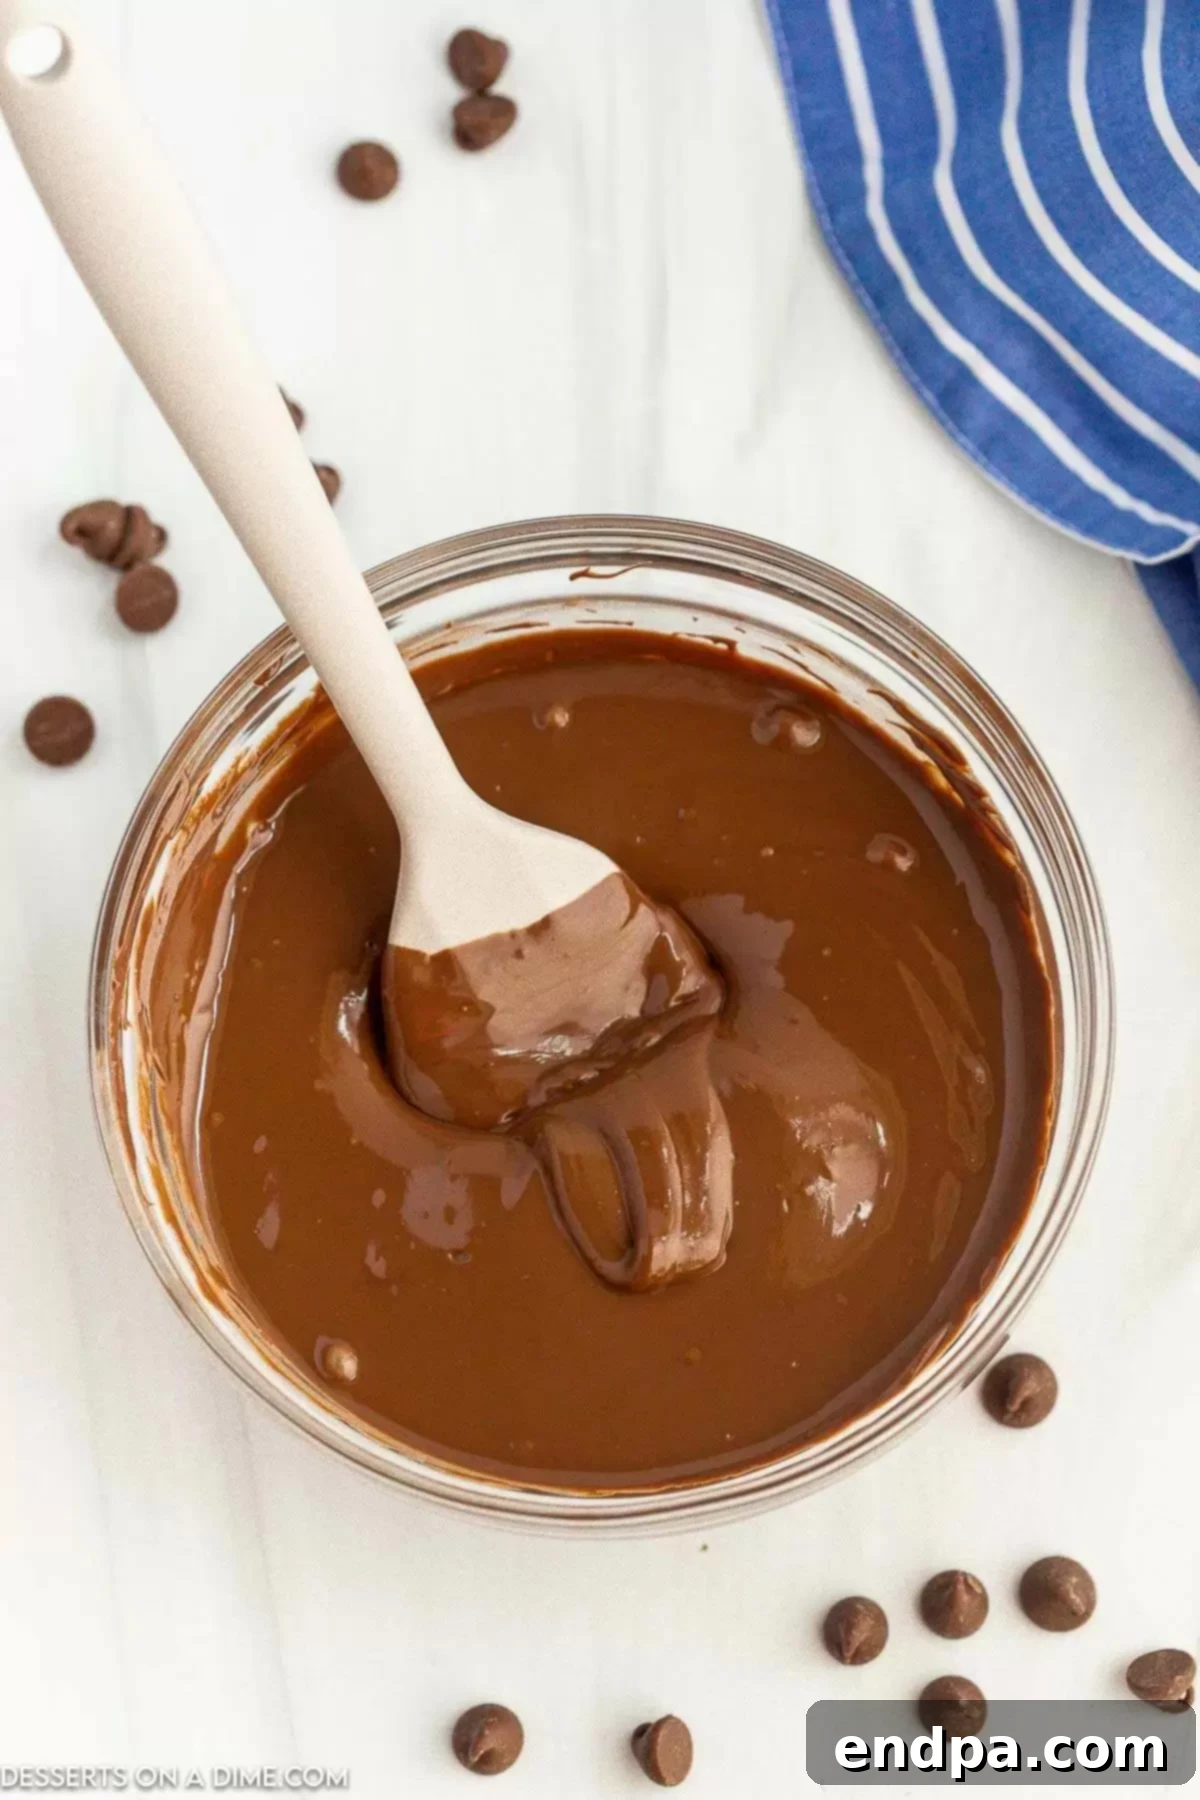
Melted chocolate is an indispensable ingredient in countless delightful desserts. From enriching our favorite fudge recipes to creating elegant drizzles over candies, cookies, and fruit, its smooth texture and rich flavor elevate any treat. However, achieving that perfect melt can sometimes feel daunting. This guide is crafted to empower home bakers and dessert enthusiasts with the essential tips and tricks needed to maintain the chocolate’s exquisite flavor and velvety texture, ensuring professional-quality results right in your own kitchen.
Table of Contents
- Mastering Melted Chocolate: Why It Matters
- Essential Tools & Equipment for Melting Chocolate
- Choosing Your Chocolate Chips: The Key Ingredient
- How to Melt Chocolate Chips in the Microwave (The Quick & Easy Way)
- Expert Tips for Perfect Melted Chocolate Every Time
- Troubleshooting Common Melting Problems
- How to Thin Chocolate That Is Too Thick
- How to Melt Chocolate Chips on the Stovetop (Classic Double Boiler Method)
- Creative Variation Ideas for Your Melted Chocolate
- Storing Leftover Melted Chocolate
- Frequently Asked Questions (FAQ) About Melting Chocolate
- More Easy Baking Resources
Mastering Melted Chocolate: Why It Matters
The ability to properly melt chocolate is a fundamental skill for any baker. It allows you to transform simple chocolate chips into a glossy, liquid gold, perfect for dipping, coating, drizzling, or incorporating into complex recipes. The techniques we share here are versatile enough for various types of chocolate, ensuring consistent, delicious outcomes. Avoiding common mistakes like overheating is crucial, as burnt or seized chocolate can ruin both your ingredients and your dessert. With these straightforward methods, you’ll effortlessly achieve beautifully melted chocolate, ready to enhance everything from chocolate-dipped strawberries to intricate cakes.
Essential Tools & Equipment for Melting Chocolate
Having the right tools on hand will make the chocolate melting process smooth and stress-free. Here’s what you’ll need for both primary methods:
For the Microwave Method:
- Microwave-Safe Bowl: Opt for a glass or ceramic bowl. The size should be appropriate for the amount of chocolate you’re melting, allowing ample room for stirring.
- Sturdy Spoon or Spatula: A wooden spoon or a heat-resistant rubber spatula is ideal for stirring the chocolate, helping to distribute heat evenly and prevent sticking.
For the Stovetop Method (Double Boiler):
- Double Boiler Setup: This consists of two pots. A larger saucepan for simmering water, and a smaller, heat-proof bowl (glass or stainless steel) that fits snugly over the top of the saucepan without touching the water. If you don’t have a dedicated double boiler, you can create one with a saucepan and a fitting bowl.
- Small Amount of Water: You’ll need just about an inch of water in the bottom saucepan. This creates indirect, gentle heat for melting.
- Heat-Resistant Spatula or Spoon: Essential for continuous stirring to ensure even melting and prevent the chocolate from sticking or scorching.
Choosing Your Chocolate Chips: The Key Ingredient
The quality of your chocolate chips significantly impacts the final taste and texture of your melted chocolate. While standard baking chips work well for many applications, investing in higher-quality chocolate can elevate your desserts considerably. Different types of chocolate chips also behave uniquely when melted:
- Semi-Sweet Chocolate Chips: A versatile choice, offering a balanced sweetness that works in most recipes.
- Milk Chocolate Chips: Sweeter and creamier, they melt beautifully but are more prone to scorching due to higher sugar content.
- Dark Chocolate Chips: With a higher cocoa content, they provide a richer, more intense flavor. They also tend to be less sweet and sometimes thicker when melted.
- White Chocolate Chips: Technically not “chocolate” as they contain no cocoa solids, white chocolate chips are primarily cocoa butter, sugar, and milk solids. They melt differently and are highly susceptible to seizing or burning.
- Specialty Chips: Peanut butter chips, butterscotch chips, or flavored chips can add unique dimensions to your creations.
For best results, always use fresh chocolate chips. Old chips can sometimes have an altered fat content or texture, which can lead to unpredictable melting behavior.
How to Melt Chocolate Chips in the Microwave (The Quick & Easy Way)
The microwave offers the fastest and most convenient way to melt chocolate chips, provided you follow a few critical steps to avoid overheating. This method relies on short bursts of heat and the principle of residual heat to achieve a perfectly smooth consistency.
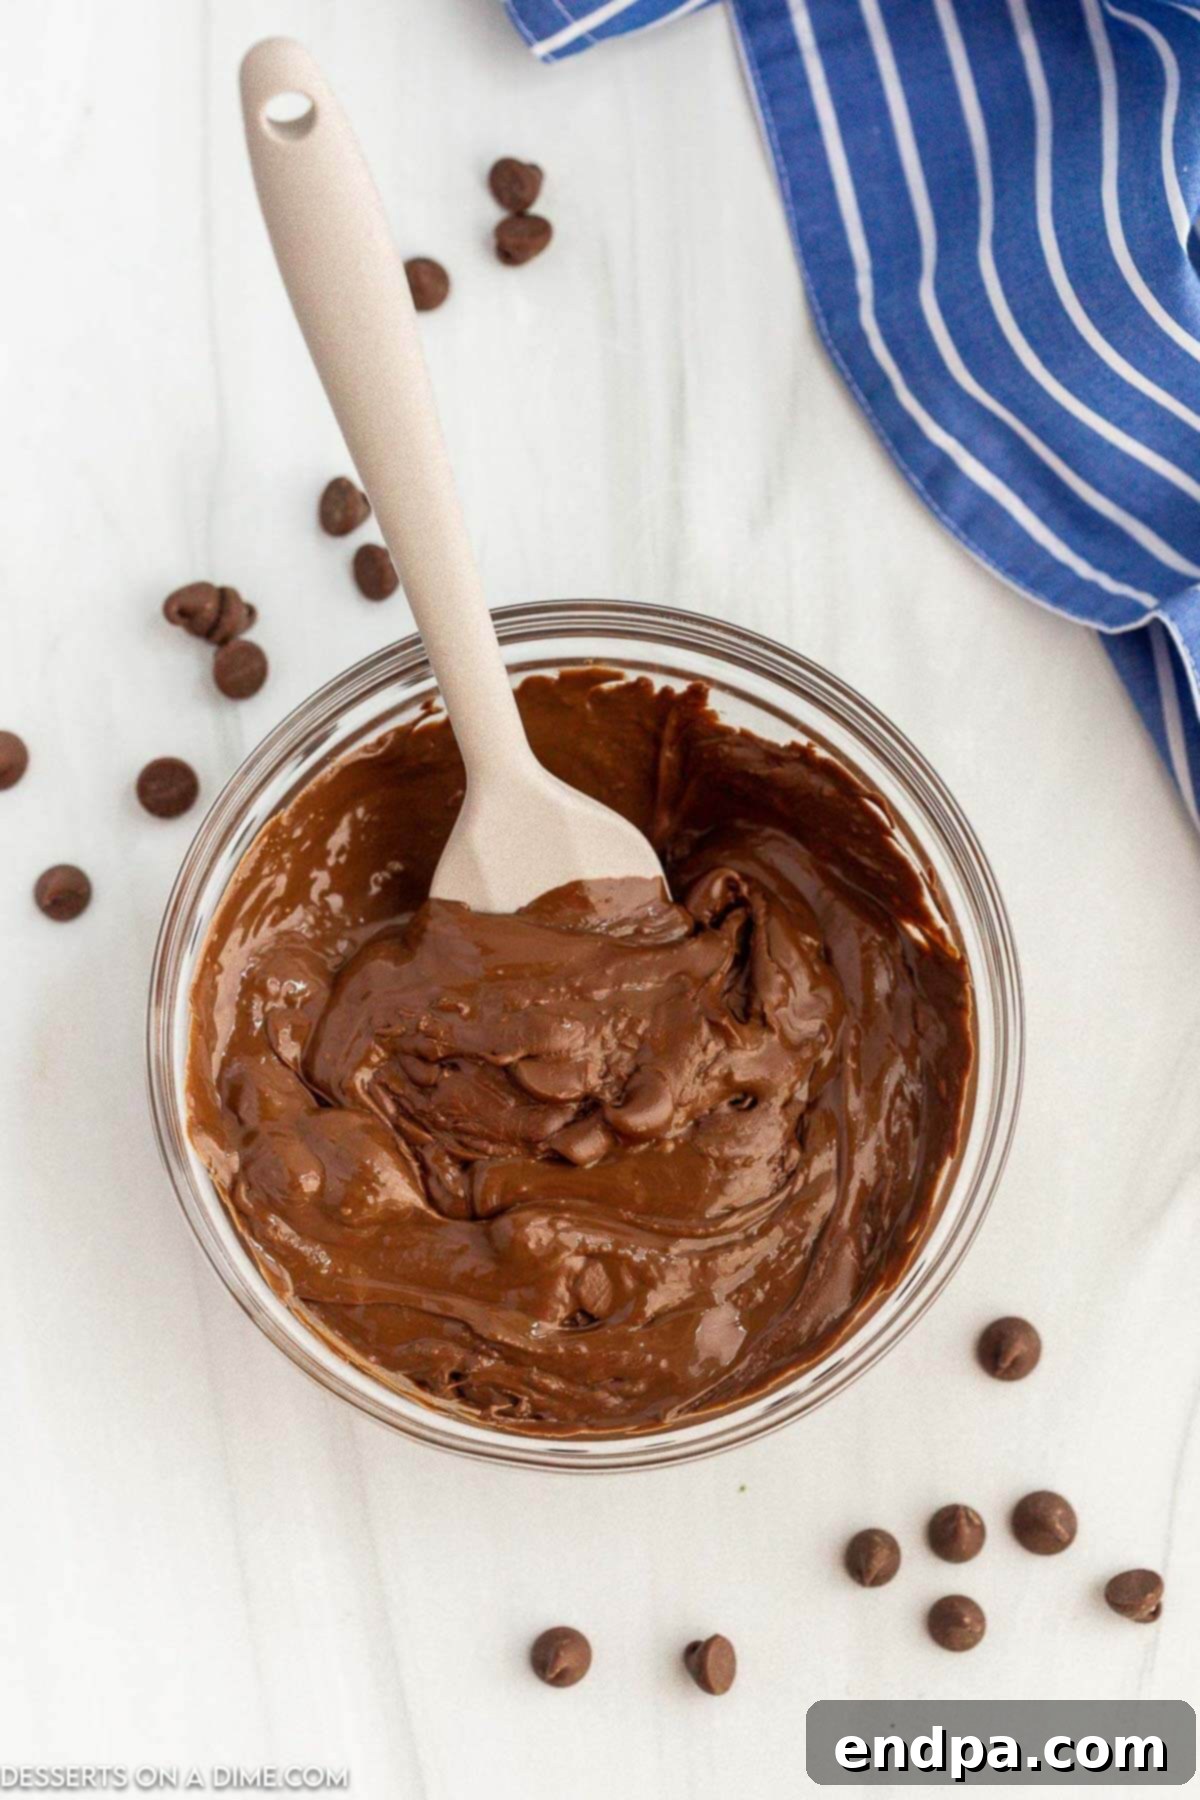
Step 1: Prepare the Chocolate. Place your desired amount of chocolate chips in a clean, dry, microwave-safe bowl. Ensure the bowl is completely free of any water droplets, as even a tiny amount can cause the chocolate to seize.
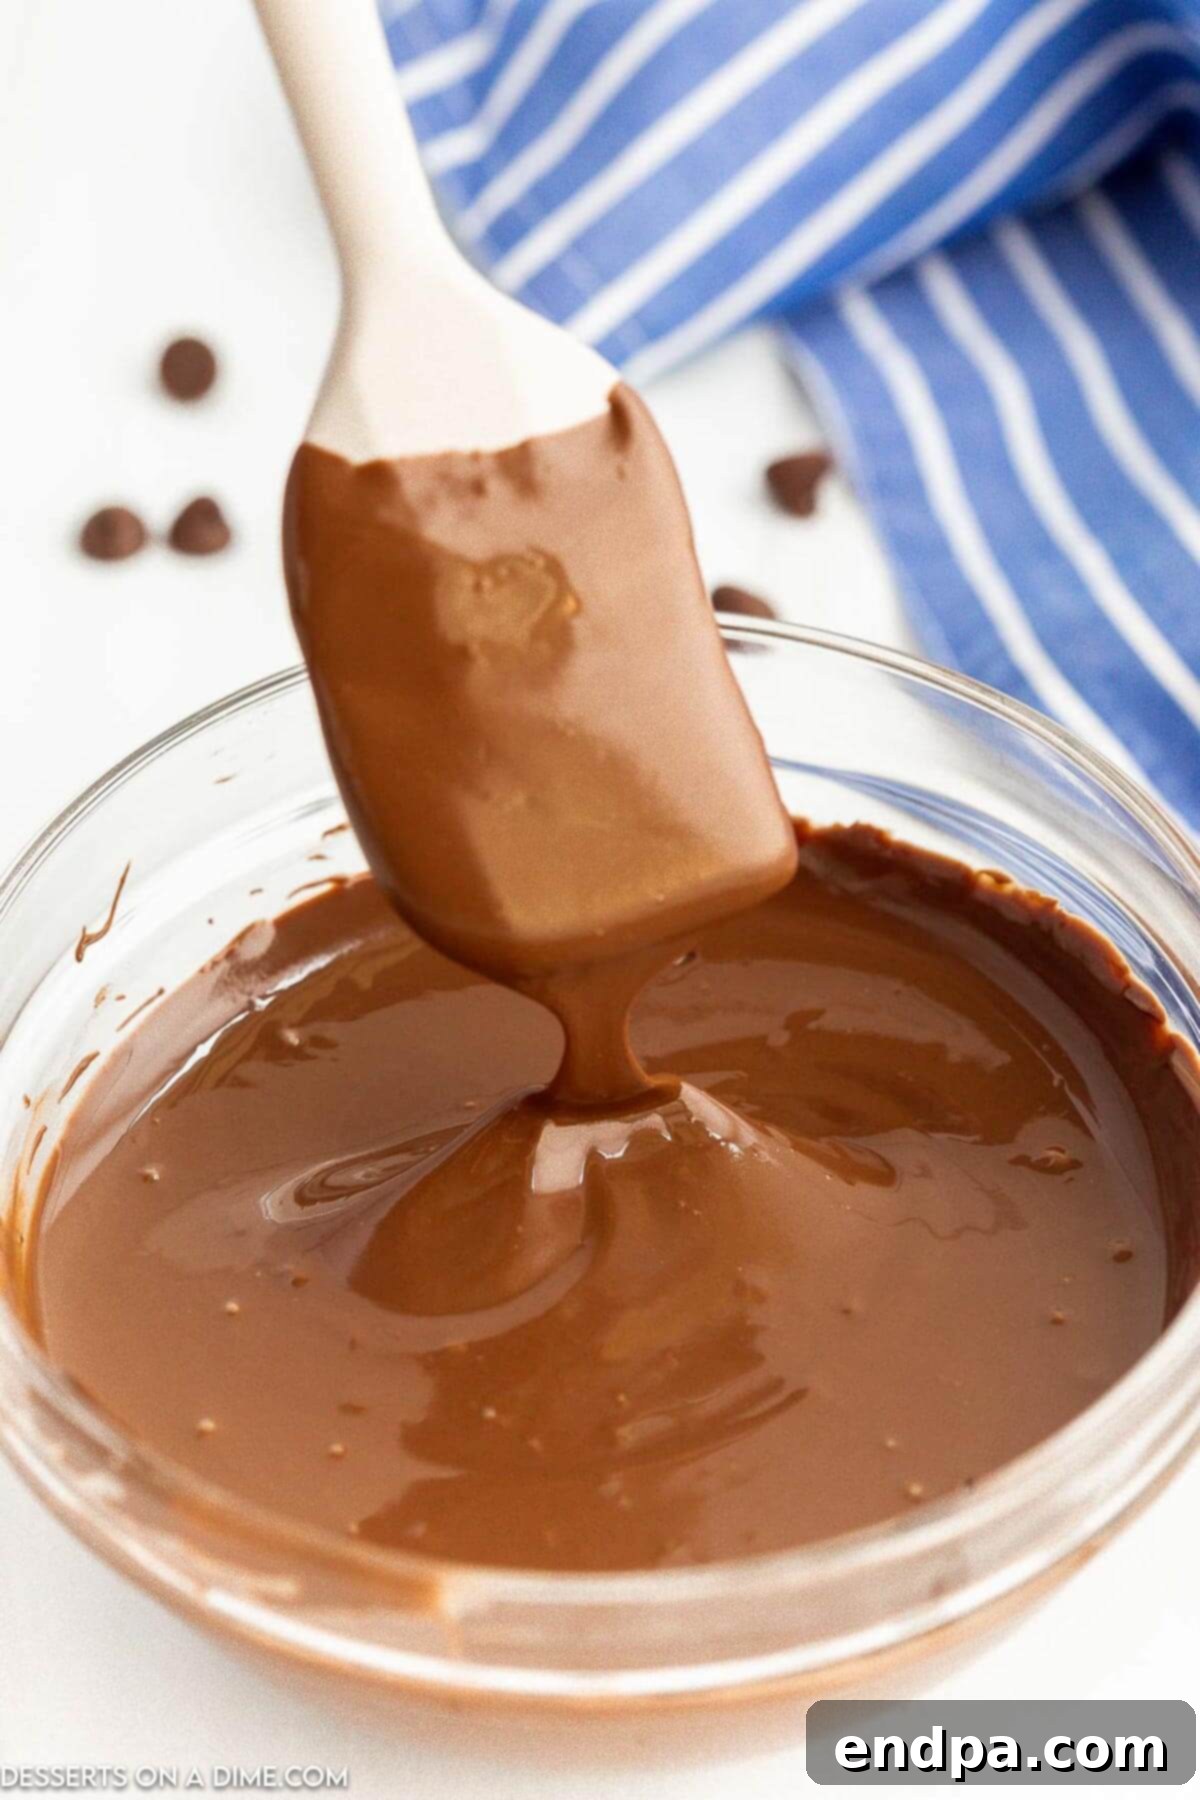
Step 2: Microwave in Short Intervals. Microwave the chocolate chips on medium power (50-70%) for an initial 30-second interval. Lower power settings reduce the risk of scorching. After 30 seconds, remove the bowl from the microwave.
Step 3: Stir Thoroughly. Using a wooden spoon or spatula, stir the chocolate chips vigorously. Even if they don’t look melted, the heat is still transferring through the chocolate. This stirring helps distribute the heat and encourages the chips to melt evenly.
Step 4: Continue Melting and Stirring. Return the bowl to the microwave and heat for additional 15-20 second intervals. After each interval, remove the bowl and stir well. Repeat this process until the chocolate chips are mostly melted and smooth. You’ll notice that the residual heat from the melted chips will continue to melt the remaining solids as you stir.
Step 5: Finish with Residual Heat. Once only a few small lumps remain, remove the chocolate from the microwave entirely. Continue stirring until all the chocolate is smooth and glossy. The warmth of the bowl and the already melted chocolate will typically be enough to melt the last few pieces without further microwaving, preventing accidental overheating.
Expert Tips for Perfect Melted Chocolate Every Time
Achieving consistently perfect melted chocolate involves understanding a few key principles:
- Temperature Control is Crucial: Chocolate is delicate and can easily burn or seize if exposed to high or uneven heat. Always heat in short intervals and stir frequently to ensure gentle and gradual melting. Overheating causes the cocoa solids to separate from the cocoa butter, leading to a grainy, unusable texture.
- The Importance of a Dry Bowl and Utensils: Water is the nemesis of melting chocolate. Even a single drop of water introduced into melting chocolate can cause it to “seize,” transforming it into a thick, lumpy, grainy mess. Ensure your bowl, spoon, and any other equipment are impeccably dry.
- Stirring Technique: Regular stirring is not just about combining ingredients; it’s about temperature regulation. Stirring helps to evenly distribute heat throughout the chocolate, preventing hot spots and facilitating uniform melting. It also allows residual heat to melt the remaining solid pieces, minimizing the need for direct heat.
- Understanding Tempered vs. Melted Chocolate: It’s important to distinguish between simply melting chocolate and tempering it. Melting chocolate, as described here, results in a smooth, pourable consistency suitable for many desserts. Tempered chocolate, however, involves a precise heating and cooling process to stabilize the cocoa butter crystals, resulting in a shiny finish, a crisp snap, and resistance to melting at room temperature. For most home baking projects, simple melting is sufficient and much easier to achieve.
- Never Use High Heat: Whether in the microwave or on the stovetop, resist the temptation to speed up the process by using high heat. Patience is a virtue when melting chocolate; a slow, gentle approach yields the best results.
Troubleshooting Common Melting Problems
Even with the best intentions, melting chocolate can sometimes go awry. Here’s how to address the most common issues:
How to Fix Seized Chocolate (Grainy or Stiff Chocolate)
Seized chocolate is characterized by a thick, lumpy, and grainy texture, often resembling wet sand. This most commonly occurs when water is introduced into the chocolate, or when it’s severely overheated. While sometimes irreversible, there are methods you can try:
- The Boiling Water Method: For chocolate seized by water, try adding a very small amount (½ to 1 teaspoon) of boiling water or hot liquid (like cream or milk) at a time, stirring vigorously after each addition. The hot liquid can help re-emulsify the cocoa solids and cocoa butter. Continue adding and stirring until the chocolate becomes smooth again. Be cautious not to add too much liquid, or it will become watery.
- Add More Unmelted Chocolate: If the seizure is minor, adding a small amount of unmelted chocolate chips and stirring them in can sometimes help by providing more cocoa butter to balance the mixture.
- Add a Neutral Oil: For chocolate seized due to minor overheating, a teaspoon of neutral-flavored vegetable oil, coconut oil, or even shortening can sometimes rescue it. The added fat can help restore some of the lost smoothness and gloss. Add it gradually, stirring continuously.
Keep in mind that while these methods can sometimes salvage seized chocolate, the texture might not be as perfectly smooth as un-seized chocolate. In many cases, especially with severe seizing or burning, it might be best to discard the batch and start over. It’s always a good idea to have extra chocolate chips on hand for such occasions!
How to Thin Chocolate That Is Too Thick?
Sometimes, even perfectly melted chocolate can be too thick for certain applications, such as drizzling or dipping. This can happen if the chocolate has a naturally high cocoa solid content, or if it has cooled slightly. Fortunately, thinning chocolate is relatively easy:
- Use Neutral Vegetable Oil or Coconut Oil: The most common method is to stir in a small amount (start with ½ teaspoon) of neutral-flavored vegetable oil or melted coconut oil. These oils will loosen the chocolate’s consistency without significantly altering its flavor. Add gradually, stirring until you reach your desired thickness.
- Add Shortening: A similar effect can be achieved with a small amount of solid vegetable shortening, which also adds gloss.
- Add Cream (for ganache-like consistency): If you’re looking for a richer, ganache-like consistency, you can stir in a small amount of warm heavy cream. This is typically done for glazes or fillings rather than pure dipping chocolate.
To avoid overly thick chocolate from the start, ensure you’re not overheating it or attempting to melt too quickly. A gradual melt often yields a smoother, more fluid texture.
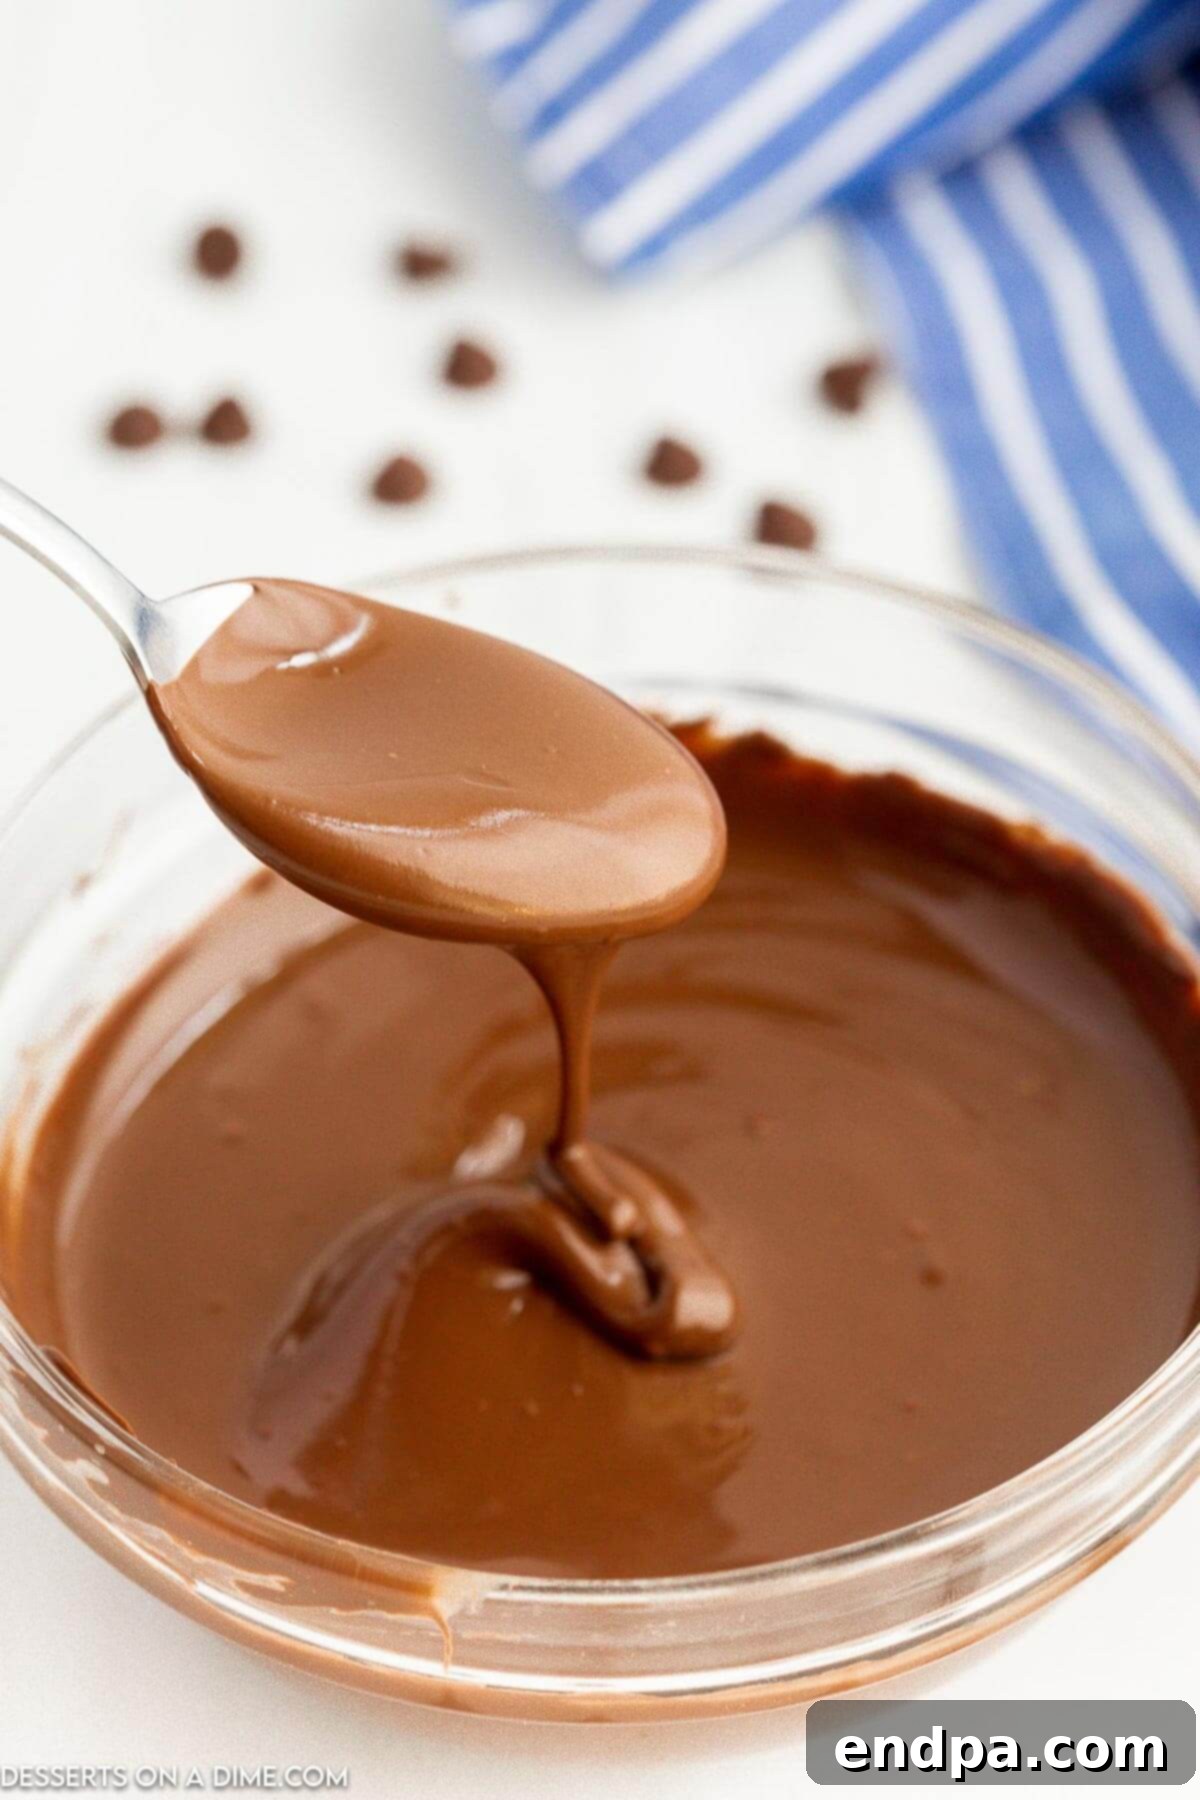
How to Melt Chocolate Chips on the Stovetop (Classic Double Boiler Method)
While the microwave offers speed, the stovetop double boiler method provides a gentler, more controlled heat, making it an excellent choice for delicate chocolates or larger batches. This indirect heating method minimizes the risk of scorching.
- Step 1: Set Up Your Double Boiler. Place about an inch of water in the bottom of a saucepan. Ensure that your heat-proof bowl (glass or stainless steel) can sit securely over the saucepan without its bottom touching the water. It’s crucial that the bowl forms a relatively tight seal with the pot to trap steam, creating an even, indirect heat.
- Step 2: Bring Water to a Simmer. Place the saucepan with water on the stove over medium-low heat. Bring the water to a gentle simmer. Do not let it come to a rolling boil, as excessive steam can introduce moisture to the chocolate.
- Step 3: Add Chocolate and Place Bowl. Once the water is simmering, reduce the heat to low. Place your chocolate chips in the dry heat-proof bowl, then position the bowl over the simmering water. Again, confirm that the bottom of the bowl is not touching the water.
- Step 4: Stir Continuously. As the steam gently heats the bowl, the chocolate will begin to melt. Stir the chocolate continuously with a dry spatula or spoon. This ensures even melting and prevents any part of the chocolate from getting too hot or sticking to the bottom of the bowl.
- Step 5: Watch Closely. Continue stirring until the chocolate is completely melted and smooth. Remove the bowl from the heat once only a few small lumps remain, and continue stirring until perfectly smooth, utilizing the residual heat. Be vigilant to prevent any steam or water droplets from entering the chocolate, as this will cause it to seize.
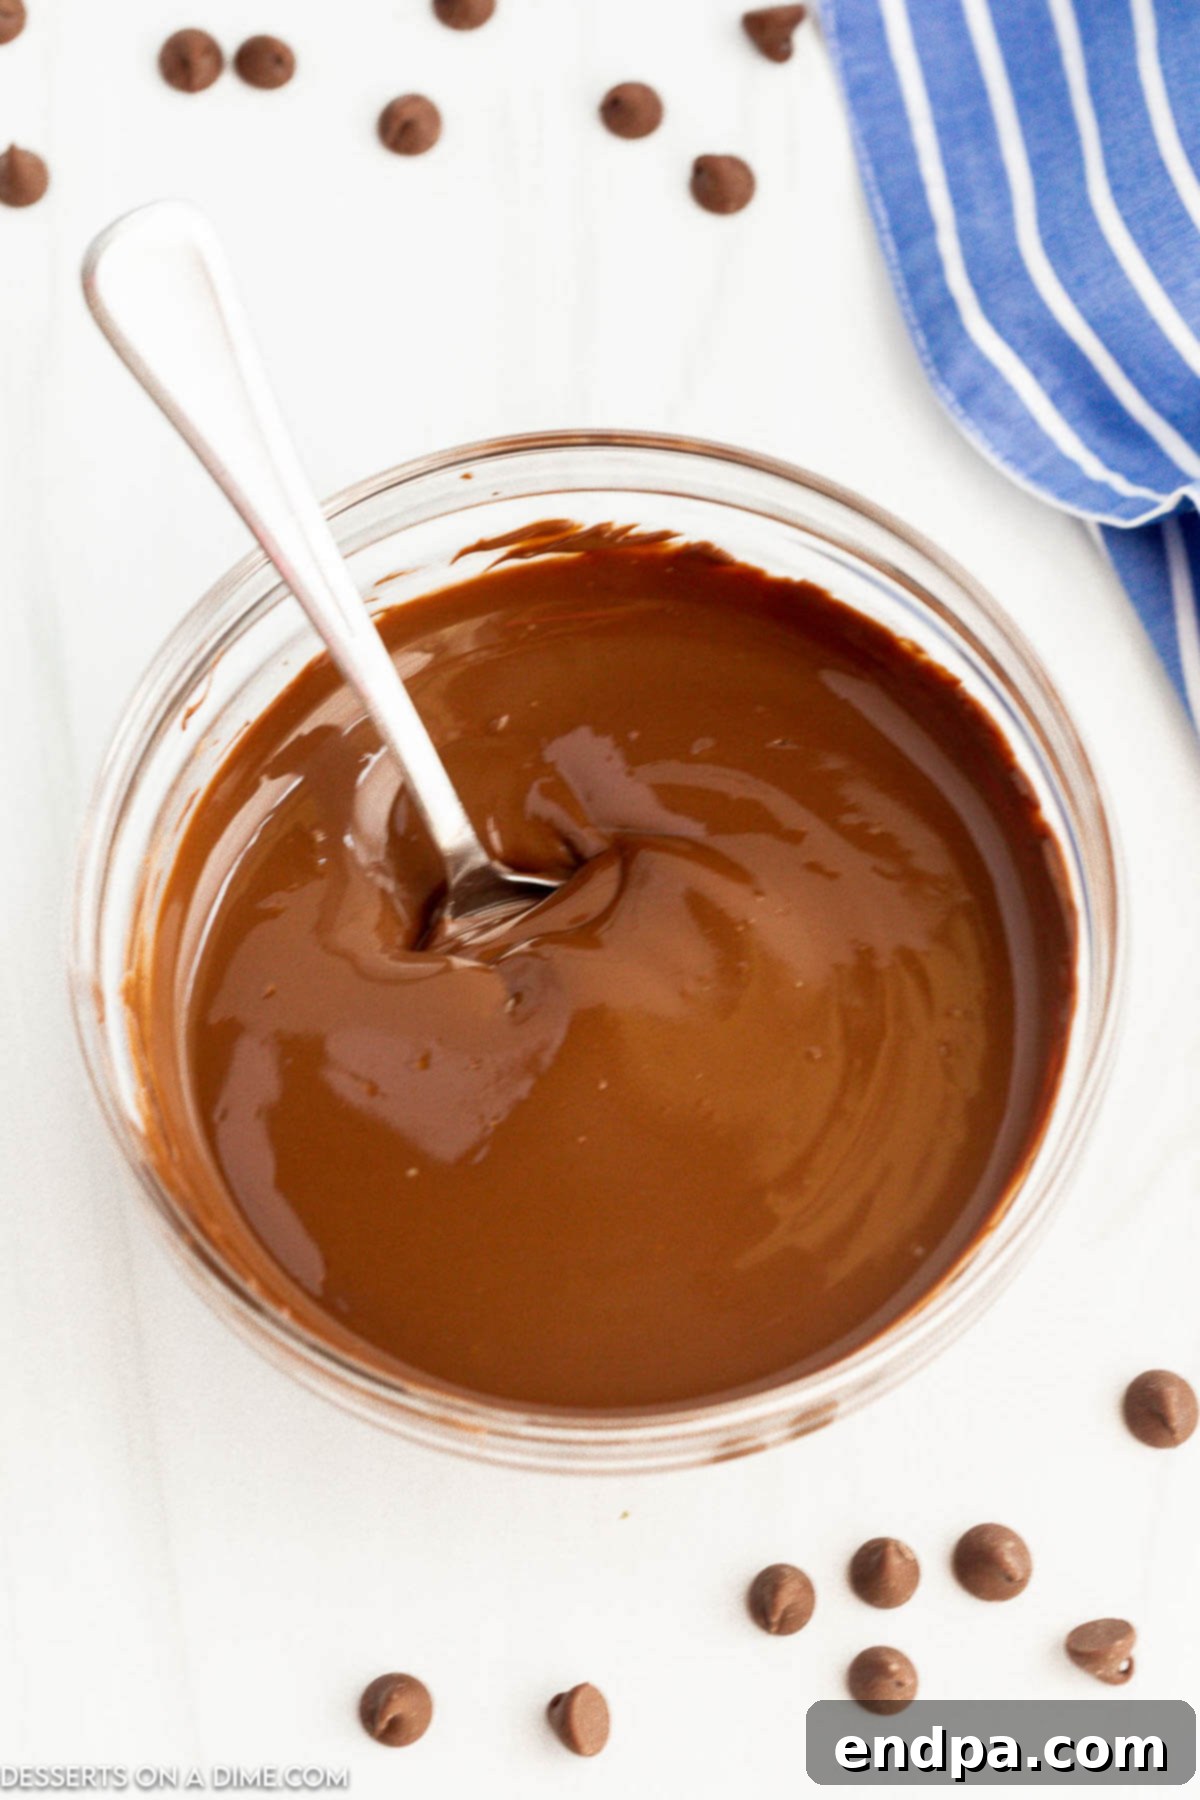
Creative Variation Ideas for Your Melted Chocolate
Once you’ve mastered melting chocolate, a world of dessert possibilities opens up. These methods can be applied to a variety of chocolate types and other baking chips, allowing for endless creativity:
- Milk Chocolate Chips: Ideal for sweeter coatings, fondue, or mixing into baked recipes where a creamy, mild flavor is desired.
- Dark Chocolate Chips: Perfect for dipping fruit like strawberries or bananas, creating rich ganaches, or drizzling over more intense desserts like brownies.
- Semi-Sweet Chocolate: A go-to for general baking, chocolate sauces, or glazes due to its balanced flavor profile.
- White Chocolate Chips: Excellent for coloring, creating decorative drizzles, or incorporating into white chocolate mousses and frostings. Be extra careful as white chocolate is more delicate.
- Peanut Butter Chips: Melt these for a delicious peanut butter drizzle over ice cream, cupcakes, or to swirl into brownies.
- Butterscotch Chips: Great for topping butterscotch bars, ice cream sundaes, or adding a unique flavor to cookies.
- Chocolate Bars/Baking Chocolate: For optimal melting, chop chocolate bars into small, uniform pieces (about ½ inch) before melting. This allows for more even heat distribution.
Experiment with different flavor pairings, adding a touch of peppermint extract, orange zest, or a pinch of chili powder to your melted chocolate for an adventurous twist!
Storing Leftover Melted Chocolate
If you have any leftover melted chocolate, don’t let it go to waste! Properly stored, it can be re-melted and used again for another delightful treat.
Allow the melted chocolate to cool completely at room temperature. Once solidified, transfer it to an airtight container. Store this container in the refrigerator for up to 1-2 weeks. You might notice some condensation on the surface when you take it out, which is normal. When you’re ready to use it again, simply re-melt it using the same gentle microwave or double boiler methods described above, taking care to heat in short intervals and stir frequently until smooth.
Frequently Asked Questions (FAQ) About Melting Chocolate
Q: Can I use regular chocolate bars instead of chips?
A: Absolutely! For best results, chop chocolate bars into small, uniform pieces (about ½ inch or smaller) before melting. This helps them melt more evenly and prevents scorching.
Q: What if my chocolate is still lumpy after following the steps?
A: This usually means it needs a little more heat or more vigorous stirring. If using the microwave, give it another 10-15 second burst, then stir thoroughly. On the stovetop, ensure the water is gently simmering and continue stirring. If it’s very lumpy and grainy, it might have seized (see troubleshooting section).
Q: Why does my white chocolate always seize or burn?
A: White chocolate is particularly delicate because it contains no cocoa solids, primarily consisting of cocoa butter, sugar, and milk solids. It has a lower melting point and is more sensitive to heat. Always melt white chocolate on the lowest possible heat setting and in very short intervals, stirring constantly.
Q: Can I add flavorings to my melted chocolate?
A: Yes! Extracts like peppermint, almond, or orange oil can be added to melted chocolate. Add them at the very end, after the chocolate is fully melted, and stir well. Be mindful that water-based extracts can sometimes cause seizing, so oil-based flavorings are generally safer.
Q: Is it safe to re-melt chocolate multiple times?
A: Yes, chocolate can typically be re-melted several times without significant loss of quality, as long as it hasn’t been overheated or had water introduced during previous melting processes. Store cooled, solidified chocolate properly and use gentle reheating methods.
Mastering the art of melting chocolate chips is a fundamental skill that will elevate your baking endeavors. By following these detailed instructions and expert tips, you’ll consistently achieve smooth, luscious melted chocolate ready for any dessert application. Don’t forget to come back and leave a comment once you’ve tried these easy methods!
More Easy Baking Resources
Enhance your baking skills with these helpful guides:
- How to Tell if Brownies Are Done
- How to Make Cake Flour
- Easy Tips on Freezing Cookie Dough
How to Melt Chocolate Chips
Learn how to melt chocolate chips in the microwave or on the stovetop for perfectly smooth results every time.
Prep Time: 5 mins
Total Time: 5 mins
Servings: 8
Cuisine: American
Course: Dessert
Calories: 226 kcal
Author: Carrie Barnard
Ingredients
- 2 cups Chocolate Chips
Instructions
- Place the chocolate chips in a clean, dry, microwave-safe bowl.
- Microwave for 30 seconds on medium power. Remove and stir the chocolate chips thoroughly.
- Continue to microwave in 15-20 second intervals, stirring after each interval, until the chocolate chips are fully melted and smooth. Utilize residual heat to melt the last few lumps by stirring vigorously after removing from the microwave.
Recipe Notes
Always heat chocolate in short intervals and stir frequently to prevent overheating and seizing. If chocolate overheats or comes into contact with water, it may become grainy and unusable.
Nutrition Facts (per serving)
Calories: 226kcal, Carbohydrates: 31g, Protein: 2g, Fat: 11g, Saturated Fat: 7g, Trans Fat: 0.1g, Cholesterol: 7mg, Sodium: 31mg, Fiber: 1g, Sugar: 28g, Vitamin A: 101IU, Vitamin C: 0.3mg, Calcium: 52mg, Iron: 1mg
Pin This Now to Remember It Later
Pin Recipe
