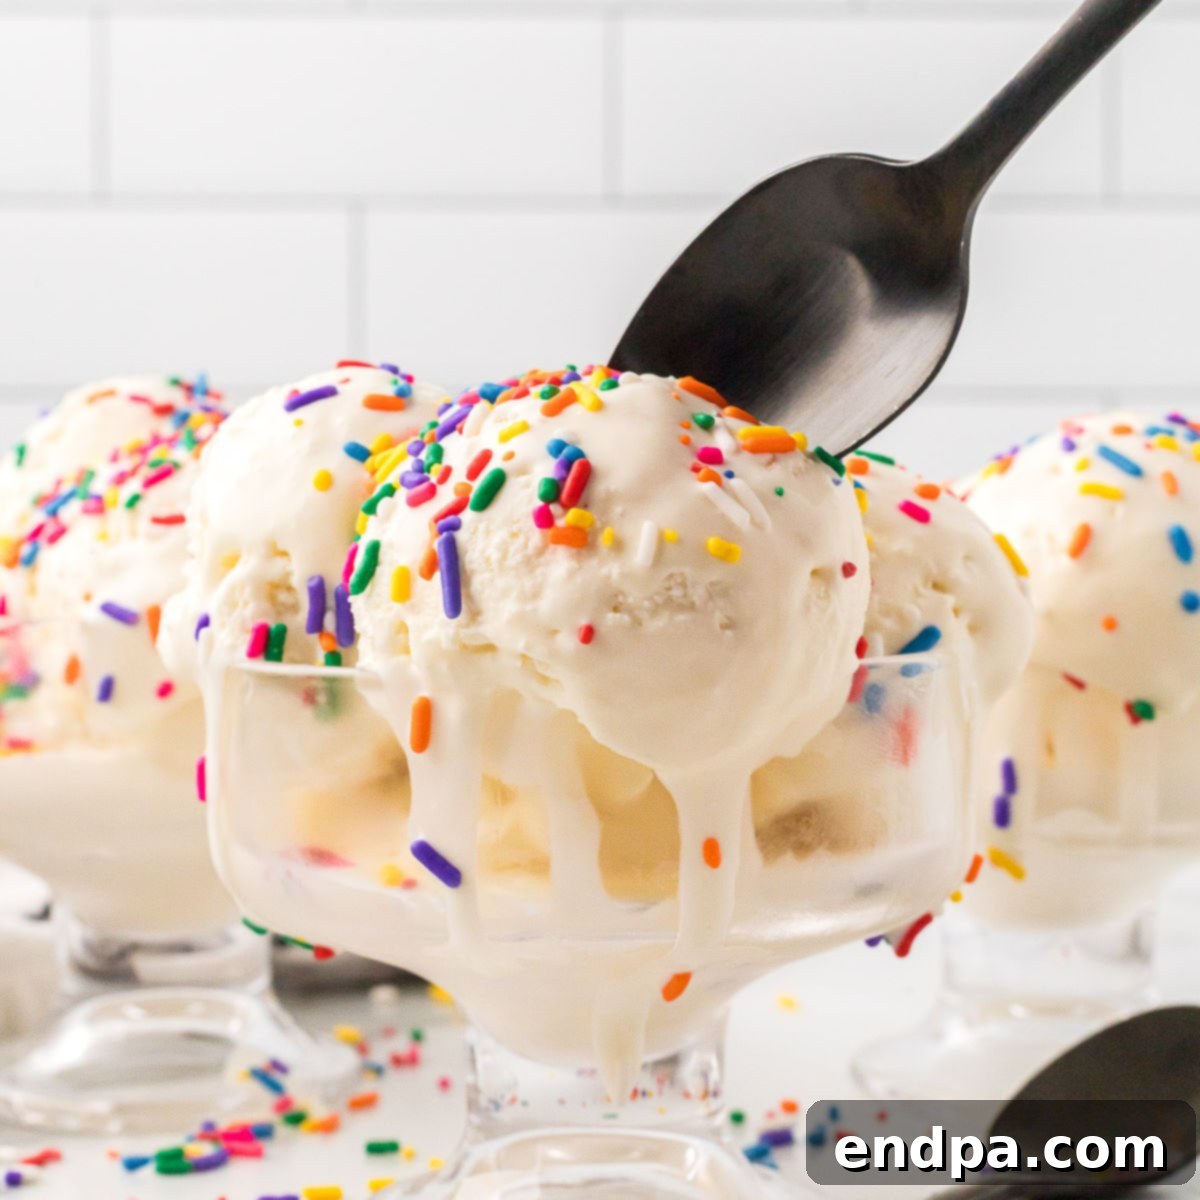
No-Churn Vanilla Ice Cream is the ultimate dessert for anyone seeking rich, creamy indulgence without the hassle of an ice cream maker. This remarkably simple recipe requires just three core ingredients, making it an incredibly accessible and foolproof treat that even the kids can whip up. Prepare to transform your kitchen into a delightful ice cream parlor with minimal effort and maximum reward!
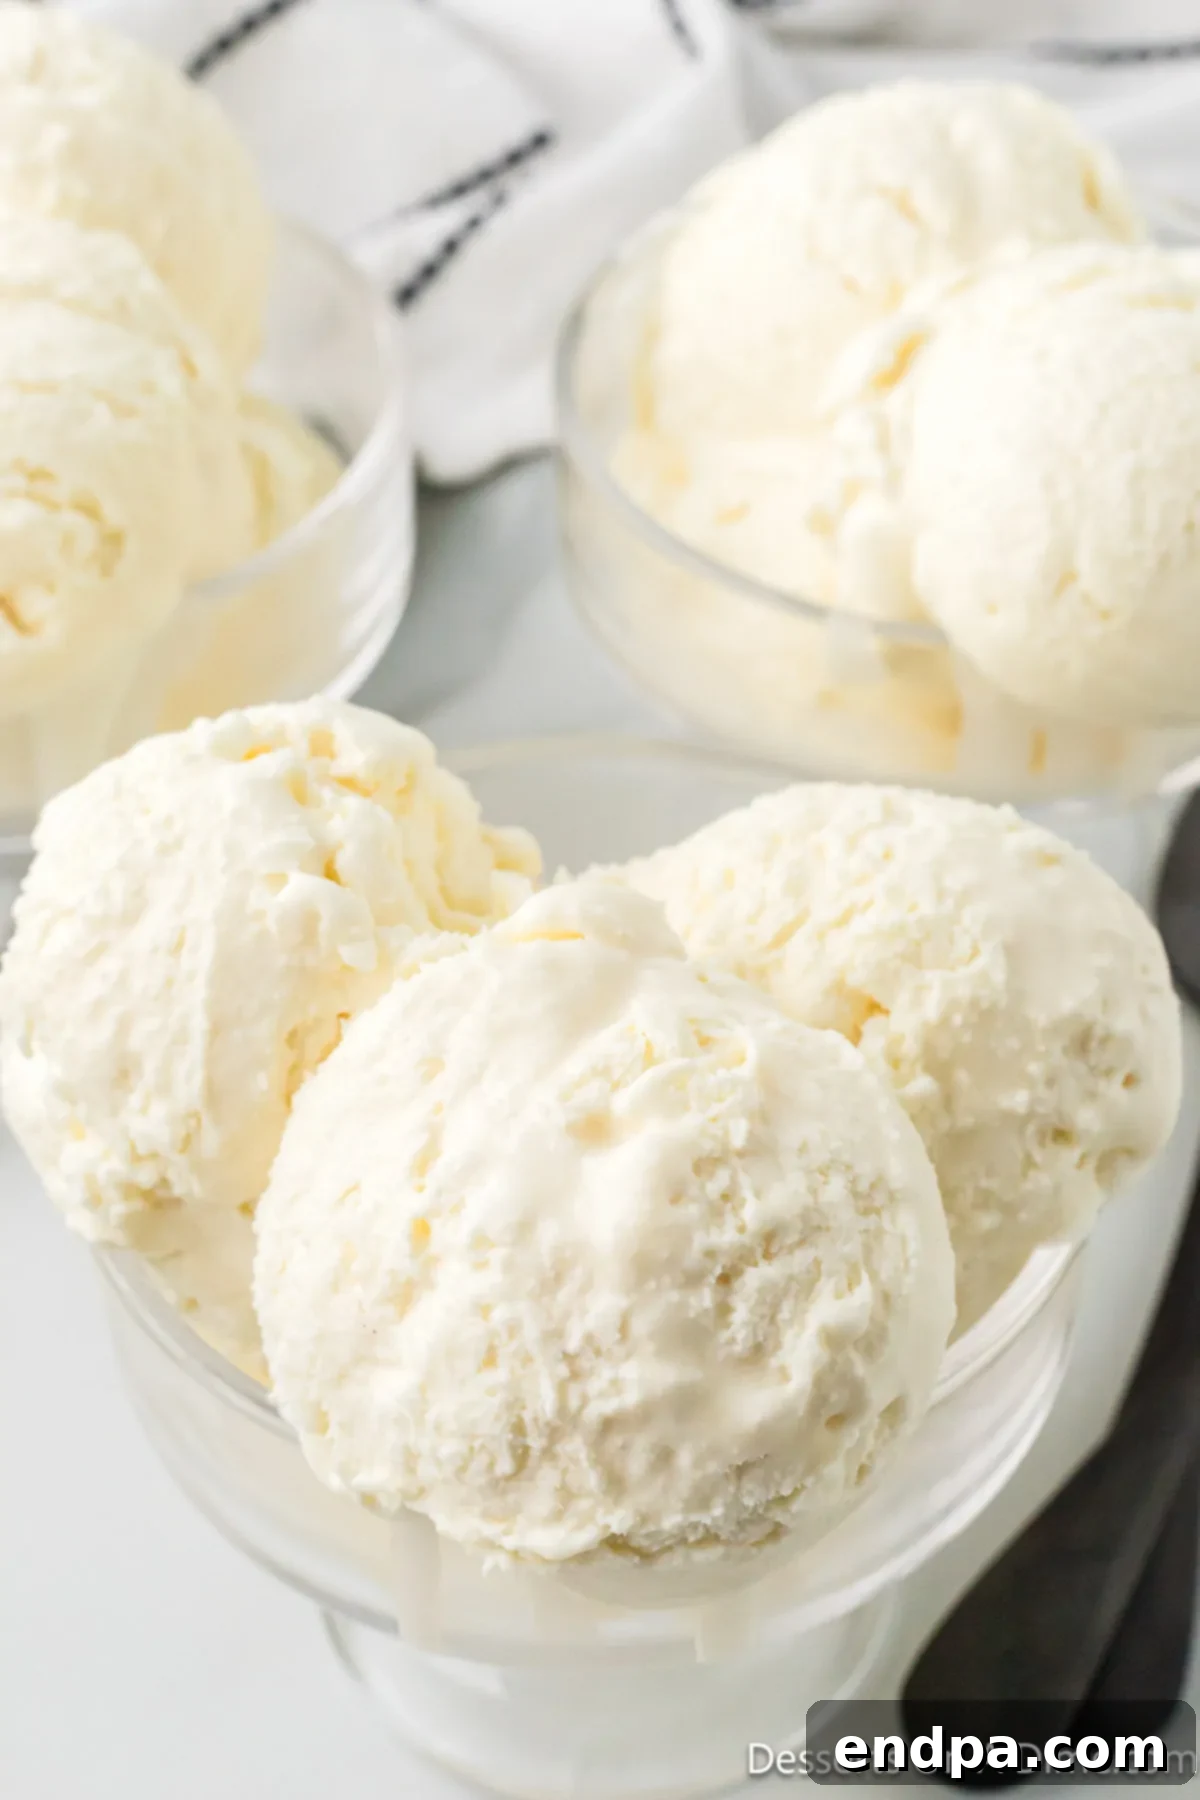
Vanilla ice cream holds a timeless appeal, a truly classic ice cream recipe that serves as the perfect canvas for endless culinary creativity. Its subtle yet profound flavor complements nearly any topping or dessert pairing, making it a staple in freezers worldwide. Now, imagine crafting this beloved classic right in your own kitchen, effortlessly and economically. This no-churn vanilla ice cream recipe makes that dream a delicious reality.
You’ll be astounded by the simplicity and speed of preparation. With only three ingredients and no specialized equipment, you’ll wonder why you hadn’t discovered this method sooner! Once you master this incredibly easy technique, you’ll be inspired to explore other homemade delights, perhaps even trying your hand at more adventurous flavors like Churro Ice Cream or the decadent Reese’s Peanut Butter Cup Ice Cream. The world of homemade ice cream awaits, and it’s simpler than you ever imagined.
Table of Contents
- Why This Recipe Works
- The Magic of No-Churn Ice Cream
- Essential Ingredients
- Additions and Variations
- How to Make Homemade Vanilla Ice Cream
- Storage Tips for Homemade Ice Cream
- Irresistible Toppings
- Pro Tips for Perfect No-Churn Ice Cream
- Serve With These Desserts
- More Homemade Ice Cream Recipes
Why This Recipe Works
This no-churn vanilla ice cream isn’t just easy; it’s a culinary triumph. The resulting flavor is a pure, delightful vanilla, and the texture is astonishingly soft, smooth, and incredibly creamy—rivaling traditional churned varieties. It’s a genuine treat that your entire family will adore, perfect for any occasion, from casual weeknight desserts to celebratory gatherings.
The brilliance of this recipe lies in its utter simplicity and accessibility. Forget about investing in an expensive ice cream maker or cluttering your kitchen with specialized gadgets. This method bypasses the need for an ice cream machine entirely. Furthermore, unlike many traditional ice cream recipes that rely on an egg custard base, this recipe is completely egg-free, simplifying the process and reducing preparation time. If you appreciate the versatility and comforting flavor of vanilla, you’ll find this recipe to be a fantastic addition to your repertoire of vanilla desserts.
The Magic of No-Churn Ice Cream
Many home cooks dream of making their own ice cream but are deterred by the specialized equipment often required. This no-churn method is a game-changer, simplifying the process without sacrificing quality. The secret lies in the combination of sweetened condensed milk and heavy whipping cream. When whipped, heavy cream incorporates air, creating a light, airy base similar to what an ice cream maker achieves. The sweetened condensed milk adds a luscious sweetness and, critically, a high sugar content that helps prevent the formation of large ice crystals, resulting in that wonderfully smooth, scoopable texture we all crave. This ingenious approach means you get rich, homemade ice cream with minimal effort, making it ideal for busy individuals, families, and anyone new to dessert making.
Essential Ingredients
The beauty of this recipe truly shines through its minimal ingredient list. You only need three items to create this spectacular dessert, and each plays a vital role in achieving that perfect no-churn texture and flavor. Using high-quality ingredients will always yield the best results, so choose wisely!
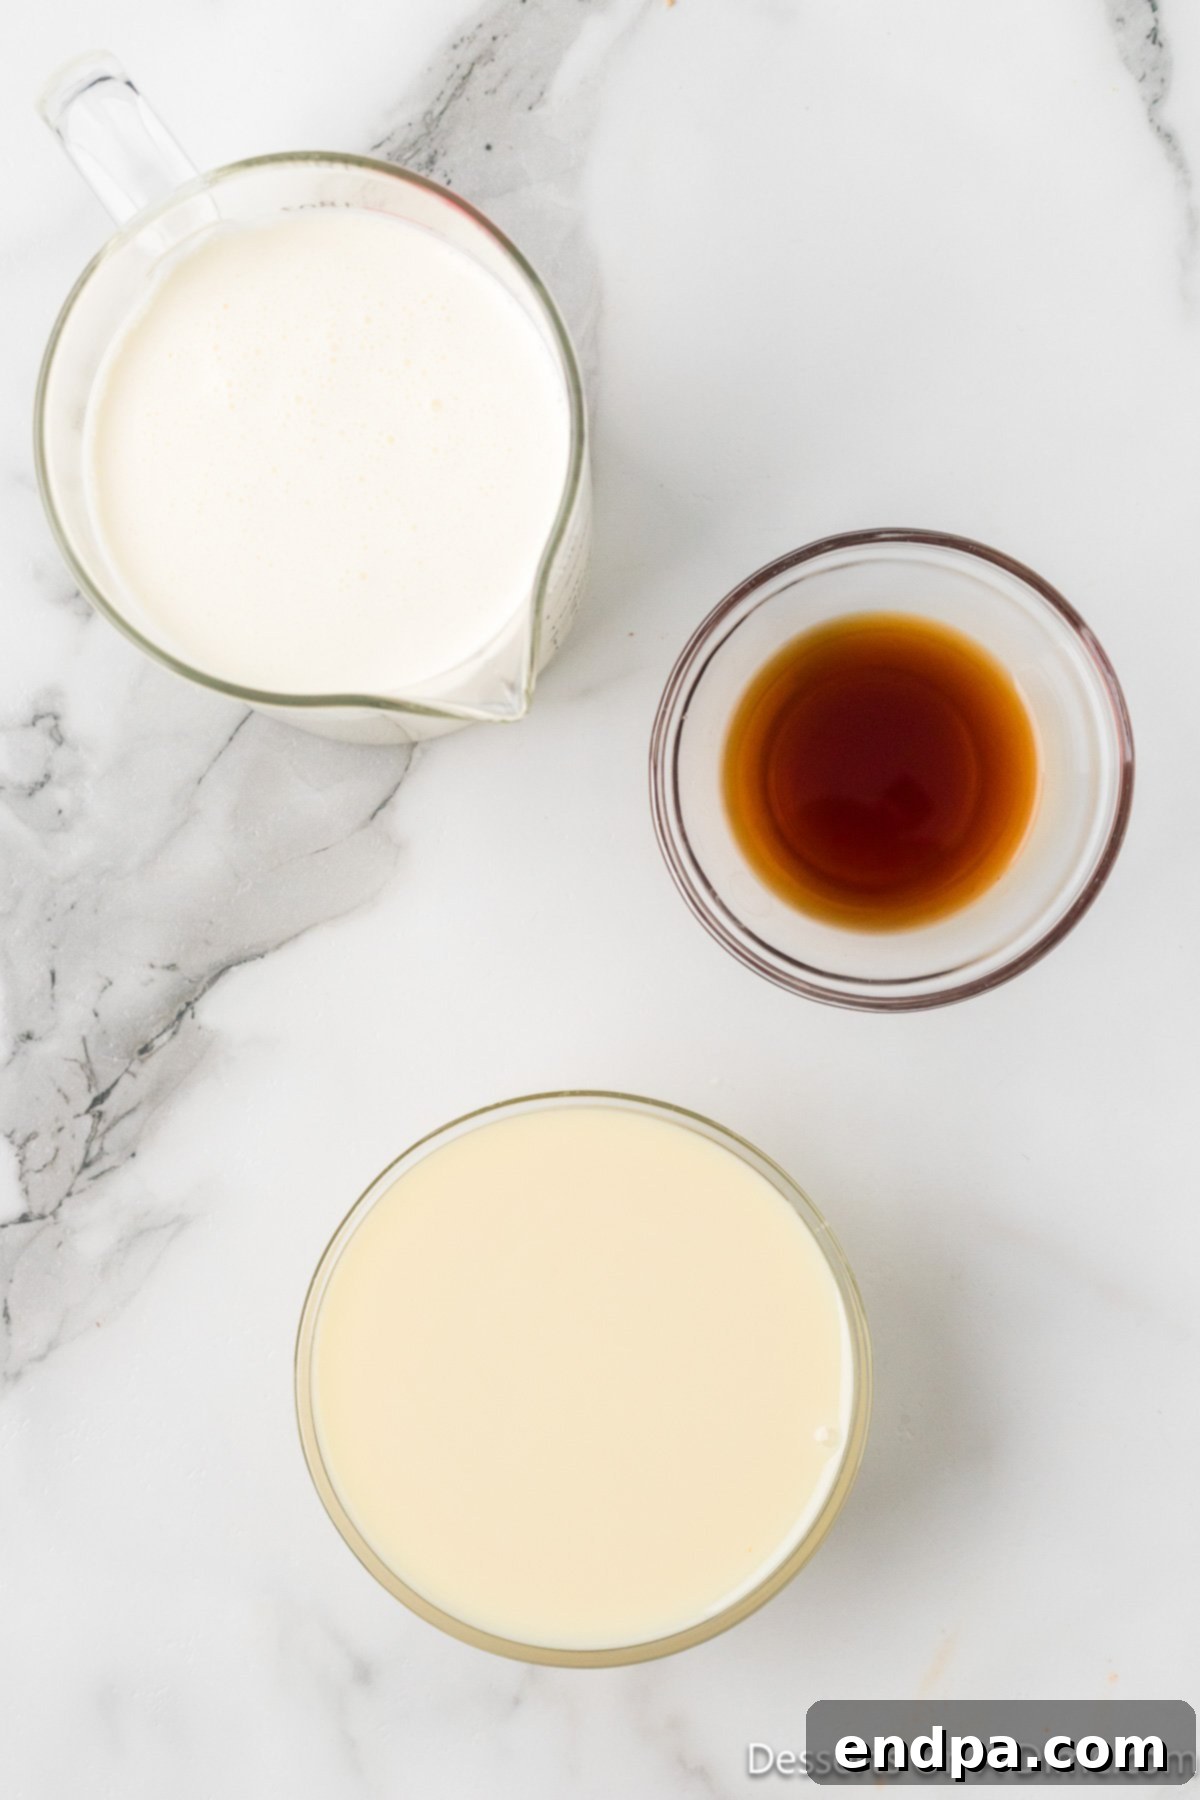
- Sweetened Condensed Milk: This ingredient is absolutely non-negotiable. It provides both the sweetness and the smooth, creamy consistency that replaces a traditional custard base. Do not confuse it with evaporated milk or regular whole milk; they are not interchangeable and will not produce the same results. For an even more homemade touch, you can try our Homemade Sweetened Condensed Milk Recipe.
- Pure Vanilla Extract: For the most authentic and rich vanilla flavor, pure vanilla extract is highly recommended. Its deep aroma and taste elevate the ice cream significantly. If you want to take the flavor up a notch, consider using vanilla bean paste, which includes tiny flecks of vanilla bean for a beautiful visual and intense flavor, or even scraping the seeds from a fresh vanilla bean.
- Heavy Whipping Cream: This is the backbone of the no-churn method. It must be very cold before you begin. The cold temperature allows the cream to whip up properly, incorporating air and creating the light, fluffy volume necessary for the ice cream’s texture. Without adequately whipped cream, your ice cream will be dense and icy, so ensure it’s chilled.
These three simple components, when combined correctly, create a magical transformation into delicious, homemade vanilla ice cream. The complete and precise measurements for these ingredients can be found in the detailed recipe card at the bottom of this article.
Additions and Variations
While classic vanilla ice cream is delightful on its own, its true charm lies in its versatility. It serves as an exceptional base for an endless array of mix-ins and flavor variations. Don’t be afraid to get creative and customize your batch to suit your personal preferences!
- Cookie & Brownie Delights:
- Crushed Oreo Cookies: A timeless favorite! Add about 10 crushed Oreo cookies (or more, to taste) to the ice cream mixture before freezing for a cookies and cream masterpiece.
- Chocolate Chip Cookies: Crumble your favorite store-bought or homemade chocolate chip cookies for a delightful chewy texture.
- Brownie Bites: Fold in small pieces of fudgy brownies for an extra indulgent treat.
- Chocolate Lover’s Paradise:
- Chocolate Chips: Stir in a cup of your preferred chocolate morsels. Experiment with milk chocolate chips, rich dark chocolate chips, refreshing mint chocolate chips, or creamy white chocolate chips for different flavor profiles.
- Chocolate Chunks: For a more substantial chocolate experience, chop up your favorite chocolate bar and fold it in.
- Cocoa Powder Swirl: For a subtle chocolate ripple, gently swirl a few tablespoons of unsweetened cocoa powder into a portion of the mixture before combining.
- Fruity Freshness:
- Fresh Berries: Diced strawberries, raspberries, or blueberries add a burst of fresh, tart flavor. Gently fold in about 1 to 1.5 cups of diced fruit after pureeing some of it slightly.
- Peaches: Diced fresh peaches are a personal favorite, offering a sweet and summery taste.
- Mango or Cherry: For a tropical twist, try diced mango, or for a classic pairing, chopped cherries. Ensure fruits are well-drained if frozen to avoid excess moisture.
- Nutty Indulgences:
- Chopped Nuts: Add a delightful crunch with finely chopped pecans, walnuts, almonds, or even pistachios.
- Peanut Butter Swirl: Gently swirl melted peanut butter into the ice cream mixture before freezing for a rich, nutty ribbon.
- Caramel & Toffee:
- Caramel Swirl: Drizzle in some store-bought or homemade caramel sauce.
- Toffee Bits: Mix in crunchy toffee bits for a buttery, caramelized flavor and texture.
- Spiced & Exotic:
- Cinnamon Swirl: For a warm, comforting flavor, swirl in a teaspoon of ground cinnamon.
- Coffee Extract: Add a teaspoon of coffee extract or a tablespoon of instant espresso powder dissolved in a tiny bit of hot water for a coffee-flavored ice cream.
When adding mix-ins, it’s generally best to fold them in gently after you’ve combined the whipped cream and sweetened condensed milk, just before transferring the mixture to your freezer-safe container. This ensures even distribution without deflating the airy mixture.
How to Make Homemade Vanilla Ice Cream
Crafting your own creamy, dreamy vanilla ice cream is an incredibly satisfying experience, and this no-churn method makes it delightfully straightforward. Follow these simple steps, and you’ll have a batch of delicious homemade ice cream chilling in your freezer in no time.
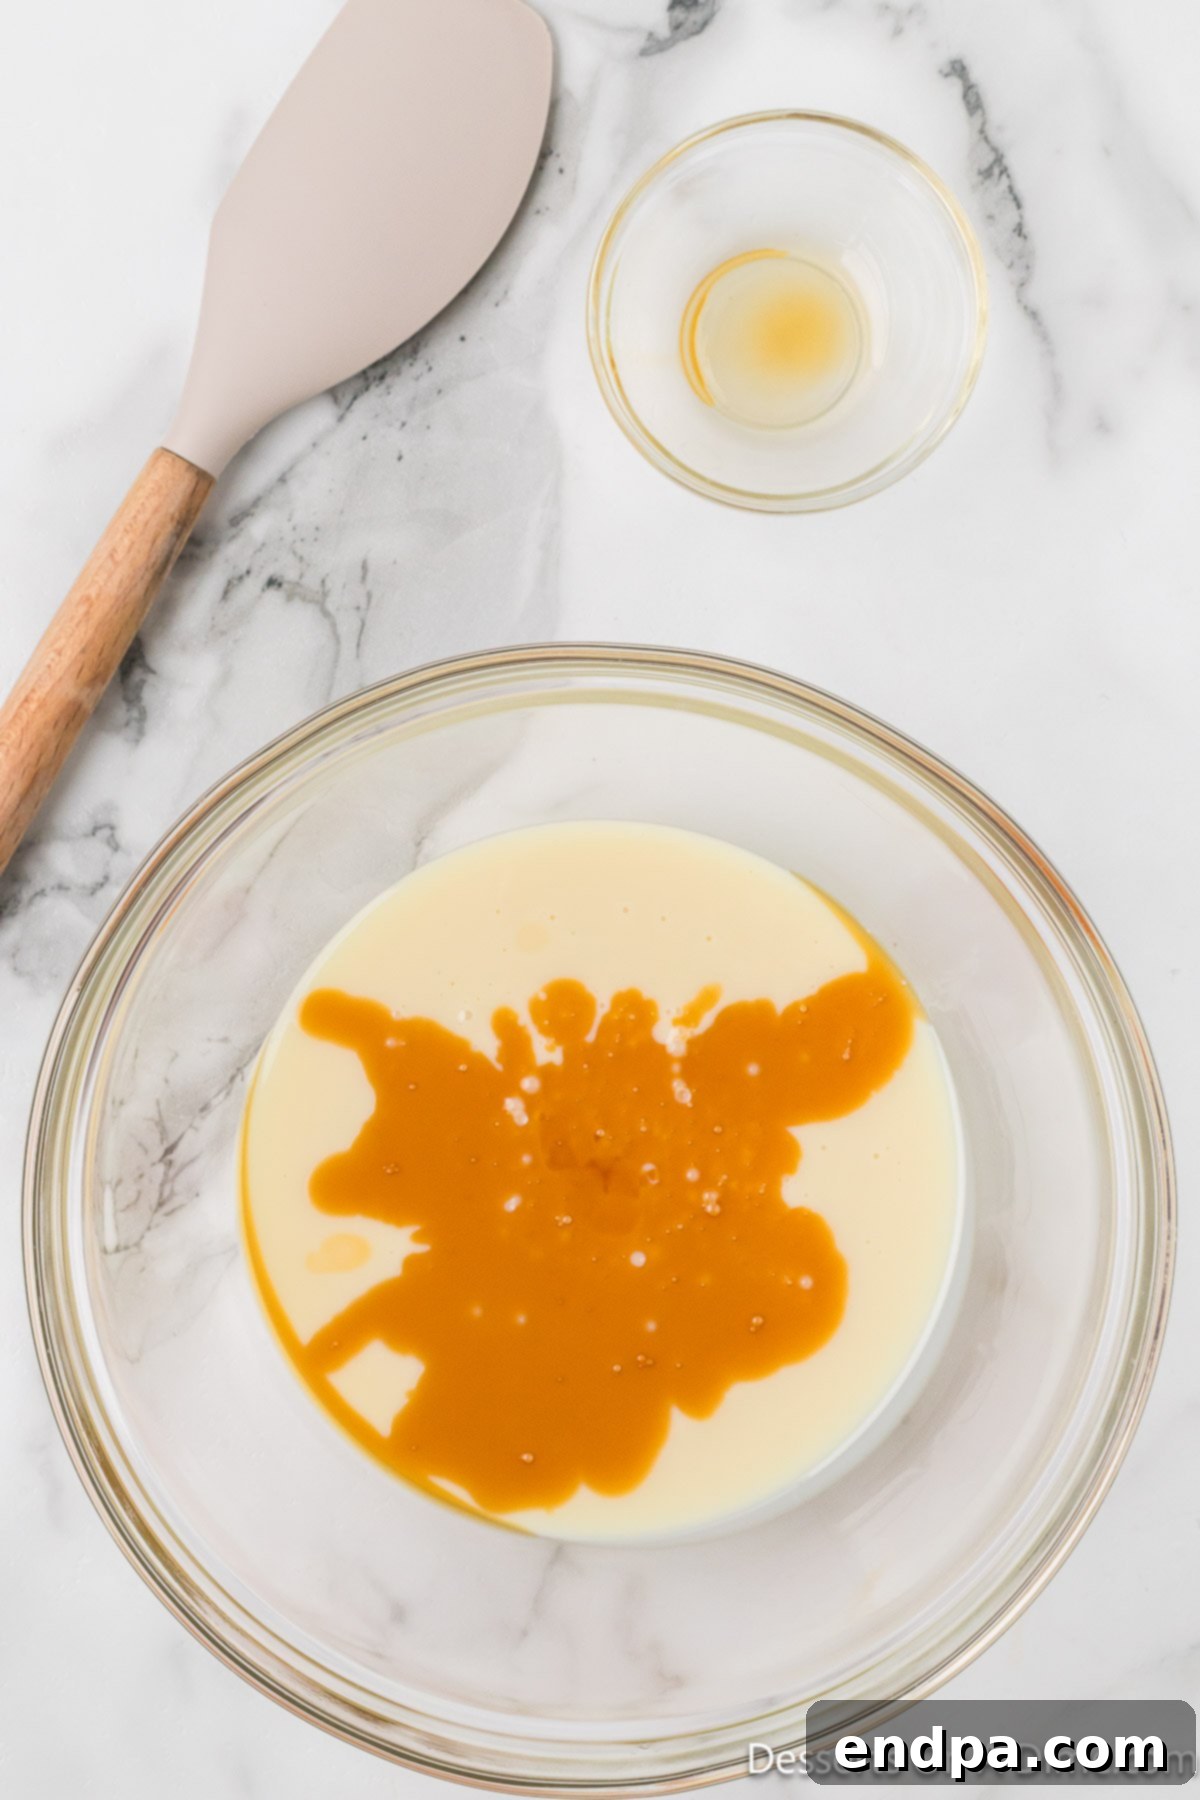
Step 1: Combine Sweetened Condensed Milk and Vanilla. In a spacious mixing bowl, pour in your sweetened condensed milk. Add the pure vanilla extract to the milk. Using a whisk or a spatula, stir these two ingredients together thoroughly until they are well combined and uniformly smooth. This ensures the vanilla flavor is evenly distributed throughout the base.
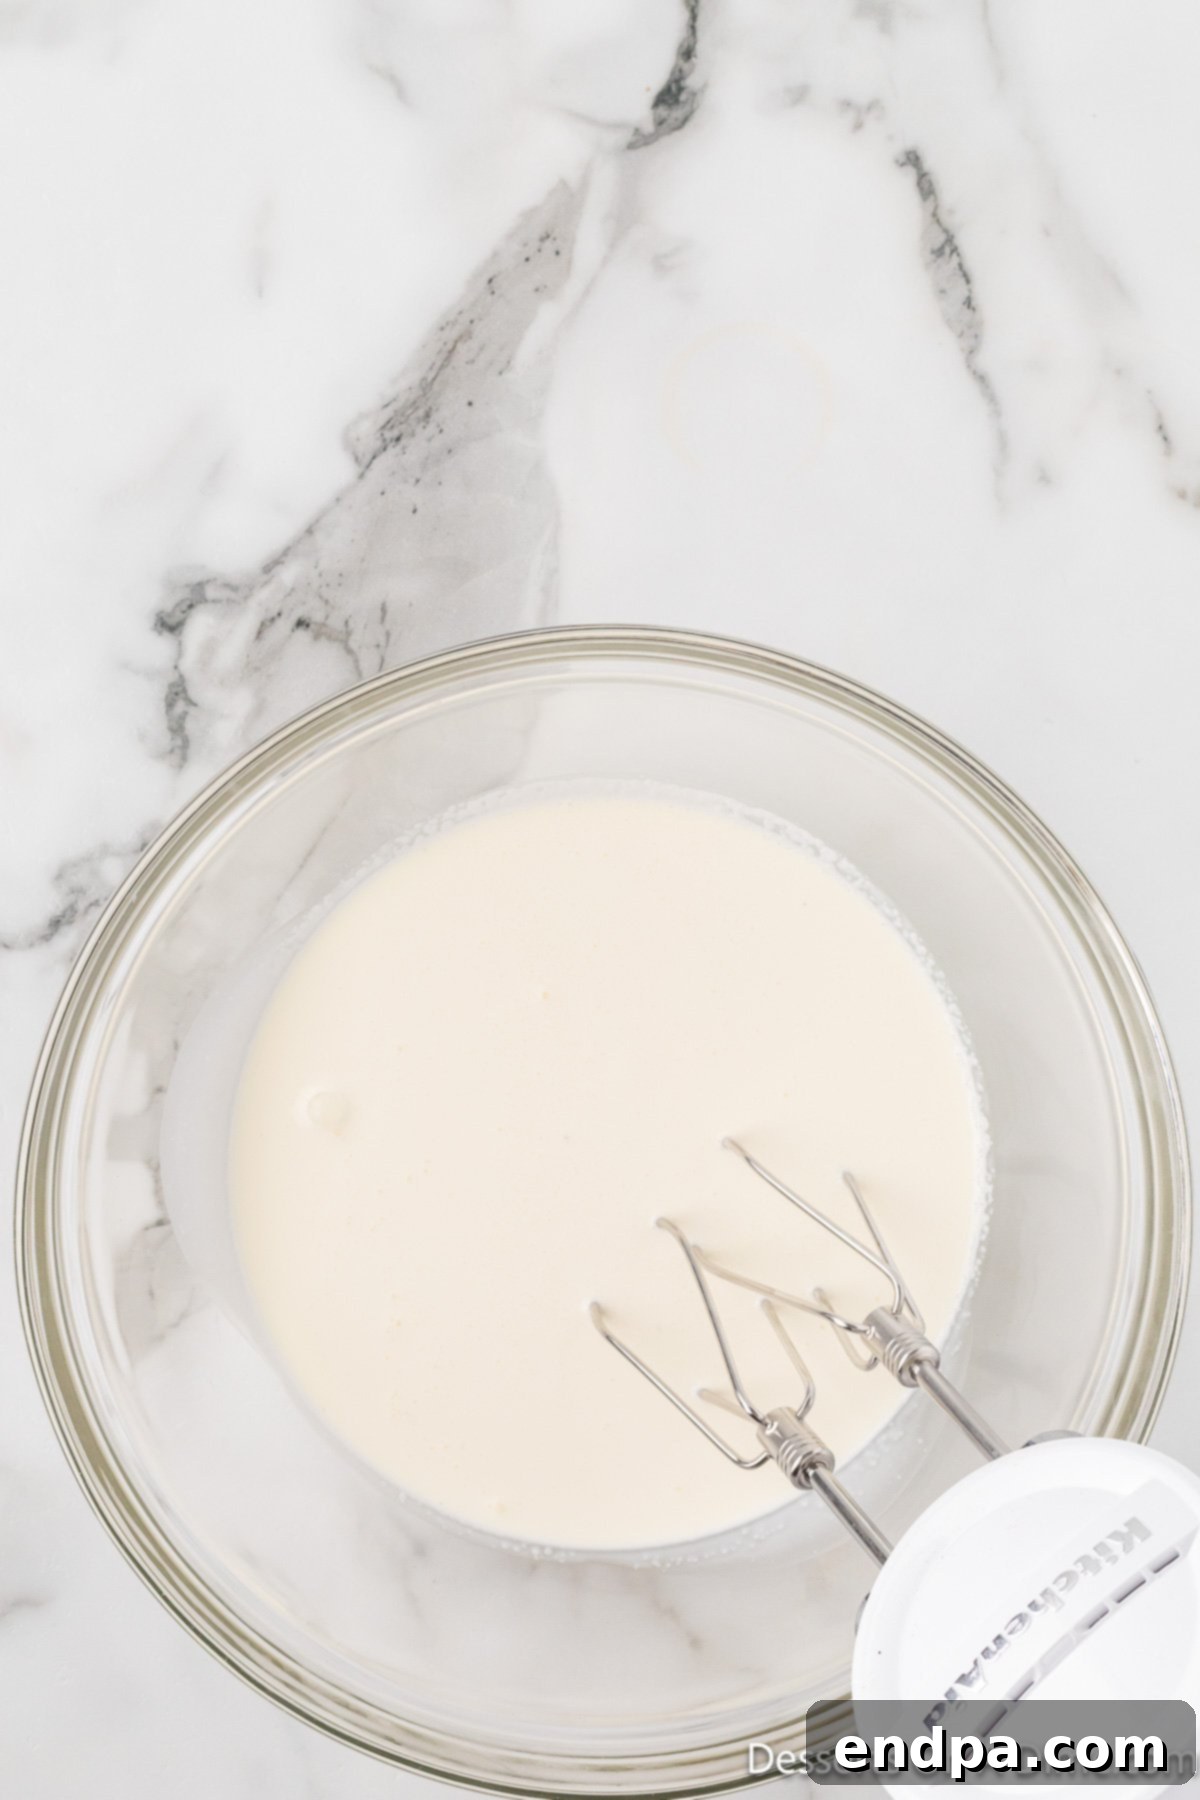
Step 2: Prepare the Heavy Whipping Cream. Get a separate, clean, and ideally chilled mixing bowl. Pour the very cold heavy whipping cream into this bowl. The colder the cream and the bowl, the easier and faster it will be to whip to the desired consistency.
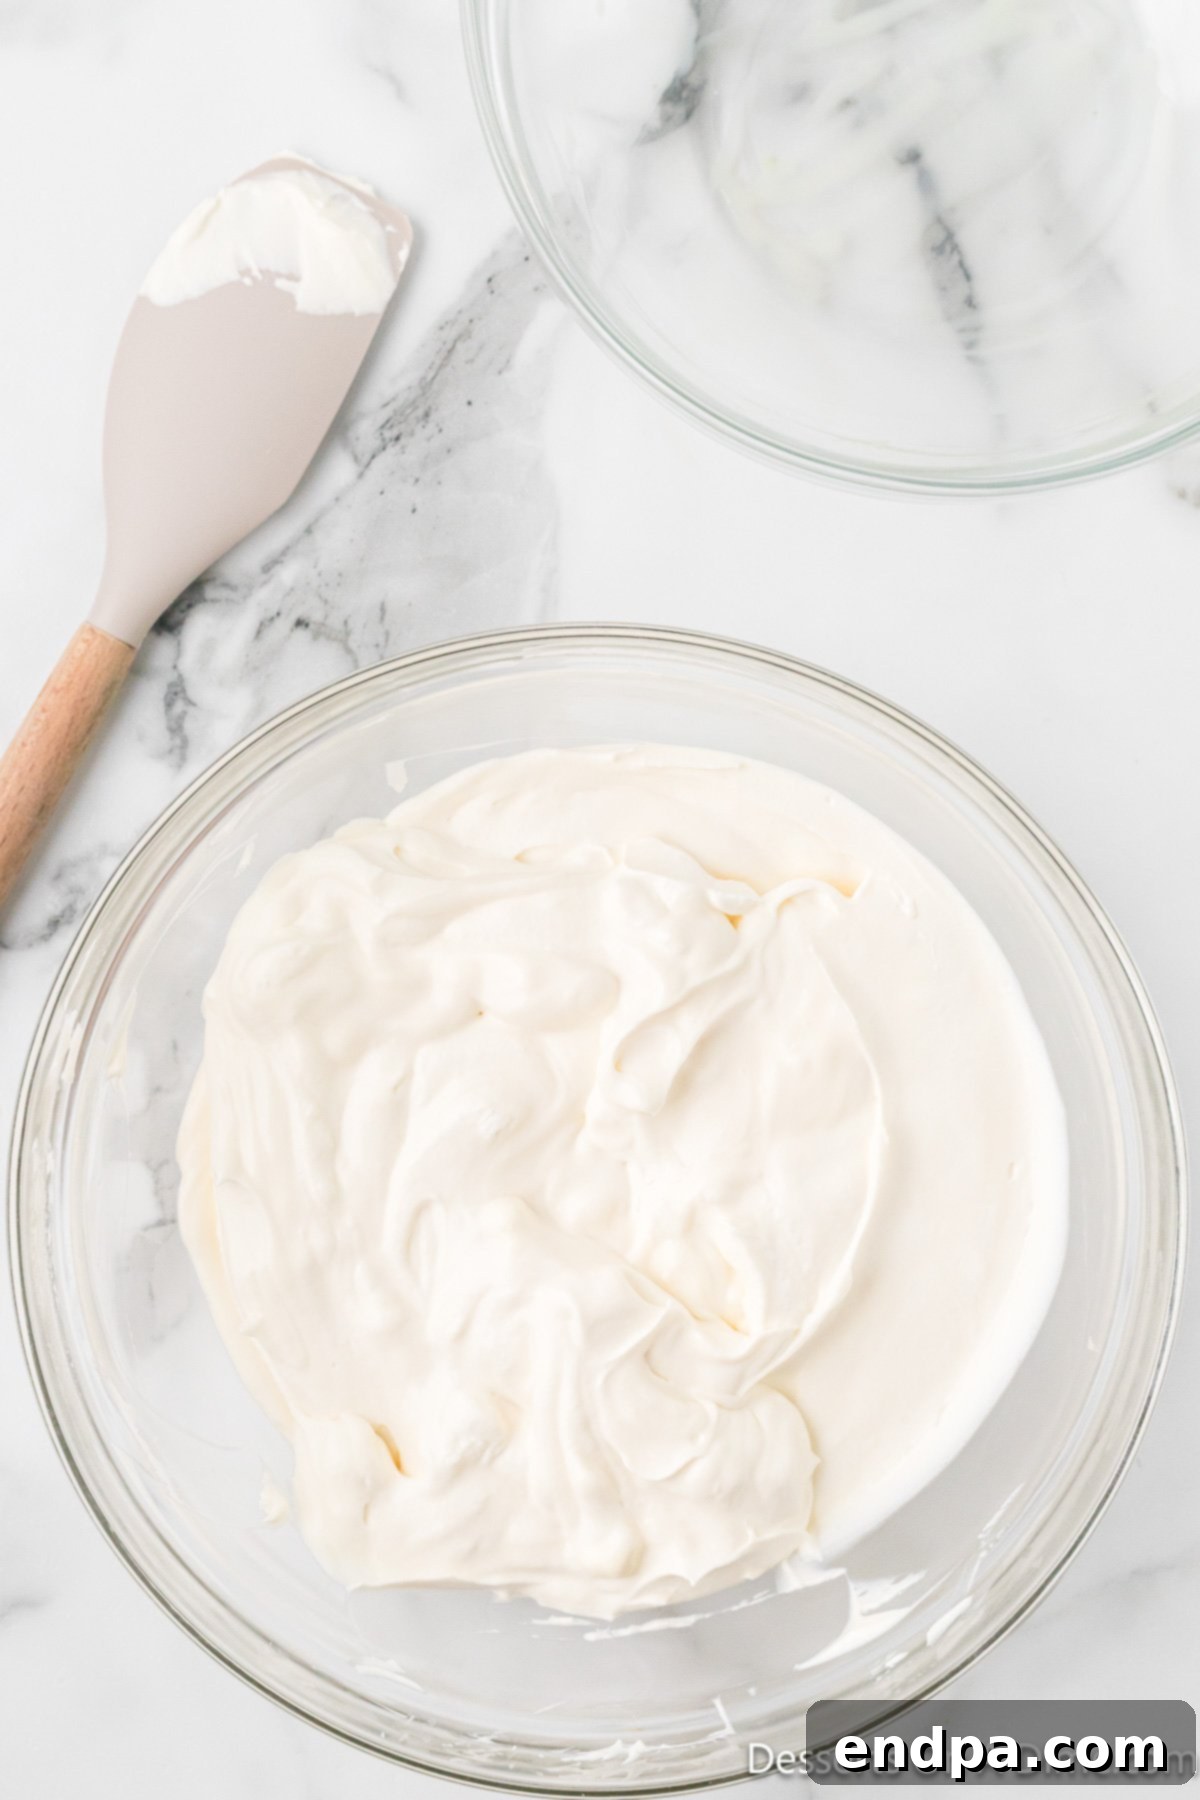
Step 3: Whip the Heavy Cream to Stiff Peaks. Using a hand mixer on medium-high to high speed (or a stand mixer with the whisk attachment), begin beating the heavy cream. Continue to beat until the cream forms firm, stiff peaks. This means that when you lift the beaters, the cream will stand up straight and hold its shape. Be careful not to overmix, as it can quickly turn into butter.
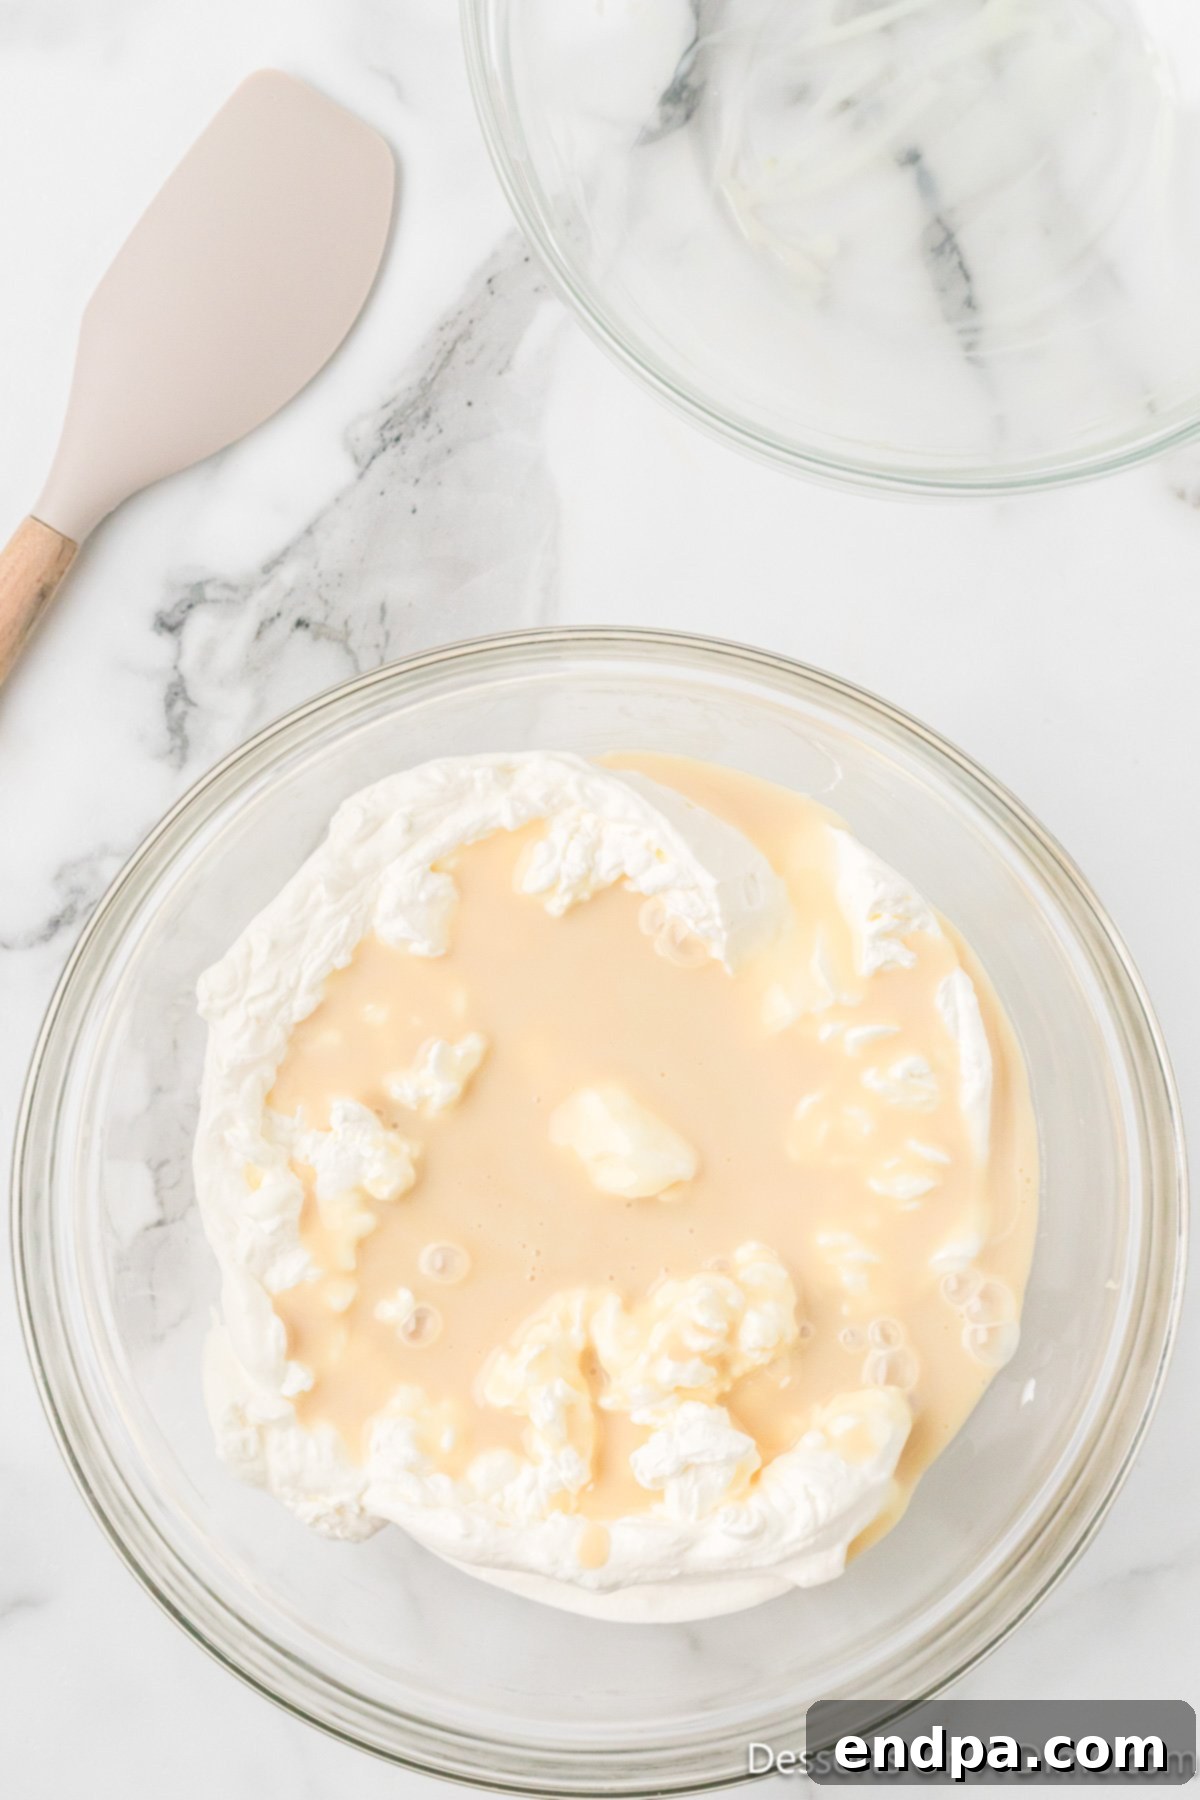
Step 4: Gently Fold the Mixtures Together. With a spatula, carefully and gently fold the whipped cream into the sweetened condensed milk mixture. The key here is to maintain the airiness you’ve just created in the whipped cream. Use a light, lifting motion rather than stirring vigorously. Continue folding until the two mixtures are just combined, and no streaks of condensed milk remain. Avoid overmixing, as this will deflate the cream and result in a less airy ice cream.
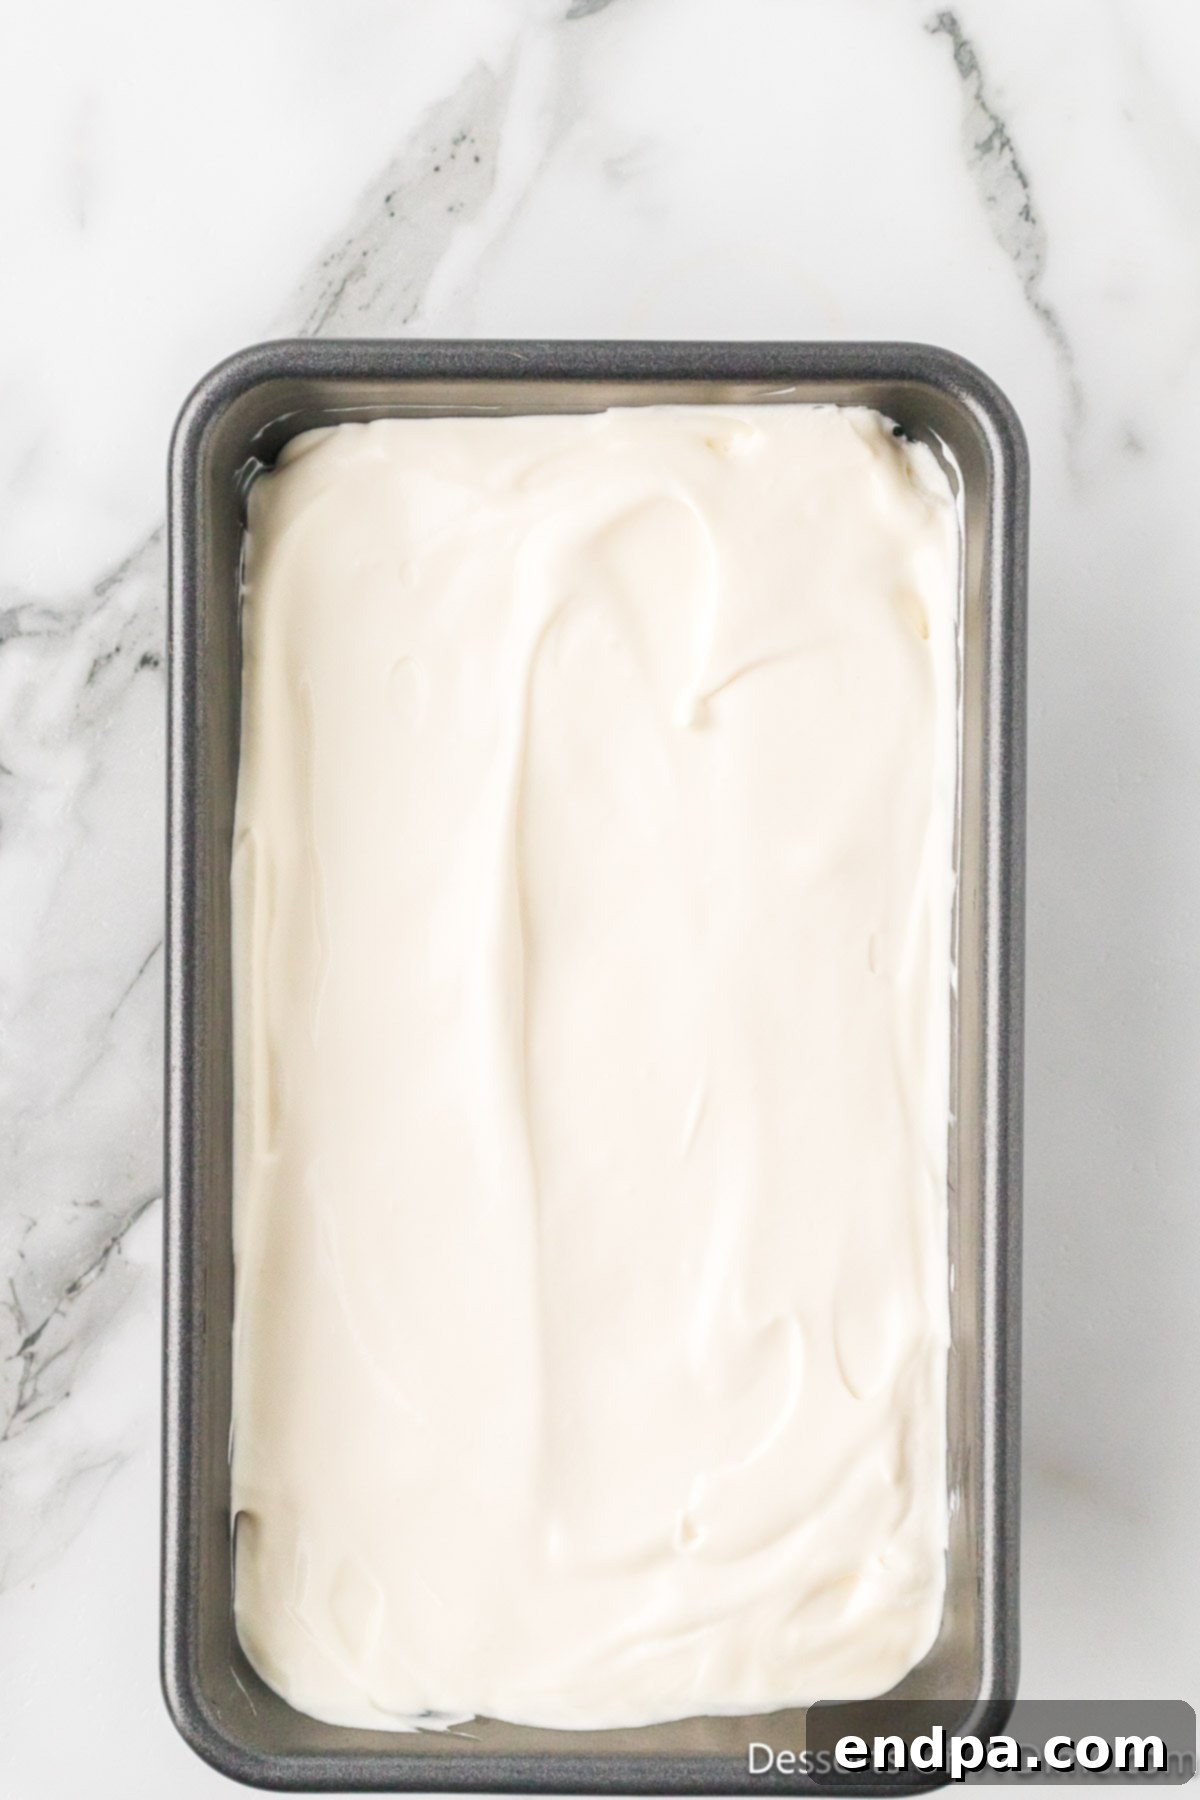
Step 5: Transfer and Freeze. Pour the combined ice cream mixture into a loaf pan (a standard 9×5 inch pan works perfectly) or any other shallow, freezer-safe baking dish or container. Ensure the surface is relatively even. Cover the pan tightly with plastic wrap or aluminum foil, making sure the wrap touches the surface of the ice cream to prevent ice crystals from forming. Place it in the freezer for at least 6 hours, or ideally, overnight, to allow it to firm up completely.
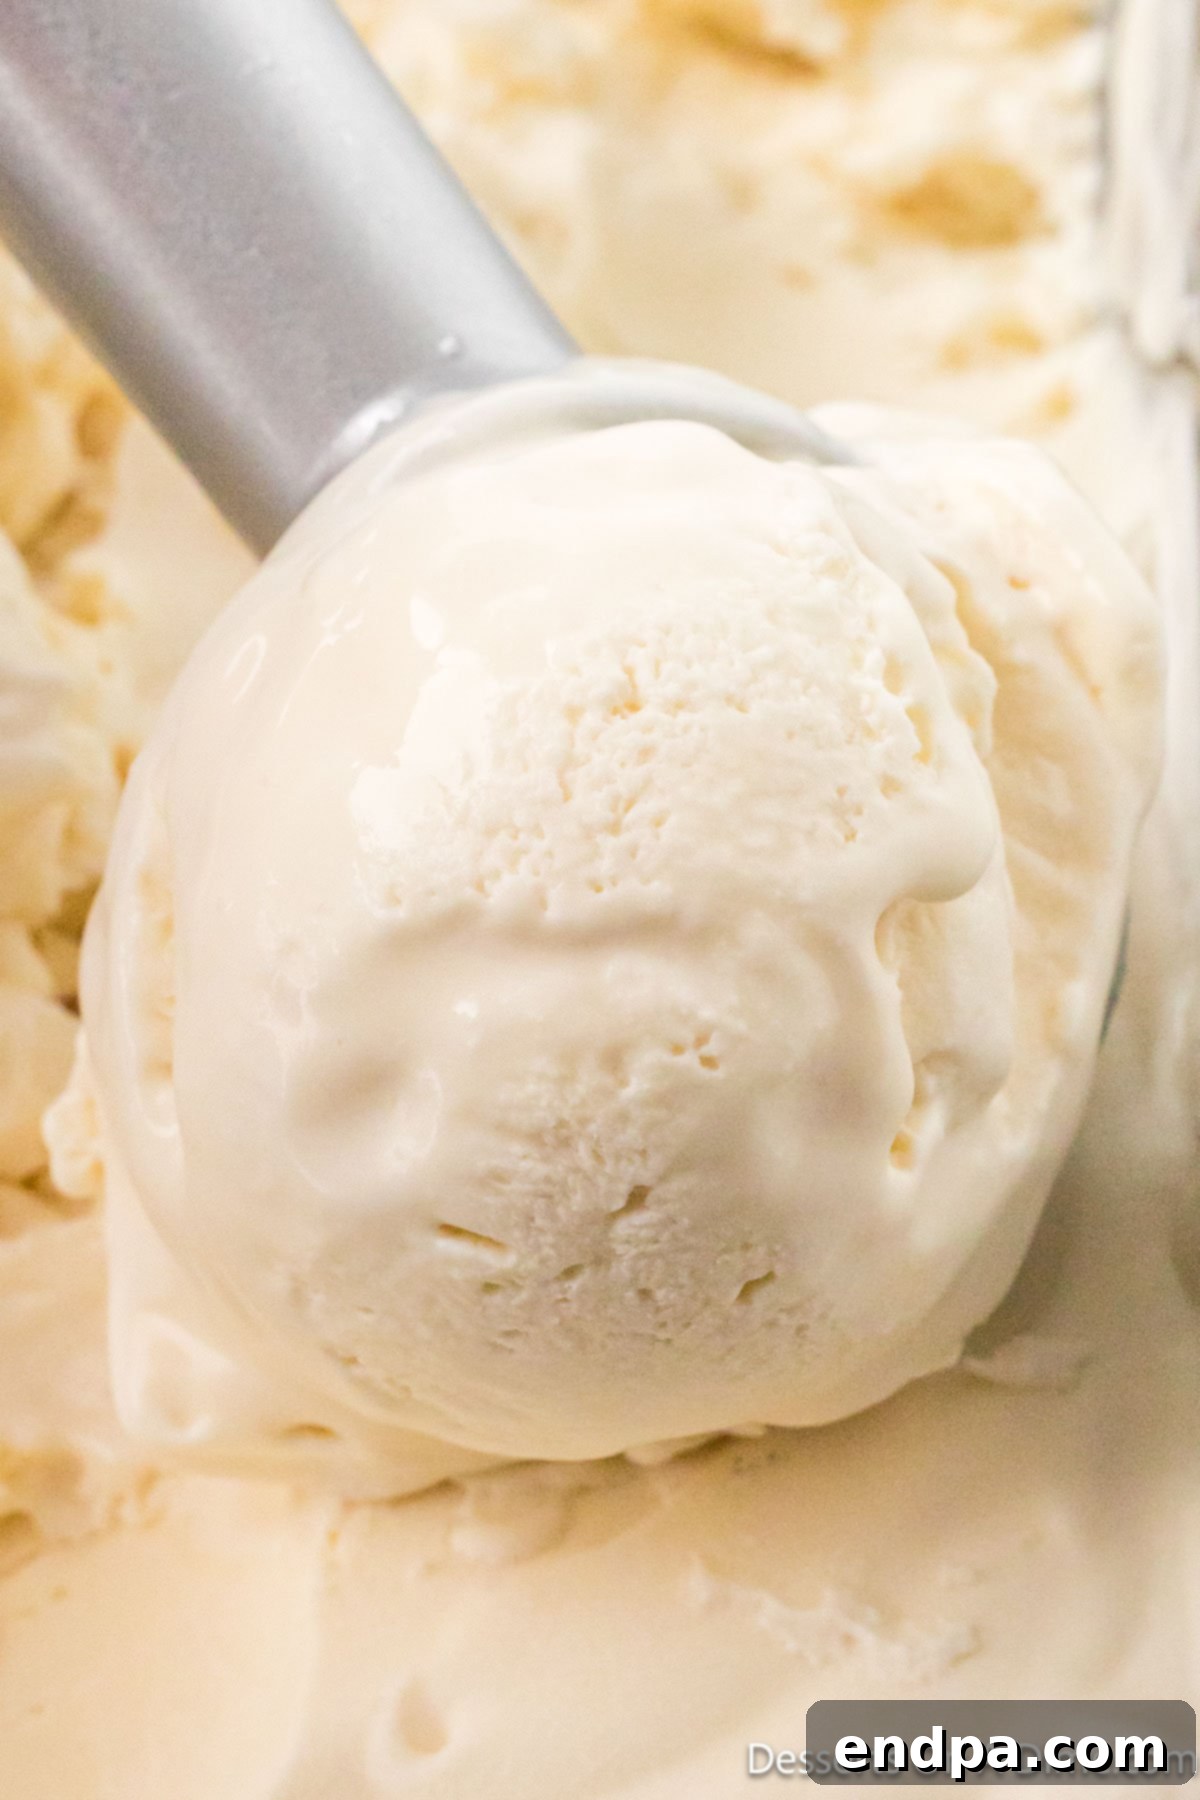
Step 6: Scoop and Serve. Once fully frozen, remove the ice cream from the freezer. For easier scooping, especially if it’s very hard, let it sit at room temperature for a few minutes (about 5-10) to soften slightly. Scoop generously into cones, bowls, or serve alongside your favorite desserts. Enjoy your homemade, incredibly creamy vanilla ice cream!
Storage Tips for Homemade Ice Cream
Proper storage is key to preserving the delicious flavor and creamy texture of your no-churn vanilla ice cream. To ensure your homemade treat stays fresh and free from ice crystals, follow these simple guidelines:
- Airtight Container is Essential: Always transfer any leftover ice cream to an airtight, freezer-safe container. This could be a specialized ice cream container, a plastic freezer container with a tight-fitting lid, or even the loaf pan covered very securely.
- Preventing Ice Crystals: Air is the enemy of creamy ice cream. To prevent ice crystals from forming on the surface, press a layer of plastic wrap directly onto the surface of the ice cream before sealing the container with its lid. This creates an additional barrier against freezer burn and helps maintain the smooth texture.
- Optimal Freezer Placement: Store the ice cream in the coldest part of your freezer, typically towards the back, where temperatures are most consistent. Avoid storing it in the freezer door, which experiences more temperature fluctuations.
- Shelf Life: When properly stored, your homemade no-churn vanilla ice cream will retain its best quality for up to 2-3 months. Beyond this period, while still safe to eat, you may start to notice the formation of more ice crystals and a slight deterioration in texture and flavor.
- Signs of Spoilage: If you see a significant amount of large ice crystals throughout the ice cream, or if it develops an off-flavor, it’s a sign that it may have been stored too long or improperly.
By following these storage tips, you can enjoy your delightful homemade vanilla ice cream for weeks to come, ensuring every scoop is as perfect as the first.
Irresistible Toppings
Vanilla ice cream is a blank canvas, ready to be adorned with a kaleidoscope of delicious toppings. Whether you prefer sweet, fruity, crunchy, or decadent, there’s a topping combination for everyone. Here are some ideas to inspire your next ice cream creation:
- Classic Sauces:
- Hot Fudge: A warm, gooey classic that perfectly melts into cold ice cream. Our Homemade Hot Fudge Sauce is easy to make and utterly delicious. Try it with a sprinkle of sea salt for a sweet and salty twist!
- Strawberry Sauce: Bright and fresh, this simple strawberry sauce recipe adds a lovely fruity tang.
- Caramel Sauce: Rich, buttery, and incredibly addictive, our easy homemade caramel sauce is a must-try.
- Peanut Butter Ice Cream Topping: If you’re a peanut butter fanatic, this creamy peanut butter topping is the dream for you.
- Magic Shell Recipe: The fun, hardening chocolate coating that brings back childhood memories.
- Creamy & Fluffy:
- Whipped Cream: A dollop of fresh, light whipped cream is always a welcome addition. Try our homemade whipped cream for extra freshness.
- Mini Marshmallows: Soft, sweet, and chewy – perfect for s’mores-inspired sundaes.
- Crunchy & Sweet:
- Candy Bits: Crush up your favorite candy bars like Kit-Kats, Reese’s Peanut Butter Cups, or M&Ms. Gummy worms and gummy bears are a big hit with kids!
- Chocolate Chips: A sprinkle of mini chocolate chips (white, milk, dark, or peanut butter) adds a delightful texture.
- Cookies: Crush up Oreo cookies, chocolate chip cookies, or even shortbread for different flavors and textures.
- Sprinkles: Everyone loves sprinkles! They add a pop of color and a touch of celebratory fun.
- Nuts: Toasted and chopped cashews, walnuts, pecans, or even candied walnuts in syrup add a rich, nutty flavor and satisfying crunch.
- Mini Brownie Bites: Small, fudgy brownie pieces are fantastic, especially in a classic hot fudge sundae.
- Fresh & Fruity:
- Maraschino Cherries: The iconic cherry on top that completes any sundae.
- Fresh Fruit: Sliced bananas, diced strawberries, plump blueberries, or juicy peaches add natural sweetness and vibrant color.
Don’t limit yourself to just one! Mix and match these toppings to create your ultimate personalized vanilla ice cream experience. The possibilities are truly endless!
Pro Tips for Perfect No-Churn Ice Cream
Achieving perfectly creamy and delicious no-churn vanilla ice cream is simple, but a few professional tips can elevate your results from good to absolutely outstanding. Pay attention to these details for the best possible homemade dessert:
- Ensure All Supplies are Cold: This is arguably the most crucial tip for perfectly whipped cream. Make sure your heavy whipping cream is thoroughly chilled. For even better results, chill your mixing bowl (preferably metal) and your whisk attachments (for both hand and stand mixers) in the freezer for about 15-20 minutes before you start whipping. Cold equipment helps the cream whip faster and achieve stiffer, more stable peaks.
- Do Not Overmix the Whipping Cream: Once your heavy cream begins to form stiff peaks, stop whipping immediately. Overmixing can cause the cream to separate and become grainy, eventually turning into butter. You want it firm and airy, not chunky. It only takes a few minutes, so stay vigilant.
- Gently Fold the Mixture Together: After whipping the cream, the goal is to incorporate it into the sweetened condensed milk without deflating all the air you’ve worked to create. Use a spatula to gently fold the whipped cream into the condensed milk mixture. Use a motion that scoops from the bottom and folds over the top, turning the bowl as you go. This gentle technique preserves the air, which is essential for a light and creamy ice cream texture.
- Use High-Quality Vanilla: Since vanilla is the star flavor, opting for pure vanilla extract or vanilla bean paste will make a noticeable difference in the final taste. Avoid imitation vanilla for the best results.
- Cover Tightly During Freezing: Once the mixture is in your loaf pan or freezer-safe container, cover it tightly. For optimal protection against ice crystals, place plastic wrap directly on the surface of the ice cream before putting on the lid. This barrier prevents air from coming into contact with the surface, which causes freezer burn and icy texture.
- Patience During Freezing: While the prep time is quick, allowing adequate freezing time (at least 6 hours, preferably overnight) is vital for the ice cream to set properly and develop its signature creamy consistency. Rushing this step will result in a soft, unset product.
- Softening Before Serving: For the easiest and most enjoyable scooping experience, remove the ice cream from the freezer about 5-10 minutes before you plan to serve it. This allows it to soften just enough to scoop smoothly without being too hard or too melted.

By keeping these pro tips in mind, you’ll be able to consistently create perfect, rich, and creamy no-churn vanilla ice cream every single time, delighting everyone who tries it.
Serve With These Desserts
Vanilla ice cream is the quintessential companion to a vast array of desserts. Its mild, sweet flavor provides a cooling contrast and balances richer, warmer treats. Here are some fantastic desserts that pair perfectly with a scoop (or two!) of your homemade vanilla ice cream:
- Easy Peach Cobbler Recipe: The warm, spiced peaches and buttery topping are a match made in heaven with cold vanilla ice cream.
- Double Chocolate Chip Brownies Recipe: A scoop of vanilla ice cream cuts through the intense richness of chocolate brownies, creating a balanced and satisfying dessert.
- Homemade Peach Crisp Recipe: Similar to cobbler, the tender peaches and crunchy oat topping are wonderfully complemented by the creamy coolness of vanilla ice cream.
- Cherry Dump Cake: The tartness of cherries and the sweetness of the cake are beautifully mellowed by a dollop of vanilla ice cream.
- Easy Chocolate Crock Pot Lava Cake: Imagine a warm, molten chocolate cake with melting vanilla ice cream – pure bliss!
- Cookie Dough Bars: A playful pairing, where the classic taste of cookie dough meets the smooth creaminess of vanilla ice cream.
Any of these combinations will create an unforgettable dessert experience, highlighting the versatility and deliciousness of your homemade no-churn vanilla ice cream.
More Homemade Ice Cream Recipes
Once you’ve mastered this incredibly simple no-churn vanilla ice cream, you’ll be eager to explore more homemade ice cream flavors. The no-churn method opens up a world of possibilities for delicious, easy-to-make frozen treats. Dive into these other fantastic recipes:
- No-Churn Chocolate Ice Cream: For the chocolate lovers, this rich and creamy recipe is just as easy as its vanilla counterpart.
- Kool-Aid Ice Cream: A fun, vibrant, and surprisingly delicious treat that’s perfect for kids and summer parties.
- Homemade Cookies and Cream Ice Cream: A classic flavor packed with crushed cookies, made simple with the no-churn technique.
- Chocolate Milkshake Recipe: While not ice cream, this recipe uses similar principles for a thick, frosty beverage that hits the spot.
- Caramel Apple Ice Cream: A delightful autumnal flavor that’s sweet, tangy, and reminiscent of caramel apples.
- No-Churn Peach Ice Cream: Bursting with fresh peach flavor, this is a perfect seasonal treat.
Each of these recipes offers a unique flavor profile while maintaining the ease and simplicity of the no-churn method. Happy scooping!
We’d love to hear about your experience with this easy no-churn ice cream. What creative toppings or variations did you try? Share your thoughts and leave a comment below once you make your own batch of homemade vanilla ice cream!
Pin
No Churn Vanilla Ice Cream
Ingredients
- 14 oz. sweetened condensed milk
- 2 tablespoons pure vanilla extract
- 2 cups heavy whipping cream
Instructions
- Stir together the sweetened condensed milk and vanilla extract in a bowl.
- Place the heavy whipping cream in a bowl and beat with a hand mixer for 3-5 minutes or until stiff peaks are formed.
- Then gently stir the whipped cream into the sweetened condensed milk mixture. Be careful to not over mix.
- Pour into a loaf pan or shallow baking dish and freeze for 6 hours or overnight.
- Scoop into cones or bowls as desired. Store covered in the freezer.
Nutrition Facts
Pin This Now to Remember It Later
Pin Recipe
