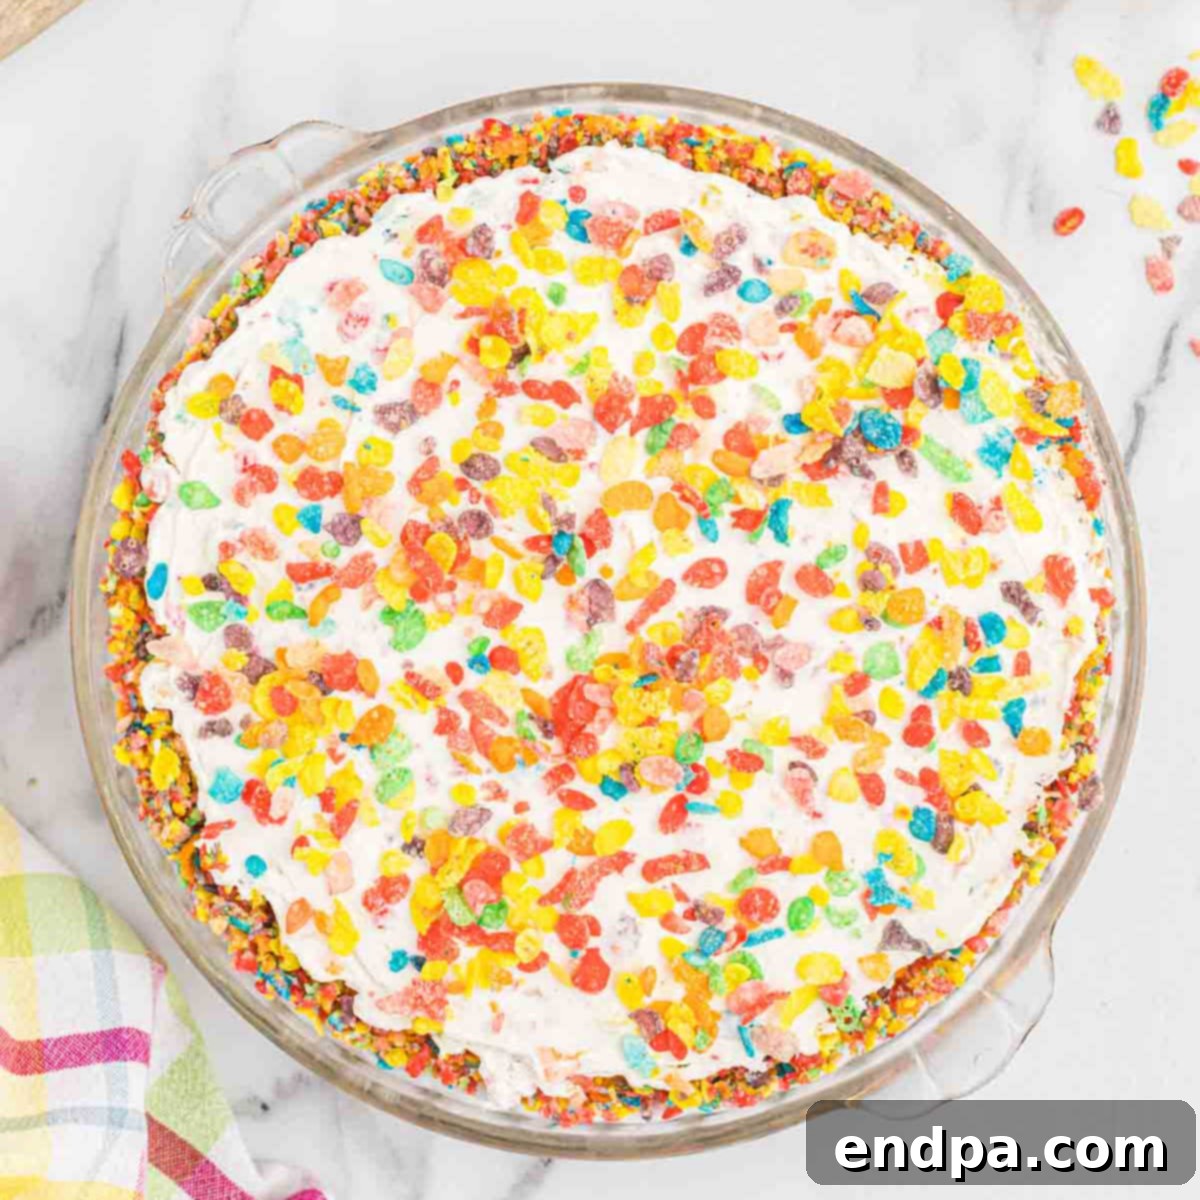
Prepare to delight your taste buds with an extraordinary dessert that combines childhood nostalgia with sophisticated flavors: the No-Bake Fruity Pebbles Cheesecake. Each vibrant, creamy bite is an explosion of your favorite cereal, making this recipe a true celebration of fun and flavor. From its colorful, crunchy crust to its silky-smooth, cereal-infused filling, this easy-to-make cheesecake is designed to be a showstopper at any gathering, or simply a joyful treat for yourself and your loved ones. It’s a simple yet spectacular no-bake dessert that promises smiles and satisfied cravings, without ever needing to turn on your oven.
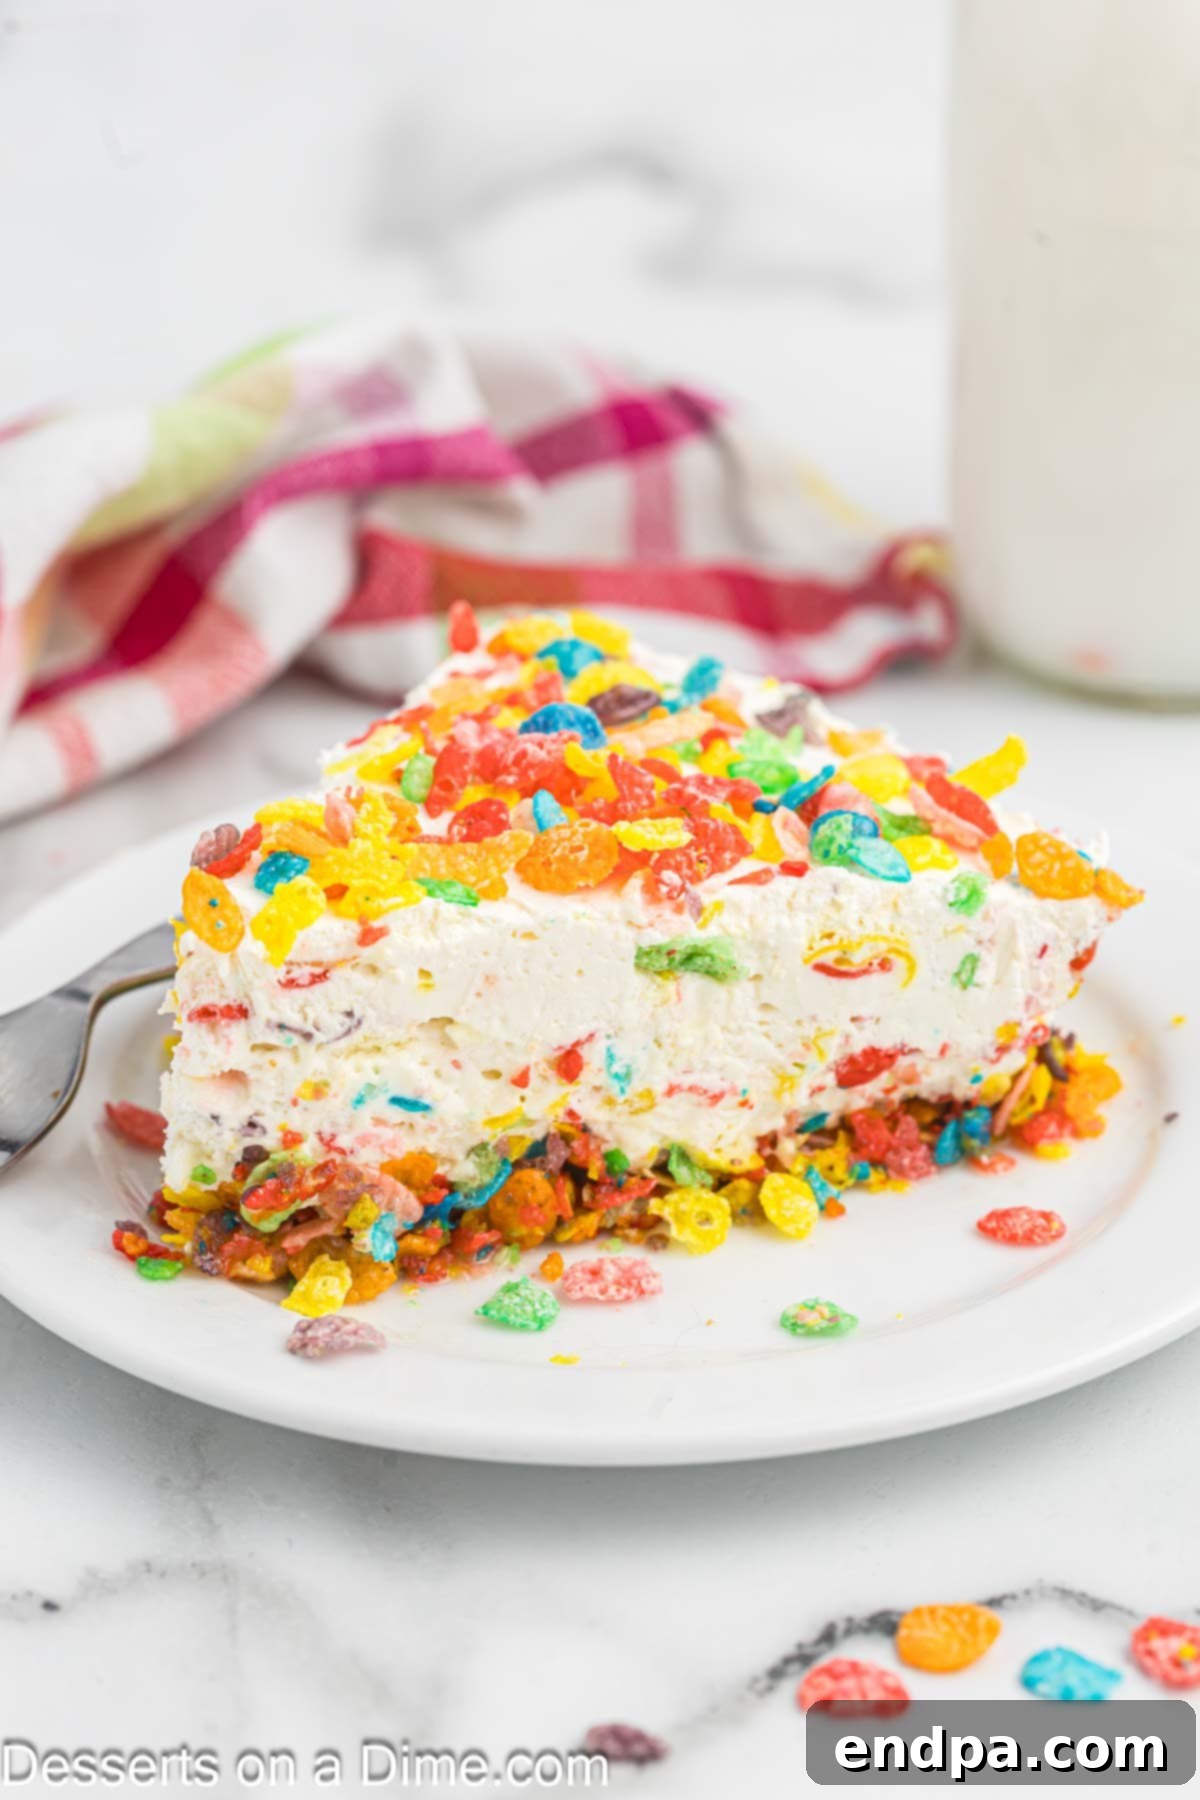
If you’re a devoted fan of Fruity Pebbles cereal and appreciate the effortless elegance of a classic no-bake cheesecake, then this innovative recipe is guaranteed to be an instant sensation. It masterfully blends the rich, tangy creaminess characteristic of a perfect cheesecake with the playful crunch and sweet, fruity burst of Fruity Pebbles. The harmonious marriage of a velvety texture and iconic cereal flavors creates a luscious dessert that is both familiar and exciting. Having crafted countless cheesecakes over the years, I can confidently say this delightful variation stands out for its simplicity, vibrant appeal, and undeniably delicious results. It’s truly a dessert experience unlike any other, perfect for those who enjoy a touch of whimsy with their indulgence.
Table of Contents
- Why This Fruity Pebbles Cheesecake is a Must-Try
- Essential Ingredients for Your Fruity Pebbles Cheesecake
- The Irresistible Fruity Pebbles Crust
- Creamy Cheesecake Filling Perfection
- Creative Substitutions and Additions
- Step-by-Step Guide to No-Bake Fruity Pebbles Cheesecake
- Elevate Your Cheesecake with Delicious Toppings
- Storage and Freezing Tips
- Pro Tips for Cheesecake Success
- Frequently Asked Questions
Why This Fruity Pebbles Cheesecake is a Must-Try
This no-bake Fruity Pebbles Cheesecake isn’t just a dessert; it’s an experience. Its effortless preparation means anyone, regardless of baking expertise, can achieve stunning results. With straightforward instructions and a pantry-friendly ingredient list, you can whip up this vibrant confection with ease. Beyond its simplicity, the true magic lies in the unique flavor profile. Each bite delivers a delightful interplay of tangy cream cheese and the sweet, crunchy burst of Fruity Pebbles, creating a dessert that is both comforting and exciting. It’s incredibly delicious, visually appealing, and consistently yields amazing results that will impress guests and satisfy even the most discerning sweet tooth. This recipe transforms ordinary cereal into an extraordinary, unforgettable treat.
Essential Ingredients for Your Fruity Pebbles Cheesecake
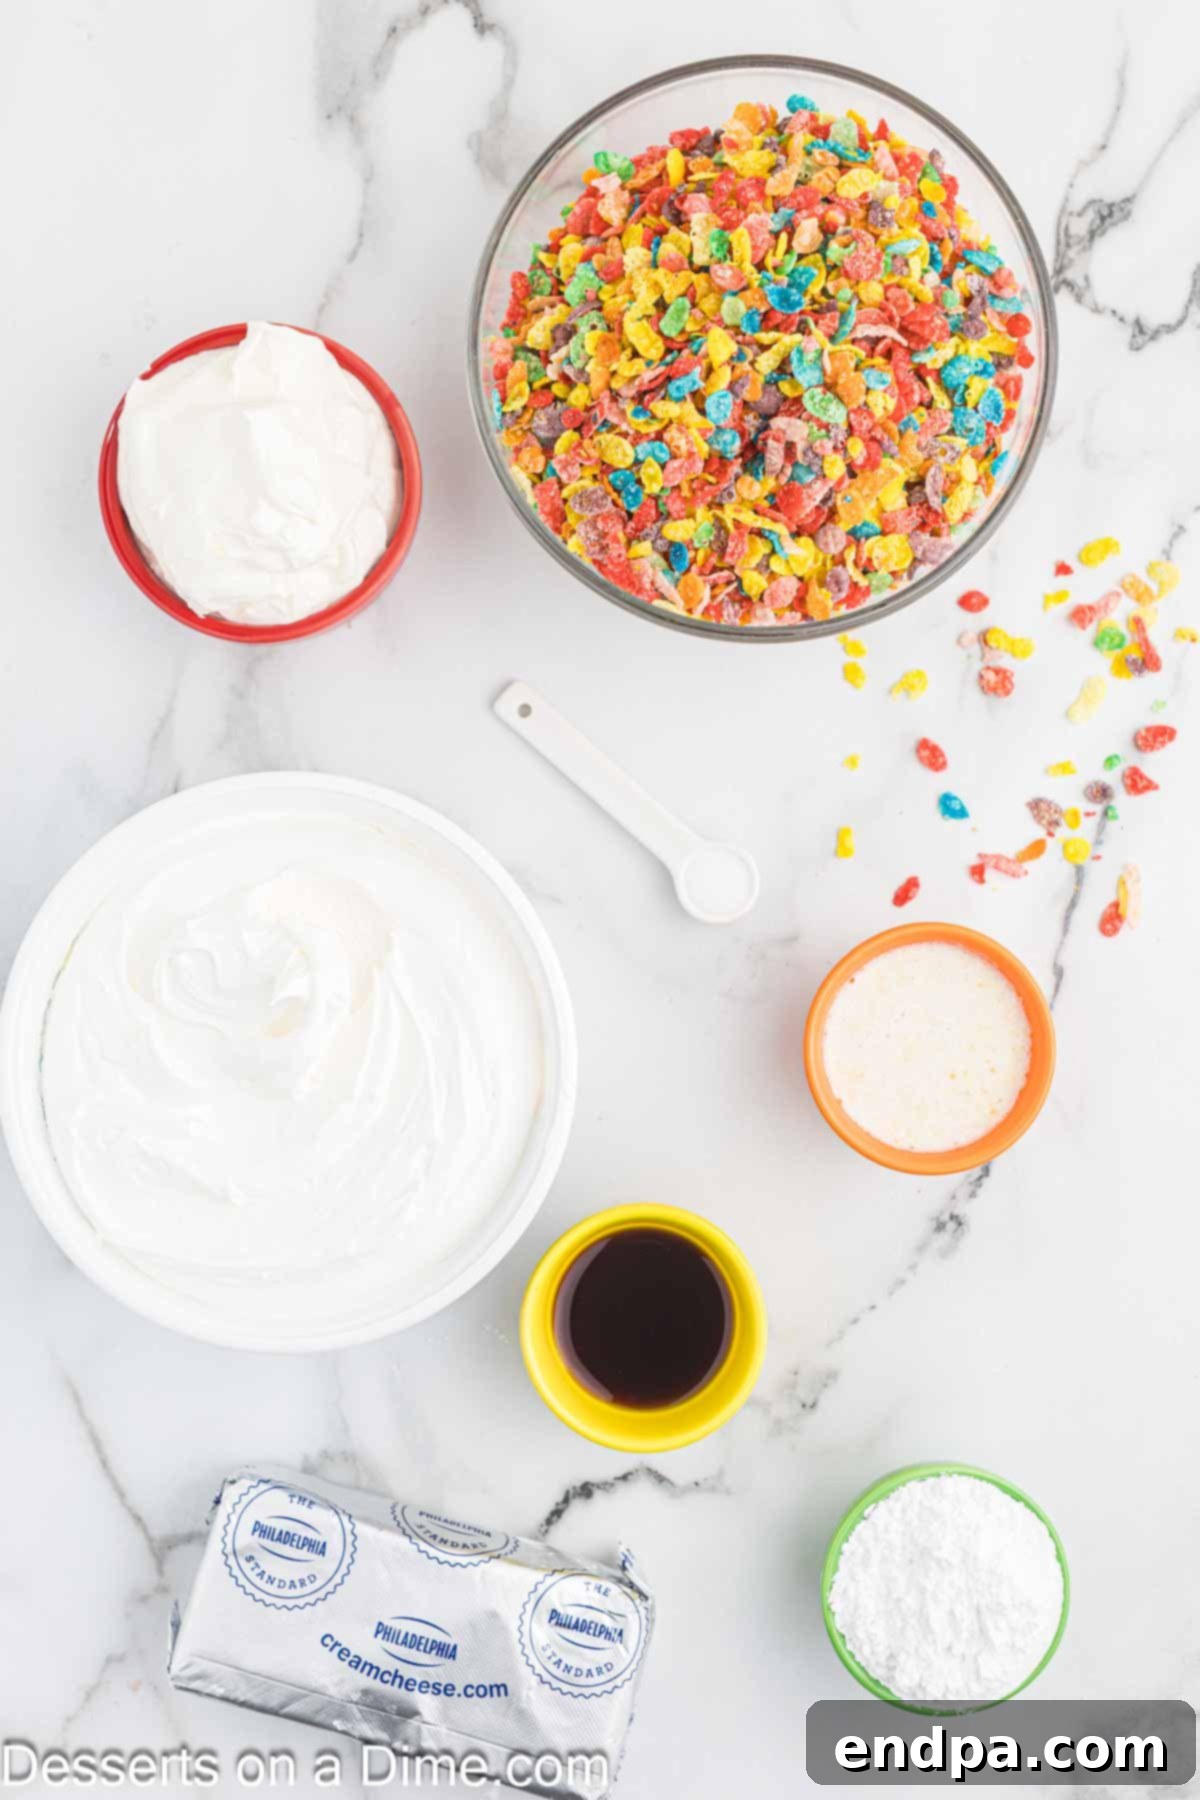
The Irresistible Fruity Pebbles Crust
- Fruity Pebbles Cereal: This isn’t just for topping! Incorporating crushed Fruity Pebbles directly into the crust is the secret to packing an unparalleled burst of that beloved, vibrant cereal flavor into every single slice. It creates a crunchy, colorful foundation that perfectly complements the creamy filling.
- Melted Butter: Unsalted butter is preferred here, as it allows you to control the overall saltiness of your dessert. The melted butter acts as the binding agent, transforming the crushed cereal into a firm, cohesive crust that holds its shape beautifully once chilled.
- Salt: Just a pinch of salt is crucial. It cleverly enhances all the other flavors, particularly the sweetness of the cereal and the richness of the butter, balancing the profile and preventing the dessert from tasting overly sugary.
Creamy Cheesecake Filling Perfection
- Cream Cheese: For the ultimate smooth and luscious filling, it’s absolutely vital to use brick-style full-fat cream cheese, softened thoroughly at room temperature. This ensures it beats smoothly without lumps and contributes to the rich, tangy flavor and sturdy structure of your cheesecake. Avoid using whipped or spreadable cream cheese from a tub, as it has a different consistency and fat content.
- Sour Cream: Full-fat sour cream is highly recommended. It adds a wonderful tangy counterpoint to the sweetness, enhancing the classic cheesecake flavor. More importantly, its richness contributes significantly to the filling’s incredibly smooth texture and helps the cheesecake set firmly.
- Powdered Sugar: Also known as confectioners’ sugar, this fine sugar dissolves easily, preventing any gritty texture in your smooth filling. Sifting it before use is a crucial step to eliminate any lumps, ensuring a uniformly creamy consistency.
- Vanilla Extract: Pure vanilla extract is always the best choice for its deep, aromatic notes. It provides a warm, comforting background flavor that beautifully complements both the tang of the cream cheese and the fruity notes of the cereal.
- Cool Whip: This light, airy whipped topping provides the perfect lift and a delicate sweetness to the cheesecake filling. You can use store-bought Cool Whip for convenience, or if you prefer a homemade touch, our Homemade Whipped Cream Recipe can be substituted for an even richer, fresher taste.
- Fruity Pebbles Cereal: Ensure your cereal is fresh and crispy. This batch will be gently folded into the filling, providing both a visual burst of color and a delightful textural contrast with the creamy cheesecake. The freshness is key to maintaining that signature crunch.
The precise quantities for these ingredients can be found in the comprehensive recipe card located towards the bottom of this page.
Creative Substitutions and Additions
While the classic Fruity Pebbles Cheesecake is undeniably delicious, this recipe is incredibly versatile, inviting you to experiment and customize it to your heart’s content. Don’t hesitate to get creative with these inspiring ideas:
- Chocolate Lover’s Dream: For those who adore chocolate, a simple swap transforms this fruity delight into a rich, cocoa-infused masterpiece. Replace the Fruity Pebbles with Cocoa Pebbles for both the crust and the filling. The deep chocolate flavor pairs perfectly with the creamy cheesecake, creating an indulgent treat that’s reminiscent of a chocolate fudge cheesecake with a delightful cereal crunch.
- Classic Crust Reinvention: If you prefer a more traditional cheesecake base, consider using a classic graham cracker crust. Simply substitute the crushed Fruity Pebbles in the crust with finely crushed graham crackers, mixed with melted butter and a pinch of sugar. Alternatively, vanilla wafer cookies (nilla wafers) also make an excellent, buttery, and slightly less sweet crust that will highlight the vibrant filling.
- Explore Other Cereal Flavors: The world of cereal offers endless possibilities! Instead of Fruity Pebbles, try a new variation with Fruit Loops cereal for a similar fruity burst with a slightly different flavor profile. For a peanut butter twist, use Reese’s Puffs; for a cinnamon-sugar delight, opt for Cinnamon Toast Crunch. Each cereal brings its unique character to the cheesecake, making it a fun experiment for your taste buds.
- Add Zest: A touch of lemon or lime zest can brighten the cheesecake filling, adding a refreshing note that complements the fruity cereal.
- White Chocolate Swirl: Gently swirl melted white chocolate through the cheesecake filling before chilling for an extra layer of sweetness and visual appeal.
- Marshmallow Magic: Fold in mini marshmallows along with the cereal for an added chewiness and a hint of classic sweet flavor. This can be especially fun if serving to children or at a party.
Step-by-Step Guide to No-Bake Fruity Pebbles Cheesecake
Creating this delightful cheesecake is an enjoyable and straightforward process. Follow these detailed steps to achieve a perfectly set, deliciously creamy, and visually stunning dessert:
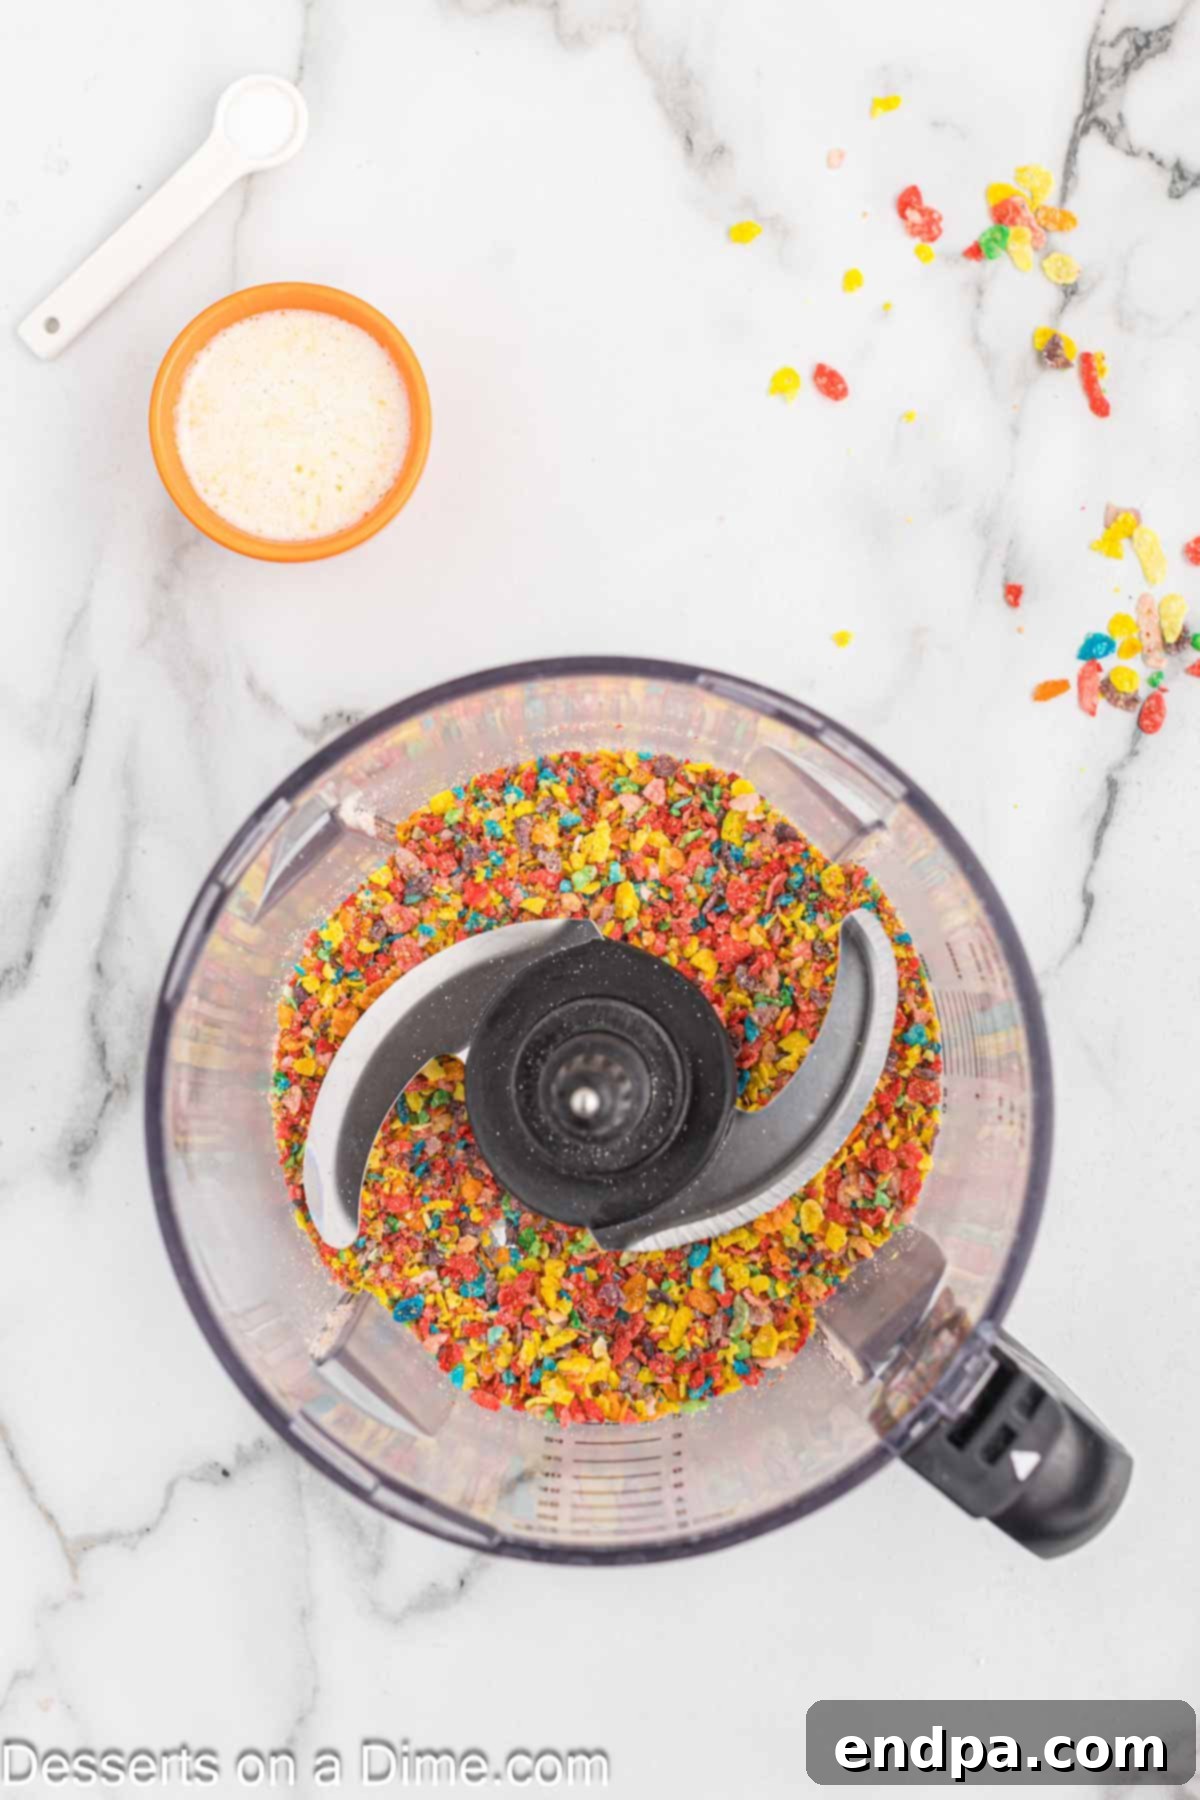
Step 1: Prepare the Cereal for the Crust. Begin by measuring out the required amount of Fruity Pebbles Cereal. Transfer the cereal into the bowl of a food processor. Pulse until the cereal is finely crushed into crumbs. This fine texture is crucial for a cohesive and sturdy crust. If you don’t have a food processor, you can place the cereal in a large Ziploc bag and crush it with a rolling pin until uniformly fine.
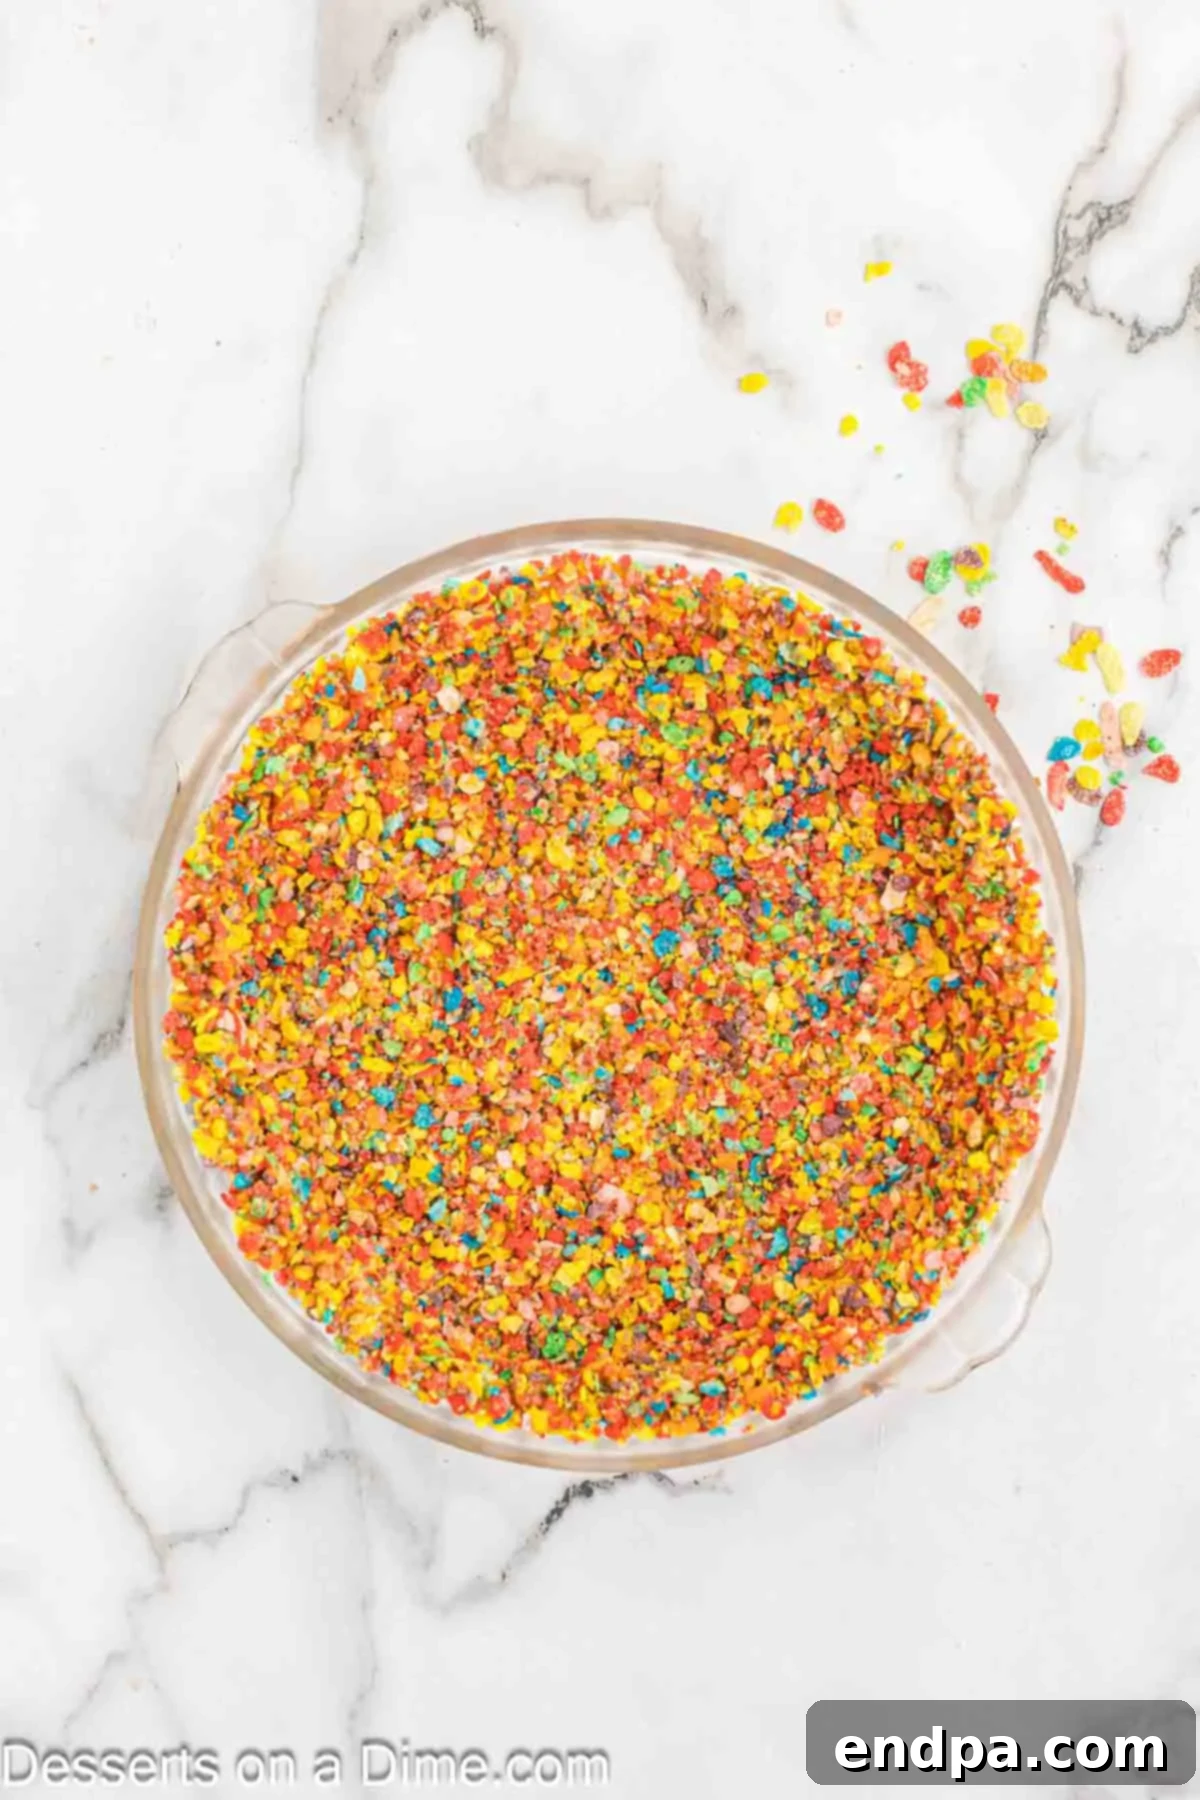
Step 2: Form the Cheesecake Crust. In a large mixing bowl, combine your finely crushed Fruity Pebbles cereal with the melted butter and the pinch of salt. Stir thoroughly until all the cereal crumbs are evenly coated with butter. This ensures a moist and bindable mixture. Transfer this mixture into a standard 9-inch pie pan. Using the bottom of a glass or your fingers, firmly press the mixture evenly across the bottom and slightly up the sides of the pan. The key here is to compact it well to prevent crumbling. Once pressed, place the pie pan in the freezer for 15-20 minutes to allow the crust to set firmly. This chilling step is essential for a stable base.
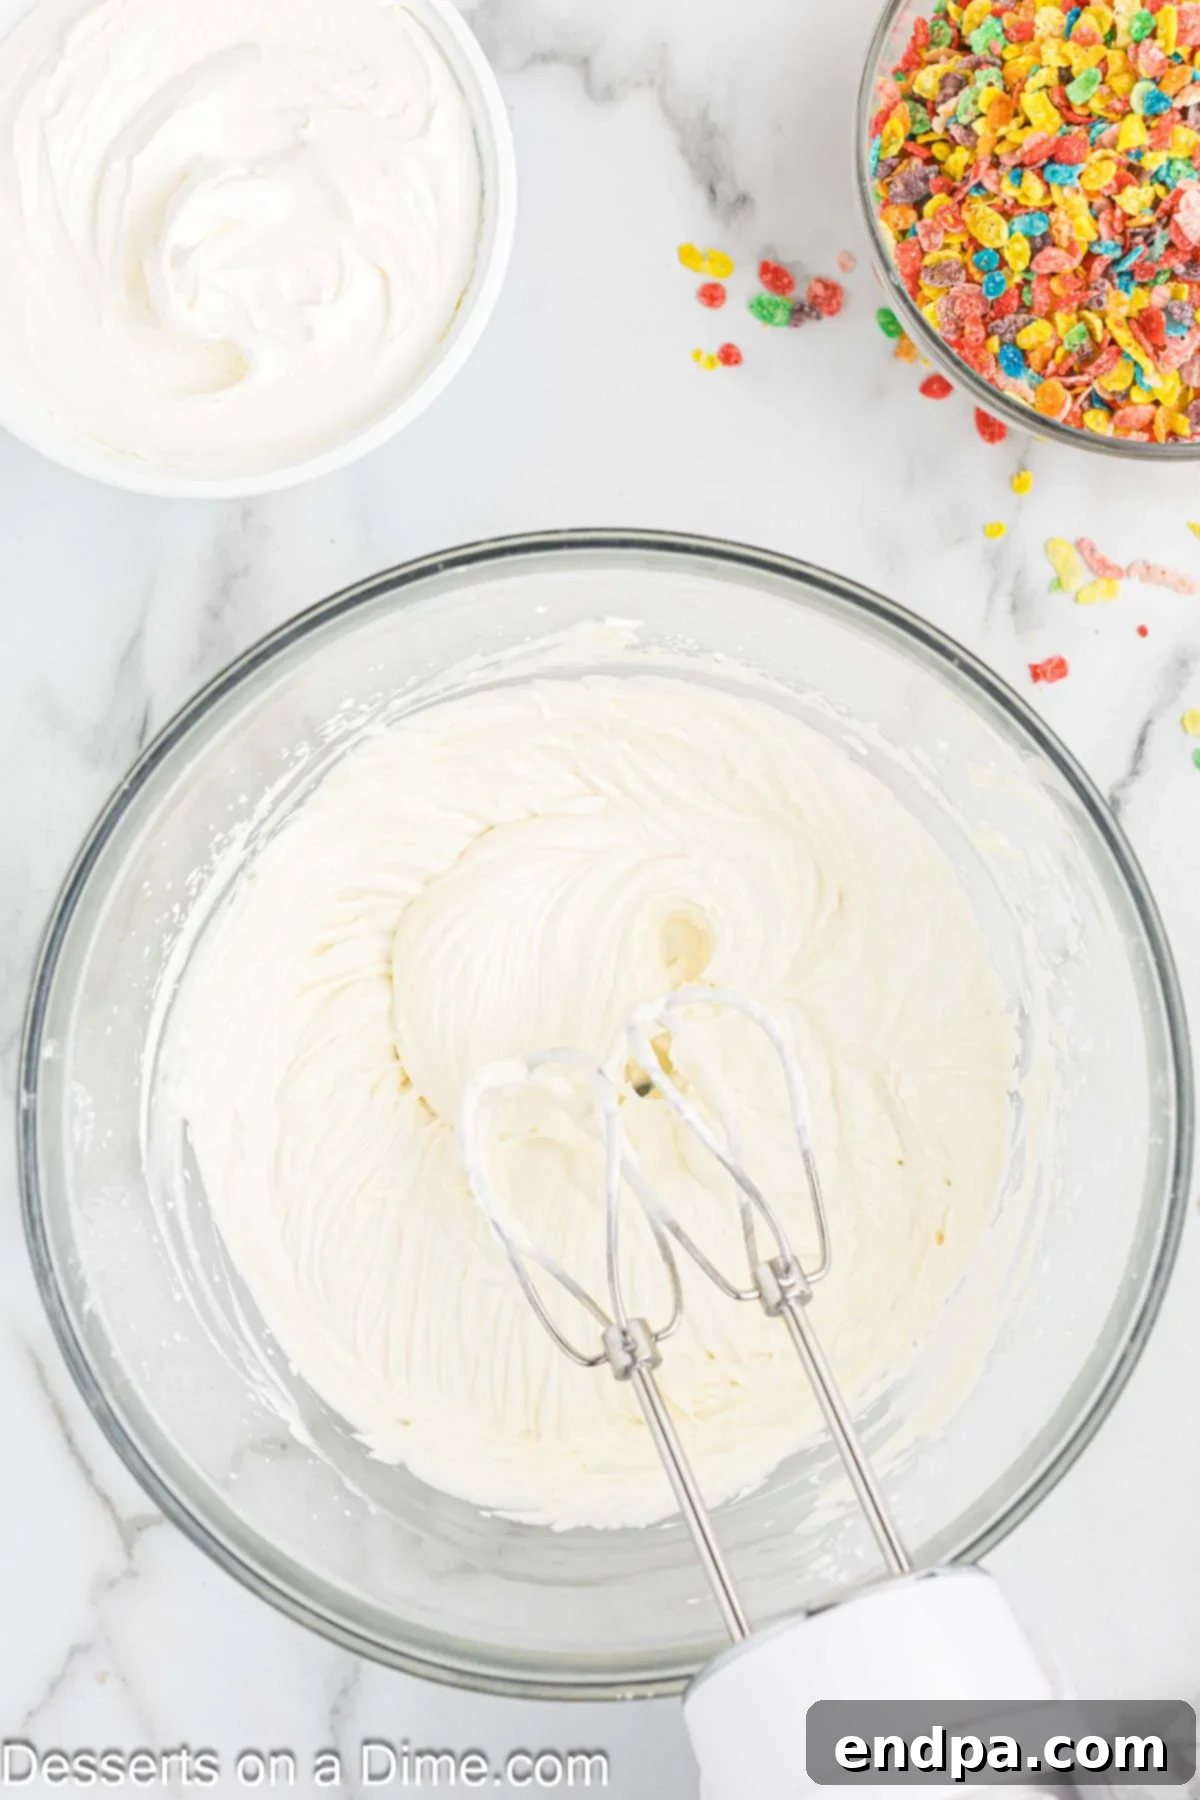
Step 3: Prepare the Creamy Cheesecake Base. While your crust is chilling, it’s time to prepare the luscious cheesecake filling. In a spacious mixing bowl, combine the softened cream cheese, full-fat sour cream, sifted powdered sugar, and pure vanilla extract. Using an electric hand mixer (or a stand mixer with the paddle attachment), beat these ingredients together on medium speed until the mixture is incredibly smooth and completely free of lumps. Scrape down the sides of the bowl as needed to ensure everything is fully incorporated. The goal is a light, airy, and uniform cream cheese mixture.
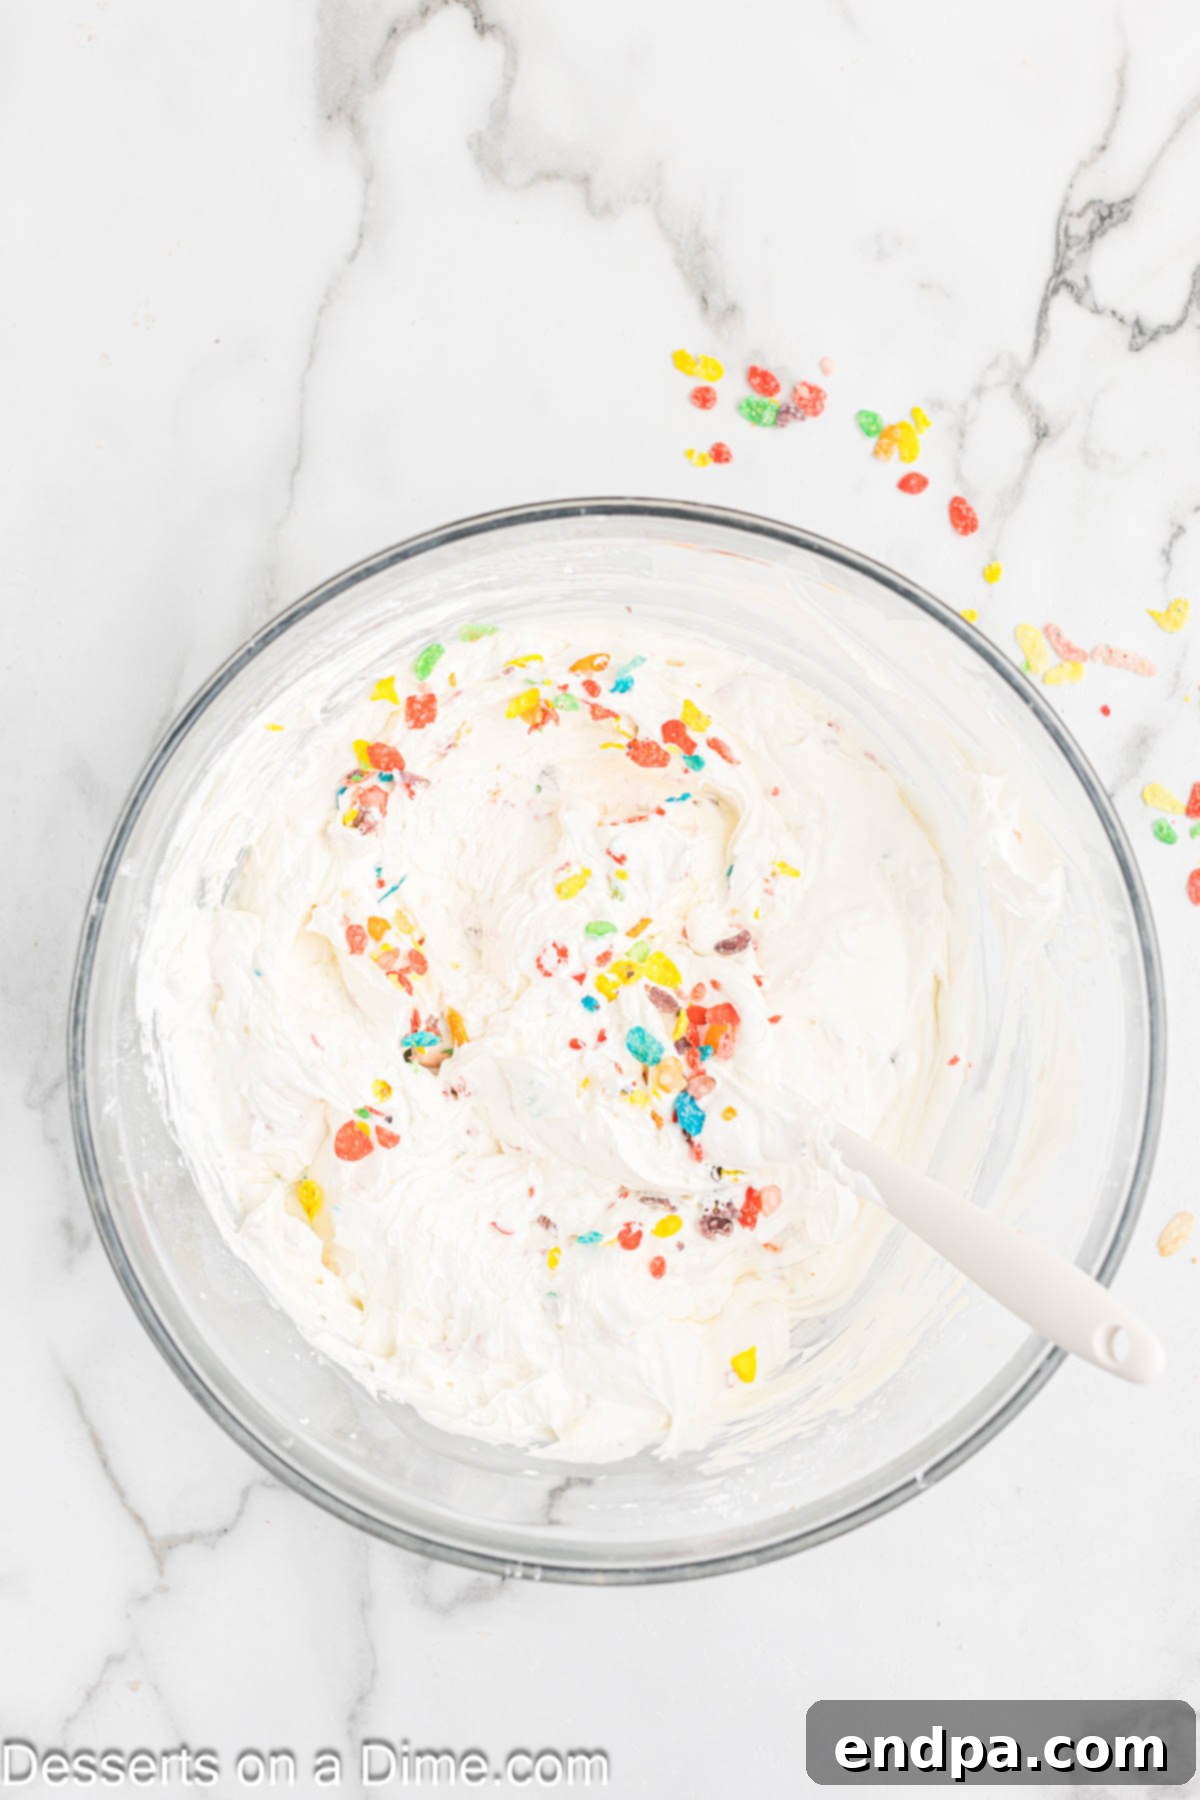
Step 4: Incorporate Cool Whip and Cereal. Carefully add the Cool Whip and 1 cup of the fresh Fruity Pebbles Cereal to the cream cheese mixture. Using a spatula, gently fold these ingredients in by hand. The key here is to be very gentle to maintain the airiness of the Cool Whip and to prevent crushing the cereal too much, ensuring distinct colorful pieces and a pleasant crunch in the final cheesecake. Mix just until combined; overmixing can deflate the filling.
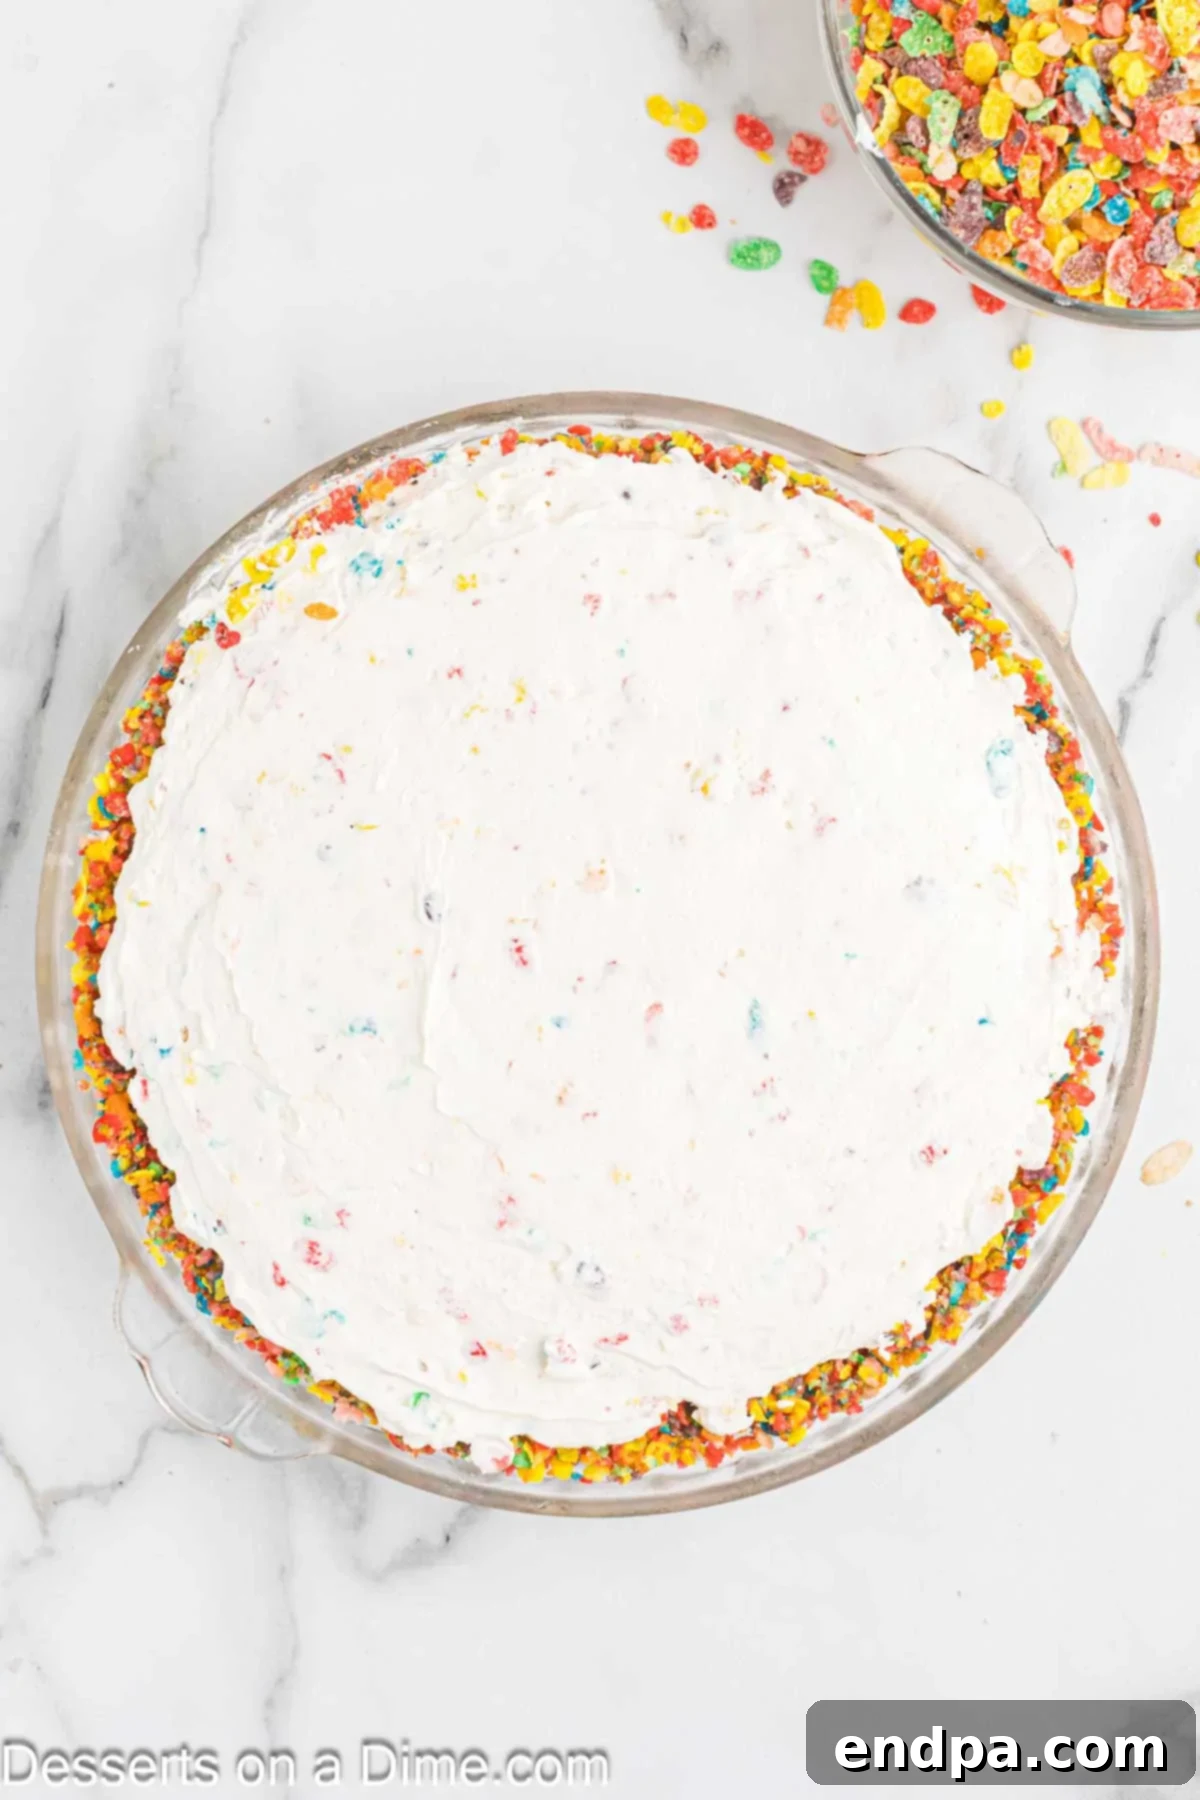
Step 5: Assemble and Chill. Retrieve the chilled Fruity Pebbles crust from the freezer. Pour the prepared cheesecake filling into the crust, spreading it out evenly with your spatula to create a smooth top. Once assembled, cover the pie pan loosely with plastic wrap. This cheesecake requires ample chilling time to set properly and allow the flavors to meld beautifully. Refrigerate for at least 3-4 hours, but for the very best results and a firm, easy-to-slice cheesecake, chilling overnight is highly recommended.
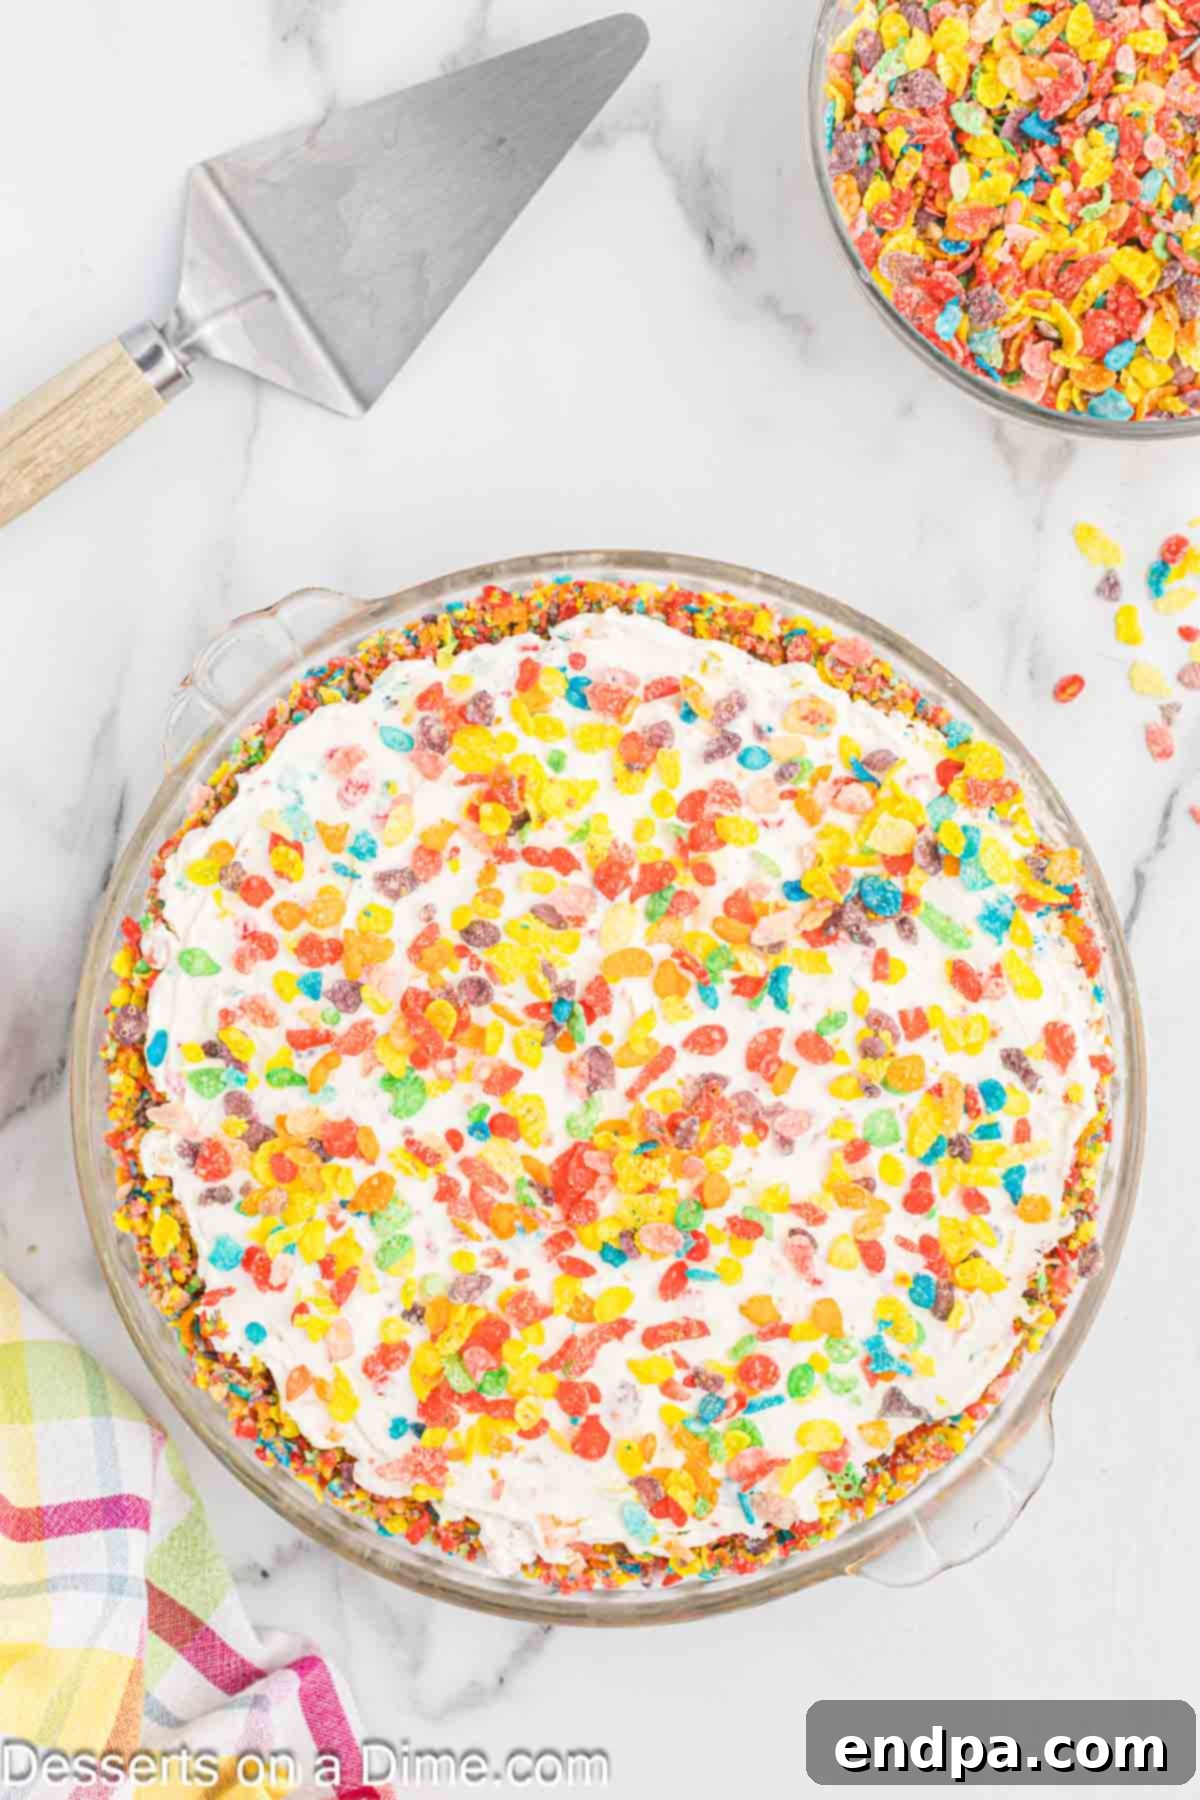
Step 6: Garnish and Serve. Once your cheesecake has thoroughly chilled and is firm to the touch, it’s ready for its grand finale. Just before serving, sprinkle the remaining ½ cup of Fruity Pebbles Cereal generously over the top of the cheesecake. This adds a beautiful burst of color and a fresh, satisfying crunch. Now, slice, serve, and enjoy this incredibly delicious and vibrant no-bake Fruity Pebbles Cheesecake!
Elevate Your Cheesecake with Delicious Toppings
While this Fruity Pebbles Cheesecake is a vibrant and delicious dessert on its own, adding a topping can elevate it to new levels of indulgence and visual appeal. Here are some fantastic ideas to crown your creation:
- More Cereal for Extra Crunch: A simple yet effective topping is to sprinkle additional Fruity Pebbles over each slice just before serving. This not only reinforces the cereal theme but also adds a delightful fresh crunch and an extra pop of color, making each bite even more exciting.
- Fresh Fruit Medley: The fruity notes of the cereal pair wonderfully with fresh berries. Consider topping your cheesecake slices with vibrant raspberries, sweet sliced strawberries, or juicy blueberries. A medley of mixed berries creates a beautiful contrast in color and adds a refreshing, natural sweetness and a slight tang.
- Homemade Strawberry Sauce: A drizzle of Easy Homemade Strawberry Sauce Recipe is an exquisite choice. Its sweet, bright flavor and smooth texture complement the creamy cheesecake and crunchy cereal perfectly, adding a touch of elegance and a burst of fresh berry taste to every forkful.
- Lush Cherry Pie Filling: For a classic cheesecake topping with a delightful twist, spoon some Homemade Cherry Pie Filling over your slices. The deep red color and rich, sweet-tart cherry flavor create a beautiful contrast and a satisfyingly luxurious finish.
- Whipped Cream Dollops: A generous dollop of freshly whipped cream or extra Cool Whip on each slice adds an extra layer of lightness and creaminess. You can even tint it with a drop of food coloring to match the playful theme.
- White Chocolate Shavings: Grate some white chocolate over the top for a sophisticated touch. The subtle sweetness of white chocolate complements the cereal without overpowering it.
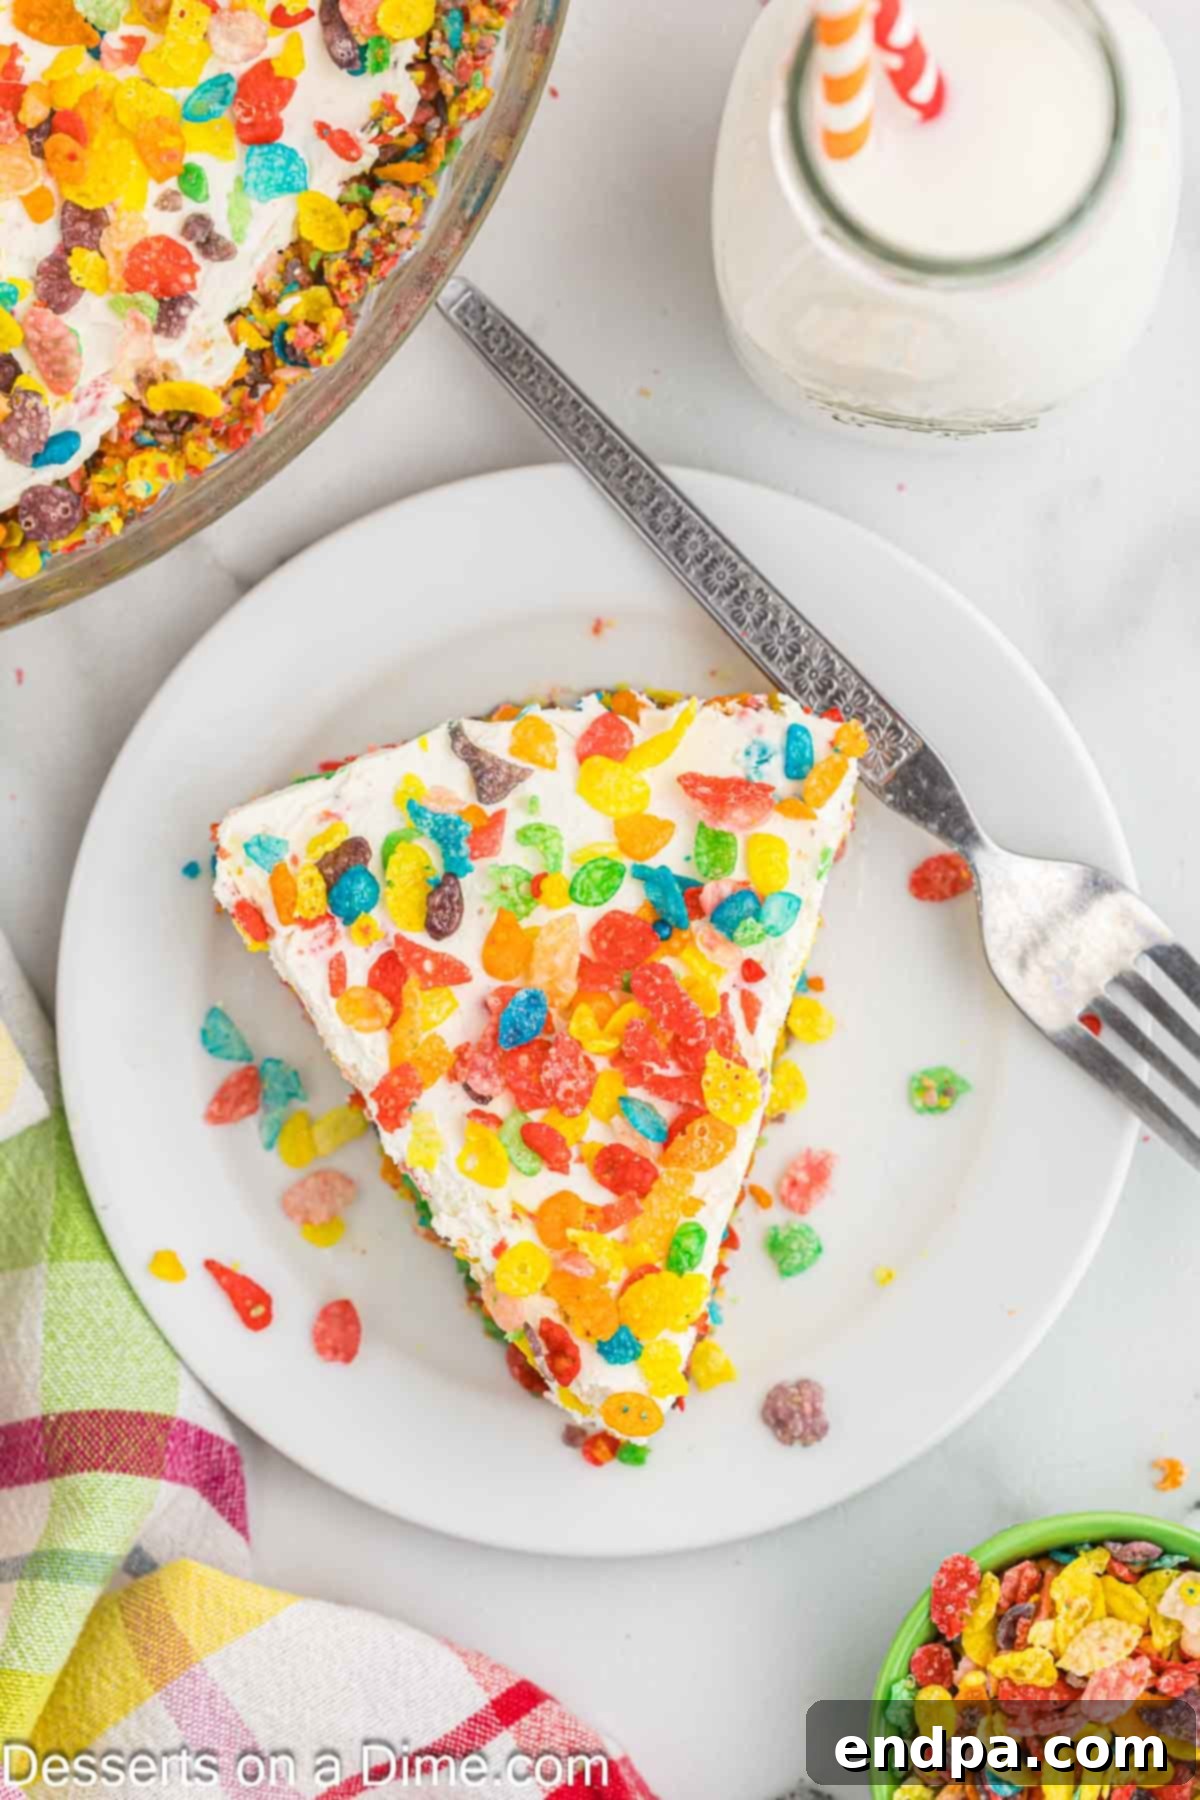
Storage and Freezing Tips
To ensure your Fruity Pebbles Cheesecake remains fresh and delicious, proper storage is key. Whether you’re planning to enjoy it over a few days or save it for a special occasion, these tips will help maintain its quality and flavor.
Refrigeration
Once assembled, the cheesecake should always be kept refrigerated. To store, cover the pie pan tightly with plastic wrap, ensuring it’s sealed well to prevent any absorption of refrigerator odors or drying out. When stored correctly, this no-bake cheesecake will maintain its optimal freshness and texture for up to 3-4 days in the fridge. This makes it an excellent make-ahead dessert for parties or weekend treats.
Can You Freeze the Cheesecake?
Absolutely! This Fruity Pebbles Cheesecake freezes beautifully, making it a convenient option for meal prepping desserts or saving leftovers for later. To freeze, ensure the cheesecake is fully set and chilled. First, wrap the entire cheesecake (or individual slices if preferred) tightly in plastic wrap. Then, add another layer of protection by wrapping it again in aluminum foil. This double-layer wrapping helps prevent freezer burn and preserves the cheesecake’s flavor and texture.
You can freeze the cheesecake for up to 1 month. When you’re ready to enjoy it, simply transfer the wrapped cheesecake from the freezer to the refrigerator and allow it to thaw overnight. Thawing slowly in the fridge ensures a smooth, creamy texture when served. Avoid thawing at room temperature, as this can compromise the cheesecake’s consistency.
Pro Tips for Cheesecake Success
Achieving a perfect no-bake Fruity Pebbles Cheesecake is easy with a few expert insights. These tips will help you create a dessert that is not only delicious but also flawlessly smooth and beautifully set:
- The Importance of Softened Cream Cheese: This is arguably the most crucial tip for any cheesecake, especially no-bake varieties. Ensure your cream cheese is thoroughly softened at room temperature before you begin mixing. If the cream cheese is too cold, it will not combine smoothly with the other ingredients, leading to a lumpy batter and a less-than-silky filling. To speed up the softening process if you’re in a hurry, you can cut the cream cheese into smaller cubes and spread them out on a plate for about 20-30 minutes. Furthermore, always use brick-style full-fat cream cheese, not the spreadable kind that comes in a tub, as their composition and fat content are different and will affect the cheesecake’s structure.
- Opt for Full-Fat Ingredients: For the best results in terms of both flavor and texture, stick to full-fat sour cream and full-fat cream cheese. These ingredients contribute significantly to the rich taste and the luxurious, dense creaminess that defines a great cheesecake. More importantly, the higher fat content helps the cheesecake filling to set firmly and hold its shape beautifully, which is vital in a no-bake recipe where no eggs or flour are used for structure.
- Crush the Cereal Properly: For the crust, the Fruity Pebbles cereal needs to be finely crushed. Using a food processor is the easiest way to achieve uniform crumbs. If the cereal pieces are left too large, the crust may not hold together as well, resulting in a crumbly texture rather than a firm, cohesive base. Moreover, larger pieces can become chewy when exposed to moisture, which can detract from the overall enjoyment of the cheesecake.
- Patience with Chilling: The chilling process is paramount for a no-bake cheesecake. It requires several hours in the refrigerator, and truly, chilling overnight is highly recommended. This extended time allows the filling to fully set and firm up, ensuring that each slice is clean and holds its shape perfectly. Rushing this step will result in a soft, messy cheesecake that is difficult to slice and serve. Plan ahead to give your cheesecake ample time to chill for the best possible outcome.
Frequently Asked Questions
Here are some common questions you might have when making this delightful Fruity Pebbles Cheesecake:
- Can I use a different type of cereal for the crust or filling? Yes, absolutely! This recipe is incredibly adaptable. While Fruity Pebbles give it its signature flavor and vibrant color, you can experiment with other cereals. Cocoa Pebbles make a fantastic chocolate version, while Cinnamon Toast Crunch or even Reese’s Puffs could offer exciting new flavor profiles.
- Do I need a springform pan for this recipe? A standard 9-inch pie pan works perfectly for this no-bake cheesecake. You can also use an 8×8 inch square pan for bars. If you prefer the aesthetic of a standalone cheesecake, a springform pan can be used, but ensure the crust is pressed firmly to avoid any leakage before chilling.
- How can I prevent my crust from crumbling? The key to a sturdy crust is finely crushing the cereal and thoroughly mixing it with the melted butter. Most importantly, pressing the mixture very firmly into the pan and giving it adequate time to chill in the freezer for 15-20 minutes is essential for it to set properly.
- My cheesecake filling seems too soft. What went wrong? This usually happens if the cream cheese wasn’t sufficiently softened, if non-full-fat dairy ingredients were used, or most commonly, if the cheesecake wasn’t chilled for long enough. Ensure you use full-fat cream cheese and sour cream, and always allow at least 3-4 hours of chilling, with overnight being ideal for a firm set.
- Can I make this cheesecake ahead of time? Yes, this cheesecake is an excellent make-ahead dessert! It needs several hours to chill anyway, so preparing it the day before you plan to serve it is perfect. The flavors will also have more time to meld and deepen, enhancing the overall taste.
- Is this cheesecake very sweet? The sweetness is balanced by the tanginess of the cream cheese and sour cream. While Fruity Pebbles are sweet, the powdered sugar in the filling is carefully measured to complement rather than overpower. You can always slightly reduce the powdered sugar if you prefer a less sweet dessert, but keep in mind it contributes to the filling’s consistency.
More Cheesecake Recipes to Explore
No bake Dessert
Deep Fried Cheesecake
Cakes
Cinnamon Roll Cheesecake
No bake Dessert
No Bake Blueberry Cheesecake Recipe
Bars
Snickerdoodle Cheesecake Bars
Embark on a delightful culinary adventure by trying this vibrant No-Bake Fruity Pebbles Cheesecake recipe. Its tangy flavors and playful appearance make it an ideal dessert for any occasion, whether it’s a festive birthday celebration, a holiday gathering, or simply a sweet treat to brighten an ordinary week. We are confident that this easy recipe will become a new favorite in your collection. After you’ve had the chance to create and savor this wonderful dessert, please consider returning to share your experience by leaving a star rating and a comment below. Your feedback is invaluable and helps others discover the joy of this unique cheesecake!
Fruity Pebbles Cheesecake
Ingredients
For the Crust:
- 3 cups Fruity Pebbles Cereal
- 1/3 cup Melted Butter
- 1/4 teaspoon Salt
For the Cheesecake Filling:
- 8 ounces Cream Cheese softened at room temperature
- 1 cup Sour Cream
- 1/2 cup Powdered Sugar
- 2 tsp Vanilla Extract
- 8 ounces Cool Whip
- 1 1/2 cup Fruity Pebbles Cereal divided
Instructions
For the Crust:
- Place the Fruity Pebbles Cereal into a food processor and blend until finely crushed.
- Stir together the crushed cereal, melted butter, and salt in a medium-sized mixing bowl until well combined.
- Press this mixture firmly into a 9-inch pie pan, ensuring to press it slightly up the sides of the pan. Freeze for 15-20 minutes to set the crust.
For the Cheesecake Filling:
- In a large mixing bowl, beat together the softened cream cheese, sour cream, powdered sugar, and vanilla extract with a handheld mixer until smooth and free of lumps.
- Then, gently fold in the Cool Whip and 1 cup of the Fruity Pebbles Cereal by hand, mixing just until combined.
- Pour the filling mixture into the chilled pie crust, spreading it out evenly. Chill in the refrigerator for at least 3-4 hours, or preferably overnight, to allow it to set.
- After chilling, top with the remaining Fruity Pebbles Cereal just before serving. Then, it’s ready to slice and enjoy!
Recipe Notes
Make sure the cream cheese is softened before mixing or it will not mix smoothly and you will get big cream cheese lumps. If you are in a hurry, you can cut the cream cheese into smaller pieces to help it soften quicker.
Refrigerate any leftovers, covered, for up to 3-4 days.
