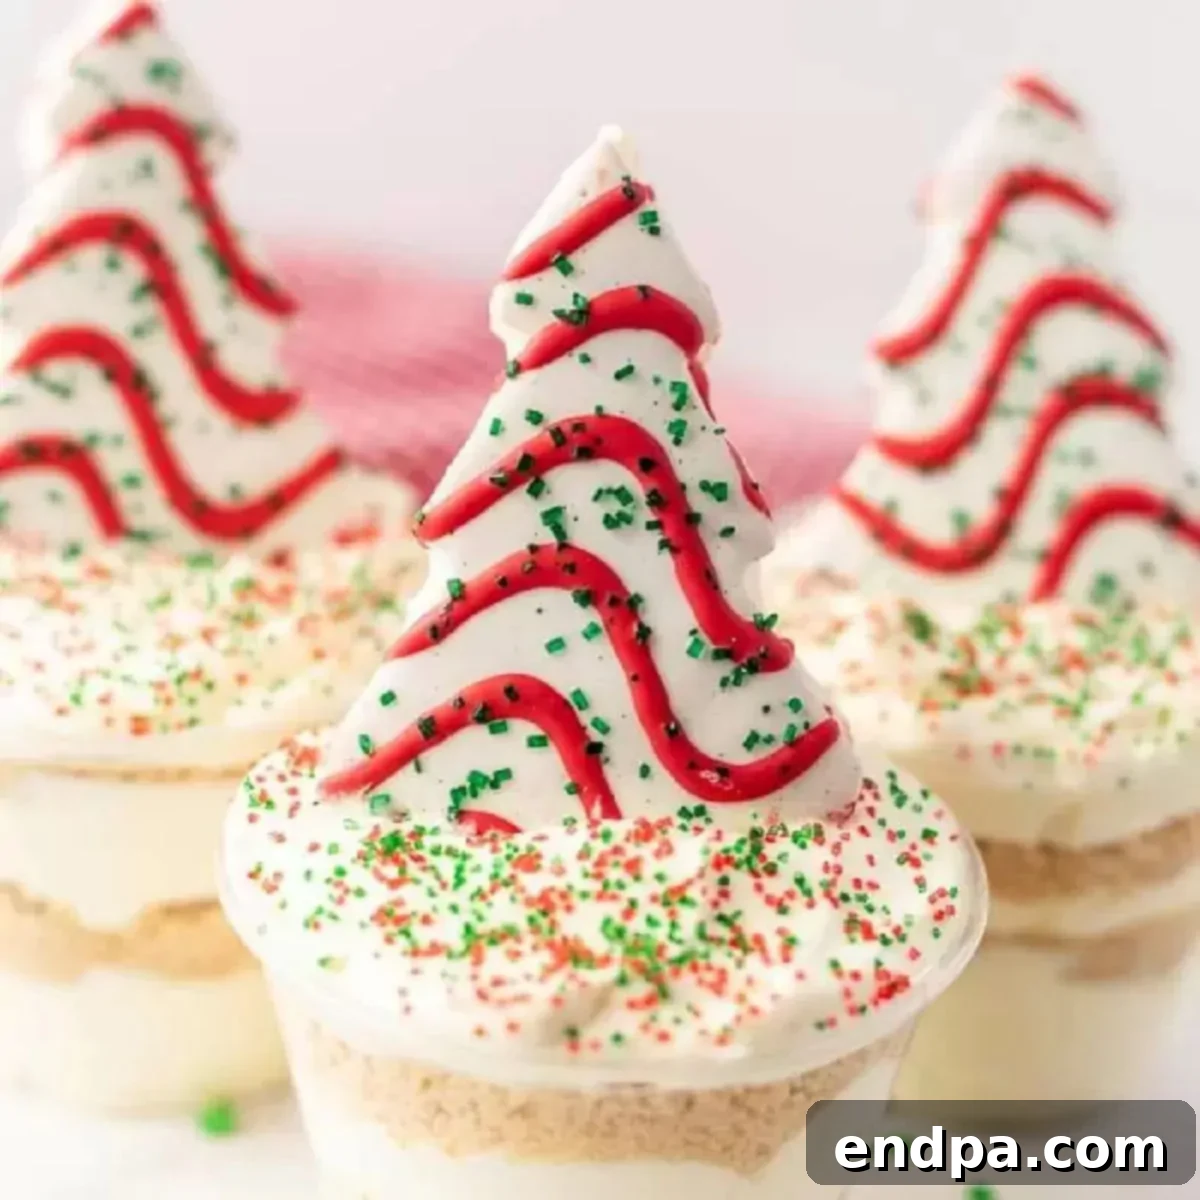
Easy Christmas Dirt Cups: A Festive No-Bake Holiday Treat
The holiday season is a magical time, filled with warmth, joy, and, of course, delicious treats. If you’re searching for a dessert that’s not only incredibly fun to make but also visually stunning and absolutely irresistible, look no further than these delightful Christmas Dirt Cups. These individual dessert cups are a festive spin on a classic favorite, combining layers of creamy pudding, crushed cookies, and a whimsical touch of holiday cheer. Perfect for holiday parties, family gatherings, or a cozy evening at home, they capture the spirit of Christmas in every decadent spoonful.
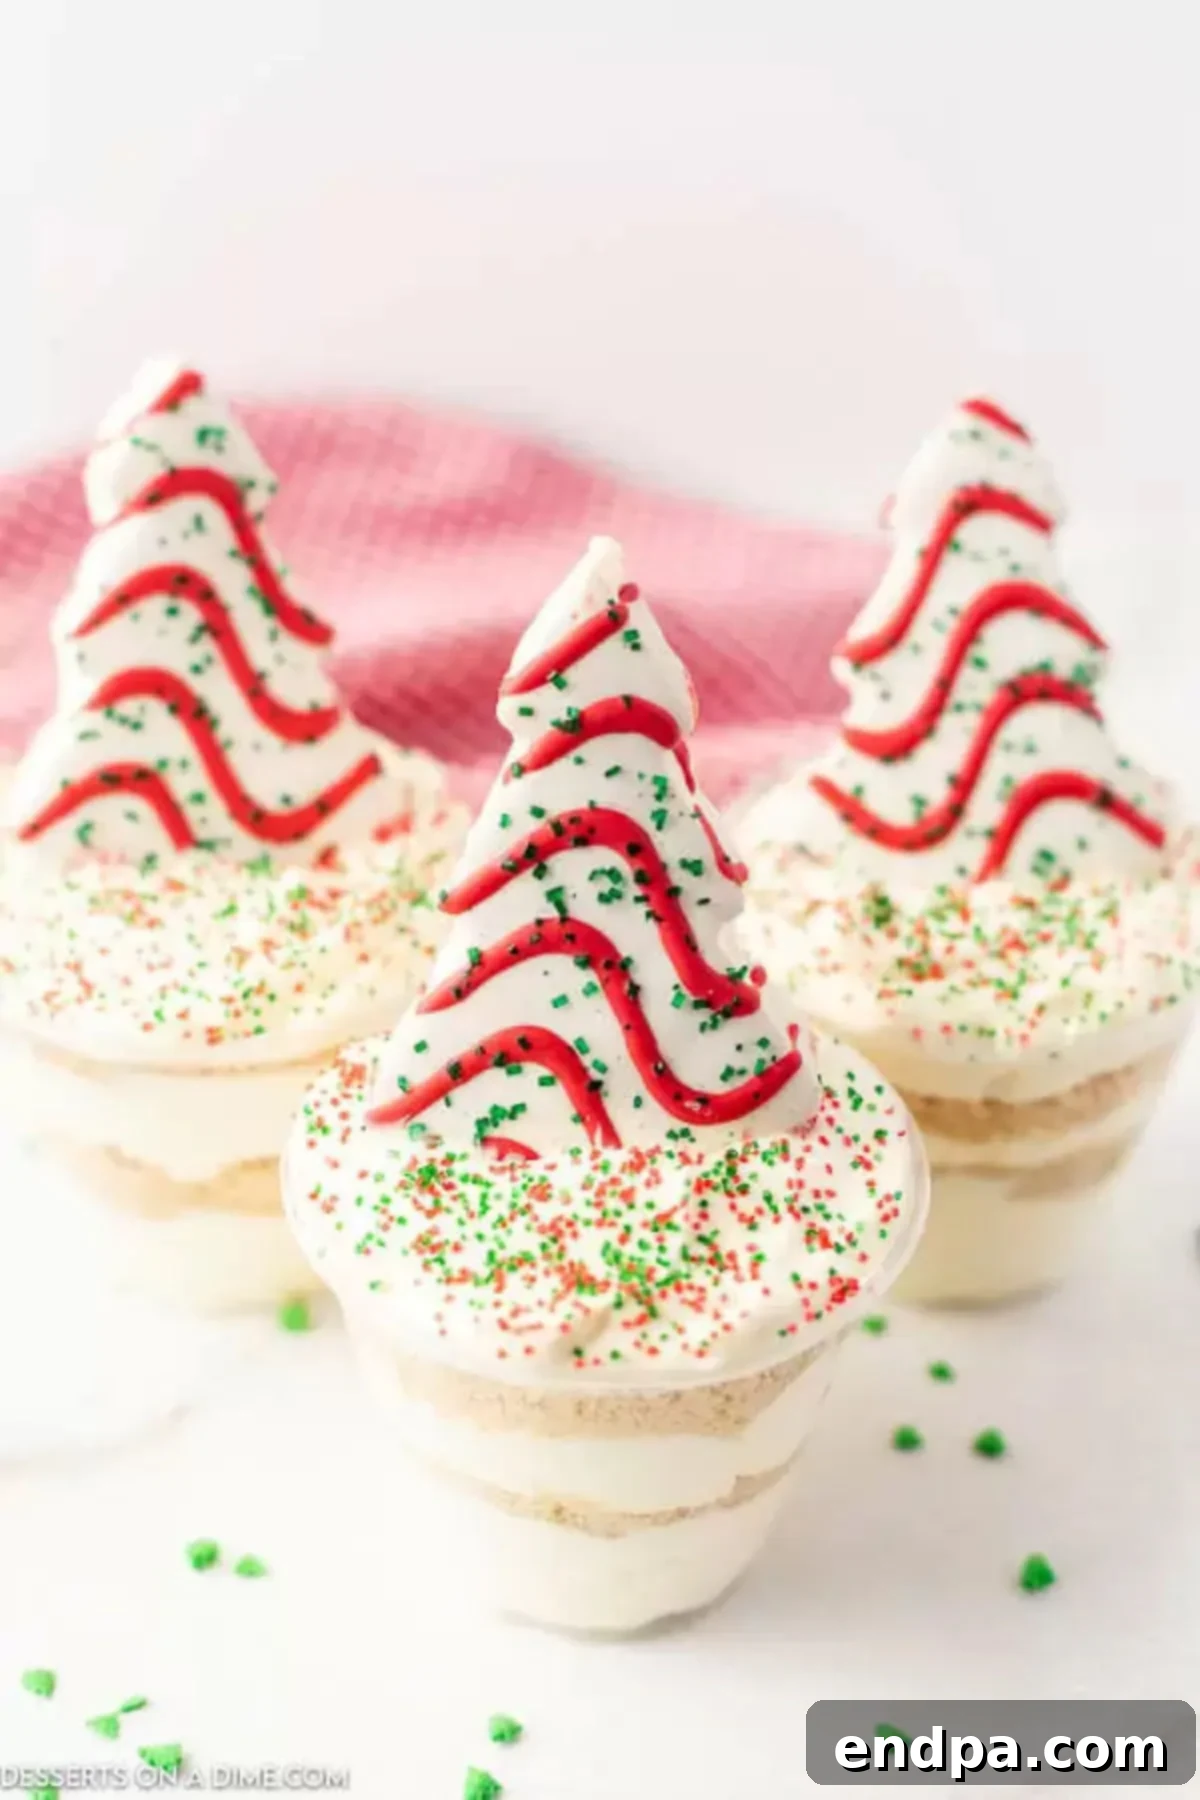
What makes these No-Bake Christmas Desserts truly stand out is their simplicity and charming presentation. Each cup is a miniature masterpiece, showcasing beautiful layers that are visible through clear serving cups. Topped with an iconic Little Debbie Christmas Tree Cake and a sprinkle of festive colors, they bring an instant smile to everyone’s face, making them an ideal choice for both kids and adults. Forget complicated baking – this recipe focuses on ease, allowing you more time to enjoy the festivities.
We absolutely adore making these easy dirt cups throughout the year, but this Christmas rendition is exceptionally joyful. The golden cookie “dirt” beneath the rich pudding layers perfectly complements the snowy white frosting of the Christmas trees. For those who enjoy themed holiday treats, these cups are as delightful as our beloved Christmas Rice Krispie Treats, offering a different texture and flavor profile that’s equally satisfying.
If you find yourself with extra Little Debbie Christmas Tree Cakes, don’t let them go to waste! These versatile treats can be transformed into other spectacular desserts. Consider whipping up a batch of Little Debbie Christmas Tree Dip for a creamy, festive spread, or even a larger-scale Christmas Dirt Cake Recipe to feed a crowd. The possibilities are endless when you have such a delicious and fun ingredient at your disposal!
Table of contents
- Why These Christmas Dirt Cups Are a Holiday Favorite
- Essential Ingredients for Your Christmas Dirt Cups
- How to Make the Perfect Christmas Dirt Cups: Step-by-Step
- Storage and Make-Ahead Tips
- Pro Tips for Perfect Pudding Cups
- More Irresistible Easy Christmas Desserts
Why These Christmas Dirt Cups Are a Holiday Favorite
There’s a reason these cute cups of creamy, crunchy deliciousness become a holiday staple year after year. Not only are they incredibly delicious, but their layered appearance in clear cups makes them a beautiful addition to any dessert table. From the rich pudding to the delightful cookie crumbs and festive toppings, every element contributes to a wonderful eating experience. Both children and adults are guaranteed to love them, making them a crowd-pleaser that appeals to all ages.
Beyond their taste and aesthetic appeal, the entire recipe comes together with remarkable speed and minimal effort. You won’t need an extensive list of obscure ingredients or spend hours in the kitchen, freeing up valuable time during the busy holiday season. This makes them an ideal dessert for last-minute gatherings or when you want a special treat without the stress. Each bite is a harmonious blend of creamy filling, perfectly crushed cookies, and the sweet, nostalgic taste of a Little Debbie Christmas tree, creating a truly memorable holiday treat.
Essential Ingredients for Your Christmas Dirt Cups
Creating these festive dessert cups requires just a handful of simple ingredients, most of which you likely already have on hand or can easily find at your local grocery store. Each component plays a vital role in building the perfect balance of flavor and texture, ensuring every cup is a delightful experience.
- Golden Oreos: We opt for the Golden Oreo variety in this recipe to create a lighter-colored “dirt” layer, which provides a lovely contrast to the white pudding and festive sprinkles. Their subtle vanilla flavor also pairs beautifully with the other ingredients. However, if you prefer, classic chocolate Oreos work wonderfully and offer a richer flavor profile, or you can even use graham crackers for a different texture.
- Cool Whip: This provides the signature light and airy texture to our pudding mixture. It adds a delightful creaminess without being too heavy. For those who prefer a more homemade touch, a batch of fresh Homemade Whipped Cream can be substituted, though ensure it’s well-chilled and stabilized for best results.
- Instant Vanilla Pudding Mix: The foundation of our creamy layers! Instant pudding mix is crucial for the recipe’s no-bake nature and quick setting time. While vanilla is a classic choice and versatile, don’t hesitate to experiment. White chocolate pudding mix would enhance the snowy theme, and even a peppermint or chocolate pudding mix could introduce exciting new flavors for the holiday season.
- Milk: The liquid component for our pudding. For the richest and creamiest pudding, whole milk is highly recommended. Skim or low-fat milk can be used, but the final texture might be slightly less decadent. Ensure the milk is cold to help the instant pudding set quickly and properly.
- Little Debbie Christmas Tree Cakes: These iconic holiday treats are the star topping! Their festive shape and delicious taste instantly transform these dirt cups into a true Christmas delight. They are very popular during the holidays, so make sure to stock up early as they tend to sell out quickly!
- Christmas Sprinkles: A must-have for adding that extra sparkle and festive flair. You can use any type of Christmas-themed sprinkles you prefer. Consider choosing sprinkles with fun shapes like miniature Christmas trees, stars, or snowflakes to further enhance the holiday magic. Red, green, and white combinations are always a hit.
For a complete and precise list of ingredients with exact measurements, please refer to the detailed recipe card at the bottom of this page.
How to Make the Perfect Christmas Dirt Cups: Step-by-Step
Creating these charming Christmas Dirt Cups is incredibly simple and requires no baking. Just follow these easy steps to assemble your festive treats:
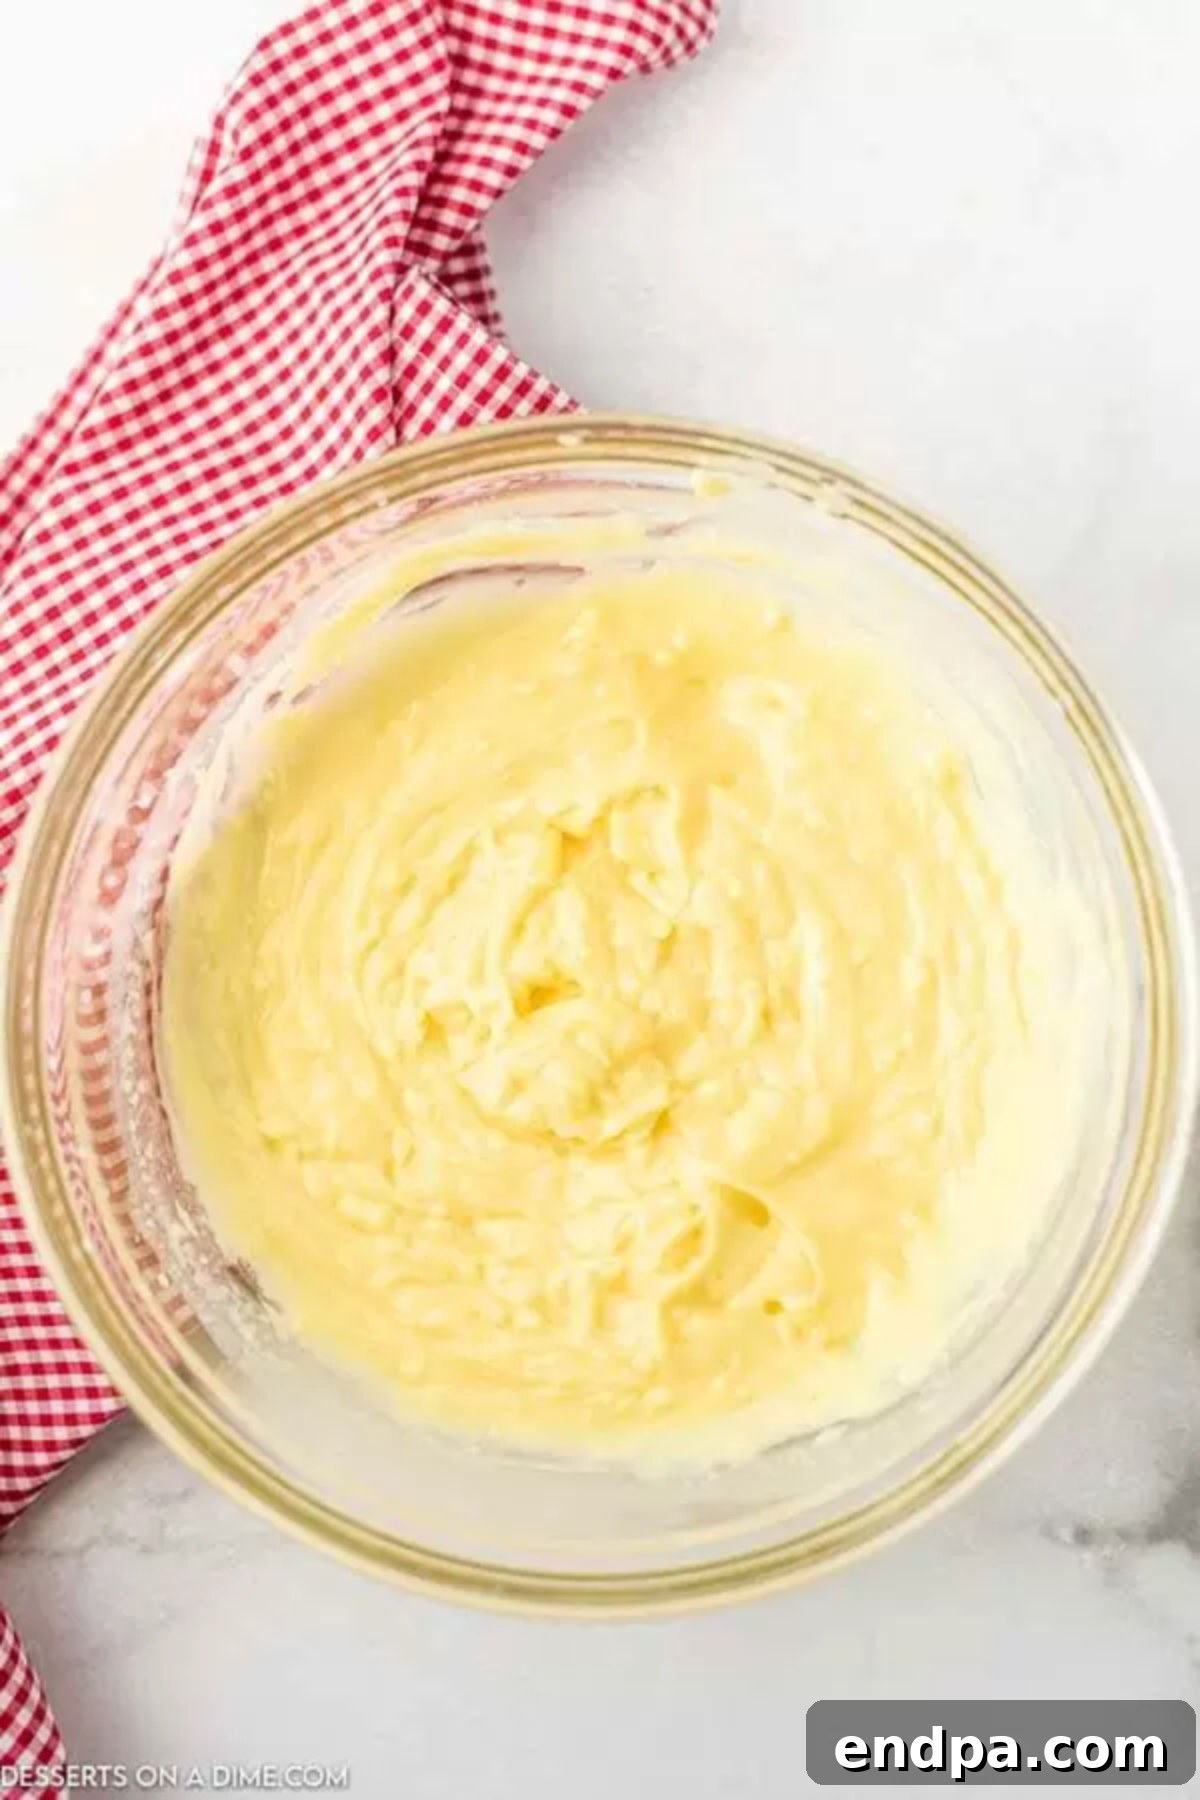
Step 1: Prepare the Pudding Base. Begin by taking a medium-sized mixing bowl. Pour in your instant pudding mix and add the cold milk. Whisk these ingredients together thoroughly until the mixture is smooth and combined. It’s important to whisk vigorously for about 1-2 minutes to ensure the pudding sets correctly. Once whisked, transfer the bowl to the refrigerator and let it chill for approximately 10 minutes, or until the pudding has fully set and achieved a firm, spoonable consistency.
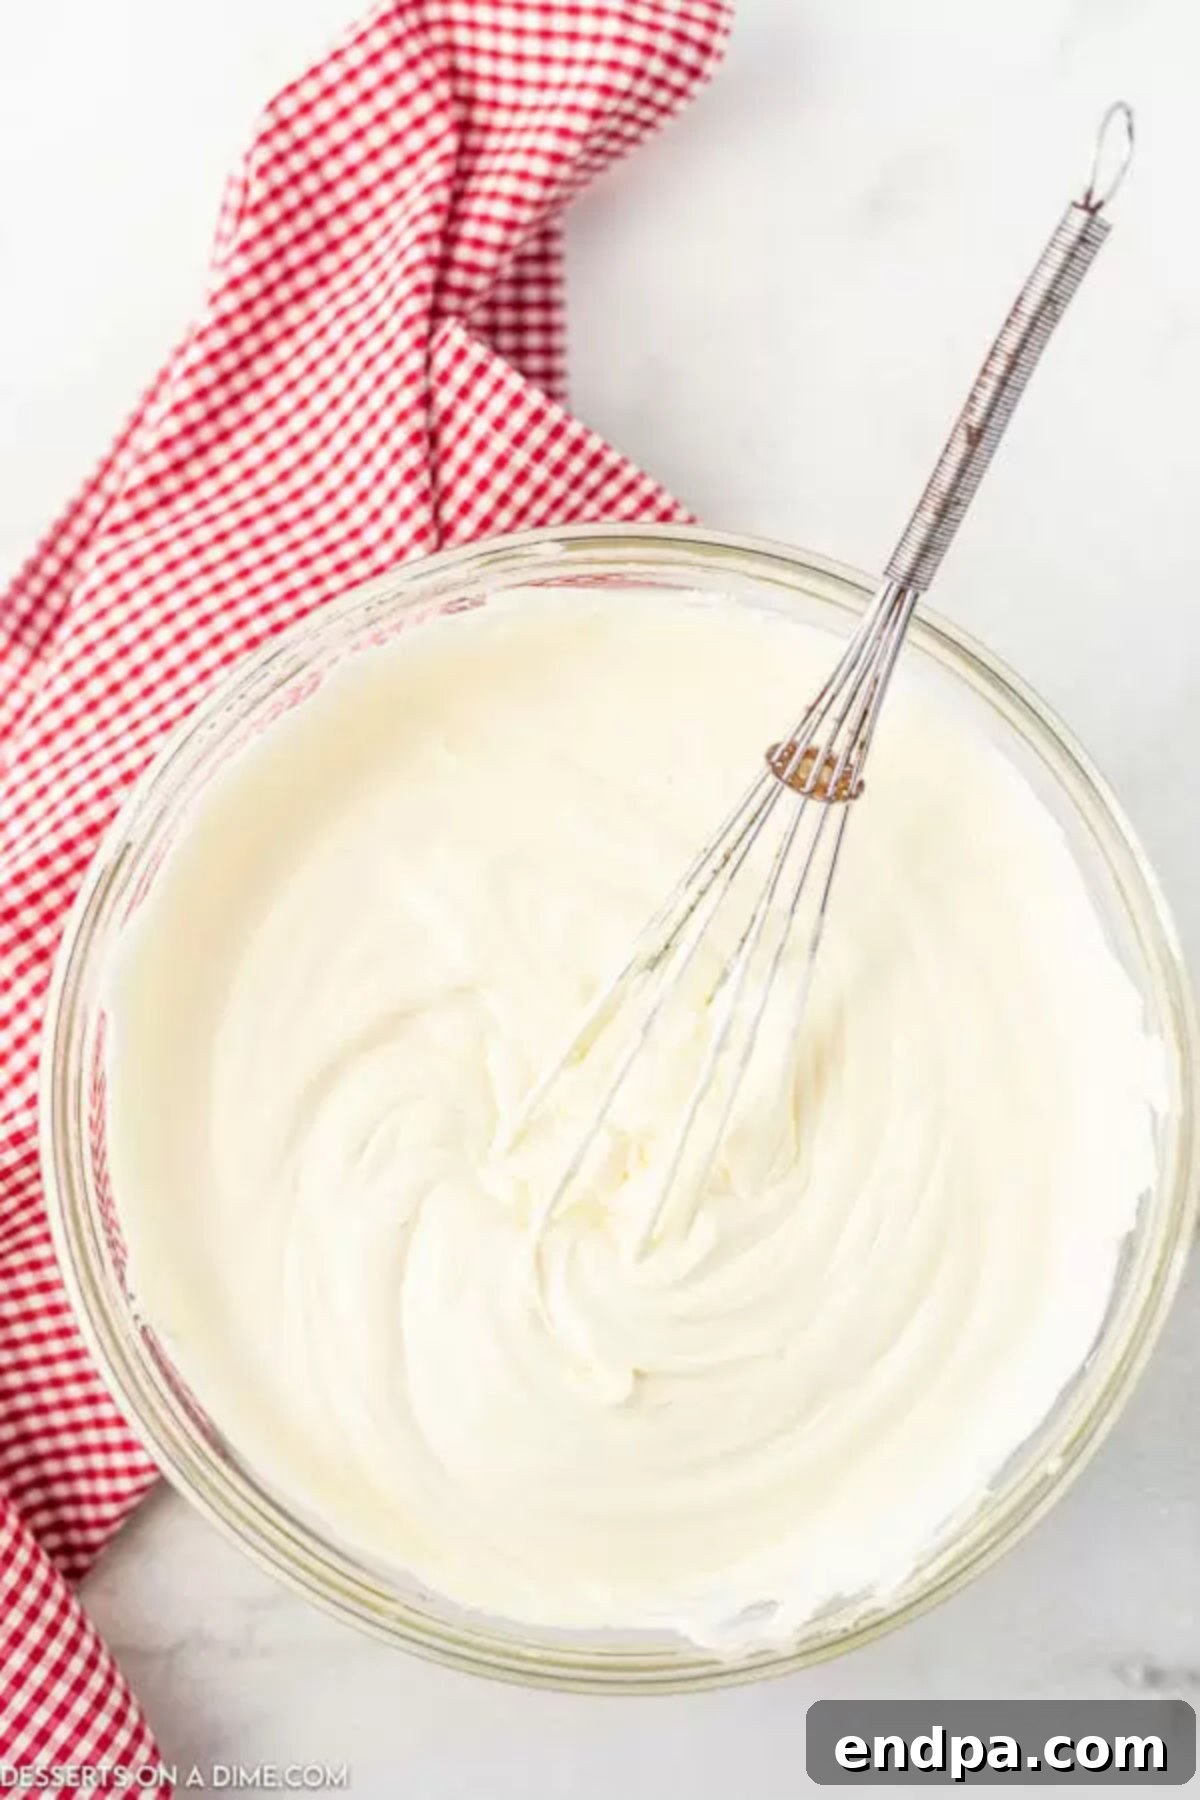
Step 2: Fold in the Cool Whip. After the pudding has set, remove it from the refrigerator. Gently fold in the thawed Cool Whip until it is fully incorporated into the pudding mixture. The goal here is to maintain as much of the Cool Whip’s airy texture as possible, so fold carefully rather than stirring vigorously. This creates a light, fluffy, and decadent cream base. Once combined, return the mixture to the refrigerator for an additional 20 minutes to ensure it is thoroughly chilled and stable before assembly.
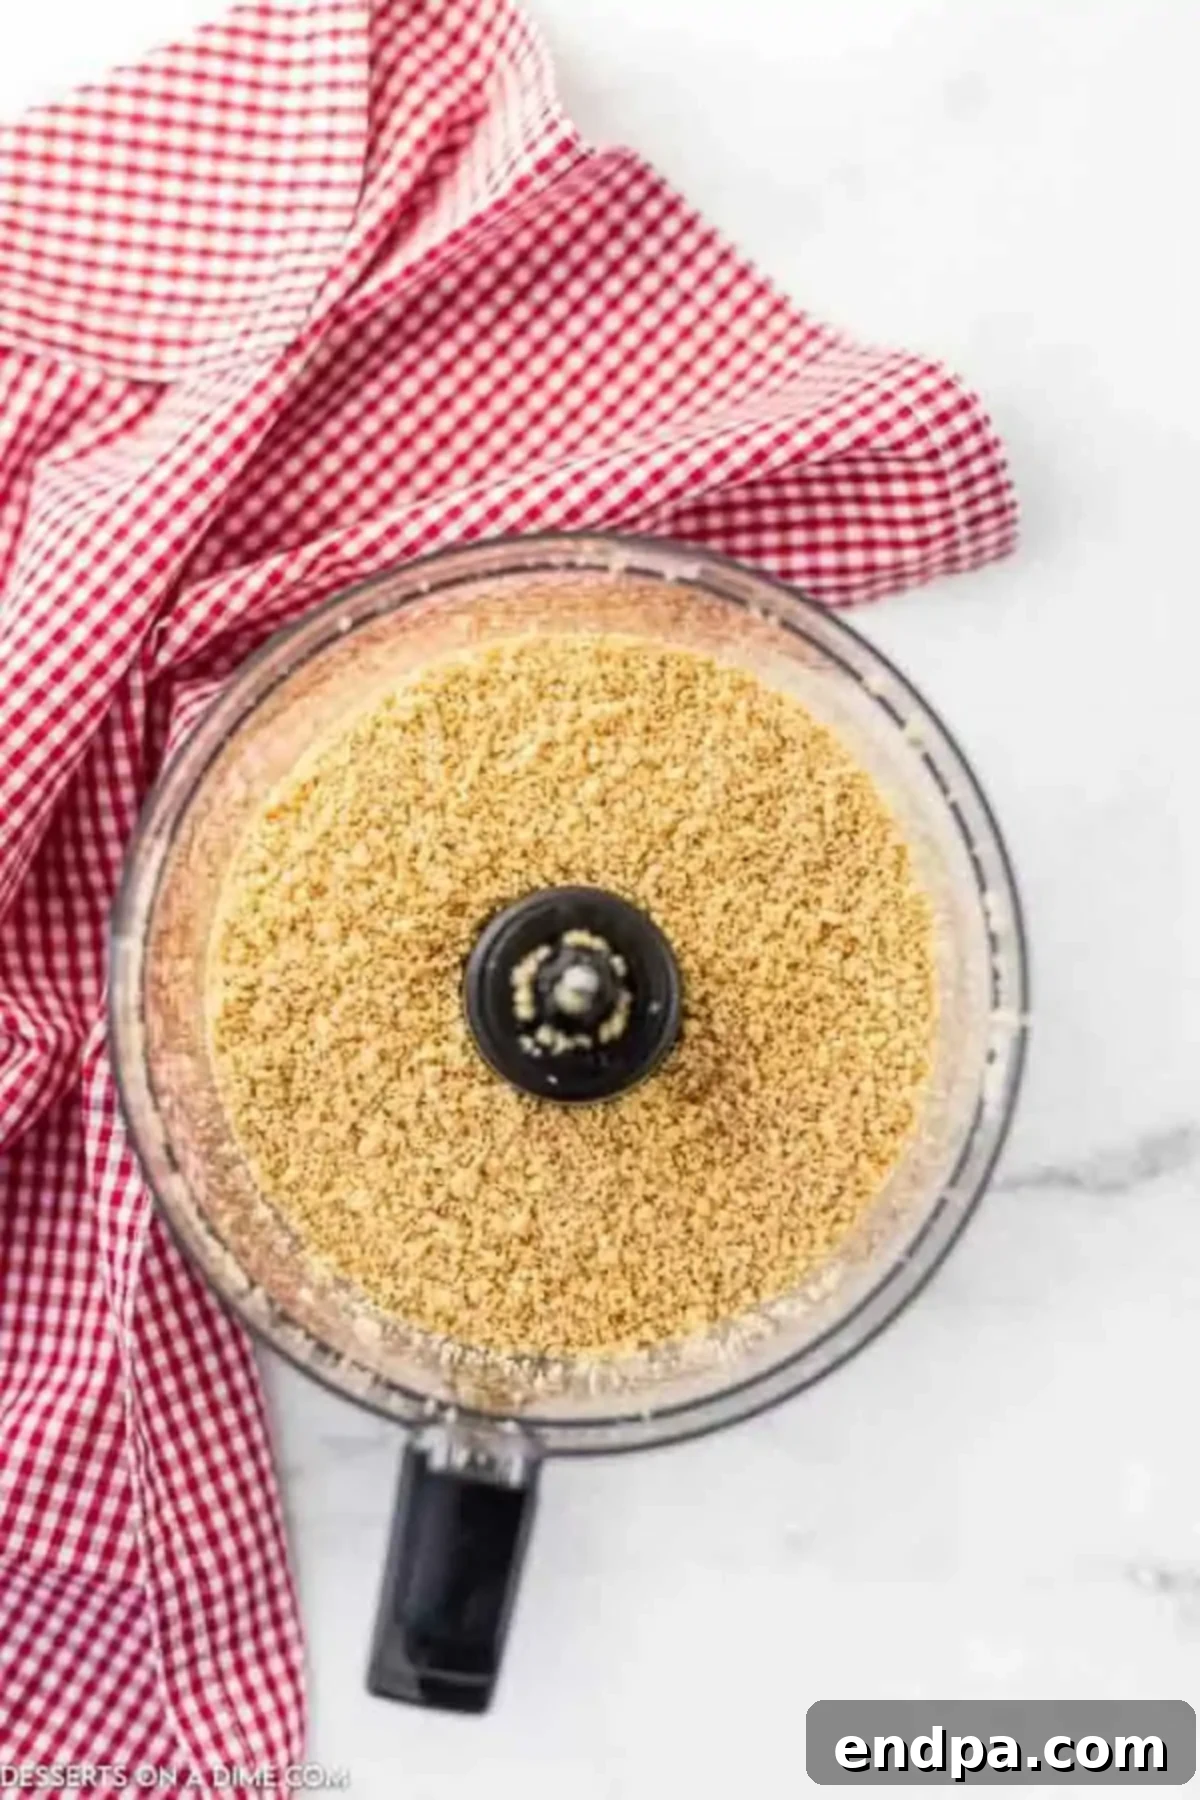
Step 3: Crush the Oreo Cookies. While your creamy filling is chilling, prepare your “dirt” layer. Place the Golden Oreo cookies into a food processor or blender. Pulse until the cookies are finely crushed, resembling coarse crumbs of dirt. If you don’t have a food processor, simply place the cookies inside a sturdy ziplock bag. Seal the bag, pressing out any excess air, and use a rolling pin or the back of a wooden spoon to crush them into fine crumbs. Ensure there are no large chunks for the best texture.
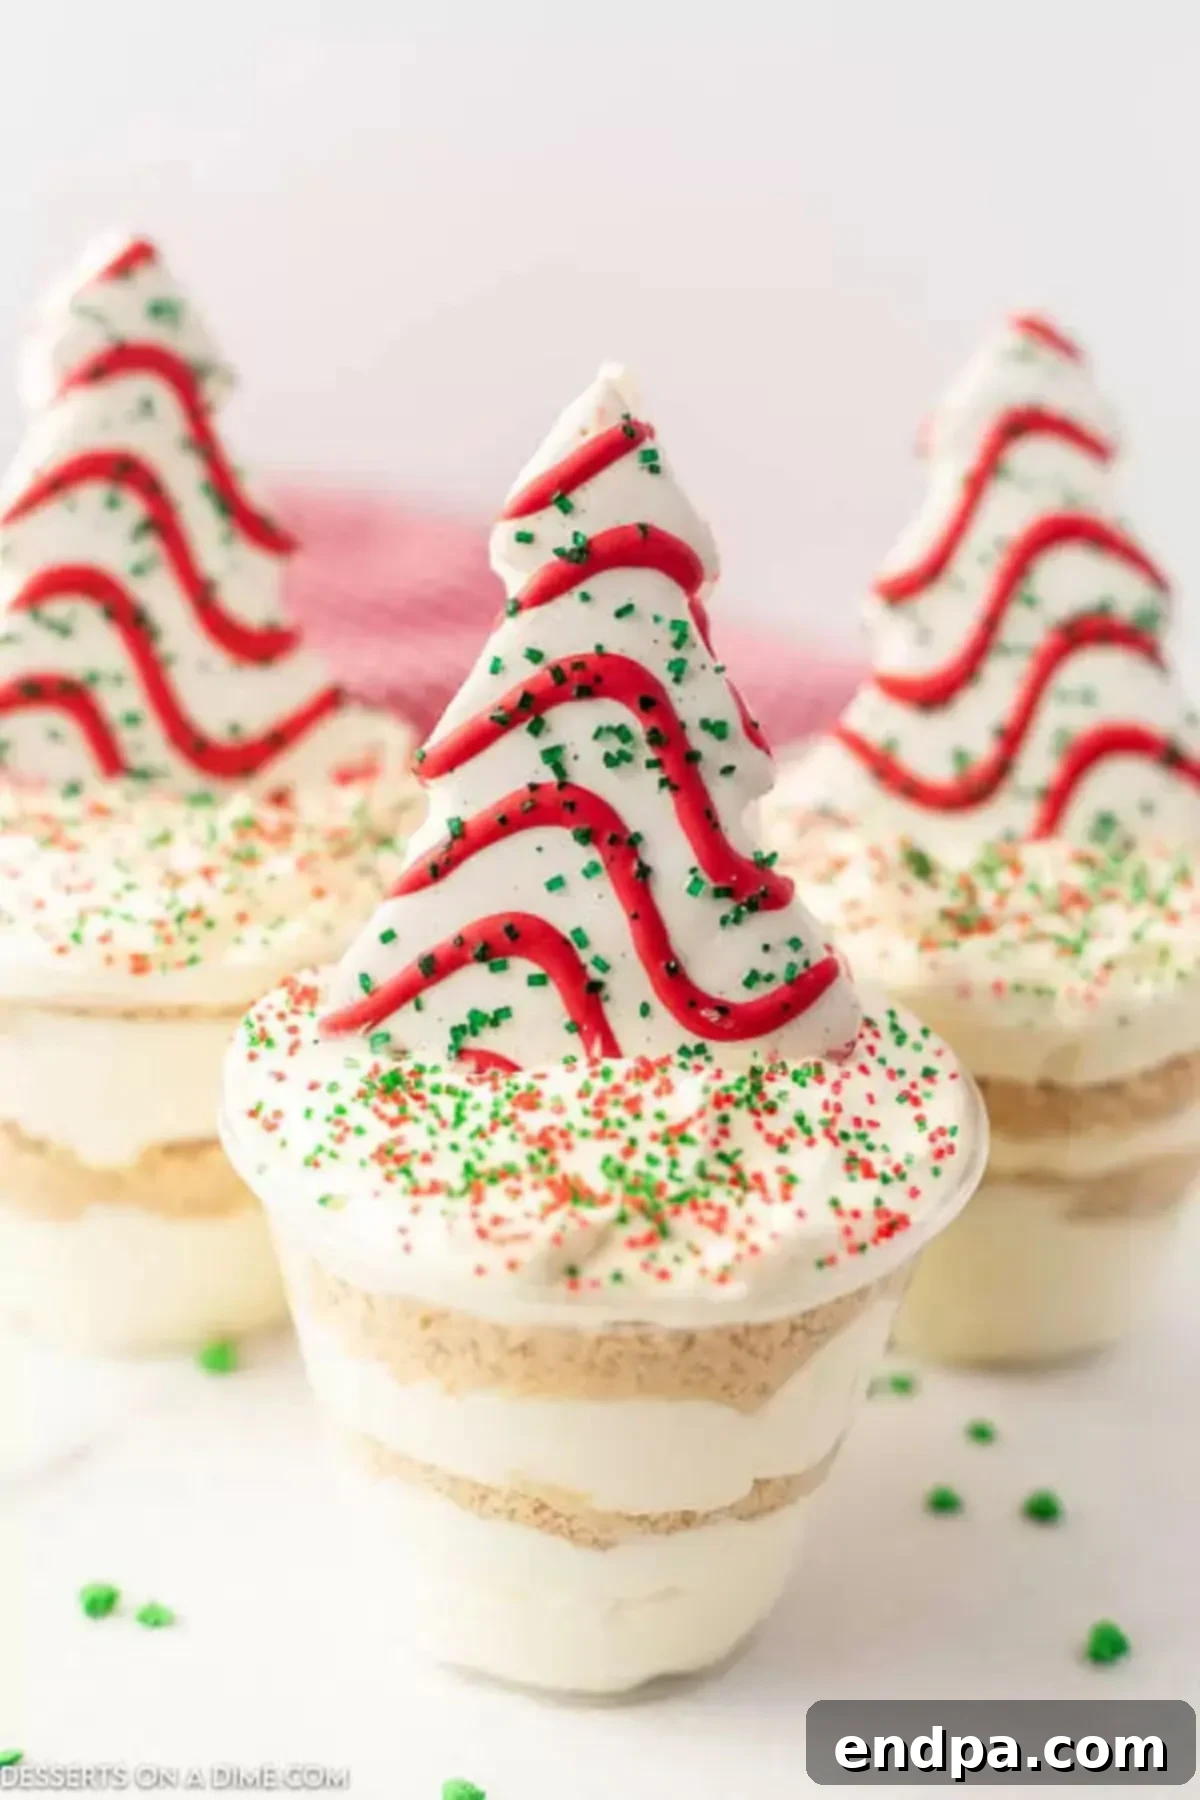
Step 4: Assemble Your Christmas Dirt Cups. Now comes the fun part – assembling your festive treats! Take your clear serving cups. Start by spooning a layer of the chilled pudding mixture into the bottom of each cup, filling it about one-third of the way. Next, add a layer of the crushed Oreo cookies on top of the pudding. Repeat these layers in each cup, alternating between pudding and cookie crumbs, until the cups are nearly full. Finish with a final layer of pudding on top, resembling a snowdrift. Finally, decorate with your chosen Christmas sprinkles and carefully place a Little Debbie Christmas Tree Cake on top of each cup. Serve immediately for best results, or chill until ready to enjoy!
Storage and Make-Ahead Tips
These Christmas Dirt Cups are best enjoyed fresh, but they can certainly be prepared in advance to ease your holiday preparations. Here are some guidelines for storage and making them ahead of time:
Once assembled, refrigerate the dirt cups immediately if you’re not serving them right away. Leftovers should also be stored in an airtight container in the refrigerator. They will remain fresh and delicious for up to 5 to 7 days, though the cookie layer may soften slightly over time.
If you plan to make these in advance for a party or gathering, you can prepare the pudding and cookie layers up to 24 hours beforehand. This allows the flavors to meld beautifully and gives you one less thing to worry about on the day of your event. However, there’s a crucial tip for keeping them looking their best: do not add the sprinkles or the Little Debbie Christmas Tree Cakes until just before serving.
Adding the decorative elements too early can lead to a few issues. The sprinkles, especially certain types, might start to bleed their color into the creamy topping, creating a less vibrant appearance. More importantly, the Little Debbie Christmas Tree Cakes, while sturdy, can become soggy if left in the moist pudding for too long, potentially causing them to fall over and lose their festive appeal. For the freshest look and best texture, hold off on the final garnishes until it’s almost time to enjoy your beautiful Christmas Dirt Cups.
Pro Tips for Perfect Pudding Cups
Elevate your Christmas Dirt Cups from great to absolutely spectacular with these expert tips and variations:
- Choose Clear Cups for Visual Appeal. One of the most charming aspects of dirt cups is their layered appearance. Using clear glass or plastic cups is essential to showcase the distinct layers of creamy pudding and crushed cookies. This makes them incredibly appealing, especially on a festive holiday table.
- Experiment with Christmas Tree Flavors. While the classic vanilla Little Debbie Christmas Tree Cakes are wonderful, don’t limit yourself! Little Debbie often releases seasonal variations, such as chocolate Christmas tree cakes. Chocolate fans might love substituting these for an extra layer of richness and flavor in each pudding cup. This is an easy way to customize the dessert to different preferences.
- Vary Your Pudding Flavors. Vanilla pudding is a fantastic base, but these cups are incredibly versatile. Feel free to substitute the instant vanilla pudding mix with other delightful flavors. Instant chocolate pudding mix creates a richer, darker “dirt” contrast, white chocolate pudding enhances the snowy theme, or even a seasonal peppermint pudding could add a refreshing twist.
- Always Use Instant Pudding. This is a non-negotiable tip for successful dirt cups. Standard cooked pudding will likely result in a runny mixture that won’t hold its layers or shape. Instant pudding contains specific ingredients that ensure the mixture sets quickly and firmly, providing the necessary structure for this layered dessert.
- Get Creative with Oreo Cookies. Golden Oreos offer a lovely aesthetic, but any flavor of Oreo cookies can be used in this recipe. Traditional chocolate Oreo cookies are always a popular choice, providing a classic dirt cup flavor. For a more adventurous twist, try seasonal flavors like peppermint Oreos, peanut butter Oreos, or even red velvet Oreos to match the holiday theme.
- Ensure Cool Whip is Fully Thawed. If you’re using frozen whipped topping like Cool Whip, make sure it is completely thawed before you attempt to fold it into the pudding mixture. Attempting to mix frozen or partially frozen Cool Whip will result in a lumpy texture and a less cohesive, creamy pudding layer.
- Add a Splash of Food Coloring. For an even more festive and whimsical look, consider adding a few drops of red or green food coloring to one of your pudding layers. This can create vibrant, eye-catching striped cups that are perfect for Christmas.
- Seasonal Versatility Beyond Christmas. The beauty of dirt cups is their adaptability. You can easily modify this concept for other holidays and occasions. For example, making Halloween Dirt Cups with gummy worms, candy corn, or candy pumpkins is a fantastic way to enjoy this treat throughout the year. The base recipe is so simple that changing the cookie flavor, pudding color, and toppings can create a whole new dessert for any event!
More Irresistible Easy Christmas Desserts
The holiday season is synonymous with indulging in sweet treats, and if you loved how simple and delightful these Christmas Dirt Cups are, you’ll be thrilled to discover more easy dessert ideas perfect for your festive celebrations. We believe that holiday baking should be enjoyable, not stressful, which is why we’ve gathered a collection of recipes that are both impressive and incredibly straightforward to make. From fudgy delights to crunchy barks and colorful cakes, these desserts are designed to add a touch of magic to your holiday table without requiring hours of effort. Dive into these recipes and find your next favorite Christmas treat!
- Easy Christmas Fudge
- Christmas Bark Recipe
- Christmas Jello Poke Cake
- Christmas Puppy Chow Recipe
- Easy Christmas Wreath Cookies
- Christmas Crack Recipe
I can’t wait for you to experience the joy of making and sharing these festive Christmas Tree Dirt Cups. They are the epitome of a special yet incredibly easy holiday treat that will surely become a new family tradition. Give them a try this season and watch them disappear! Please take a moment to leave a comment and a star rating below – your feedback means the world to us.
Christmas Dirt Cups
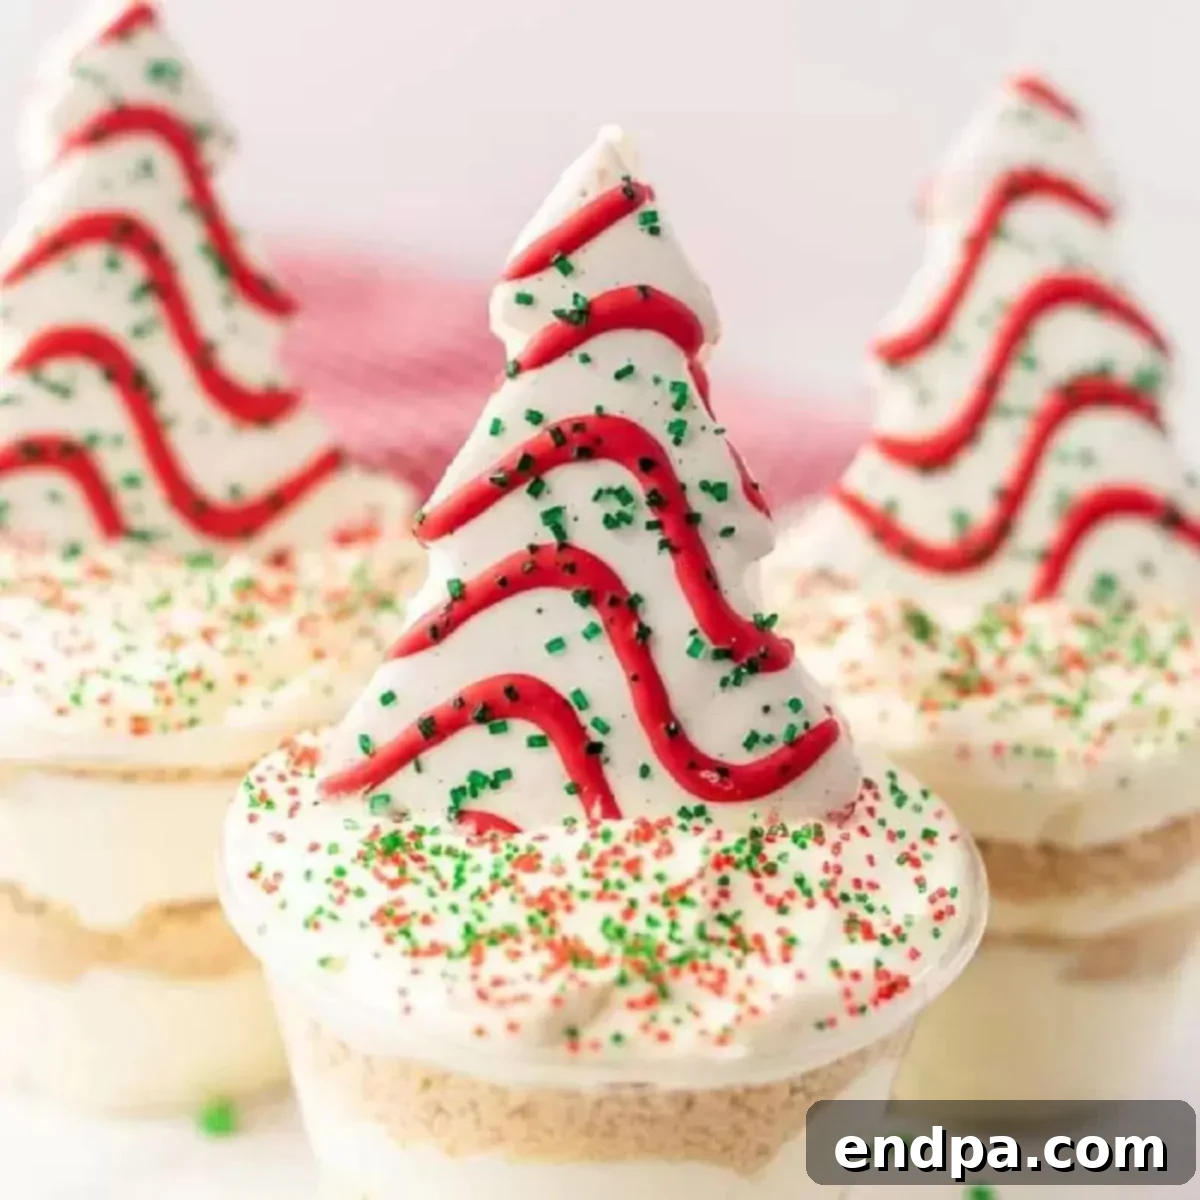
Christmas Dirt Cups are a truly delightful and simple treat to prepare for the holidays. These individual dessert cups feature luscious layers of rich pudding, crunchy cookies, and charming festive decorations. Each cup is crowned with a beloved Little Debbie Christmas tree cake, making for an unforgettable holiday dessert experience.
Prep Time: 45 mins
Total Time: 45 mins
Servings: 12
Cuisine: American
Course: Dessert
Calories: 232 kcal
Author: Carrie Barnard
Ingredients
- 25 Golden Oreo Cookies
- 16 oz Cool Whip
- 1 box Instant Vanilla Pudding Mix (3.3 oz)
- 2 cups Milk (whole milk recommended for richness)
- 12 Little Debbie Christmas Tree Cakes
- Christmas Sprinkles (for decoration)
Instructions
- In a medium-sized bowl, whisk together the instant pudding mix and cold milk until smooth. Continue whisking for about 1-2 minutes until the mixture begins to thicken. Refrigerate for approximately 10 minutes, or until the pudding is fully set.
- Once the pudding has set, gently fold in the thawed Cool Whip until it is thoroughly combined and the mixture is light and fluffy. Return the bowl to the refrigerator to chill for an additional 20 minutes.
- While the pudding mixture is chilling, prepare the cookie crumbs. Place the Golden Oreo cookies into a food processor or blender and pulse until they are finely crushed. Alternatively, place the cookies in a sealed plastic bag and crush them with a rolling pin or a wooden spoon until fine.
- It’s now time to assemble your Christmas Dirt Cups! Take your clear serving cups. Spoon a layer of the chilled pudding mixture into the bottom of each cup, filling it about one-third of the way.
- Top the pudding layer with a small amount of the crushed Oreo cookies. Repeat these layers in all of the cups, alternating pudding and cookie crumbs, until the cups are nearly full. Ensure the final layer is the creamy pudding mixture to create a “snow” effect on top.
- Decorate each cup generously with your festive Christmas sprinkles. Carefully place a Little Debbie Christmas Tree Cake on top of the pudding in each cup. Serve immediately and enjoy your beautiful and delicious holiday treats!
Nutrition Facts
Calories: 232 kcal | Carbohydrates: 37g | Protein: 4g | Fat: 8g | Saturated Fat: 3g | Polyunsaturated Fat: 2g | Monounsaturated Fat: 3g | Cholesterol: 10mg | Sodium: 183mg | Potassium: 119mg | Fiber: 1g | Sugar: 24g | Vitamin A: 132IU | Calcium: 94mg | Iron: 1mg
Pin This Now to Remember It Later
Pin Recipe
