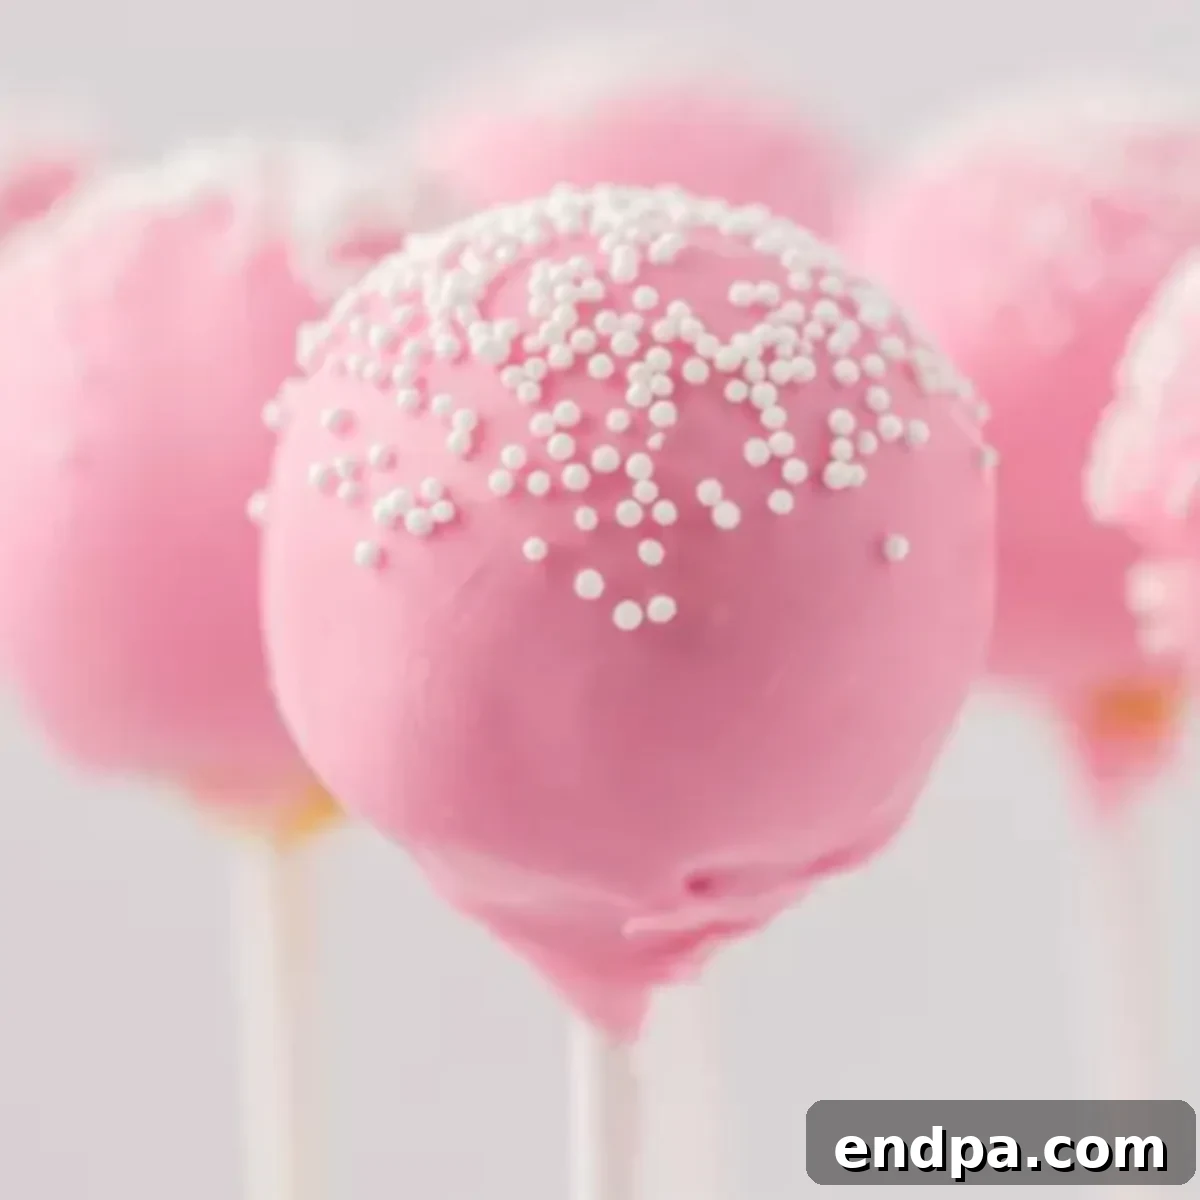
Planning a party or simply found yourself with an abundance of delicious cake pops? The question often arises: Can you freeze cake pops? The resounding answer is yes! Freezing cake pops is an incredibly effective strategy for meal prep, event planning, or simply extending the enjoyment of these delightful treats. With the right techniques, you can lock in their fresh flavor and perfect texture for weeks, making them a convenient option for any occasion.

Whether you’re a seasoned baker creating a large batch for a special event or a home cook looking to preserve leftovers, understanding the proper way to freeze, store, and thaw cake pops is crucial. This comprehensive guide will equip you with all the knowledge you need to ensure your frozen cake pops emerge just as delicious and visually appealing as they were on day one. Say goodbye to food waste and hello to perfectly preserved treats!
Once you master the art of freezing, you’ll find yourself making more of our favorite homemade cake pop recipes, including delectable Oreo Cake Pops, classic Red Velvet Cake Pops, and many more variations perfect for any palate.
What’s in this Post: Mastering Frozen Cake Pops
- Why Freezing Cake Pops is a Game-Changer
- How to Freeze Unassembled Cake Pops (Cake Balls)
- How to Freeze Fully Decorated Cake Pops
- The Best Way to Thaw Cake Pops
- Frequently Asked Questions About Freezing Cake Pops
- Delightful Cake Pop Recipes to Try
- Expand Your Freezing Knowledge
Why Freezing Cake Pops is a Game-Changer
Freezing cake pops isn’t just a clever trick; it’s a culinary hack that offers a multitude of benefits for both casual bakers and dedicated dessert enthusiasts. Here’s why we consider it an essential skill:
- Effortless Party Preparation: Large events, holidays, or spontaneous gatherings often demand significant time and effort. Freezing cake pops allows you to prepare batches weeks in advance, drastically reducing stress and workload on the day of the event. Imagine having a stunning dessert ready to go with minimal last-minute effort!
- Prolonged Freshness and Flavor: When properly frozen, cake pops can retain their optimal flavor and delightful texture for up to six weeks. This method preserves the moisture content and prevents the cake from drying out, ensuring every bite is as delicious as if it were freshly made.
- Minimizing Food Waste: Have leftover cake batter or a few extra cake pops from a recipe? Don’t let them go to waste! Freezing is an excellent way to salvage these treats, allowing you to enjoy them at a later date without sacrificing quality. It’s a sustainable practice that saves money too.
- Ultimate Convenience and Flexibility: Craving a sweet treat but don’t want to bake from scratch? Just grab a few frozen cake pops from your freezer. They’re perfect for unexpected guests, a quick dessert for the family, or even a delightful snack throughout the week. The convenience of having ready-to-thaw desserts is unparalleled.
- Simple Thawing Process: Despite their delicate appearance, cake pops are surprisingly resilient in the freezer. The thawing process is straightforward and typically only requires a few hours in the refrigerator, making them easy to serve on demand.
- Versatility for All Cake Pops: This freezing method works beautifully for both homemade cake pops, allowing you to experiment with various flavors and designs, and even store-bought cake pops, should you wish to extend their shelf life.
- Ensuring Batch Consistency: For those who bake large quantities, freezing allows you to maintain consistent quality across all your cake pops. You can make a big batch, freeze them, and then decorate them in smaller groups as needed, ensuring each one meets your standards.

How to Freeze Unassembled Cake Pops (Cake Balls)
Freezing cake pops in their ‘cake ball’ stage, before dipping and decorating, is generally the easiest and most recommended method. This approach minimizes the risk of damaging delicate coatings or decorations.
- Step 1: Individually Wrap Each Cake Ball. Once you’ve formed your cake balls (the mixture of crumbled cake and frosting), carefully wrap each one individually in a layer of plastic wrap. Ensure the plastic wrap is sealed tightly around the cake ball, pressing out as much air as possible. This tight seal is crucial for preventing freezer burn, which can lead to dry, flavorless spots and undesirable ice crystals forming on the surface. The plastic wrap acts as a protective barrier against moisture loss and absorption of freezer odors.
- Step 2: Place in a Freezer-Safe Container. After wrapping, arrange the individually wrapped cake balls in a single layer inside a sturdy, airtight freezer bag or a rigid freezer-safe container. Placing them in a single layer prevents them from sticking together or getting crushed, which could distort their perfect round shape. If you have multiple layers, place a sheet of parchment paper or wax paper between each layer to ensure easy separation. A rigid container offers superior protection against being squashed by other items in the freezer.
- Step 3: Label and Store in the Freezer. Before placing the container in the freezer, clearly label it with the date and type of cake pop. This helps you keep track of their freshness and ensures you use them within the recommended timeframe (typically up to 6 weeks). Store them in a location where they won’t be easily jostled or crushed.
Pro Tip for Unassembled Cake Balls: Flash Freezing
For an extra layer of protection and to ensure the cake balls hold their perfect shape, consider flash freezing them. After individually wrapping, place the cake balls on a baking sheet lined with parchment paper, ensuring they don’t touch. Freeze for 1-2 hours until firm. Once firm, transfer them to your freezer bag or container. This prevents them from sticking together even if the individual wrapping isn’t perfect.
How to Freeze Fully Decorated Cake Pops
If you’ve already dipped and decorated your cake pops, don’t worry – you can still freeze them! This method requires a little more care to protect the delicate coatings and embellishments.
- Step 1: Dip, Decorate, and Completely Dry. Prepare your cake pops as usual, dipping them in your preferred candy coating or melted chocolate (like white chocolate, milk chocolate, or dark chocolate). Add any sprinkles or other decorations while the coating is still wet. The most critical step here is to ensure the chocolate or candy coating is *completely* dry and set before proceeding to the next stage. Any residual stickiness will cause issues during wrapping and thawing. Place them upright in a styrofoam block or a cake pop stand to dry thoroughly, which can take several hours depending on your coating.
- Step 2: Wrap Each Cake Pop in Wax Paper. Instead of plastic wrap, use wax paper to individually wrap each fully decorated cake pop. Wax paper is less likely to stick to the delicate candy coating or chocolate layer than plastic wrap, which can adhere and pull off portions of your design during thawing. Gently twist the ends of the wax paper to secure it around the cake pop and its stick, if present.
- Step 3: Carefully Place in a Rigid Freezer-Safe Container. Arrange the wrapped cake pops in a single layer within a sturdy, airtight freezer-safe container. This step is even more crucial for decorated cake pops than for plain cake balls. A rigid container will provide maximum protection against crushing, preserving the integrity of your decorations, sprinkles, and any other embellishments. Avoid stacking if possible, or use parchment paper dividers between layers if stacking is unavoidable. Label the container with the date.
Important Considerations for Decorated Cake Pops:
While freezing decorated cake pops is possible, be aware that very delicate decorations like intricate fondant work, large sugar flowers, or certain types of edible glitter might be more susceptible to damage during freezing or thawing due to moisture changes. Simple sprinkles, chocolate drizzles, and basic candy coatings generally hold up very well.
The Best Way to Thaw Cake Pops for Optimal Enjoyment
Proper thawing is just as important as proper freezing to ensure your cake pops maintain their exquisite flavor, texture, and appearance. Rapid temperature changes can lead to condensation, cracks, or a less-than-ideal texture. Always thaw slowly.
Thawing Plain and Undecorated Cake Pops (Cake Balls):
- Step 1: Gradual Defrost in the Refrigerator. Transfer the frozen, individually wrapped cake balls from the freezer to the refrigerator. Allow them to defrost slowly overnight, or for at least 8-12 hours. This gradual thawing helps to prevent excessive condensation from forming on the cake surface, which could lead to a soggy texture or difficulties during the decorating stage. Once fully thawed in the fridge, you can let them sit on the counter for about 30-60 minutes to come to room temperature.
- Step 2: Unwrap, Insert Sticks, and Decorate. Once the cake balls are completely thawed and have reached room temperature, unwrap them. Now they are ready for the final stages of preparation. Insert your lollipop sticks, dip them in your chosen candy melts or chocolate, and add any desired decorations. It is absolutely vital that the cake balls are fully thawed and at room temperature before dipping. Attempting to dip a frozen or partially frozen cake ball will result in the cake crumbling, the coating cracking due to temperature shock, or an uneven, unsatisfactory finish.
Thawing Fully Prepared and Decorated Cake Pops:
- Step 1: Slow Thaw in the Refrigerator. When you’re ready to serve your decorated cake pops, remove the container from the freezer and place it directly into the refrigerator. Allow them to thaw slowly overnight, or for a minimum of 8-12 hours. This slow transition helps to minimize condensation build-up on the delicate coating.
- Step 2: Unwrap After Partial Thawing. After 2 to 3 hours in the refrigerator (or once they feel mostly thawed but still very cold), carefully unwrap each cake pop from its wax paper. This crucial step allows any condensation that might form to evaporate naturally into the refrigerator air, rather than getting trapped between the wax paper and the coating. Leaving them wrapped for too long during thawing can lead to moisture pooling and potentially making the coating sticky or dull.
- Step 3: Allow to Reach Room Temperature (Optional) and Serve. Once unwrapped and fully thawed in the refrigerator, you can either serve them chilled or let them sit at room temperature for about 15-30 minutes before serving. Enjoy your perfectly preserved and delicious cake pops!
Key Thawing Tips for Success:
- Avoid Room Temperature Thawing Directly from Freezer: While tempting for speed, thawing directly at room temperature can cause excessive condensation on the surface of the cake pops, leading to a sticky coating, dull finish, or even cracking. Always start in the refrigerator.
- Manage Condensation: The goal is to minimize condensation. By thawing slowly in the fridge and unwrapping at the right time, you give the moisture a chance to dissipate without damaging the cake pops.
- No Refreezing: Never refreeze thawed cake pops, especially if they are decorated. Refreezing significantly degrades the texture and flavor, and can ruin the appearance.

Frequently Asked Questions About Freezing Cake Pops
Yes, absolutely! You can freeze cake pops after they have been fully dipped and decorated. However, it’s important to proceed with caution, especially with very delicate or intricate decorations. While the taste will remain fantastic, some specific embellishments (like very fine sugar work or certain types of soft candies) might be slightly damaged or altered in appearance due to moisture changes during the freezing and thawing process. If aesthetics are paramount for a special event, freezing cake balls before decorating is often the preferred method. For casual consumption, freezing decorated cake pops works wonderfully.
For optimal taste and texture, we recommend freezing cake pops for up to 6 weeks. Beyond this period, while they may still be safe to eat, you might notice a gradual decline in quality. The texture can become slightly drier or grainier, and the flavors might start to fade. The longer they stay in the freezer, the higher the risk of freezer burn affecting their freshness and appeal. Always ensure they are properly wrapped and stored in an airtight container to maximize their freezer life.
Technically, yes, you can refreeze cake pops. However, we strongly advise against it for quality reasons. Each freeze-thaw cycle significantly impacts the texture of the cake, often making it crumbly, dry, or even a bit gummy. The delicate structure of the cake is compromised with repeated temperature fluctuations. Furthermore, if they are decorated, refreezing will almost certainly negatively affect their appearance, leading to cracks in the coating, dullness, or smudged decorations. While safe to eat, the enjoyment factor will be greatly diminished.
The best containers for freezing cake pops are rigid, airtight, freezer-safe plastic containers or glass containers. These offer superior protection against crushing, especially for decorated cake pops. For plain cake balls, heavy-duty freezer bags can also work, but ensure they are sealed tightly and placed in an area where they won’t be squashed. Always ensure your chosen container is specifically designed for freezer use to prevent cracking or food degradation.
Preventing freezer burn is key to maintaining the quality of your cake pops. The main strategies involve minimizing exposure to air and moisture loss. First, individually wrap each cake pop or cake ball tightly in plastic wrap (for plain) or wax paper (for decorated), ensuring no air pockets remain. Second, place these wrapped treats into an airtight freezer-safe container or a heavy-duty freezer bag, expelling as much air as possible before sealing. Proper wrapping and an airtight environment are your best defense against freezer burn.
Condensation is a common issue when thawing, but it can be managed. The best prevention is slow thawing in the refrigerator. If condensation does appear on decorated cake pops, gently unwrap them while they are still very cold and allow them to finish thawing uncovered in the refrigerator. This allows the moisture to evaporate. For plain cake balls, a little condensation isn’t usually a problem as they will be re-coated, but letting them come to room temperature unwrapped helps. Avoid rapid temperature changes as these are the primary cause of excessive condensation.
Delightful Cake Pop Recipes to Try
Now that you’re an expert in freezing cake pops, why not try some of these fantastic recipes to fill your freezer with deliciousness?
- Cookie Dough Cake Pop Recipe: Indulge in the irresistible flavor of cookie dough, transformed into a delightful cake pop.
- Brownie Cake Pops: Rich, fudgy brownie goodness on a stick, a chocolate lover’s dream.
- Starbucks Cake Pops: Recreate the iconic bakery treat right in your own kitchen with this beloved recipe.
- Strawberry Cake Pops: Light, fruity, and bursting with strawberry flavor, perfect for spring and summer.
- Birthday Cake Pops: Celebrate any day with these fun, festive, and sprinkle-filled cake pops.
Expand Your Freezing Knowledge
Mastering the art of freezing extends beyond just cake pops. Discover more invaluable tips for preserving your favorite baked goods and ingredients:
- How to Freeze Cookie Dough
- Can You Freeze Fudge?
- Can You Freeze Sweet Potato Pie?
- Can You Freeze Pound Cake?
By following these easy and effective tips, you can confidently freeze your cake pops, ensuring they remain a delightful treat whenever you desire. Don’t let excess cake go to waste, embrace the convenience of freezer storage! We hope this guide helps you enjoy your cake pops to the fullest. Please leave a comment below and let me know how these freezing and thawing tips worked for you!
